Enshrouded Carpenter Quests Walkthrough

I tried keeping it sweet and simple, but some of the quests are more complex than others. If you see an error, please let me know, and I’ll work to fix it! All images used in this blog post are screenshots from the game Enshrouded.
- Quick Links To Help
SPOILER ALERT: There’s no way for me to avoid spoiling game play with the walkthrough.
NOTE: All content below is from BEFORE Hollow Halls Update - version number 510434. Content below is good for anything before March 26th, 2024. Content may still be relevant after March 26th, 2024 - but there may be gaps in the information below as more Lore and Quests were added by developers.
Carpenter Quests
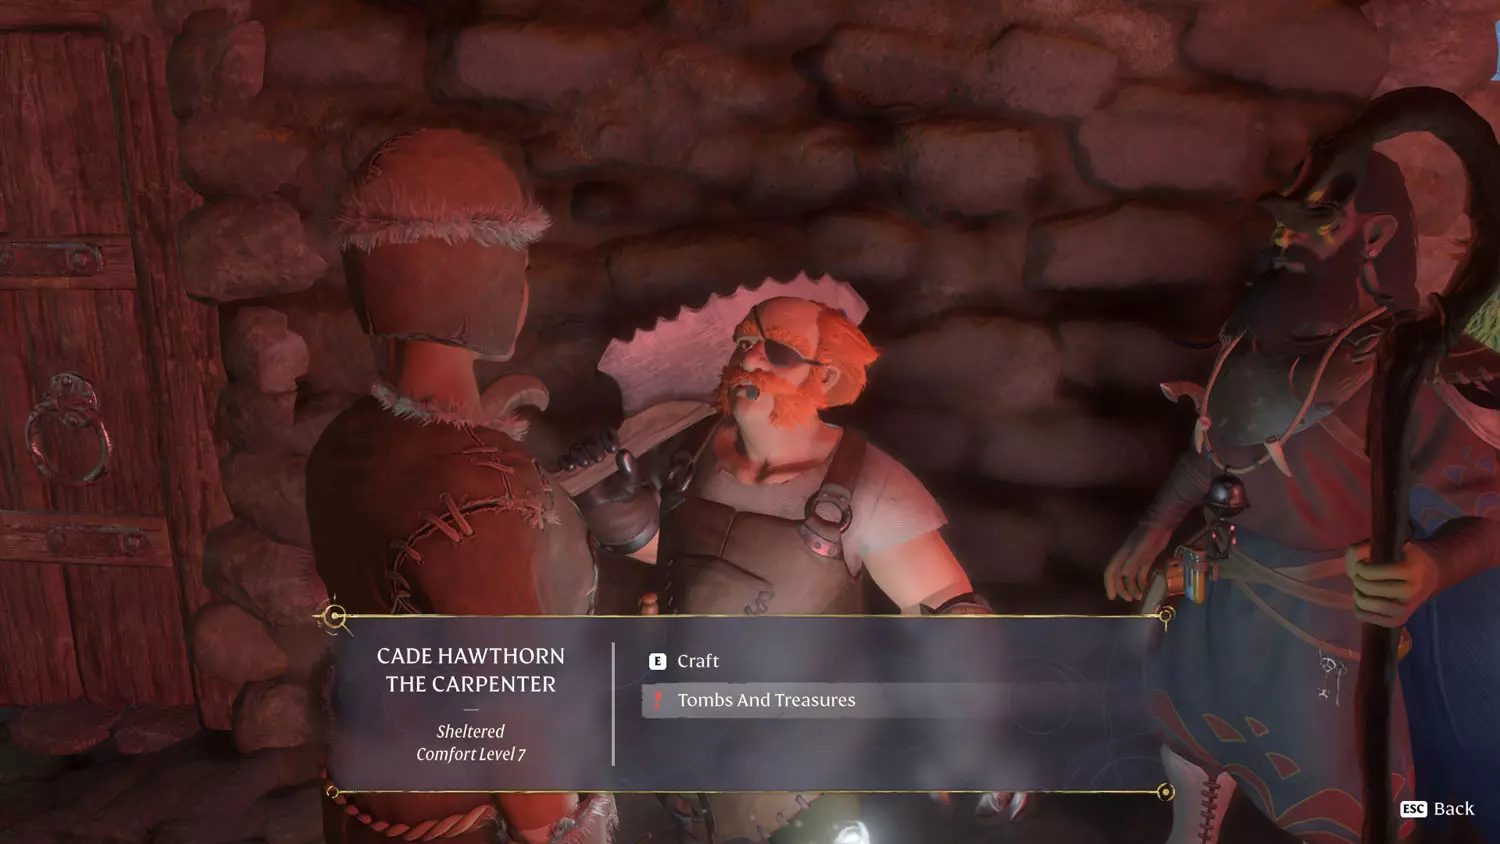
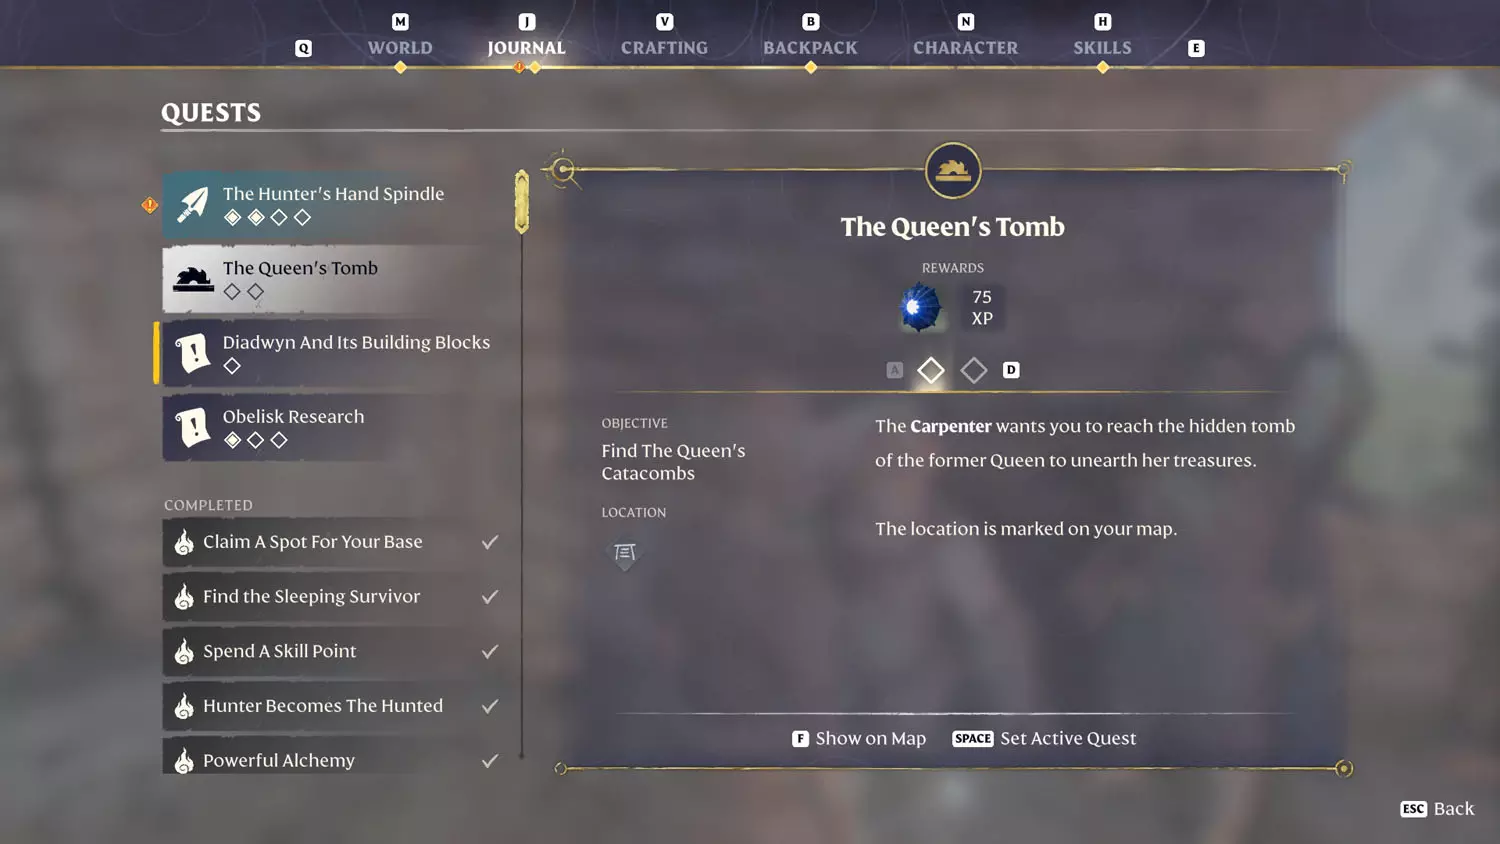
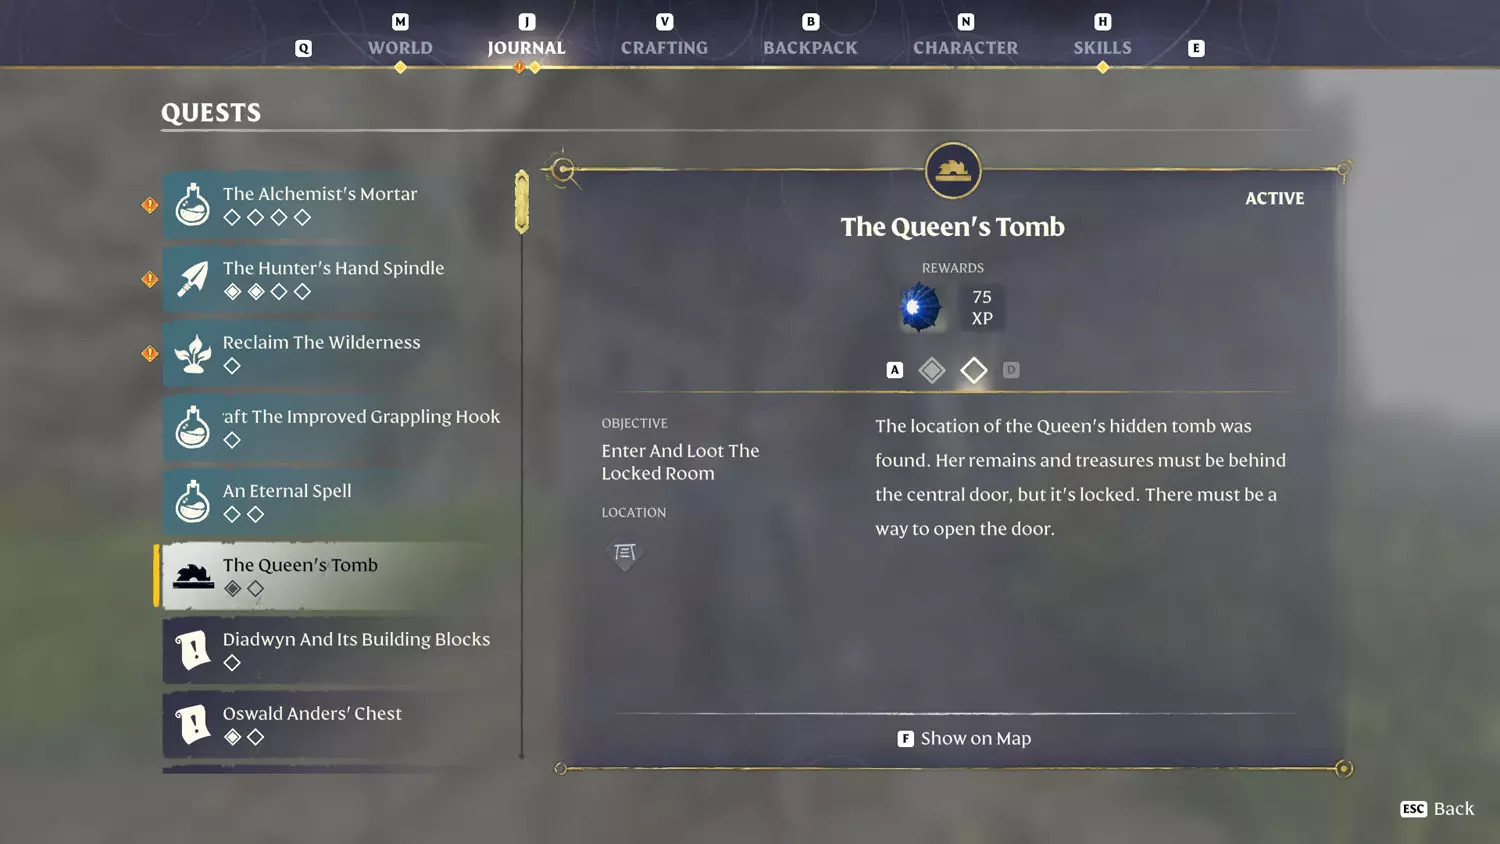
The Queen’s Tomb
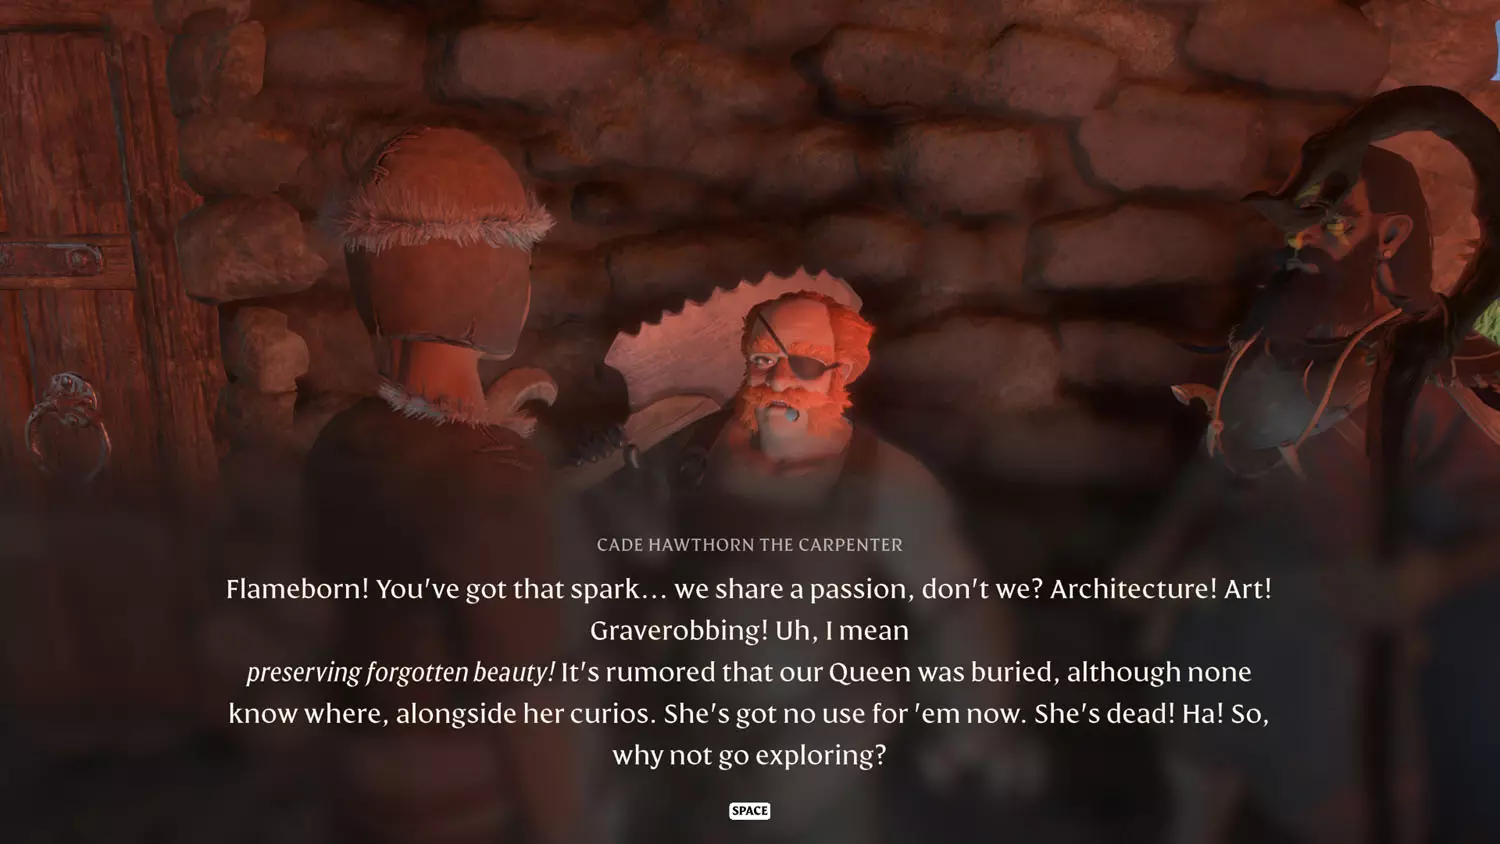
The dialogue option “Tombs And Treasures” at the Carpenter will initiate this quest.
TIP: At this point in the game, I would suggest having Flame Altars at the ready, so you can return to places quicker.
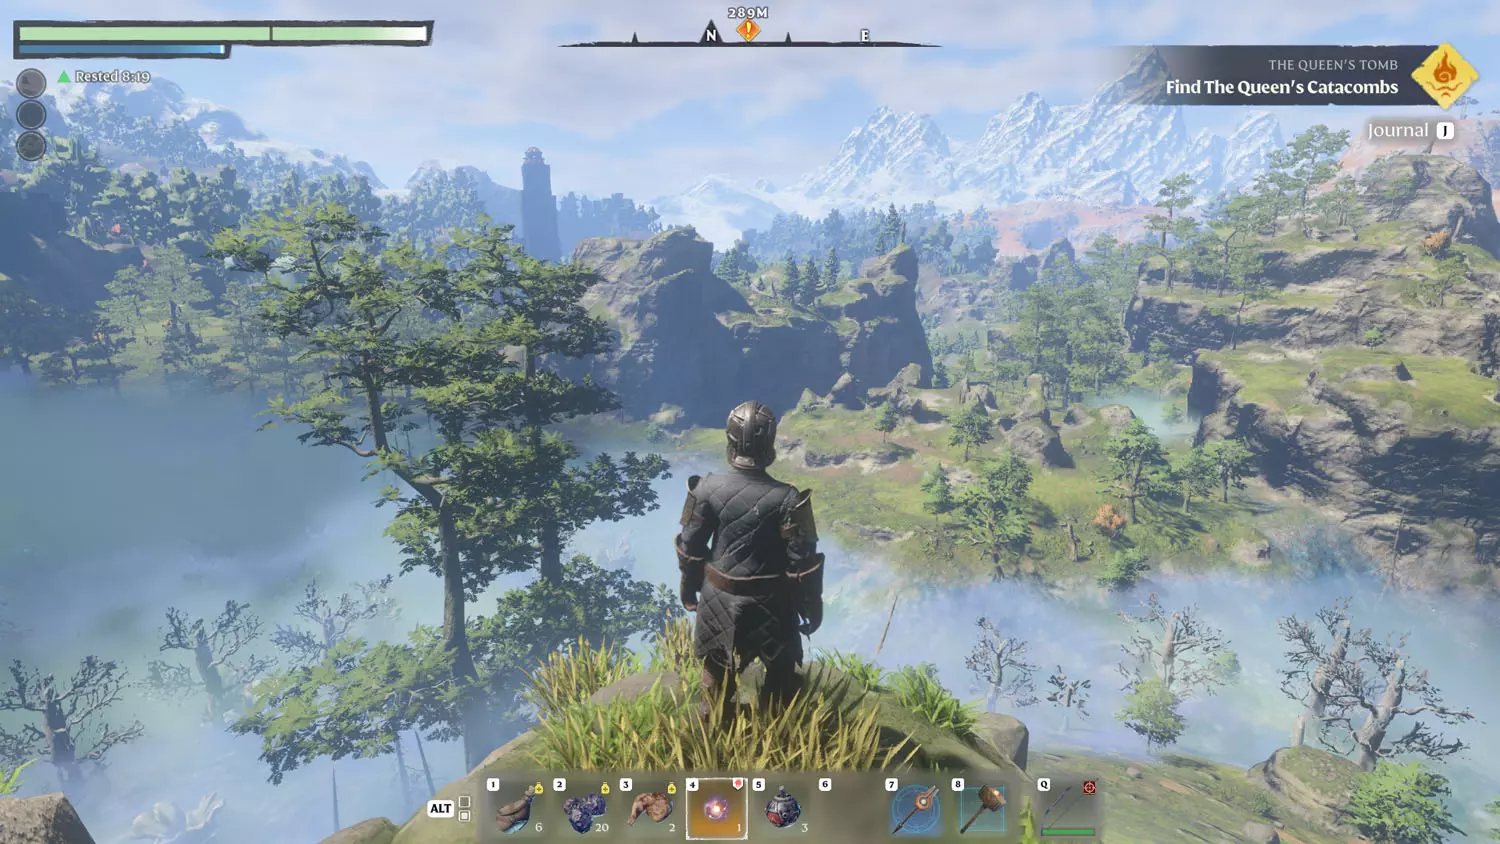
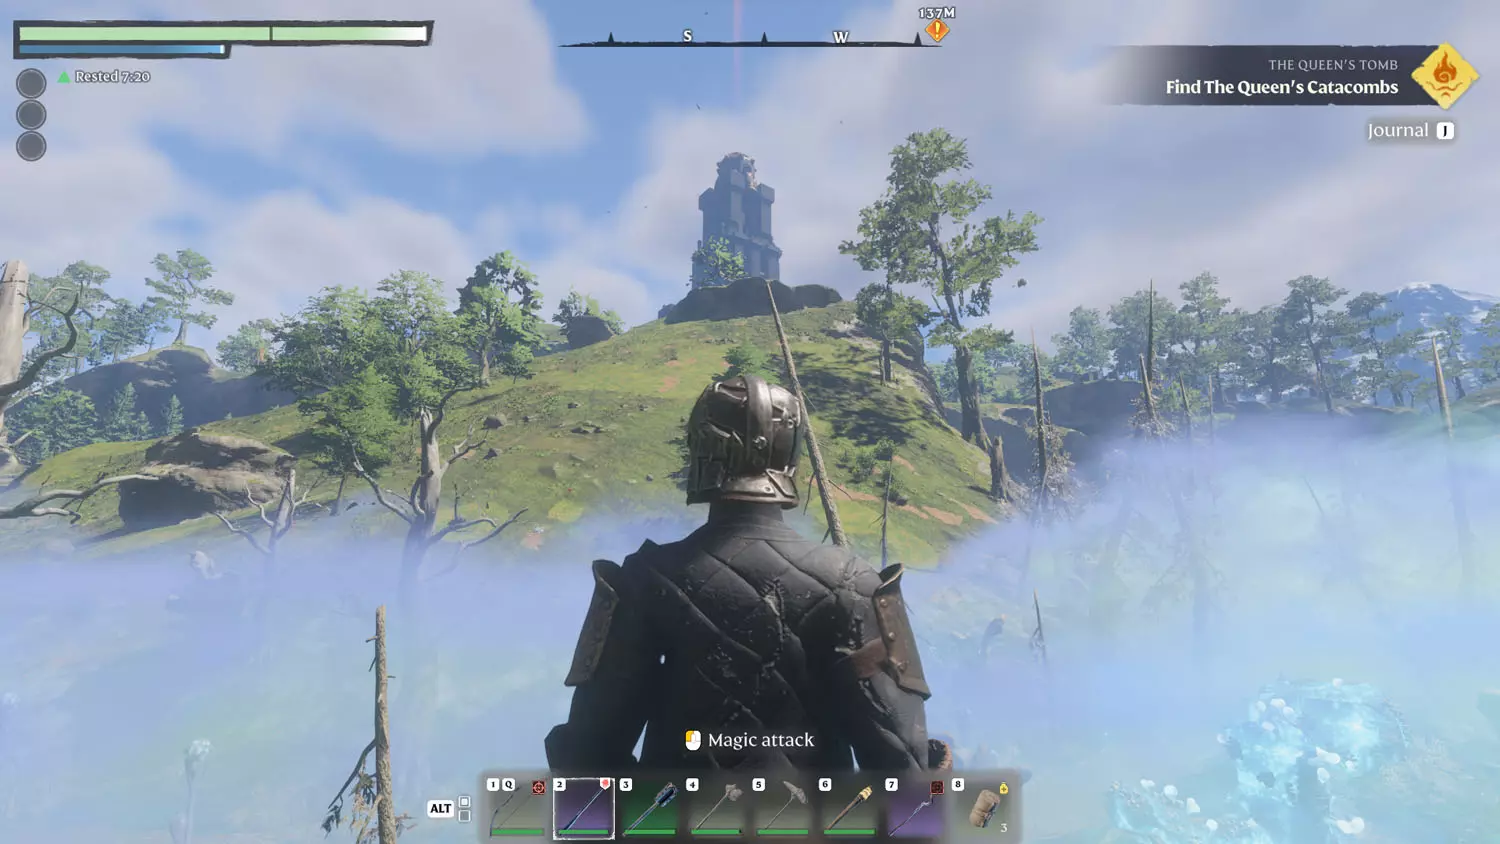
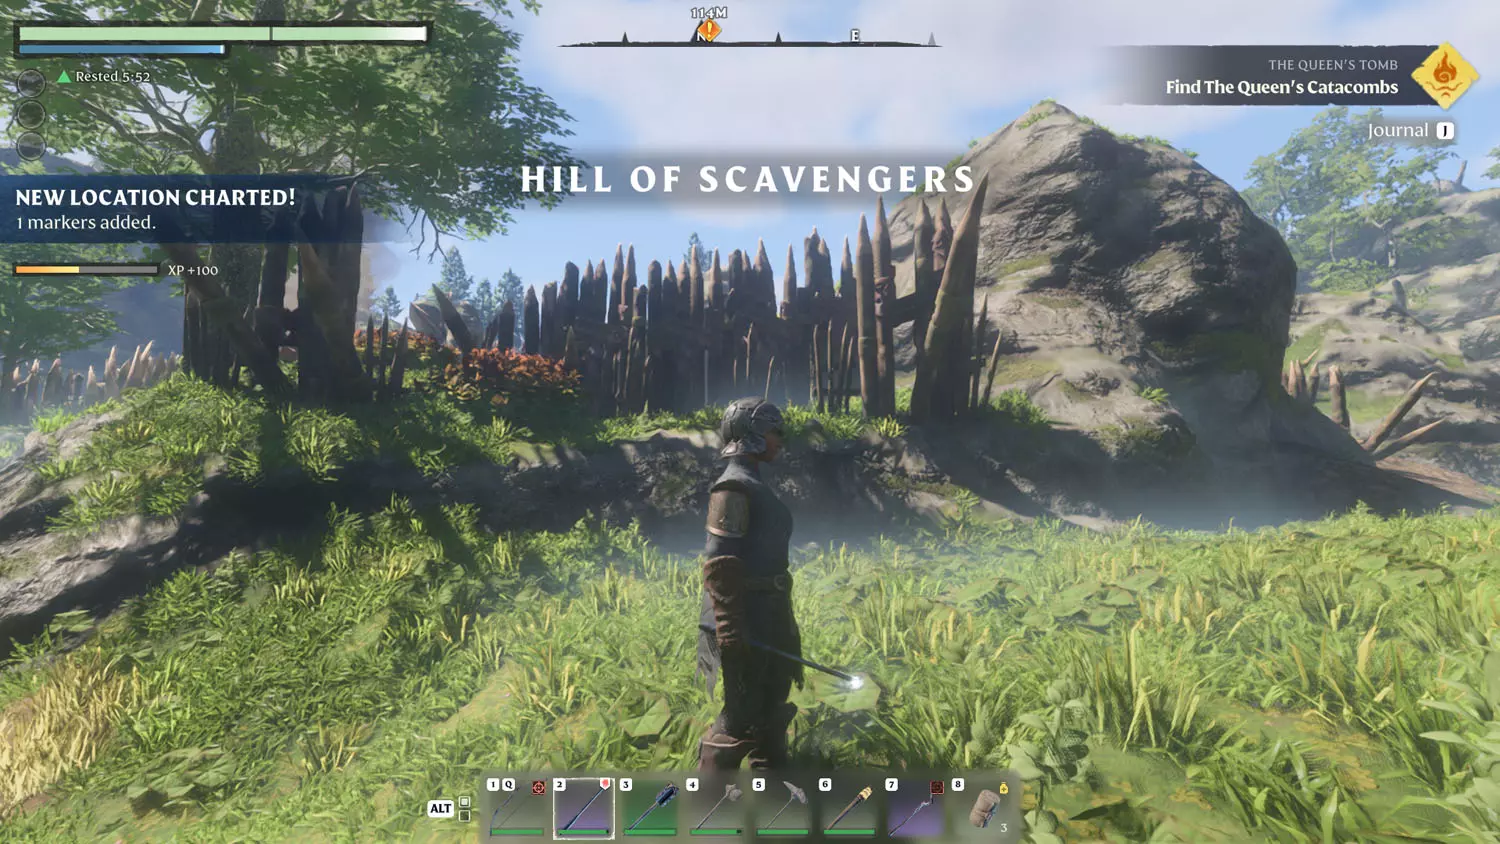
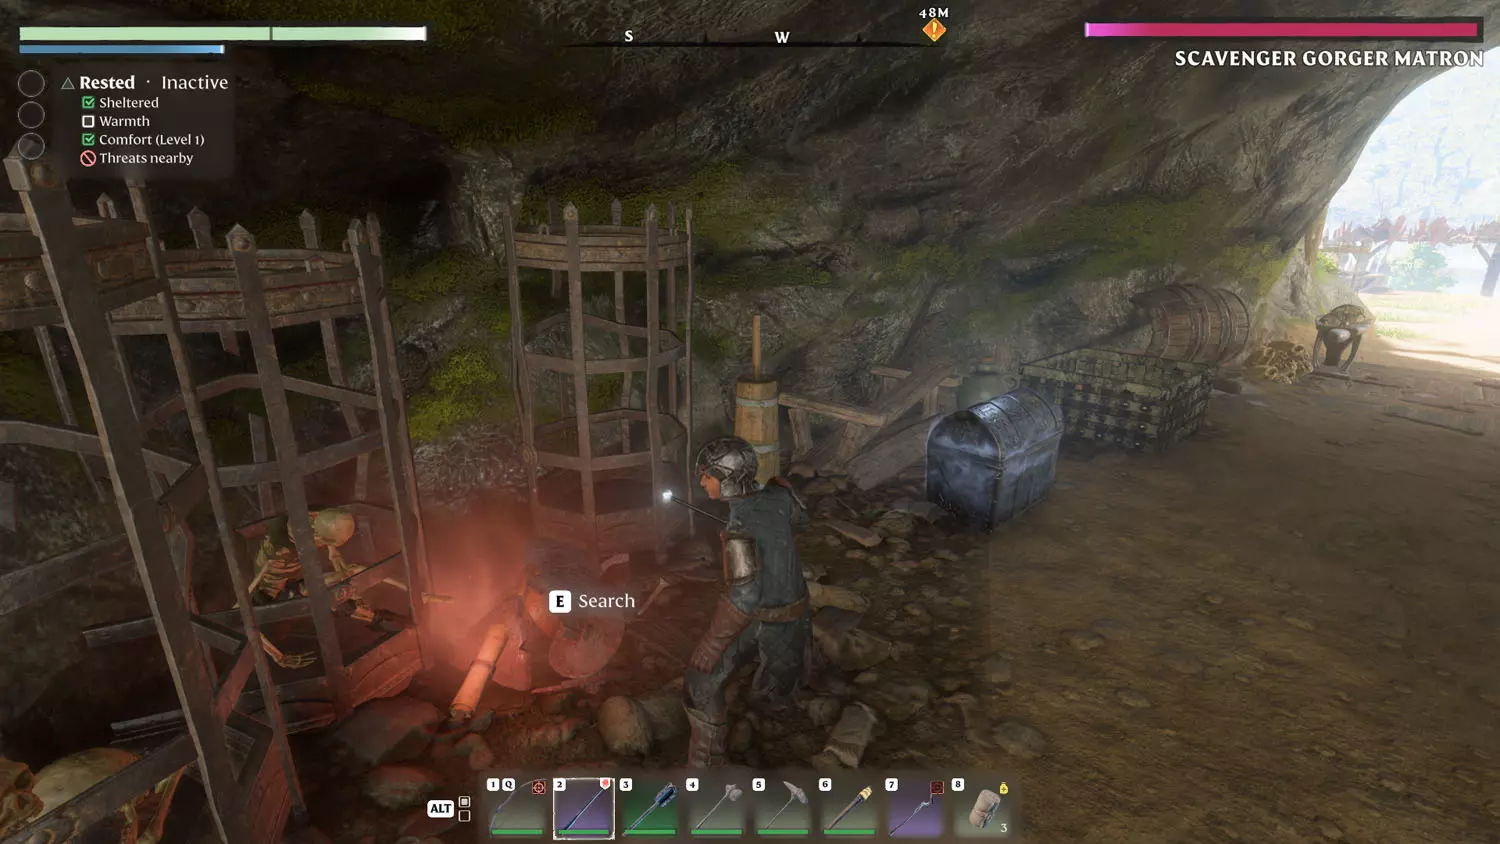
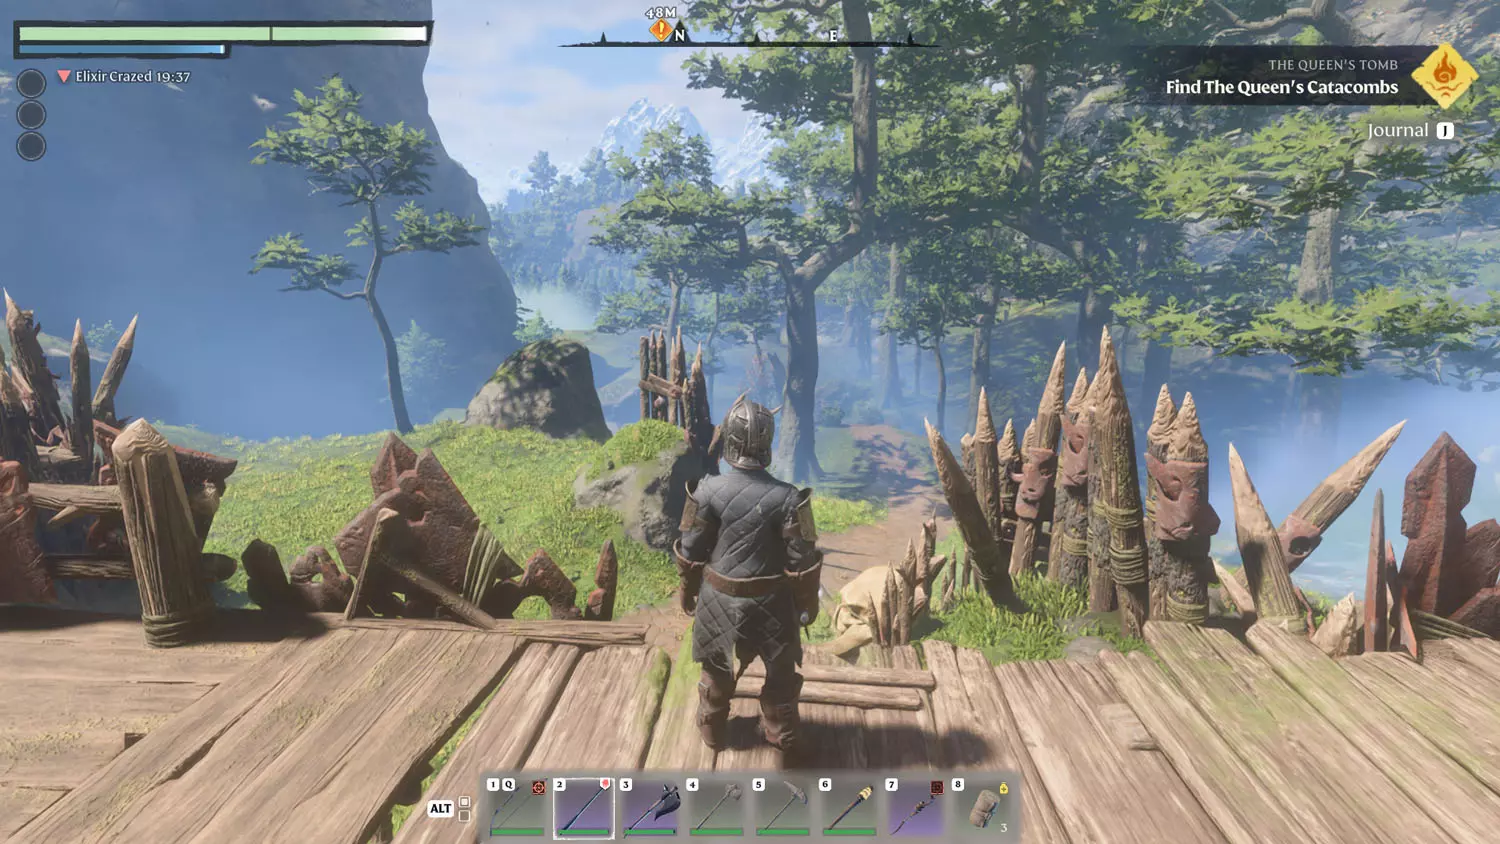
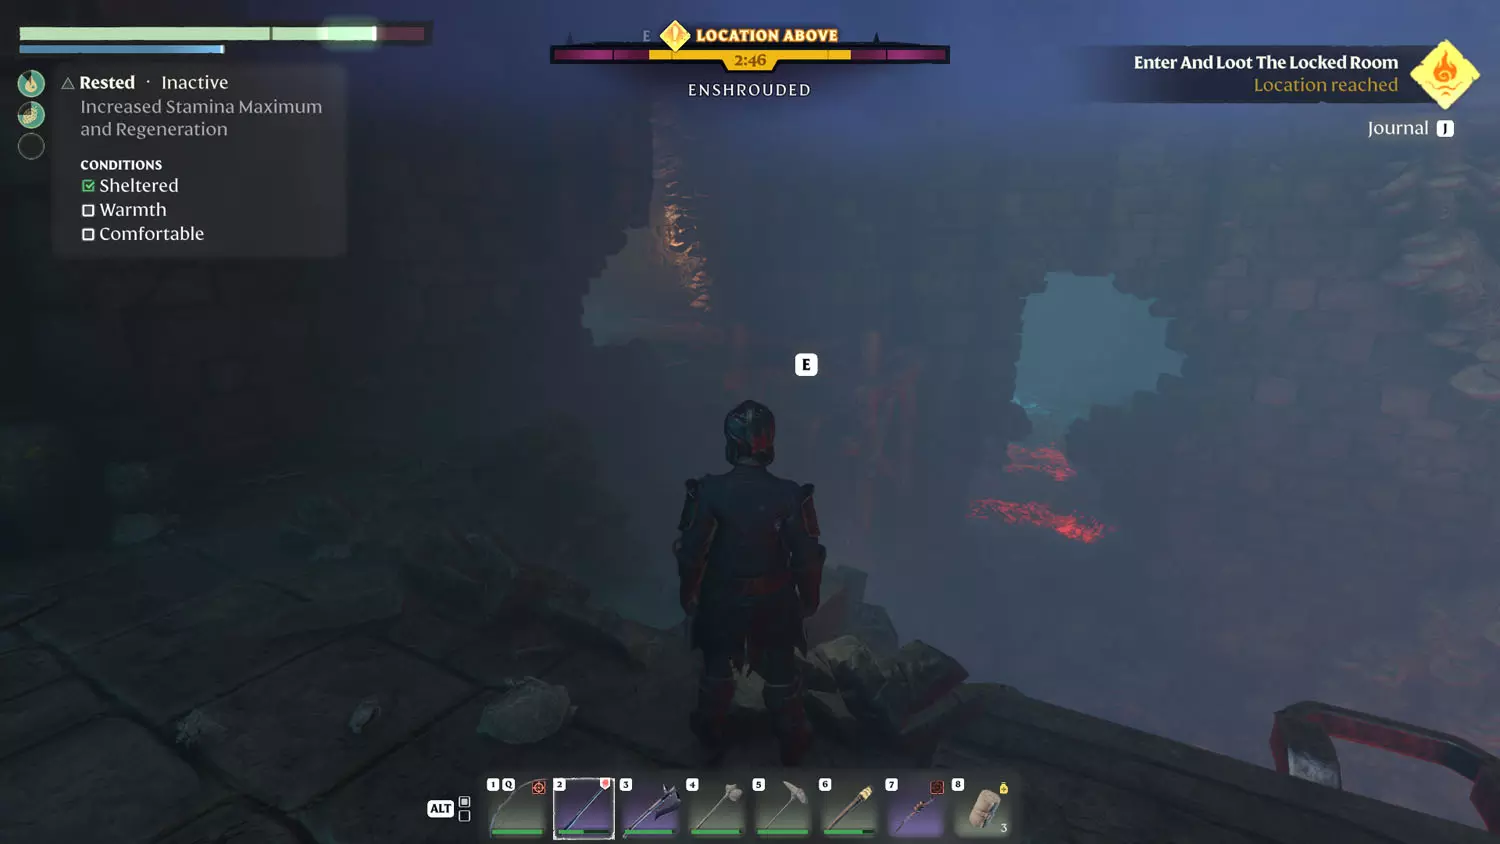
Head for the Ancient Spire - Springlands Fast Travel. From there, and with the base Glider, I made it to a Flame Shrine, yay! From there, glide over to the Hill of Scavengers. You’ll need a Scavenger Matron Head to upgrade your Flame Altar anyway, so you may as well loot the area, explore, and conquer. I wish you luck against the Scavenger Gorger Matron. The place was an easy glide from the Flame Altar (or walk down the hill, go over the road, and approach the spike wall. (The third screenshot is looking back at the Ancient Spire and the hill with the Flame Altar - for reference.)
TIP: You can find the Scavengers Lore: The Rumors Are True 1/1 The Gorger!.
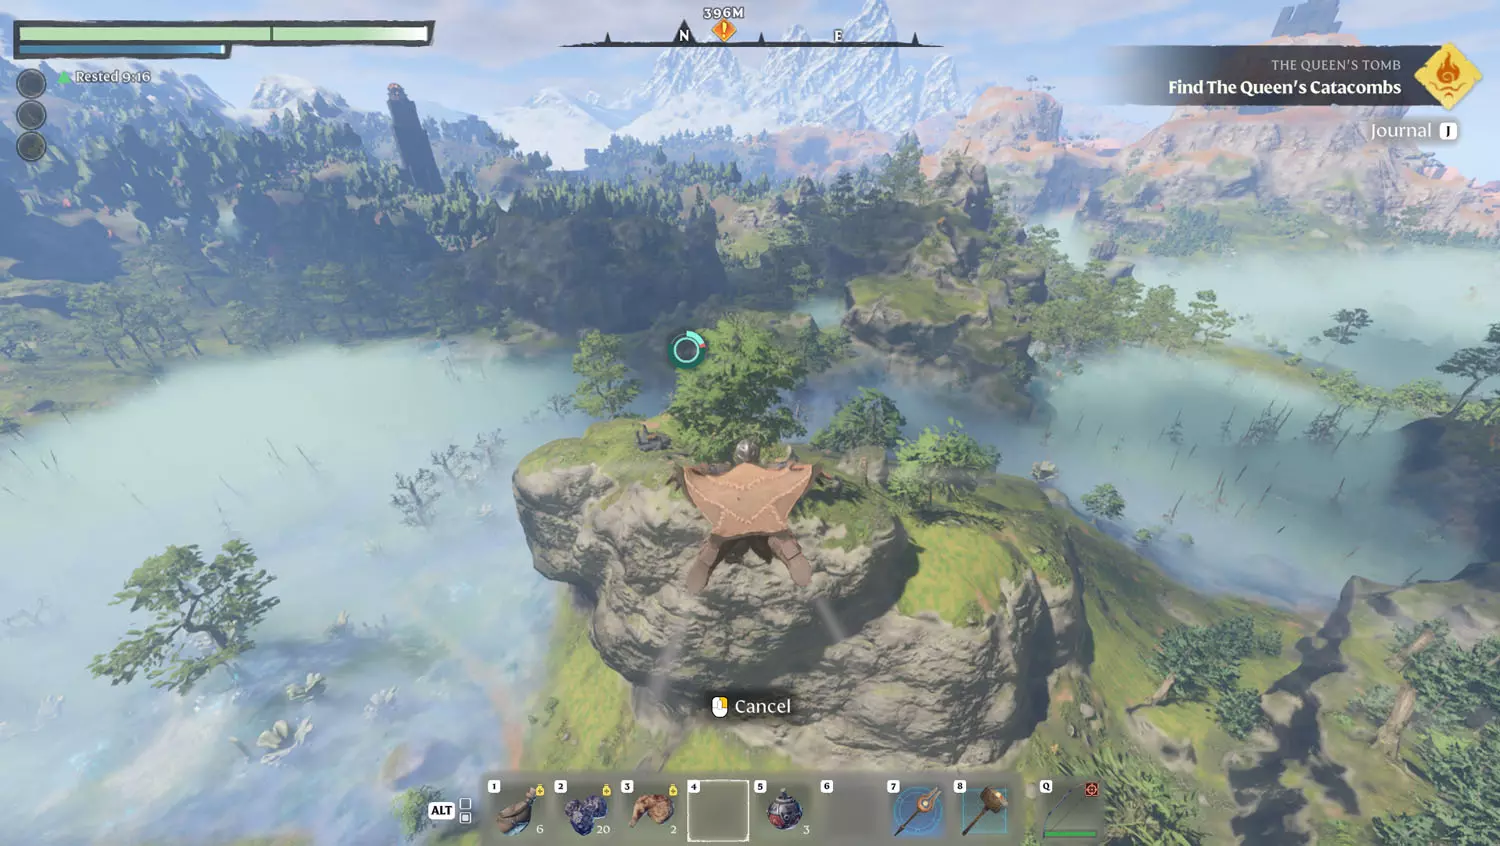
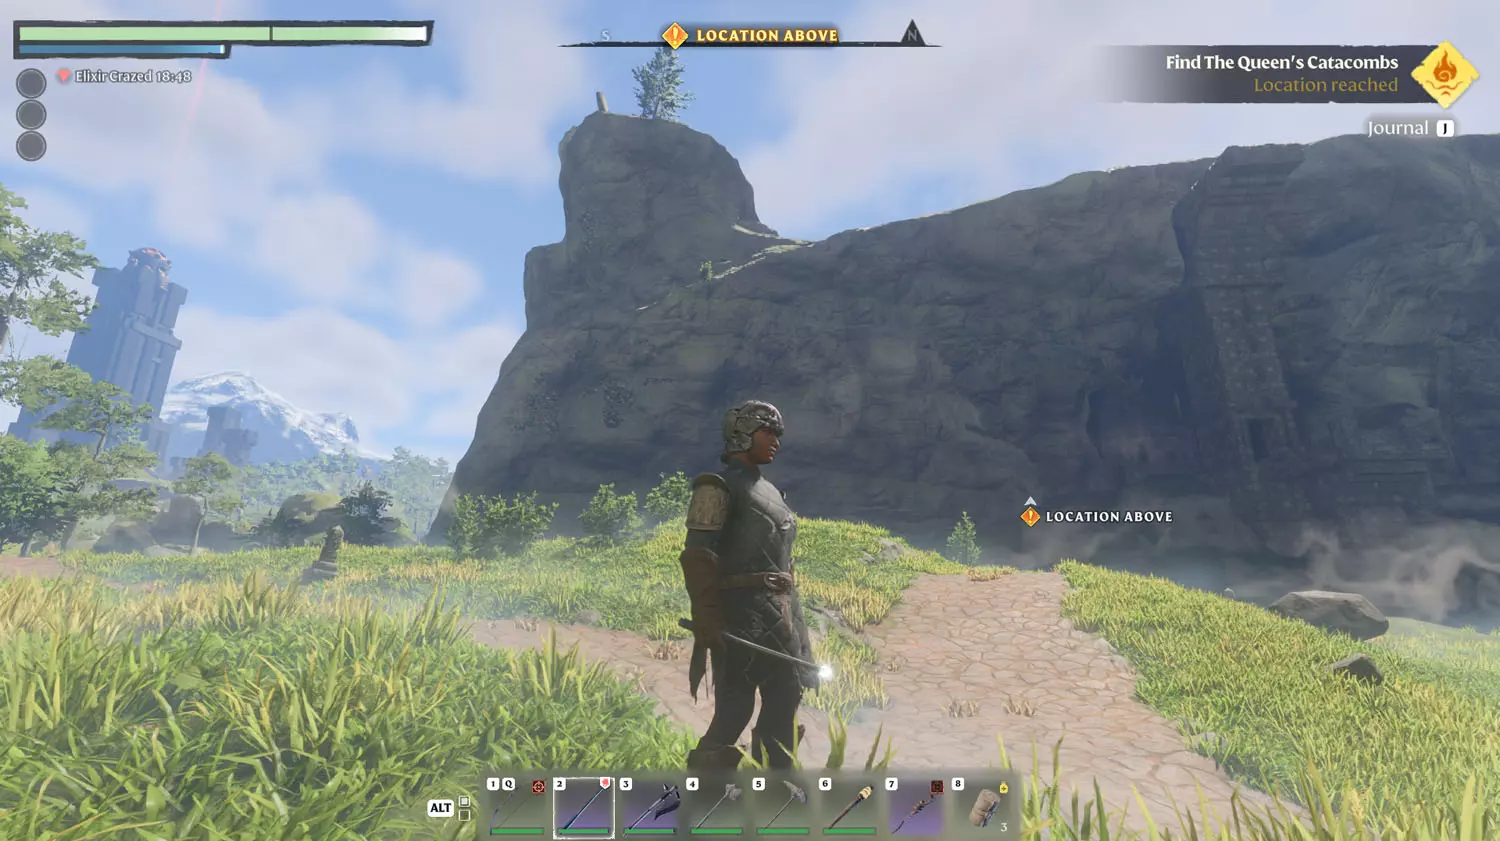
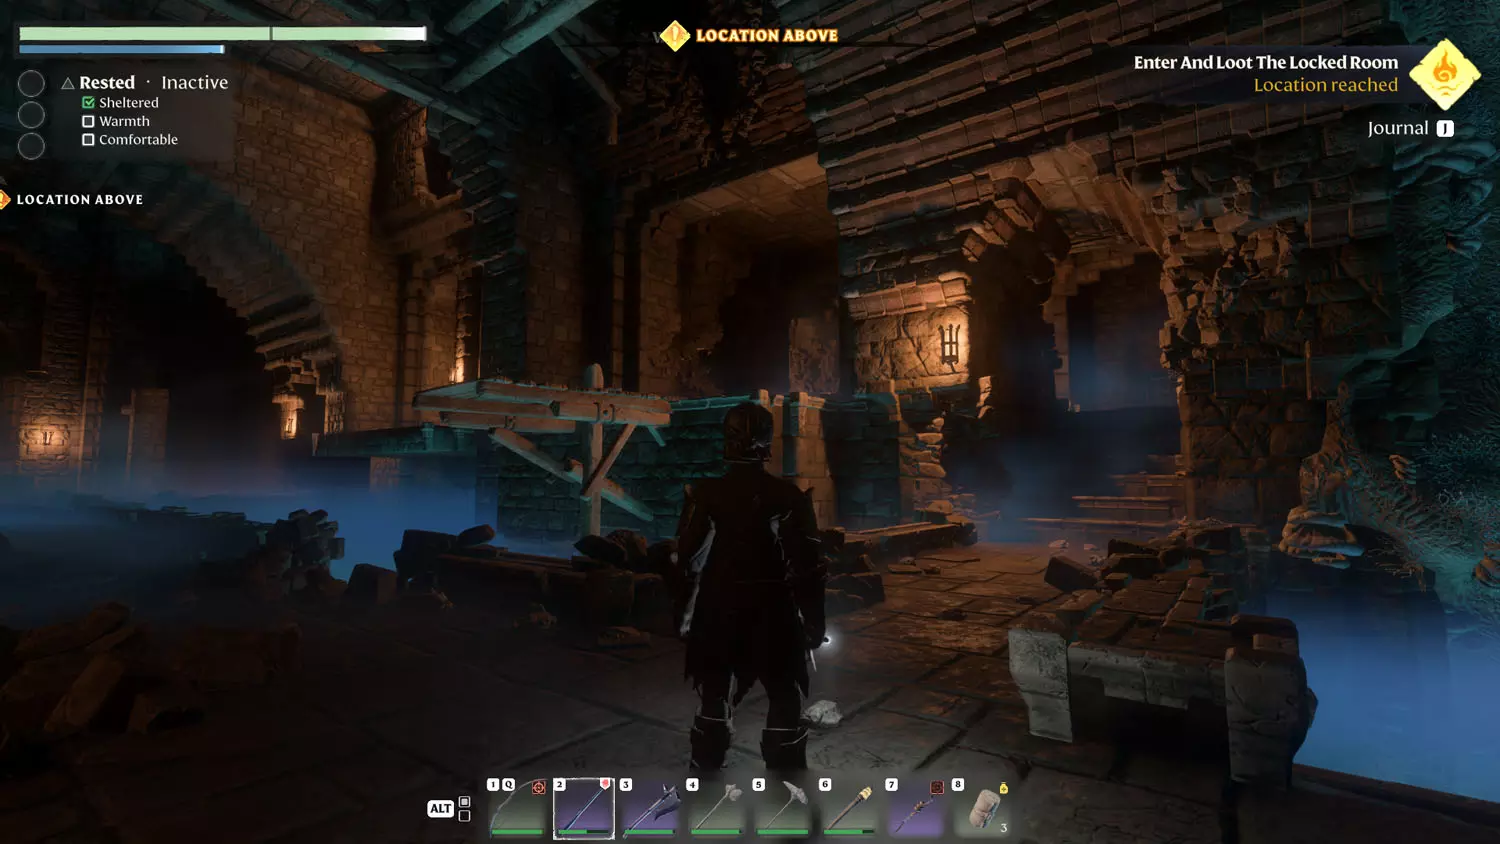
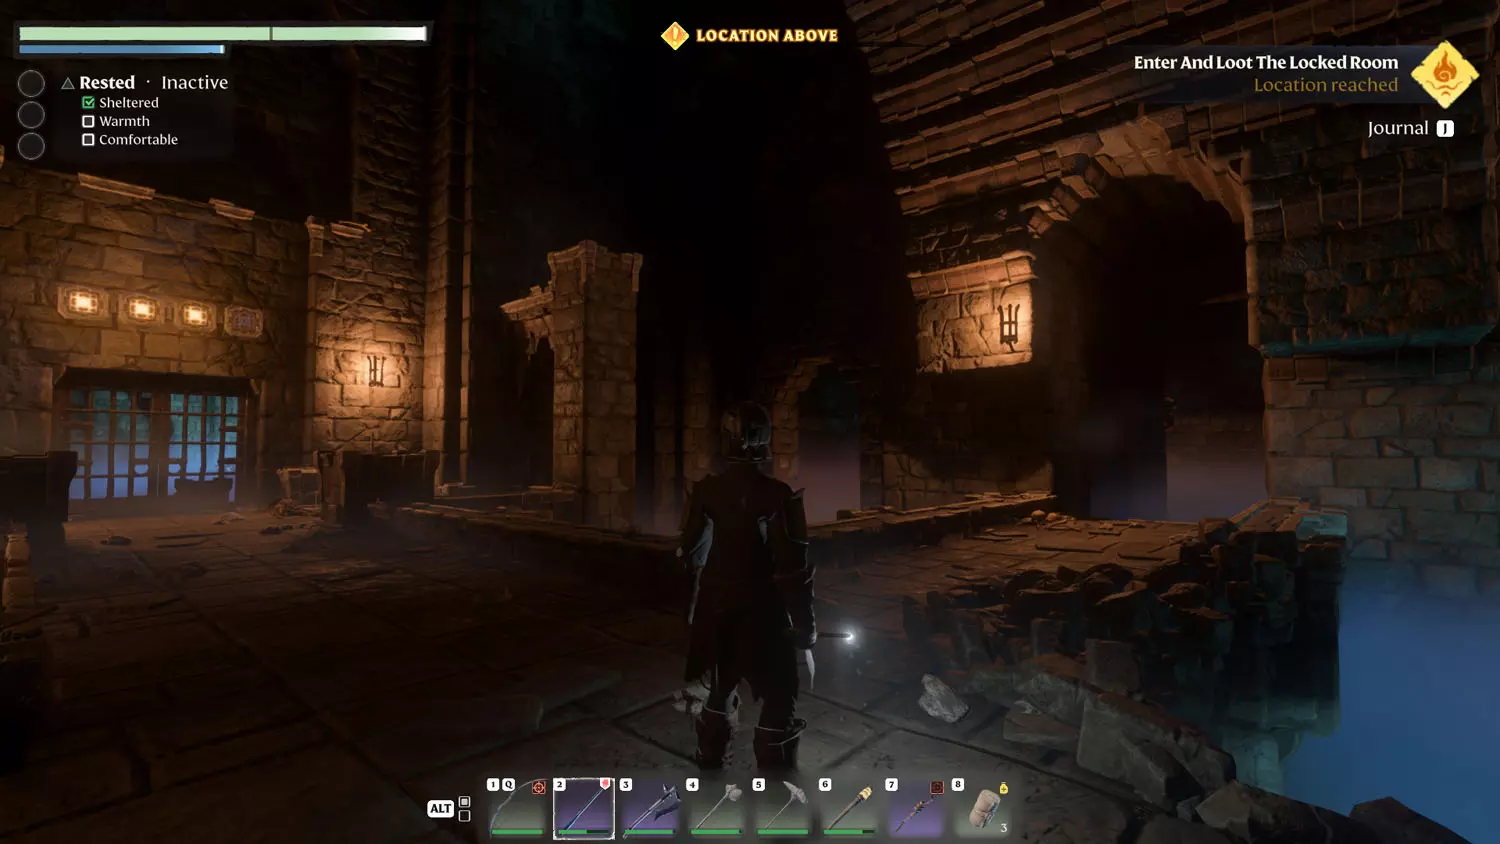
From the opposite side of the Hill Of Scavengers (opposite from the Ancient Spire, that is.), there is a road that leads to the Queen’s Tomb. Follow it until there is an offshoot that goes to the tomb (pictured below). Traveling to the location will complete the first part of the quest.
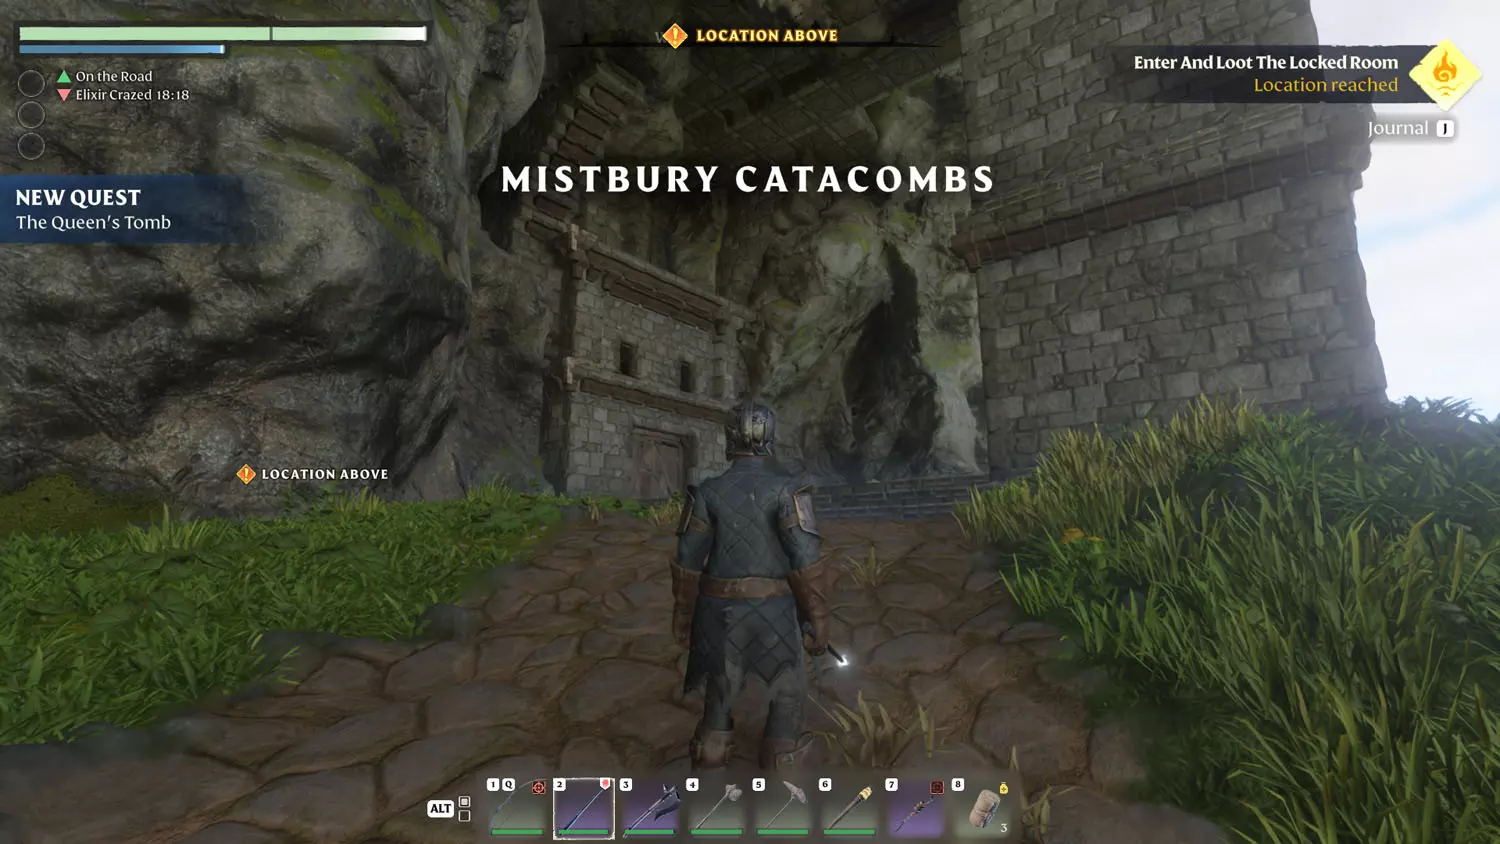
Sadly, the entrance does “require” a Lockpick, so that’s fun. Once you’re inside, there is some Nobles And History Lore: Opening Pikemead’s Catacombs 1/1 One To Glory, One To Ice, One To Rule, And One To Life. This can be found on plaques to either side of the entryway. It’s also a clue to how the tomb works. Hint: There are four glyphs to activate to open the tomb.
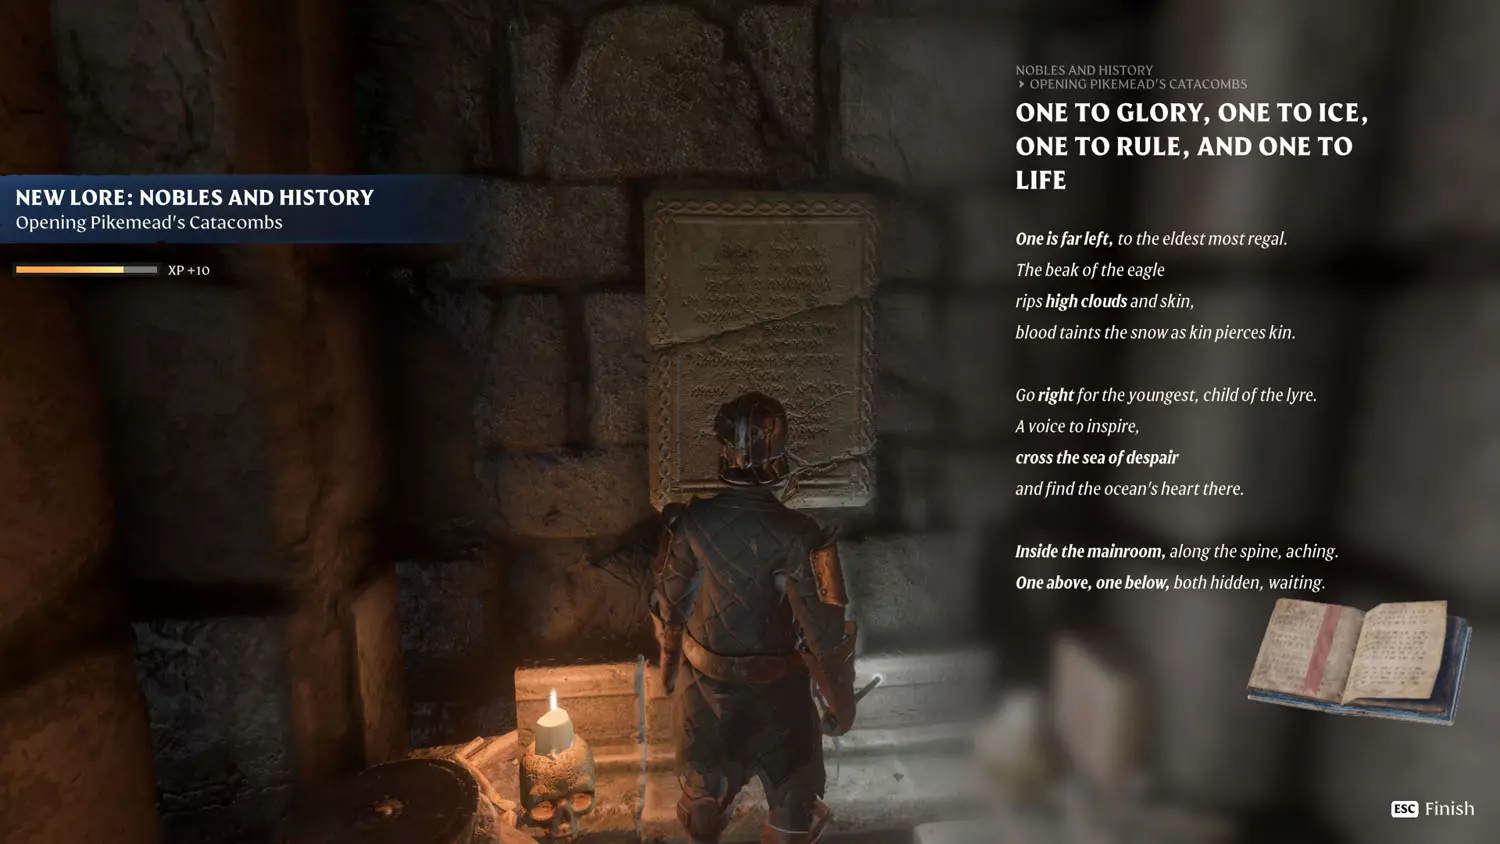
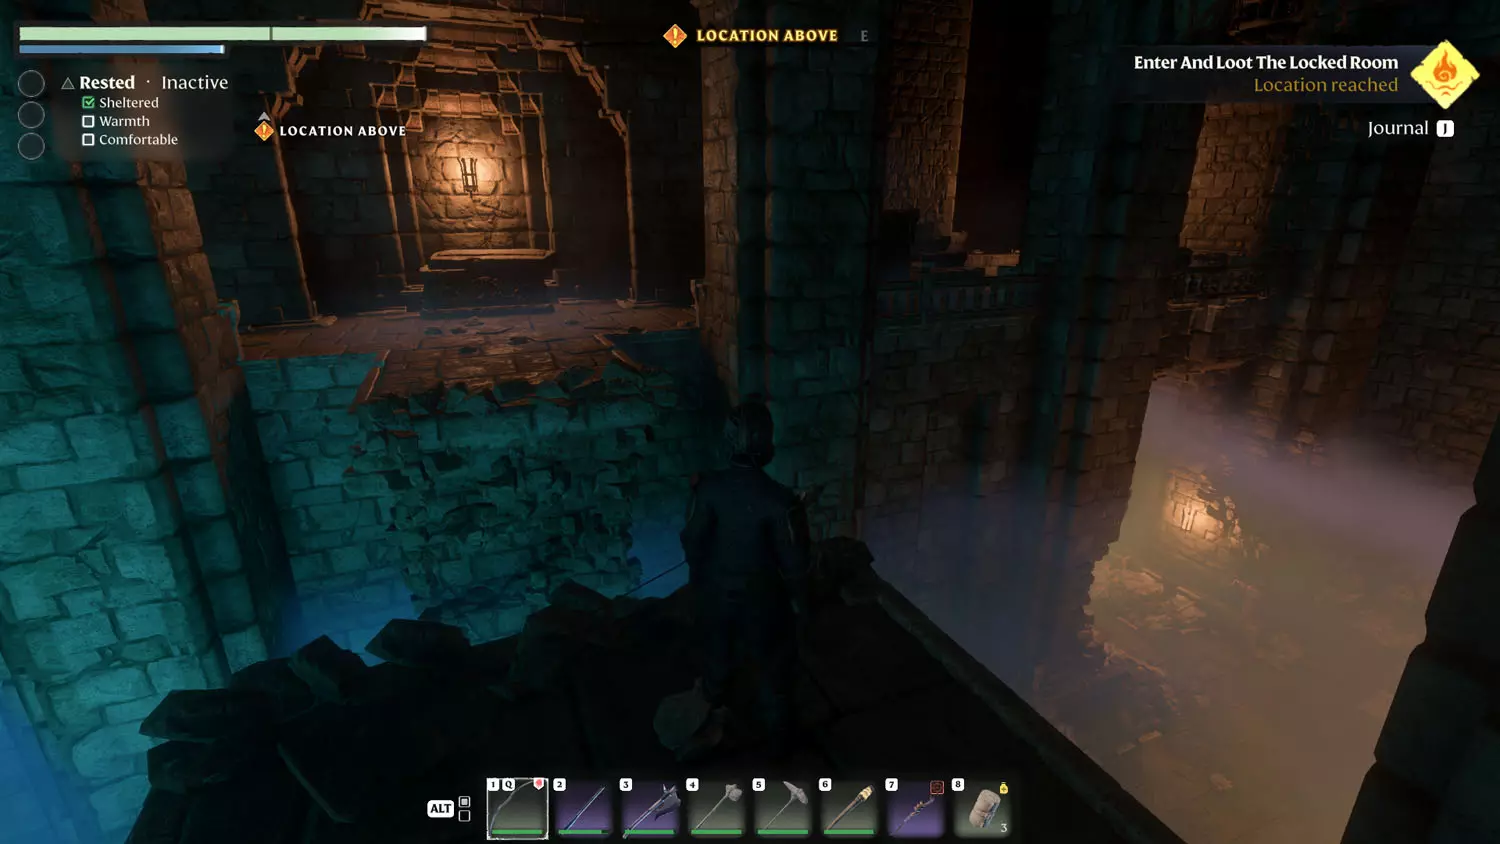
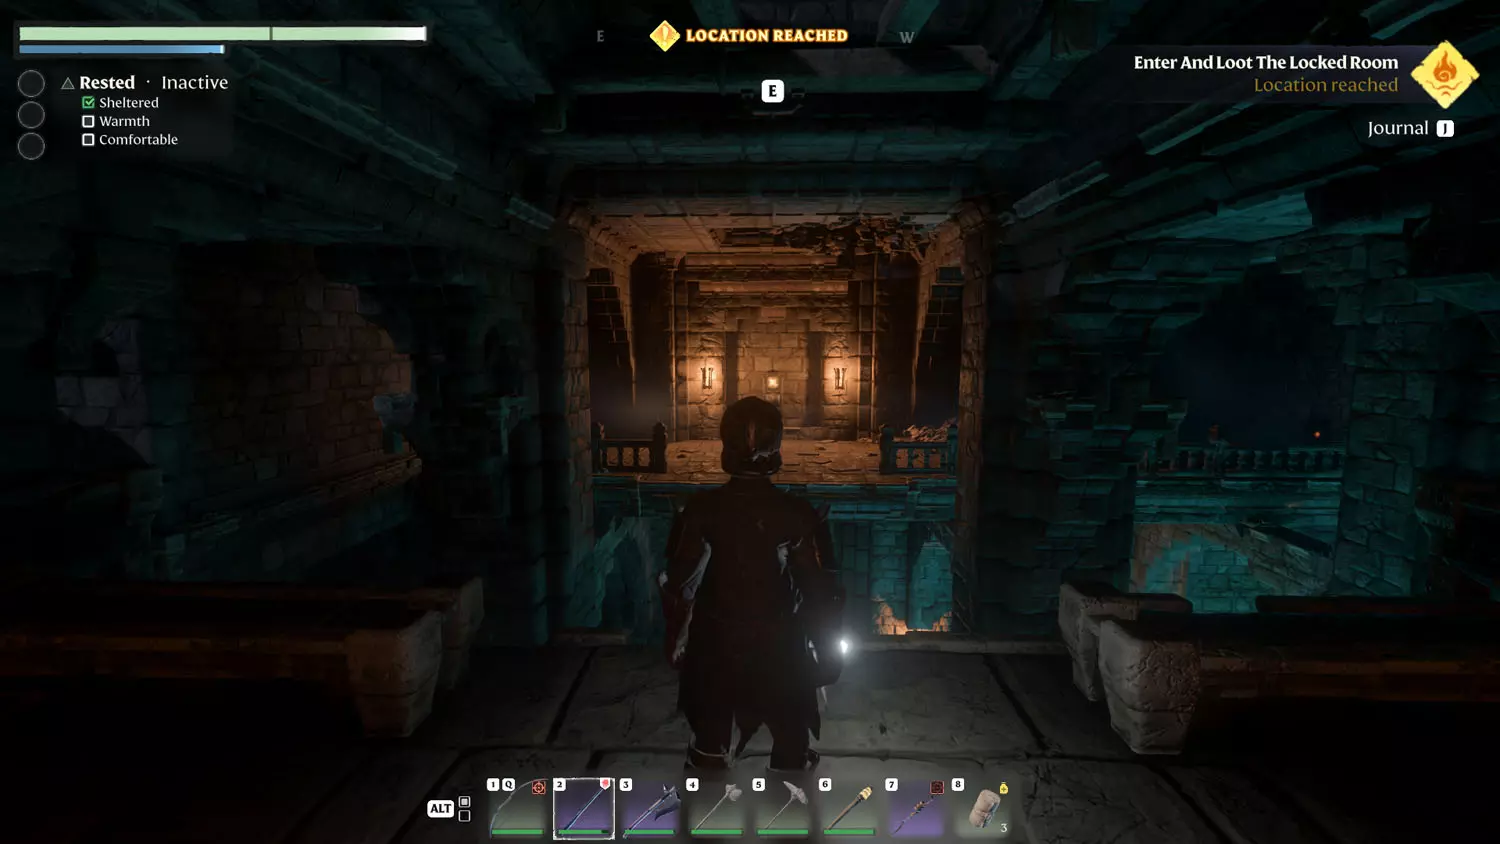
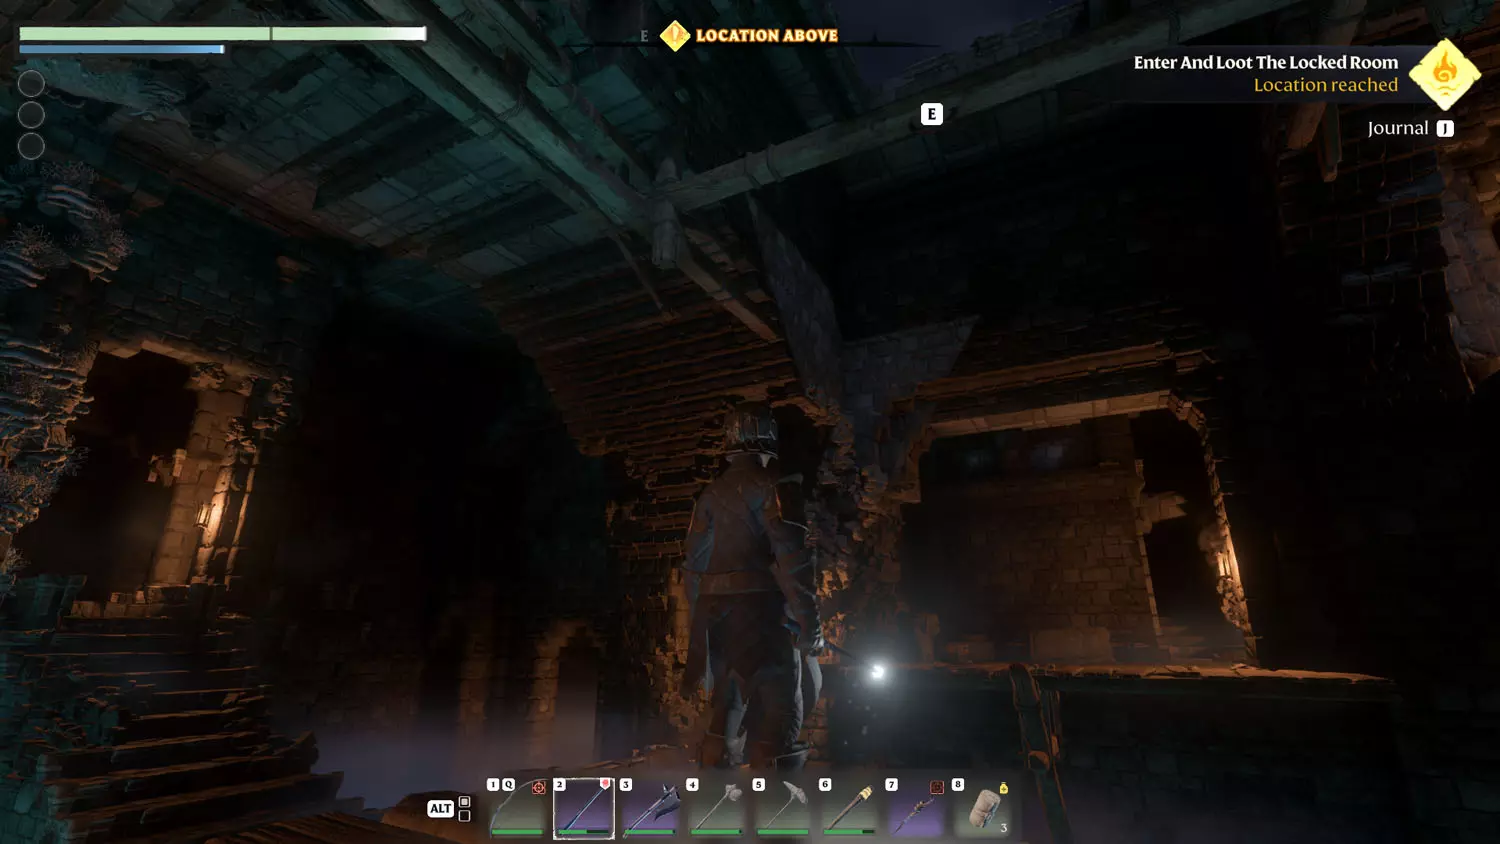
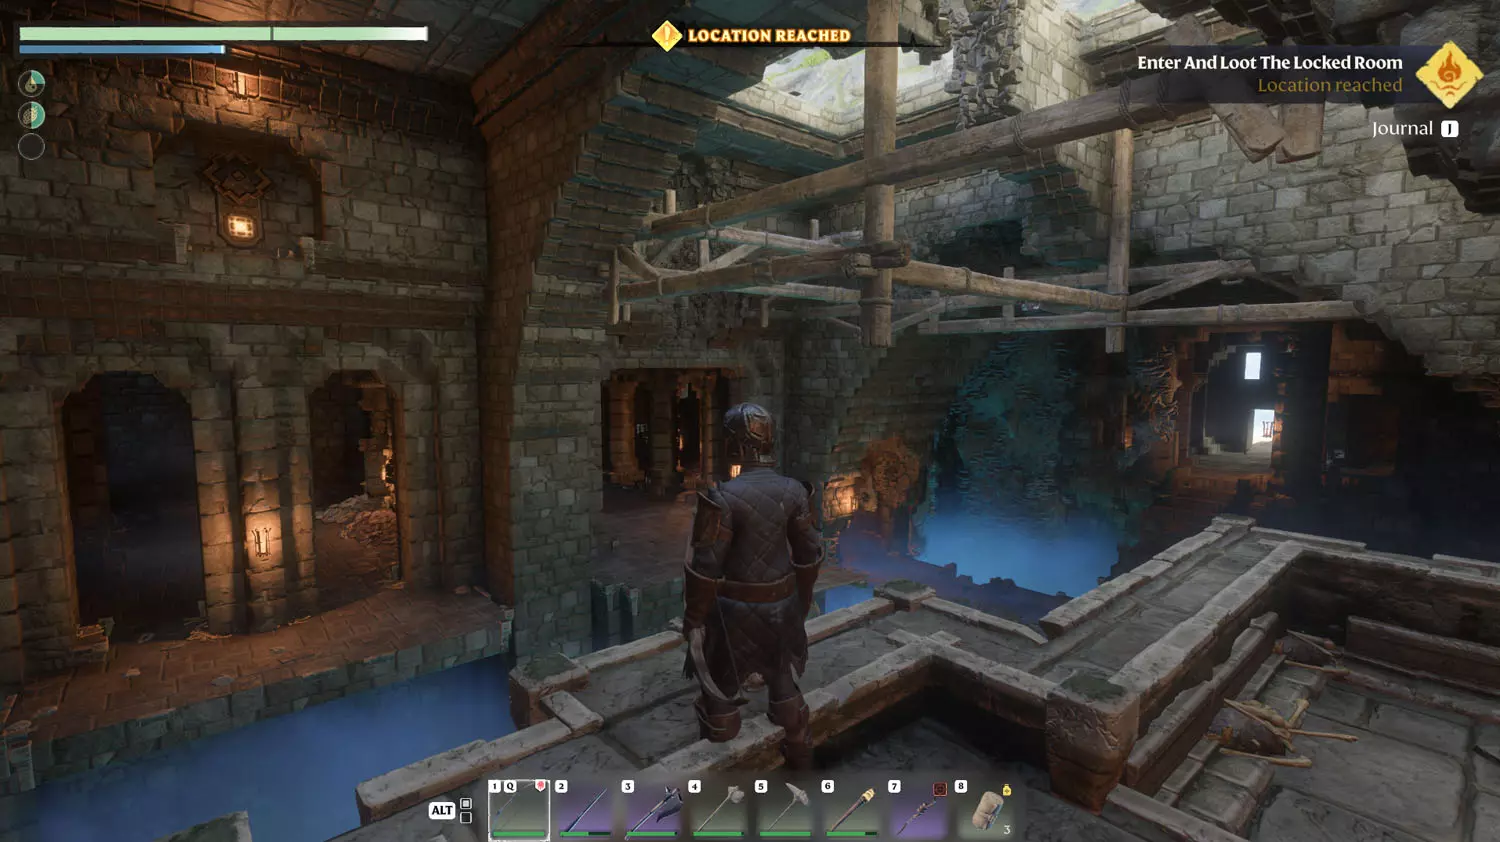
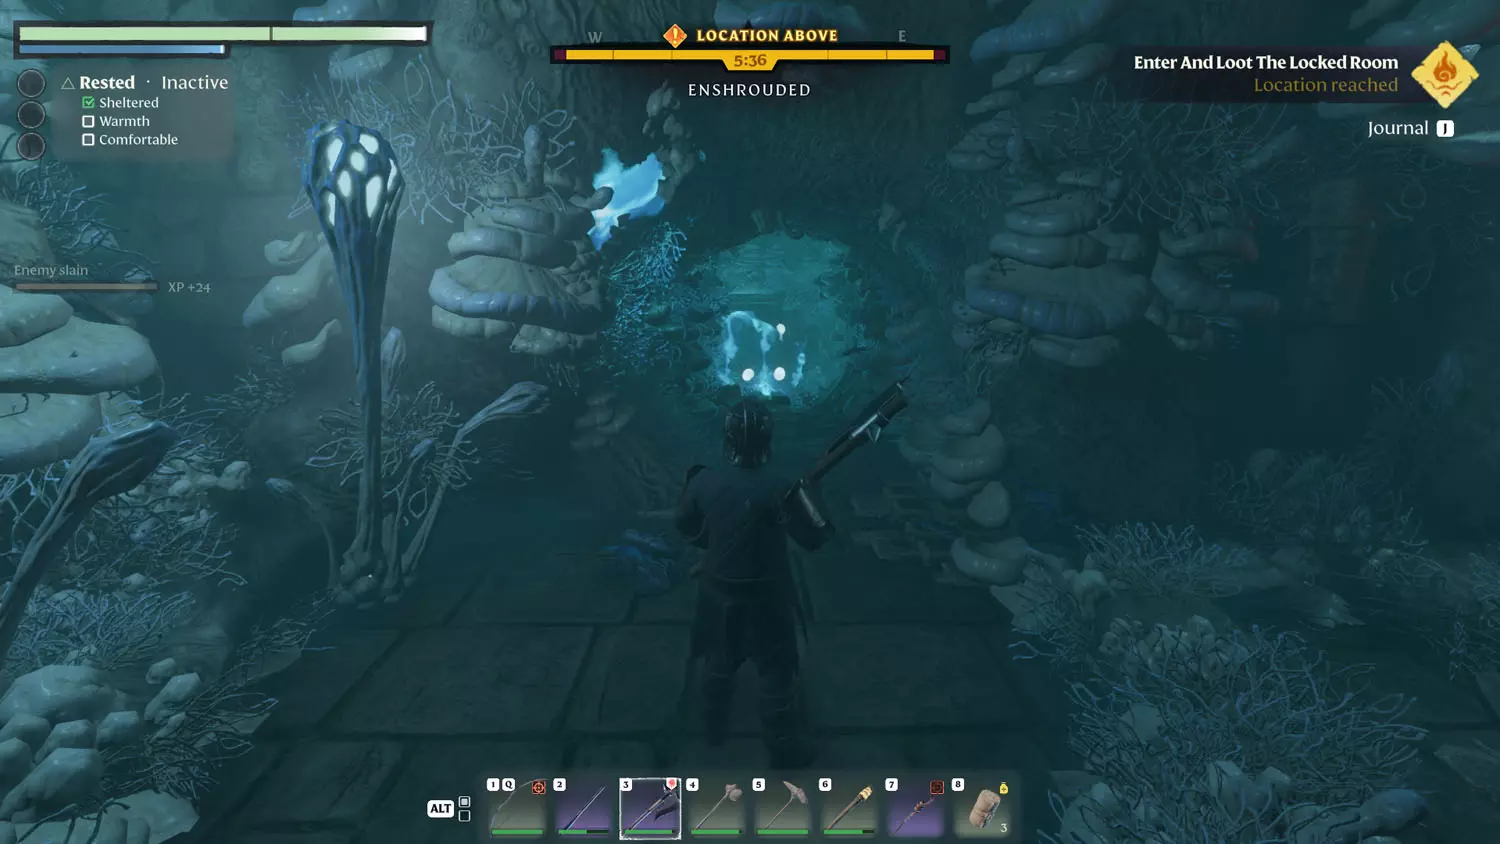
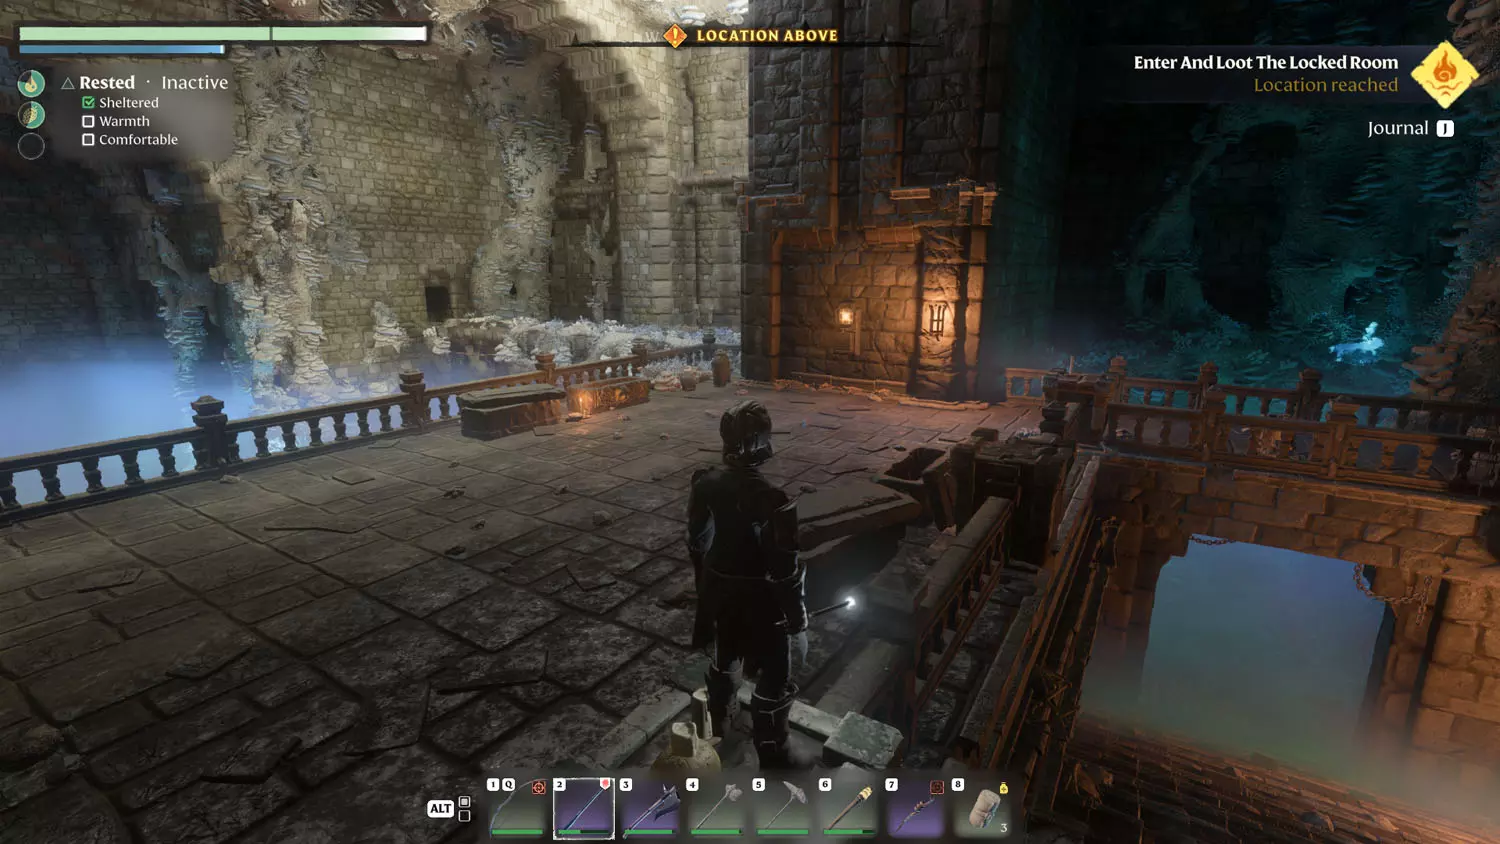
From the entrance, head left down the stairs, into the Shroud, and through a locked door. From there, head straight. It will get dark, so I suggest using a torch (just for a little bit). There are stairs that wind upward. Follow them and you’ll end up on a platform. (From there, you can see where you entered the room.) Jump across. Left or right, there are stairs and a climbable wall. (West side has a locked door - ignore for now.) At the top, you’ll see a grapple spot and a button across the way. Swing across and press the button. One down, three to go!
TIP: To the west of the button is a breakable door. On the other side is a Wood Chest. To the east is a lootable coffin.
TIP: From where you entered this section, there is a Silver Chest behind a gate. The gate opens with the button being pressed.

The left chamber is now done. Head back to the main room. Call me crazy, but the next one is super easy with a bow. At the very entrance, walk past the two plaques and on the stairway down, stop and look right. Down below, you’ll see a glowing yellow glyph. Hit it with an arrow. Boom! Done!
This next one is also in the main chamber. It’s easy with 2 methods. The second one is easier.
Method one: Take the stairs to the right from the main entrance. Then, loop around until you reach a wooden platform. There is a grappling hook spot here that lets you swing across the room to the other wooden platform, which is also accessible with the Double Jump Skill. From the platform, climb up the stairs (there is a Wood Chest you can loot first), and take aim at the yellow glyph across the way.
Method two just requires the bow and an arrow. From the main room, walking along the walkway, you can see this glyph from the middle of the room. Just look up and to the right. It helps if you first look for the platform they wanted you to shoot at it from. I made the shot from here, so it’s possible.
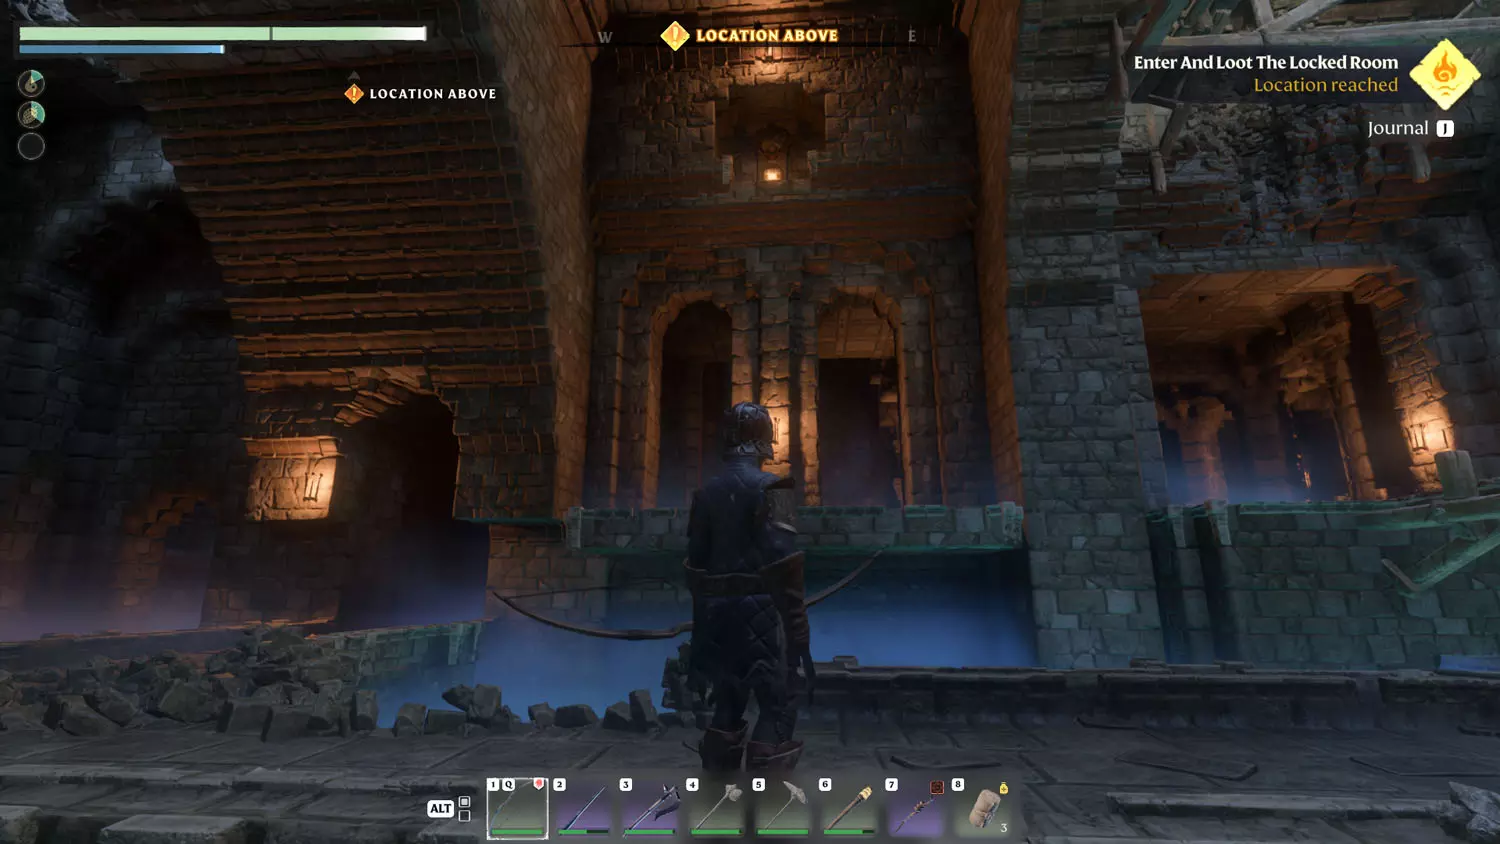
Boom! Left and middle chambers done! For the final glyph, head down the main pathway toward the door, which should now have three, blue glowing glyphs. Take a right and head down the stairs. Keep going and you’ll reach a locked door. Open it. BEWARE! There is a bug’s nest ahead. Smash it to continue to the next area (literally need to smash it so you can go through).
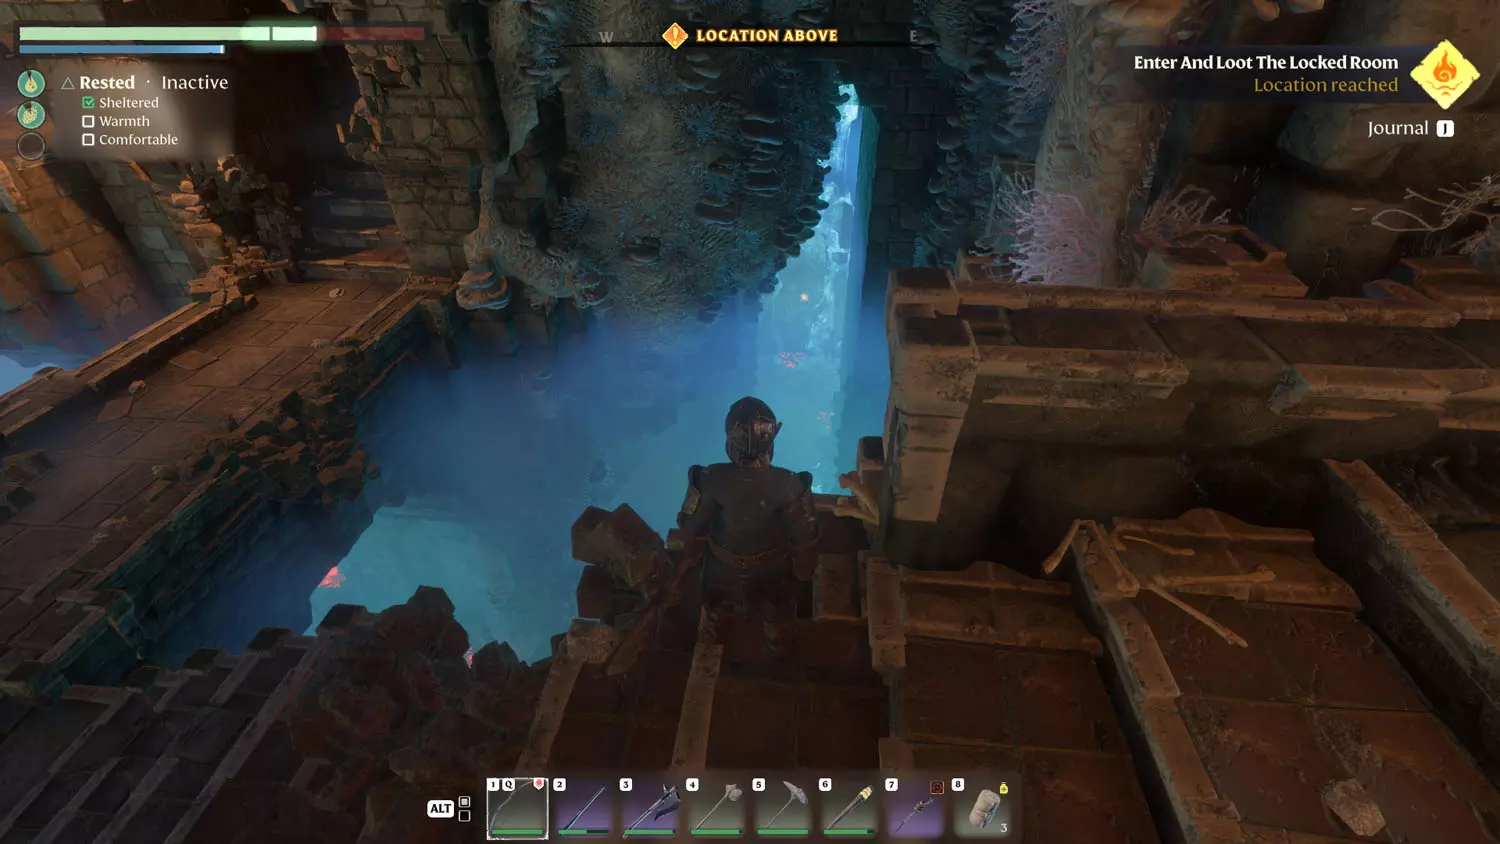
From here, there is a metal trellis. Use it to reach the other side. On the other side, there is a barrel you can blow up. Doing so will open up the way forward. First, you may spot some grapple spots nearby. This will lead to a Silver Chest. Grapple again to return to the same spot.
After fighting off enemies, pass over the hole you made and proceed up the stairs. More enemies await, but so does a button! Smashing the button will open the gate, allowing you easy access to the main chamber.
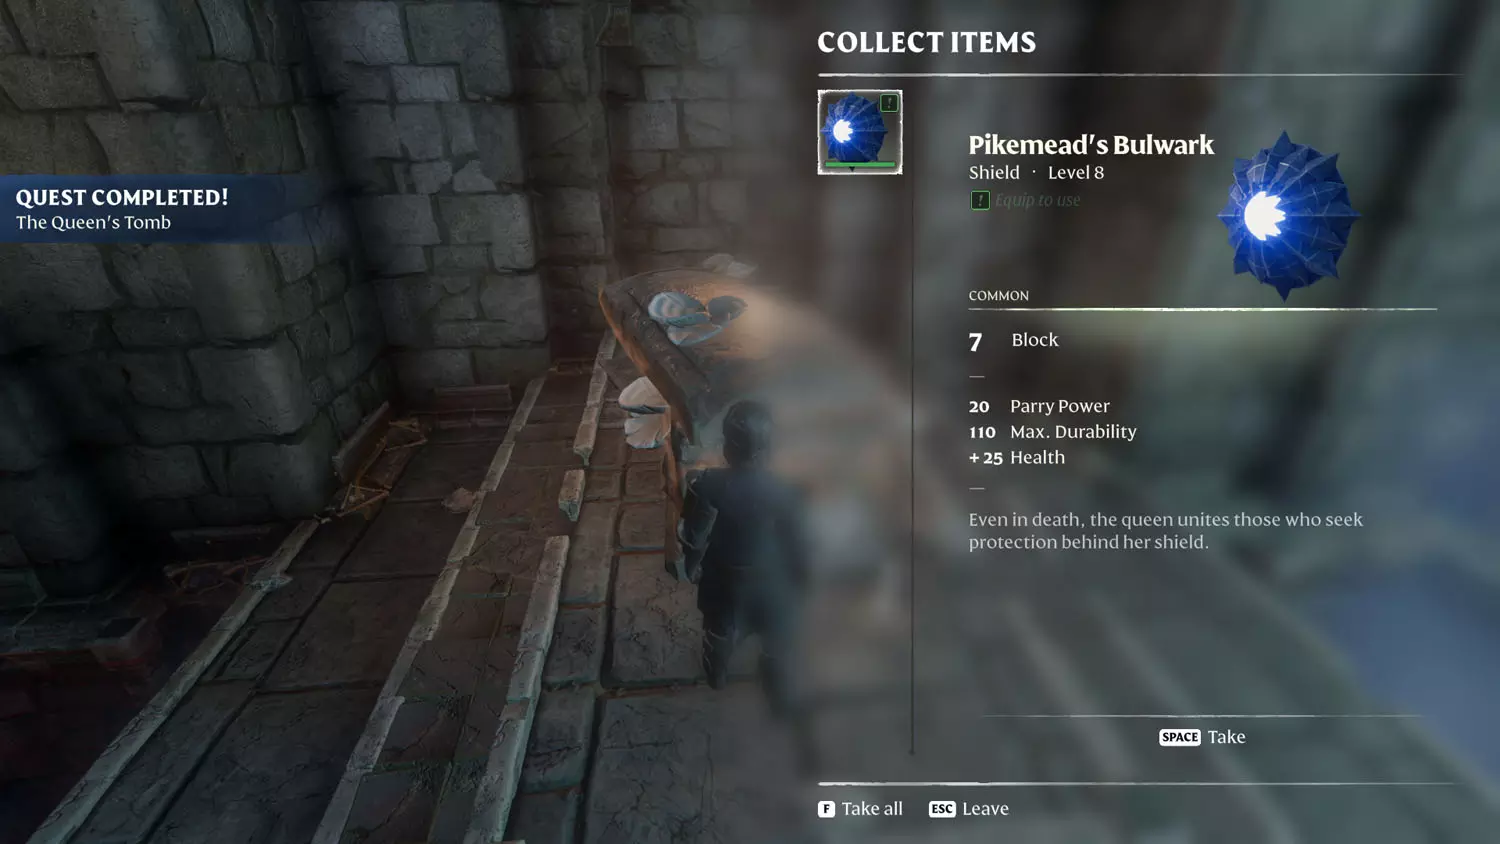
Once back in the main chamber, head for the now open main gate. No more enemies await beyond the gate. Opening the chest completes the quest.
Craft The Improved Grappling Hook
This quest is activated after slaying the Scavenger Matron at the Hill Of Scavengers. Speak with the Carpenter when you return, and he’ll have the recipe ready. Just make sure to unequip your current Grappling Hook so you can upgrade it. Once you do, the quest is complete!
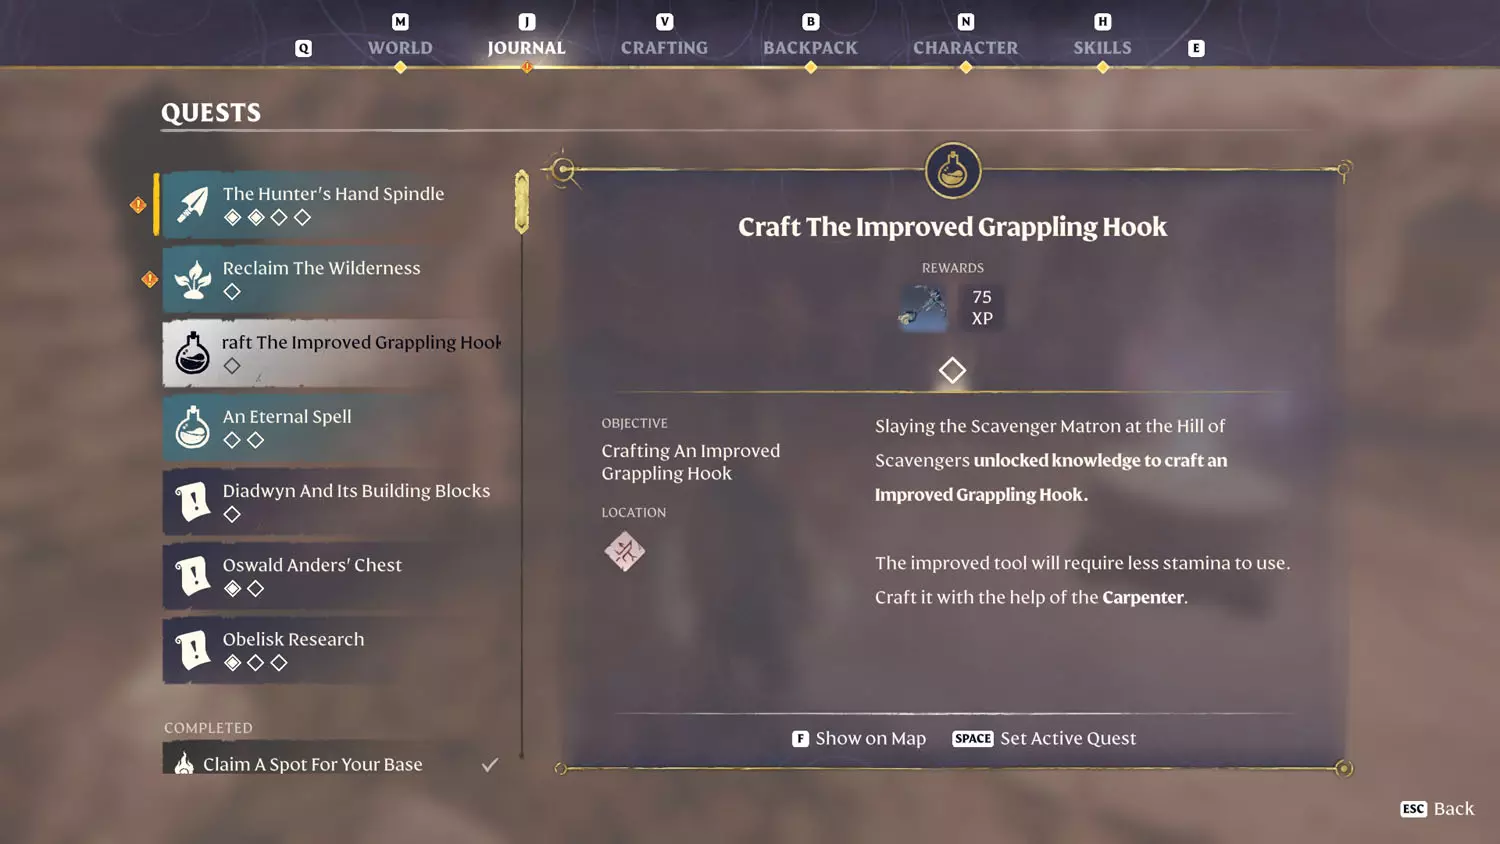
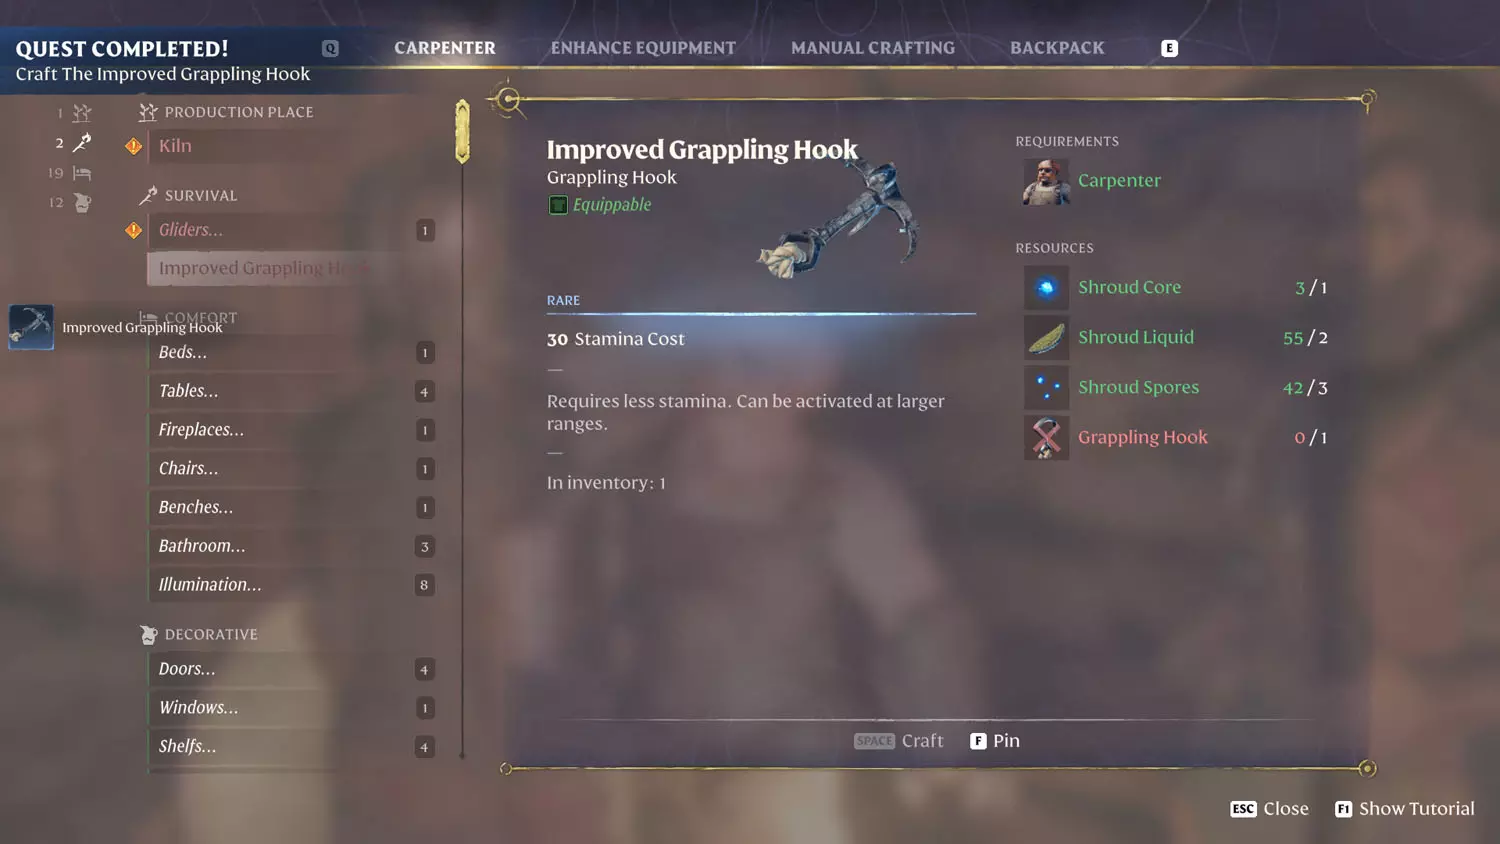
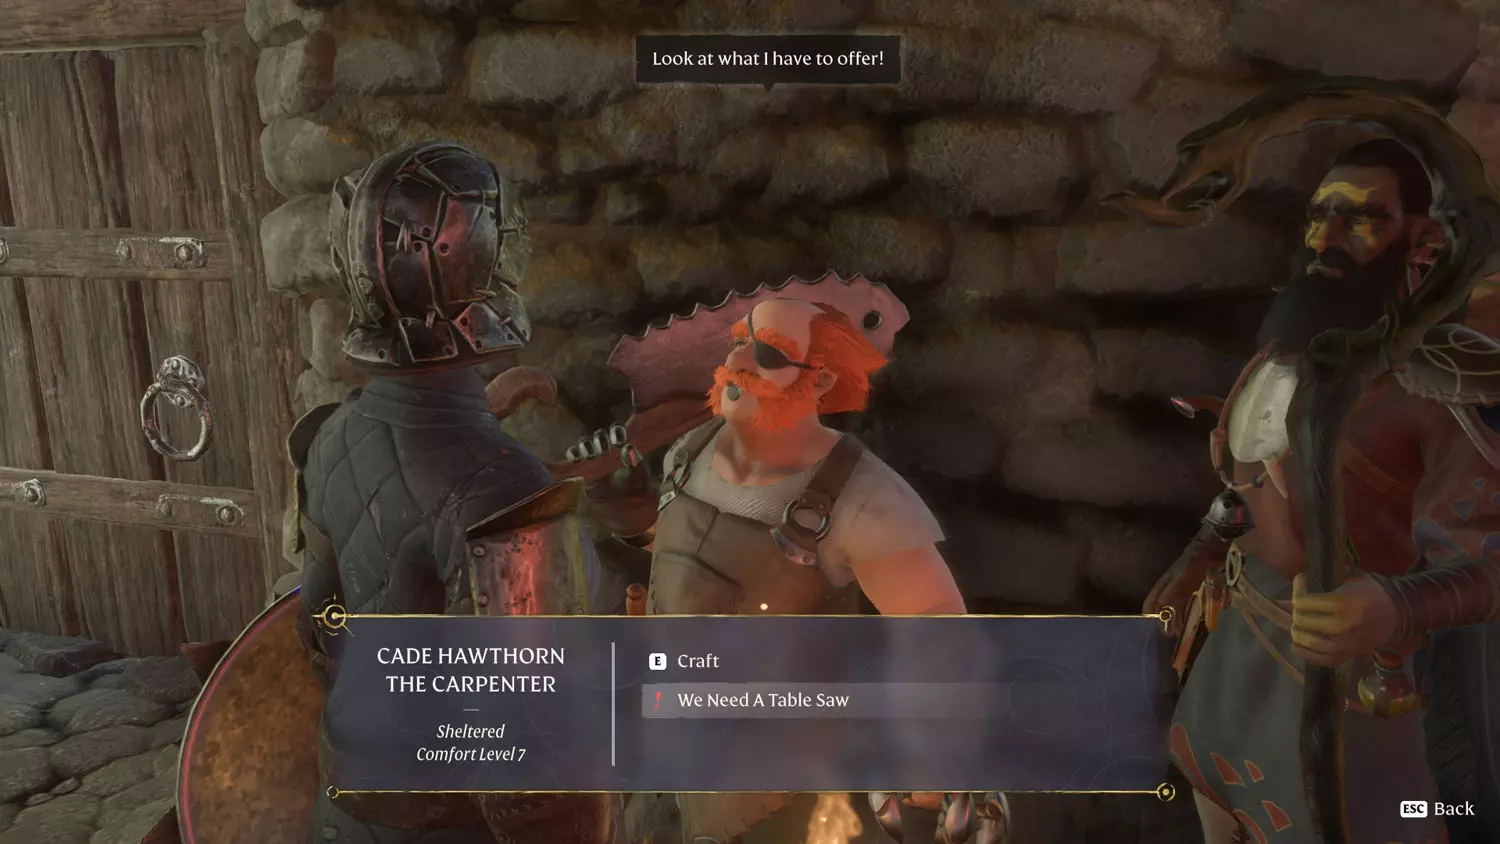
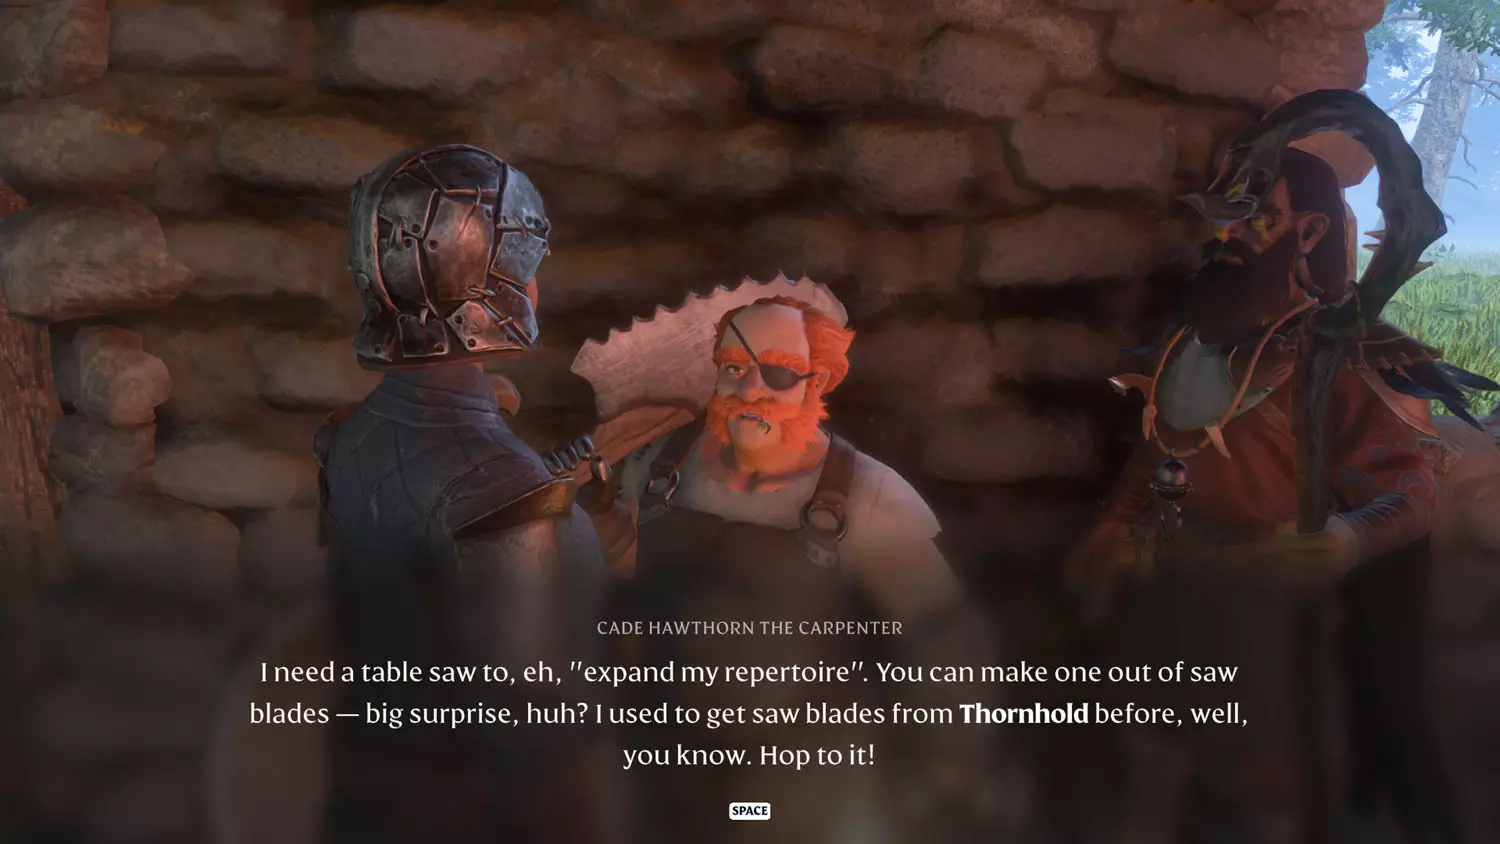
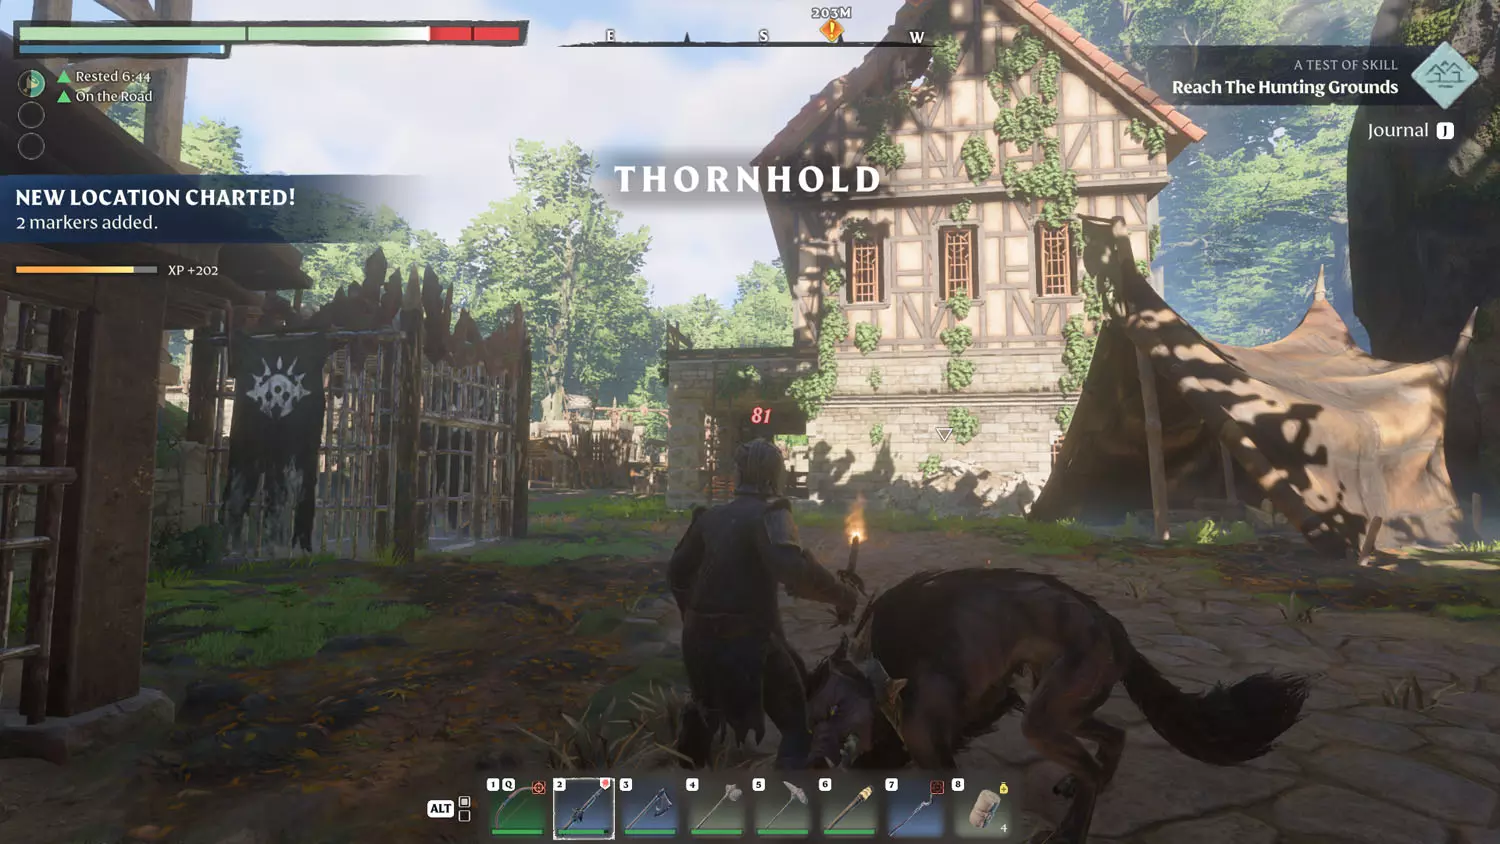
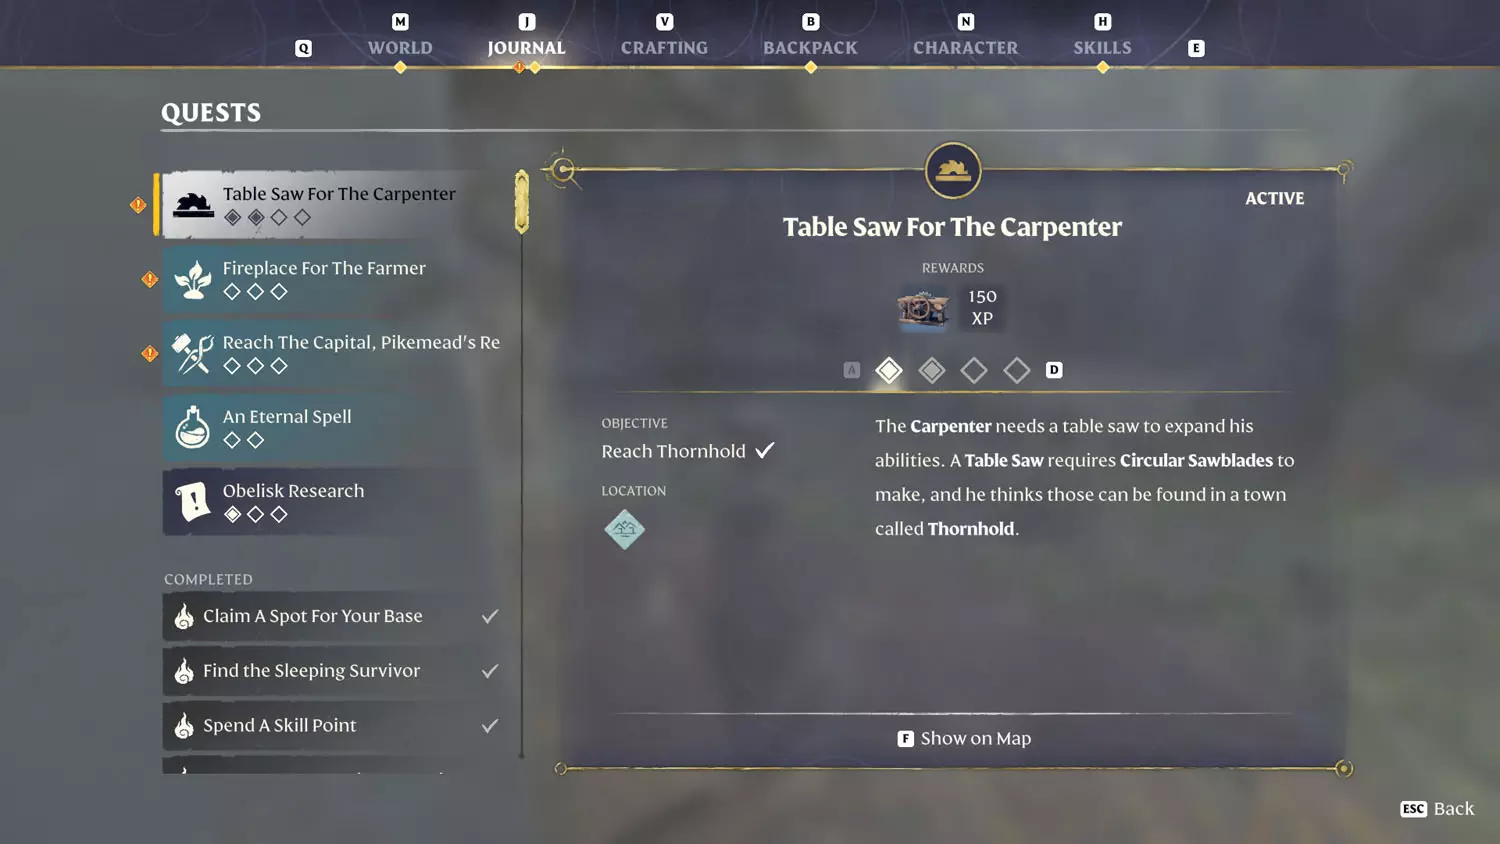
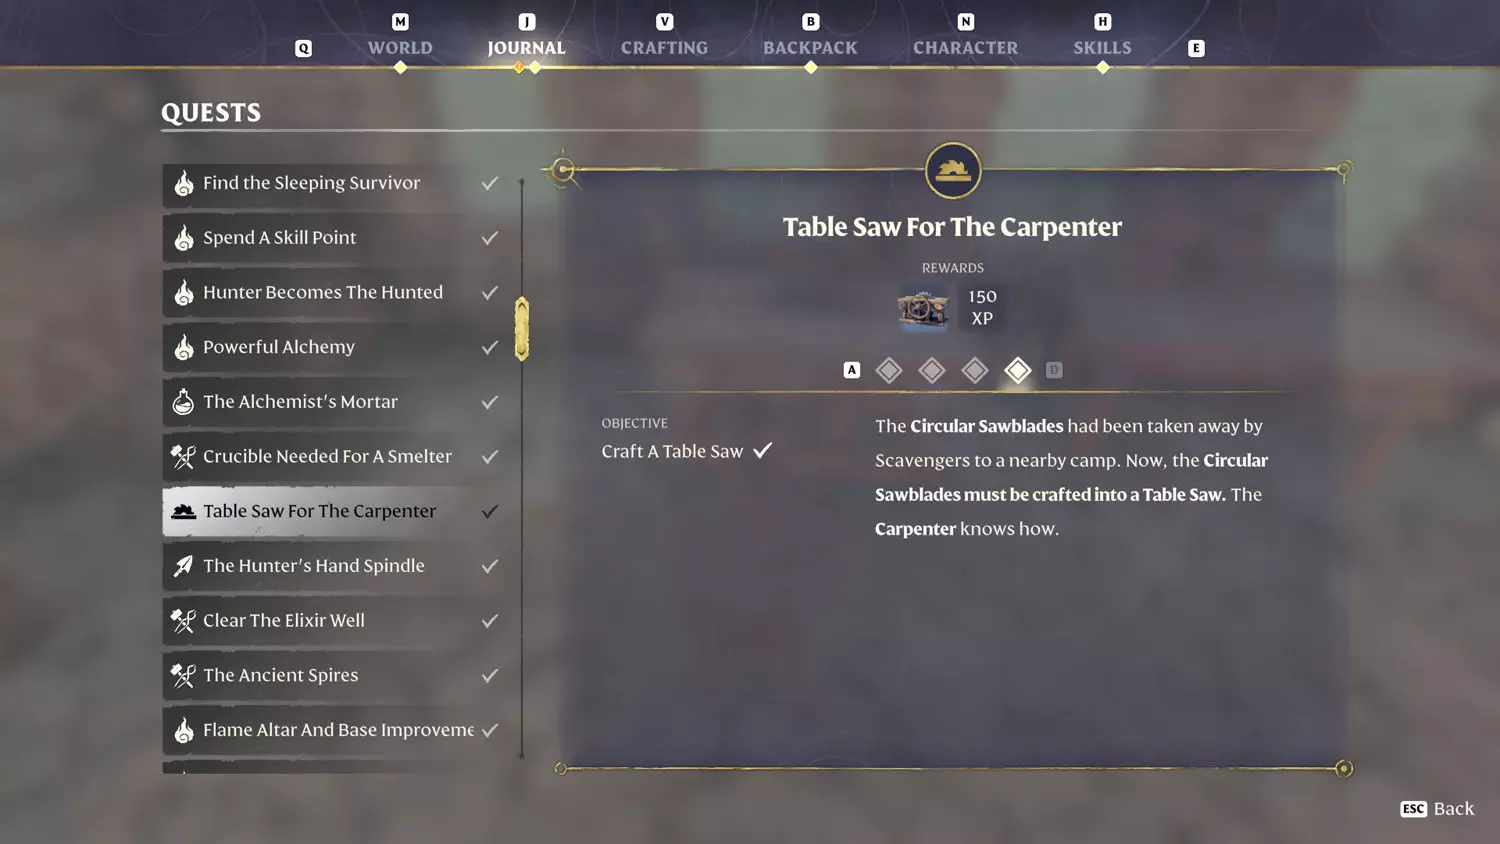
Table Saw For The Carpenter
After finishing the first of his quests, the dialogue option “We Need A Table Saw” opens up. Selecting that will begin the quest.
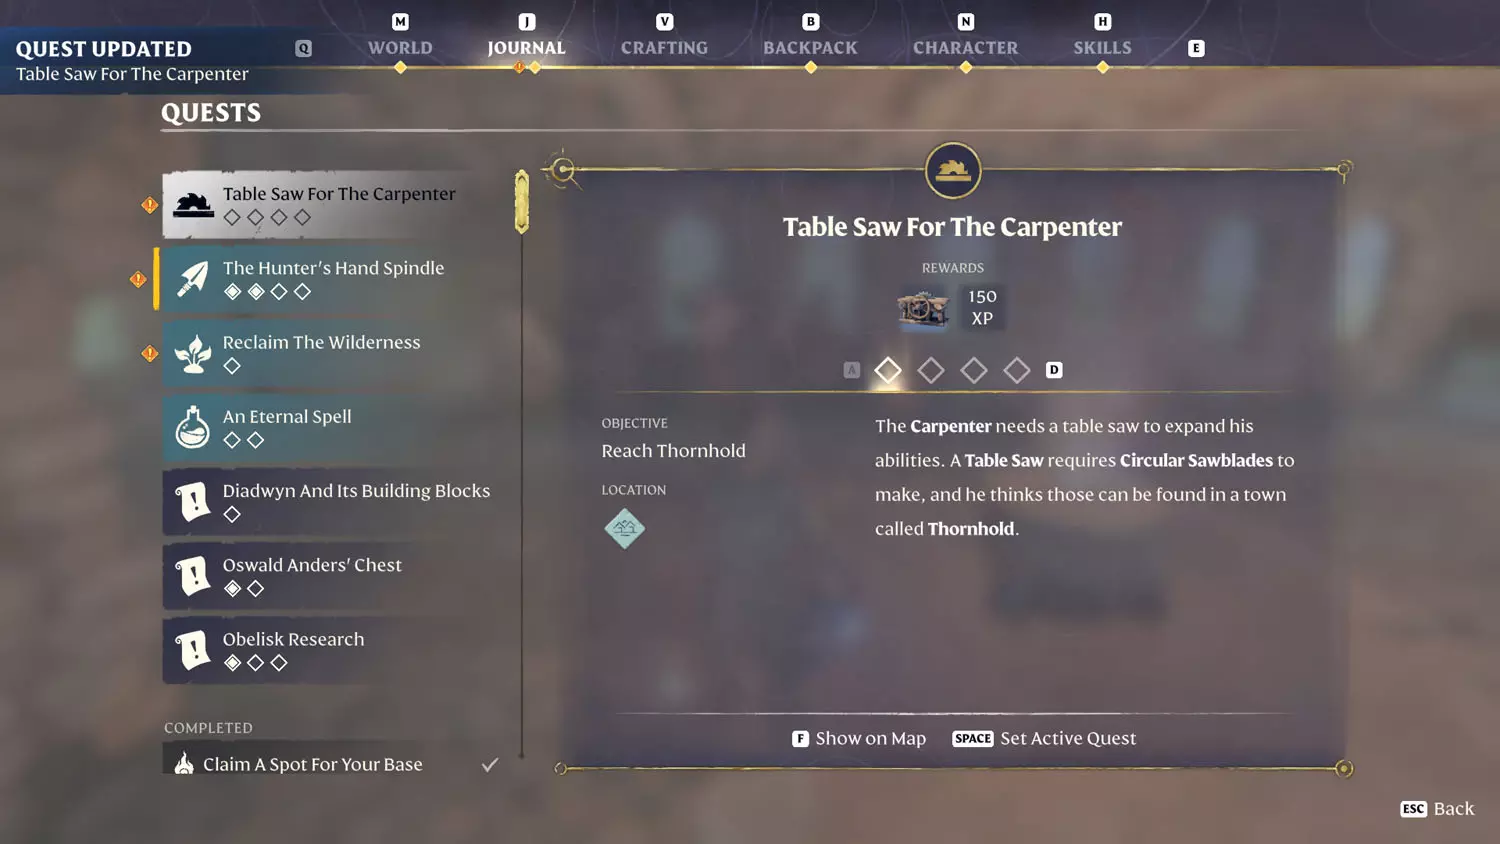
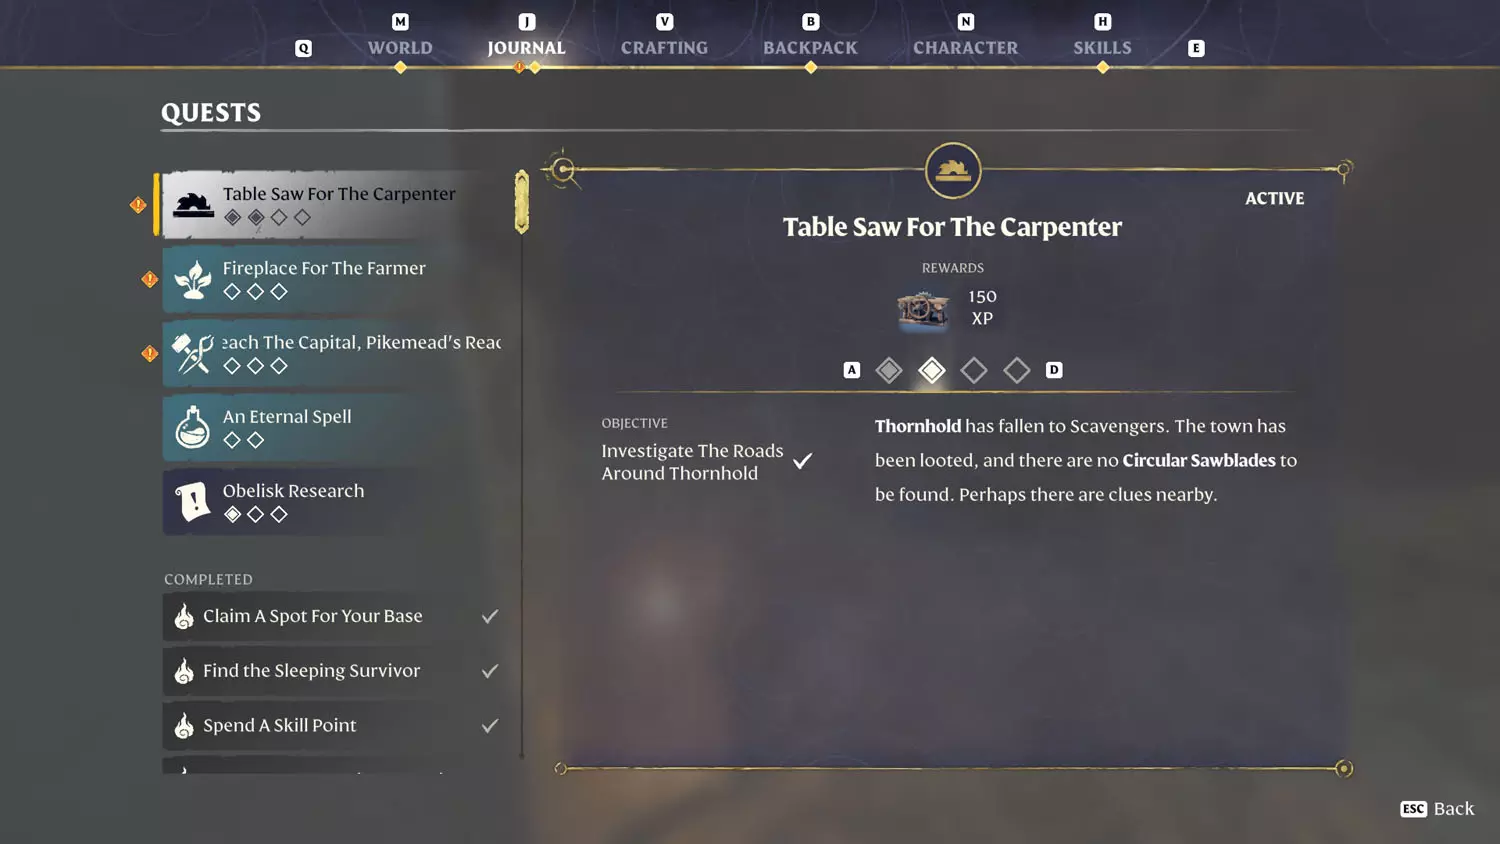
The first and second part of this quest can be completed at the town of Thornhold. This is near the Items, XP, and Loot Quest: A Test Of Skill. You complete the first part by locating the town, and exploring a bit will complete the second part.
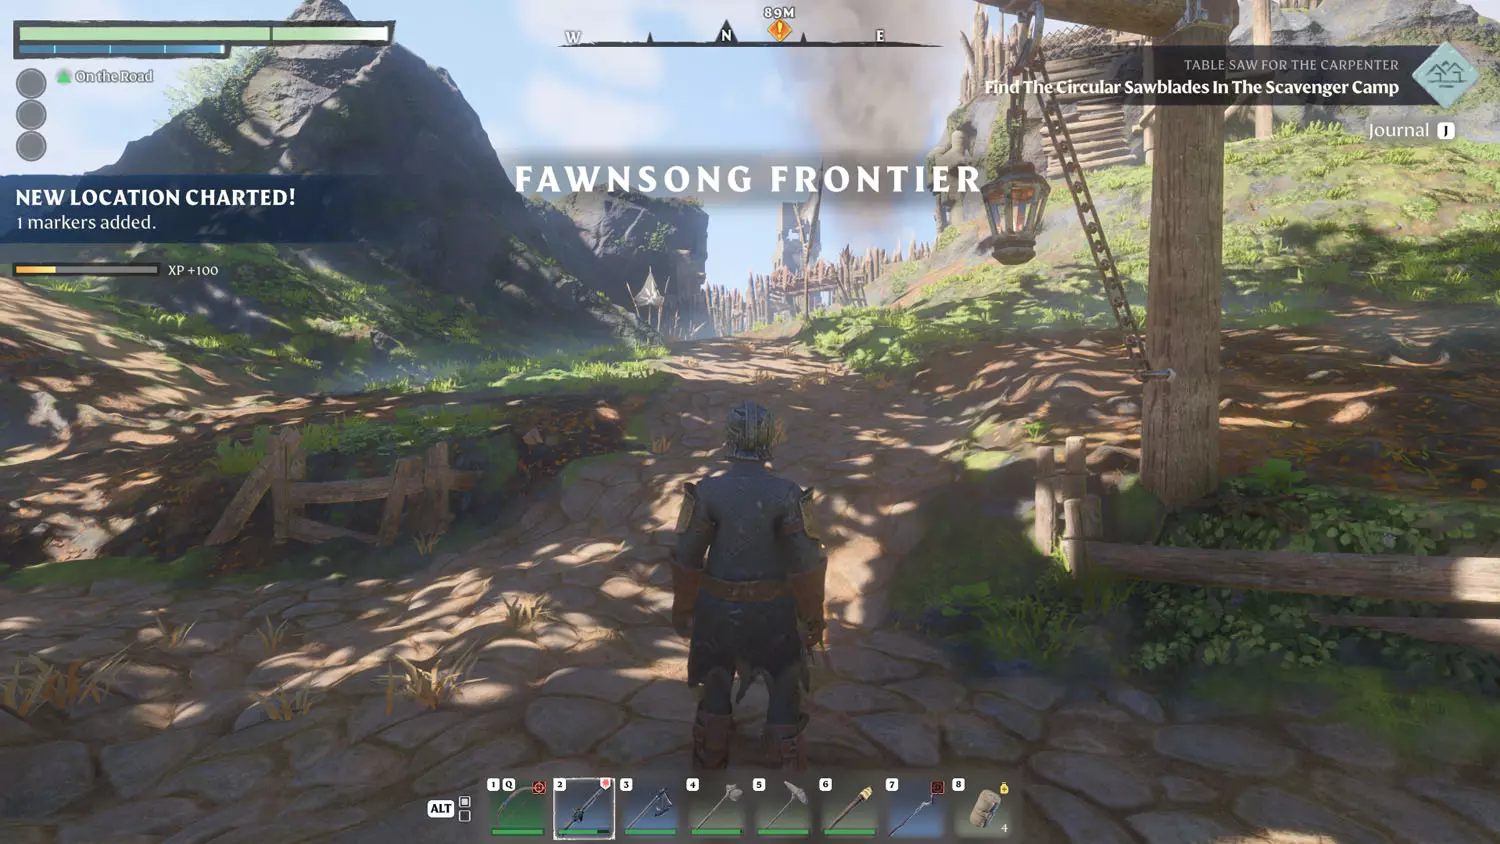
Head out the northern exit and take the road to Fawnsong Frontier.
TIP: Fawnsong Frontier has Lore!! Well, just one piece for the Scavenger Lore: A Tower To The Stars 1/1 The Tower Must Reach The Sky!. This in turn will start the Building Block Quest: A Tower To The Stars - Citywall Block Reward.
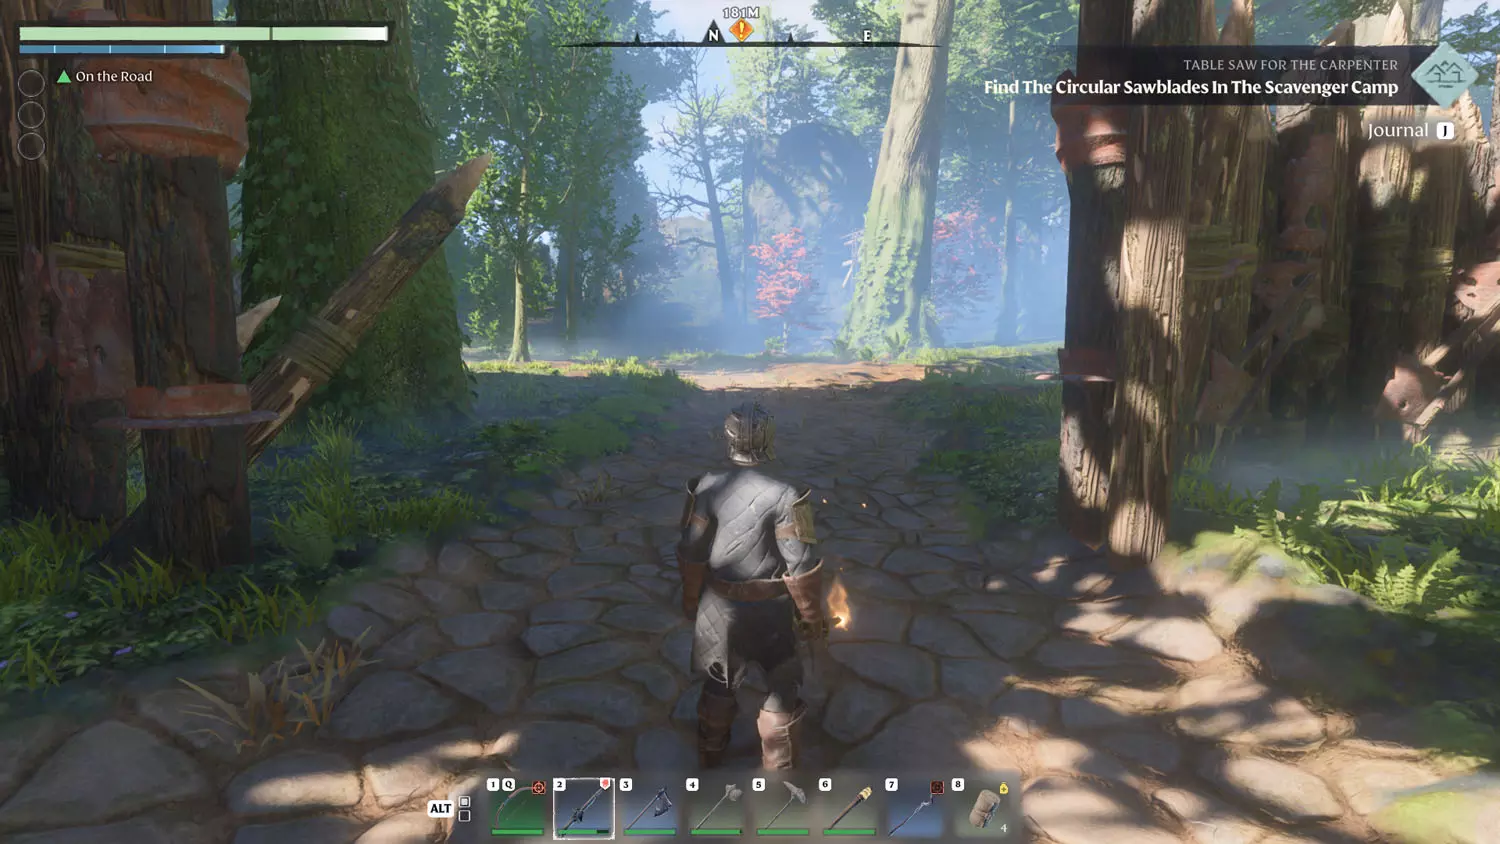
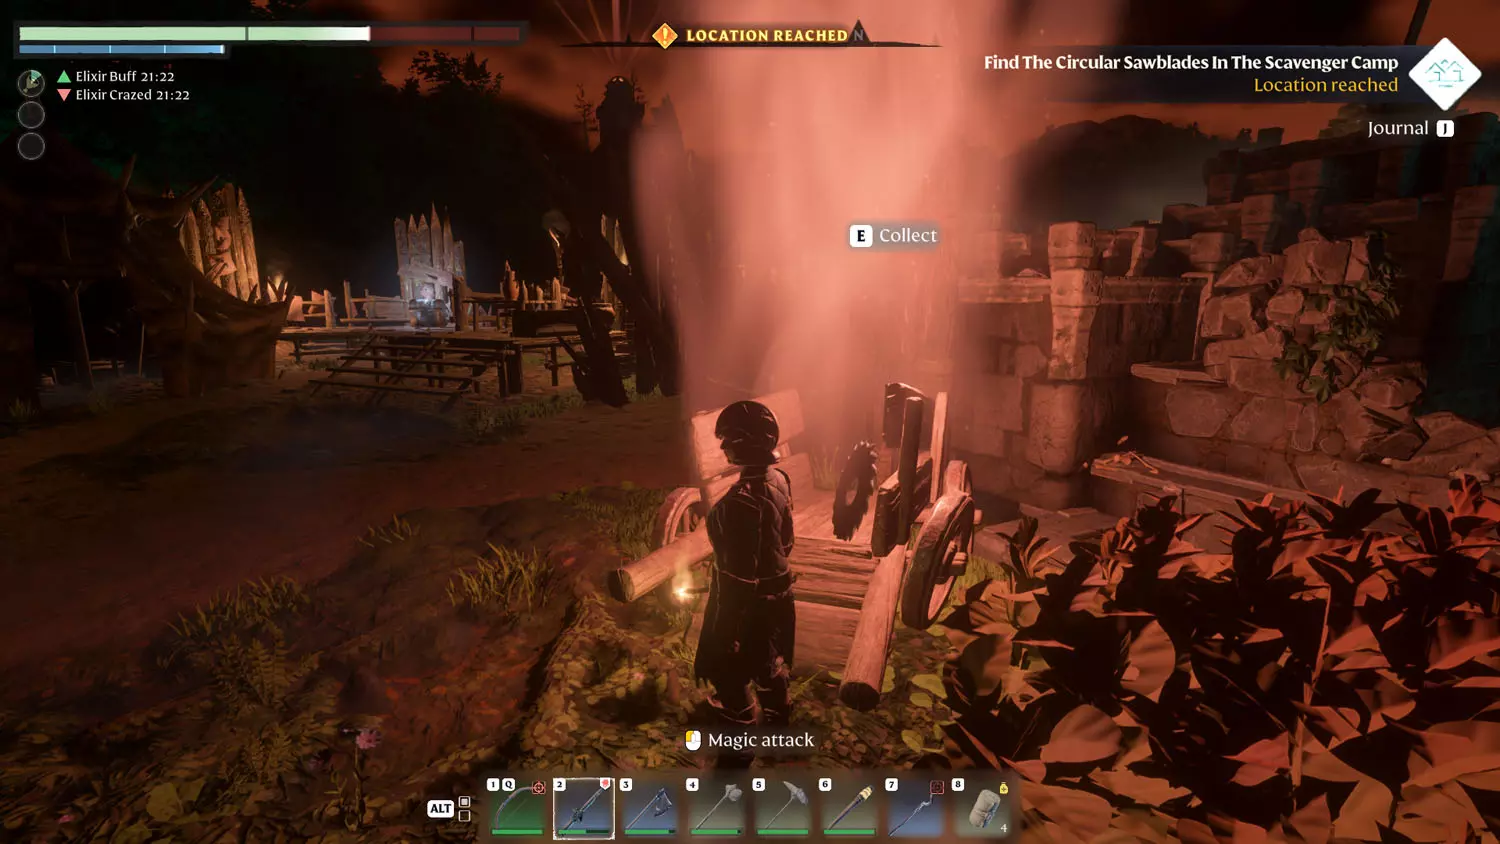
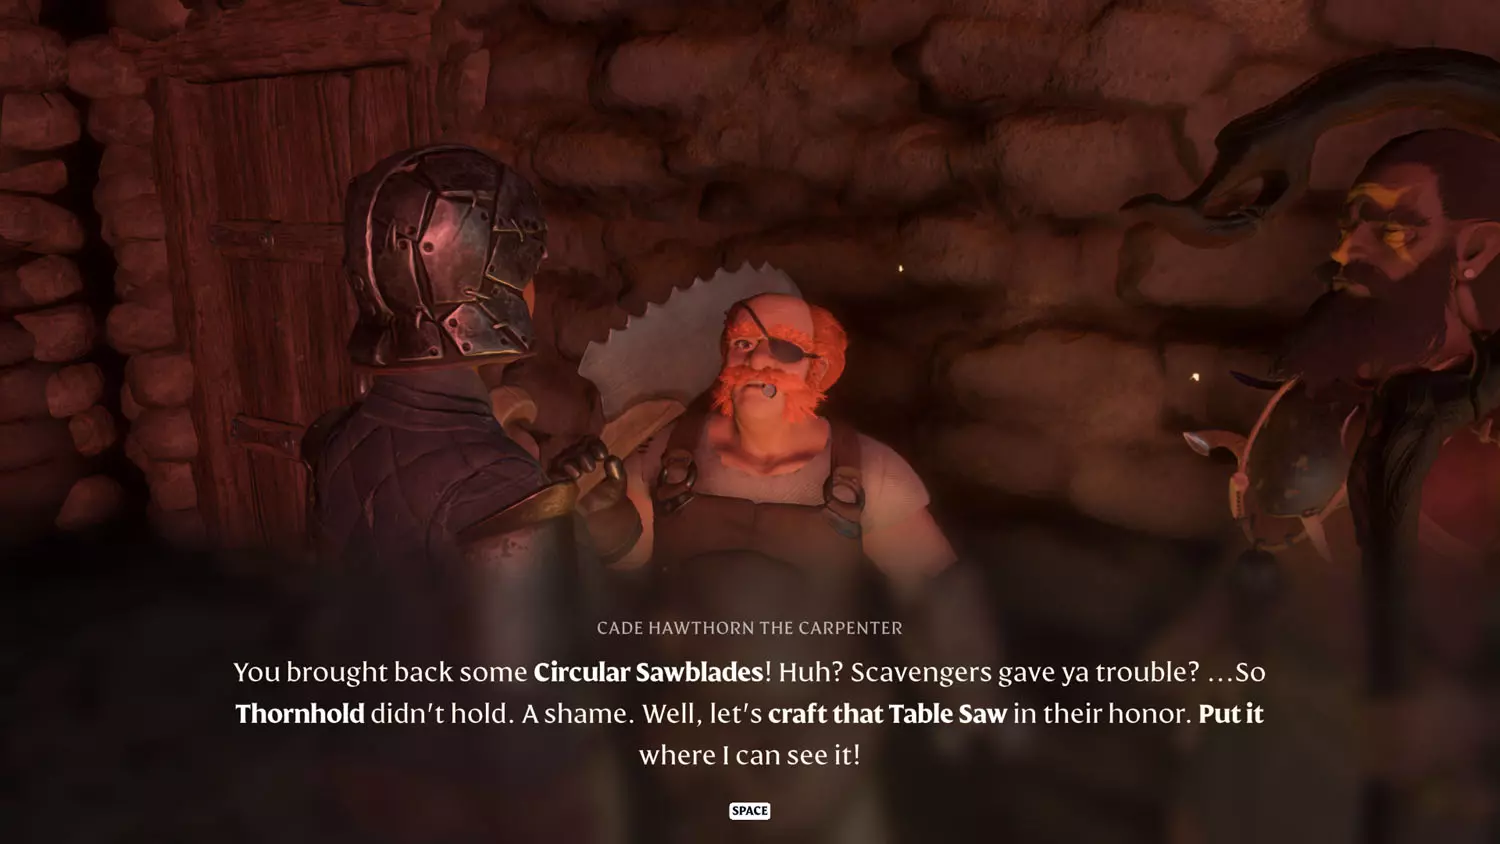
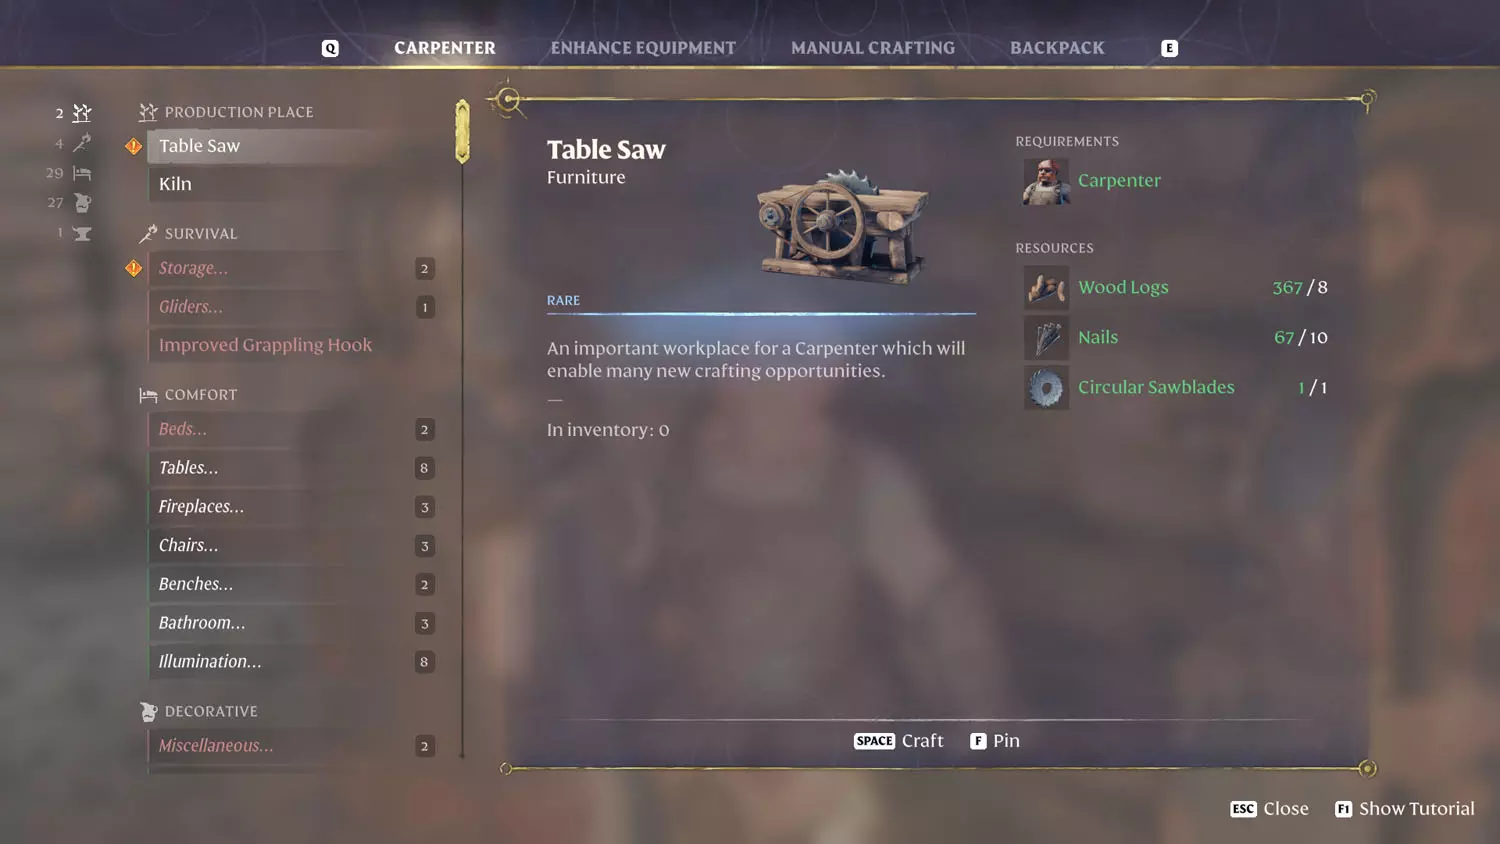
The Circular Sawblades are super easy to find. They emit an easy to find red smoke and are located on a cart next to the bridge that leads to the Scavenger Grizzler Matron and the tower. After you pick up the Circular Sawblades, you will finish the third part of the quest.
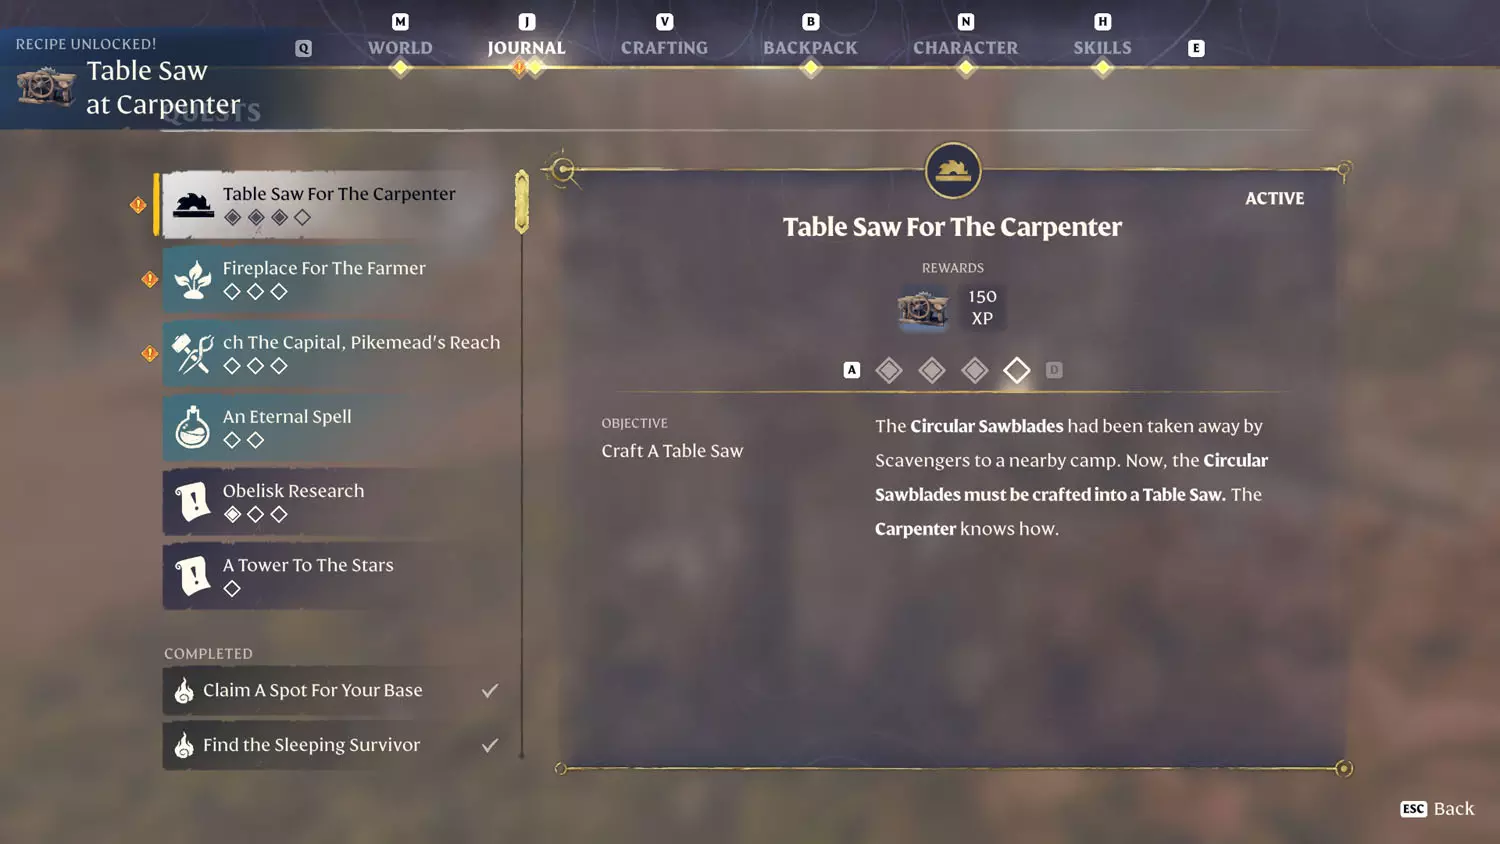
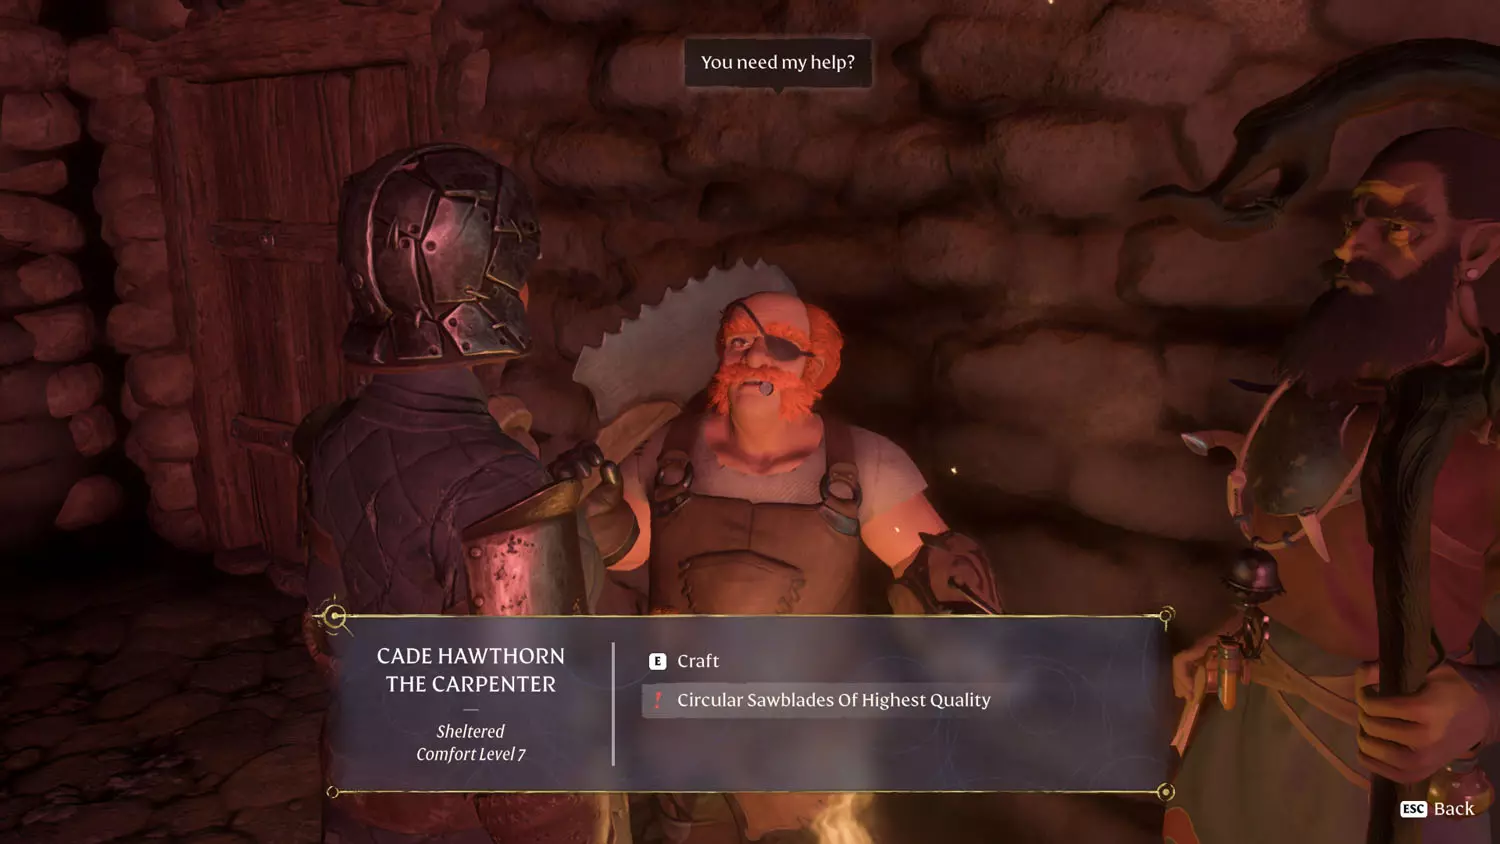
From there, feel free to head back to camp to speak with the Carpenter. He will now have the dialogue option “Circular Sawblades Of Highest Quality”. It’s finally time to craft the Table Saw! You will have to place the Table Saw to complete the quest.
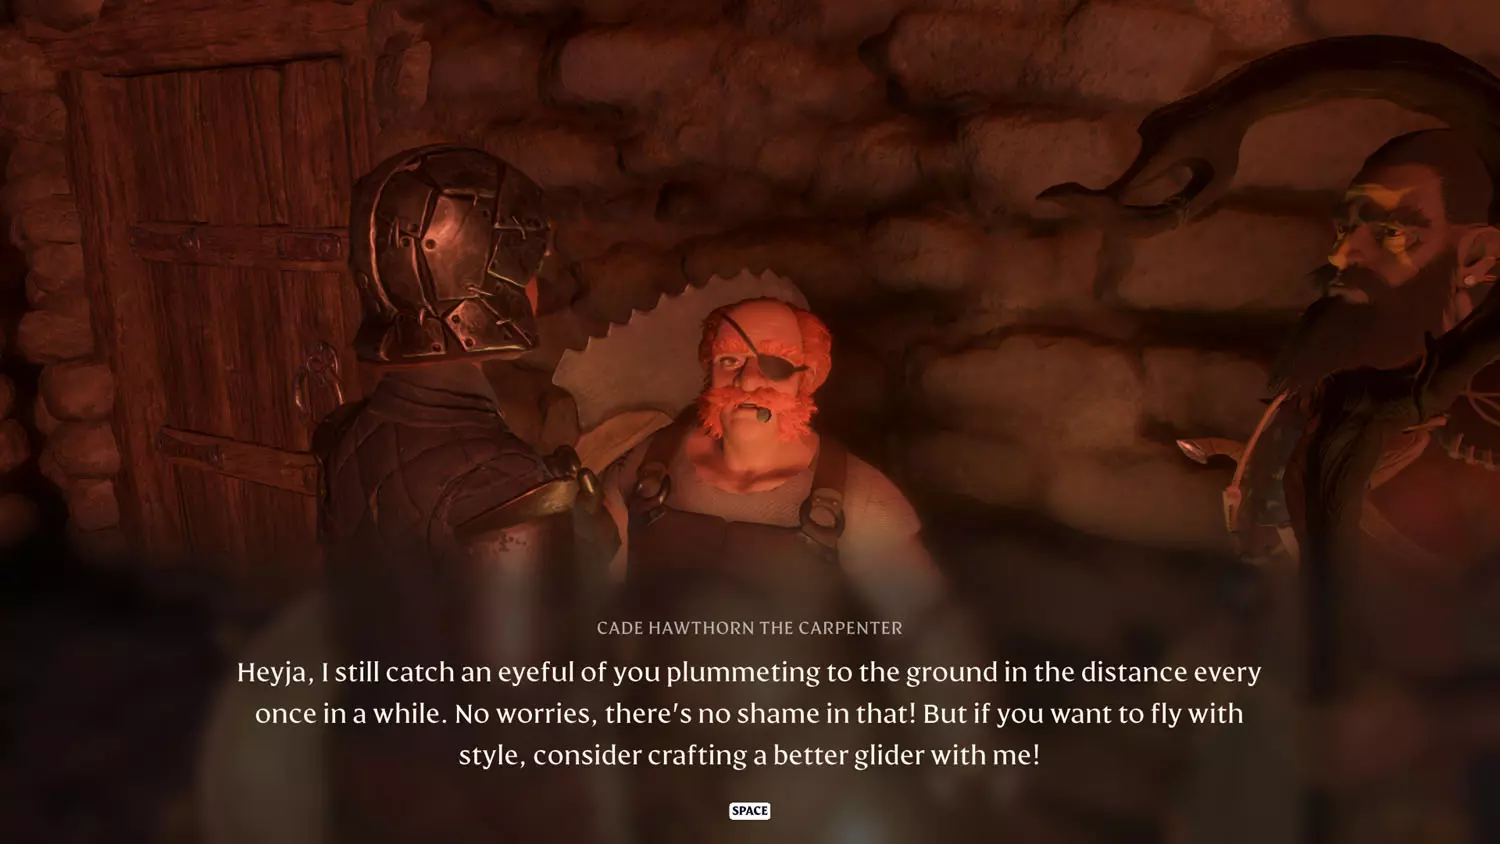
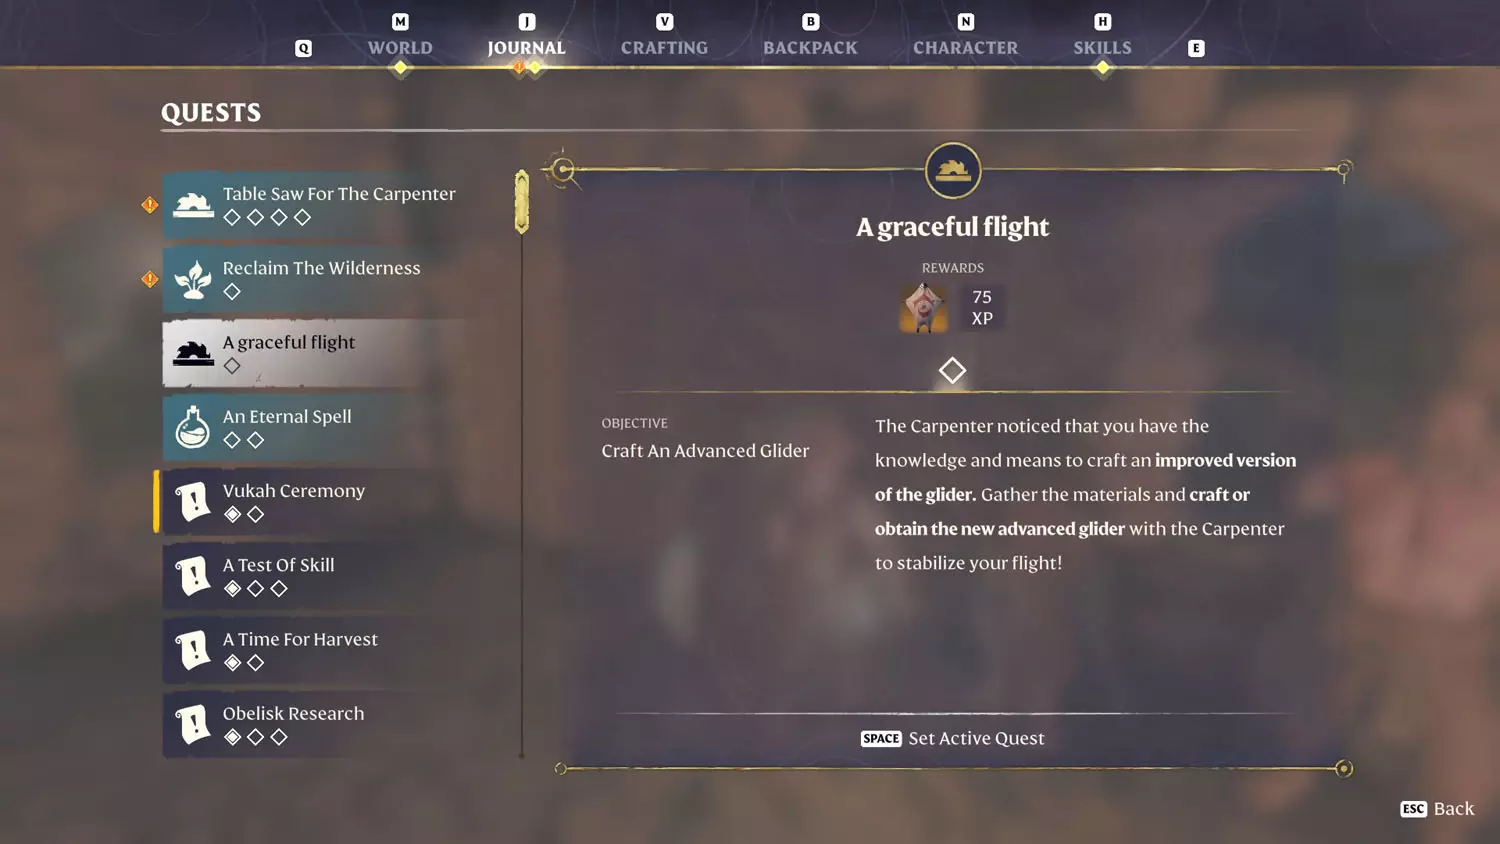
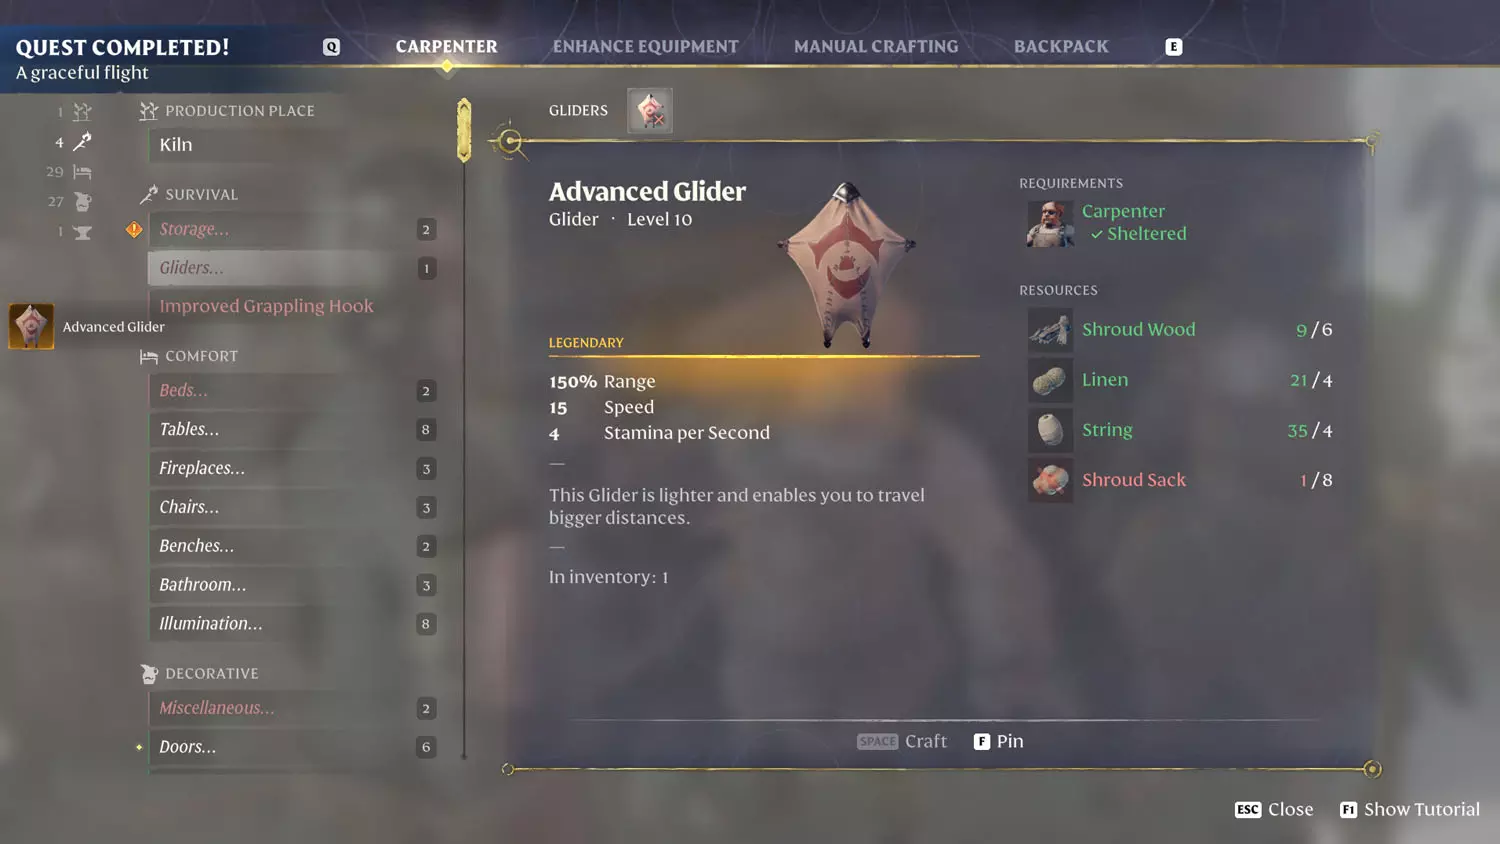
A Graceful Flight
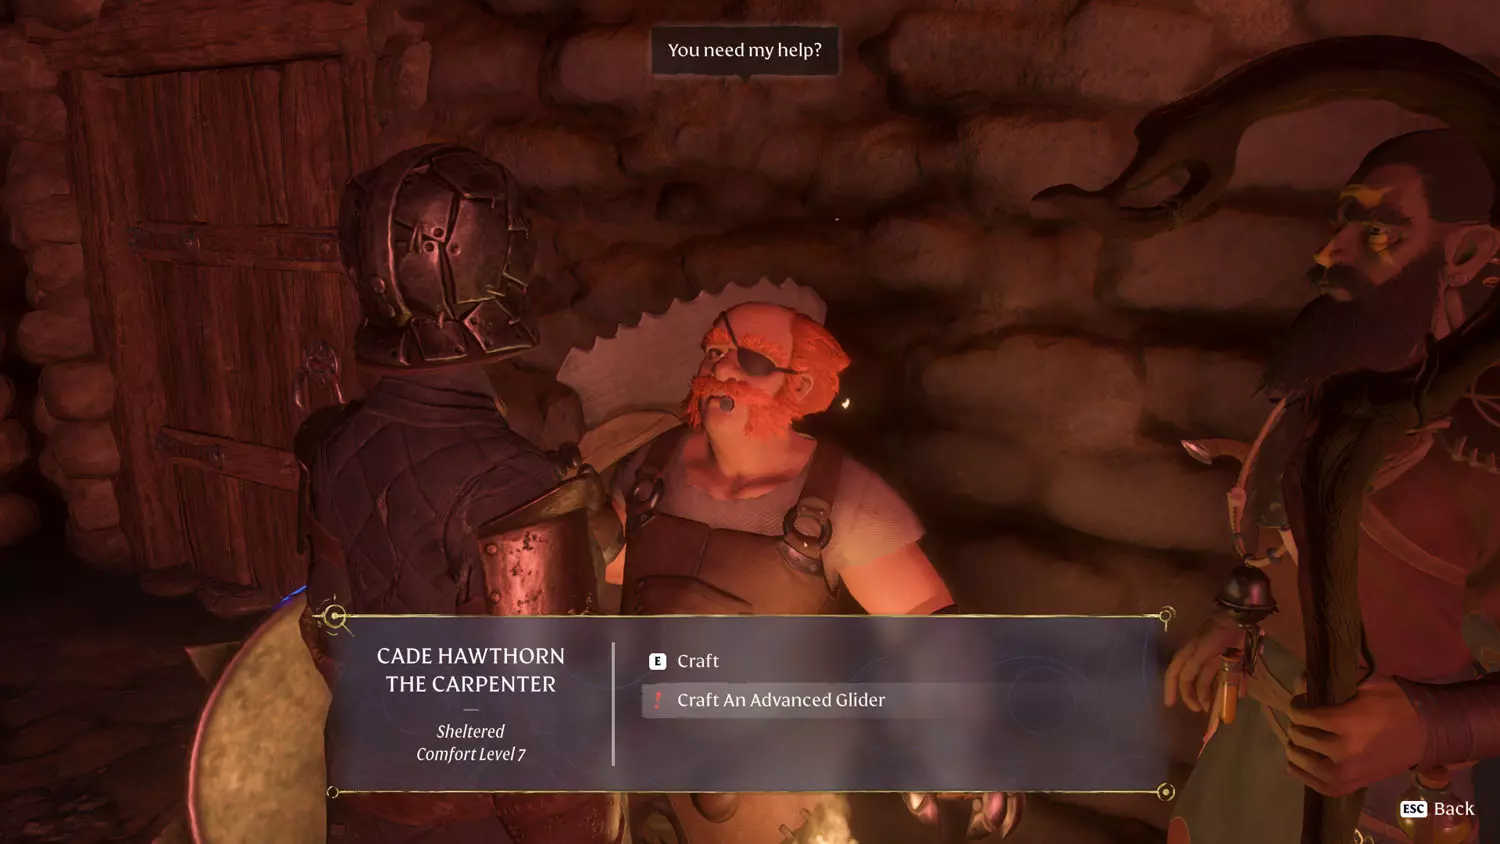
The dialogue option for the Carpenter “Craft An Advanced Glider” came up after I picked up a piece of Linen from the Hunter’s Hand Spindle. Anyway, it just wants you to craft a better Glider. Sweet! Once you craft it, the quest is completed! Just don't forget to equip it, lol.
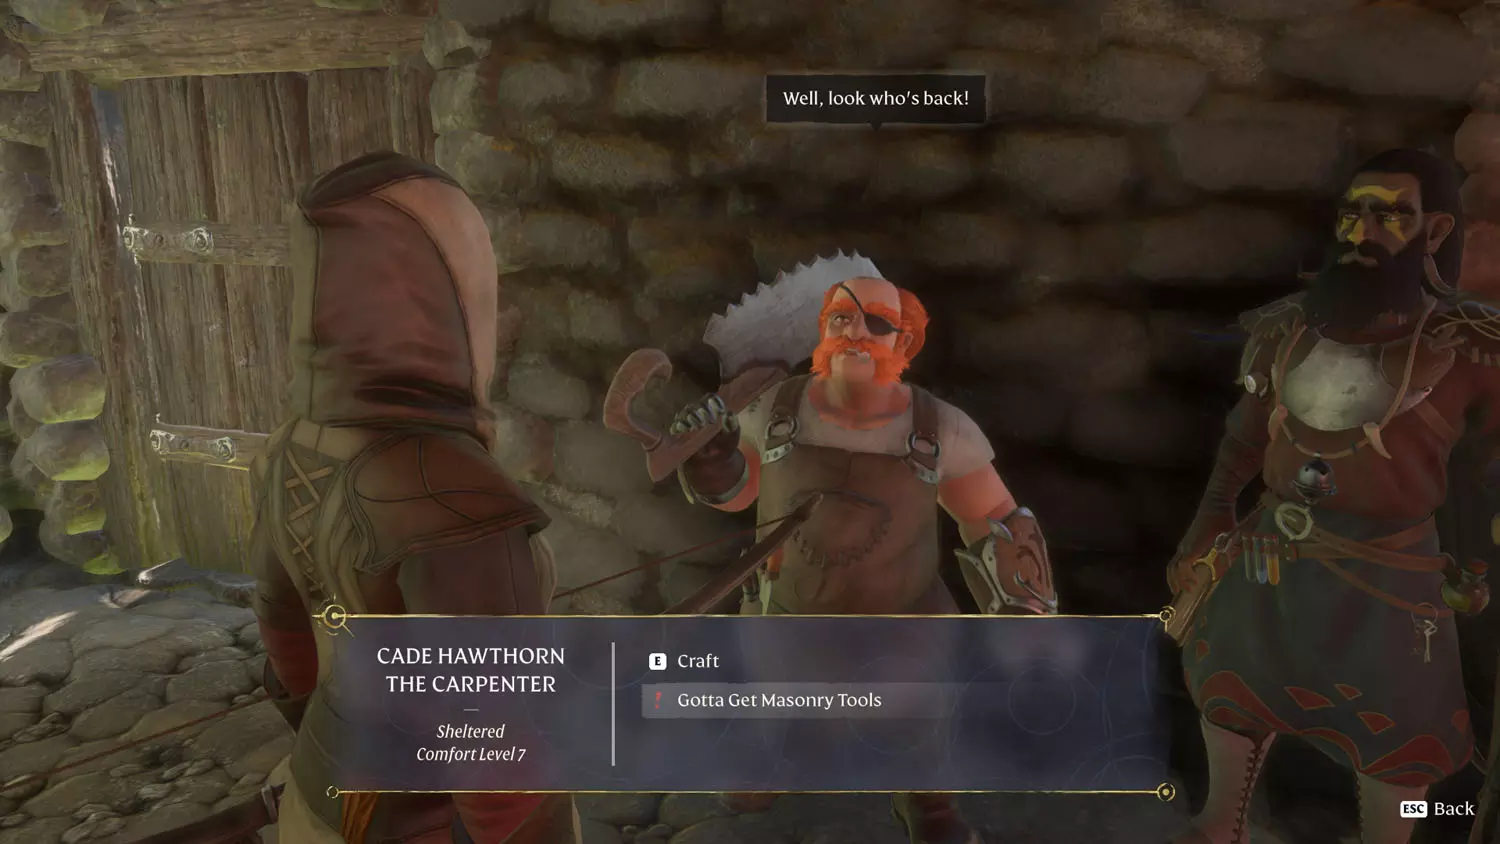
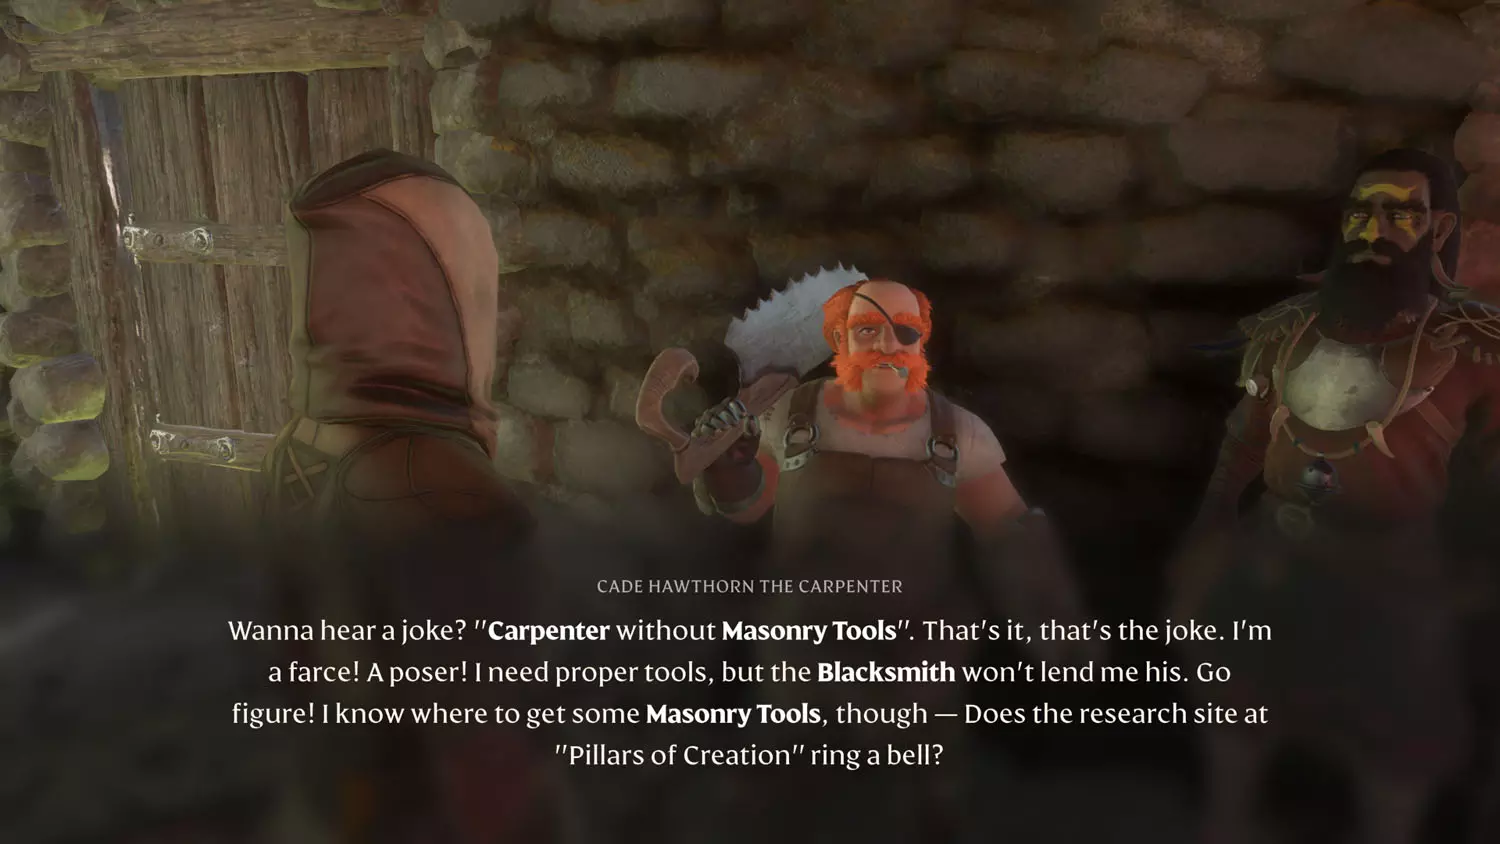
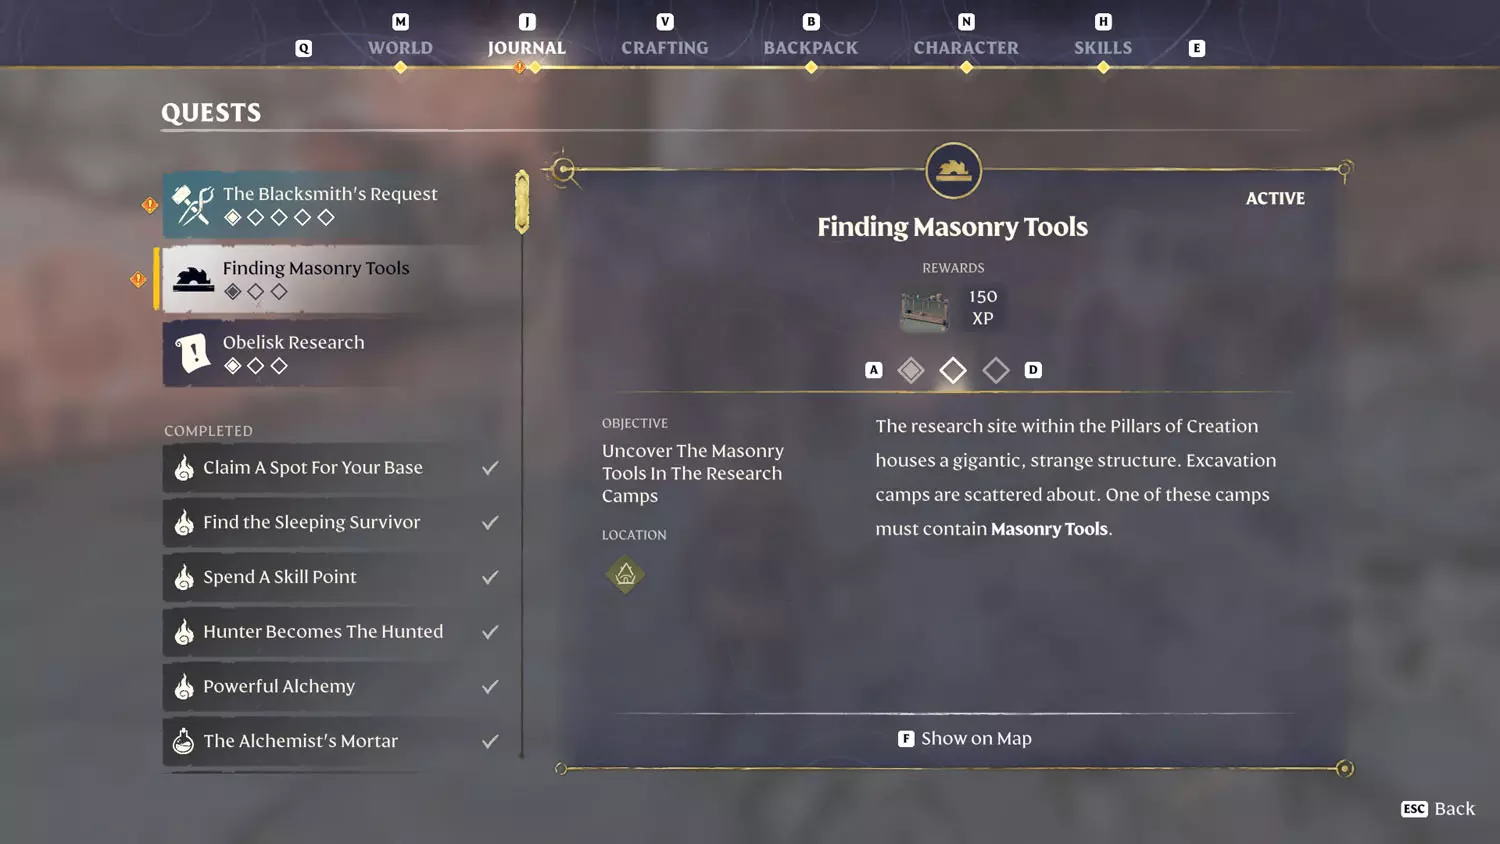
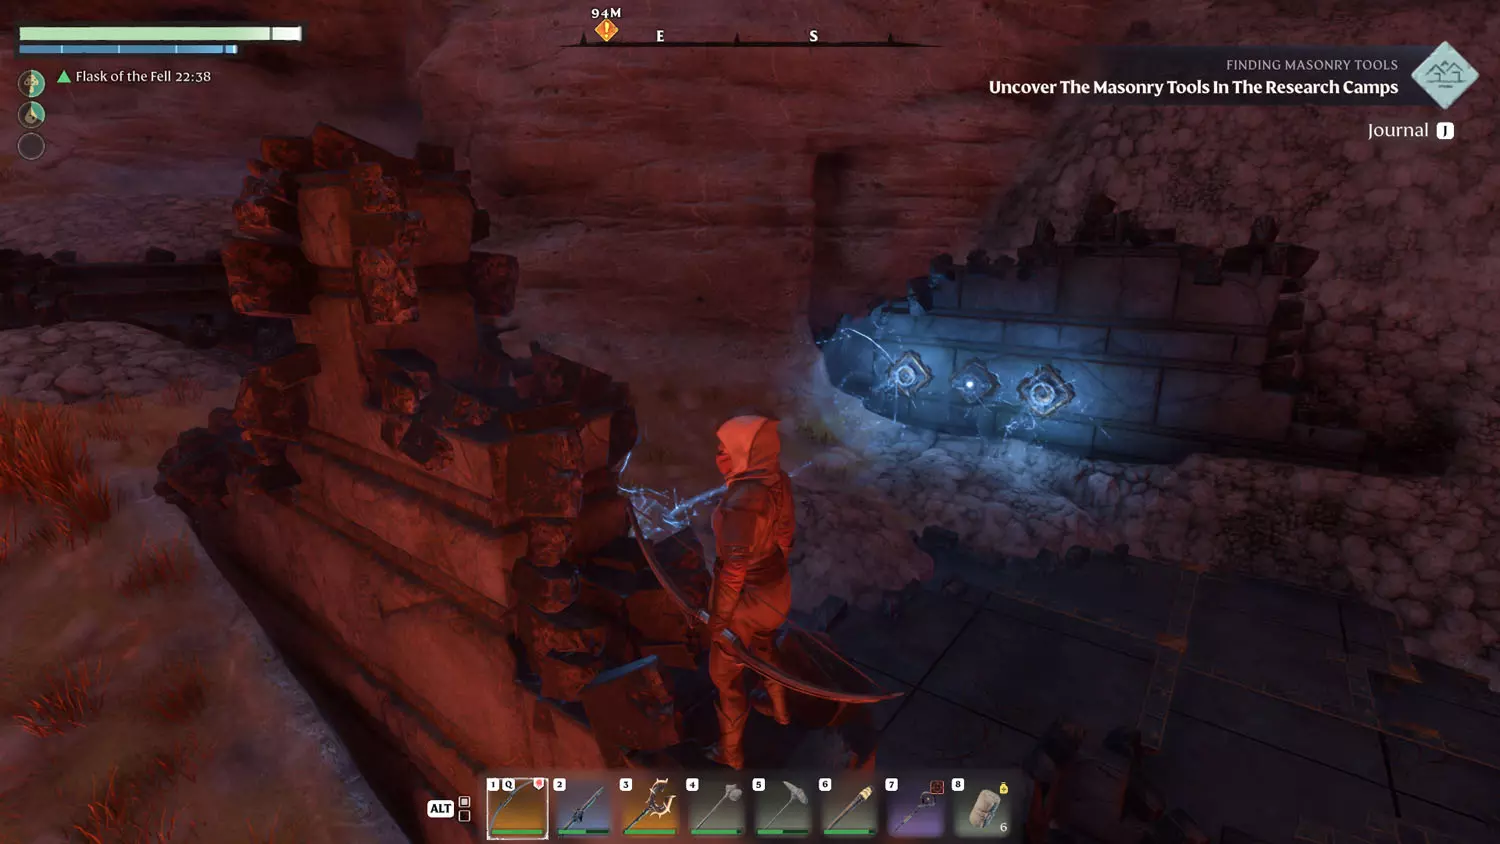
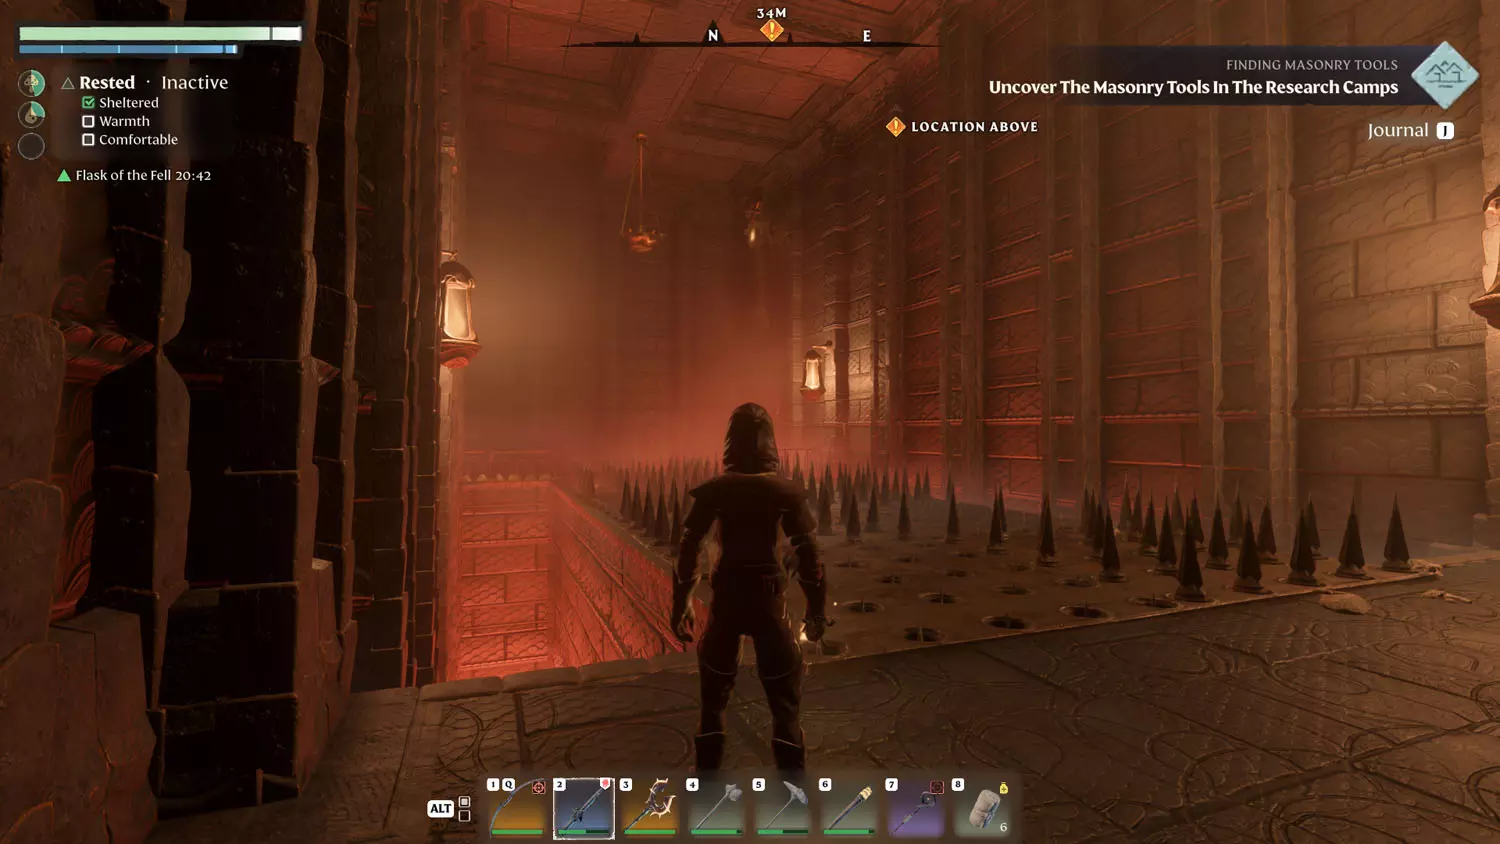
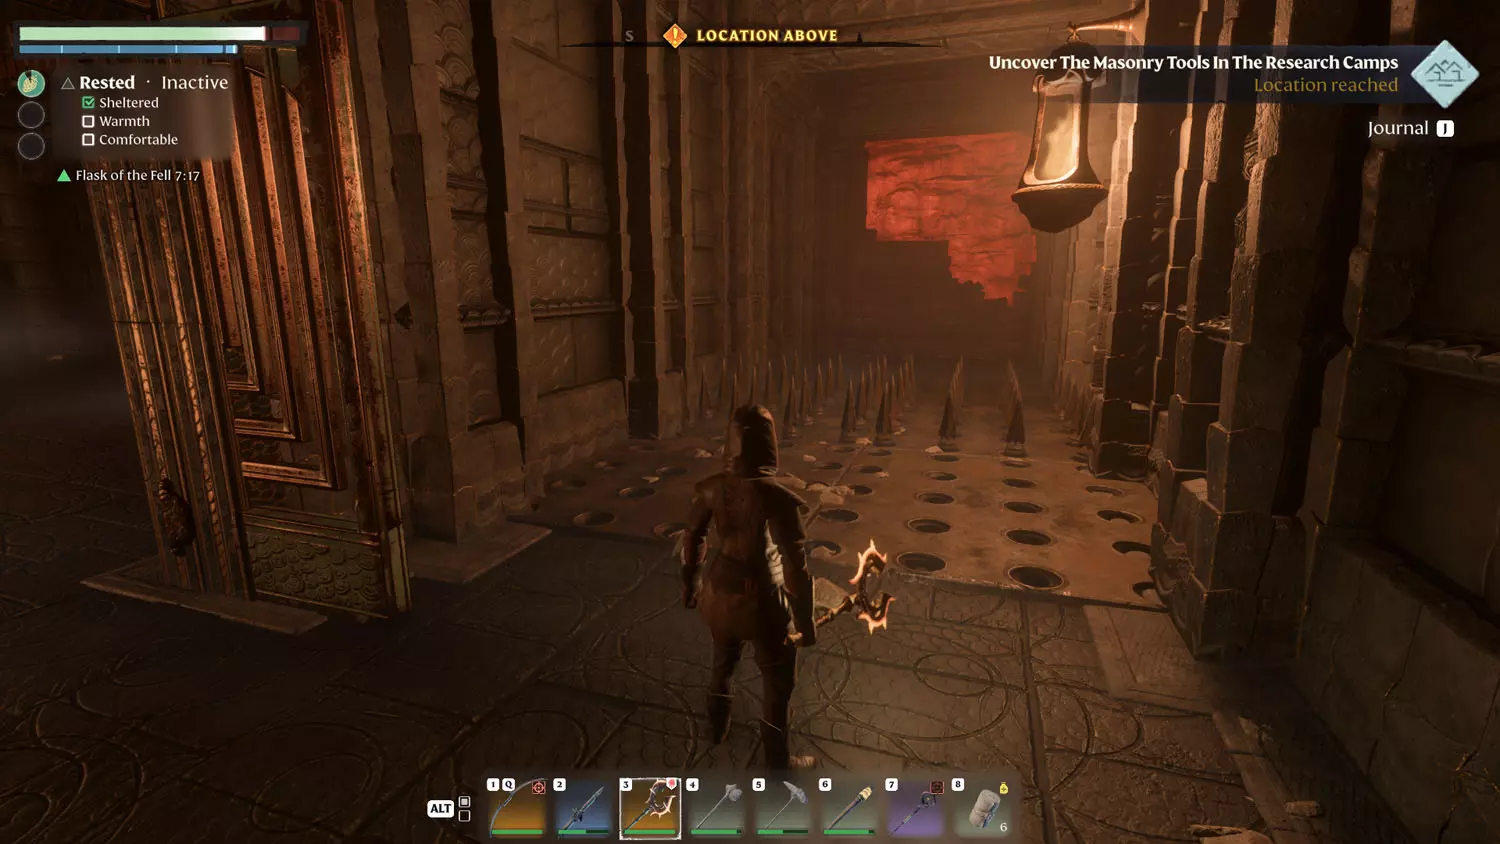
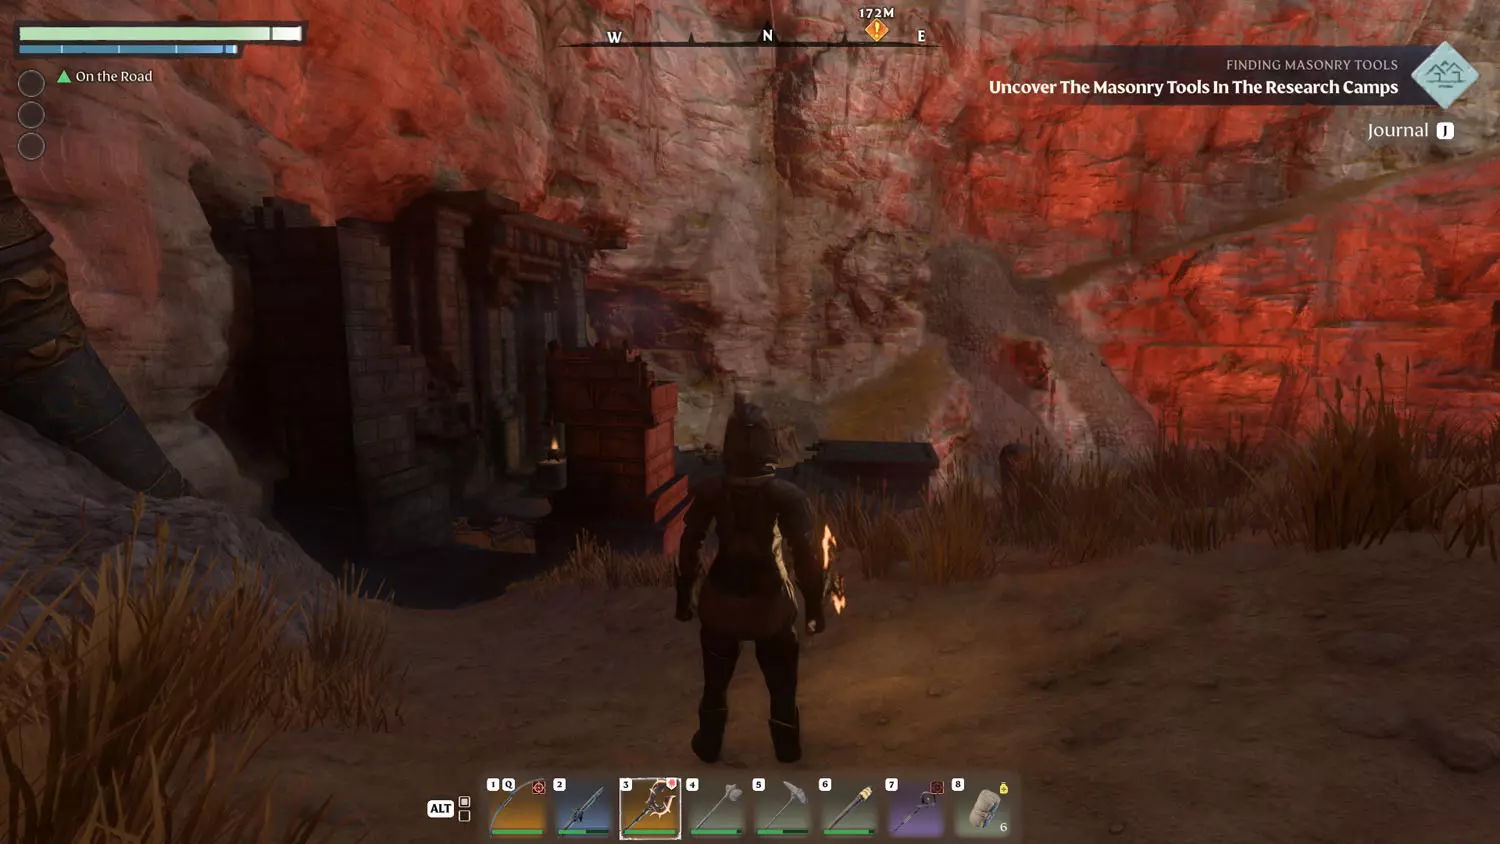
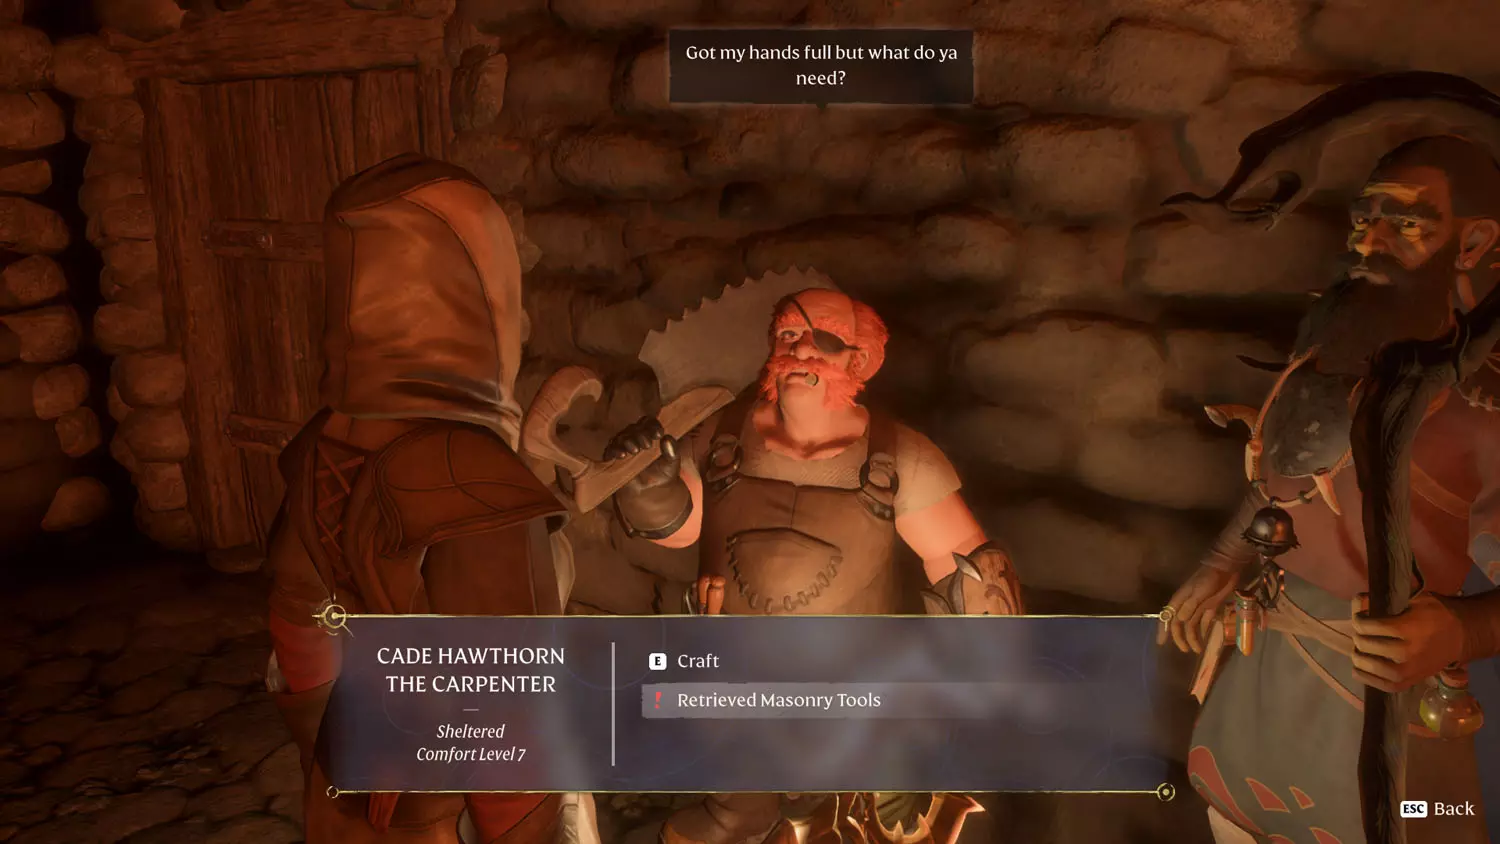
Finding Masonry Tools
This Quest comes shortly before finishing the Pikemead’s Reach area. You’ll need to Strengthen The Flame from 3 to 4. You’ll have the dialogue “Gotta Get Masonry Tools” from the Carpenter. Selecting this will start the quest.
TIP: This quest is closely related to the Ancients and the Flame Lore: Pillars of Creation Research Site 1/2 New Theories! and 2/2 I Completely Fumbled It!.
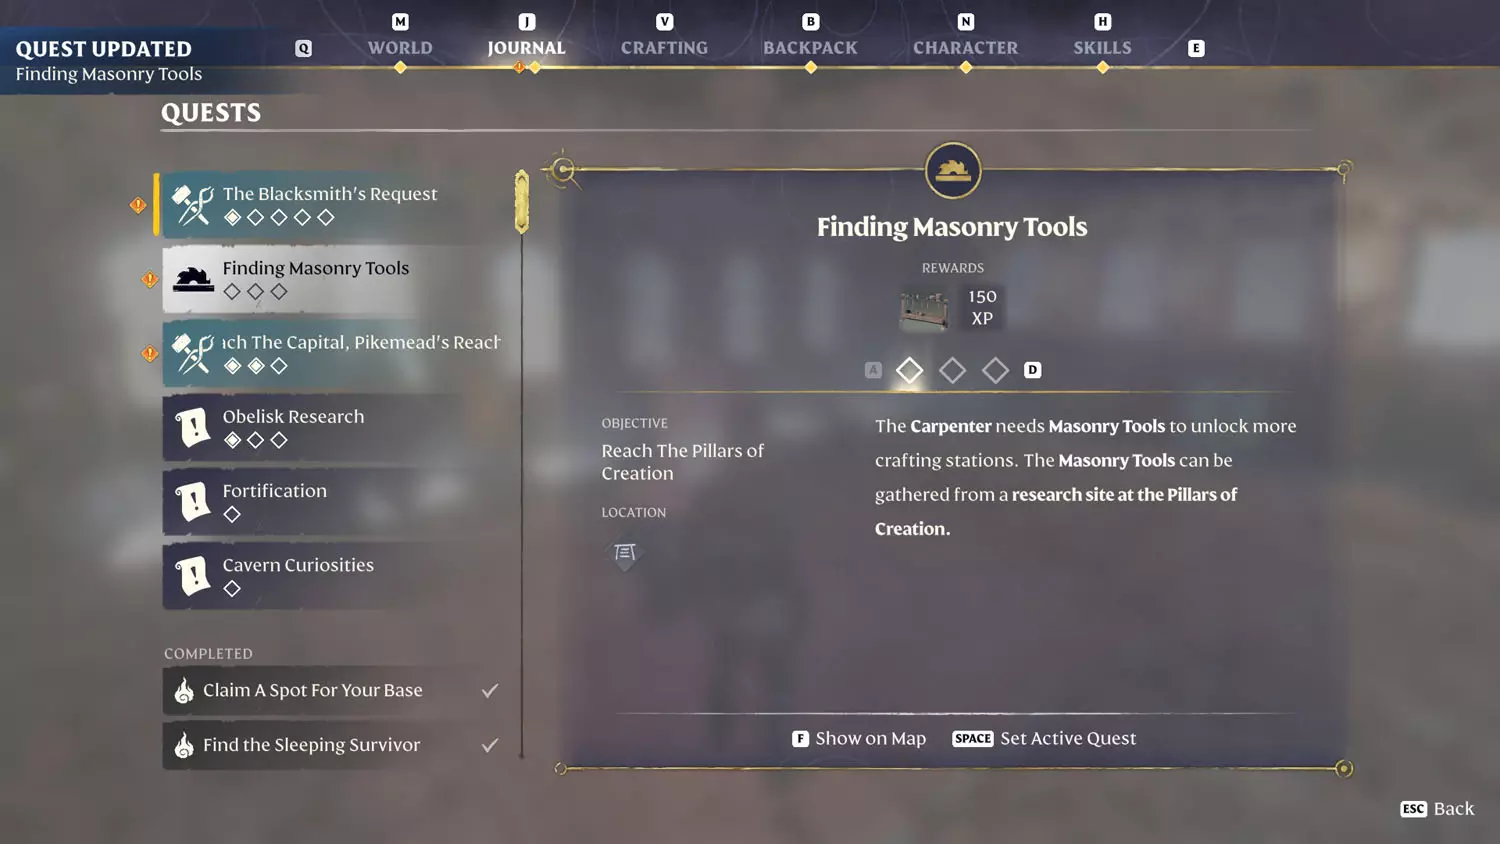
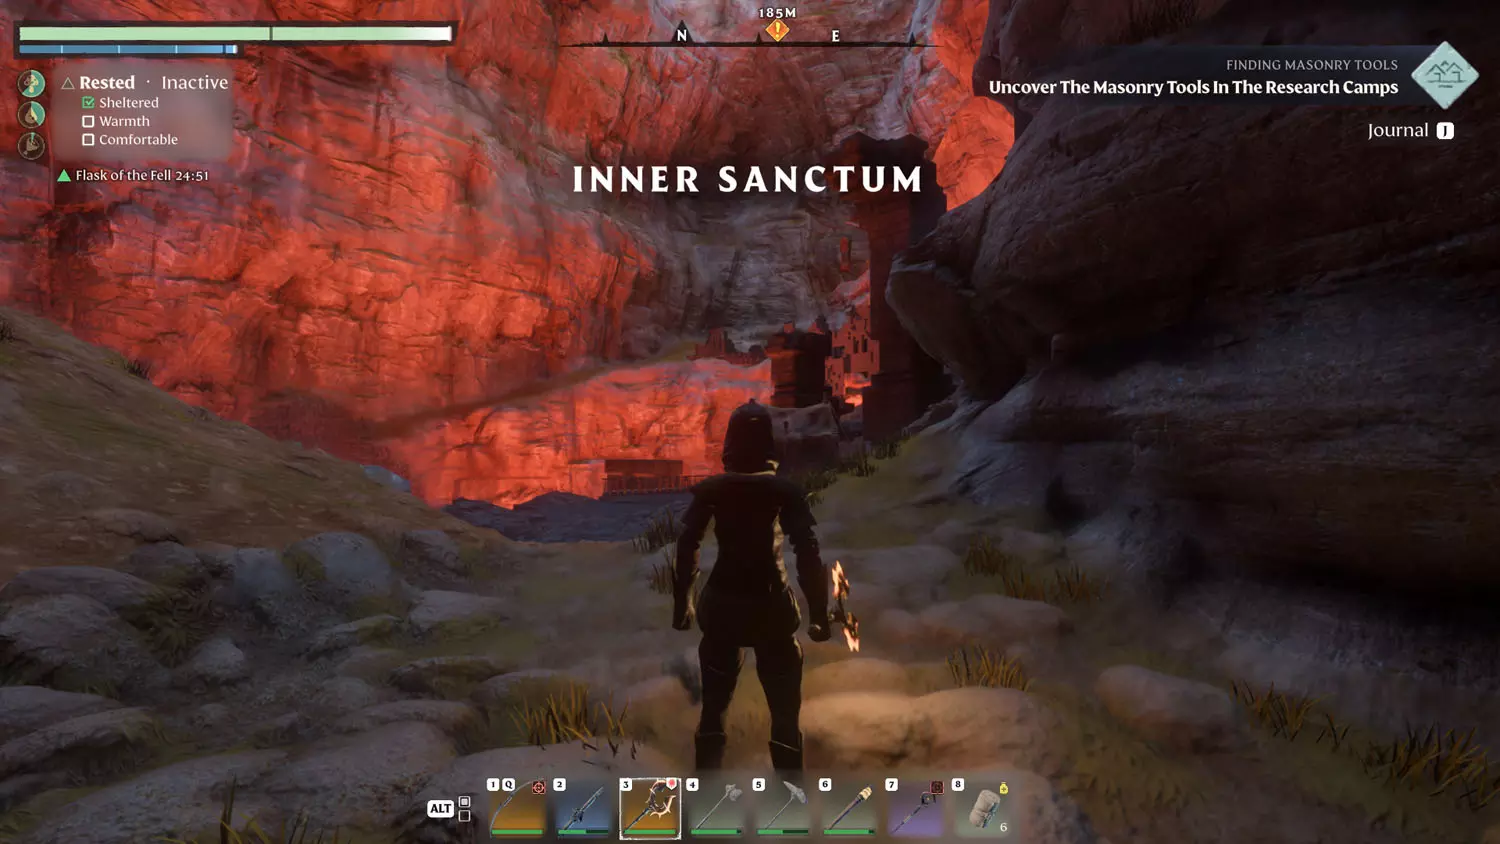
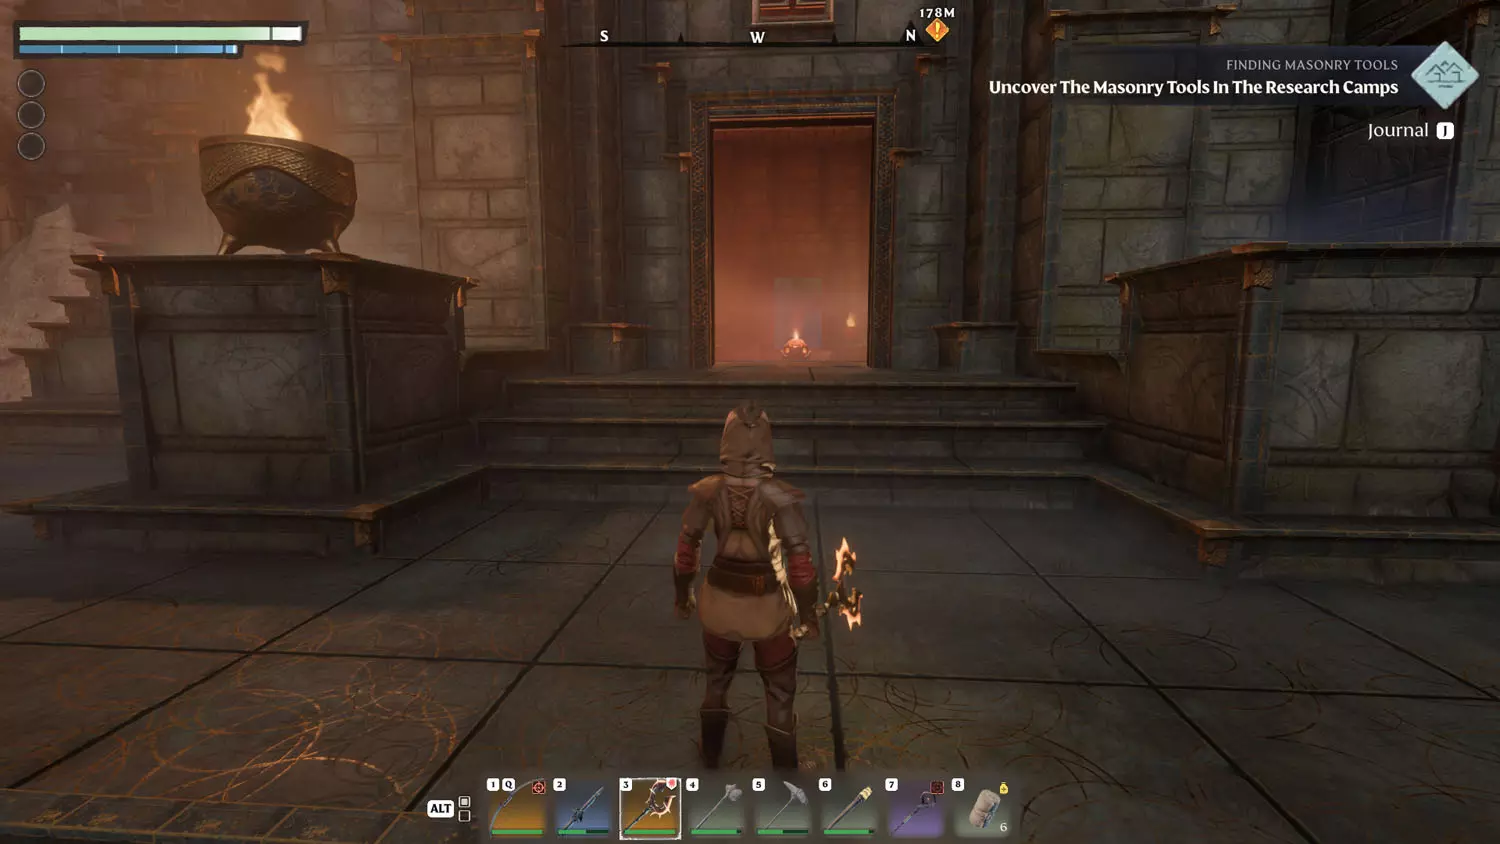
Reaching the Inner Sanctum of the Pillars of Foundation will complete the first part of this quest.
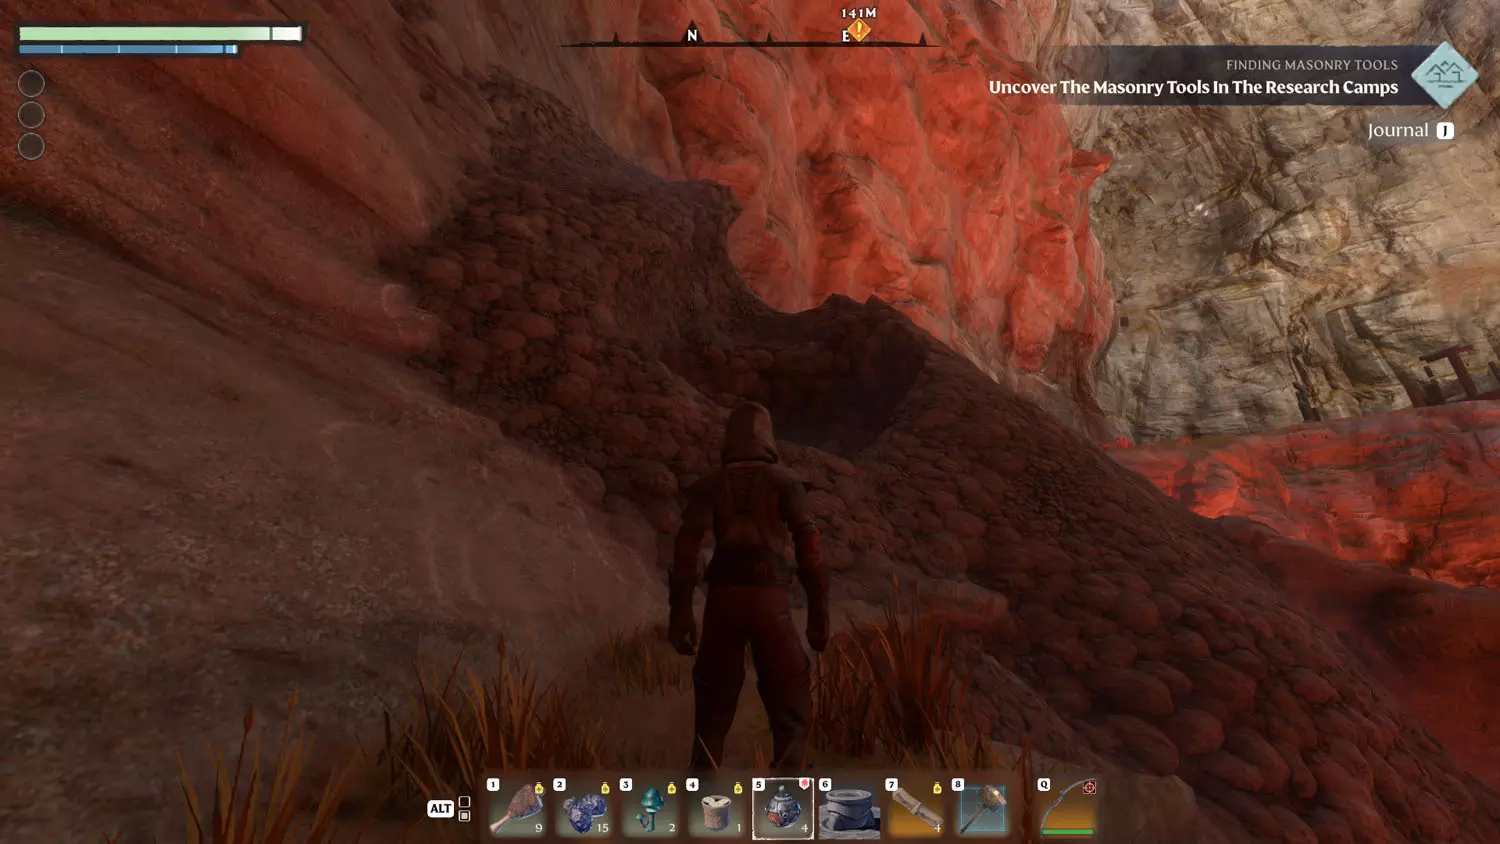
There are two paths to reach the goal (Masonry Tools). Path One has loot and a puzzle while Path Two is easier, but it has less loot.
Path One
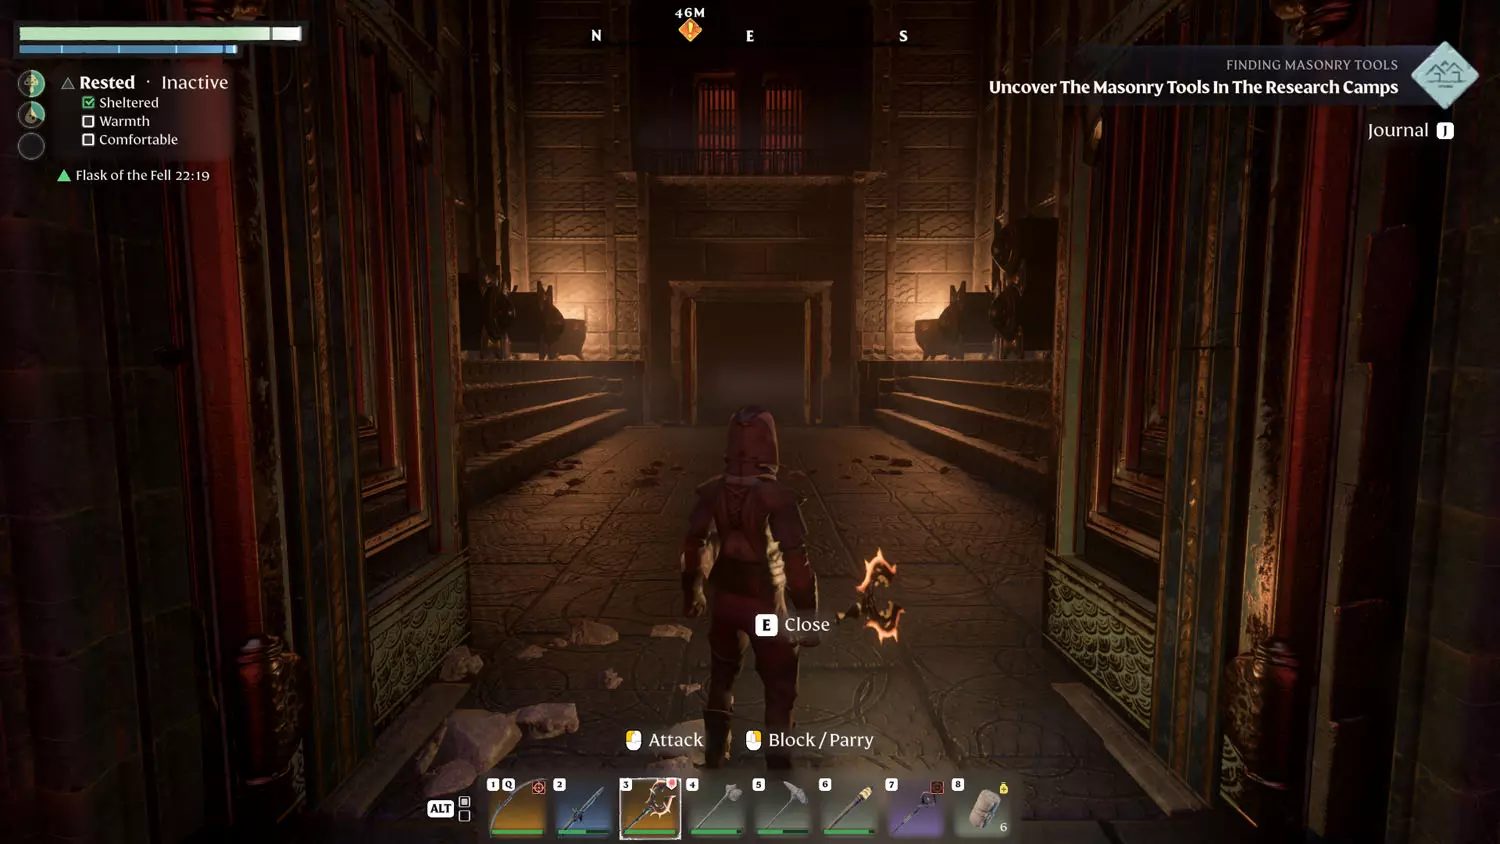
The first path starts easy enough. Head east and upward. There will be three death zappers. They’re easy if you jump on the wall they collide against. From there, head into the temple-like structure.
TIP: You may want to start off at Path Two and nab the revival spot there before proceeding.
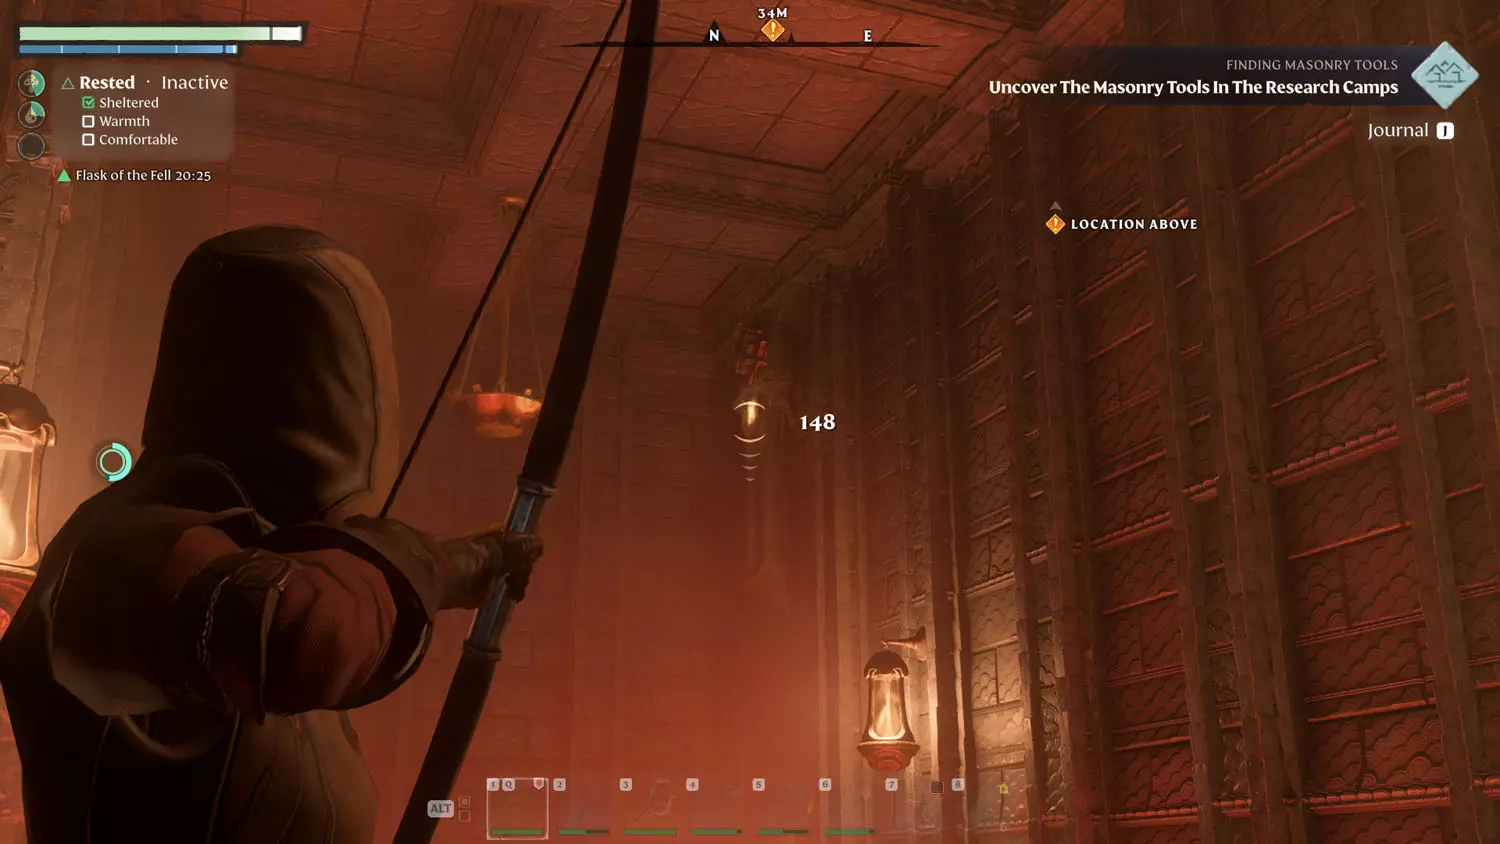
Before going through the next doorway, turn around and shoot the glyph above the door you entered from. This will save you a trip later.

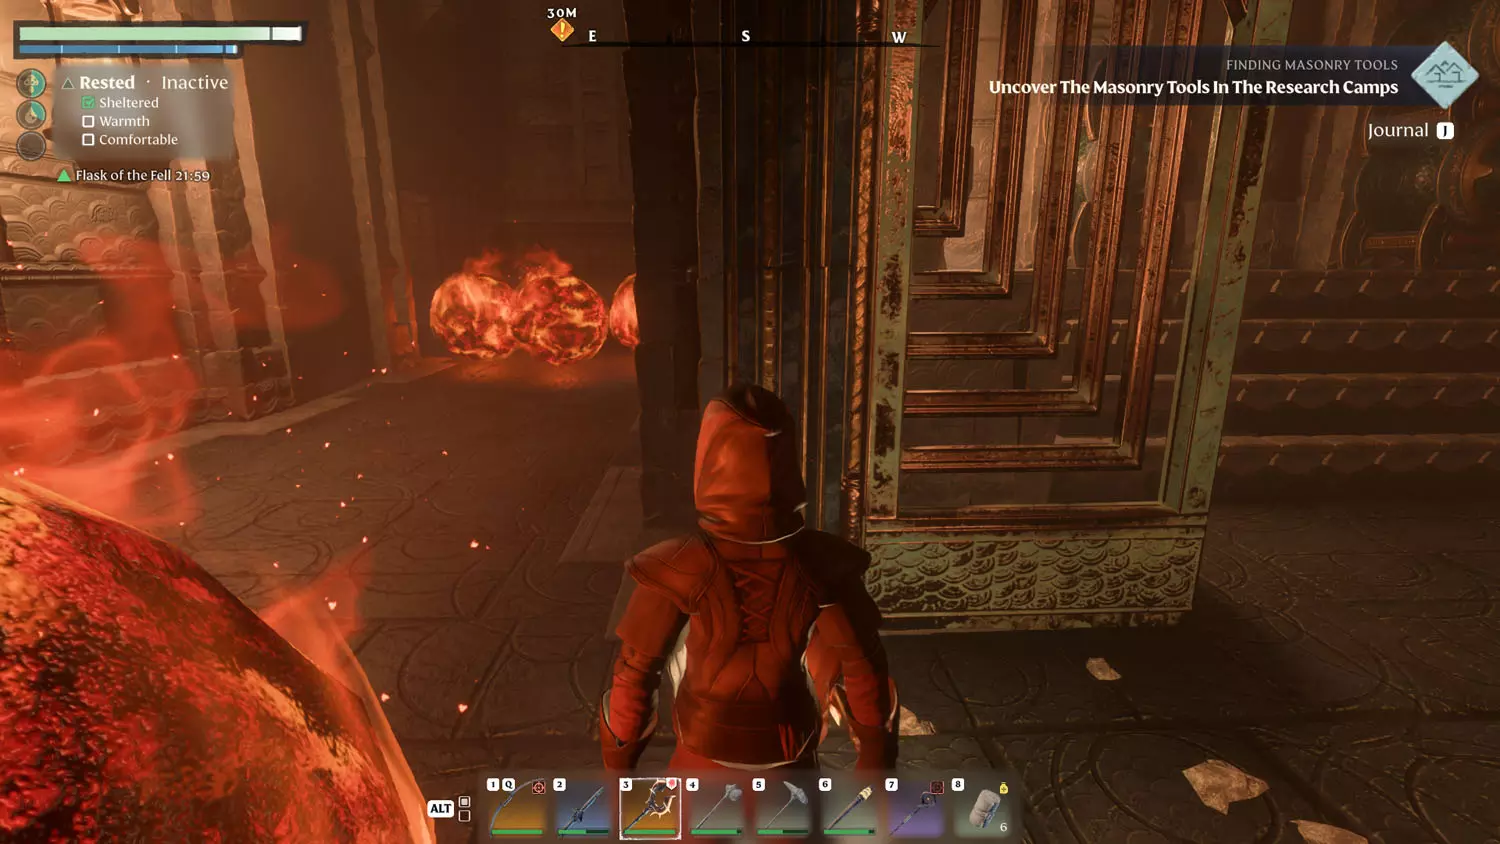
Next up is dodging the cinder boulders. Walking down the middle path and then switching as necessary to the outer ones is easiest. Walk, don’t run. The right side of the path has a Silver Chest at the end.
Across from the chest room is a room with spike traps on the floor. They alternate, so you can walk across once you see the pattern. Either before crossing or after, be sure to hit the yellow glyph on the wall. I hit it from the entryway, so it is possible to do it first.
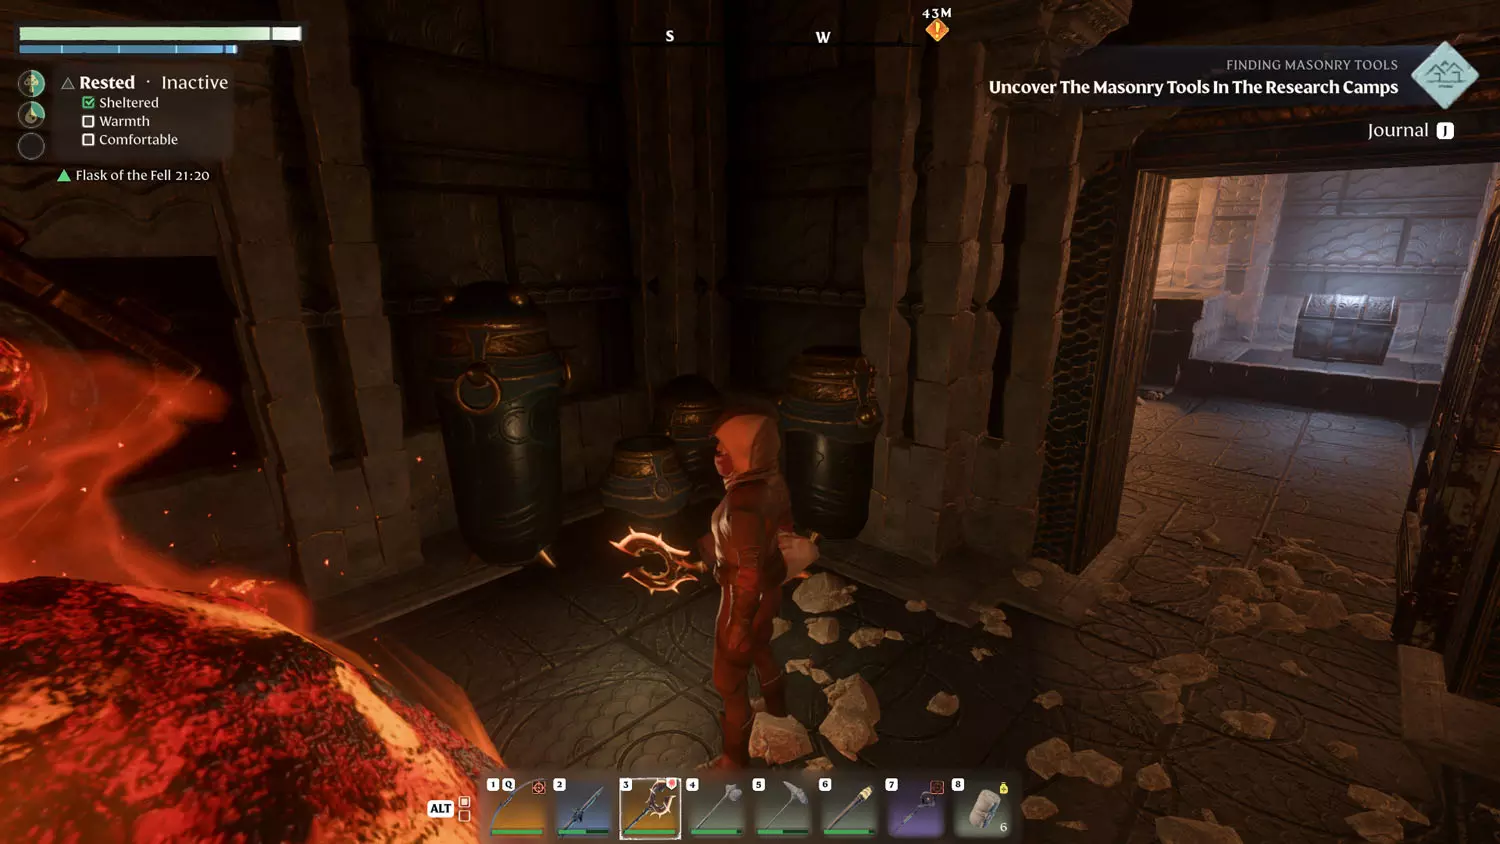
Keep going and you’ll reach a climbable wall. Then it is through the door. Two gates await you. The one straight ahead has a Silver Chest.
Taking the gate onward, there are more spike floor traps. They are timed for you to walk across, so be patient and you will be rewarded. If you activated the two switches I mentioned earlier, then the gate at the left will be open, if not, then you can swing across the grapple spot to have an easier time shooting the two glyphs. Likewise, the next door will be open for you, too.
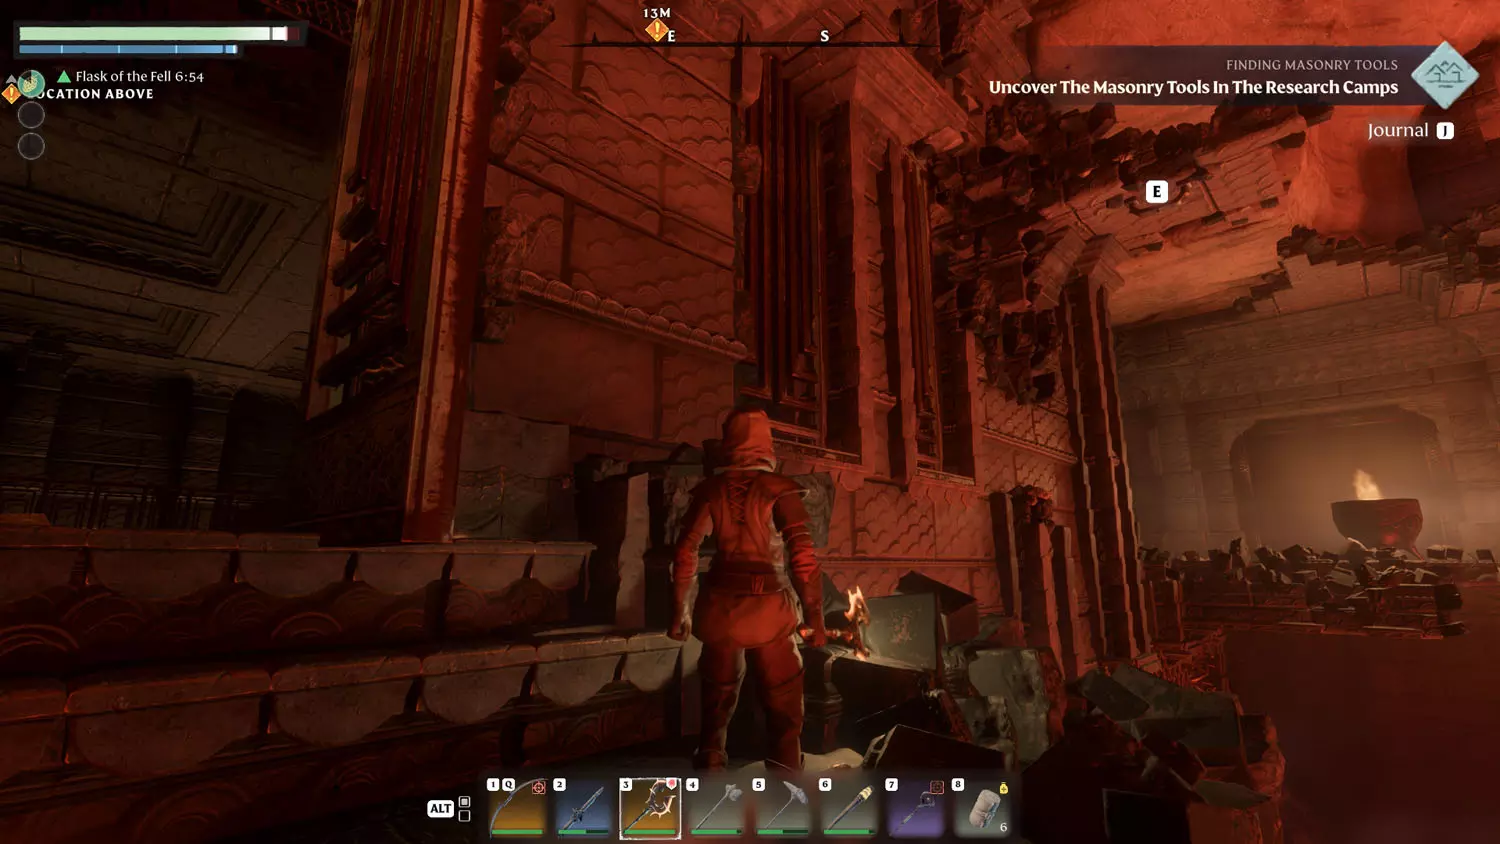
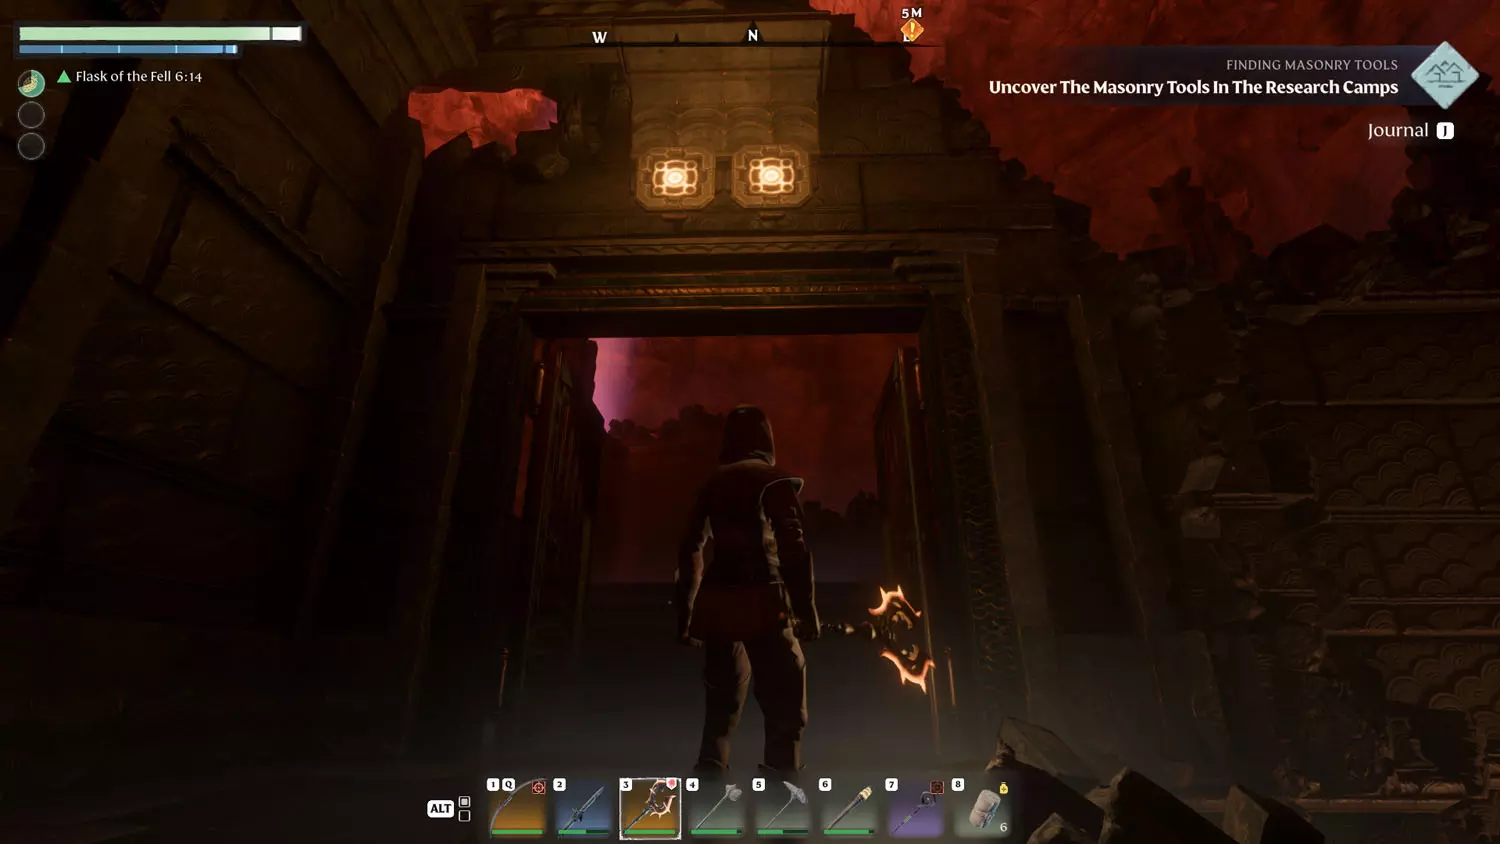
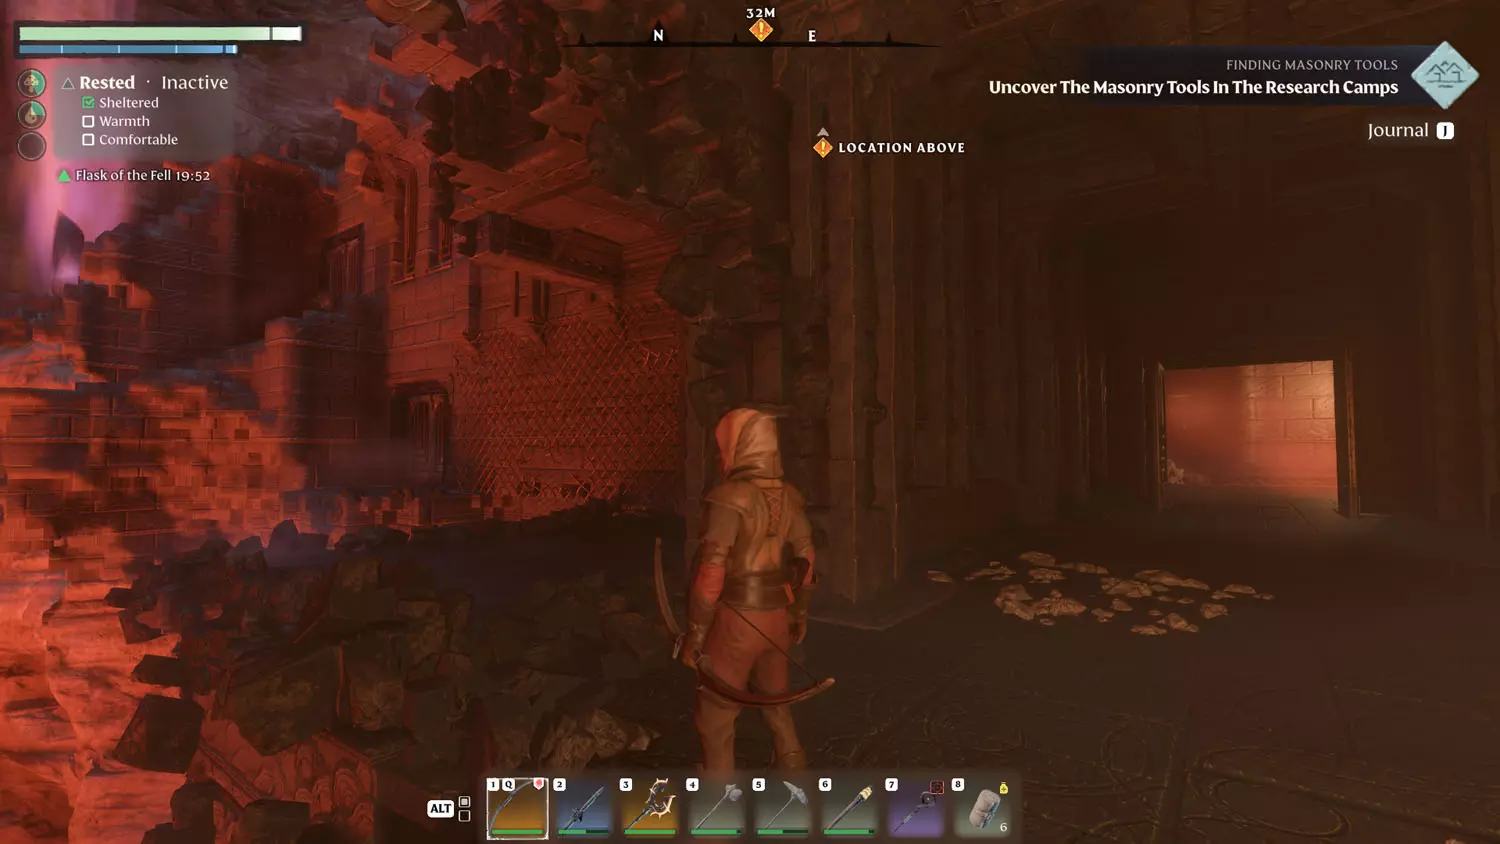
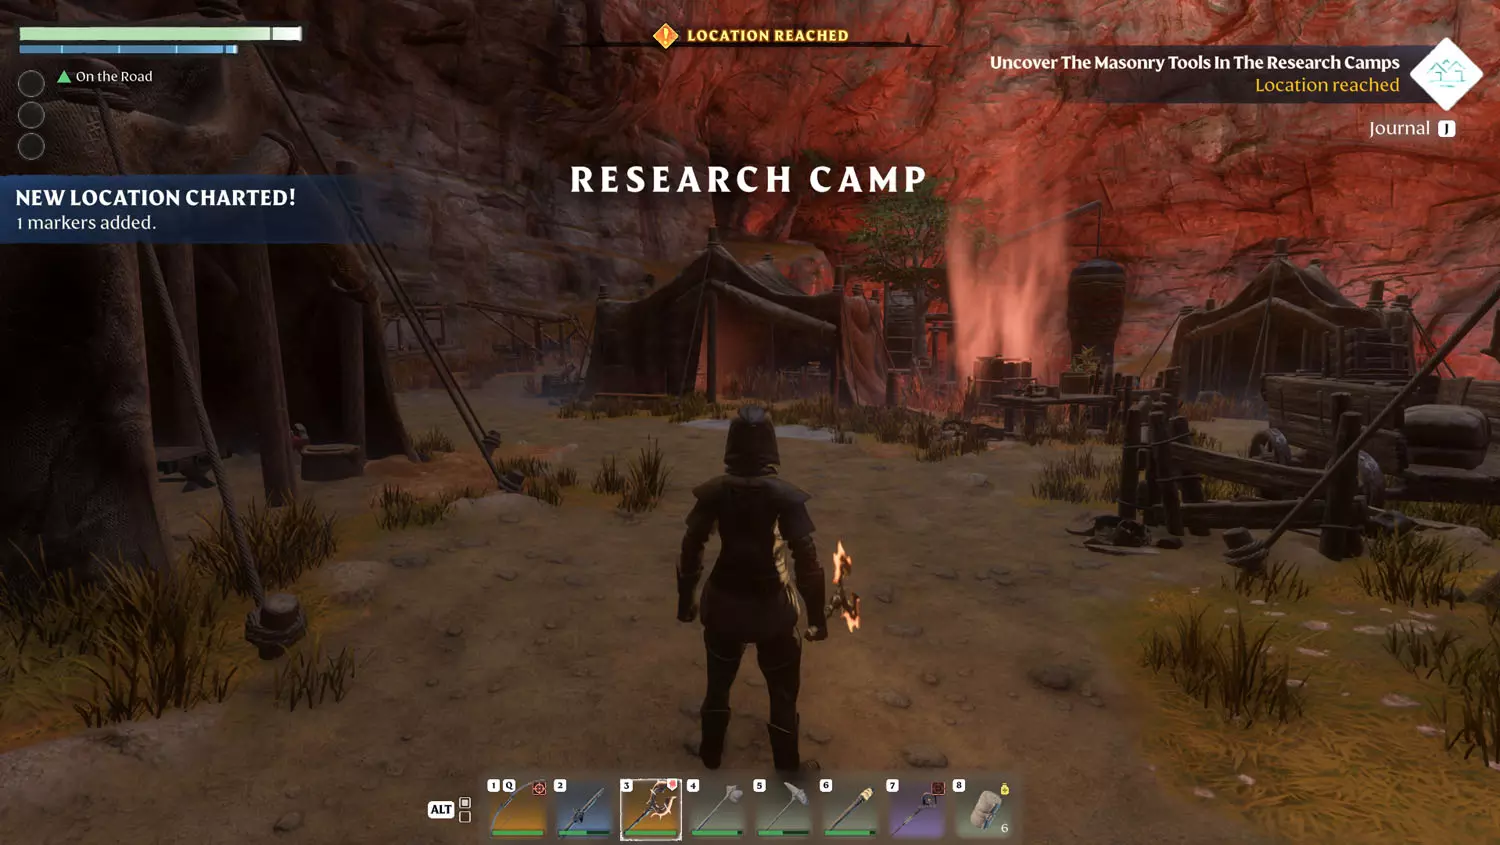
Outside is an Ancient Obelisk. A little further away is a pathway up to the Research Camp with the Masonry Tools. This is the path where the second, easier option meets up with the first path through the temple-like area.
Now then, Onward.
Path Two
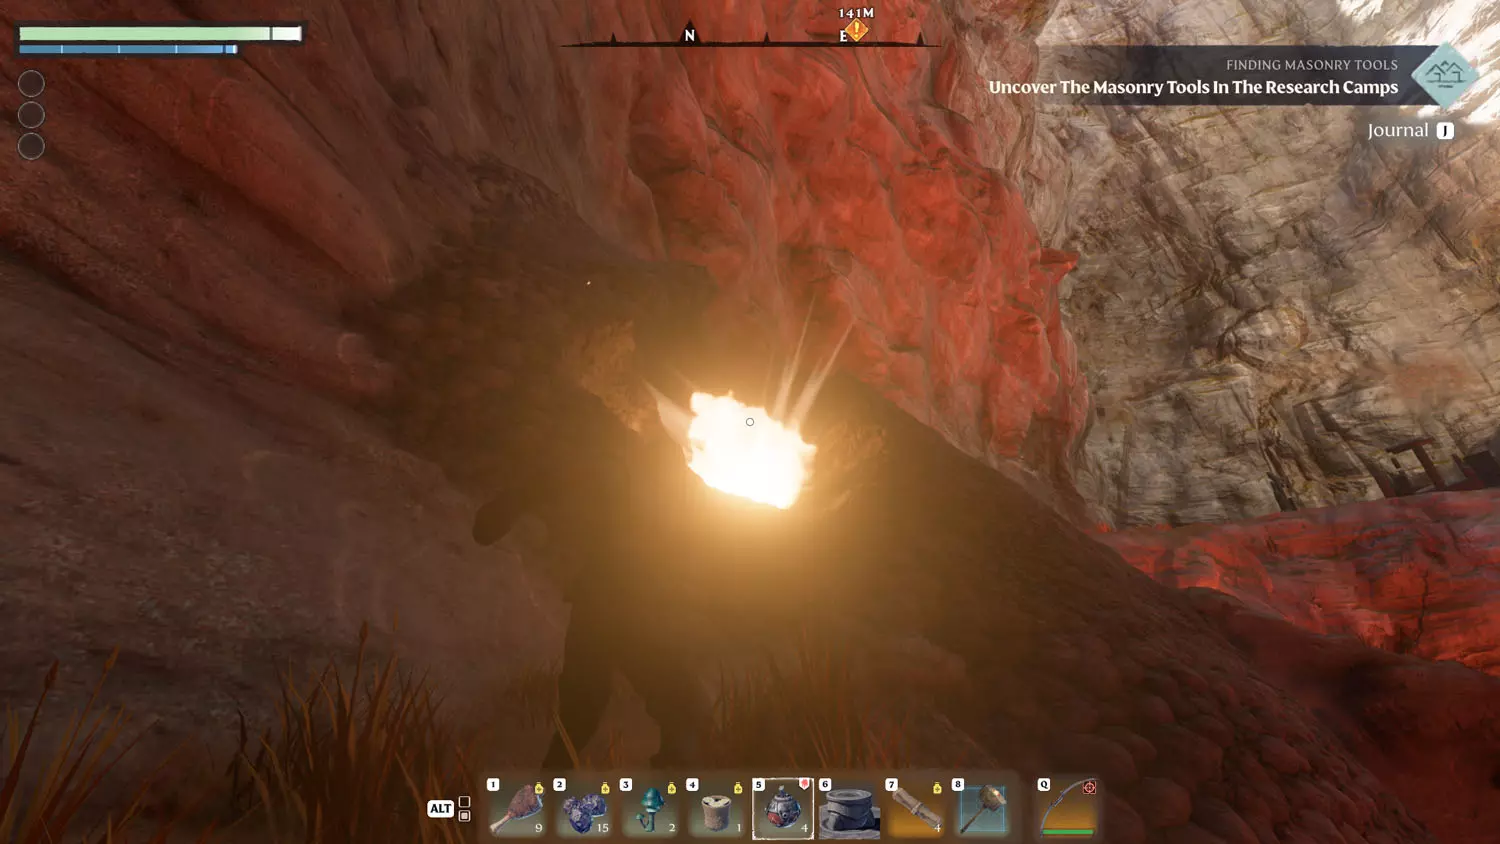
Instead of heading east and upward, head north and downward. To the left will be a revival spot as well as an entrance from the Shroud. To the right will be the Strange Structure (it looks like a massive doorway). Keep going and you will reach a rubble landslide. Careful! You can slip and fall here. The way to progress is by carving a path or blowing one up. I had too many bombs, so bombs away!
TIP: It took maybe 7-10 bombs. I just kept throwing them, so it may take you fewer.

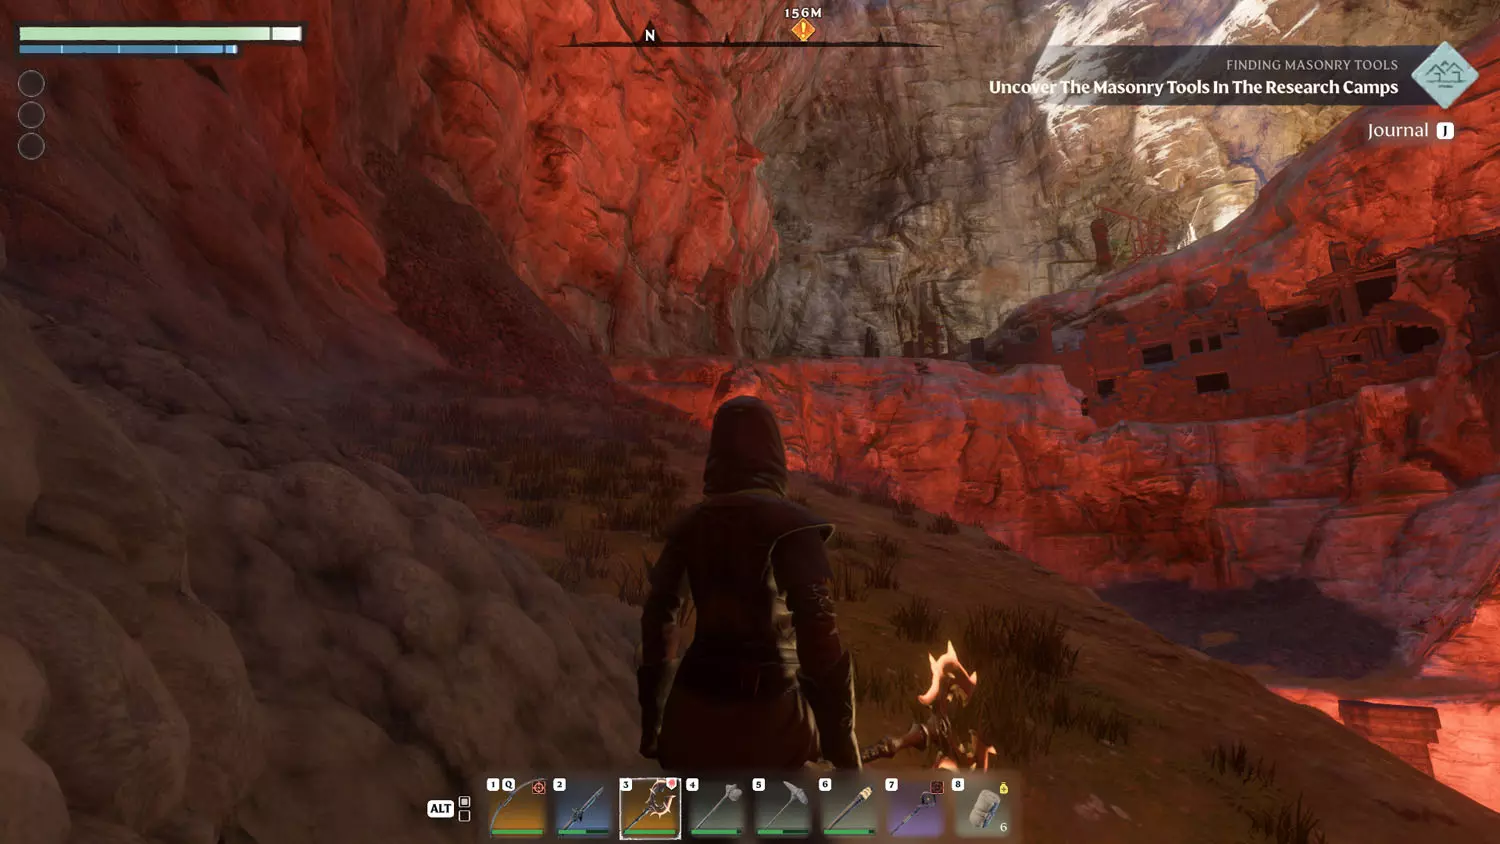
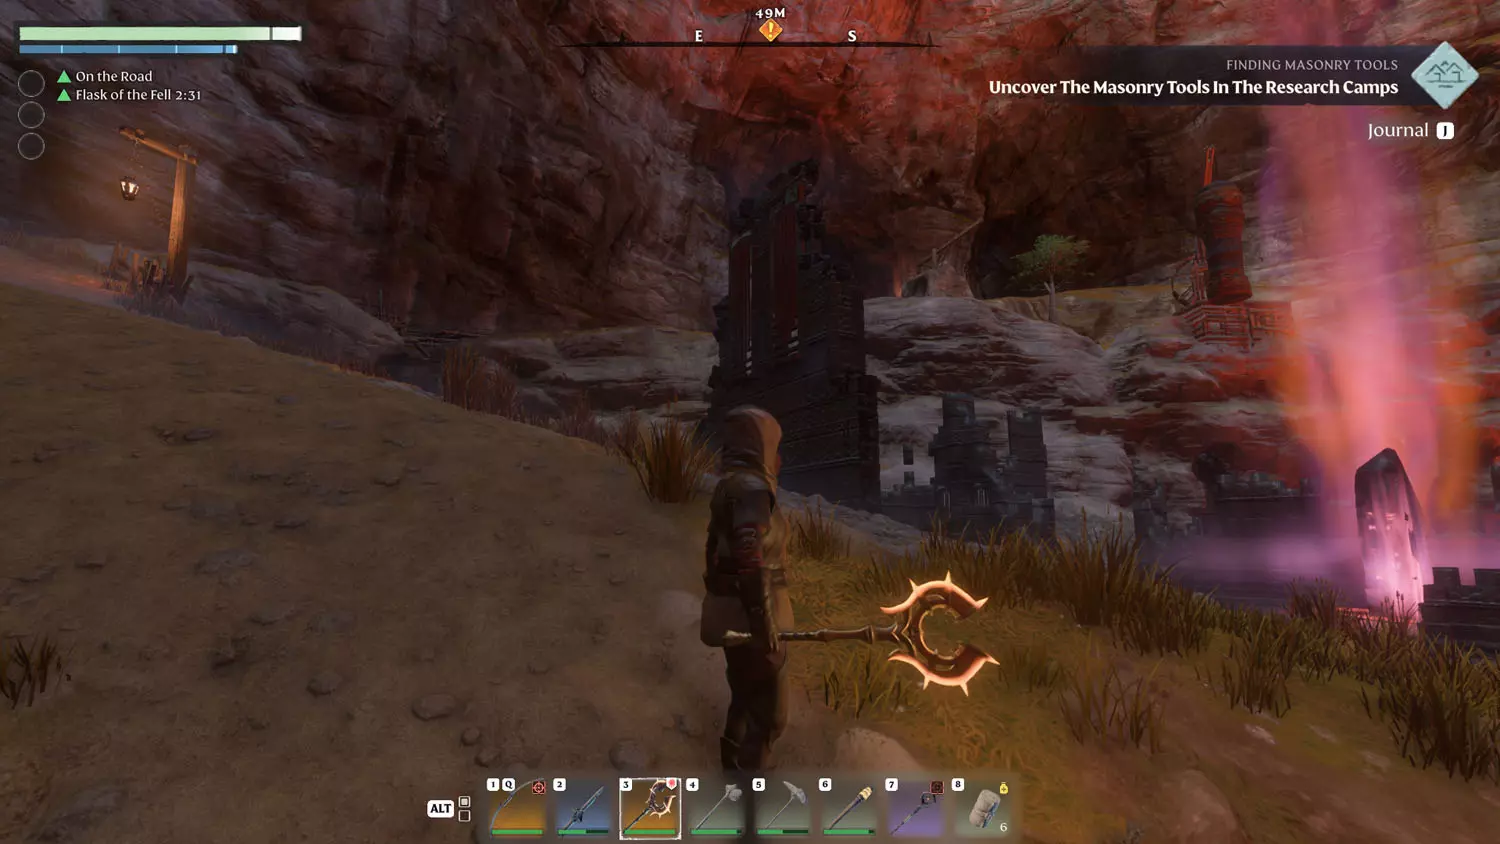
After that, it’s a simple walk to the Ancient Obelisk and the area where the first path ended.
Onward
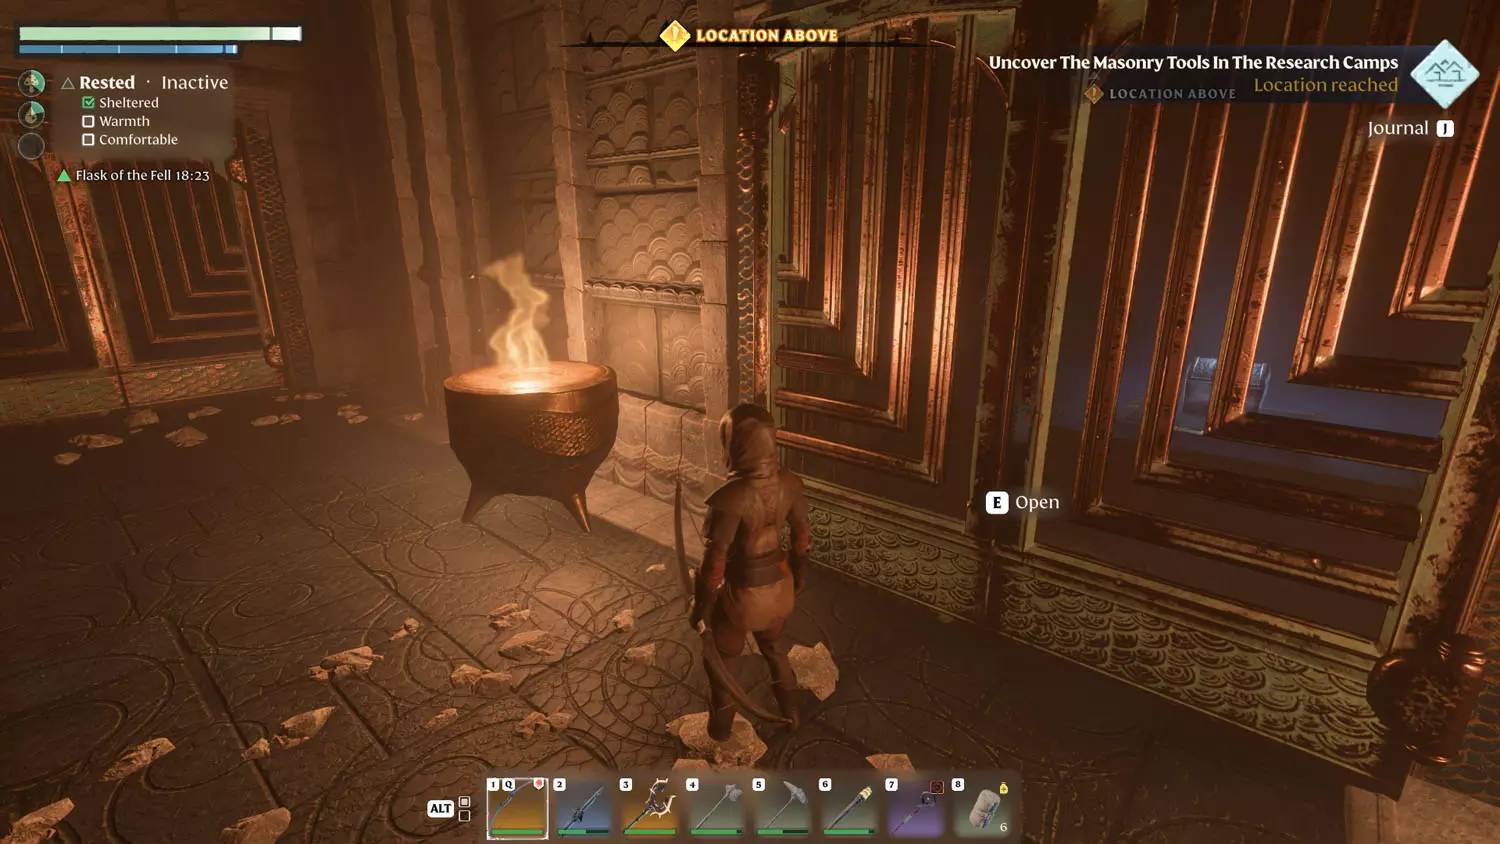
Keep going up and you will eventually reach the Research Camp. There is a red glowing mound (and some Lore!). The package is the Masonry Tools. Looting it will complete the second part of this quest.
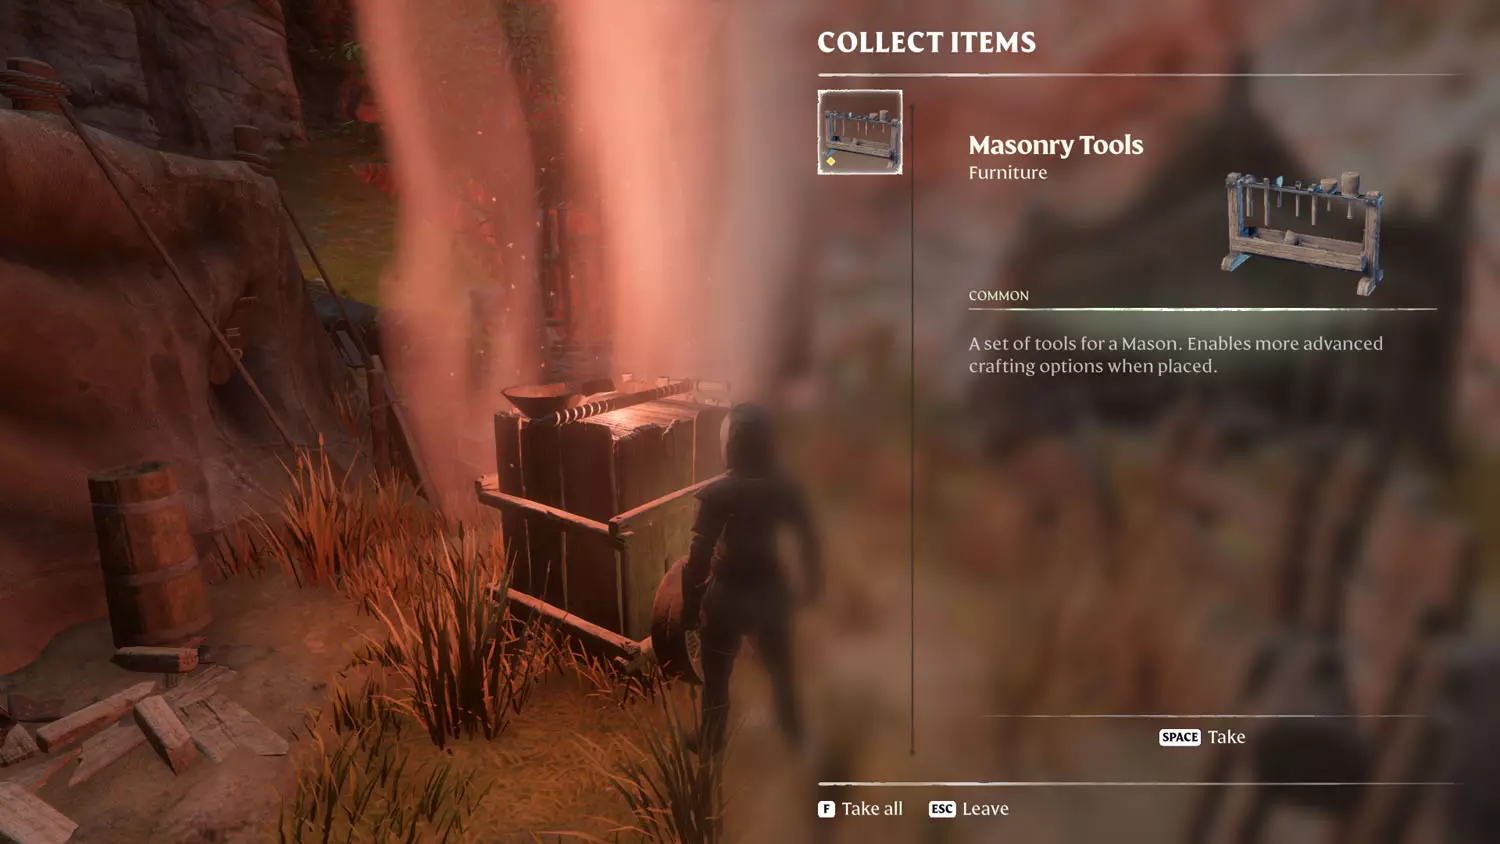
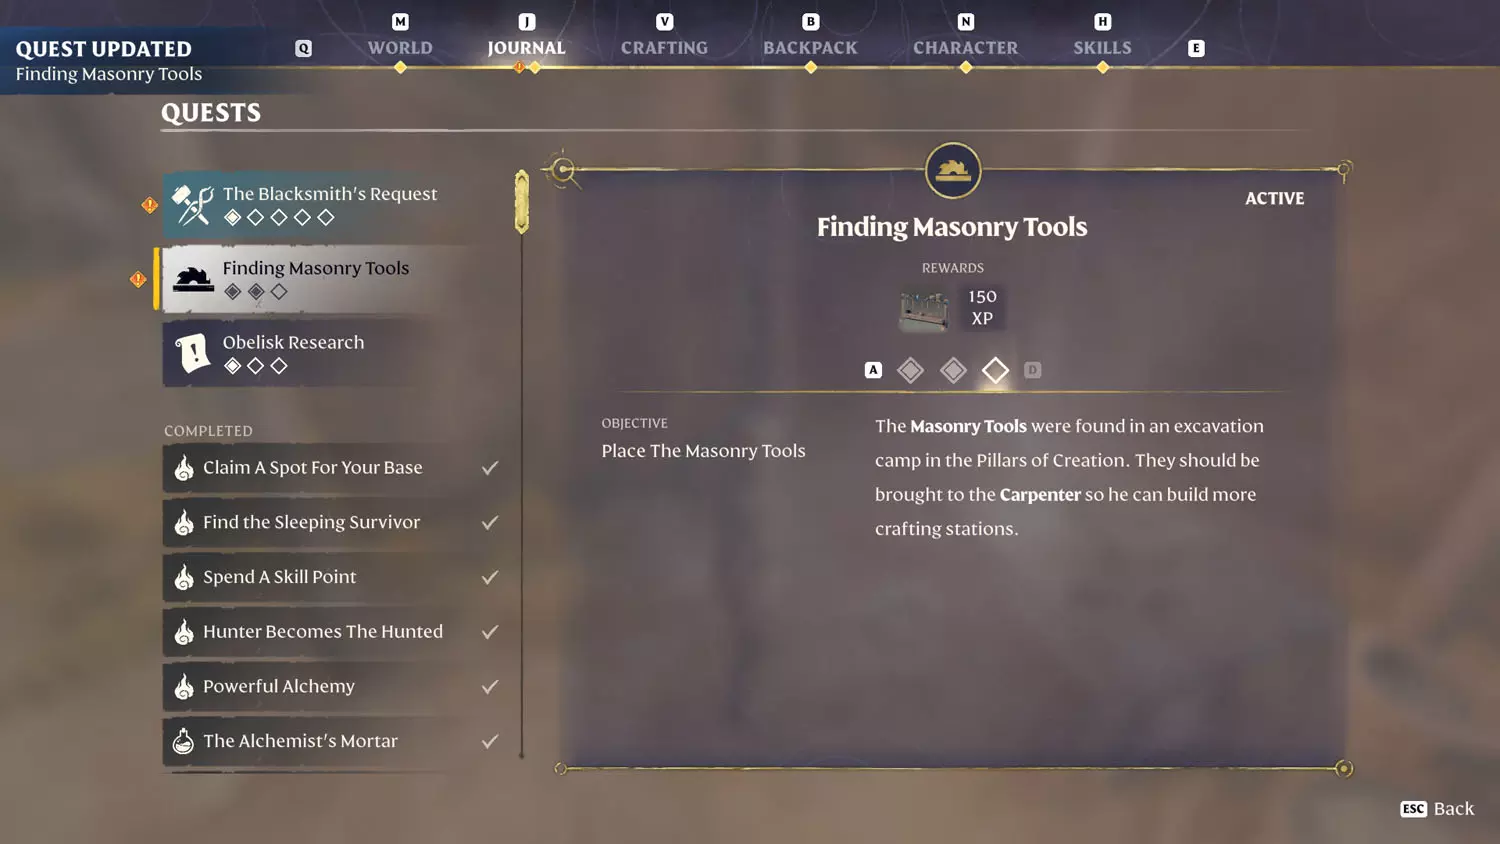
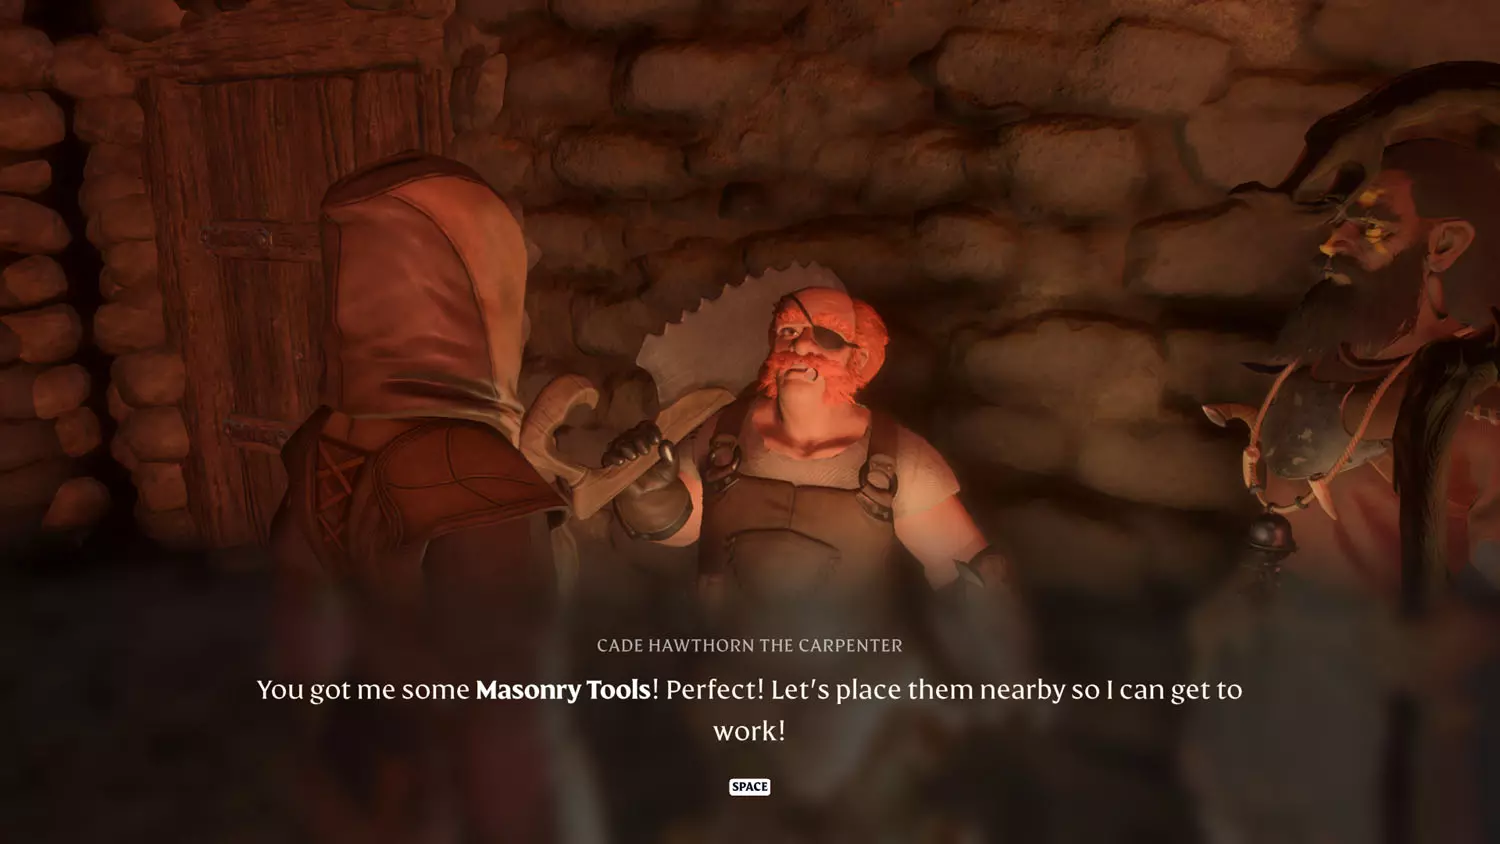
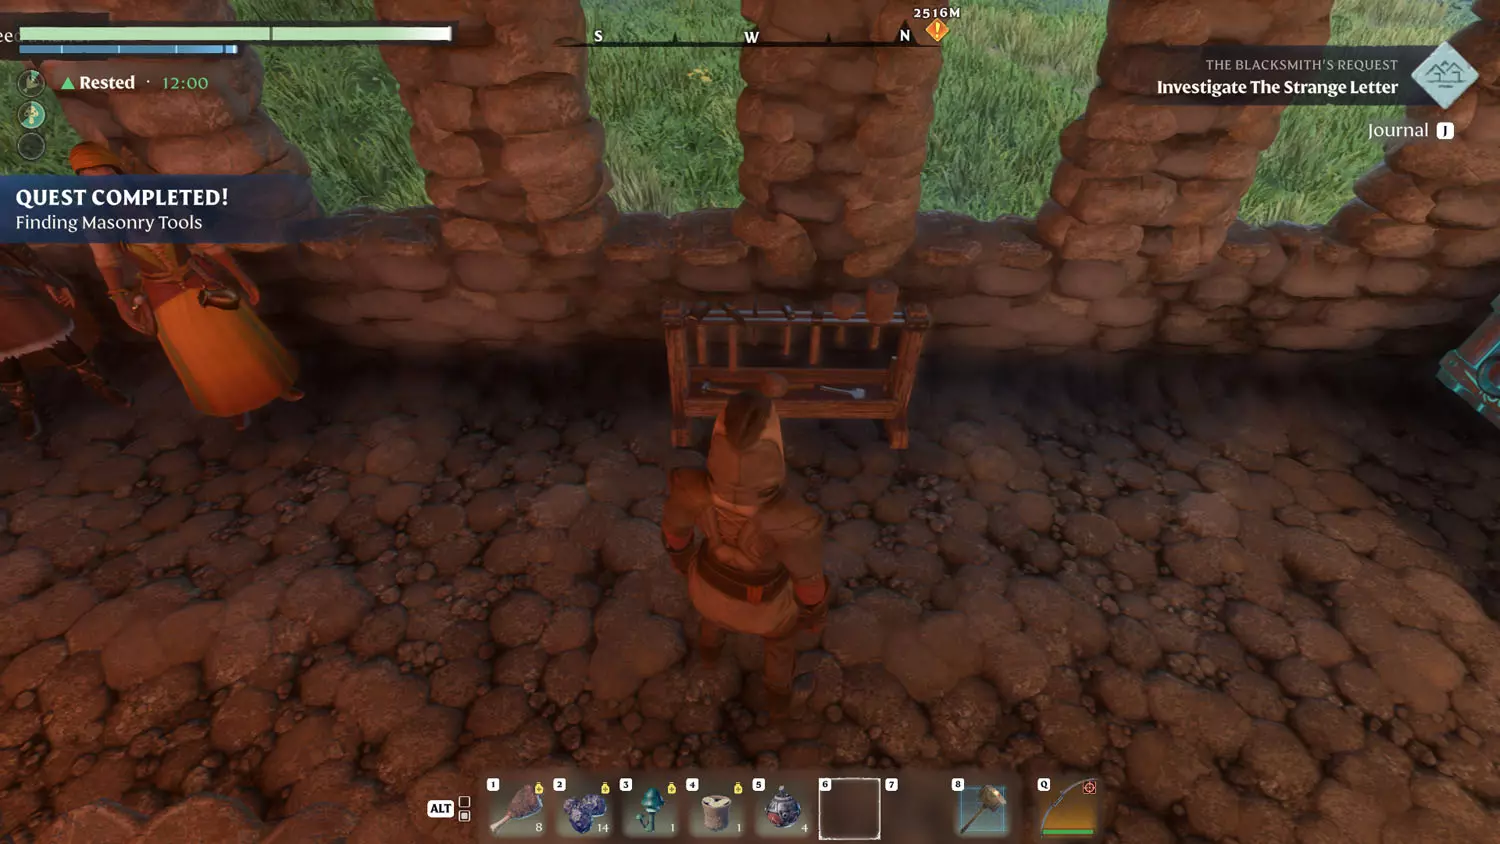
Head back to the Carpenter to complete the quest. Simply select the dialogue “Retrieved Masonry Tools” to continue. Then place the tools to complete the quest.
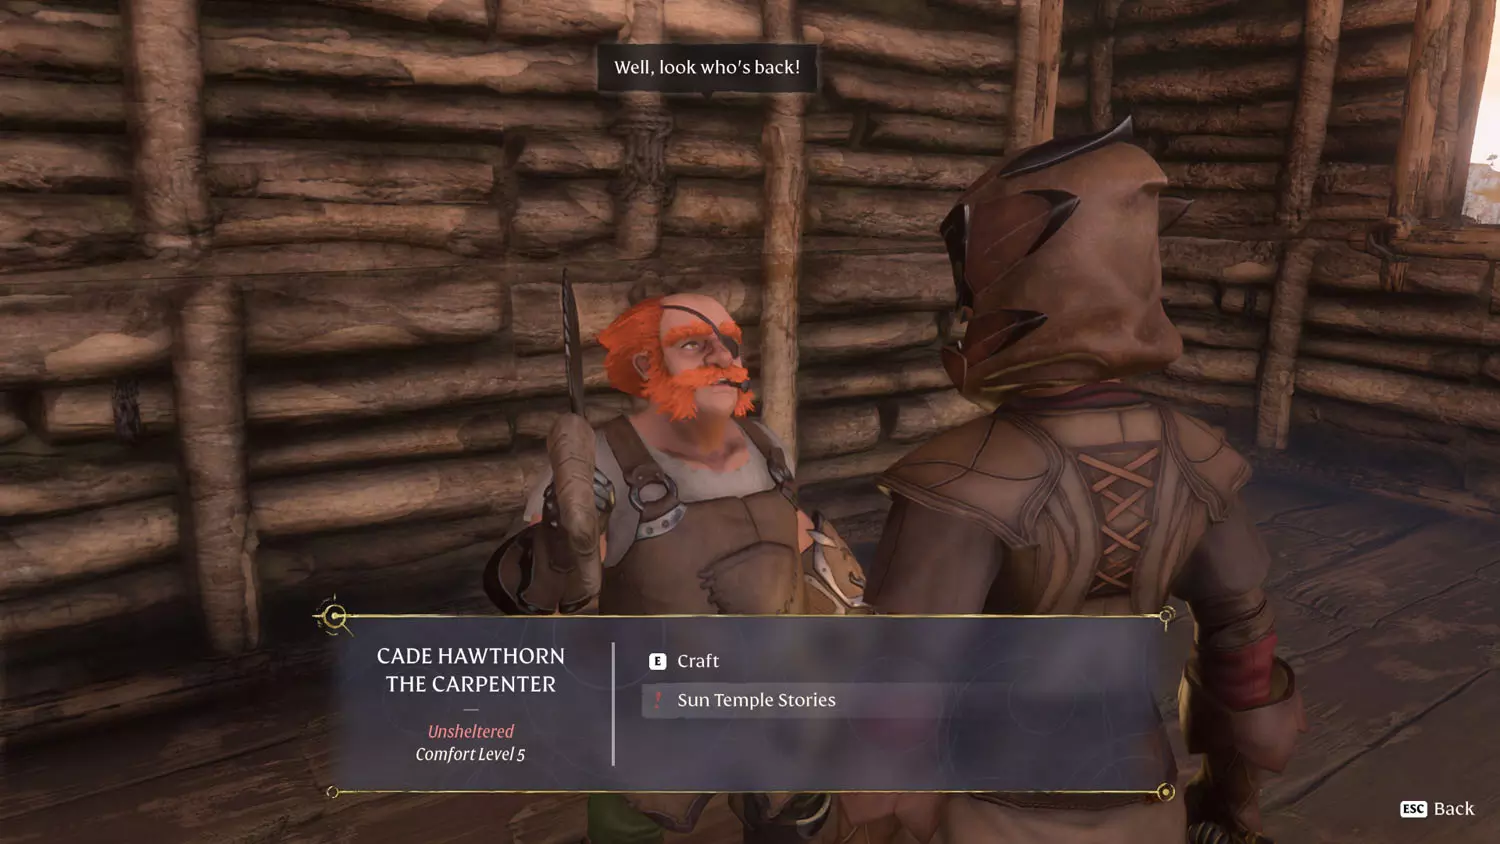
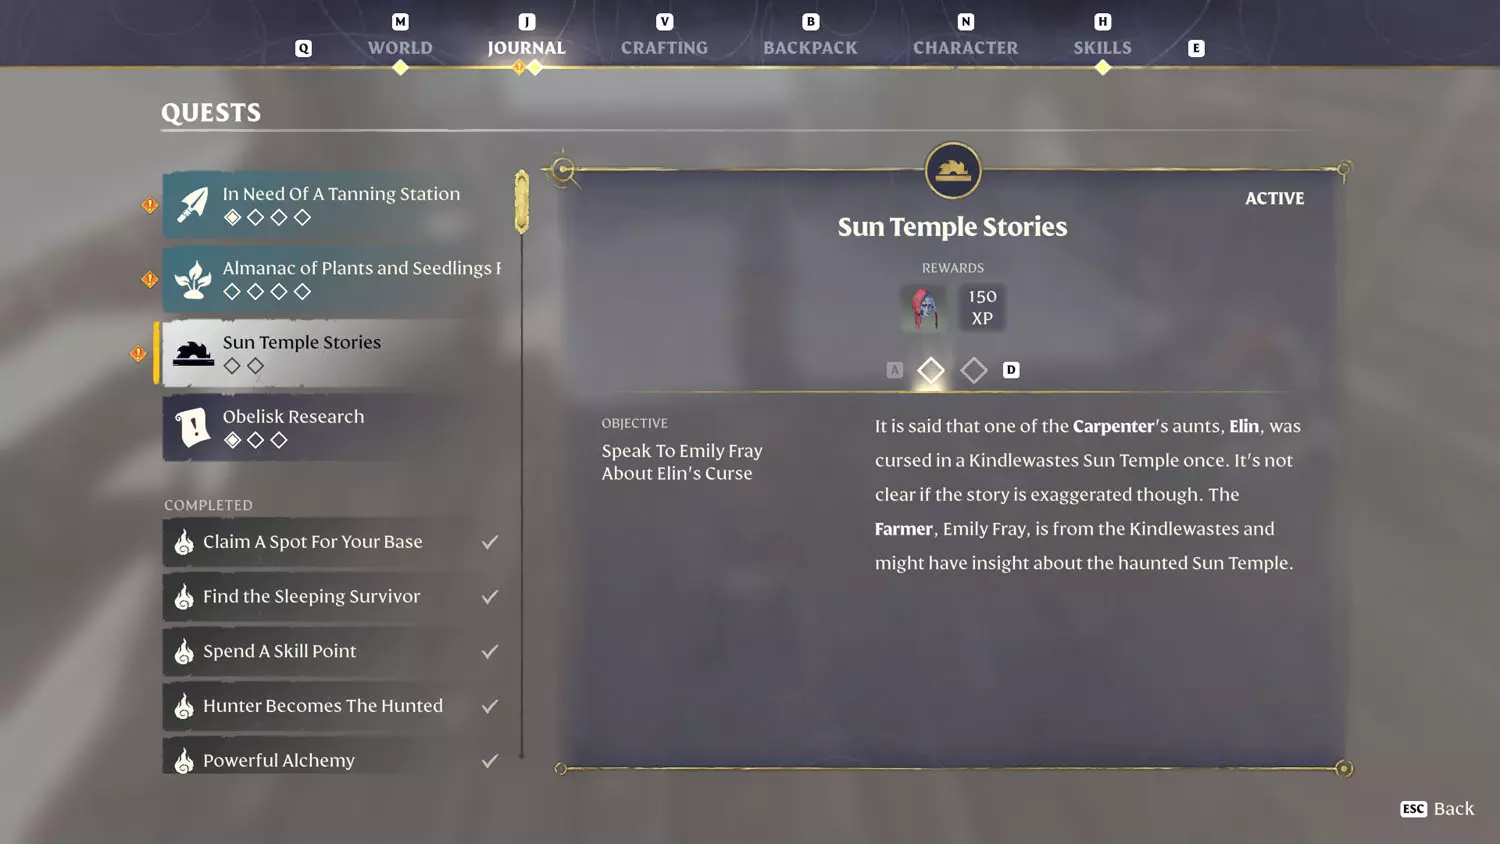
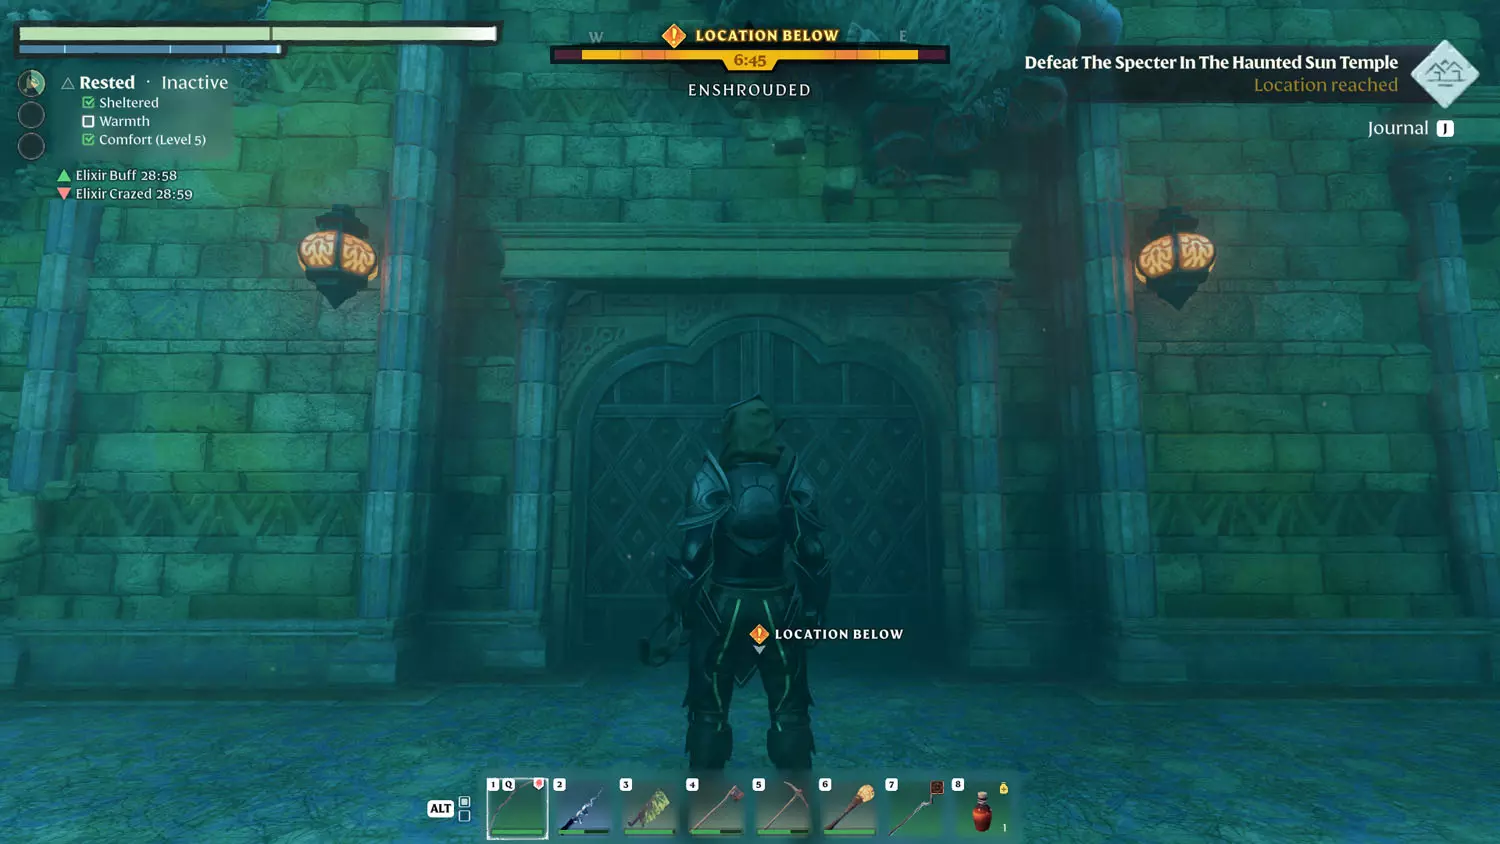
Sun Temple Stories
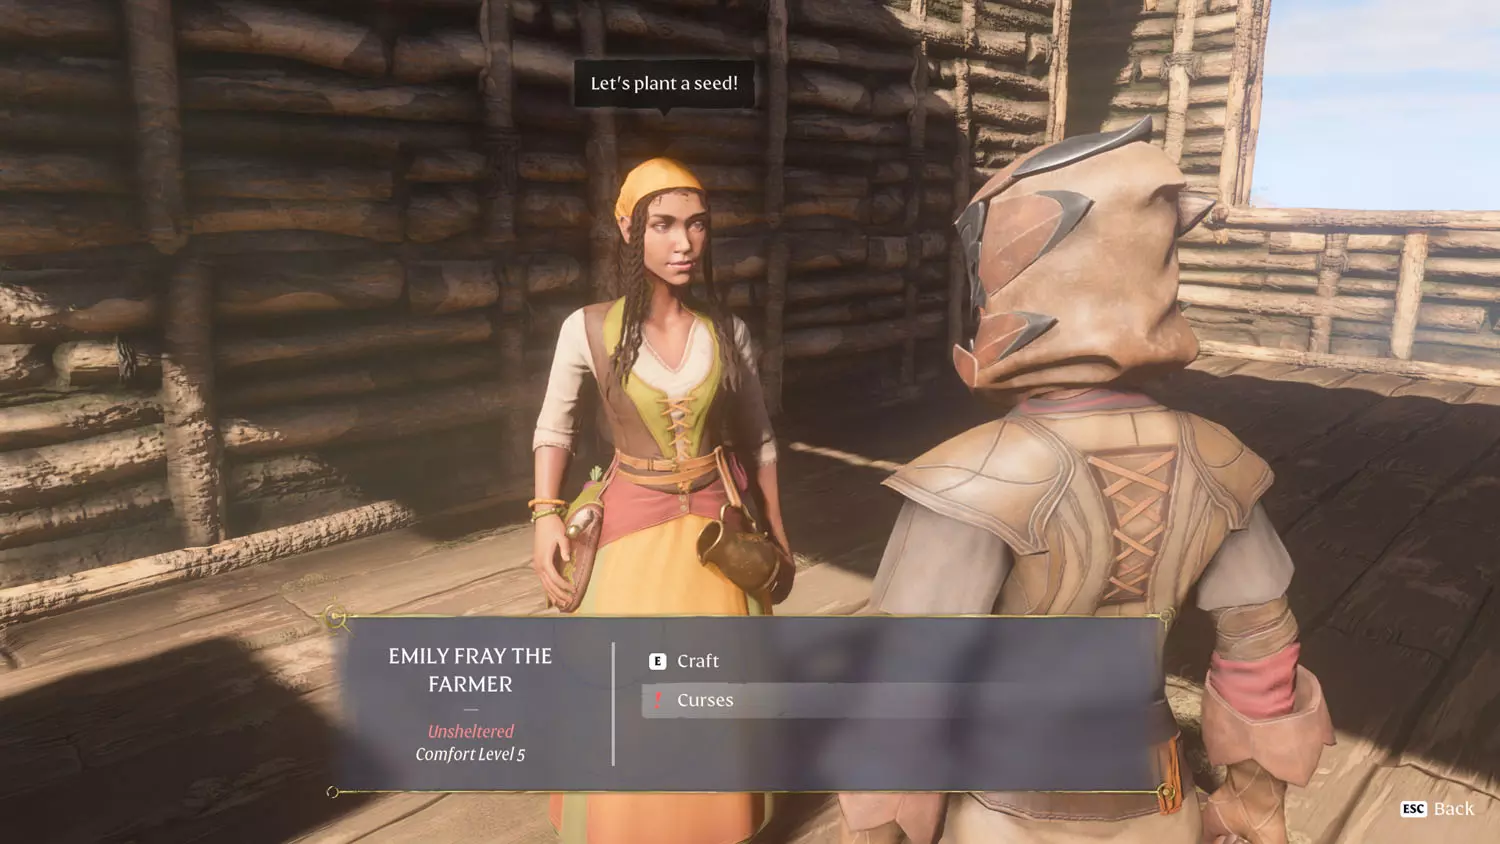
The Carpenter has the dialogue option “Sun Temple Stories” after you finish the Alchemist Quest: A Black Cauldron For The Alchemist. He’ll immediately want you to speak with Emily Fray, the Farmer. Select the “Curses” dialogue from Emily to finish the first part of the quest.

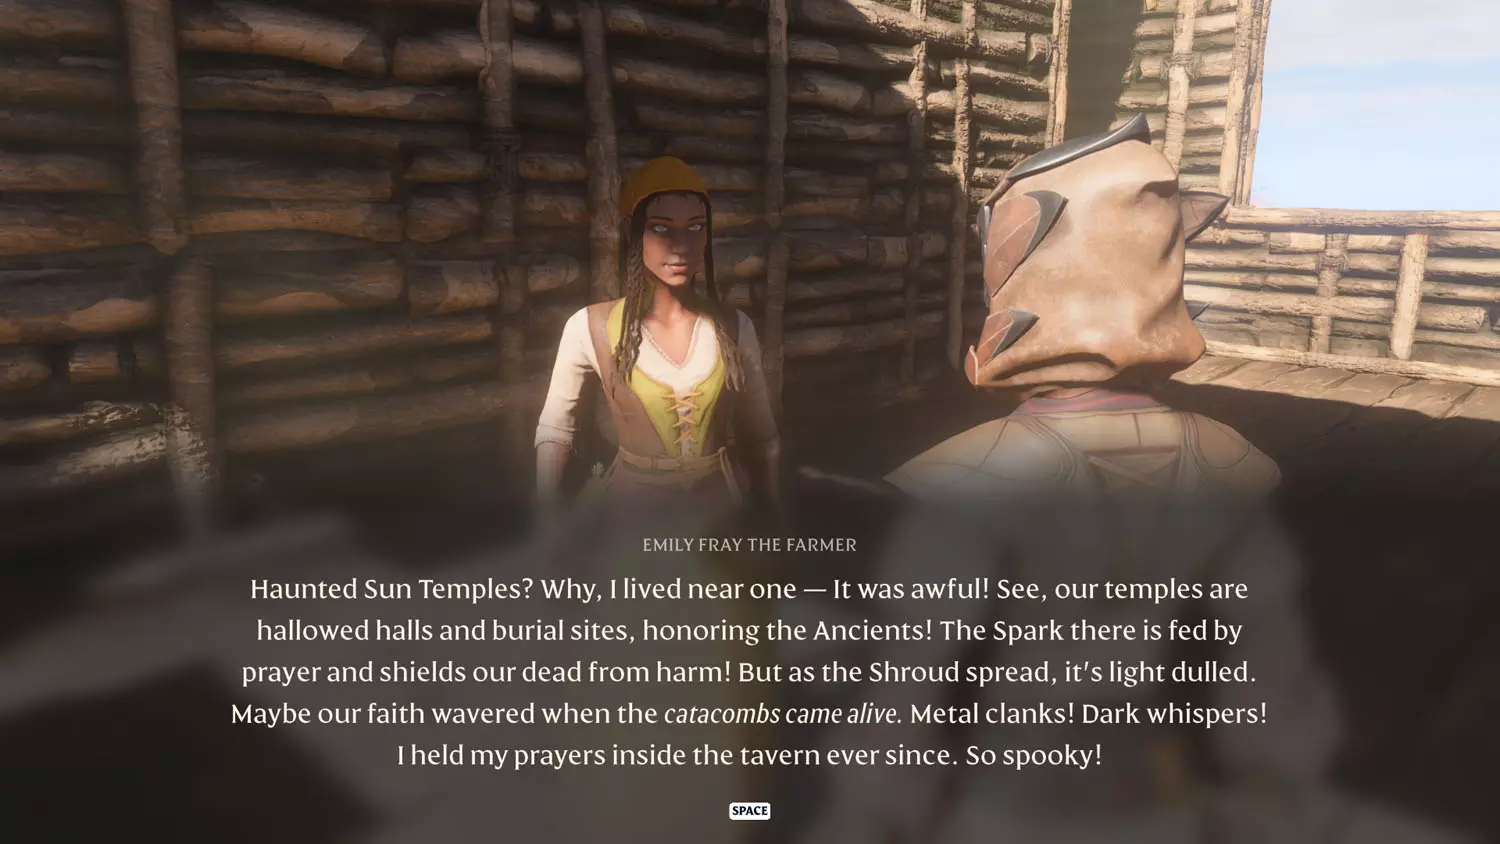
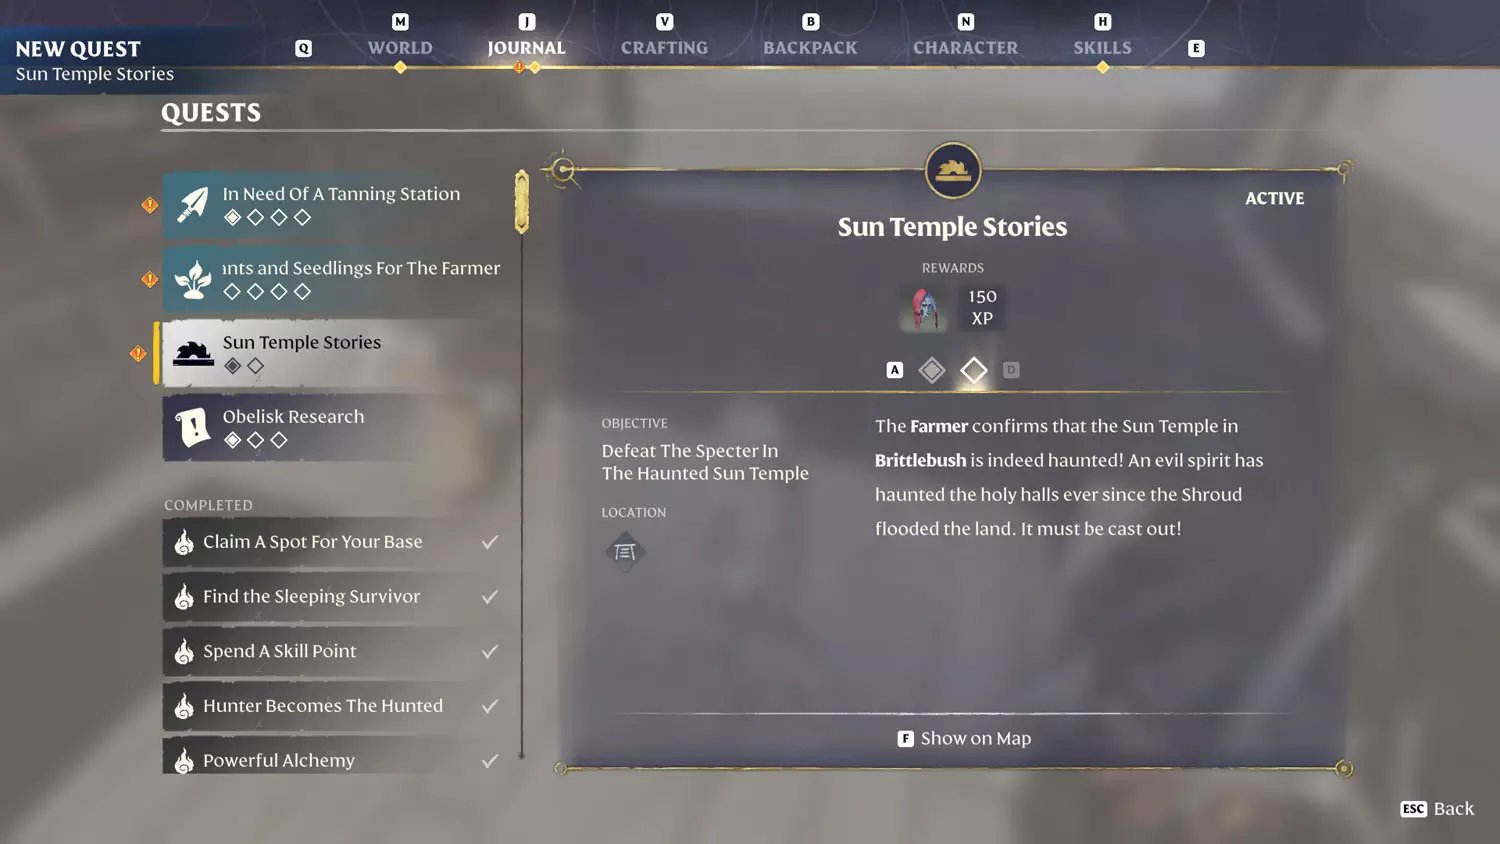
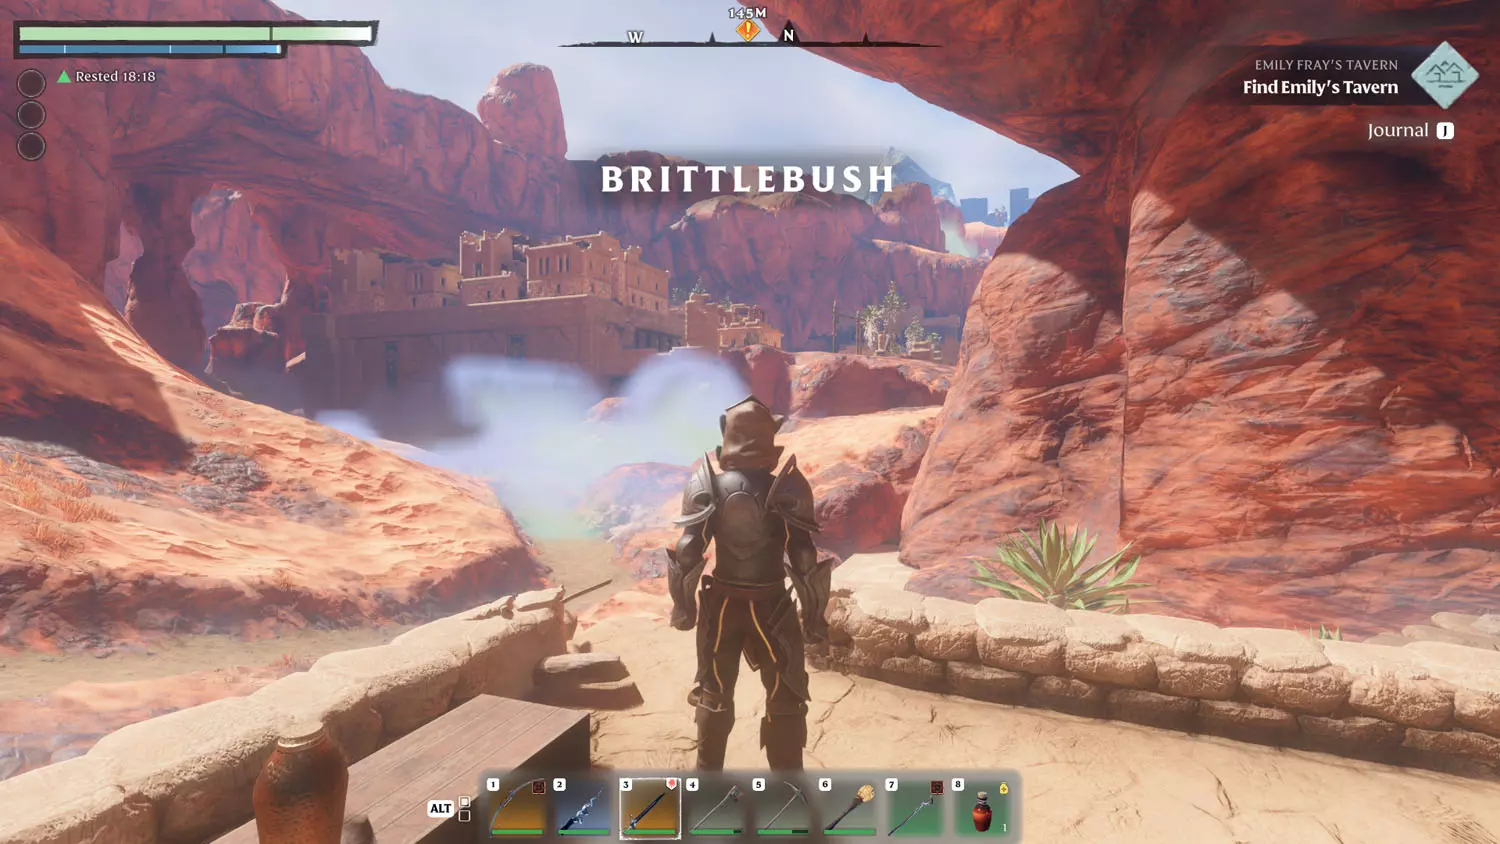
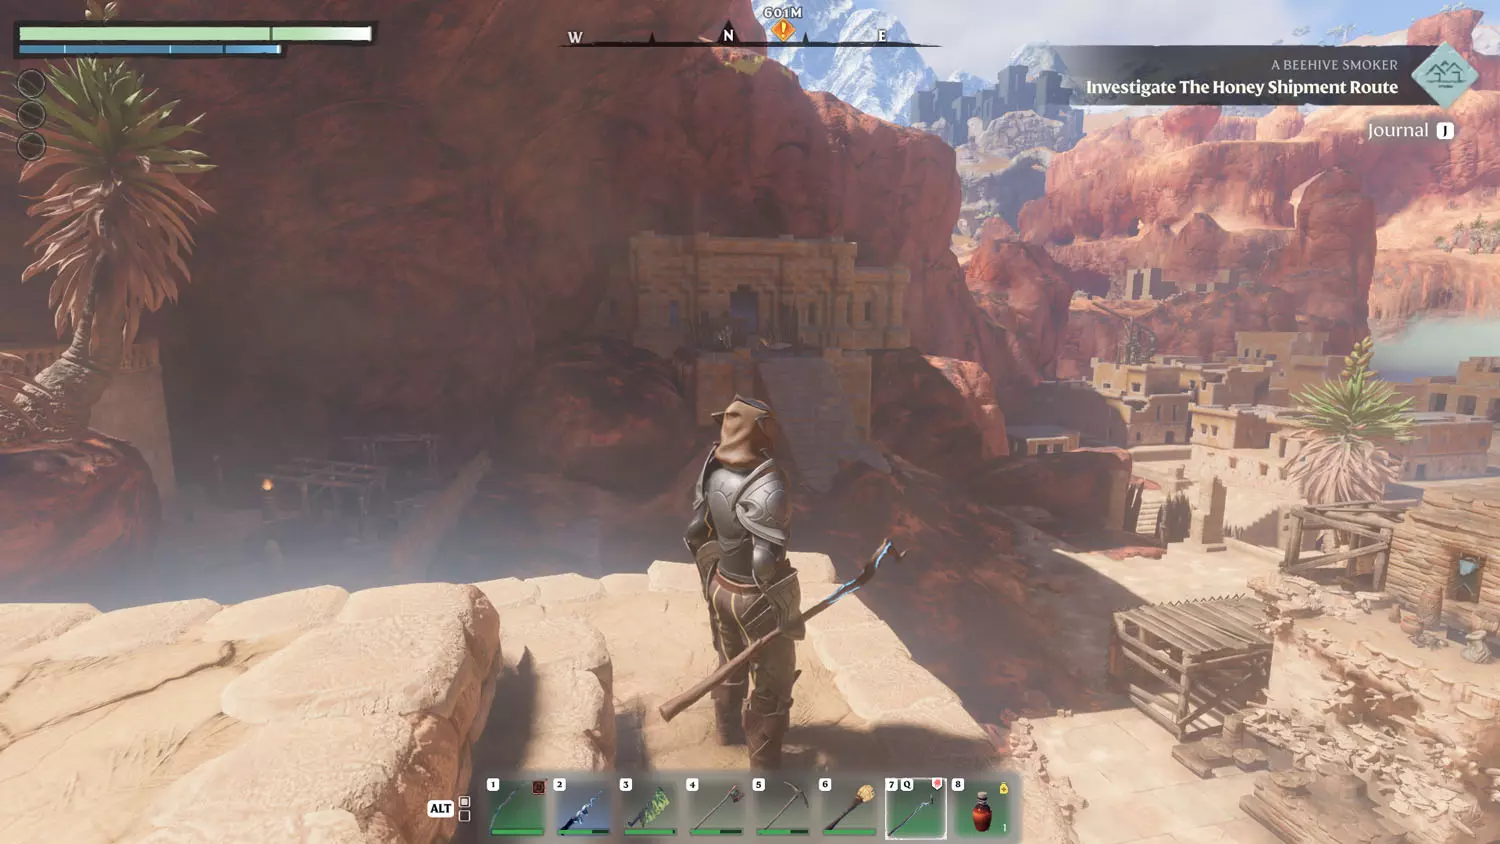
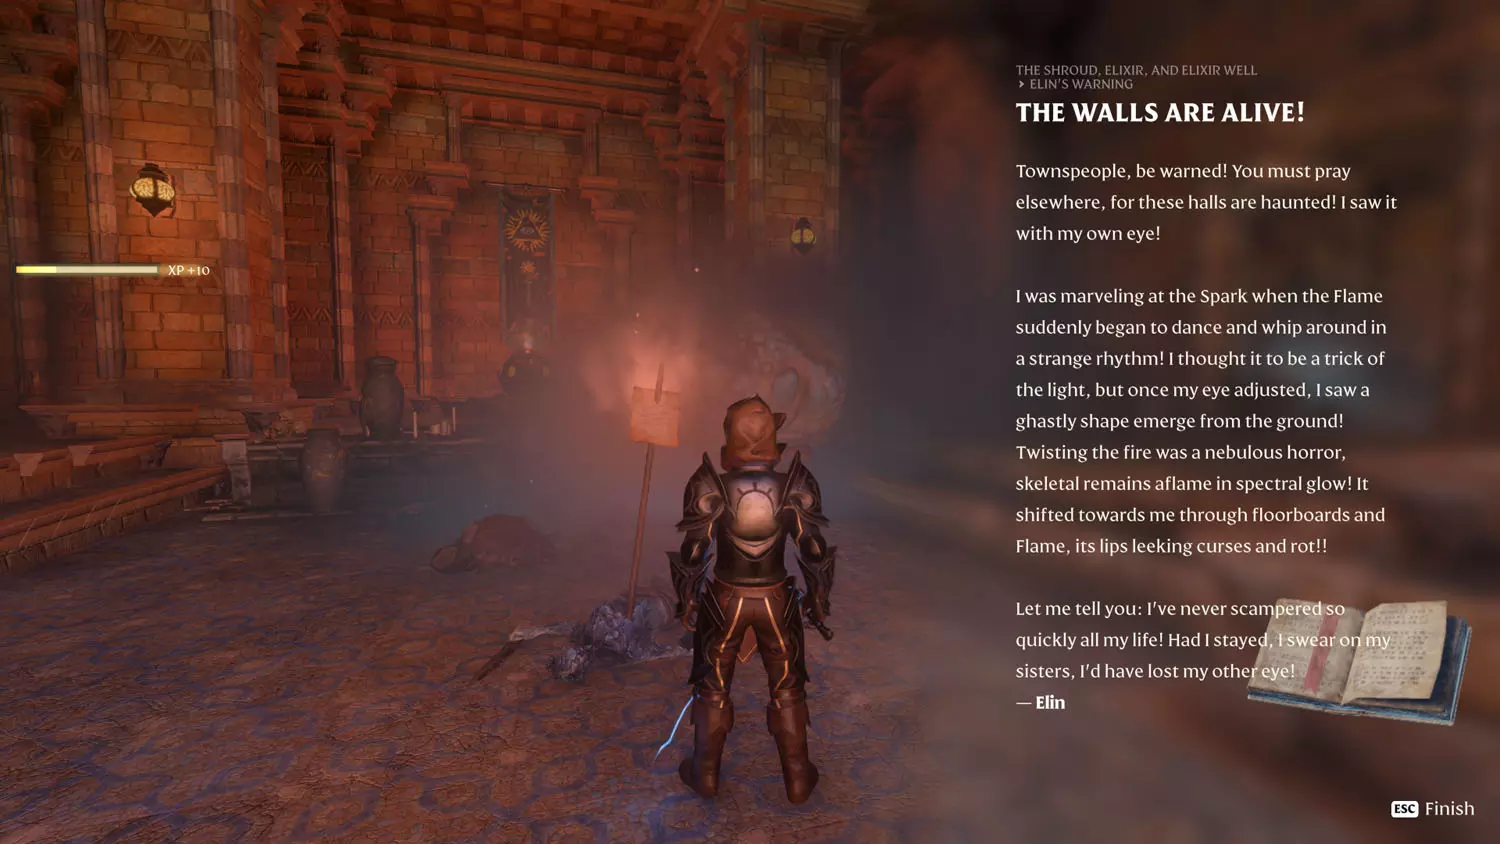
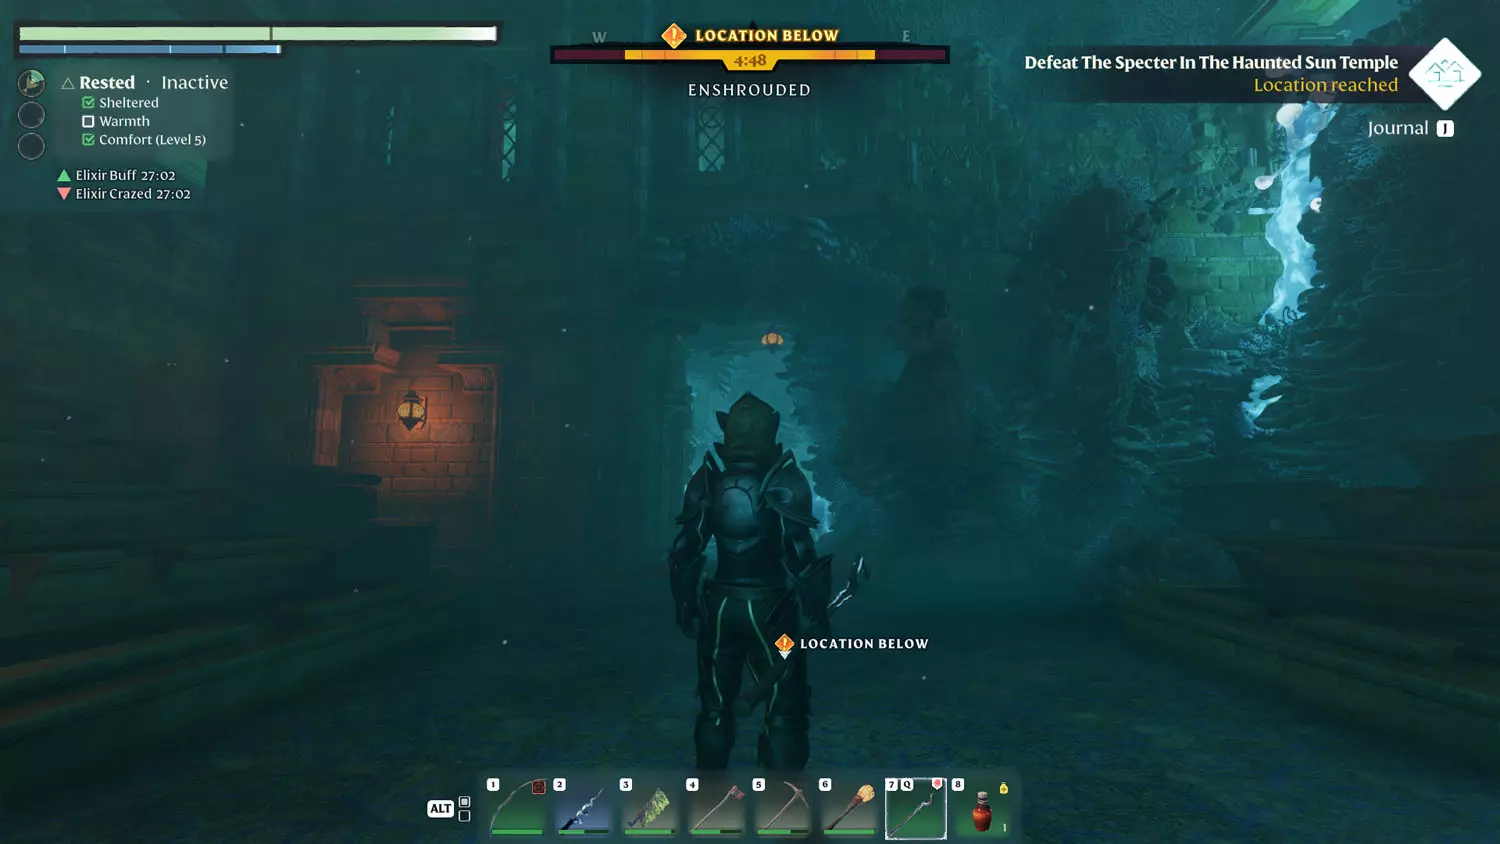
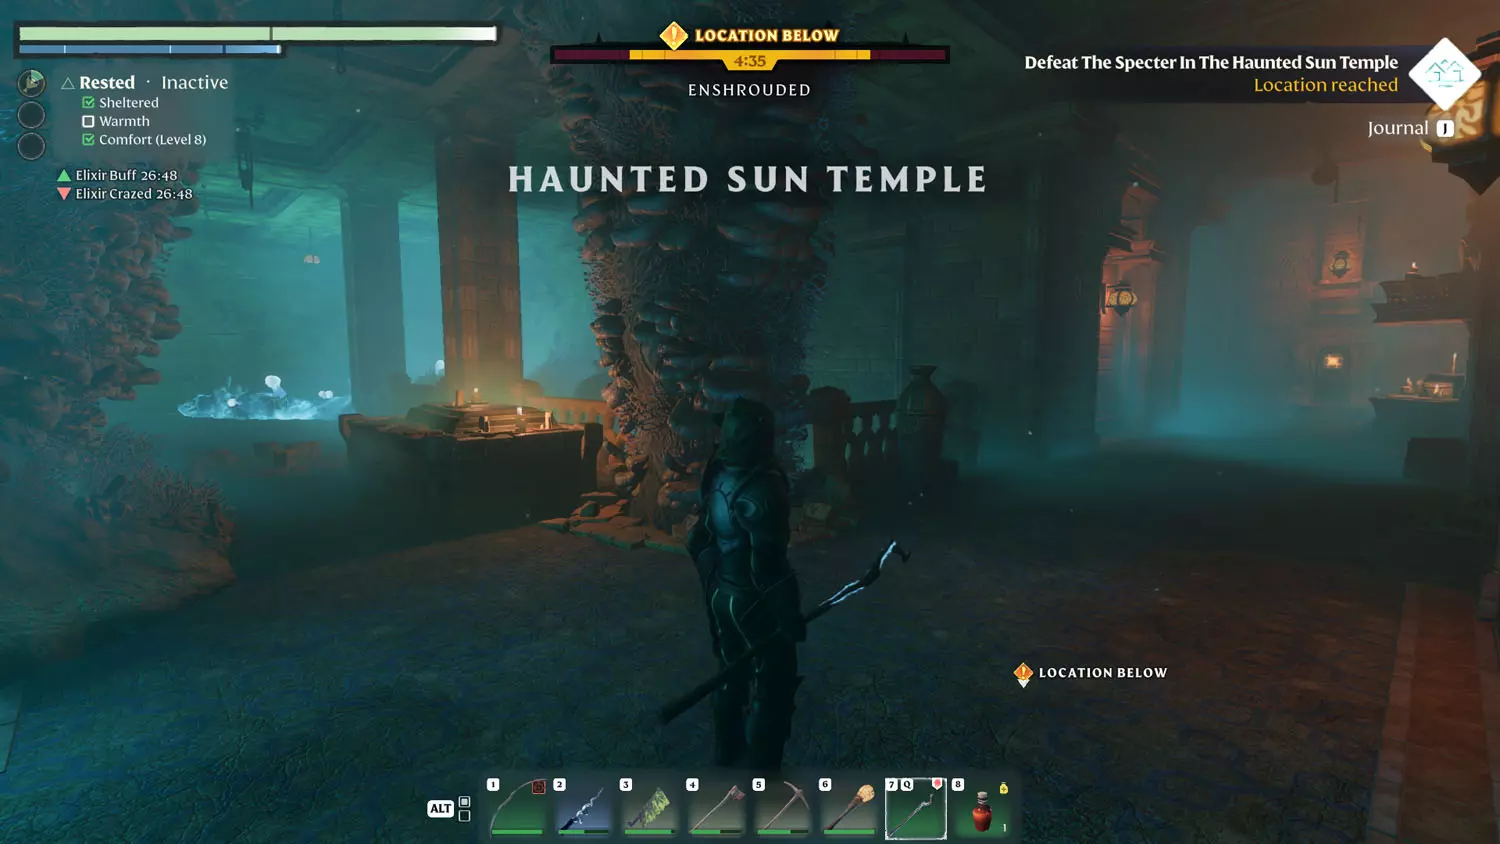
Head for Brittlebush! Once in the city, head for The Shroud, Elixir, and Elixir Well Lore: Elin’s Warning 1/1 The Walls Are Alive!. This will progress the quest. Now, it’s time for a dungeon! From atop Emily Fray’s Tavern, you can see the temple / Lore you are after.
TIP: Two other quests are in this town - Farmer Quest: Beehive Smoker, which is moved along when you read General Lore: Honey Misery 1/1 No Honey!. The other is a Building Block Quest: Emily Fray’s Tavern - Desert City Wall.
TIP: Inside the city is also the General Lore: Emily Fray’s Tavern 1/3 Emily Fray’s Diary, Entry 1.

The first part of the dungeon is pretty straight forward. It isn’t until you reach a locked door that pathways start splitting off. Even so, it is still easy enough. First is a big open room (blue tinted). Next comes stairs on either side and a staircase going down. Head up the stairs on your right and you will find a button on a wall (and enemies - they’re everywhere really).
Next, head back down the stairs and take the path downward. Then, take the path to the left where there is a button. [To the right of that same path is Shroud Water (lava floor) and a Wood Chest.]
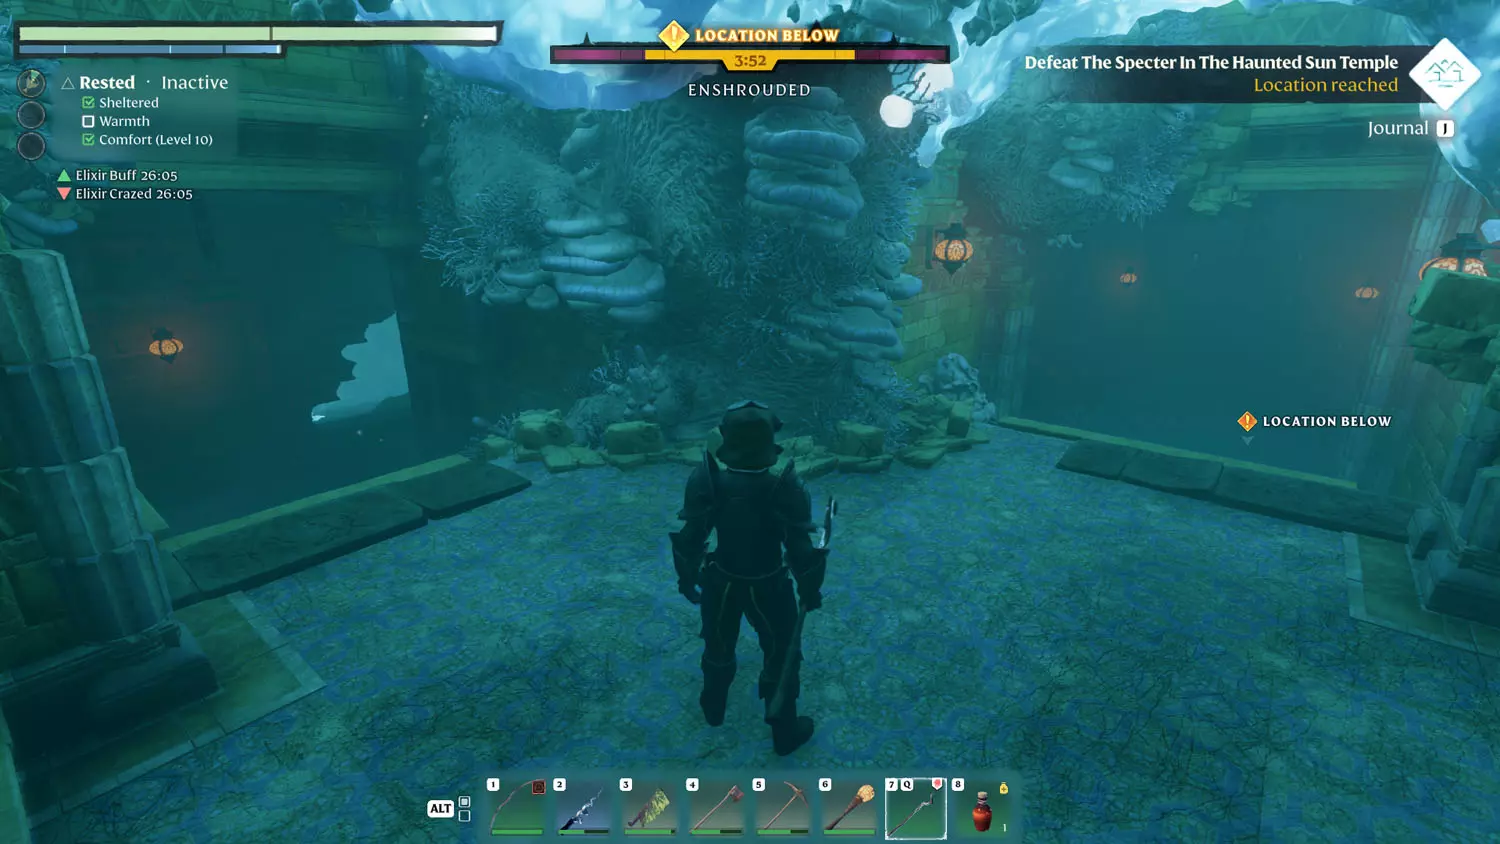
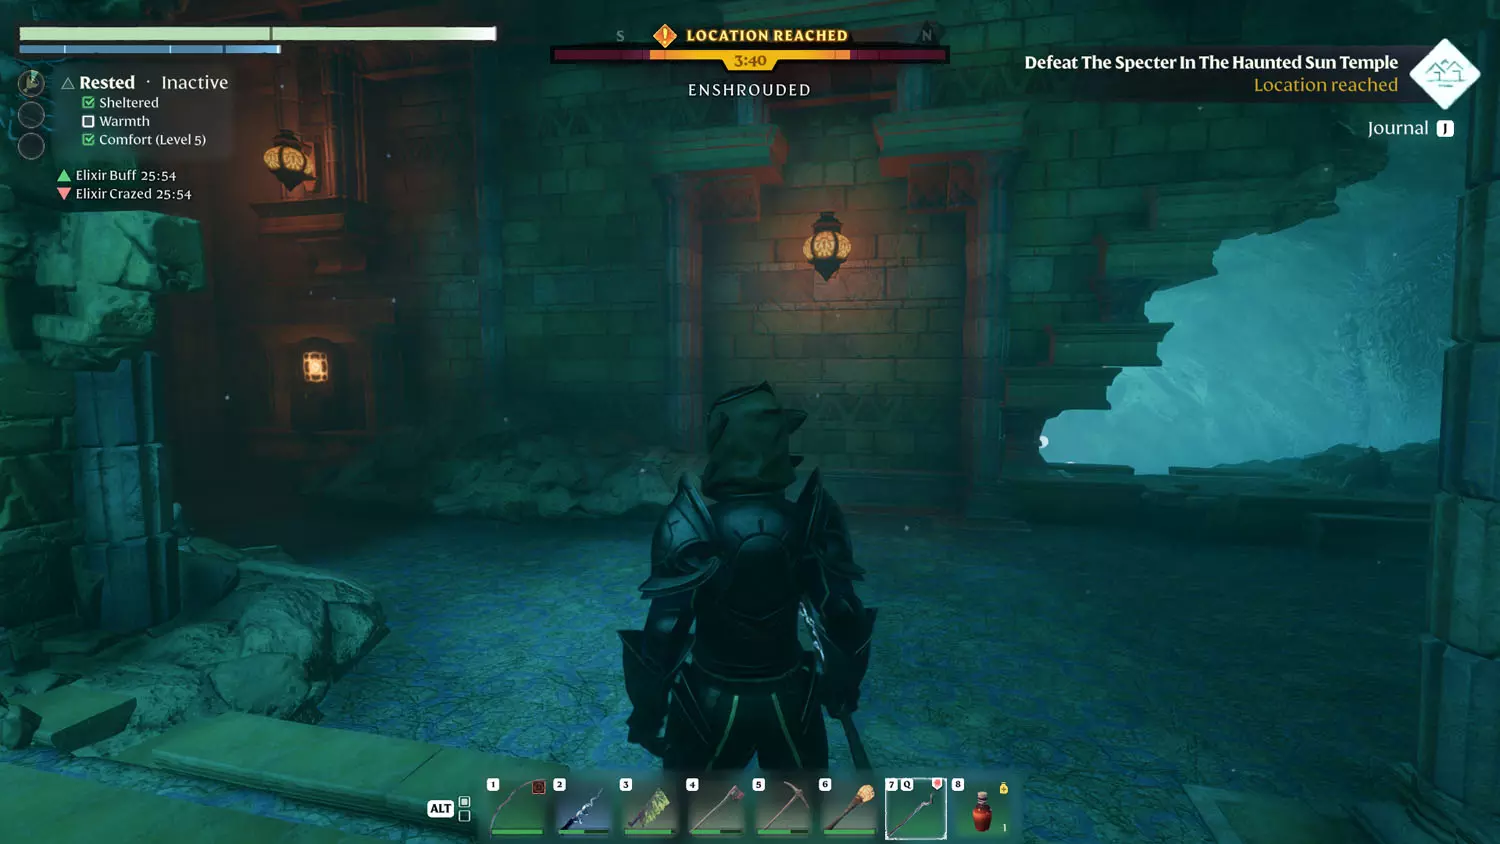
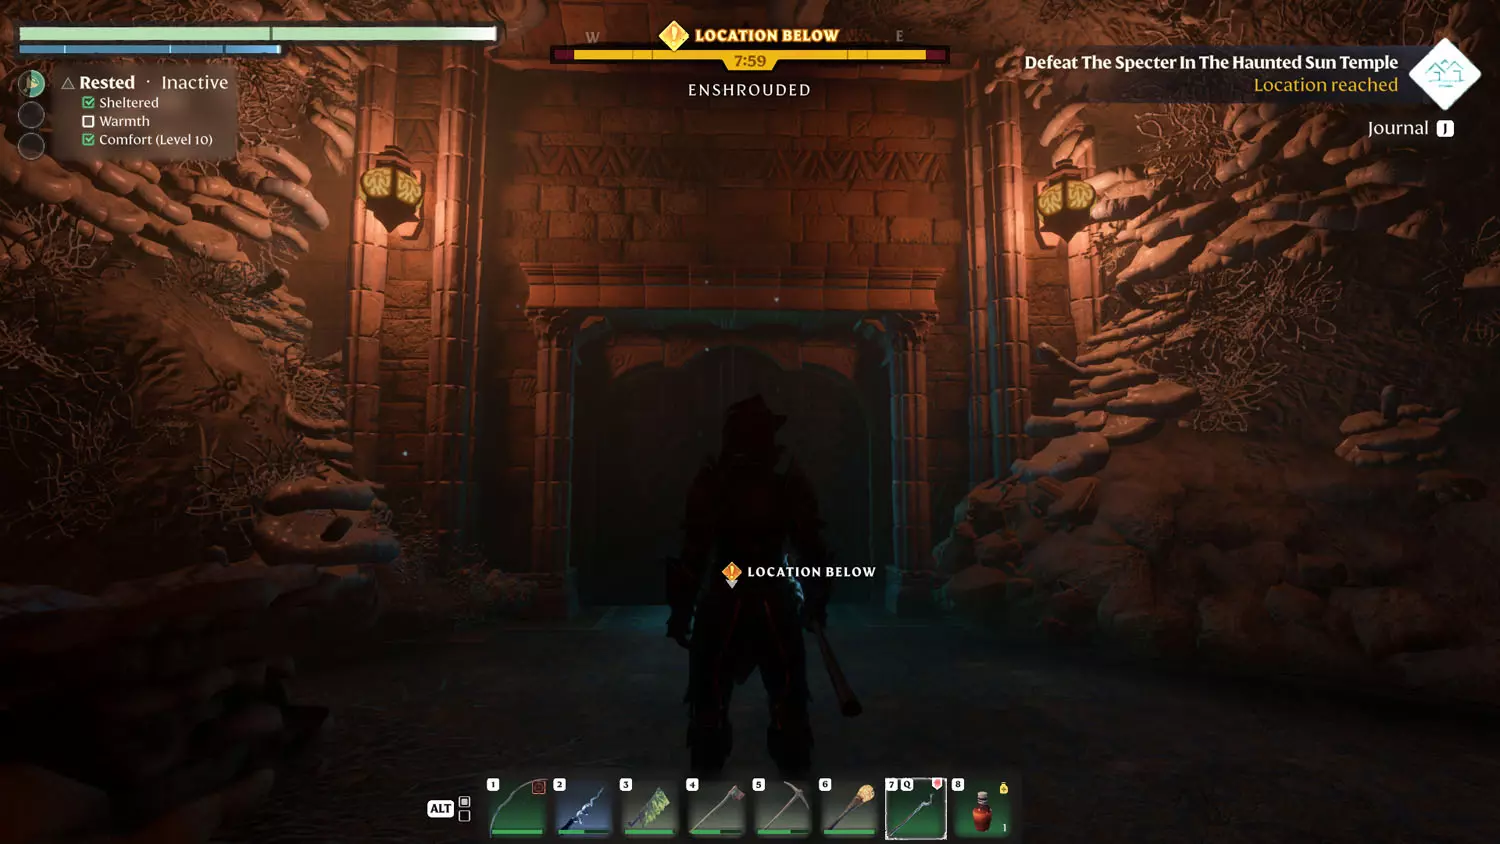
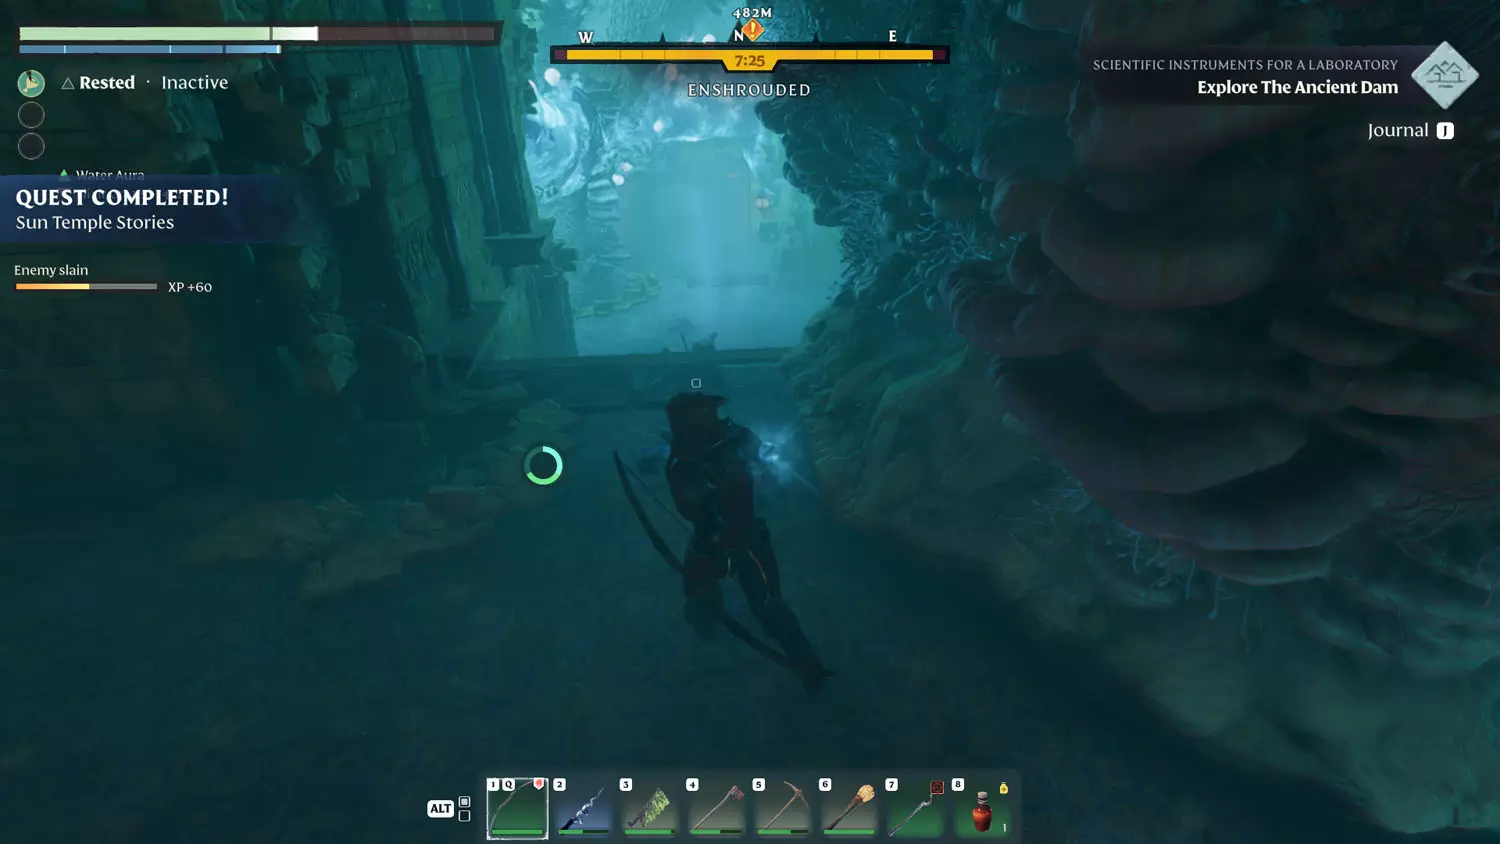
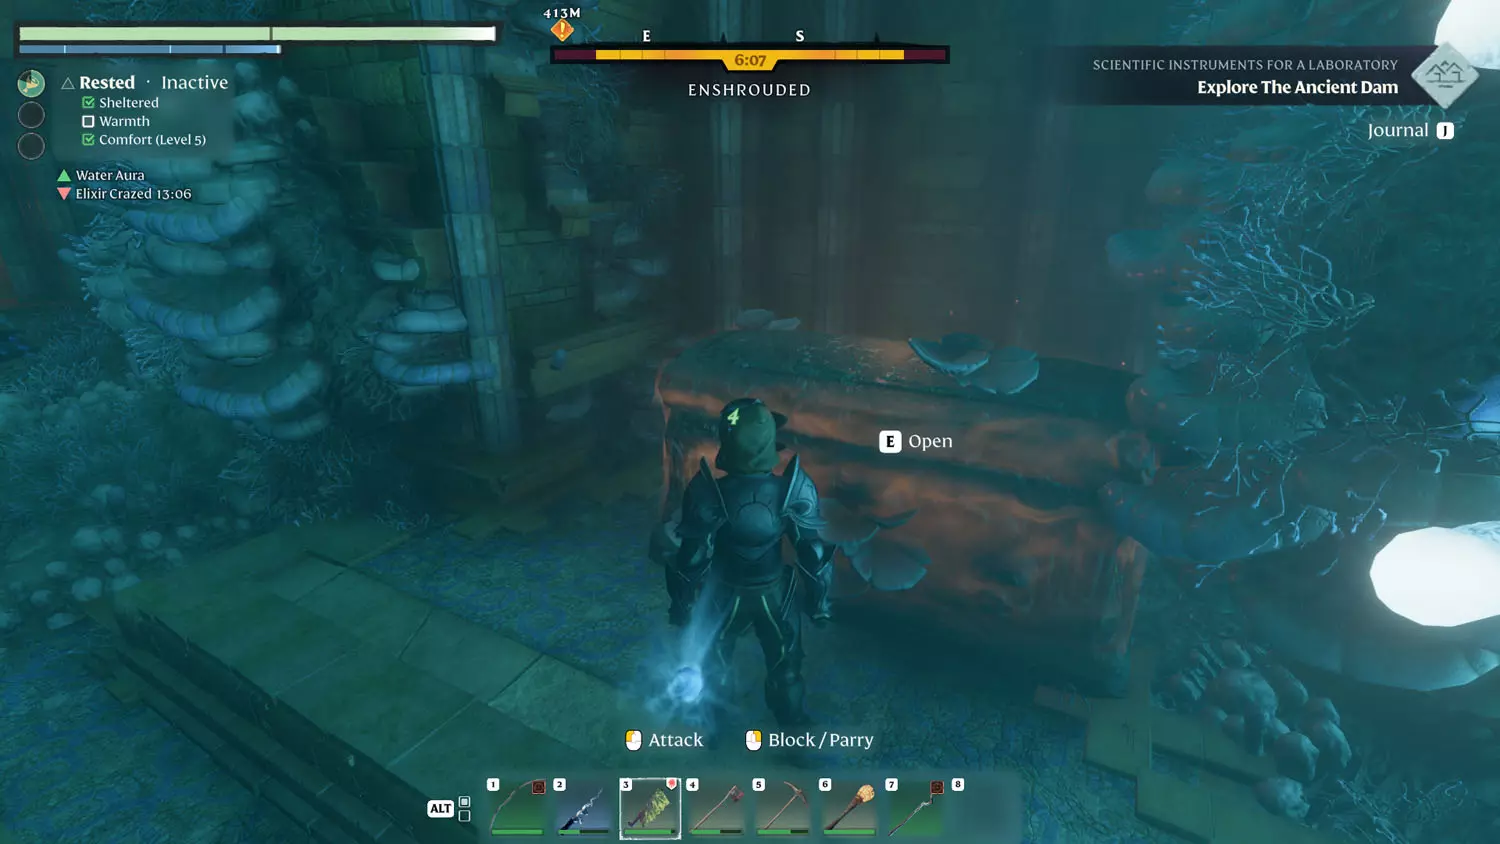
Head back up the stairs and keep going downward. Your door will be open and a Silver Chest will be waiting for you off to the side. Be prepared! The next room has the boss - Fell Sicklesythe. Killing the Boss will finish the quest!
TIP: The boss is dangerous, but I found long-range attacks worked well, particularly if you walk backward the entire time.
TIP: There is a Gold Coffin in the Boss room that may be worth looting.


NOTE: All content below is from BEFORE Hollow Halls Update - version number 510434. Content below is good for anything before March 26th, 2024. Content may still be relevant after March 26th, 2024 - but there may be gaps in the information below as more Lore and Quests were added by developers.

