Enshrouded Building Block Quests Walkthrough

- Building Block Quests
- Searching for Hidden Tombs - Bone Block Reward
- Ruined Netherton - Roughly Cut Stone Block Reward
- Diadwyn And Its Building Blocks - Half-Timbered Block Reward
- A Tower To The Stars - Citywall Block Reward
- Fortification - Castle Wall Stone Block
- Hidden Building Blocks - Stone Shingle Roof Block
- A Rumble In The Catacombs - Weathered Stone Block
- Caravan Raid - Limestone Block
- Mixed Stones - Regular Stone Block
- Emily Fray’s Tavern - Desert City Wall
- Well Blocks - Well Block
- Derelict Kindlewastes - Desert Temple Block
- BONUS
I tried keeping it sweet and simple, but every quest is different. If you see an error, please let me know, and I’ll work to fix it! All images used in this blog post are screenshots from the game Enshrouded.
- Quick Links To Help
SPOILER ALERT: There’s no way for me to avoid spoiling game play with the walkthrough.
NOTE: All content below is from BEFORE Hollow Halls Update - version number 510434. Content below is good for anything before March 26th, 2024. Content may still be relevant after March 26th, 2024 - but there may be gaps in the information below as more Lore and Quests were added by developers.
Building Block Quests
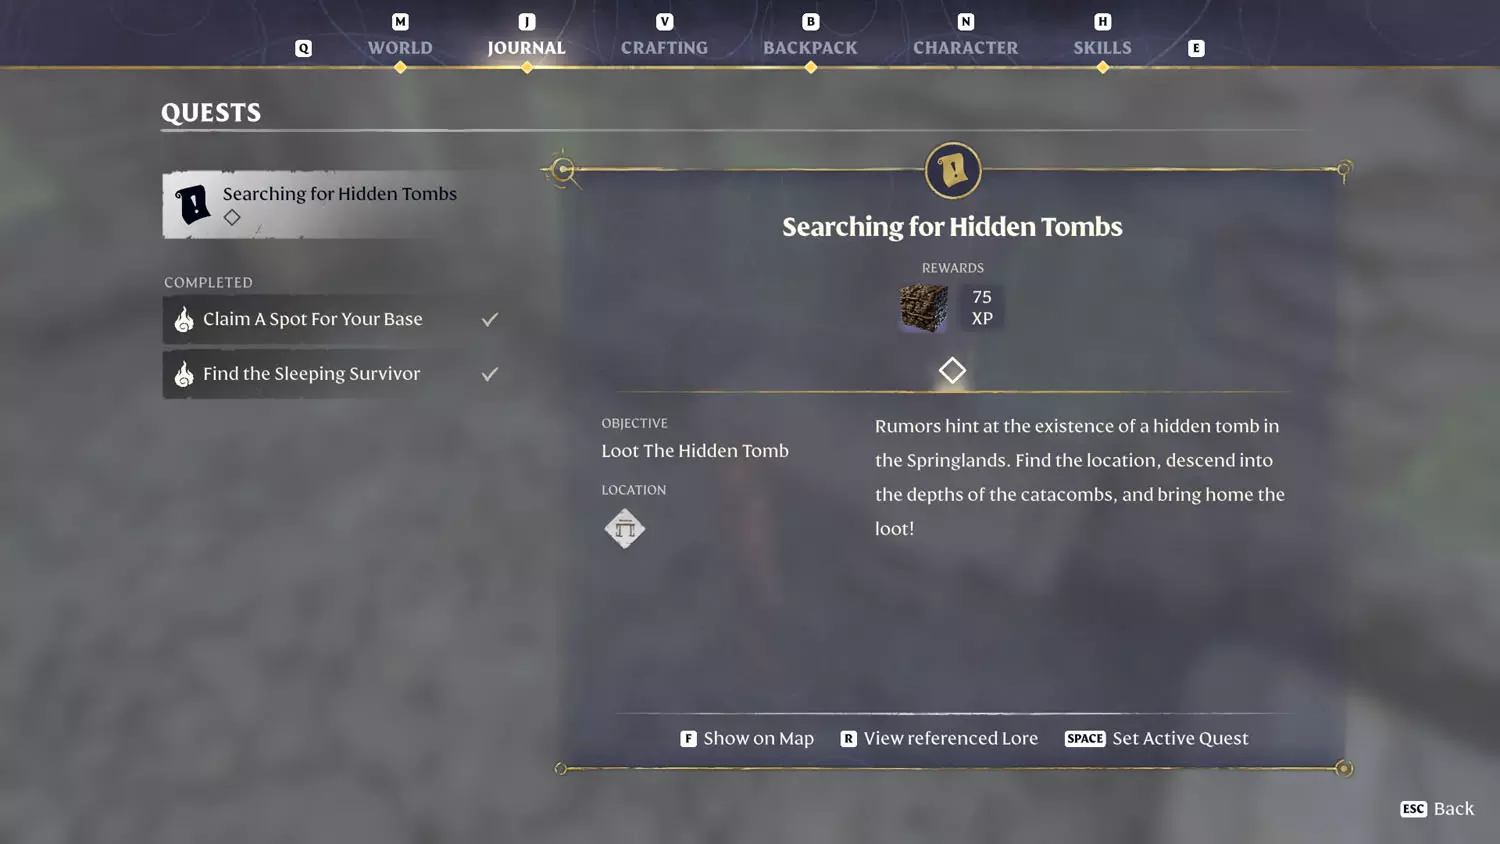
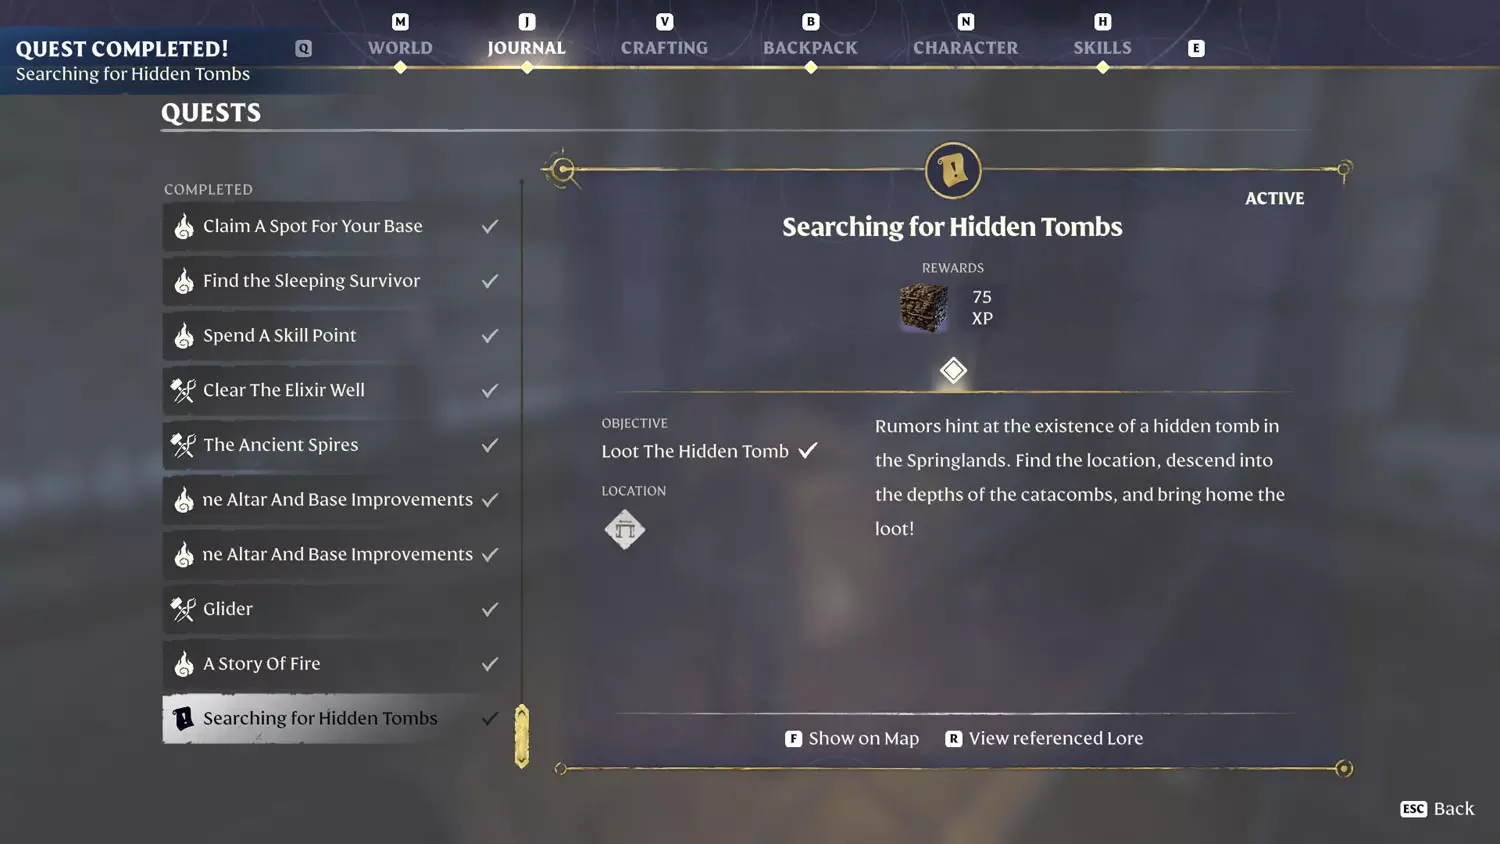
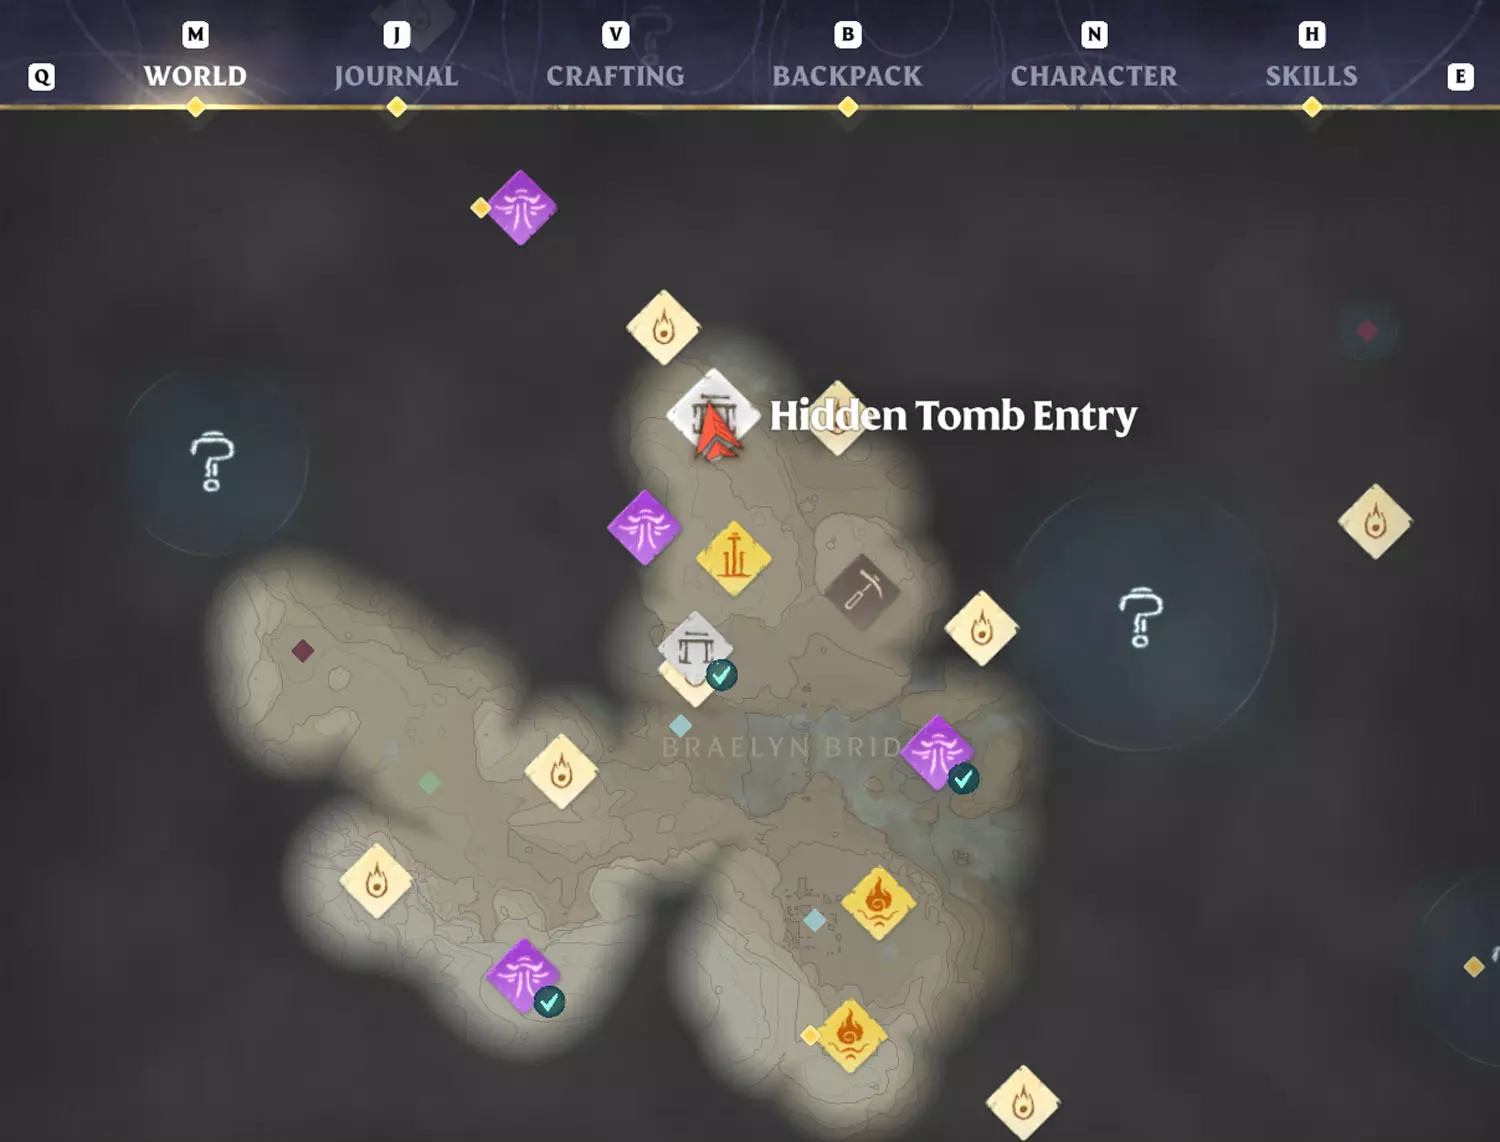
Searching for Hidden Tombs - Bone Block Reward
Very early on, the Flame Altar at your base will tell you of a hidden tomb. It sends you on this quest.
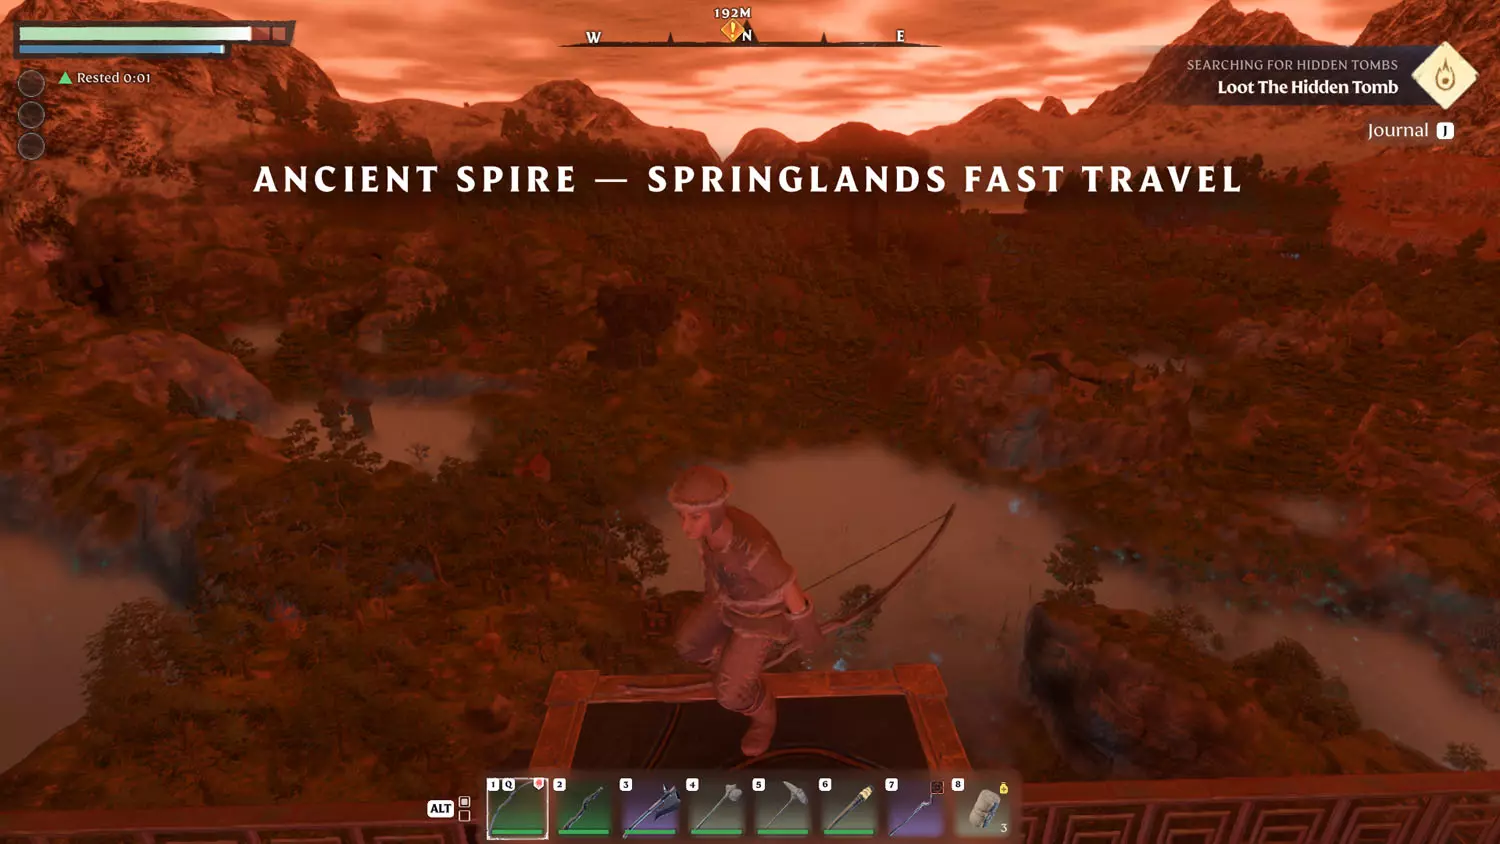
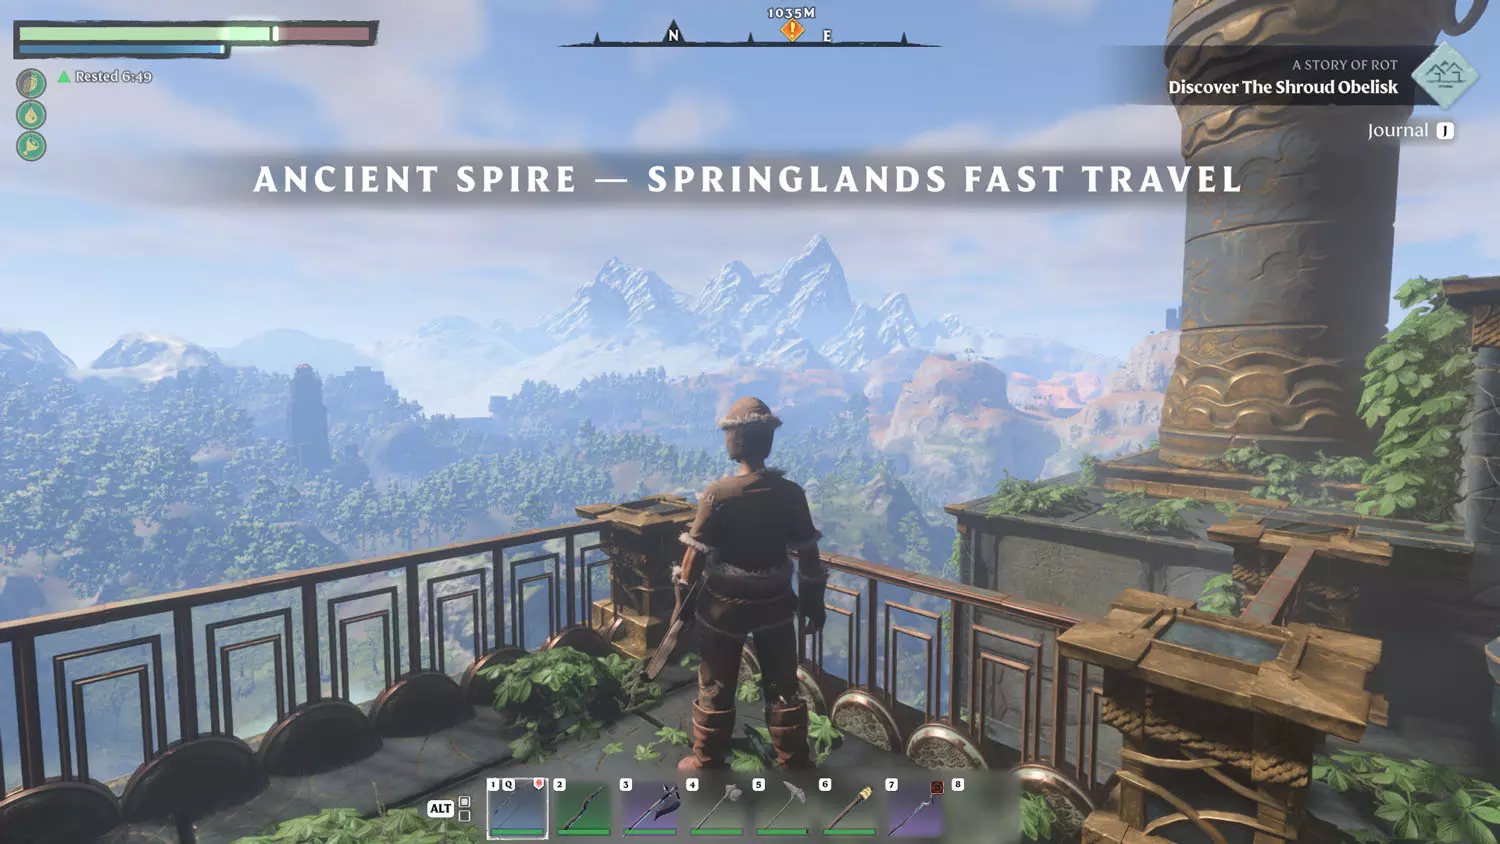
I would advise waiting until you have unlocked the Ancient Spire - Springlands Fast Travel before this quest. That way, you can glide to it from the tower. For that quest, check out the Blacksmith Quest: The Ancient Spires.
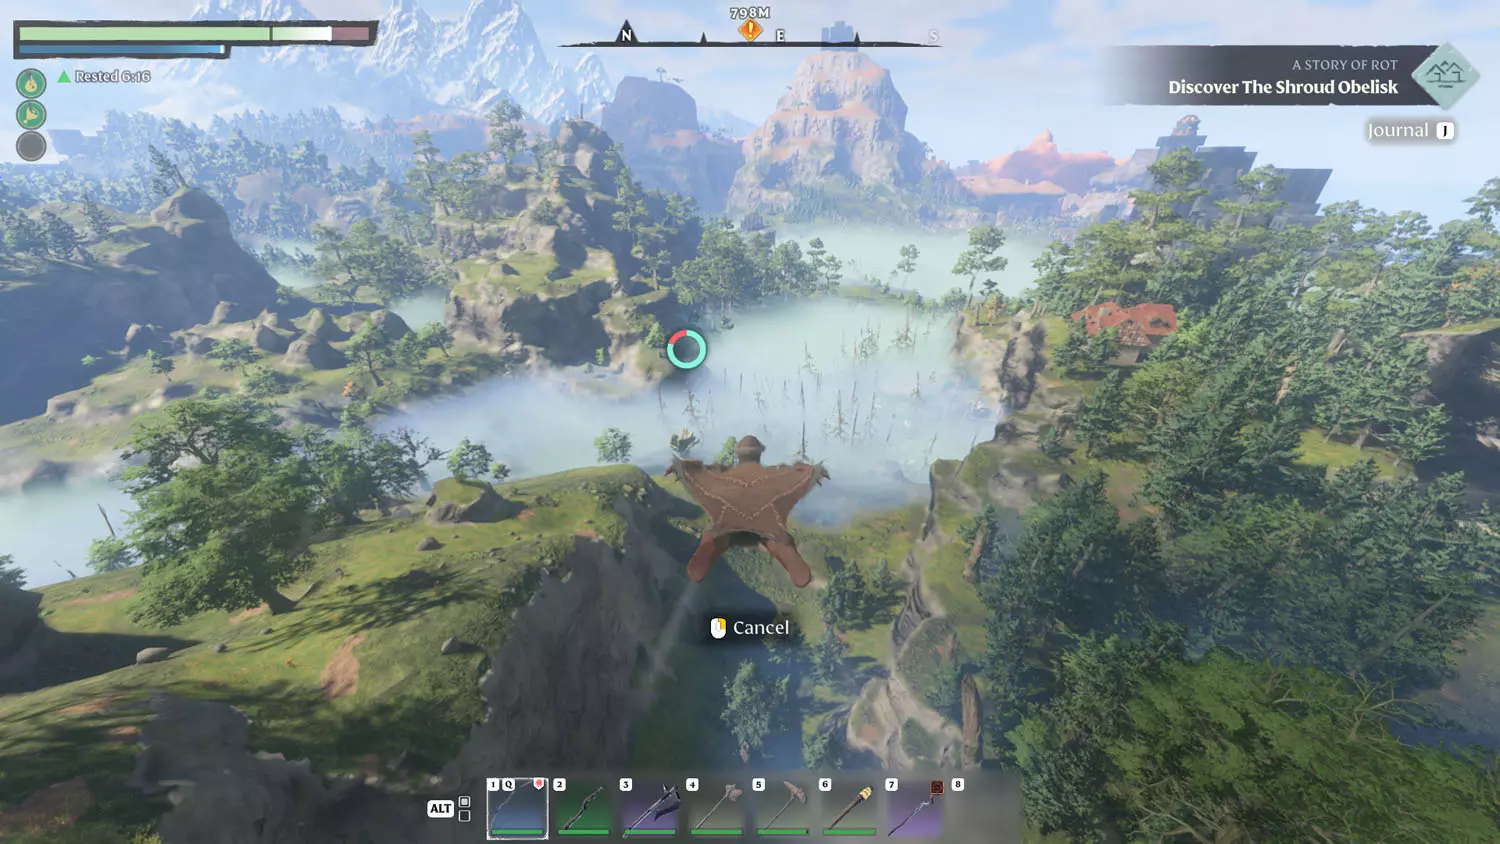
From the spire, glide toward your destination. Early on, the glider isn’t the best, but it’ll do the job.
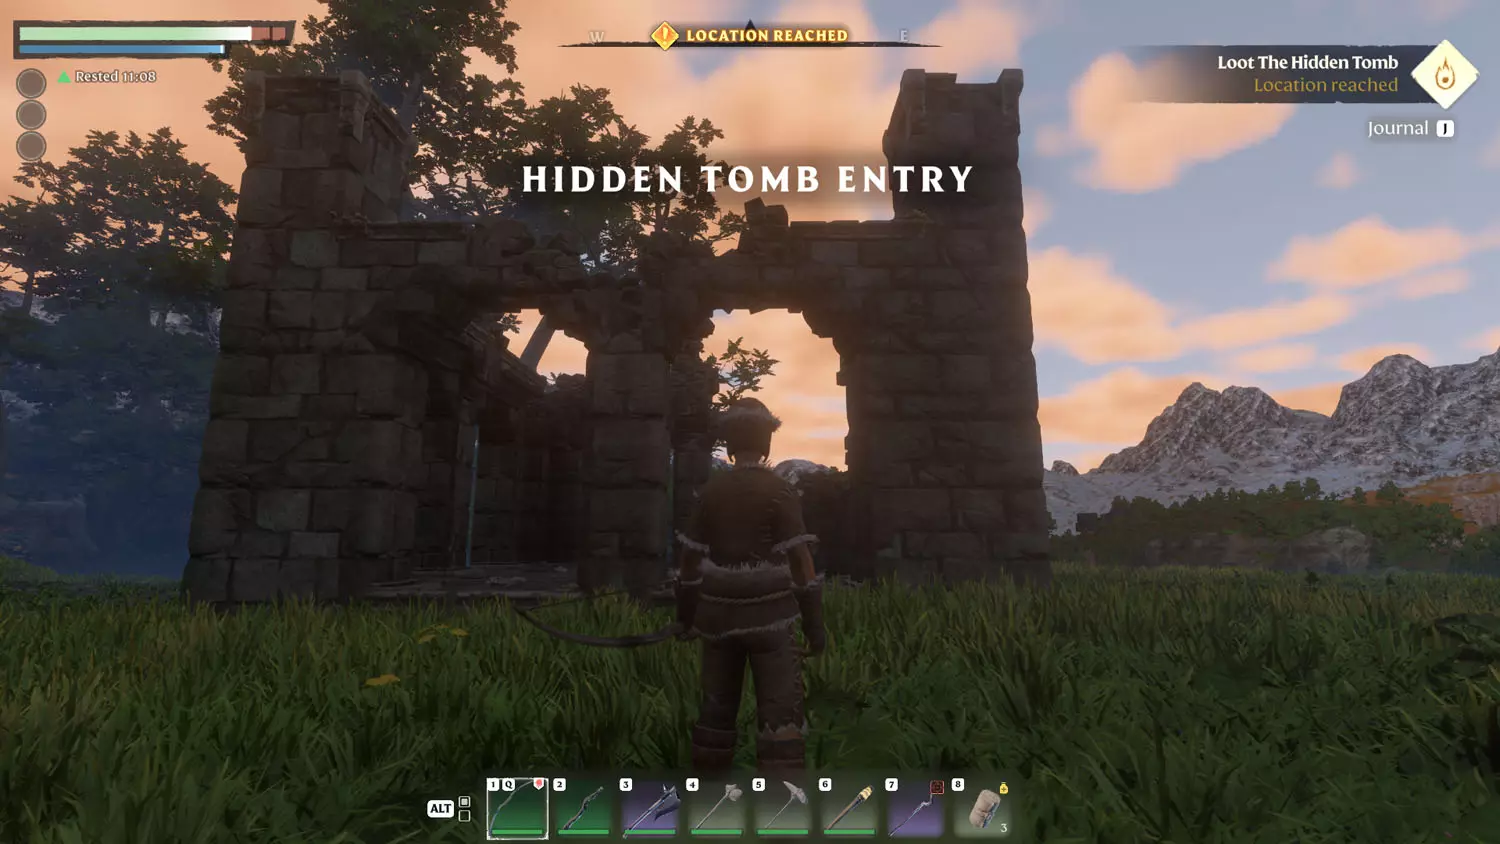
The tomb layout is basically a square with a hollow center (only reachable on the opposite side of where you enter. There are poisonous spiders here, so be wary. Two hidden doors will give you loot in the first (by the entrance) and nothing in the second (the back left tip of the square. It’s poorly lit in this area).
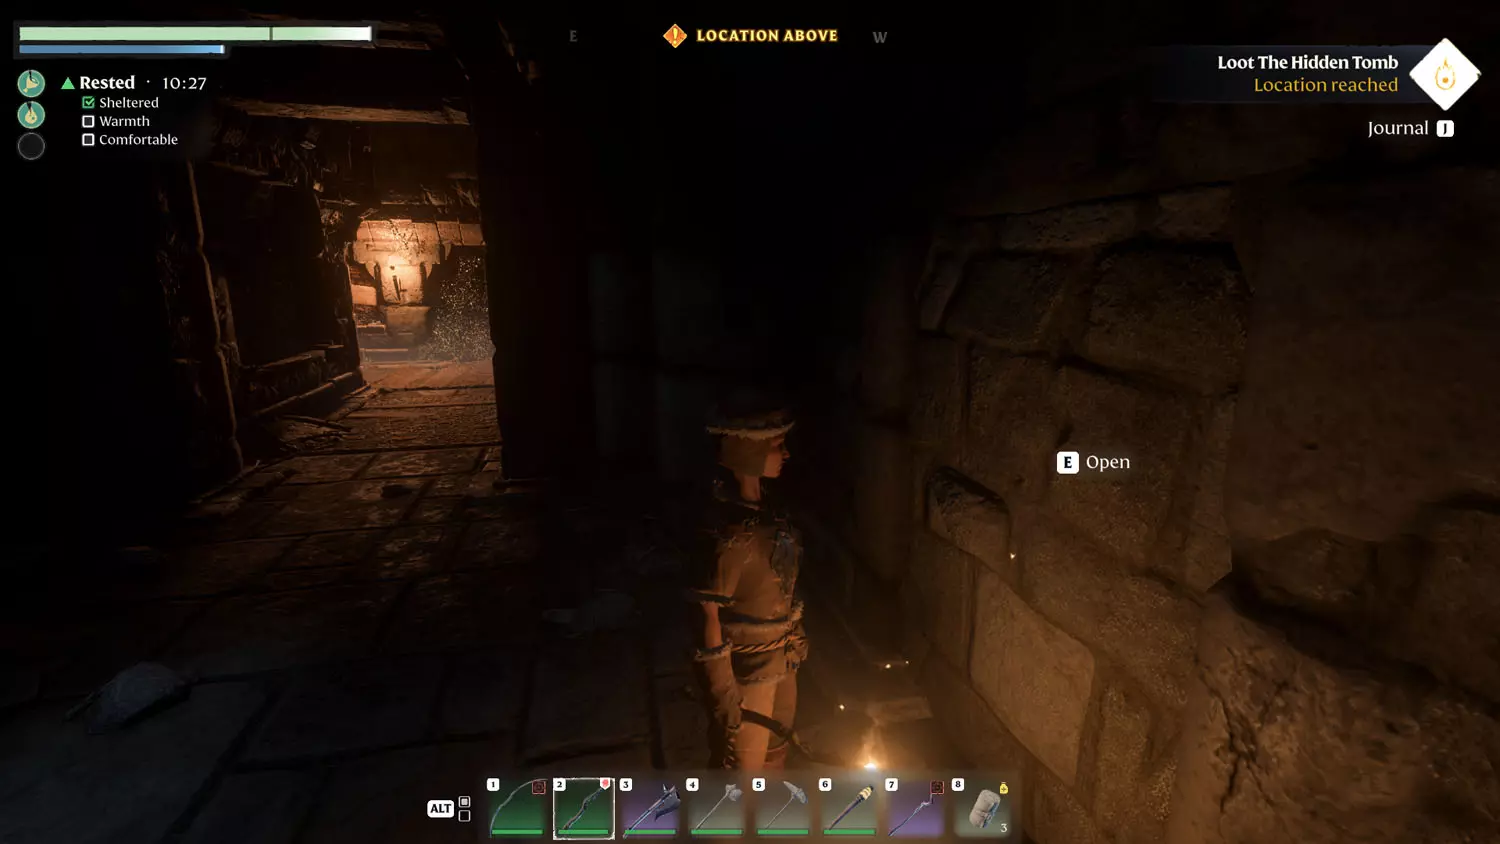
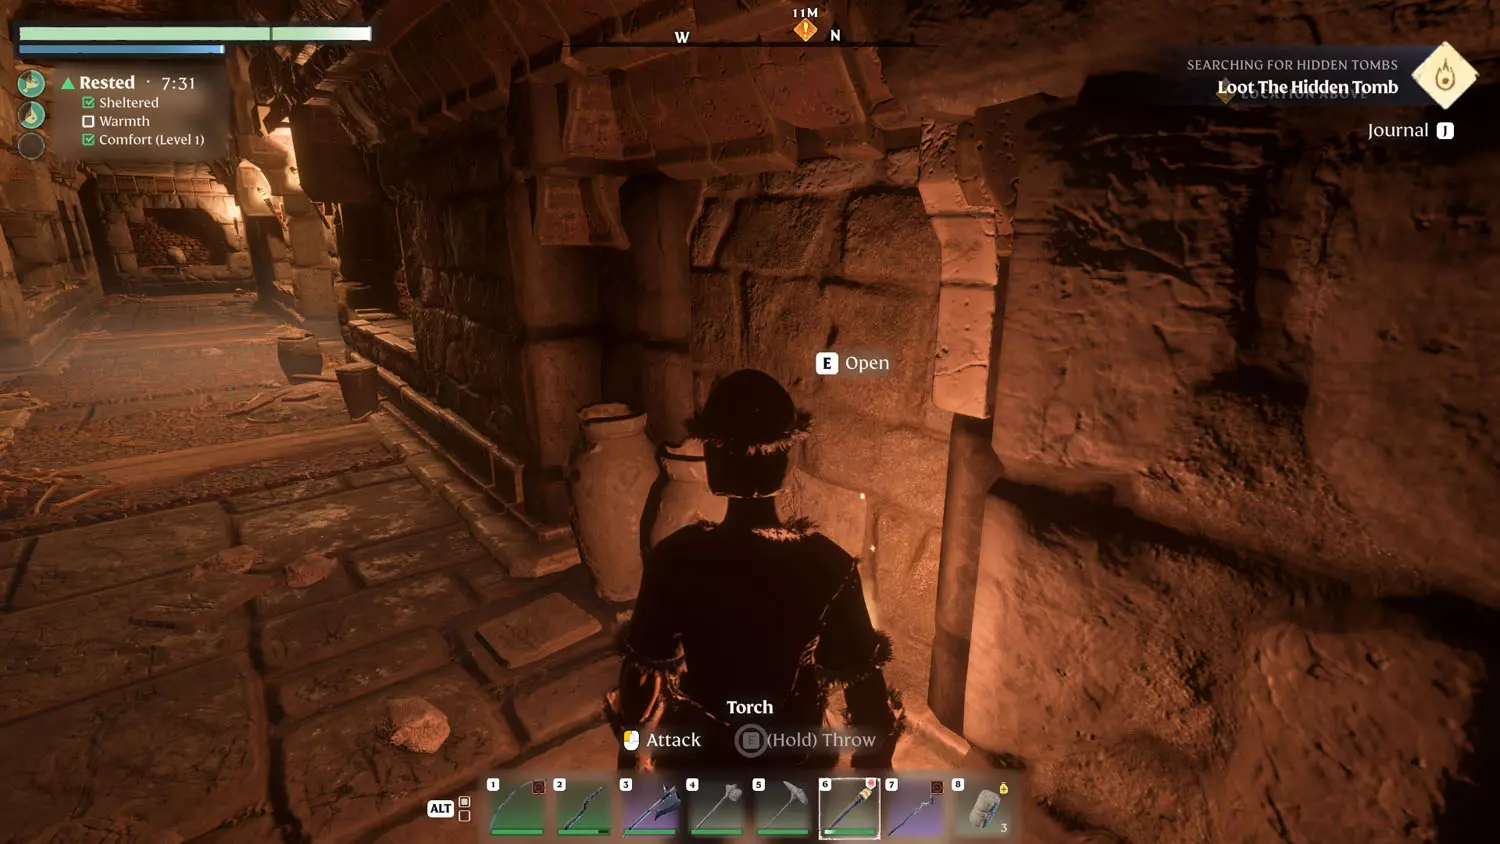
To reach the sarcophagus with the loot you seek, head left or right or both. It’ll be on the opposite side of where you entered in the hollowed out middle of the square tomb.
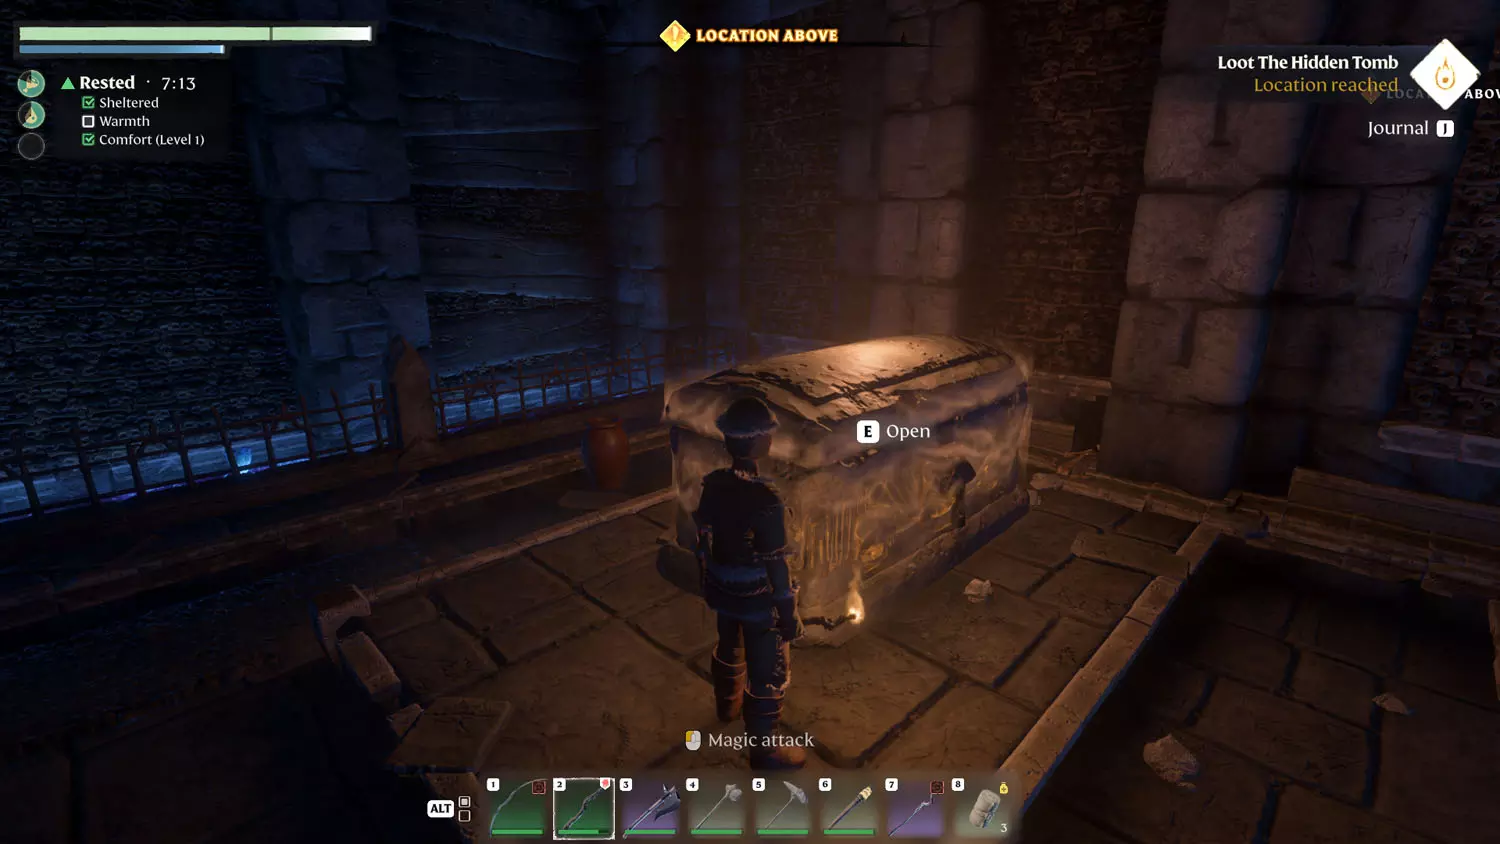
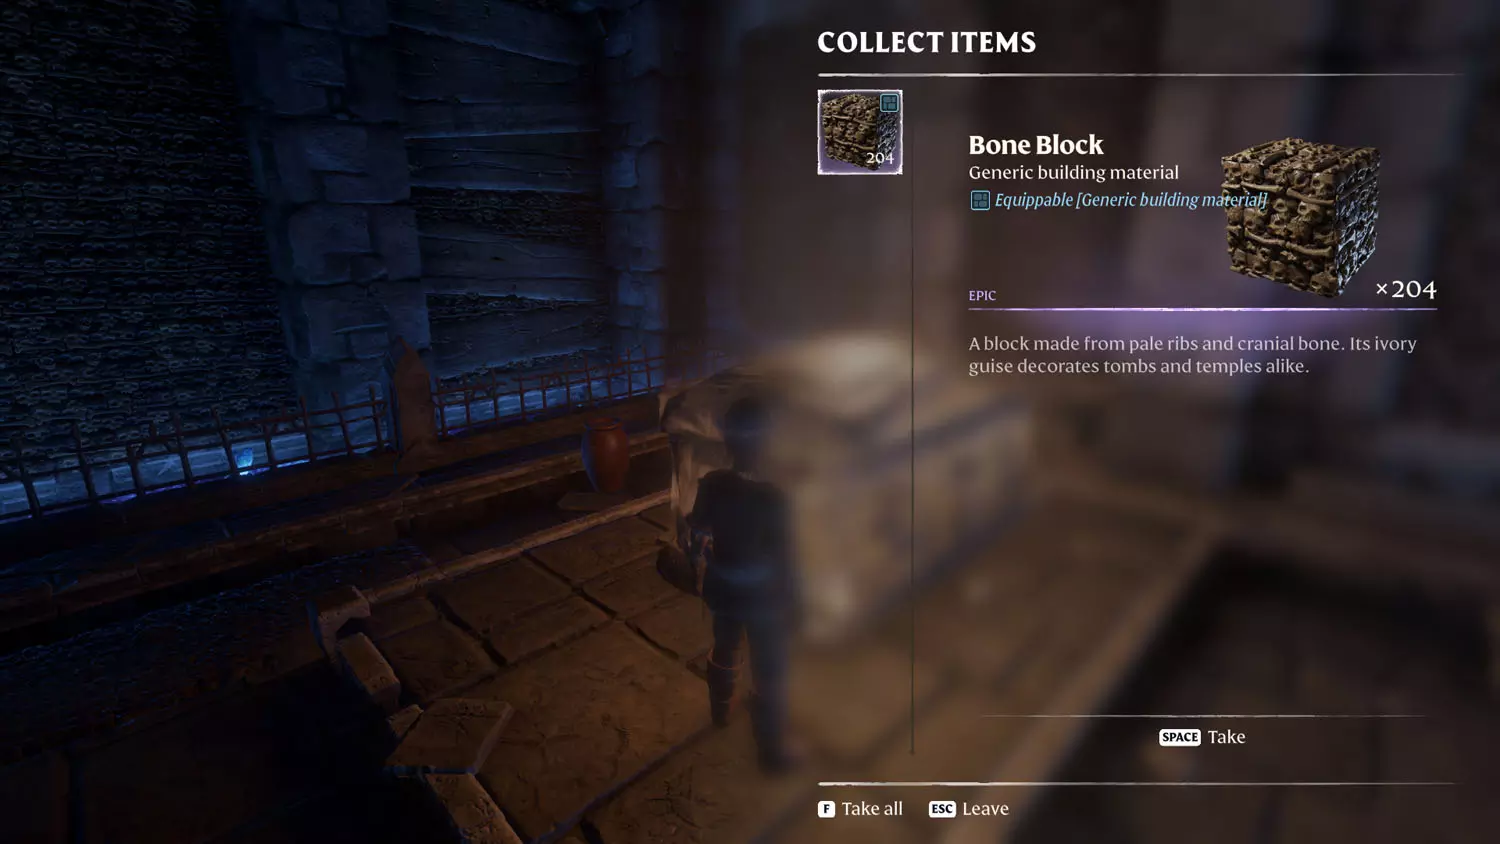
Obtaining the Bone Blocks finishes this quest.
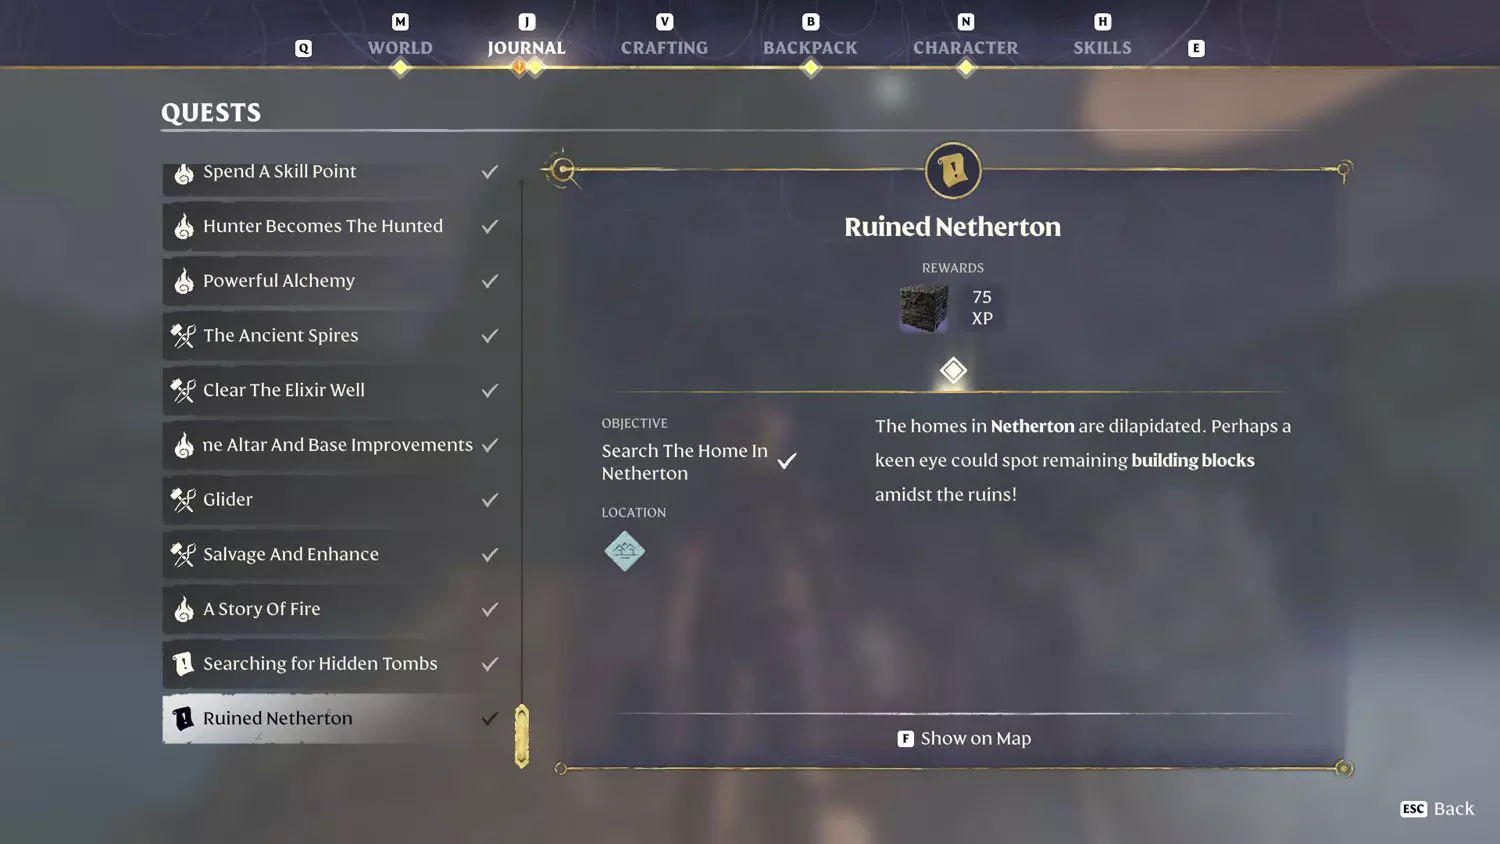
Ruined Netherton - Roughly Cut Stone Block Reward
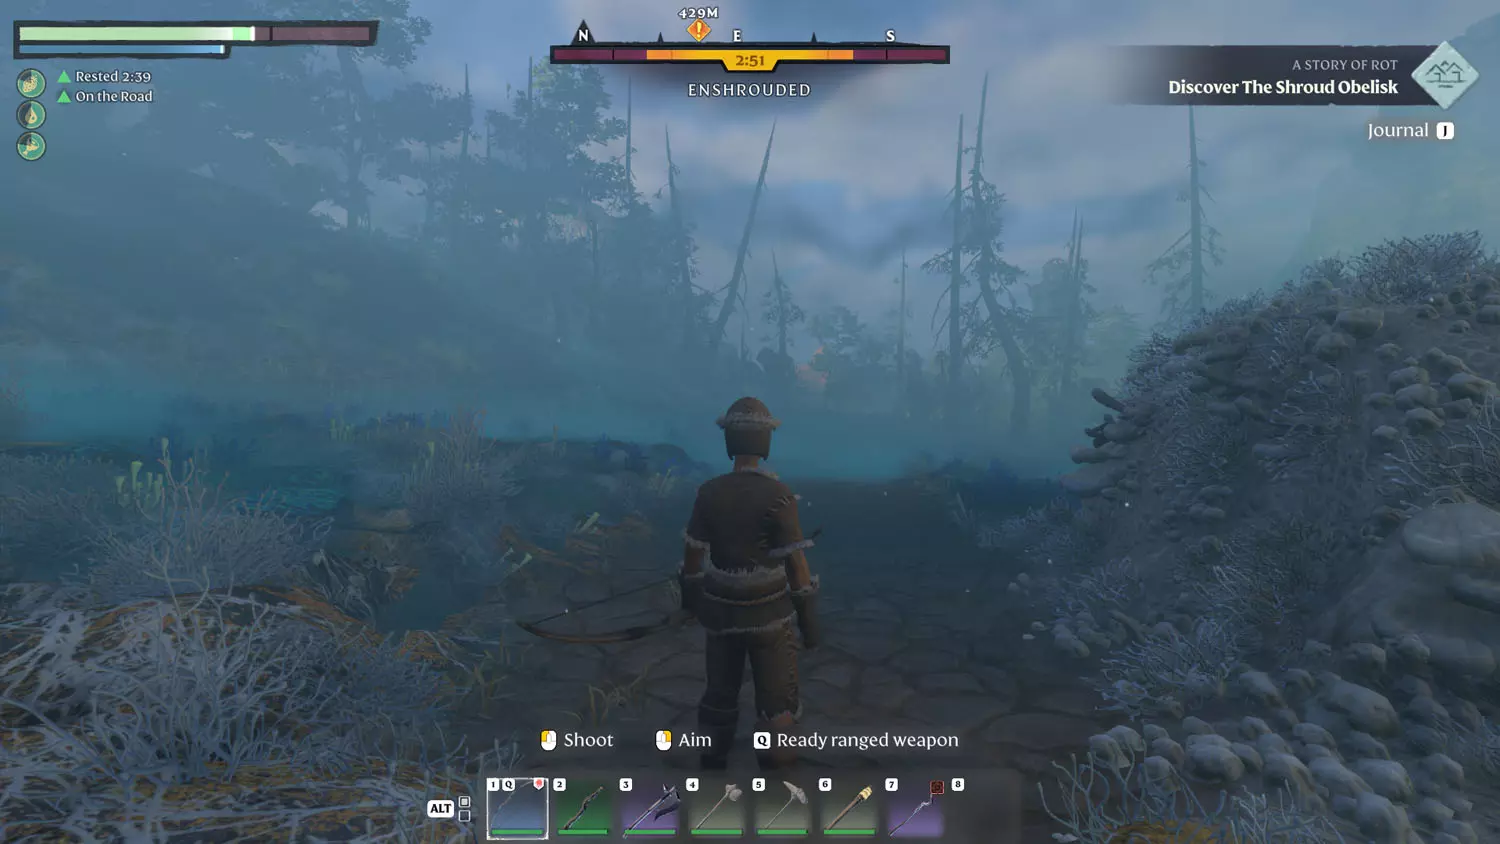
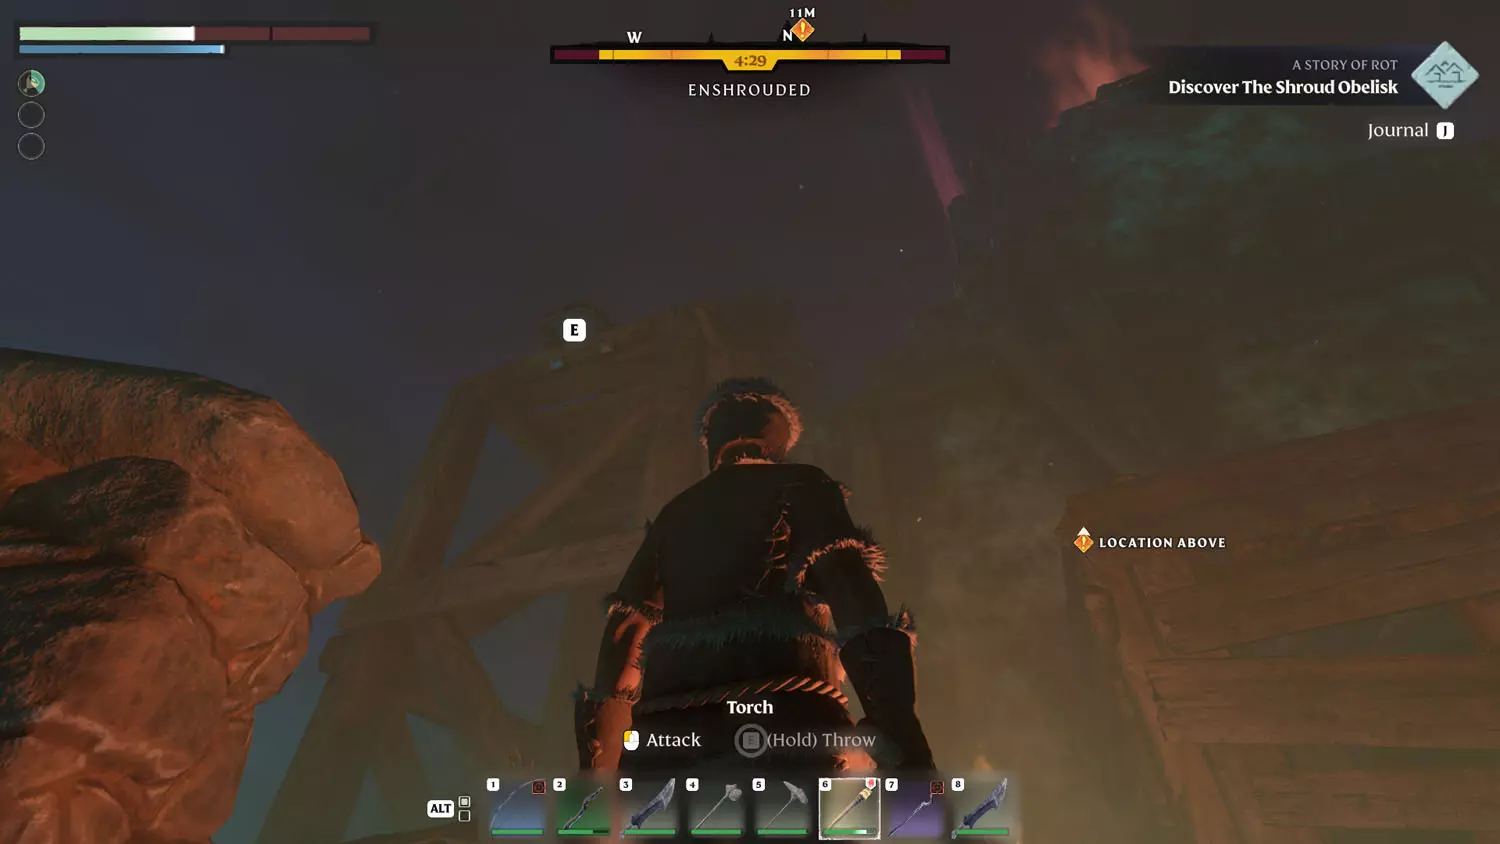
I found this one while trying to reach a different quest marker, so that’s fun. Anyway, head for the Ancient Spire - Springlands Fast Travel. Then, head northeast for Netherton. The early level Glider won’t get you there, but I’ll show you where I landed with it.
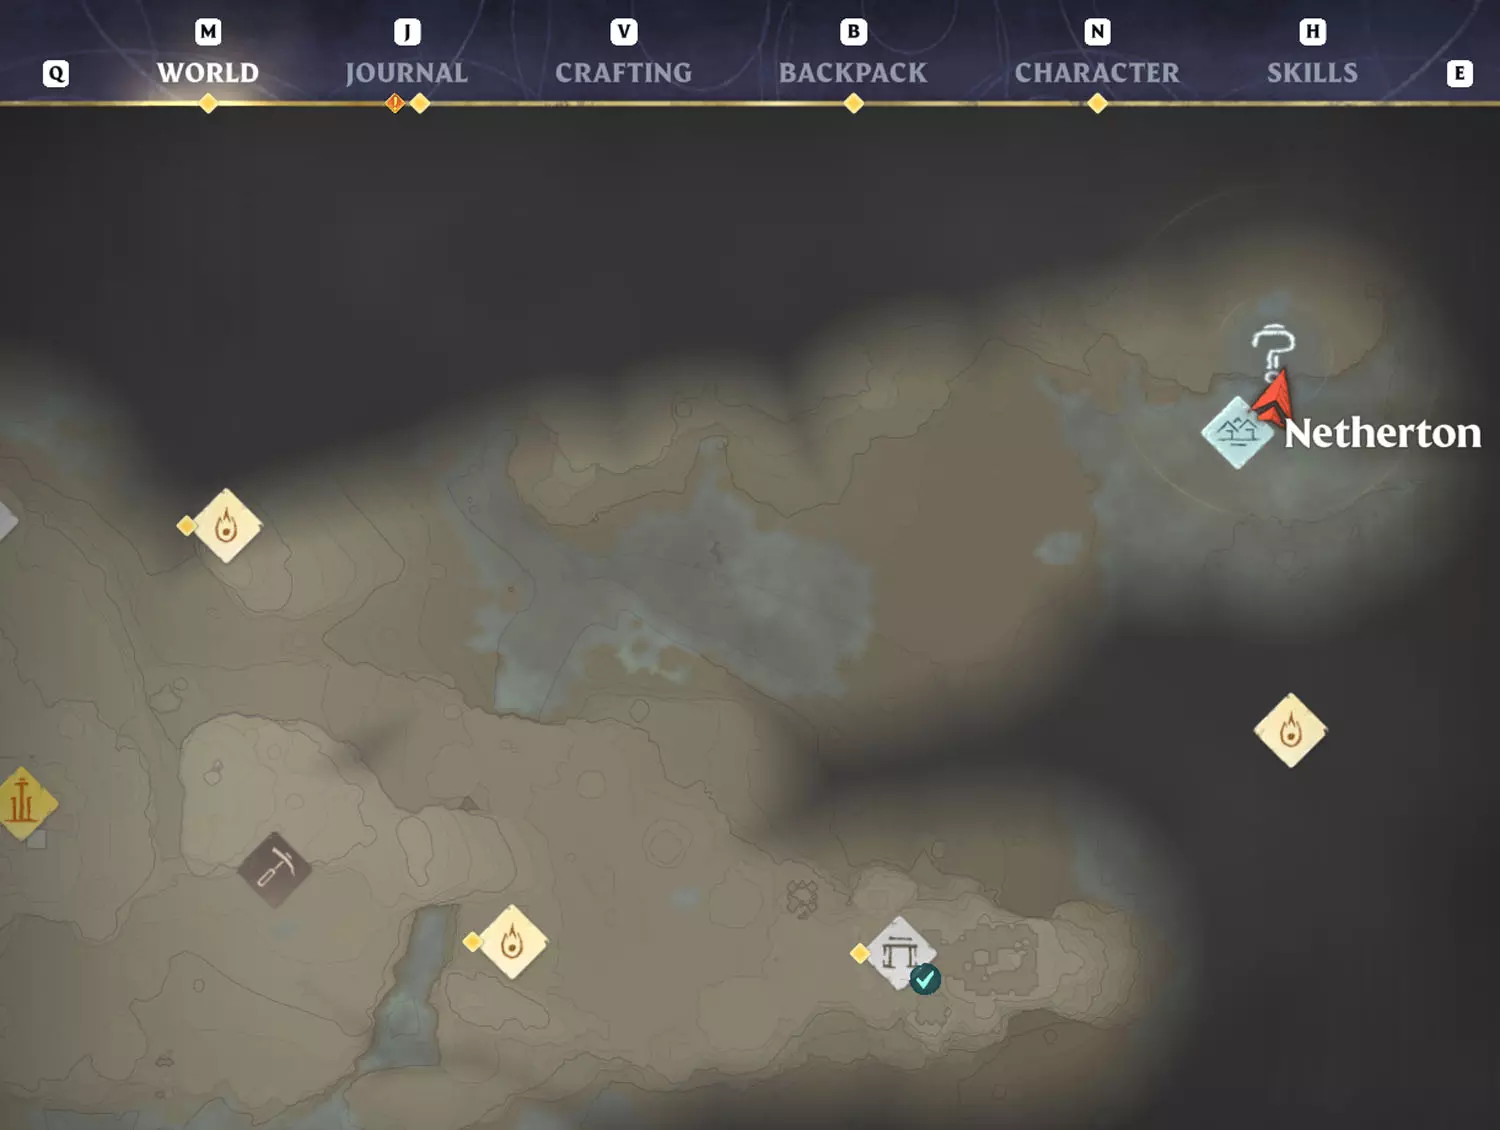
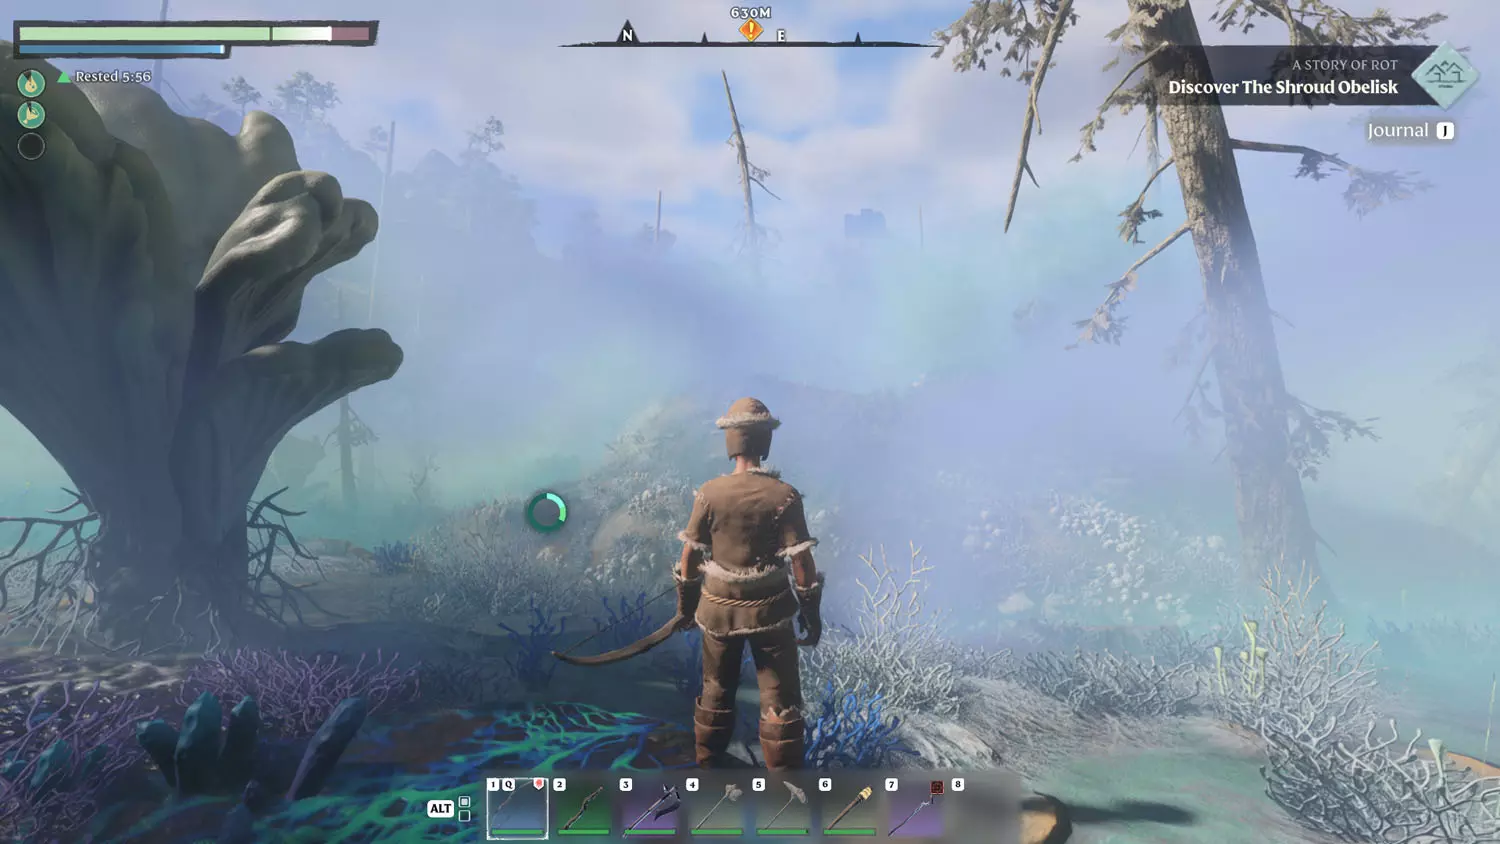
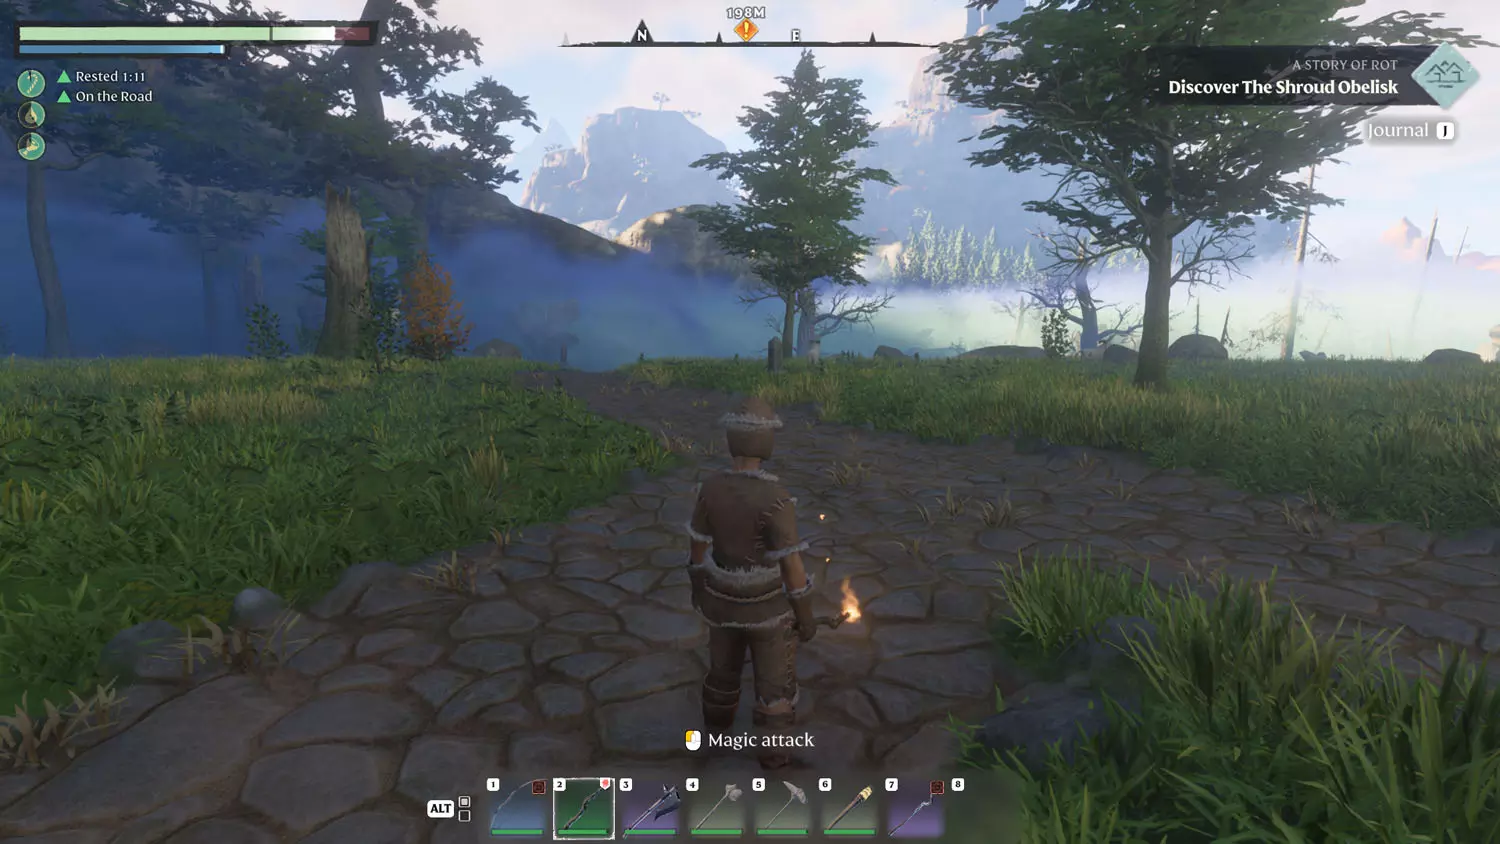
From the location above, I kept going forward toward the direction marker for A Tale Of Rot. Not long after, I came across a road to follow instead. Following it eastward, I encountered a chasm in the road. Going northward around the pit and then back eastward, I reconnected to the road (There’s a mound that is visible from both sides, showing that the road is across the pit.). Then, I followed the road out of the Shroud.
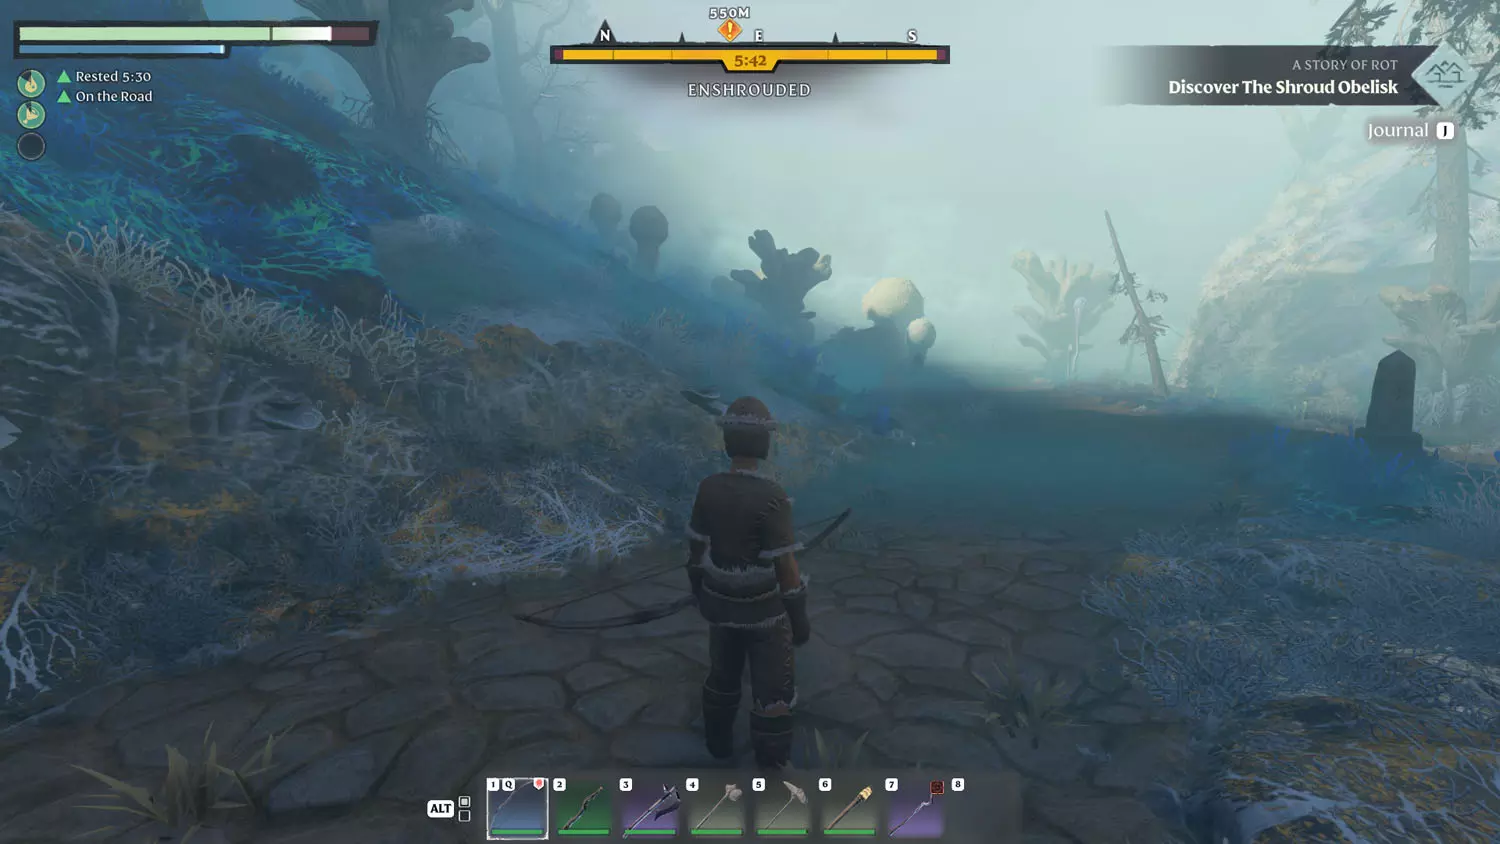
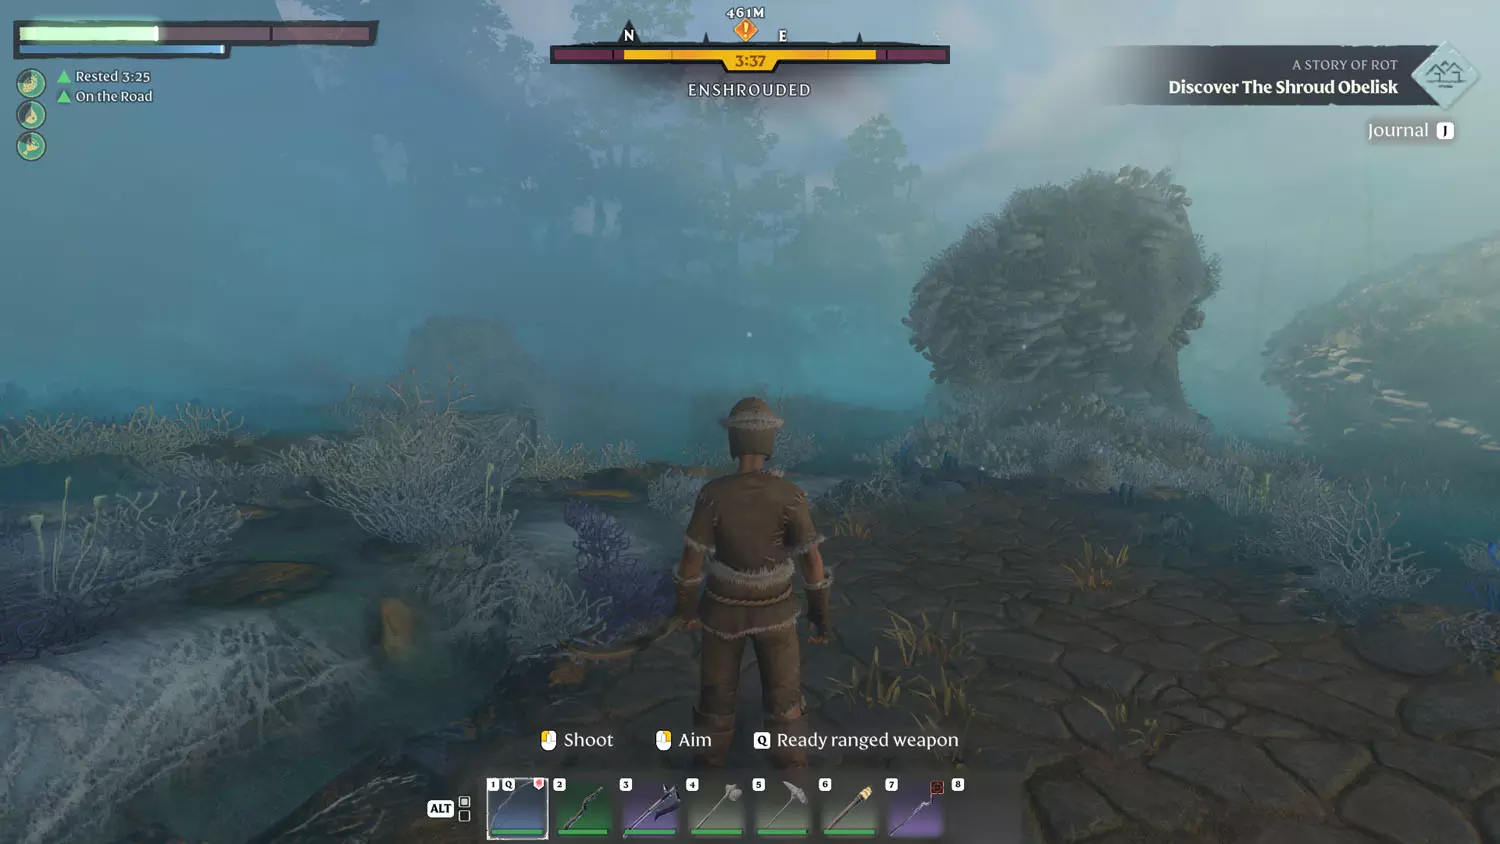
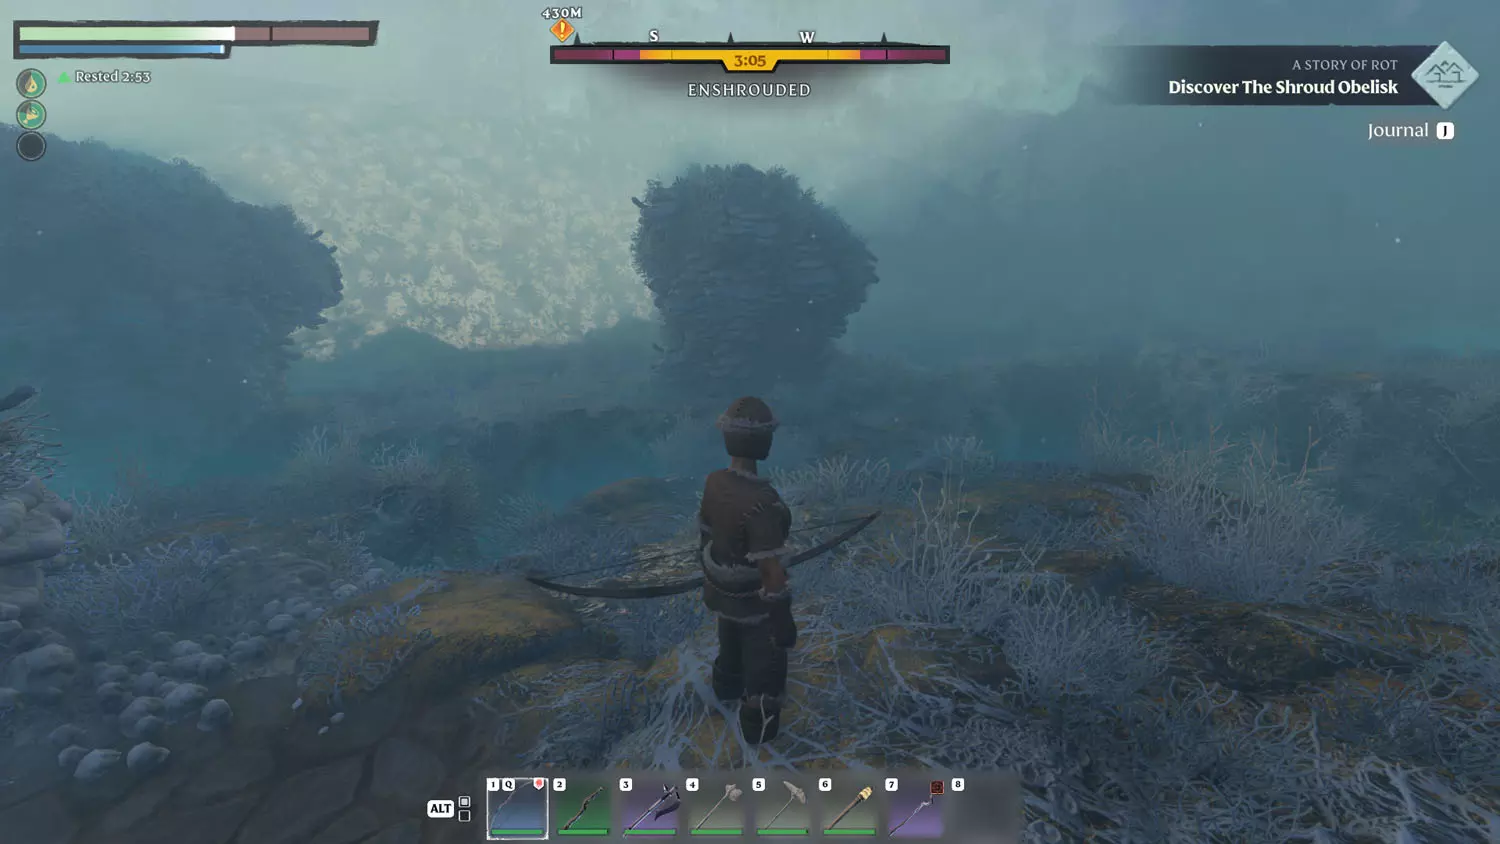
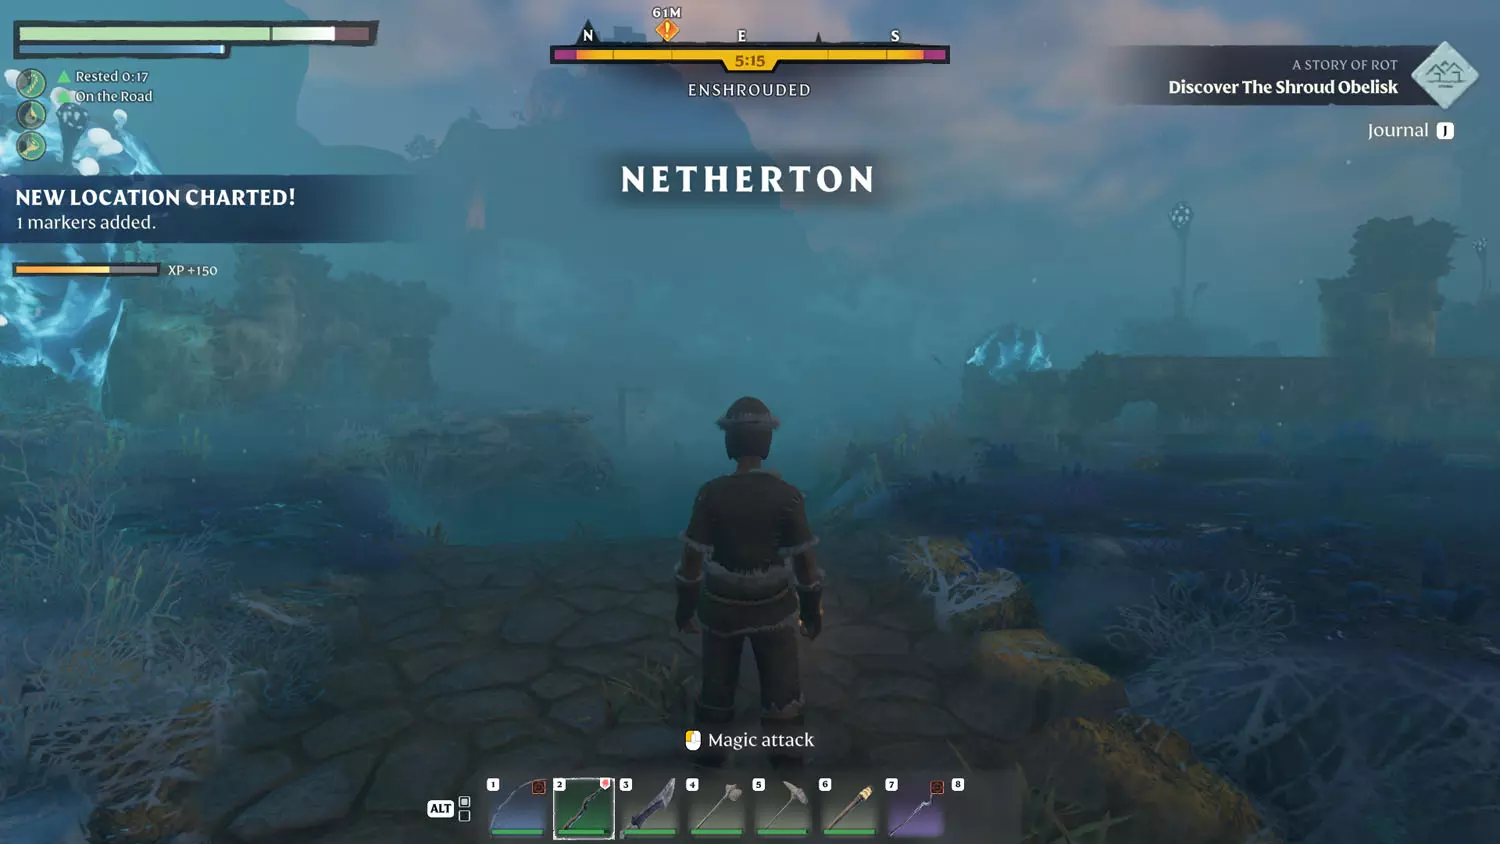
Outside of the Shroud is another road. I followed this one northward and into another Shroud area. This road then leads to Netherton. Keep following it until you see a red smoky glow to the left (northern) side of the road.
TIP: This is The Shroud, Elixir, and Elixir Well Lore: Ruined Netherton 1/1 Ruin Has Come To Our Family.
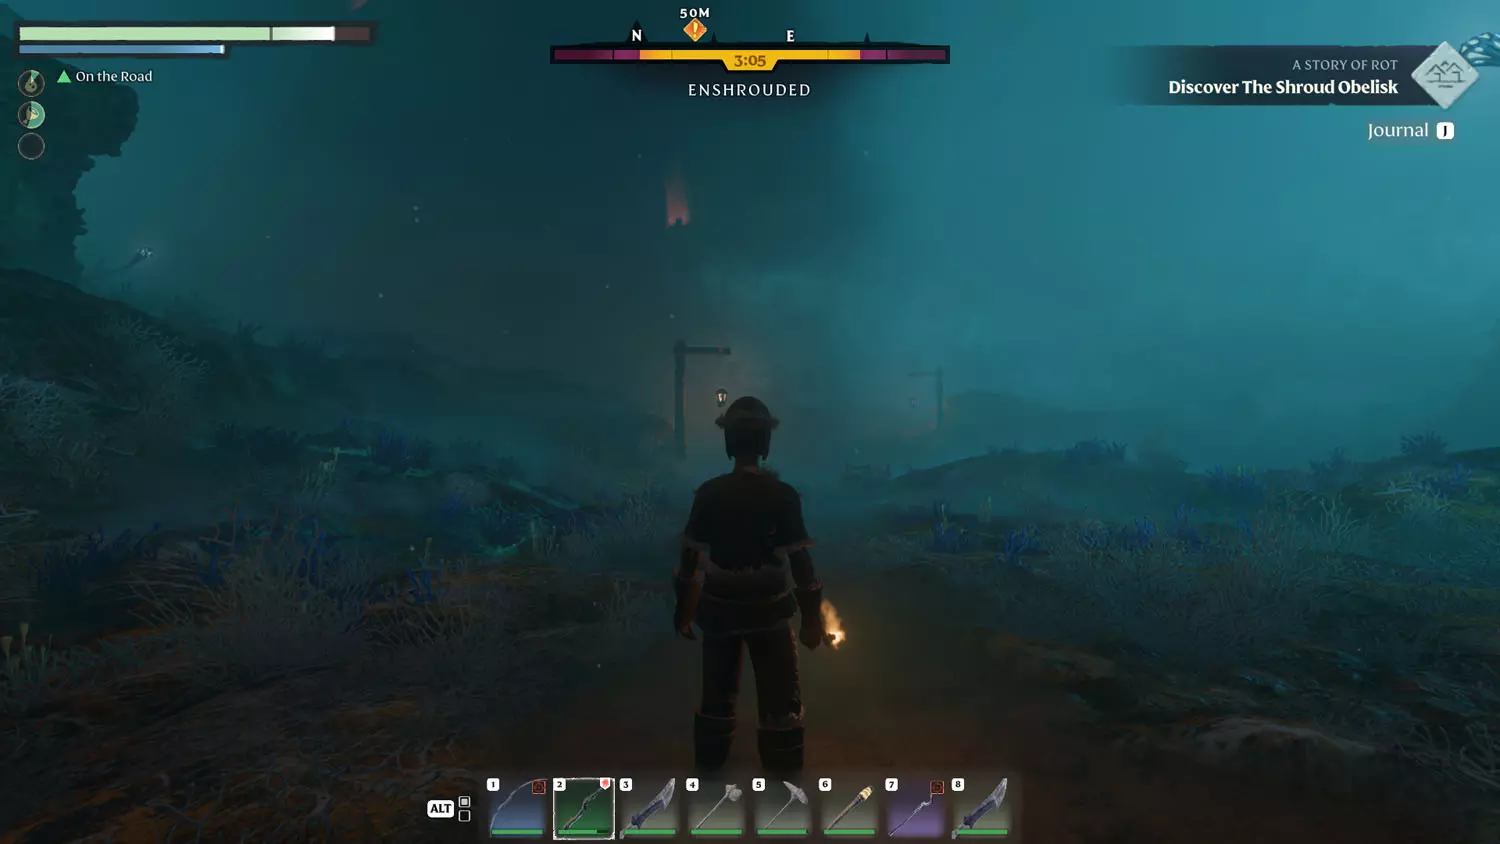

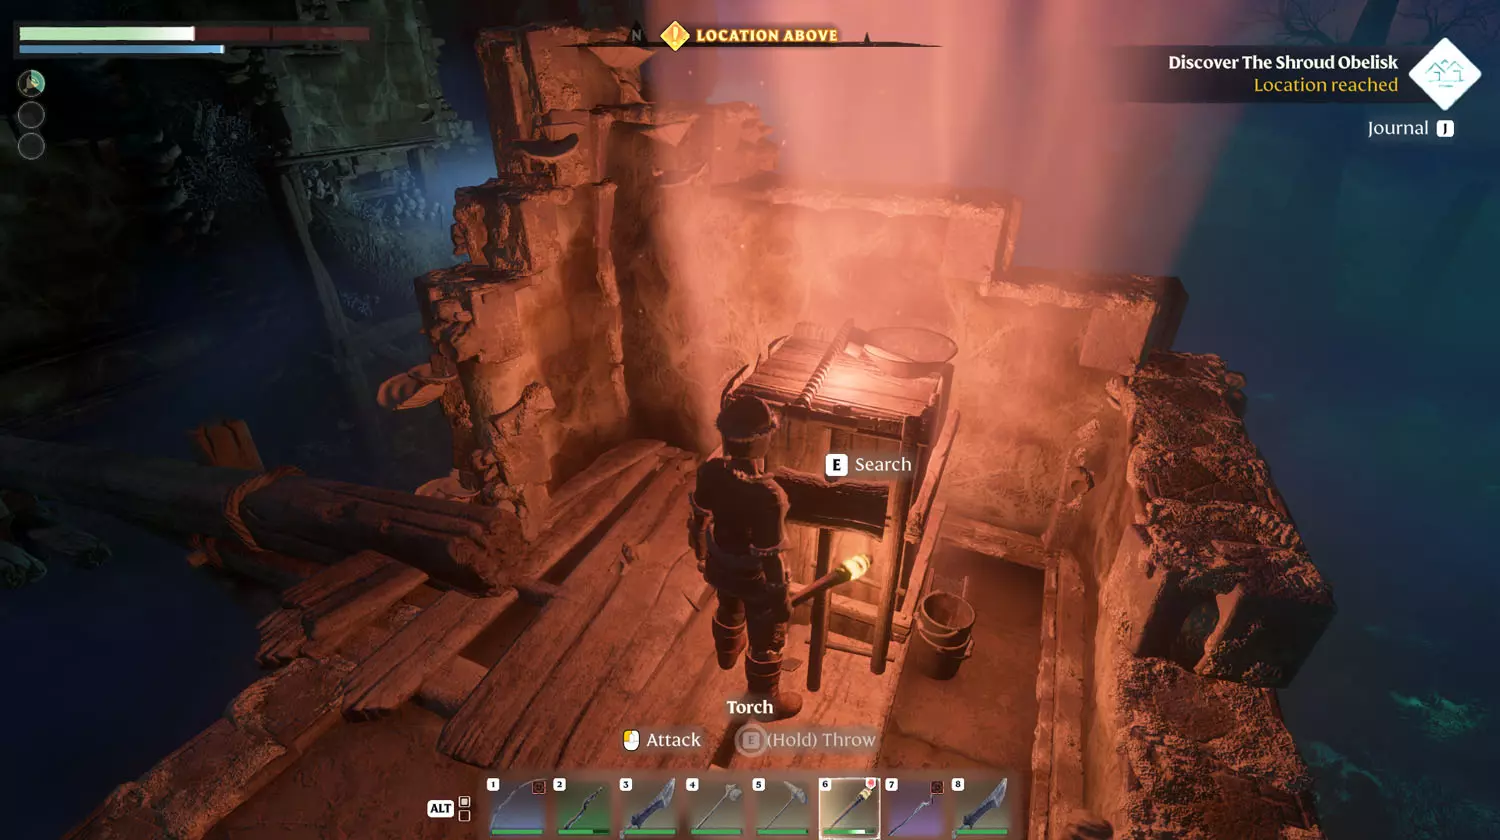
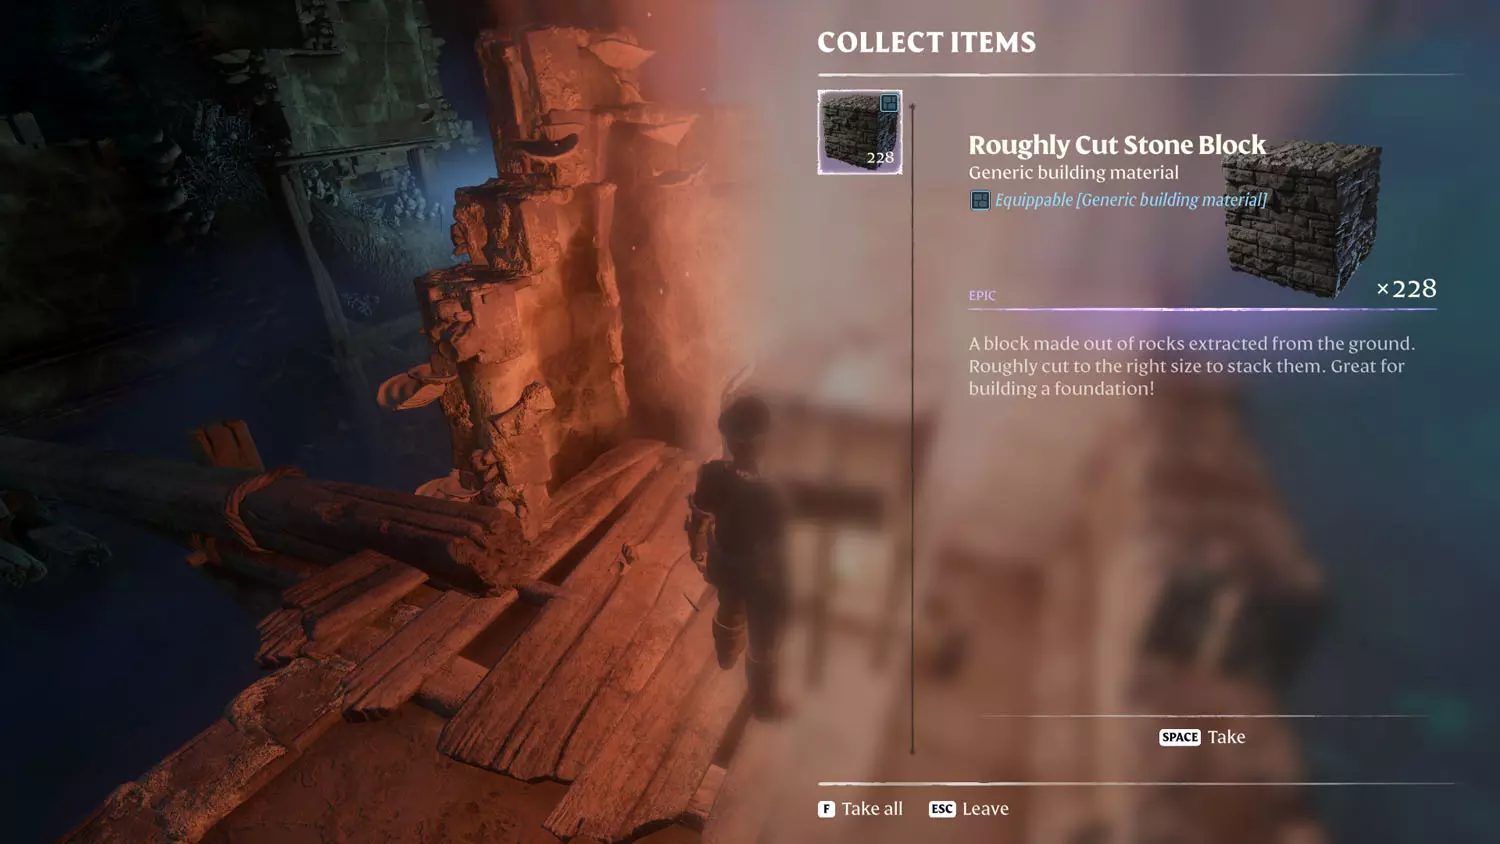
Reading the note will give you the quest. From the note, you should see a grappling spot. If you look up, you can see the smoky glowing red loot. The other red beam is likely at the destination I was trying to reach. Anyway, climb up and loot the Roughly Cut Stone Block from the crate (you’ll get 228 of them).
TIP: This is VERY visible at night, but nights in the Shroud are also dangerous, so be cautious out there!
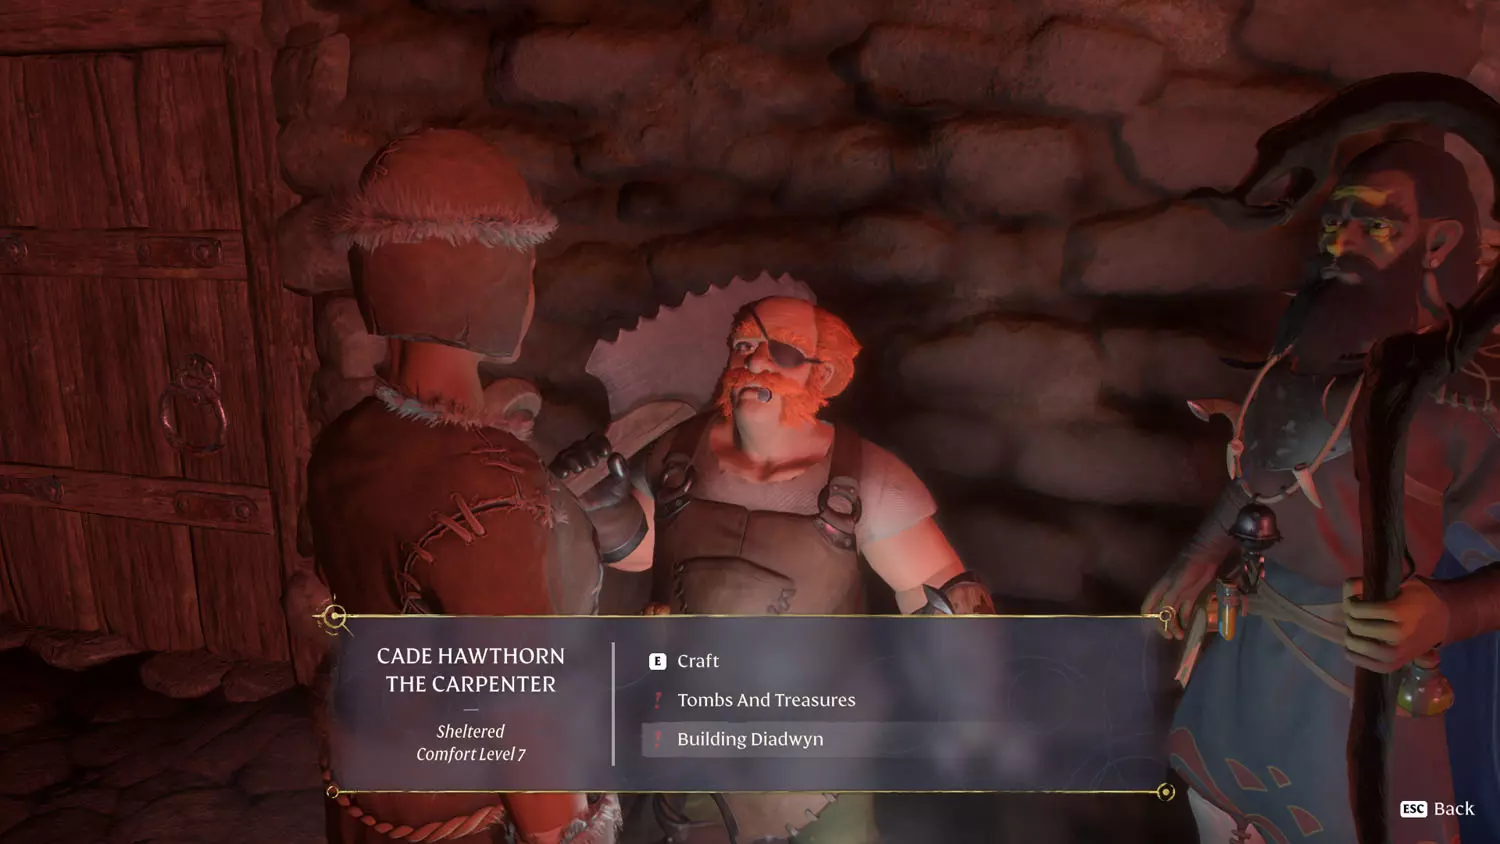
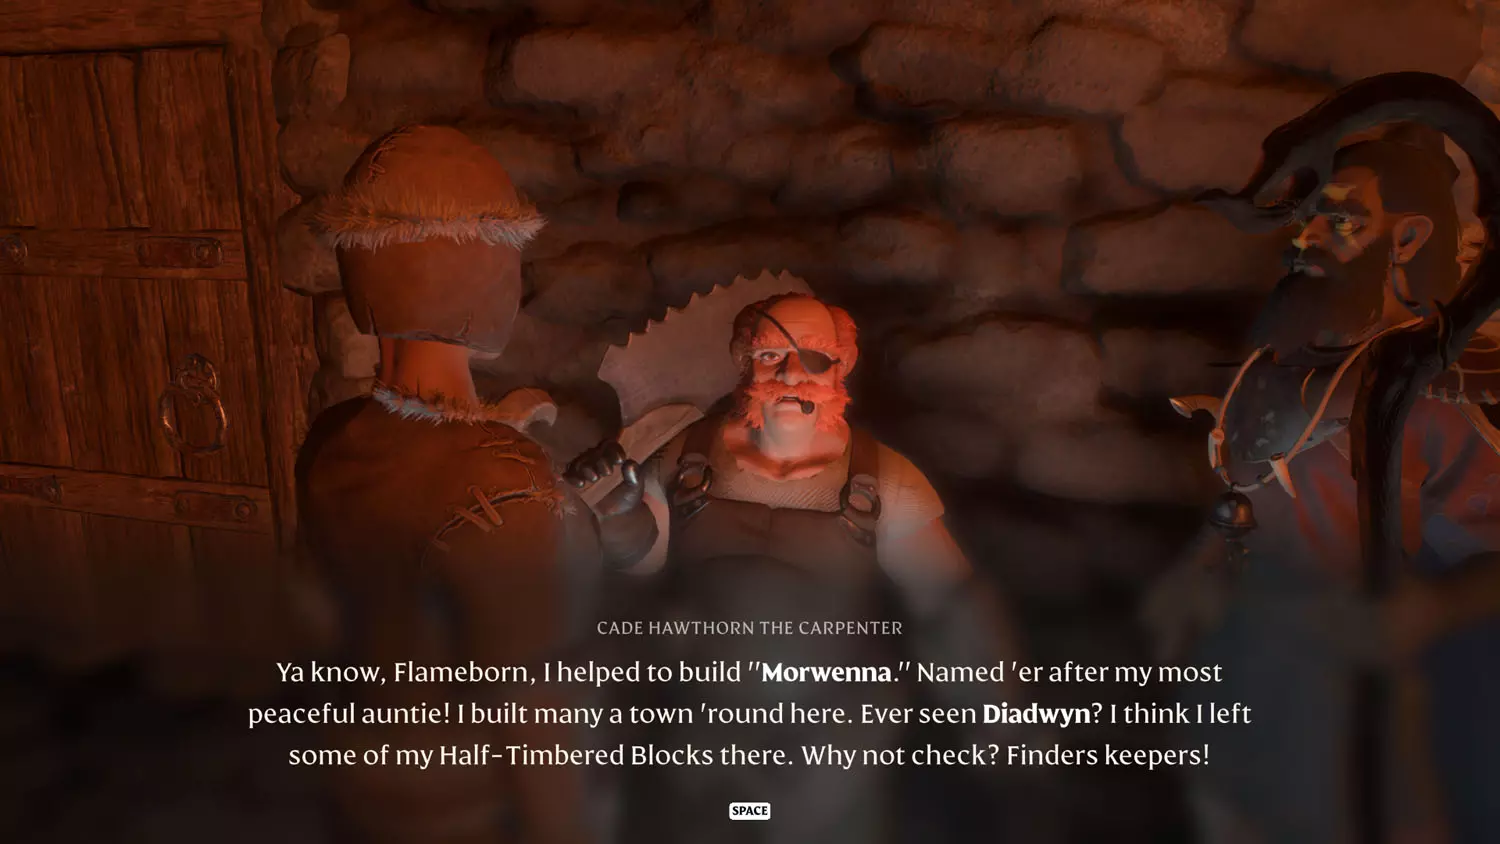
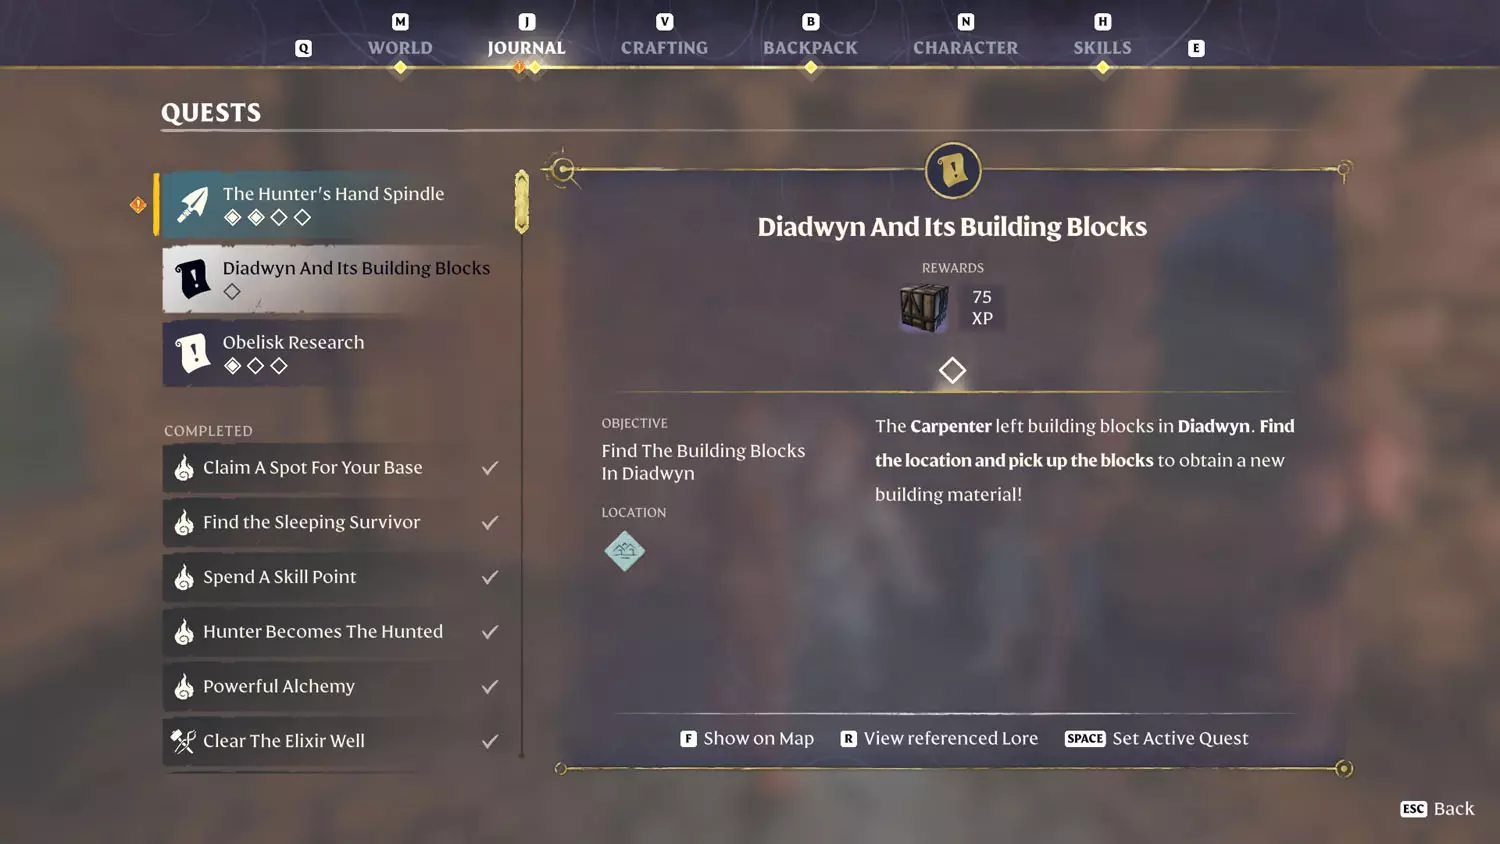
Diadwyn And Its Building Blocks - Half-Timbered Block Reward
This quest is available when you unlock Carpenter Cade Hawthorn. Select the dialogue option “Building Diadwyn” to initiate it.
TIP: This quest also ends at the same location as the Scavenger Lore: Elixir For All 1/1 Worth It In The End. Also, near the end of this quest is the location for the Items, XP, and Loot Reward Quests: Oswald Anders’ Chest.
TIP: This is also the location for the Vukah and Wildlife Lore: Diadwyn And Its Building Blocks 1/2 Town Of Diadwyn and 2/2 Half-Timbered Blocks.
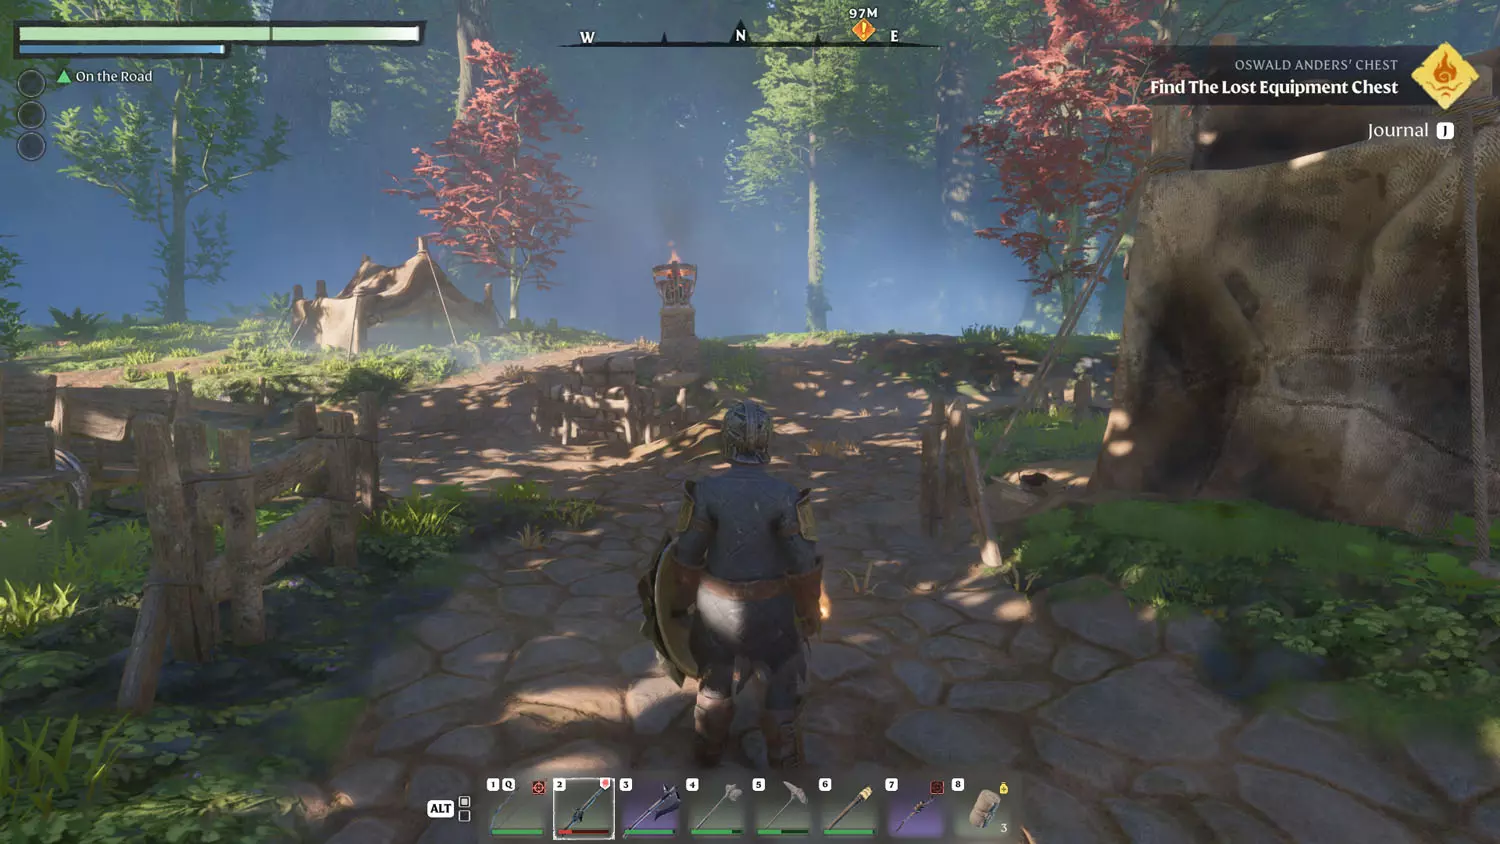
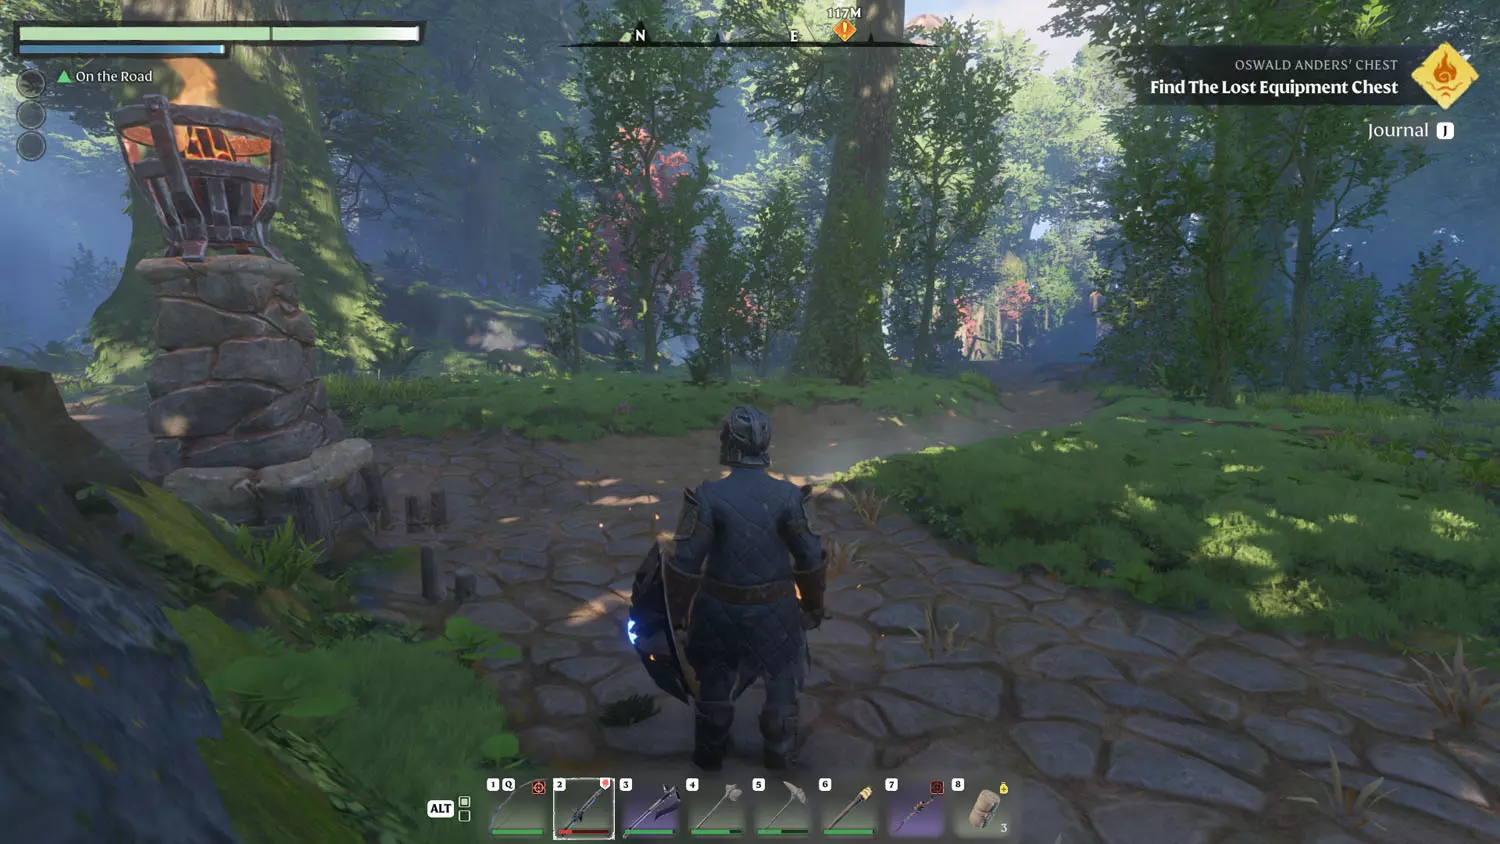
For this one, the best route is to head for the Withered Encampment, north of the Ancient Spire - Springlands Fast Travel. From there, head north. If you aren’t strong enough for the area, run through. That’s what I did! Just keep running north. You’ll pass through Willow Crush, over an old bridge, through a creepy castle, and by a small camp before reaching Diadwyn (curve eastward on the main trail).

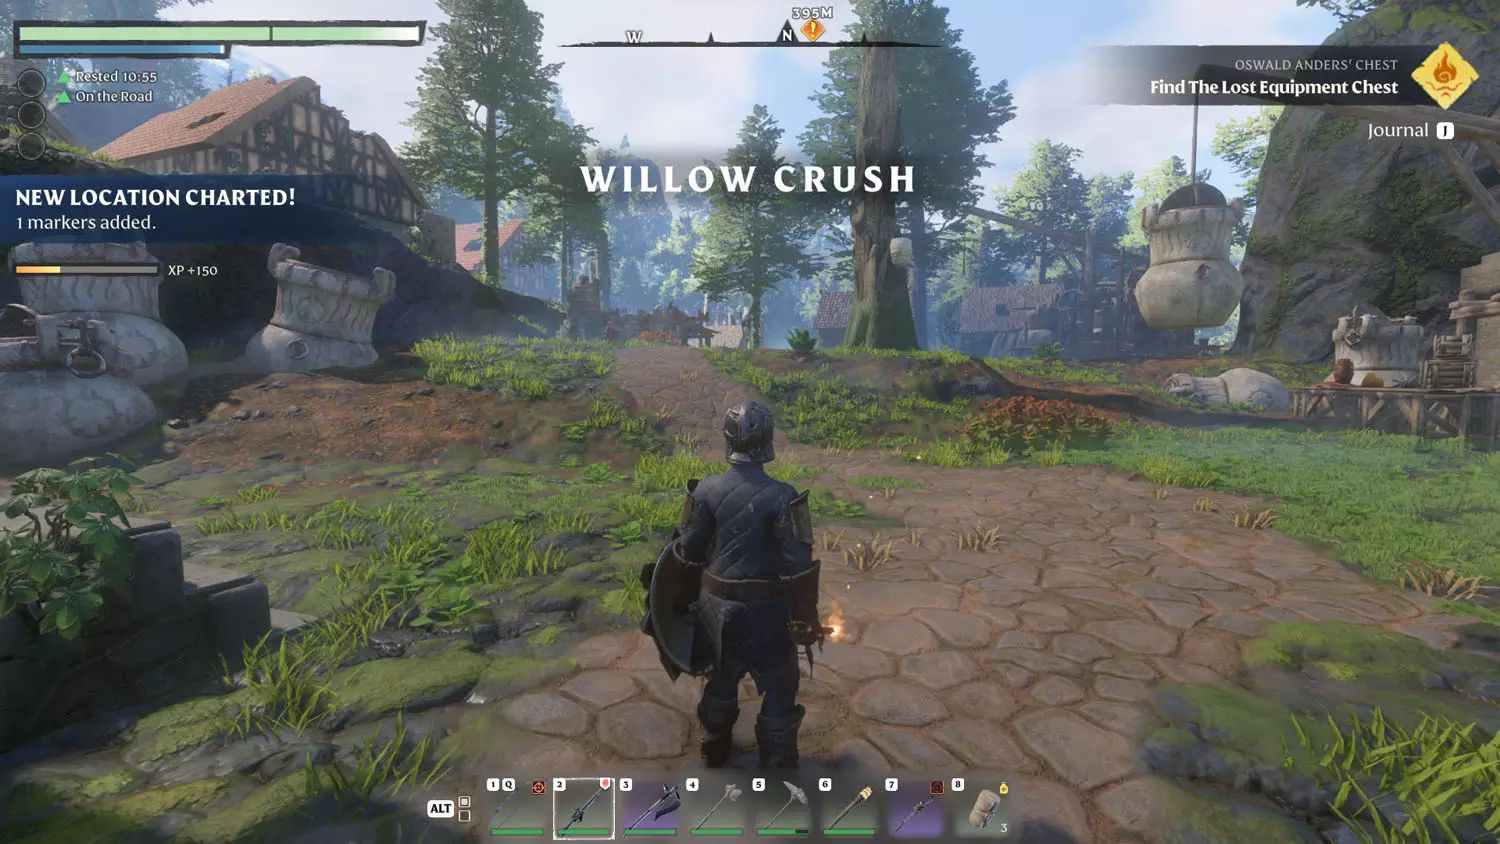
TIP: If you stop in Willow Crush, here are some pieces of Lore you can find here: The Shroud, Elixir, and Elixir Well Lore: The Morning Grind 1/2 I Heard A Crack and 2/2 Ring Received; and all three pieces of The Elixir Thief 1/3 The Brew Is Ours!, 2/3 Must Have More, and 3/3 Fools!. Vukah and Wildlife Lore: Spitting Plants 1/2 Dear Oskar,.
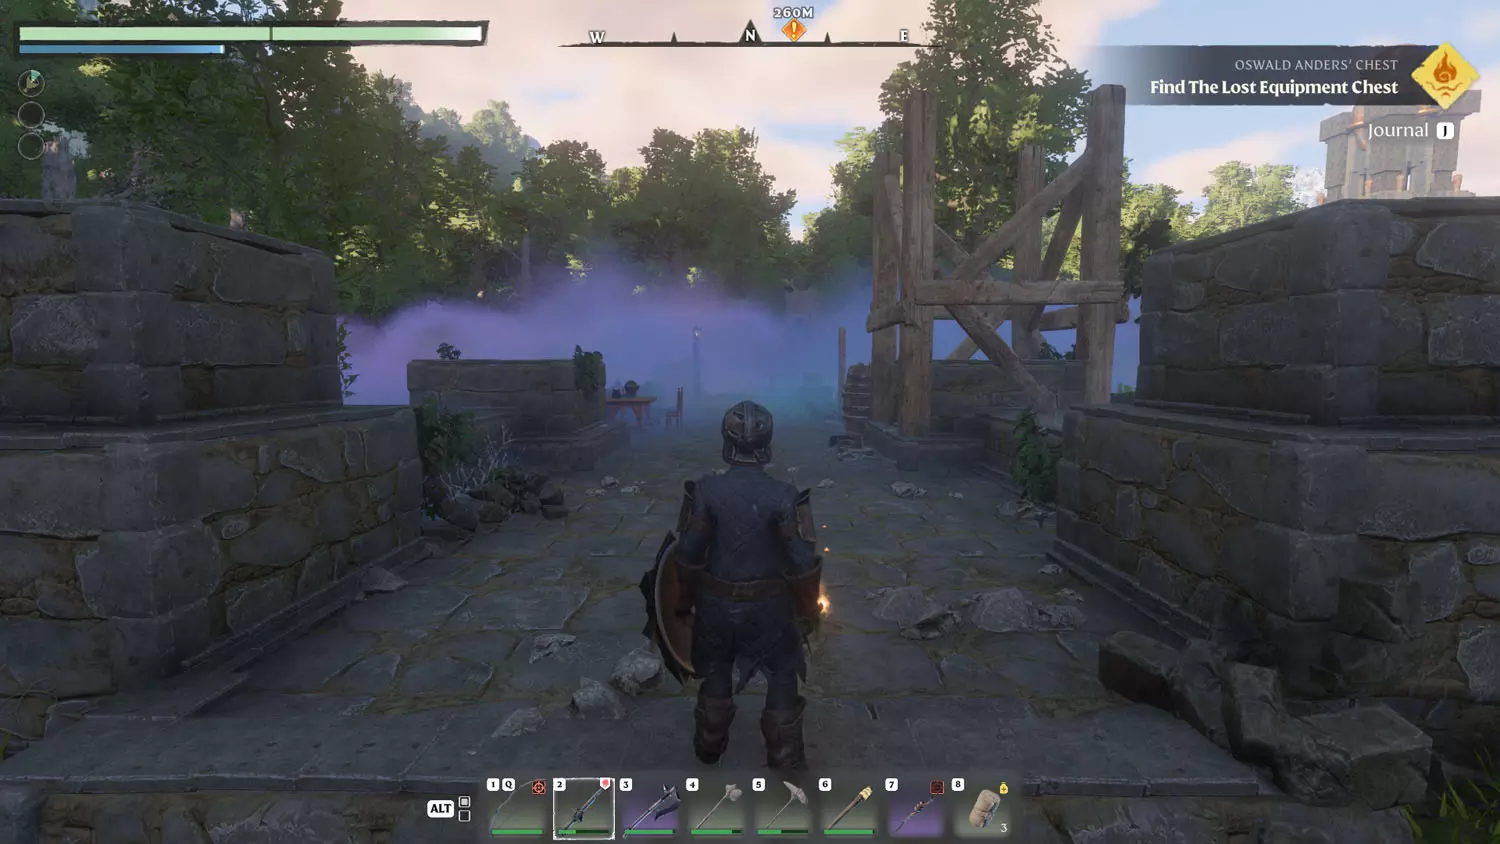
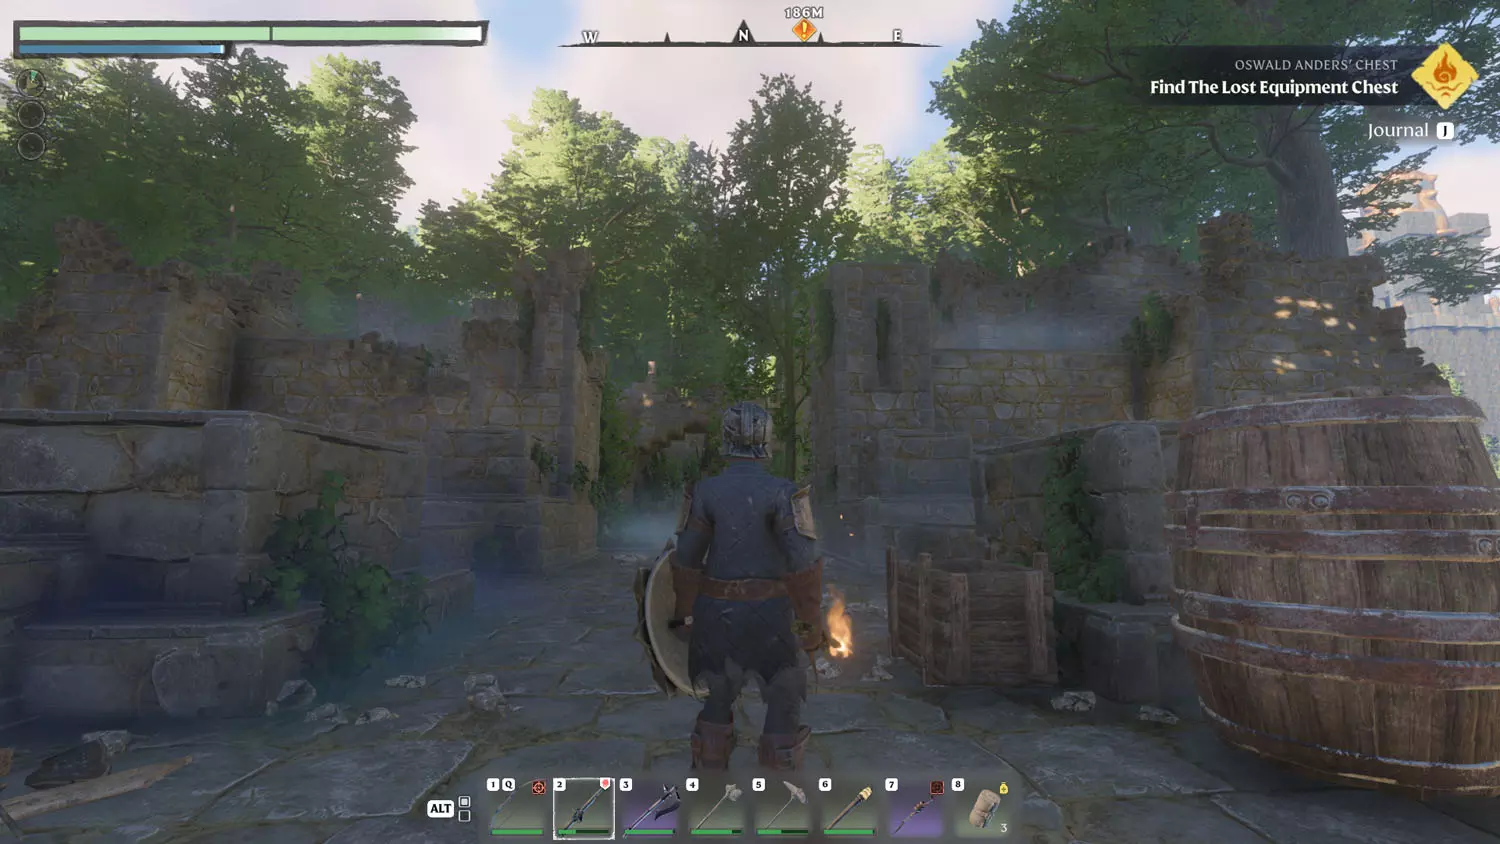
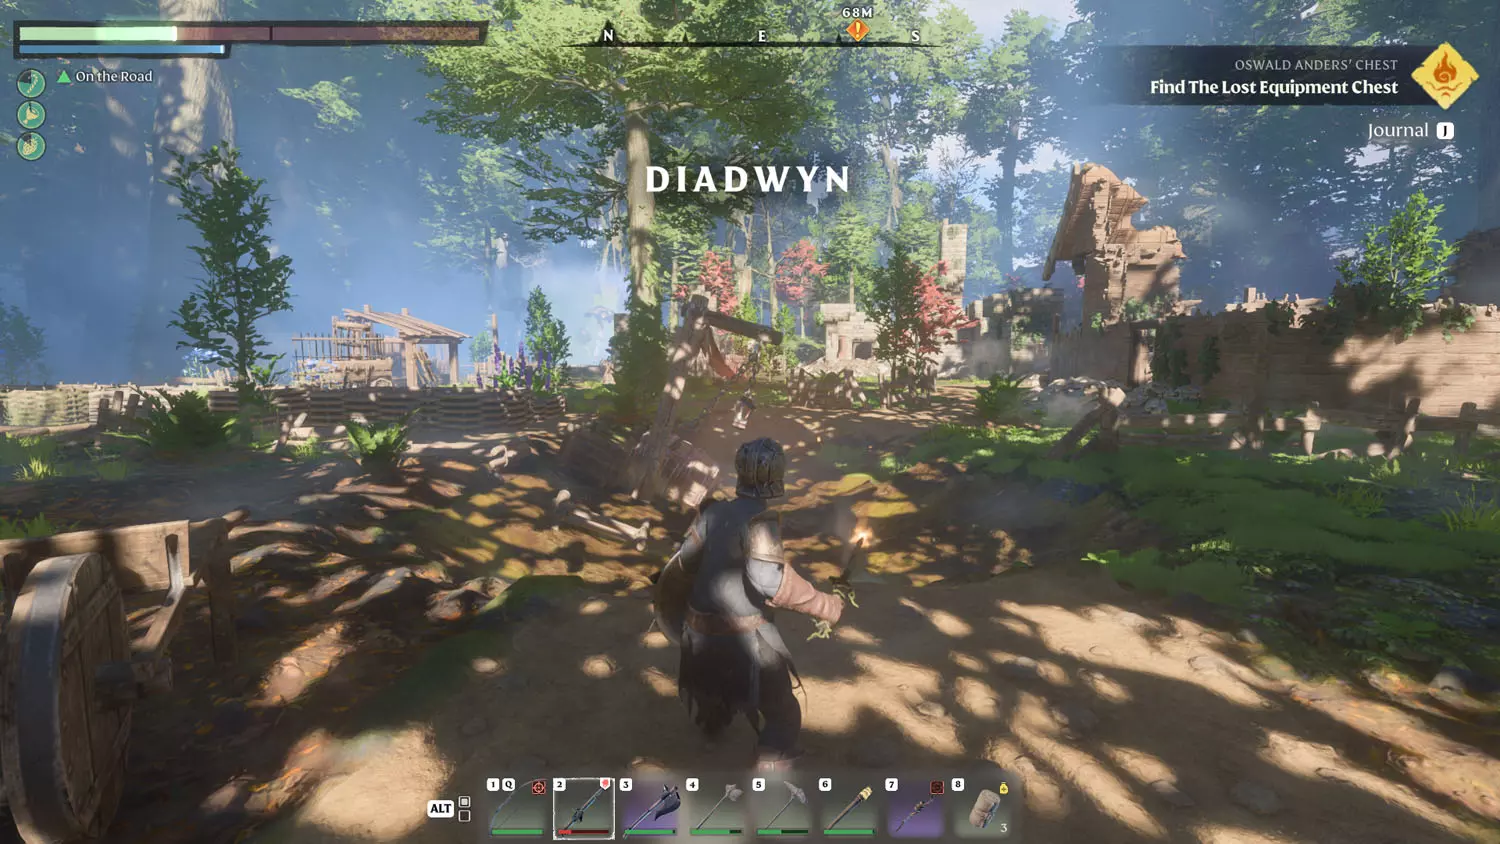
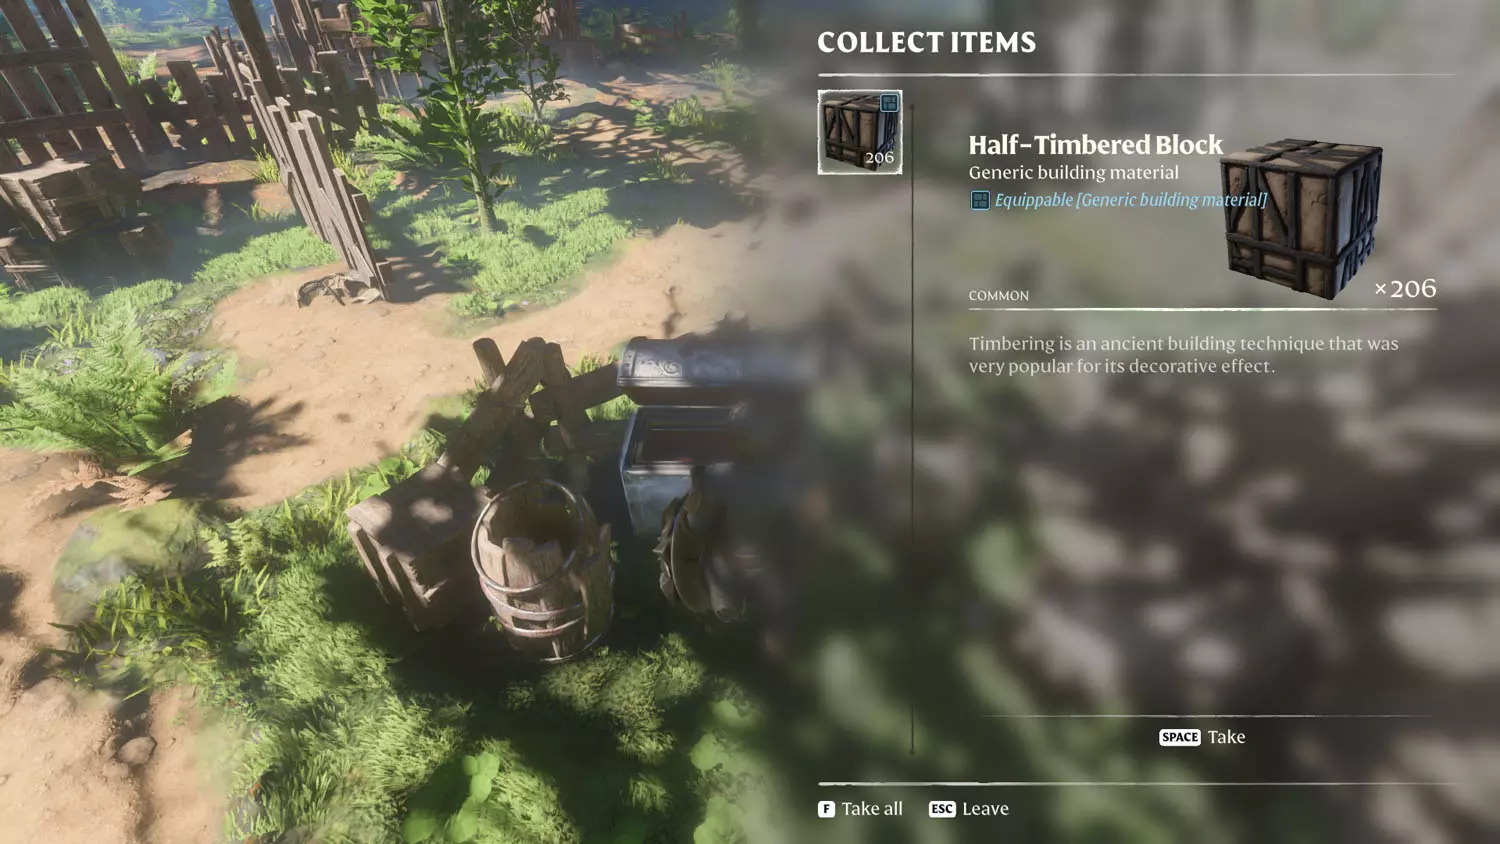
Head straight in, around that thing in the middle there, and there will be a chair (with a glowing paper the Scavenger Lore: Elixir For All - Worth It In The End), a tent, and a Silver Chest. Looting the chest will complete the quest, and it’ll give you some Half-Timbered Block!
TIP: This will also complete the Vukah and Wildlife Lore: Diadwyn And Its Building Blocks 1/2 Town Of Diadwyn and 2/2 Half-Timbered Blocks.
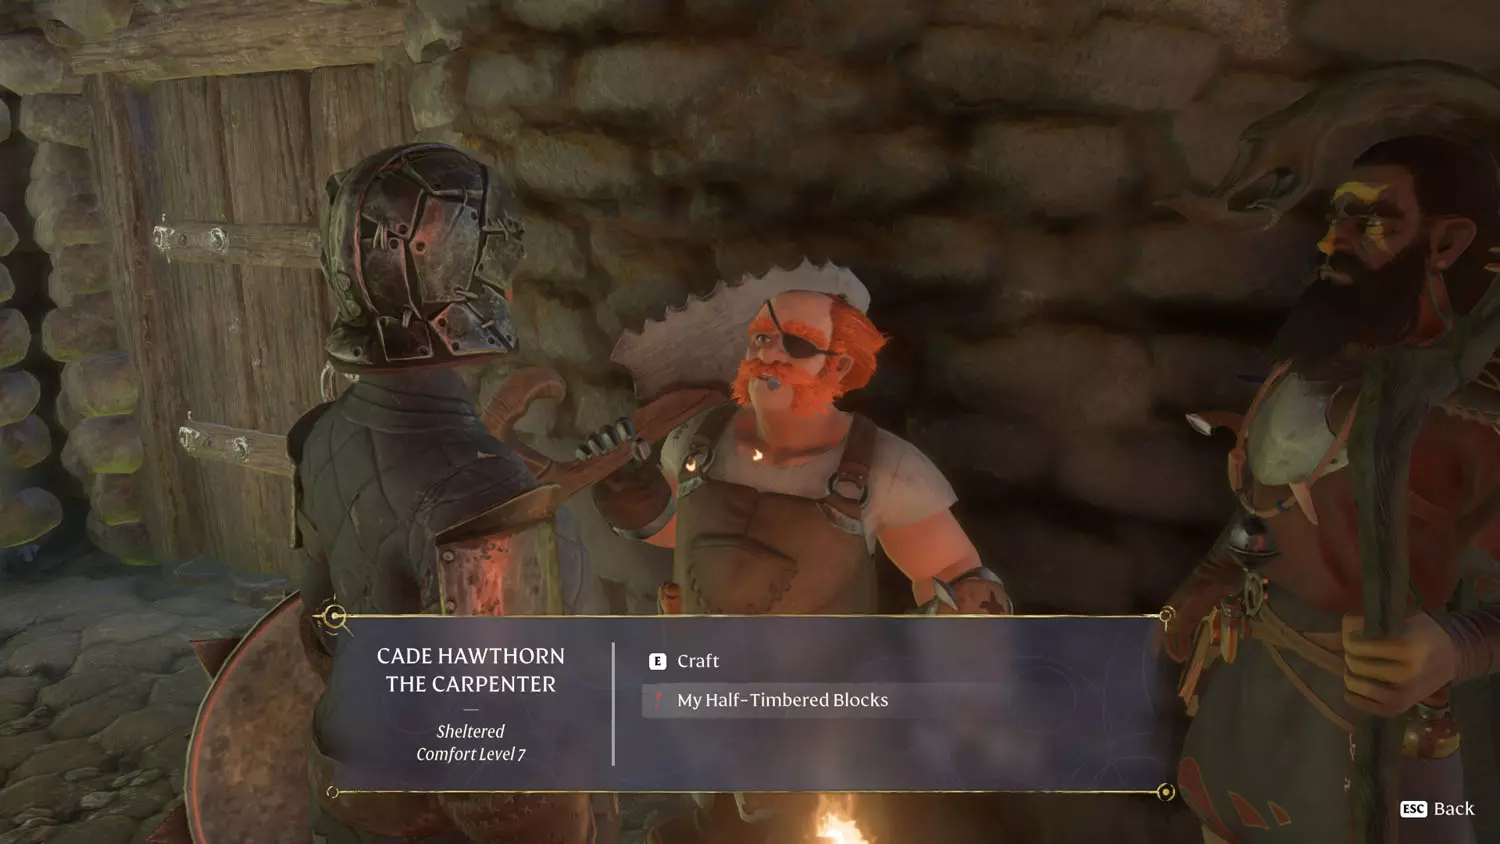
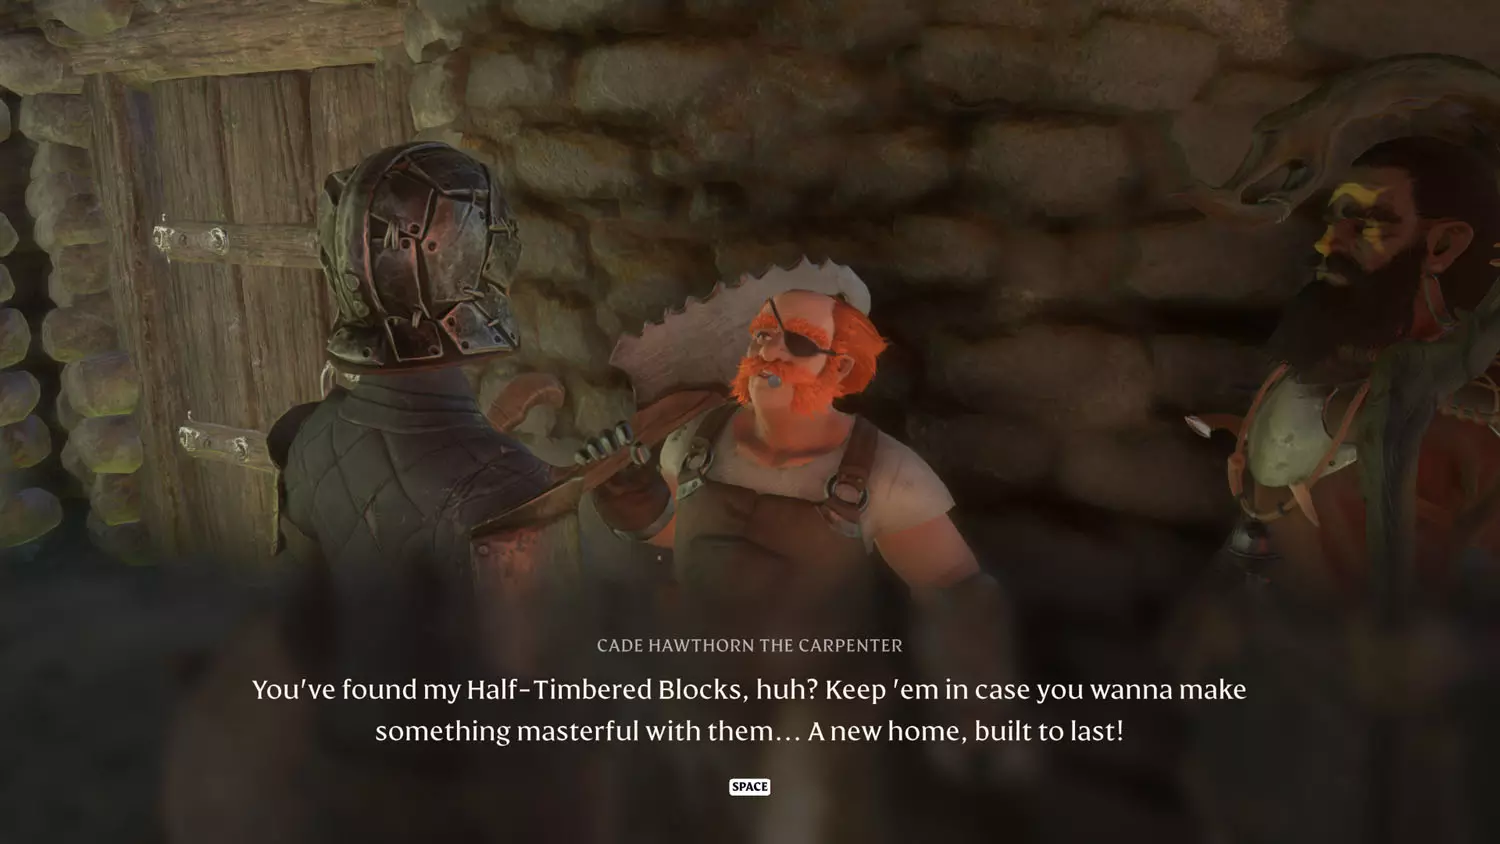
When you head back to base, be sure to talk to the Carpenter. Select the dialogue “My Half-Timbered Blocks” to hear his tale.
TIP: Once done, I suggest checking out the Items, XP, and Loot Reward Quest: Oswald Anders’ Chest.
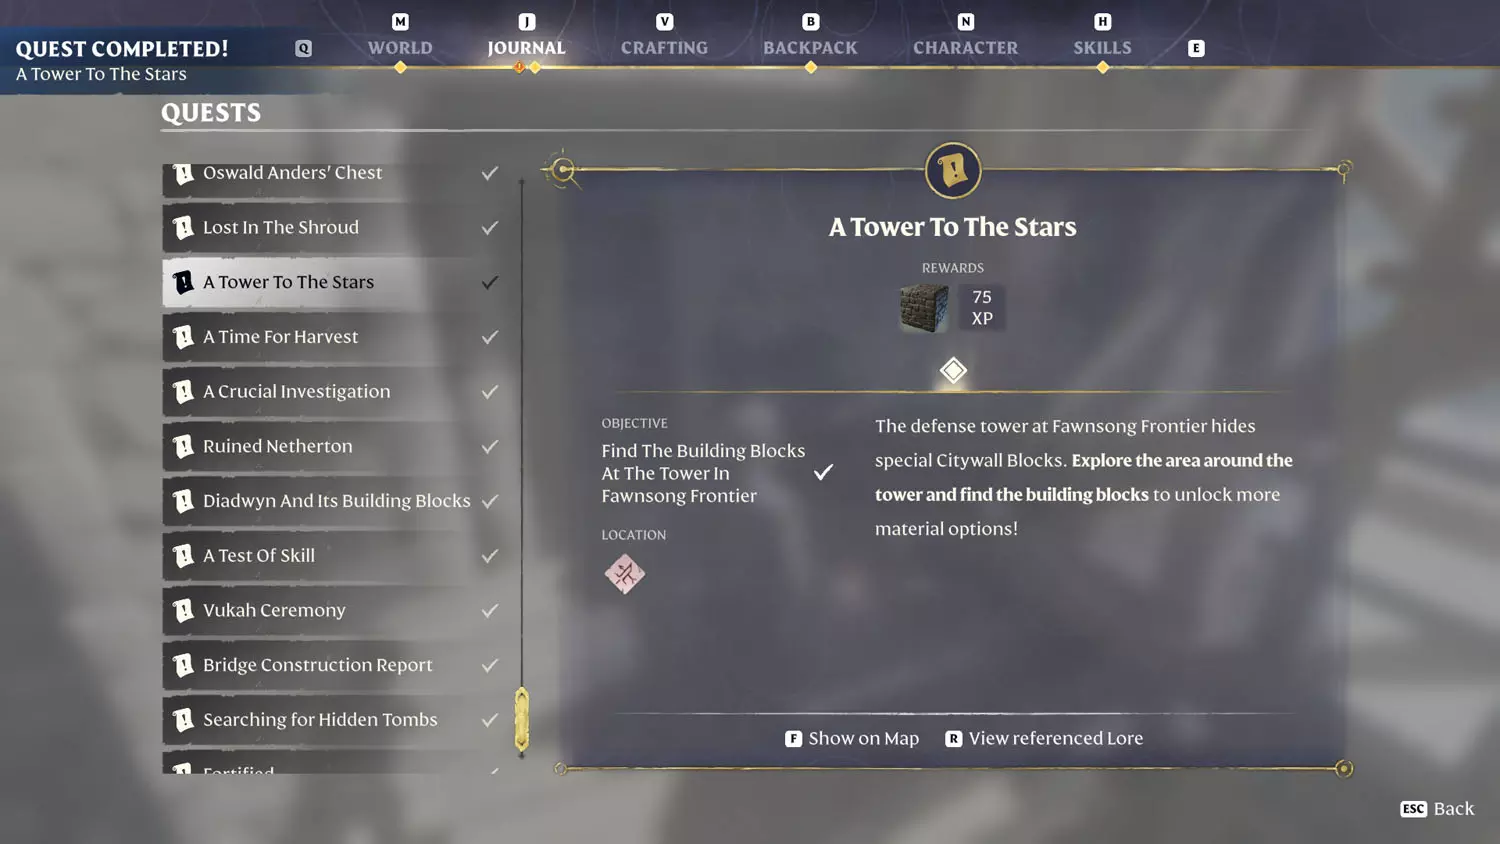
A Tower To The Stars - Citywall Block Reward
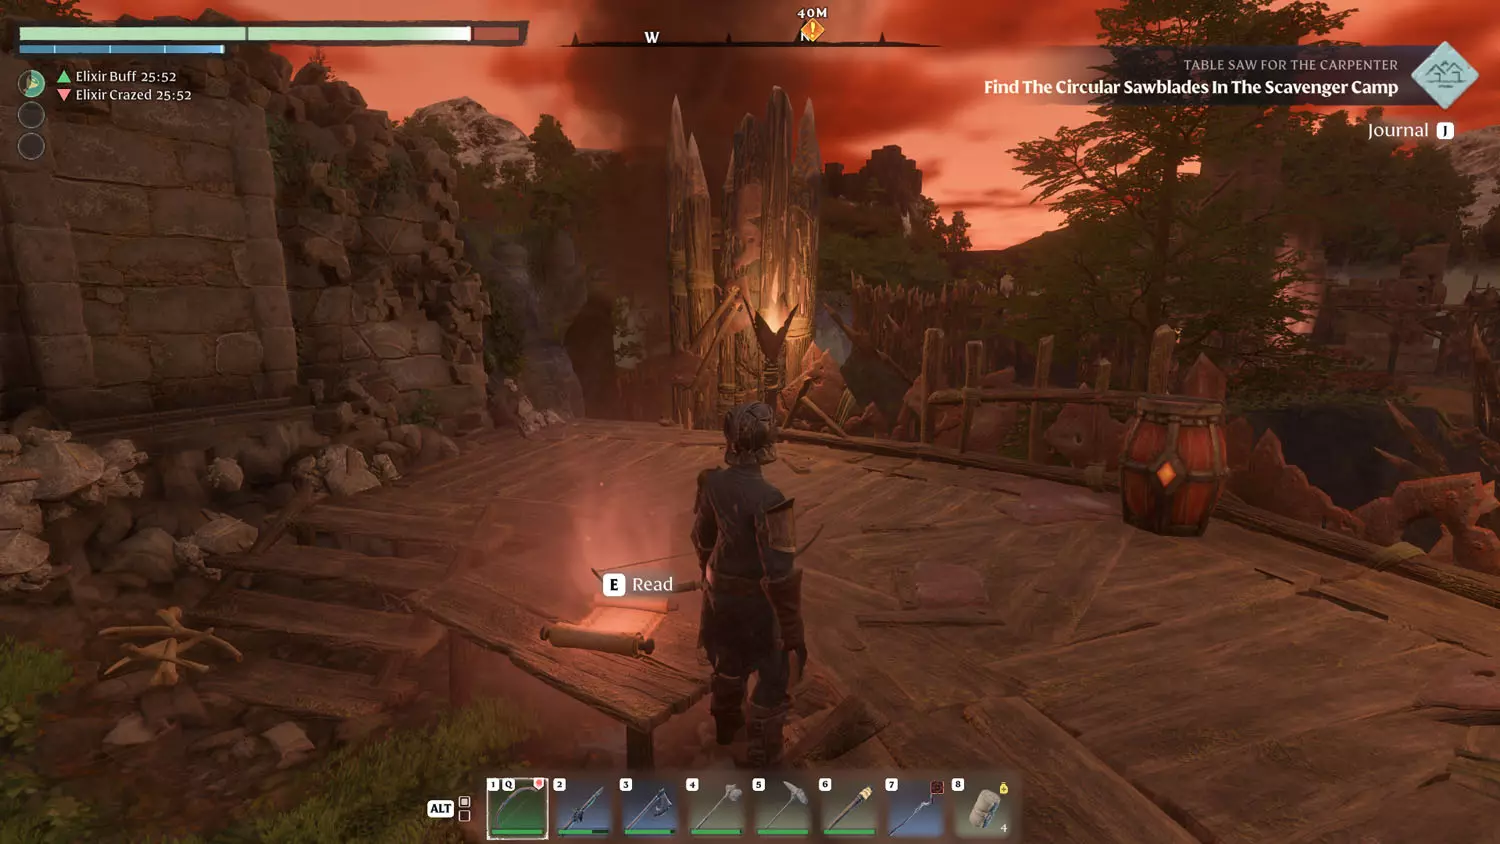
This quest is initiated by reading the Scavenger Lore: A Tower To The Stars 1/1 The Tower Must Reach The Sky!, and it is also the destination for the Carpenter Quest: Table Saw For The Carpenter.
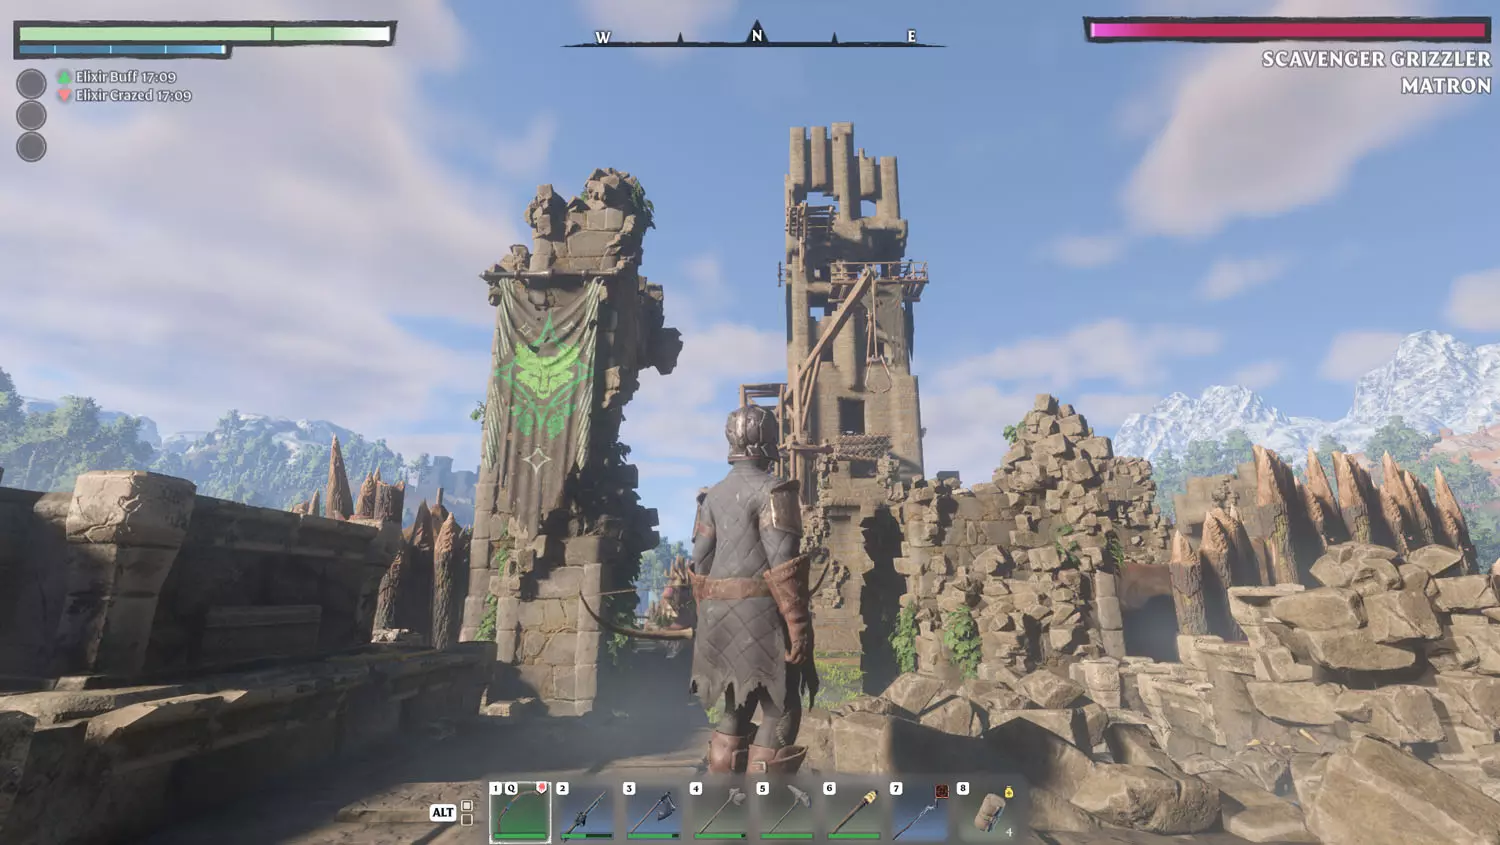
From Fawnsong Frontier, head toward the tower at the back of the camp. I recommend killing the Scavenger Grizzler Matron first.
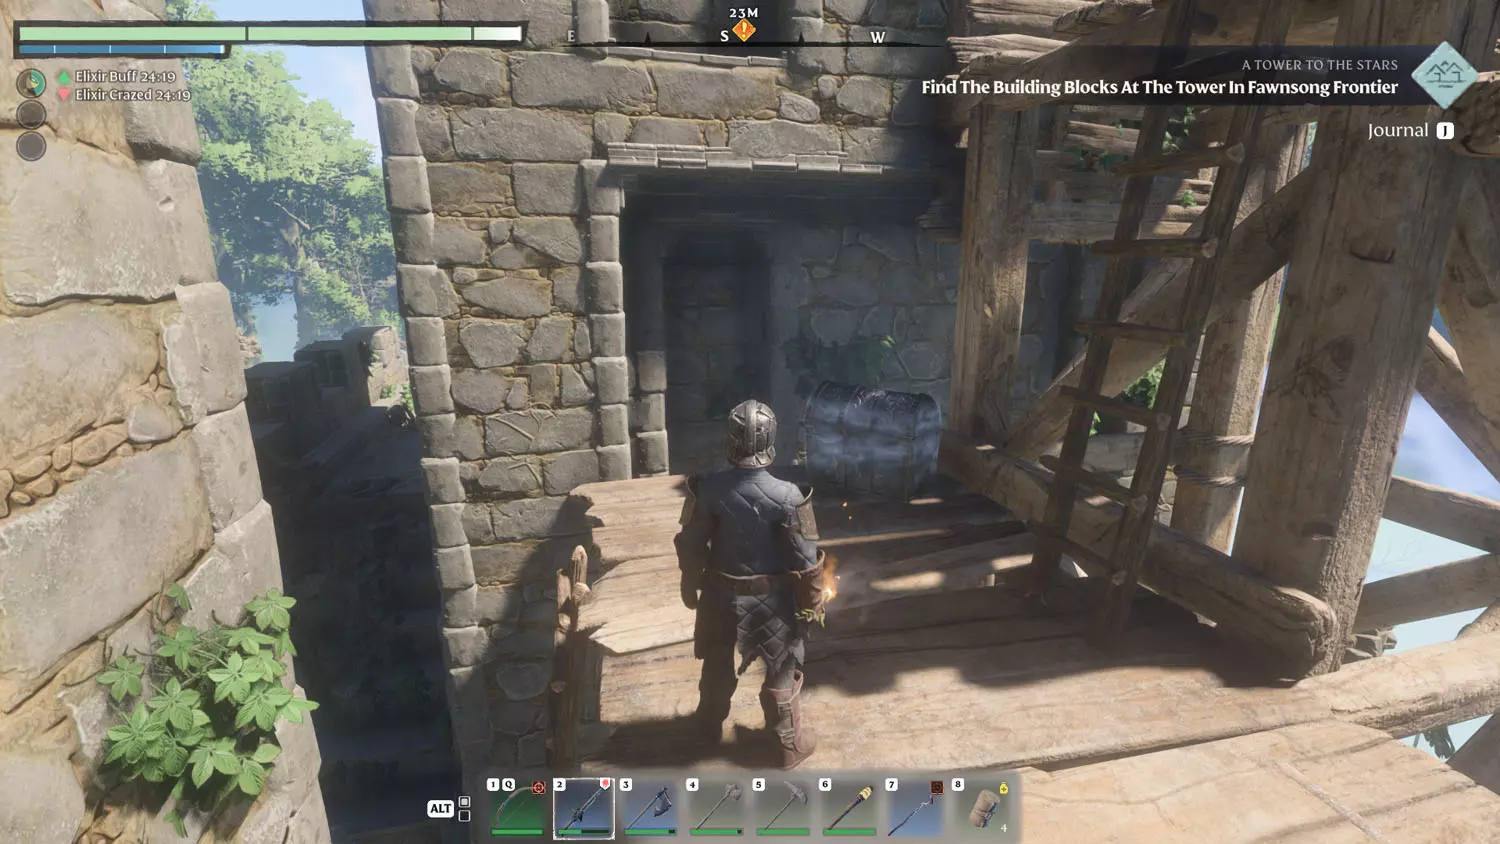
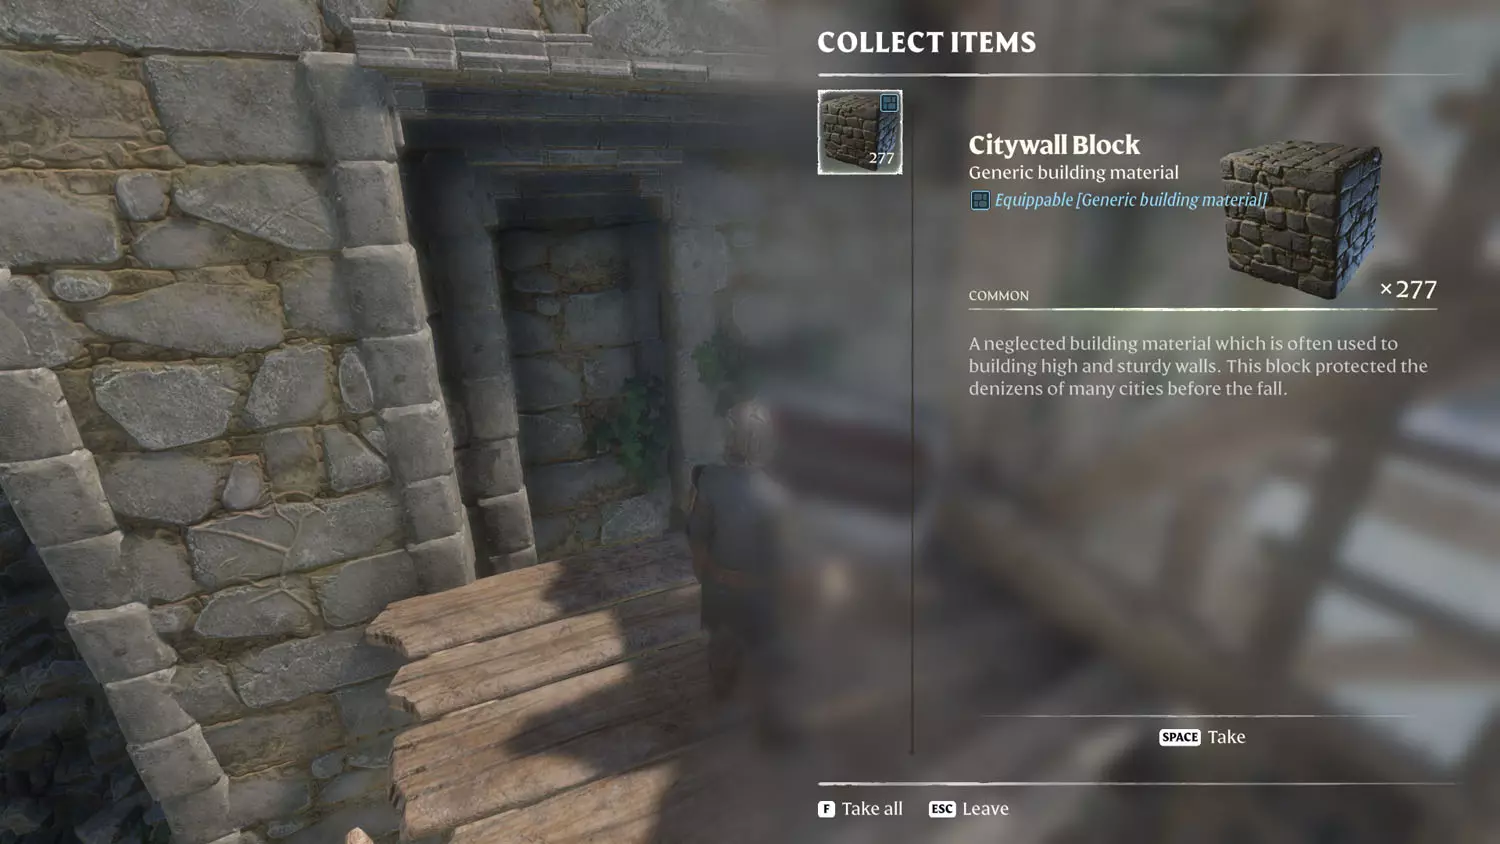
There are stairs to the right at the base of the tower. Take those up and then head to the backside of the tower. Take the ladder up and there is a Silver Chest waiting for you. Loot the chest to obtain the Citywall Block and to finish the quest!
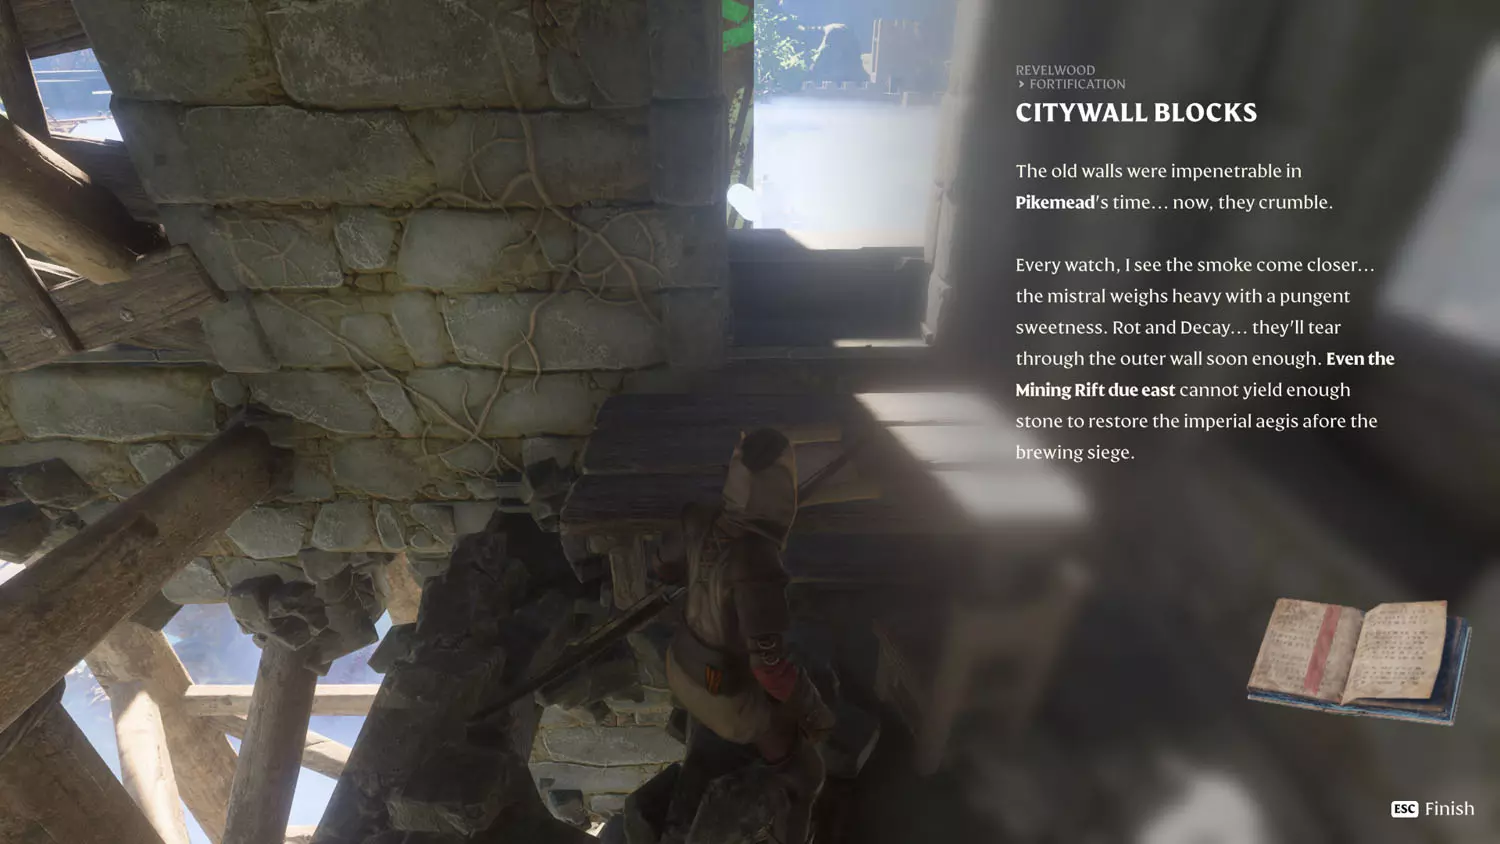
Fortification - Castle Wall Stone Block
This quest really ought to come with a warning to upgrade your base… Anyway. This quest is initiated when you read the Revelwood Lore: Fortification 1/2 Citywall Blocks.

I attempted to complete this before going from 3 to 4 to Strengthen The Flame. HAH! You die. The Shroud is too strong in the region I tried passing through to reach the blocks. So, clear Pikemead’s Reach first, then get the darn blocks.
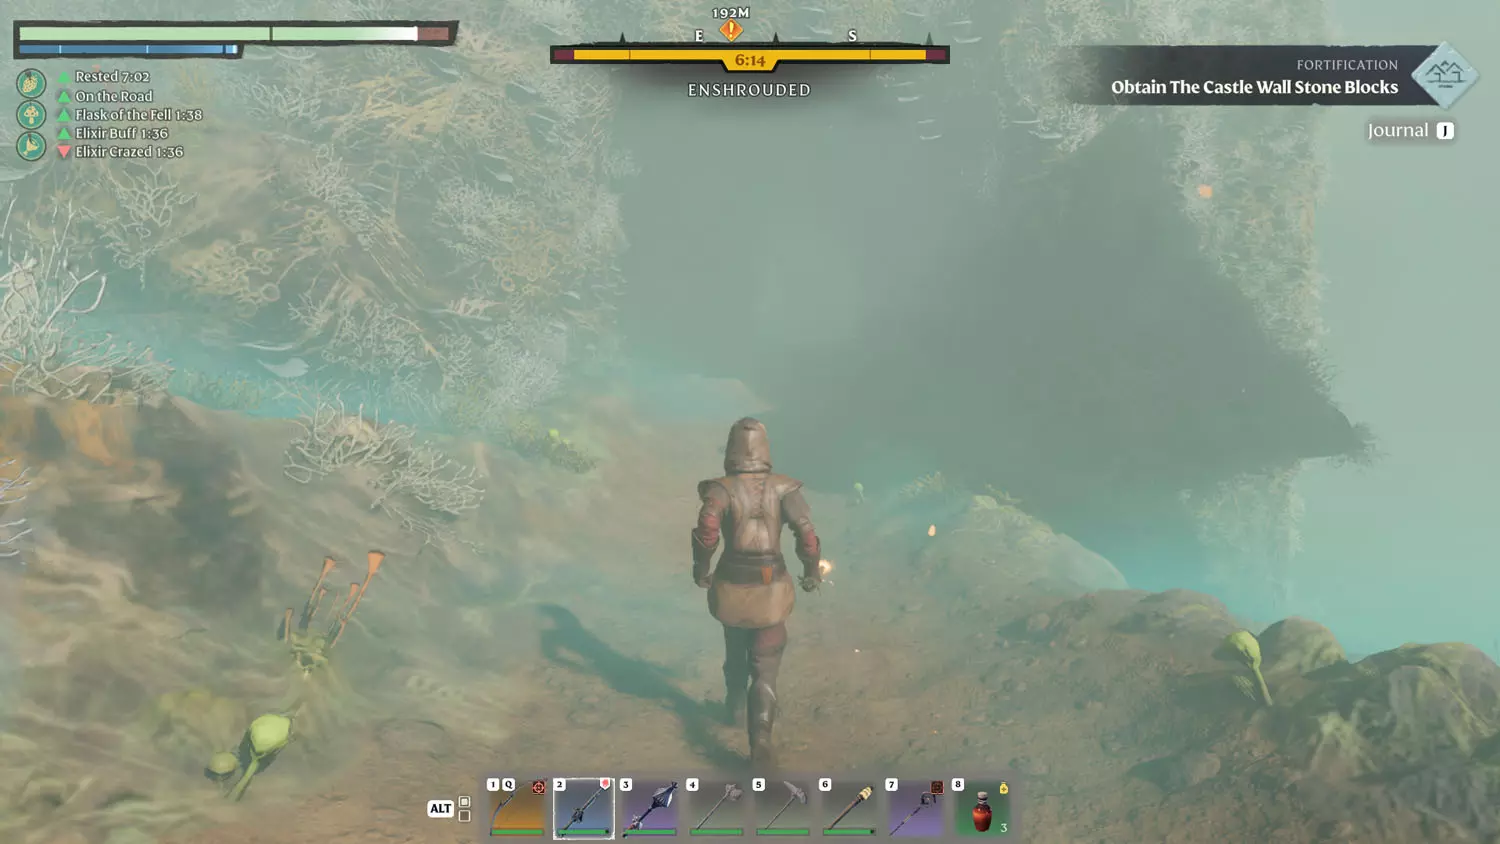
Once you have strengthened your Flame, it’s time to return to Pikemead’s Reach! Or, at least to the area so you can loot the blocks. Starting from the tower where you found the Lore that started this quest, glide eastward. There’s a road that leads into an Enshrouded tunnel. Follow it and enter the tunnel. The route through is pretty linear, but it does have enemies.
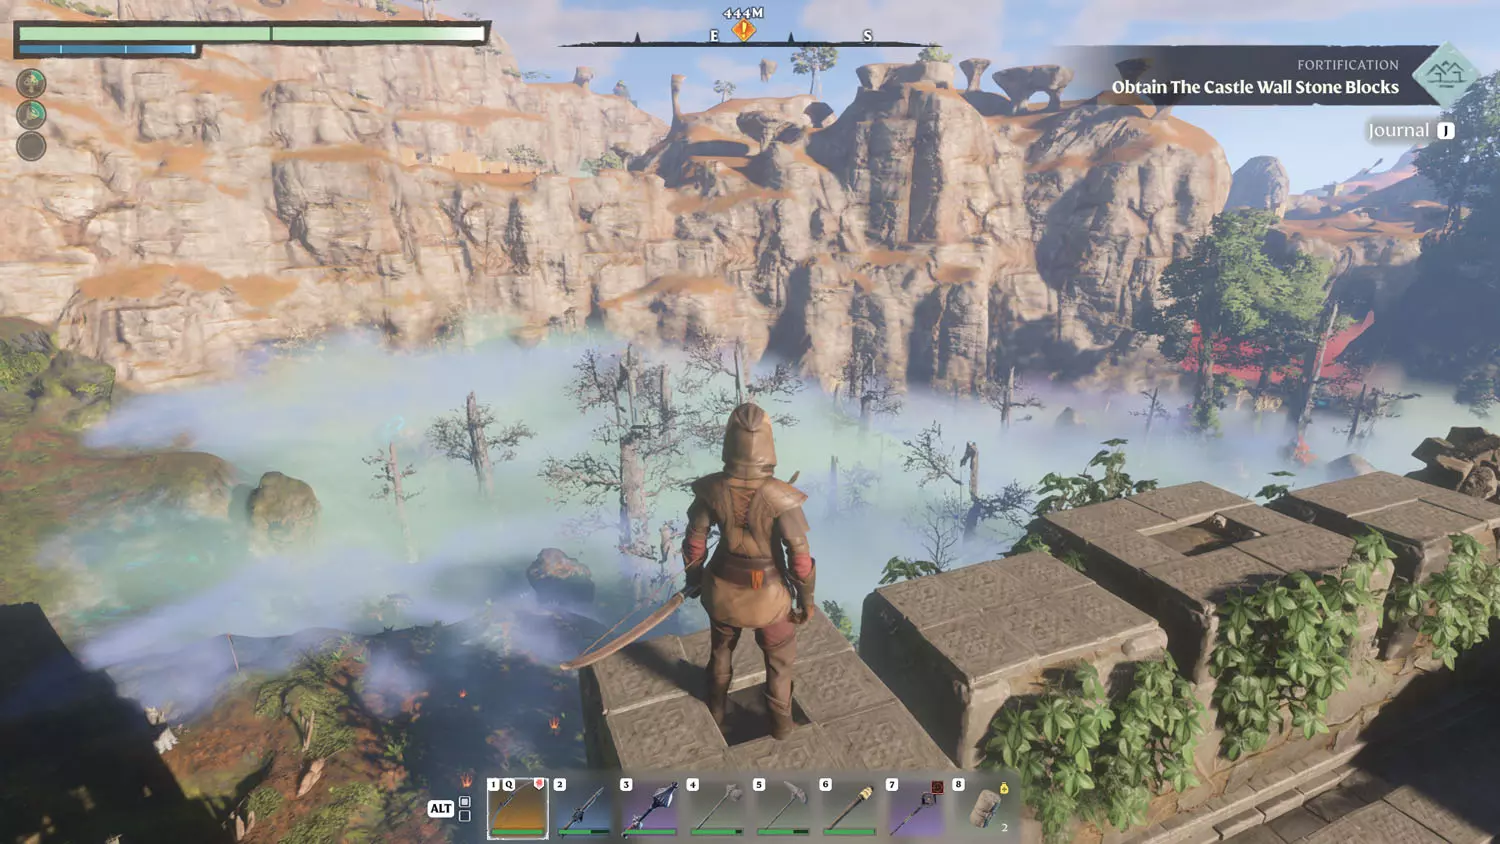
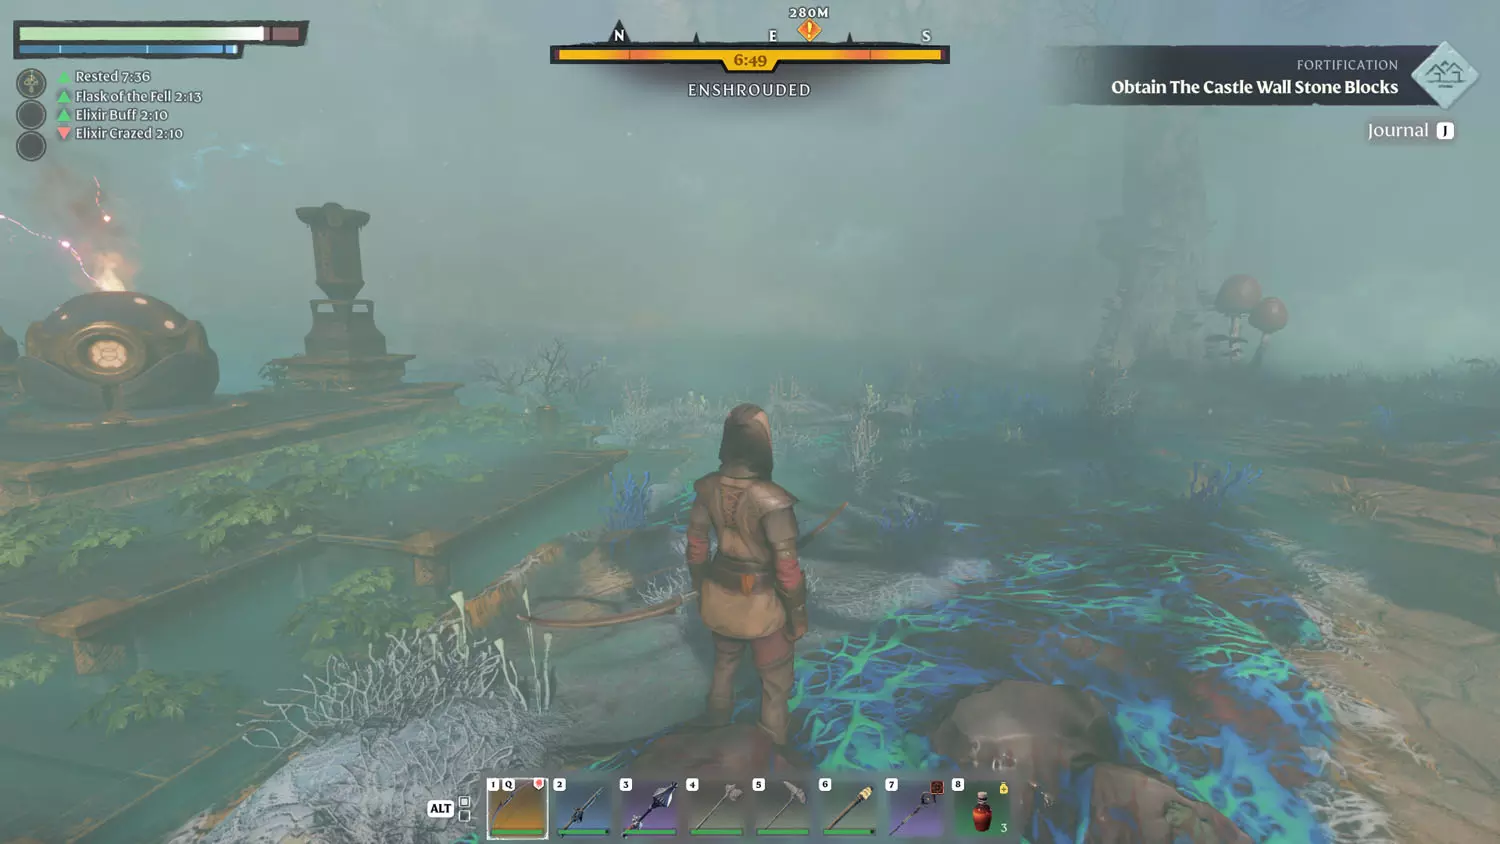
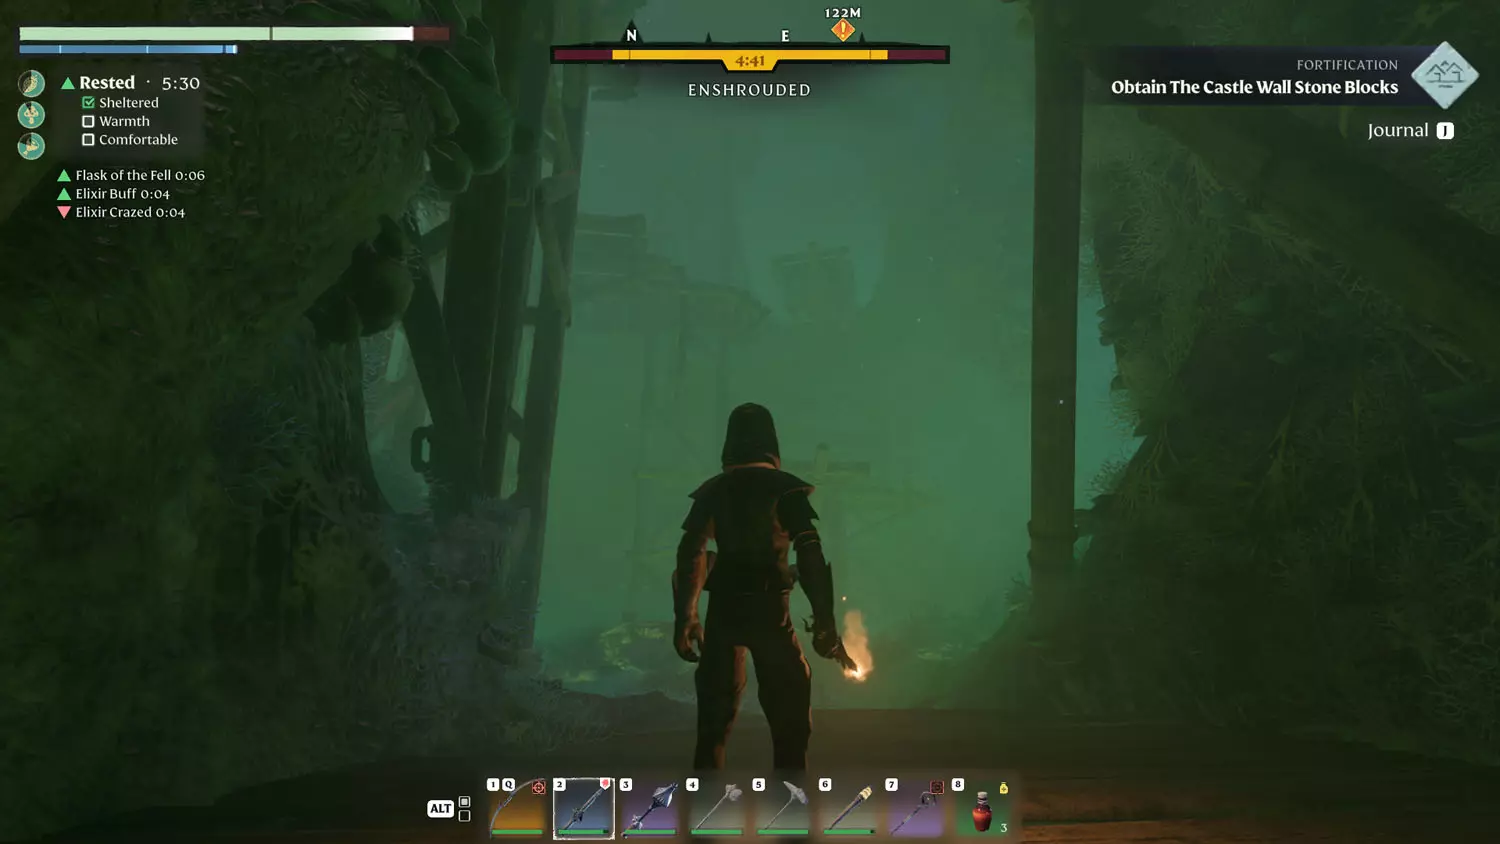
After reaching an open area, you’ll have some options on where to go, but mostly you just want to go up and then through the tunnel at the back. You’ll know you’re going the right way when you pass by a side room with a Shroud Root. Destroying it will give you a breath of fresh air - literally - and give you more time to explore or make your escape.

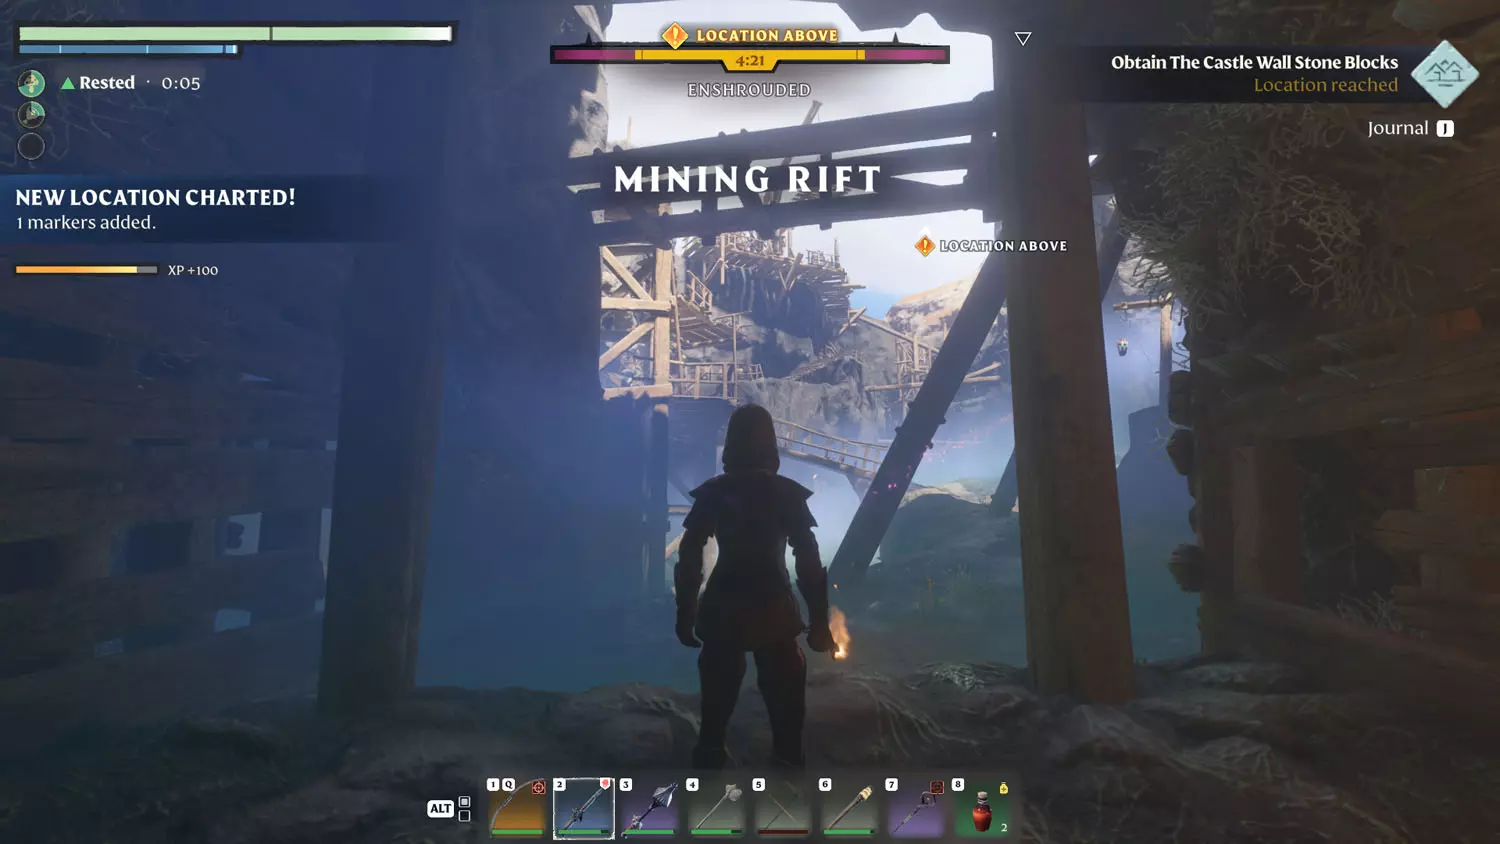
Once you reach the top, you’ll come upon the Mining Rift. Keep climbing up until you reach the top. There will be a tent with the Revelwood Lore: Fortification 2/2 Indefinite Abatement. Straight out from there is a crane with a Silver Chest on it. That chest contains the building blocks you seek.
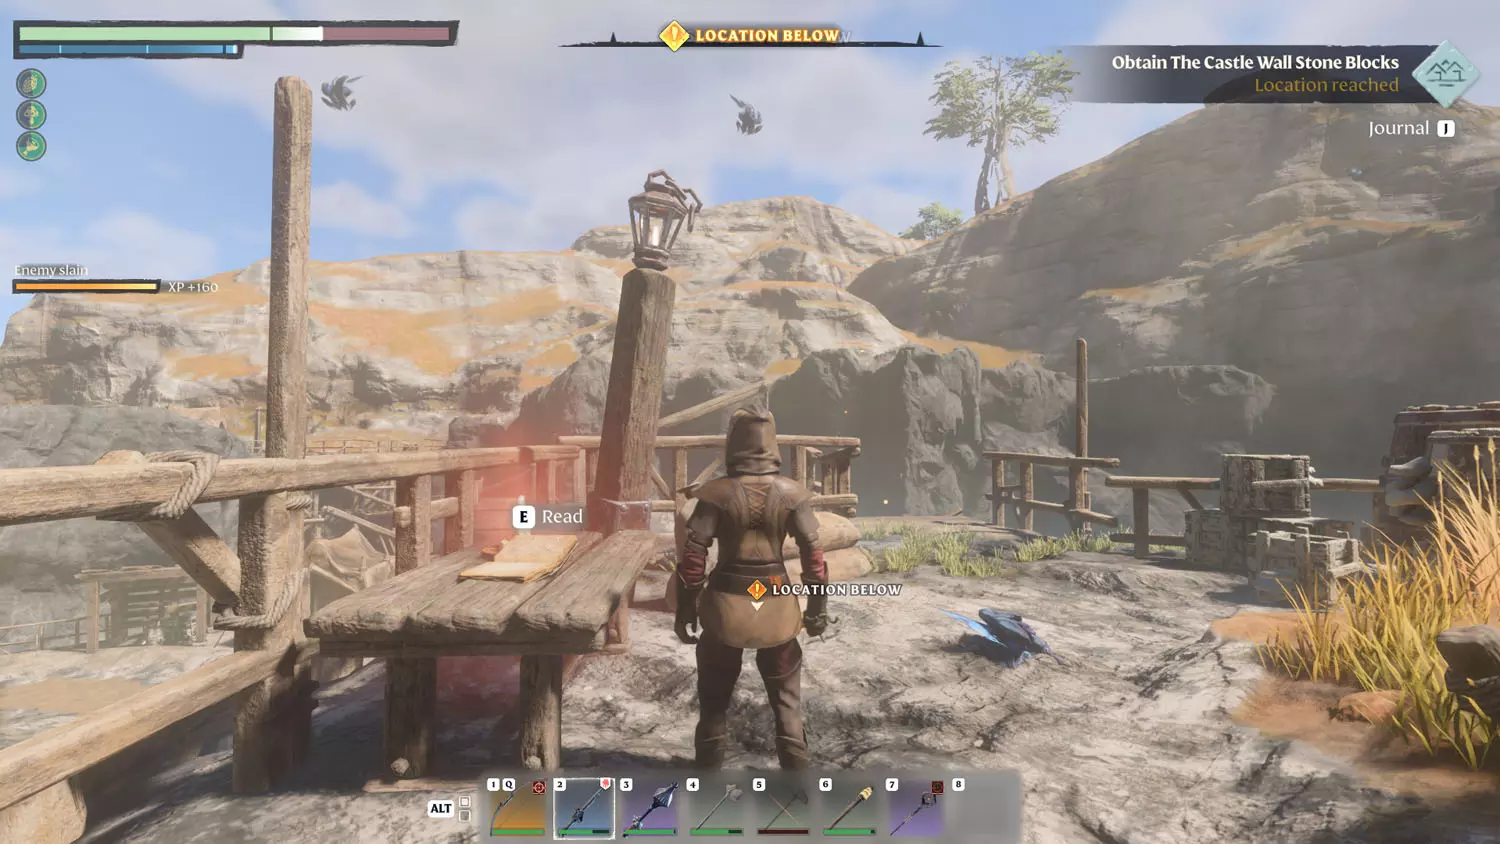
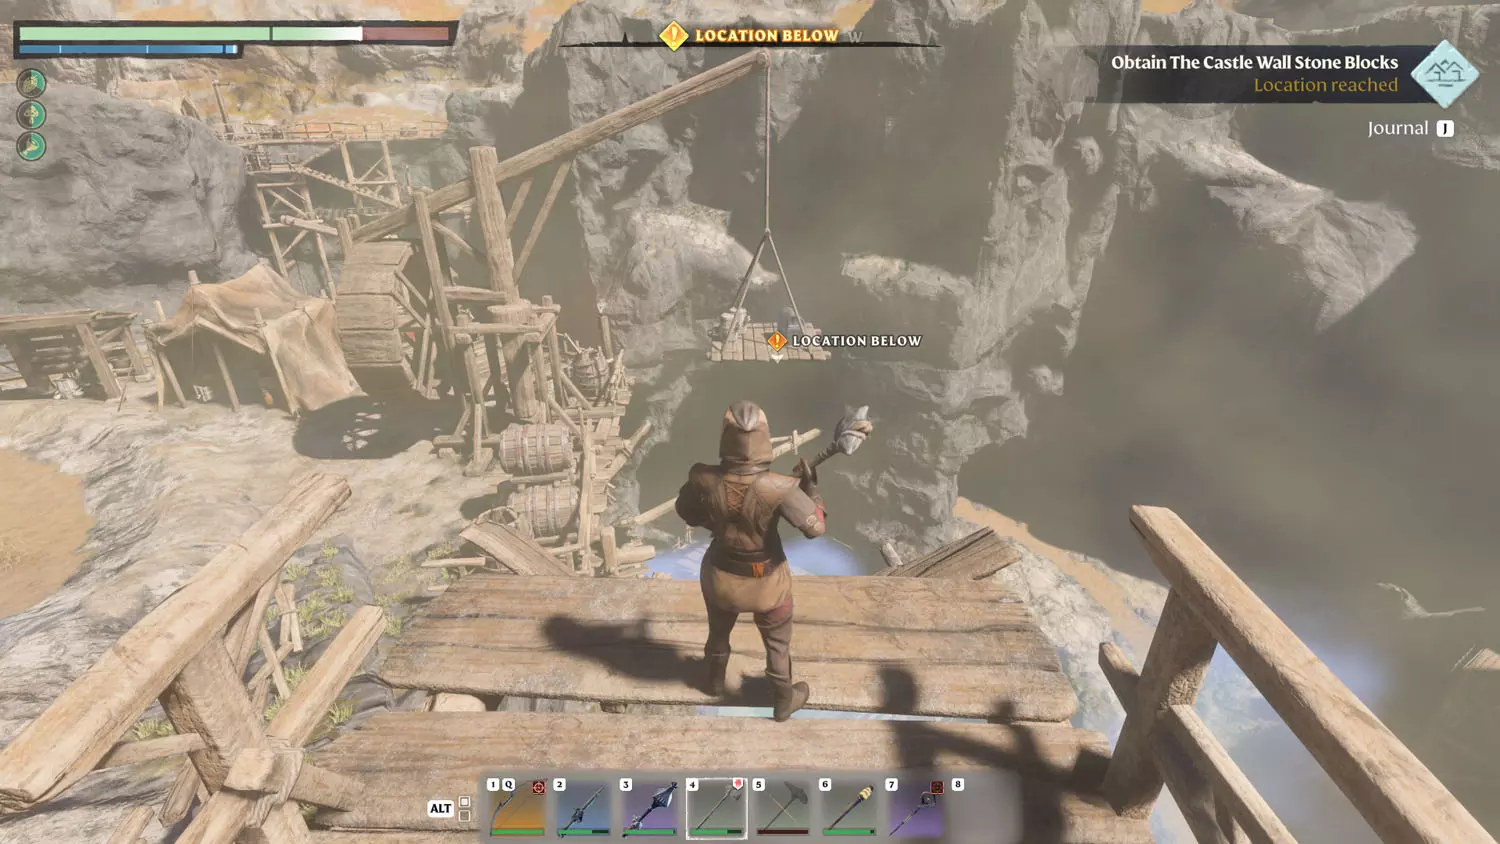
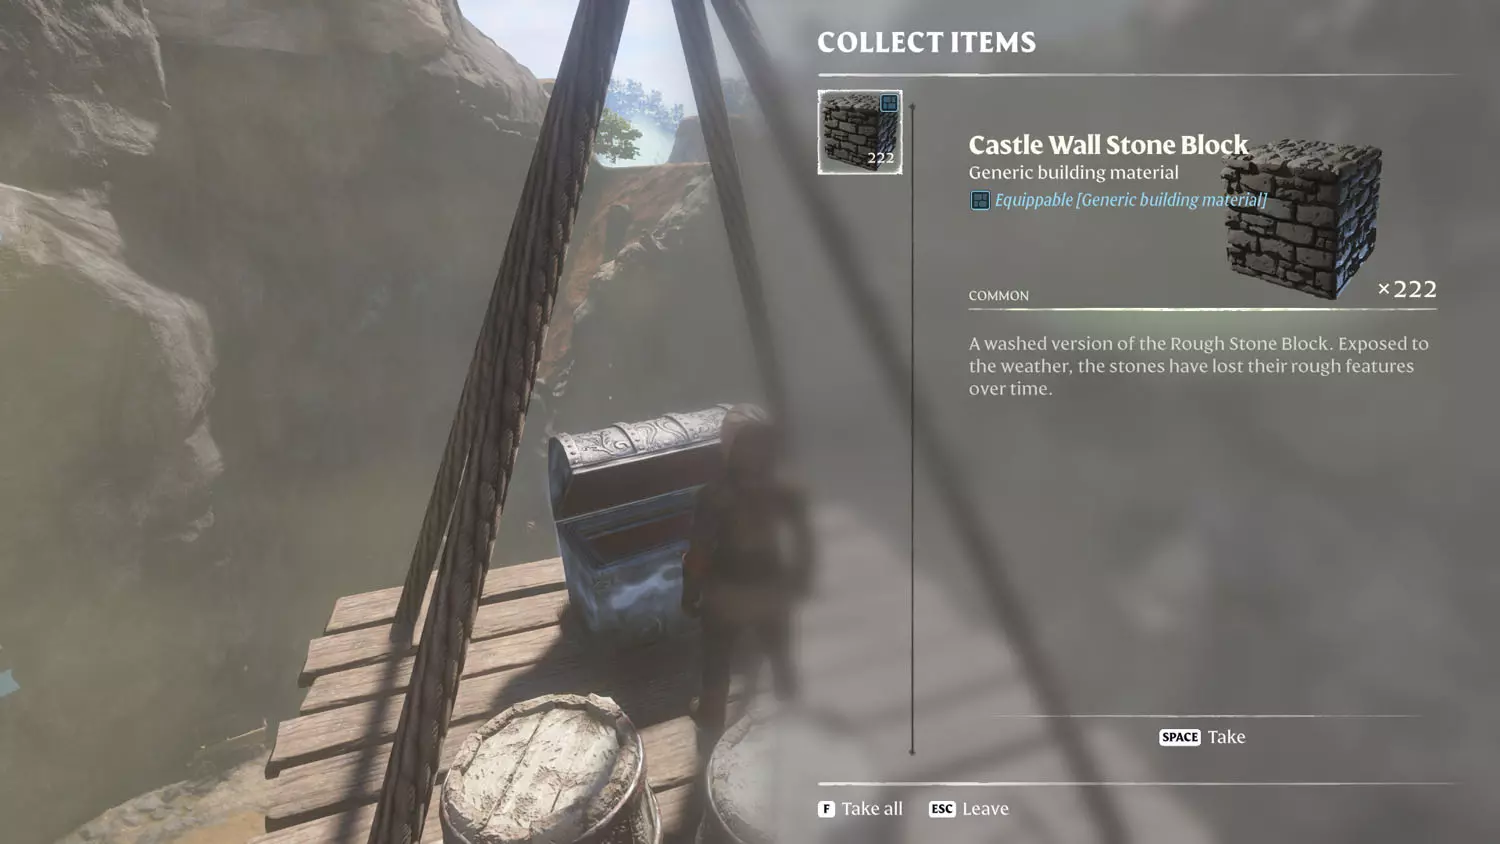
Complete the quest by looting the Castle Wall Stone Block.
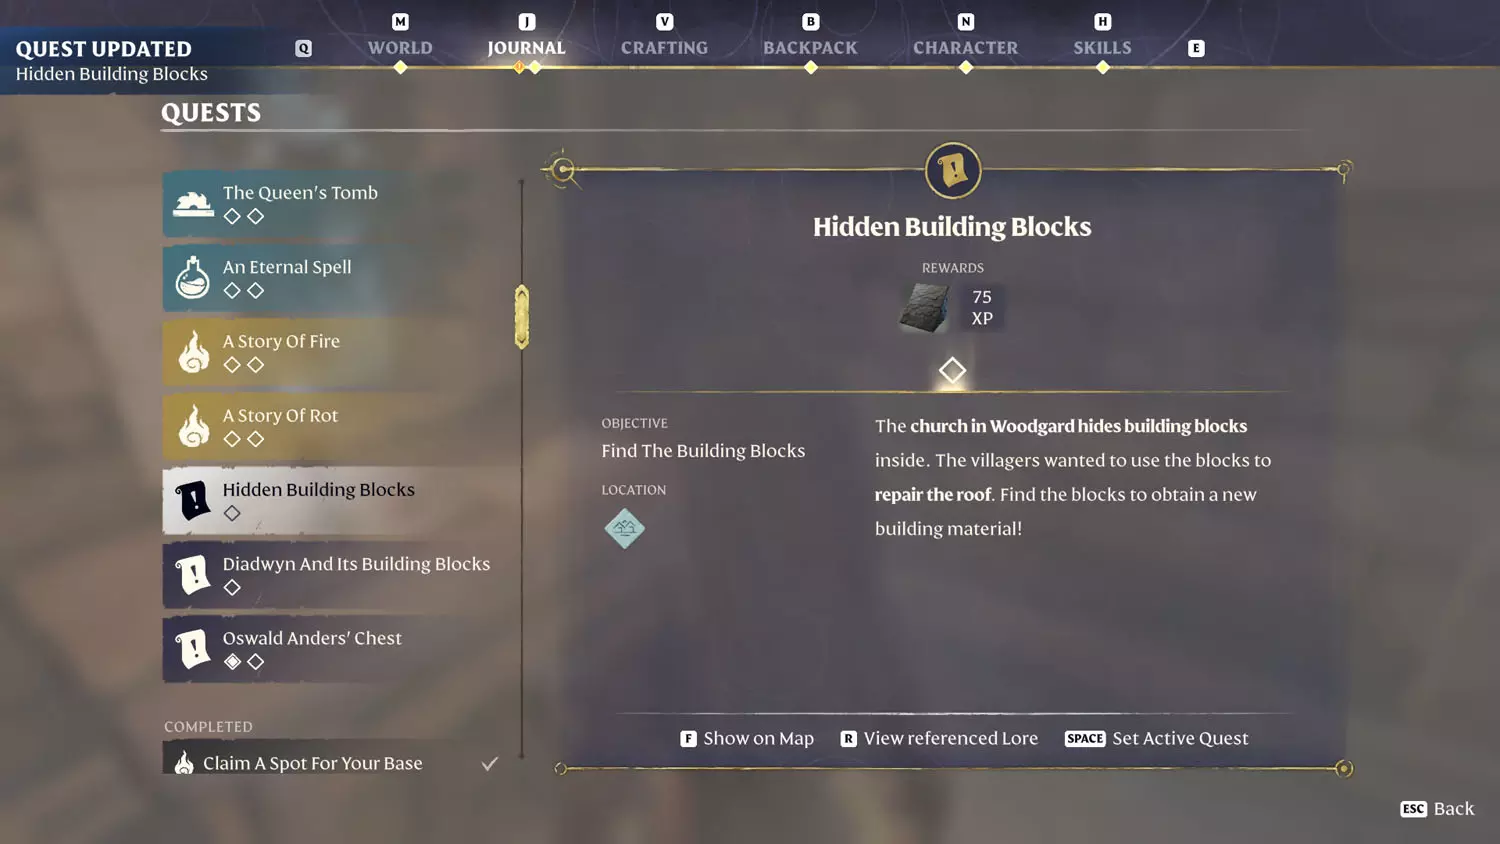
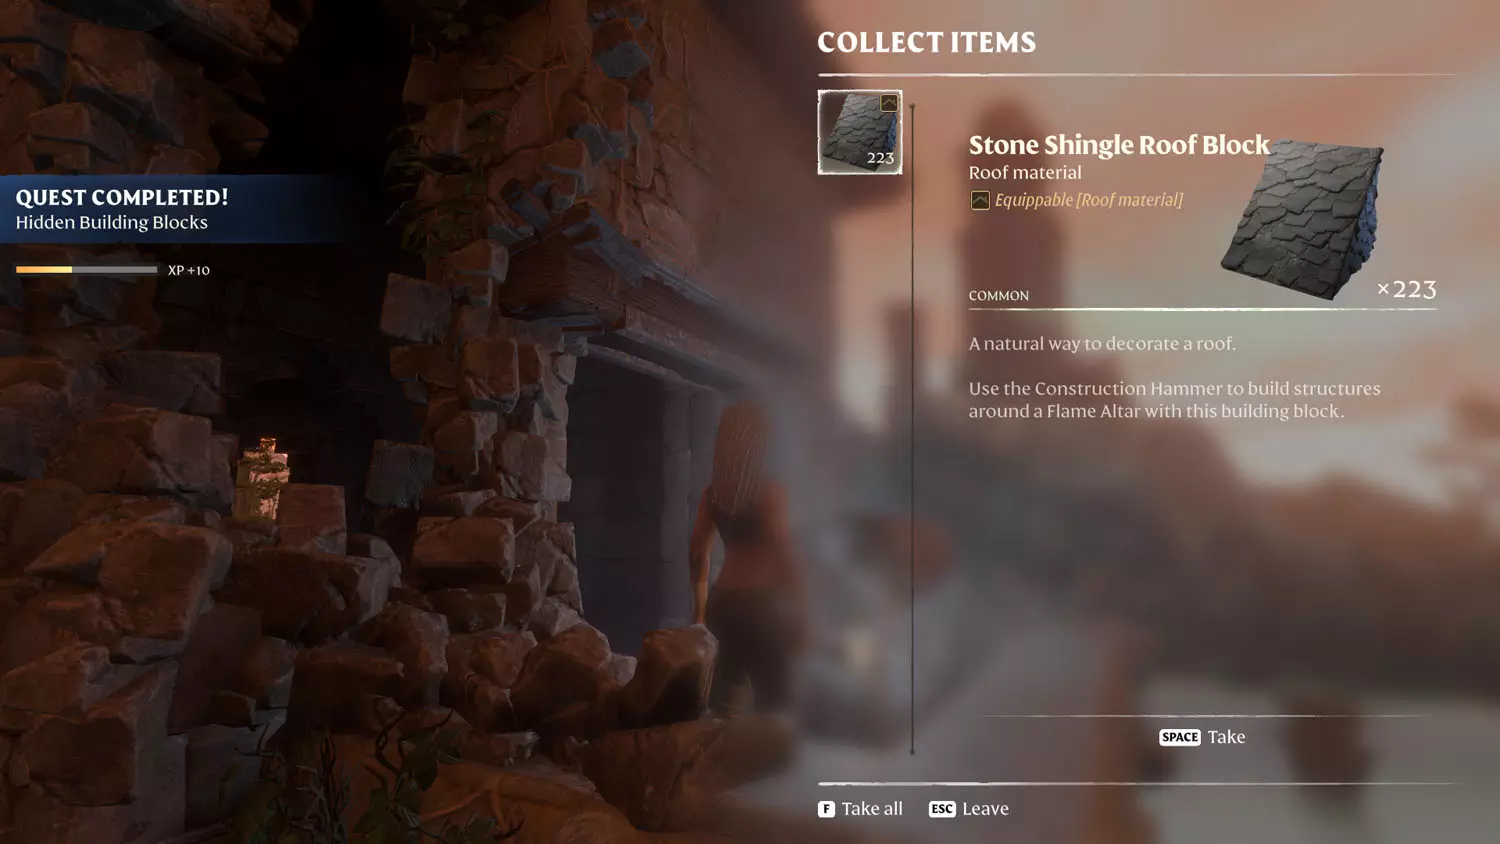
Hidden Building Blocks - Stone Shingle Roof Block
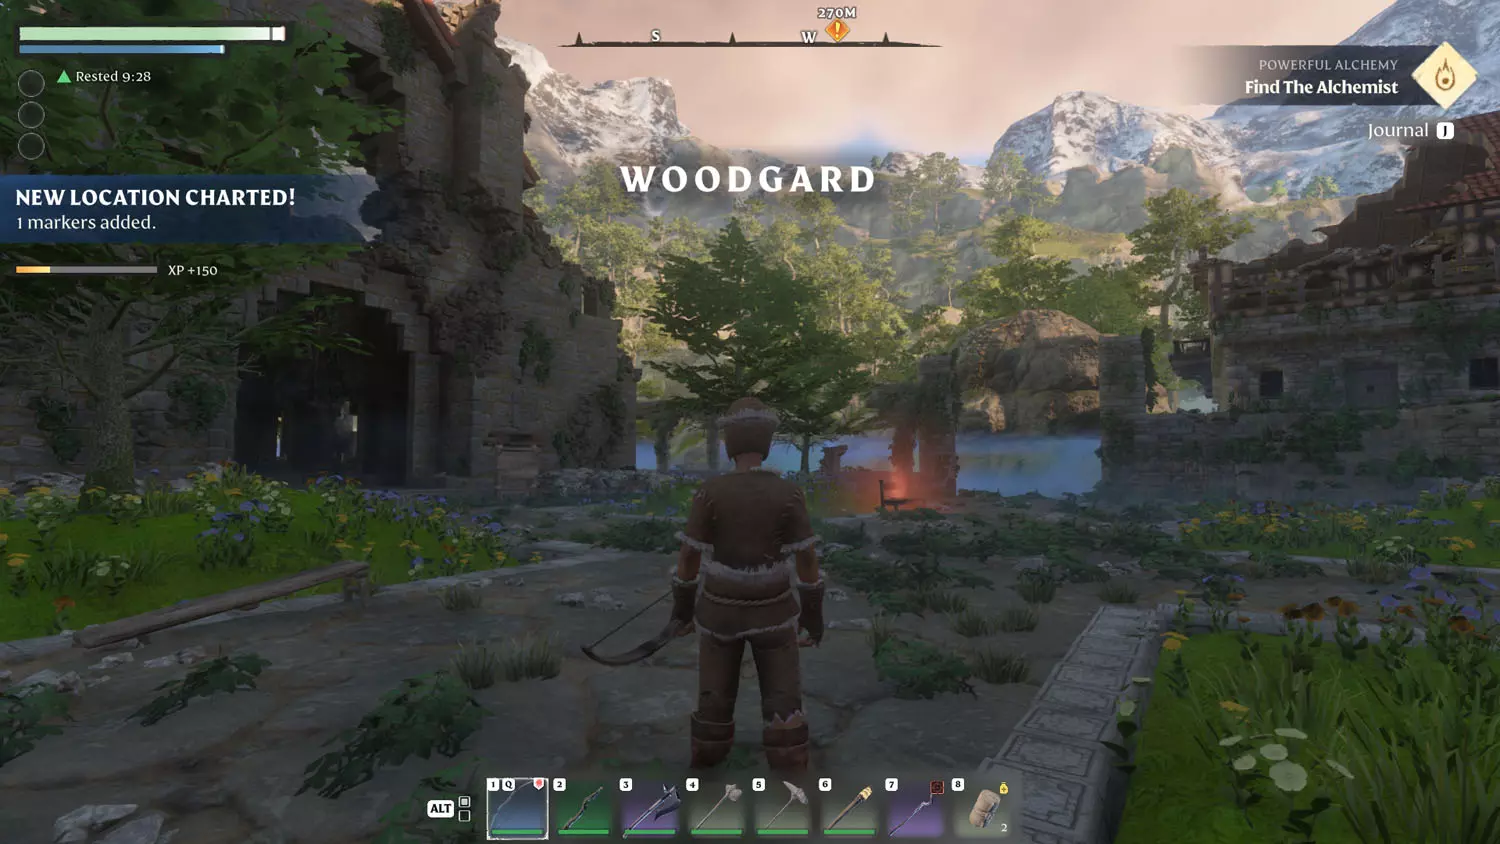
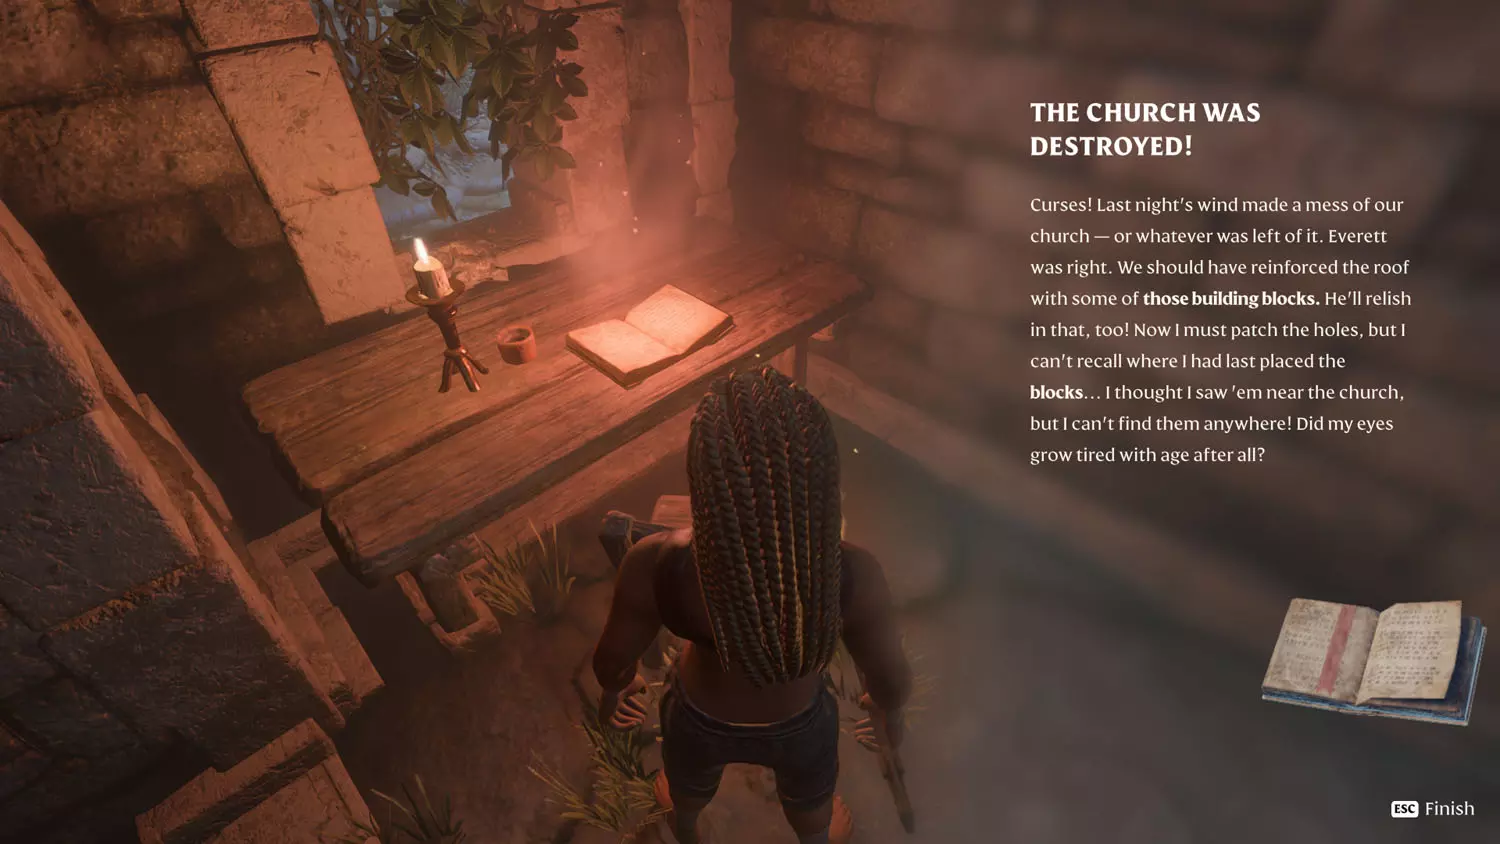
First stop, the Ancient Spire - Springlands Fast Travel! Why? Because I have a glider, and I want to use it! Landing as though you intended to be there, find a road to follow in Woodgard. The church is a great place to start from, and it has the General Lore: Hidden Building Blocks 1/1 The Church was Destroyed! Once you read the lore, the quest will become active.
TIP: More General Lore: Gravewalker 1/1 One Foot in the Grave and To Mend Old Wounds 2/4 A Refuge and 3/4 A New Season, and some Ancients and the Flame Lore: One Last Journey 1/3 My Final Journey.
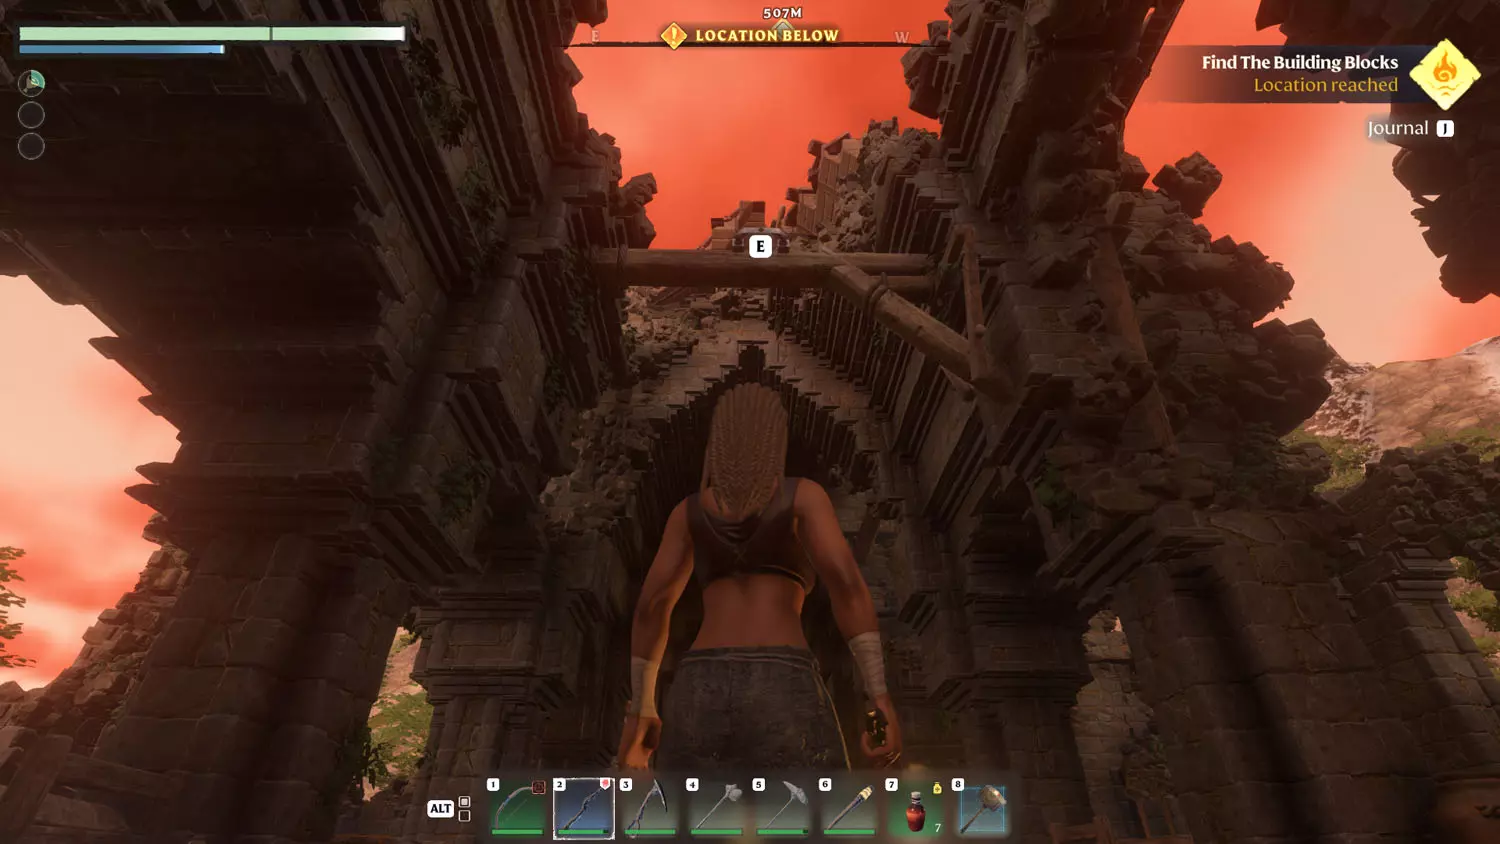
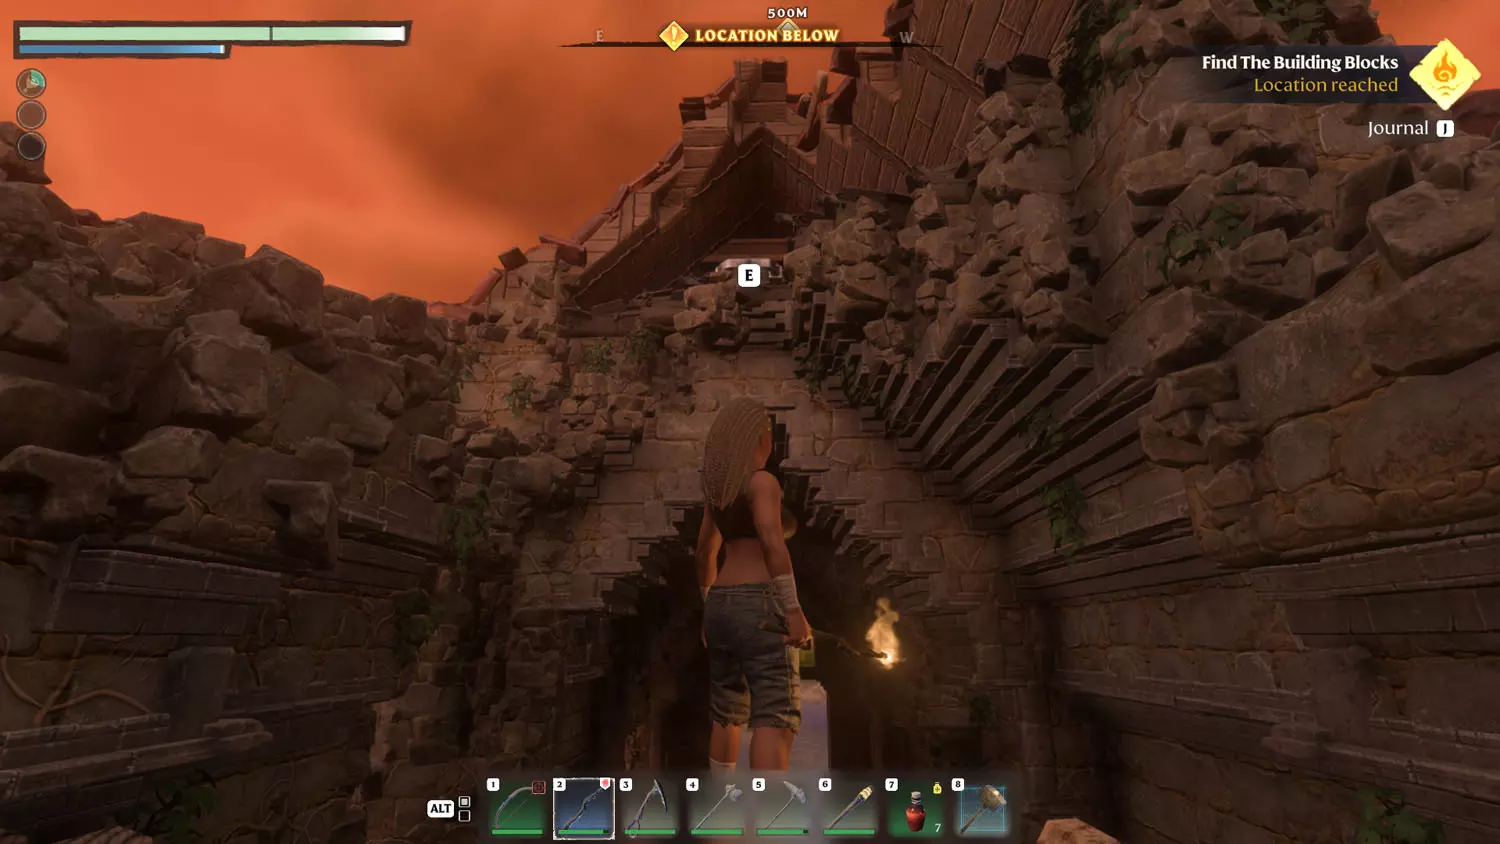
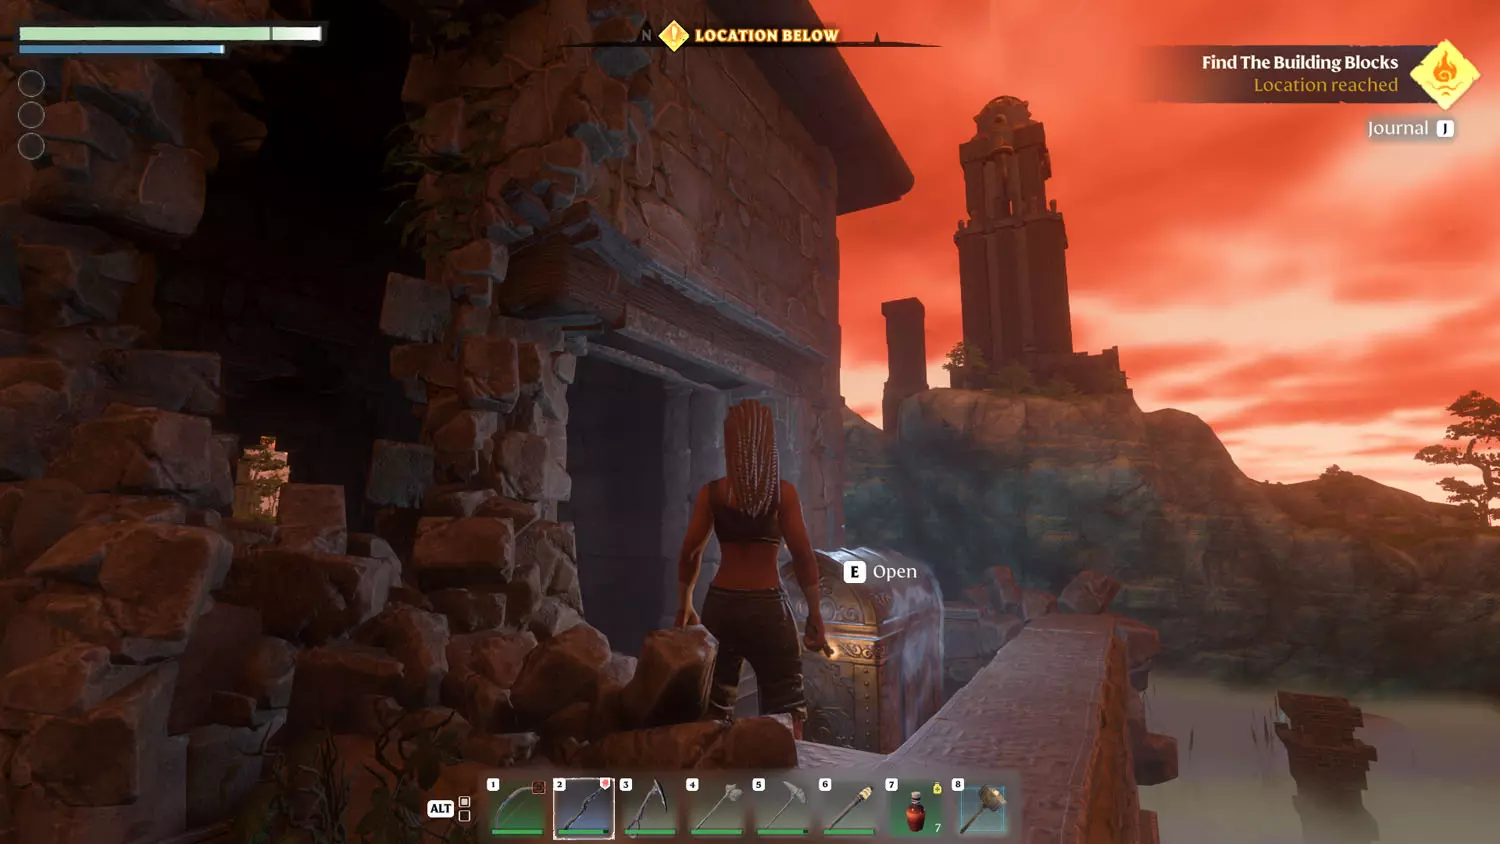
Once you've read the Lore, head back up to the church in Woodgard. You’ll need the Grappling Hook to reach the top of the church. There are two grapple spots and then two ladders that go up to a spire with a Silver Chest. Inside the chest is the Stone Shingle Roof Block. Opening the chest completes the quest.
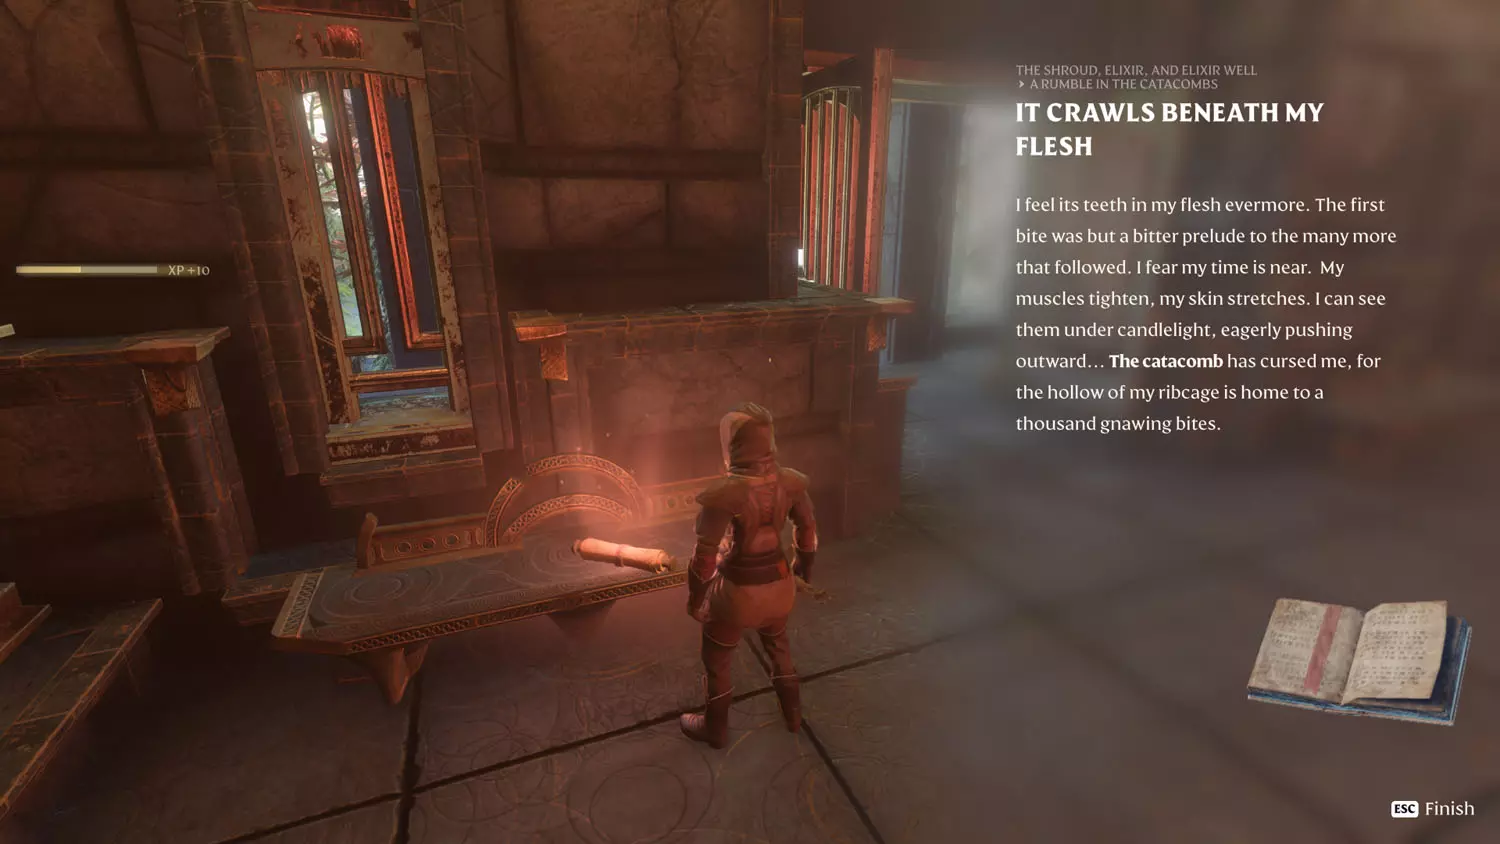
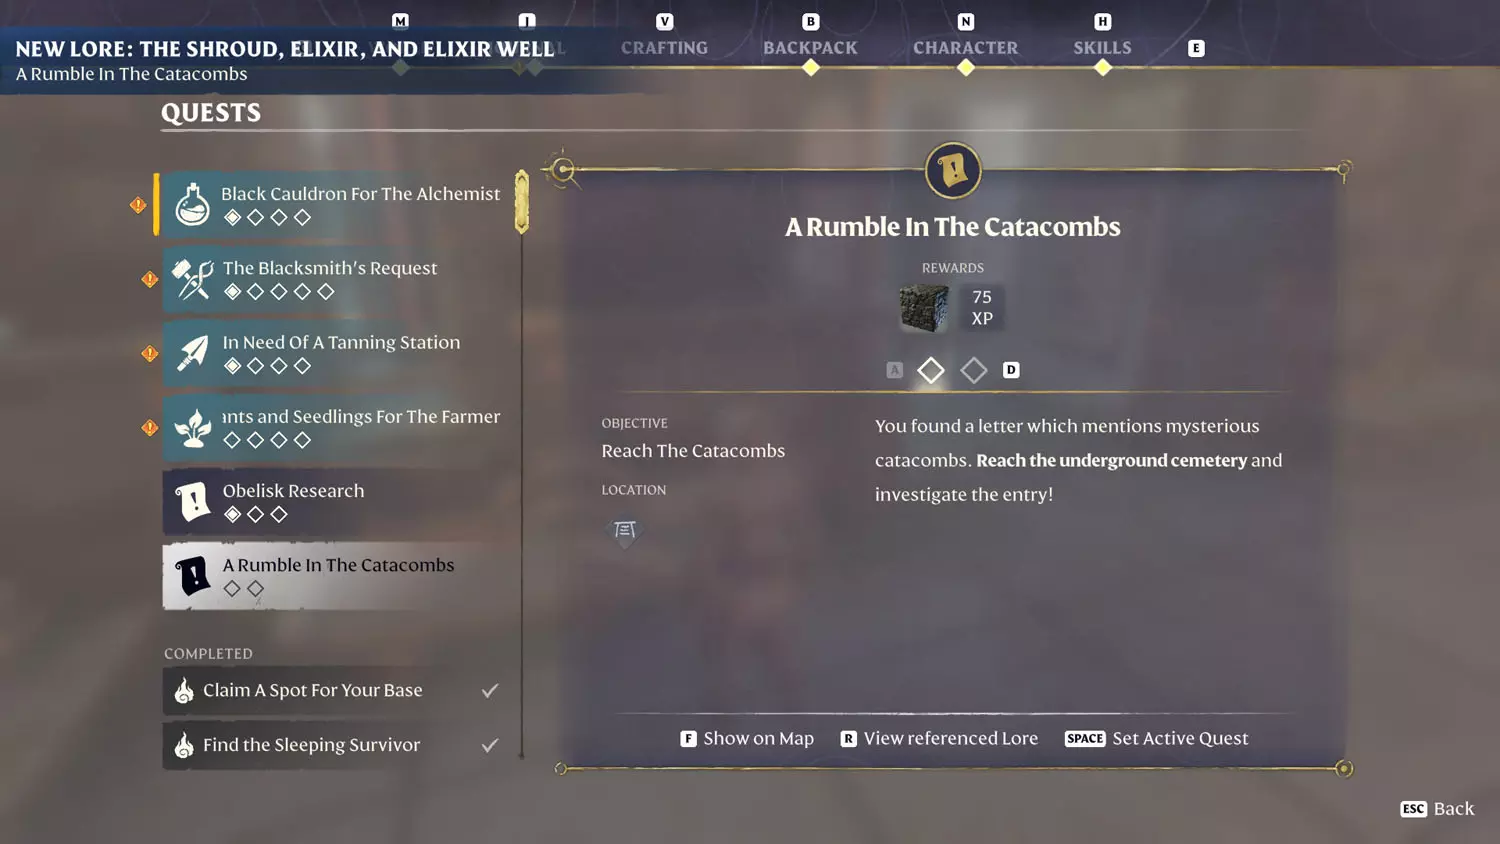
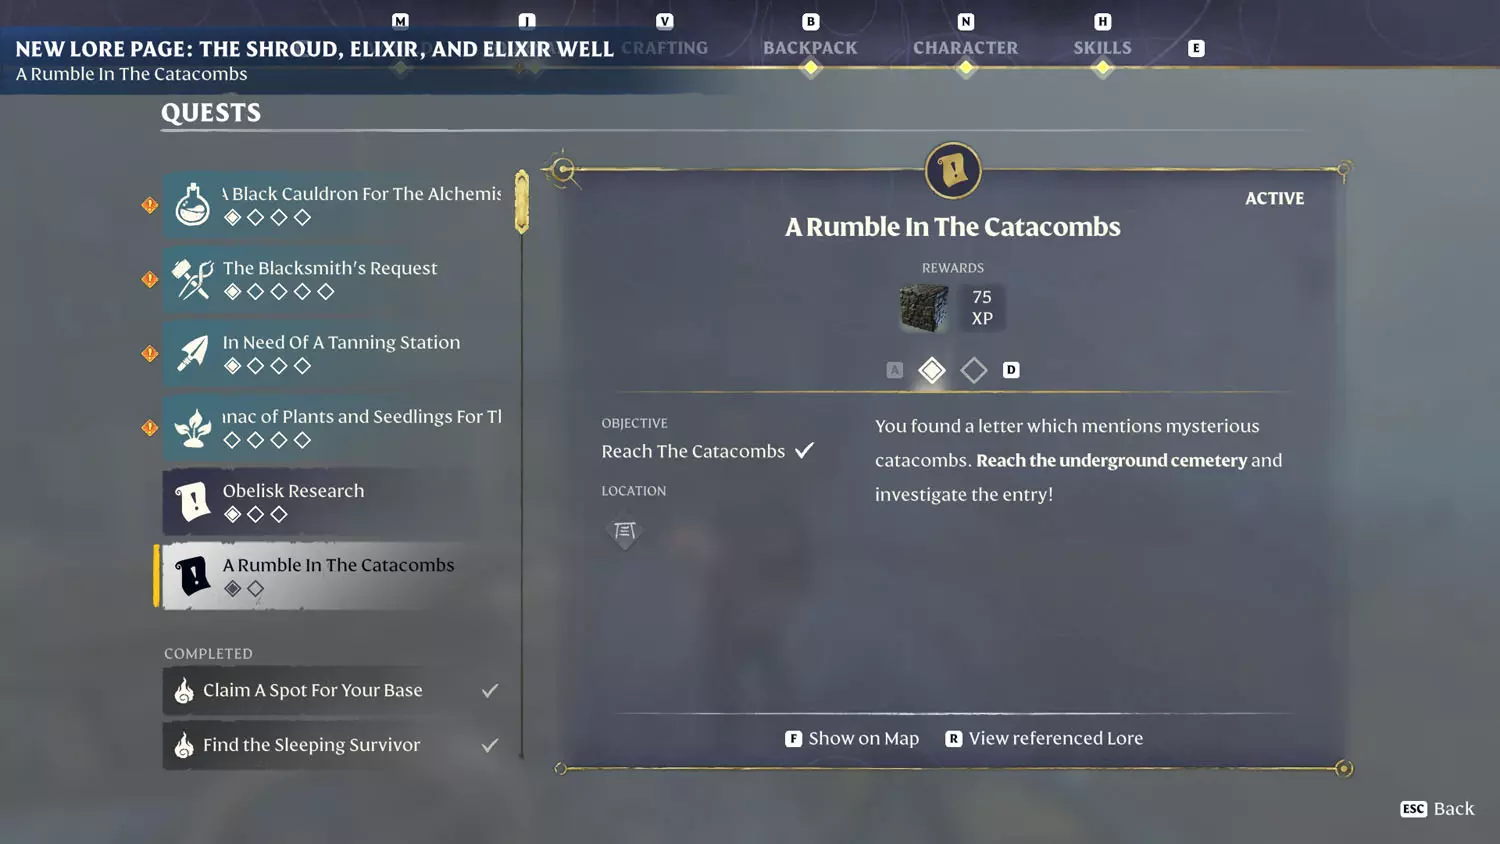
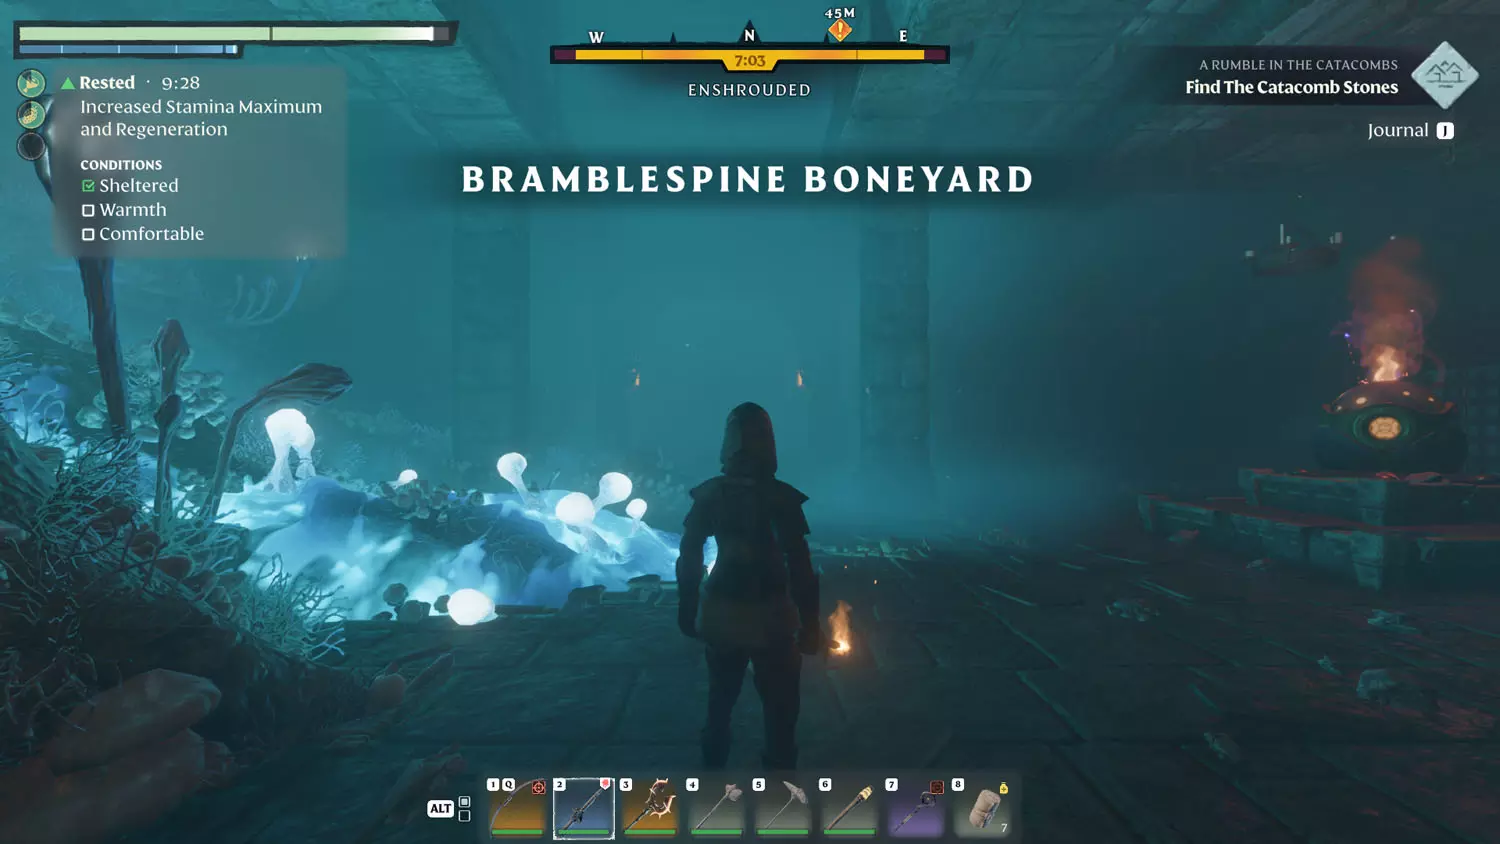
A Rumble In The Catacombs - Weathered Stone Block
This quest begins if you read either piece of The Shroud, Elixir, and Elixir Well Lore: A Rumble In The Catacombs (1/2 Beasts Beneath The Soil or 2/2 It Crawls Beneath My Flesh). Reading the second scroll first will unlock the quest, but reading the second completes the first part.
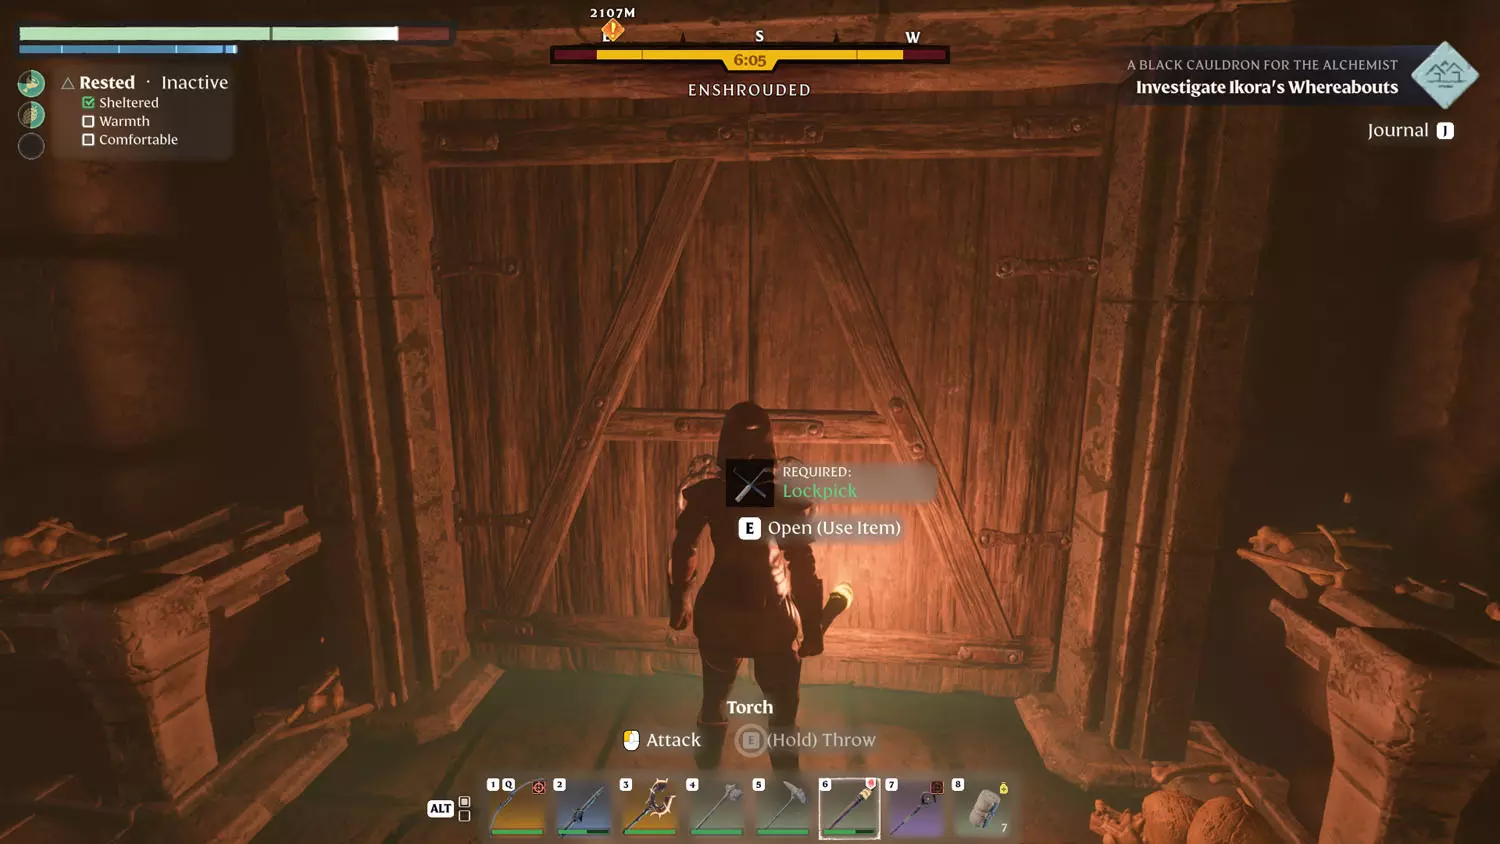
TIP: Bring Lockpicks.

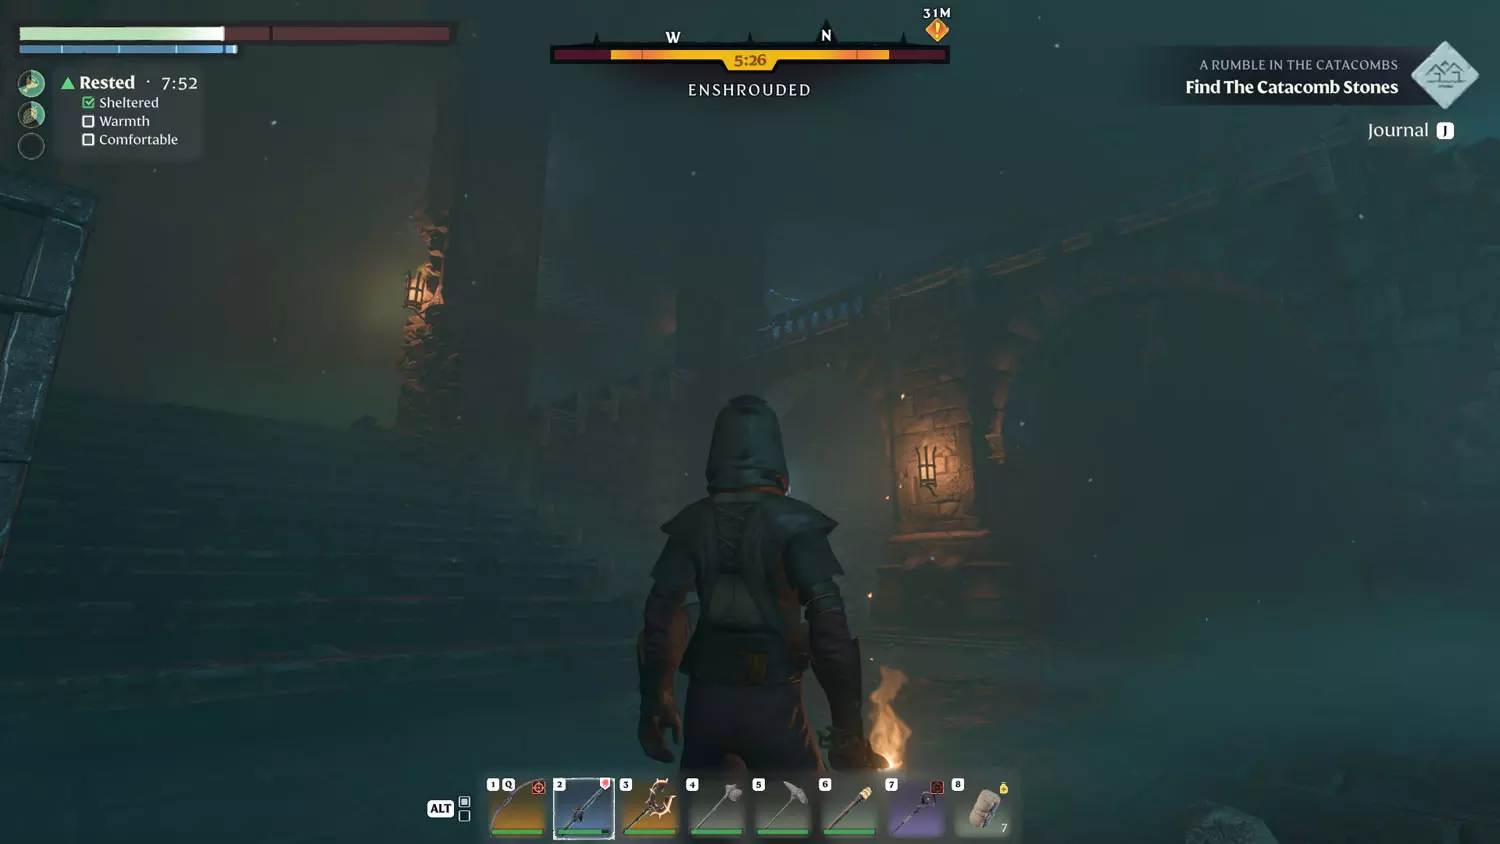
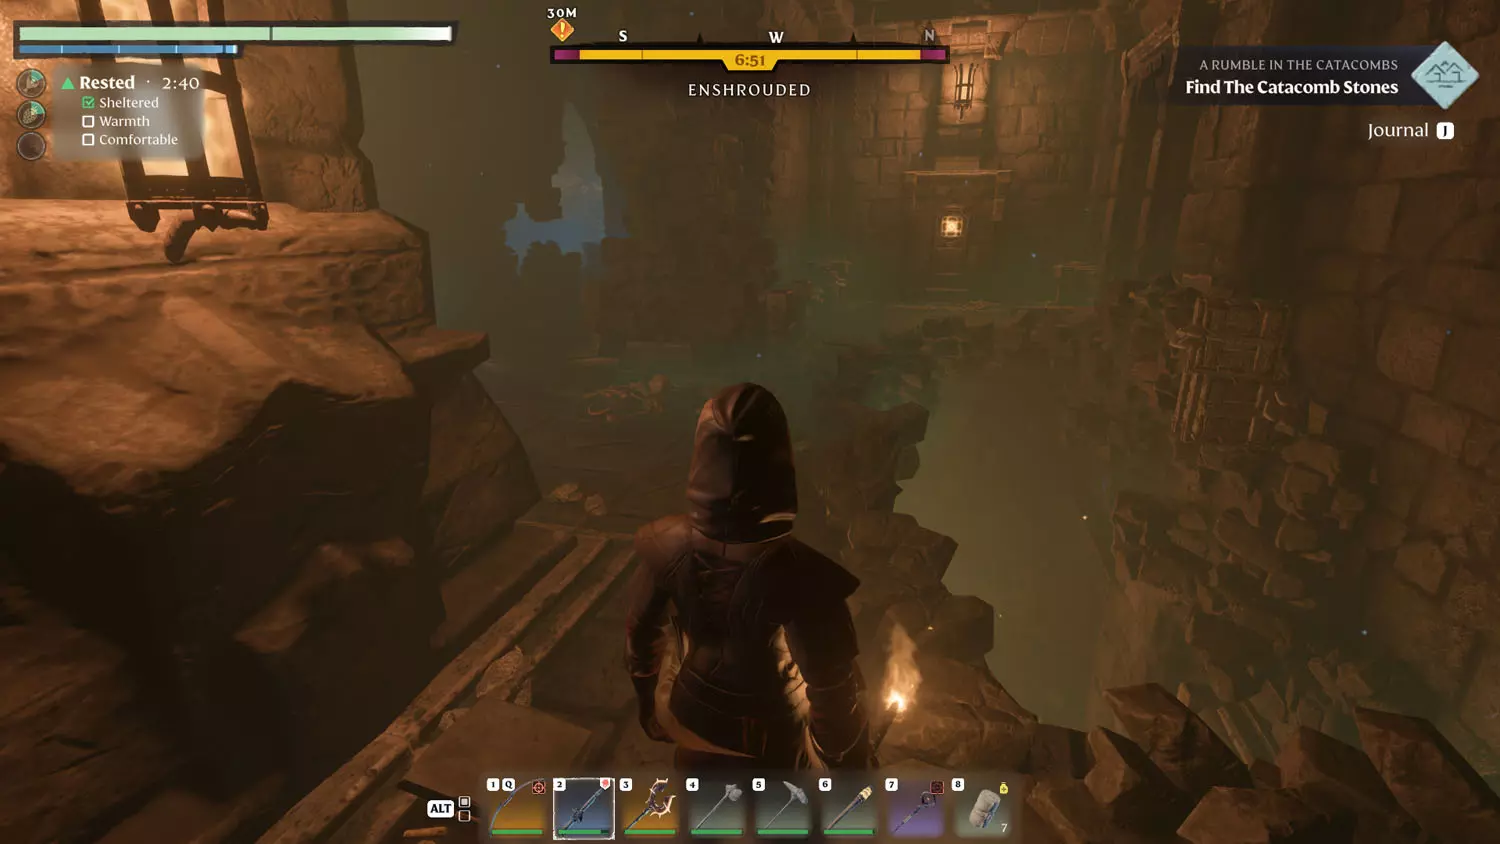
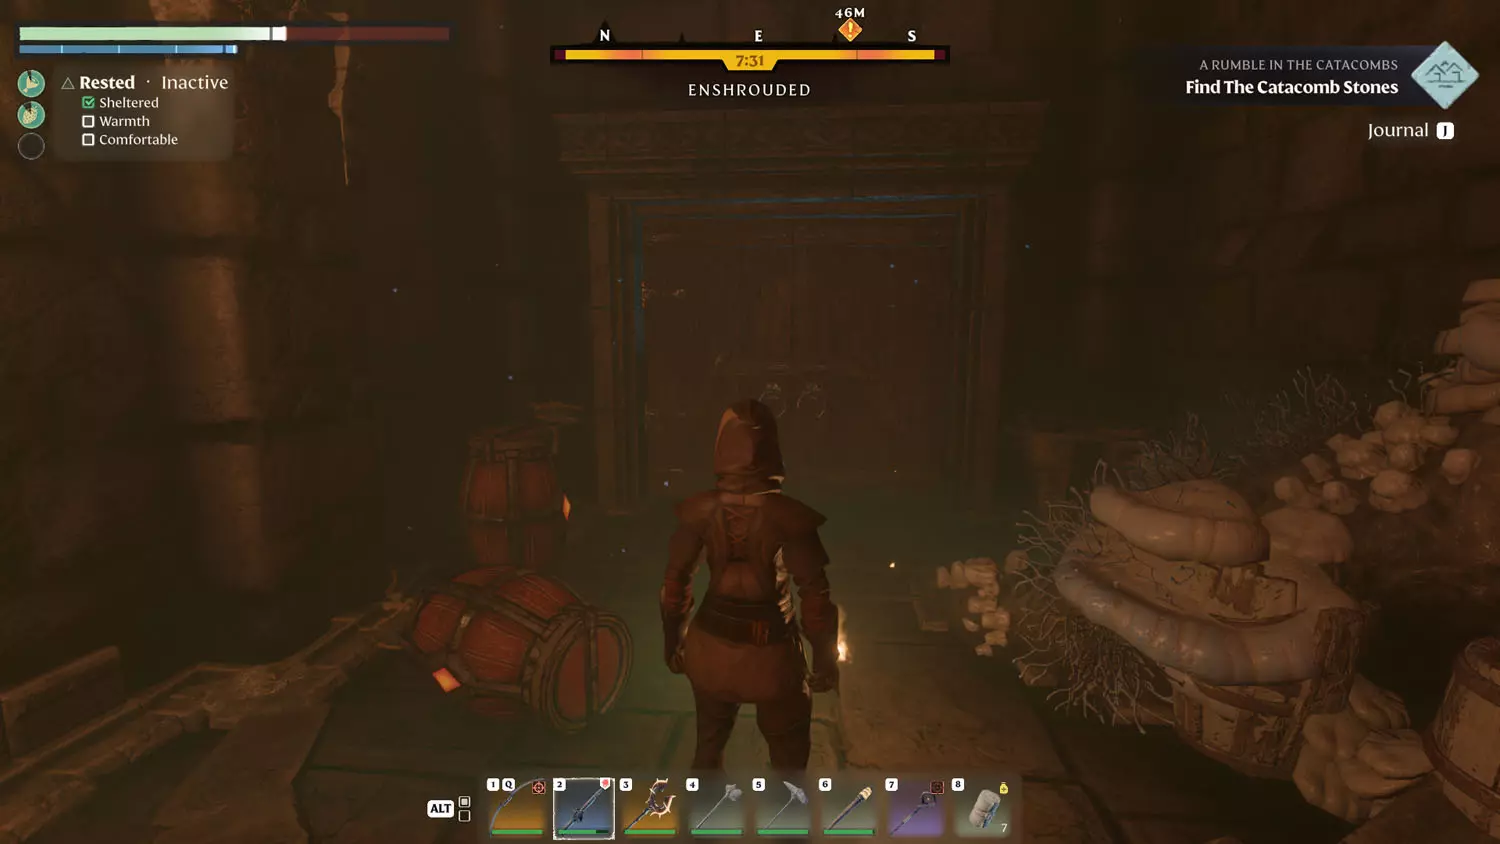
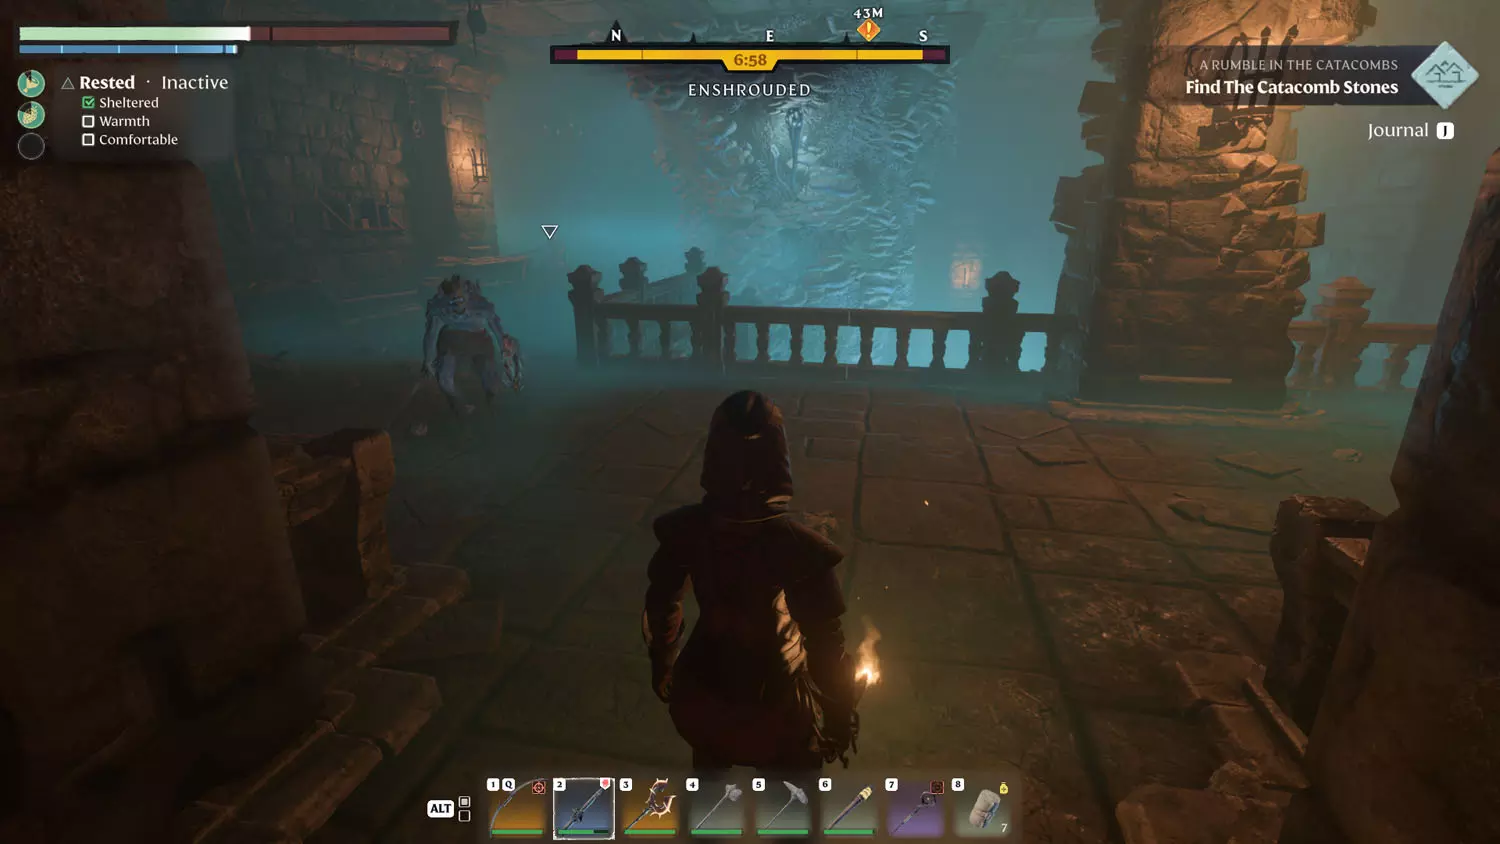
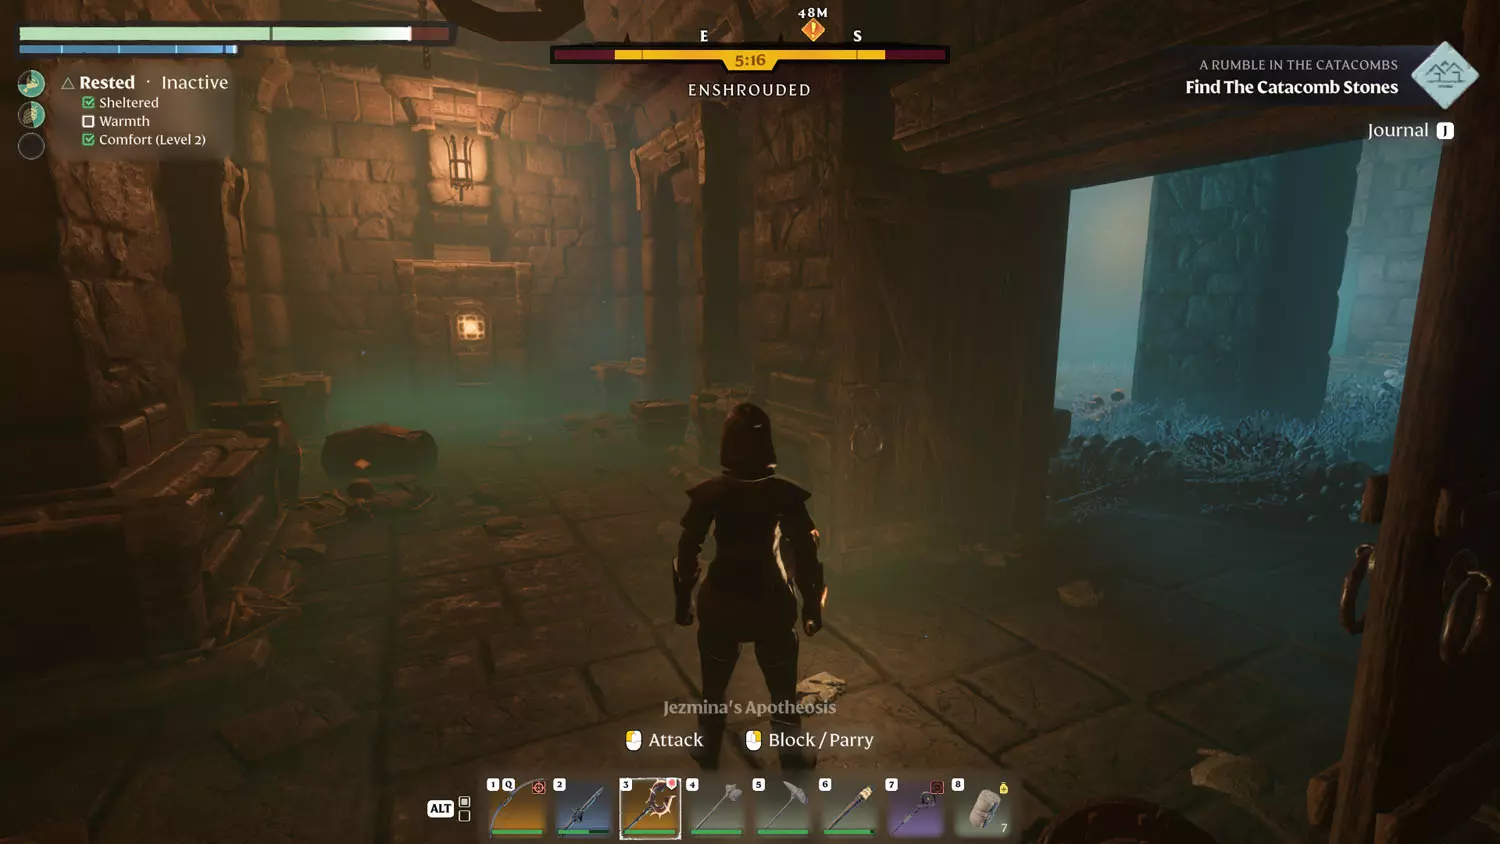
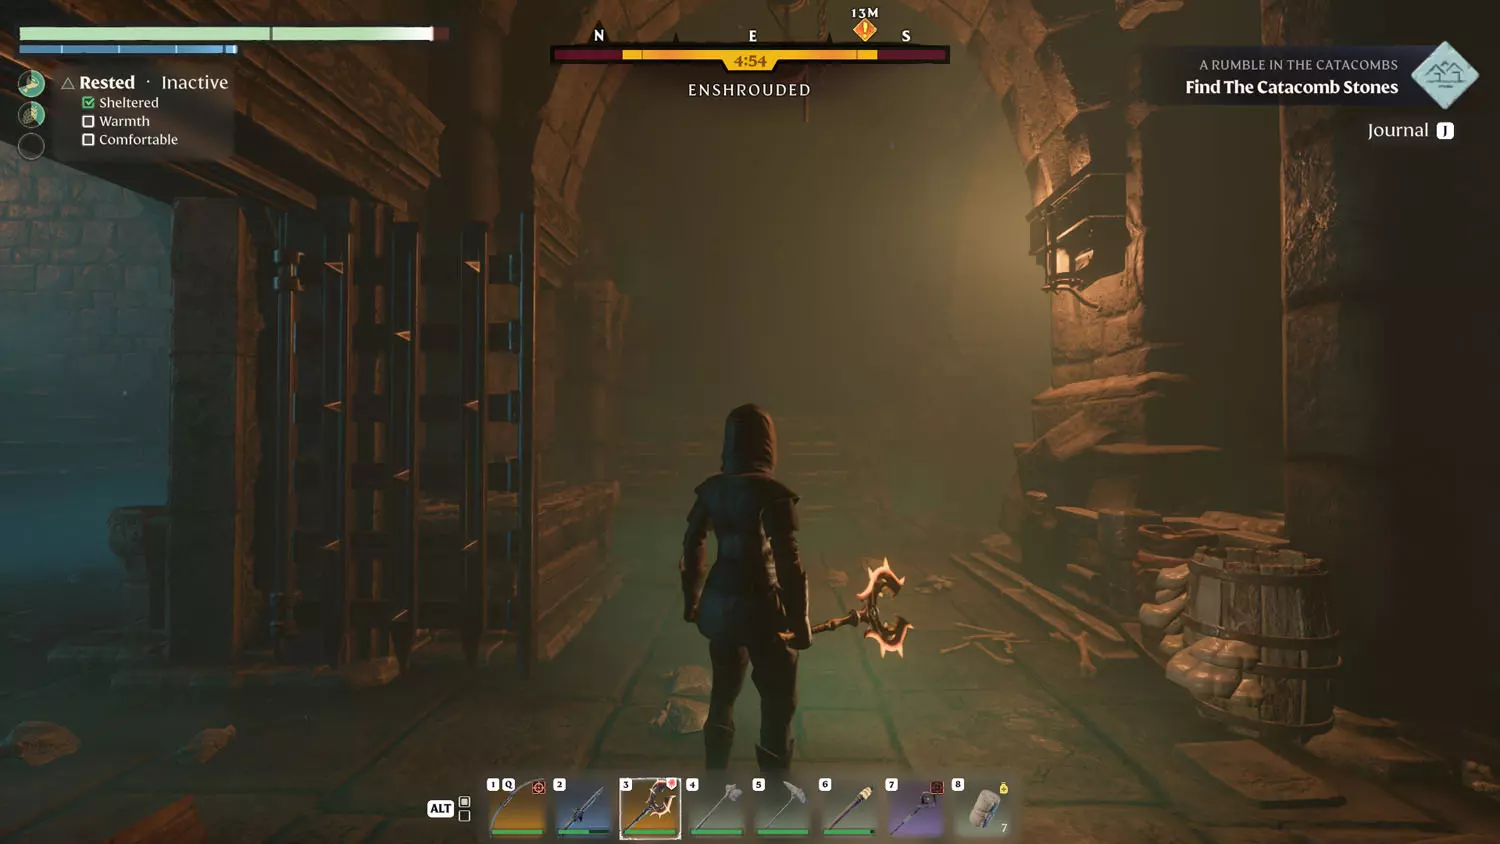
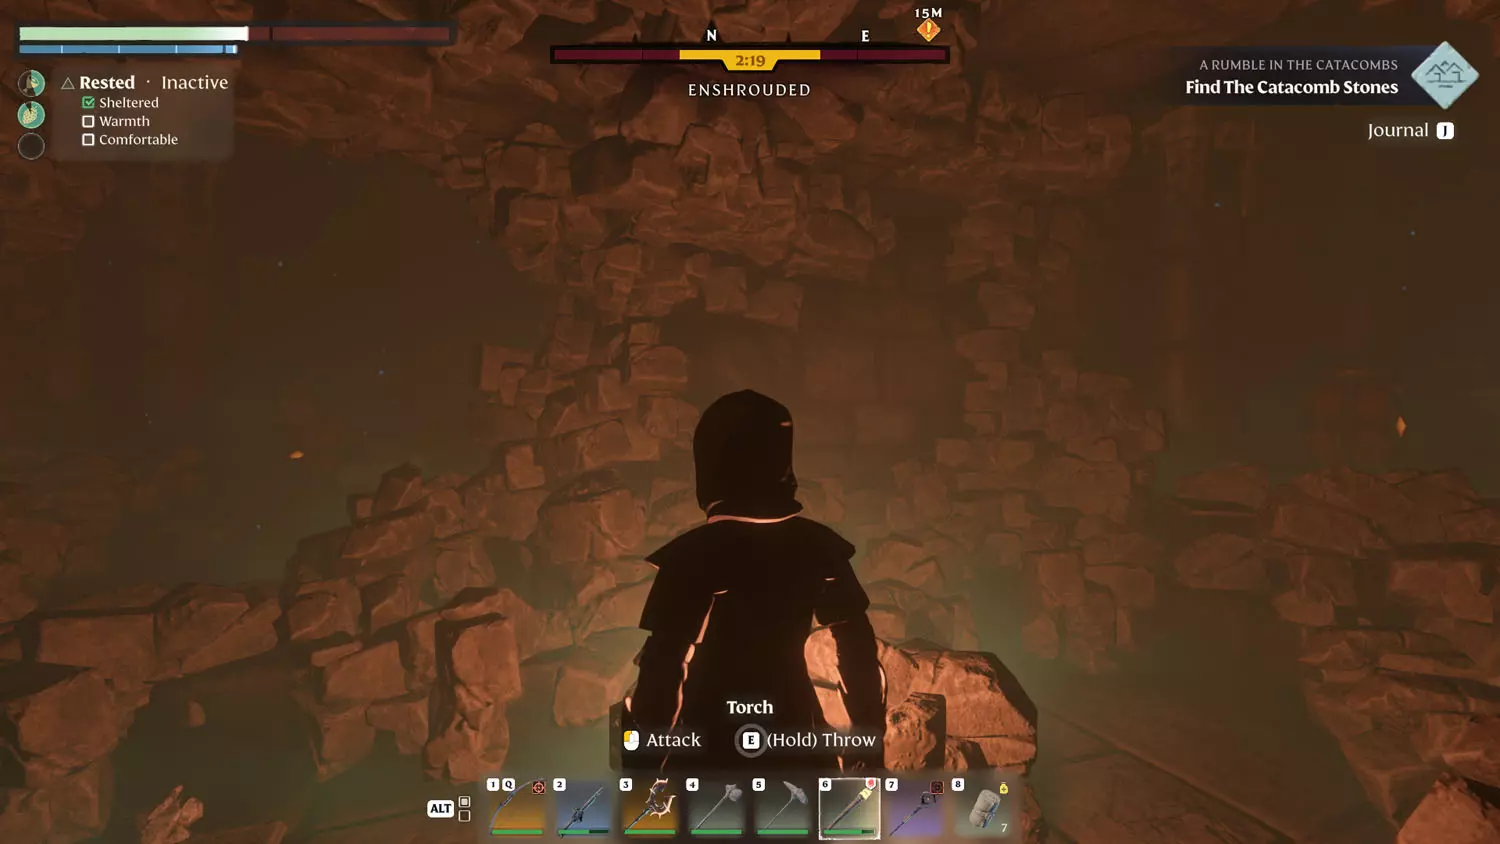
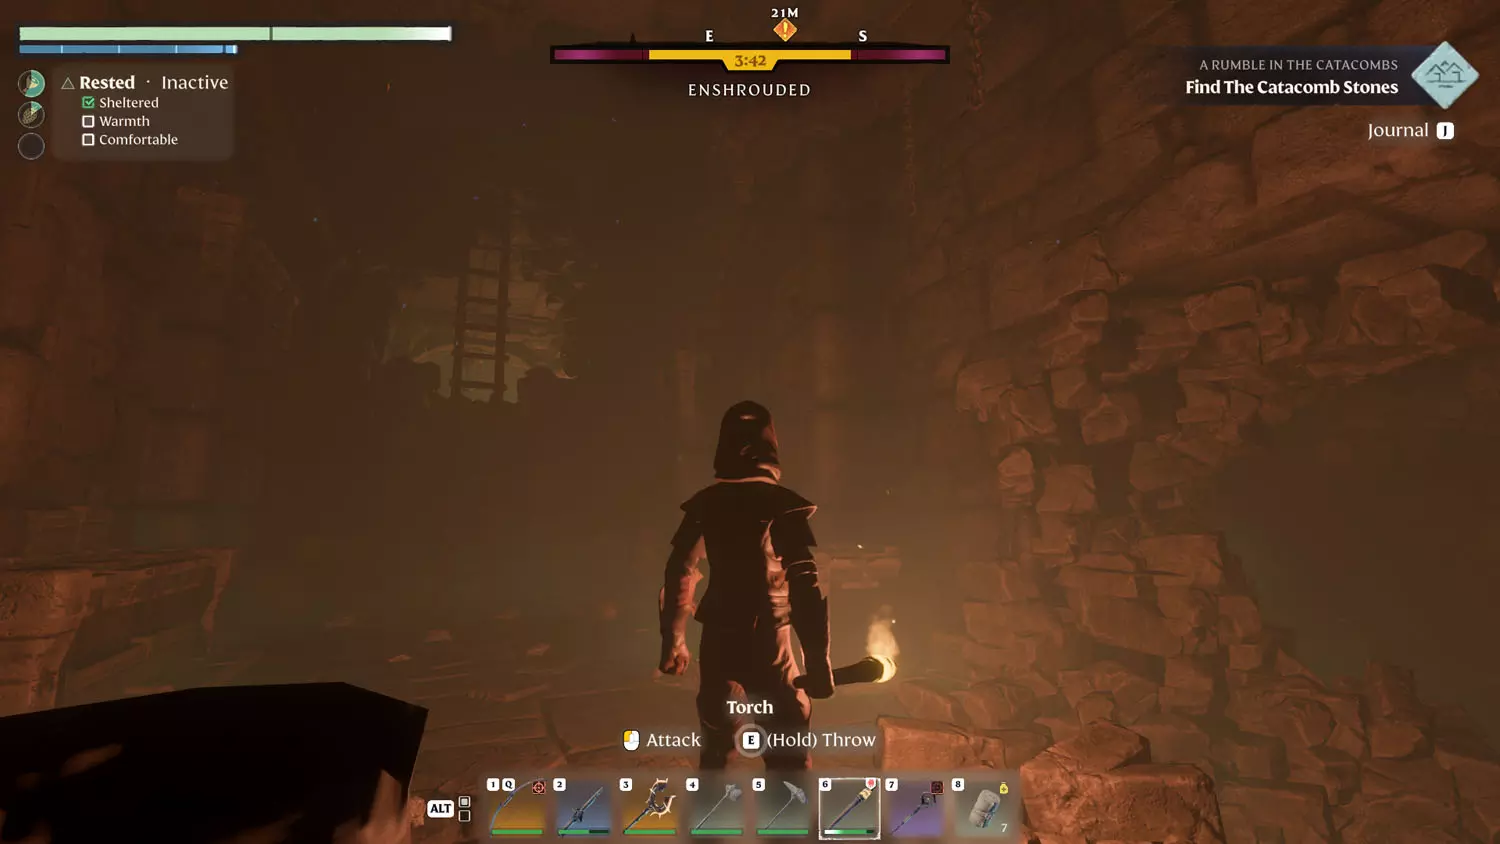
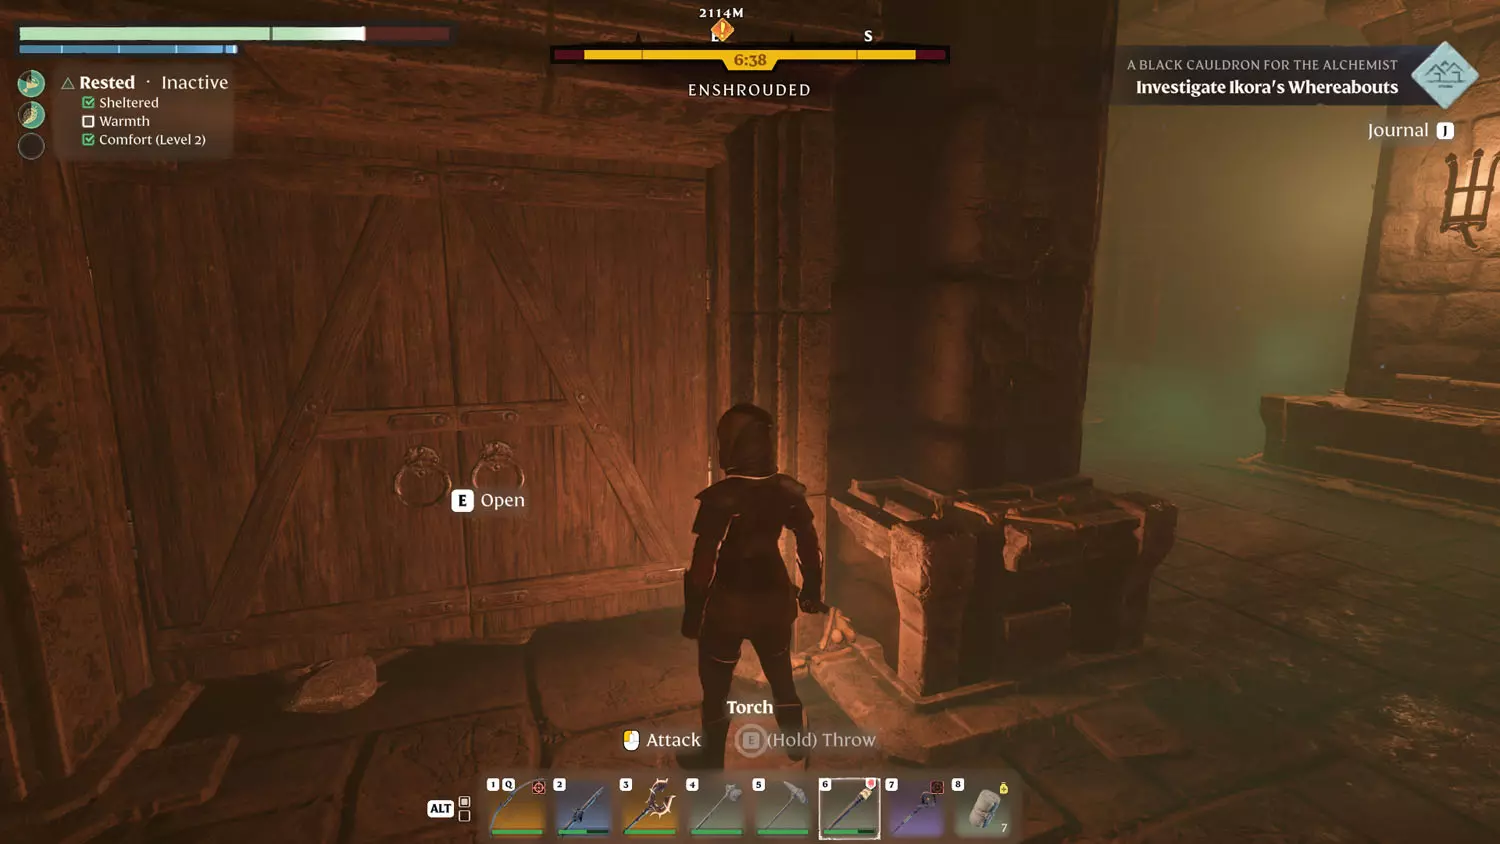
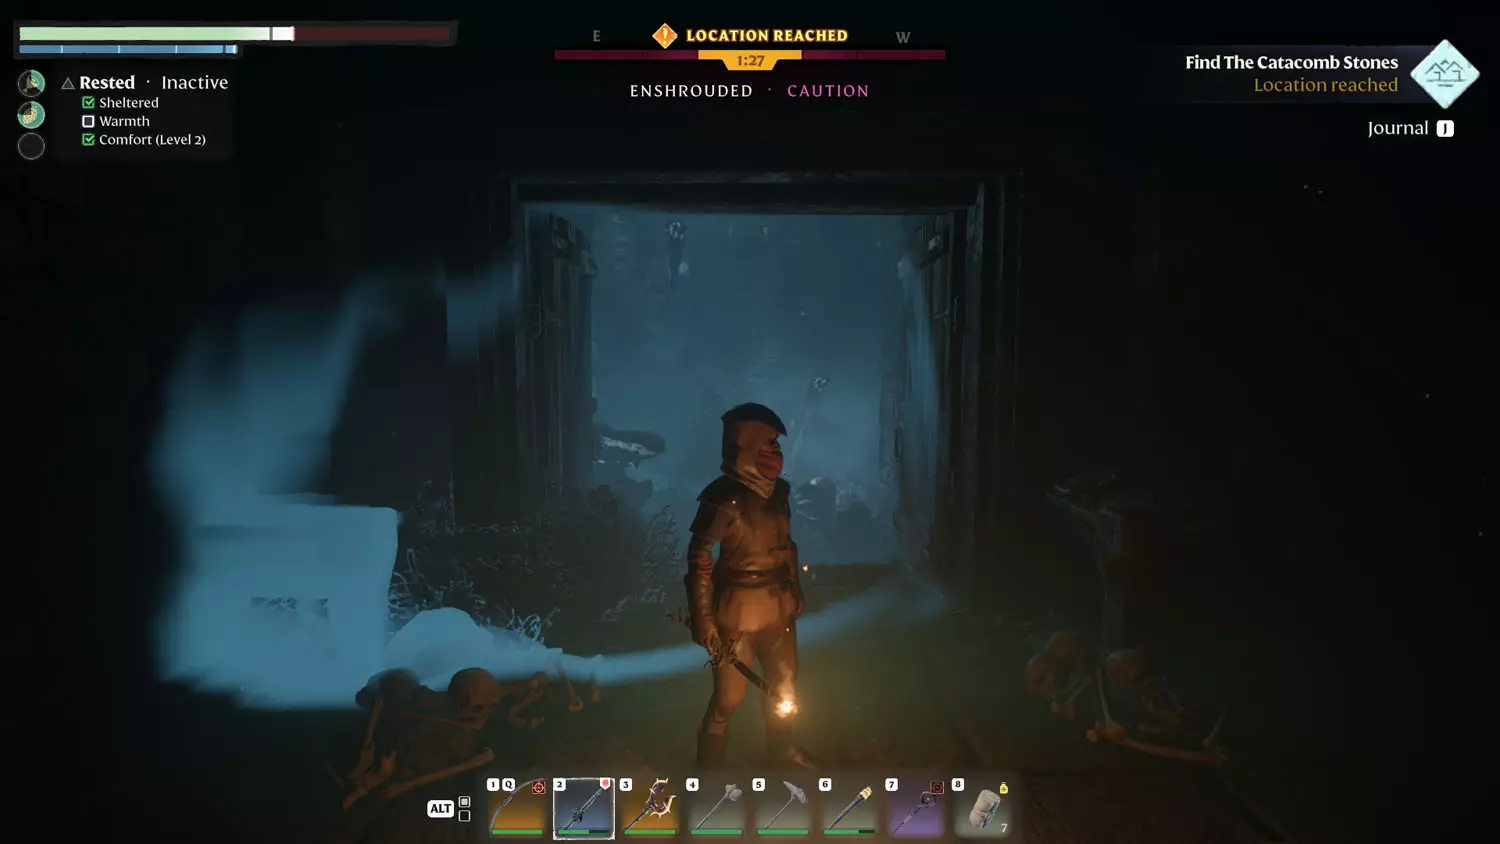
Well, now that you’re at the catacombs, get ready for a dungeon! Remember the revival point will also replenish your Shroud time, so if you run into trouble, head back and replenish that time. Before you can go in, you have to lockpick the first gate. From there, you can head straight ahead-ish (northward) toward a double wooden door (beware, there are enemies throughout the dungeon!), or you can head up the stairs toward the zappy death trap. The double wooden doors go to a closed gate, but you can smash things for loot in the small, enemy free, corridors.
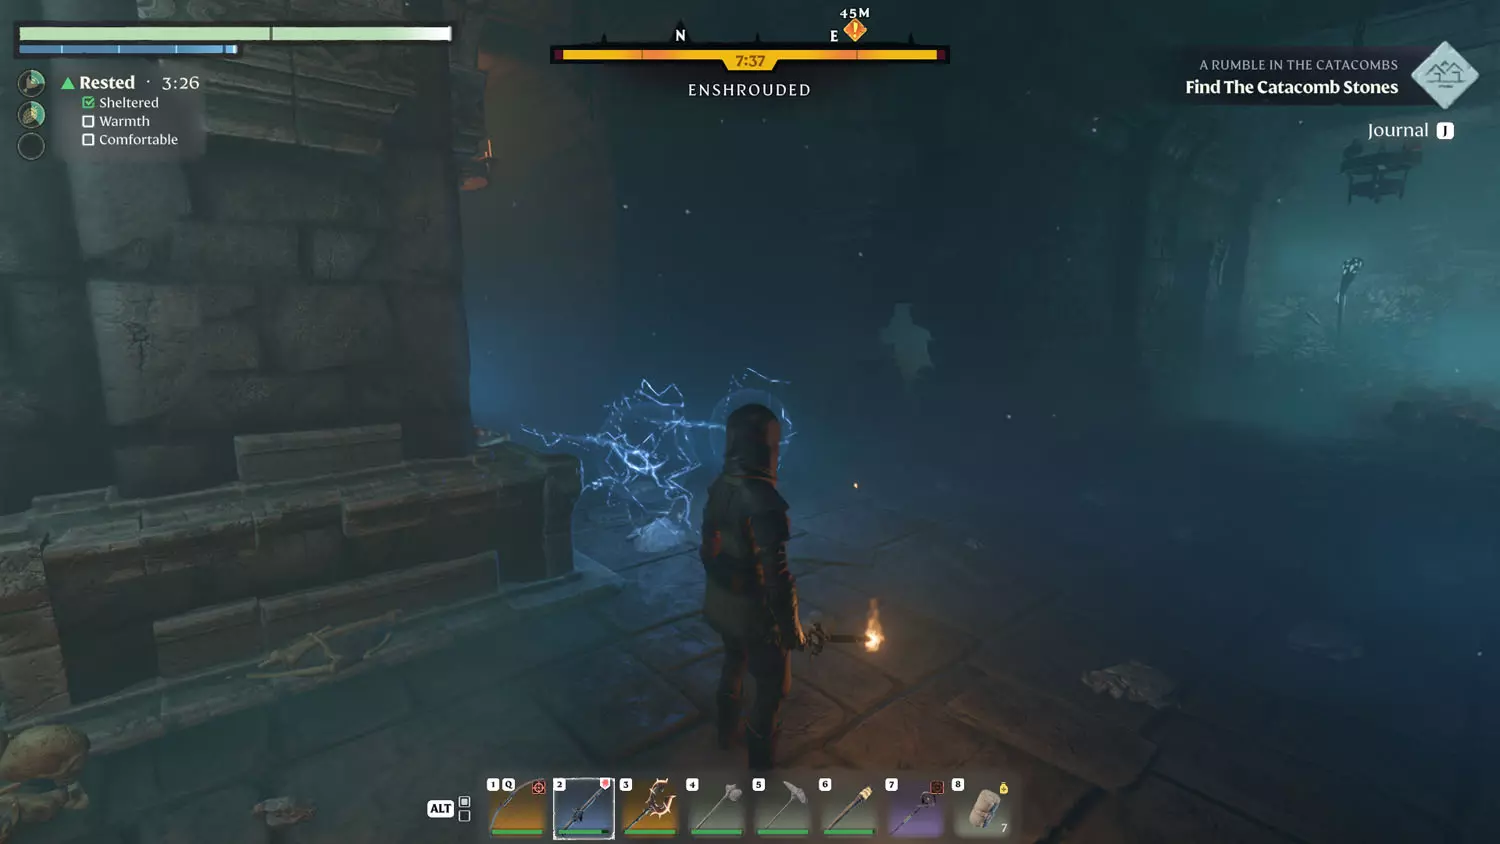
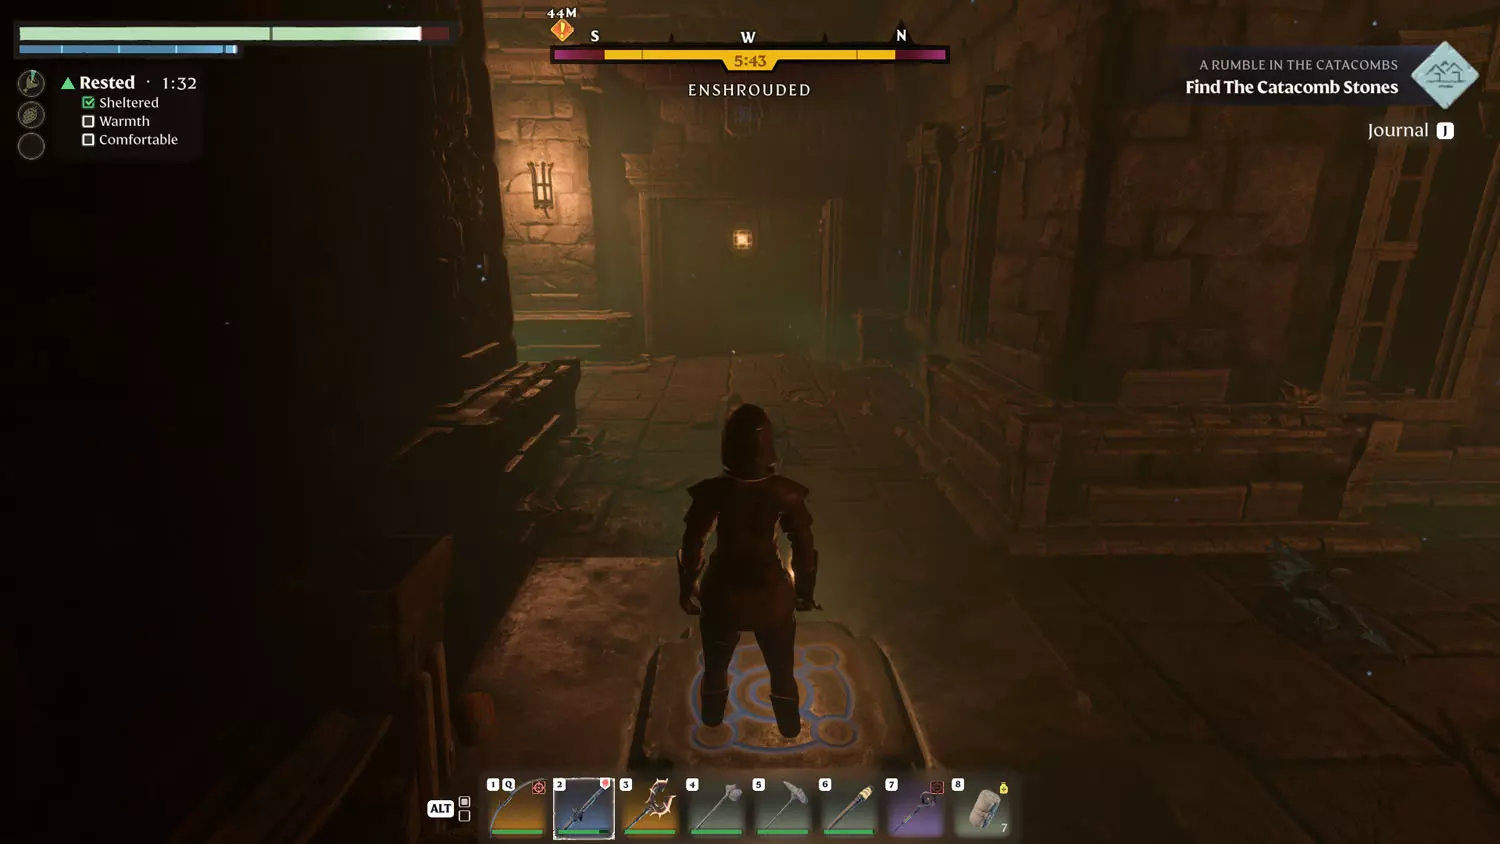
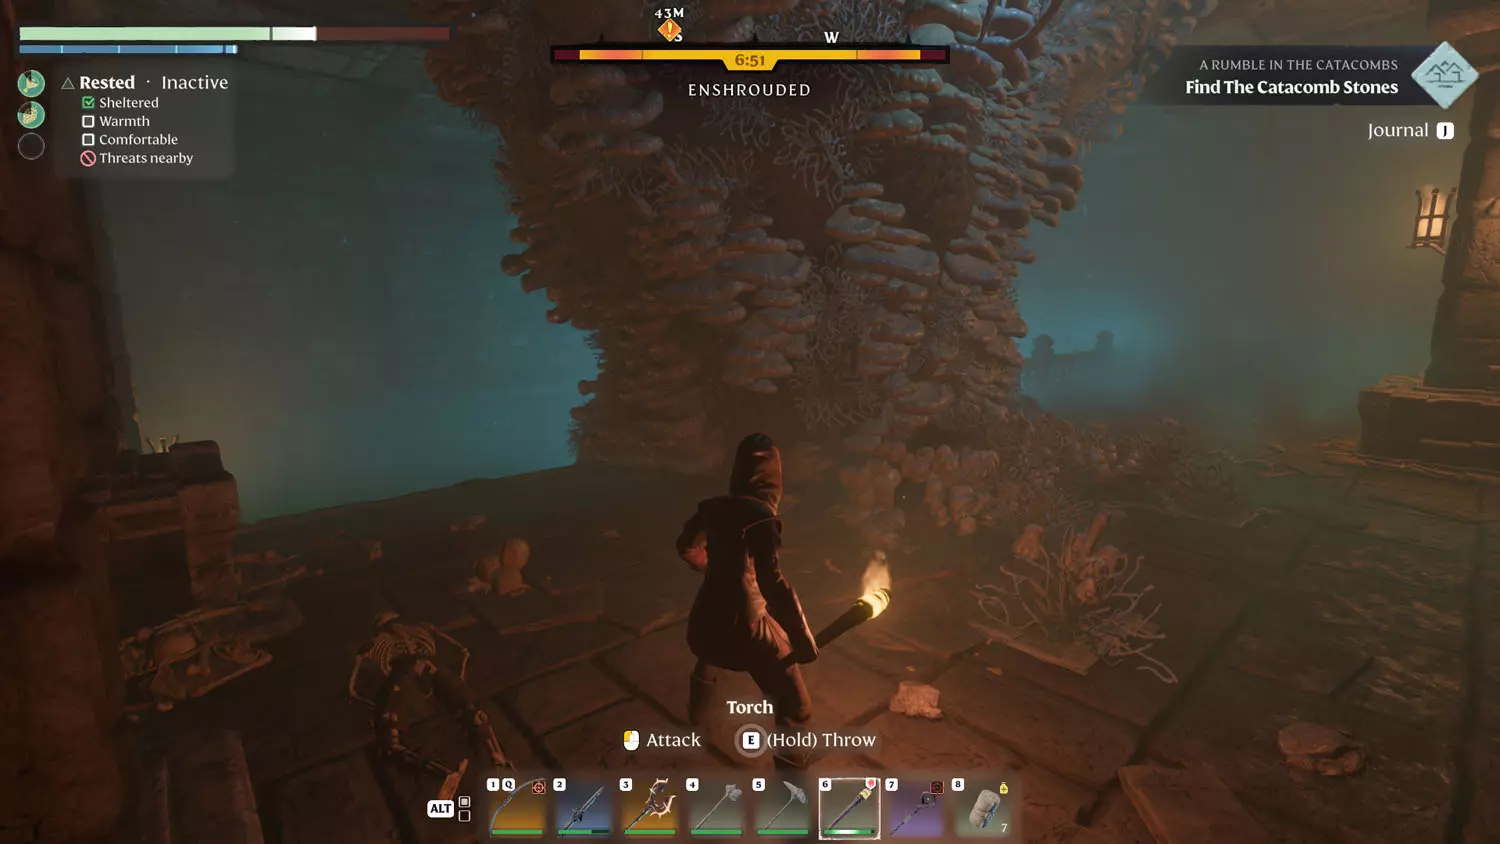
Hop over the zappy death traps and head onward. Just don’t hop down the hole in the floor until you activate the glyph button, which opens that closed gate I mentioned earlier.
TIP: This creates a shortcut for you if you die so you don't have to cross over the zap traps.
From there, head through the gate. You’ll have some Fell Critters to kill (with a bomb conveniently nearby). There’s also a pressure plate that opens the gate leading to a Silver Chest (needs a Lockpick). After looting the chest, I had a swarm of Fell Critters waiting for me at the door. I shoulda blown up the bomb and created a different entrance, but I’m sure they would have attacked me there, too. Anyway, bomb or switch (which needed a long distance item), you can reach the chest. Keep going, and you’ll reach another wooden door.
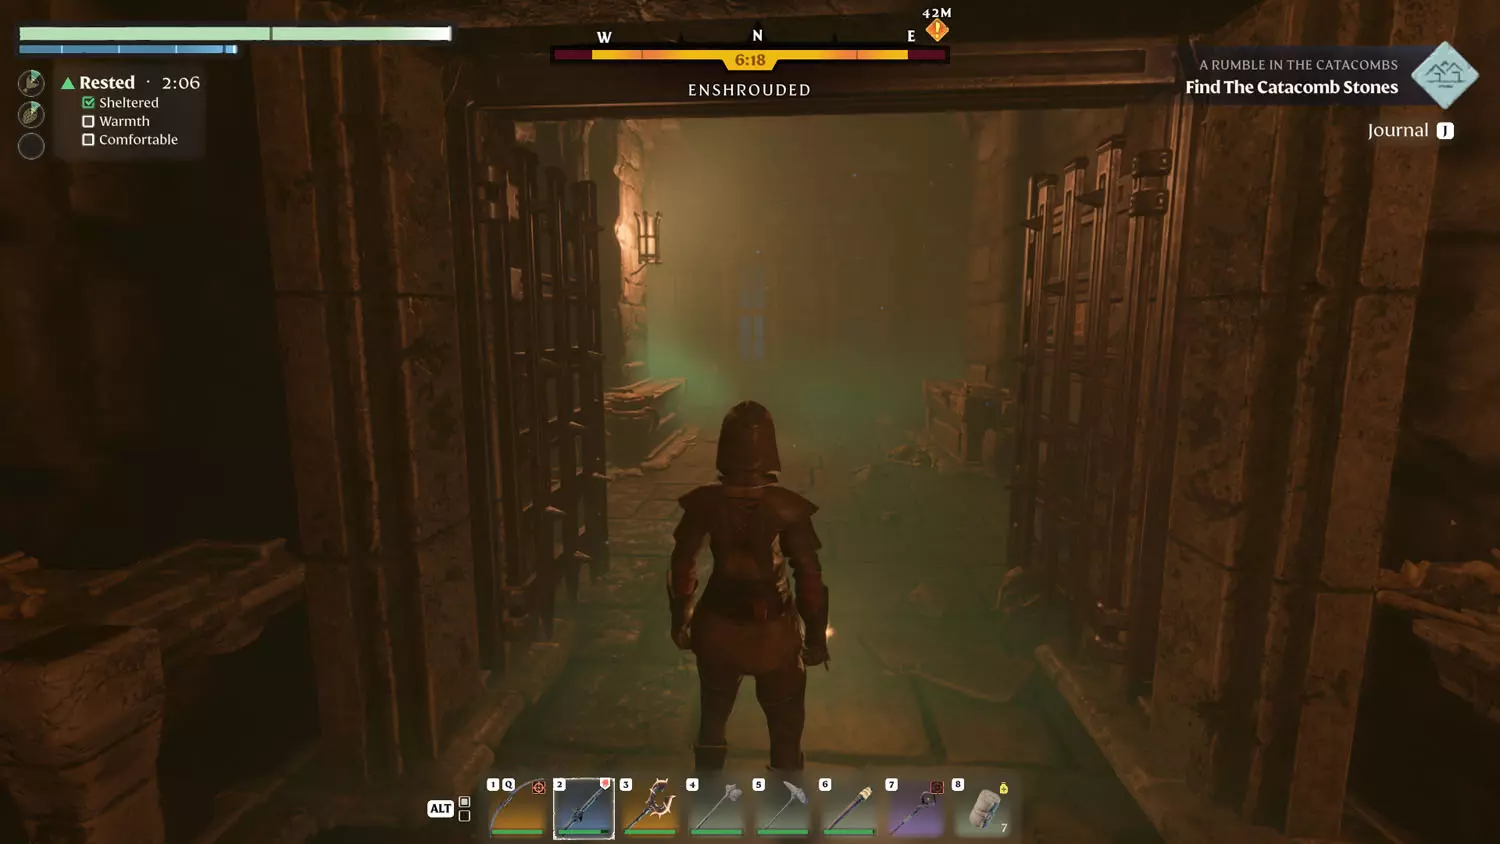
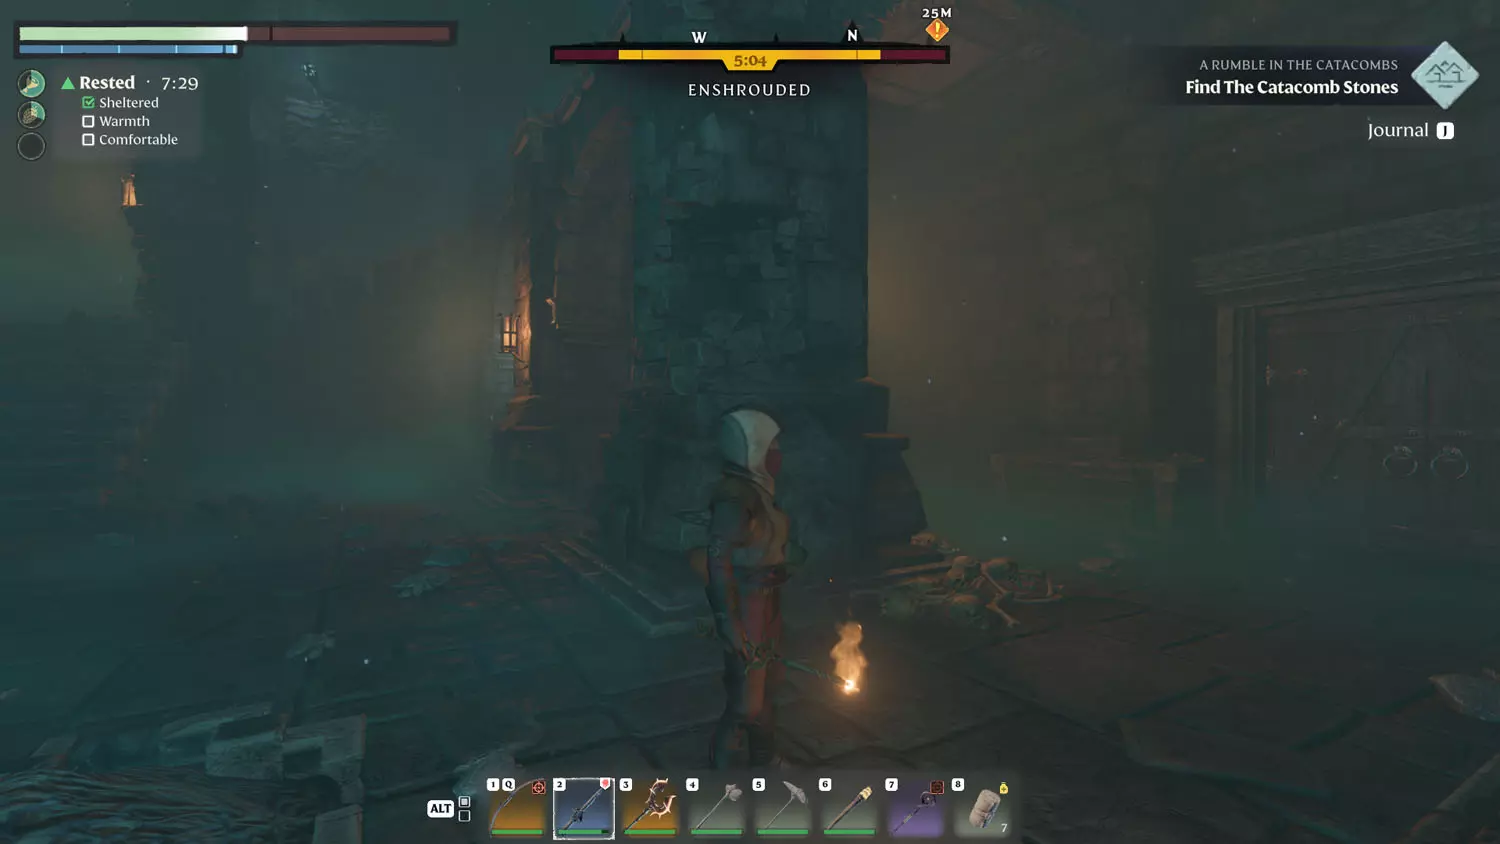
More enemies await you on the other side of the door, so maybe don’t blow up the bomb. It comes in handy for luring in enemies and then blasting them. Anyway, to the right of the door is a dead end. Head left and down the stairs. More enemies are below, so be prepared. There’s also two doors down here. The one at the end of the stairs needs a glyph activated to open it. Instead, head through the regular wooden doors. On the other side is the switch (no enemies).
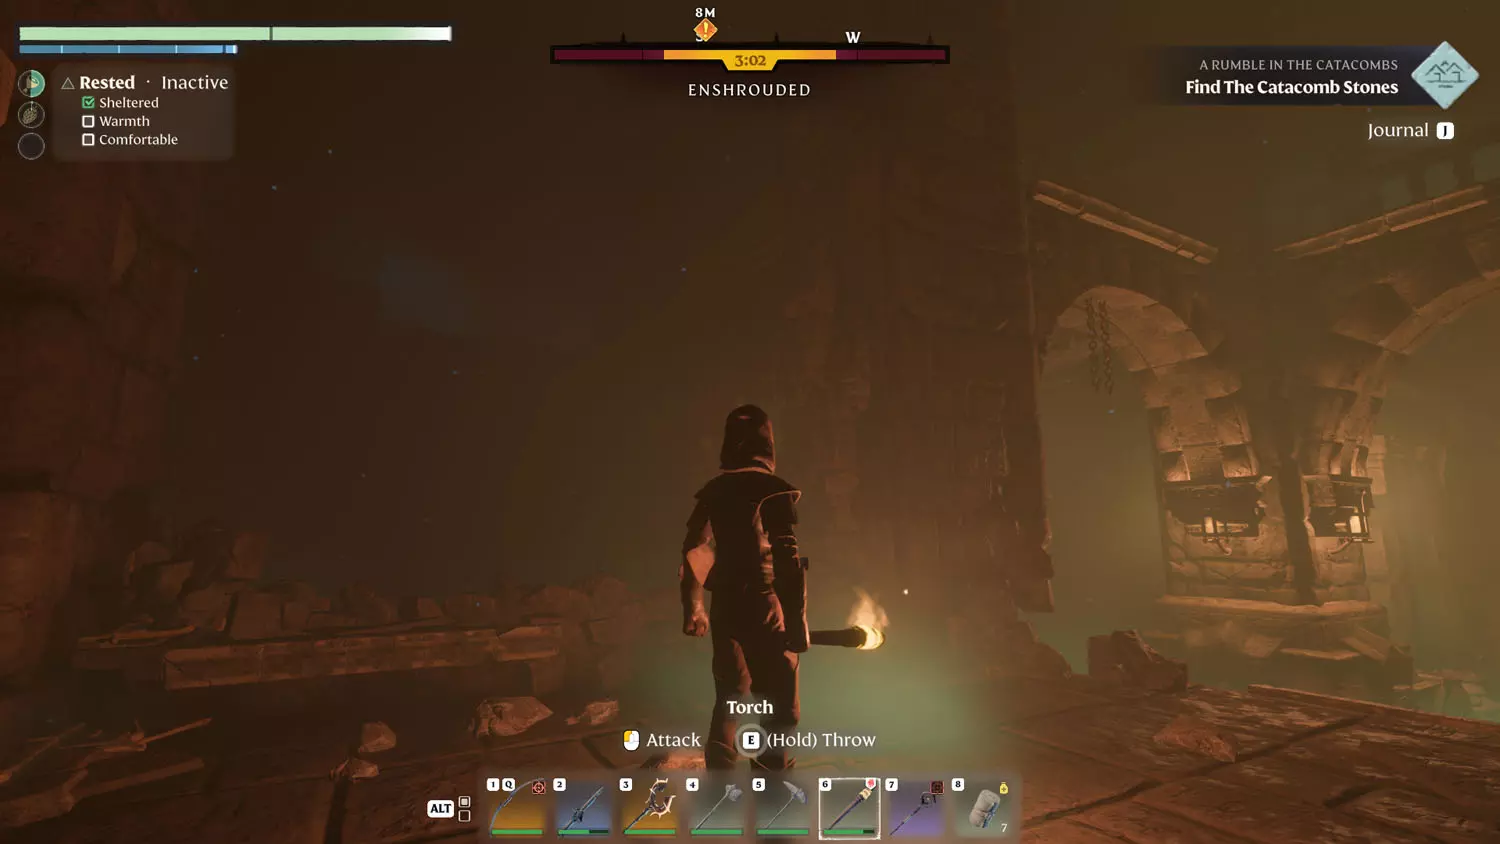
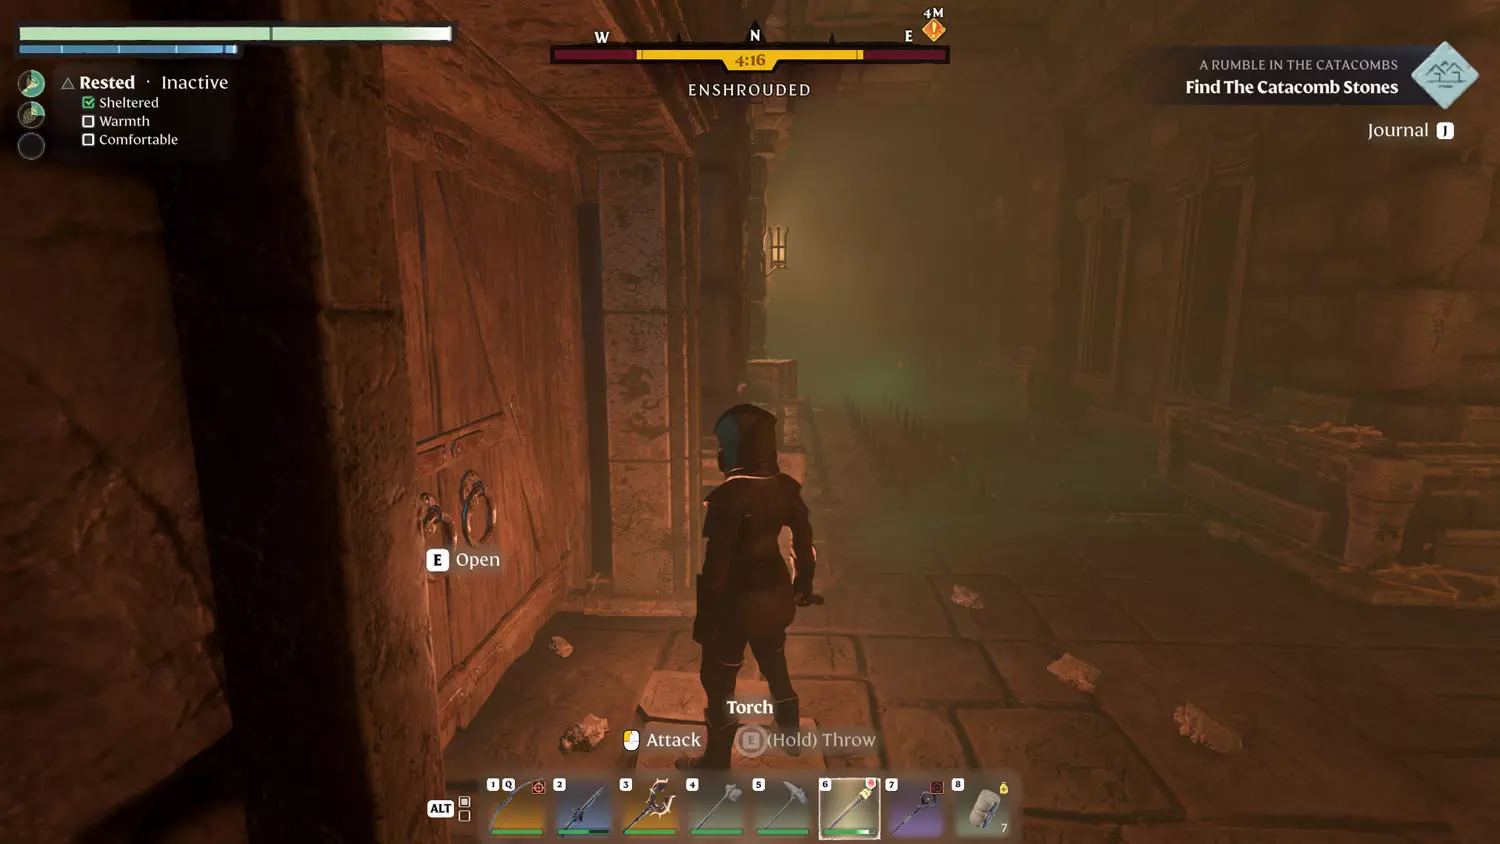
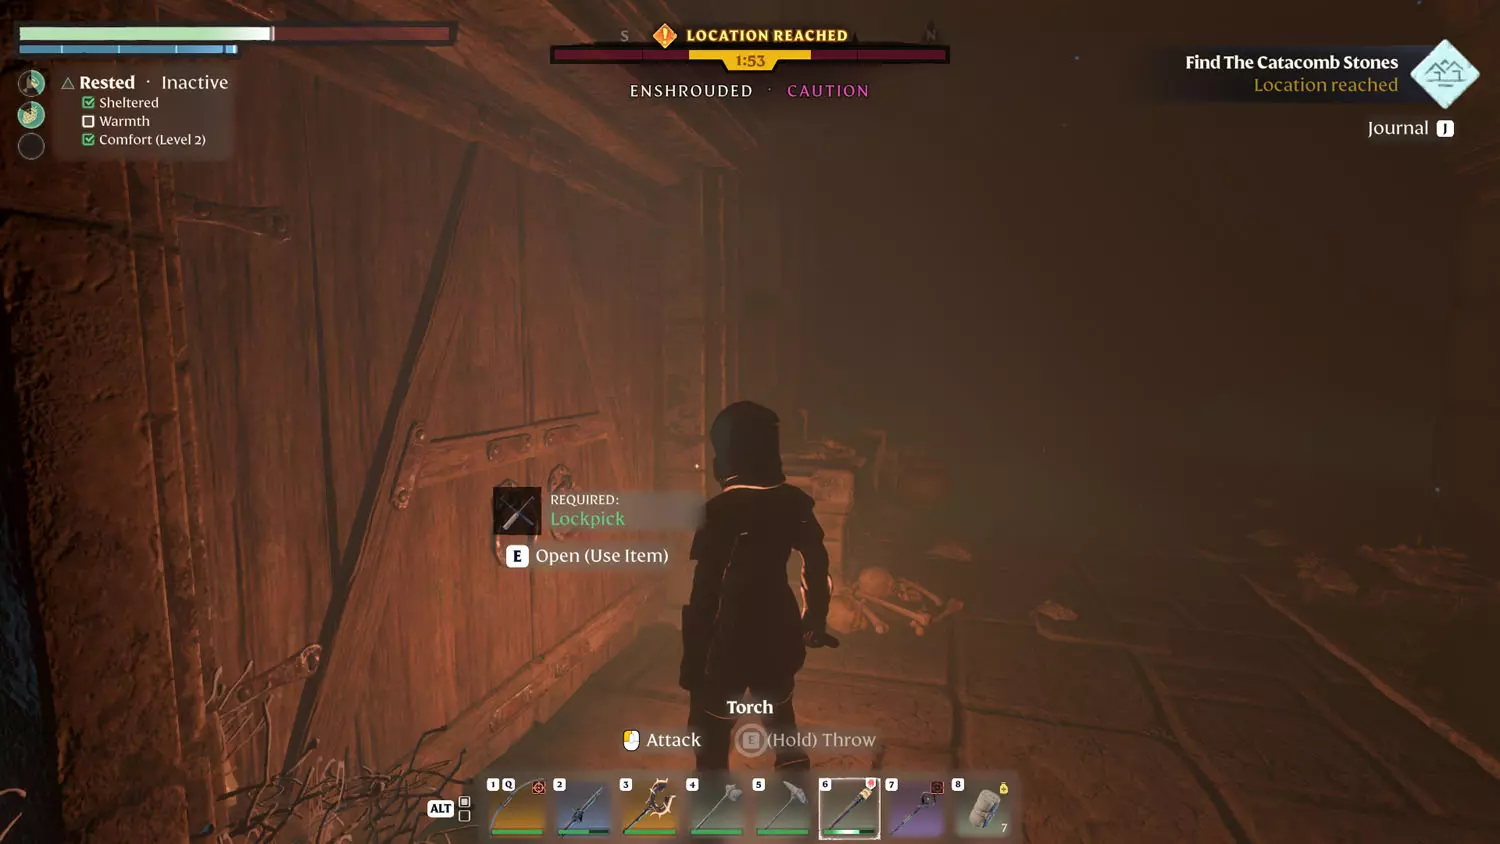
Now you can head through that closed gate from before! Going straight from here leads to a broken staircase, booooo. So, time for the winding tunnels with spike traps and bombs. No enemies are here, so just take it slow, but not too slow (because of the Shroud eating away at your time). There is an innocent store room you can skip by or enter (just before the spikes). Anyway, you will eventually reach a ladder that leads to the landing the stairs would have put you at. Head through the door (so long as you have lockpicks to open it).
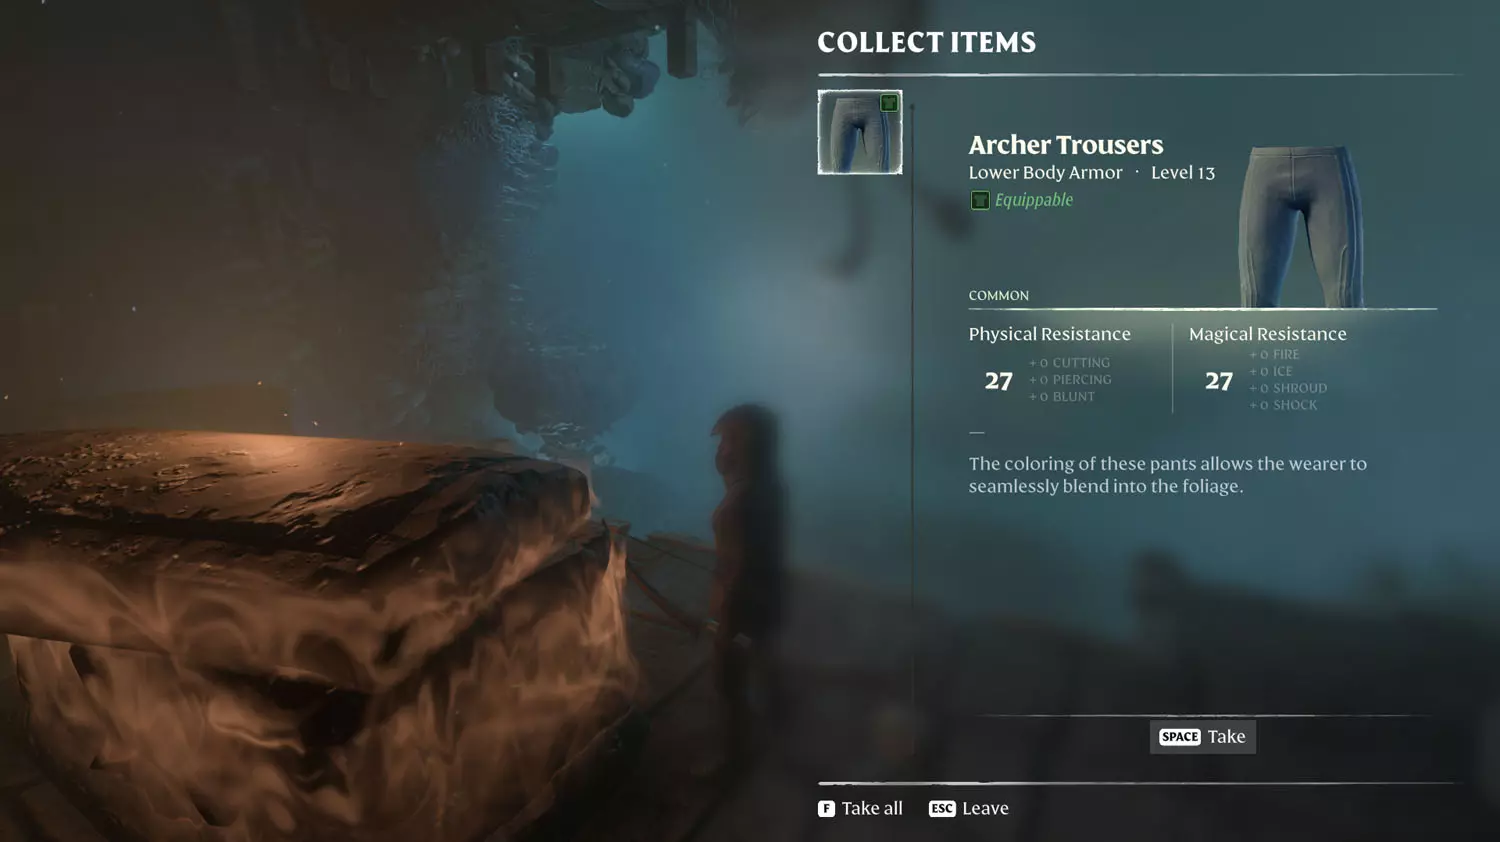
NOTE: There is a second door in this same area. It leads to an open chamber area with two doors. One door leads to the Silver Chest with the Building Blocks, and the other door leads to the Fell Thunderbrute and a Fell Banshee (the ice flinging banshee, not the red one).
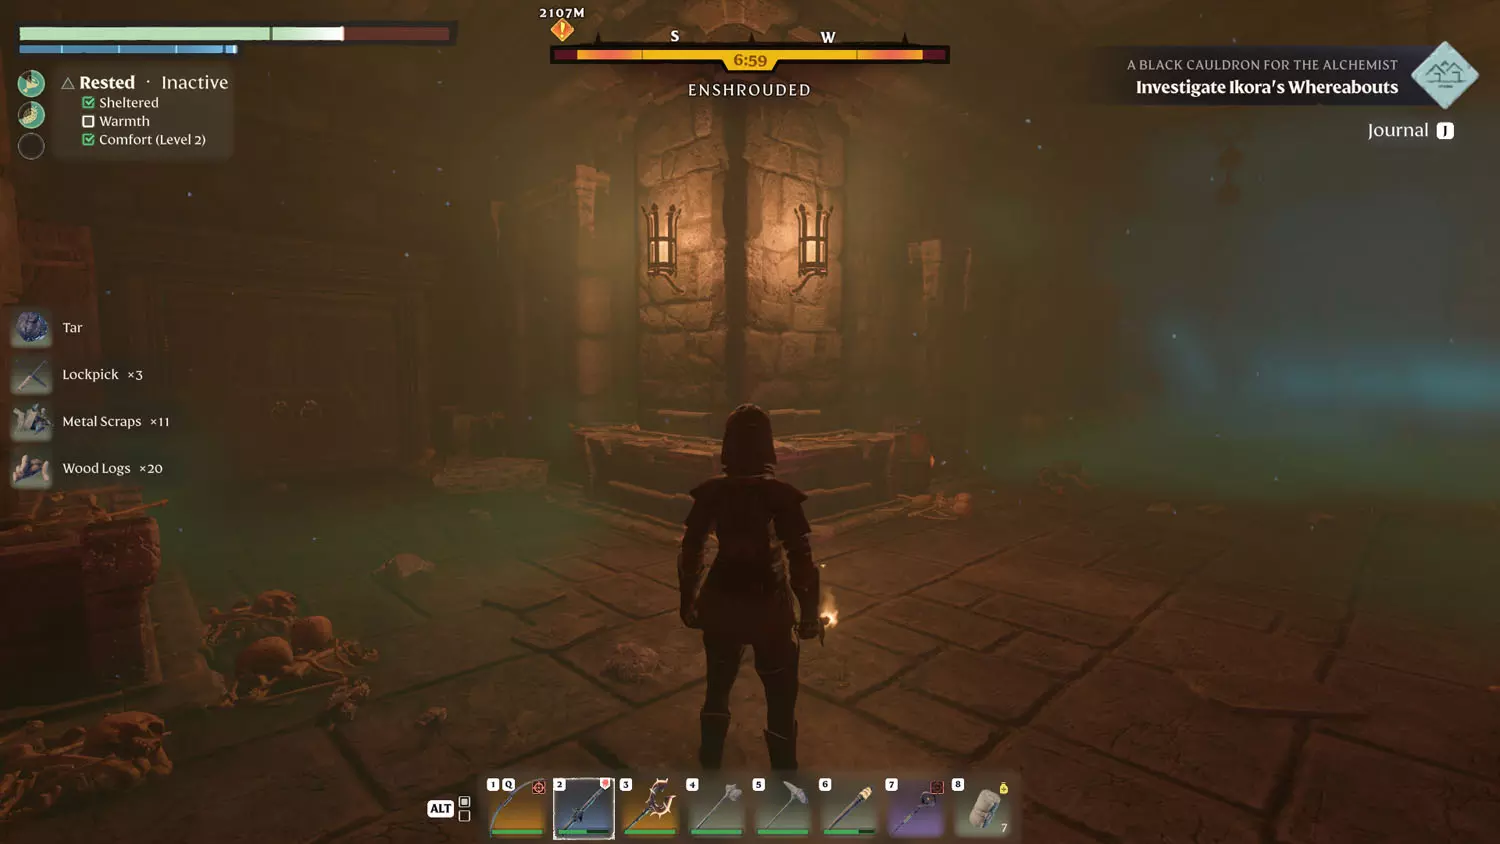
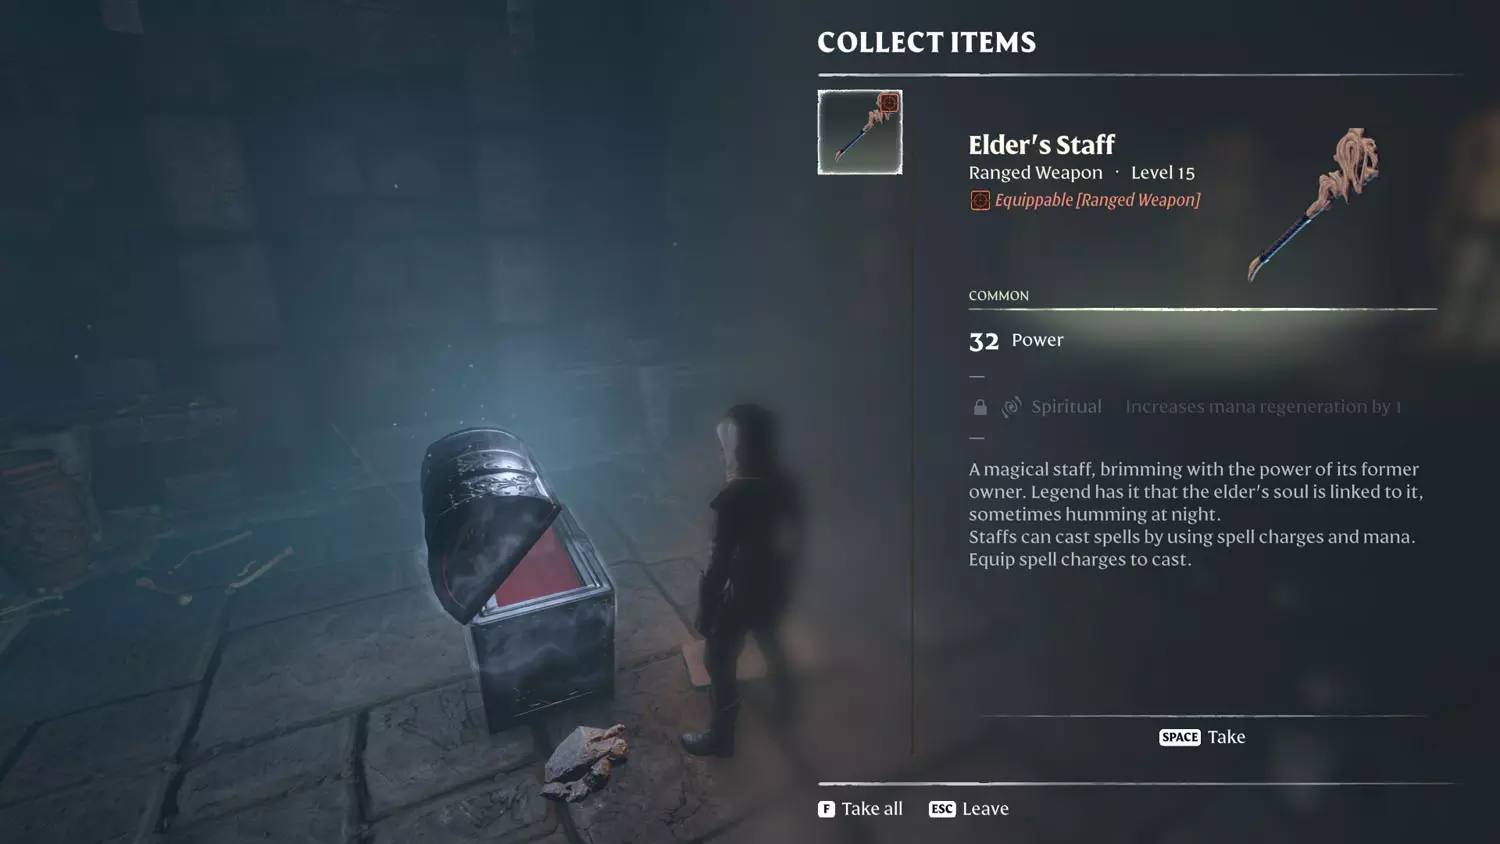
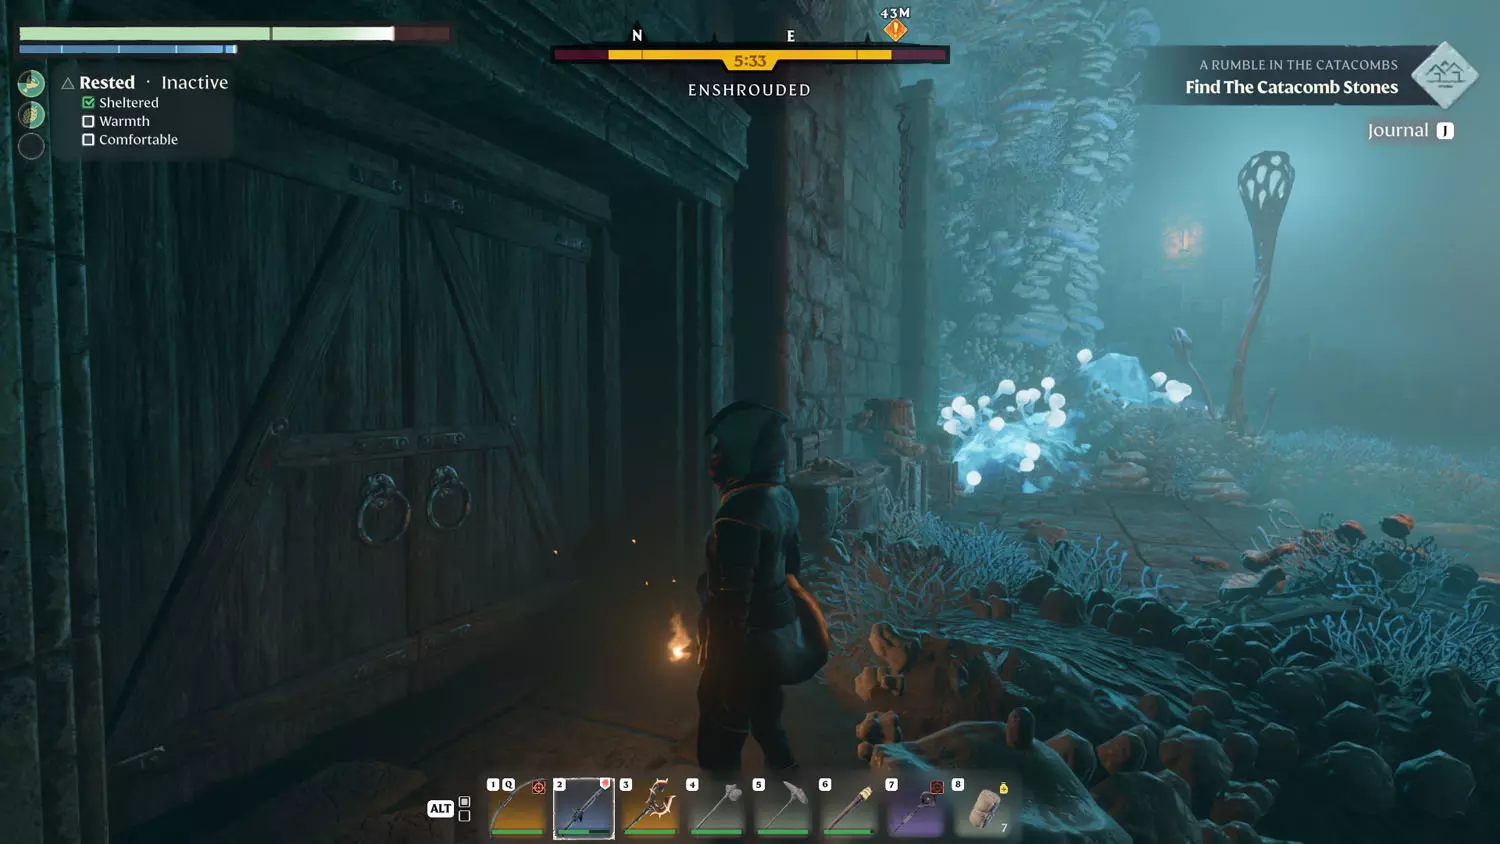
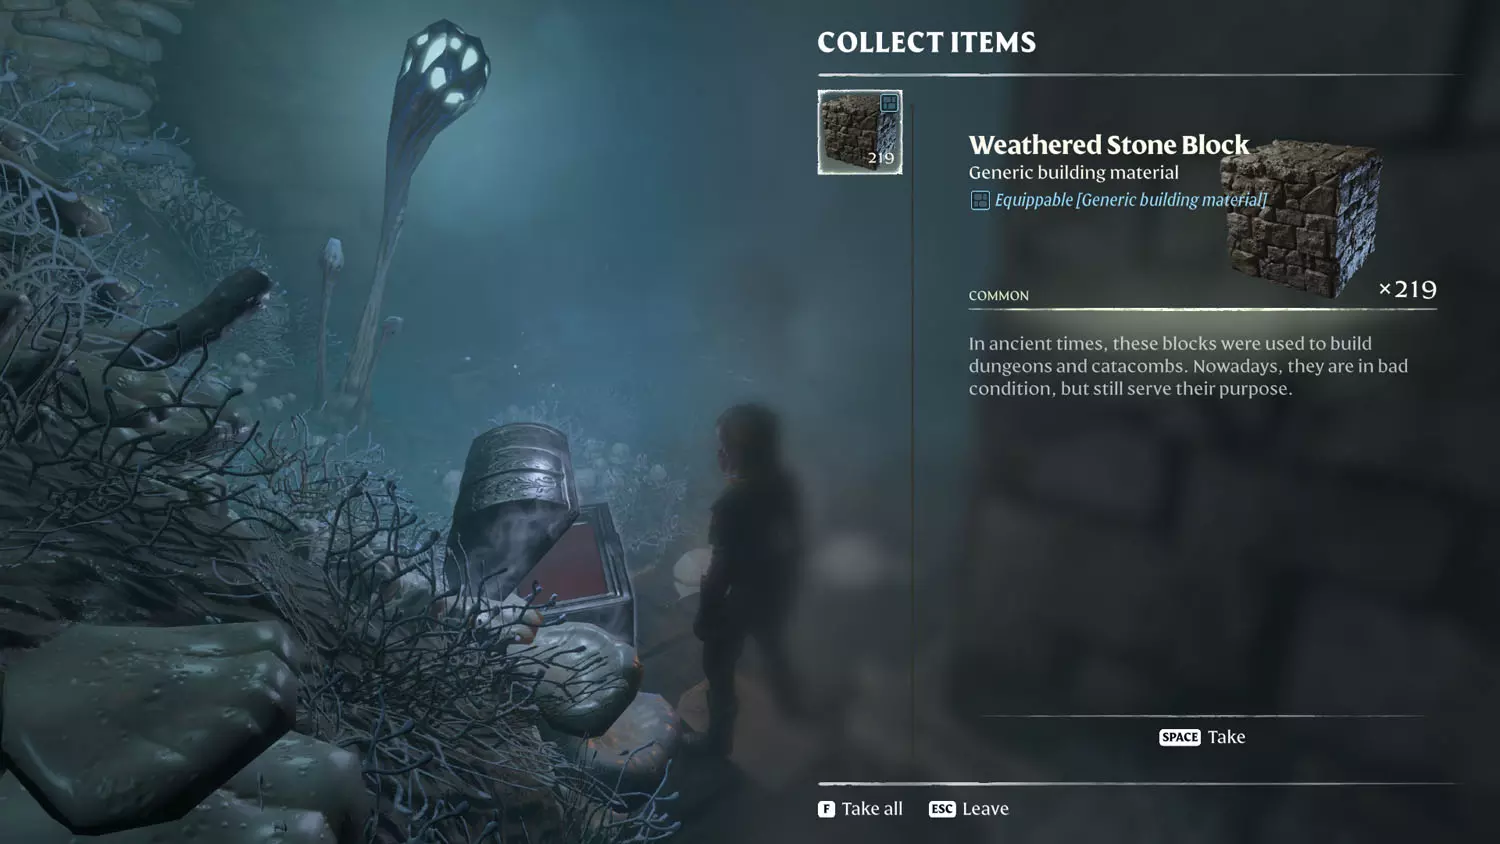
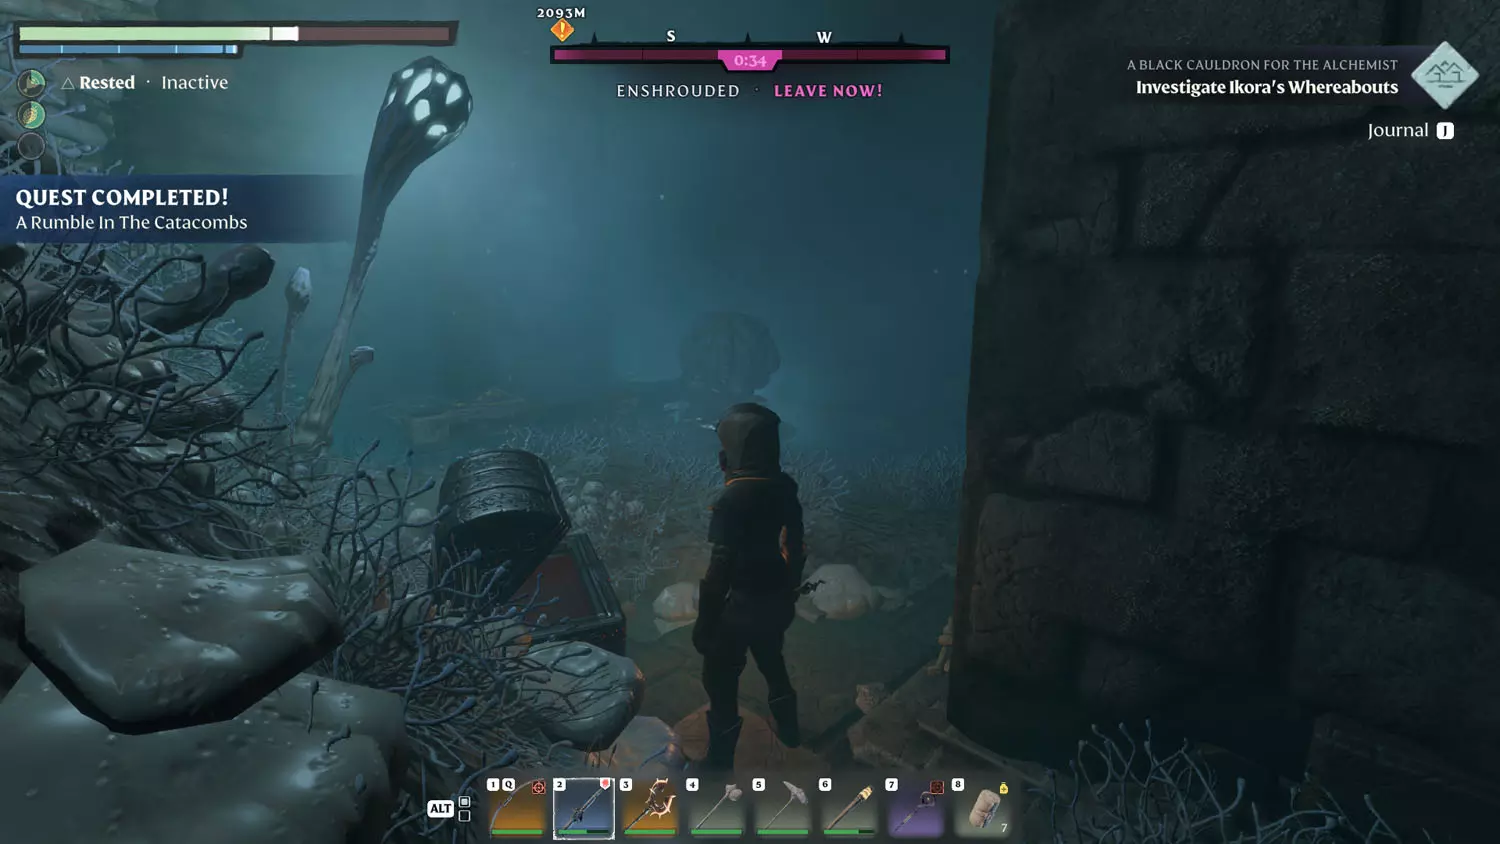
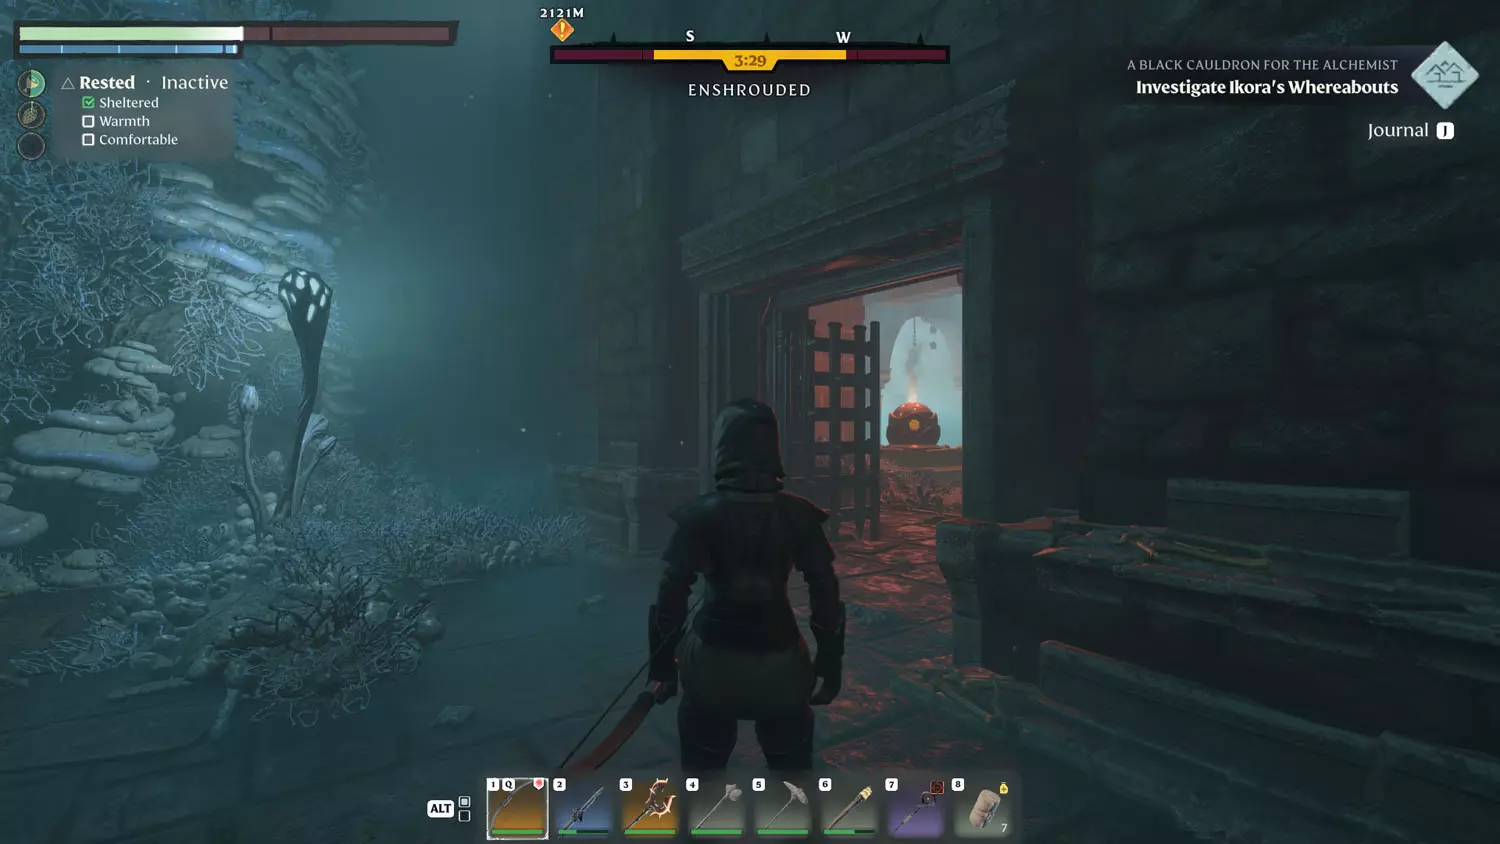
On the other side is an exploding Spore, but there is also the Silver Chest with the Weathered Stone Block. And enemies. There are Fell Critters hiding, waiting, lurking. Meanies! Anyway, there is a doorway to the right that heads deeper into the dungeon. BUT your quest is completed once you loot the chest.
The Exit is near, but you have to go through a mini boss (the Fell Banshee) and a big boss (Fell Thunderbrute). First, take the door to the right of the Silver Chest. Nearby is a door requiring a Lockpick. This door is the boss door. However, looting the gold coffin at the back of the boss room seems to open the gate that leads to the revival spot at the very beginning of the dungeon. In other words, this is your quicker way out.
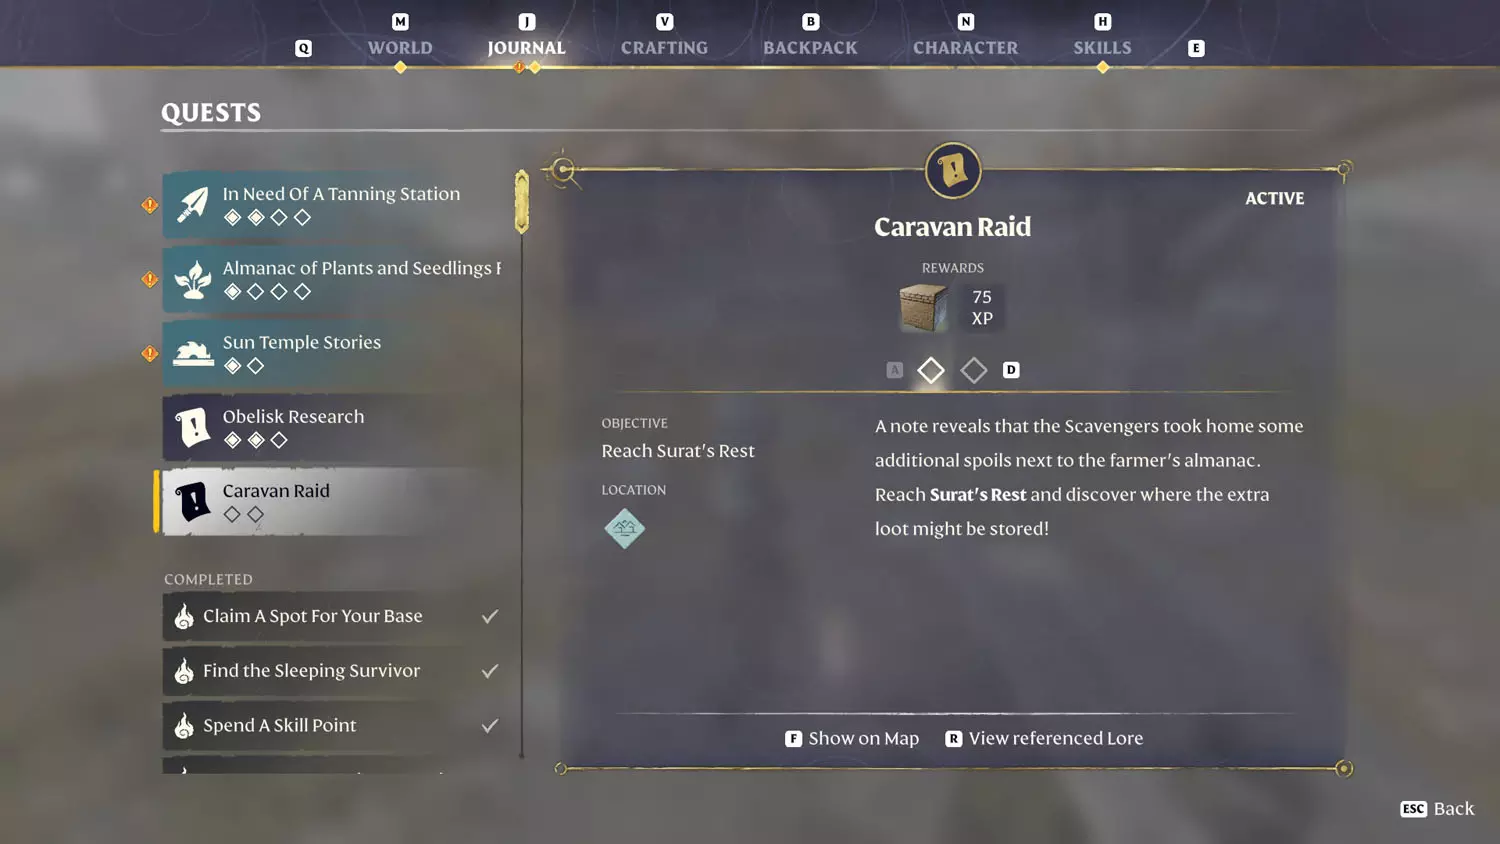
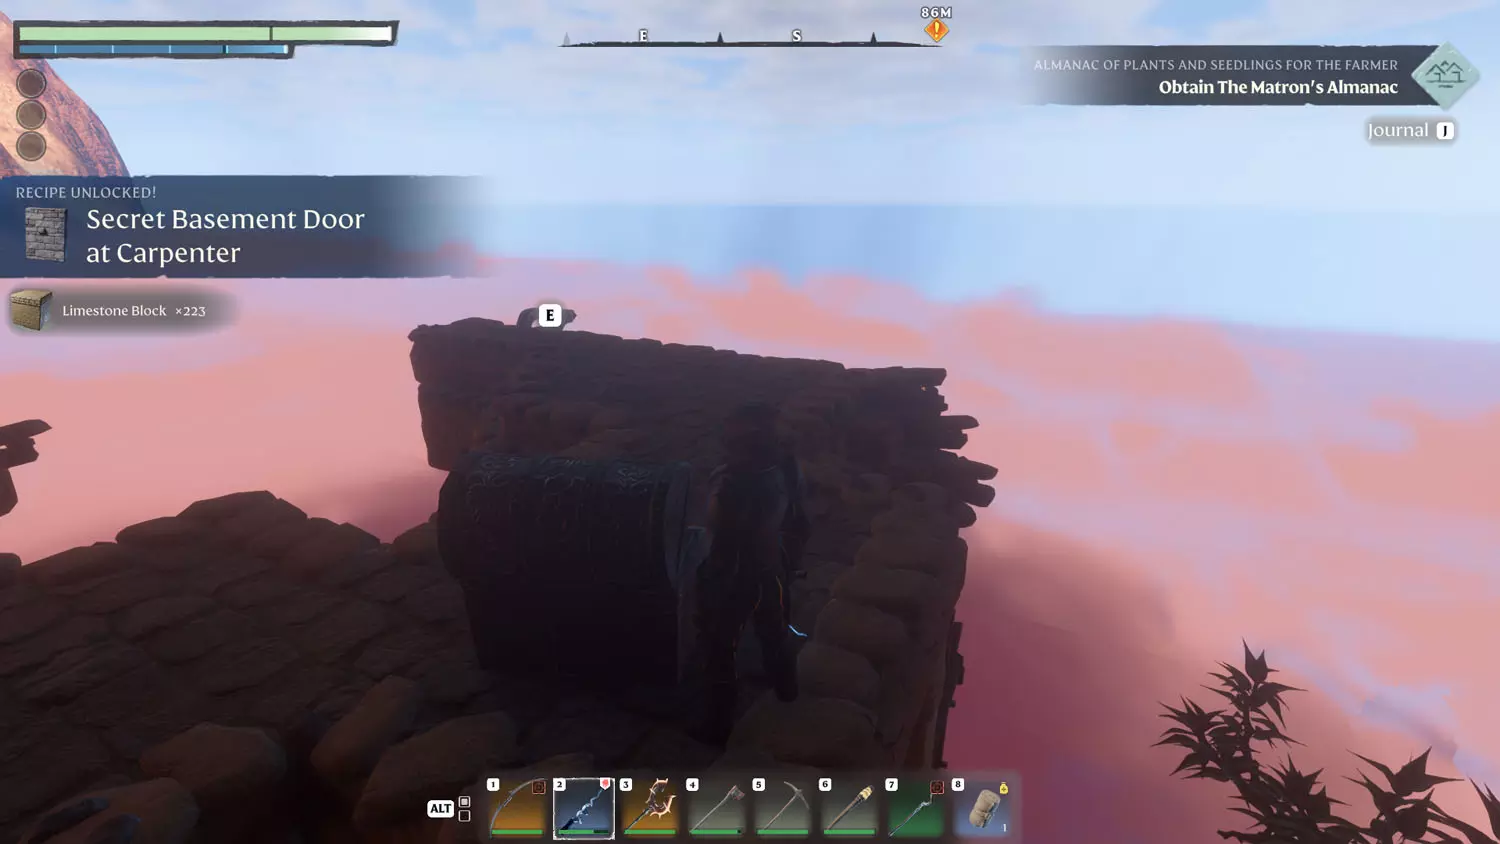
Caravan Raid - Limestone Block
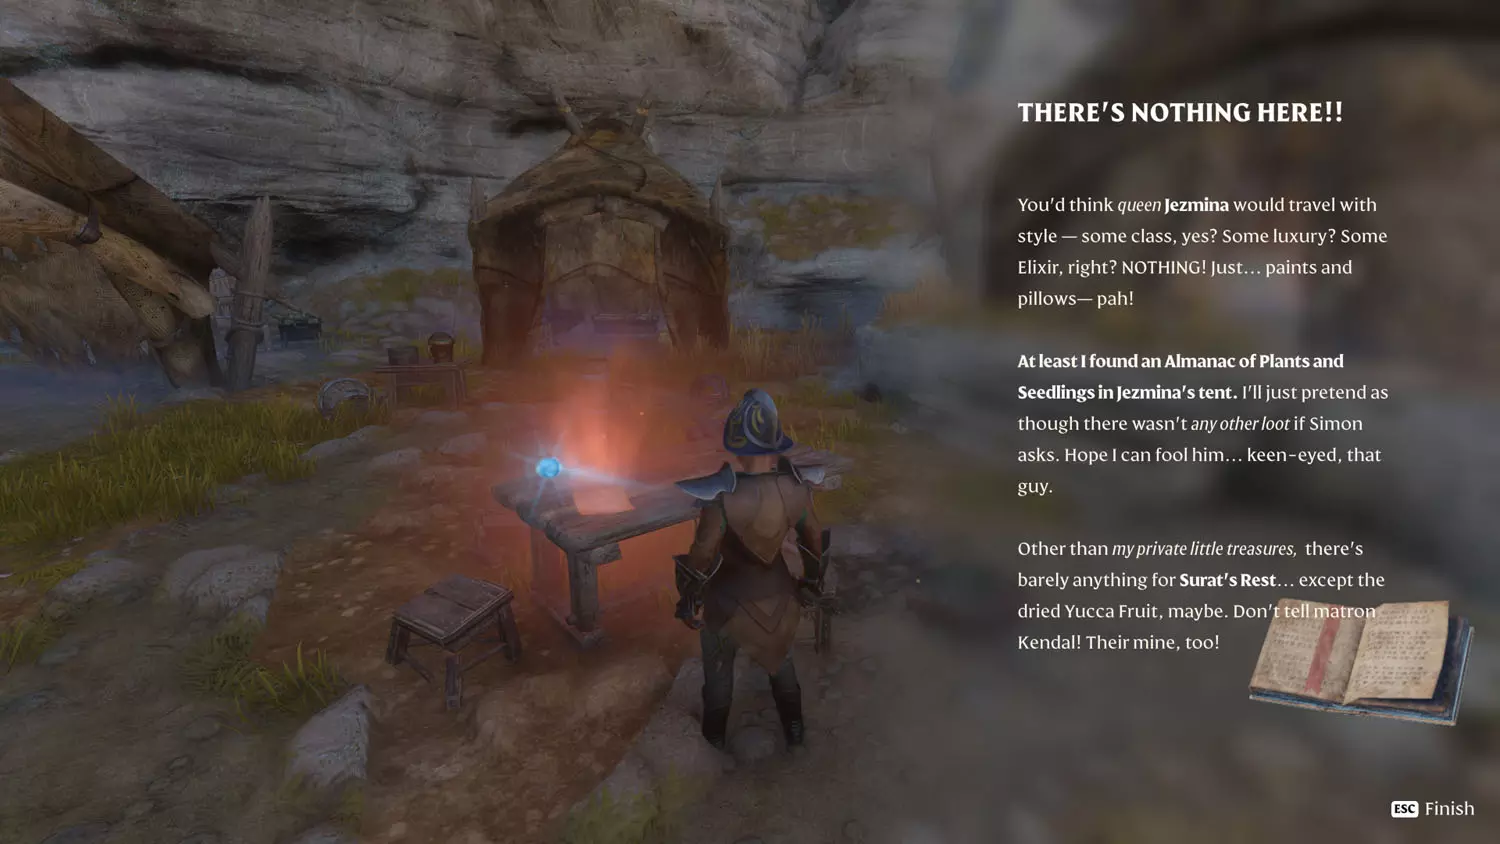
Head for a Southern Caravan Camp. Once there, reading the Scavengers Lore: Caravan Raid 1/2 There’s Nothing Here!! starts this quest. From there, head to Surat’s Rest.
TIP: This location is also part of the Farmer Quest: Almanac of Plants and Seedlings For The Farmer.
TIP: Southern Caravan Camp Nobles and History Lore: Love Letter To Queen Jezmina 1/2 To My Beloved Queen, and Southern Caravan 1/4 Smoke On The Horizon.

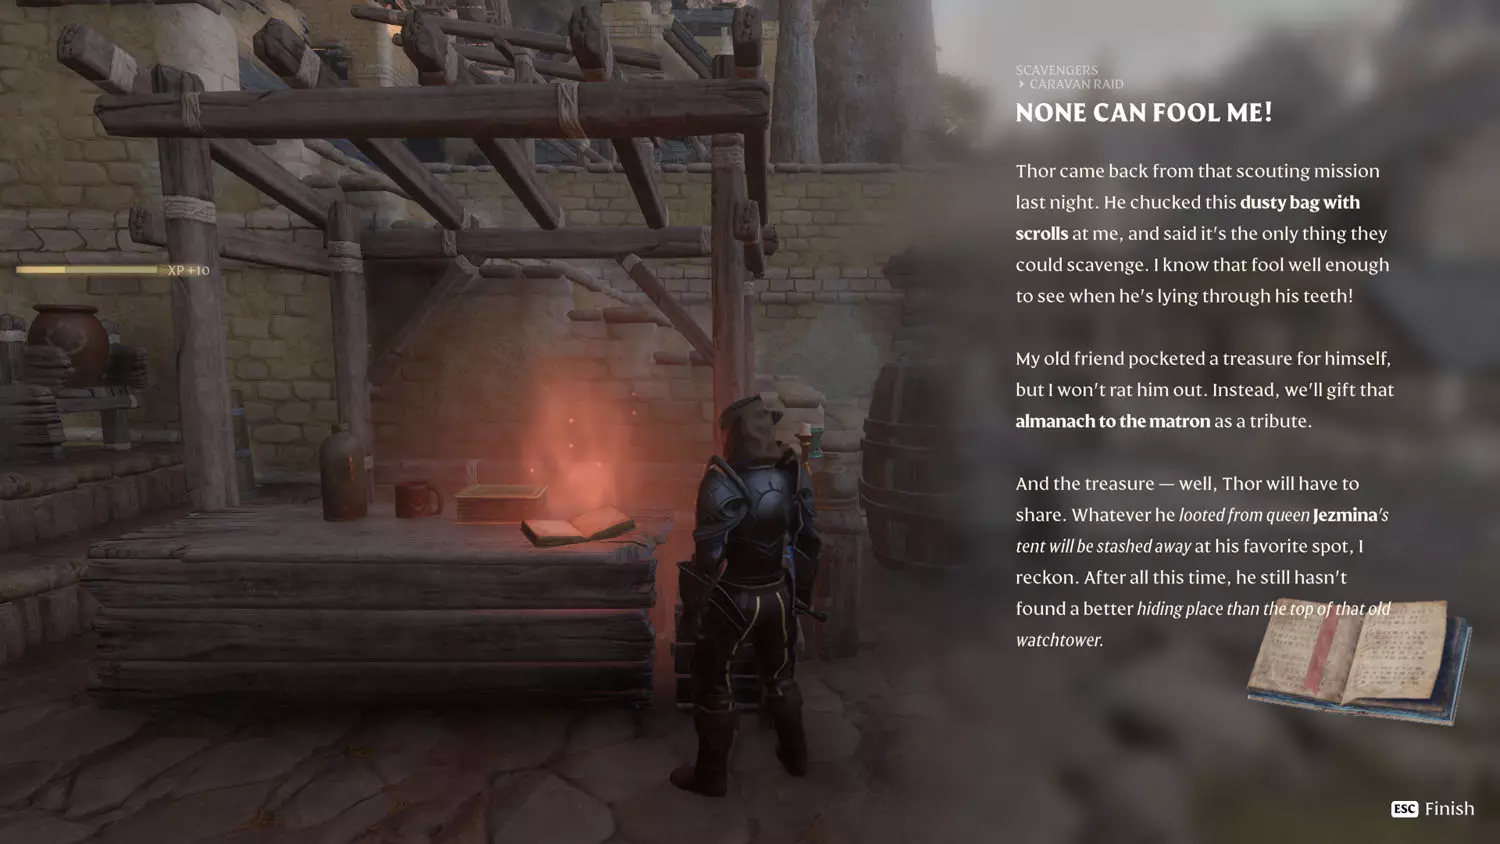
Welcome to Surat’s Rest! To complete the next step, read the Scavenger Lore: Caravan Raid 2/2 None Can Fool Me!. Reading this Lore will also progress the Farmer Quest: Almanac of Plants and Seedlings For The Farmer.
TIP: There is one other quest at this location - Items, XP, and Loot Reward Quest: “Nursery Supplies”, which starts with the Nomad Highlands Lore: “Nursery Supplies” 1/1 Mind The “Nursery Supplies”.
TIP: Surat’s Rest Scavenger Lore: Sister, Sister 2/3 A Note To Kendal. Nomad Highlands Lore: As Above So Below 2/2 Crimes Of Surat's Rest.
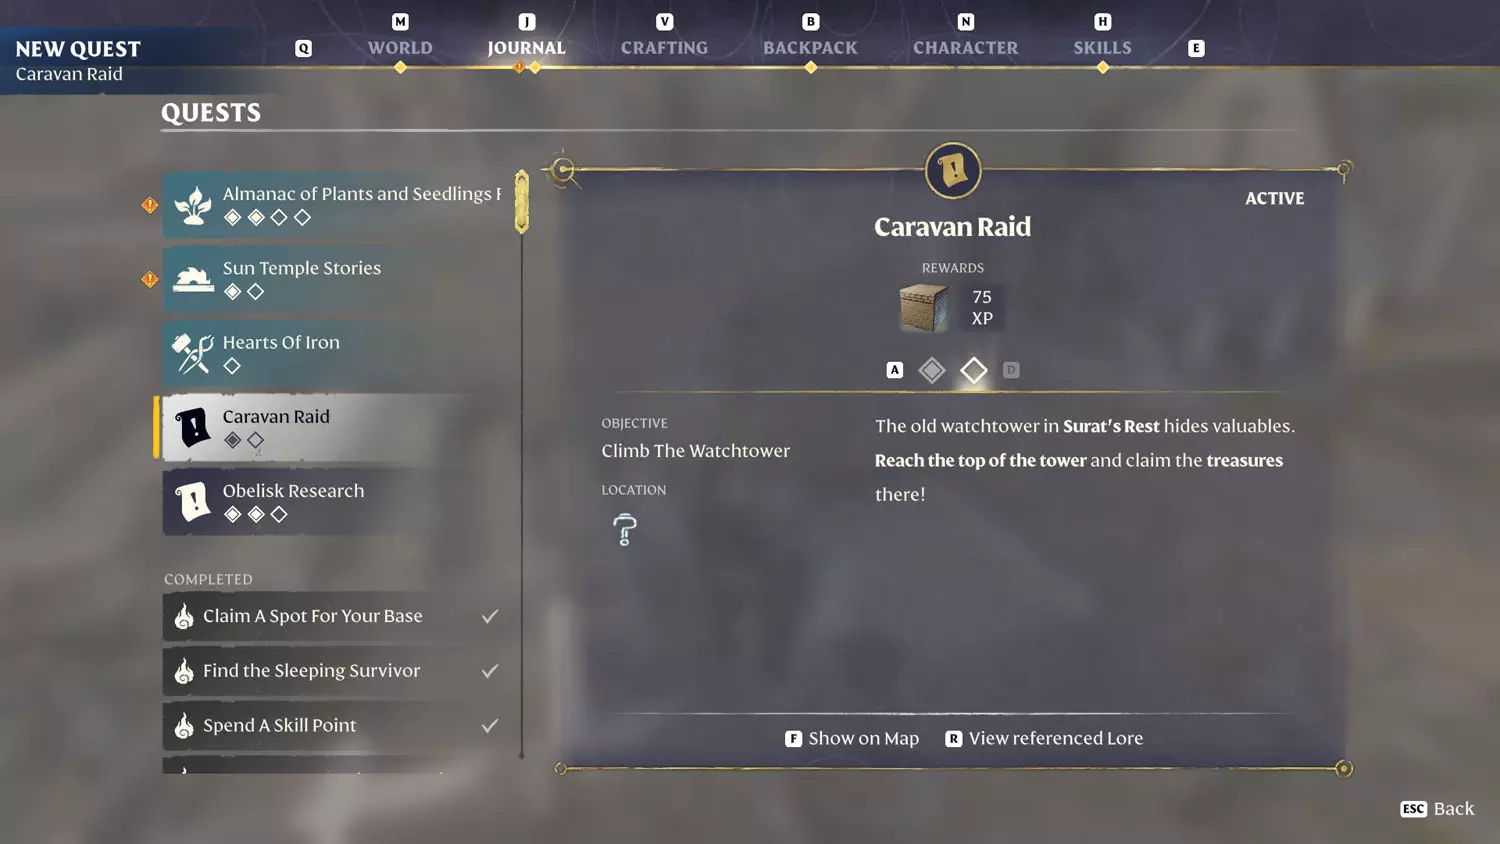
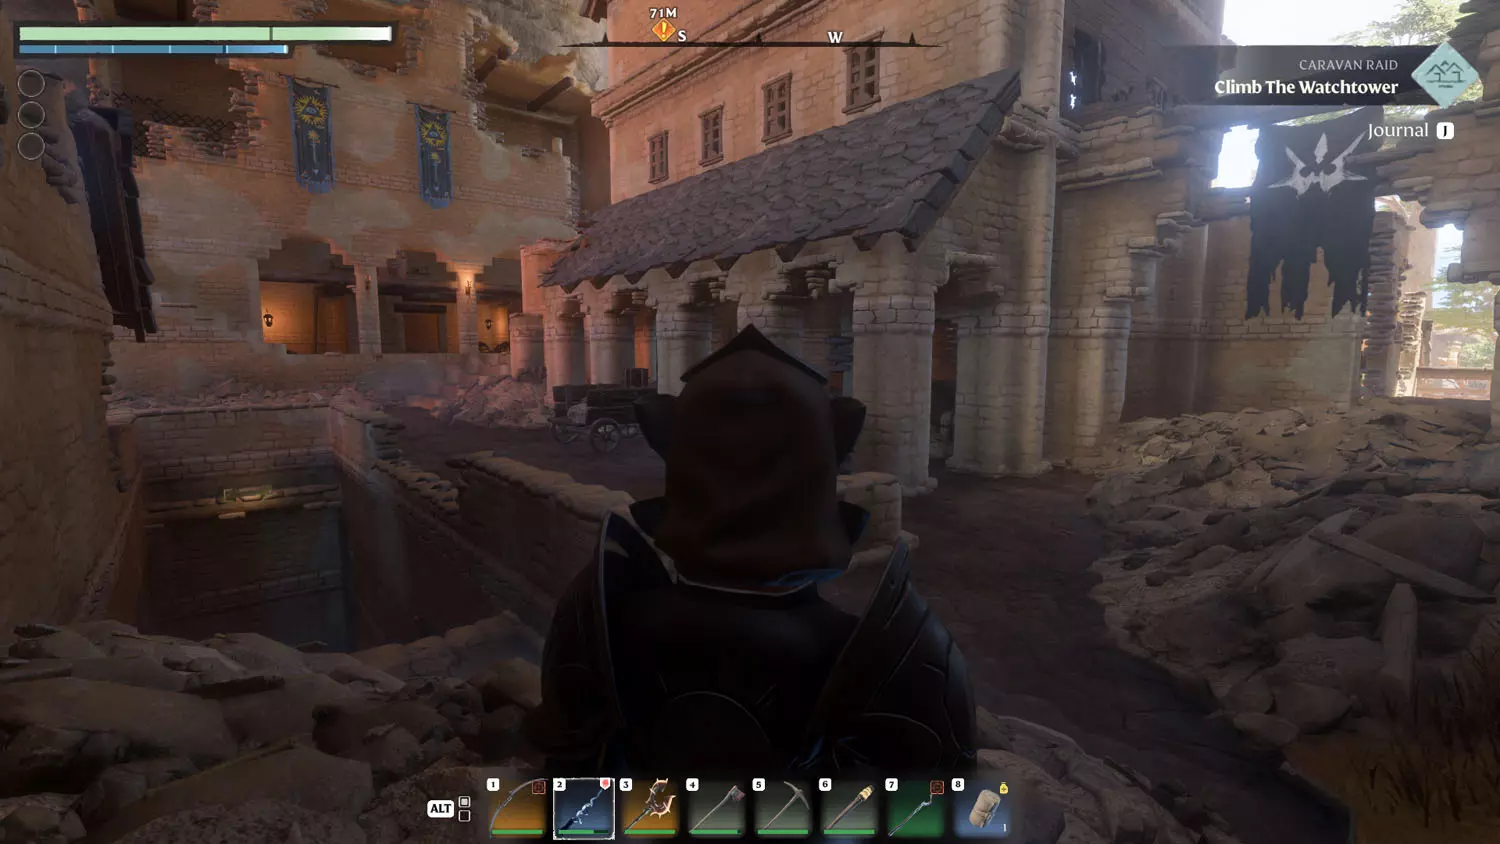
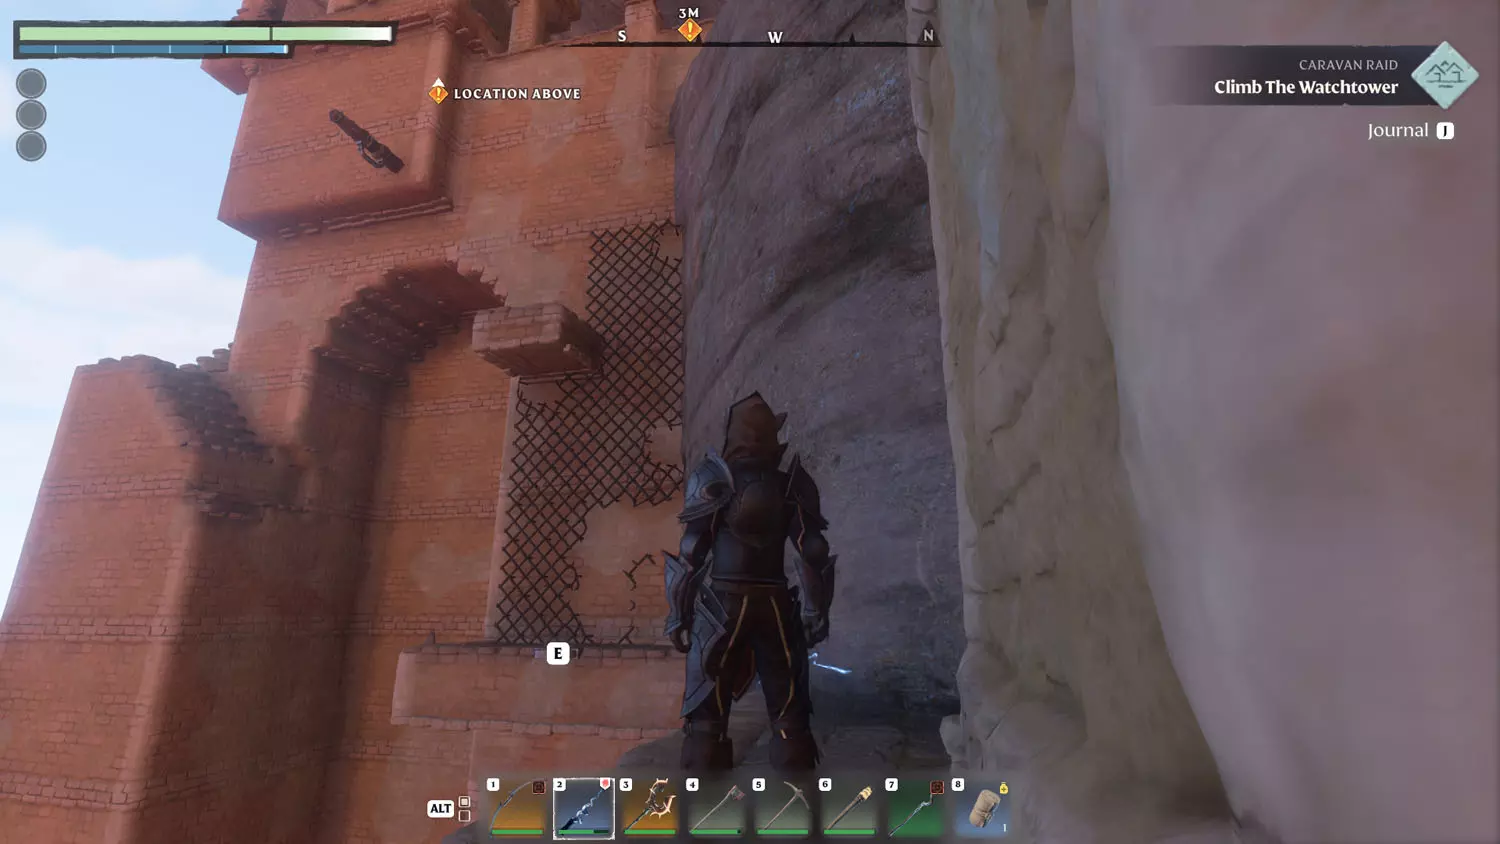
From this location, head up the stairs behind the Lore and head back towards the black banner. After passing under the black banner, there is a pit nearby with a grapple spot. Head down, being careful not to fall down or you may die. From the exit of the tunnel you should see the ladder (heading back up to where you were) and a perimeter wall with stairs. Head for the stairs. From the perimeter wall, you’ll want to keep moving forward and upward.
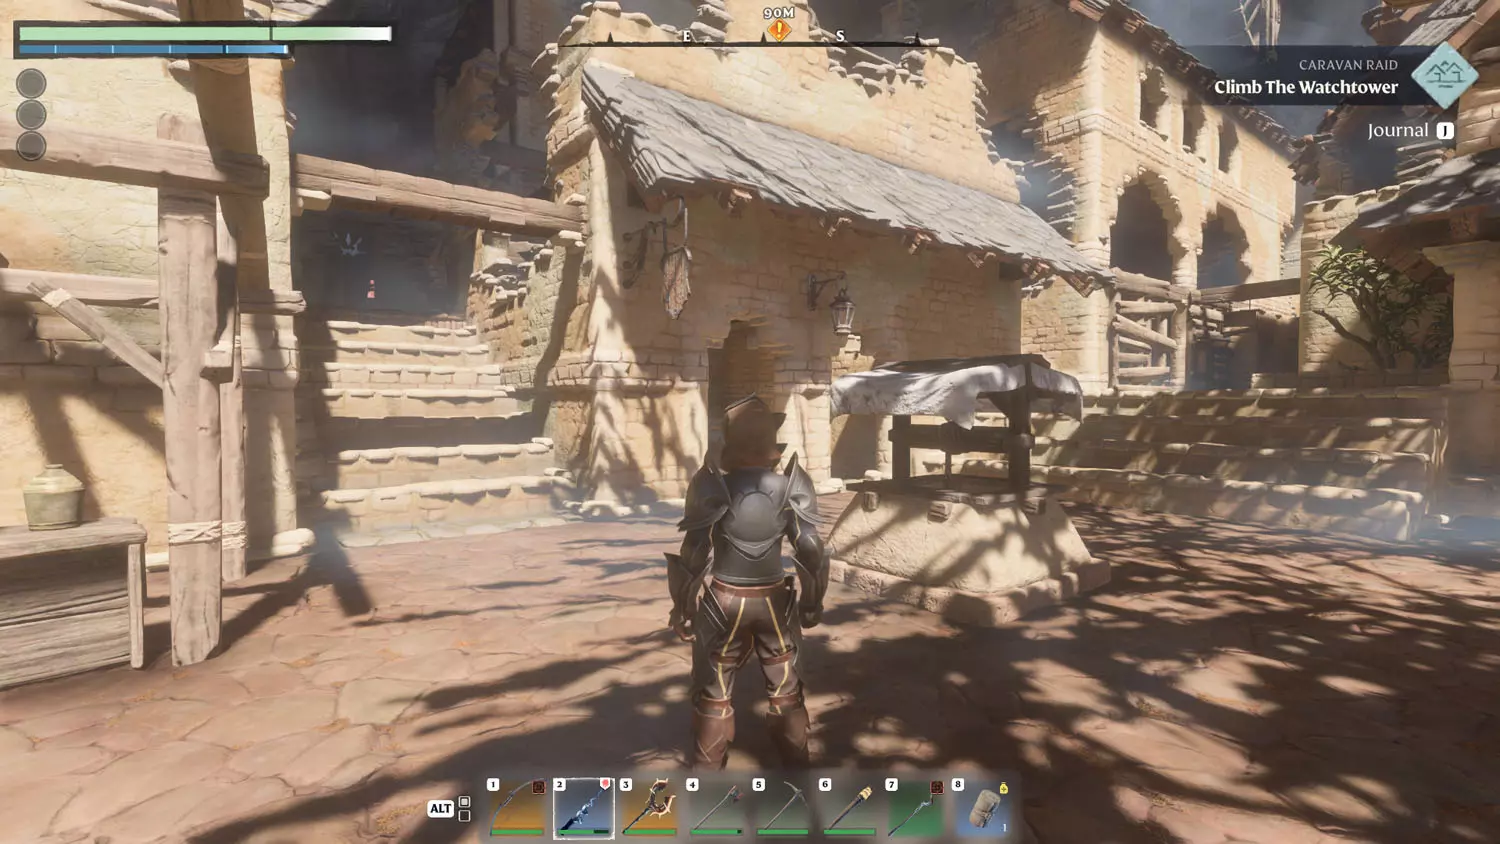
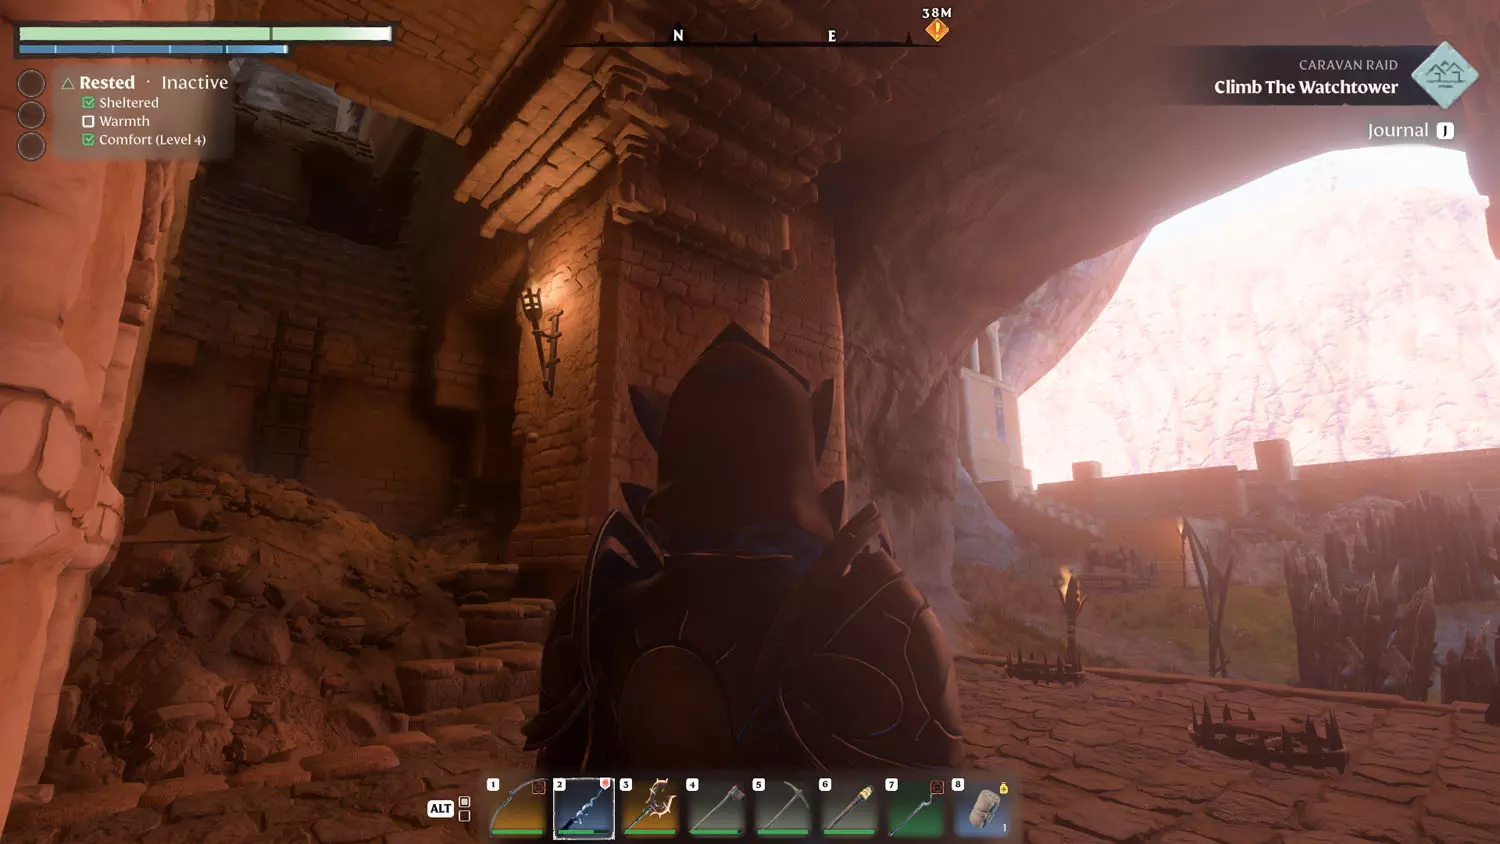
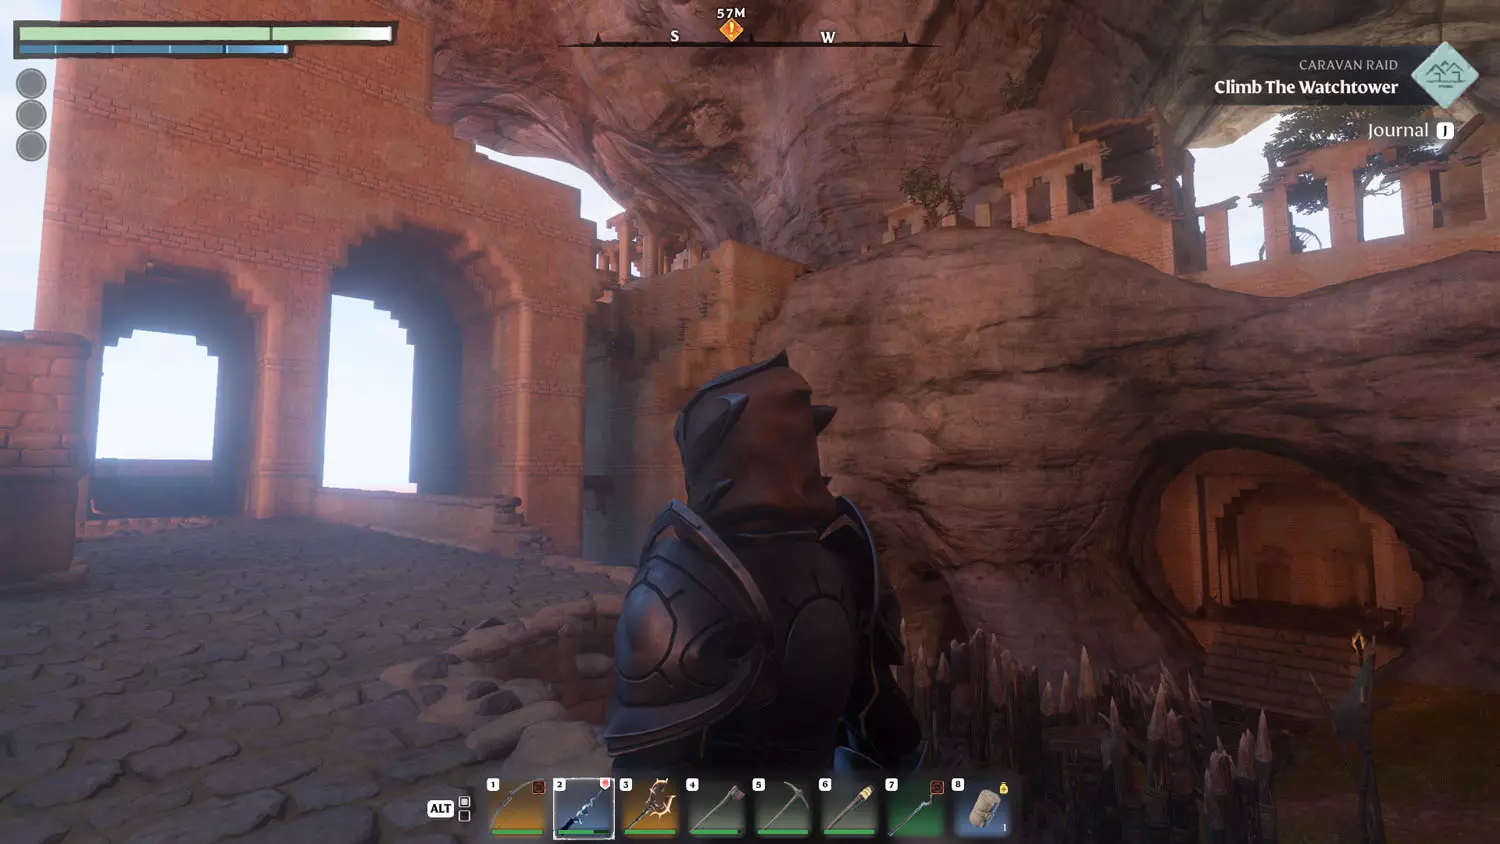
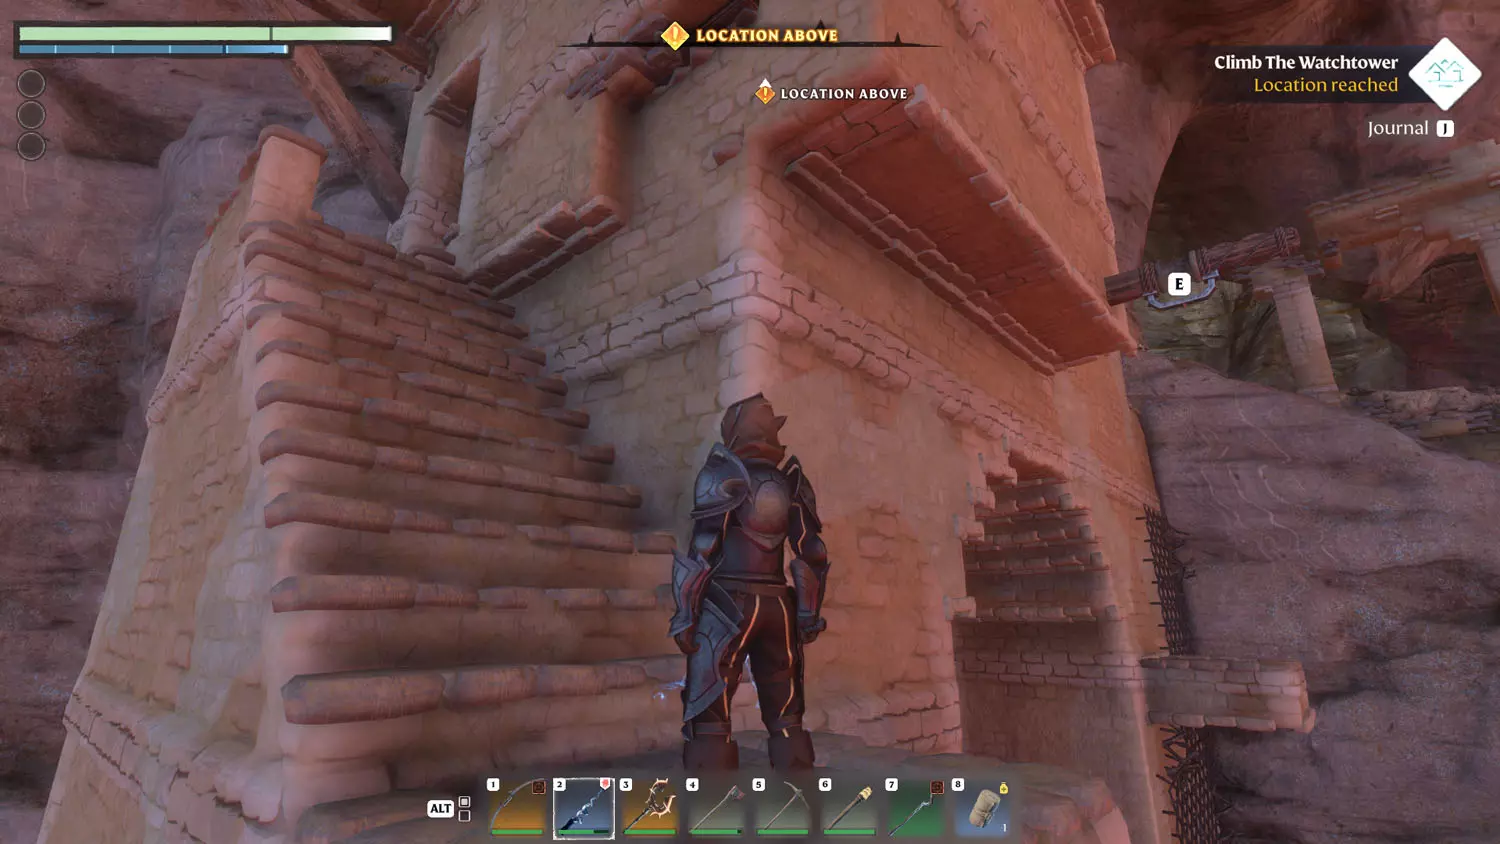
Reaching the end of the path, look up and you’ll see a grapple spot that will swing you to a safe landing spot. From there, grapple over to a climbable wall until you reach a platform. Then use the next grapple spot to swing to another landing spot.
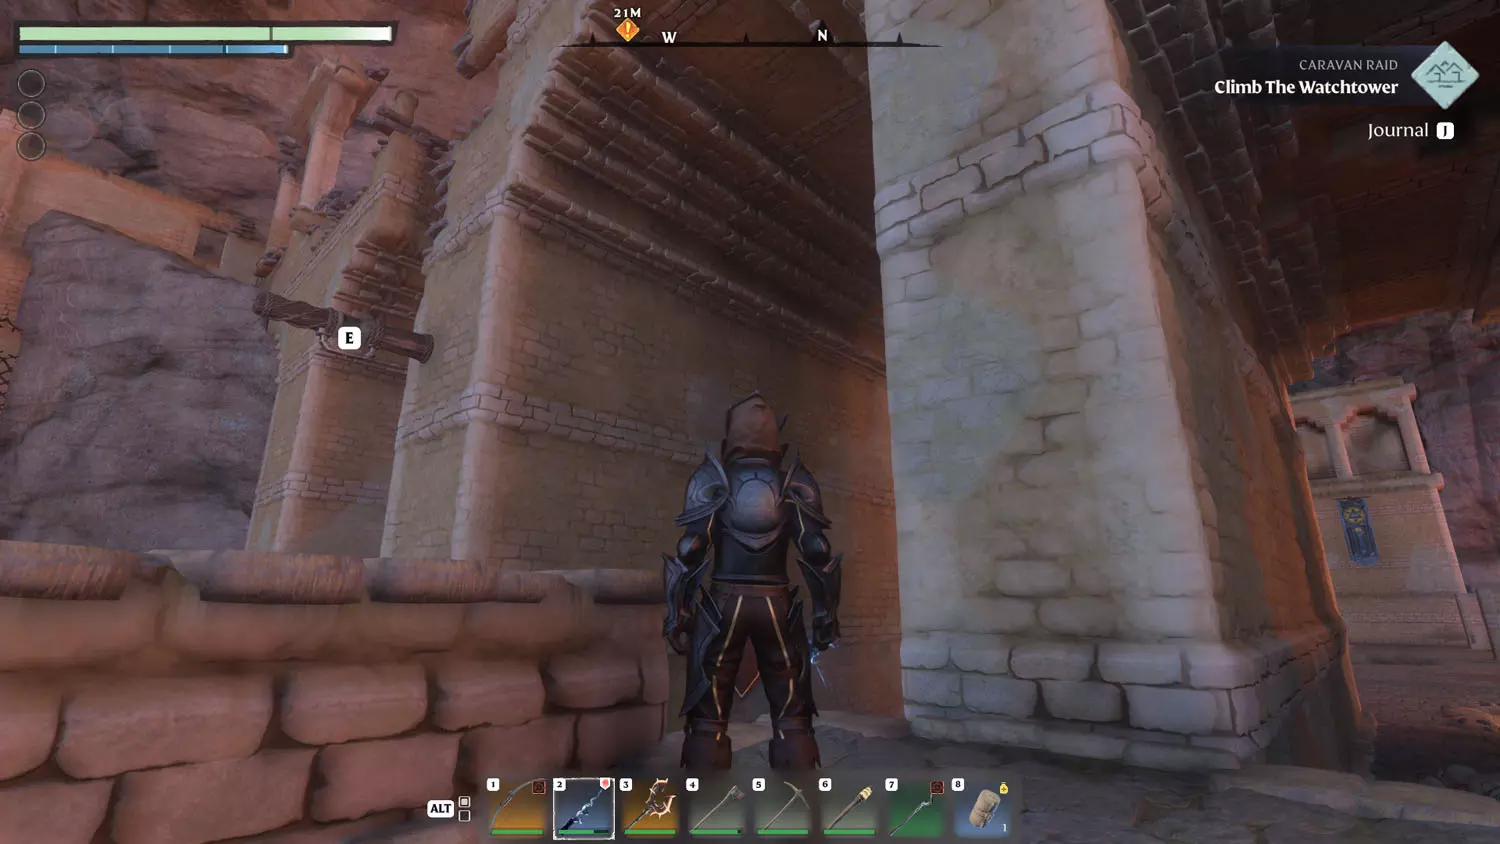
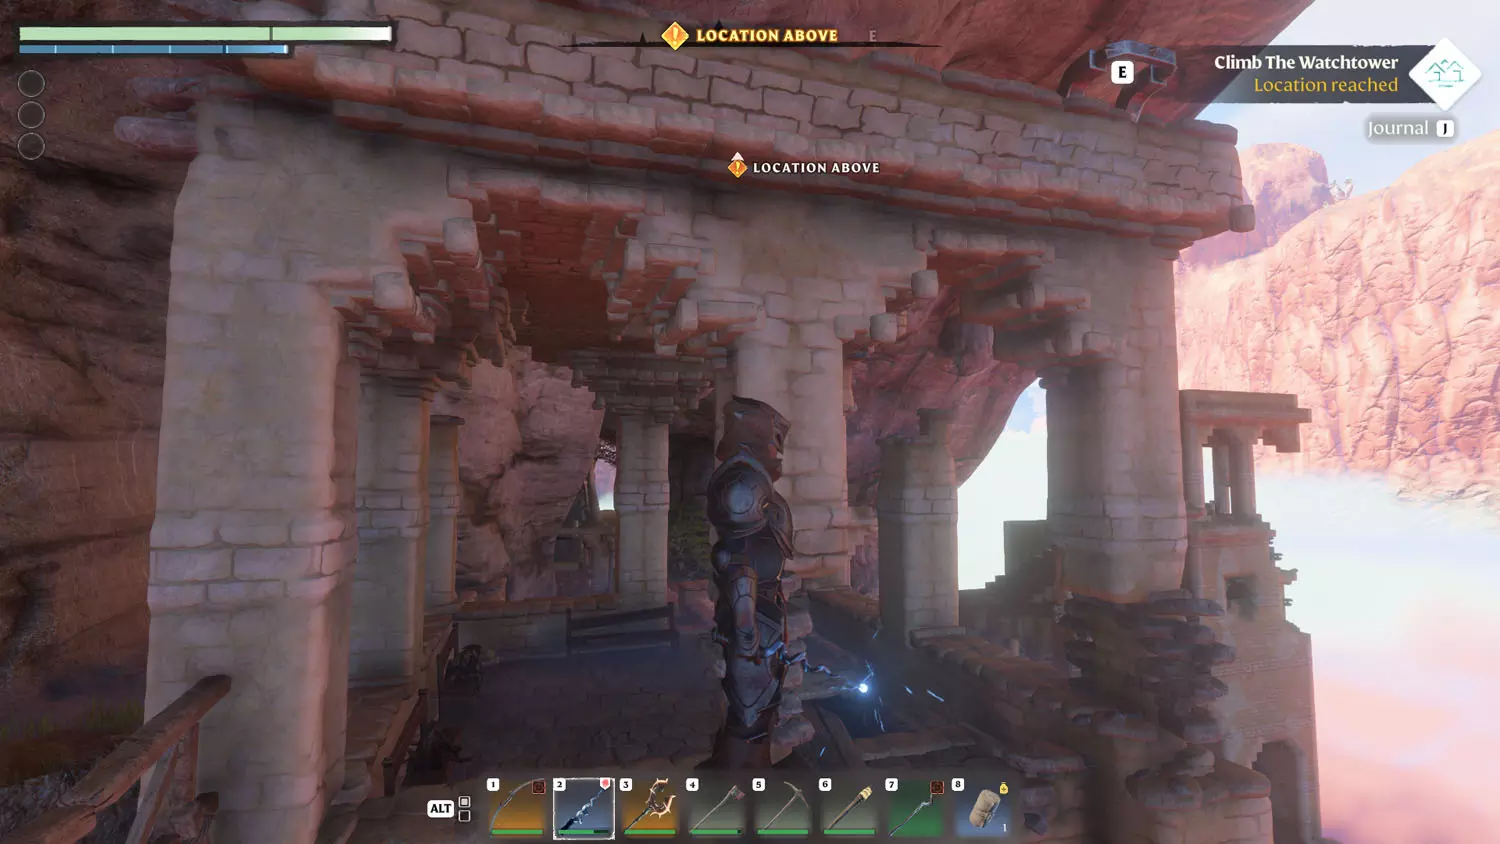
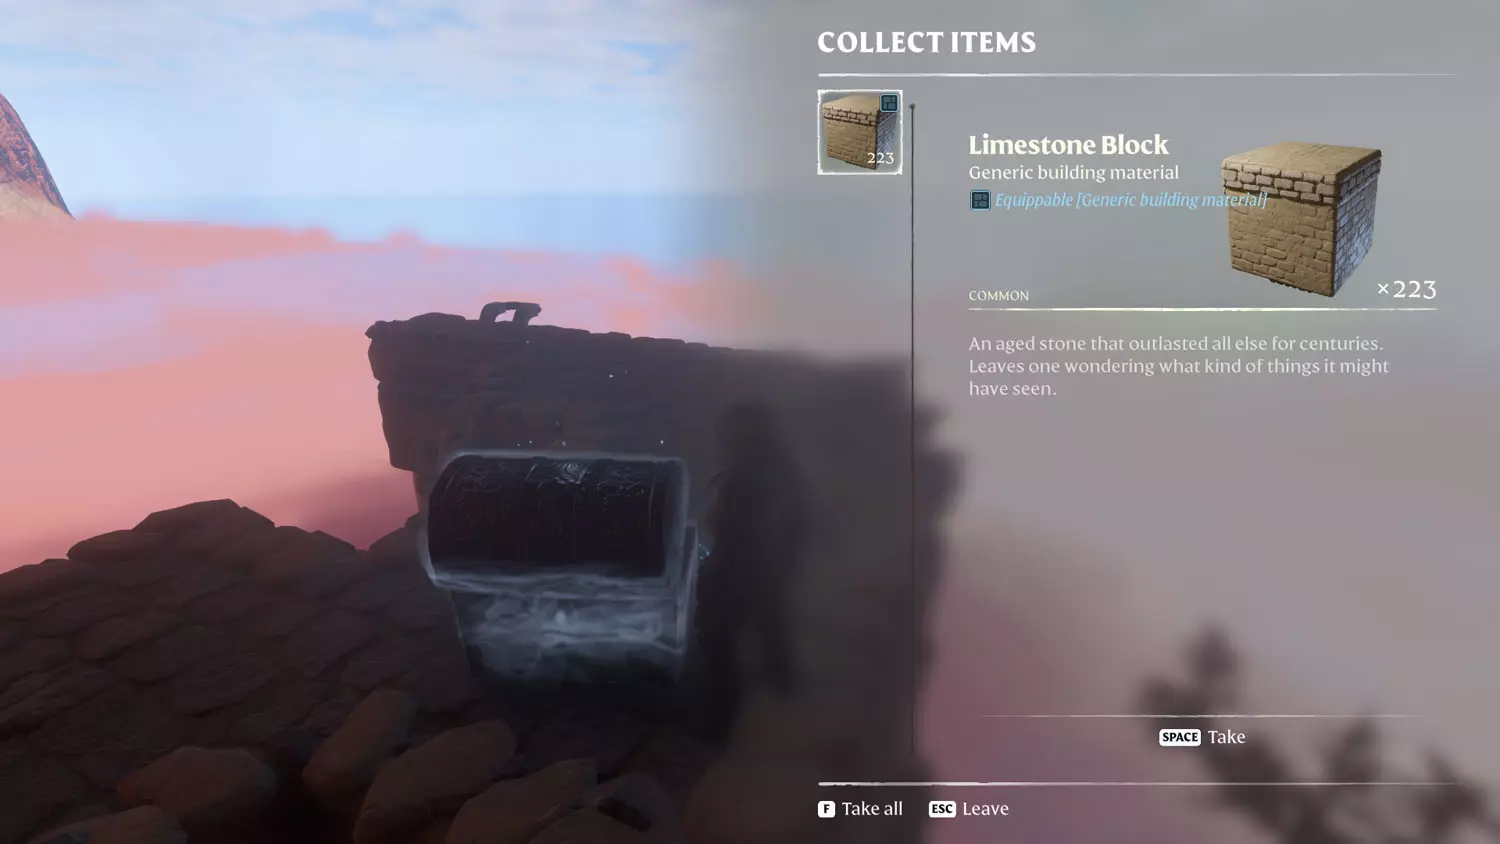
From the safe landing spot, you’ll see stairs going up. Follow those until you reach a room. As you enter the room, you'll find stairs leading up. From the next floor, head for the platform outside the window. While standing on the platform, look up as there is a final grapple spot above you. Use that to reach the roof and a Silver Chest with the Limestone Block inside. Looting the chest completes this quest!
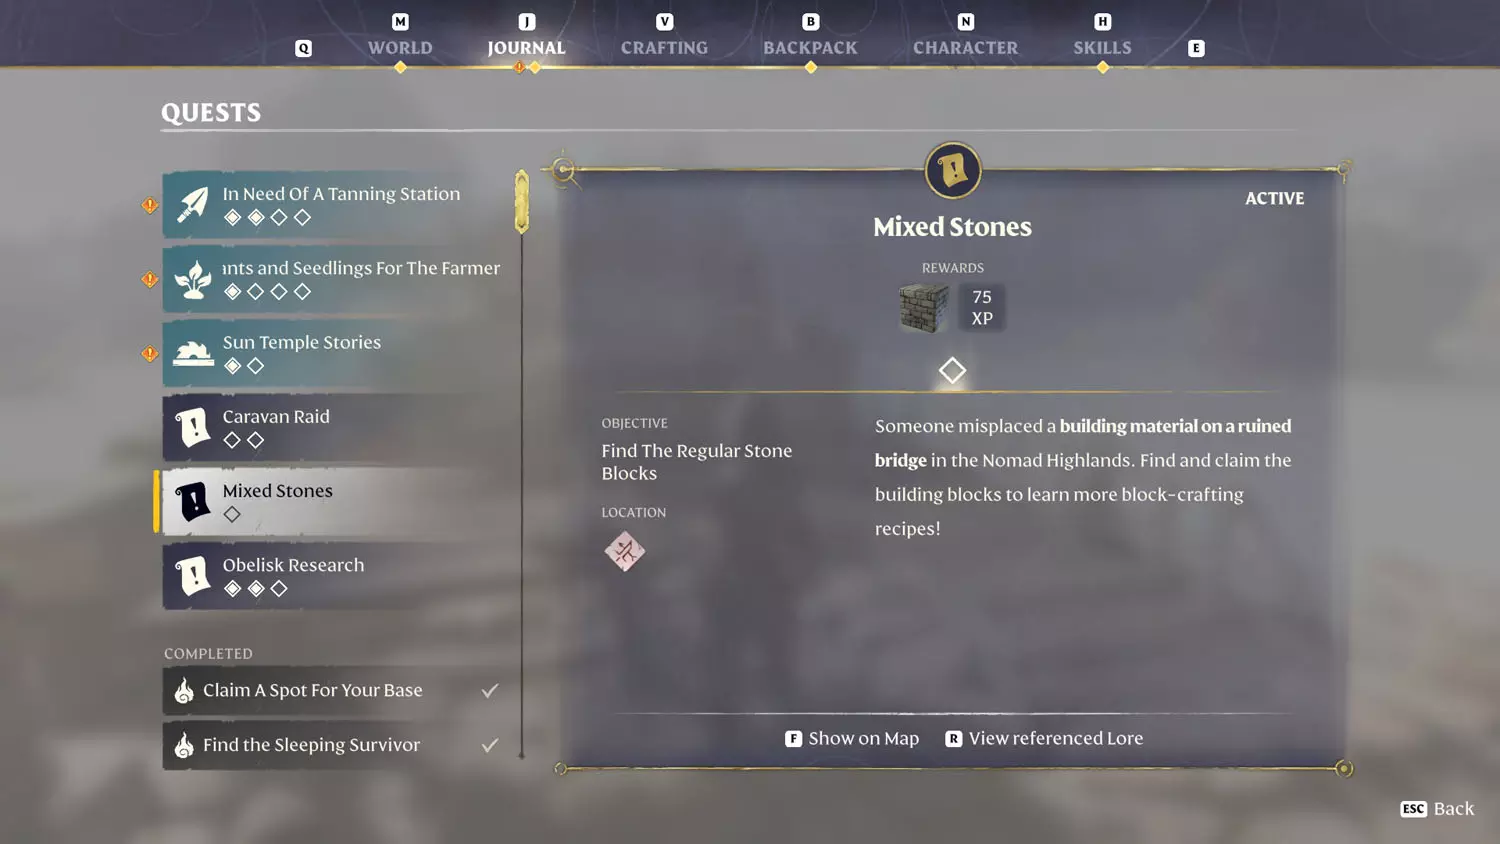
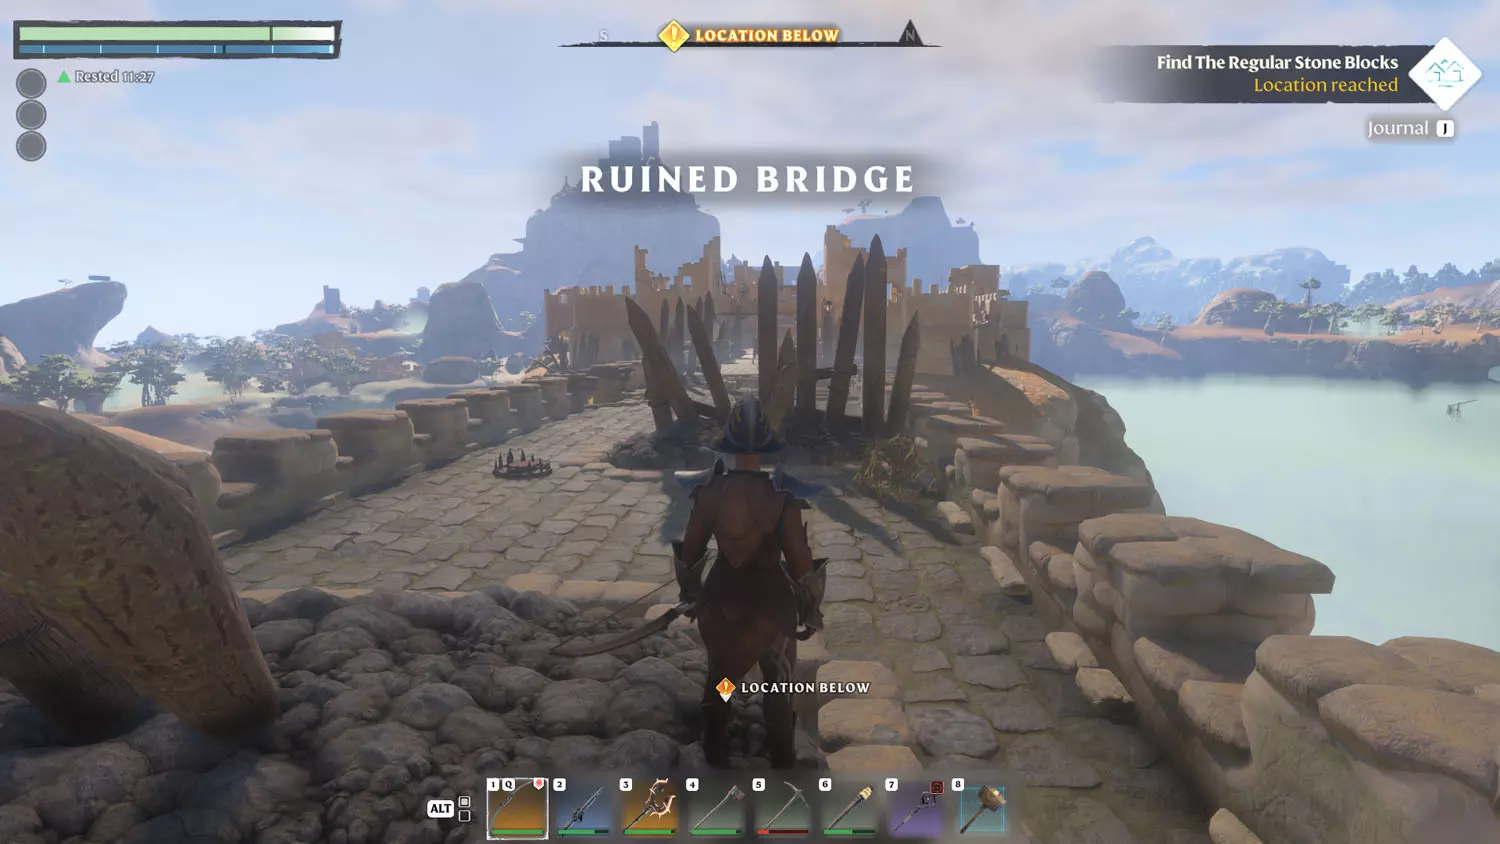
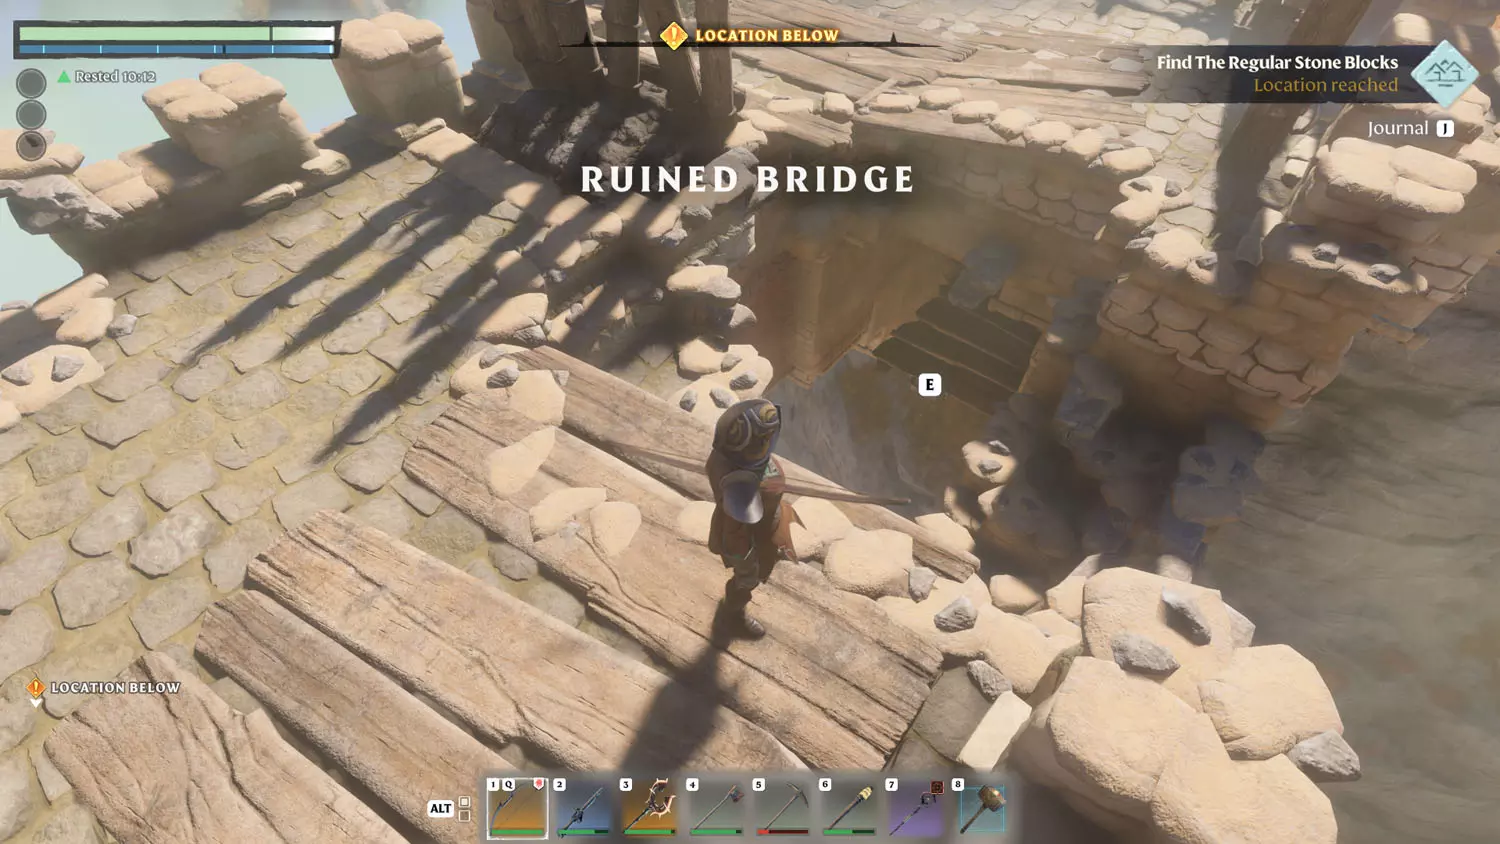
Mixed Stones - Regular Stone Block
Before reaching Lupa’s Lair, you’ll come across the Ruined Bridge. Reading the General Lore: Mixed Stones 1/1 Where’s the Material? Will start the quest.
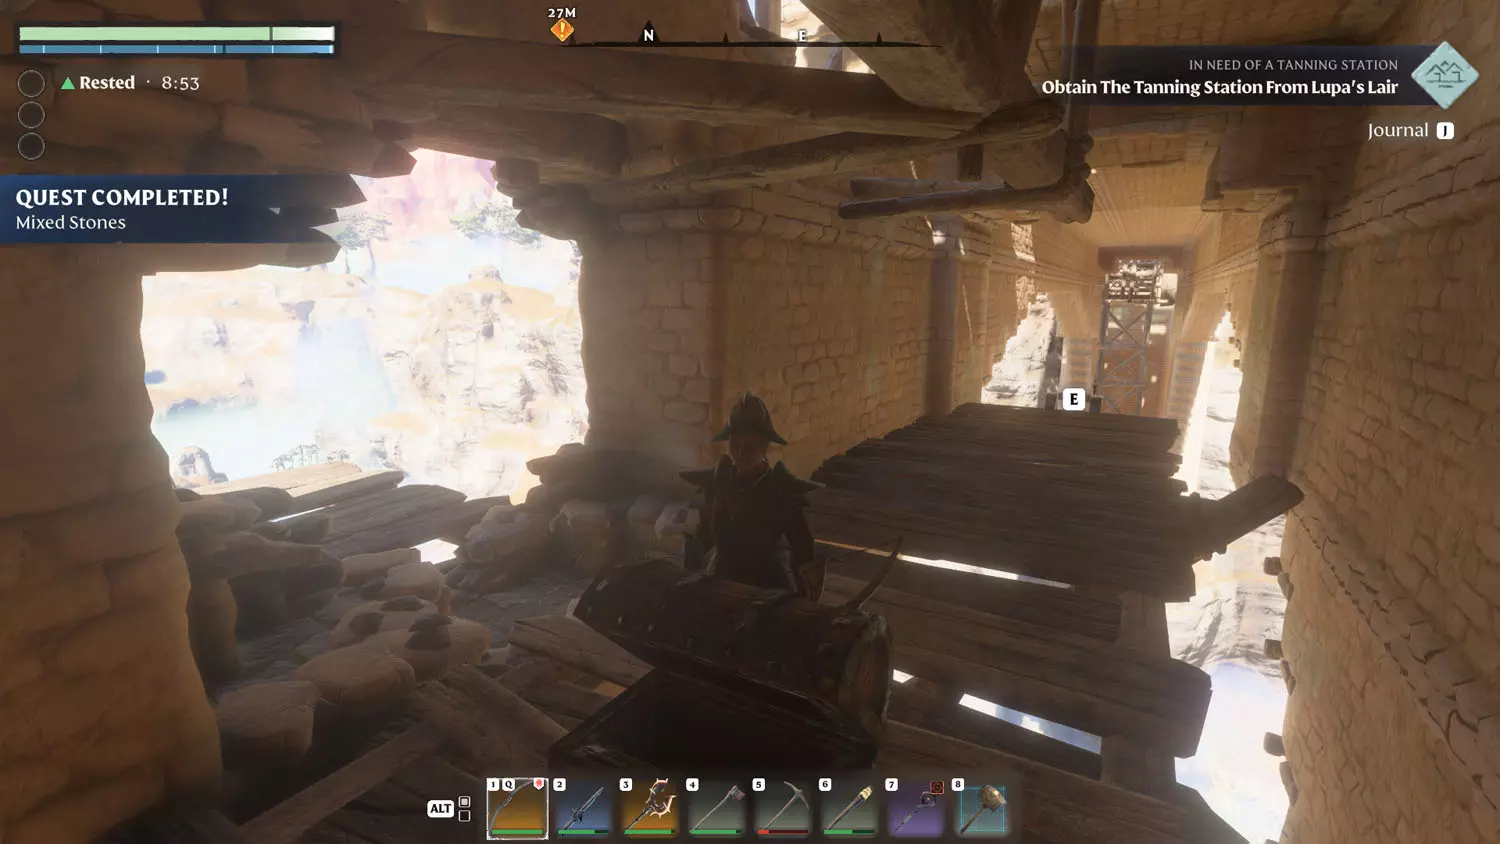
TIP: Lupa’s Lair is the location of the Hunter Quest: In Need Of A Tanning Station.
TIP: There’s more Lore in the area, so don’t miss out! Scavenger Lore: Tanning Station 1/1 Tanning Station Recipe. Nomad Highlands Lore: Captured By Lupa 1/1 They Terrorize The Roads!
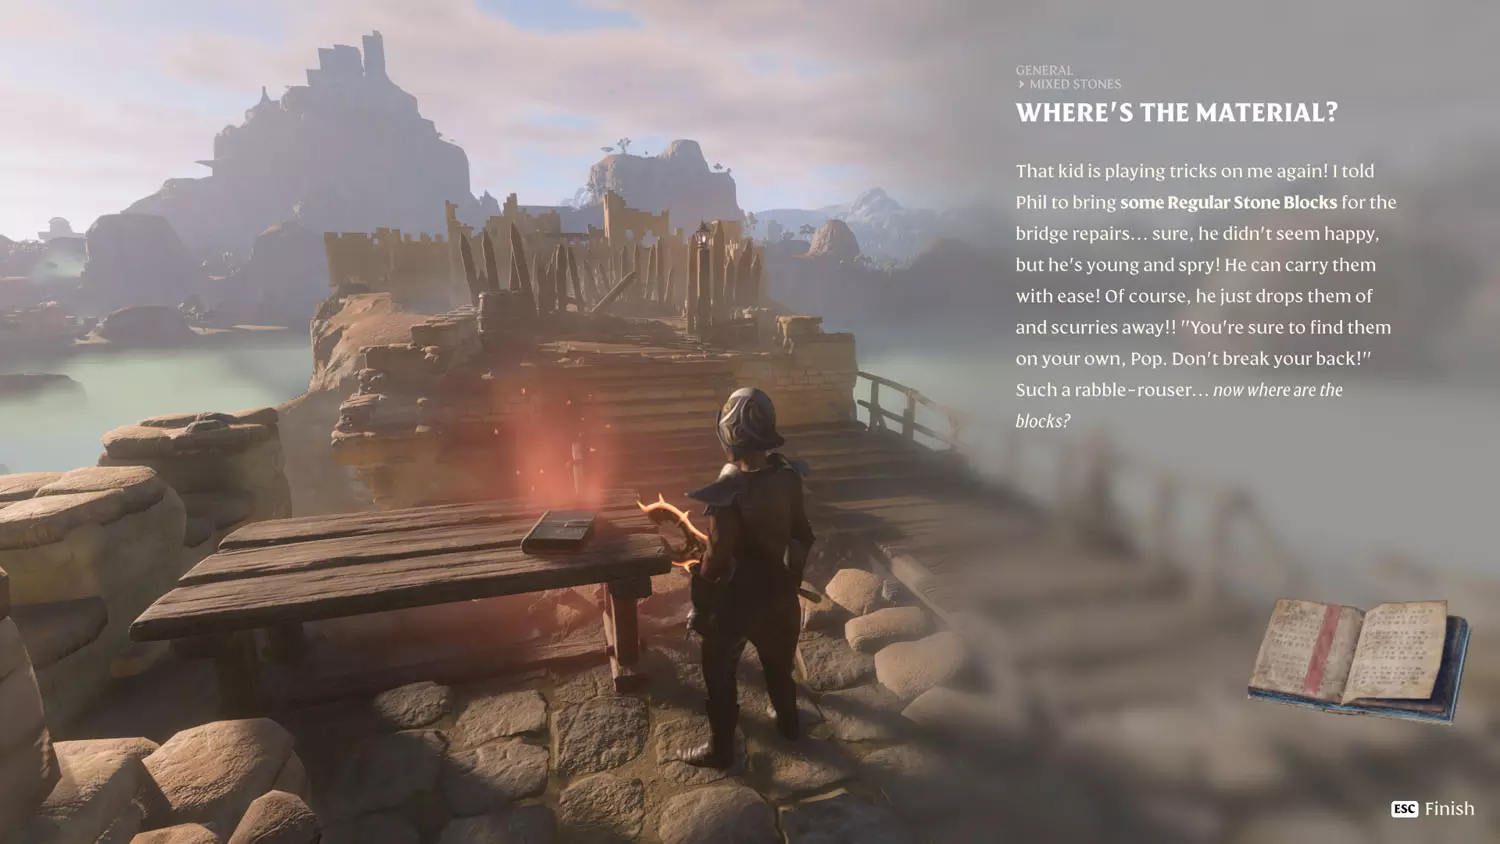
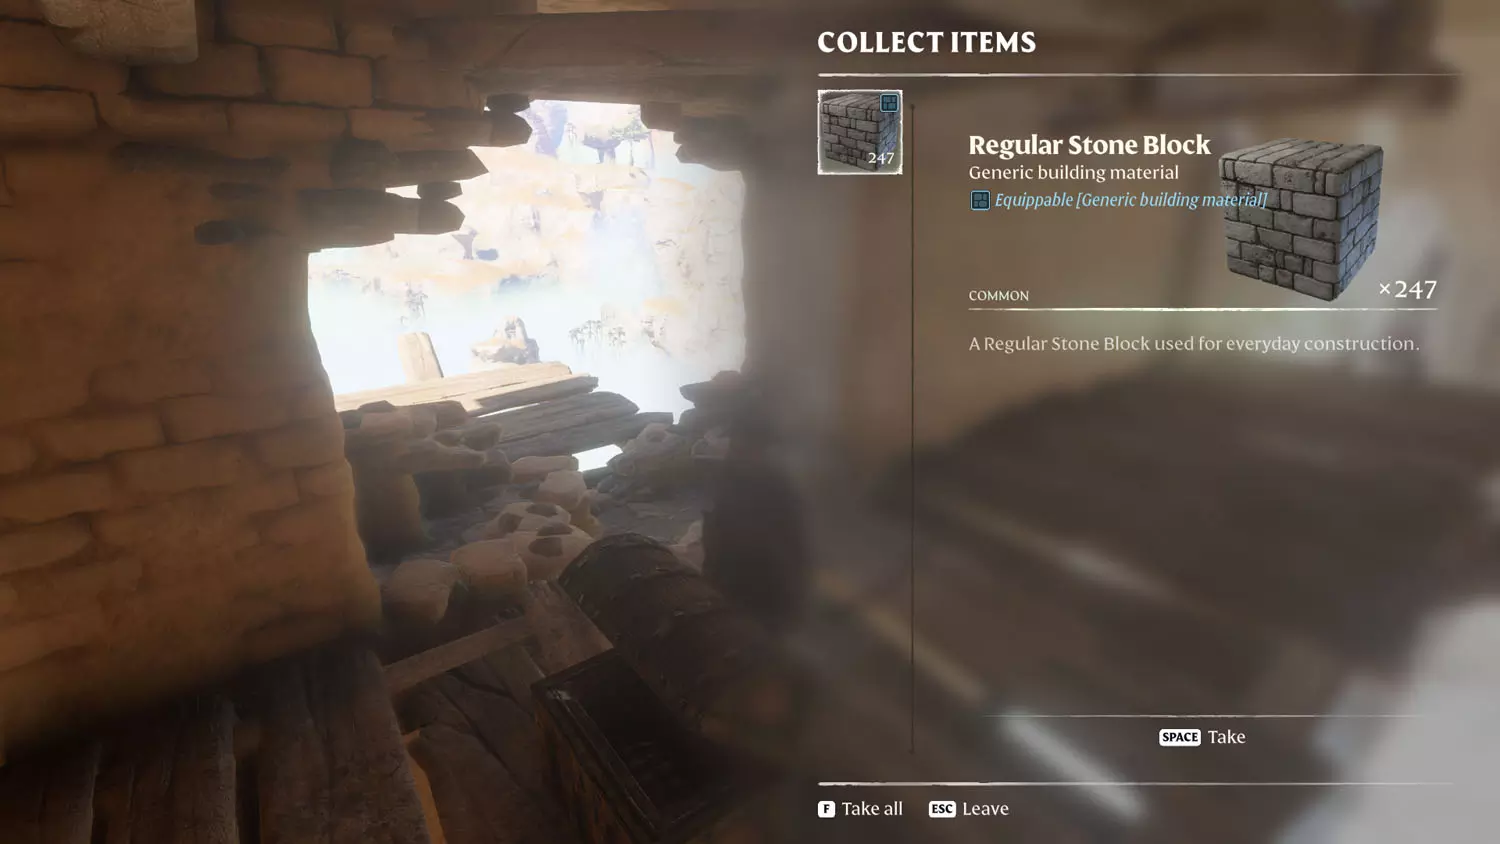
Head across the bridge toward the second gap. If you look down, before crossing, you’ll see a grapple spot. Then, at the end of a long hall, is a simple Wood Chest. Inside is the prize, the Regular Stone Block. Loot the chest to complete the quest!
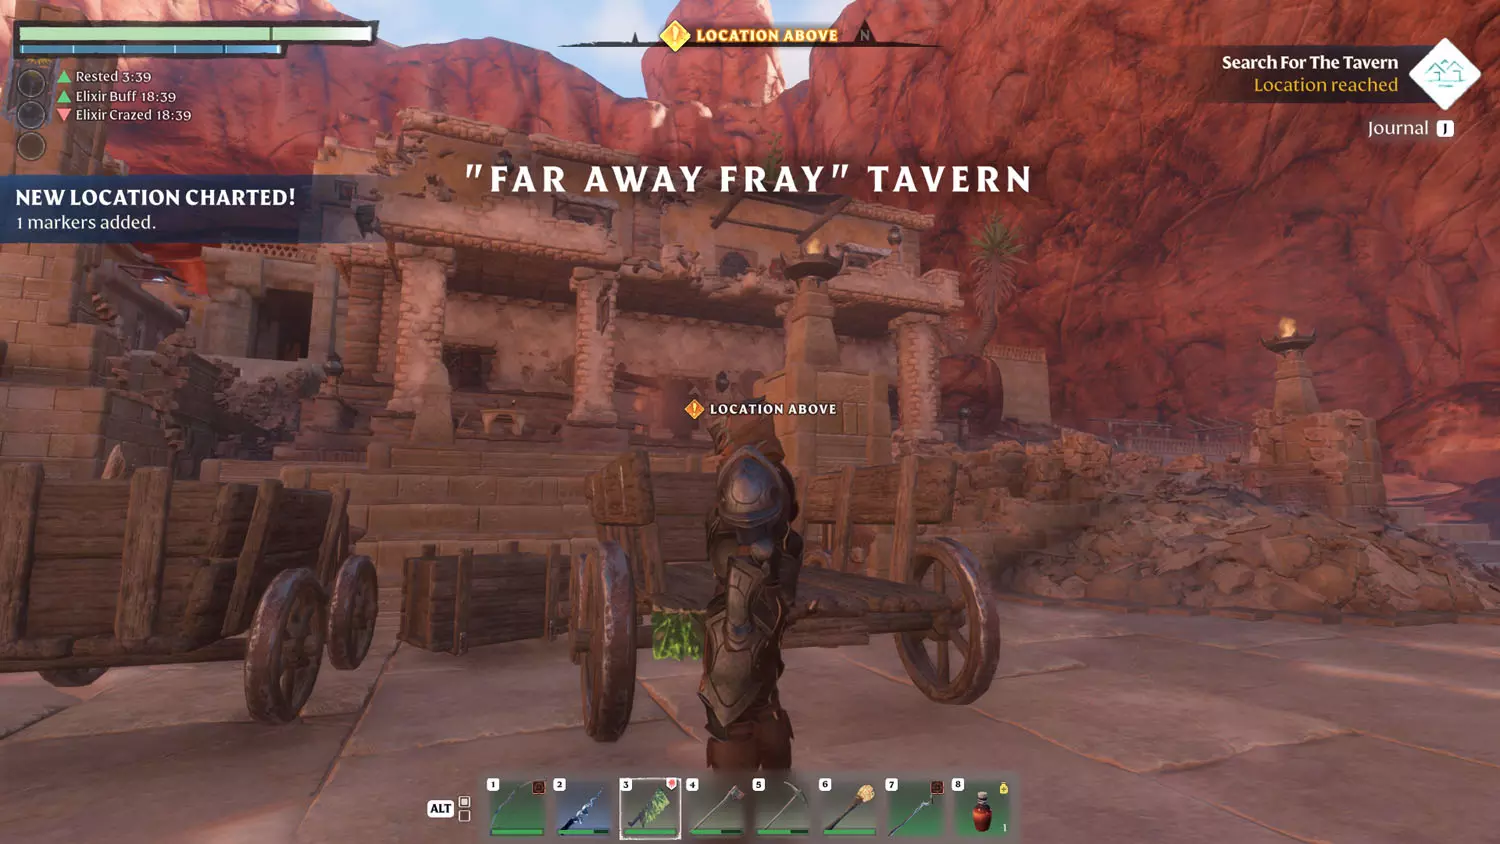
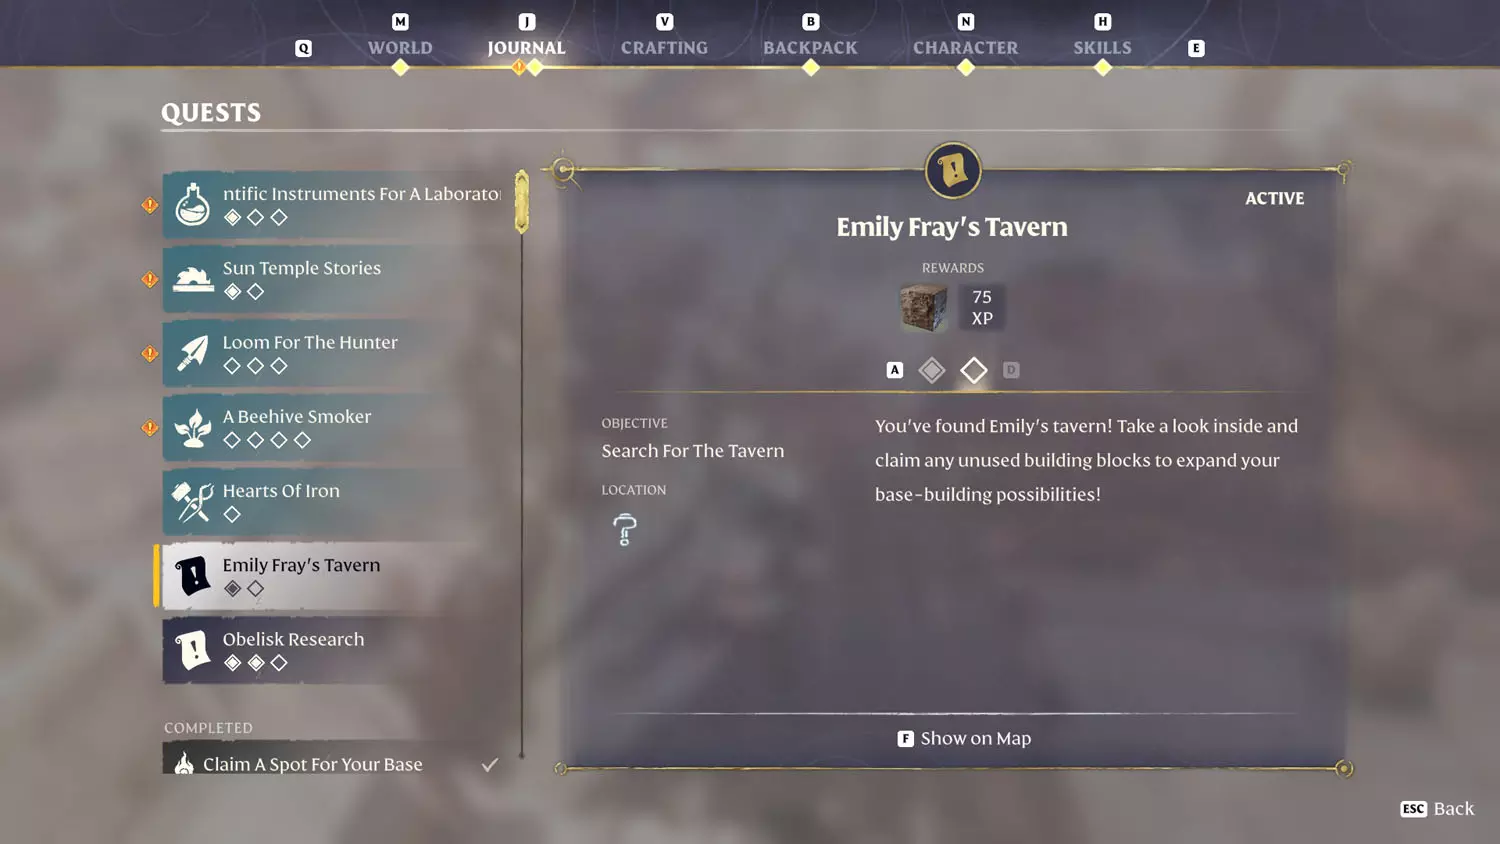
Emily Fray’s Tavern - Desert City Wall
After starting the Alchemist Quest: Scientific Instruments For A Laboratory, Emily Fray The Farmer will have the dialogue option, “Smoky And Sweet”. Selecting this dialogue will start her Beehive Smoker quest as well as this one.
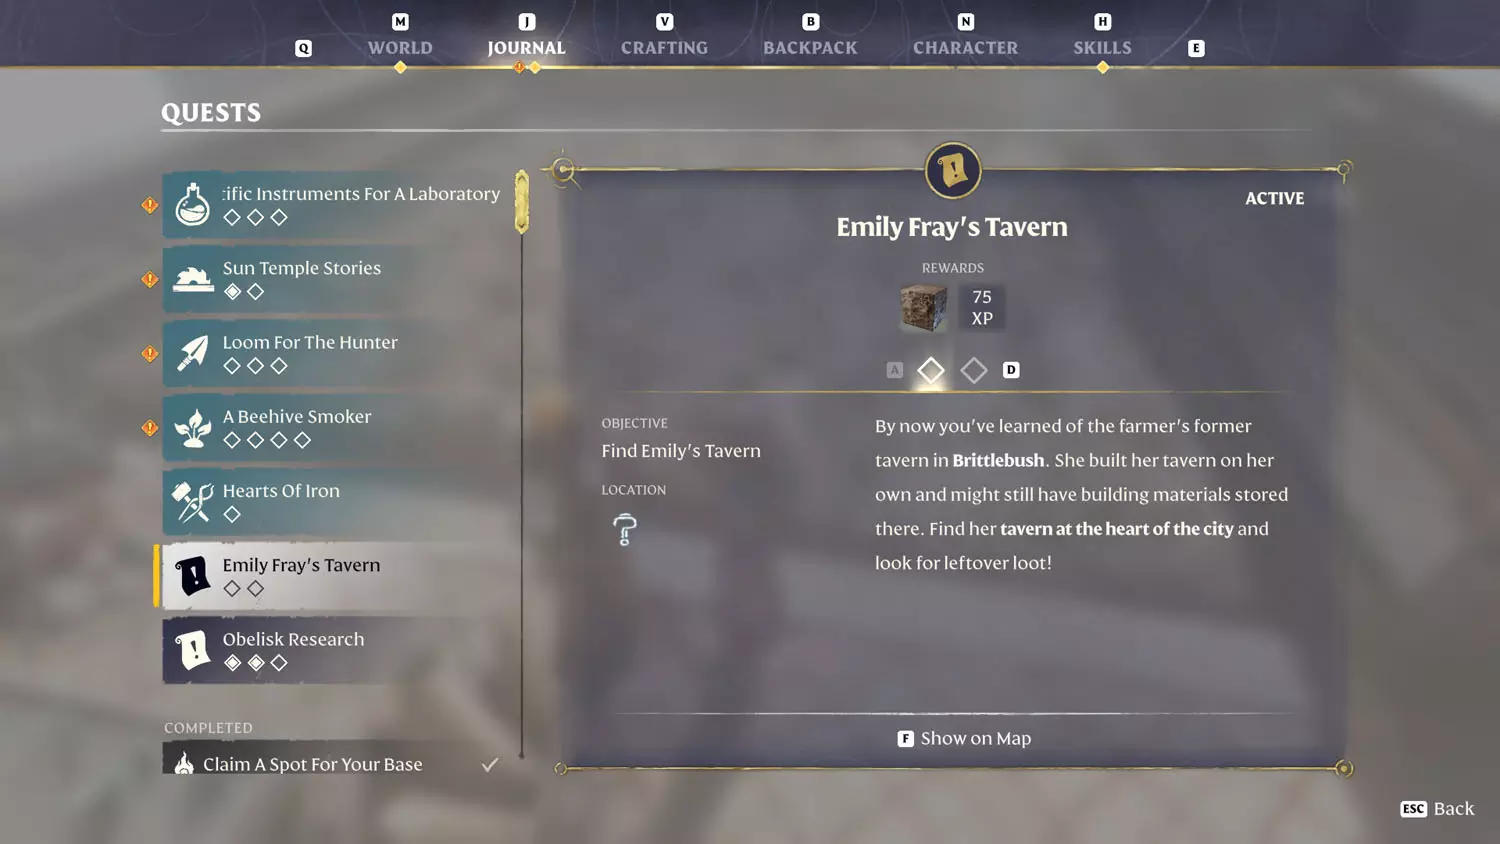
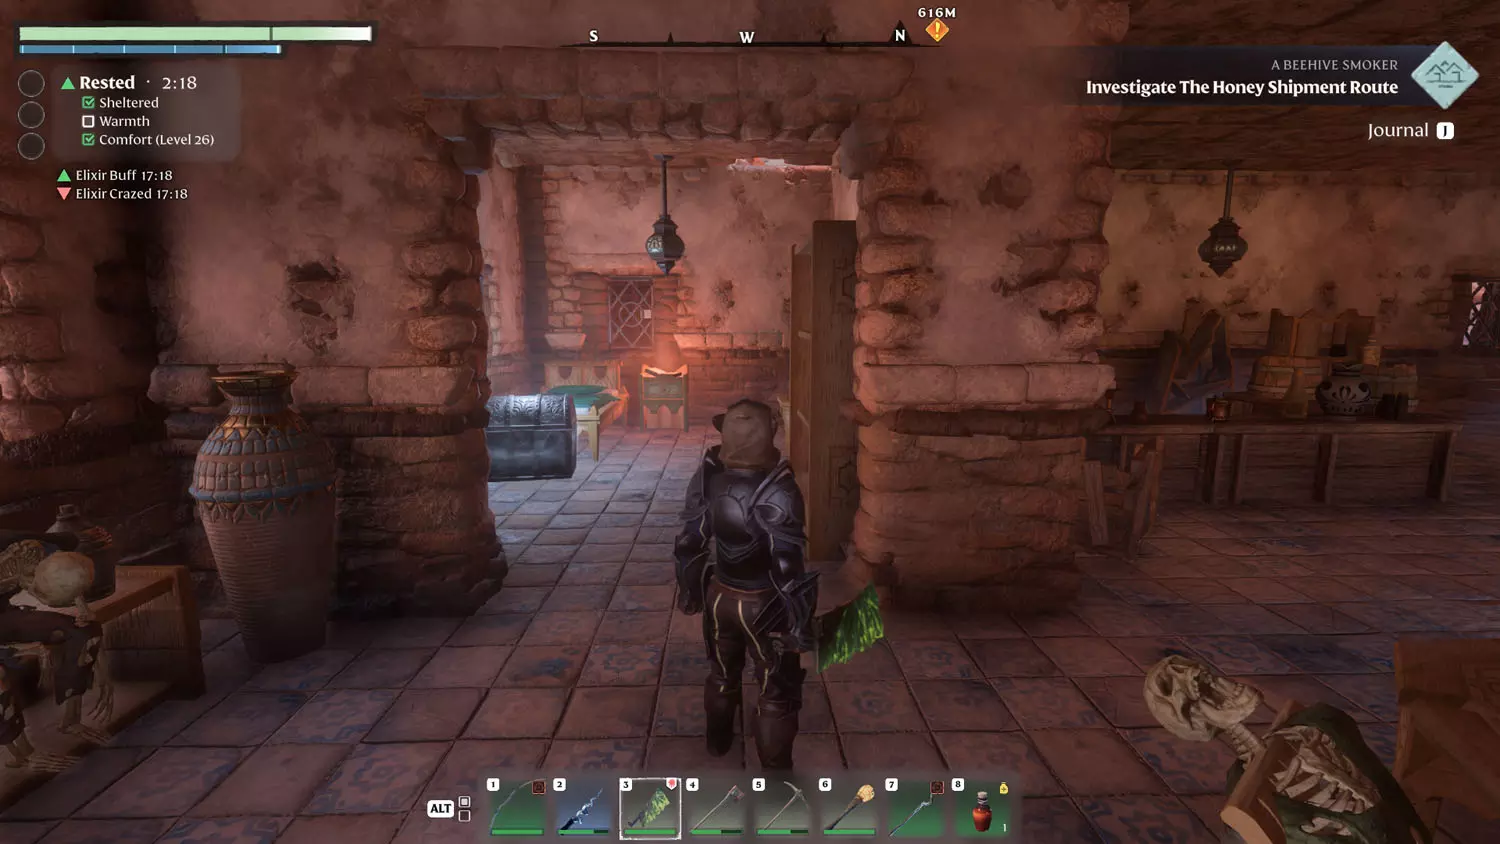
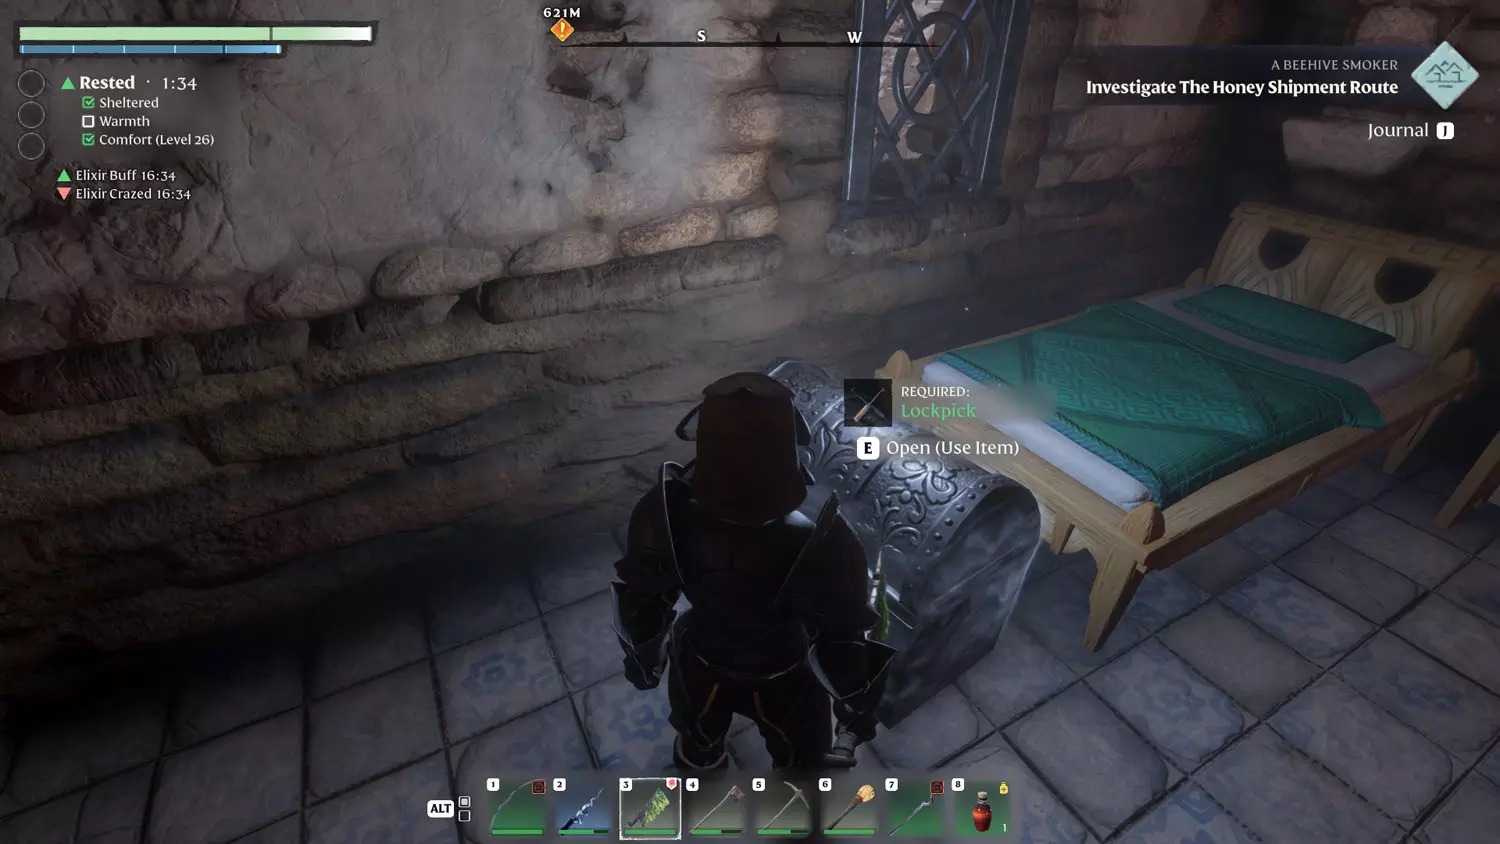
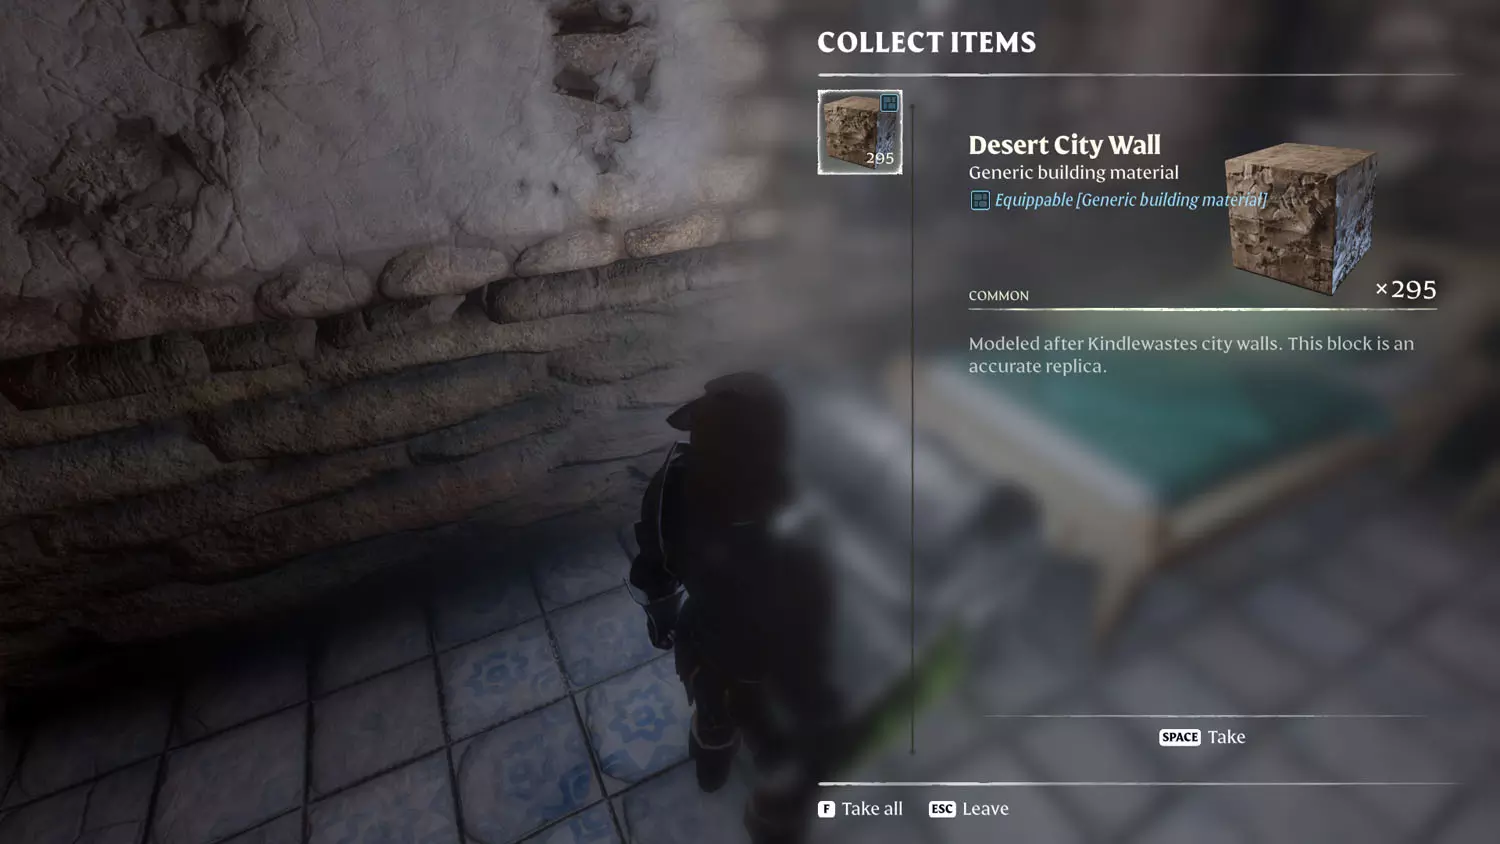
Head for Brittlebush. Specifically, you are after Emily Fray’s Tavern. When you reach the location, you will complete the first half of the quest. Next, head inside and keep left. There is a room with a Silver Chest and the General Lore: Emily Fray’s Tavern 1/3 Emily Fray’s Diary, Entry 1. Using a lockpick, open the chest. Looting it will give you the Desert City Wall building block.
TIP: Reading the General Lore: Honey Misery 1/1 No Honey! will help with the Farmer Quest: Beehive Smoker. The Lore is just outside of the tavern on a bulletin board.
TIP: There is a lot of Lore nearby, but in the city, be sure to check out The Shroud, Elixir, and Elixir Well Lore: Elin’s Warning 1/1 The Walls Are Alive! as this also relates to the Carpenter Quest: Sun Temple Stories.
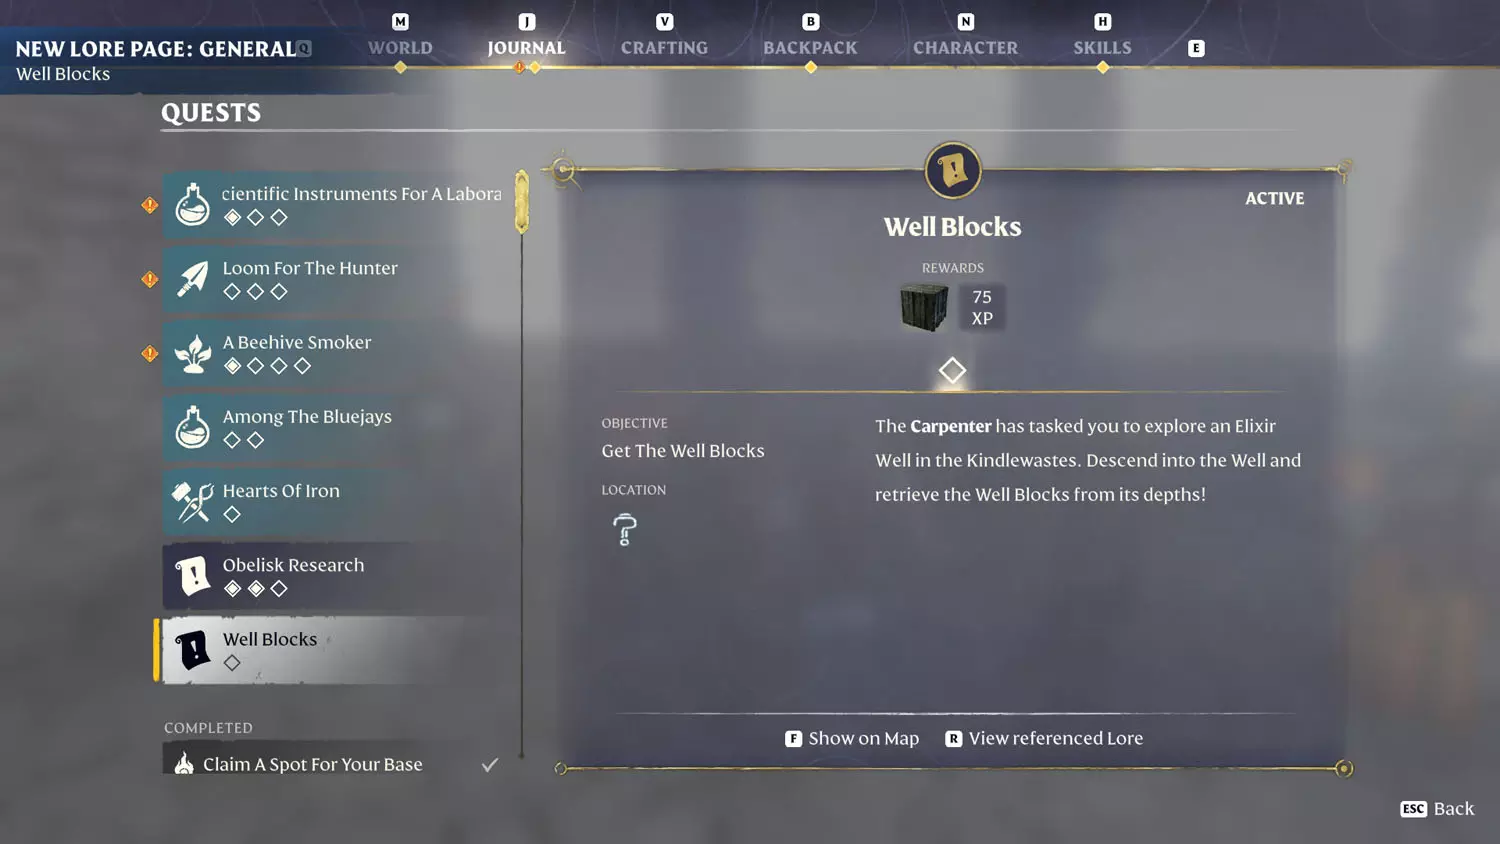
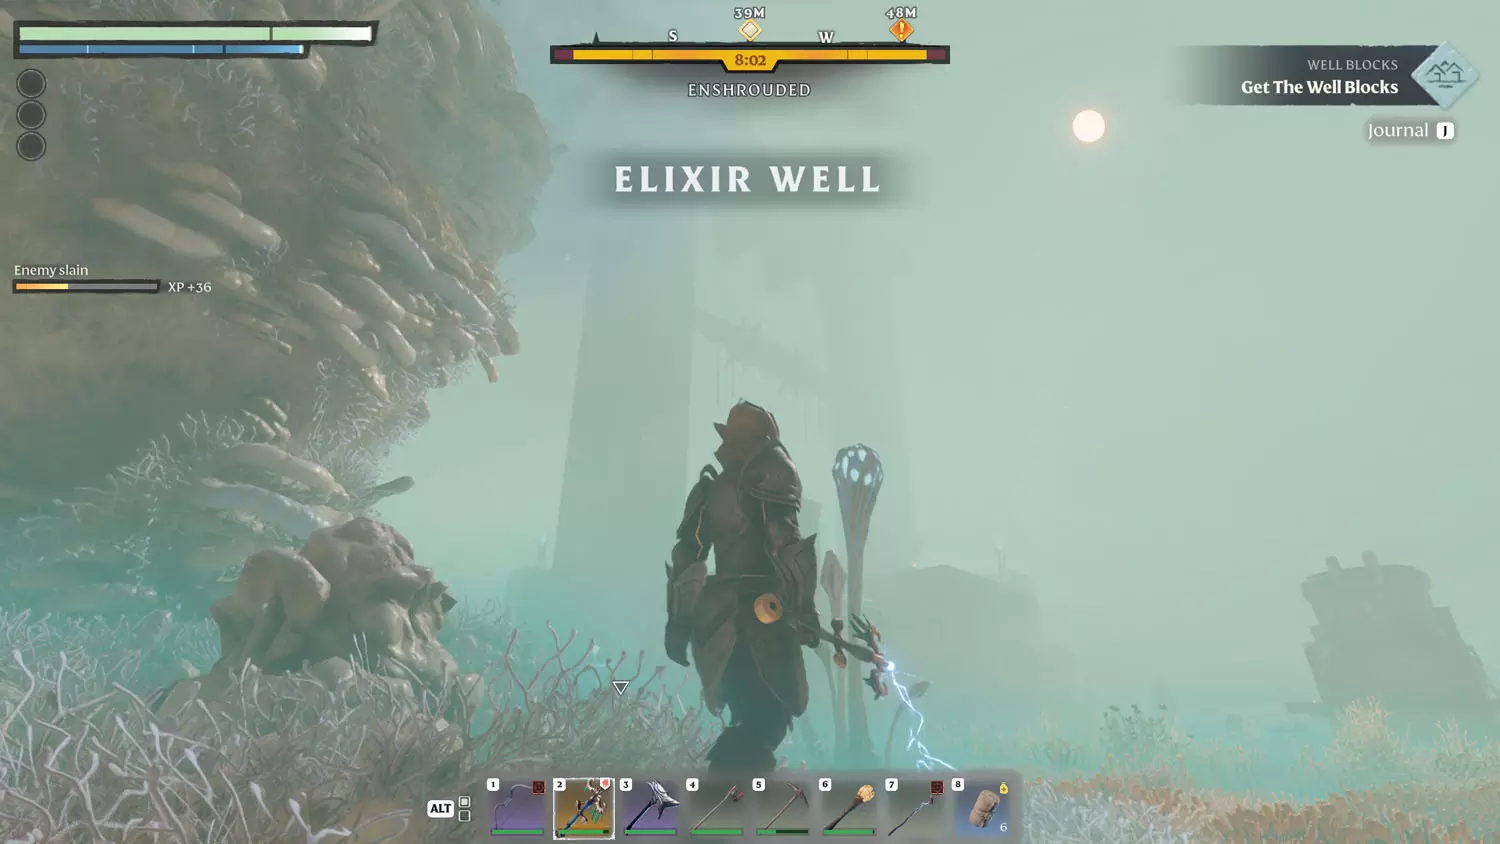
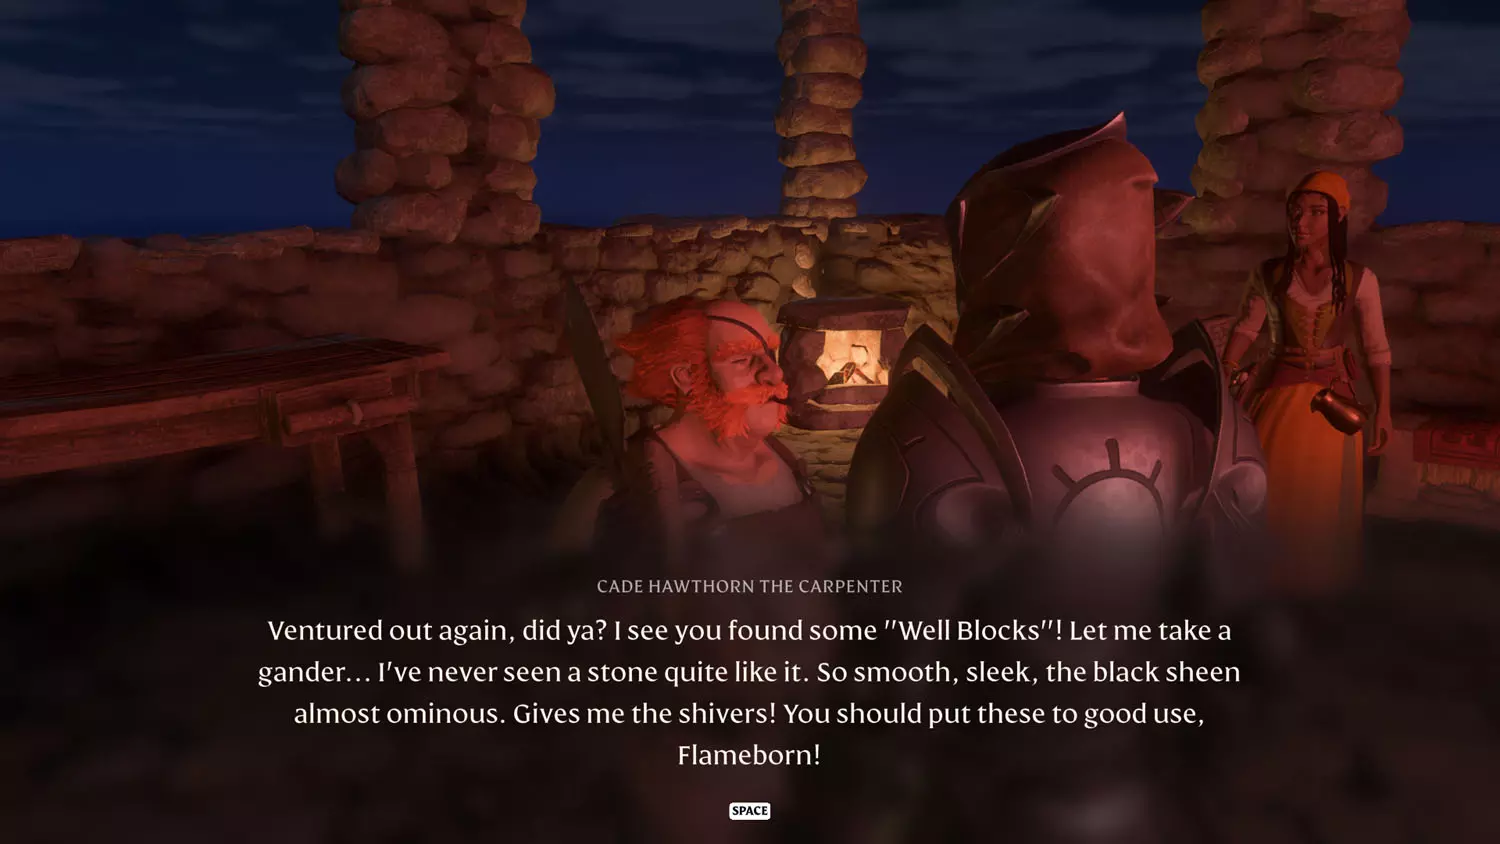
Well Blocks - Well Block
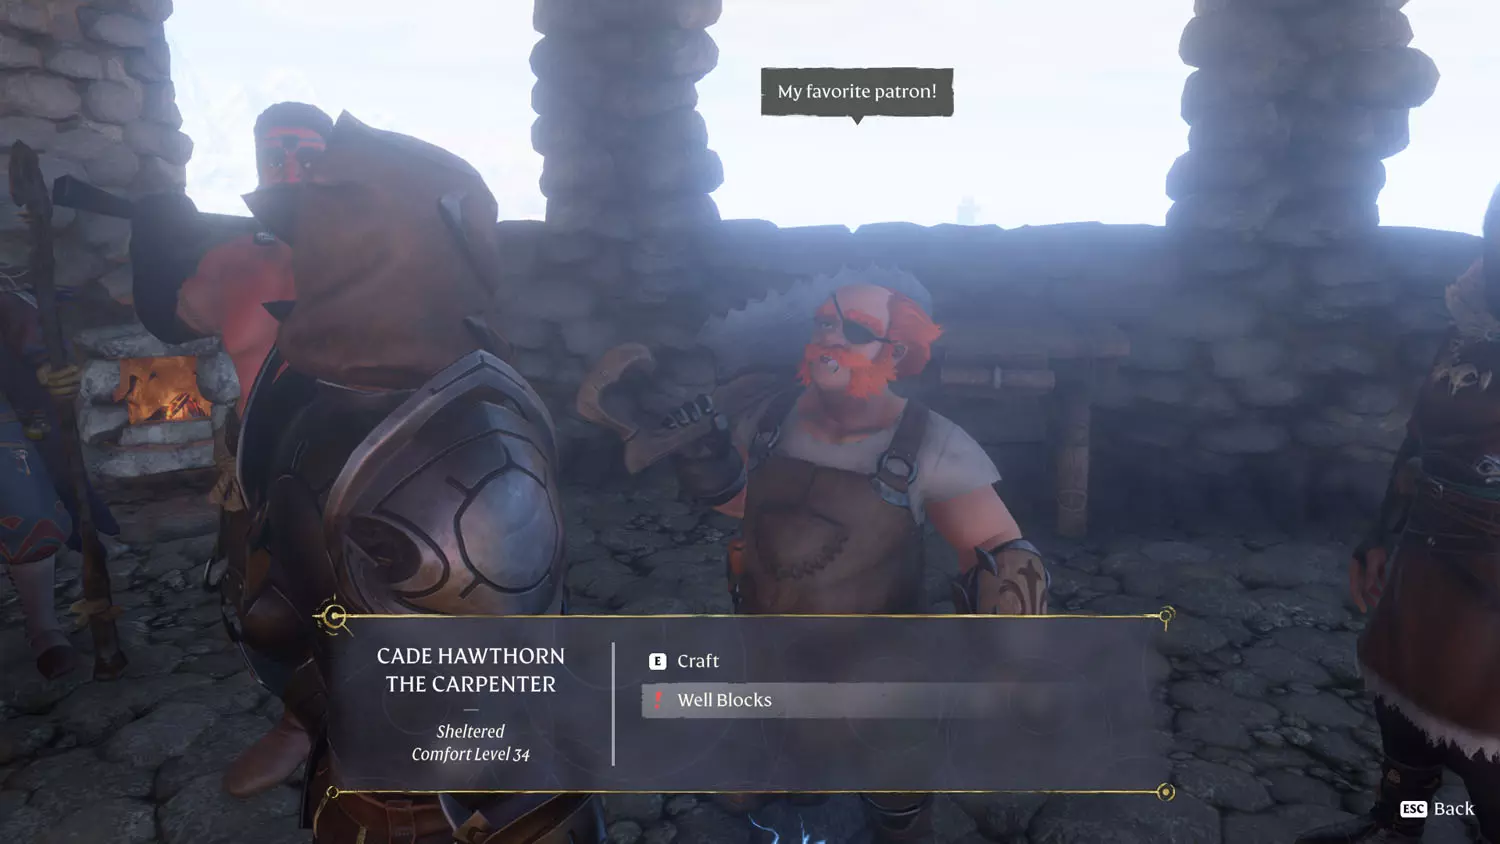
This quest becomes available at the Carpenter after you complete his Quest: Sun Temple Stories. He’ll have the “Well Blocks” dialogue available, which starts the quest.
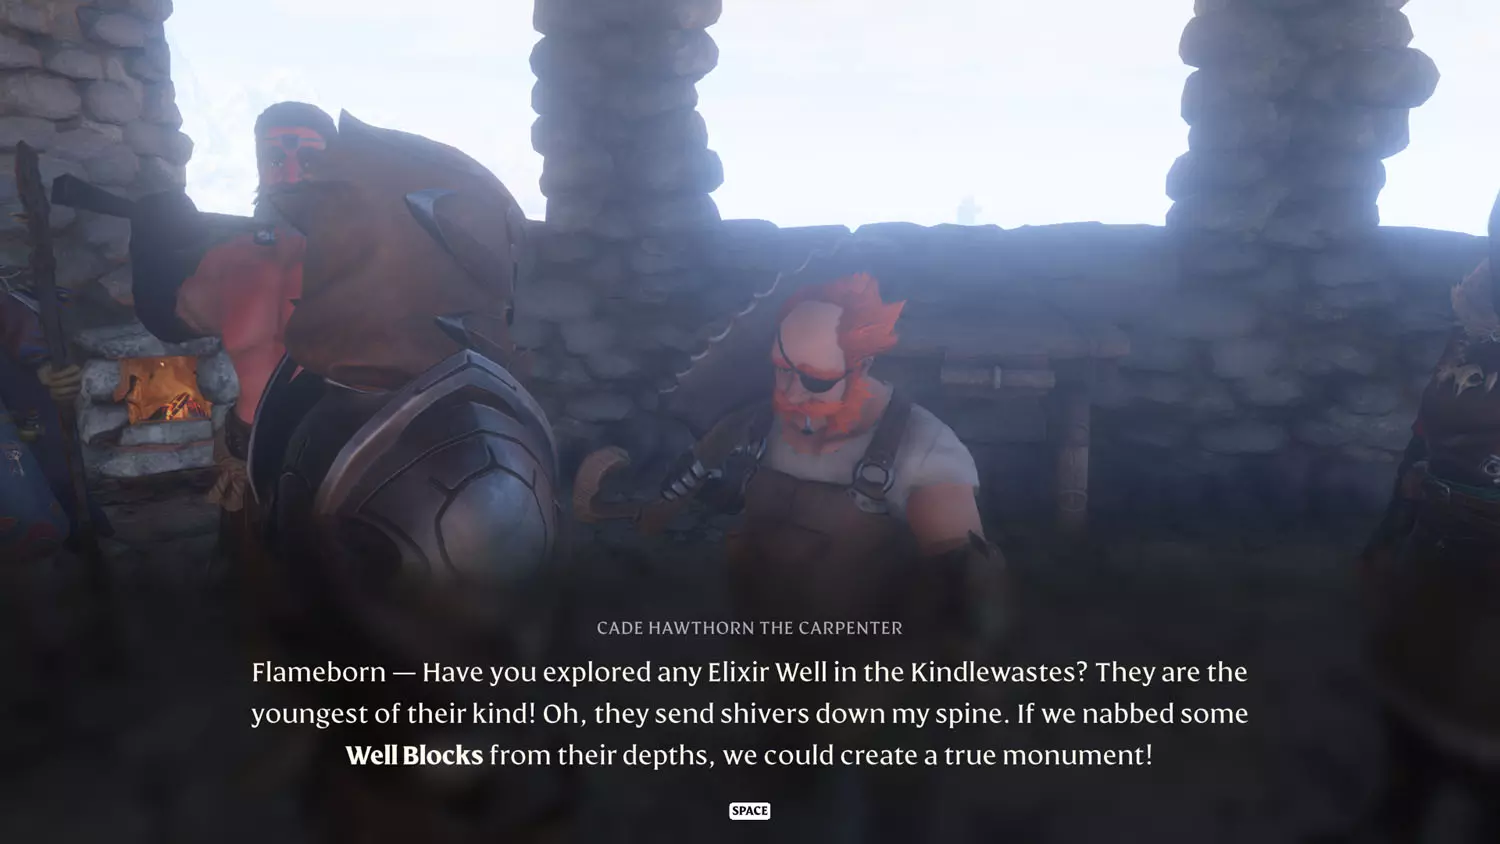
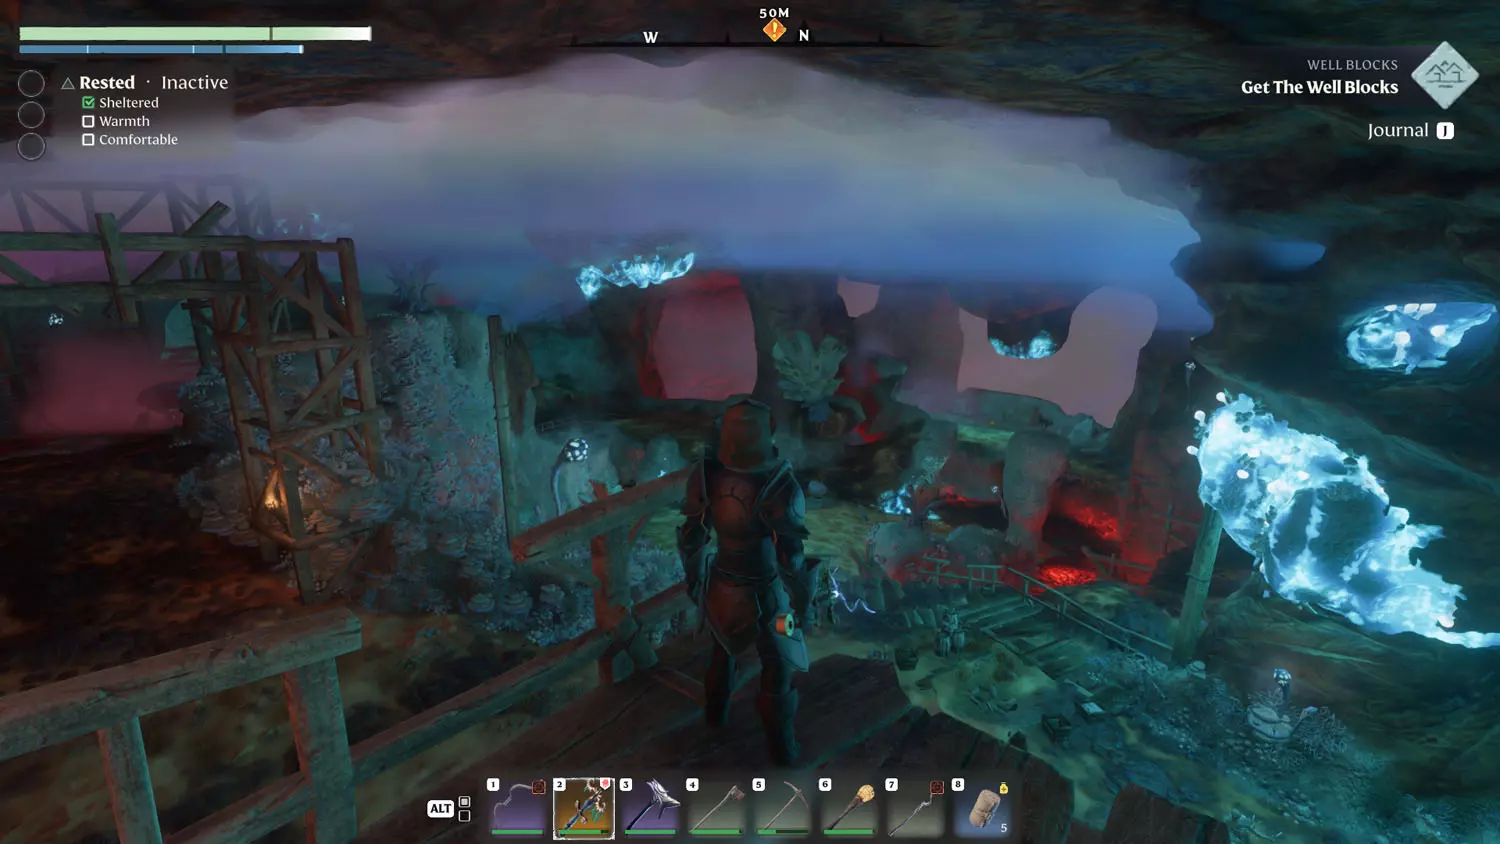
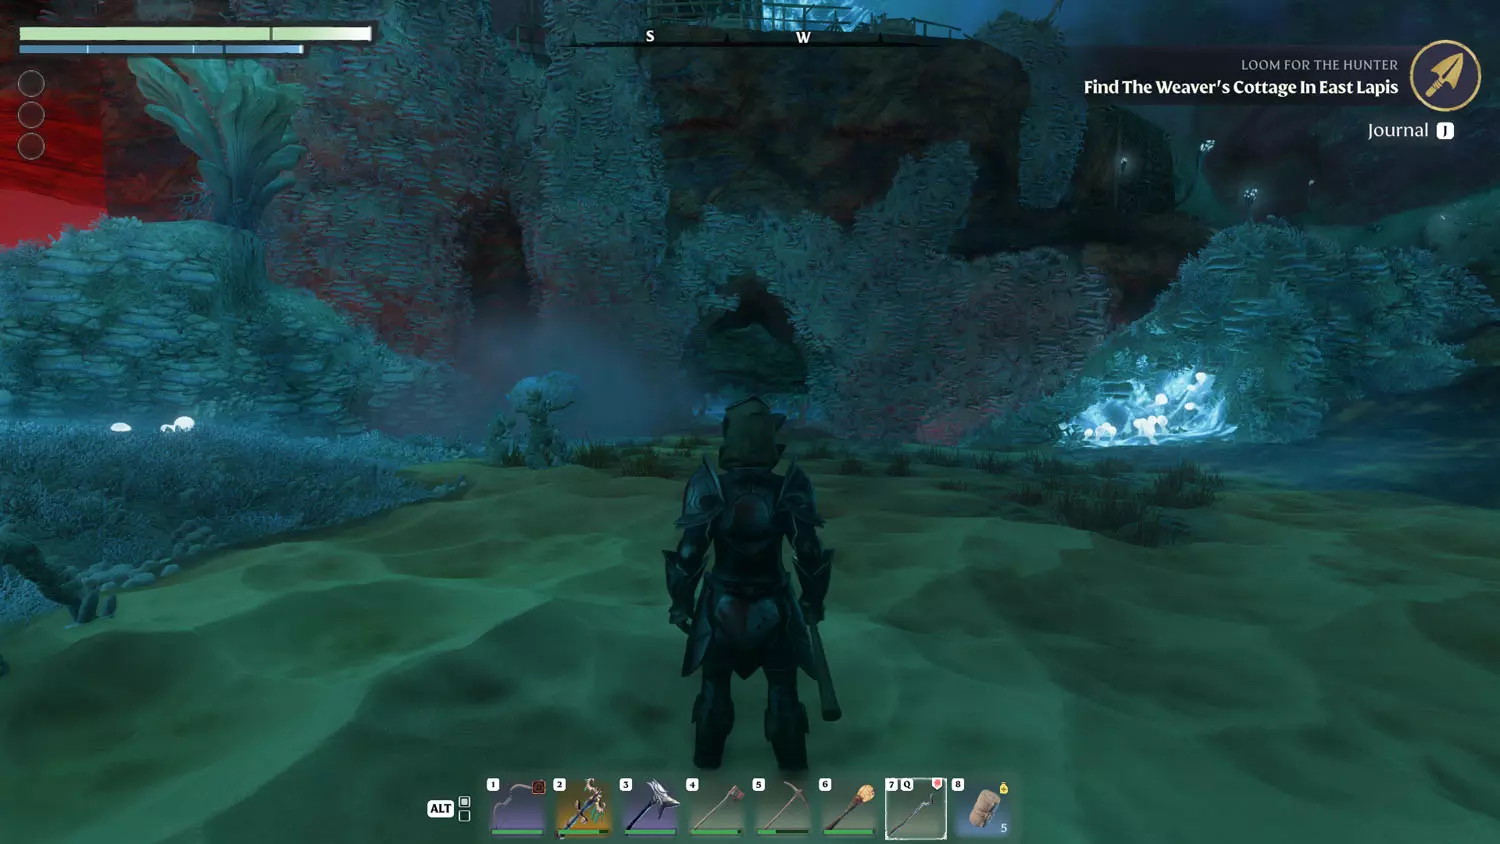
From there, you’re heading for an Elixir Well in the Kindlewastes. I suggest snagging the revival point at the top of the well before heading down. From there, I typically take out the Shroud Root - a potential suicide run. This makes it easier to clear the area as I don’t have to worry about time.
For the images below, I have taken out the Shroud Root so you can see the area. While you don’t have to defeat the boss - Fell Monstrosity, it does make it easier to reach the Silver Chest with the Well Block, which is in its domain.
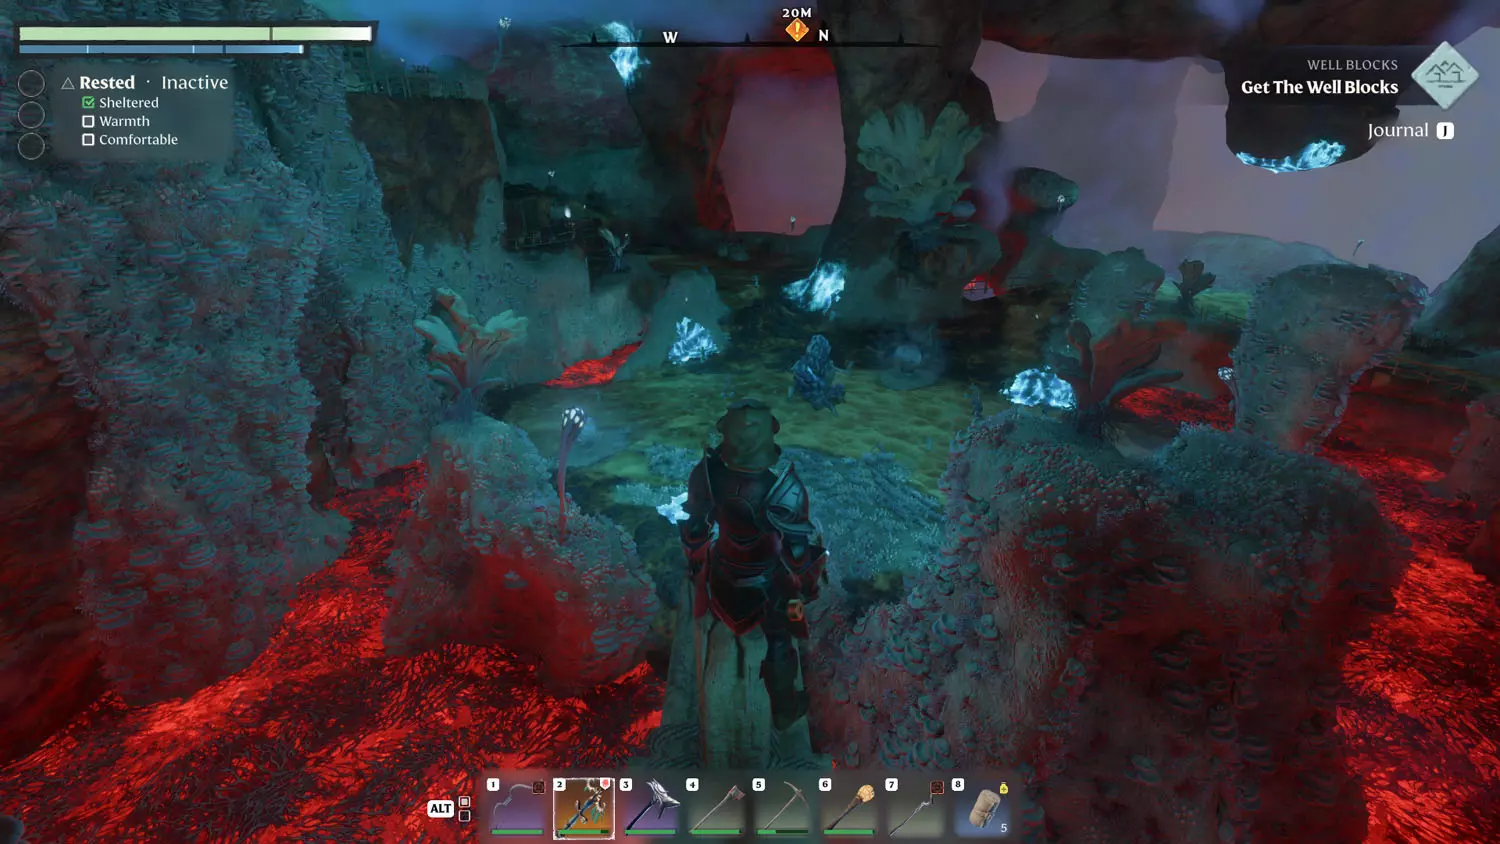
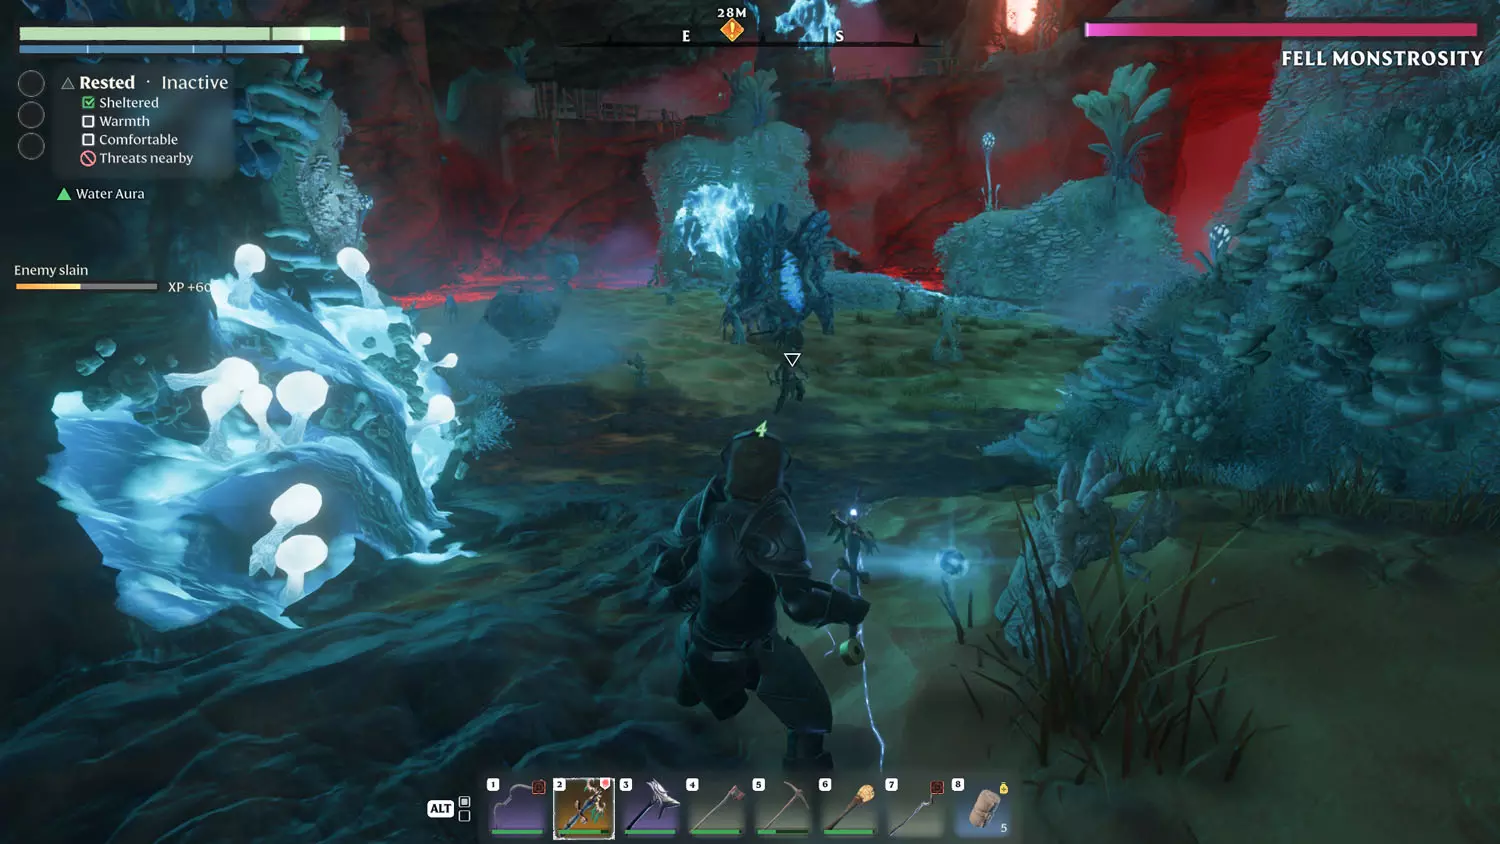
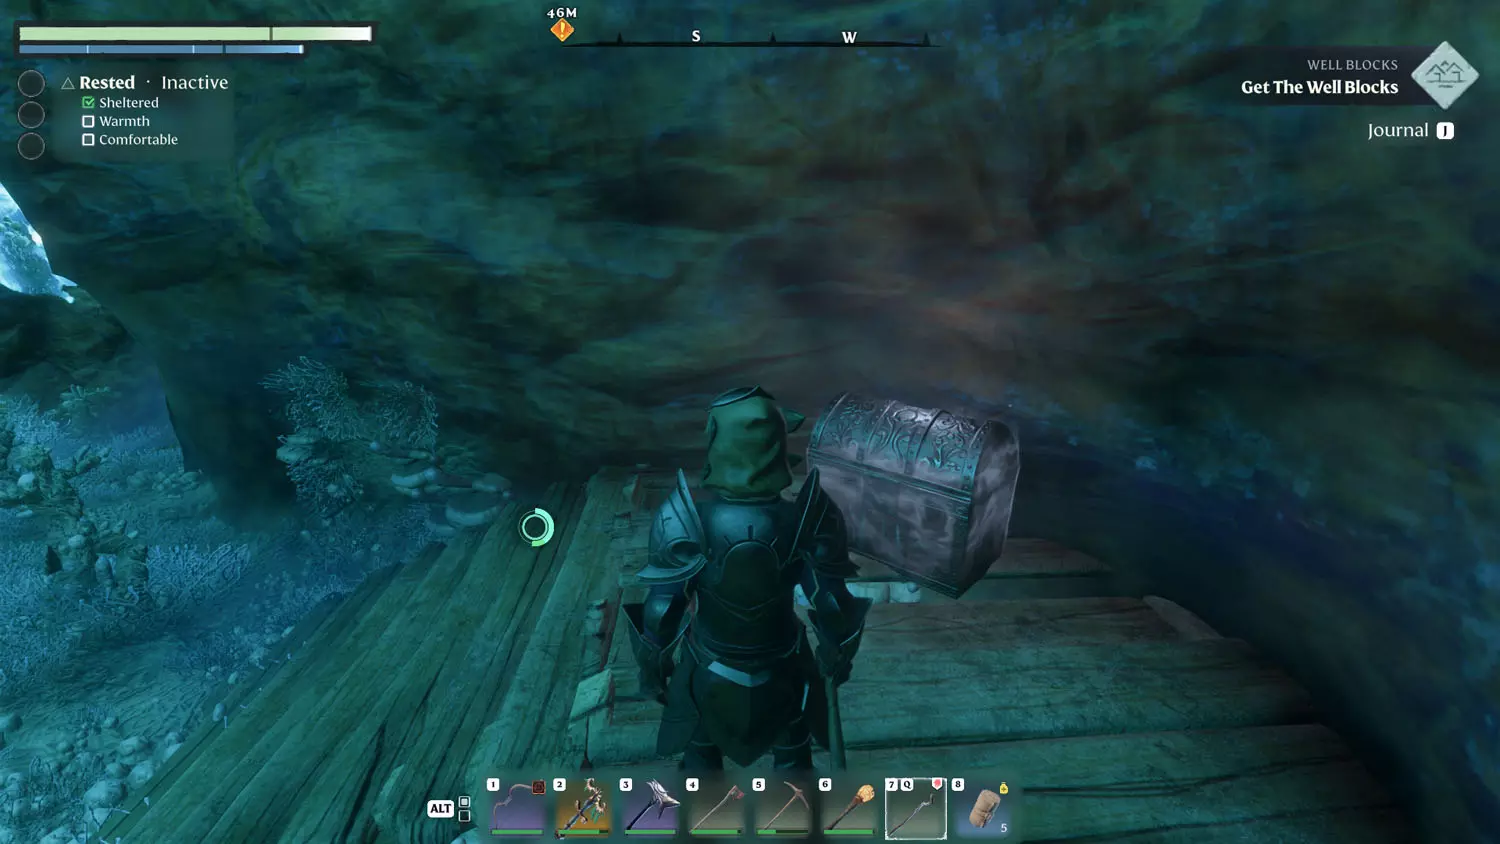
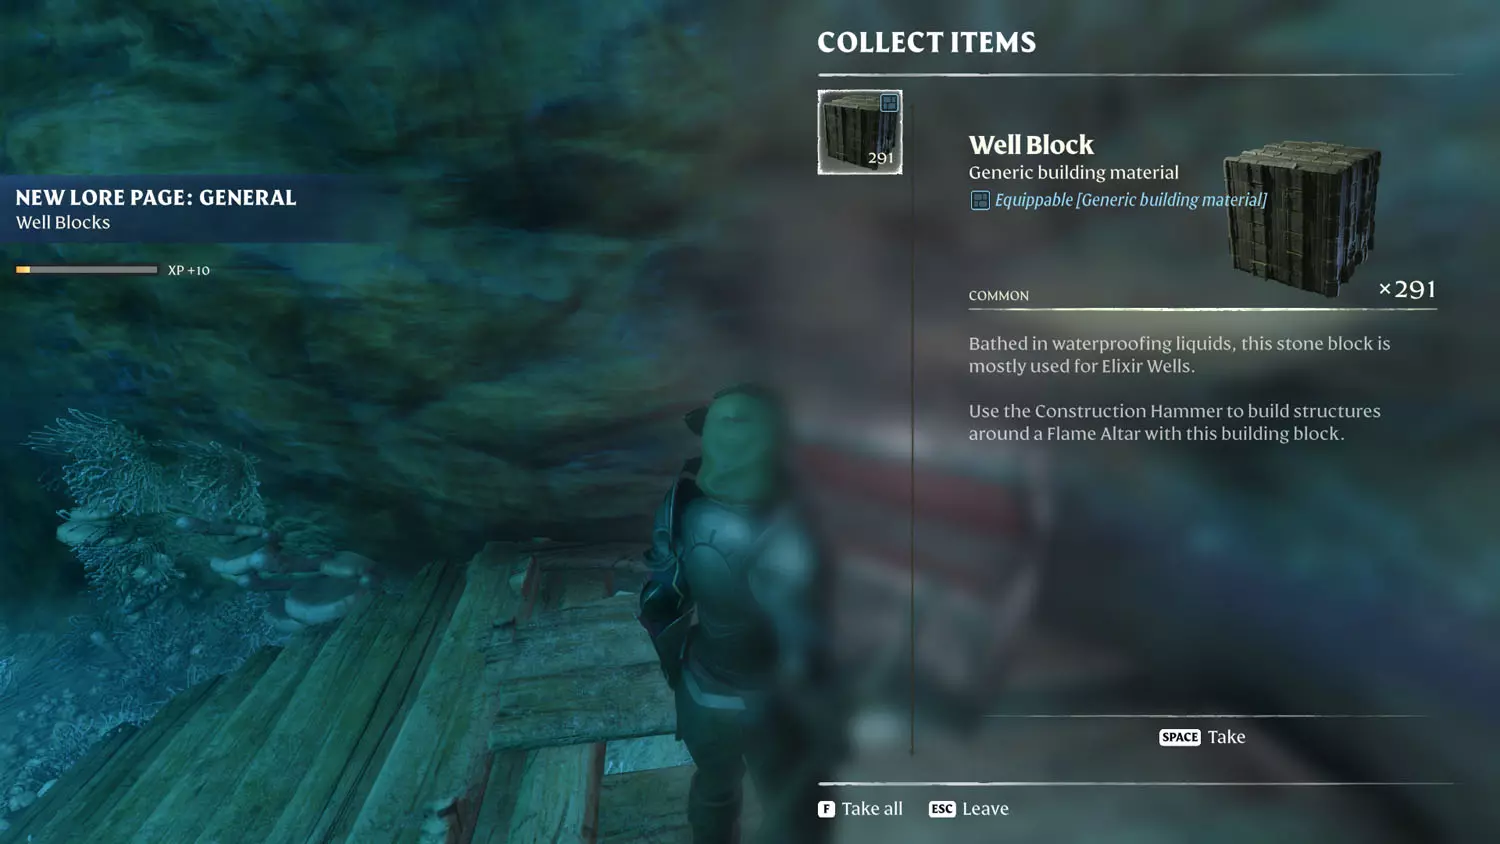
There is a spot in the area where you fight the Fell Monstrosity that has an opening and a Silver Chest. Don’t be fooled by the quest marker which keeps telling you to go up to find the loot, it’s lying to you! Once inside, you’ll find the desired Well Block. Looting the chest completes the quest!
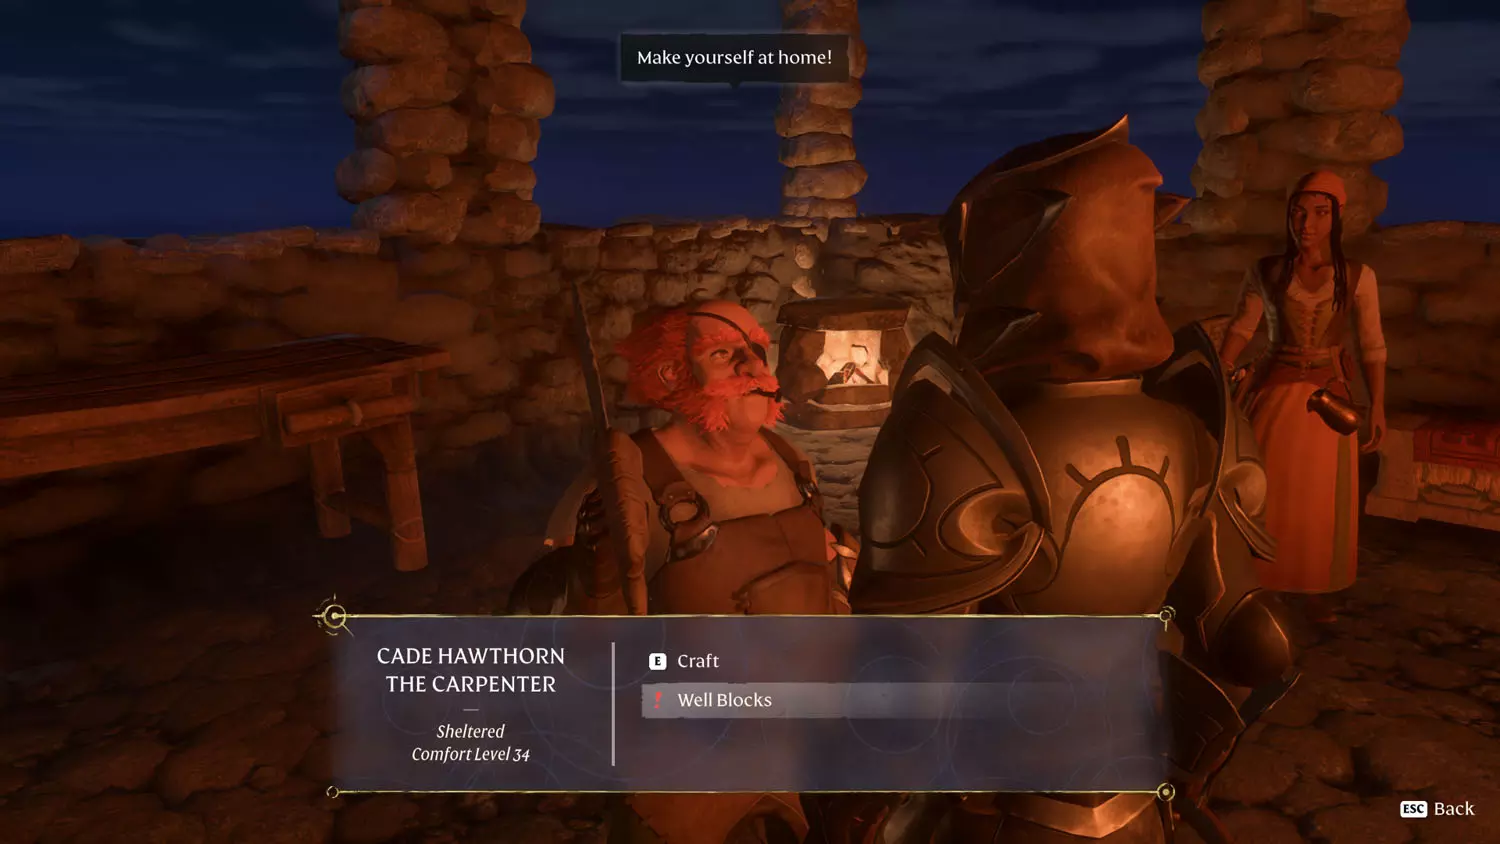
After you have done this, there is a bonus option of talking to the Carpenter. He’ll have the dialogue option “Well Blocks” available.
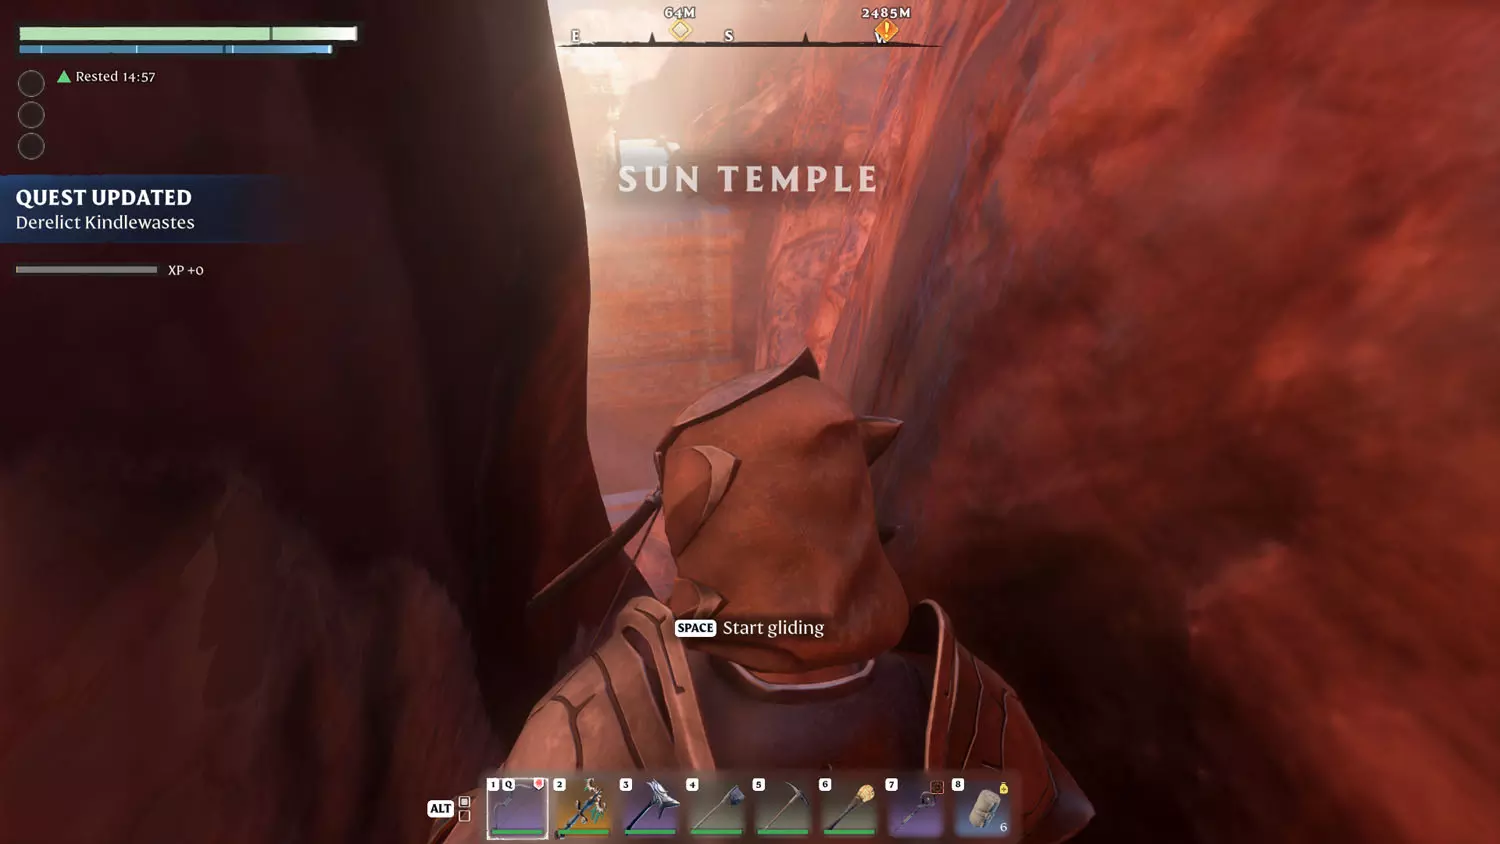
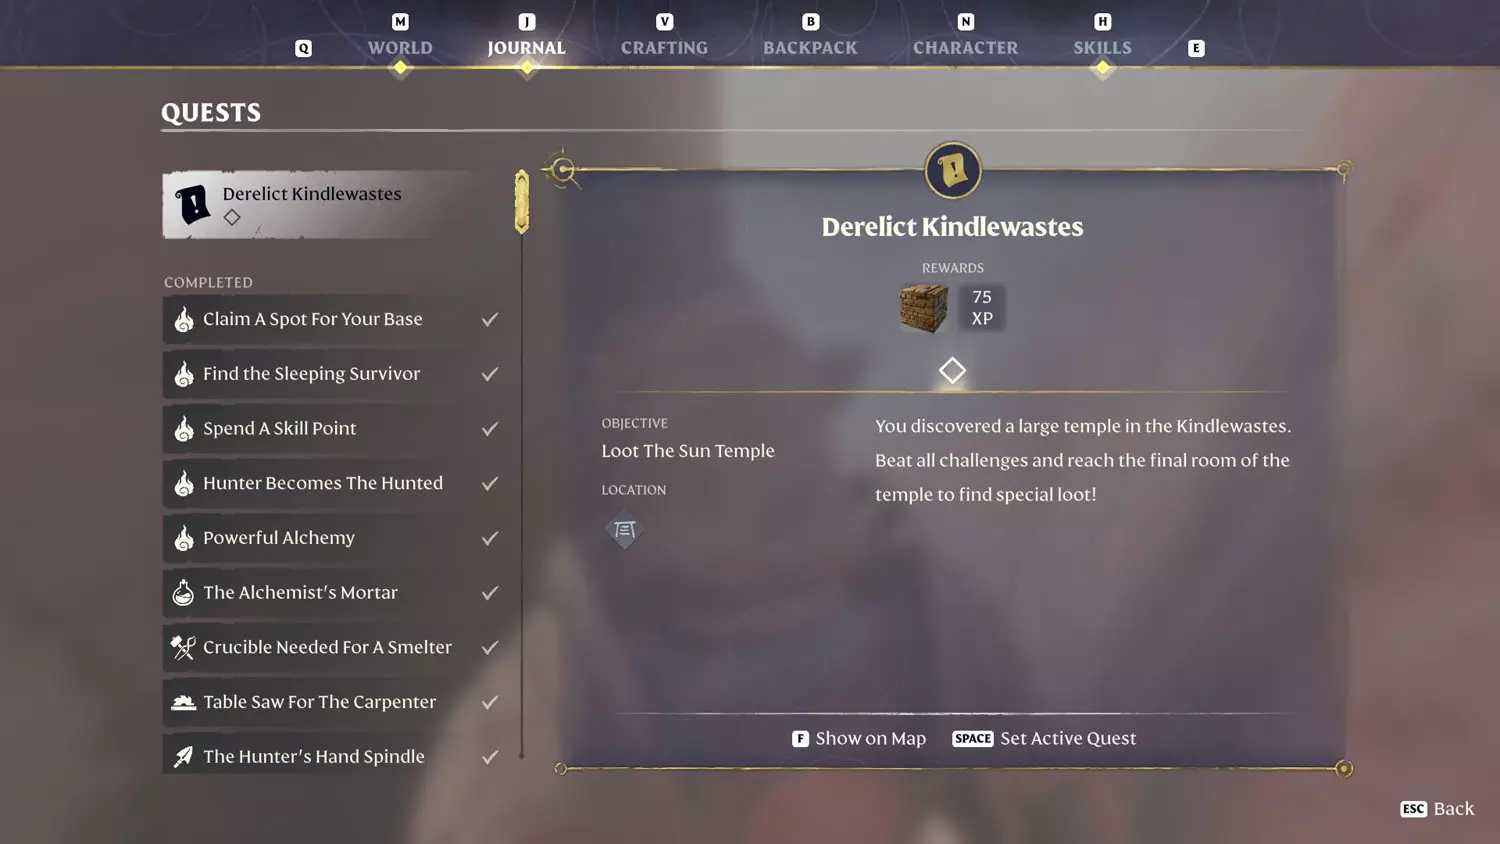
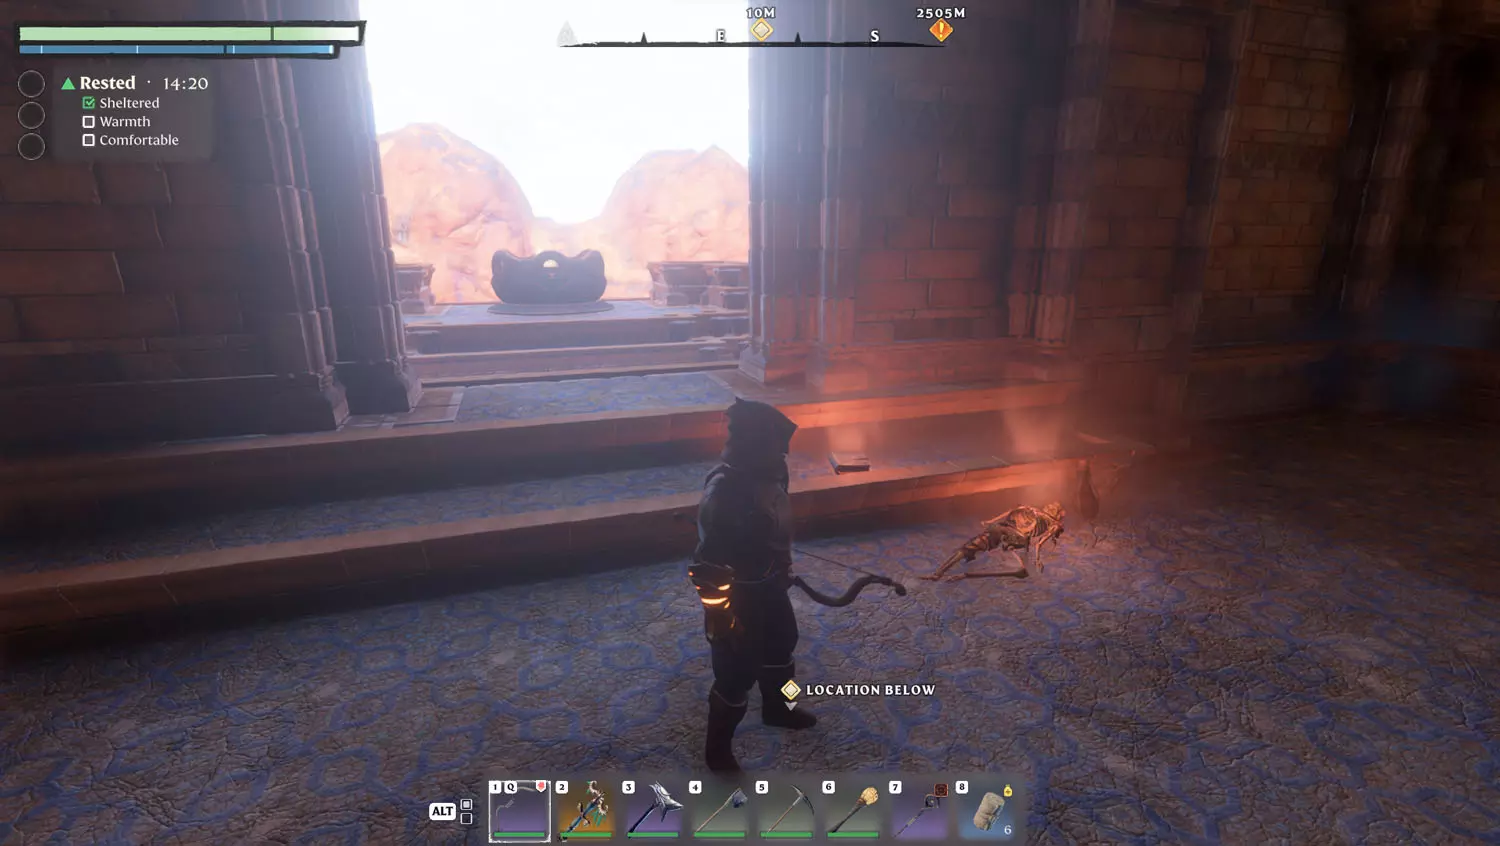
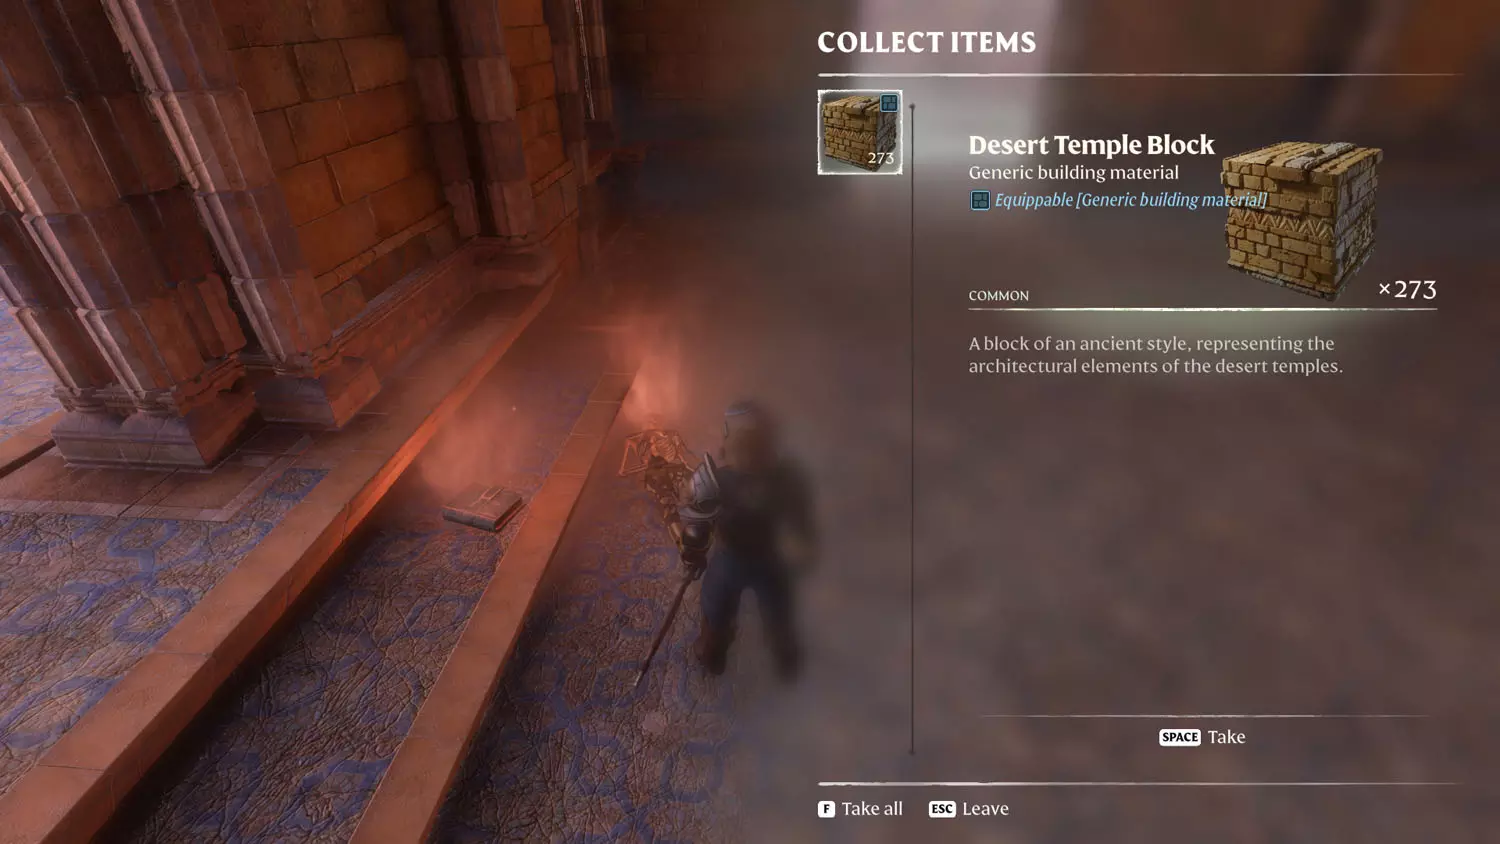
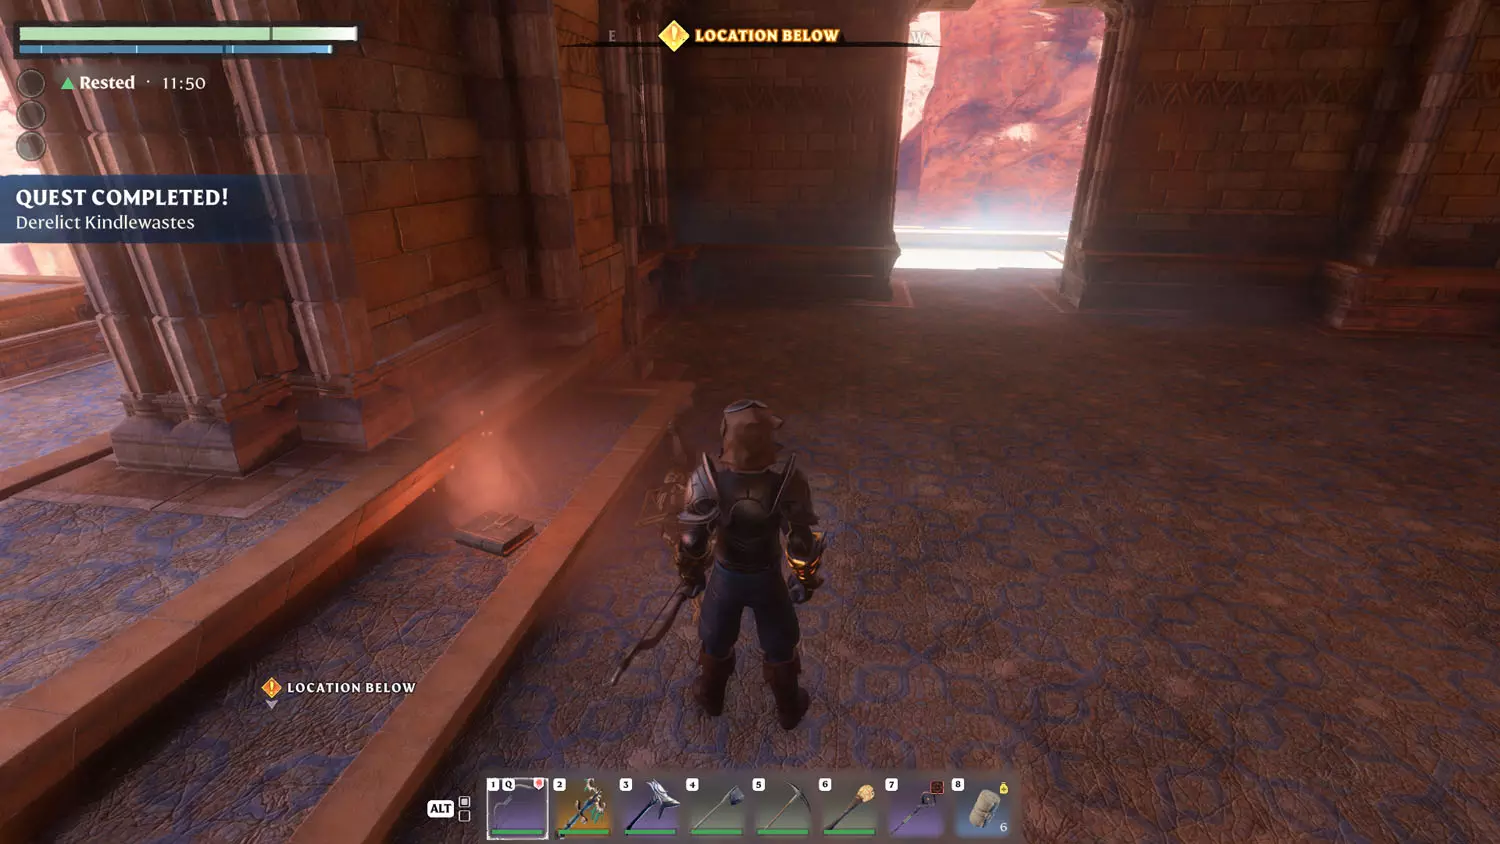
Derelict Kindlewastes - Desert Temple Block
To reach the Sun Temple where the Desert Temple Block resides, check out my Kindlewastes Lore: Derelict Kindlewastes 1/1 Deserted. Reaching the location will start the quest. From there, head into the main temple’s roof (you can skip everything else, aka the three mini dungeon temples). From there, you should find a skeleton (with the Desert Temple Block), a book (the Lore), and a Flame with a Spark. Looting the skeleton will complete the quest!
BONUS
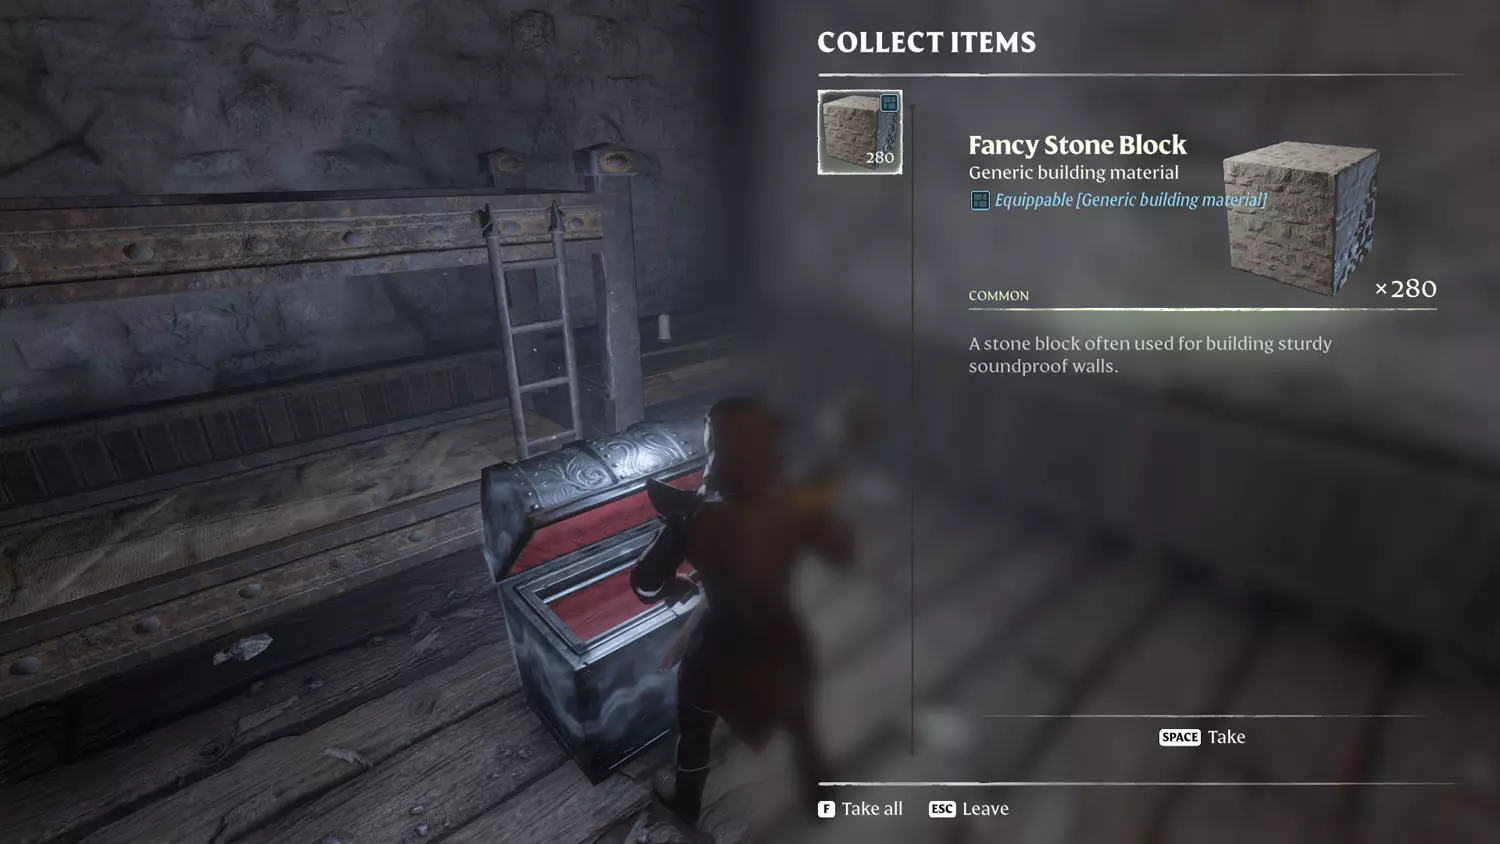
Fancy Stone Block
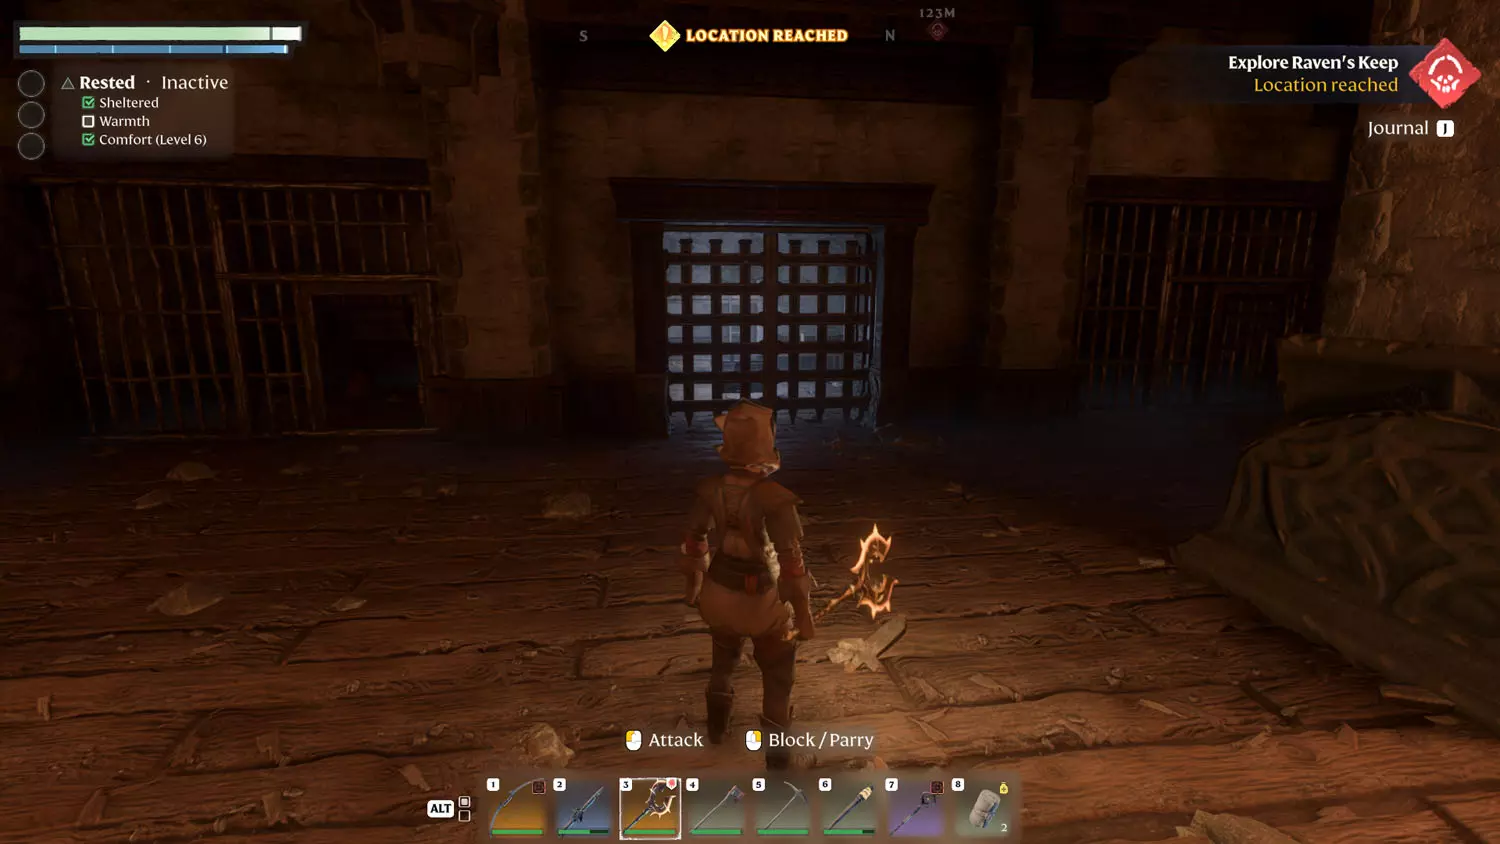
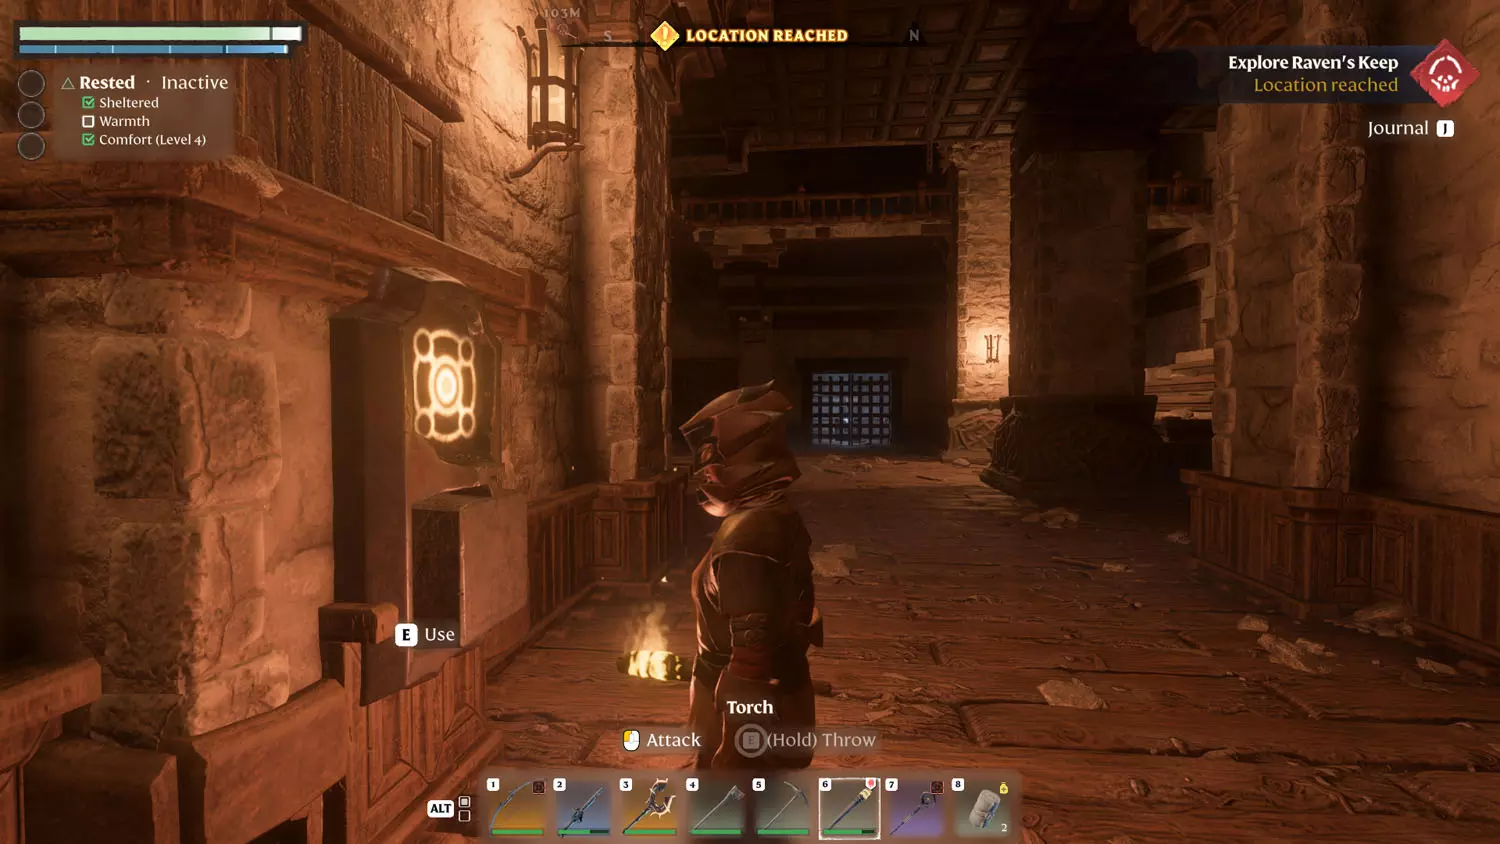
This one really should have been a quest, but since it was already at the location for the Hunter Quest: In Need Of A Tanning Station, they probably didn’t bother to make a quest for it. Anyway, follow my tutorial on clearing the dungeon to locate this treasure! It’s located inside Raven’s Keep.
TIP: Some Lore while you’re here - Scavenger Lore: Sister, Sister 3/3 I Will Reach You, Raven’s Keep Log 1/1 Raven’s Keep Log, Prison Break 1/2 No Better Than Us! and 2/2 Glory To Matron Lupa!.
NOTE: All content below is from BEFORE Hollow Halls Update - version number 510434. Content below is good for anything before March 26th, 2024. Content may still be relevant after March 26th, 2024 - but there may be gaps in the information below as more Lore and Quests were added by developers.

