Enshrouded Hunter Quests Walkthrough

I tried keeping it sweet and simple, but some of the quests are more complex than others. If you see an error, please let me know, and I’ll work to fix it! All images used in this blog post are screenshots from the game Enshrouded.
- Quick Links To Help
SPOILER ALERT: There’s no way for me to avoid spoiling game play with the walkthrough.
NOTE: All content below is from BEFORE Hollow Halls Update - version number 510434. Content below is good for anything before March 26th, 2024. Content may still be relevant after March 26th, 2024 - but there may be gaps in the information below as more Lore and Quests were added by developers.
Hunter Quests
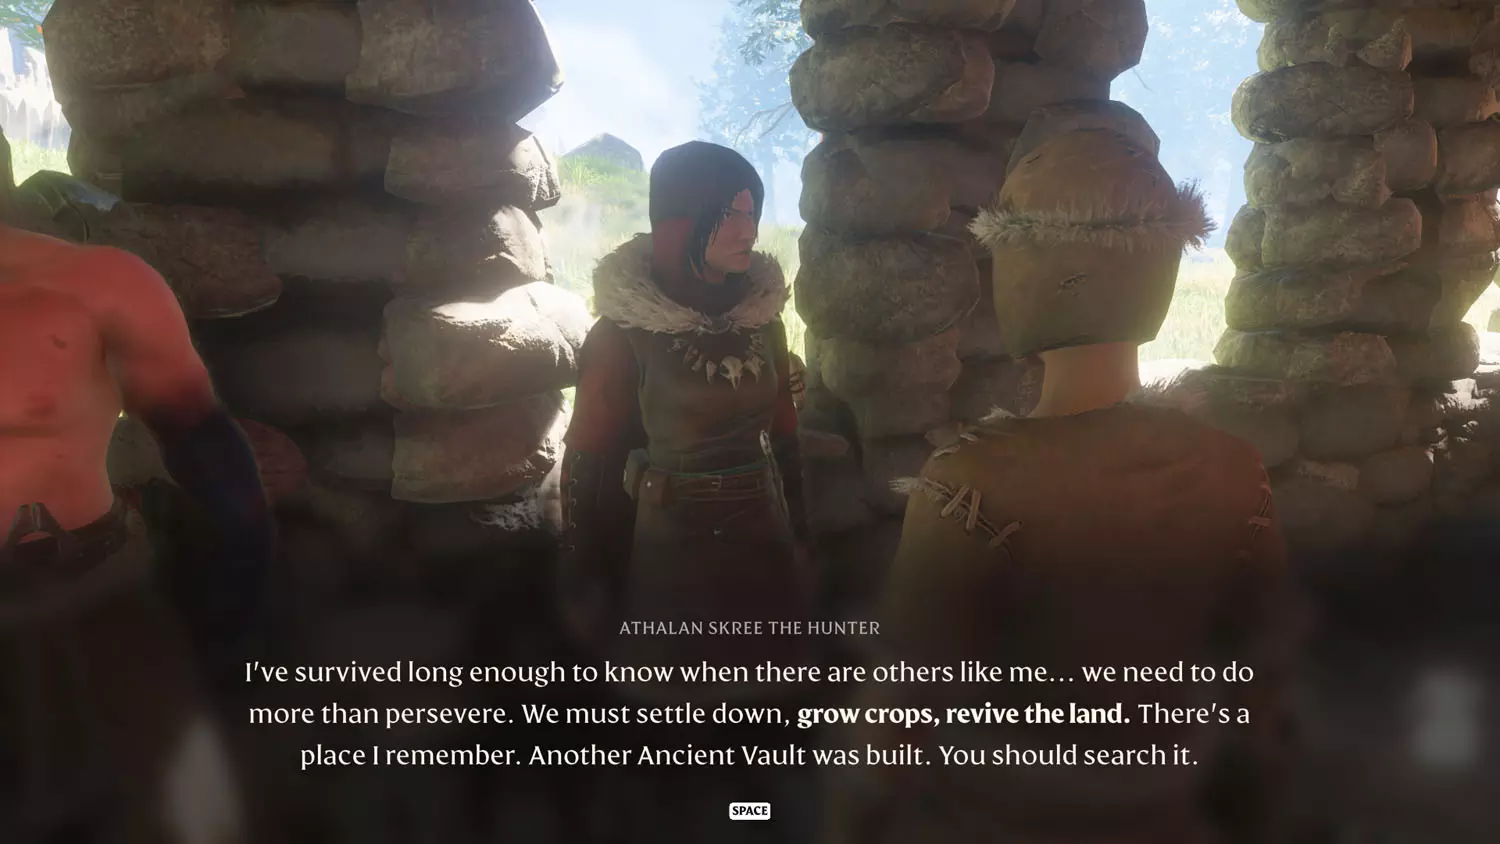
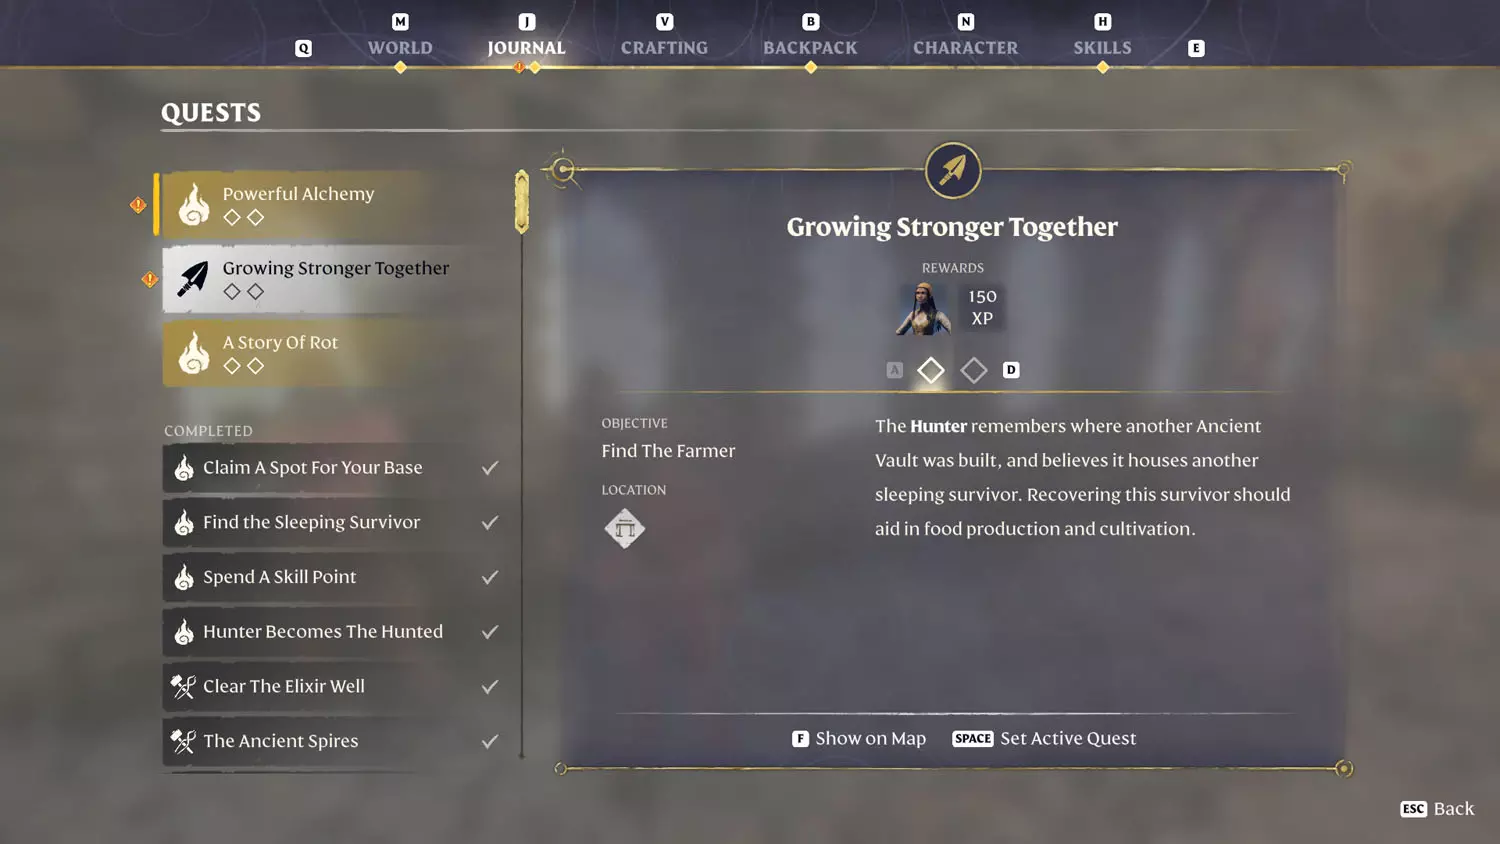
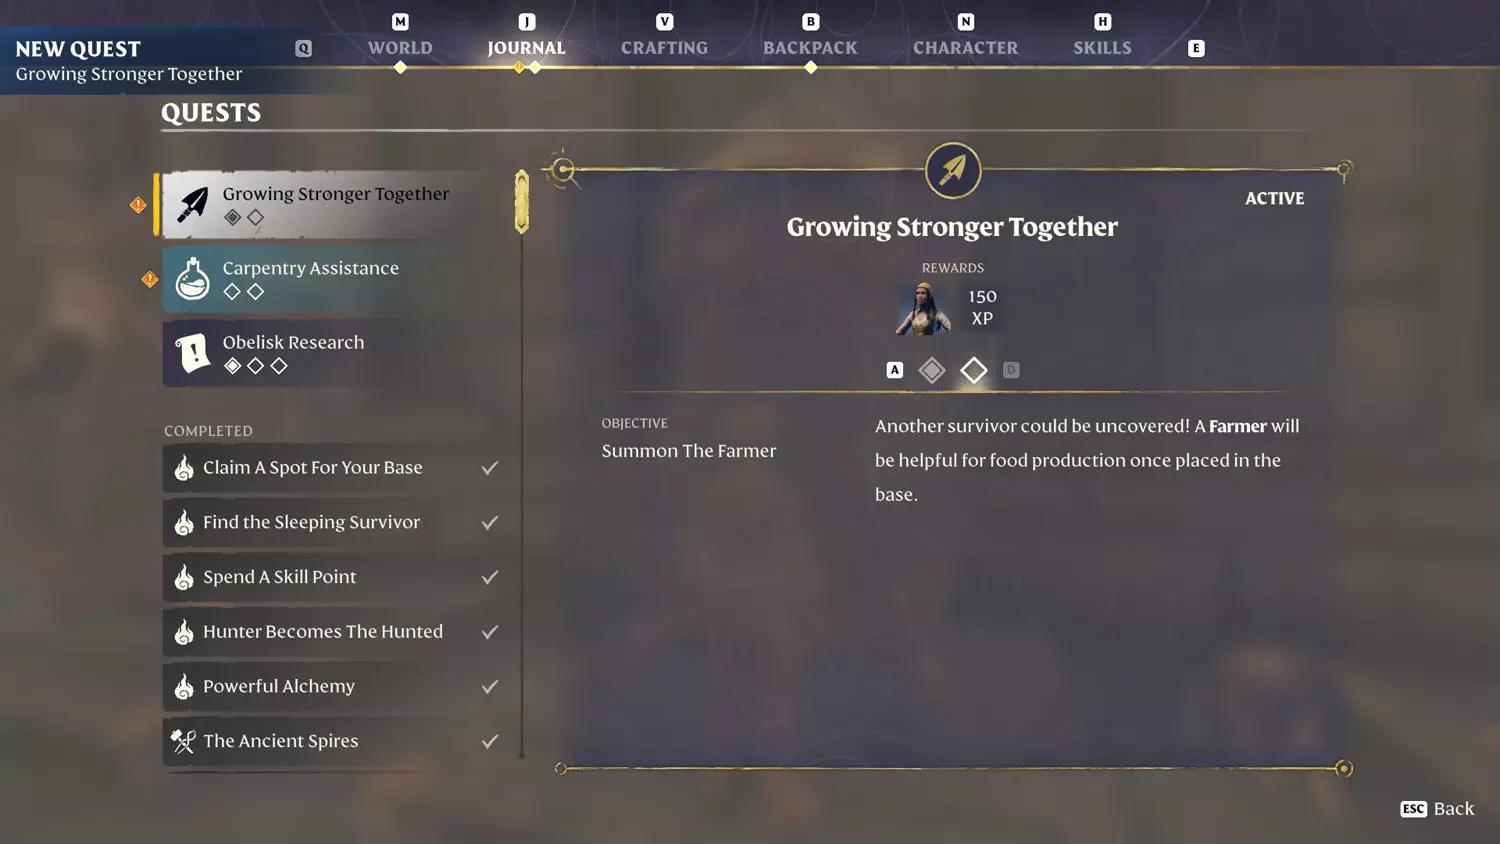
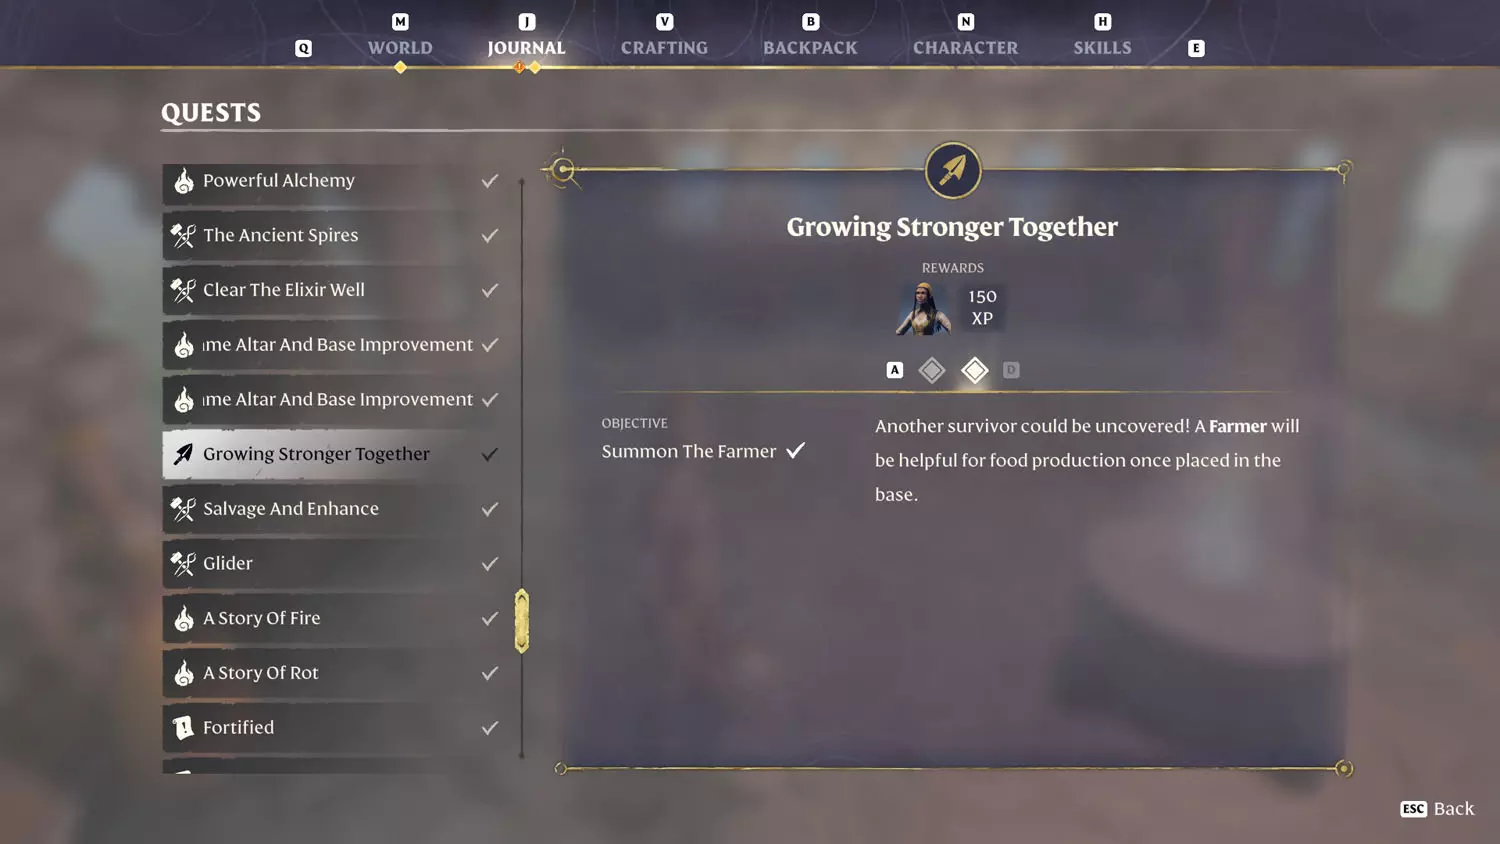
Growing Stronger Together
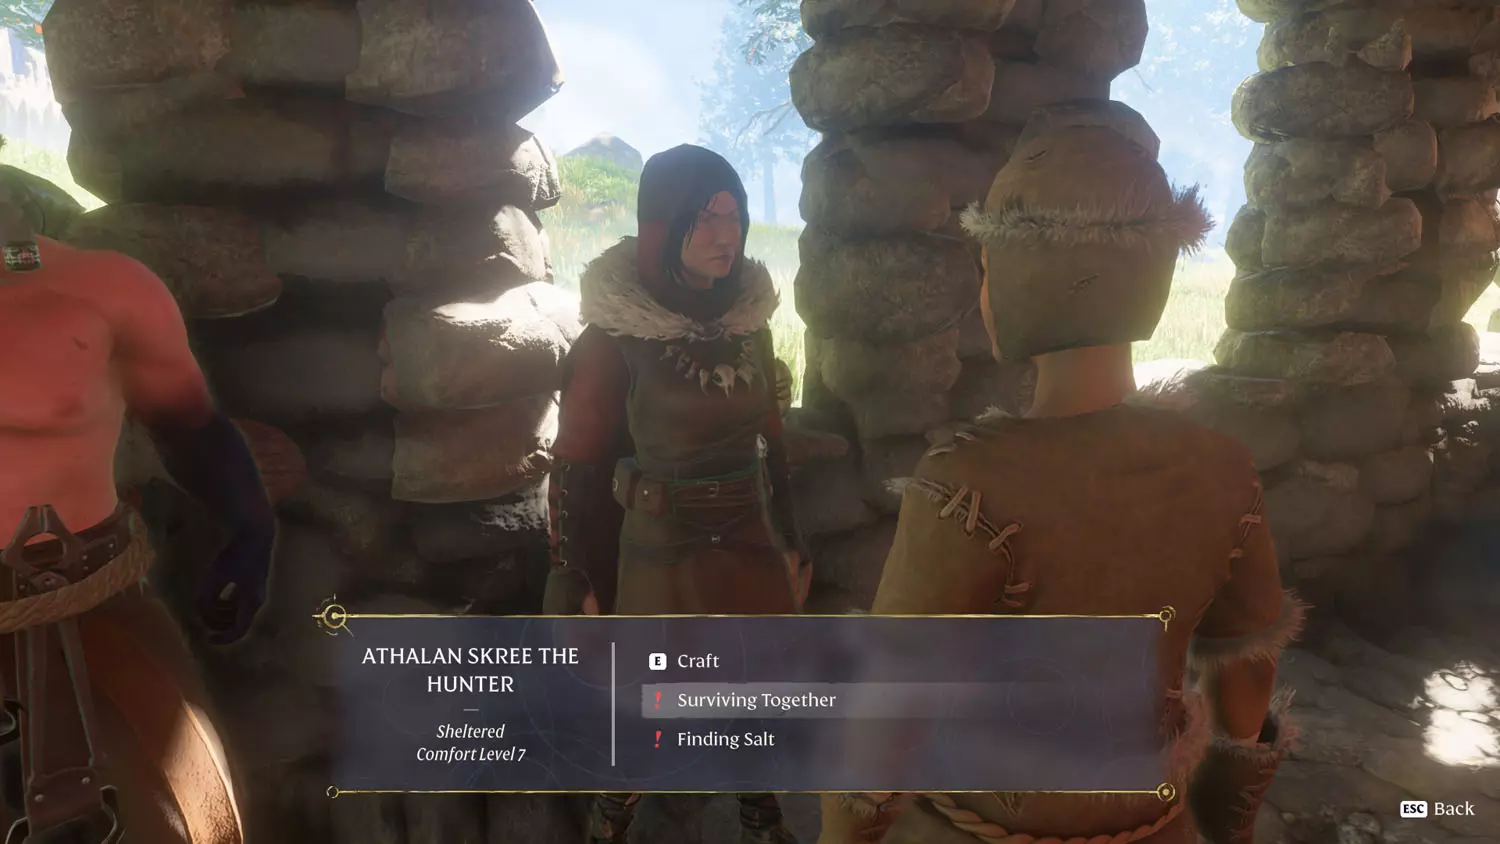
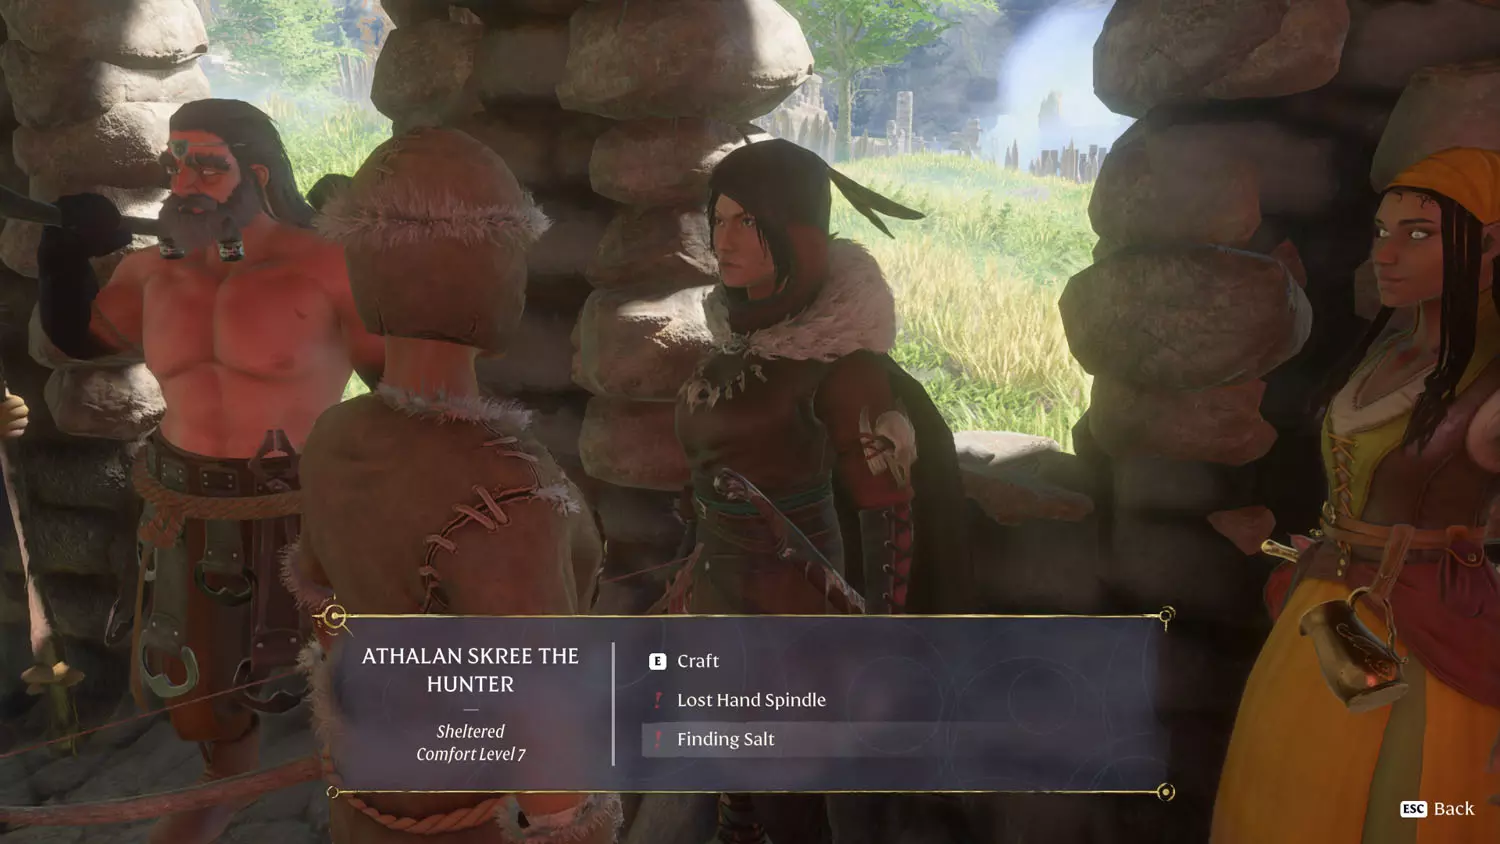
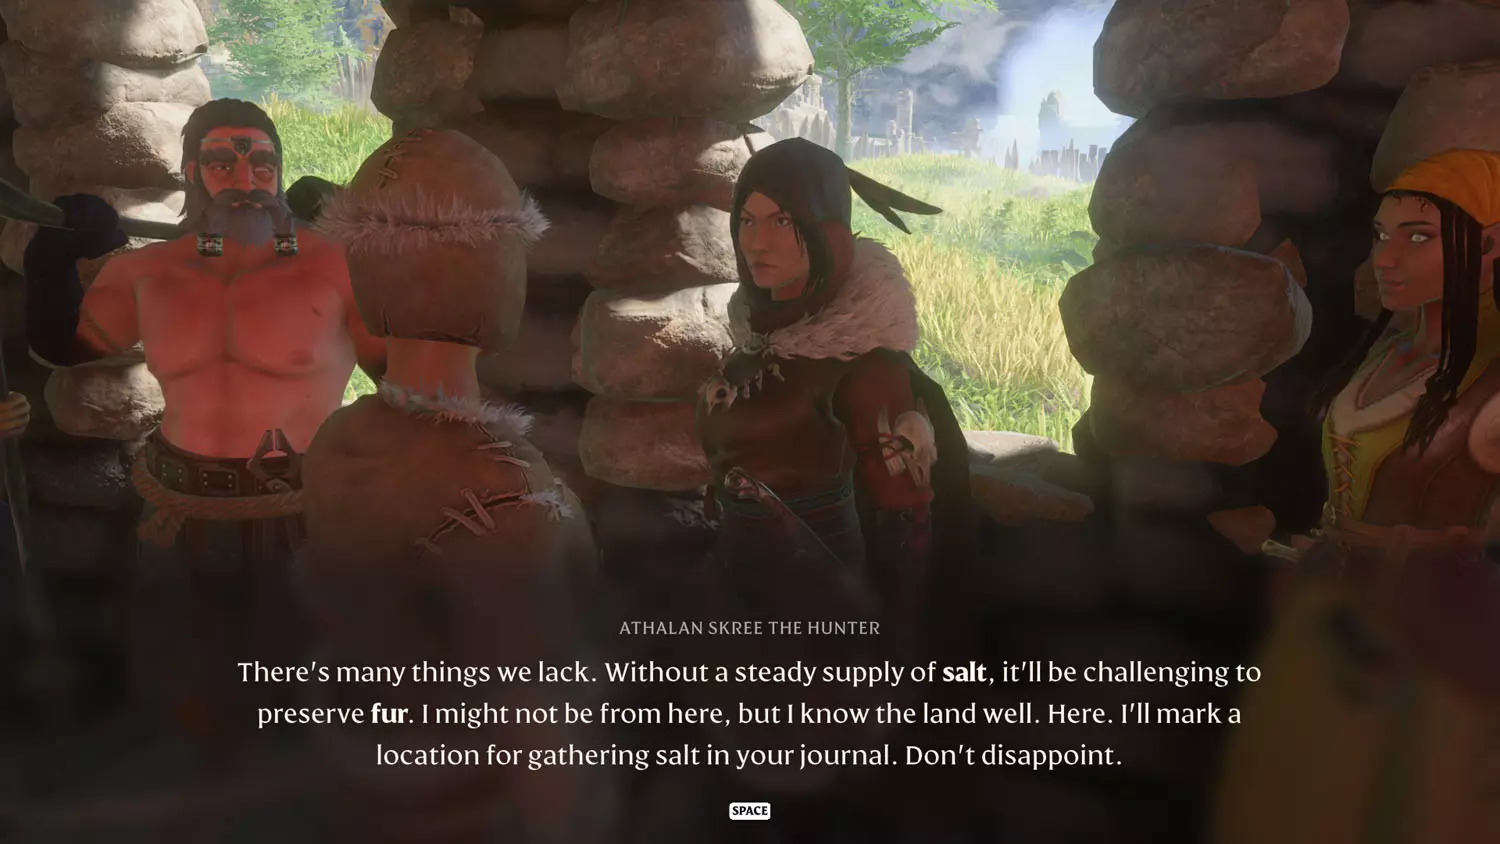
While this quest is similar to obtaining the Blacksmith, Alchemist, and Hunter; this one is different in that the Hunter initiates it. Thus, this is a Hunter questline and not a Flame Altar quest. Weird, right?
Anyway, after releasing and placing Hunter Athalan Skree, you have the option of dialogue for “Surviving Together”. This will unlock the quest for locating the Farmer, Emily Fray.
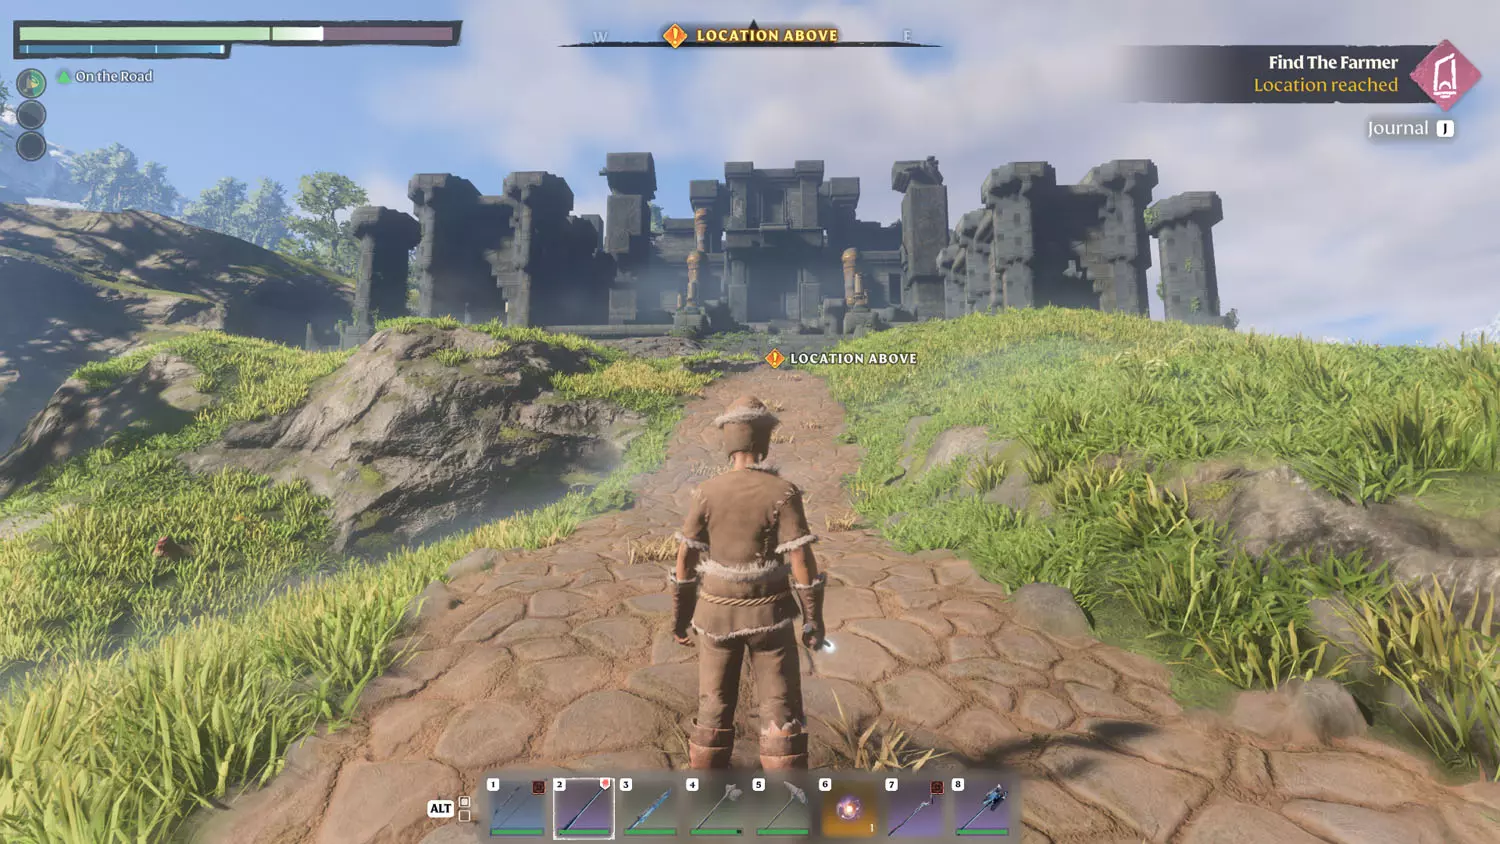
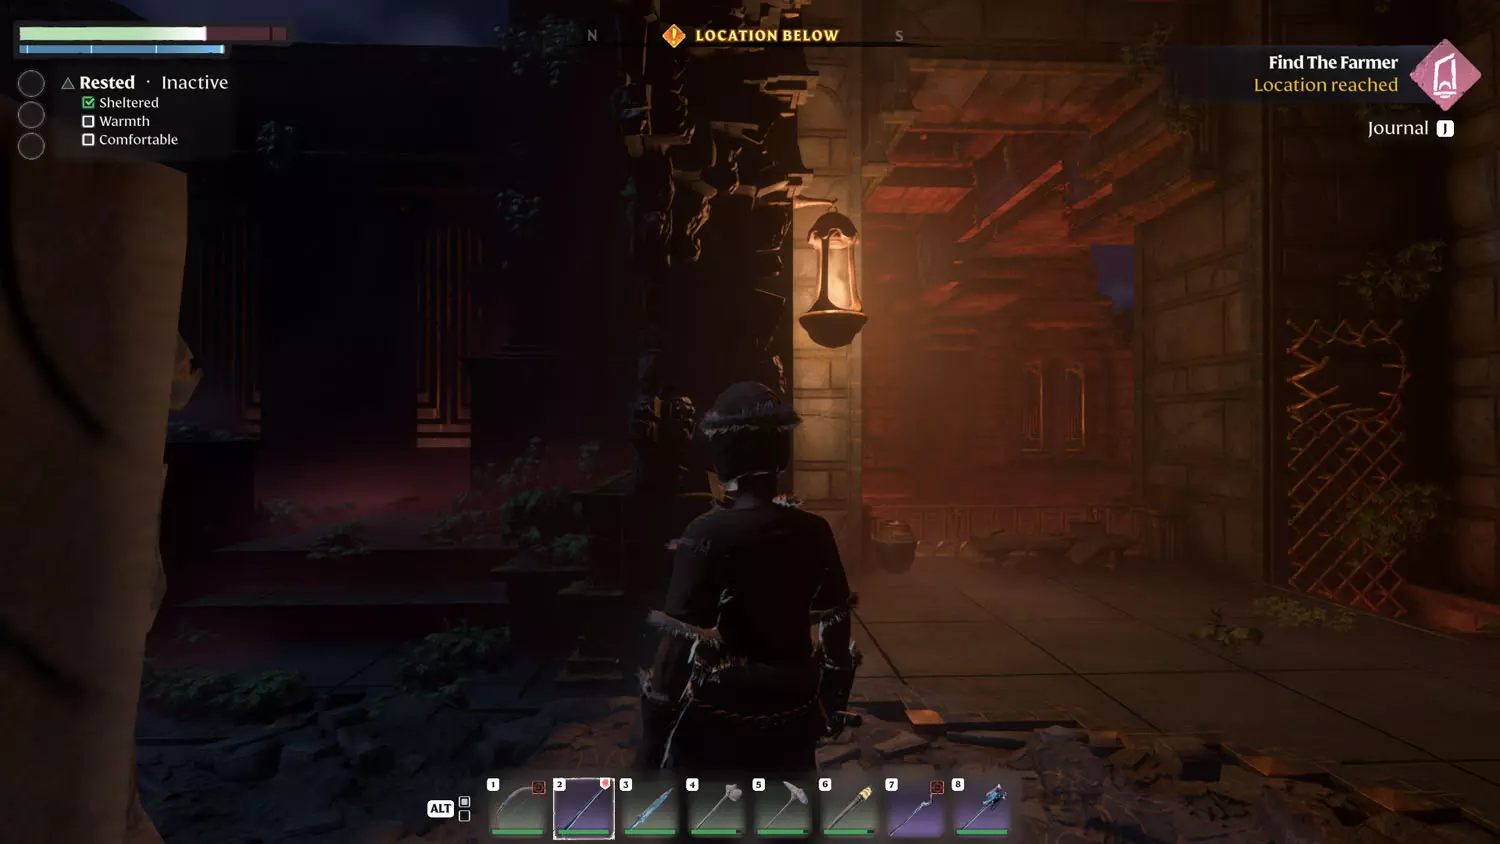
From the Ancient Spire - Springlands Fast Travel, head northward toward the Vault. You can see it from the tower, right of the tell-tale spires from an Elixir Well and a little further away, too. My glide didn’t get me there, but the top of the hill I landed on had a nice view.

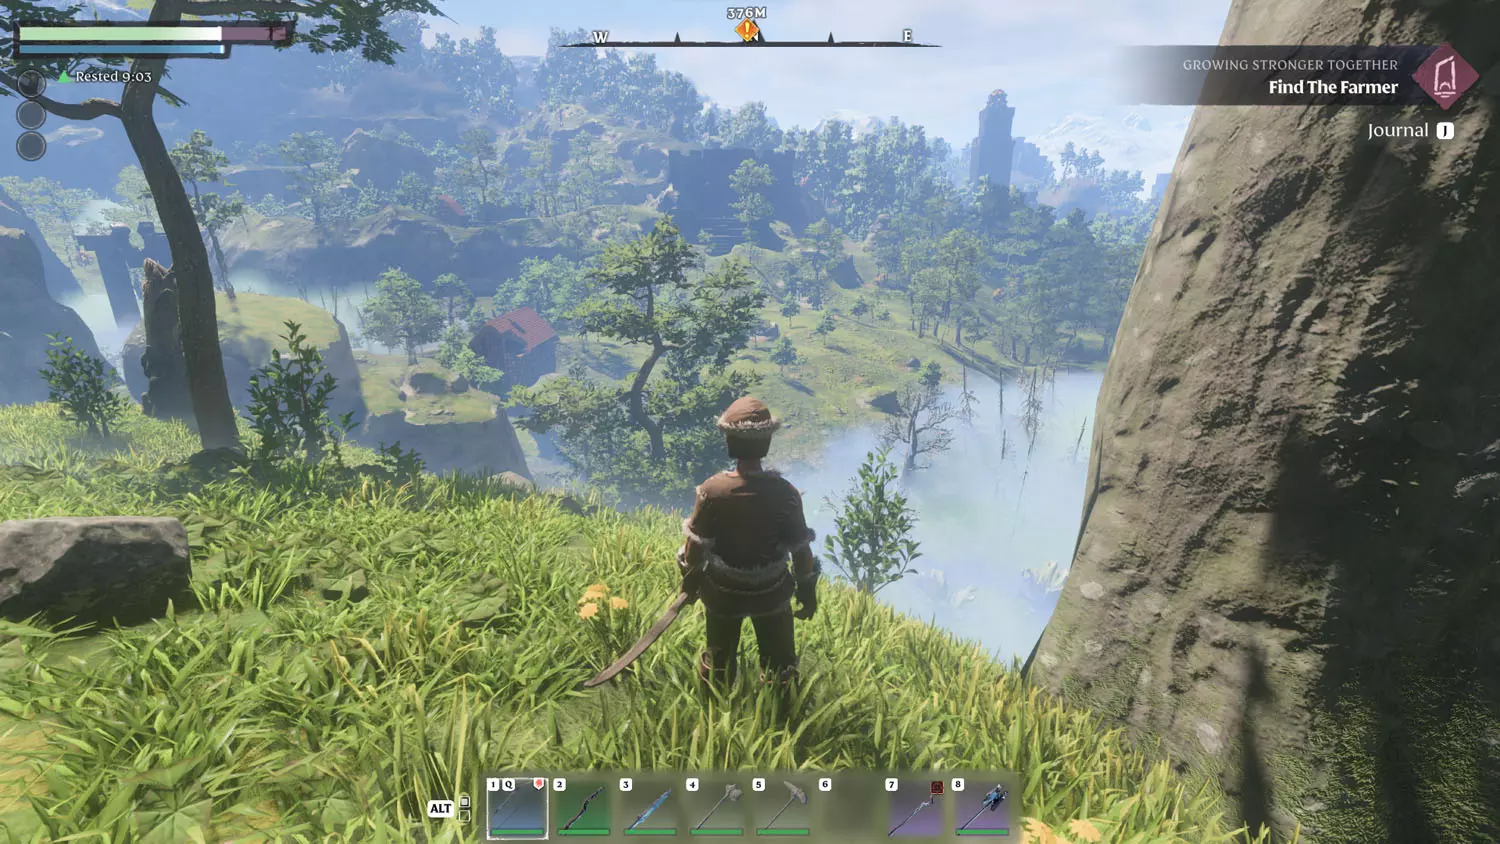
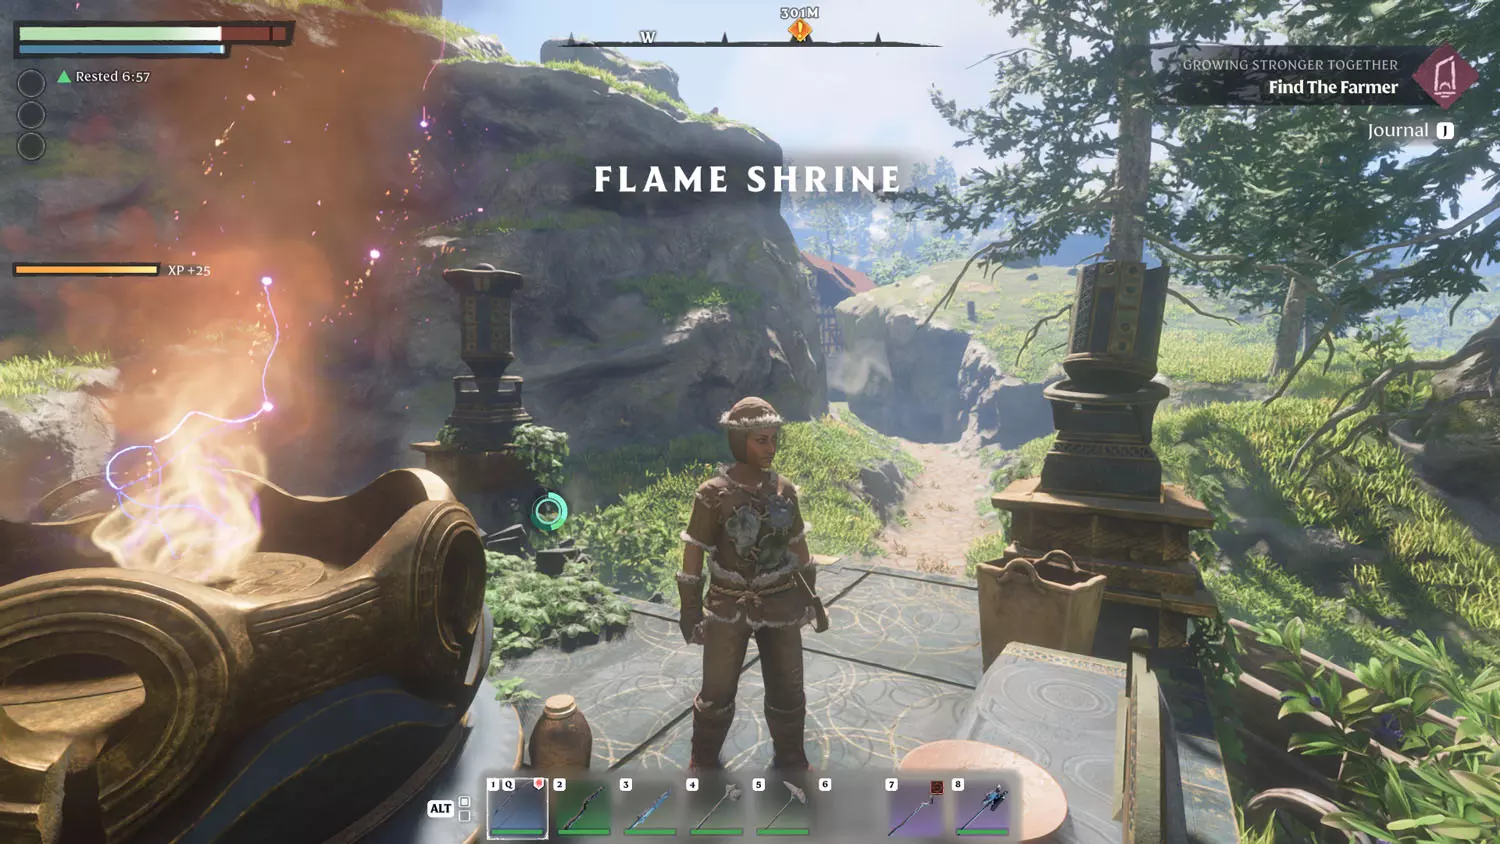
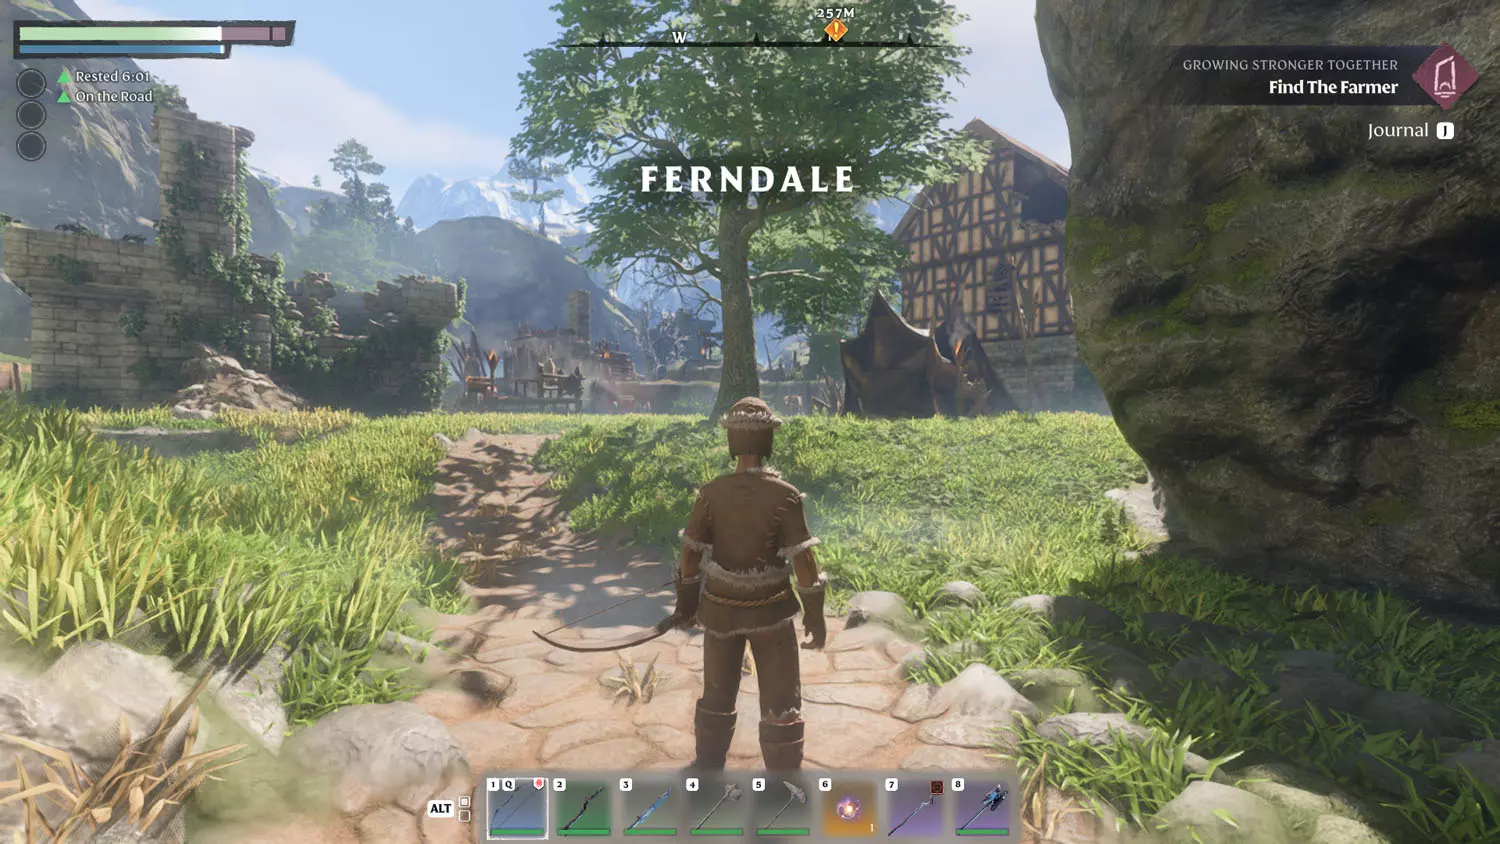
A glide toward the house on the left landed me at a Flame Shrine, which I looted. Taking that road, head out of the area and toward the Farmer! You’ll immediately encounter Ferndale.
TIP: There’s lore here! Two pieces belong to the General Lore: A Cry For Help 1/3 Ointments and 2/3 Protection Against the Shroud. A third piece belongs to Scavengers Lore: Fortified 1/1 I Will Defend My House!. Be sure to check them out on my lore pages!
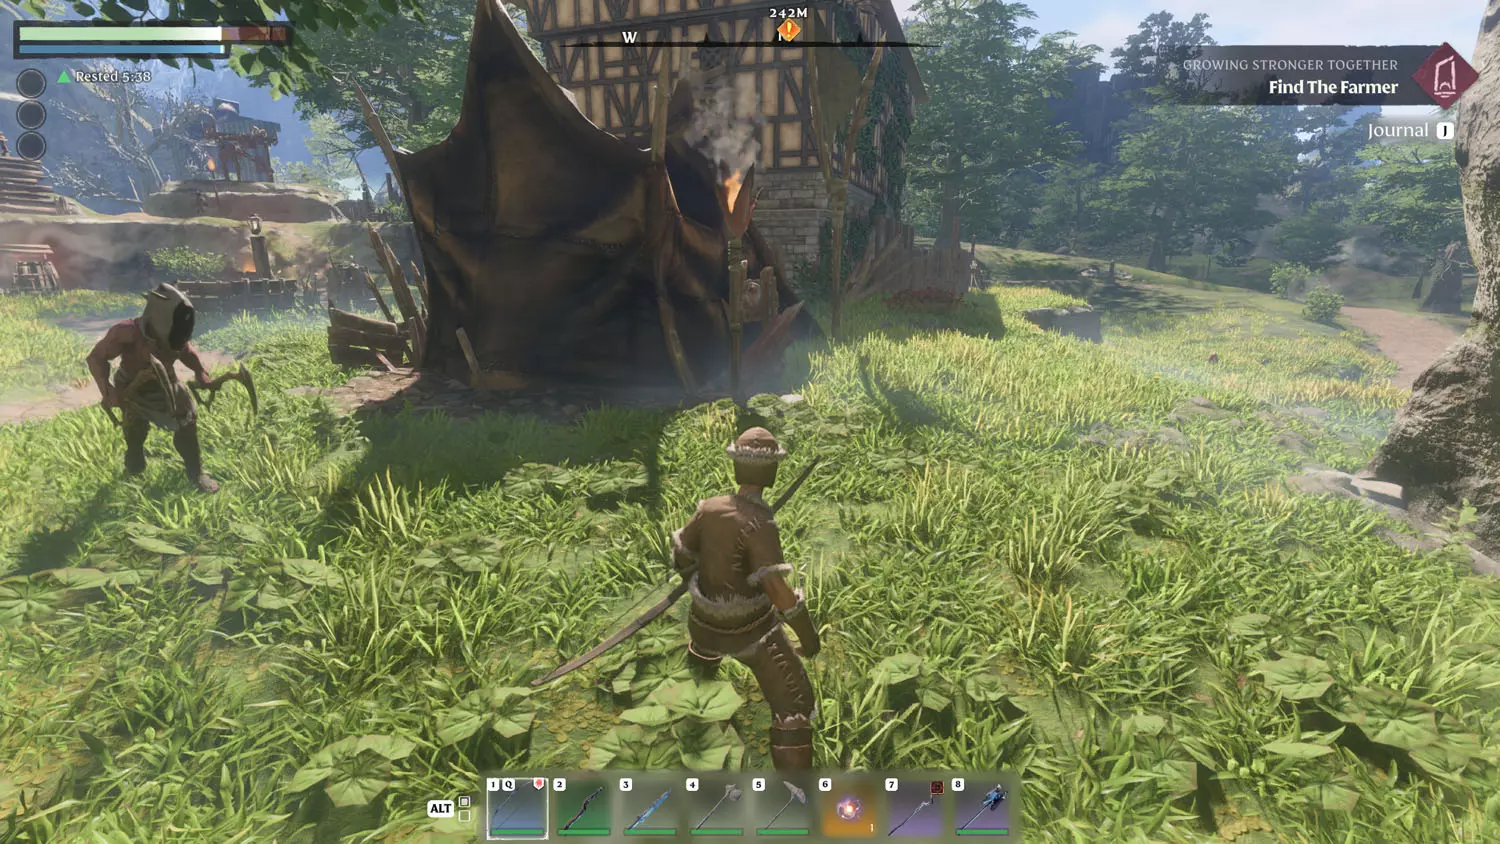
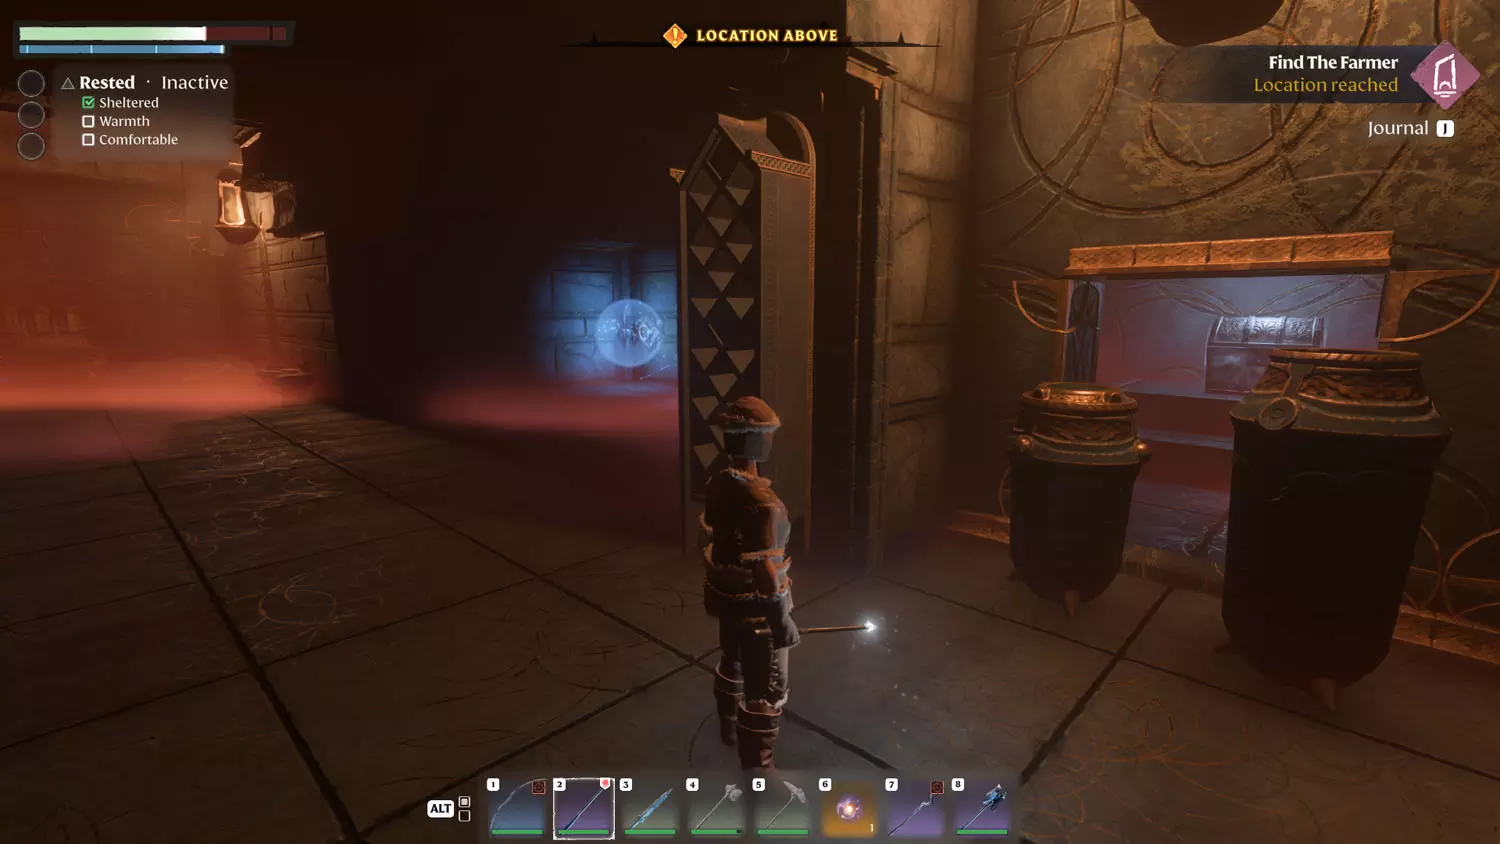
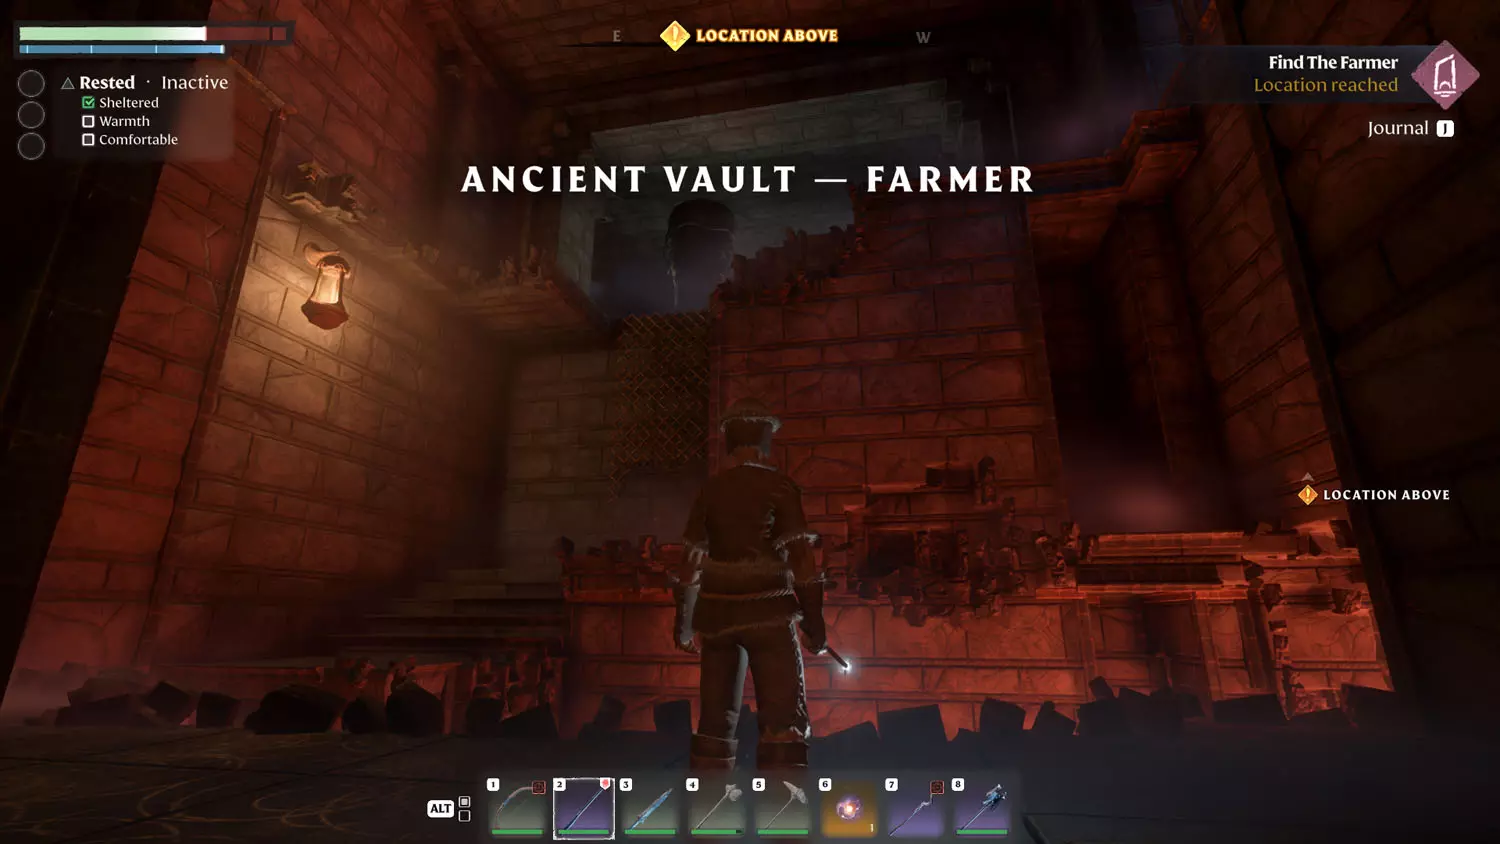
You can skip the town by skirting around the outer edge of it. Whether you do that or whether you loot the place, head north on the road. There will be other roads joining it, but keep heading north and toward the marker on your map until you reach Ancient Vault - Farmer. There are steps to the left and right as you enter the area.
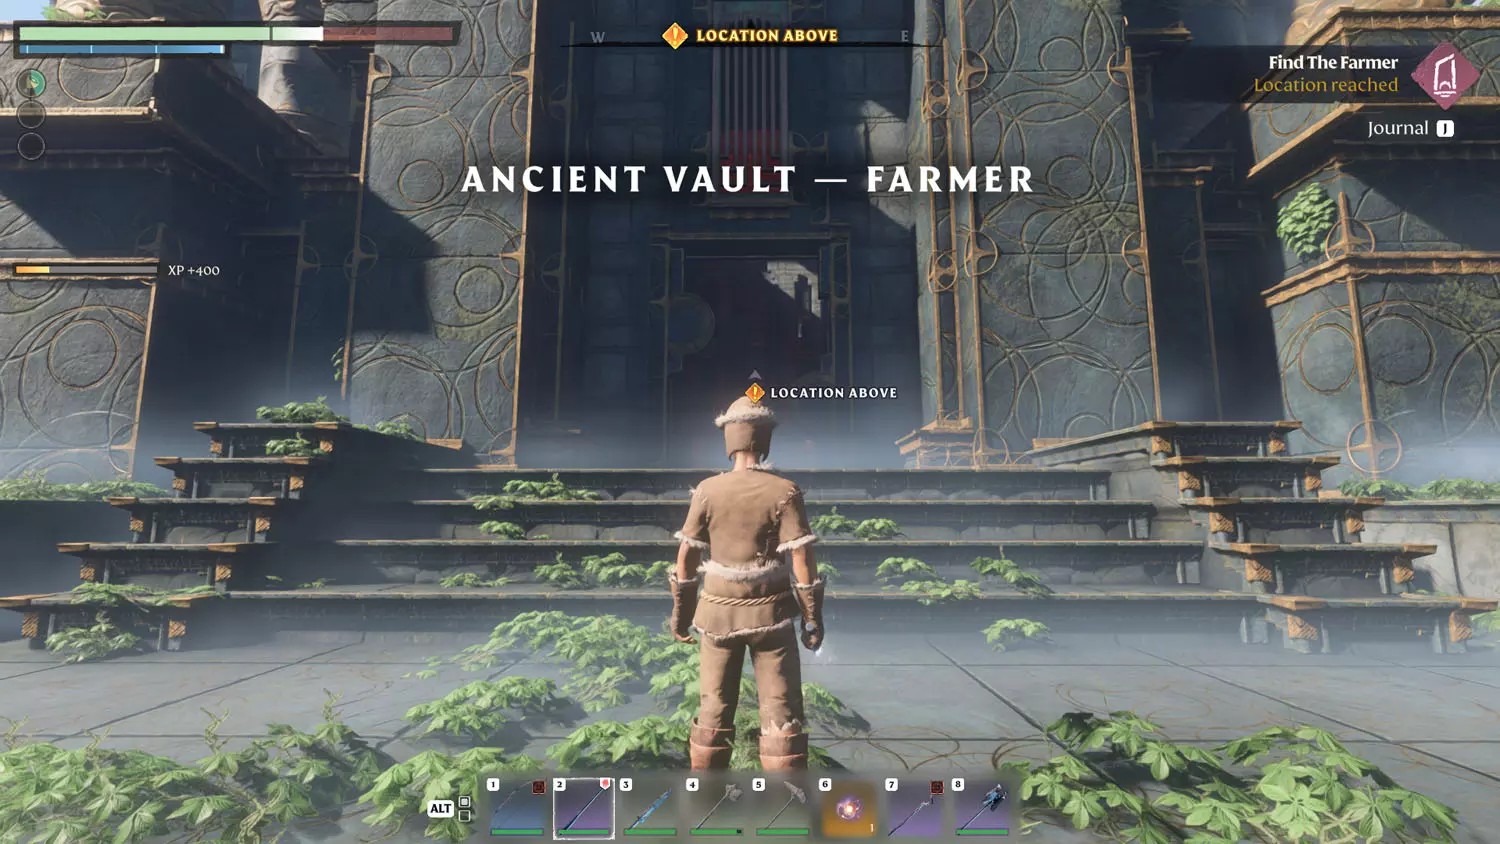
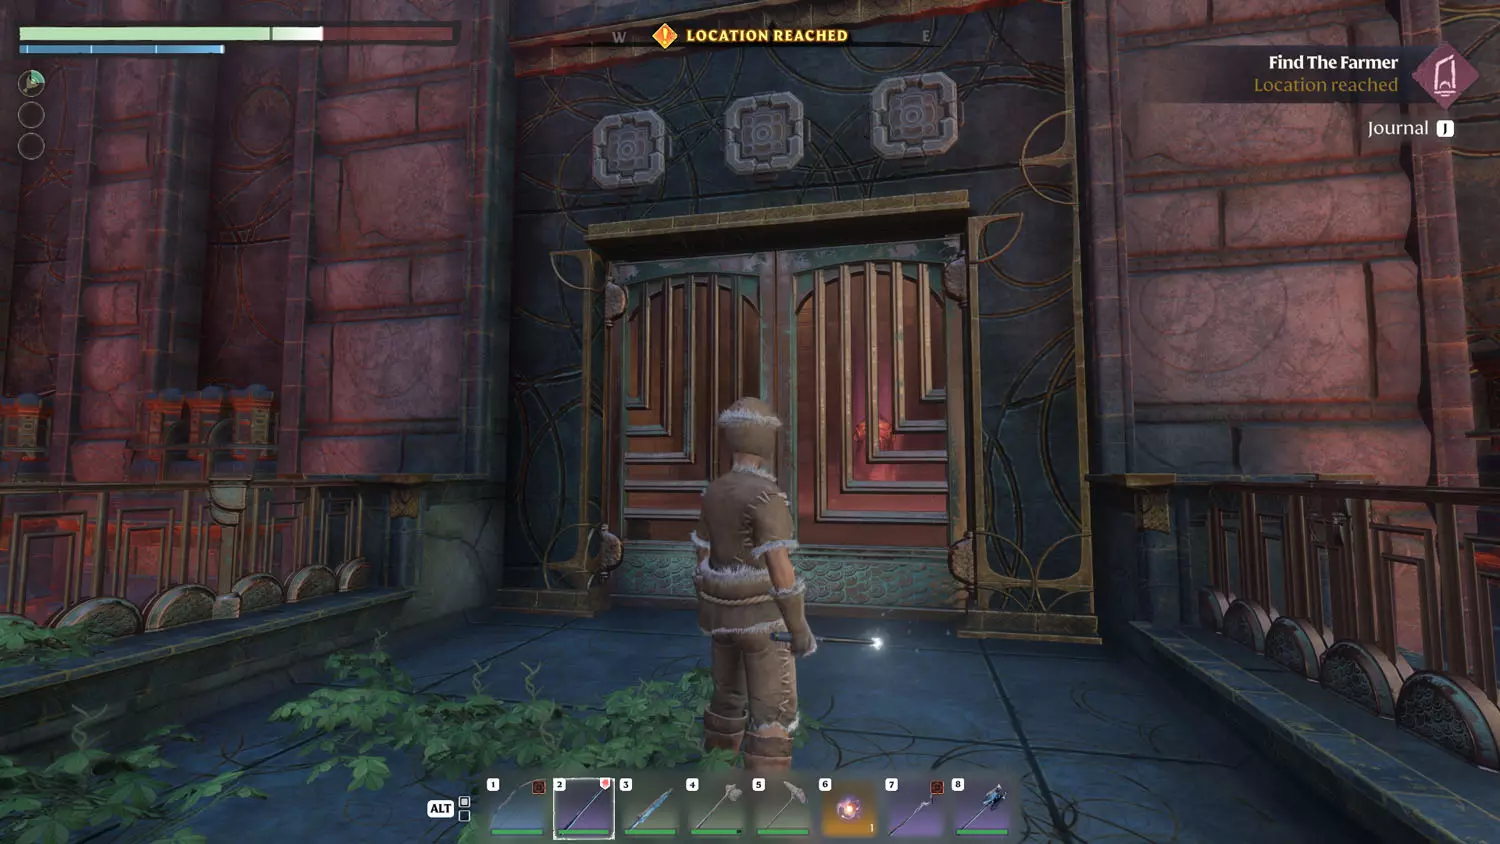
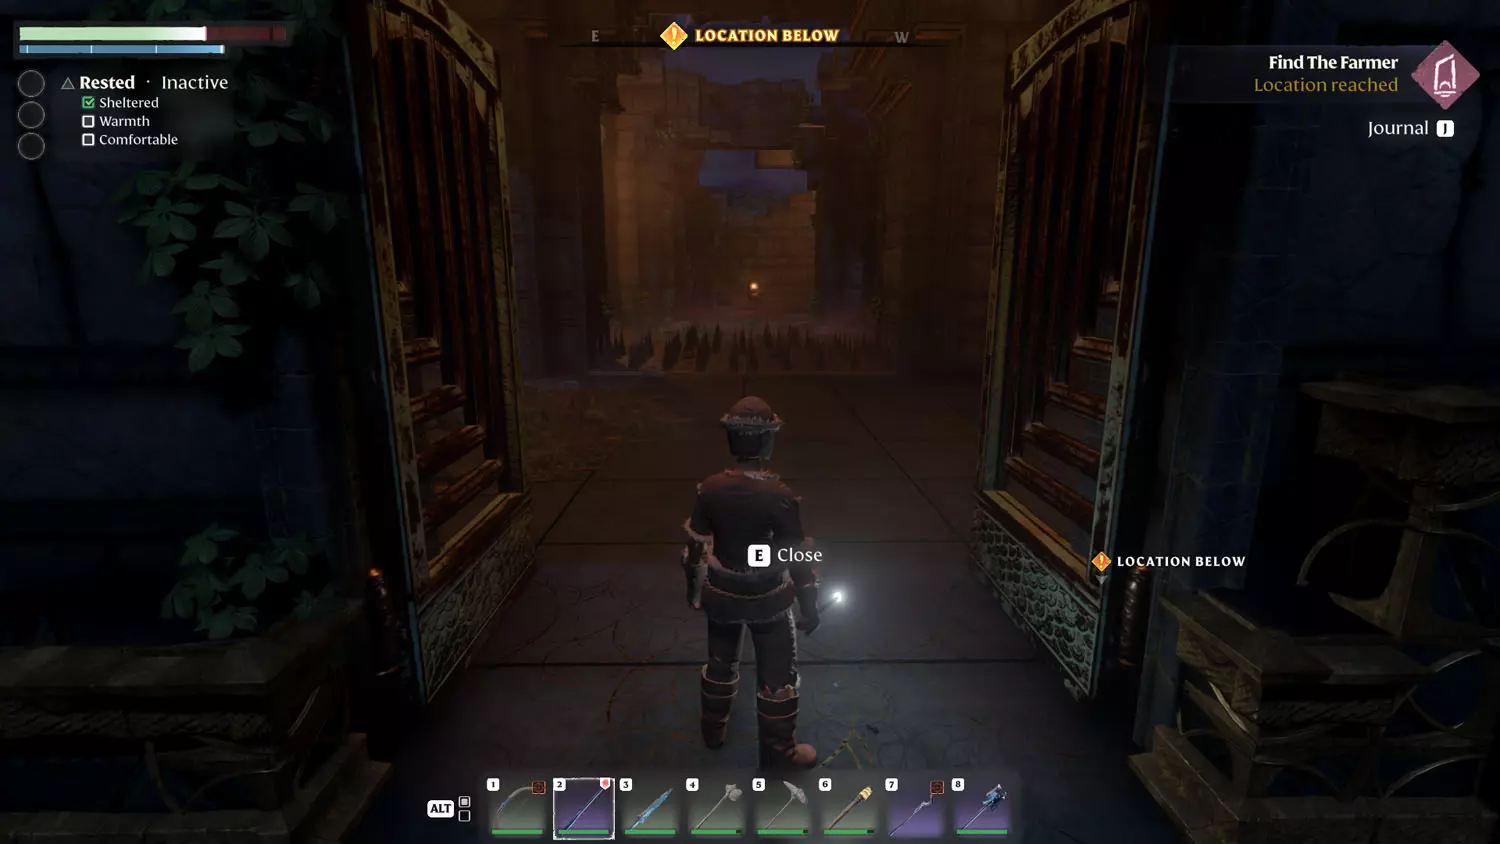
Straight ahead is a door with the likely now familiar glyphs. Time to search for how to open the door as the Farmer’s Vault glows behind it.
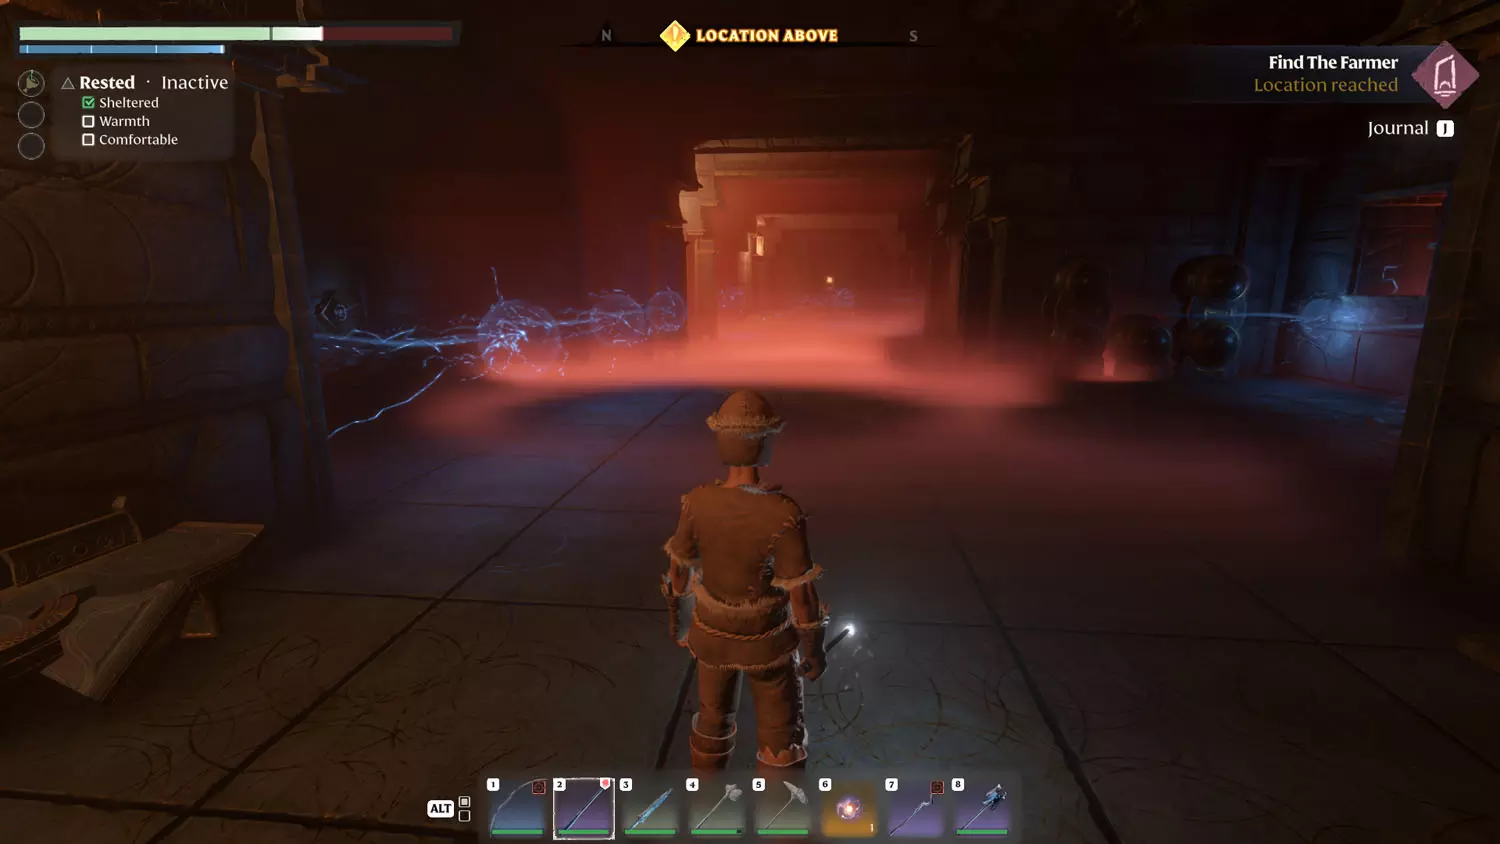
To the right of the entrance is a stairway down. This is a useless area, unless you fall down. It’s just a way back up. Take the left path from the entrance. You will eventually come to a lava room. Jump to the metal grating on the wall. Then, make your way to the doorway on the right.

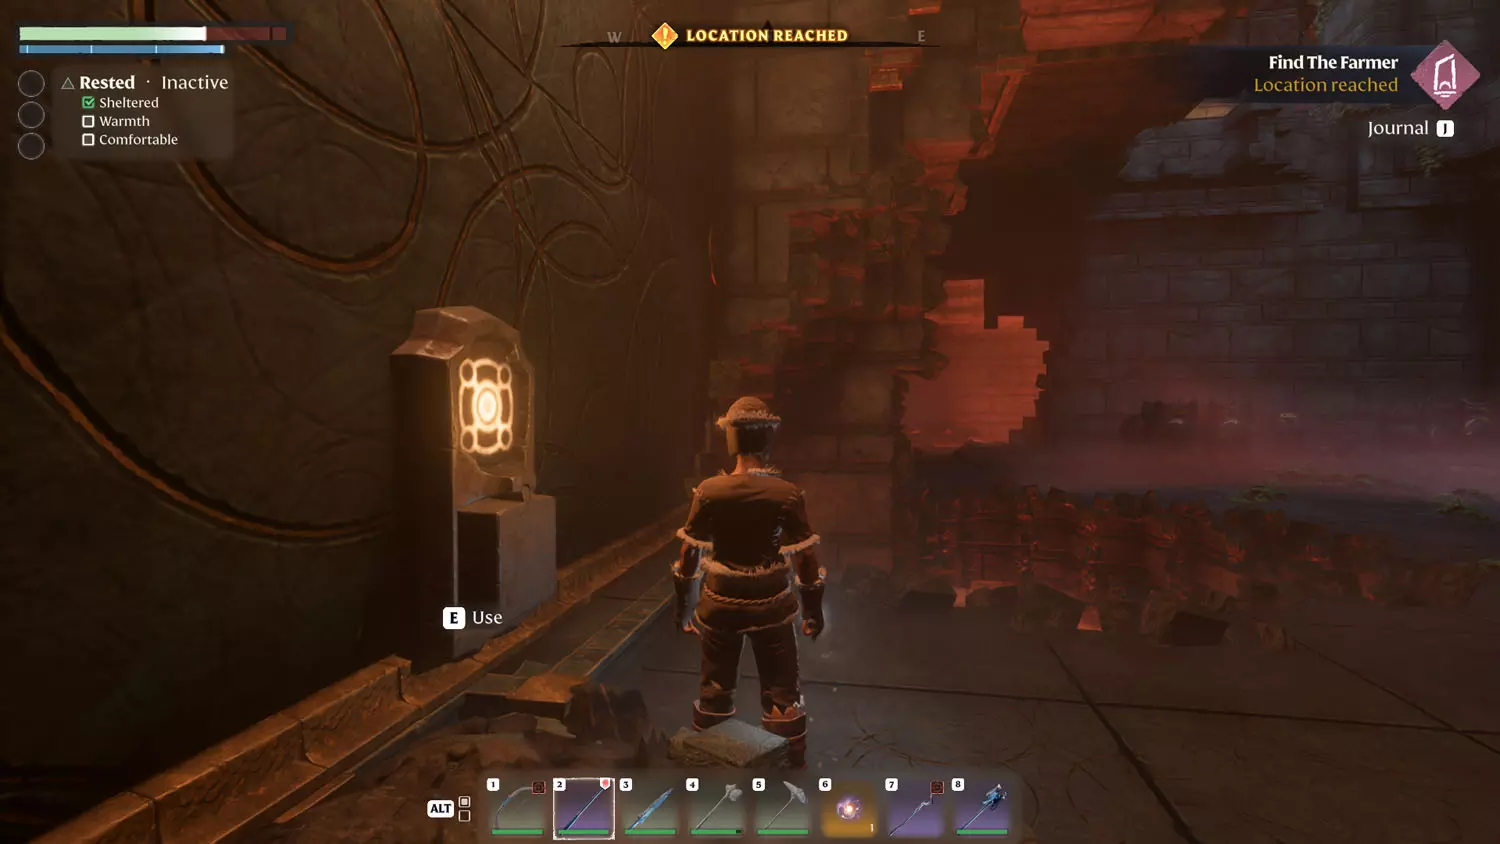
The next room has the deadly zap trap. At the end of the hall is the first glyph / button. When you reach the halfway point, look left and open up the sacred door. Inside is a Silver Chest. Then, make your way to the end of the first glyph.
In the next room, you’ll want to cross over to the other side. Then, climb the left wall and hop over to the other one to complete the climb.
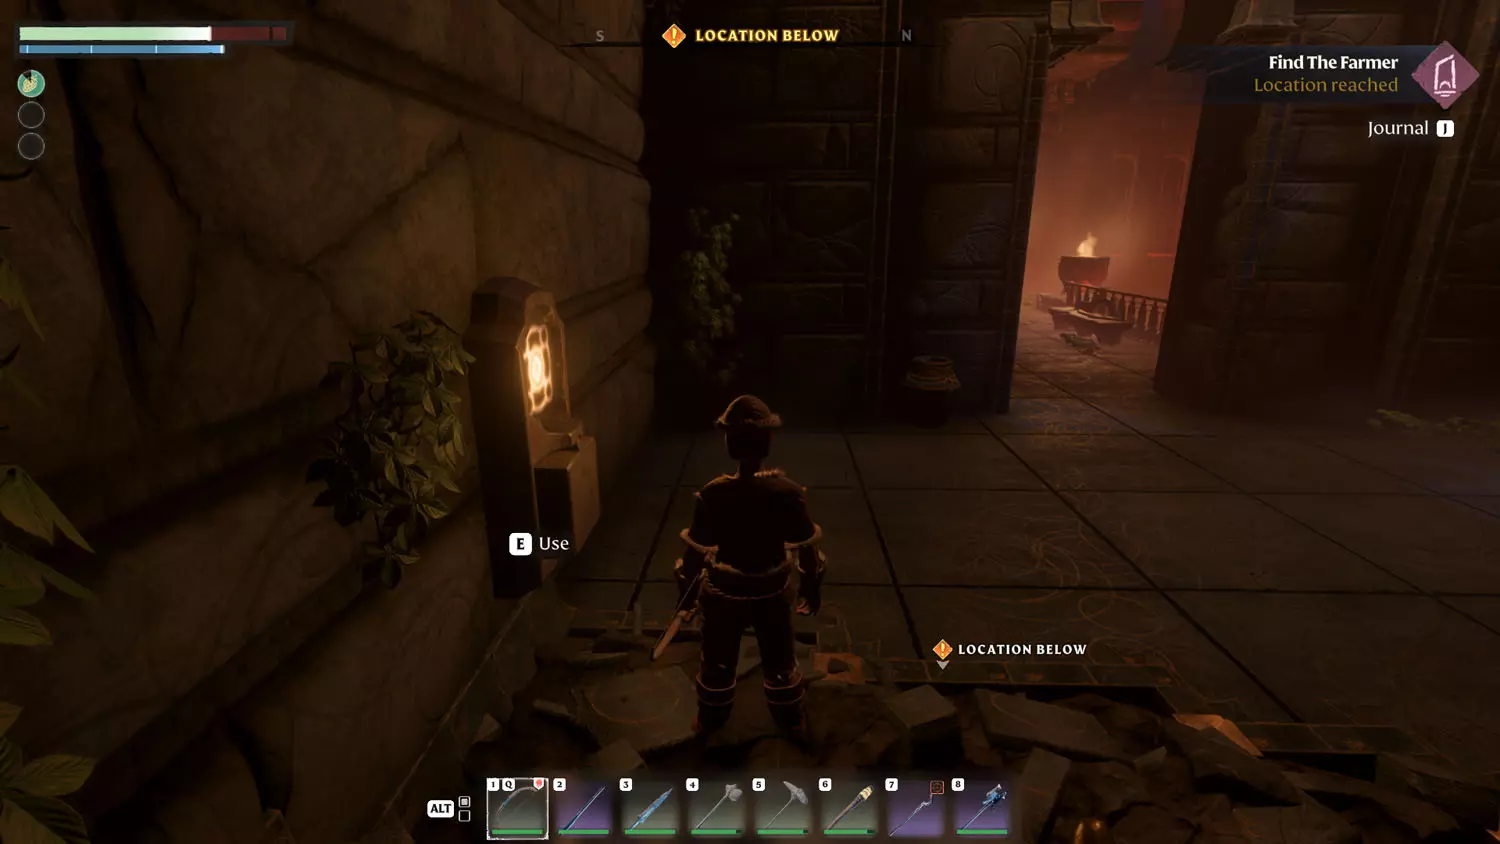
The next room has a revival spot. Near it is a hallway with TWO grapple spots and a glowing yellow glyph at the end of the hall. Swing your way across and activate the button.
From the button, head into the next room (mind the broken floor). There are stairs to the right of the doorway and a climbable wall. Head up.
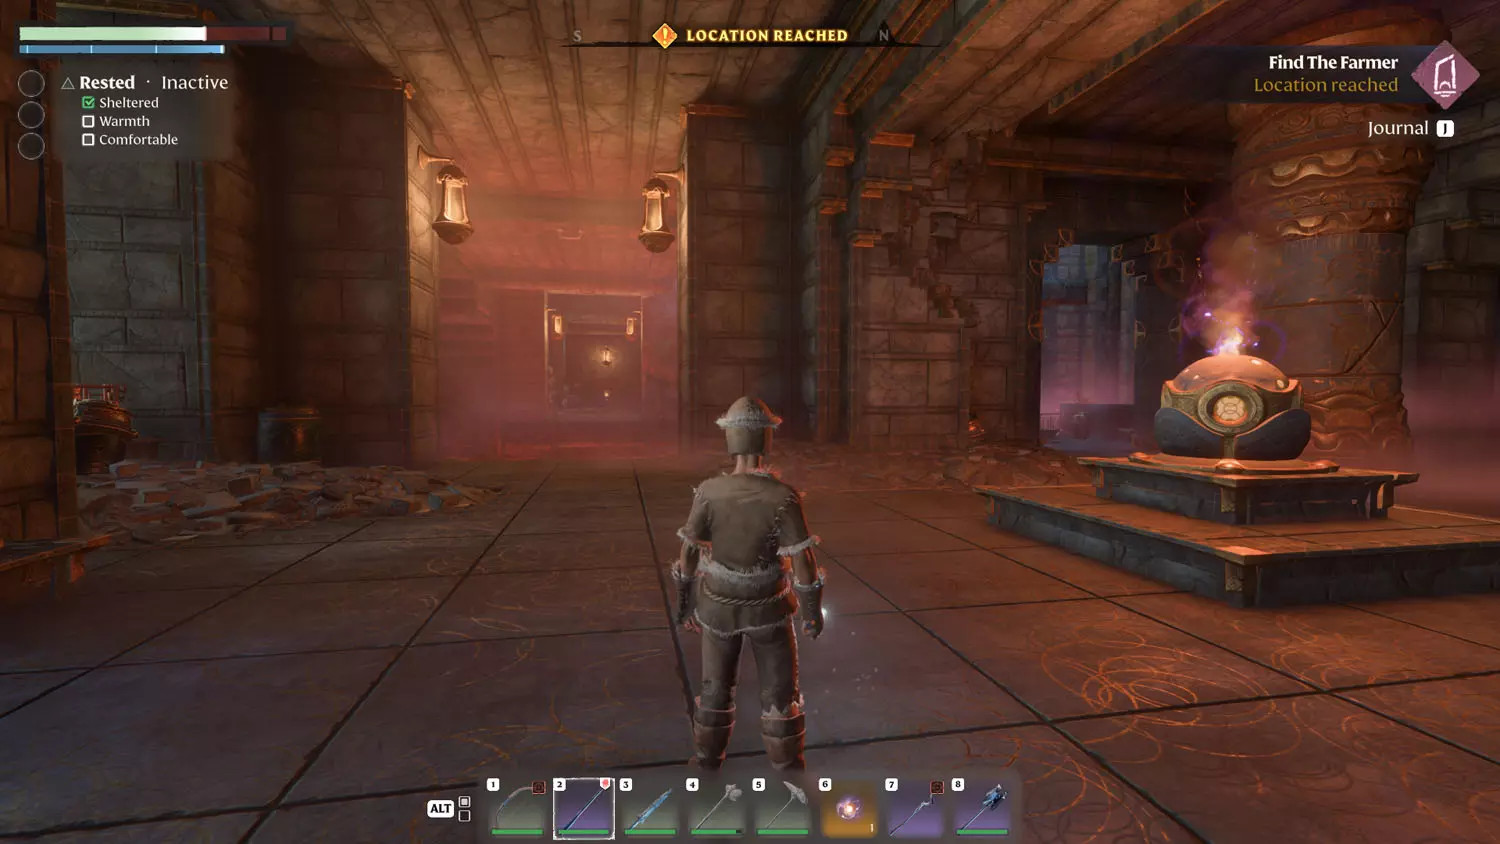
At the top is some fresh air. Take the stairs up and follow the walkway around the building until you come to a gate. When you open it, you can see the last button on the other side of the room. There’s a spike floor trap separating you. A room to the left has a Wooden Chest you can loot.
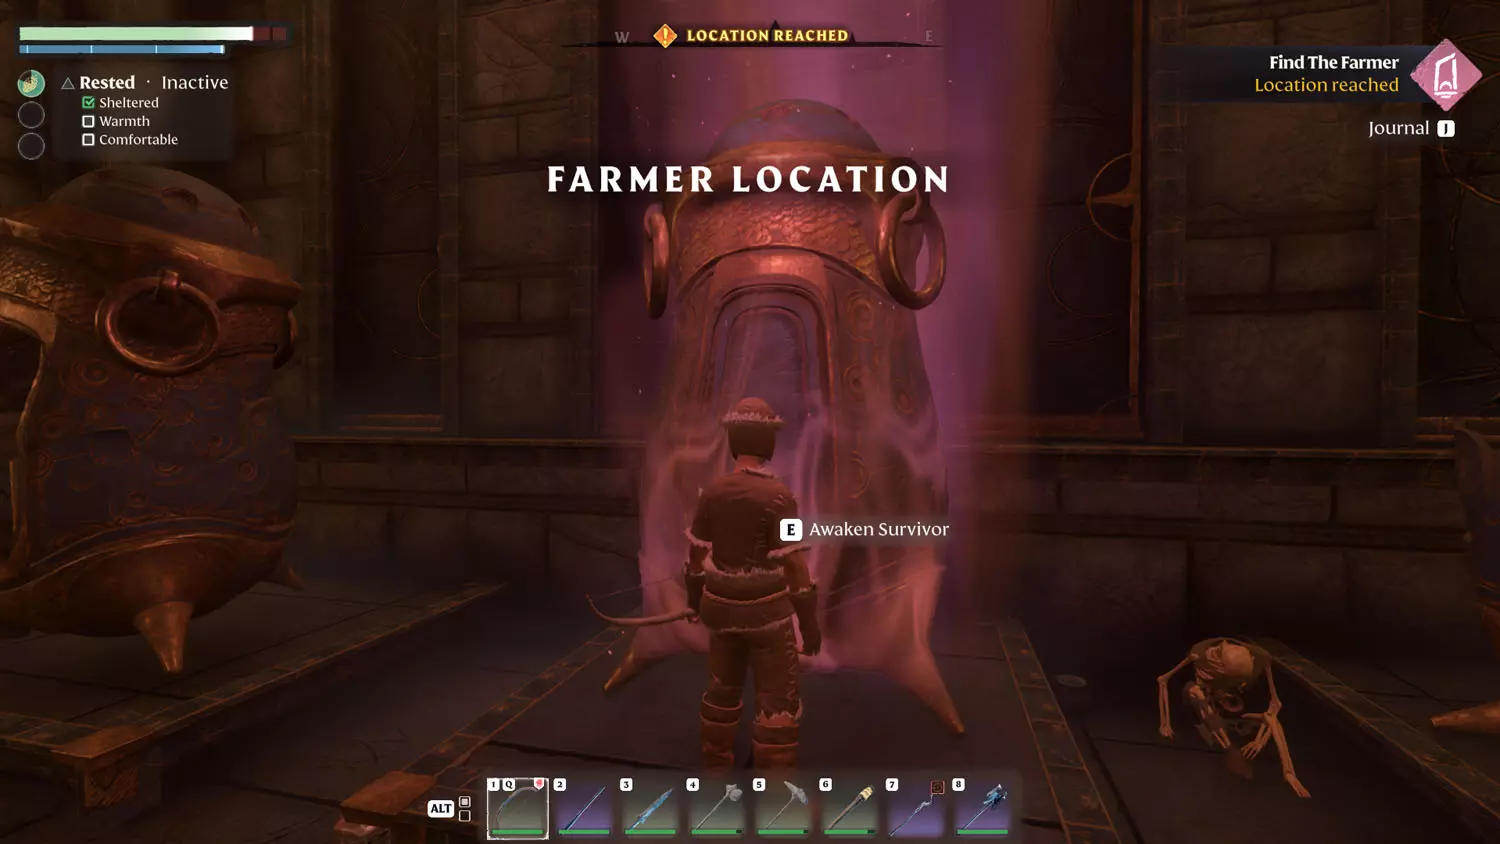
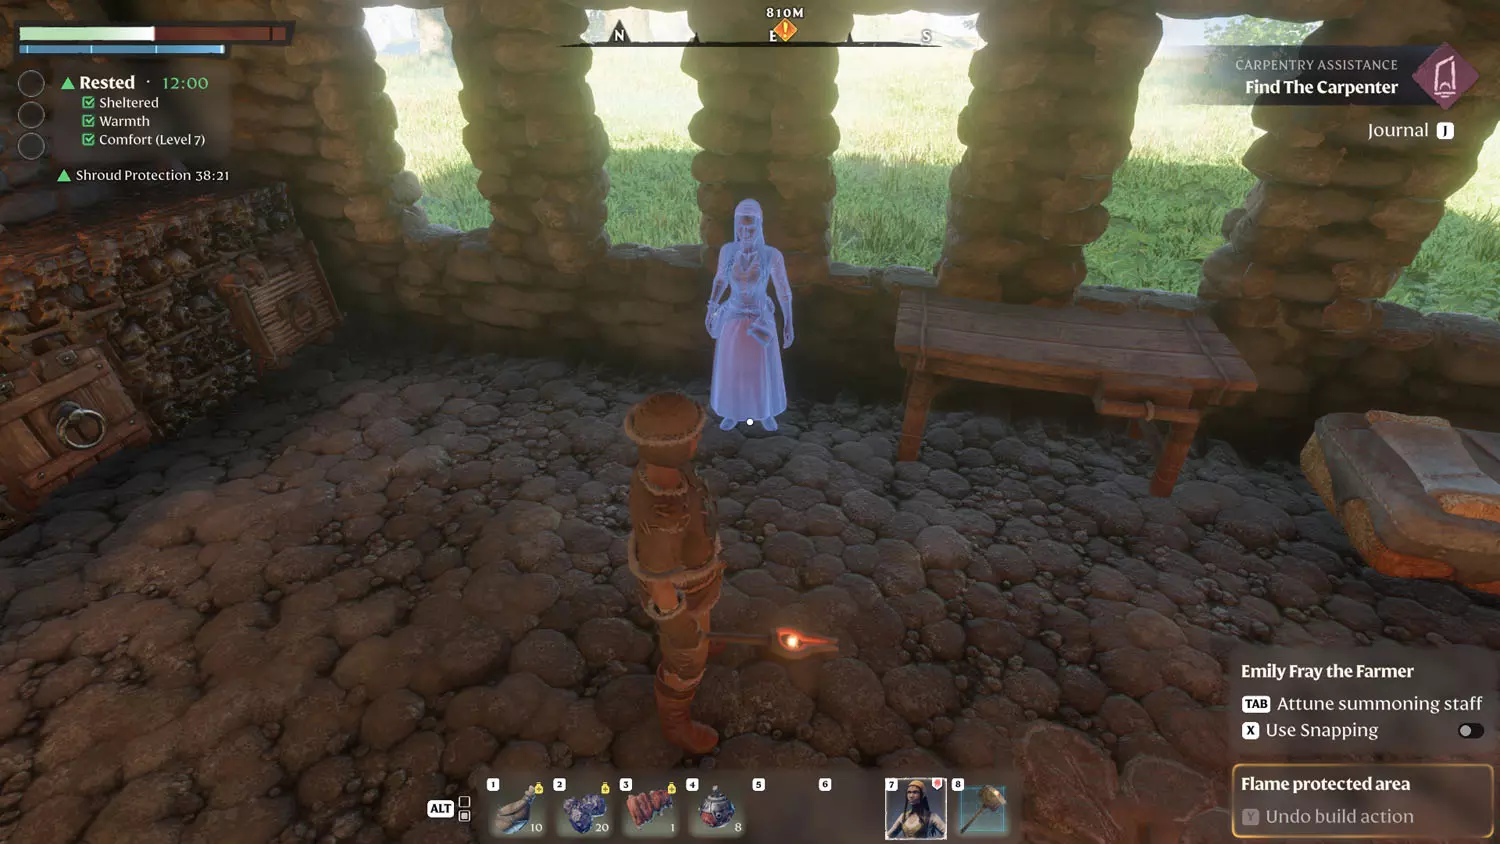
Once you’ve activated the last button, head out the doorway and glide through the open door to the waiting Farmer. Interacting with the Vault she is in will finish the first part of the quest.
From here, you can head back to your base and place the Farmer to complete the second part of the quest.
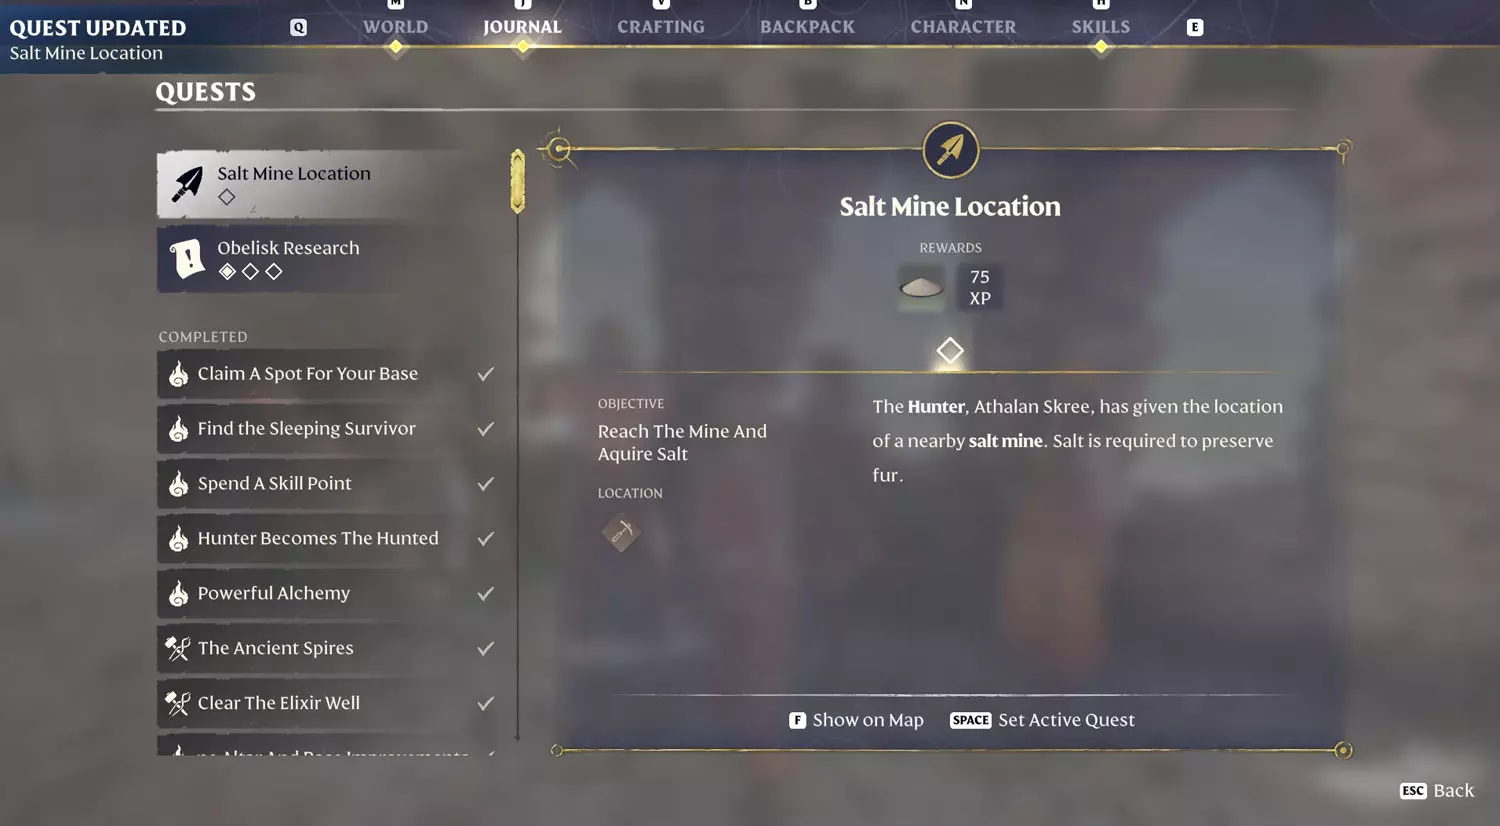
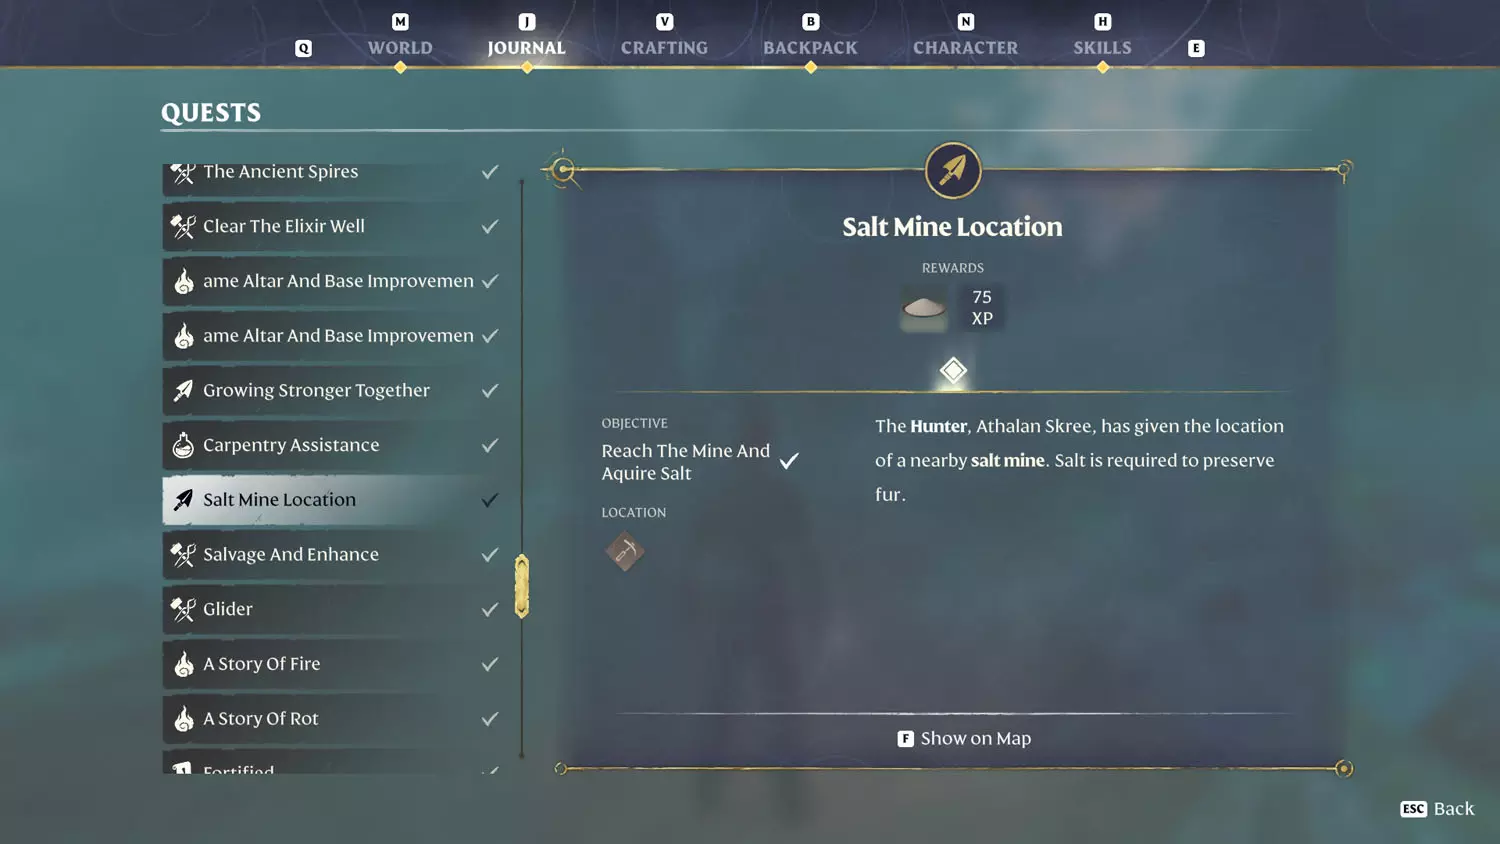
Salt Mine Location
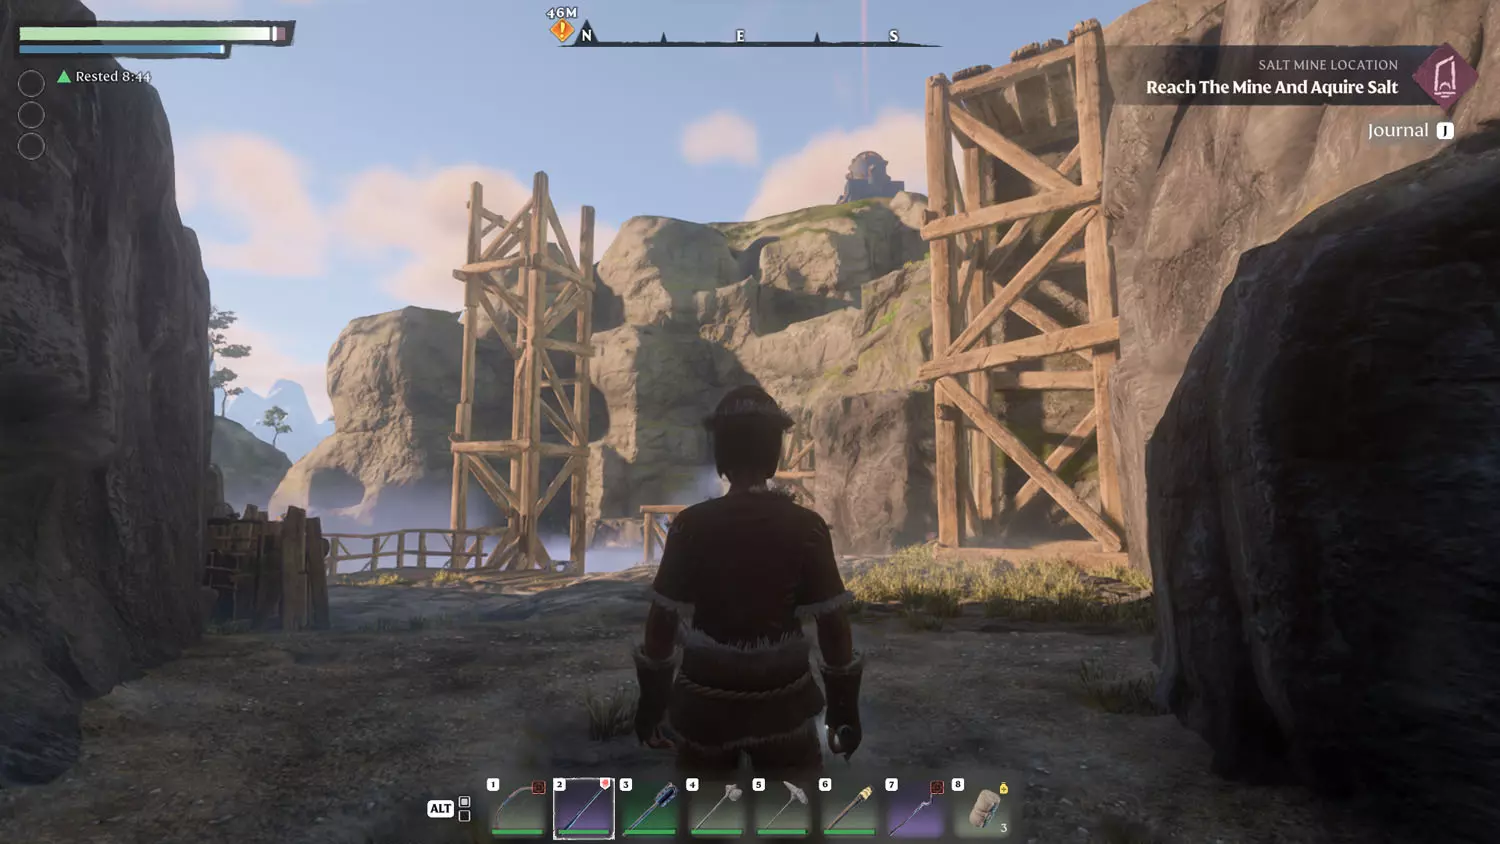
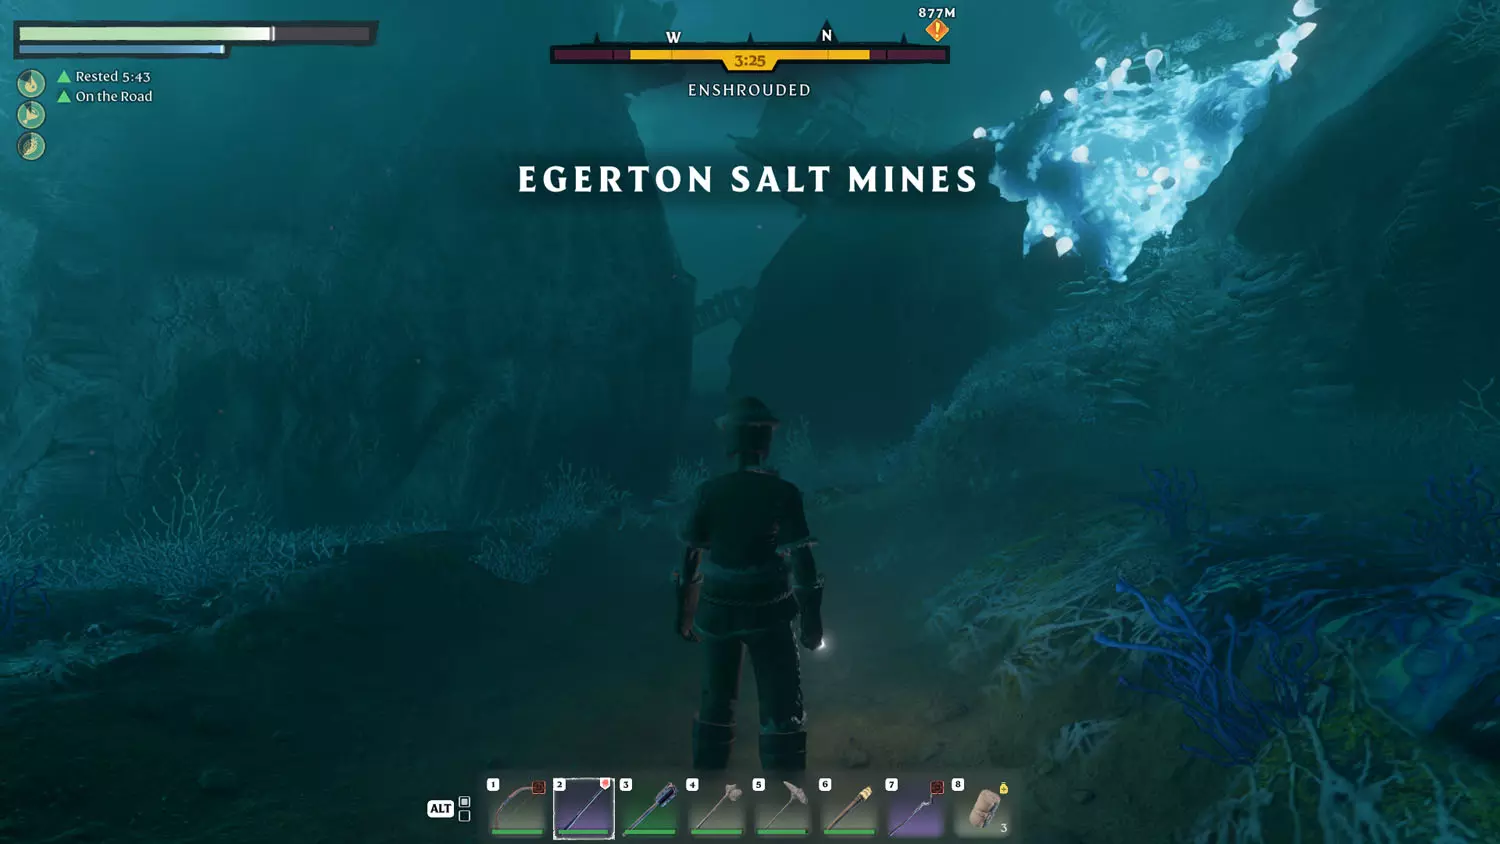
This quest is available as soon as you obtain and place the Hunter. She’ll tell you of a Salt Mine (there’s one very near the first base, but she wants the one far away - Egerton Salt Mines) that’s northwest of Homestead and the Ancient Spire - Springlands Fast Travel. I suggest heading there and following the road out of town toward the location marked on your map. There’s a gap in the mountain that has a path there. Head down and to the west (left) to find the Egerton Salt Mines. Once you enter the area, the quest is completed.
TIP: You can find The Shroud, Elixir, and Elixir Well Lore: The Buzz In The Walls 1/2 I Sense Good Fortune and 2/2 My Faculties, Sharp As Ever! here. There’s also the General Lore: Alchemist Theories II 4/5 Spores and Sickness.
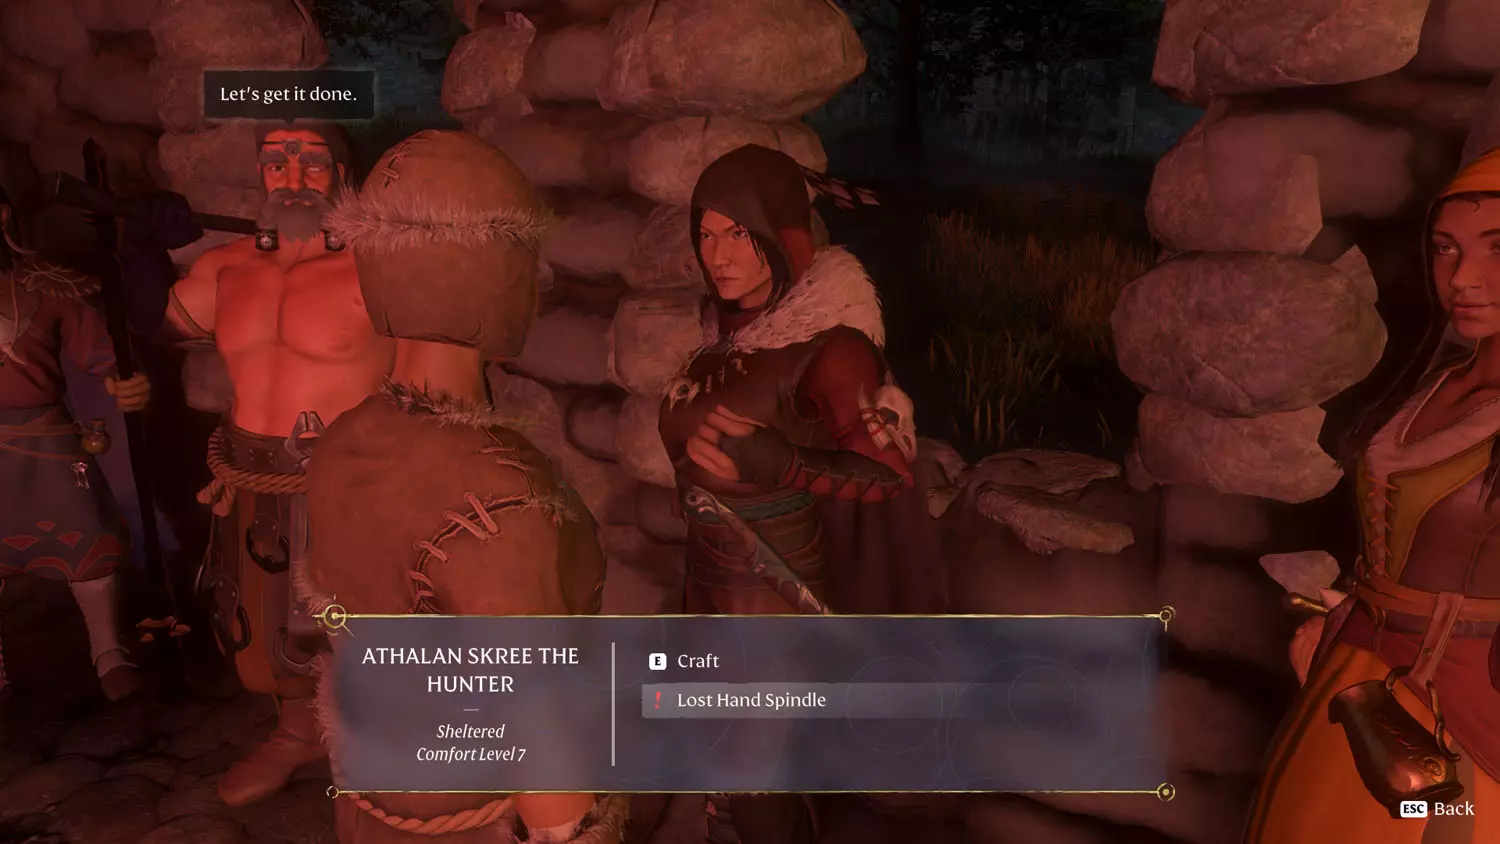
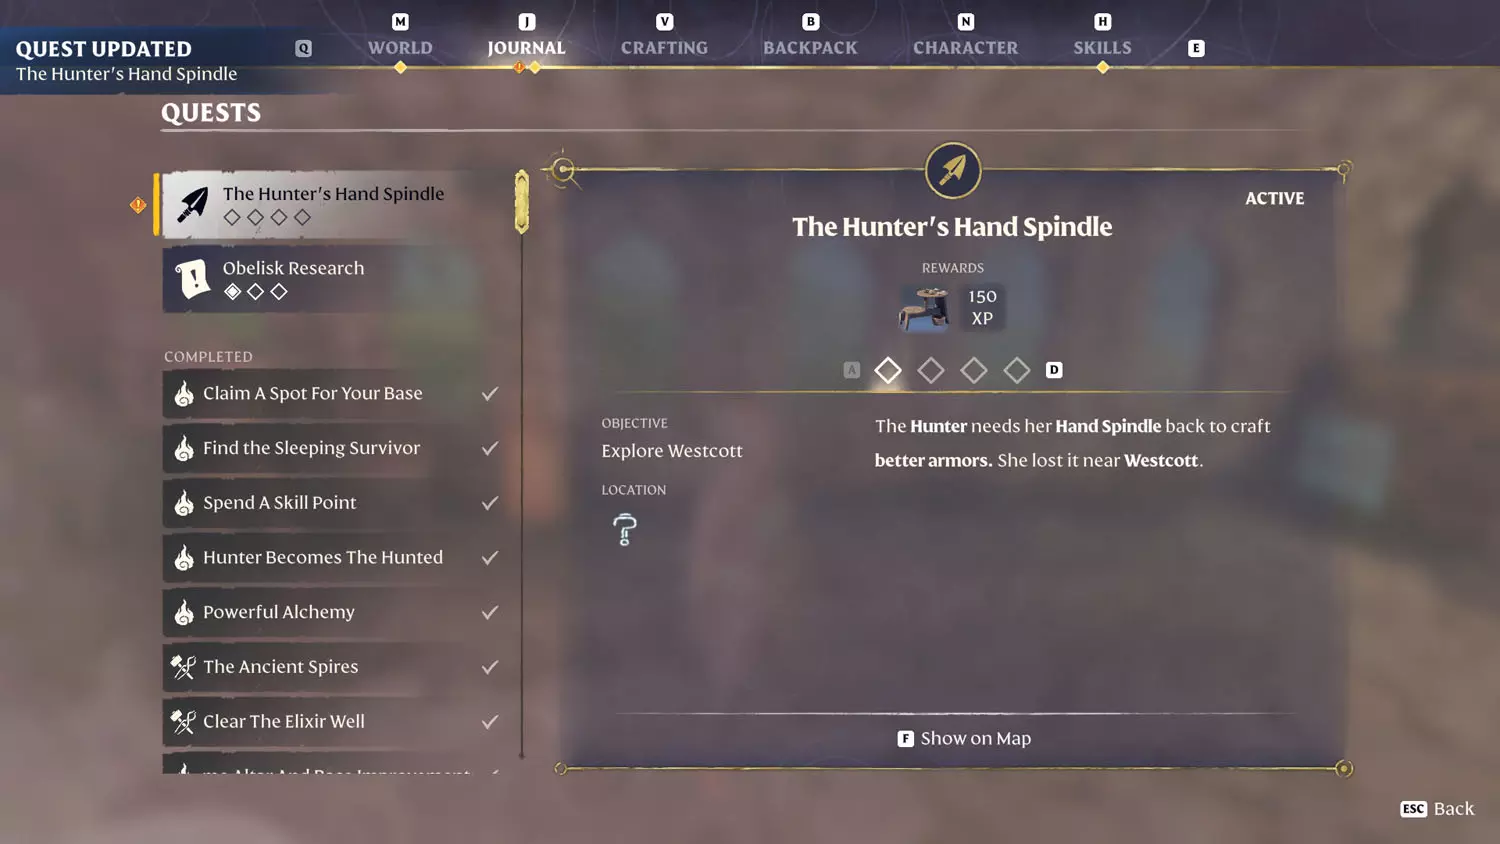
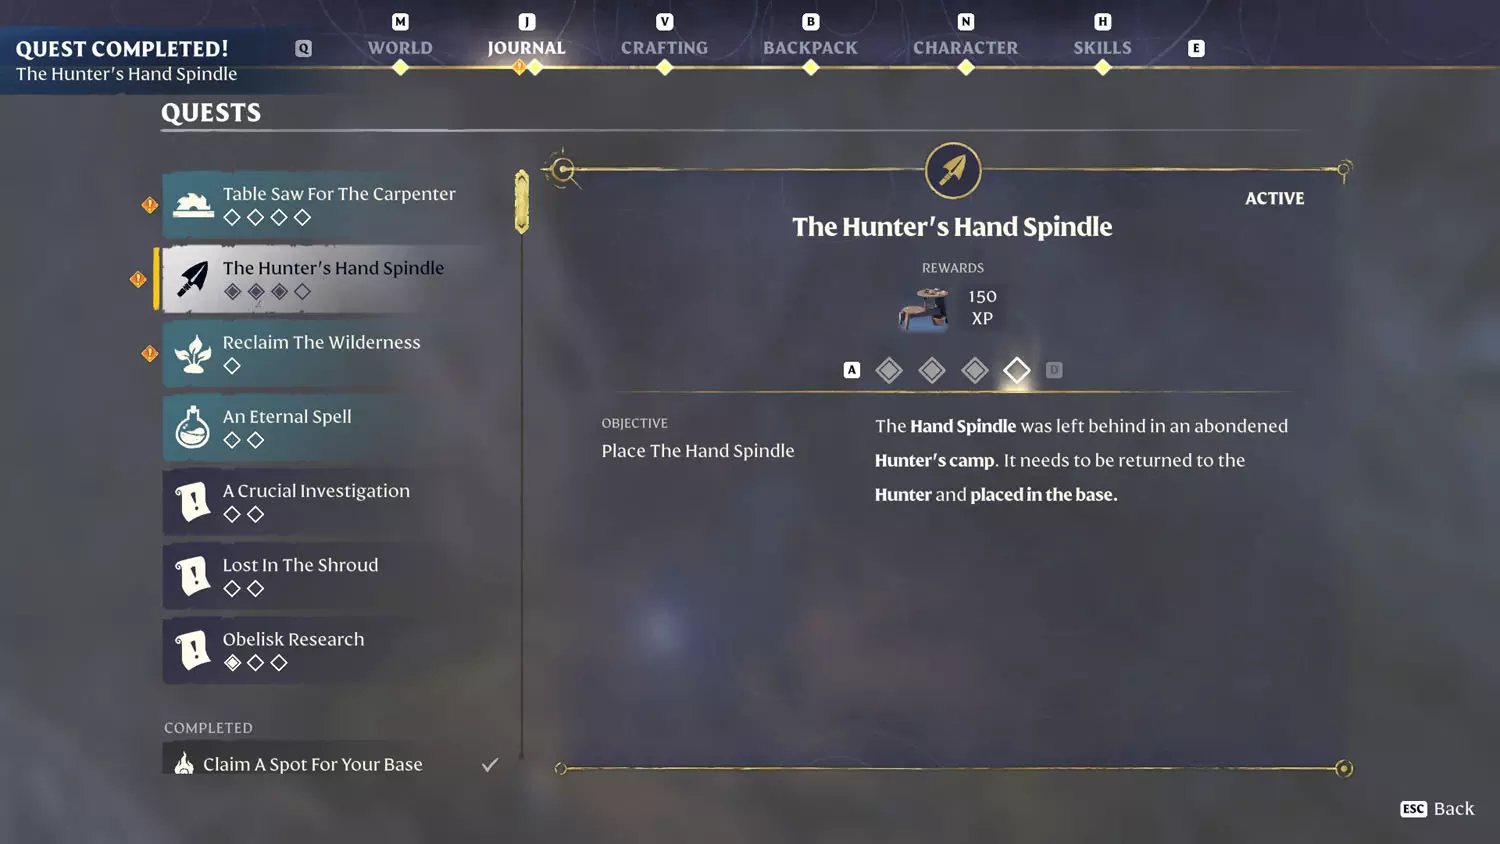
The Hunter’s Hand Spindle
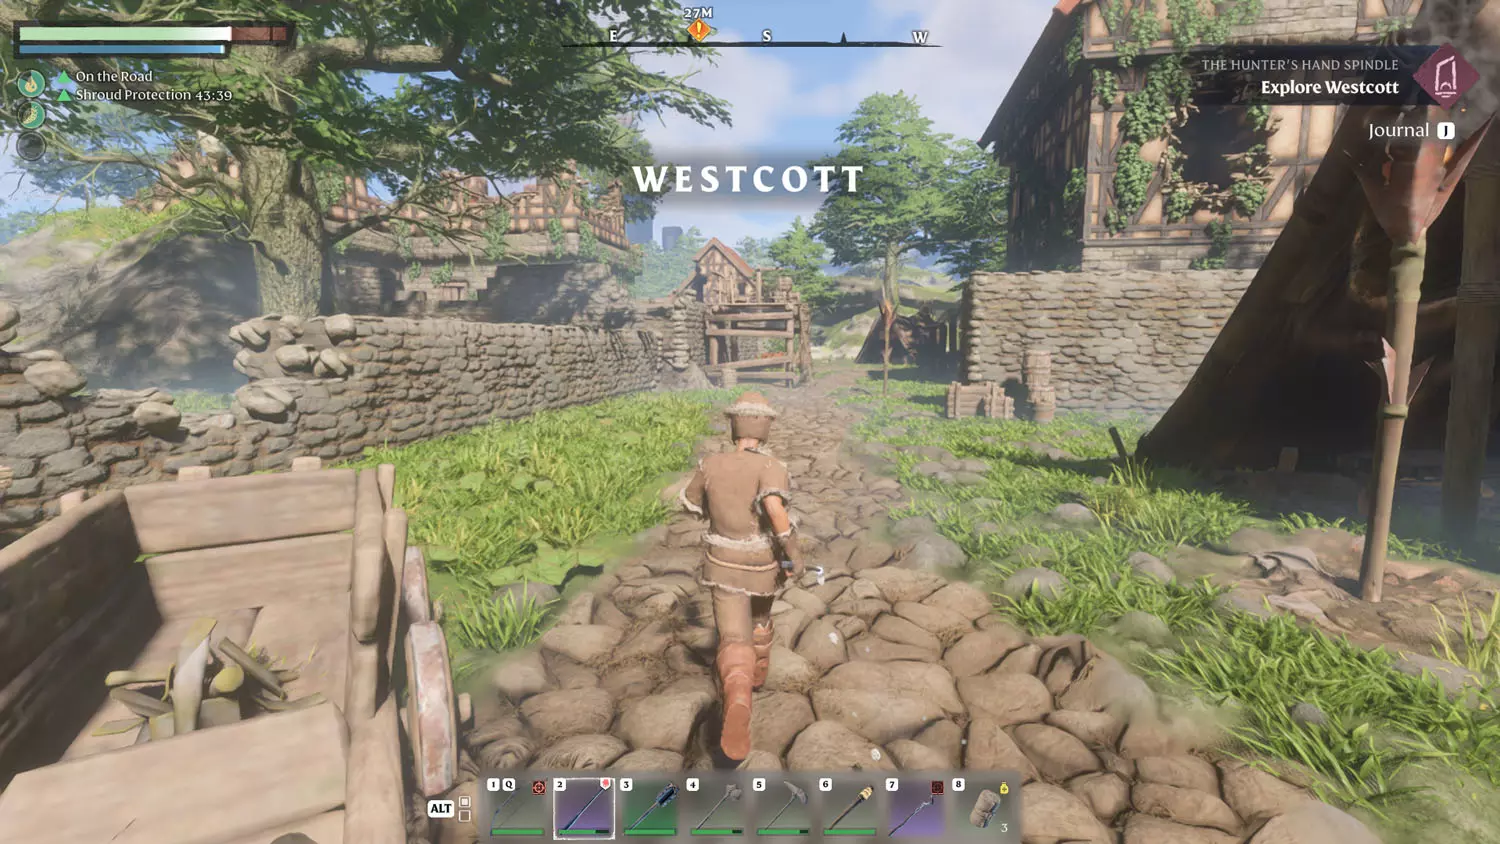
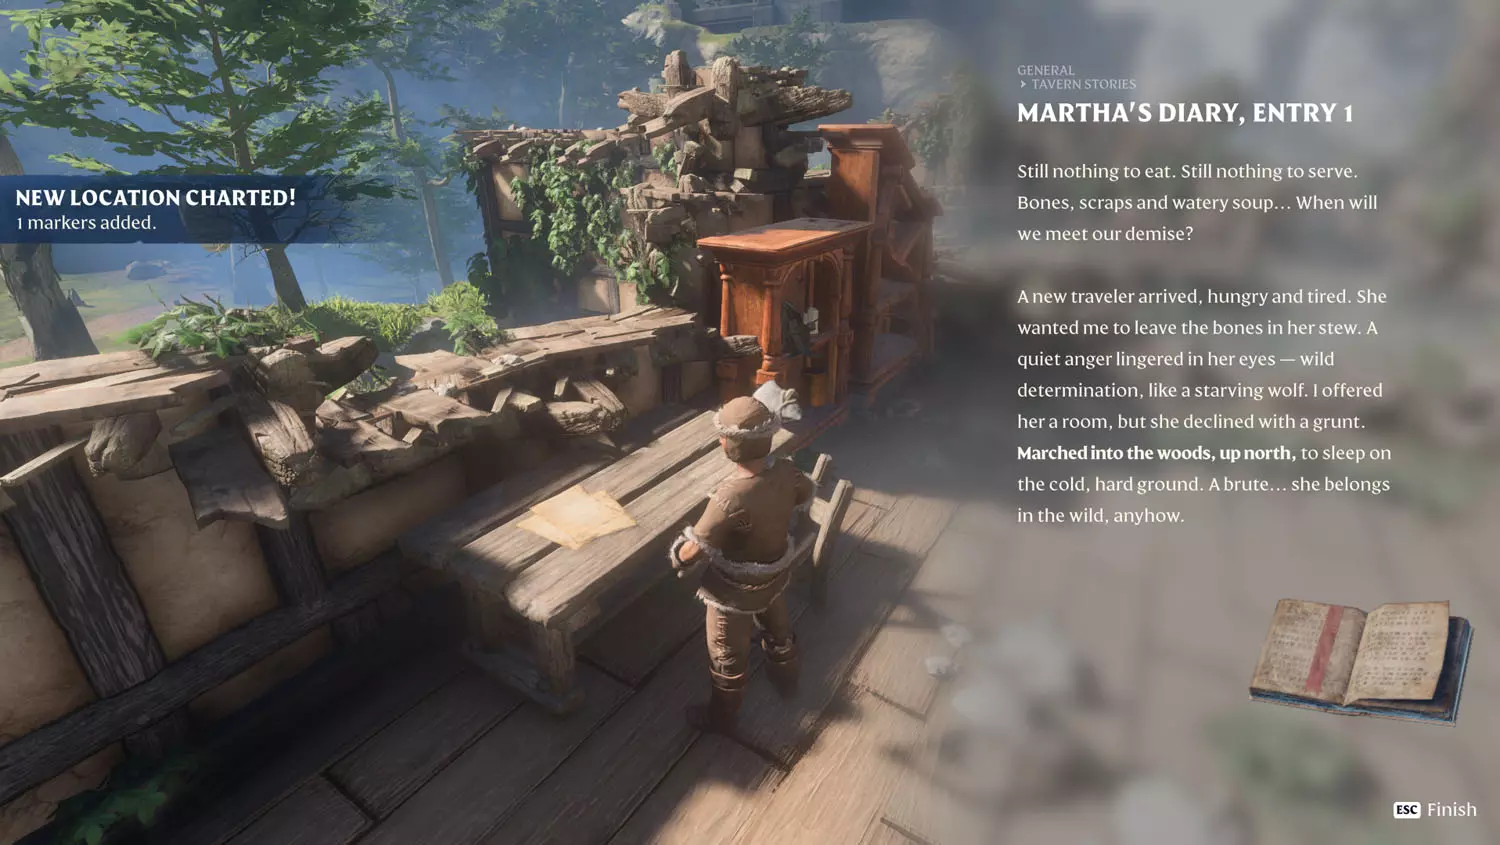
Activate this quest by speaking to the Hunter and Selecting Lost Hand Spindle for the dialogue. This one is located in Wescott. It’s close to the Ancient Vault - Farmer location (to the west and slightly south of it). A glide from the Ancient Spire - Springlands Fast Travel is the quickest way there. I did, however, have to make it to the top floor of the Vault and then glide down to the town. Reading the first half of the General Lore: Tavern Stories 1/2 Martha’s Diary, Entry 1 will complete the first part of this quest.
TIP: Follow the guide for my General Lore: Tavern Stories series and you’ll be good!

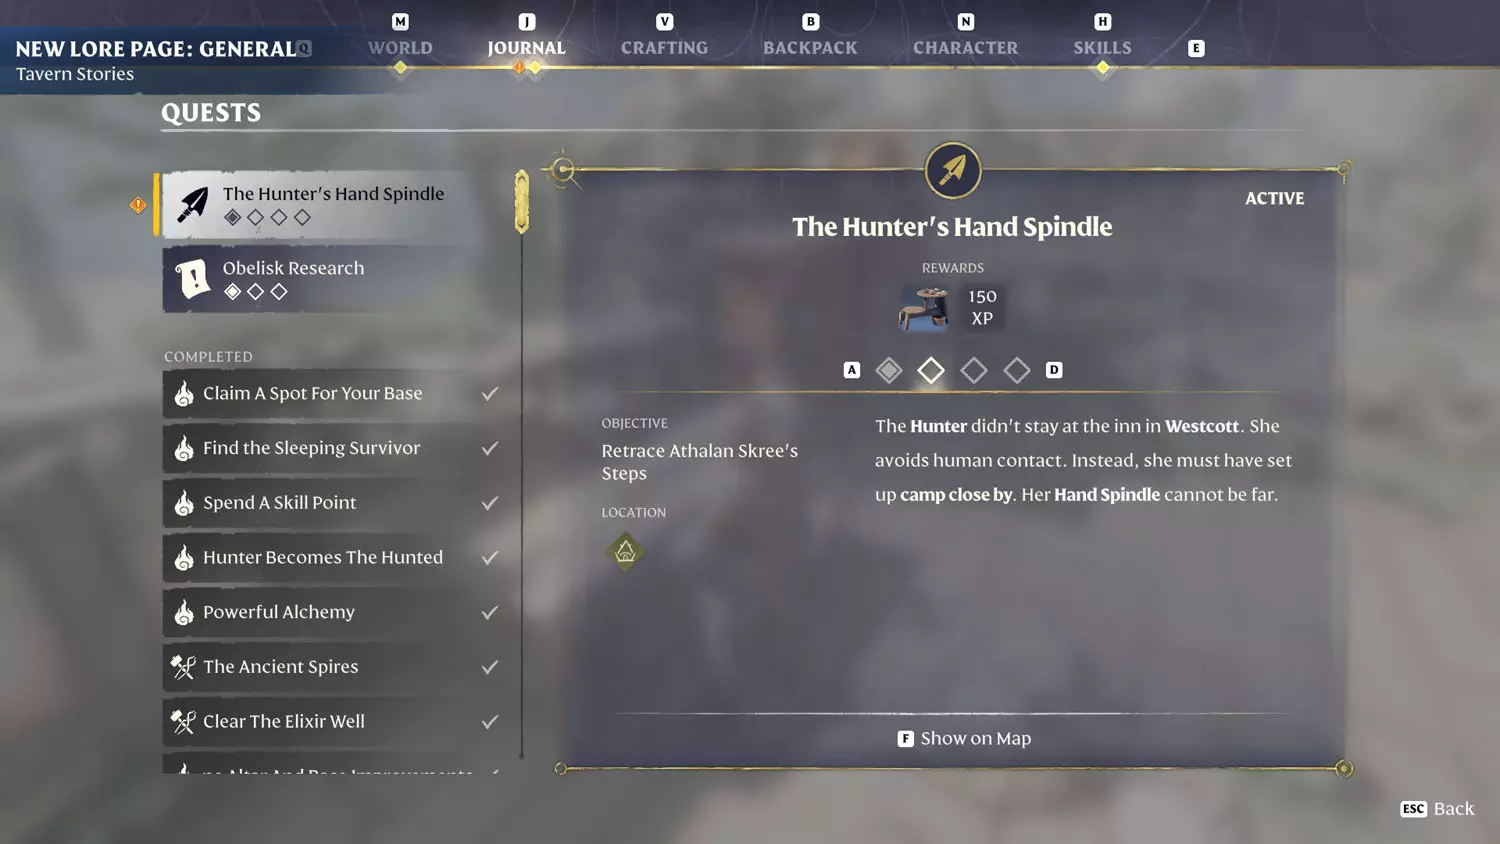
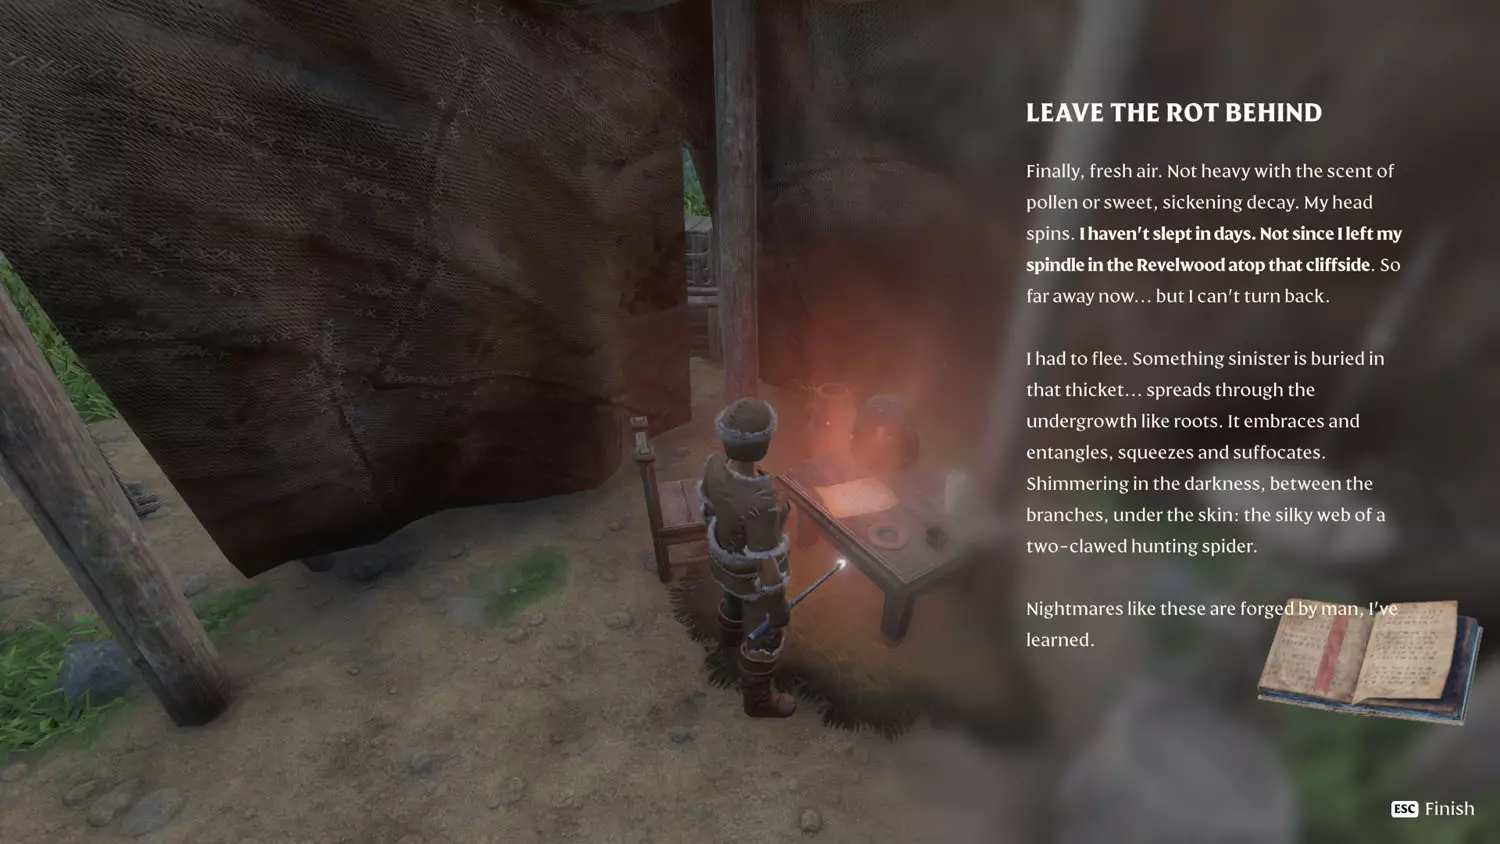
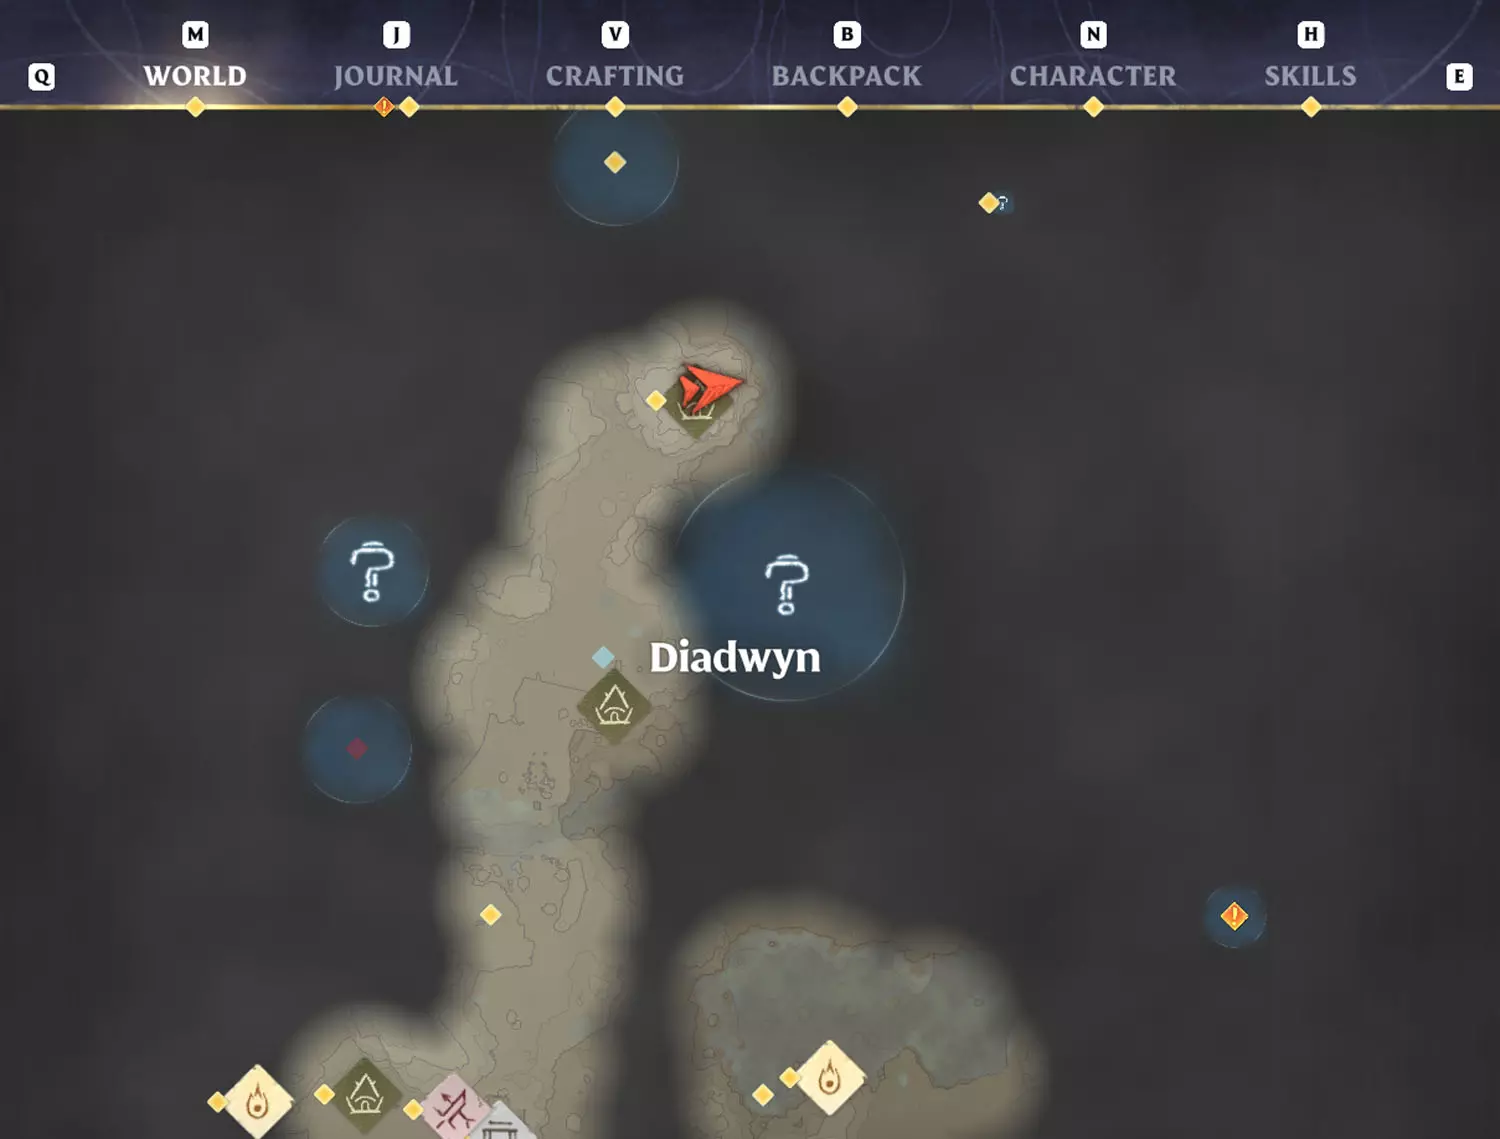
Check your map, or simply head northward from Westcott. The camp is right outside of the city. Read the glowing red General Lore: Hunter’s Notes 3/3 Leave the Rot Behind. This will complete the next phase.
TIP: By following the next two pieces of Lore in that series, you’ll not only get the Hunter’s Hand Spindle, but you will also unlock two new quests by reading them. Check out the Lore by clicking here. The quests unlocked were: Item, XP, AND Loot Quests: A Crucial Investigation and Lost In The Shroud.
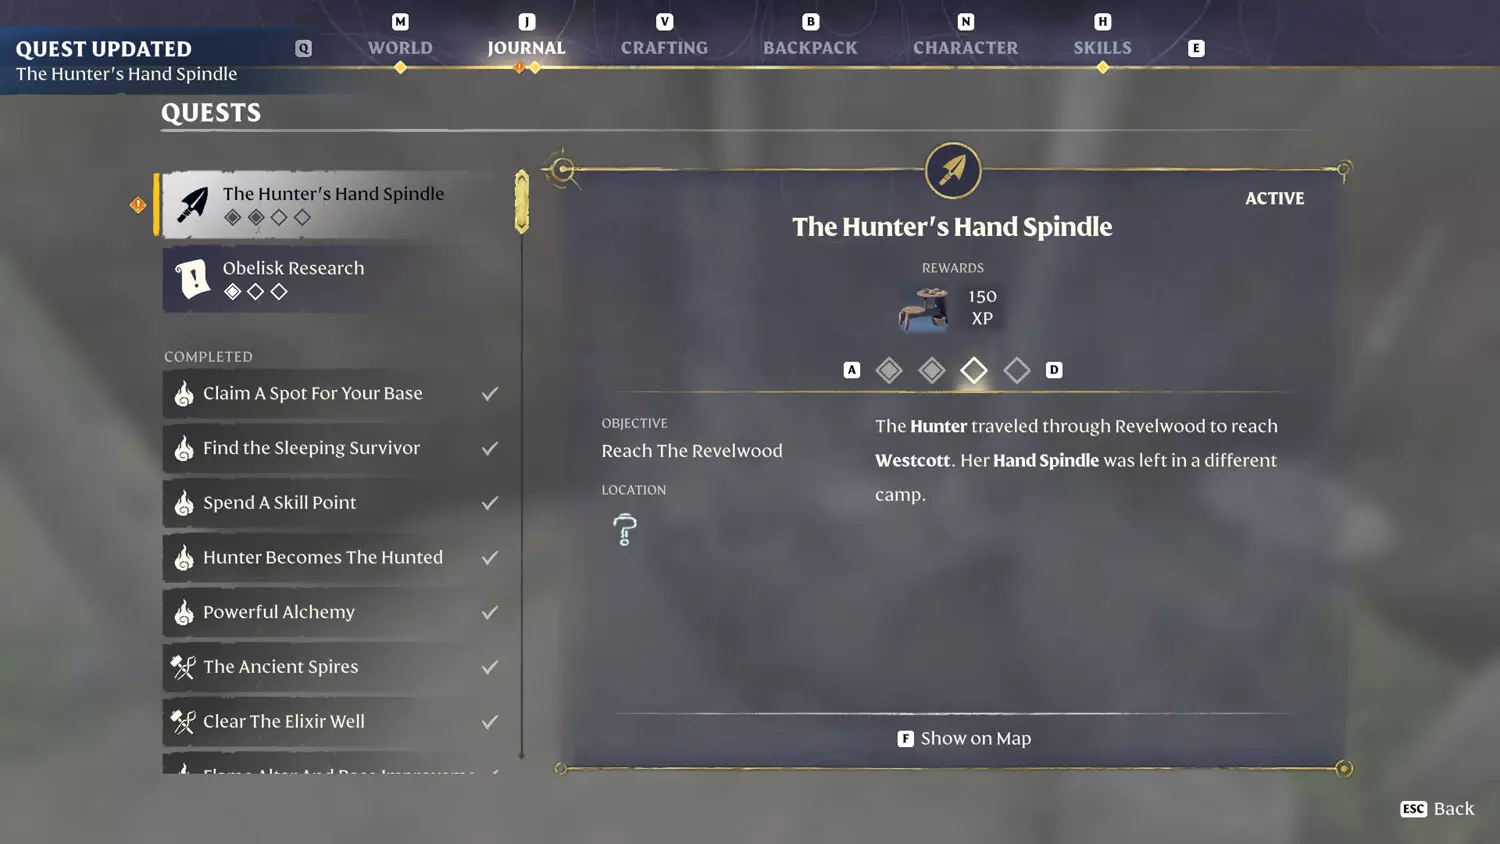
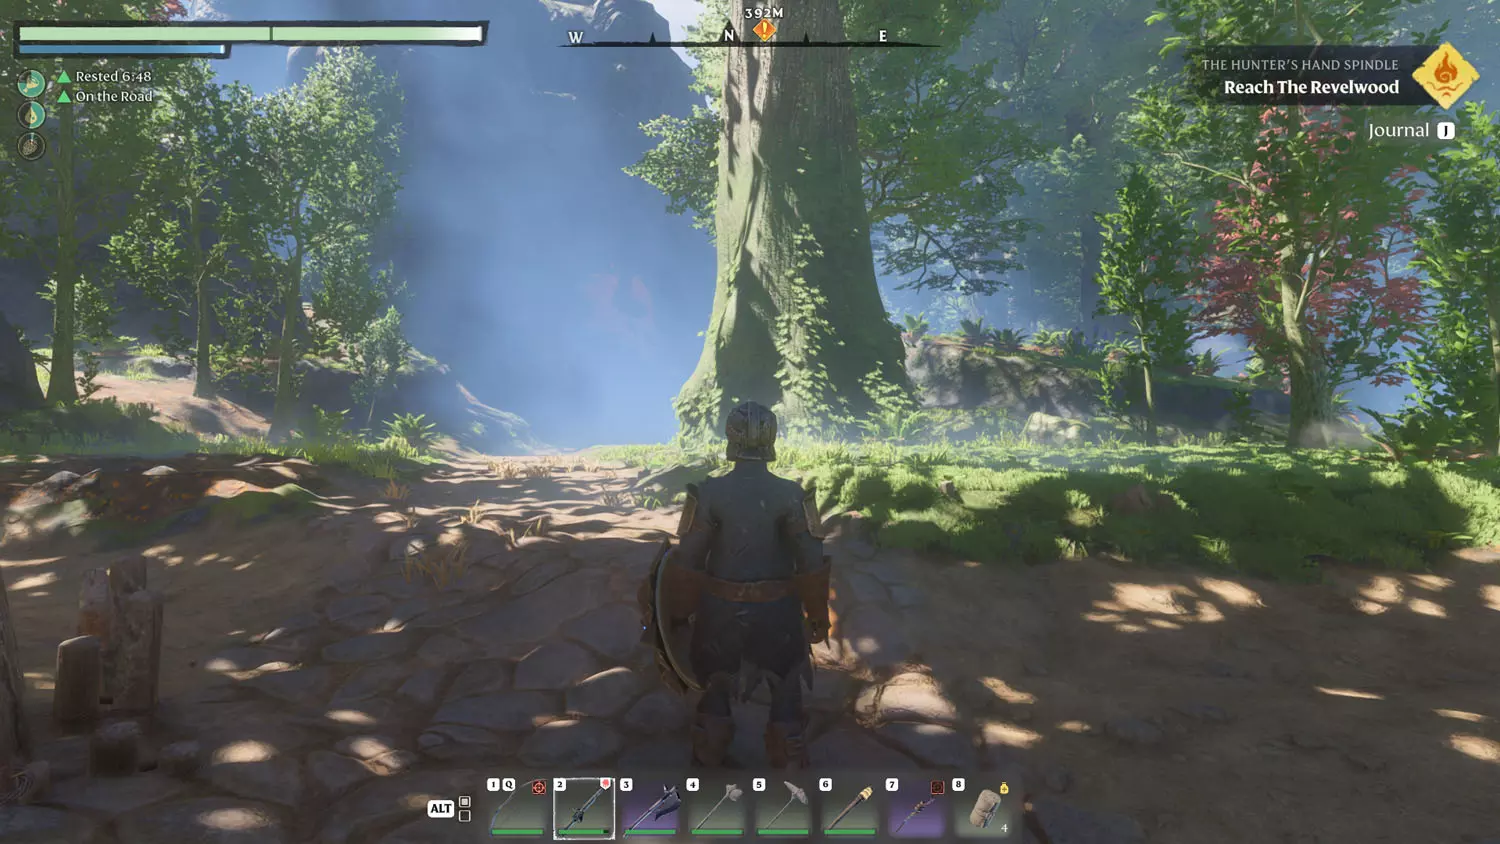
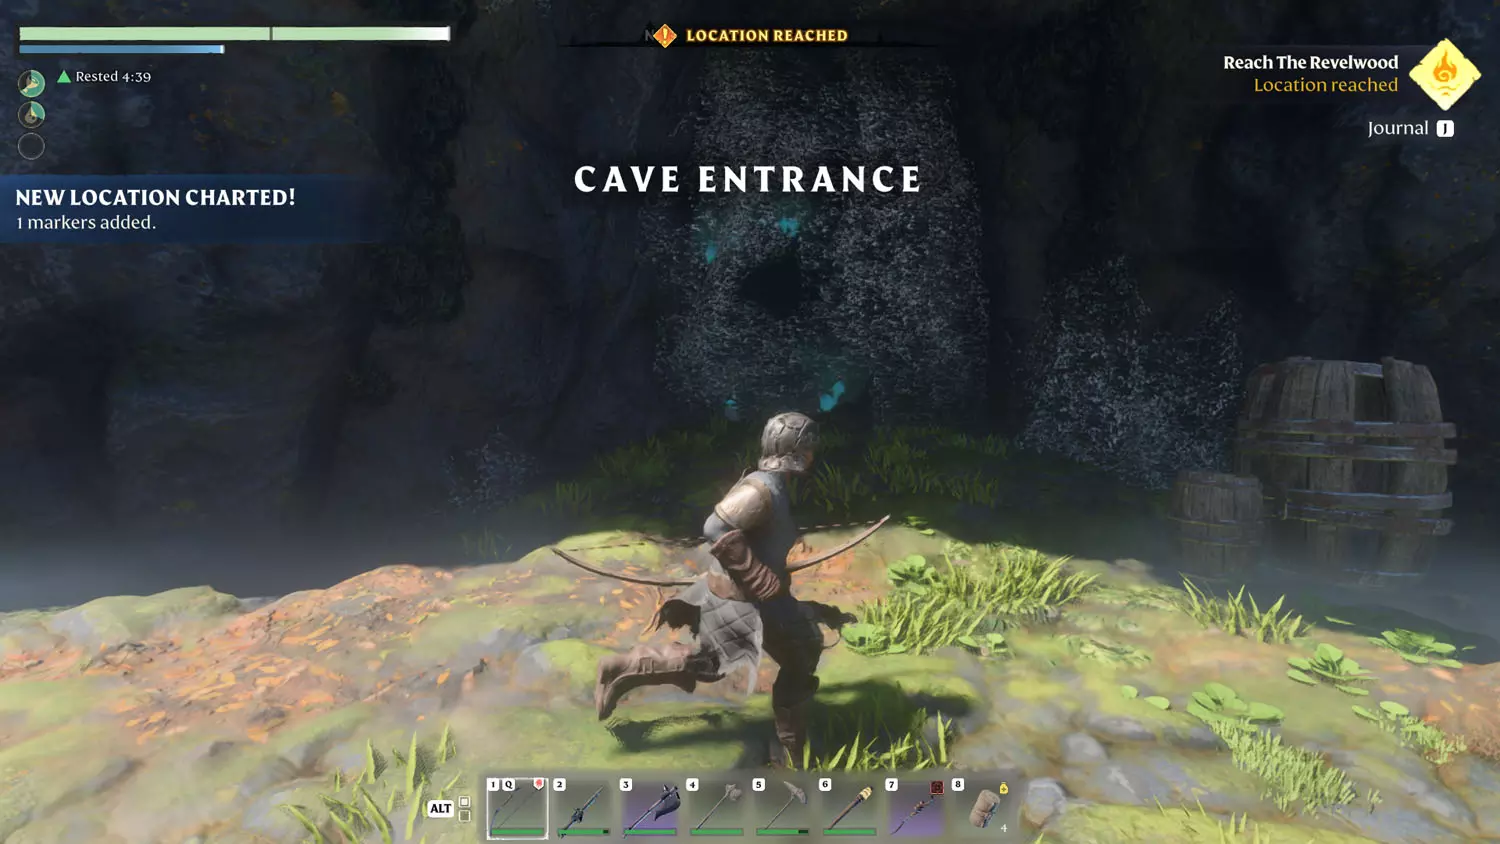
I took a break from this quest and instead worked on two others (Block Quest: Diadwyn And Its Building Blocks - Half-Timbered Block Reward and Items, XP, and Loot Quest: Oswald Anders’ Chest). This opened up the area for me. Anyway, from the last location, head north, a LOT. You’ll pass through the Withered Encampment, Willow Crush, and you’ll pass by Diadwyn. Now, on the trail to Diadwyn, before you take a right, this time you want to go straight north, following the road. You’ll eventually reach the hidden cave (there’s a side path up to the platform area so you can make the jump. If you try coming from the Ancient Spire - Revelwood Fast Travel, you may miss it and end up too high up. It is hidden, but it is easily spotted from the path.
Anyway, from there, head inside.
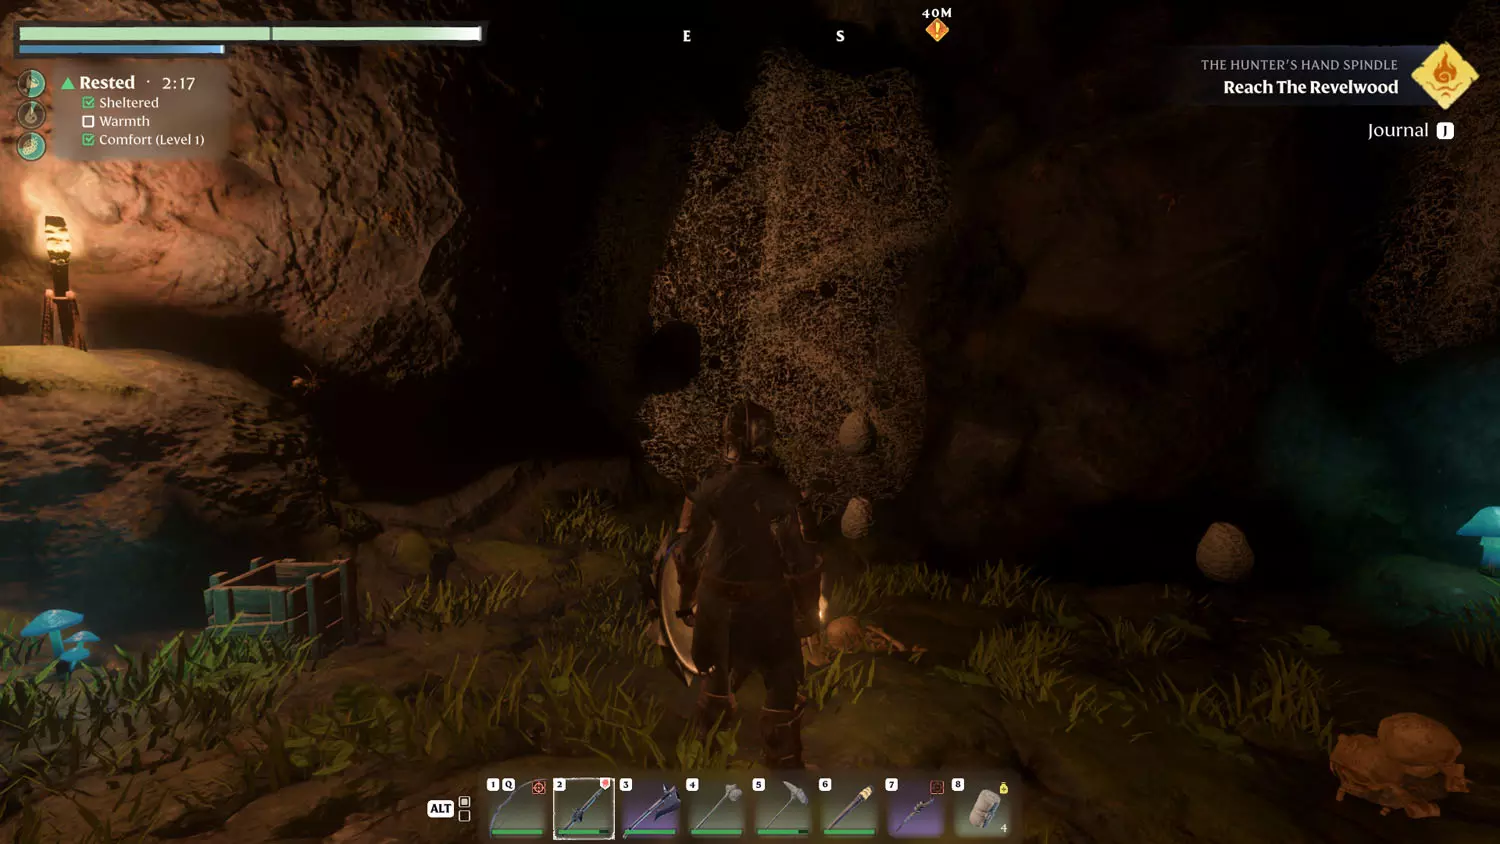
The Hunter really likes hiding things. Anyway, Once inside the cave, you will come across a seemingly useless chamber. Attack the webbing on the wall to reveal a passageway (not the glowing blue one as that webbing goes nowhere useful). The next chamber will have what you seek across a swarm of Fell Spiders.
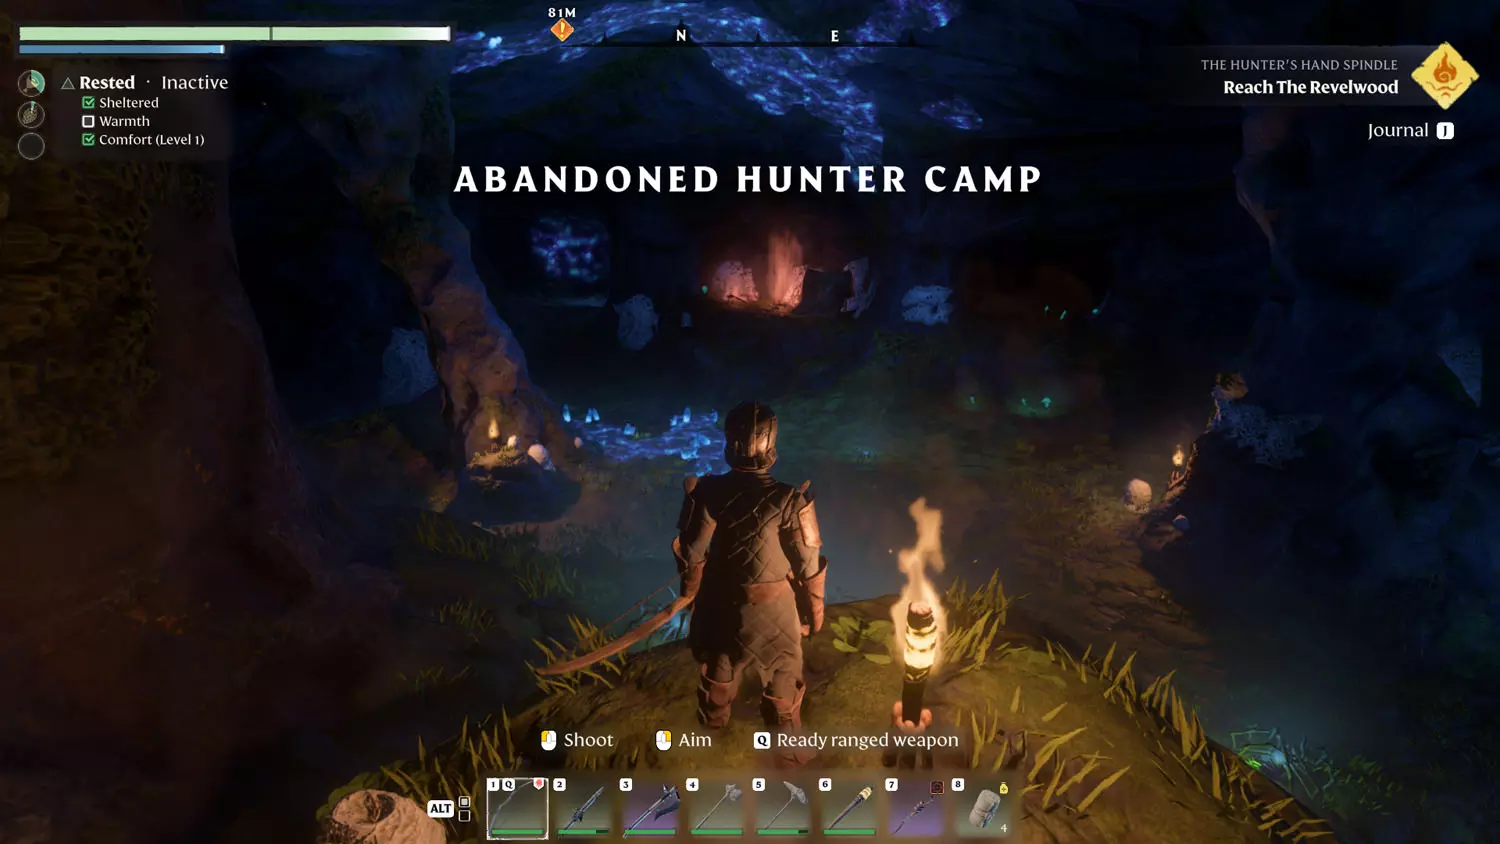
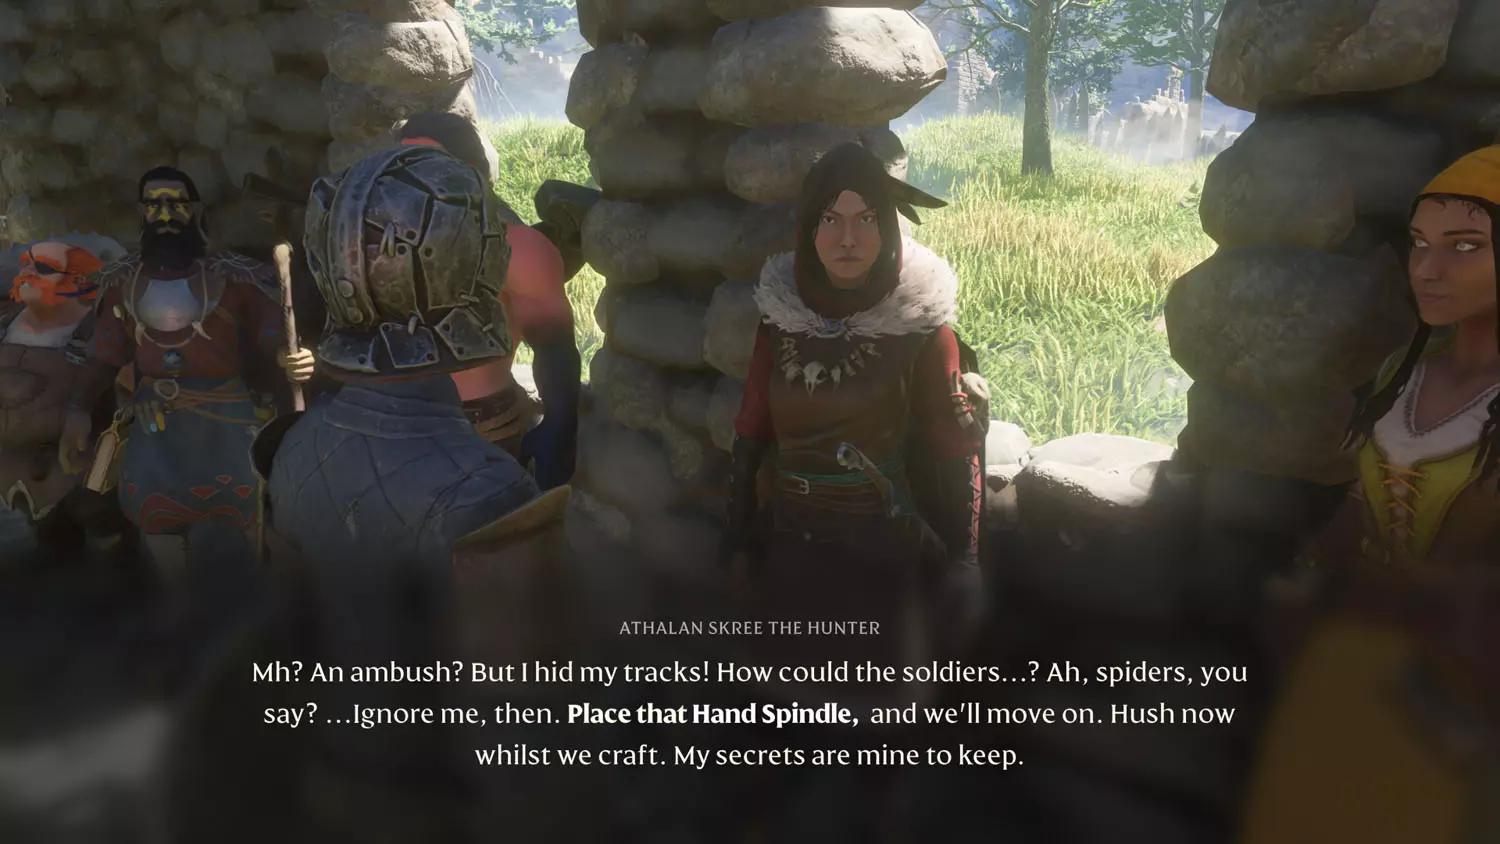
Pick up the Spindle to complete that part of the quest. Then you can head home to give the Hunter the good news!
TIP: Read the paper near the Spindle to unlock two quests. The paper is the second piece of the General Lore: Hunter’s Notes: 1/3 Long Way From Home and 2/3 A Sleepless Night.
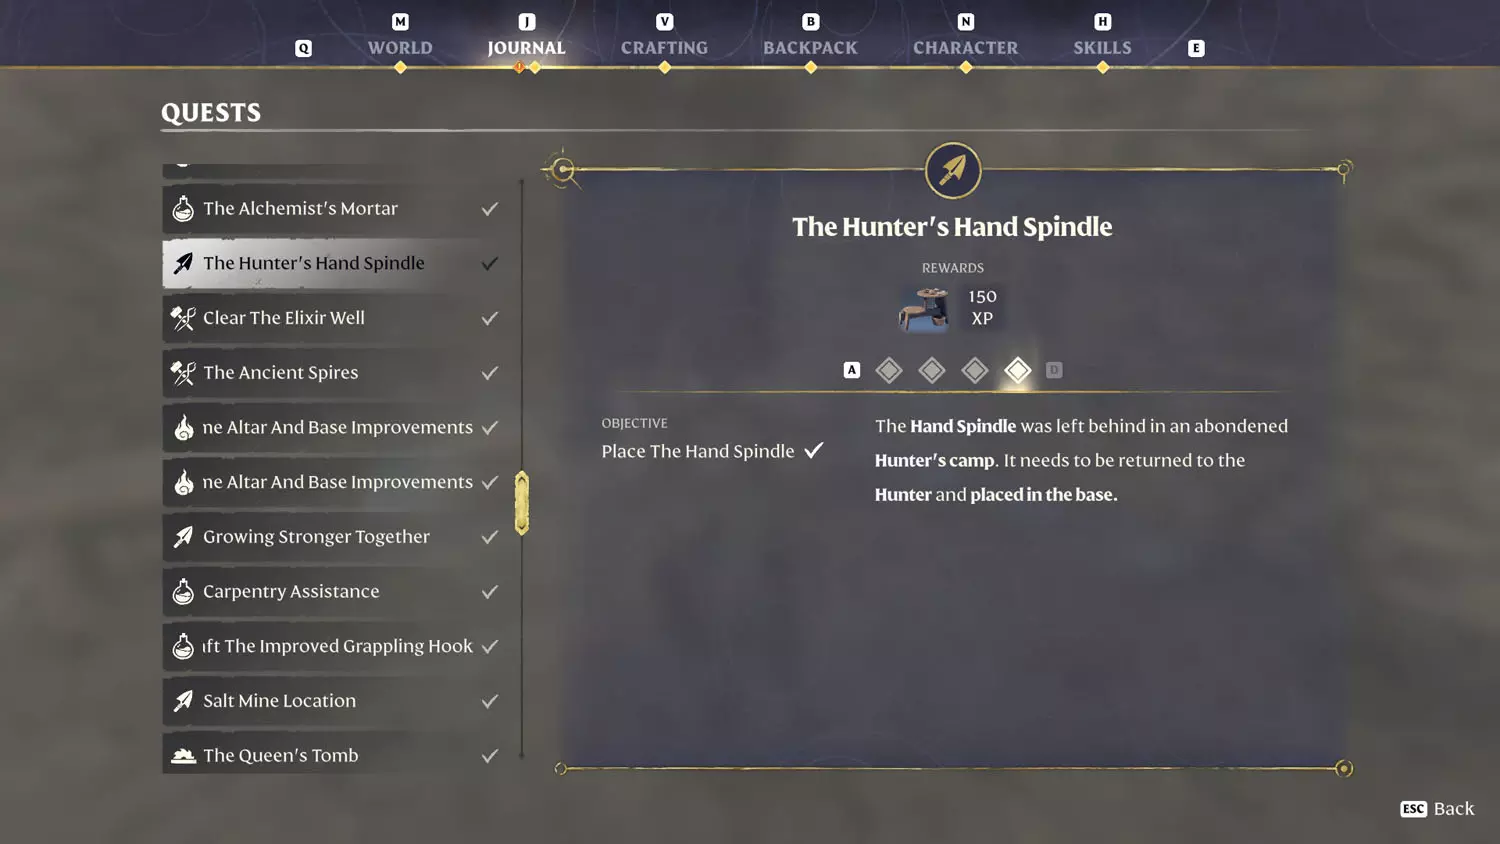
Now, once you do place the Hunter’s Hand Spindle, the quest will be finished!

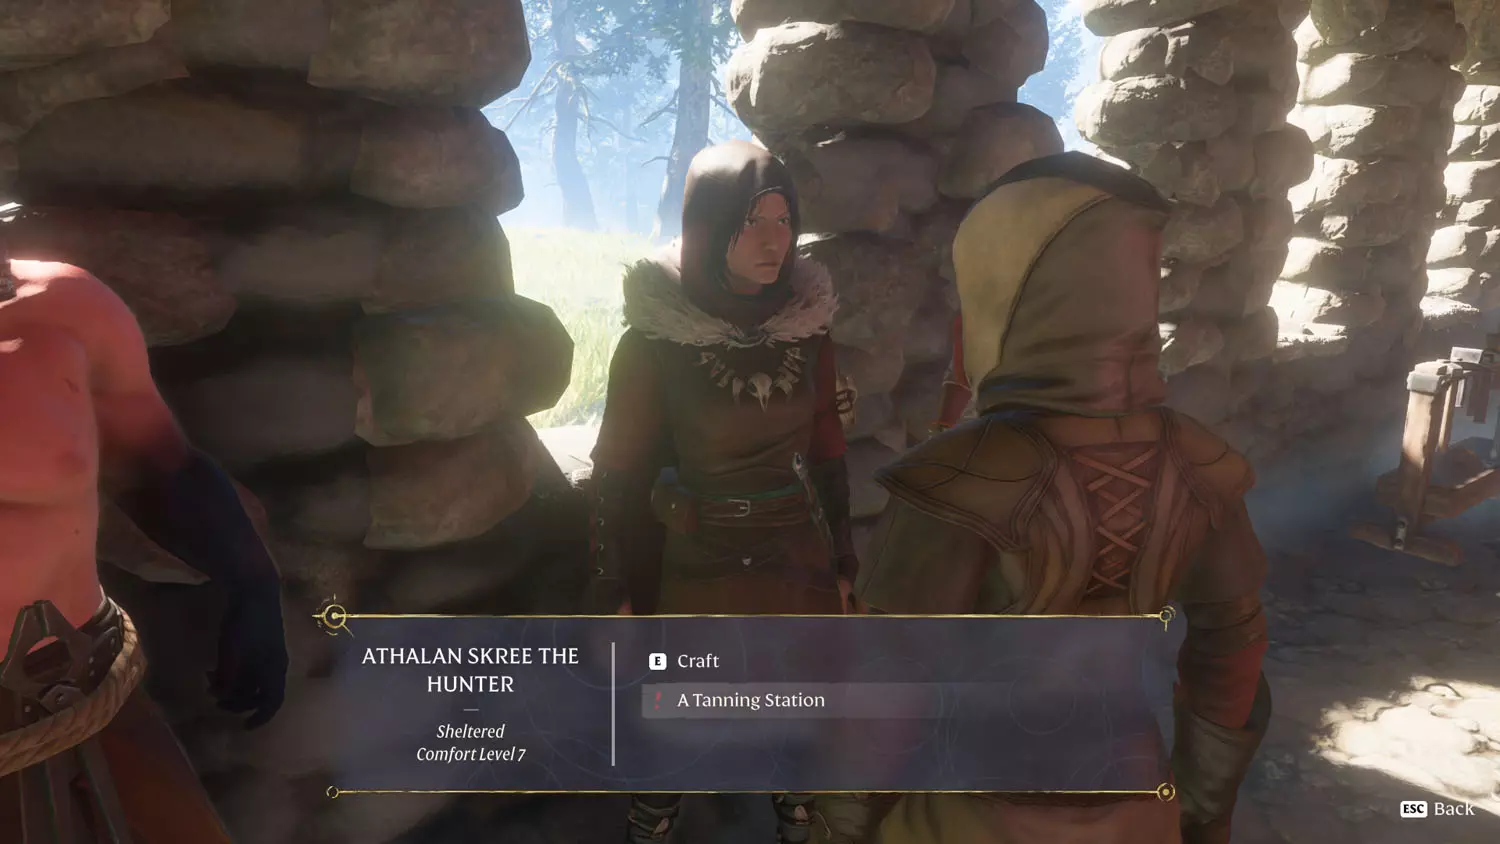
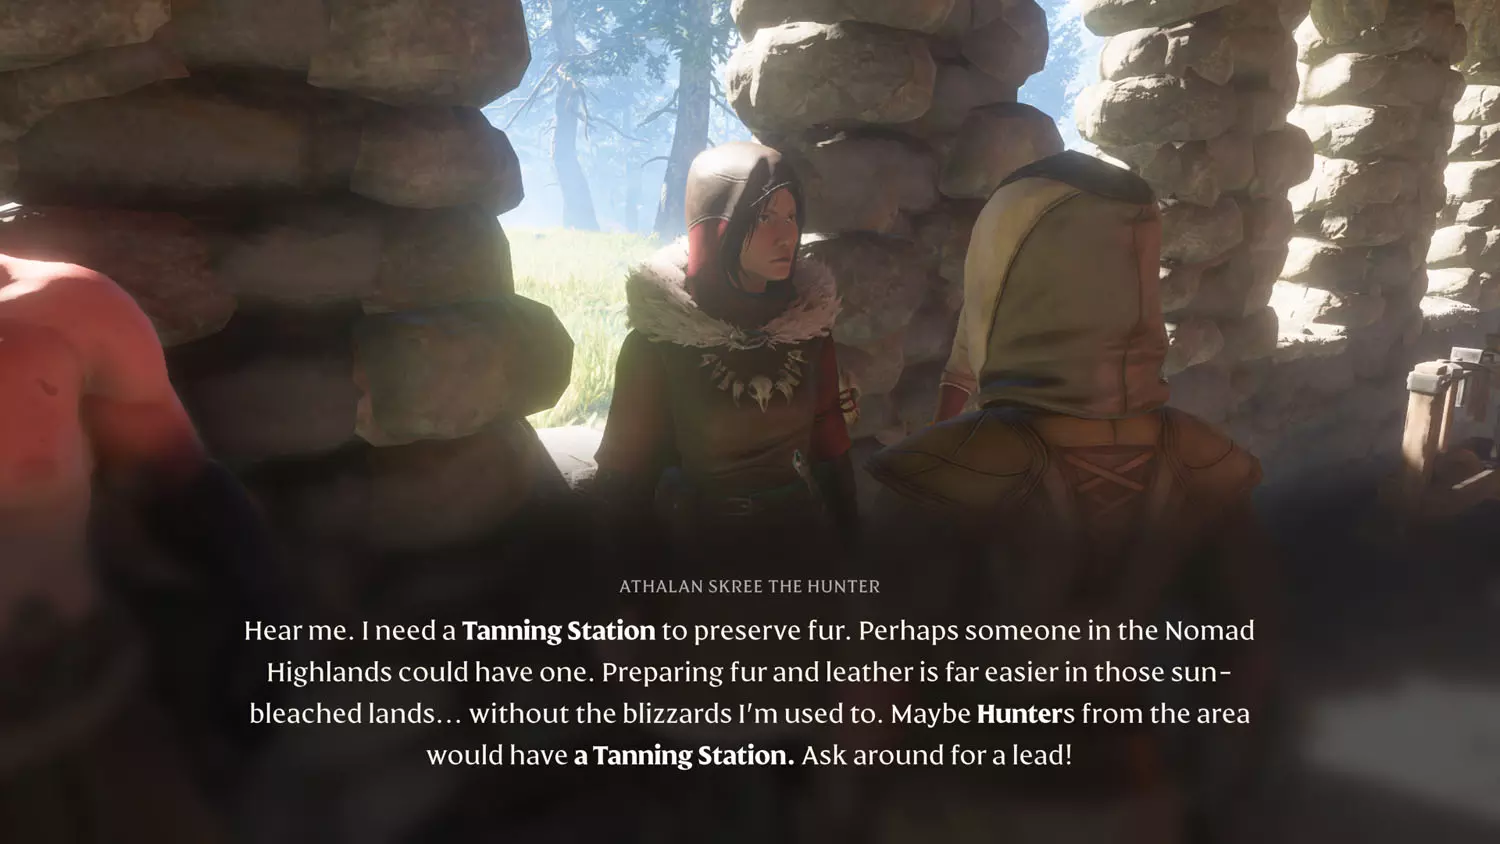
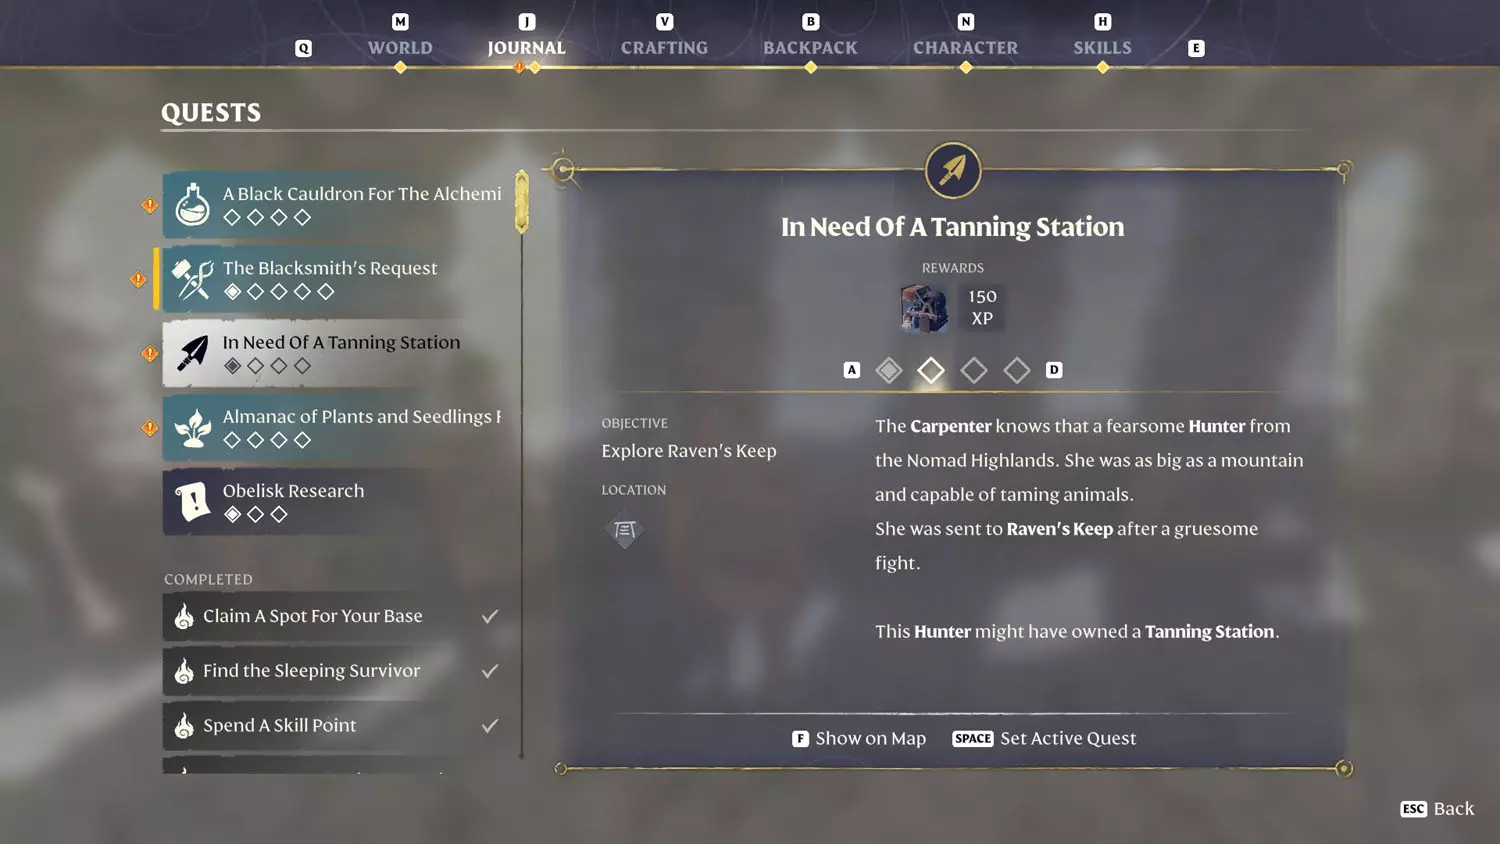
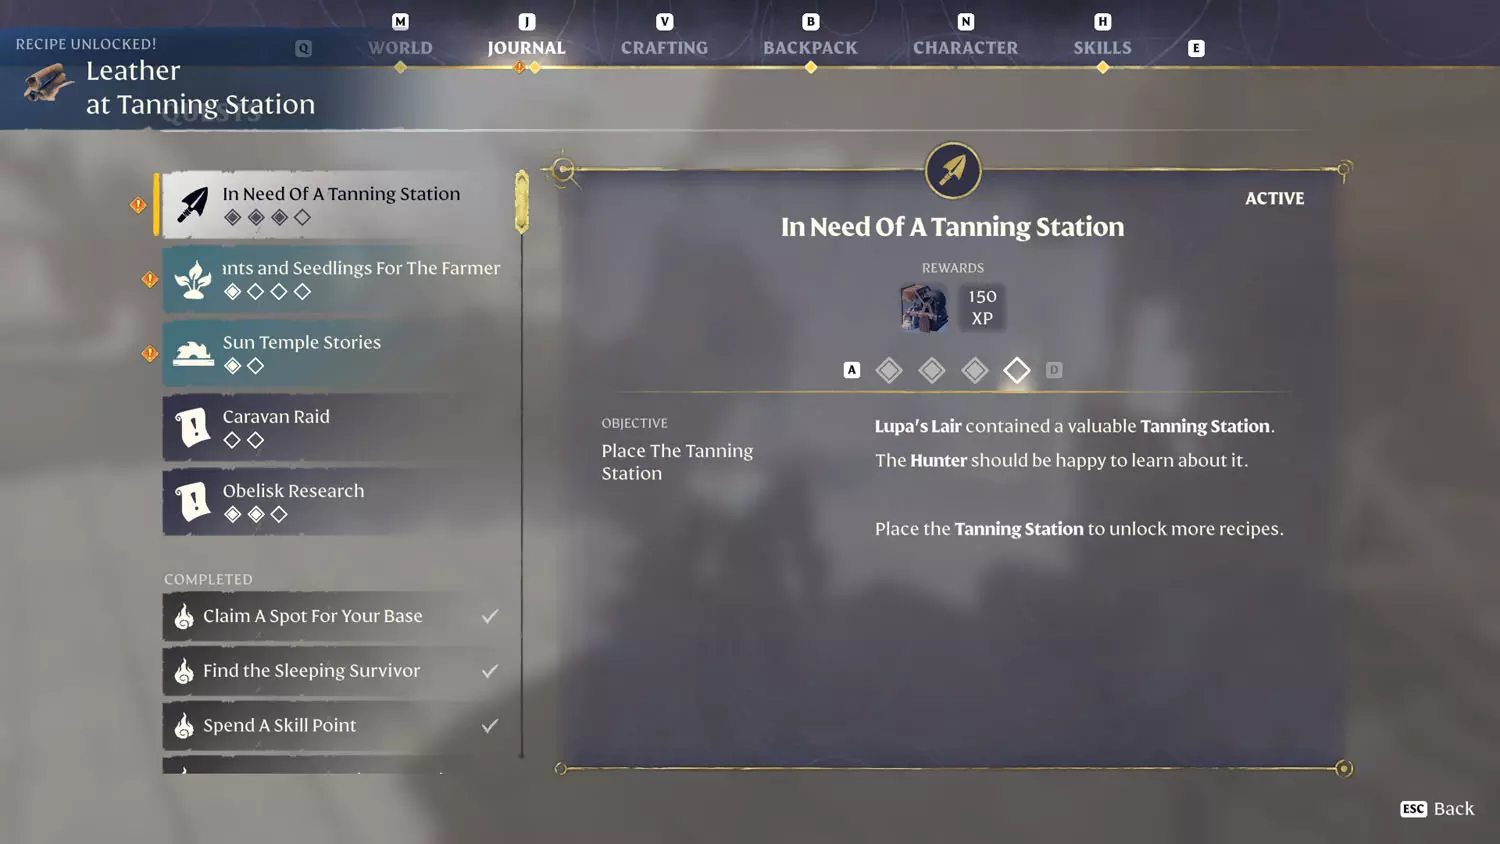
In Need Of A Tanning Station
This quest becomes available at the Hunter under the dialogue “A Tanning Station” the second you finish the Carpenter Quest: Finding Masonry Tools.

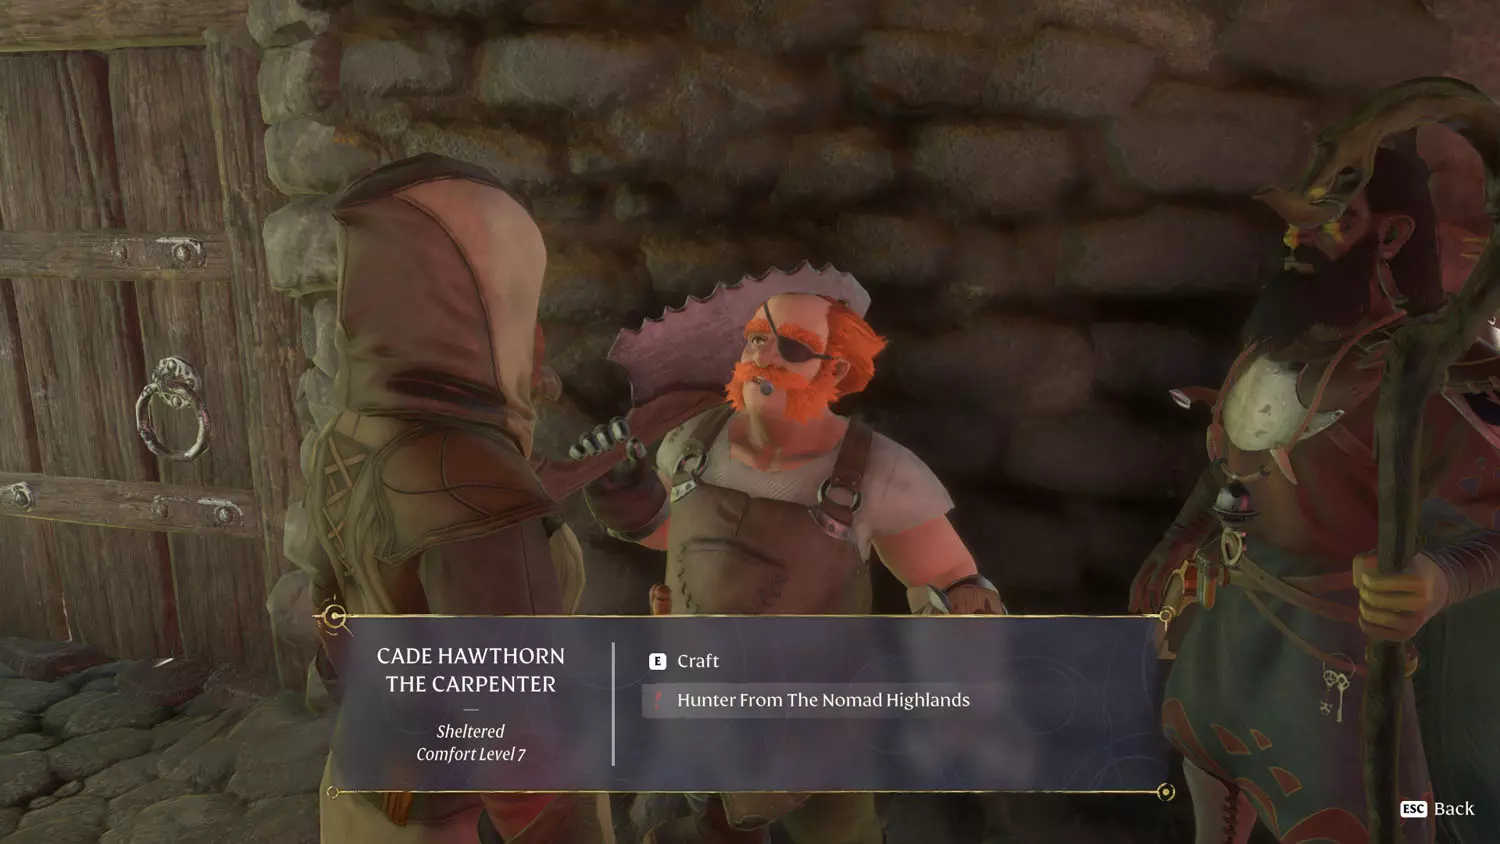
After speaking with the Hunter, talk to Cade Hawthorn, the Carpenter, for tips on how to proceed. He will have the dialogue option "Hunter From The Nomad Highlands". Talking to the Carpenter will finish the first part of the quest.
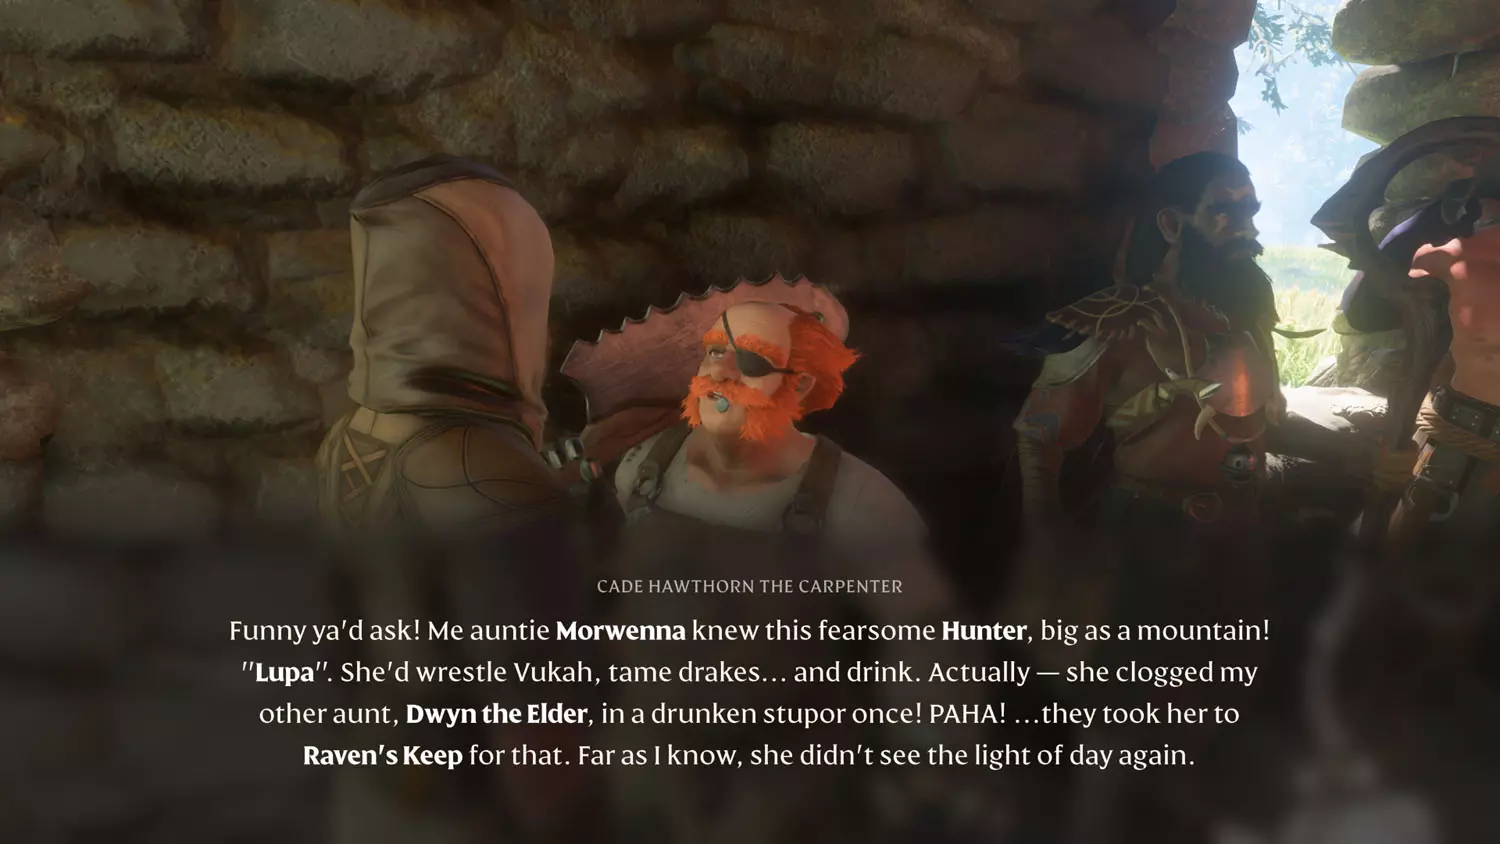
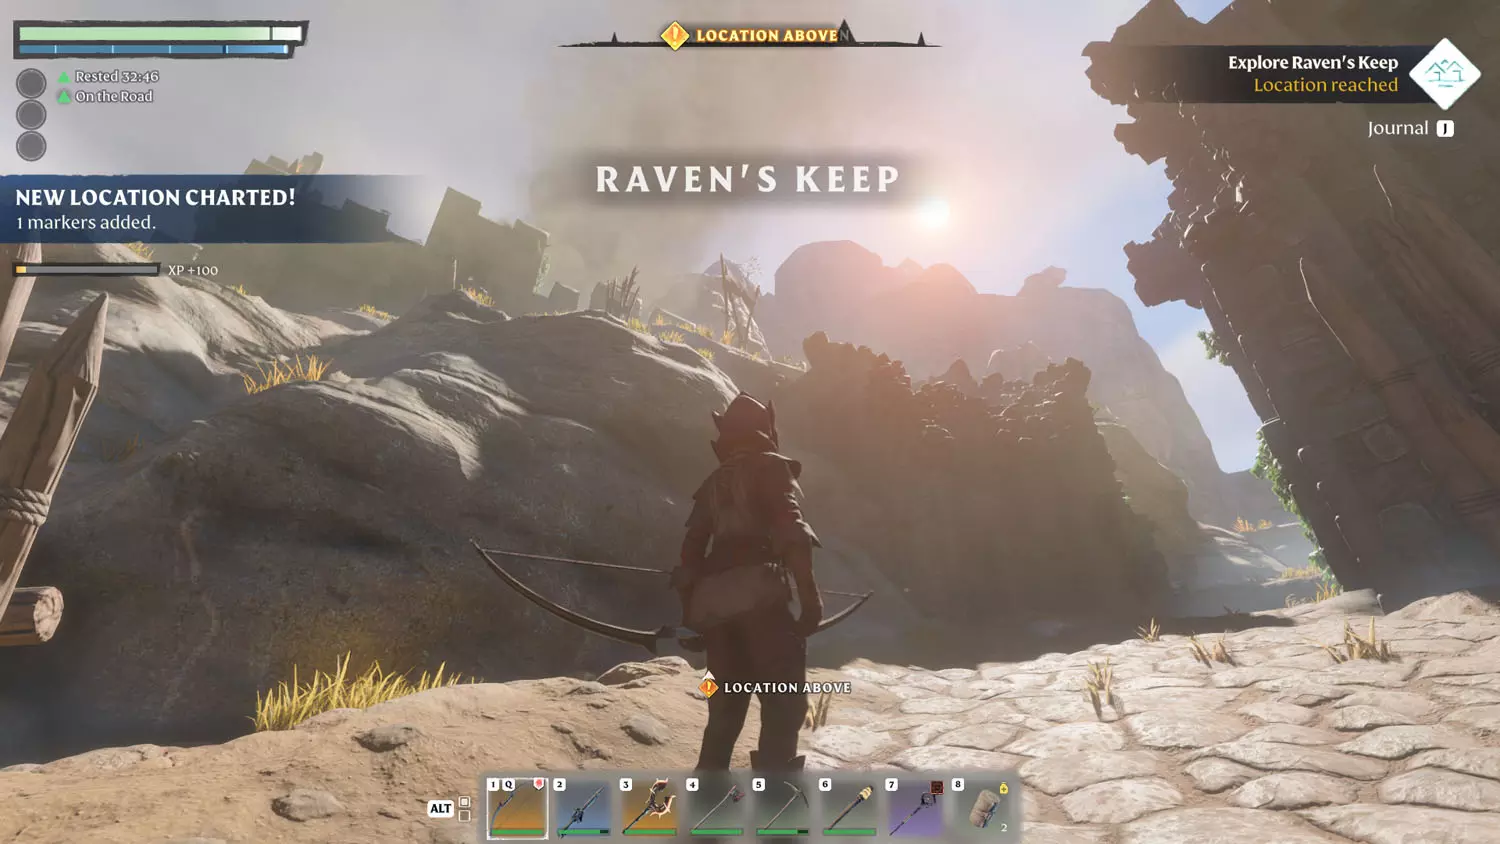
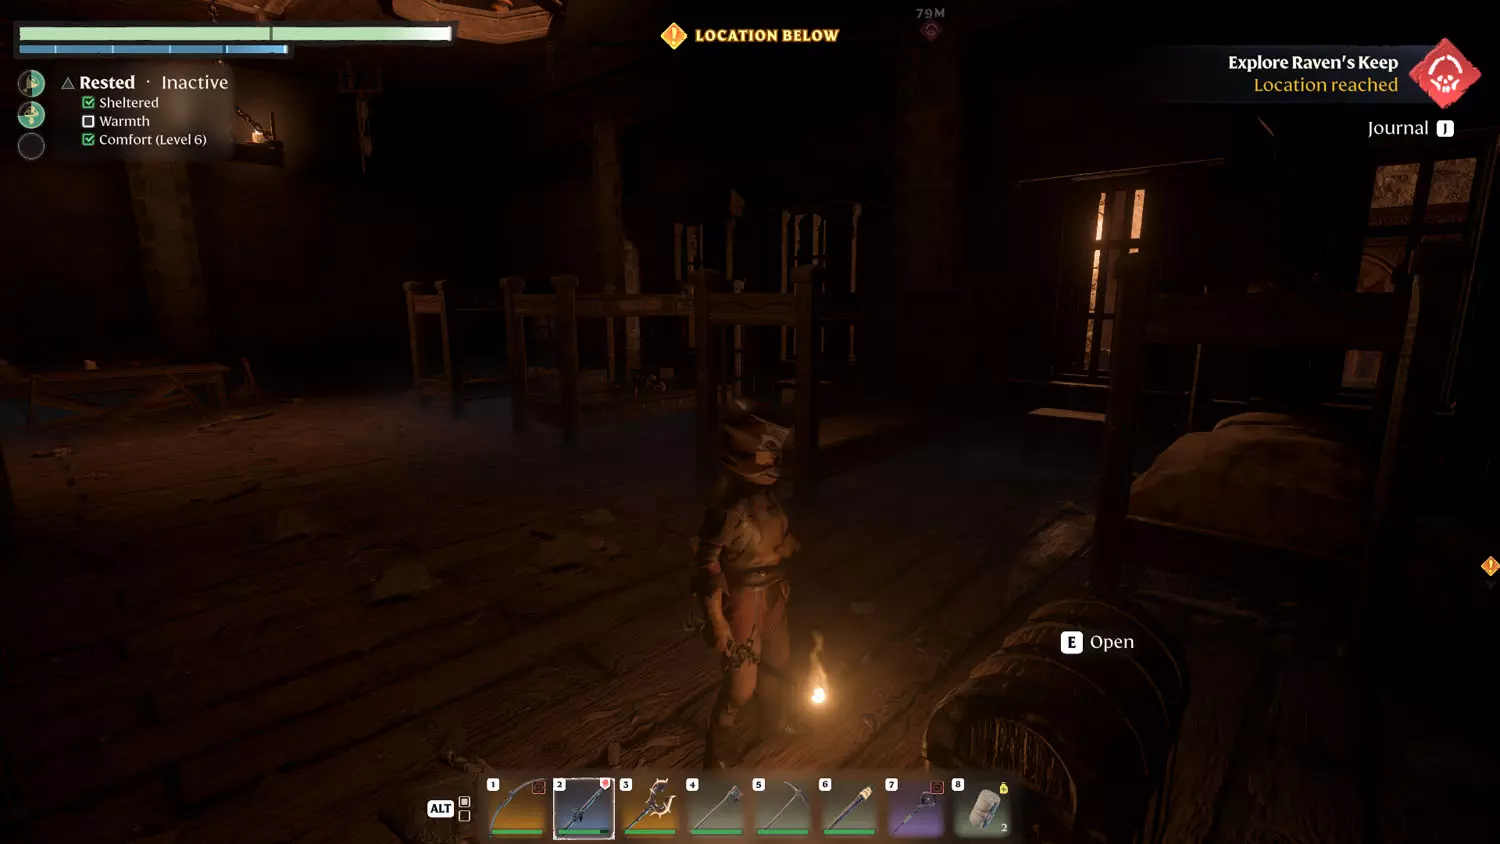
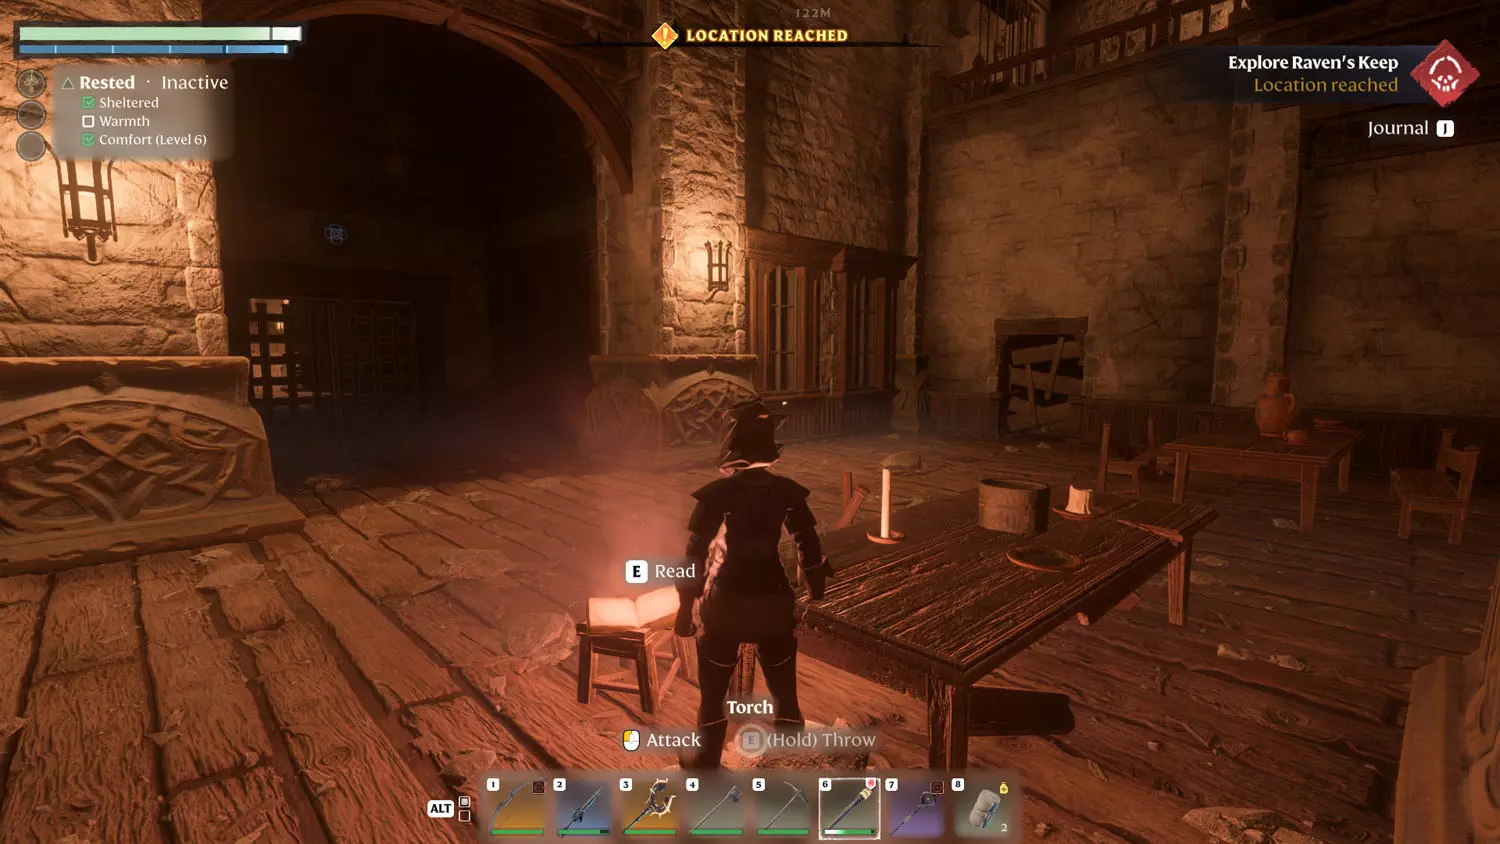
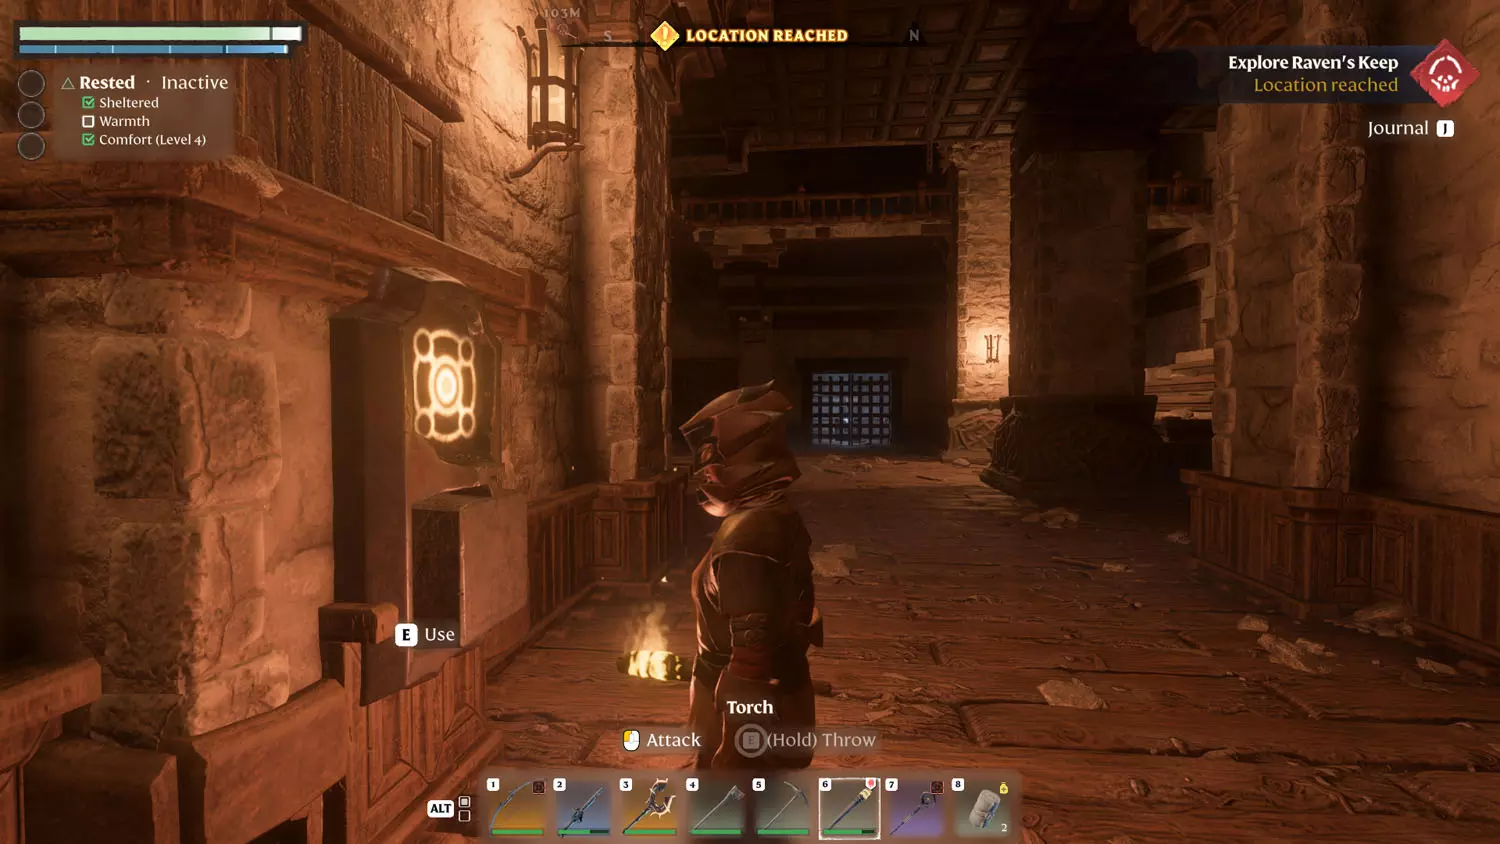
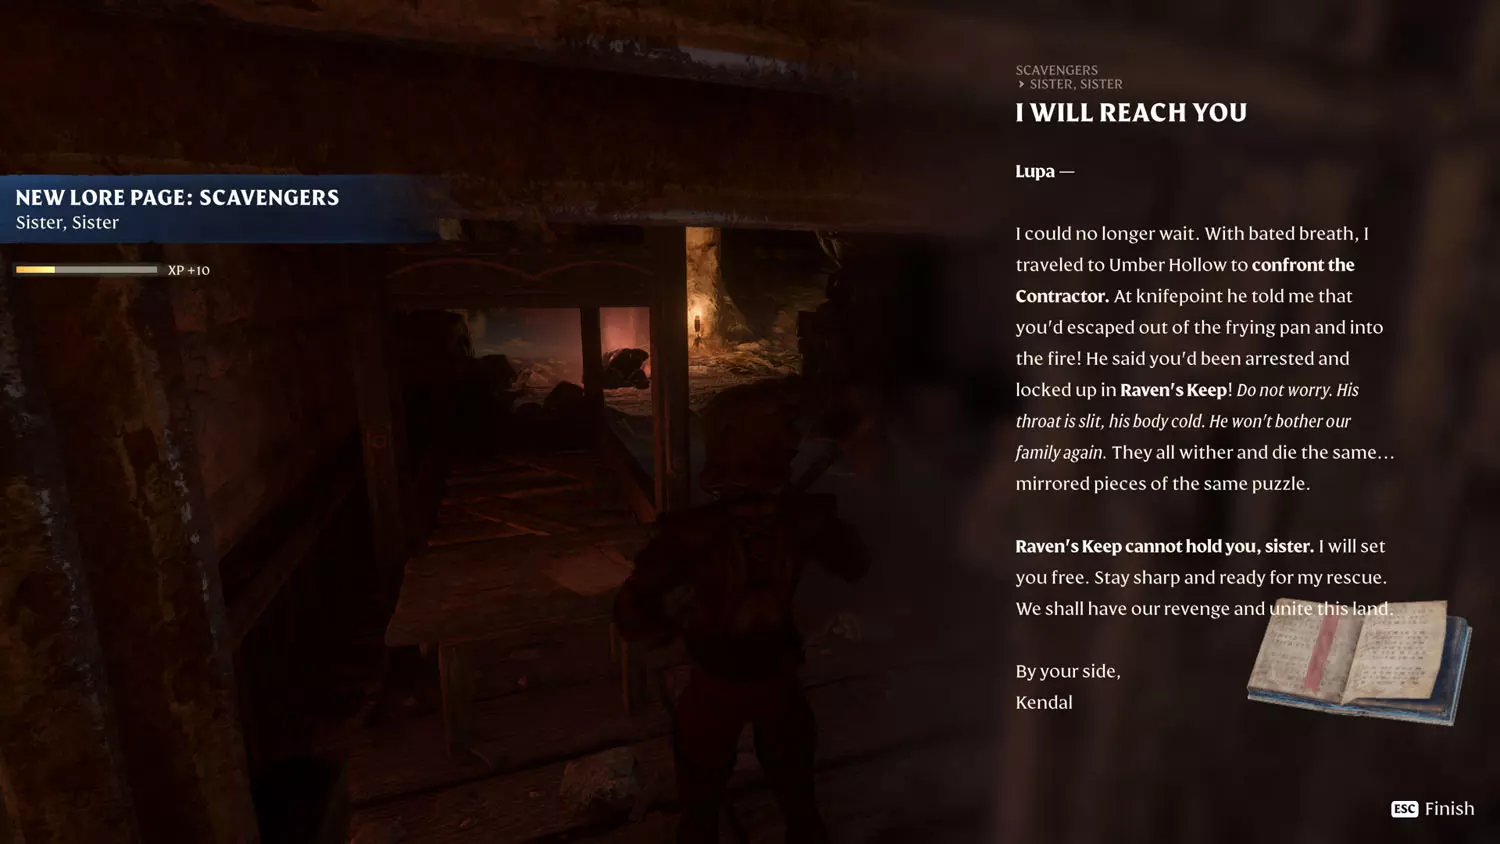
Time to enter Raven’s Keep! The objective here is to reach the location with the Scavenger Lore: Sister, Sister 3/3 I Will Reach You.
TIP: Here’s the Scavenger Lore rundown - Sister, Sister 3/3 I Will Reach You, Raven’s Keep Log 1/1 Raven’s Keep Log, Prison Break 1/2 No Better Than Us! and 2/2 Glory To Matron Lupa!.
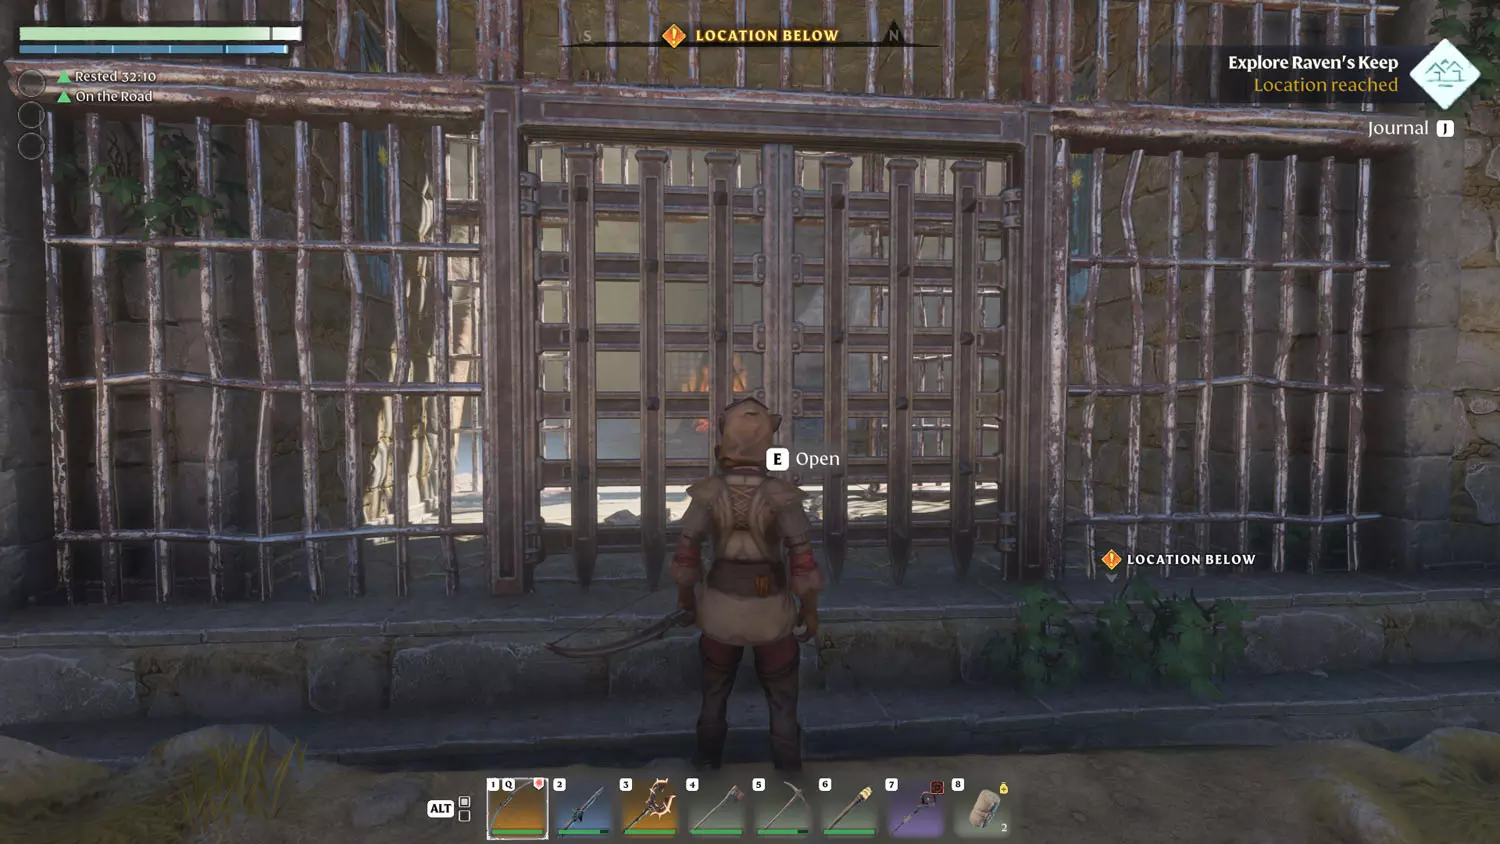
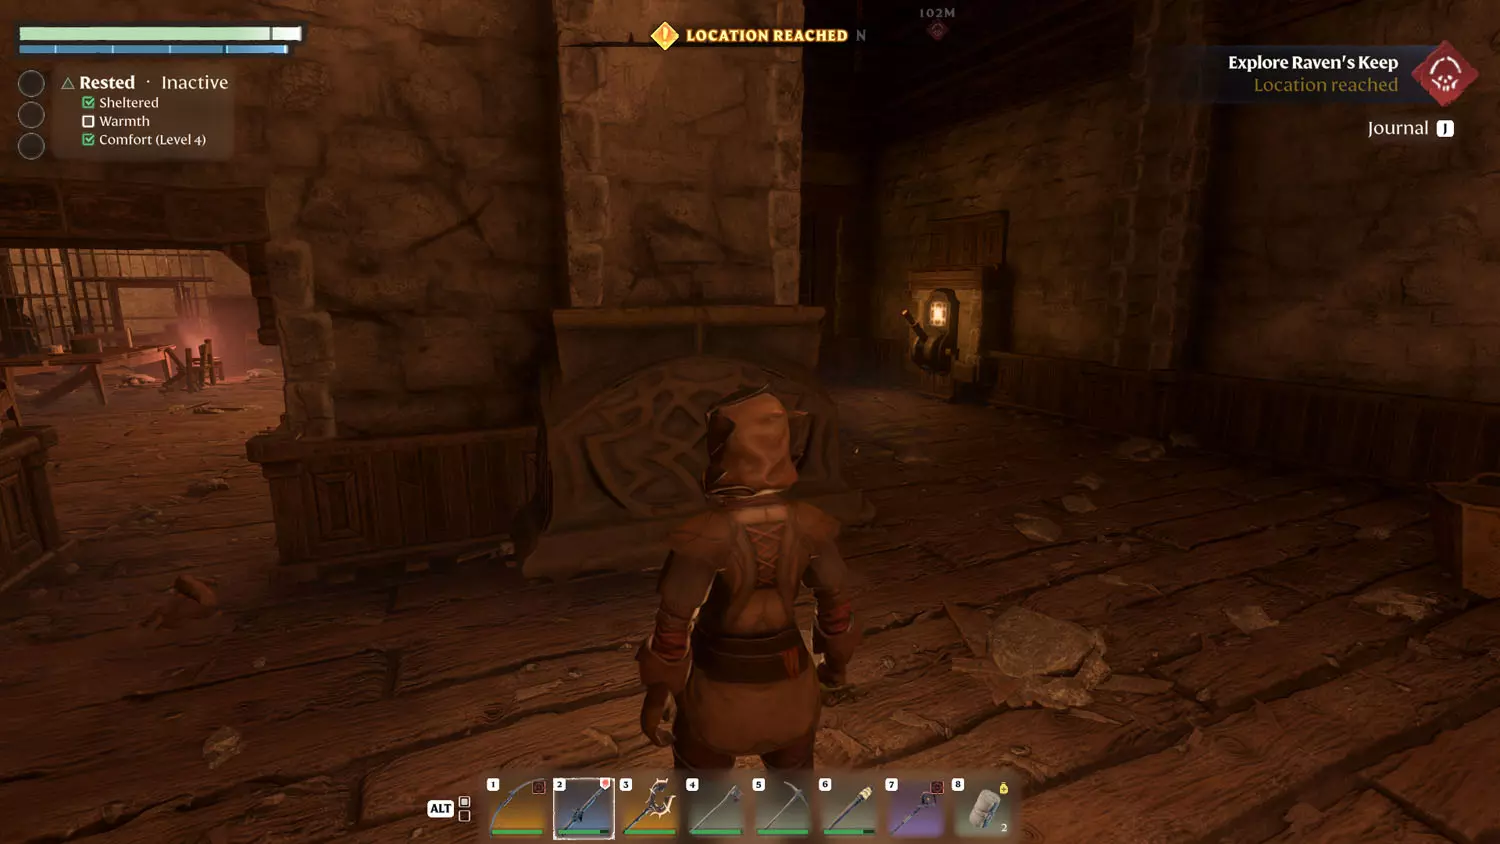
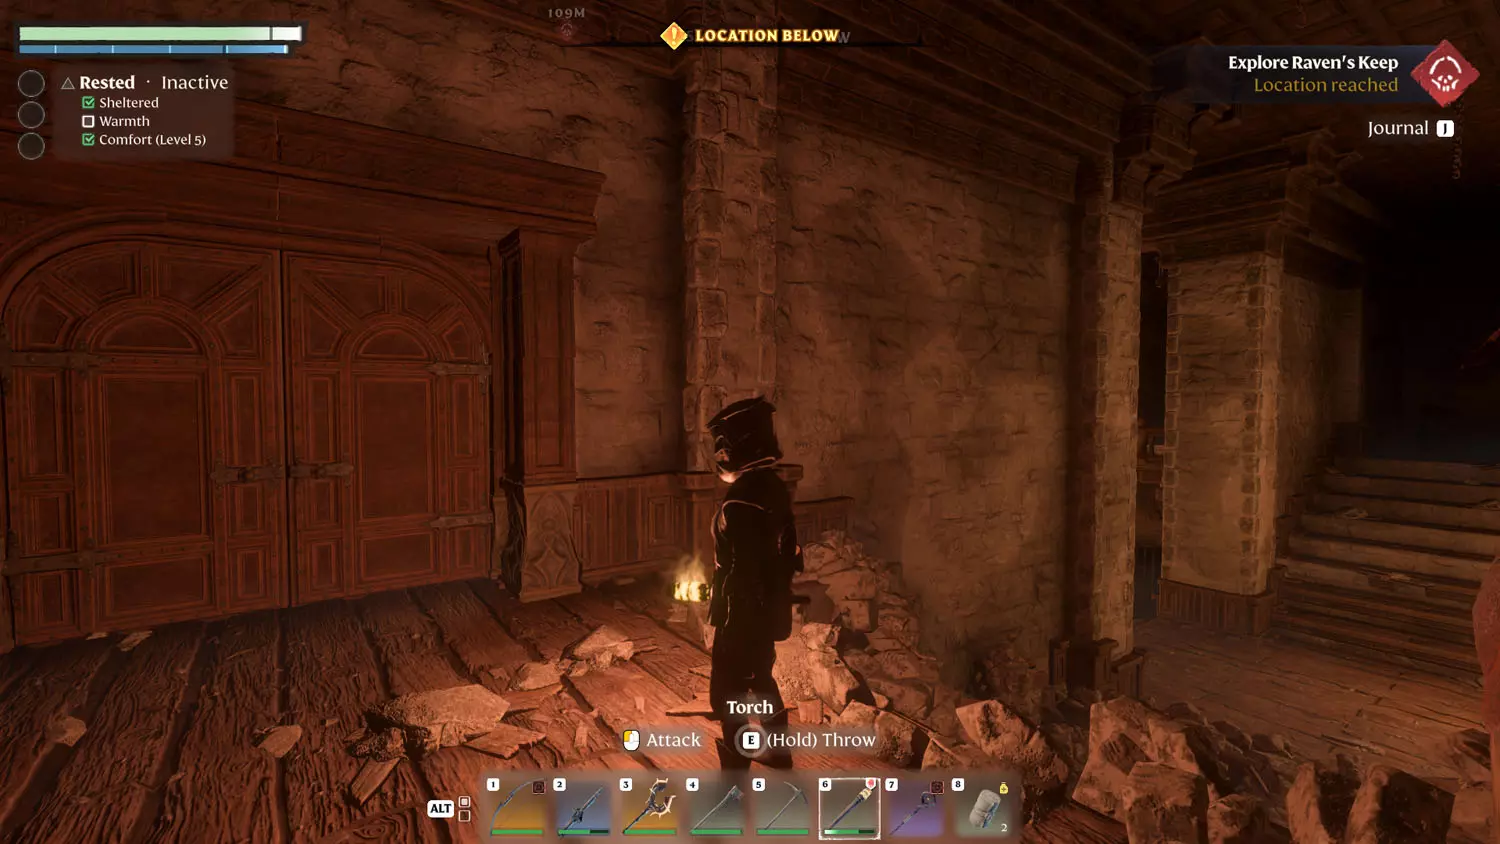
Open the prison gates and enter at your own risk, lol. It’s pretty straight forward. Head straight in if you want. You can ignore the first double door on your right - it just loops back to the button, which is visible / accessible through a busted wall further down the hall. You can also ignore the breakable door on the left, unless you want a Wood Treasure Chest. Pull the glyph lever to continue forward.
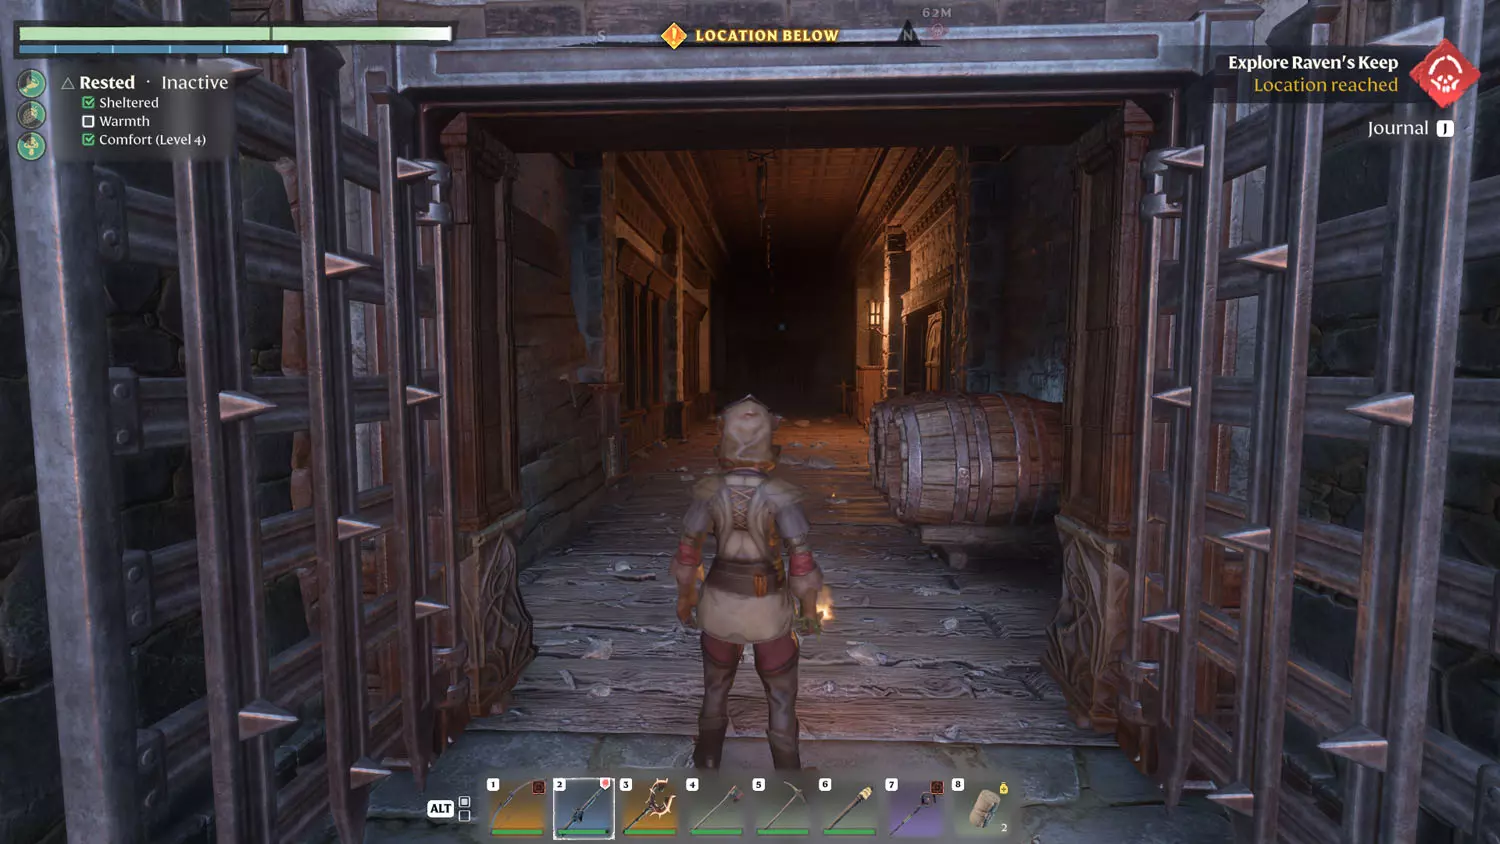
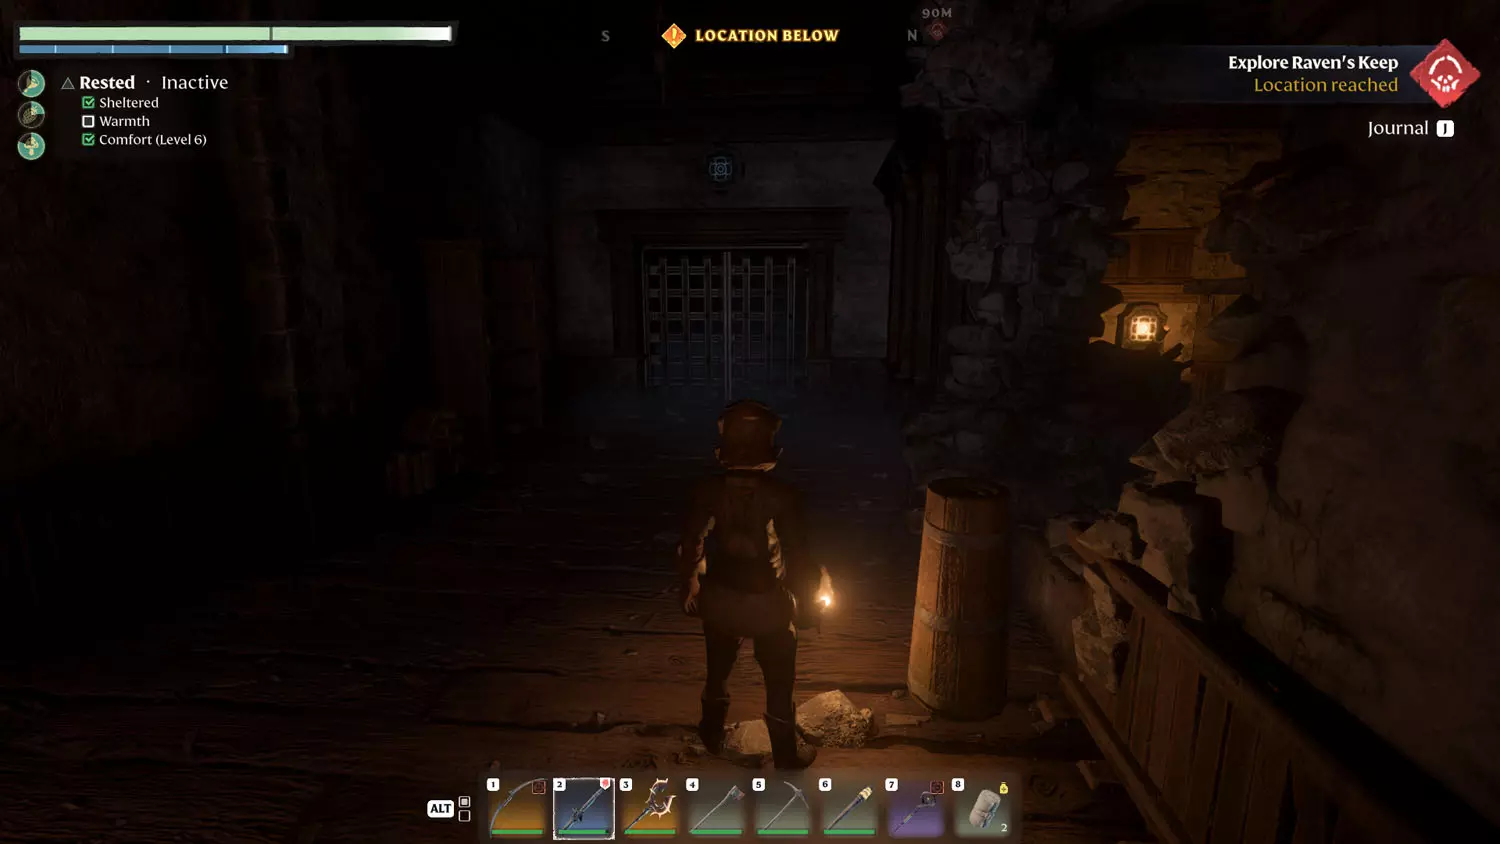
Next up is the Mess Hall. You can head left and go down the stairs or you can snipe from the floor you are on to face the enemies down below (one is on the floor with you). From there, head down. The door to the left of the book gives you an enemy (this may be random) and a room with usual room furnishings - no button or lever.
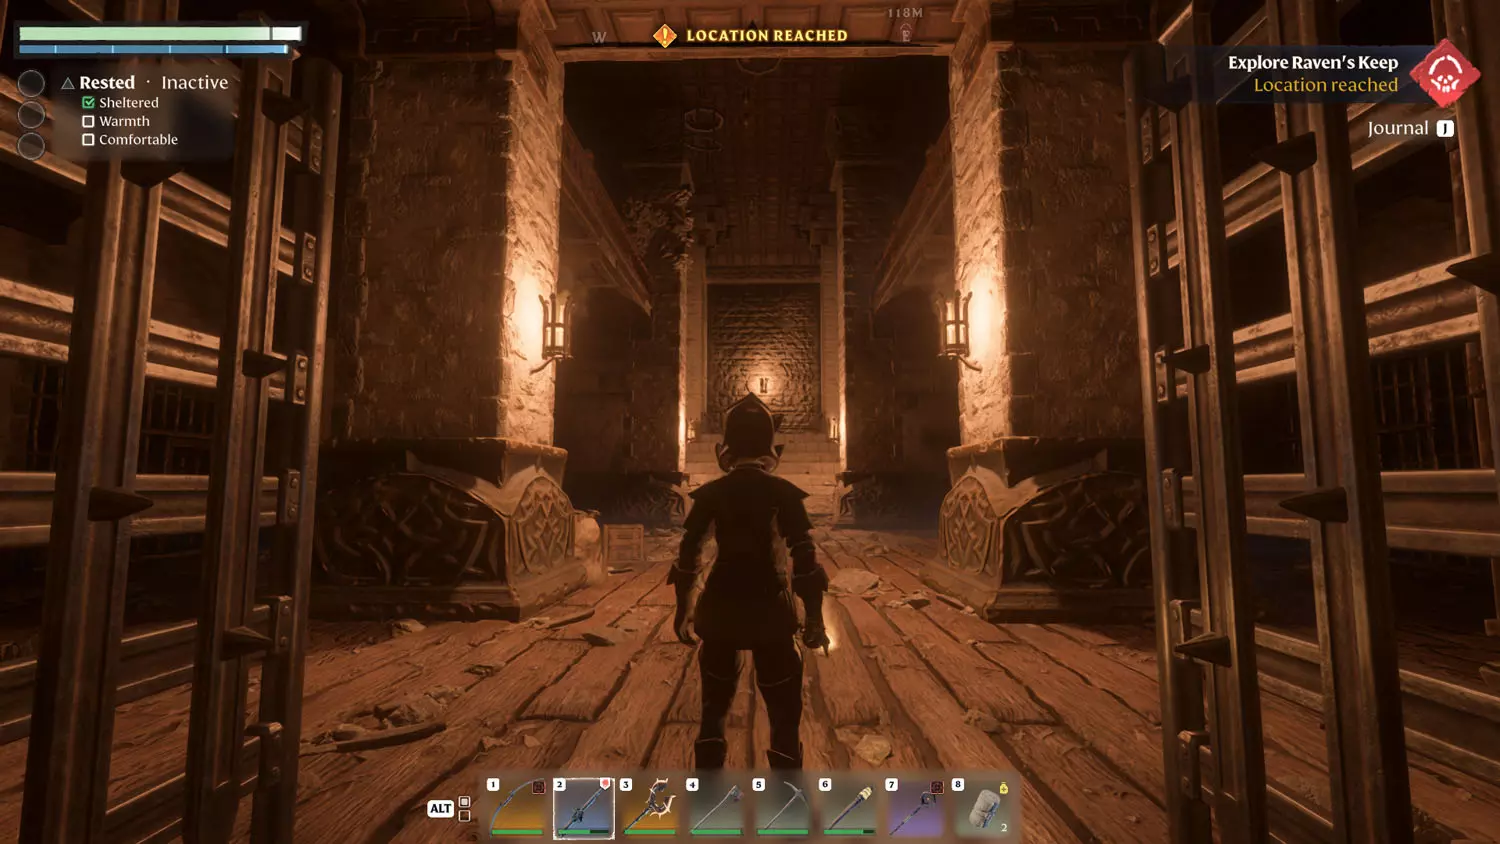
Busting open the room to the right, however, gets you NO enemies AND the lever to activate the door.
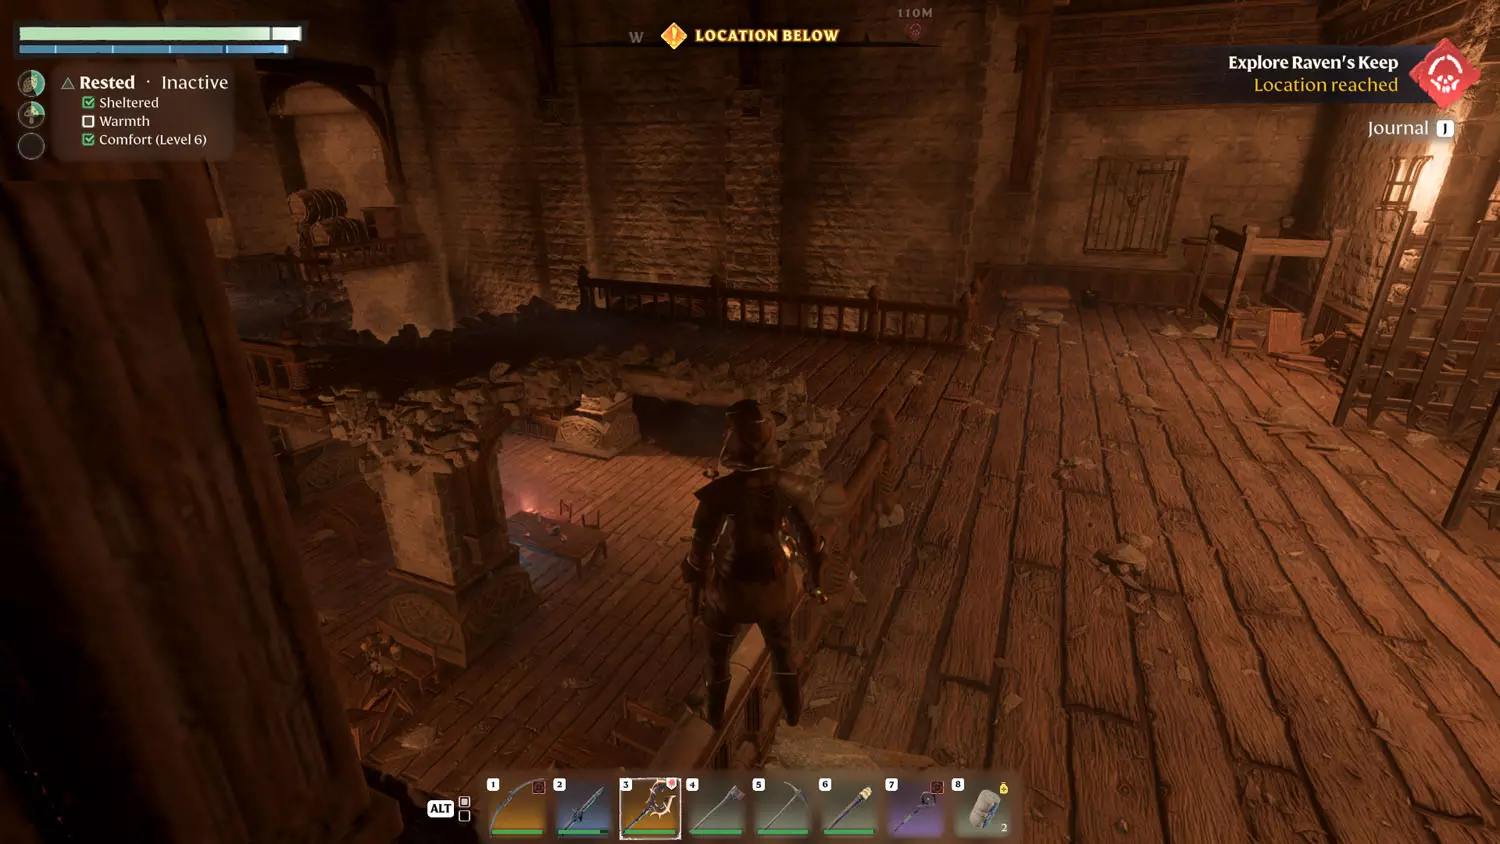
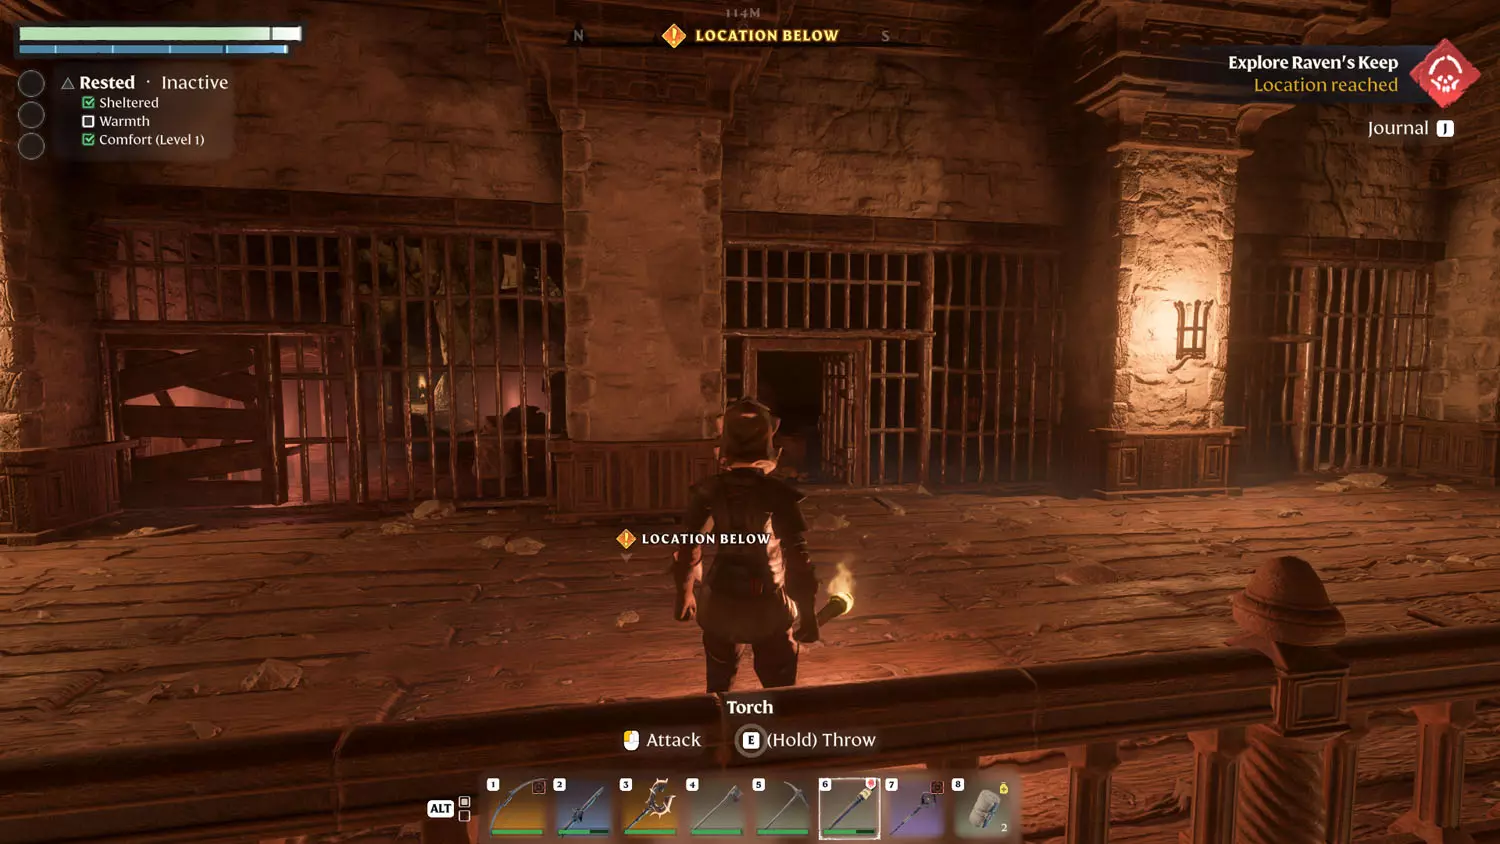
Activate the door and proceed. You will reach a two-story room with one enemy. The prison cells on the left are useless, save for a Silver Treasure Chest WITH Fancy Stone Block building material inside. Somehow this isn’t a quest related item, weird. The chest is blocked by a gate, but the switch is directly across from it, which leads to the right prison cells. These are useless save for an alcove with the switch.
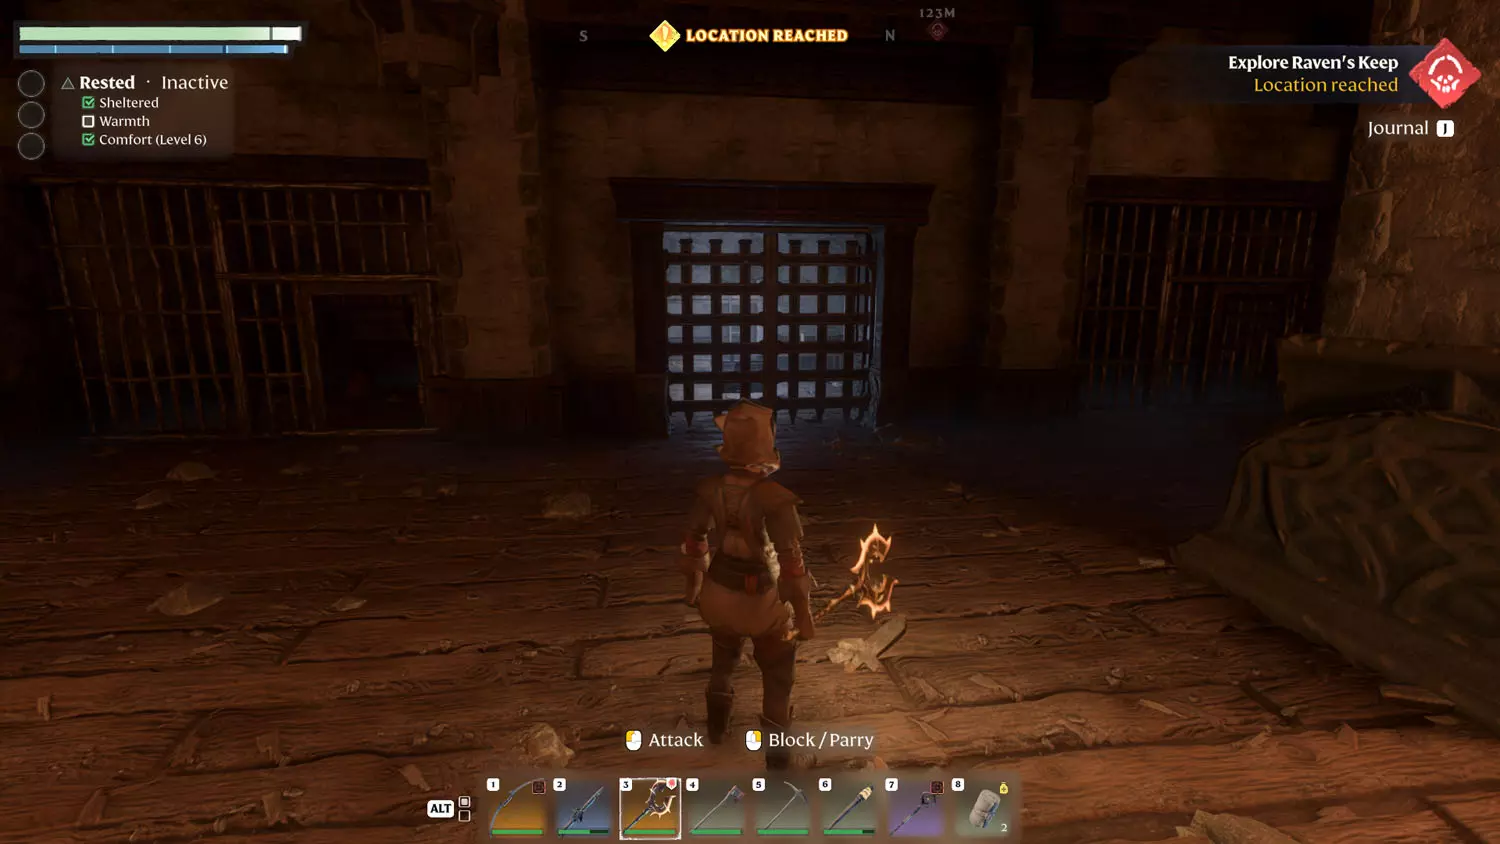
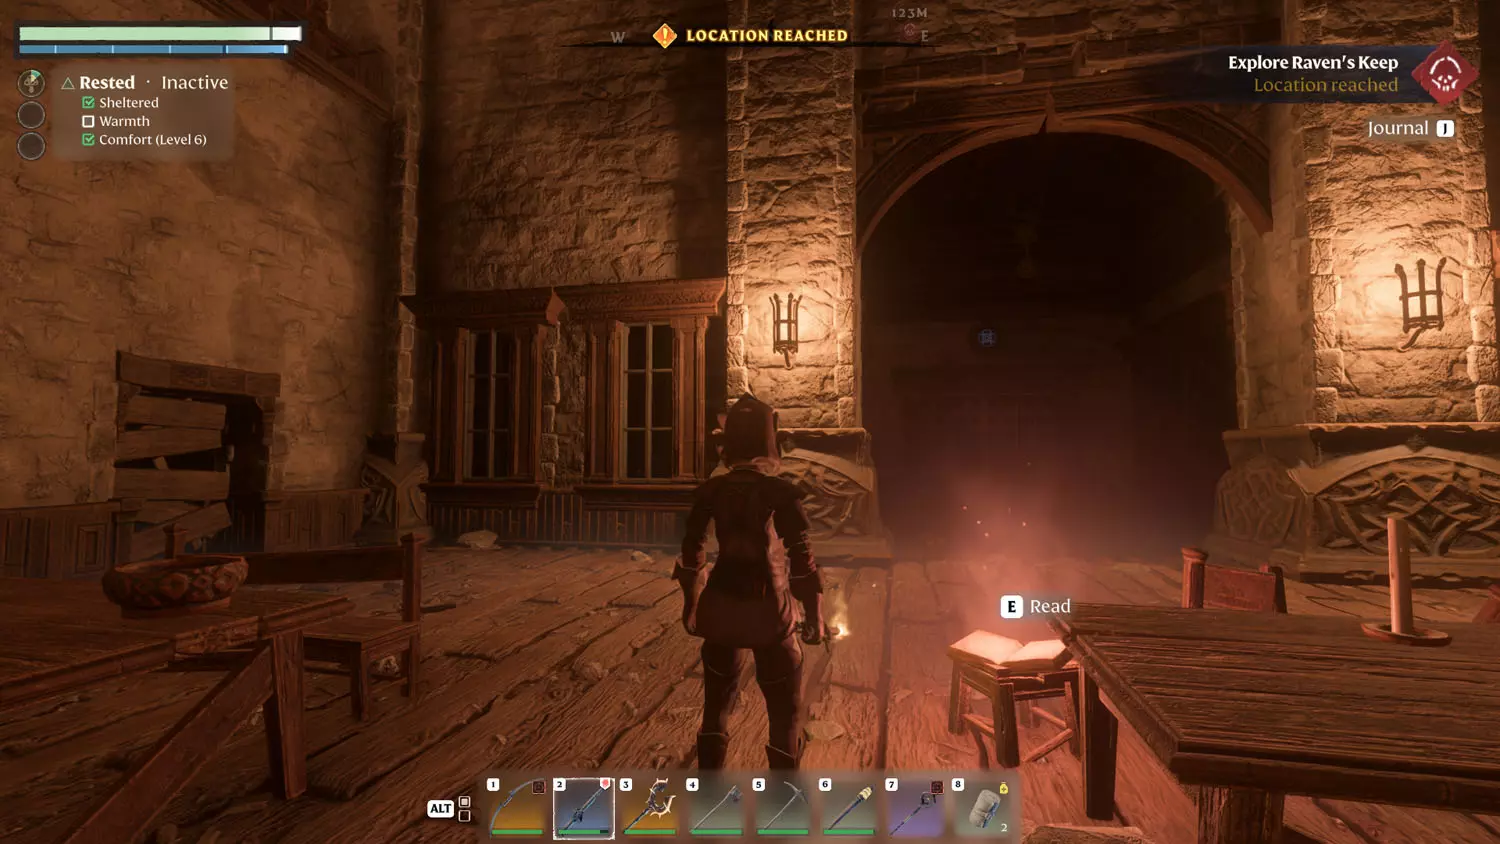
When you are done looting, head up the stairs. You will have a decision to go left (more stairs) or right (no stairs). Both options lead to a closed door, but the right side (no stairs) is much closer to the exit. Both options loop back around to the same starting spot, and the prisoner cells are pretty barren, save for the one with the breakable door and glowing red loot and note (which is the middle cell, technically above the switch on the first floor).
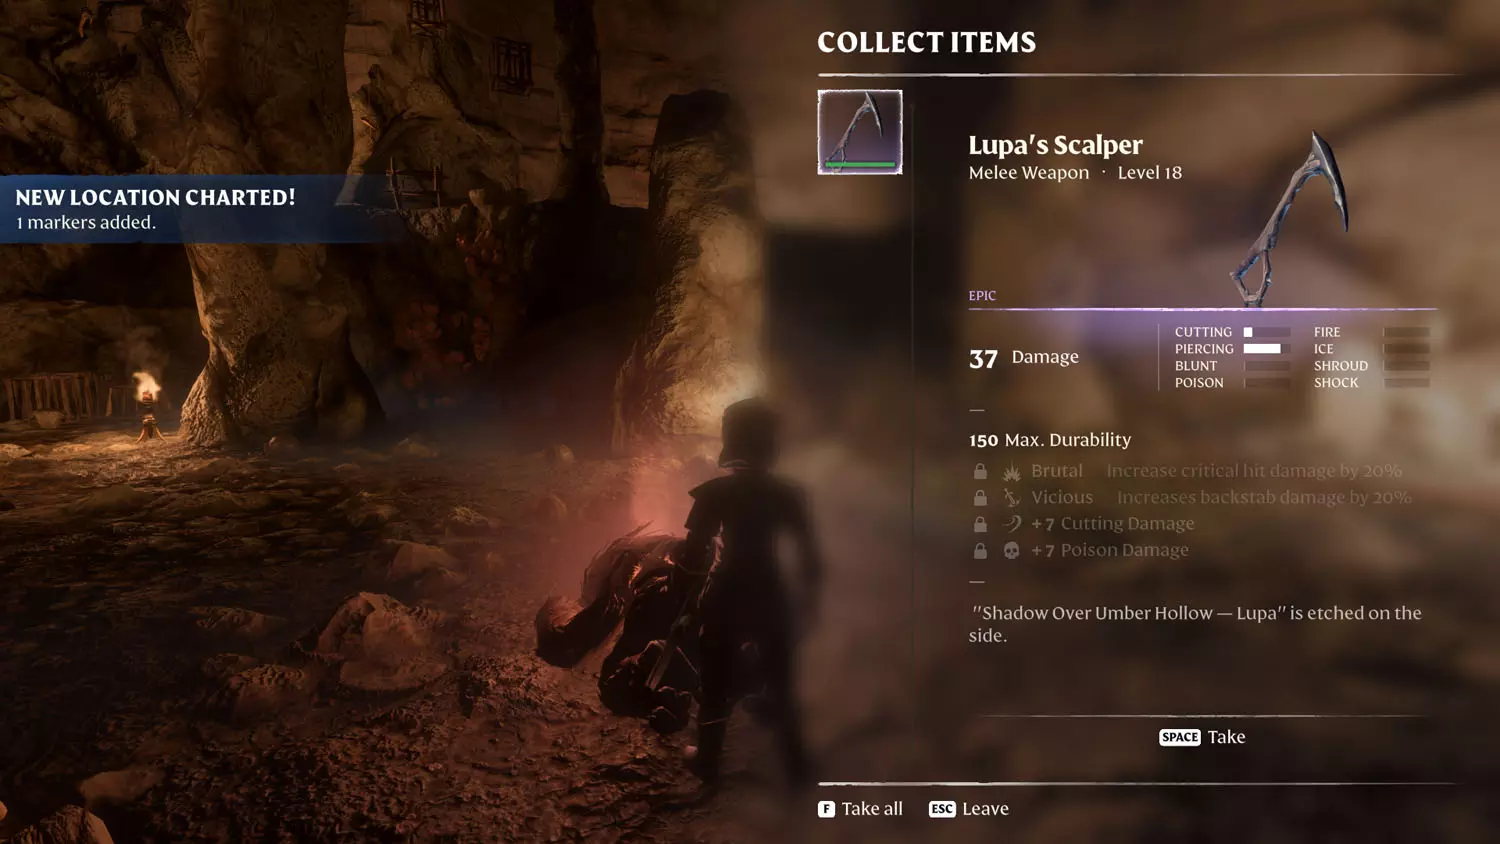
Bust open the door and loot the body. Reading the Lore here (Scavenger Lore: Sister, Sister 3/3 I Will Reach You) didn’t do anything for the quest, but if you have trouble, then I suggest reading it and see if both are needed to proceed. Anyway, after getting the bonus Quest Item - Lupa’s Scalper, the second part of the quest was completed.

This next section is optional. Keep going and you will encounter Vukah. There’s a Wood Treasure Chest up top in the first cave (no enemies) and a Gold Treasure Chest (random loot) - this chest is guarded by enemies, so murder away! Or run in, take damage, and run out - whatever works for you! After you exit the cave, there is a final note, if you want it. Otherwise, it’s off to Lupa’s Lair!
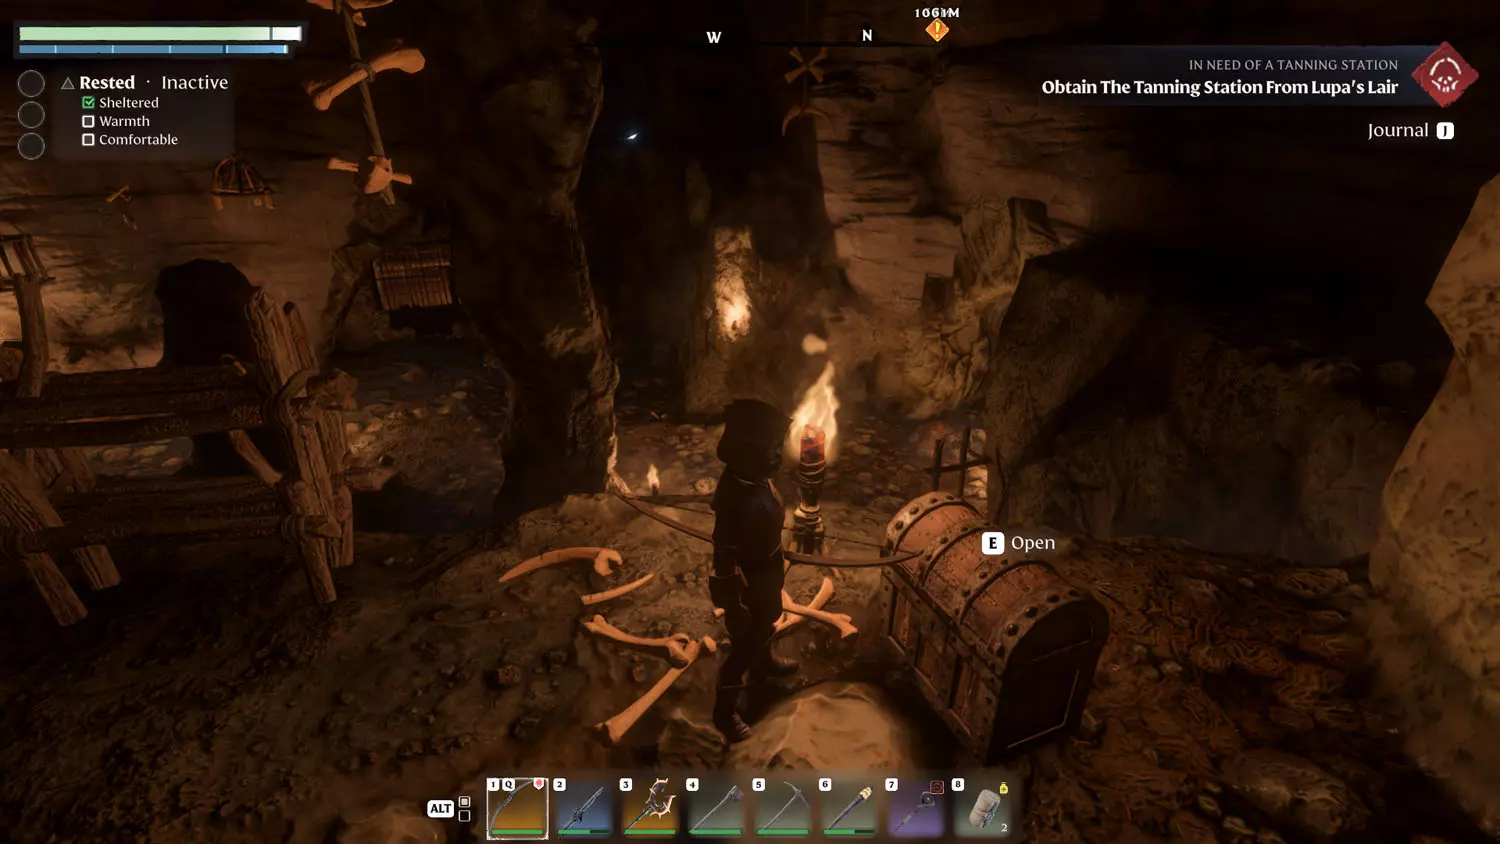
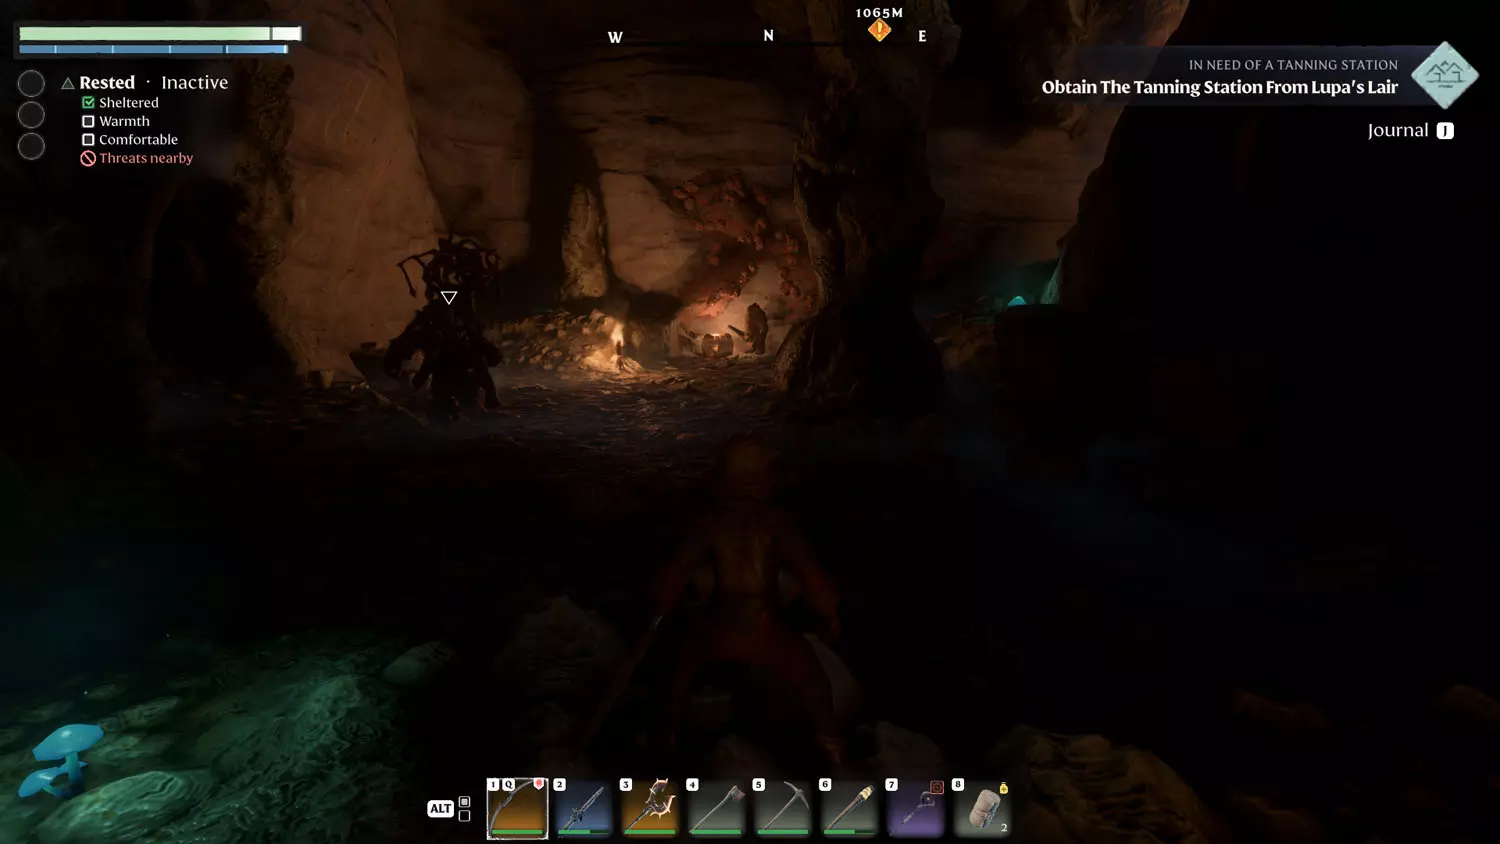

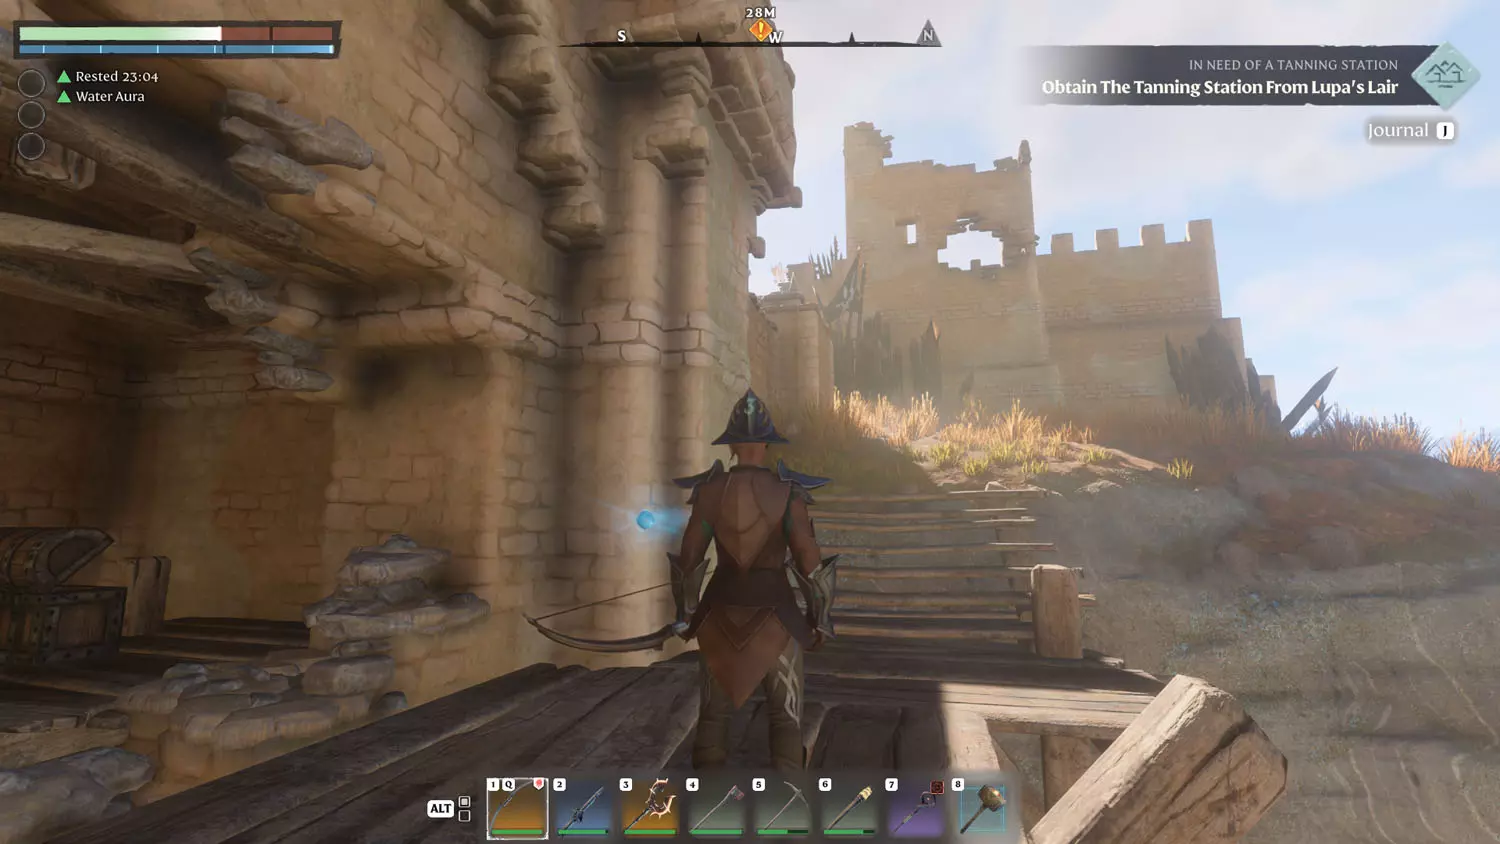
Feel free to enter Lupa’s Lair from the front entrance after crossing the Ruined Bridge. Or enter Lupa’s Lair from the end of the Building Block Quest: Mixed Stones - Regular Stone Block. Simply head right after exiting the bridge and use the grapple spot to get a lay of the land. There’s a Silver Chest nearby, and you can see the tell-tale glow of the item deep inside the camp.
TIP: Some Lupa’s Lair Lore, lol: Scavenger Lore: Tanning Station 1/1 Tanning Station Recipe. Nomad Highlands Lore: Captured By Lupa 1/1 They Terrorize The Roads! - Reading this Lore will start the Items, XP, and Loot Reward Quest: Captured By Lupa.
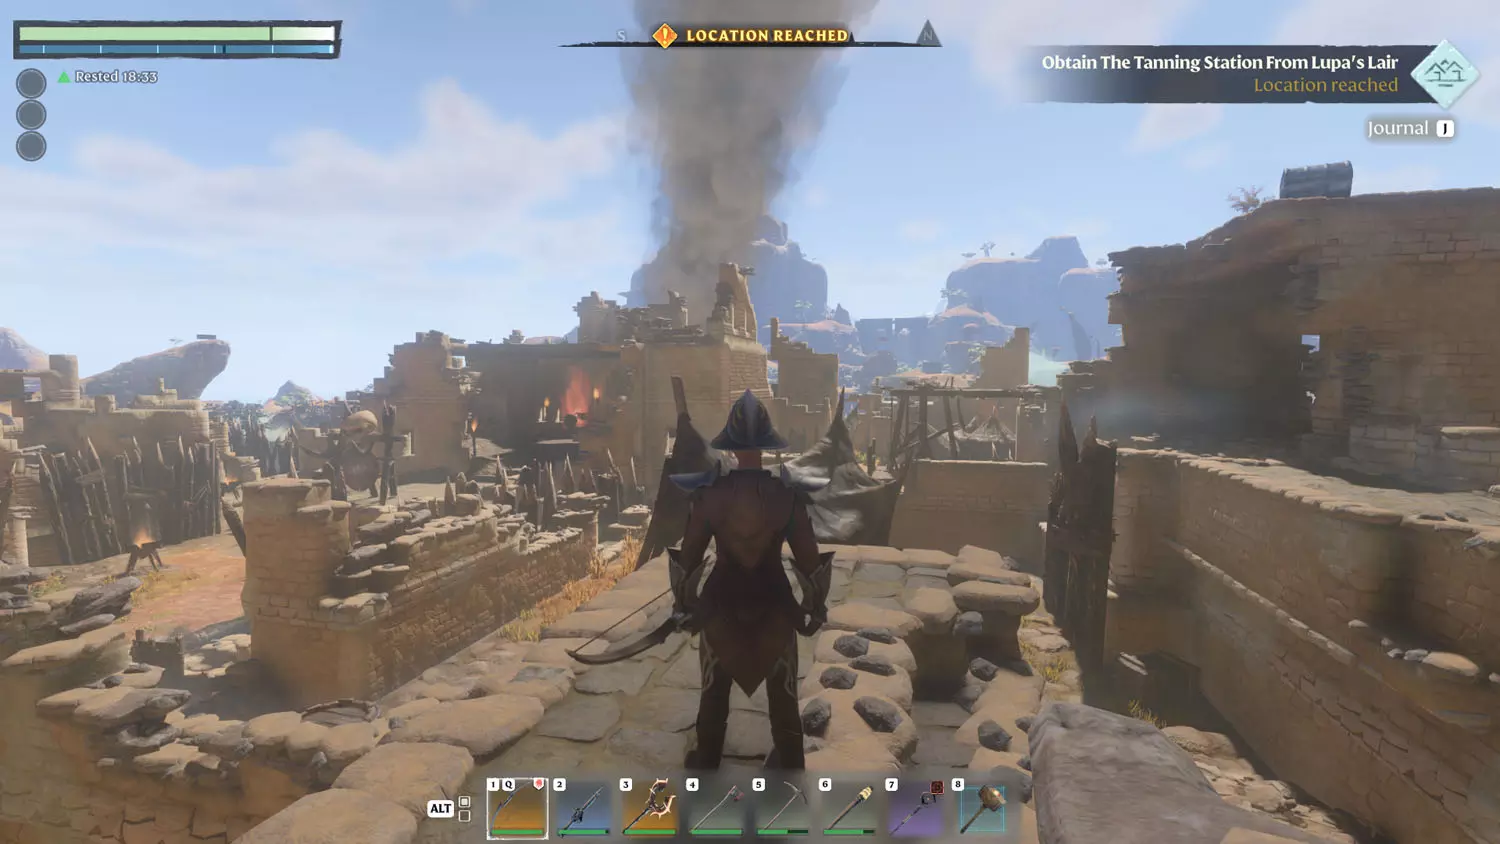
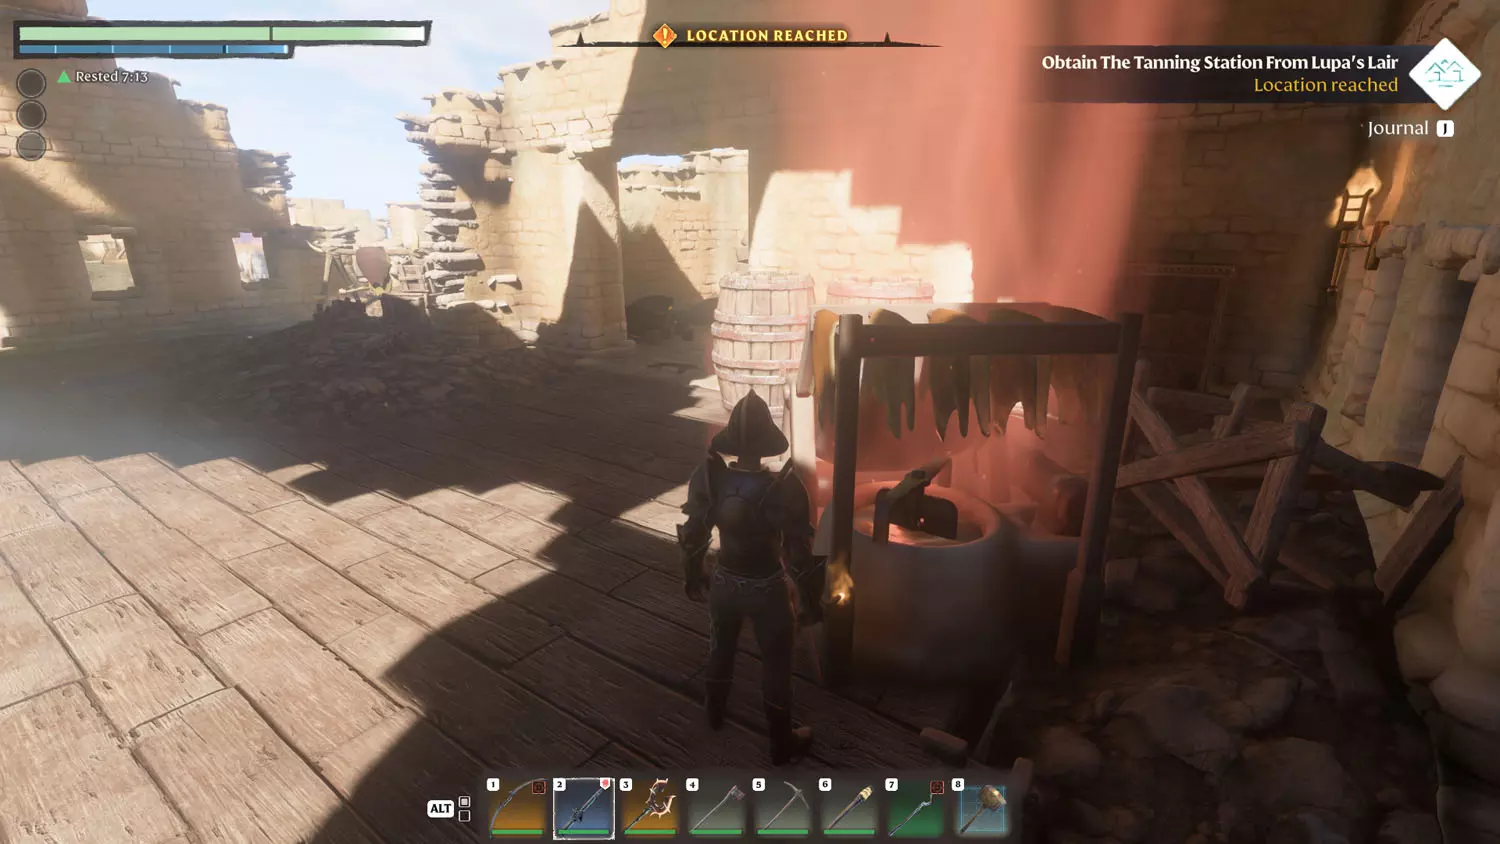
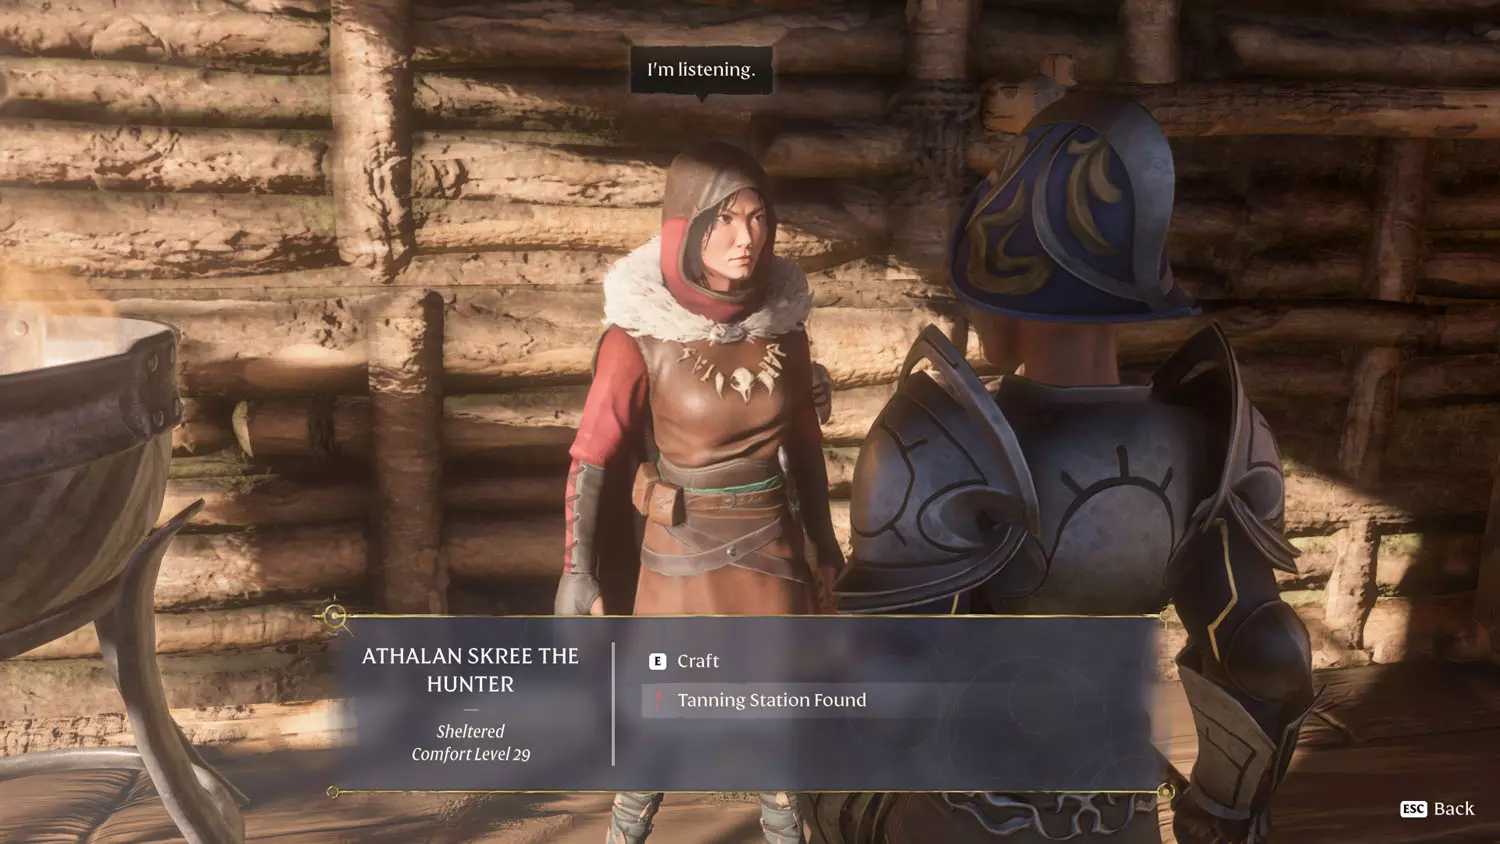
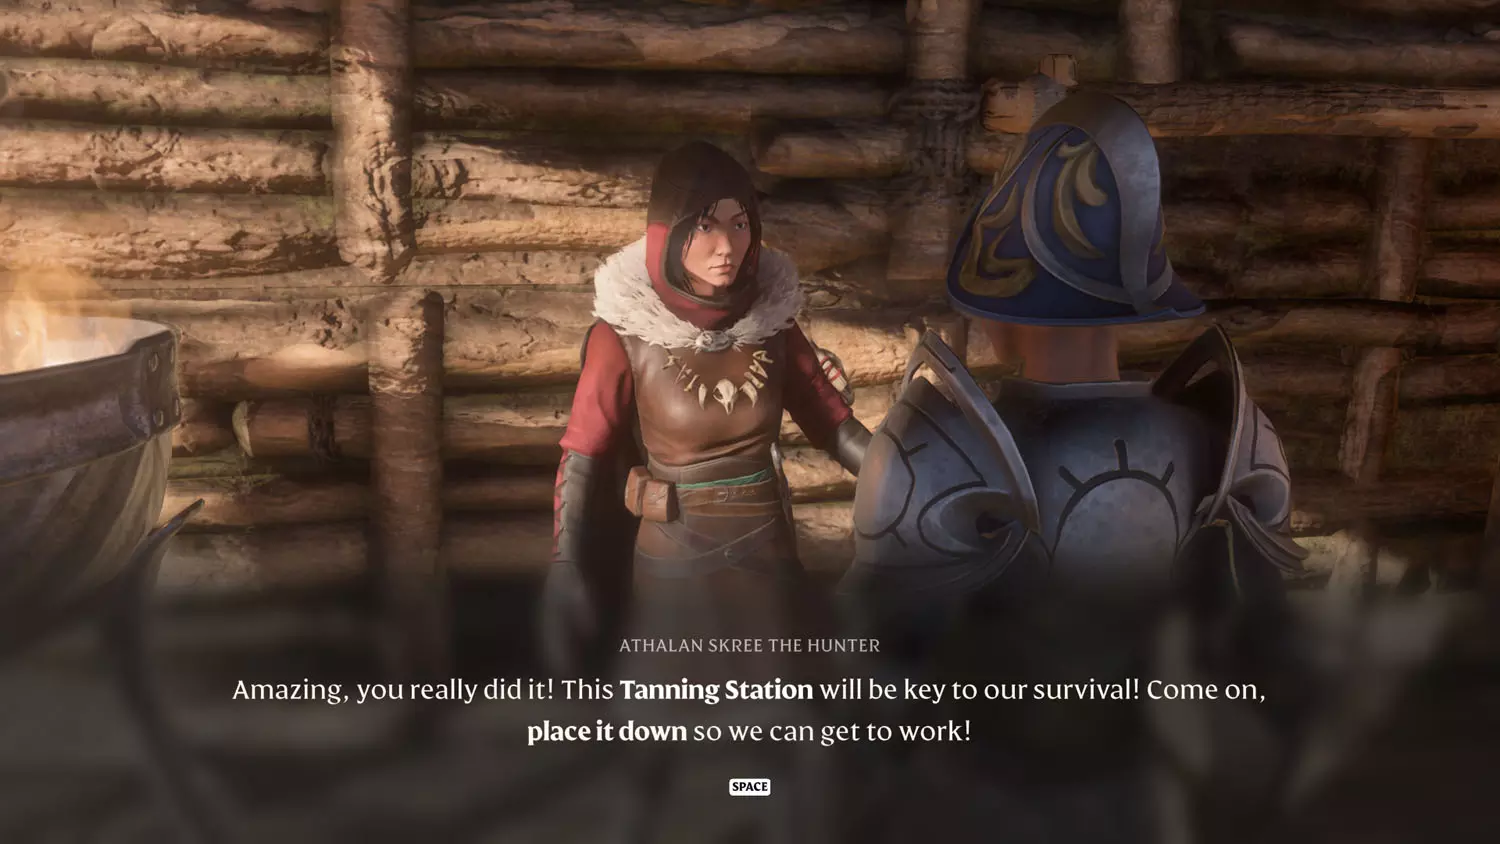
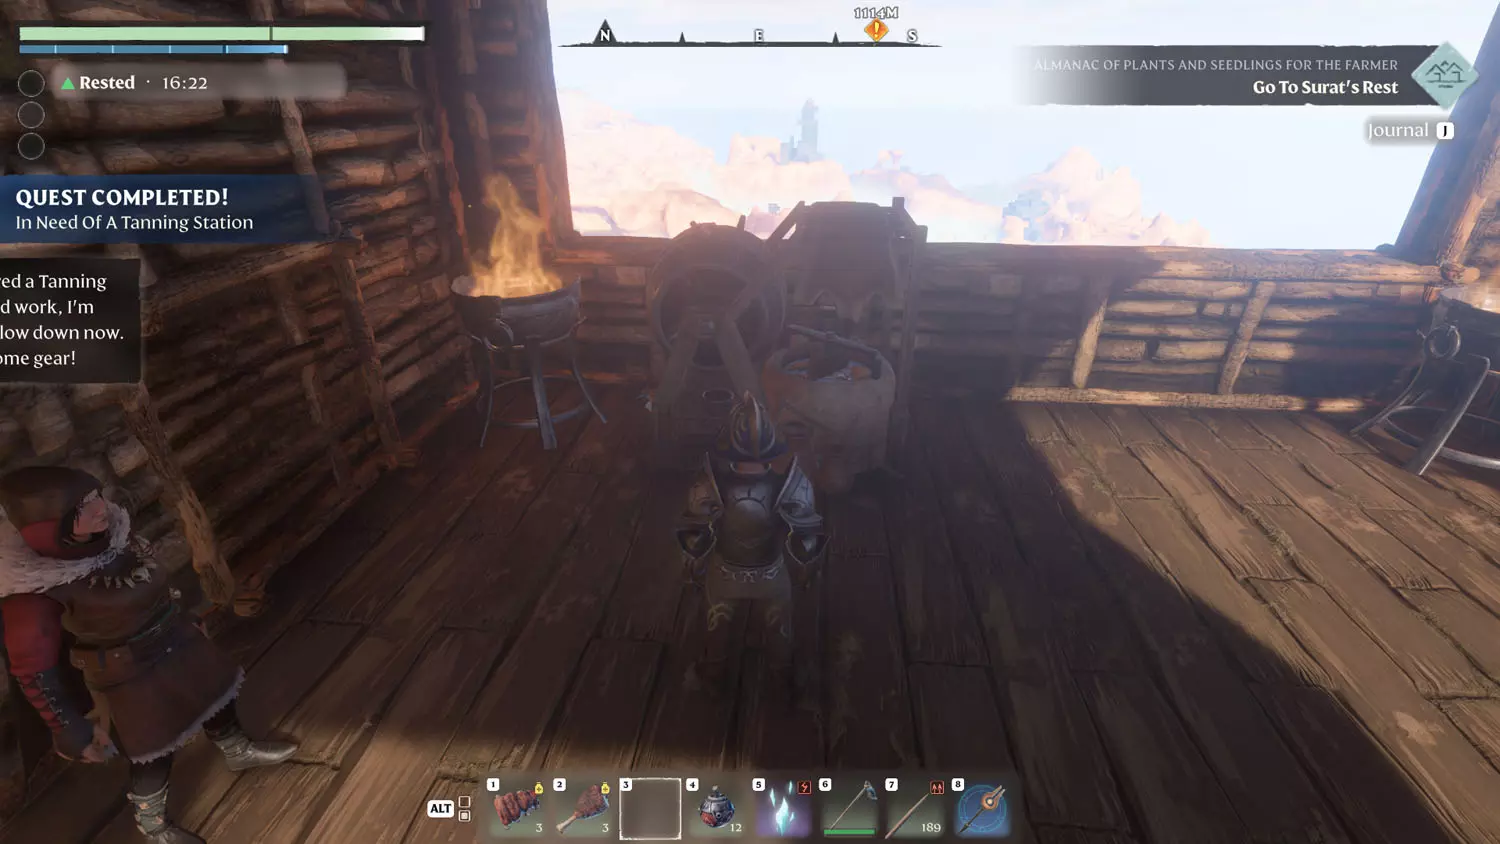
You can do a quick nab and go for this quest. Simply picking up the Tanning Station is enough to finish part of the quest. From there, it’s back to the Hunter, Athalan Skree. She will now have the dialogue “Tanning Station Found” available. To complete the quest, place the Tanning Station down.

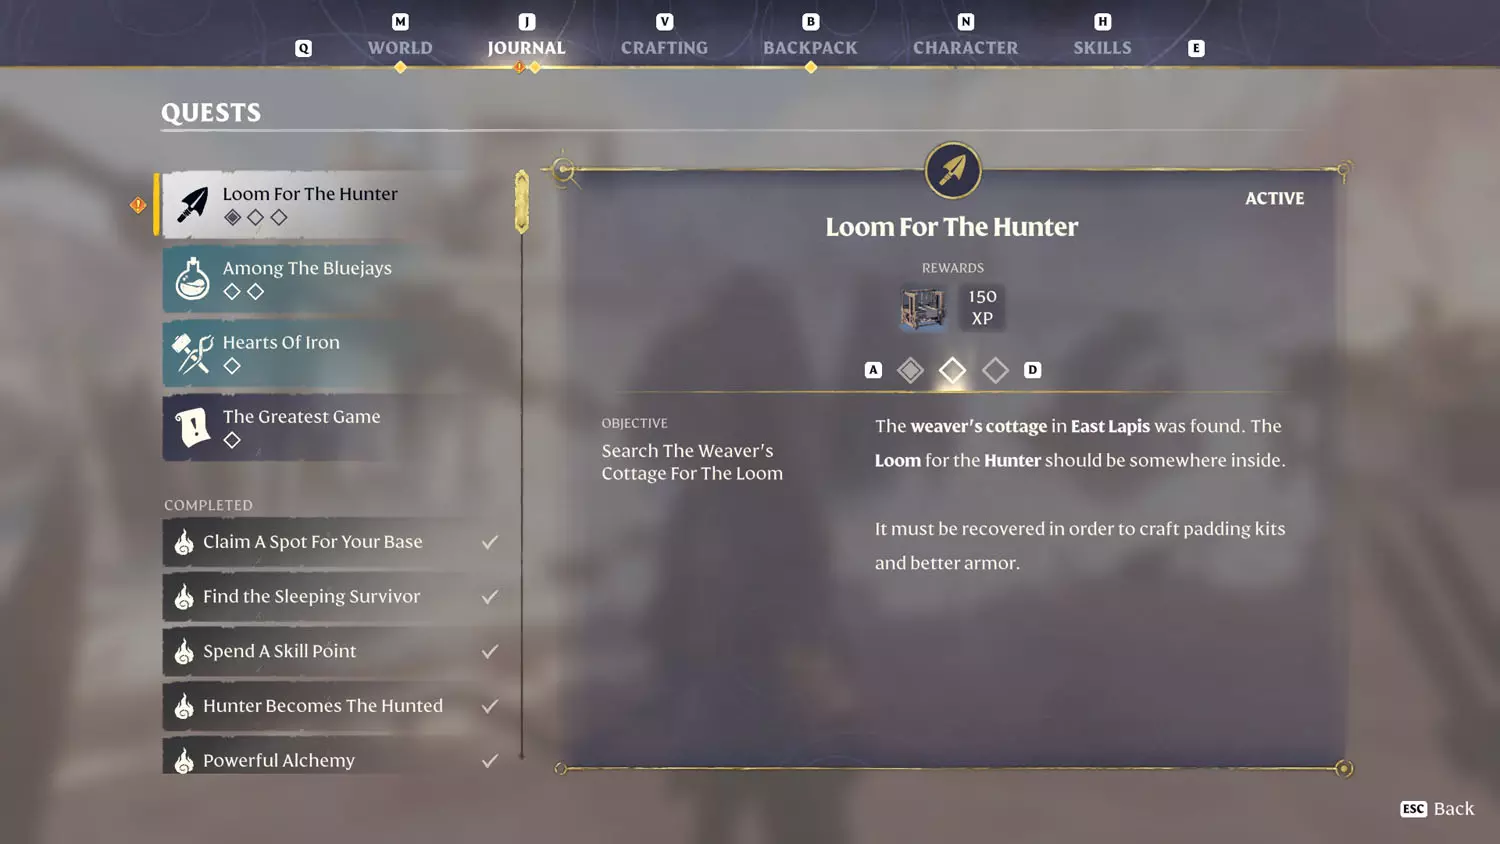
Loom For The Hunter
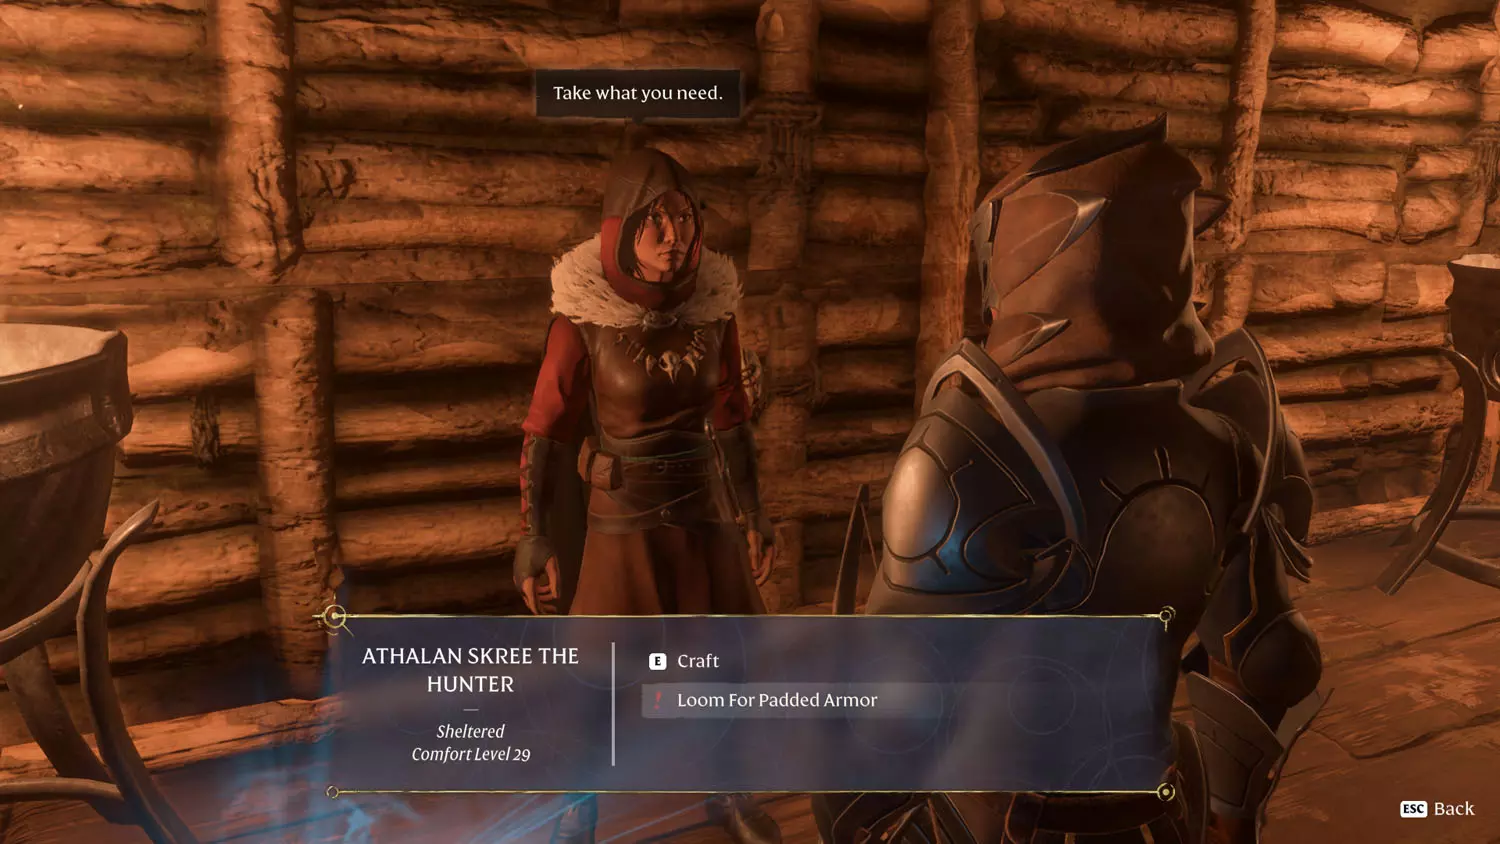
After completing the Farmer Quest: Almanac of Plants and Seedlings For The Farmer (and possibly starting the Alchemist Quest: Scientific Instruments For A Laboratory), Athalan Skree The Hunter will have the dialogue option, “Loom For Padded Armor”. Selecting this dialogue will start the quest.
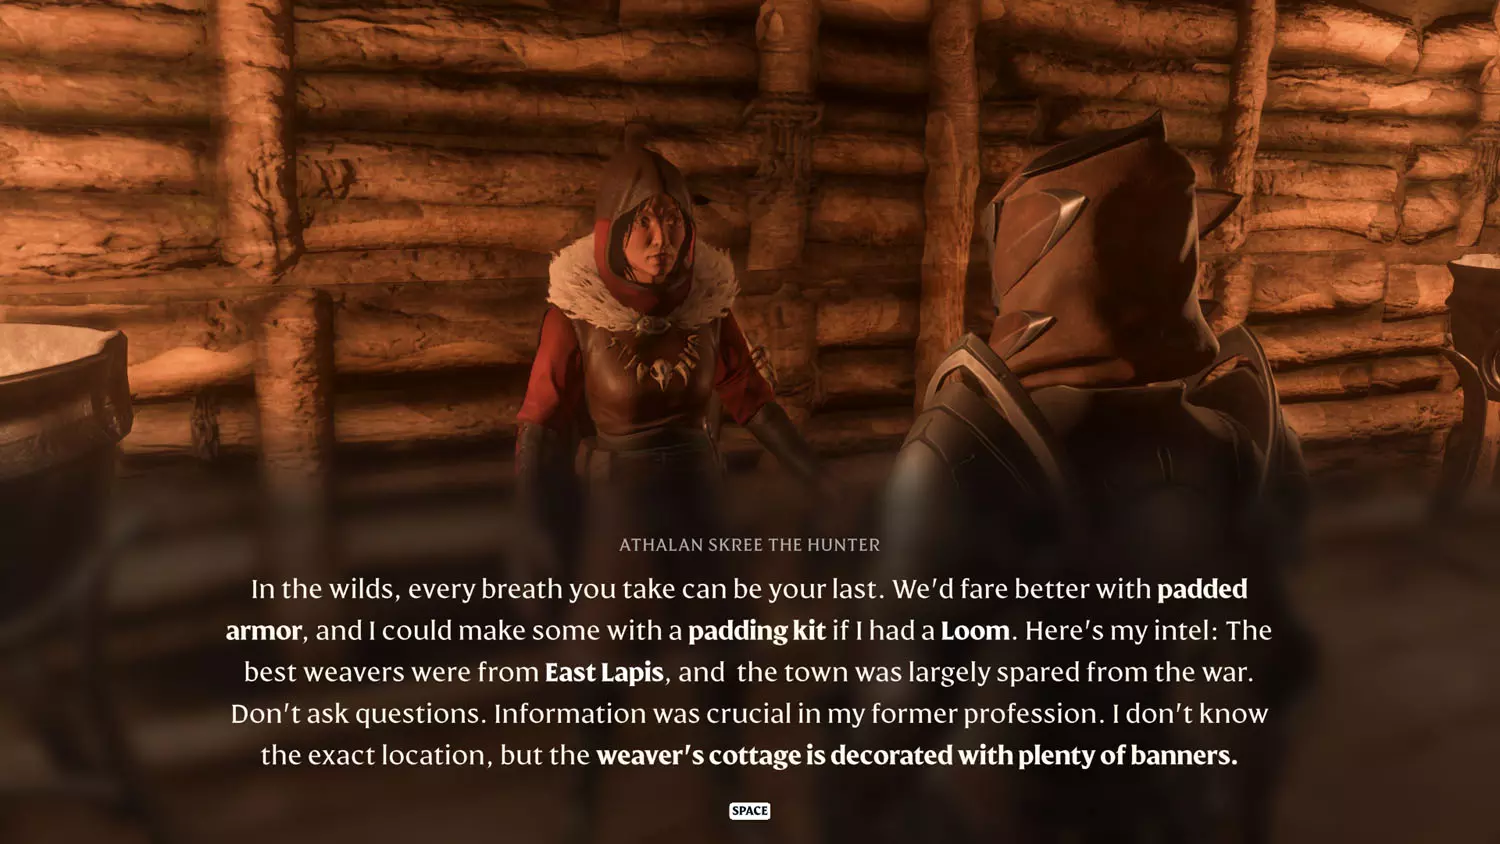

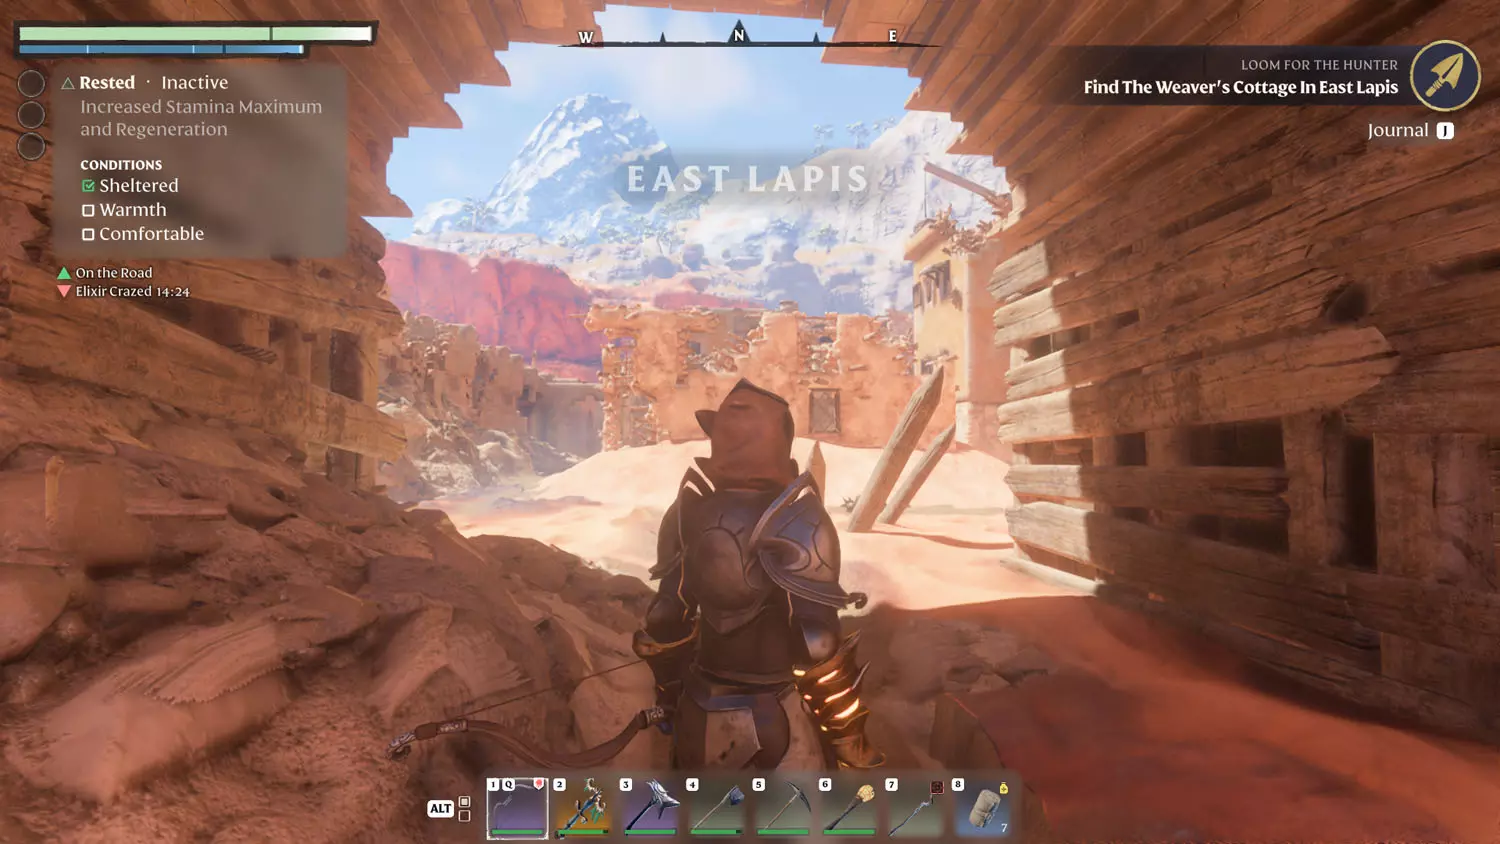
This quest is a bit funky - at the time I’m writing this (March 15th, 2024) - in that it doesn’t have a map marker. You’re kind of in the dark on this one. Anyway, head for East Lapis.
TIP: East Lapis has the Nobles and History Lore: Caravan To Longkeep 1/2 Survival Depends On Me. Kindlewastes Lore: Underground Infestation 1/2 Uncle Dreadbane and 2/2 Dreadbane Hammer Discovered - these two pieces of Lore are linked to the Items, XP, and Loot Reward Quest: Underground Infestation.
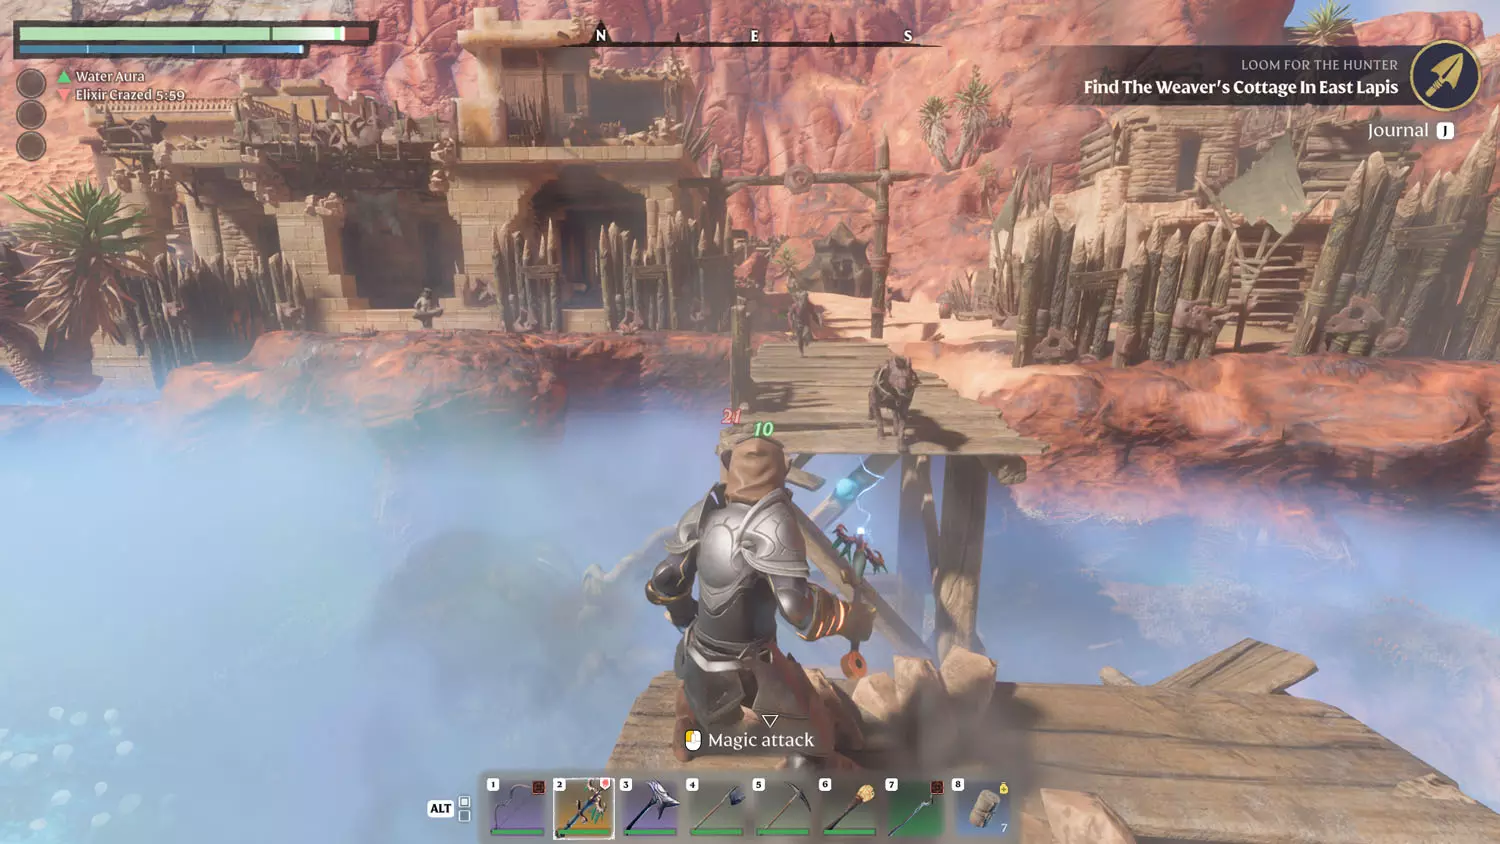
From the east road / entrance of the city, you’ll want to head southward through it toward your destination - the Weaver’s Cottage. You’ll likely pass through an open-air market type area (image below is from above the market). On the other side of it (south) is a bridge across the Shroud.
NOTE: The bridge is already partially destroyed, but if you use something, say, like Fireball… You’ll destroy your easy way across.

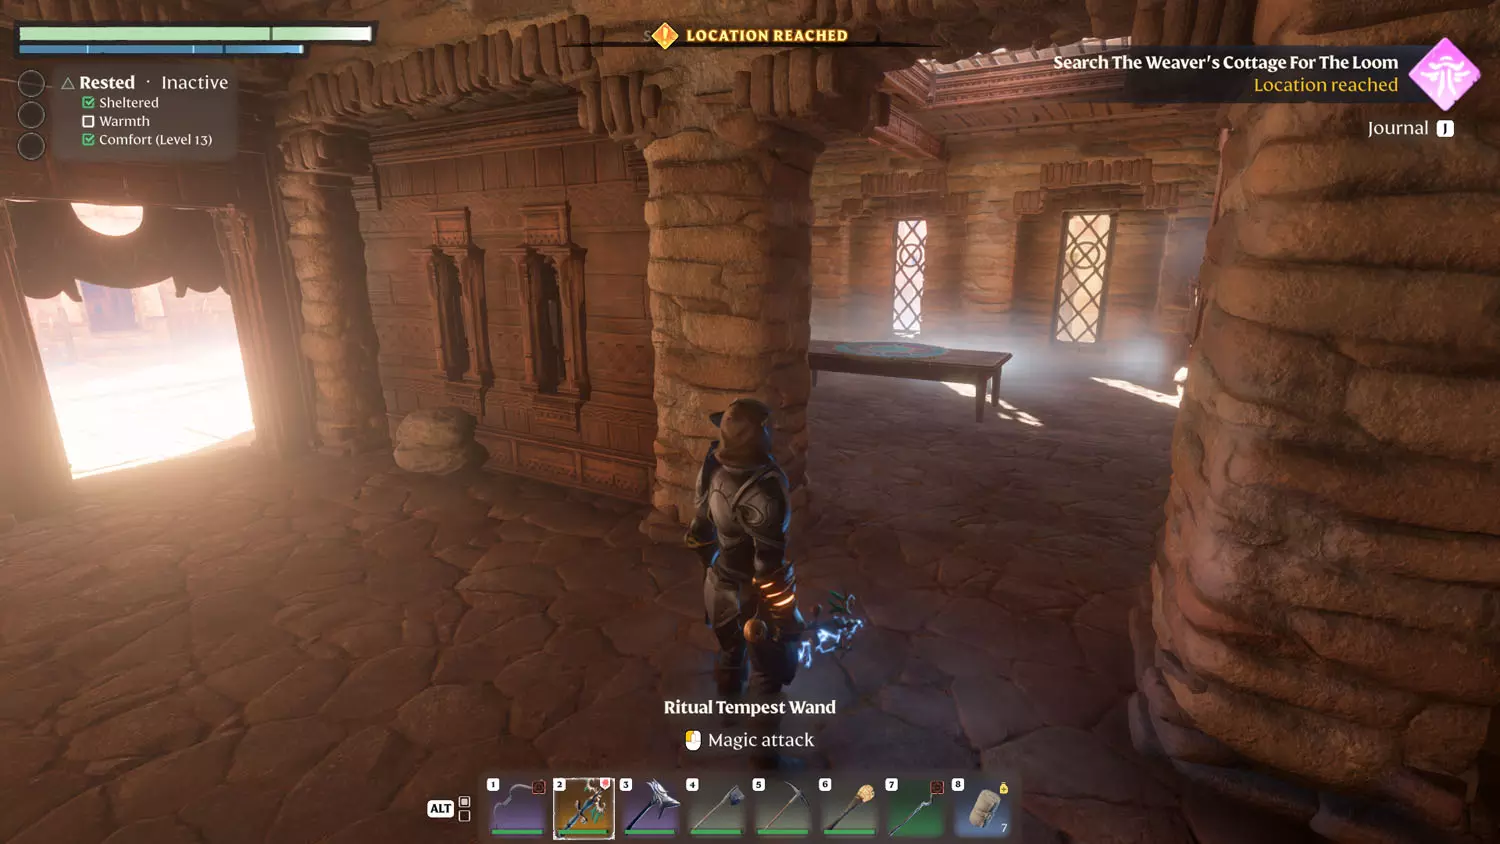
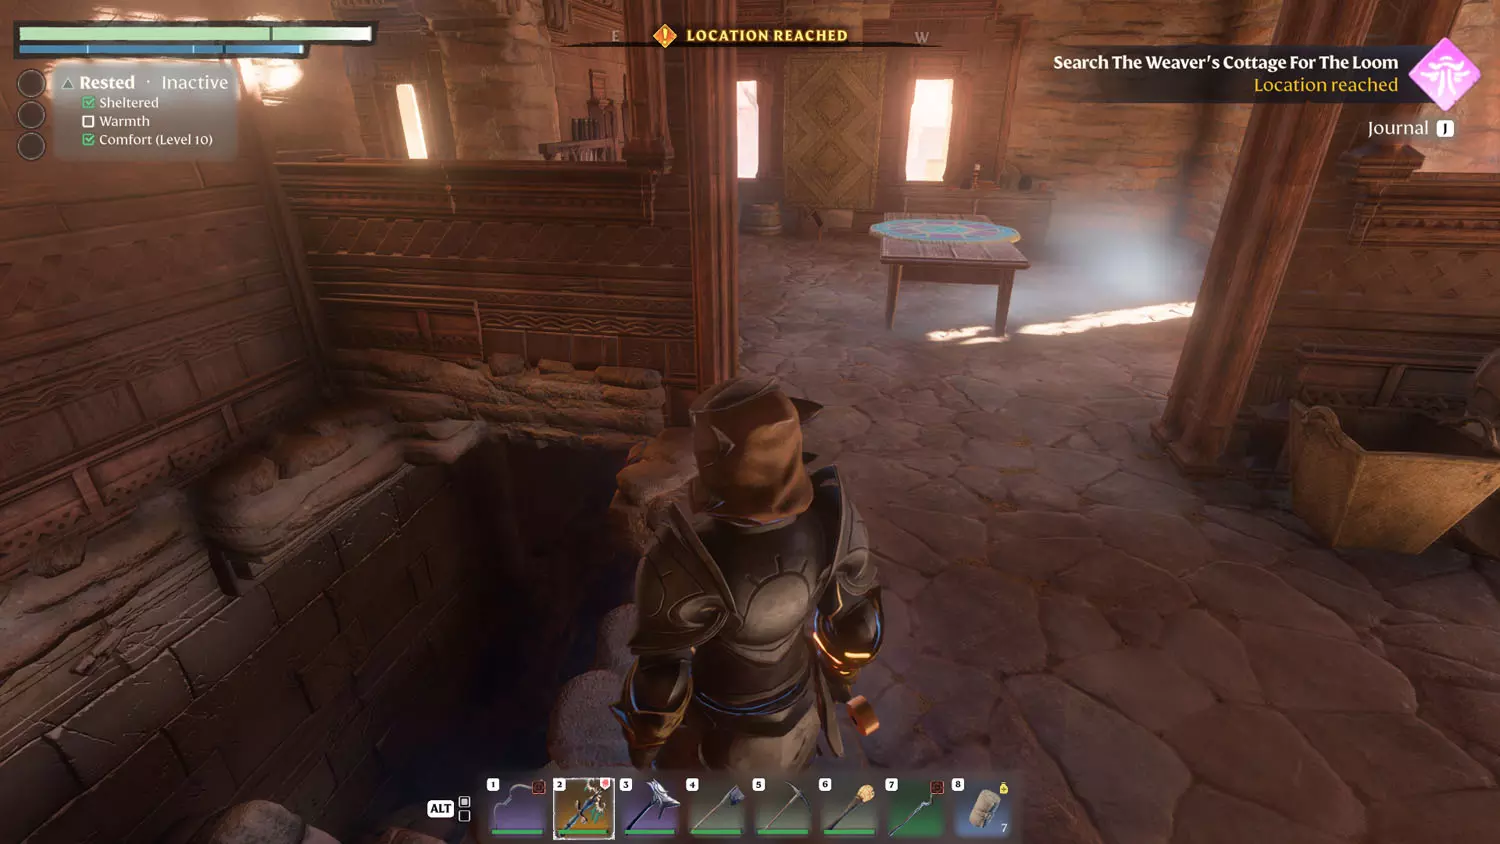
Once across the bridge, the building you’ve been looking for is on the left (north). Entering the Weaver’s Cottage will complete part 1 of 3 for this quest. Next up, the basement!
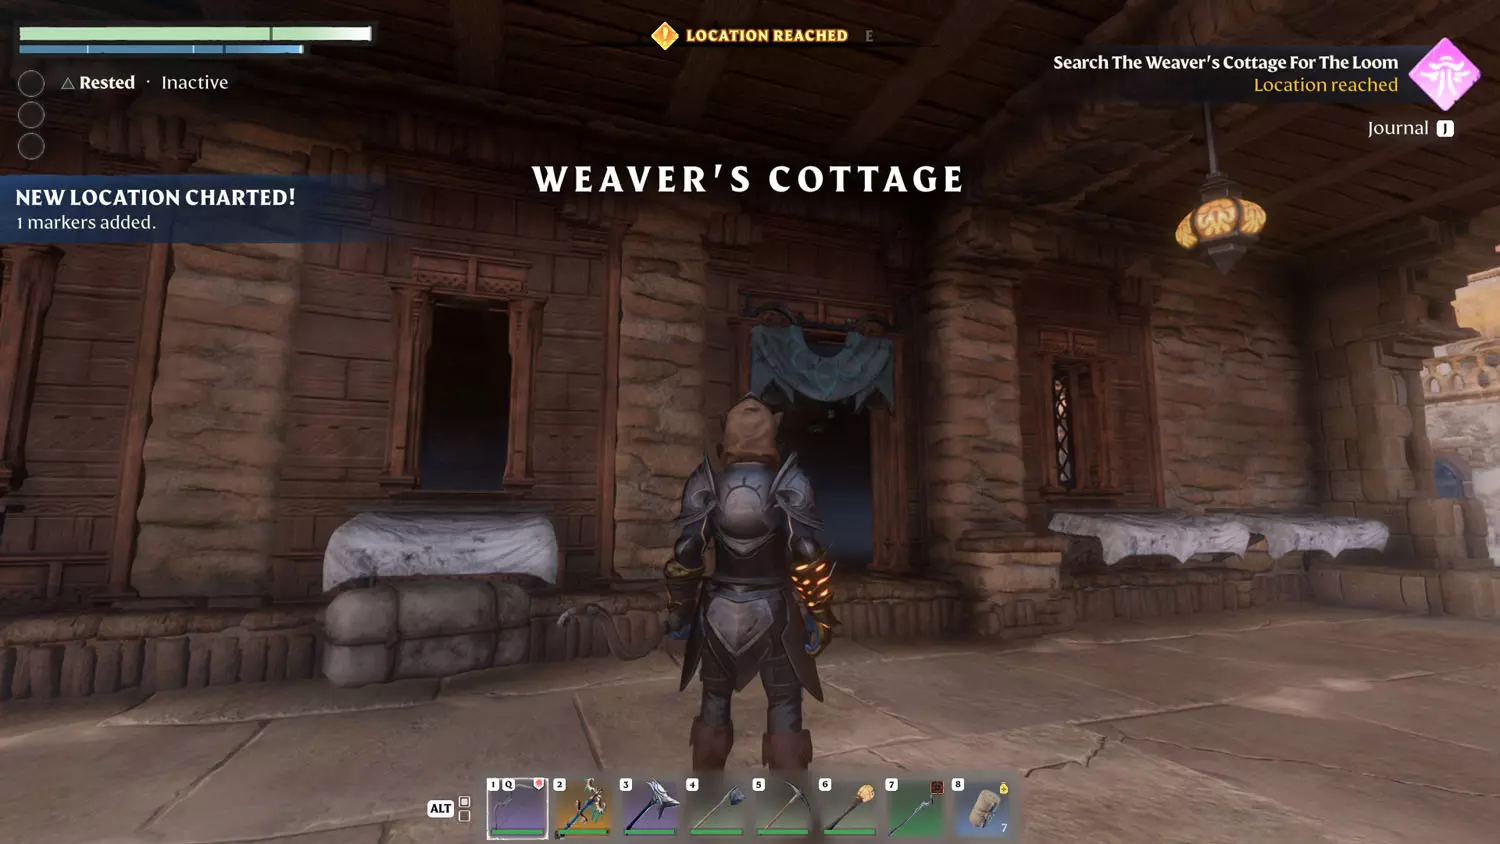
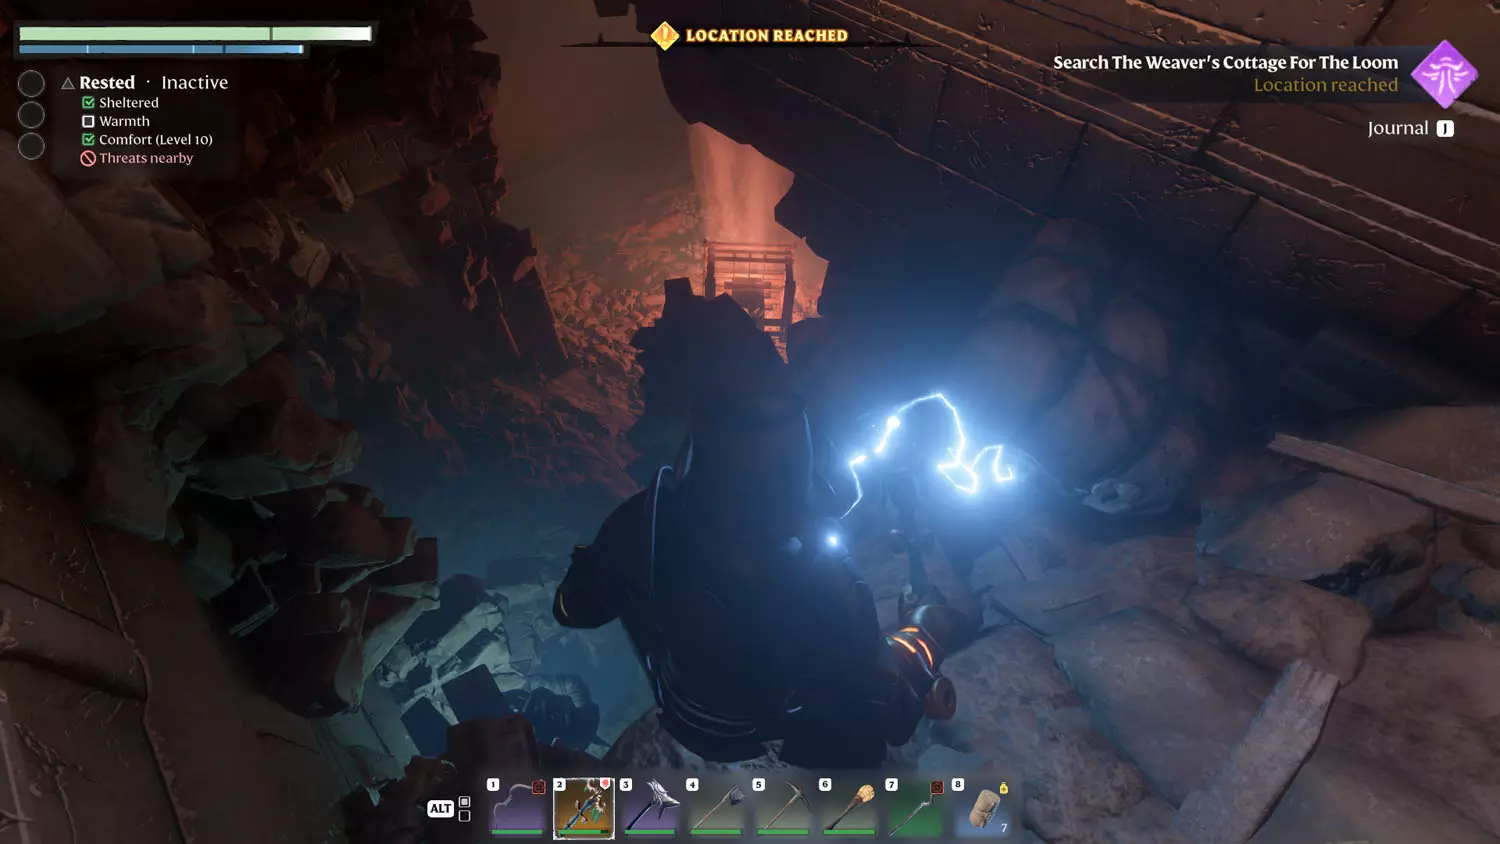
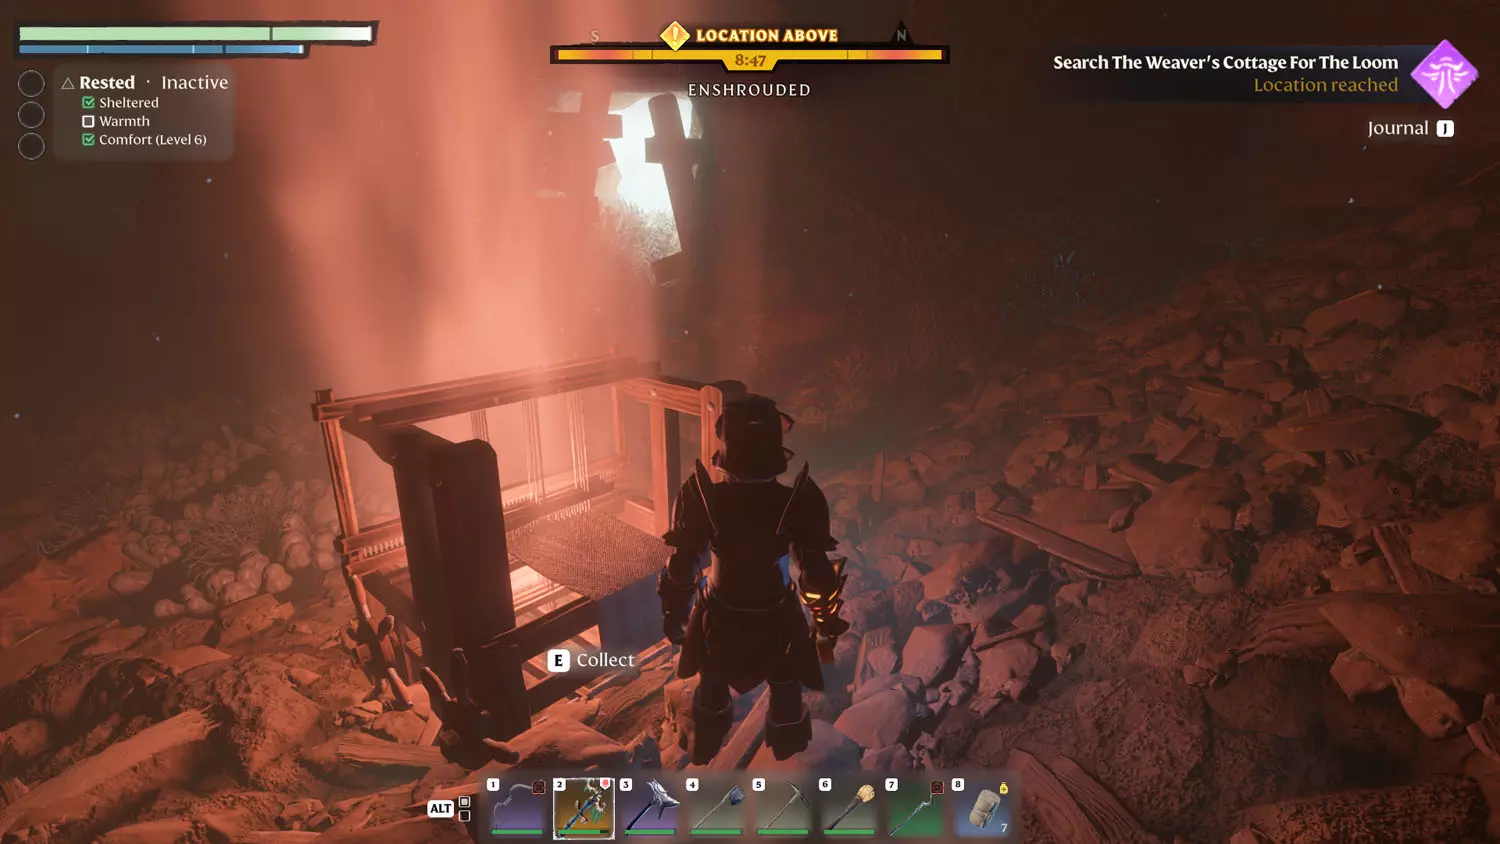
The basement is located near the entrance, just go left into the room with a fancy table and keep going until you reach an underground area. Down in the basement is the Loom. Obtaining it will complete part 2 of 3.
NOTE: Obtaining the Loom also unlocks the Carpenter recipe for the Spinning Wheel.

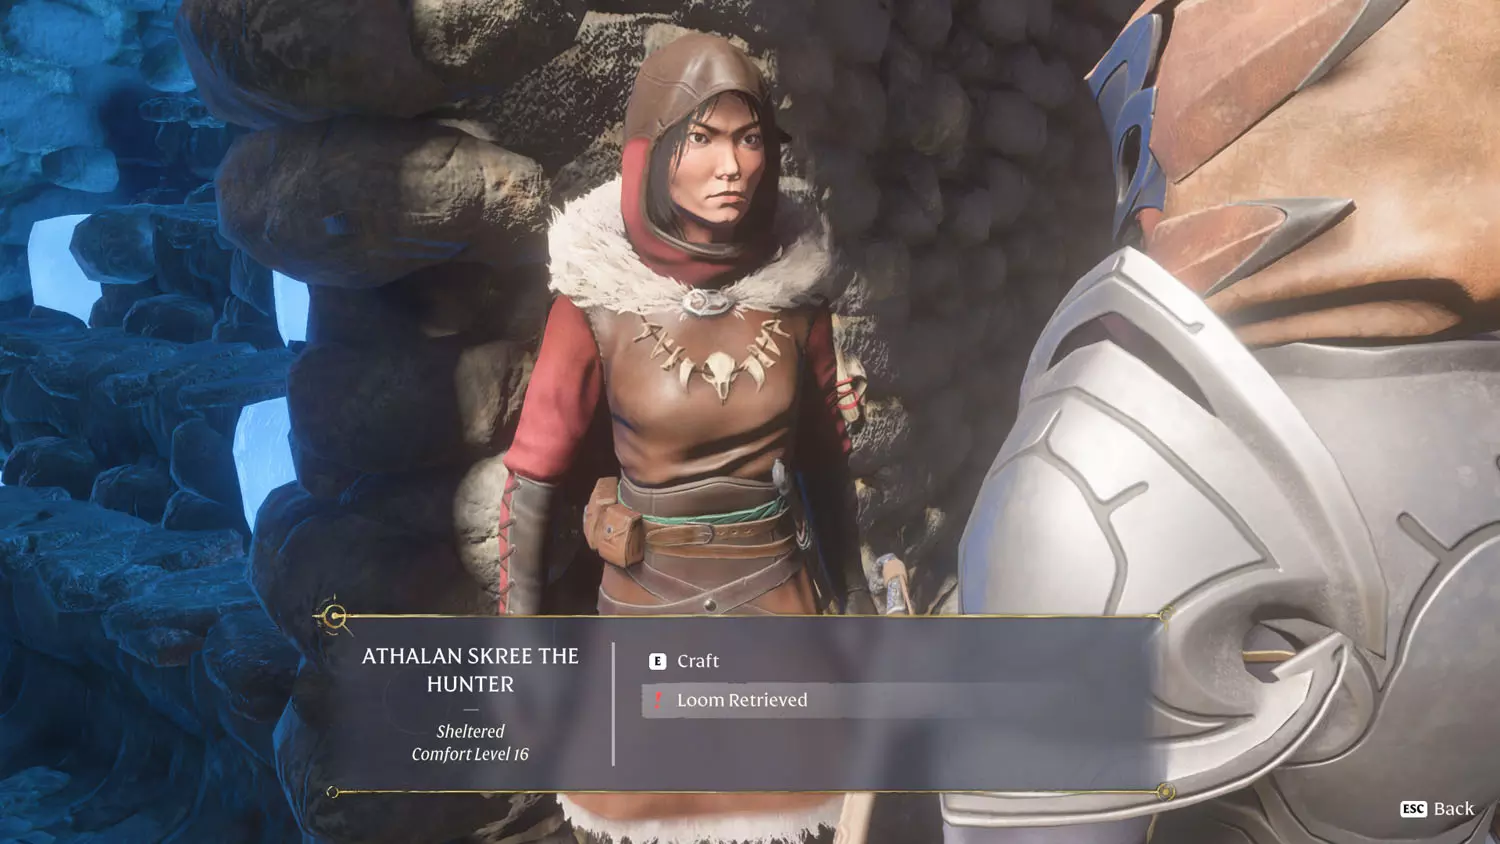
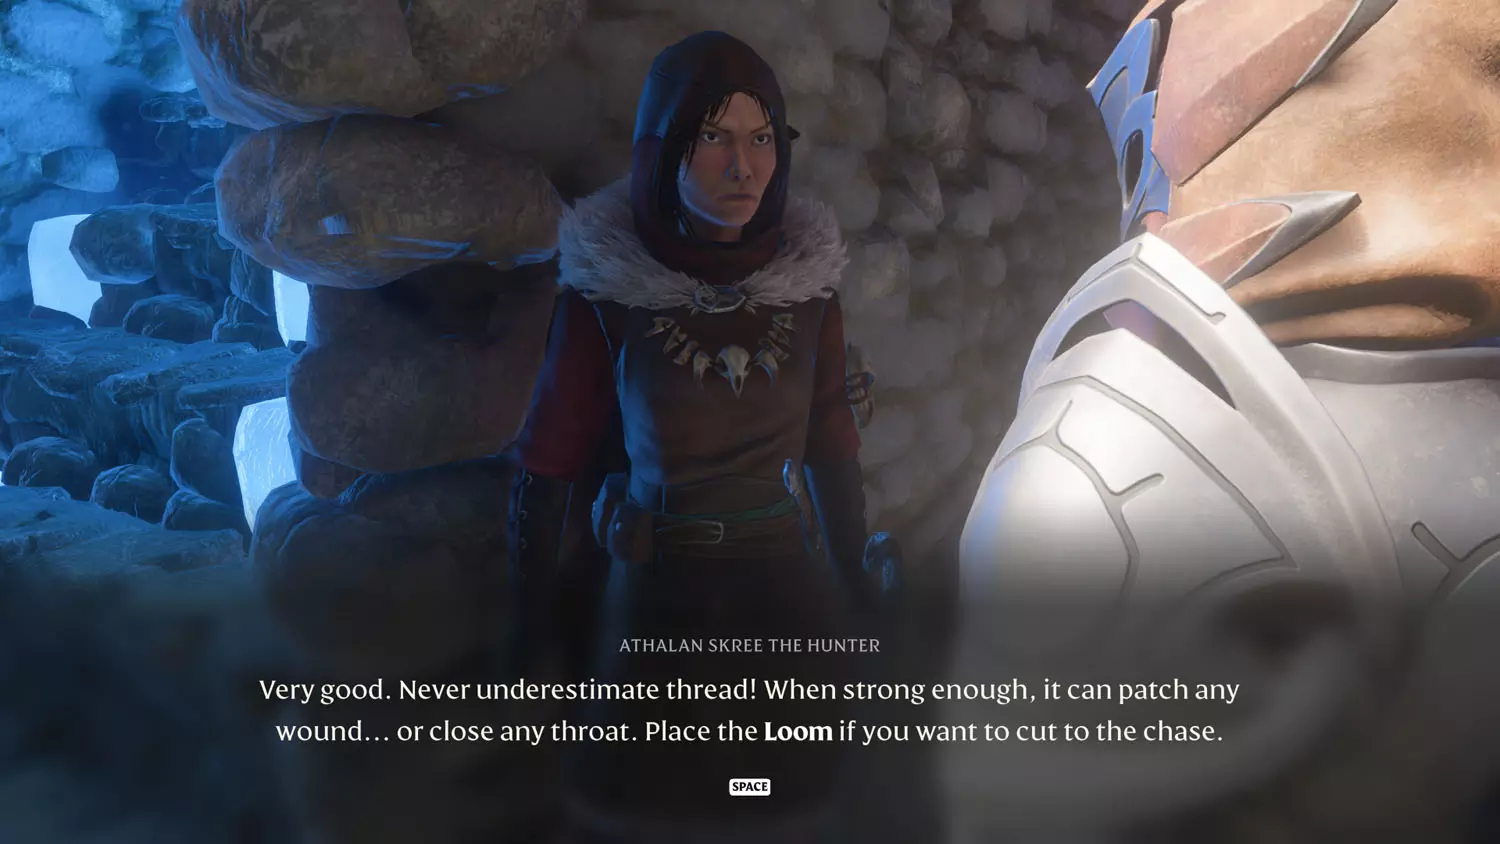
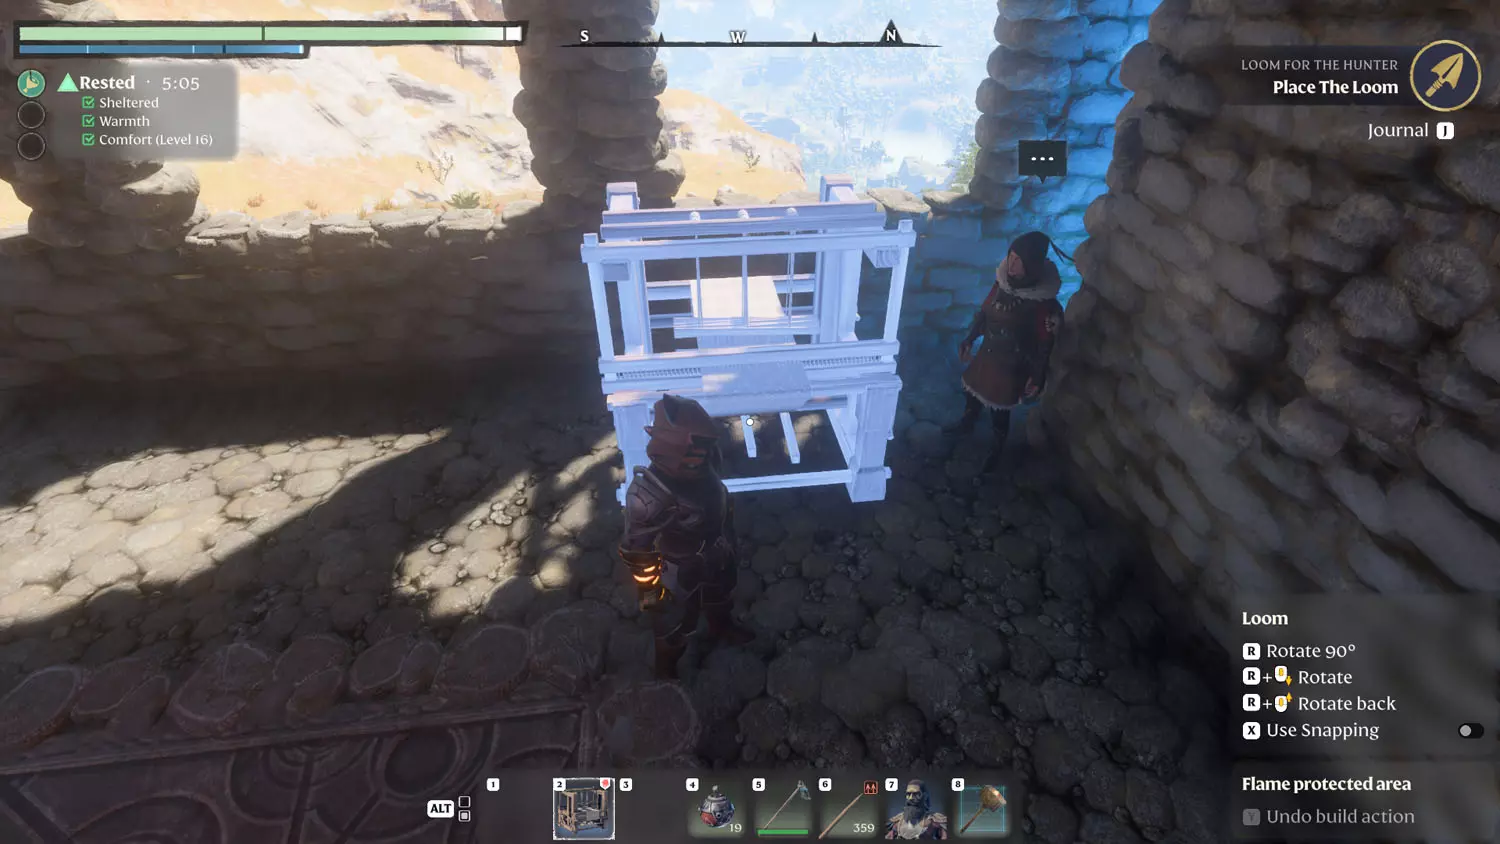
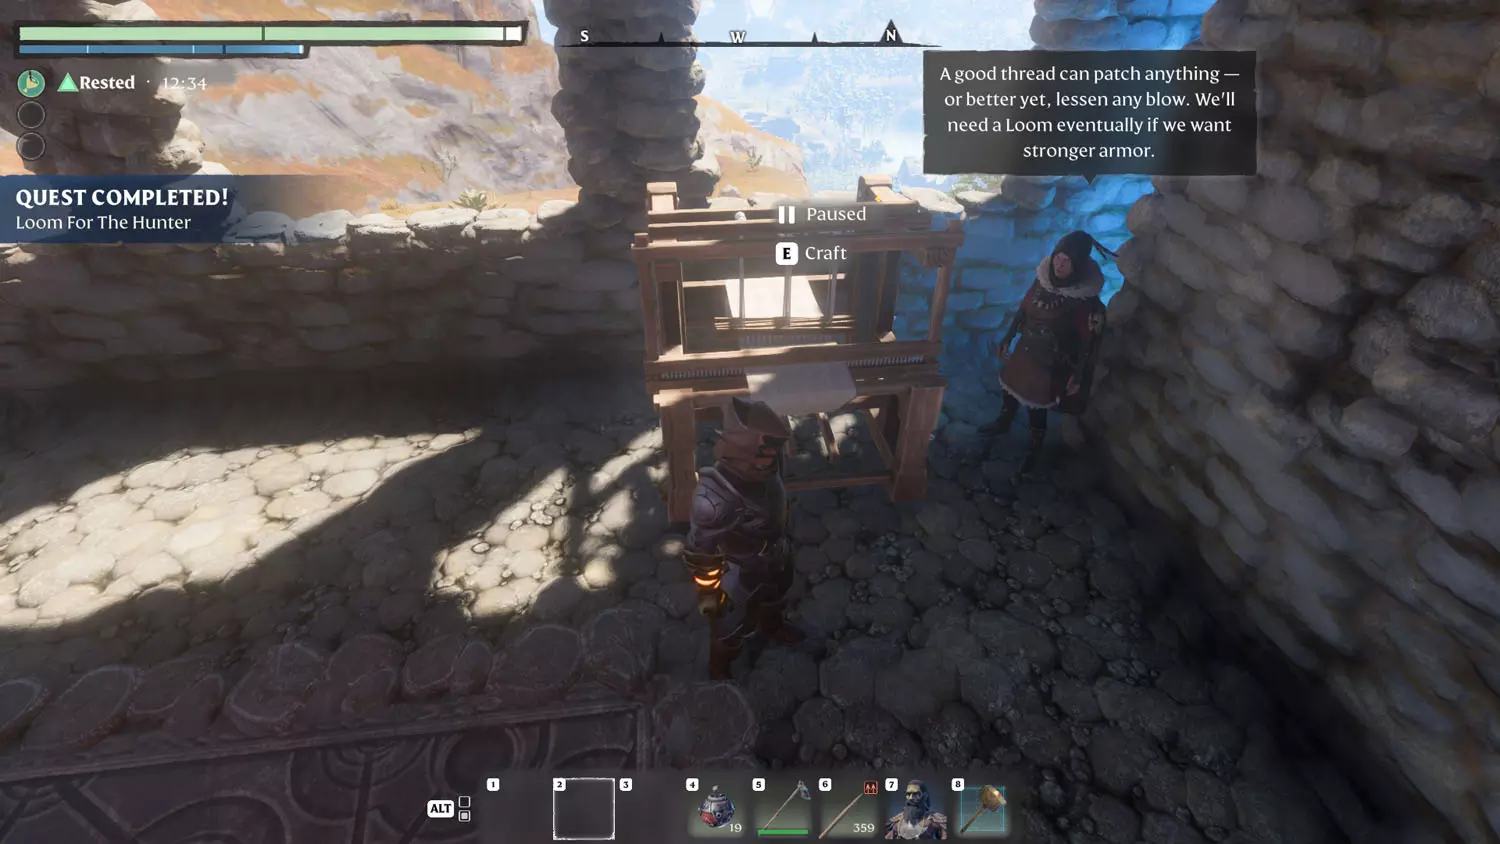
Next up - talking to the Hunter! Athalan Skree will have “Loom Retrieved” now as a dialogue option. Speaking with her and placing the Loom will complete the quest!
NOTE: All content below is from BEFORE Hollow Halls Update - version number 510434. Content below is good for anything before March 26th, 2024. Content may still be relevant after March 26th, 2024 - but there may be gaps in the information below as more Lore and Quests were added by developers.

