Enshrouded Ancient Spires Overview

Well, I have successfully looked for and found Enshrouded Quests and Enshrouded Lore. Now I’m tackling the Ancient Spires! I have tried keeping things as simple as possible, but if you need more info on a tower, let me know!
Disclaimer: All images used in this blog post are screenshots from the game Enshrouded.
SPOILER ALERT: There’s no way for me to avoid spoiling game play with the walkthrough.
NOTE: All content below is from BEFORE Hollow Halls Update - version number 510434. Content below is good for anything before March 26th, 2024. Content may still be relevant after March 26th, 2024 - but there may be gaps in the information below as more Lore and Quests were added by developers.
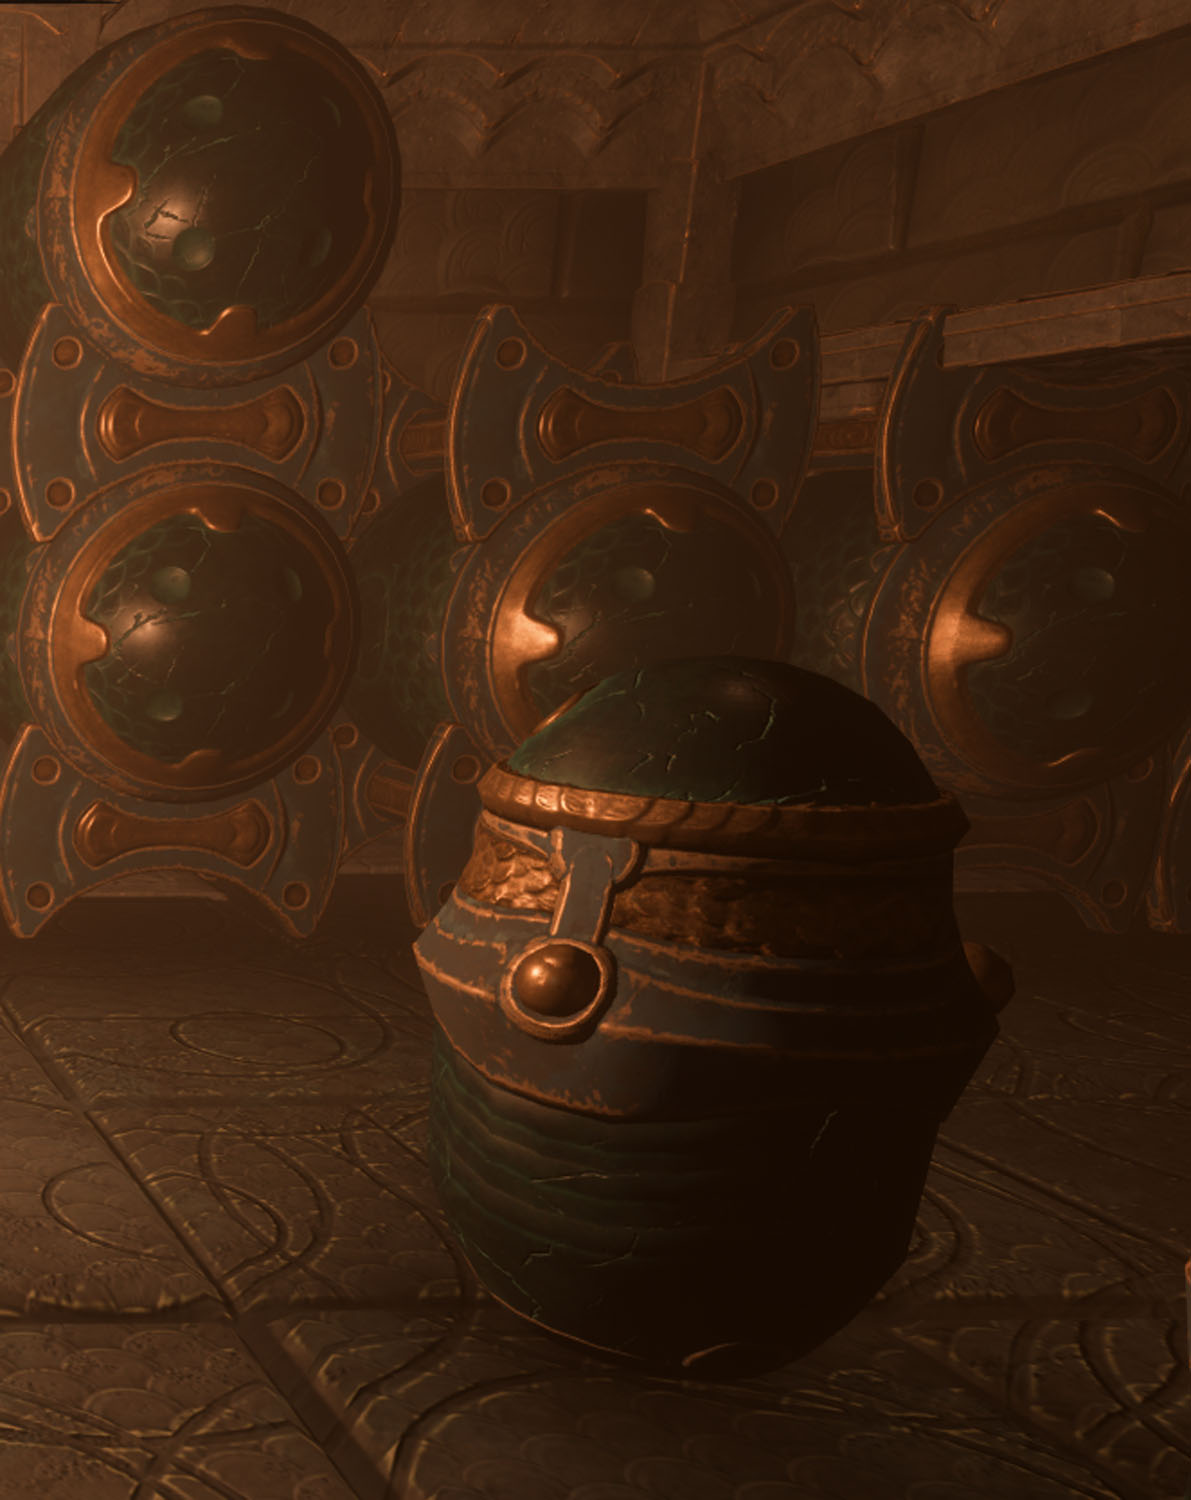
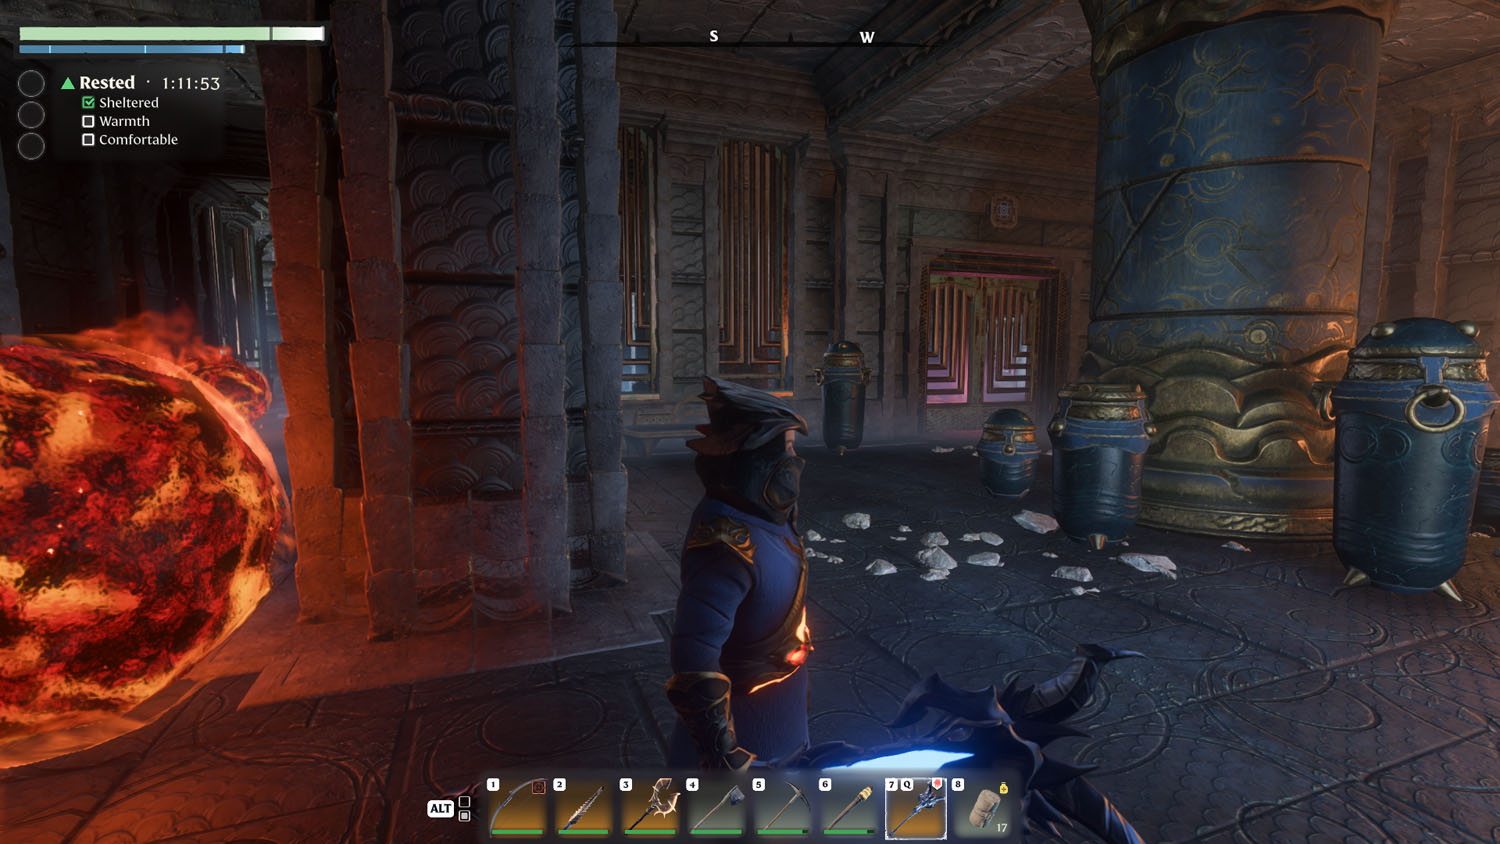
Quick Tip: All the towers have those ornate looking jars / pots. Smash them for area relevant loot. By that, I mean you can find Salt, Iron Bars, Copper Bars, Tin Bars, Leather, Padding, String, etc. If the area is a low-level one, you won’t find the higher-end equipment or loot. Just something to keep in mind!
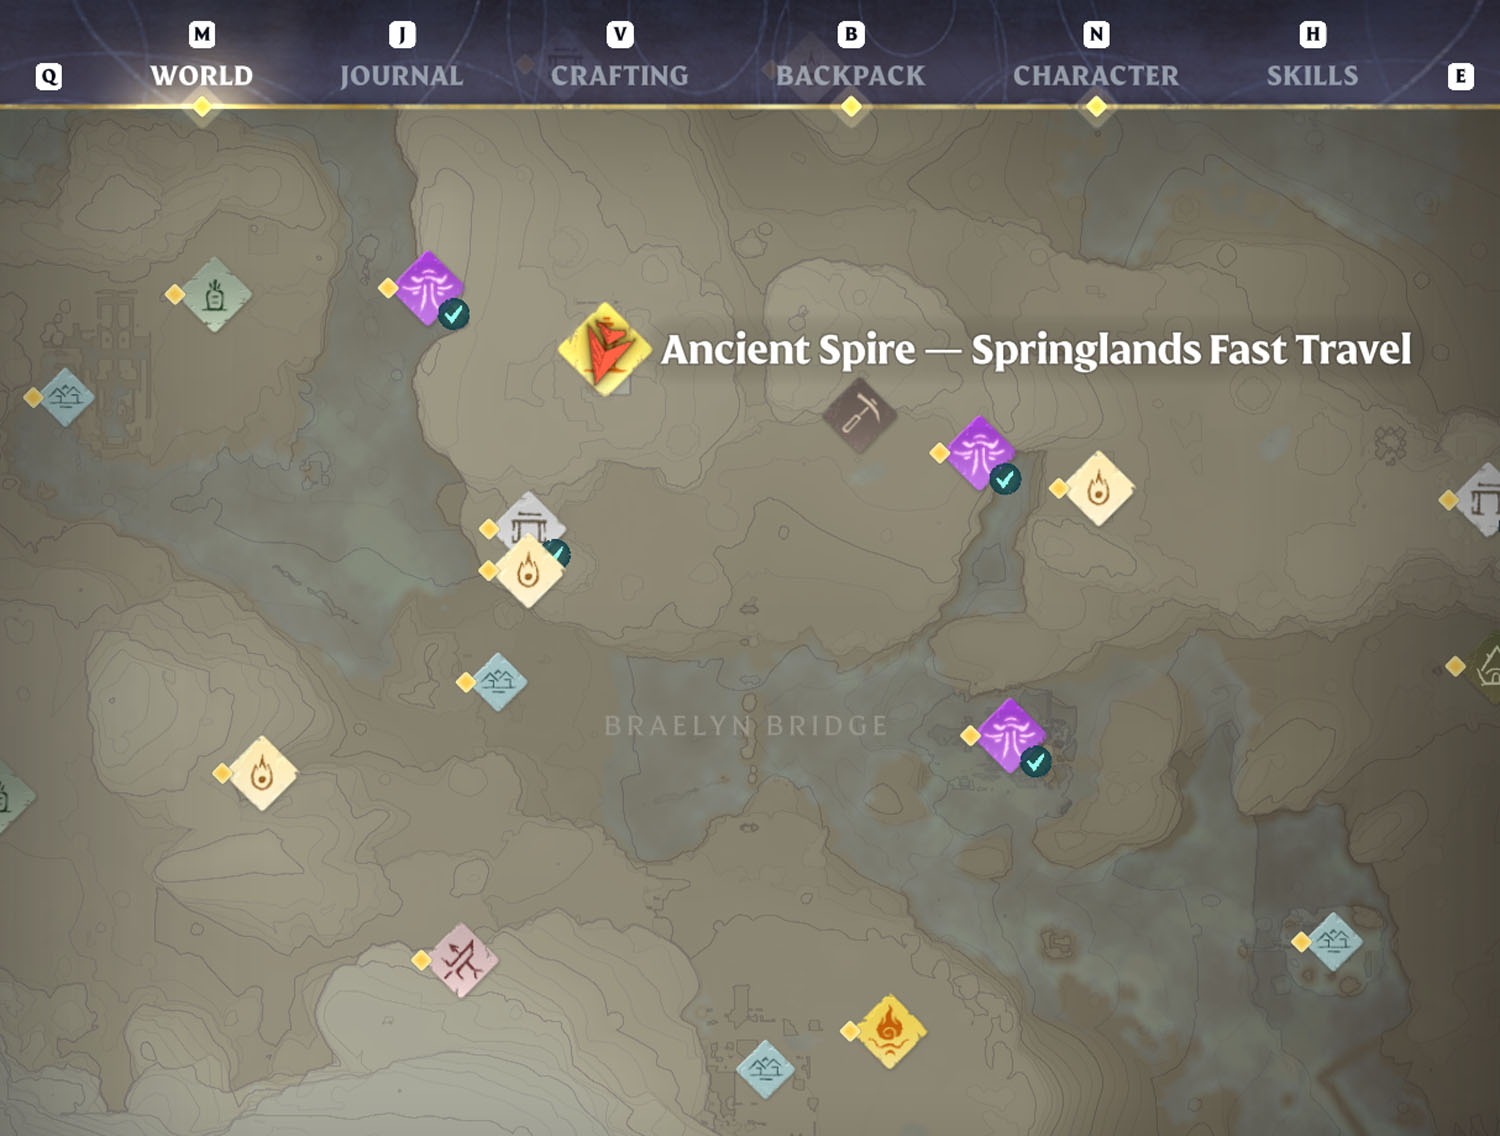
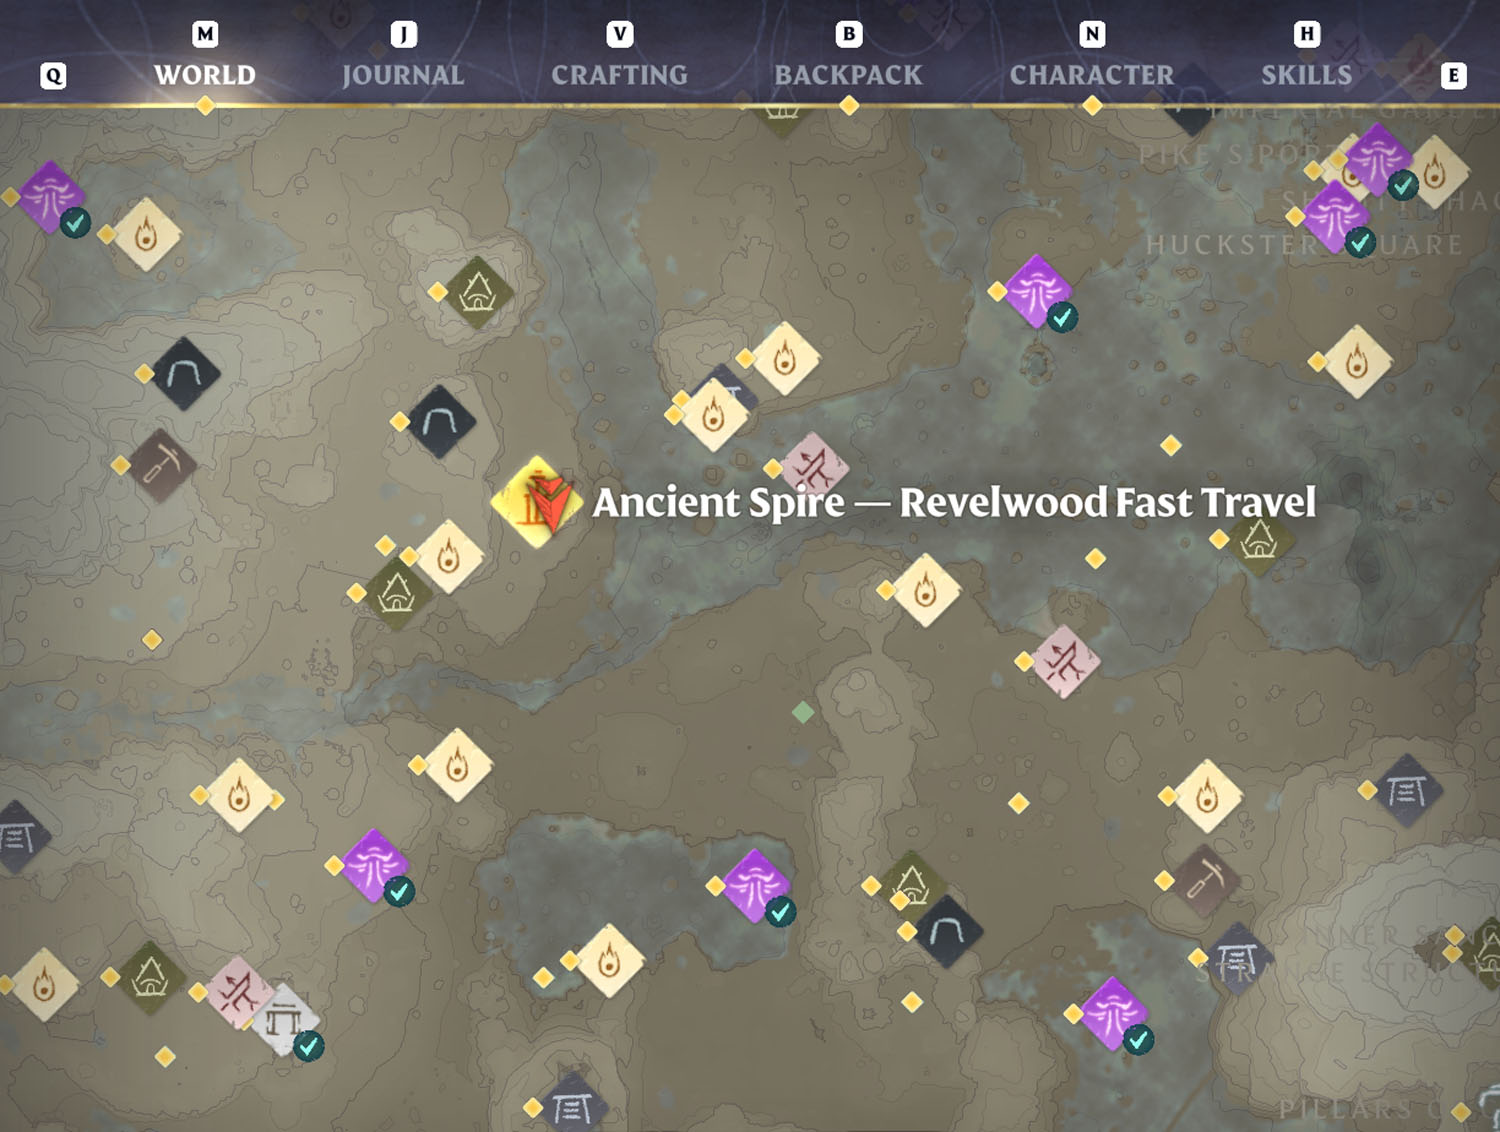
Tower Navigation
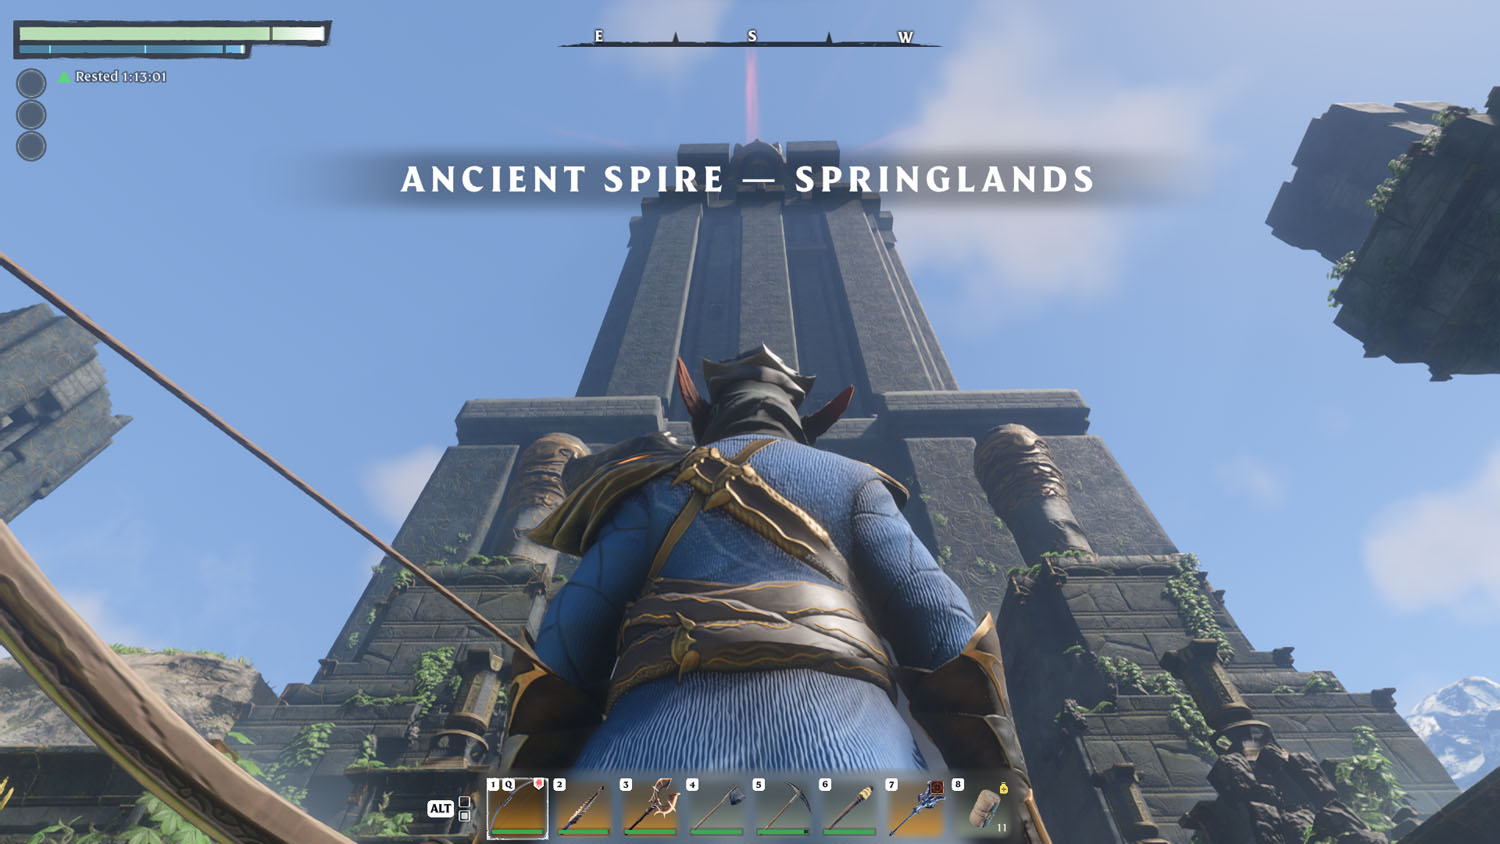
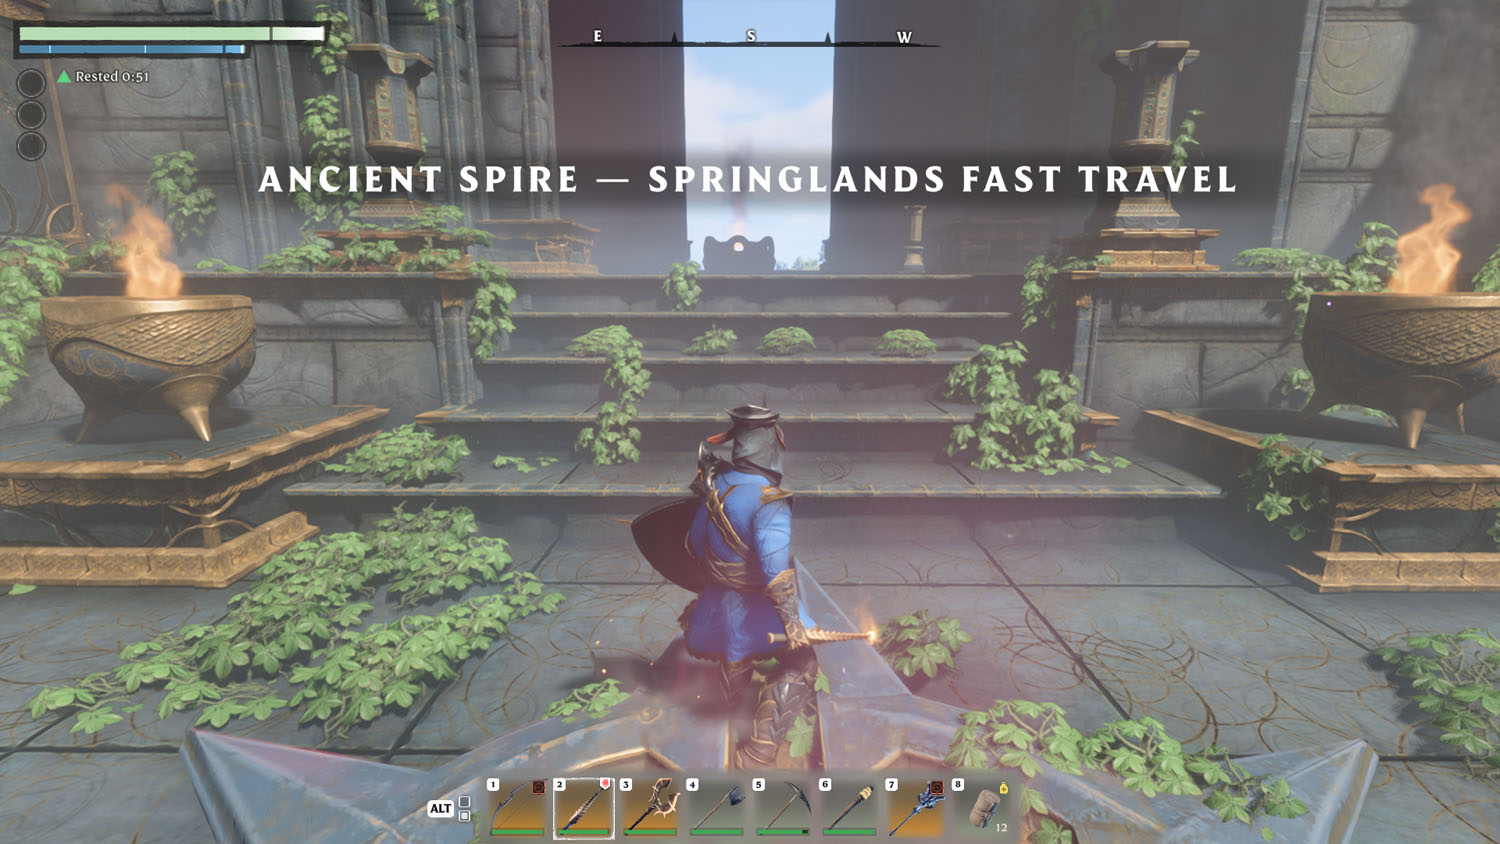
Ancient Spire - Springlands Fast Travel
This Ancient Spire is part of the Blacksmith Quest: The Ancient Spires While it can be done without activating the quest, you will lose out on XP if you ignore Oswald Anders - The Blacksmith.
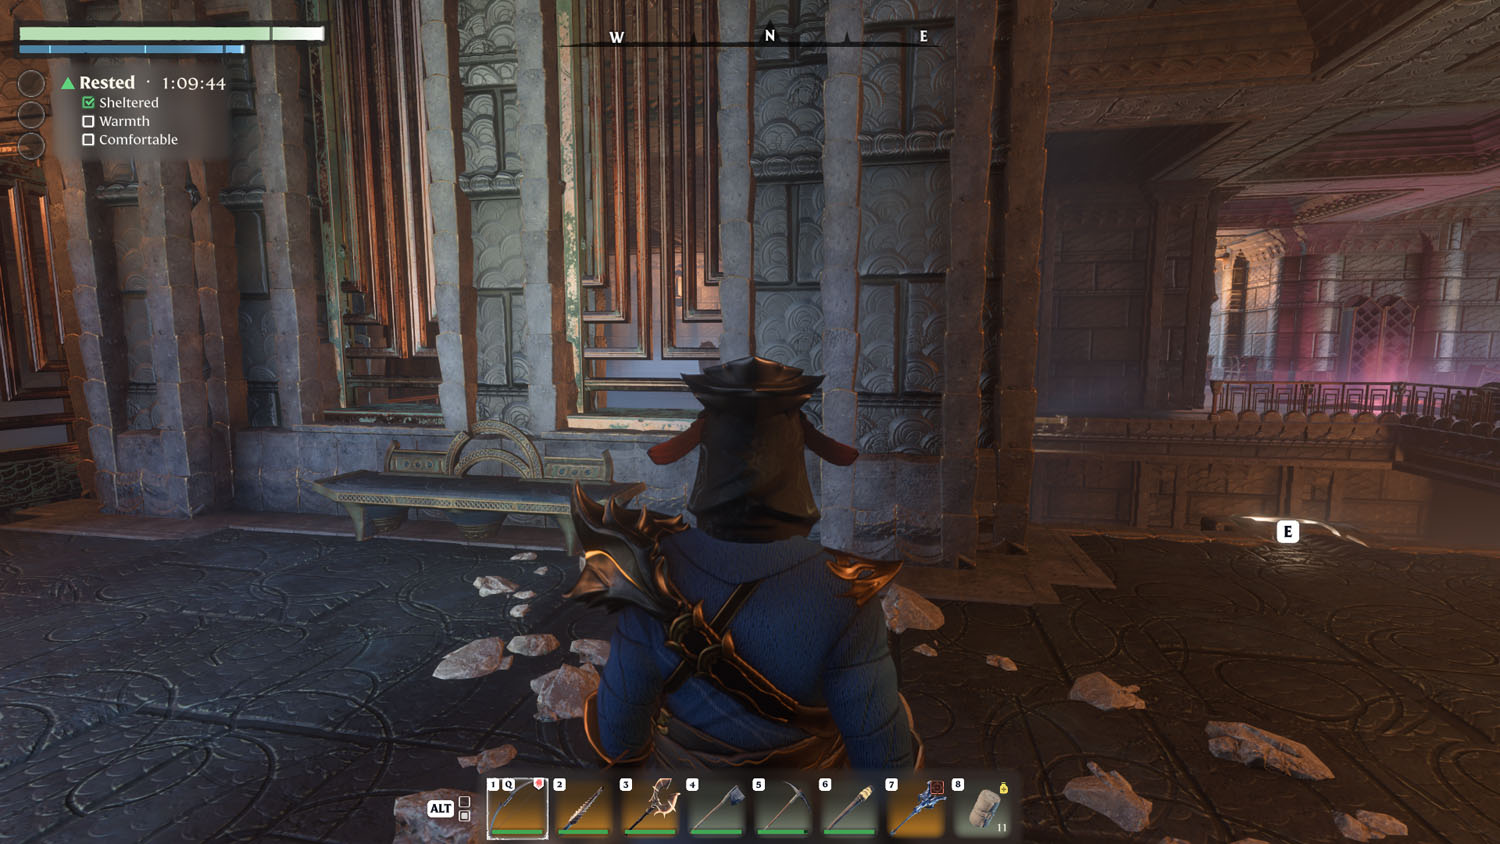
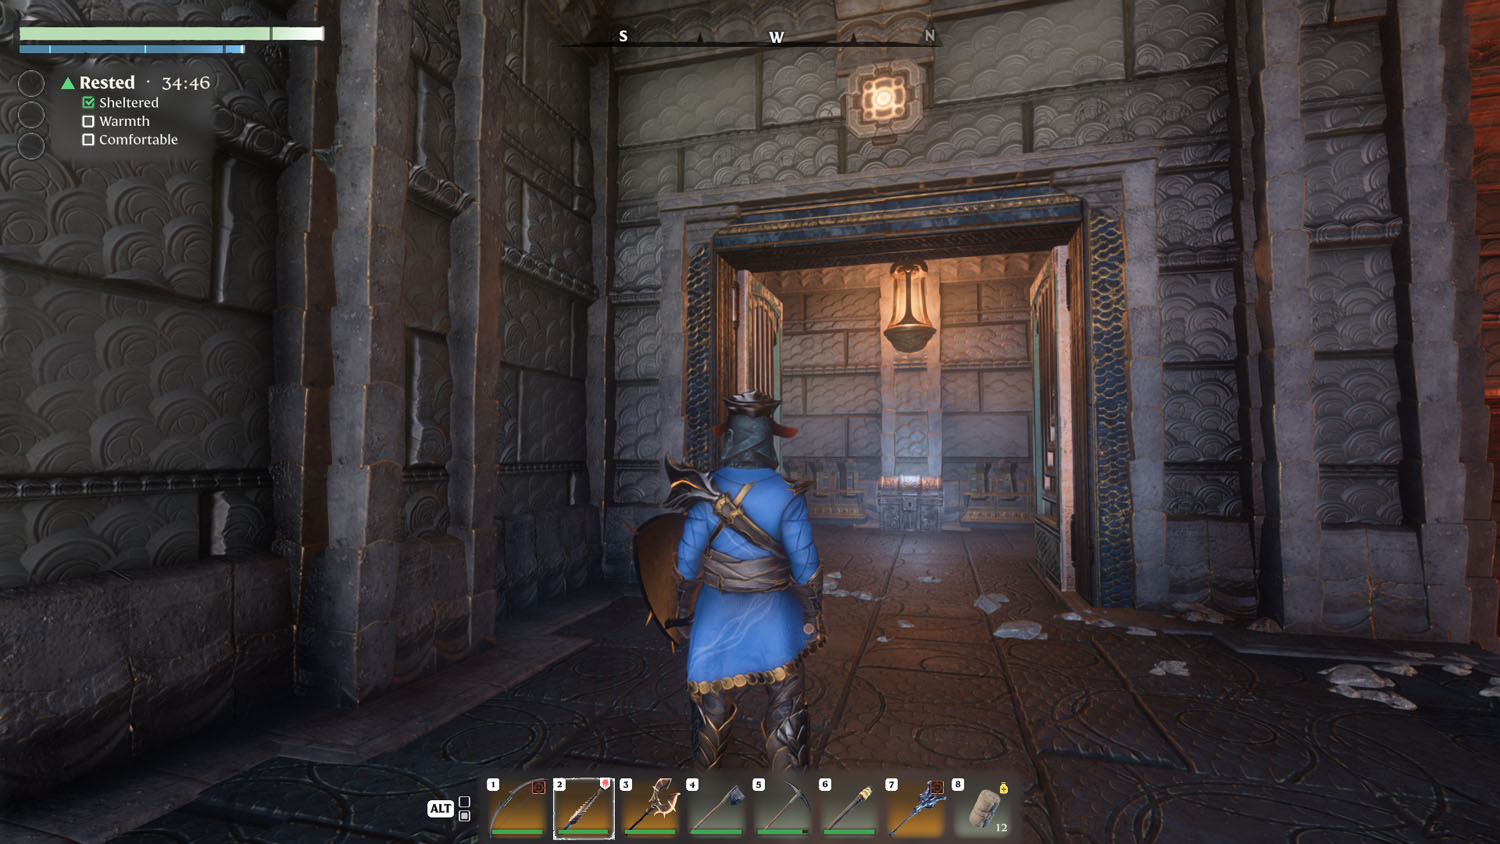
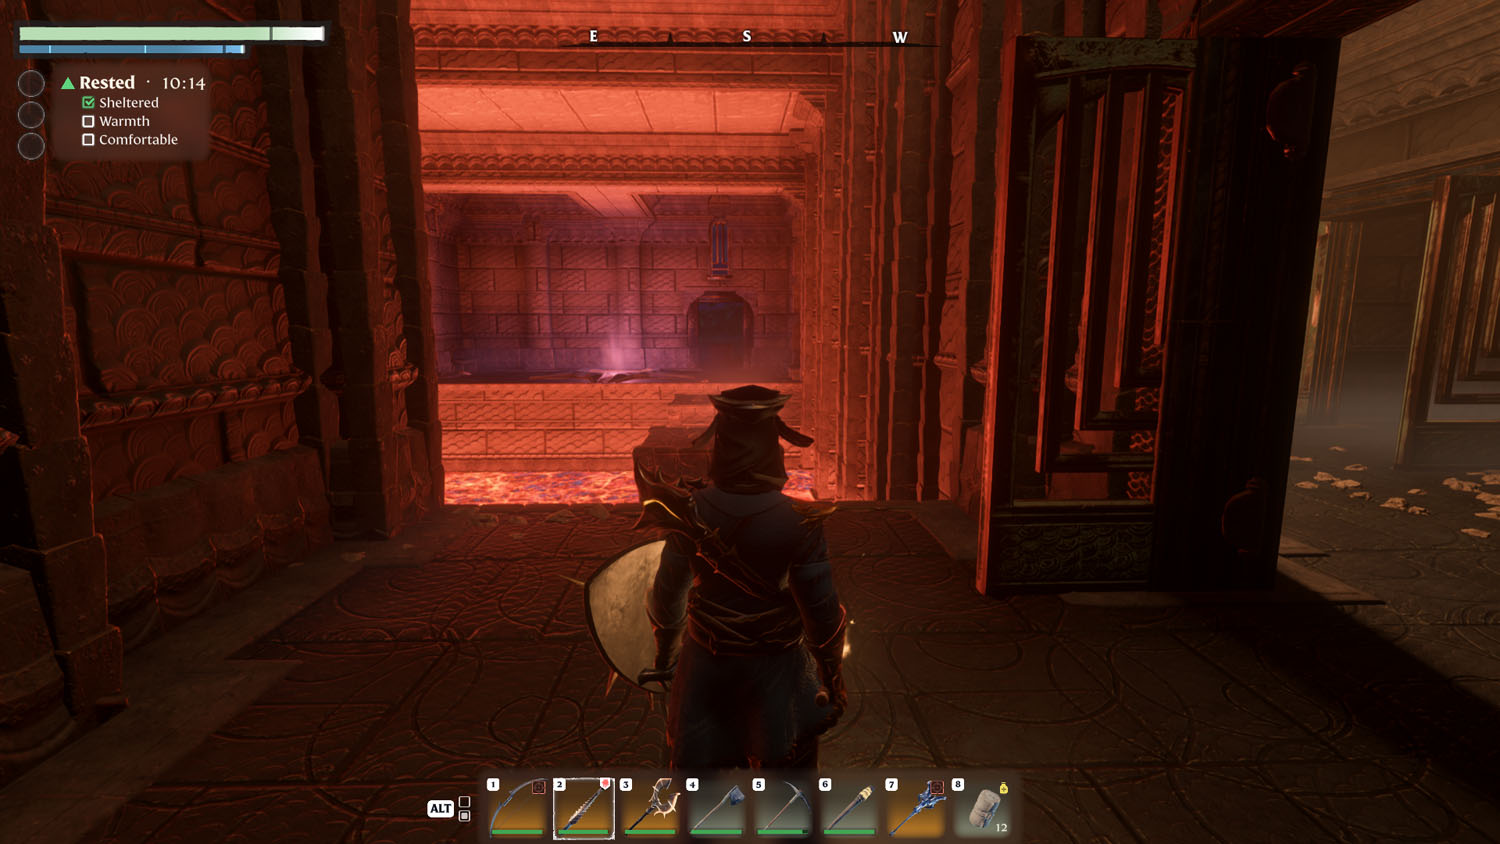
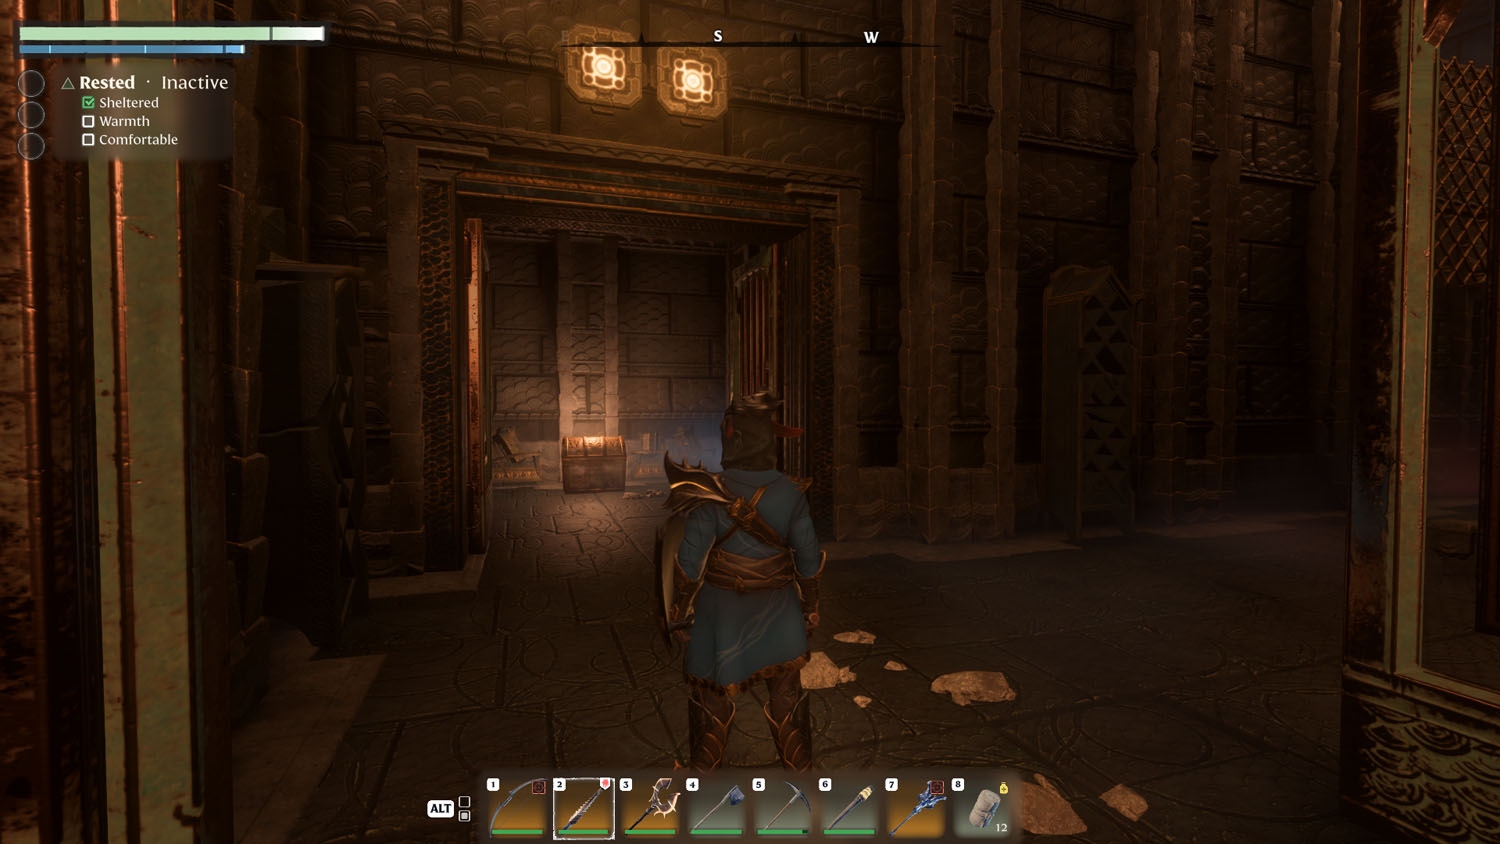
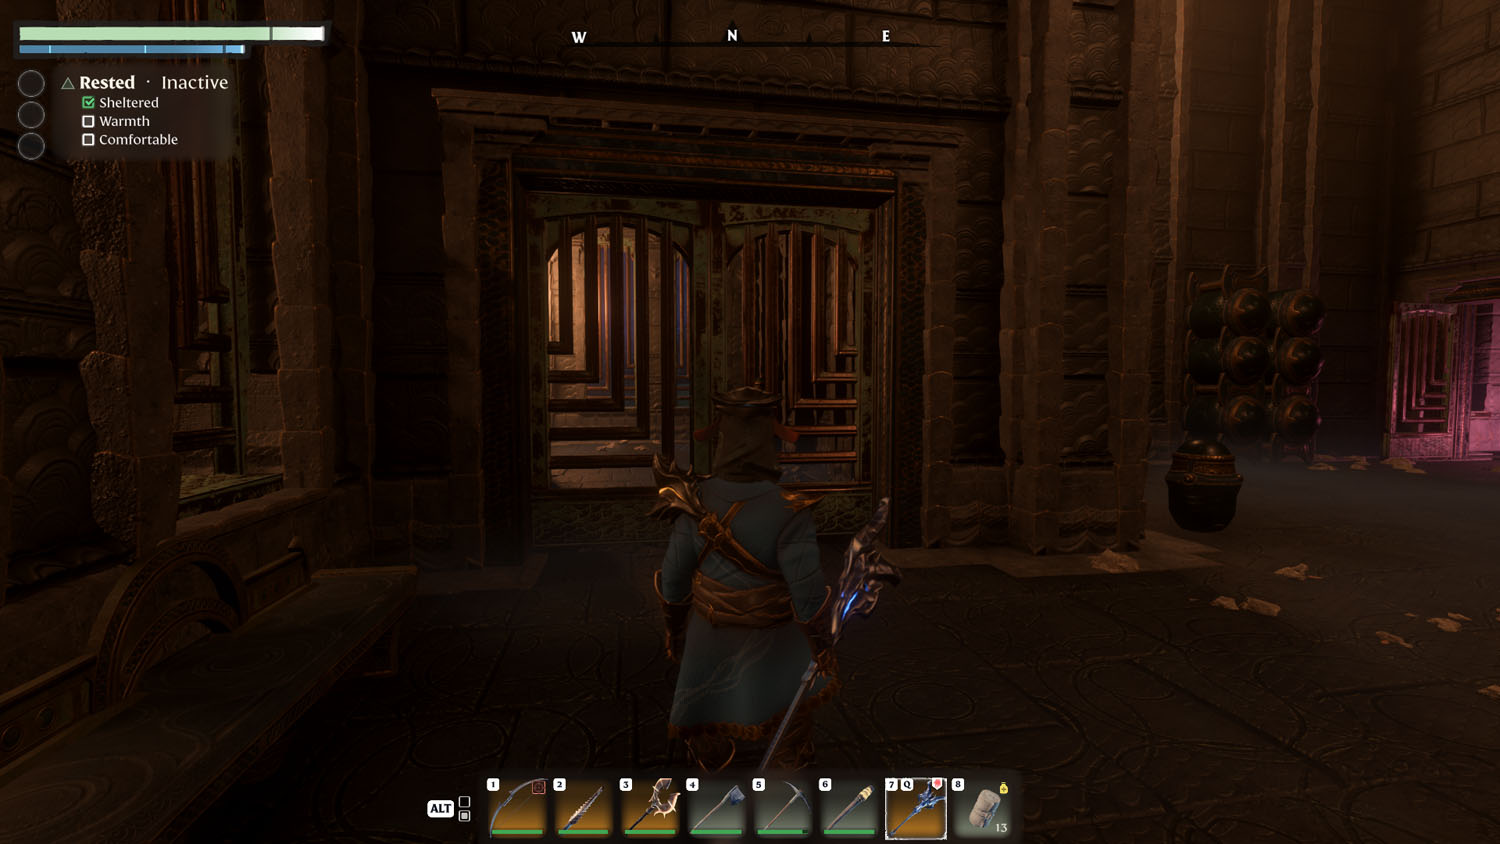
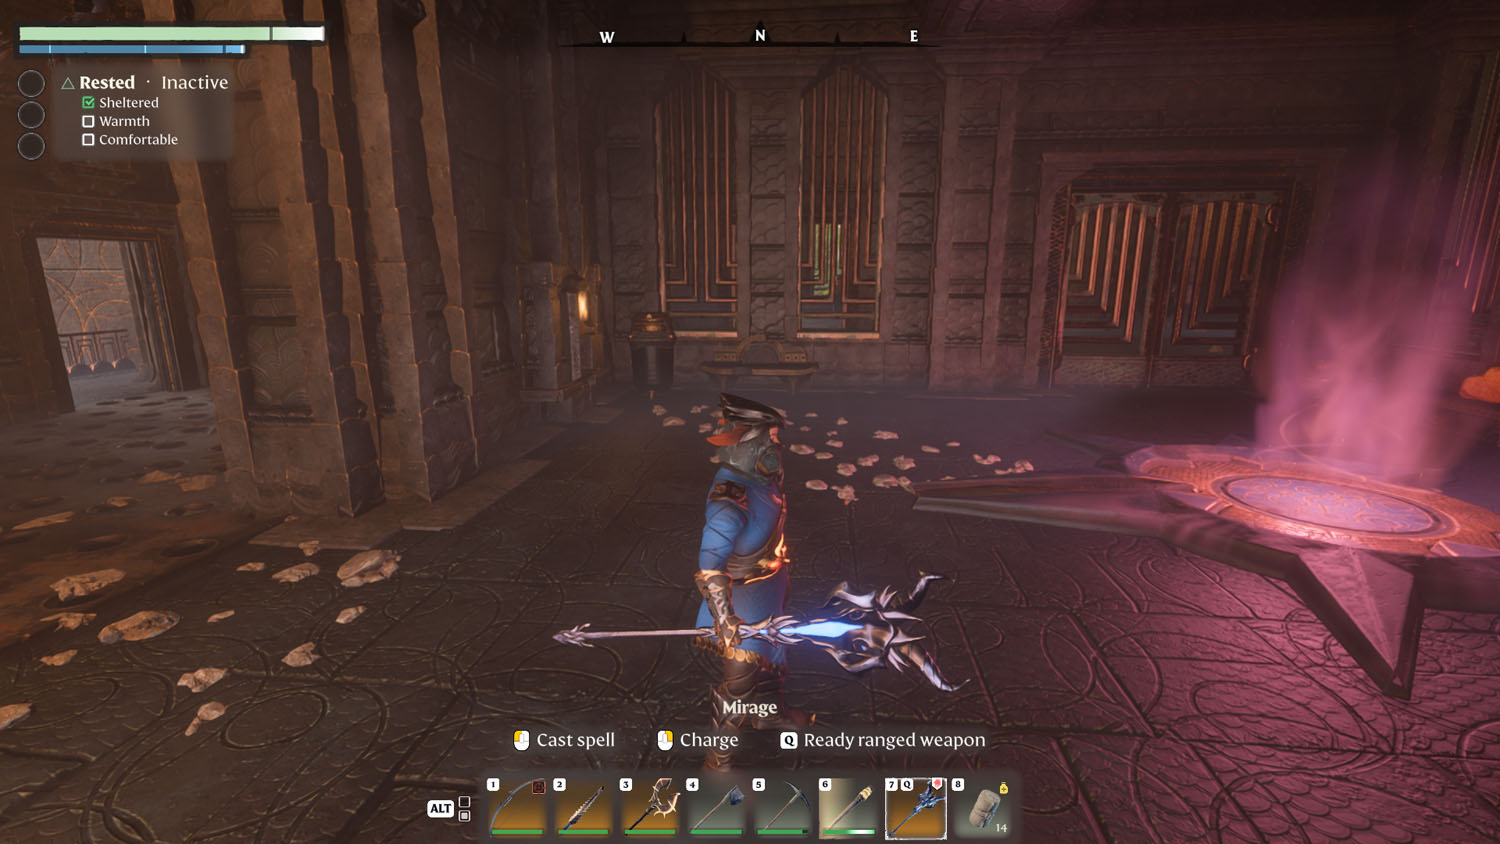
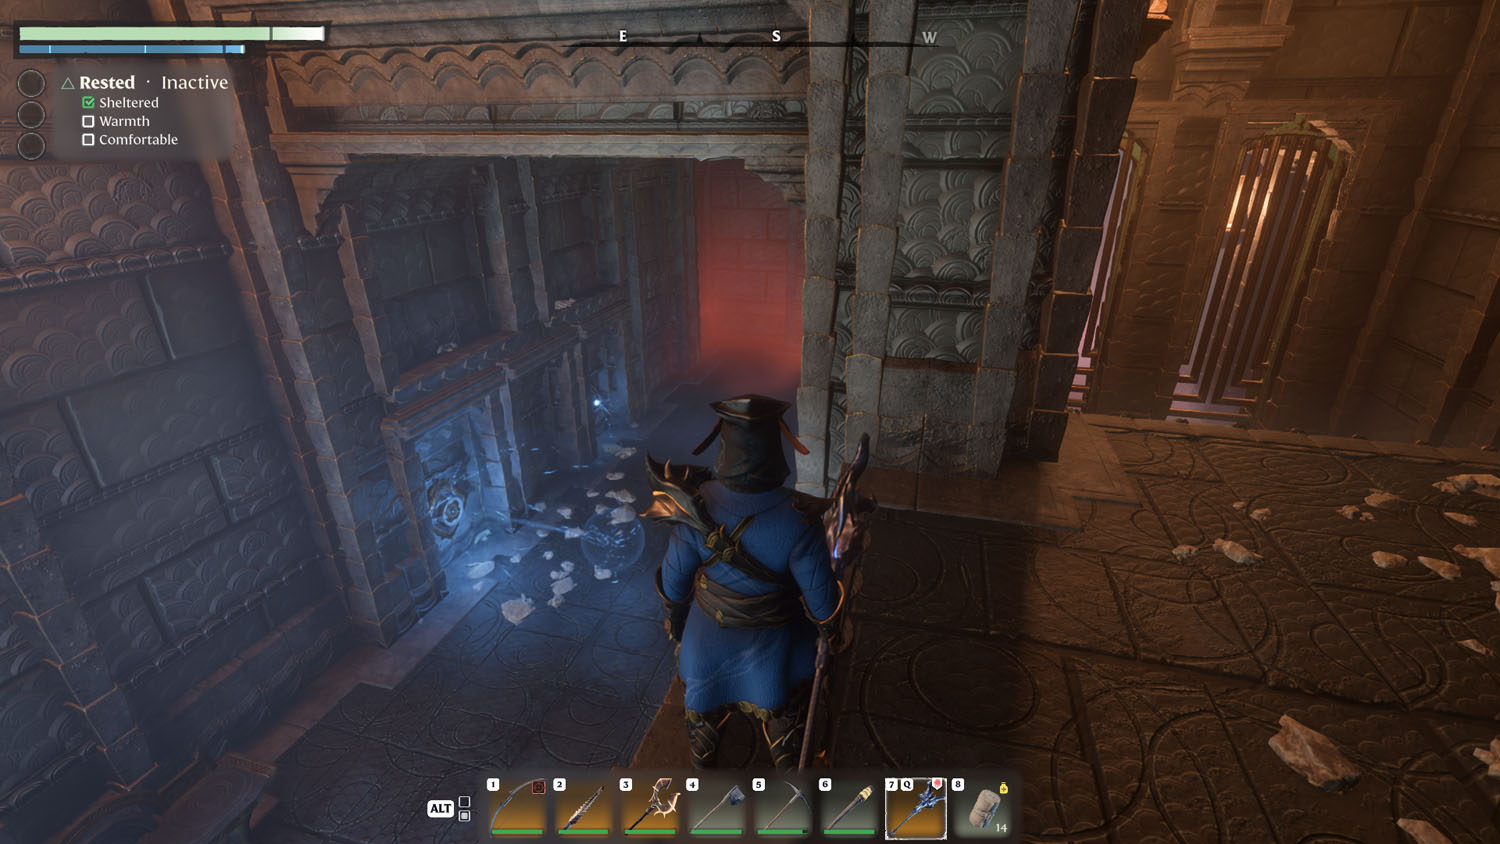
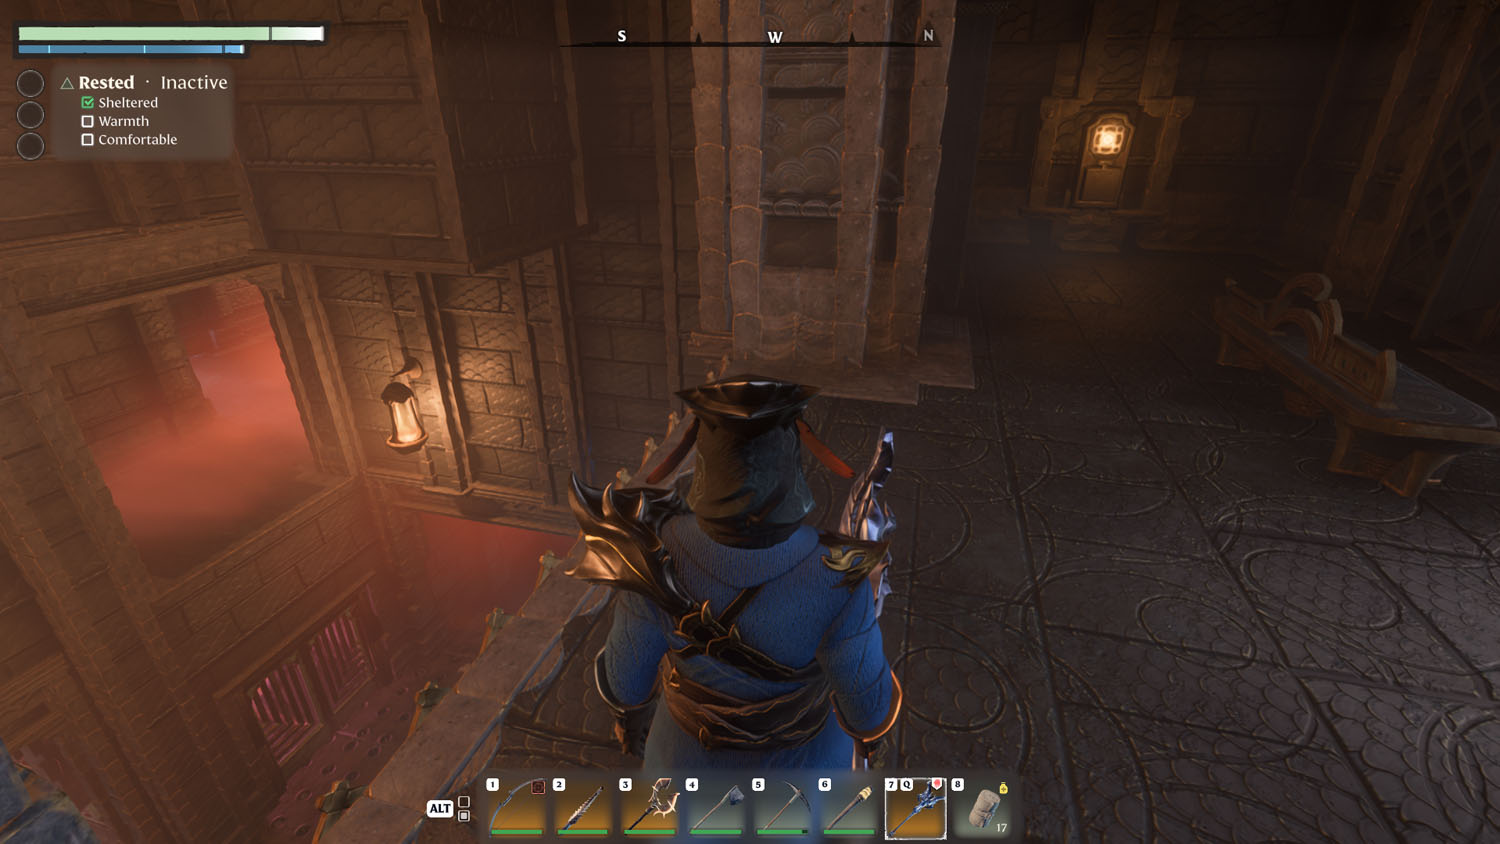
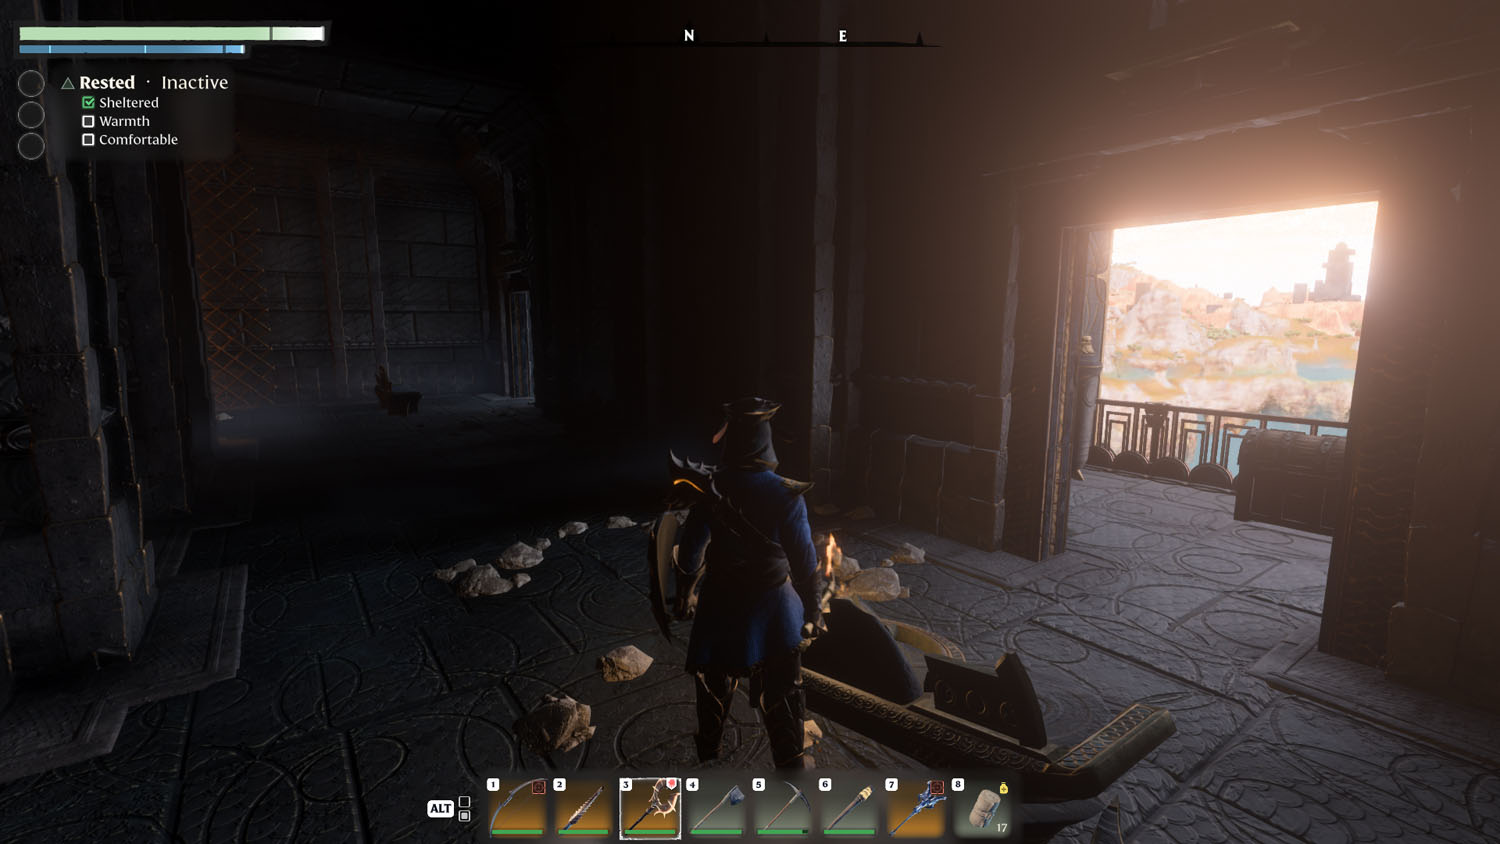
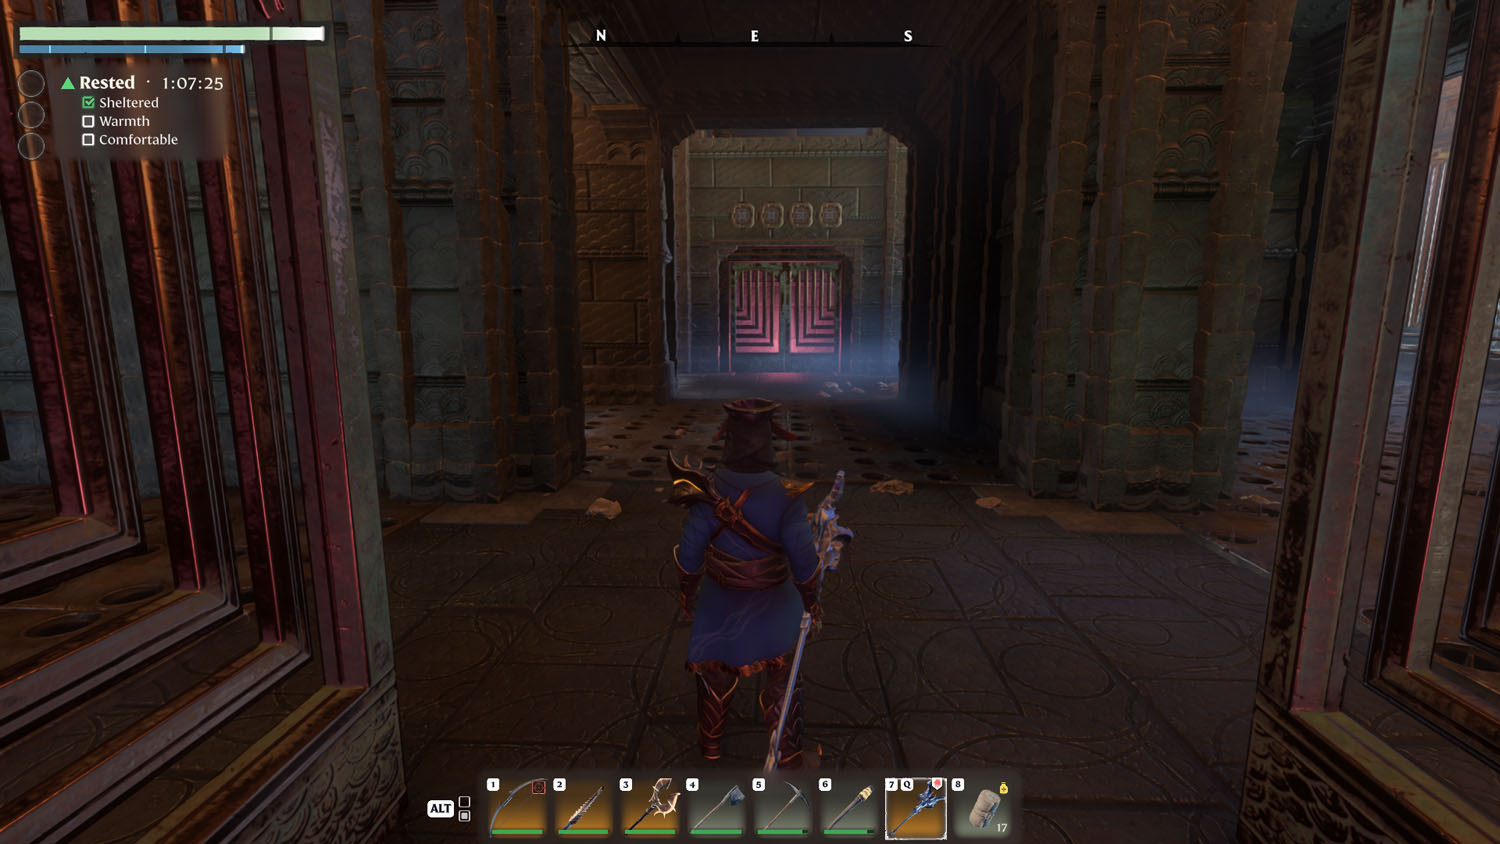
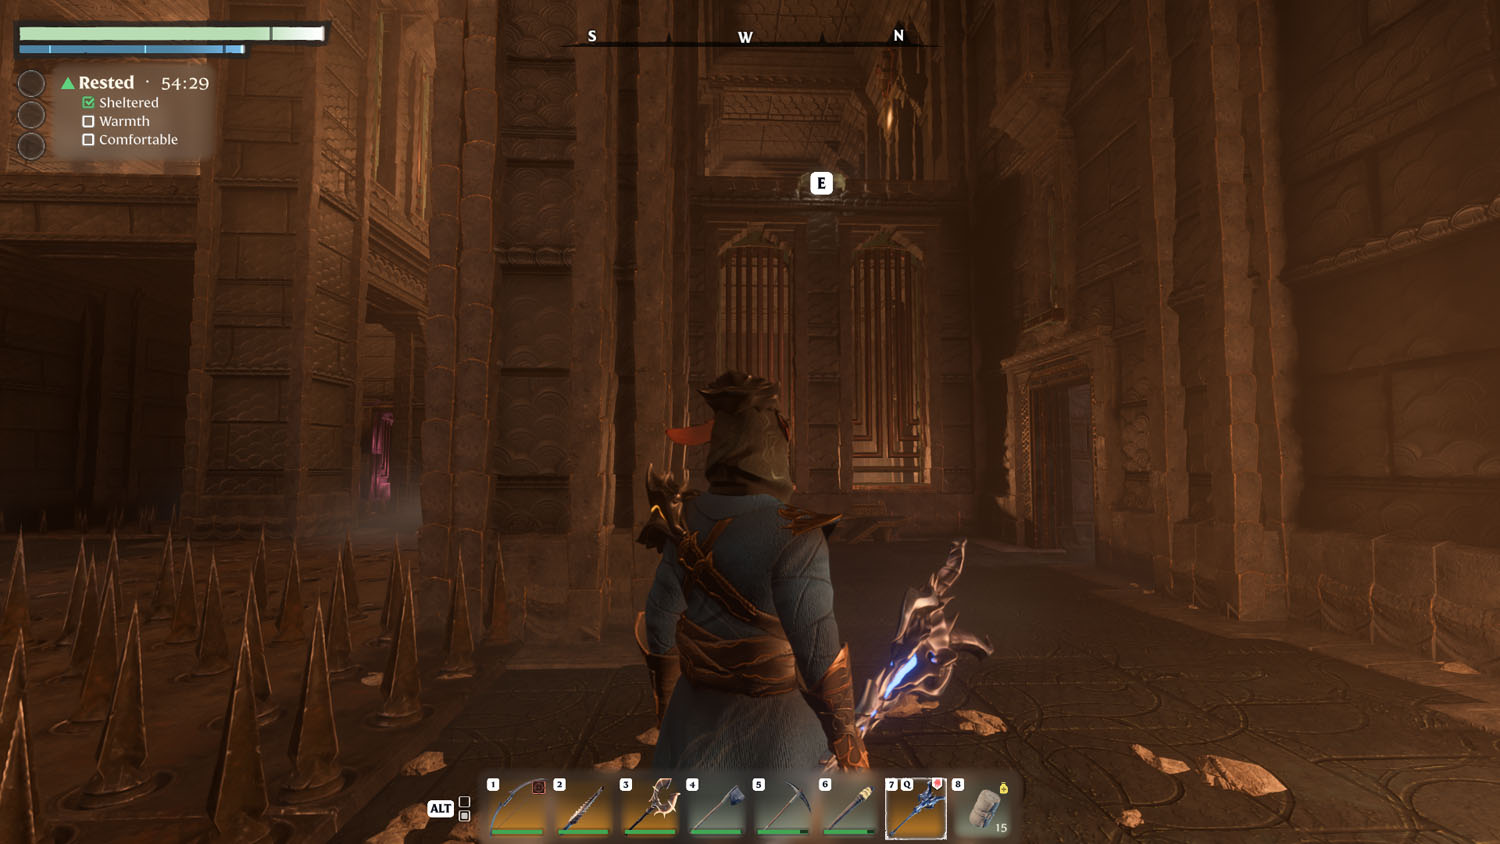
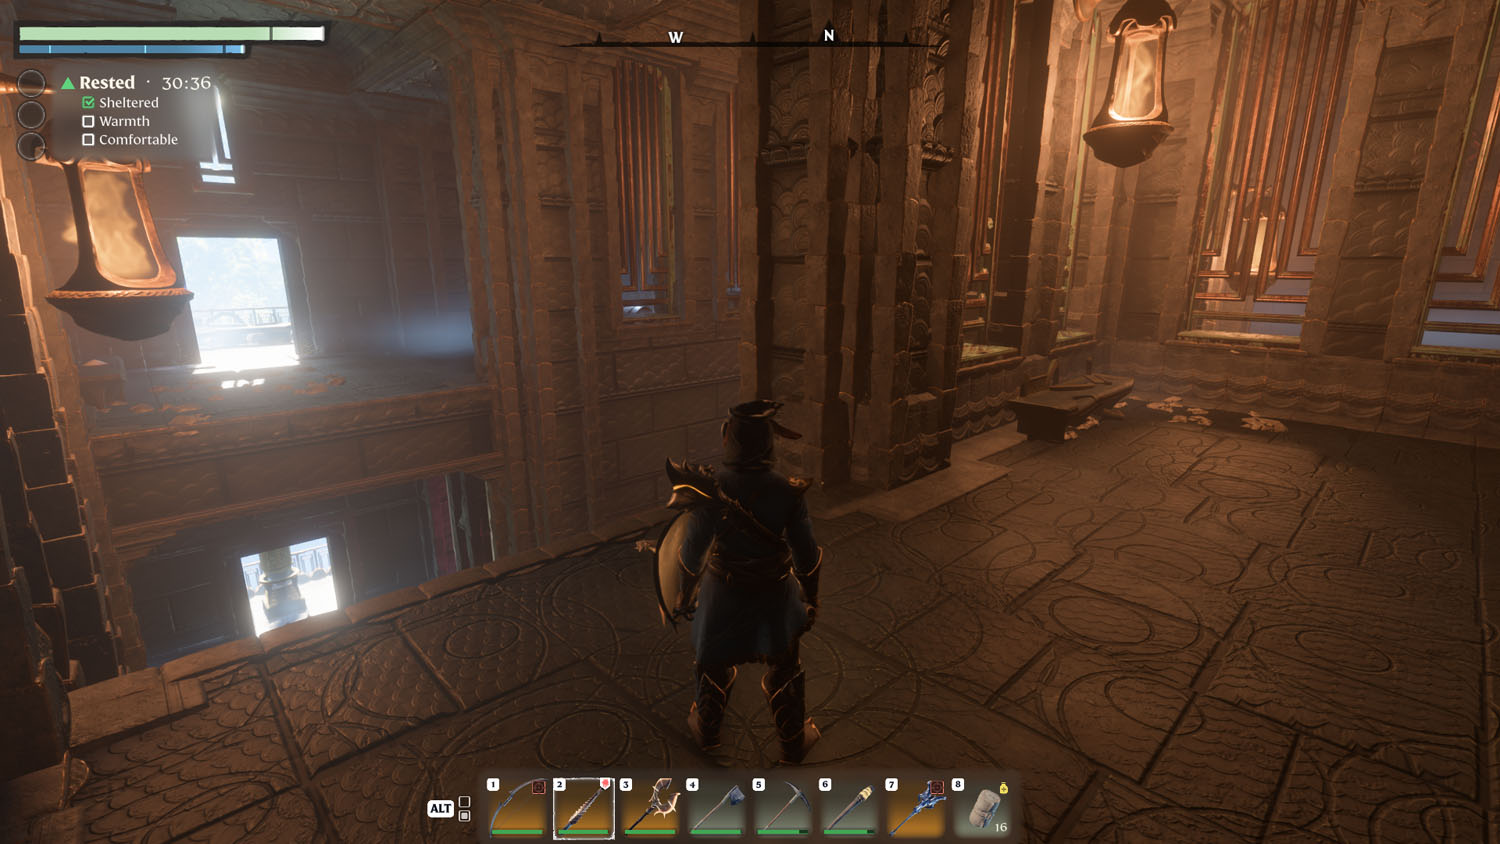
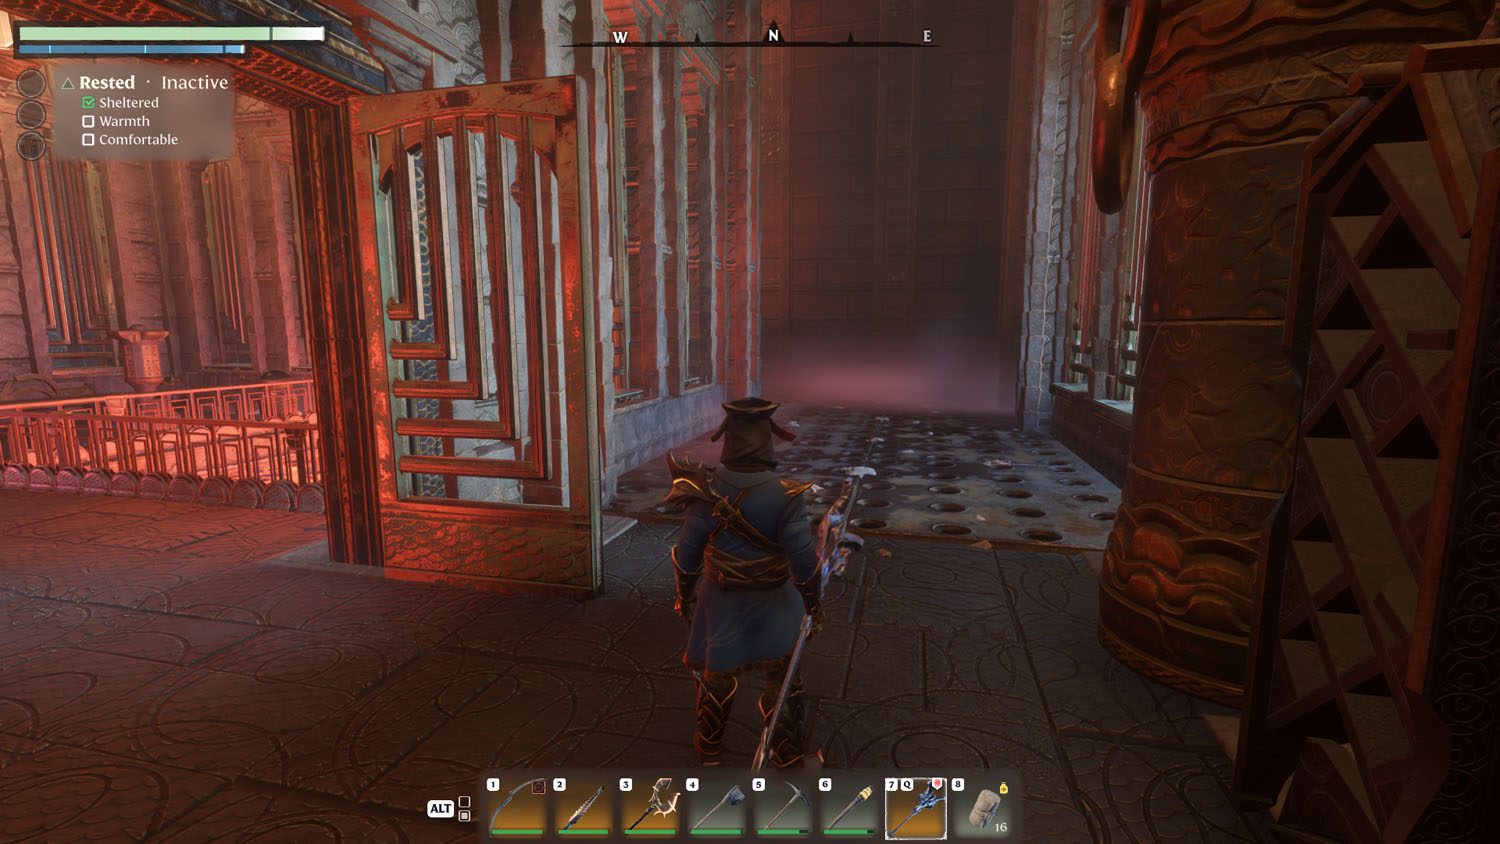
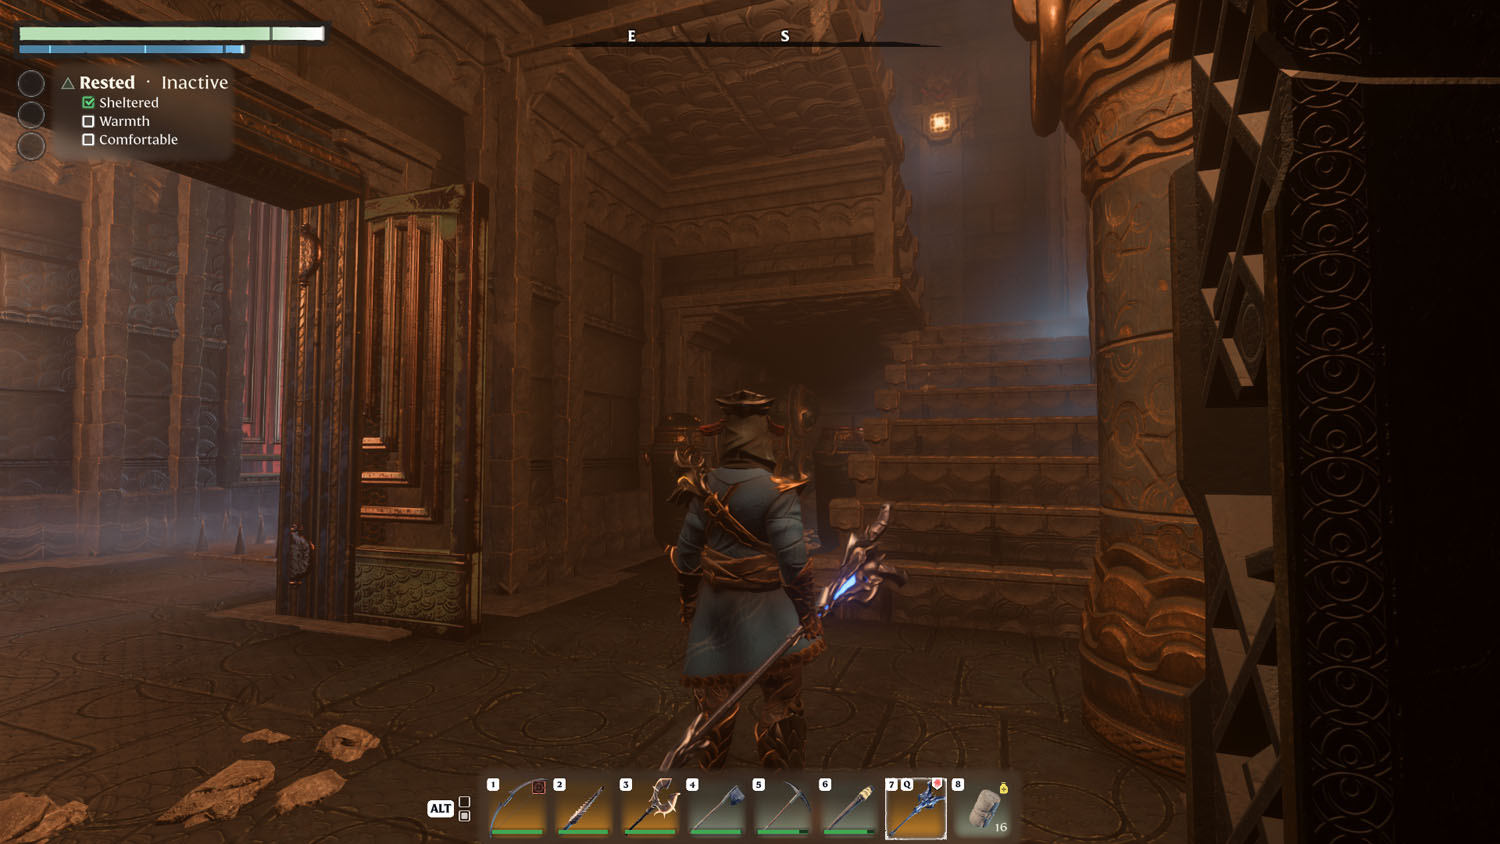
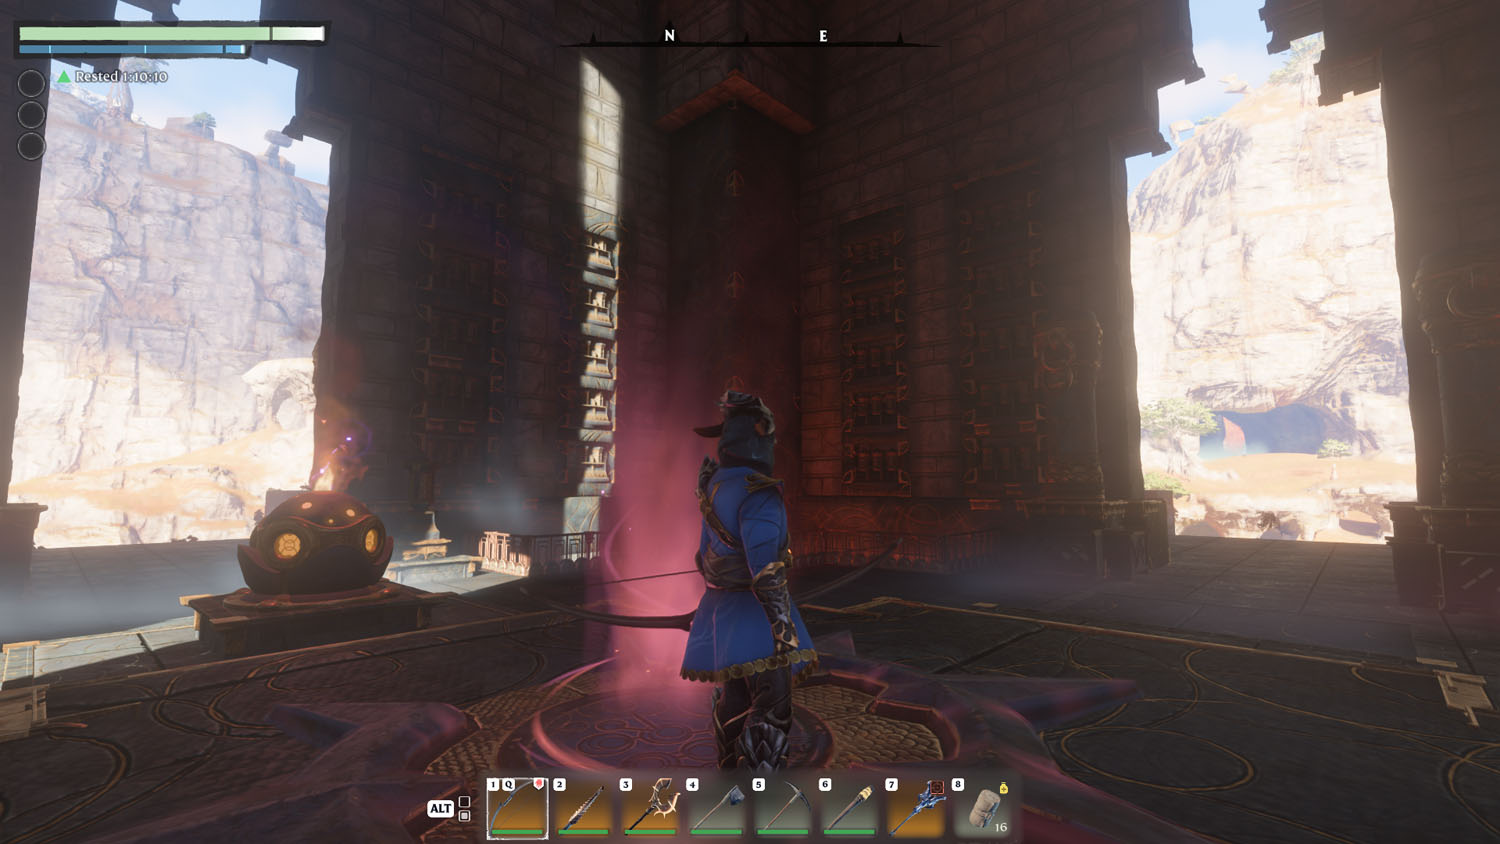
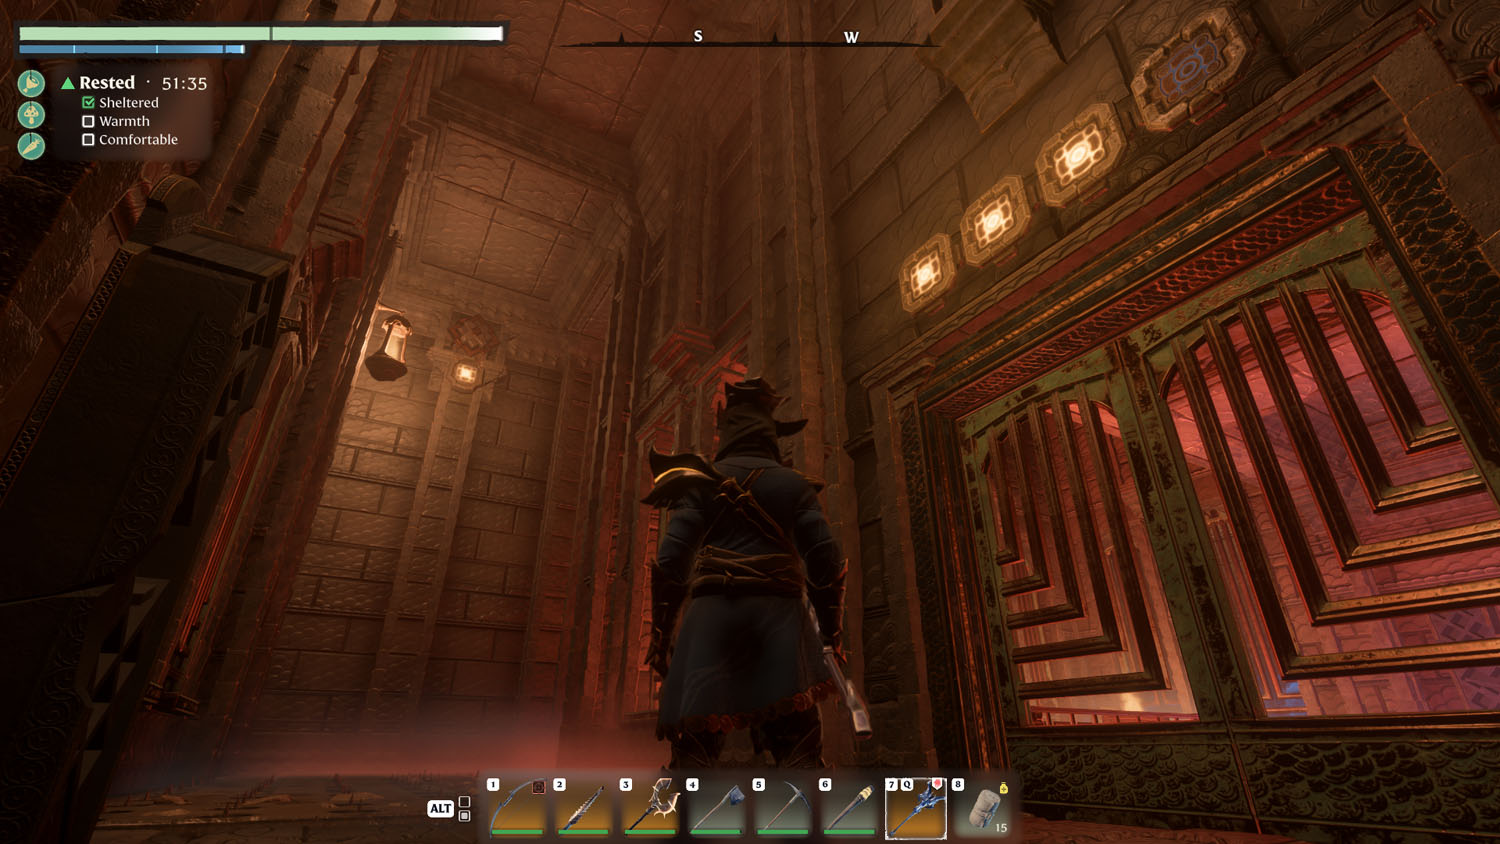
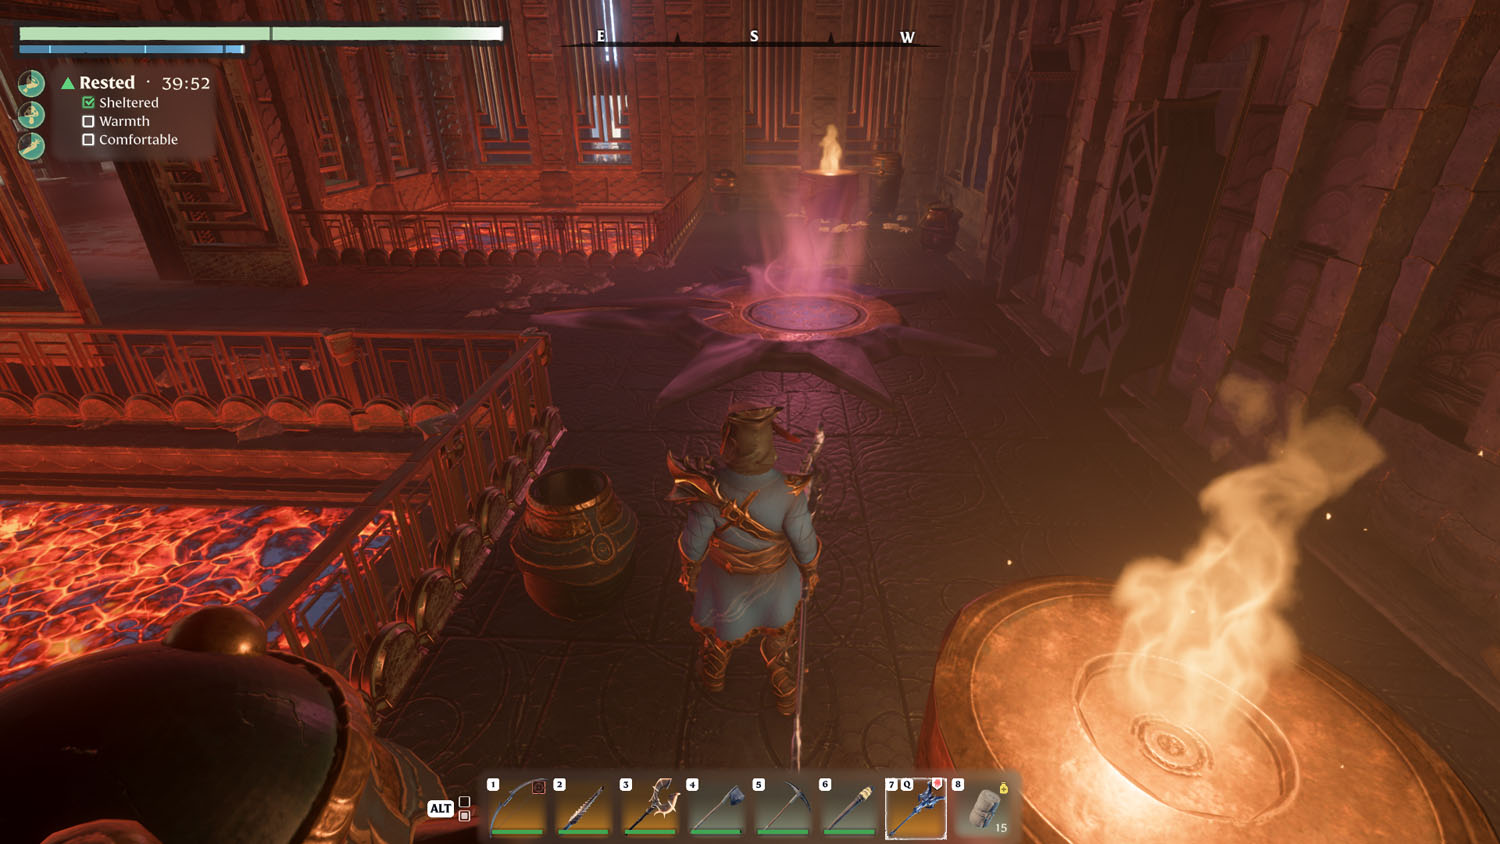
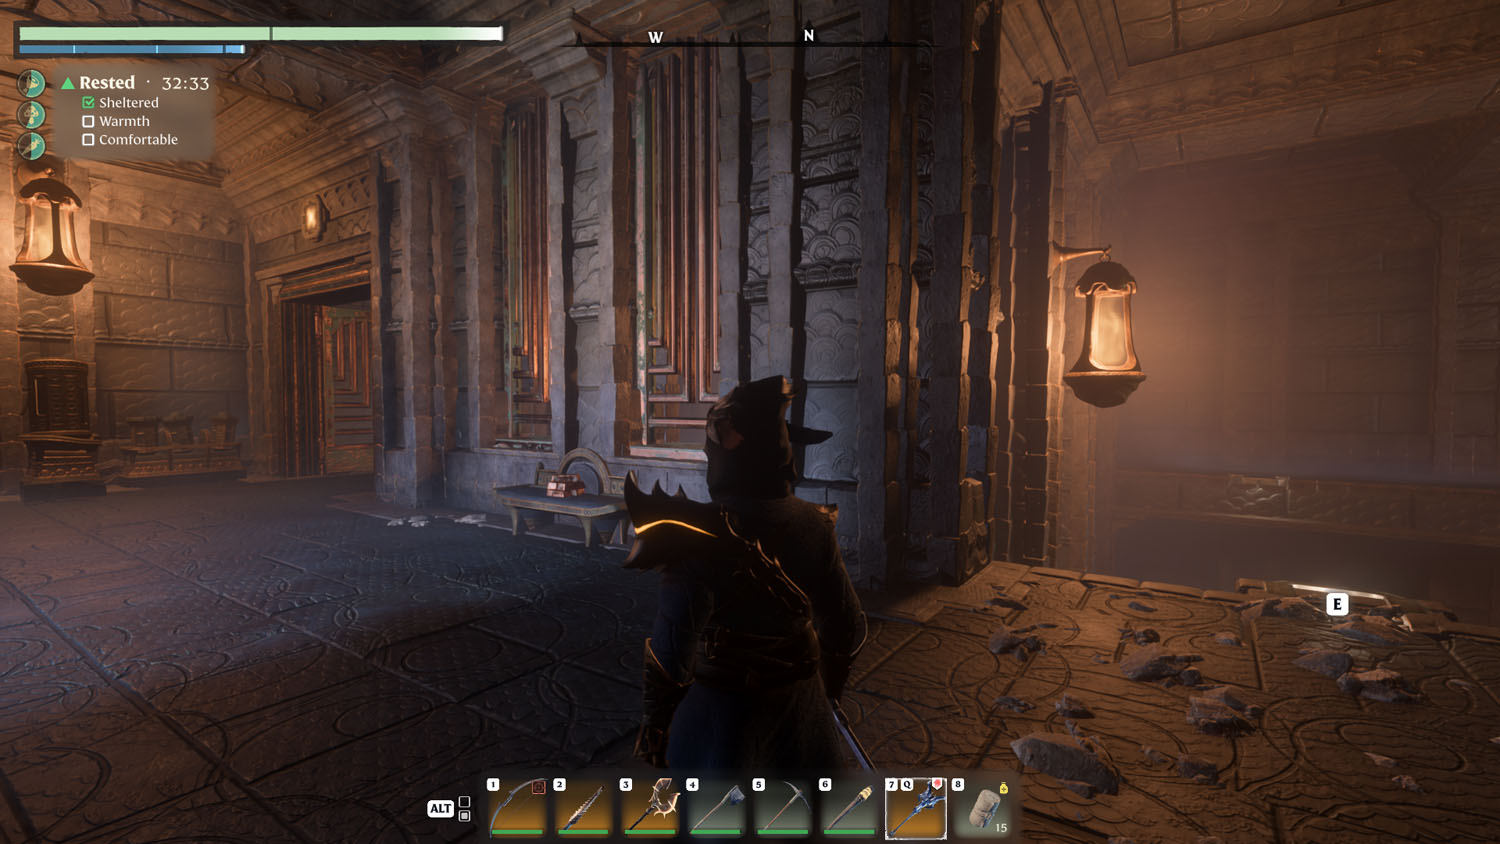
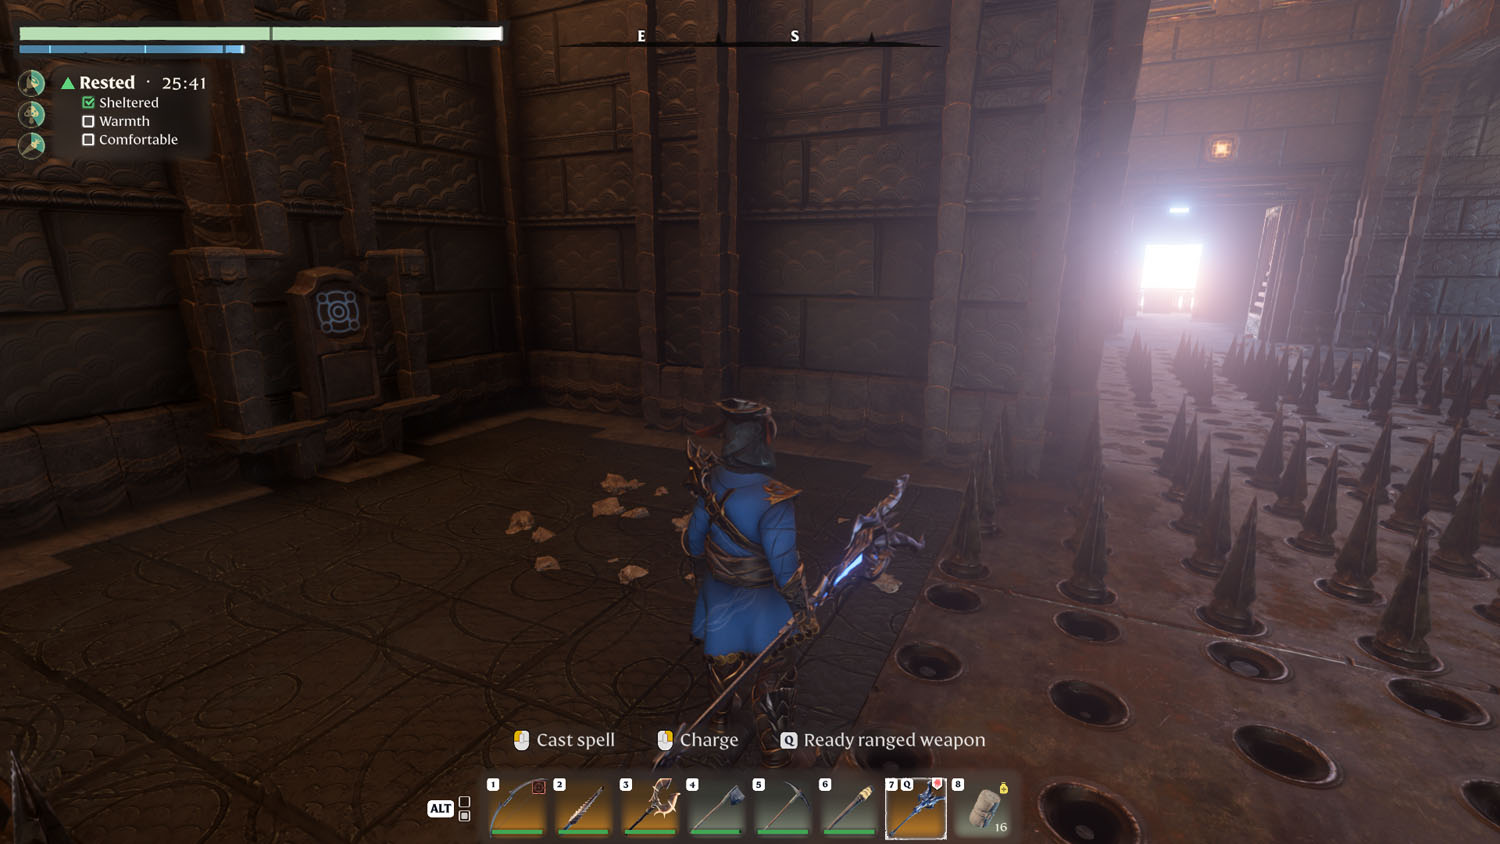
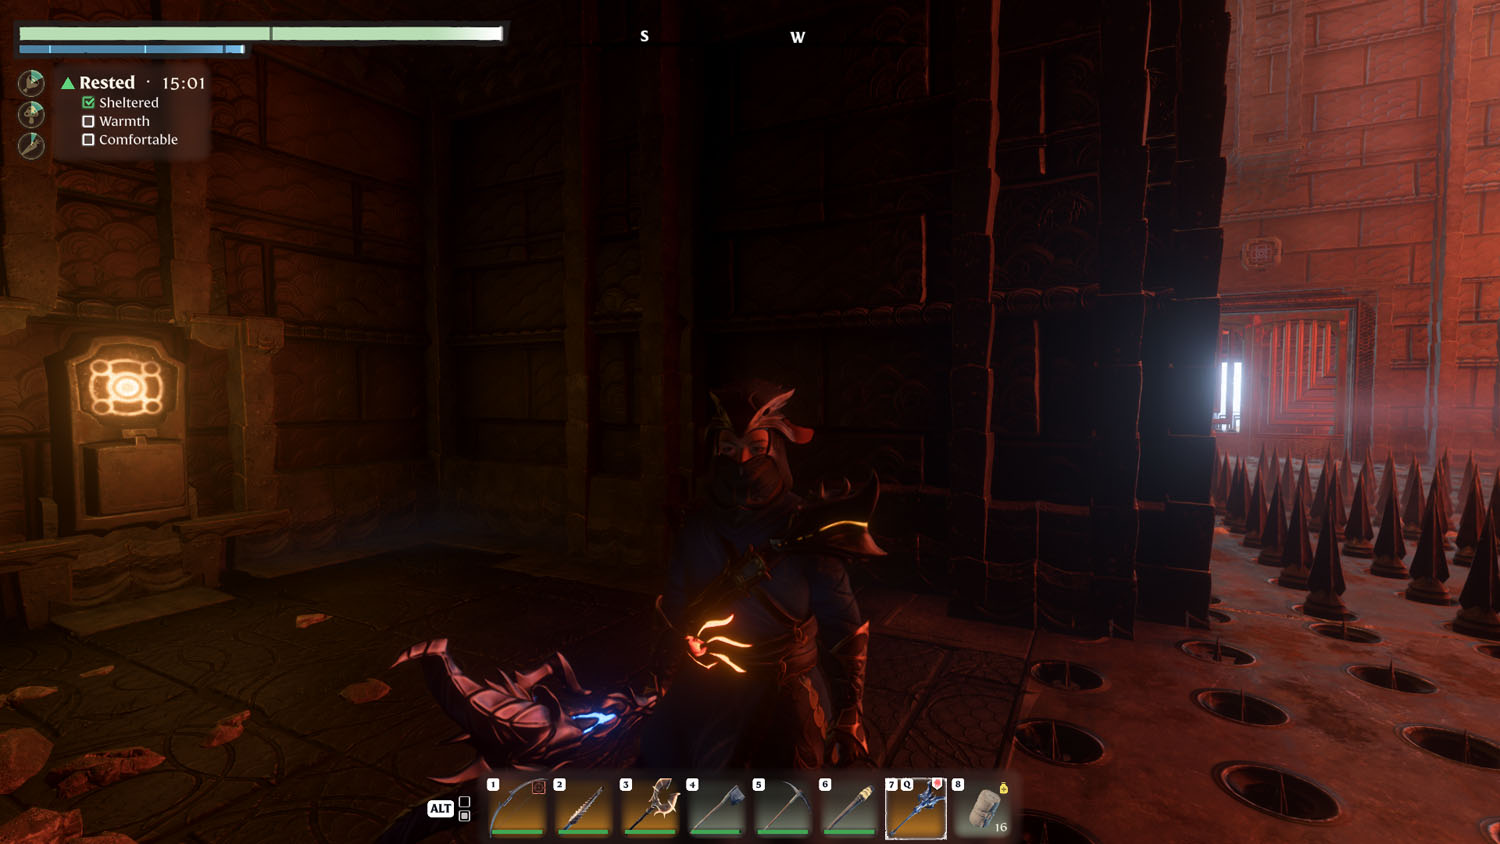
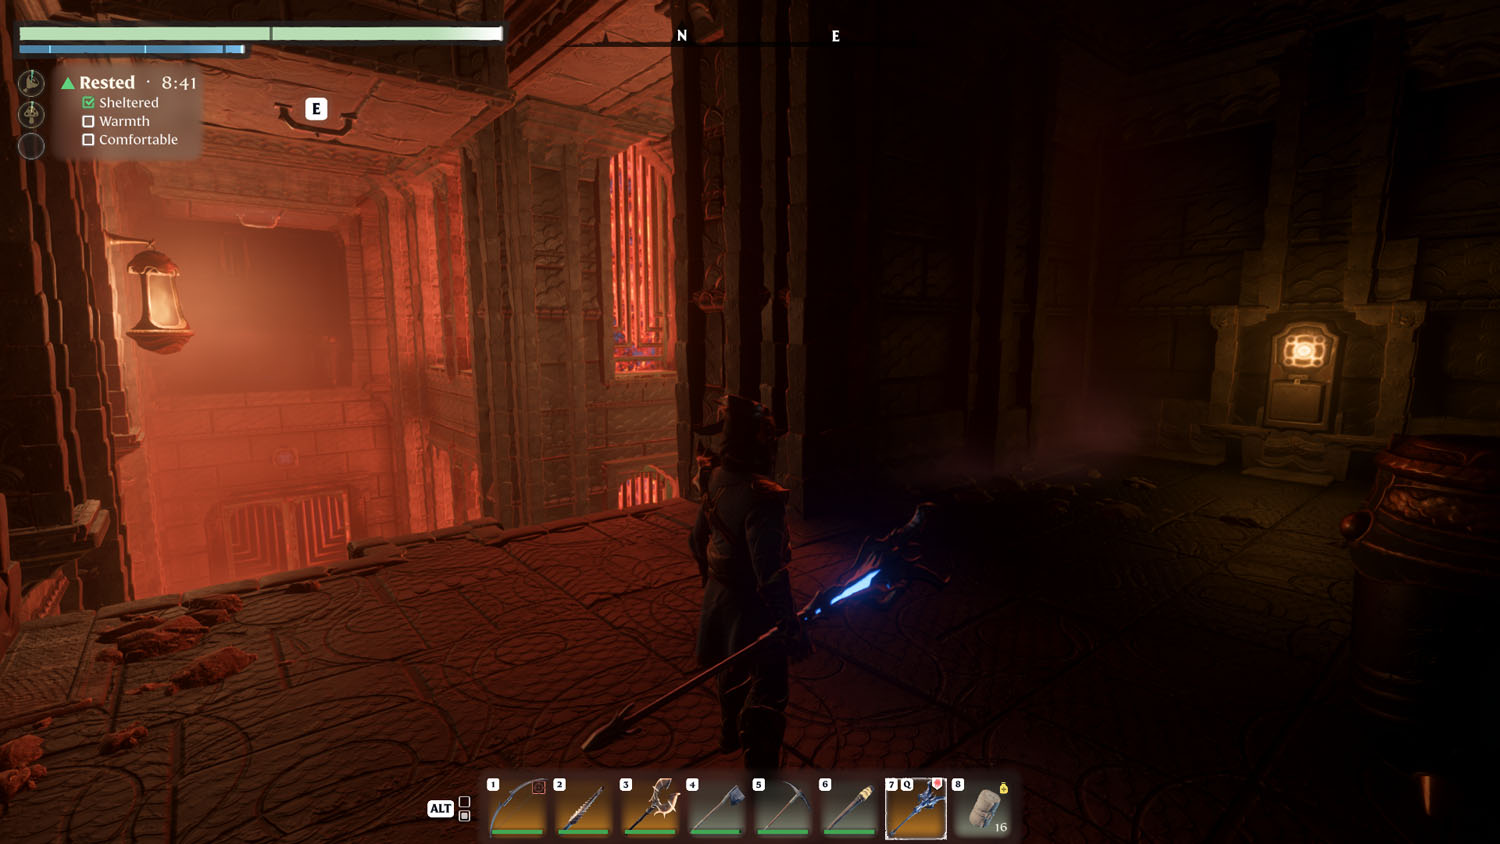
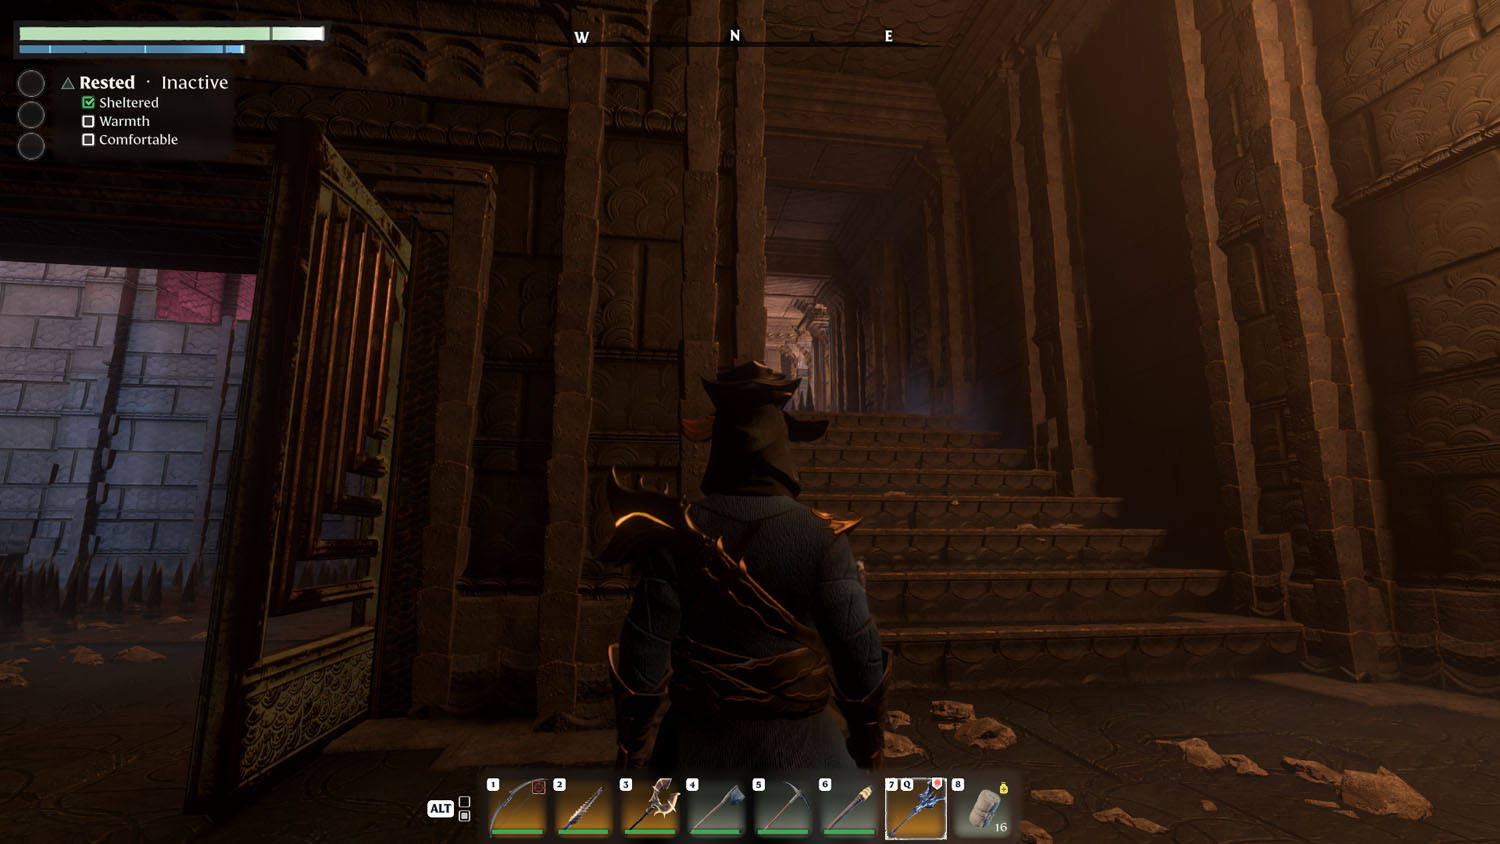
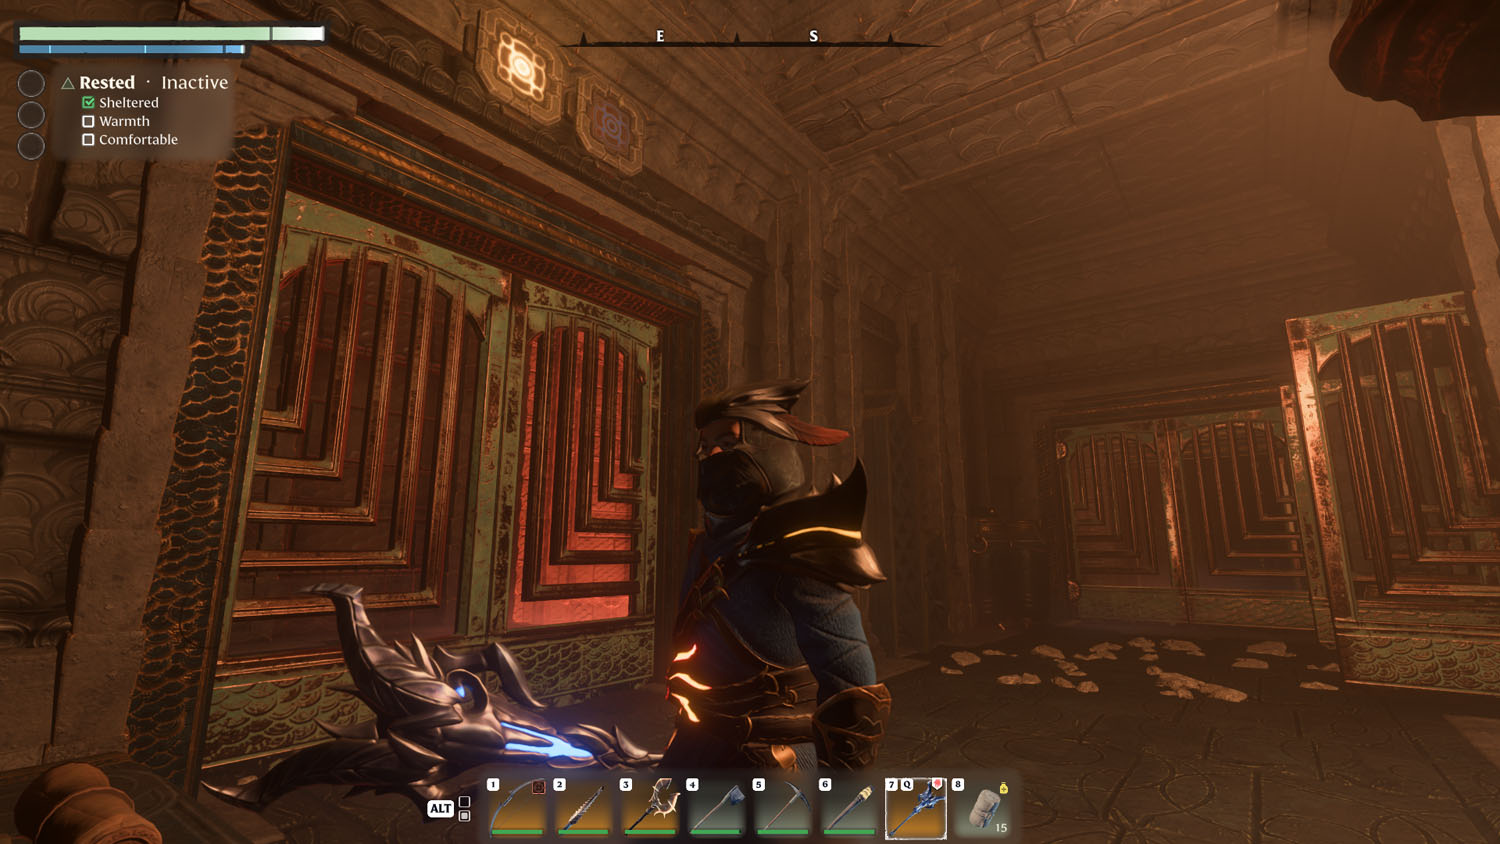
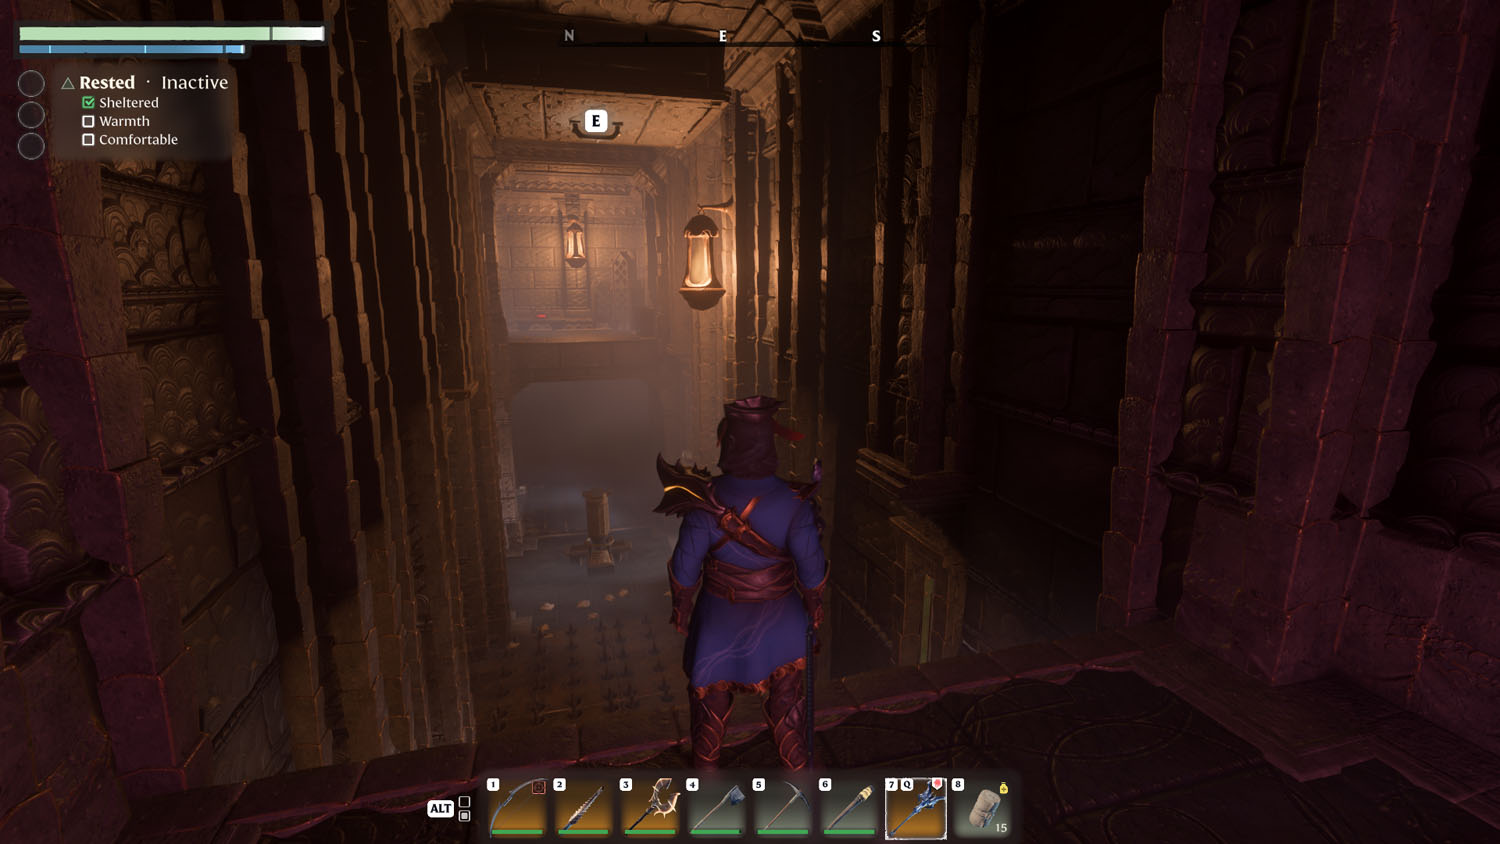
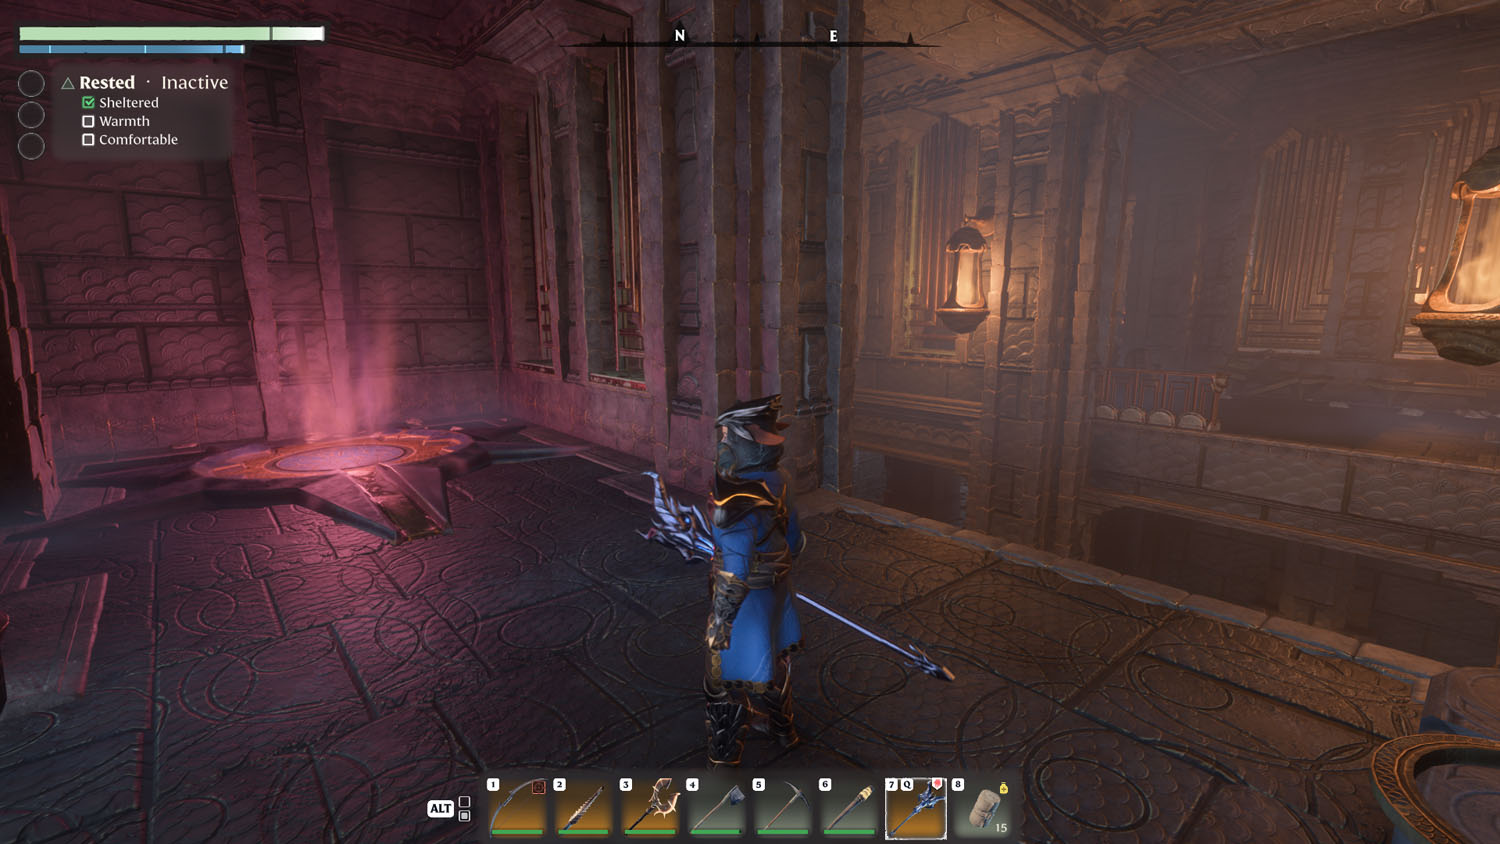
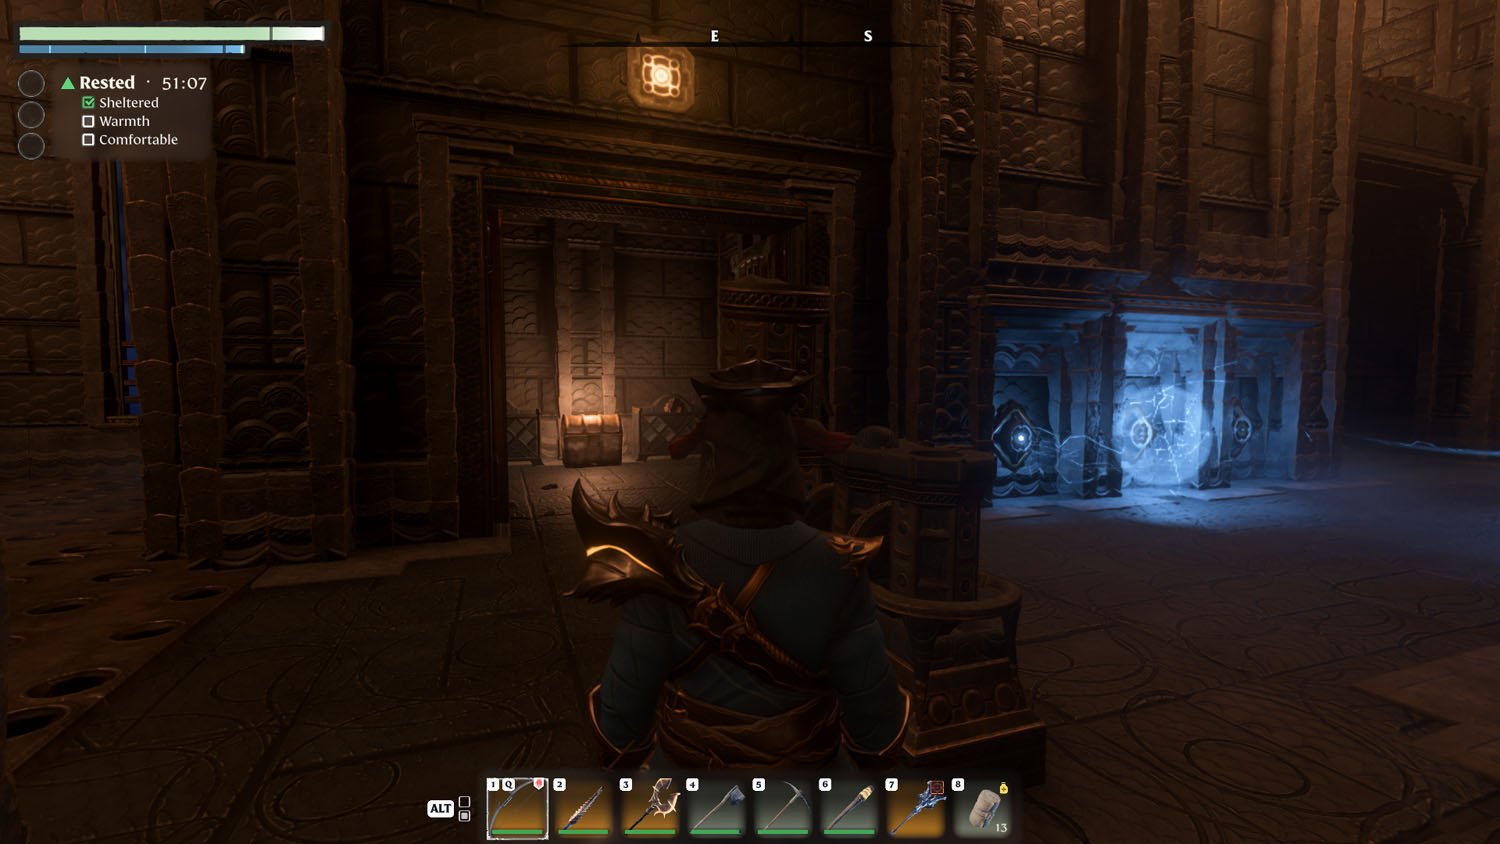
Ground Level
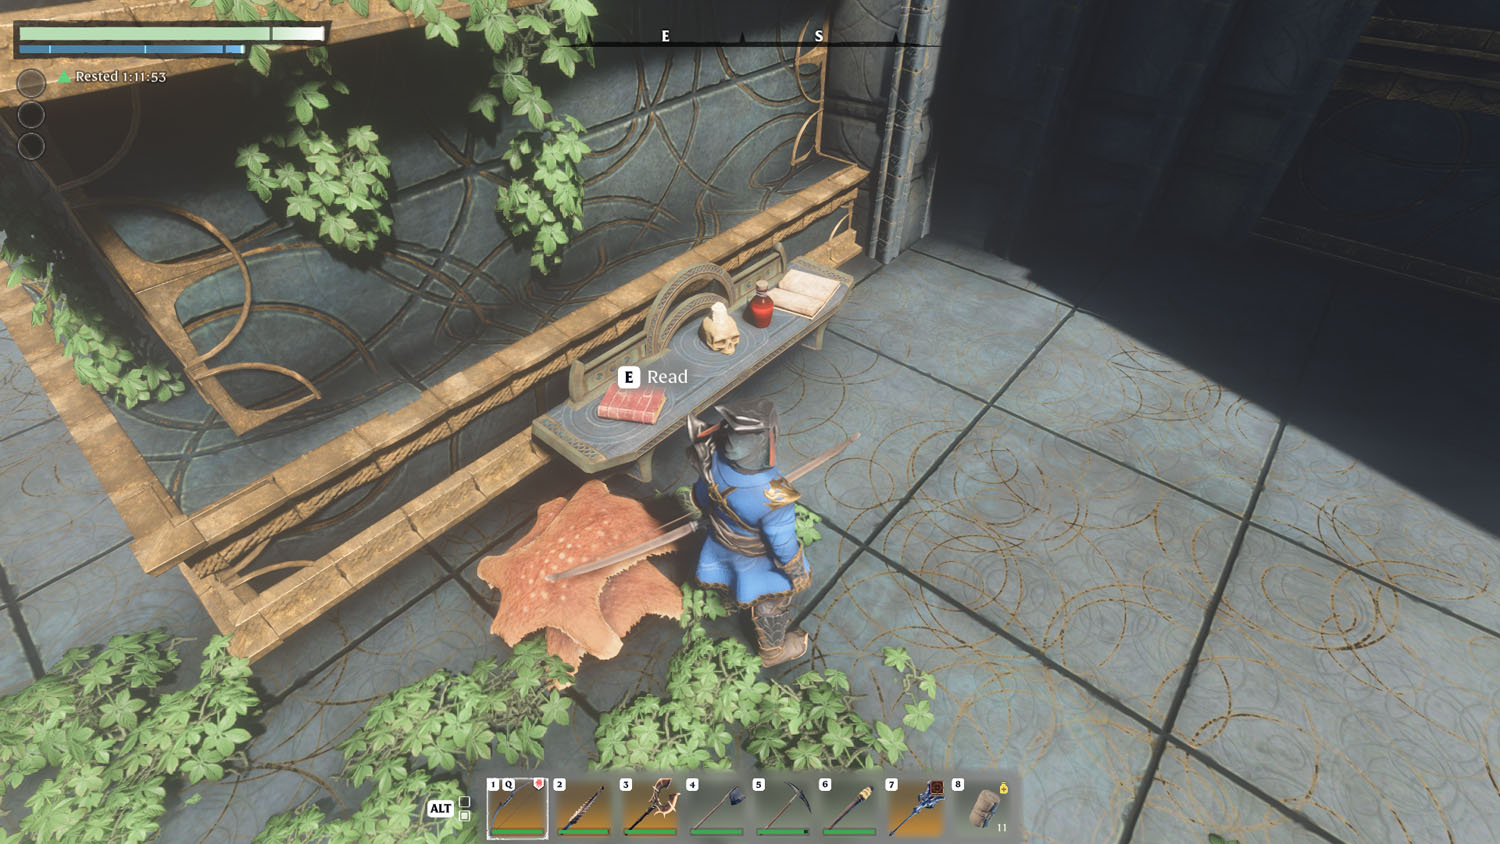
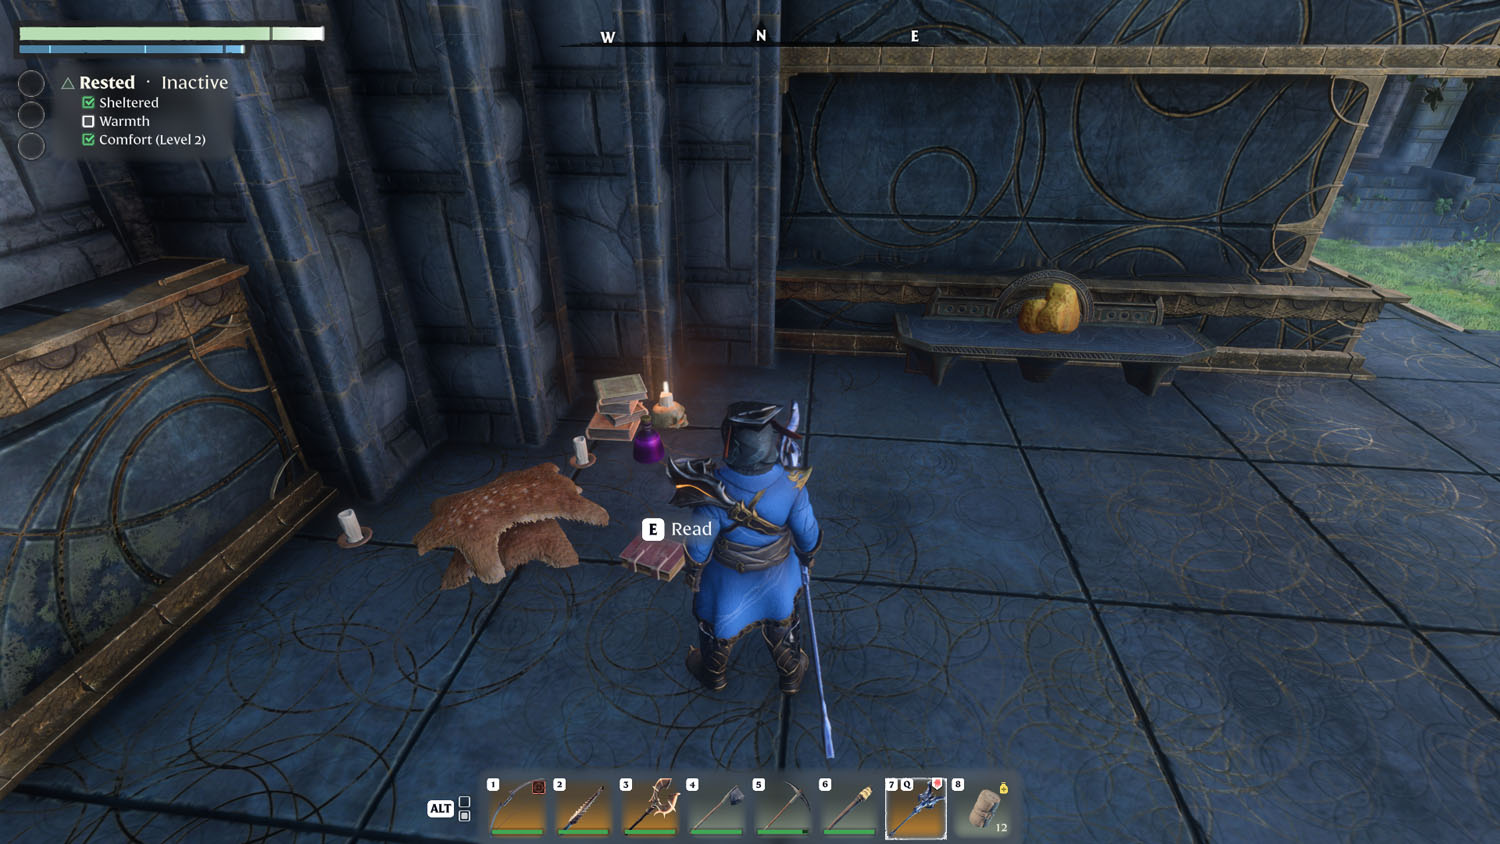
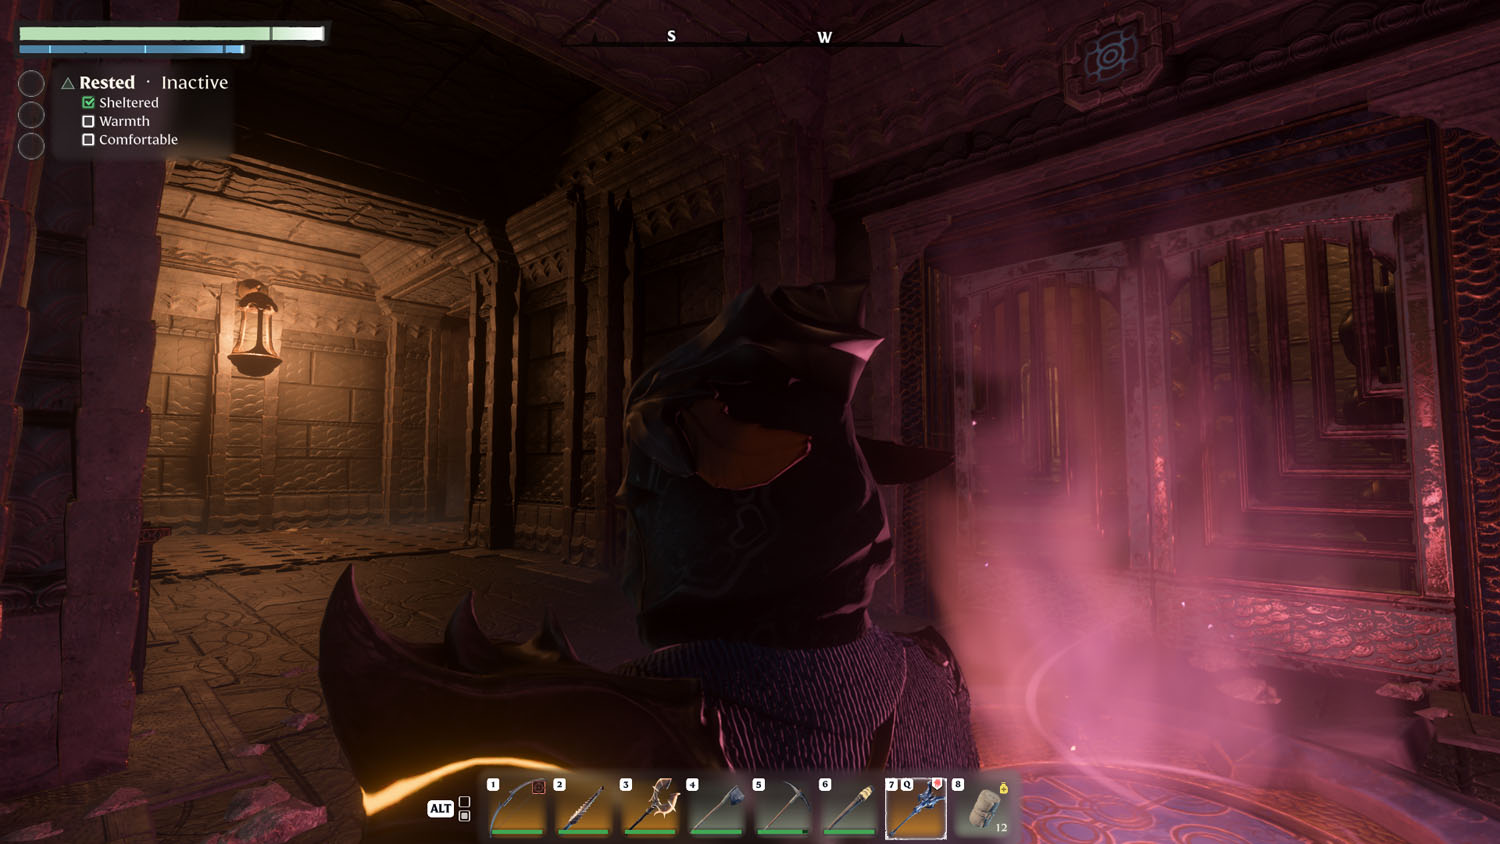
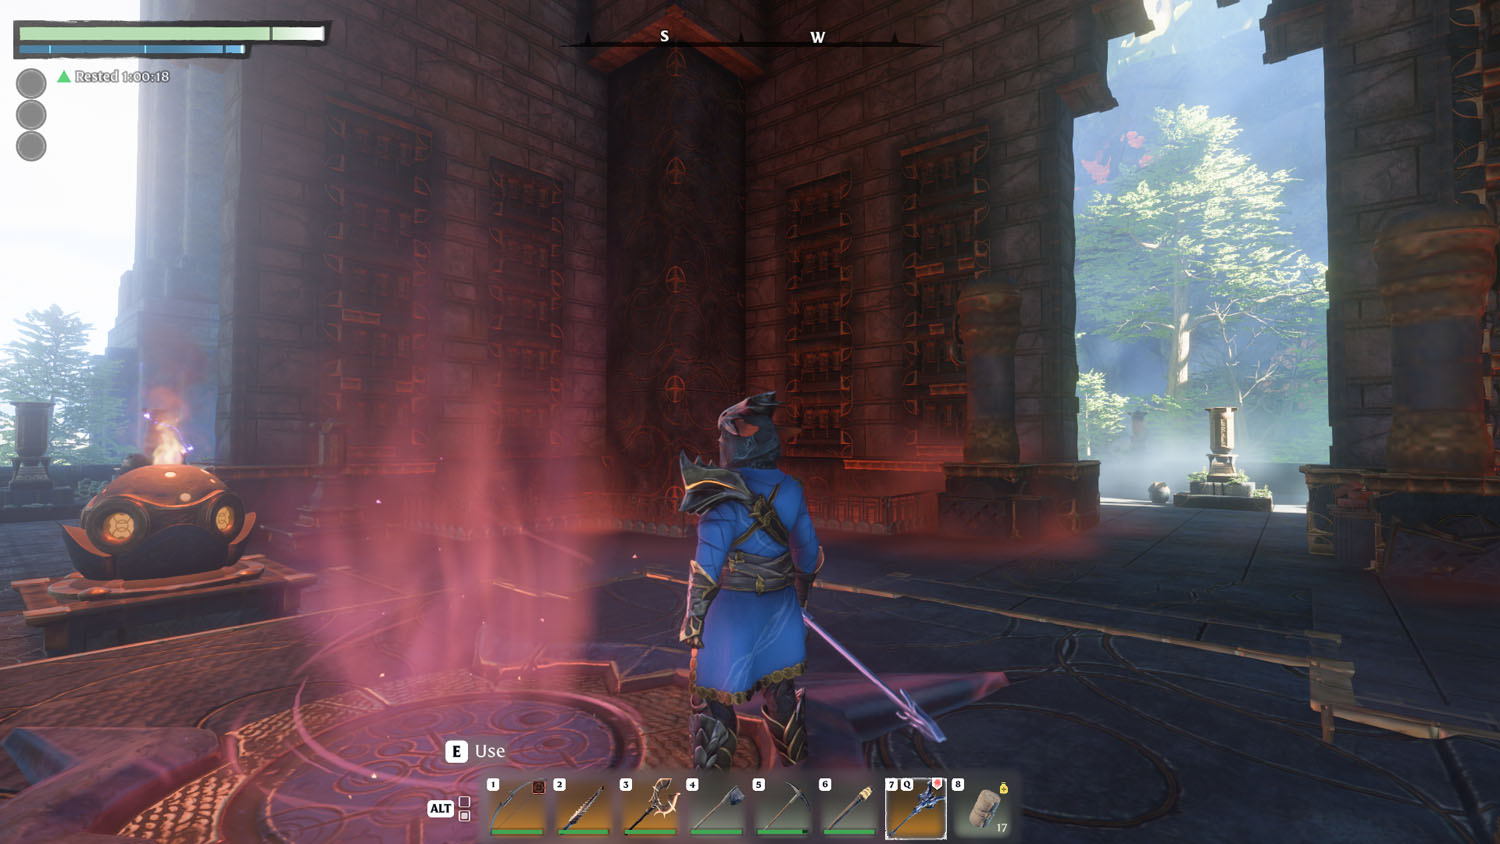
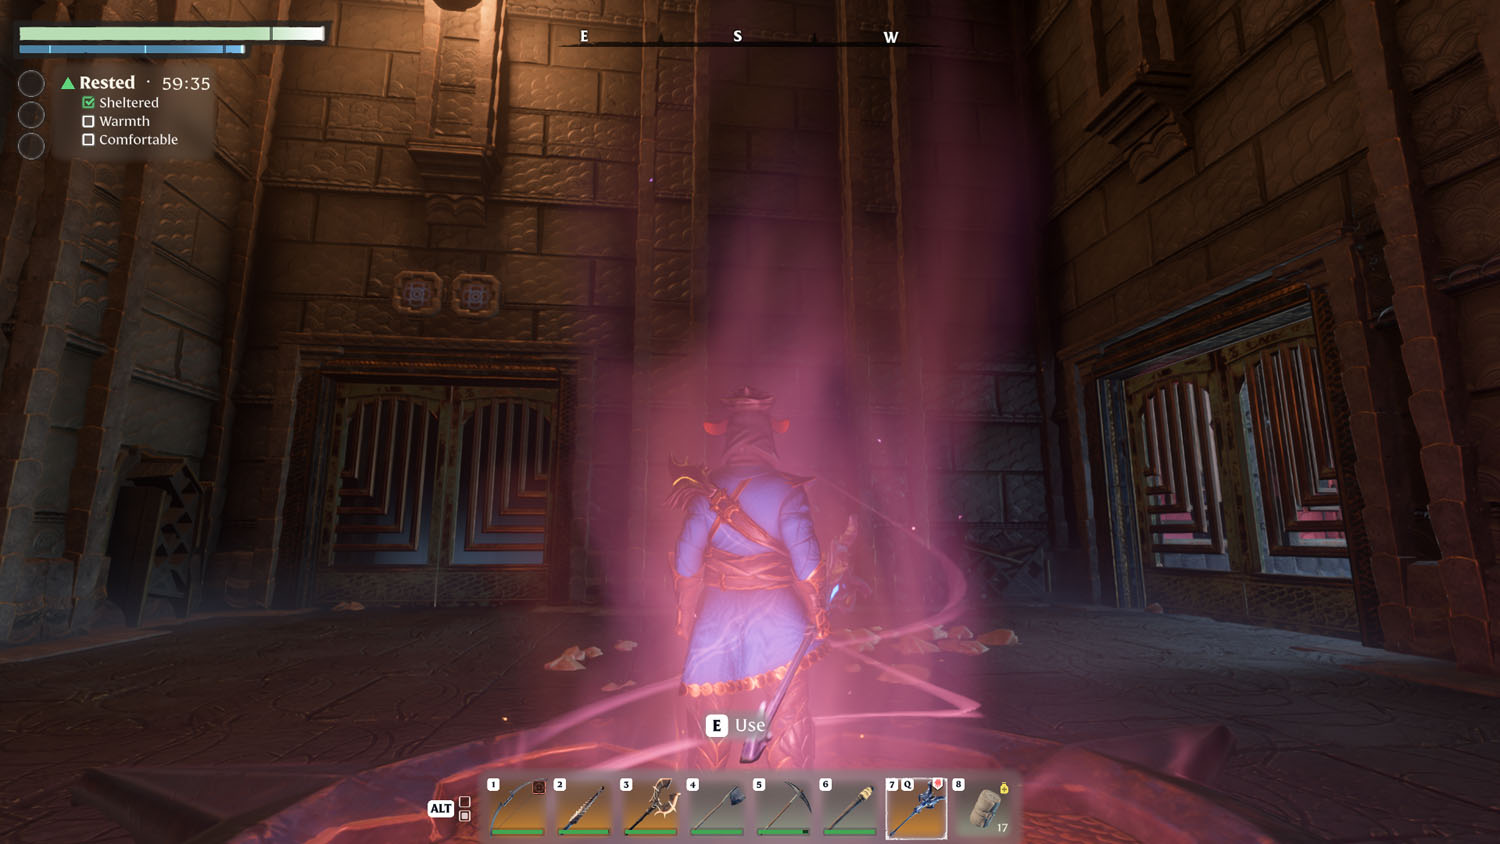
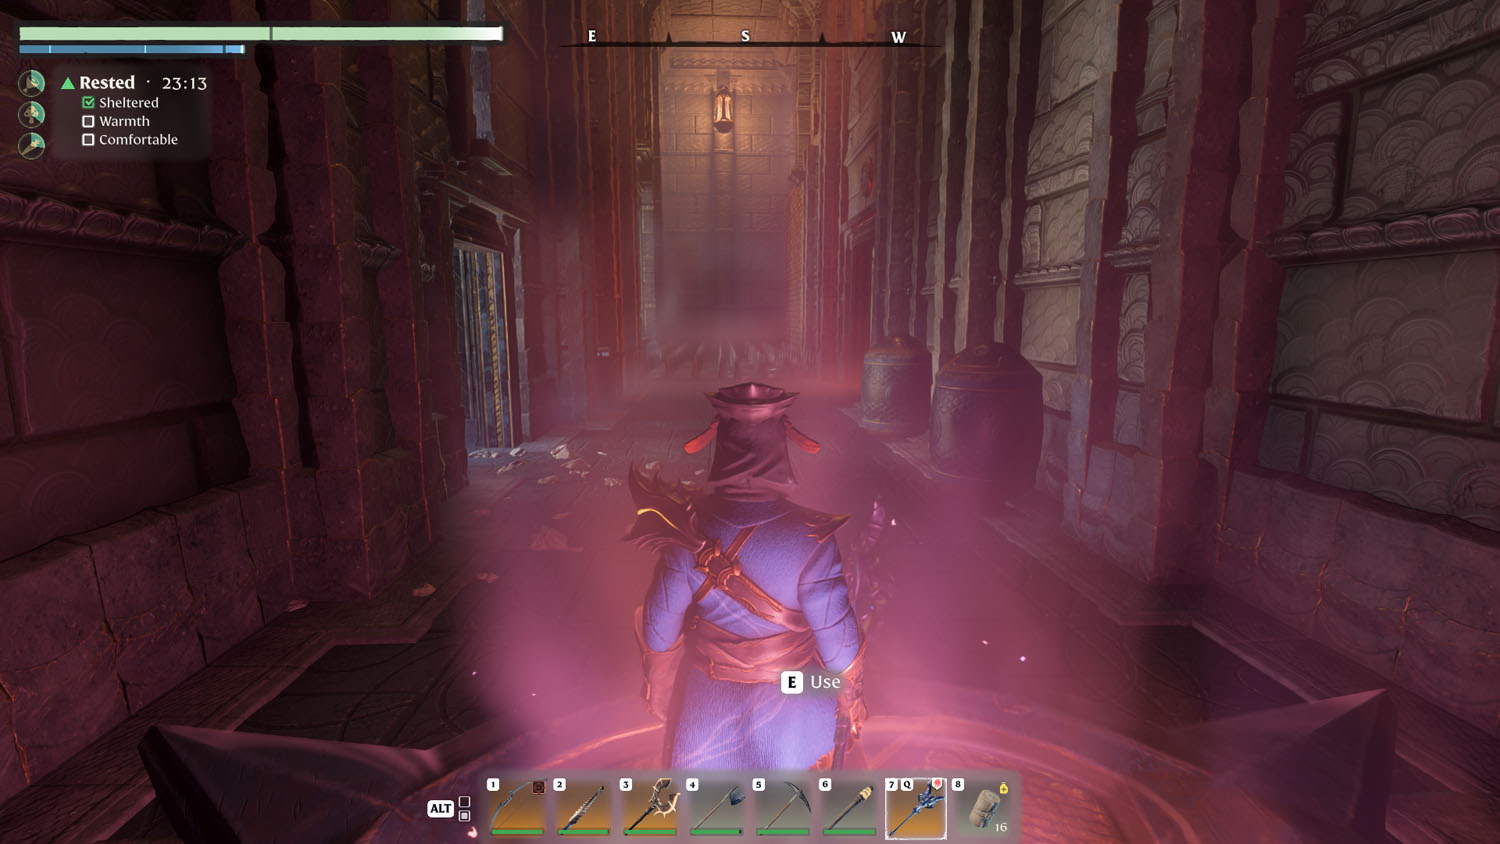
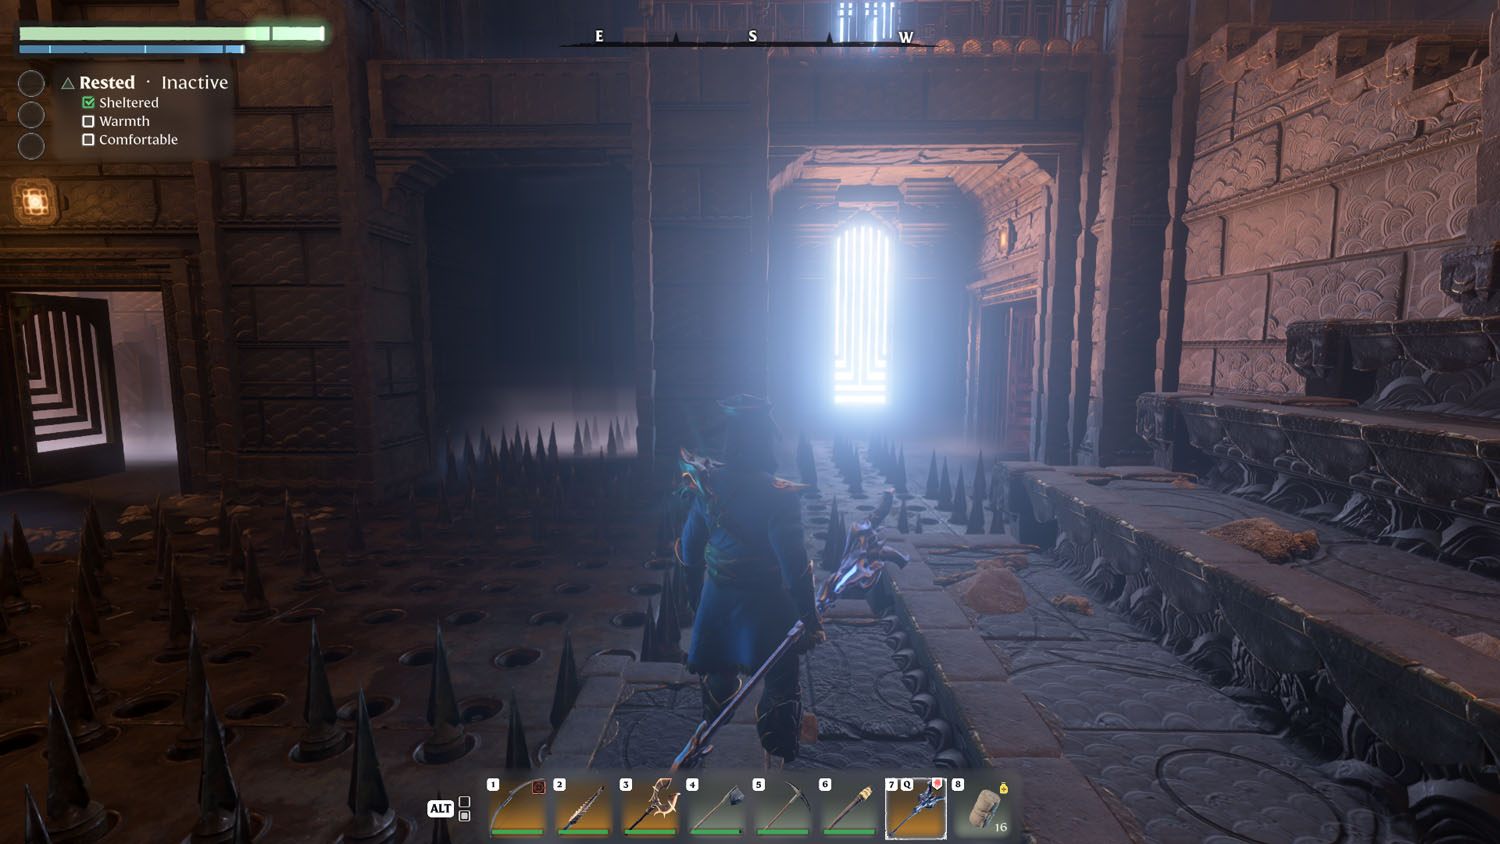
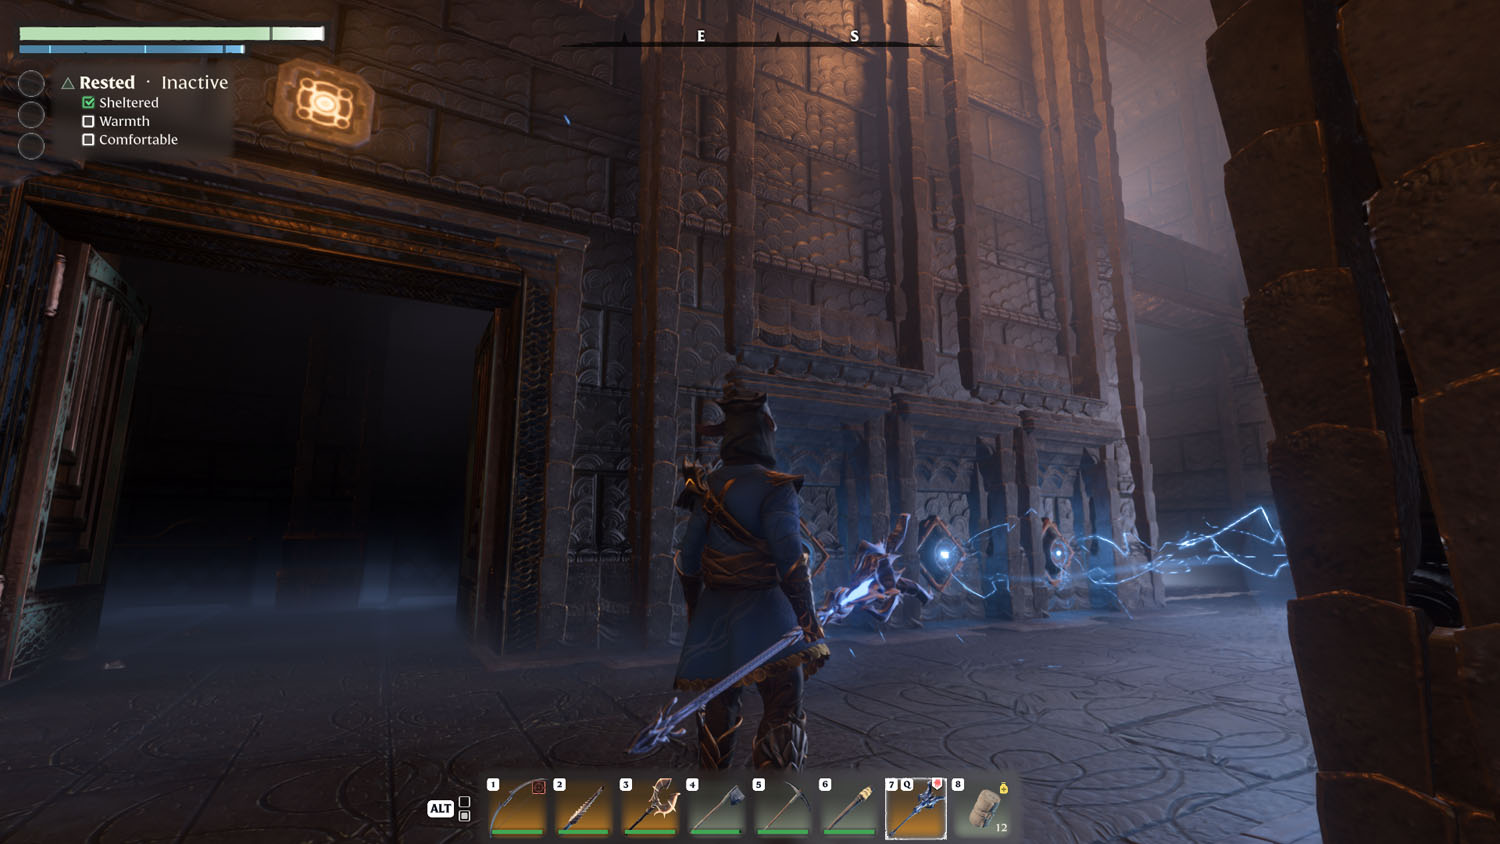
Upon reaching the Ancient Springlands Fast Travel location, you may notice the red smoky glow of the General Lore: The Alchemist’s Theories I 3/5 The Ancient Spire, Beacons of Light. This is located on the northern entrance.
NOTE: My book is no longer glowing because I have already read the Lore.
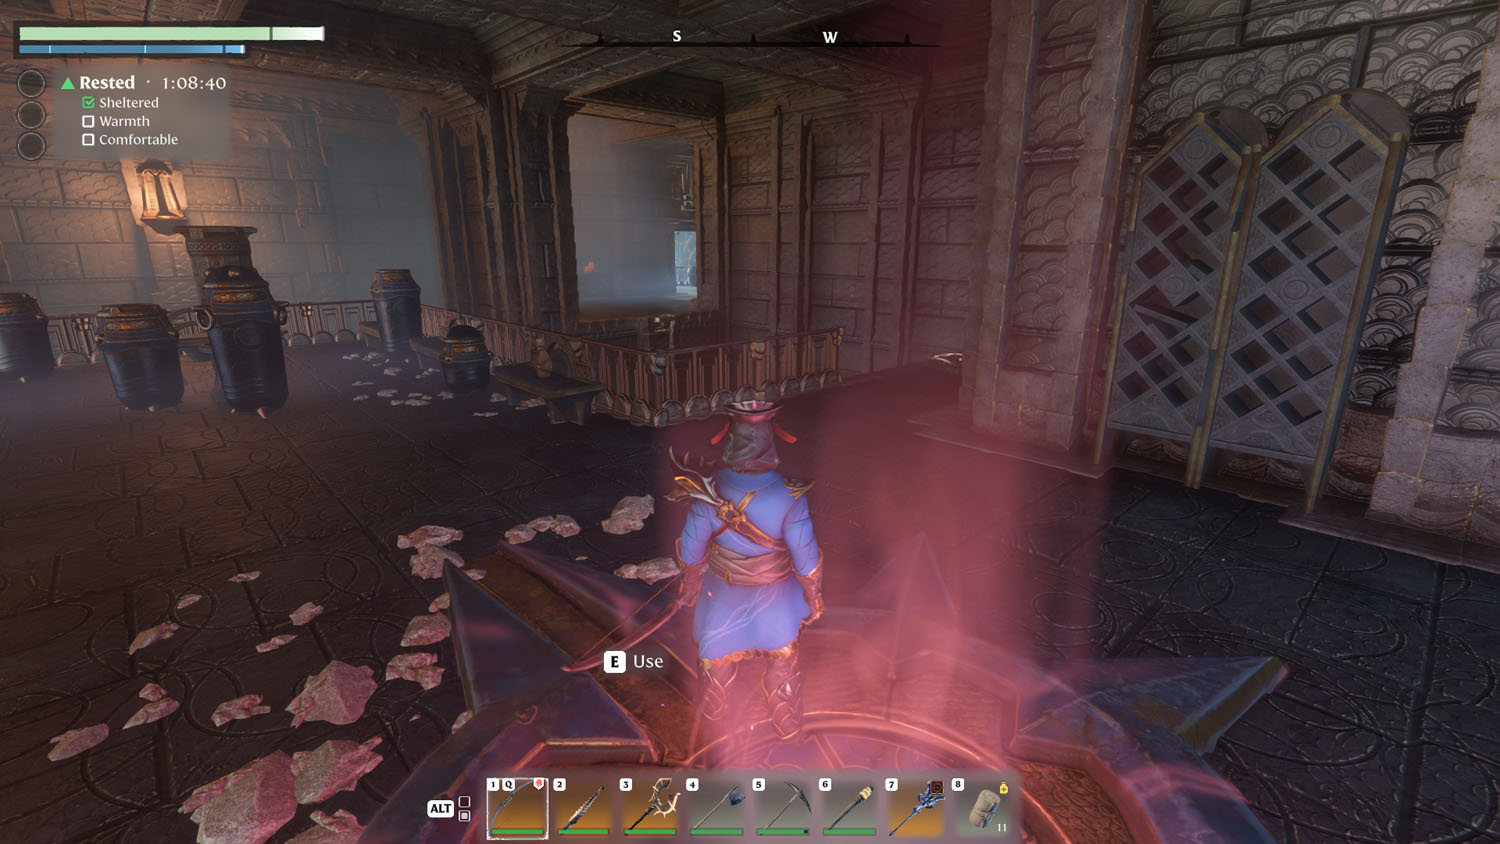
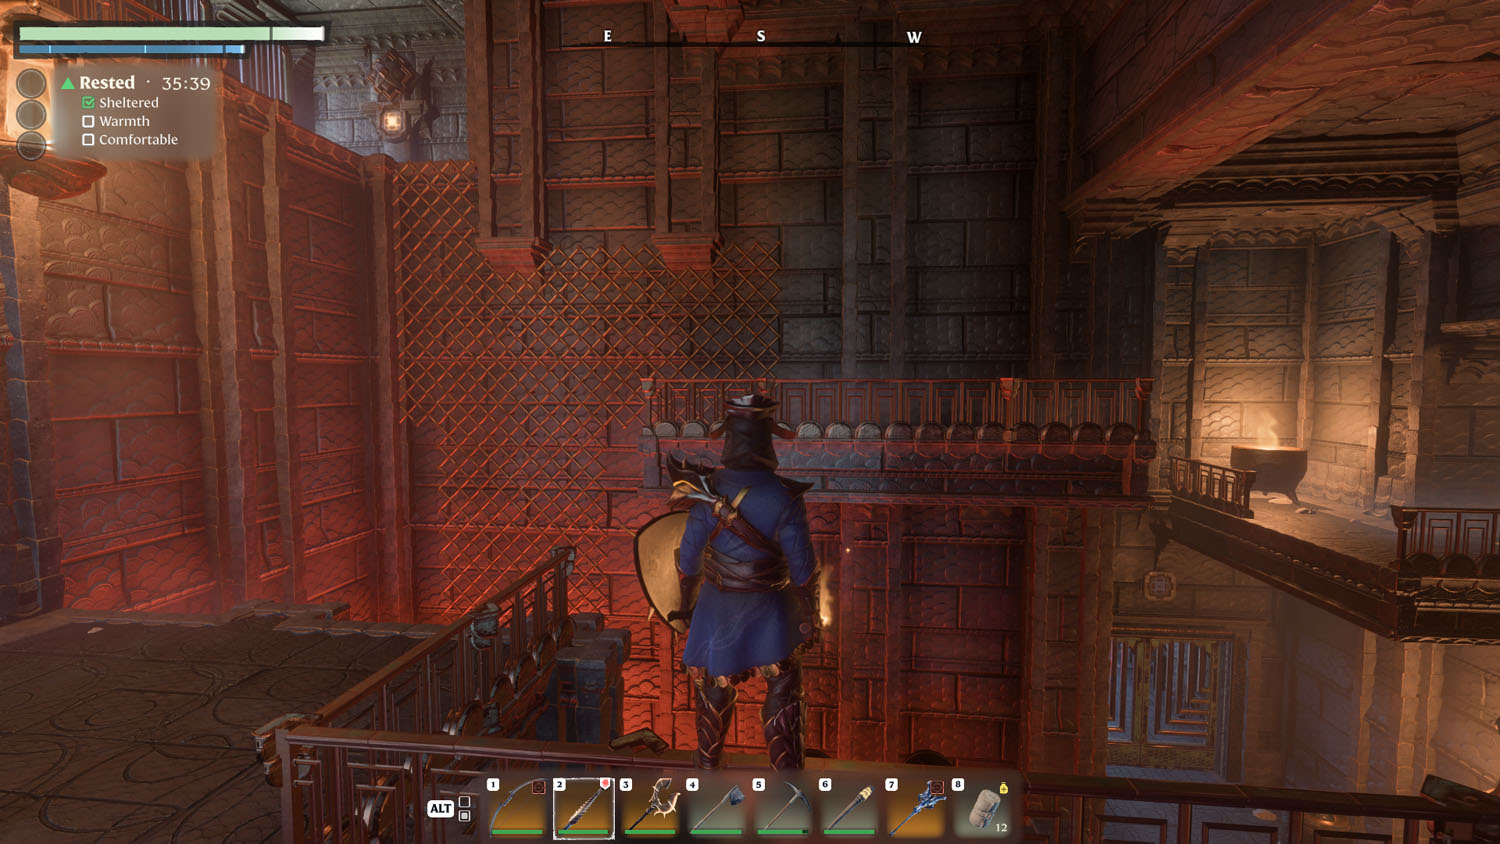
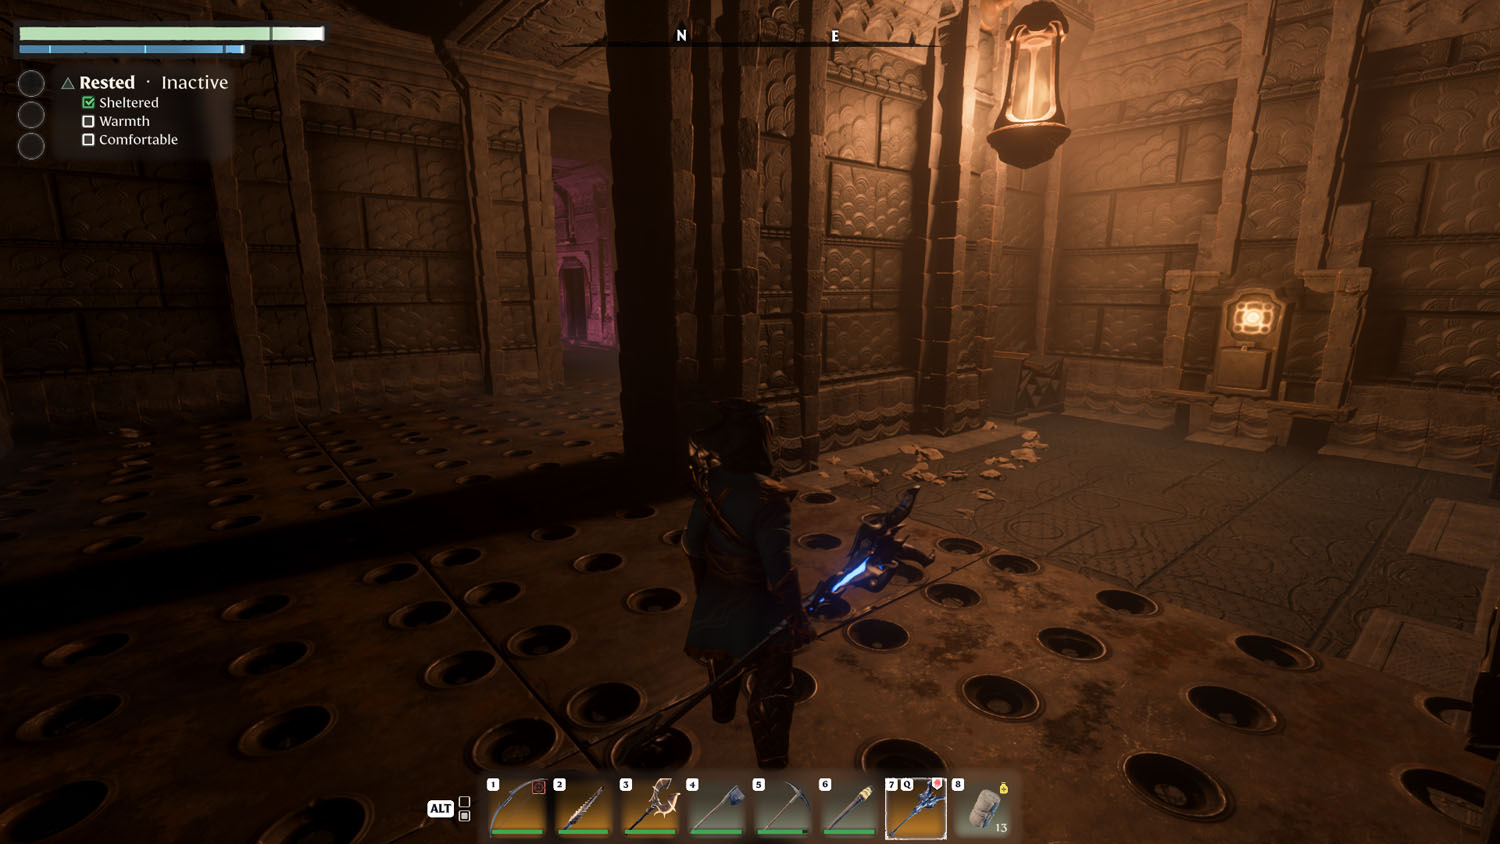
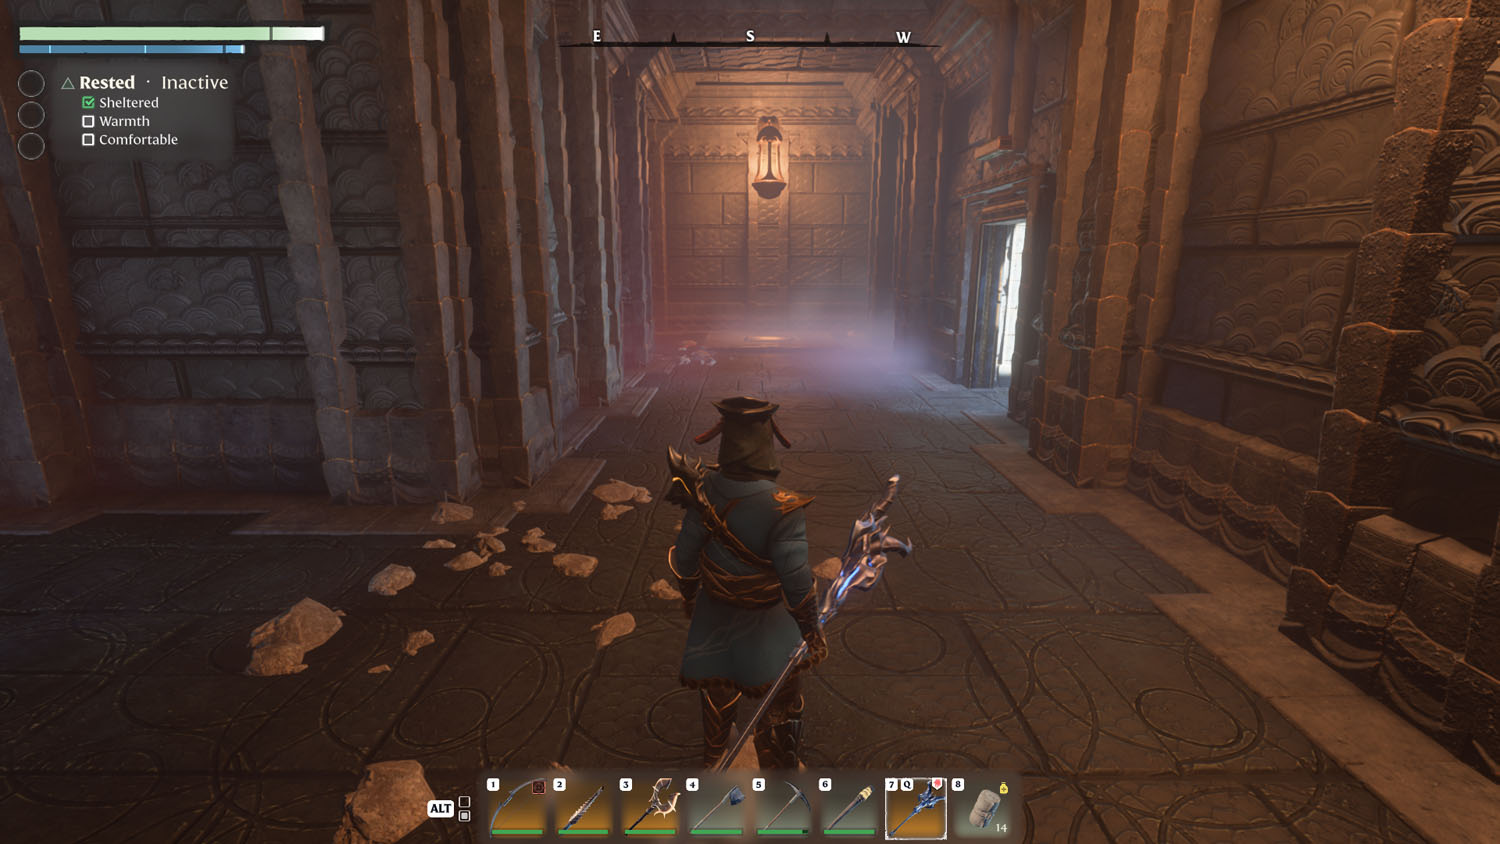
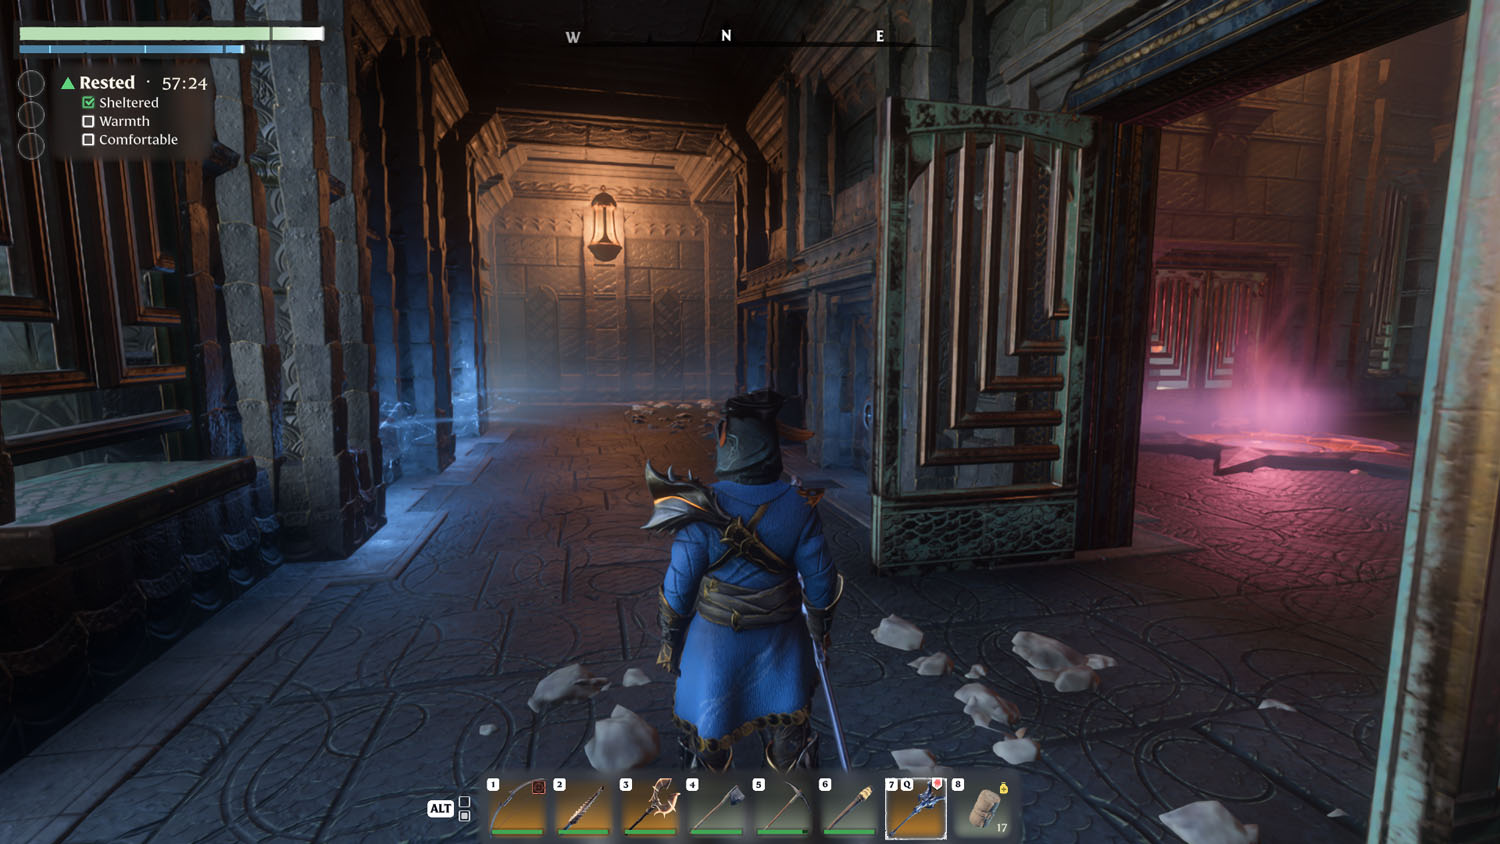
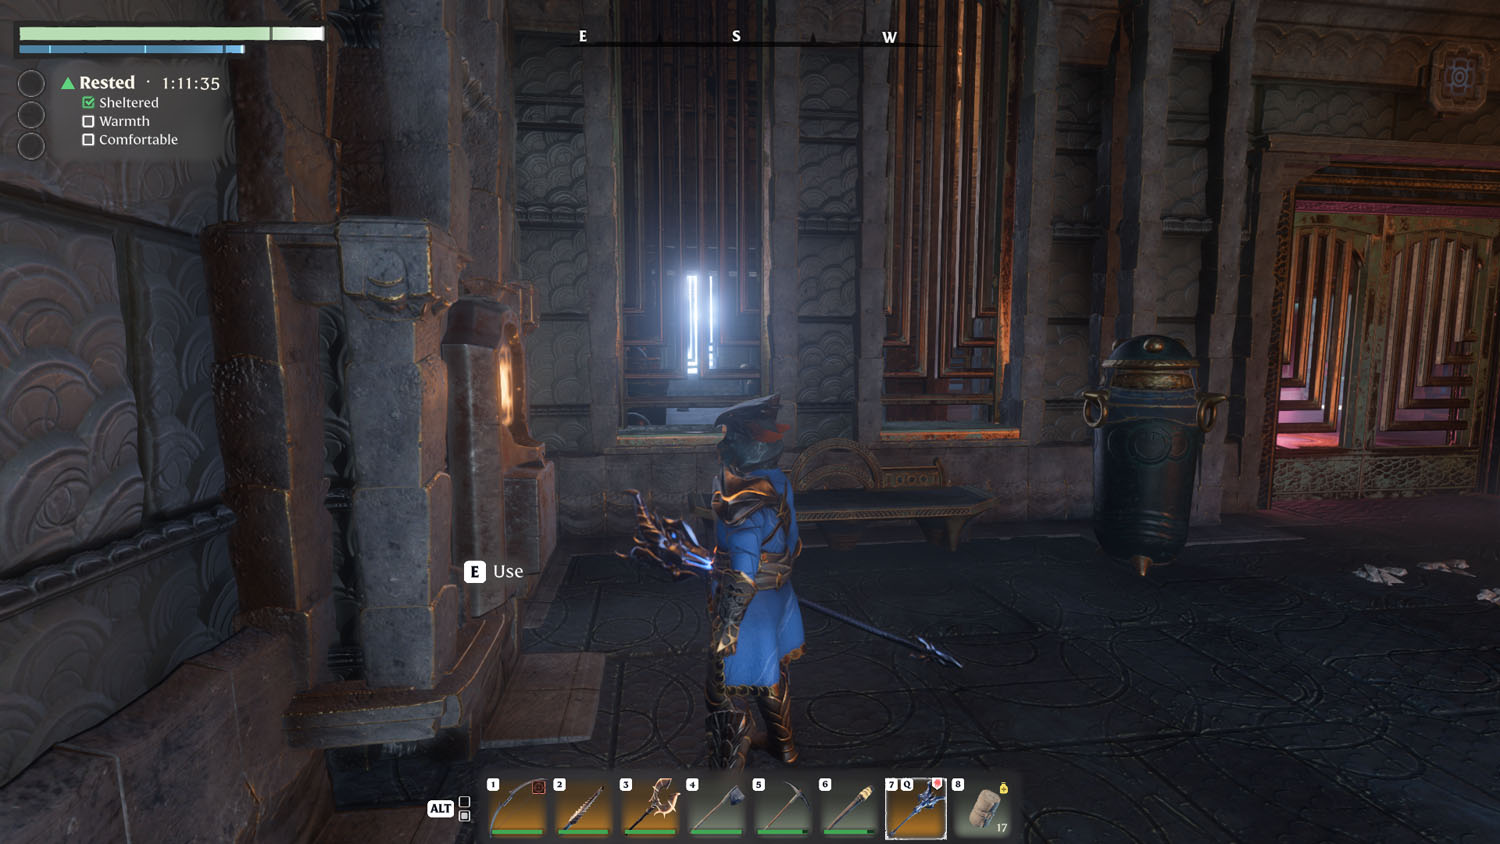
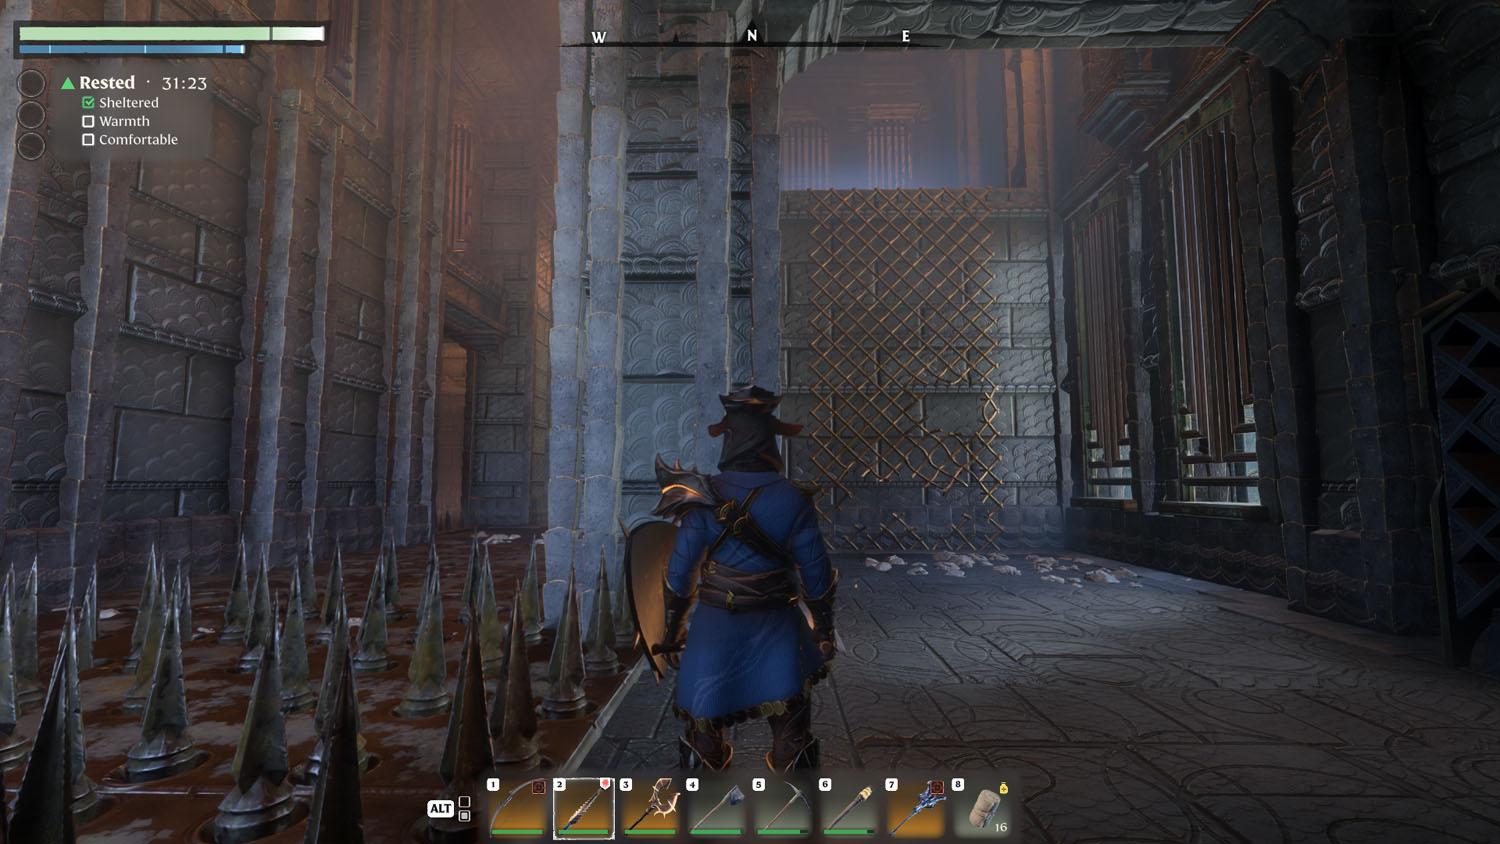
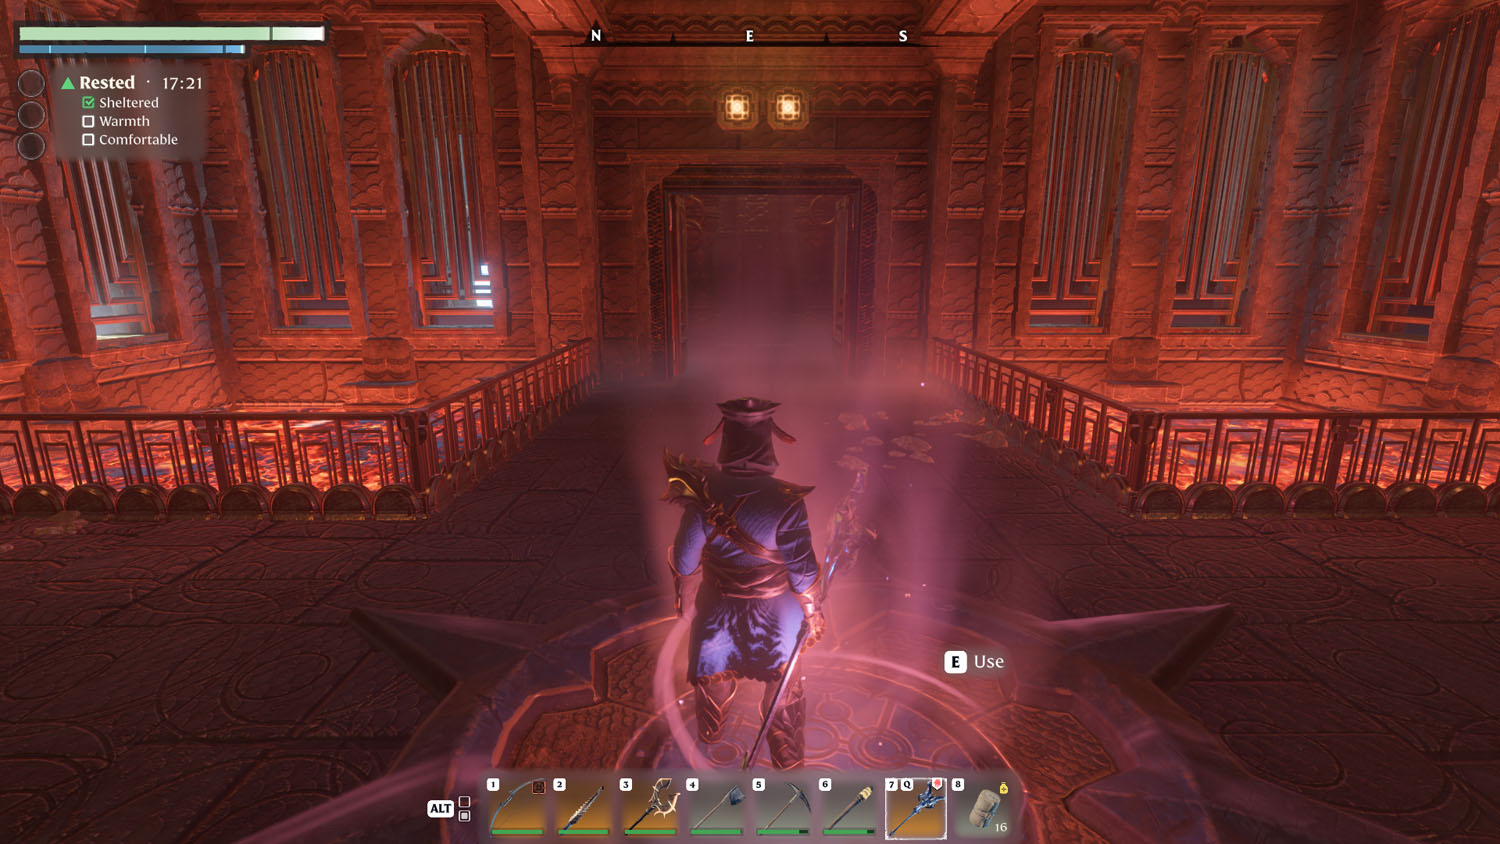
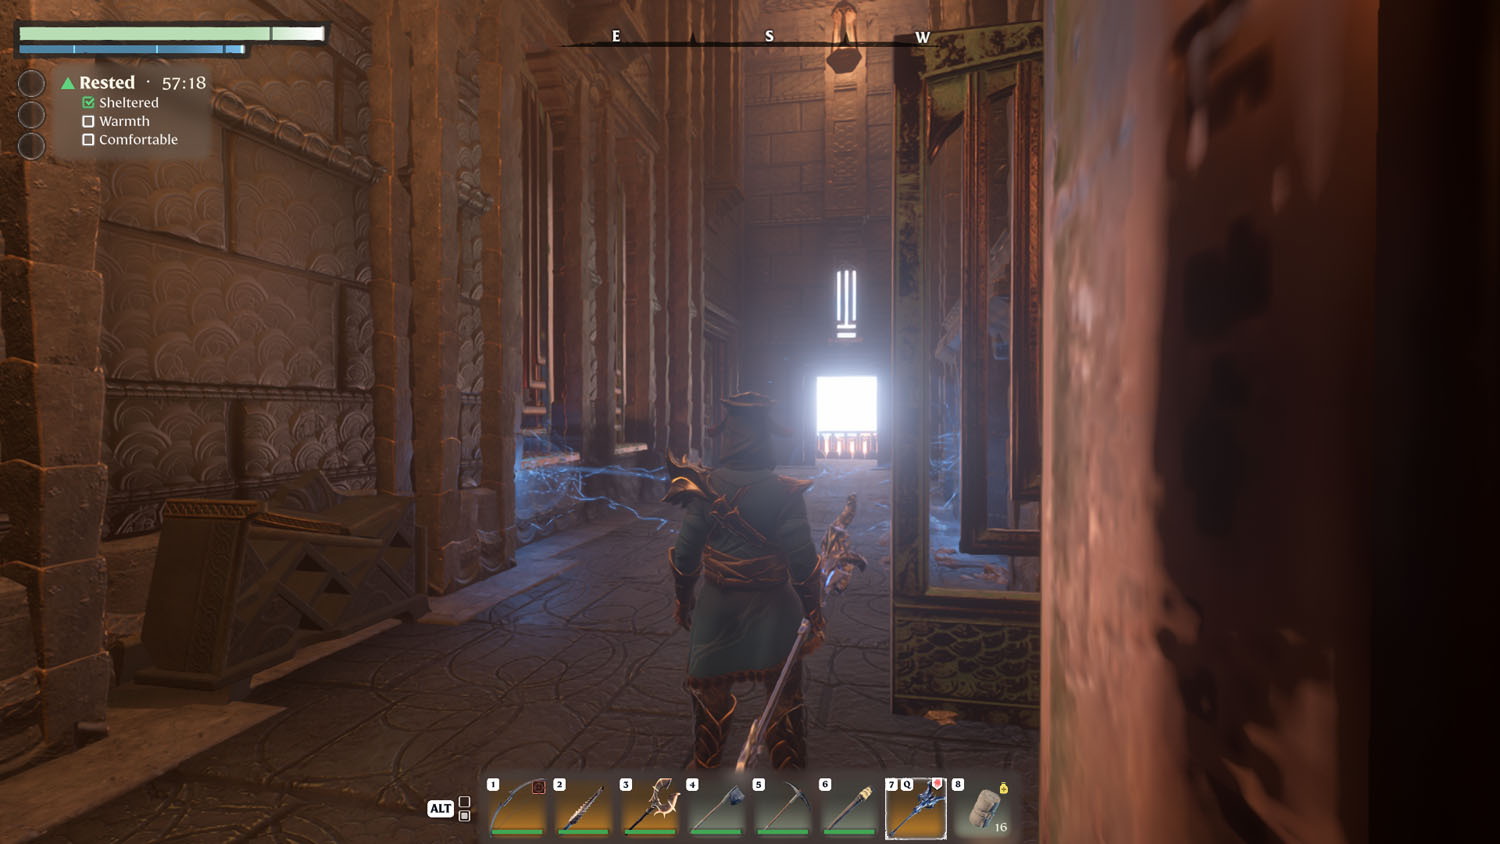
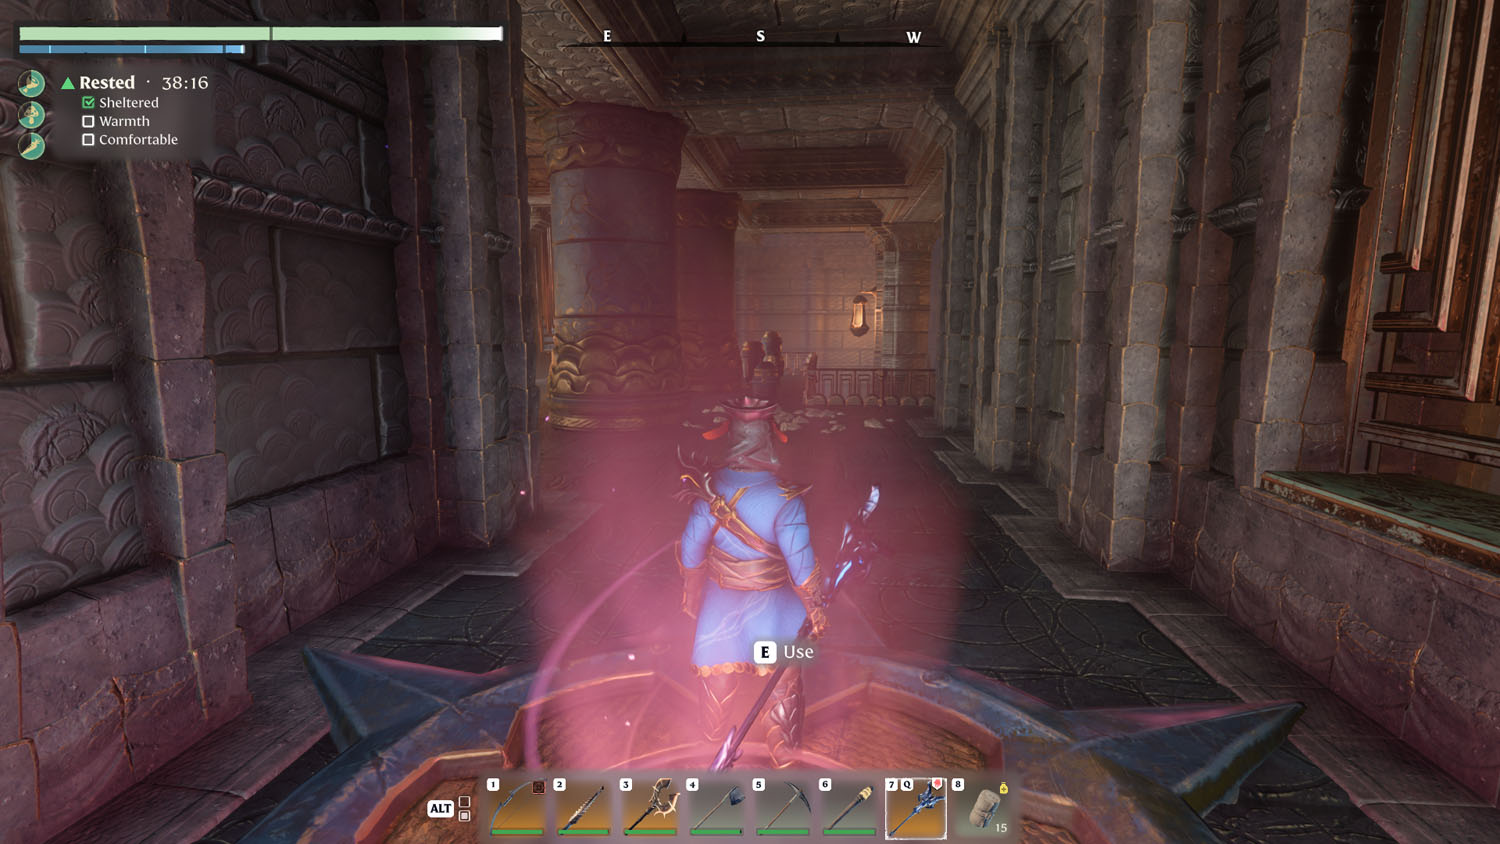
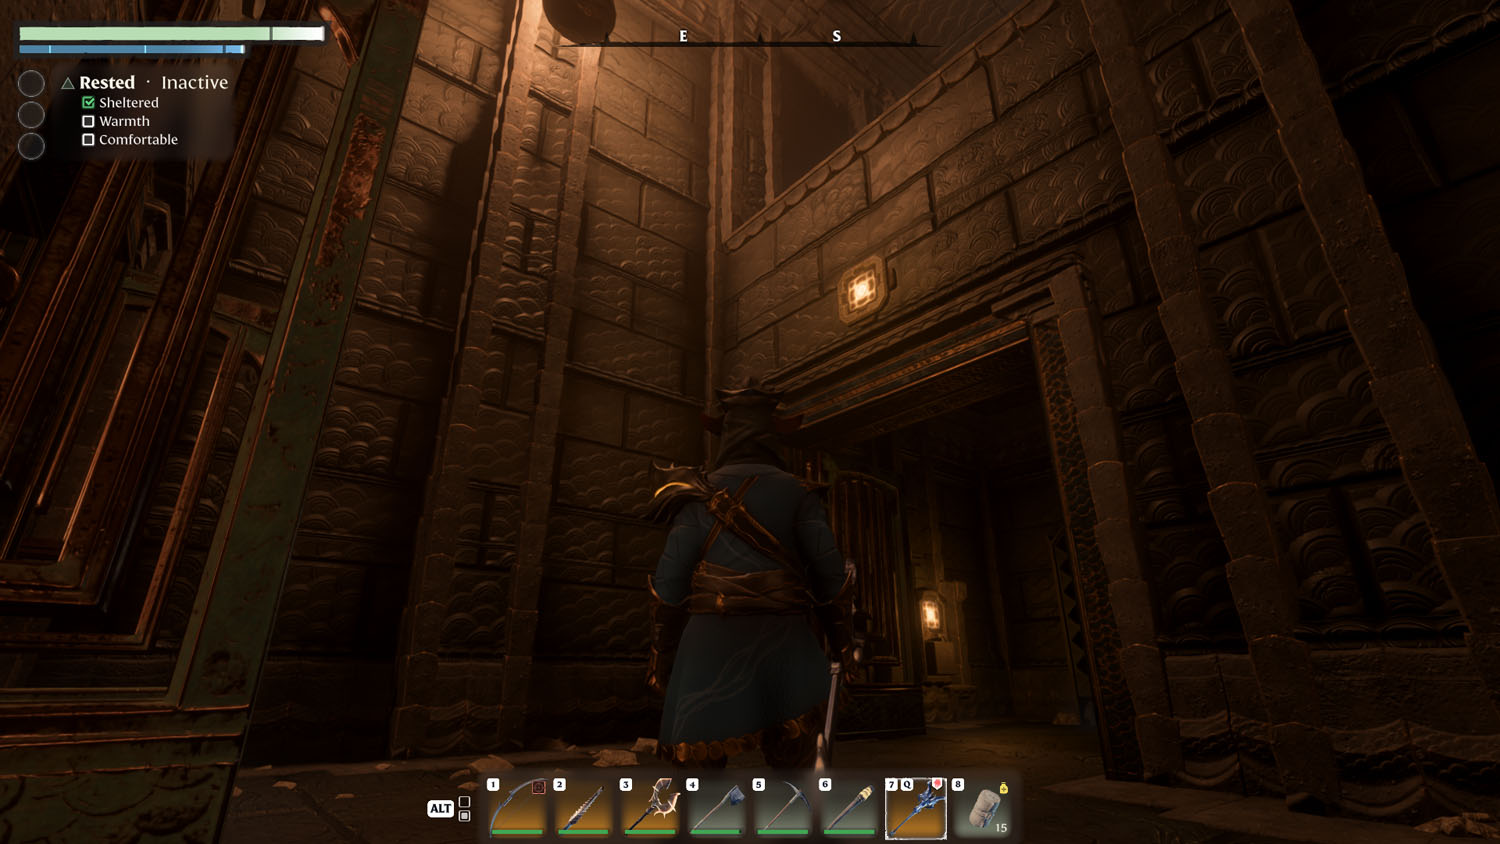
From any of the four steps on the ground floor level, head toward the middle of the tower. On the floor will be a glowing orange metal plate. Interact (E) with it to teleport inside the tower. Now get ready for some “puzzles” to solve!
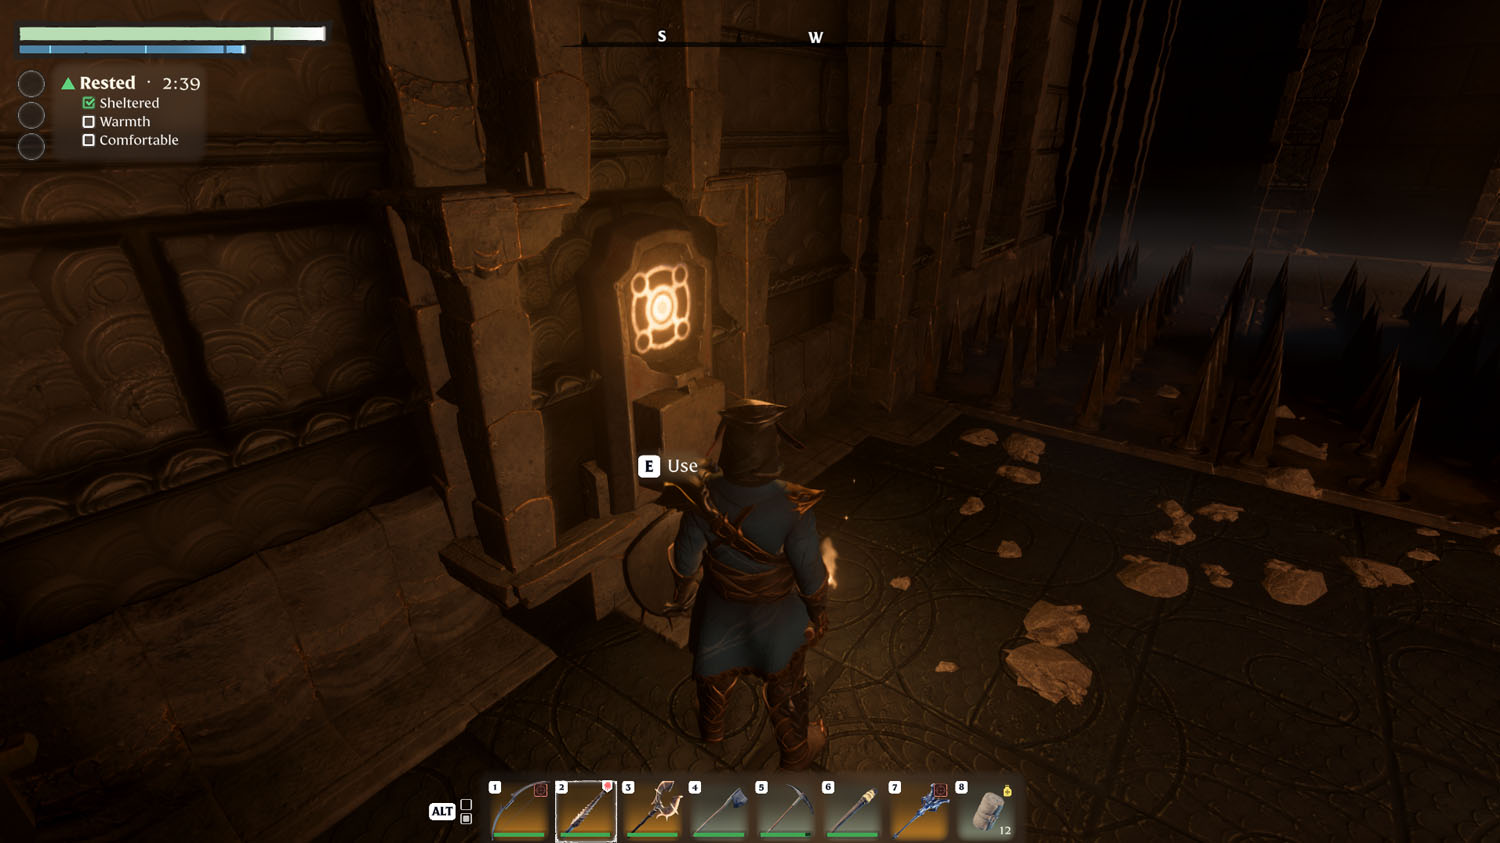
First Floor
The Ancient Spires often have it set up so there is an optional path. The first floor of this tower has the Optional - Silver Chest path, which involves the yellow glowing glyph (left). To skip the optional path, simply take the stairs (right) to take the Onward path.

Optional - Silver Chest
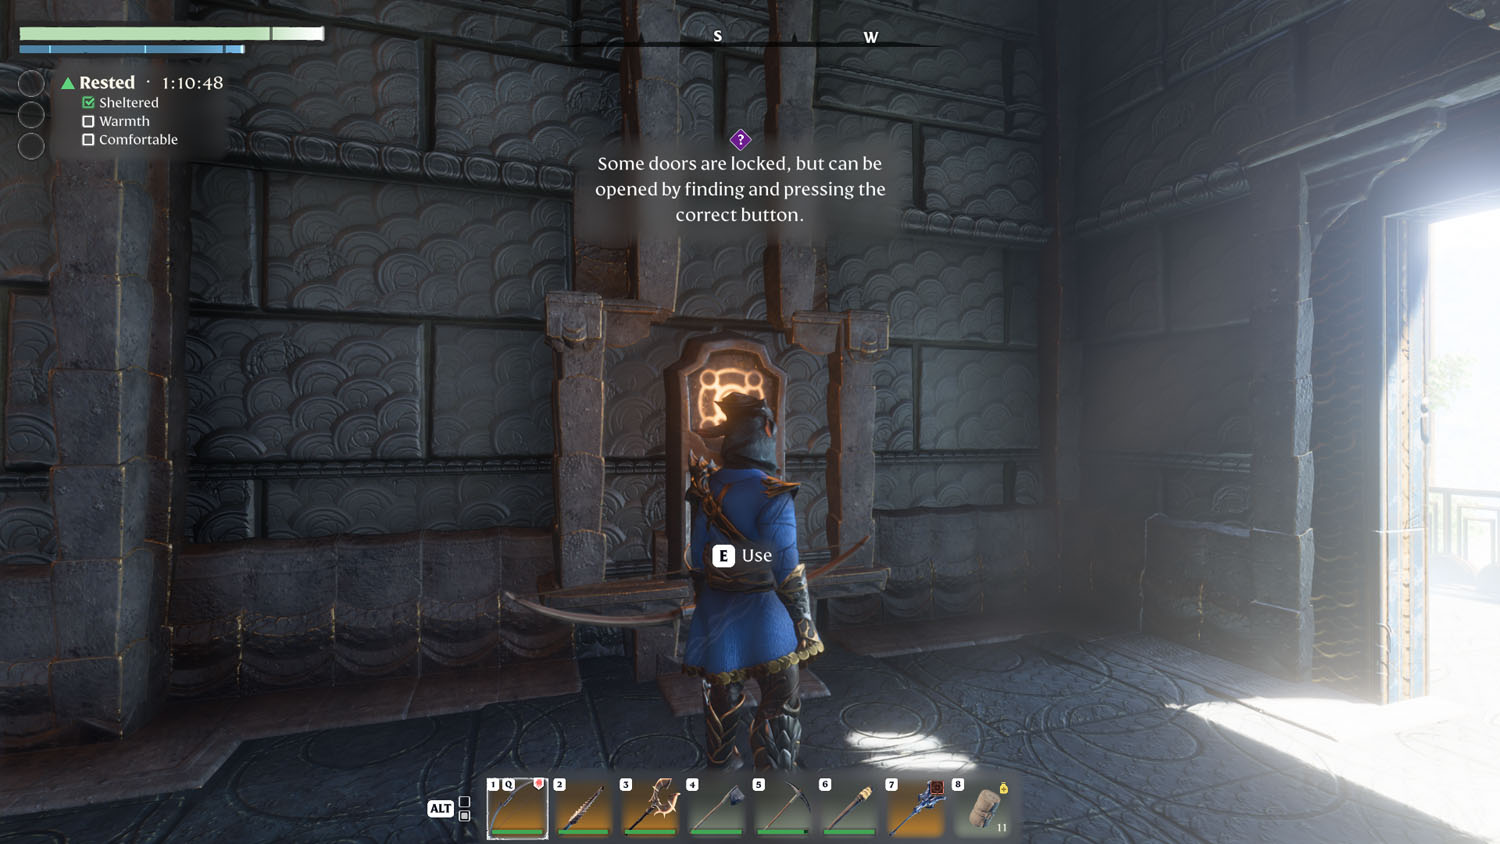
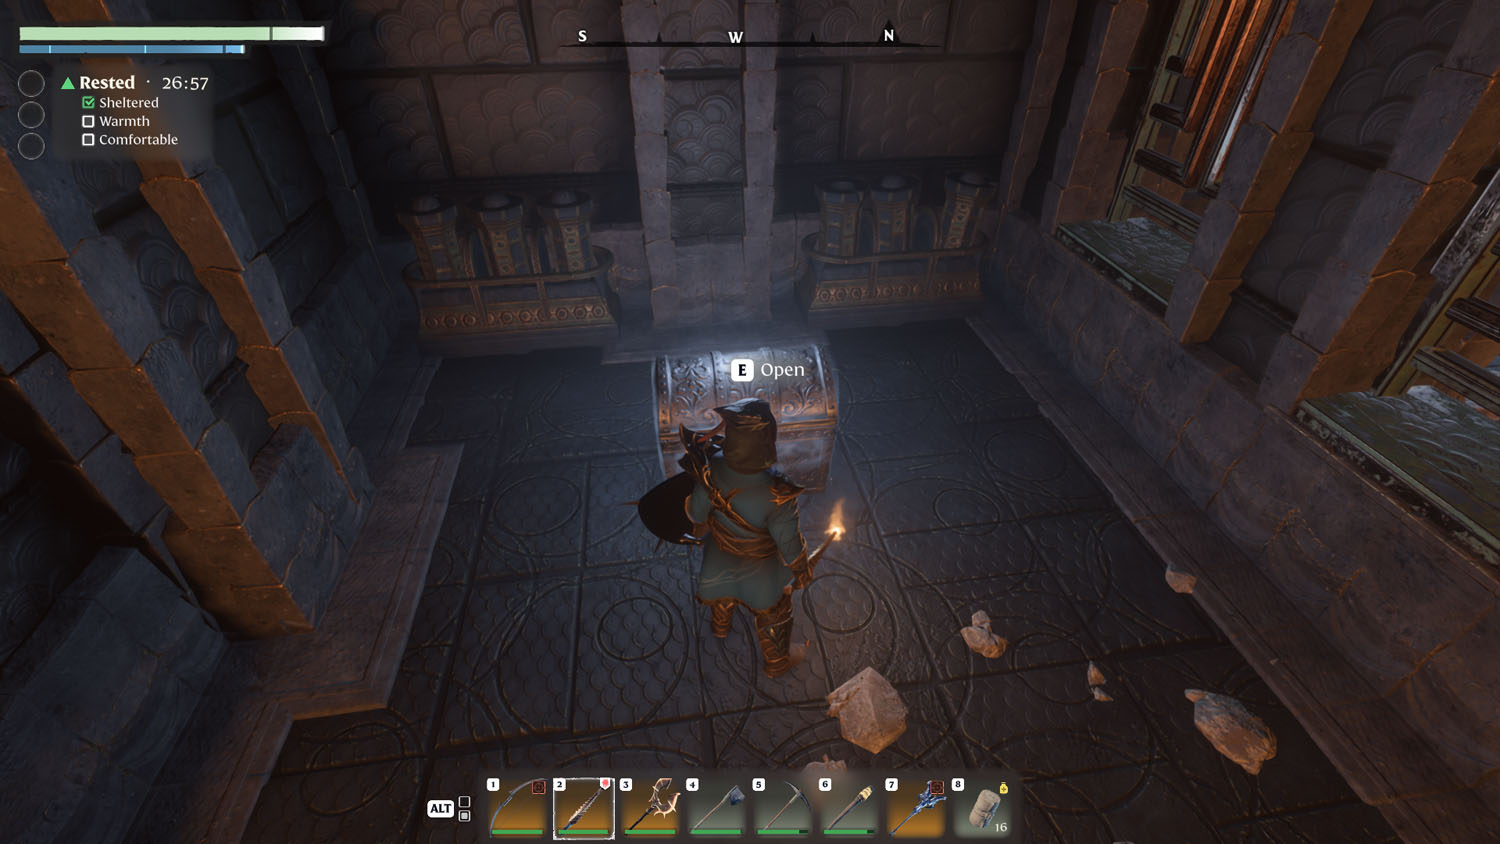
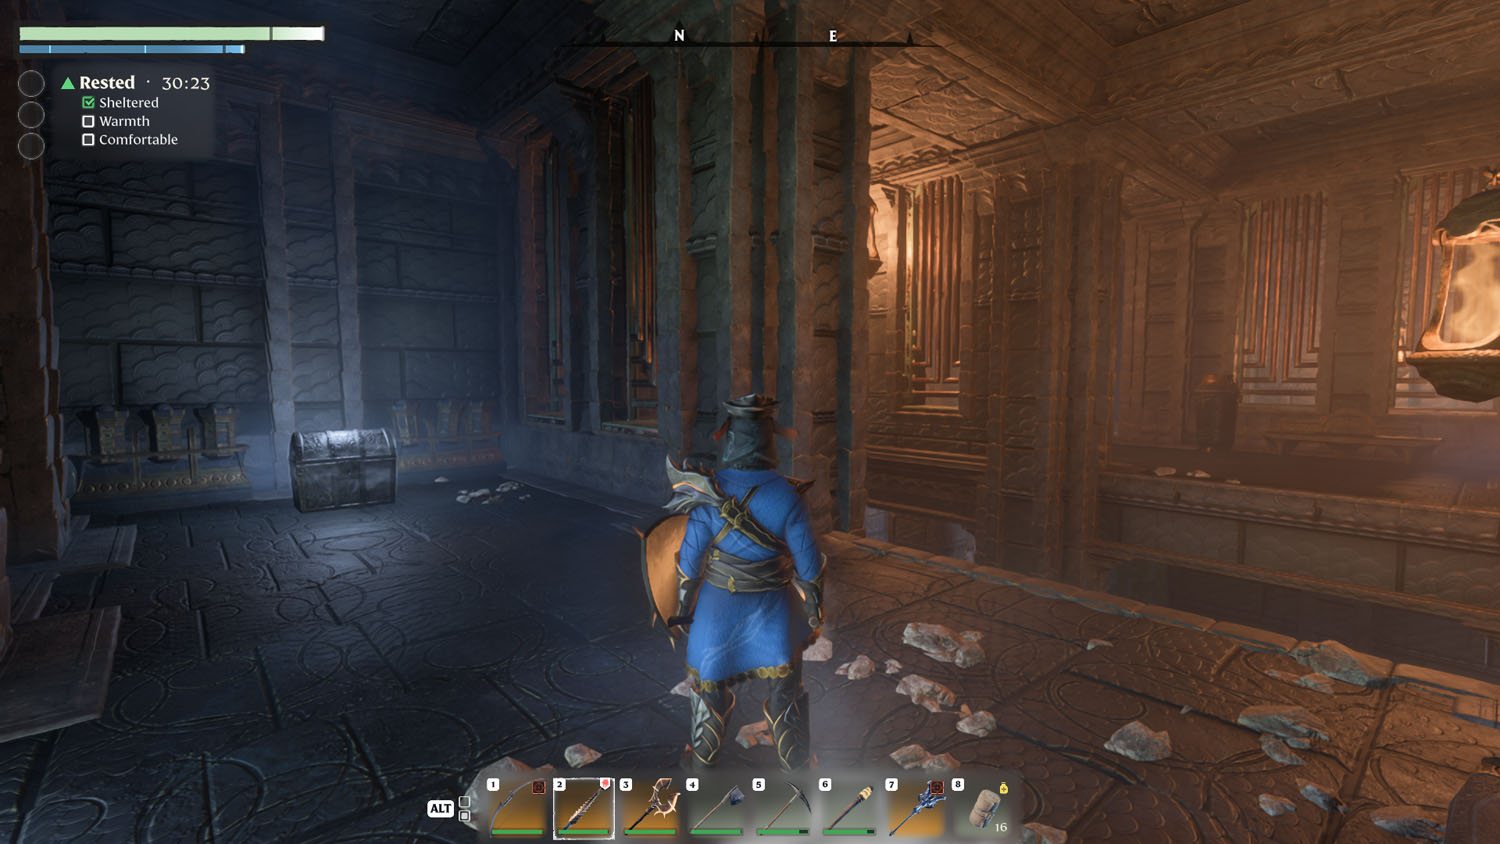
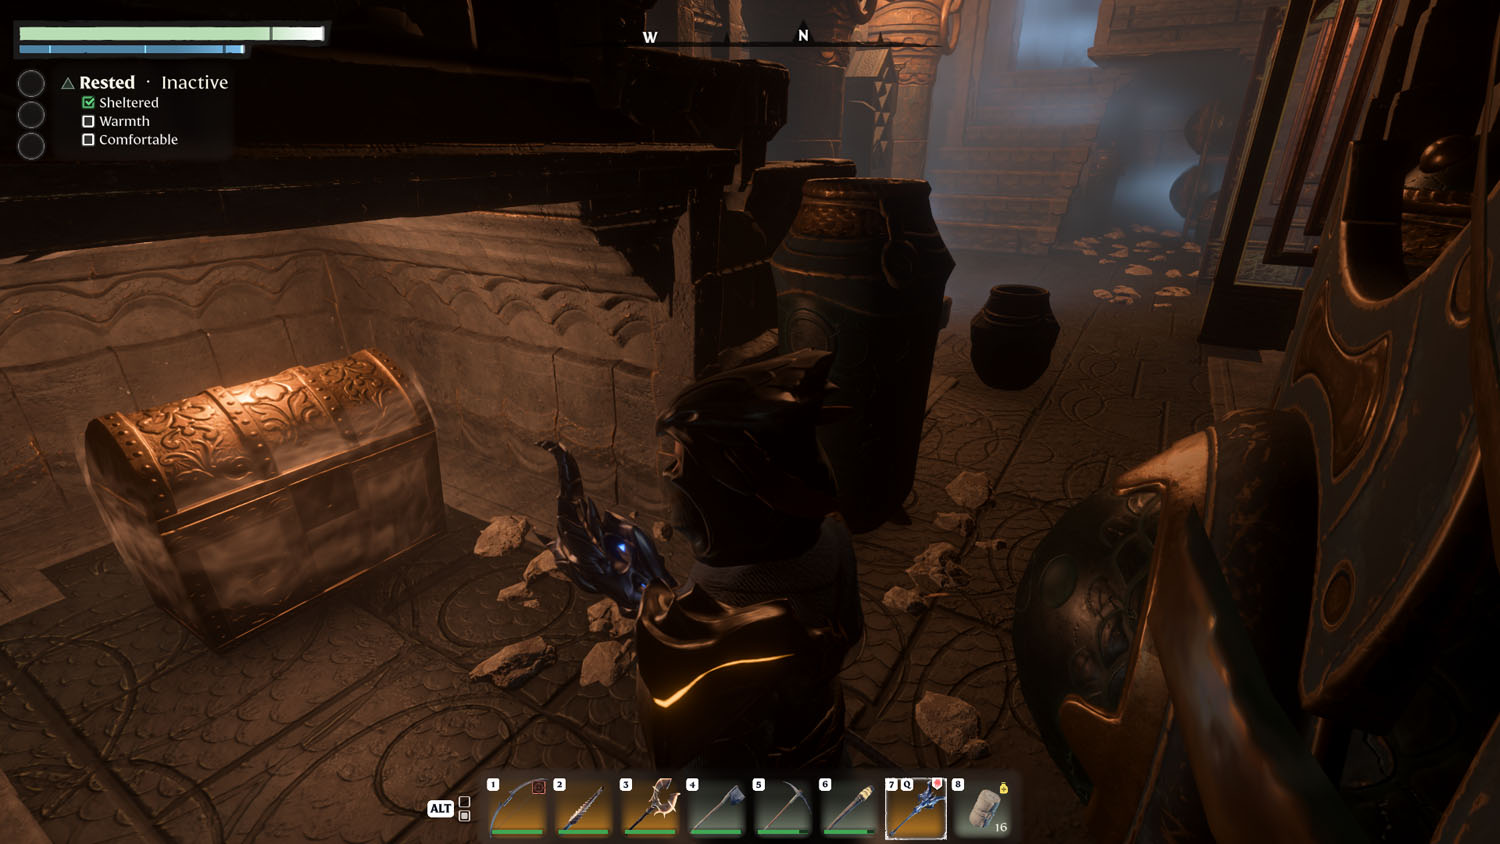
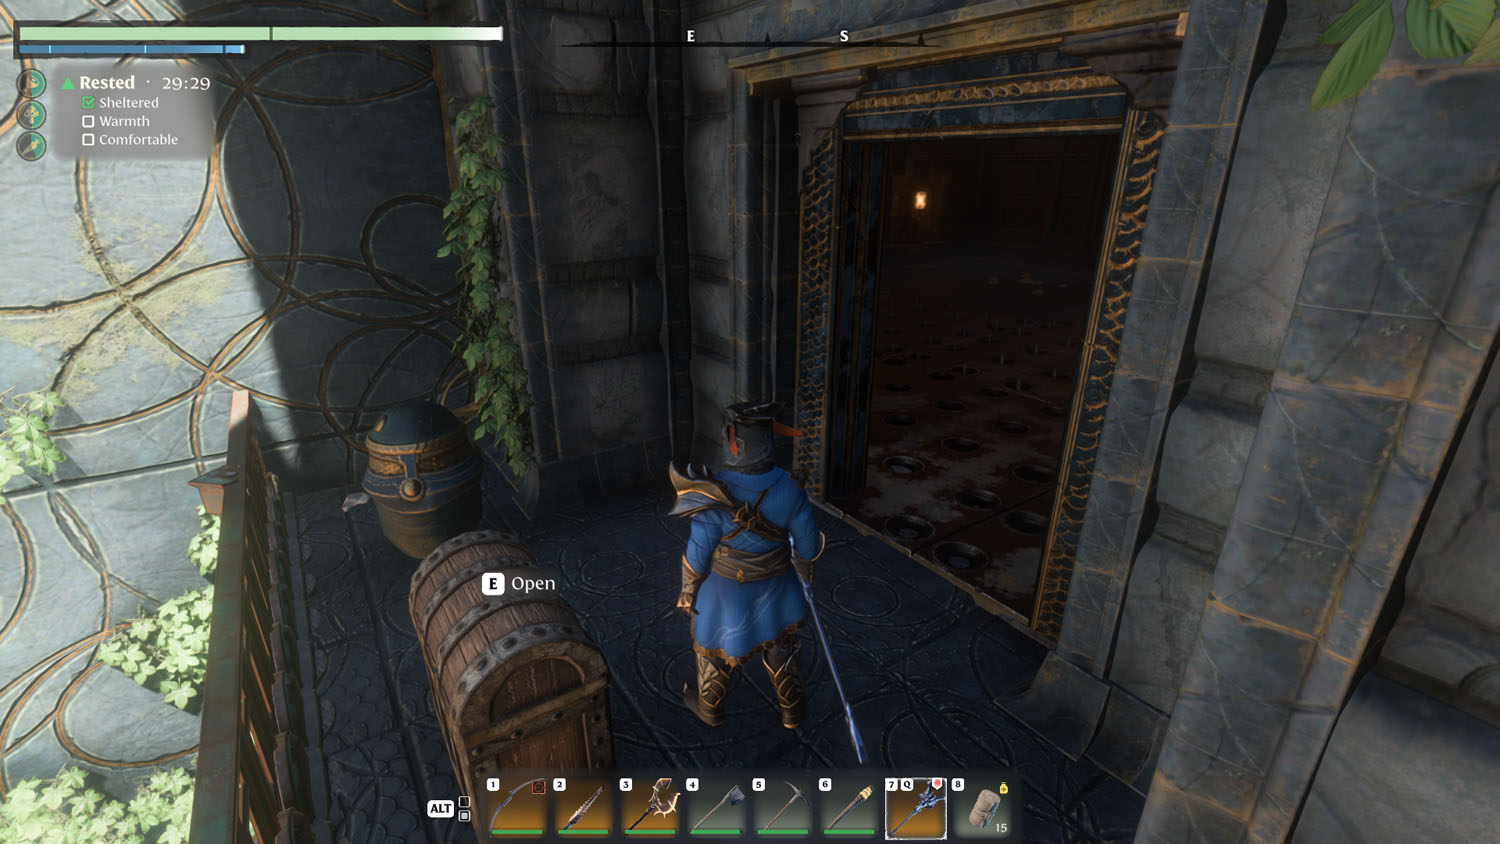
You’ve chosen the optional path! Head left and interact with the yellow glyph-like button. You may notice the gate to the left of it has a blue glyph-like symbol over it. When you press the button, the colors will swap (button turns blue and door turns yellow), and the gate will open. Inside the area behind the gate is a Silver Chest.
NOTE: Since this is likely the first time you are seeing this, the game has an instruction bubble available over the button.
Onward
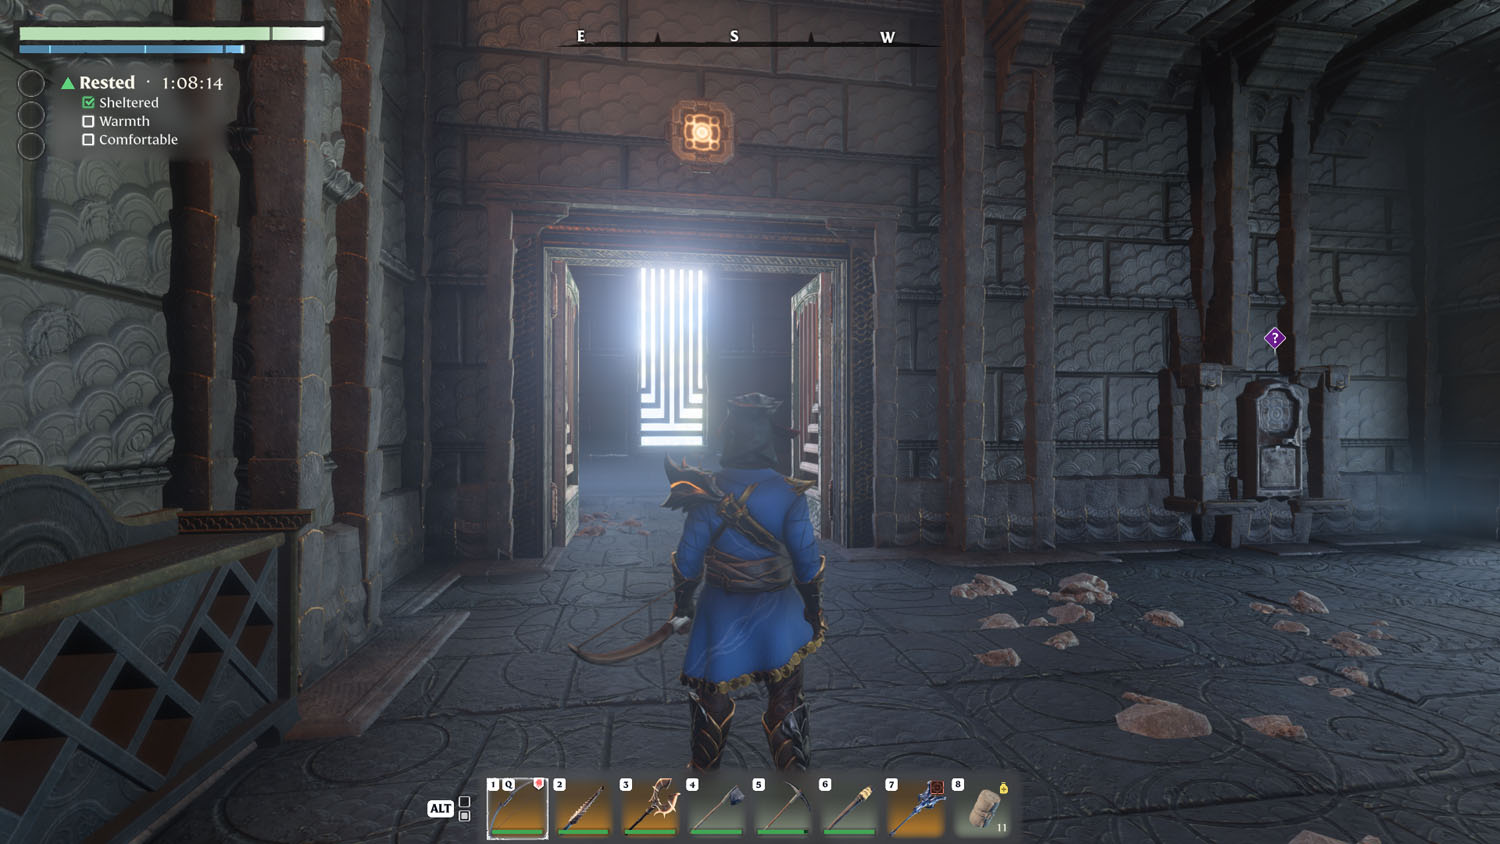
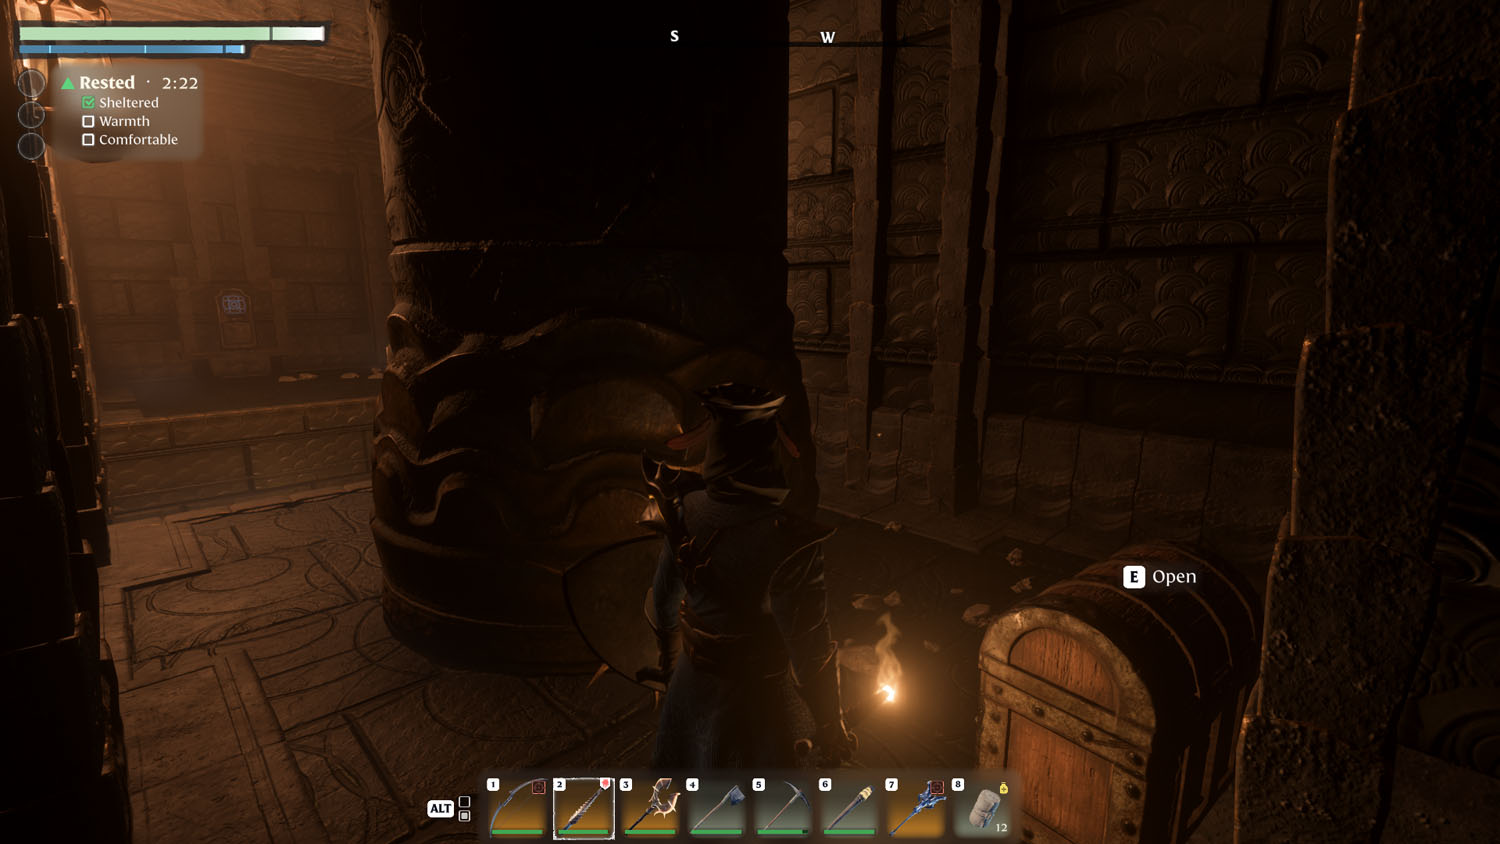
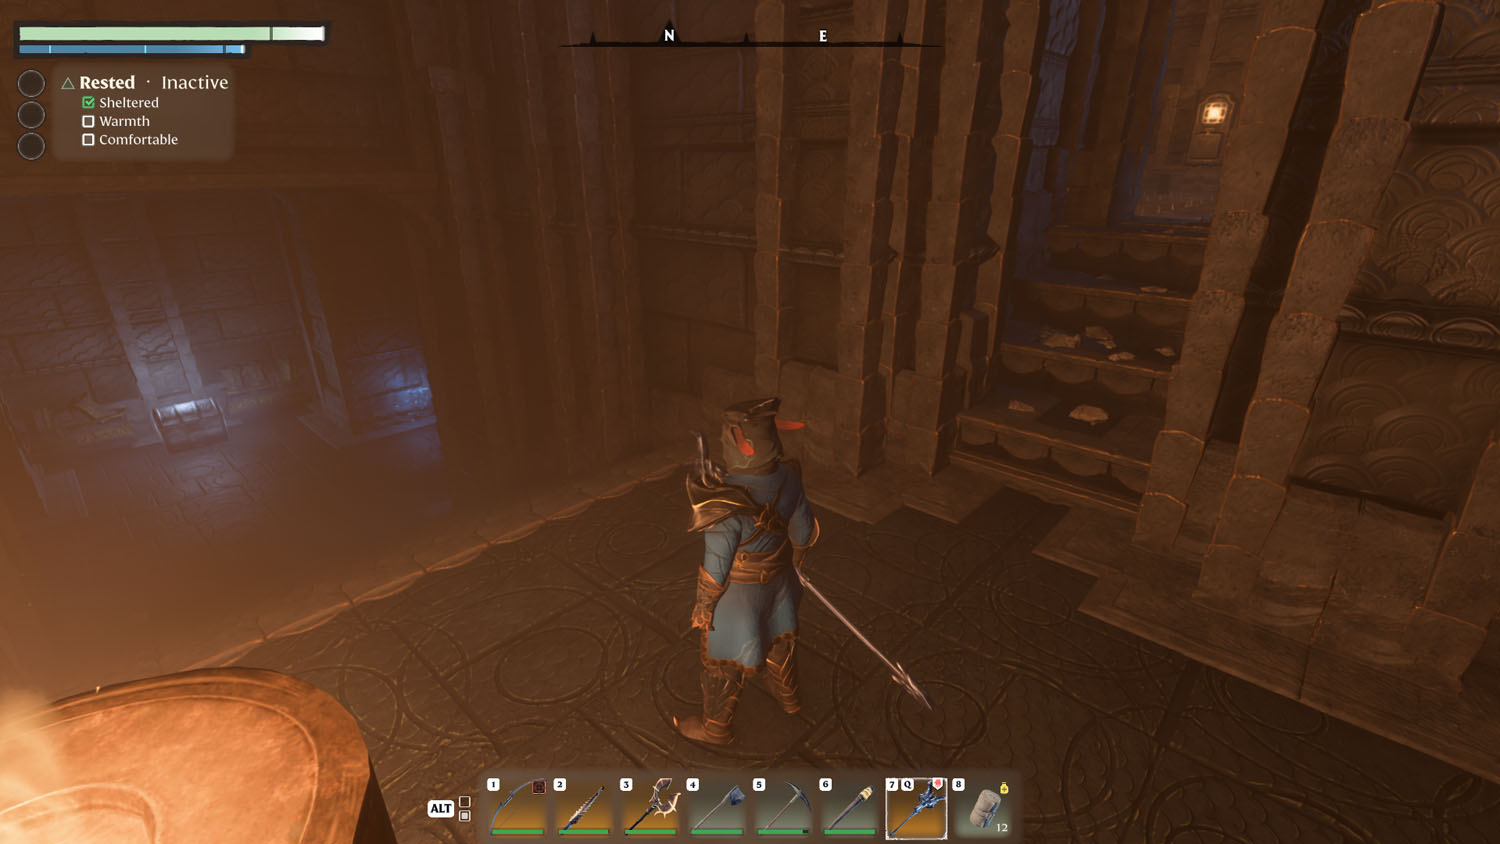
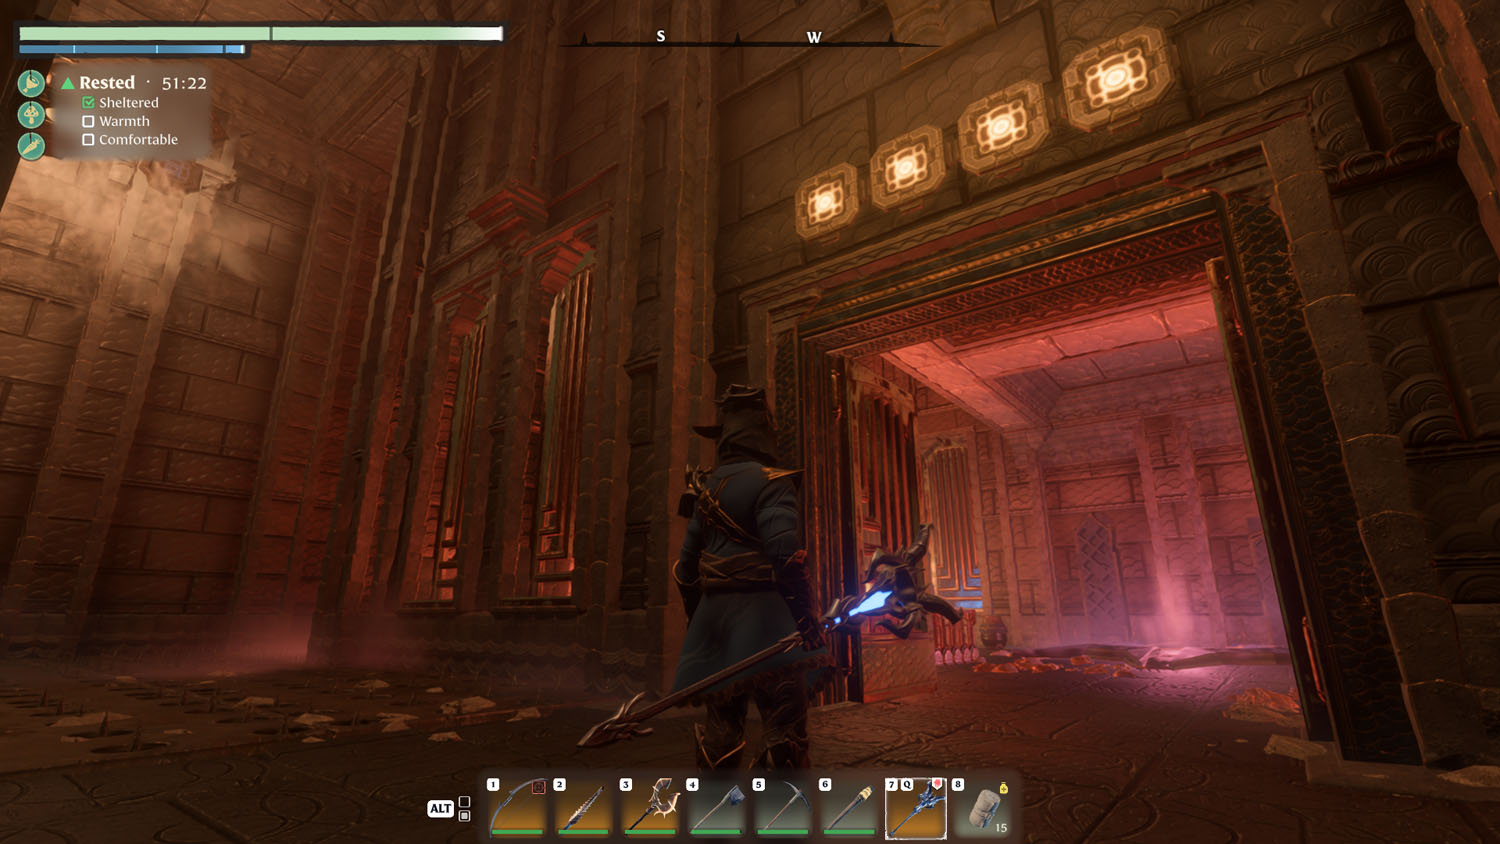
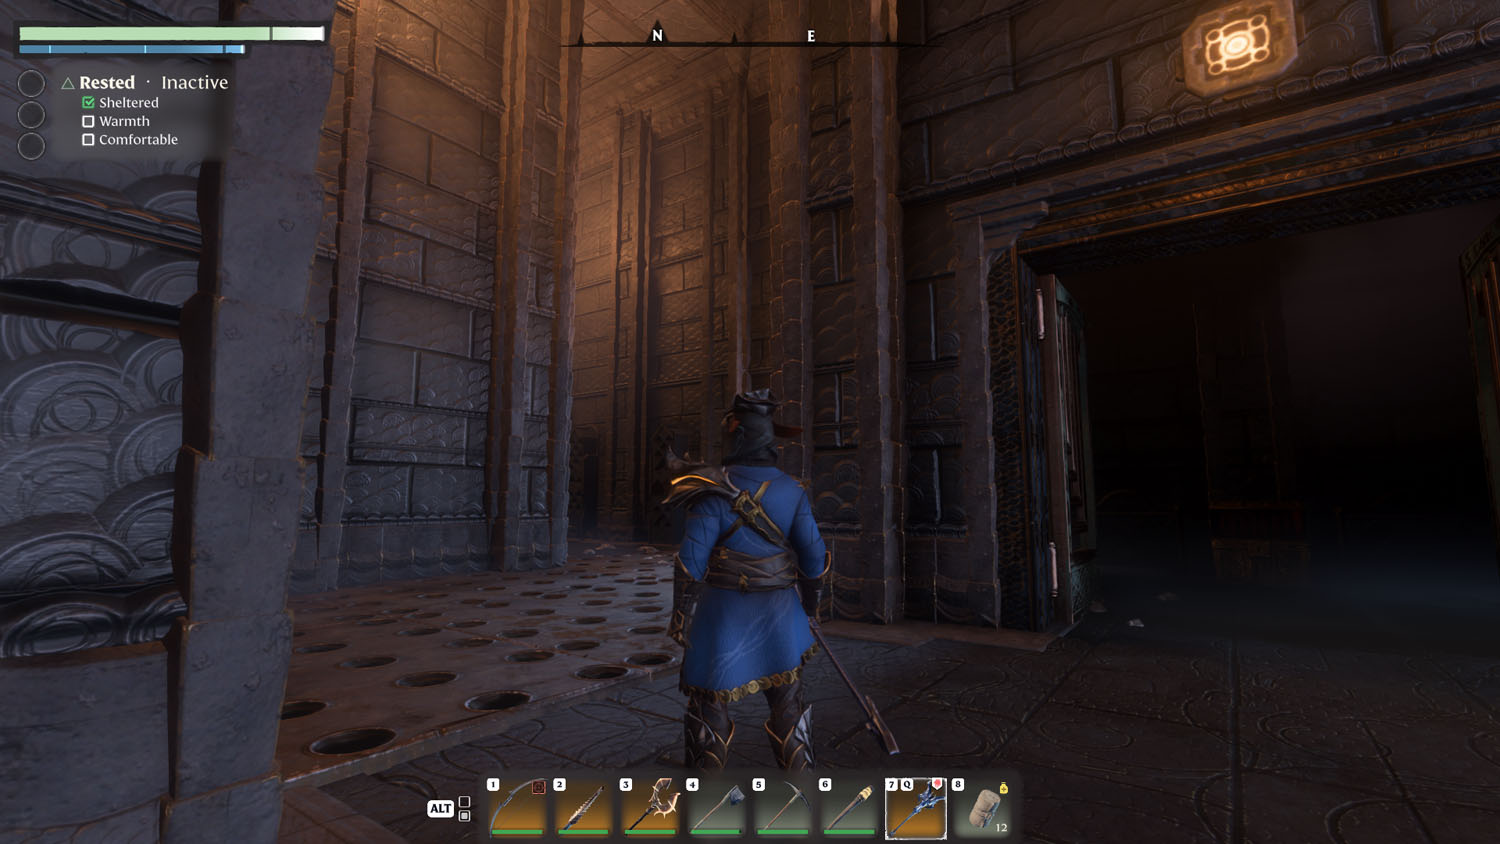
Take the stairs, located in front of the teleportation platform you came in on, upward. You’ll have to use your grapple hook (E) to swing across to the gate on the other side. Just around the corner from the gate is another grapple spot, but this one will pull you to the other side. You can take the shortcut to the glowing transportation platform on the other side of the room, or you can hop down for an Optional - Wood Chest. Activating the platform will take you to the Second Floor.
Optional - Wood Chest
Proceed with caution as the floor below the grapple spot does have a spike trap. It’s easily avoided, however, and isn’t where you need to go. Simply turn the corner to reach the stairs, but turn left before climbing them. That’s where you’ll find a Wood Chest. Then, either take the stairs up to the teleportation platform, or grapple up to the opposite side. Both will reach the teleportation platform.
Second Floor
This floor has two paths you can take to reach the next level. Honestly, the Optional - Silver Chest path seemed safer and easier to me than the Onward one, but both will lead to the Third Floor.
Optional - Silver Chest
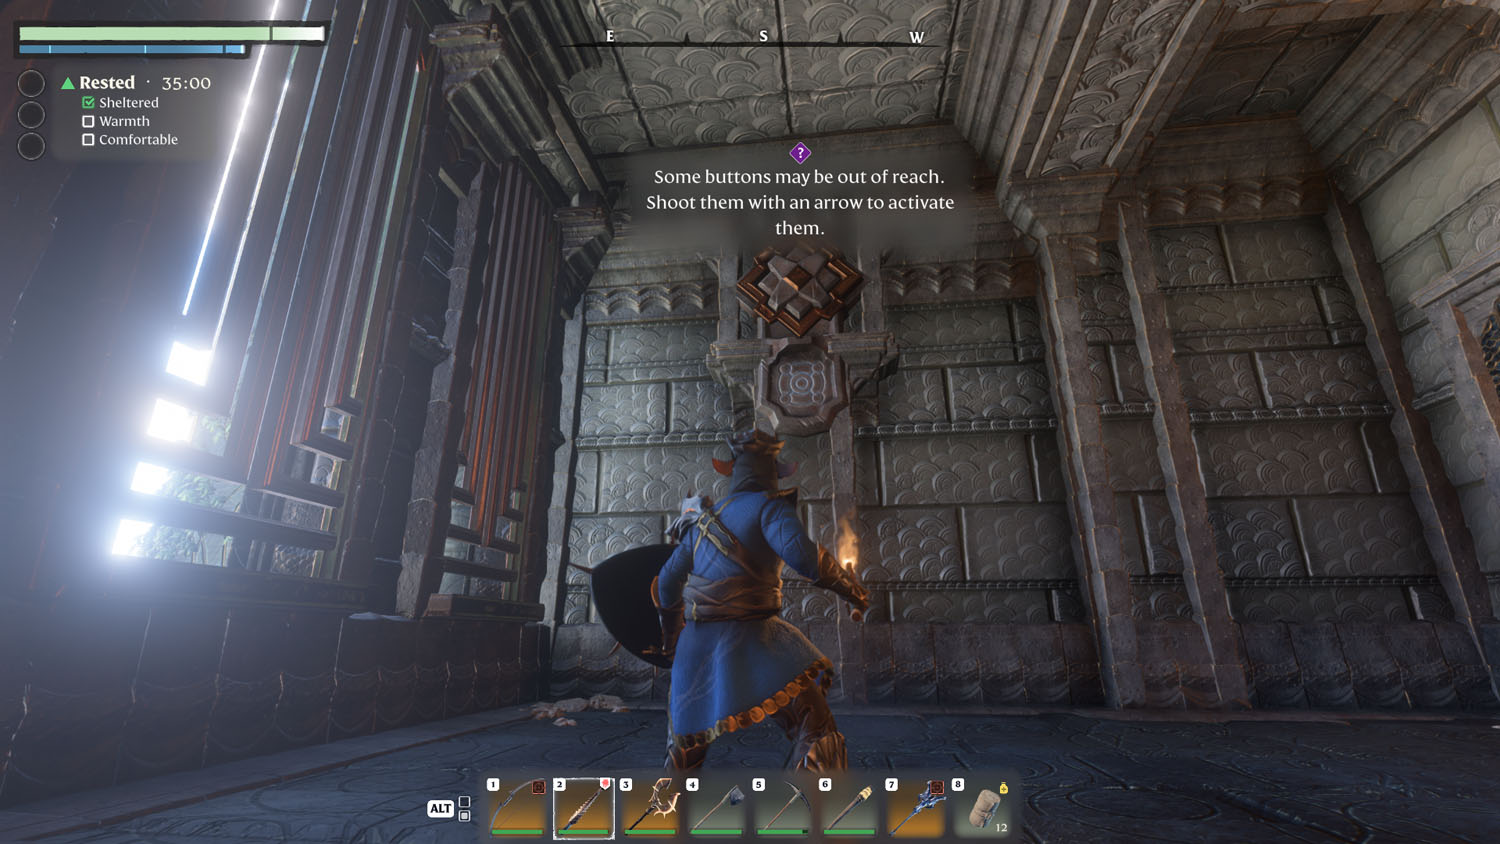
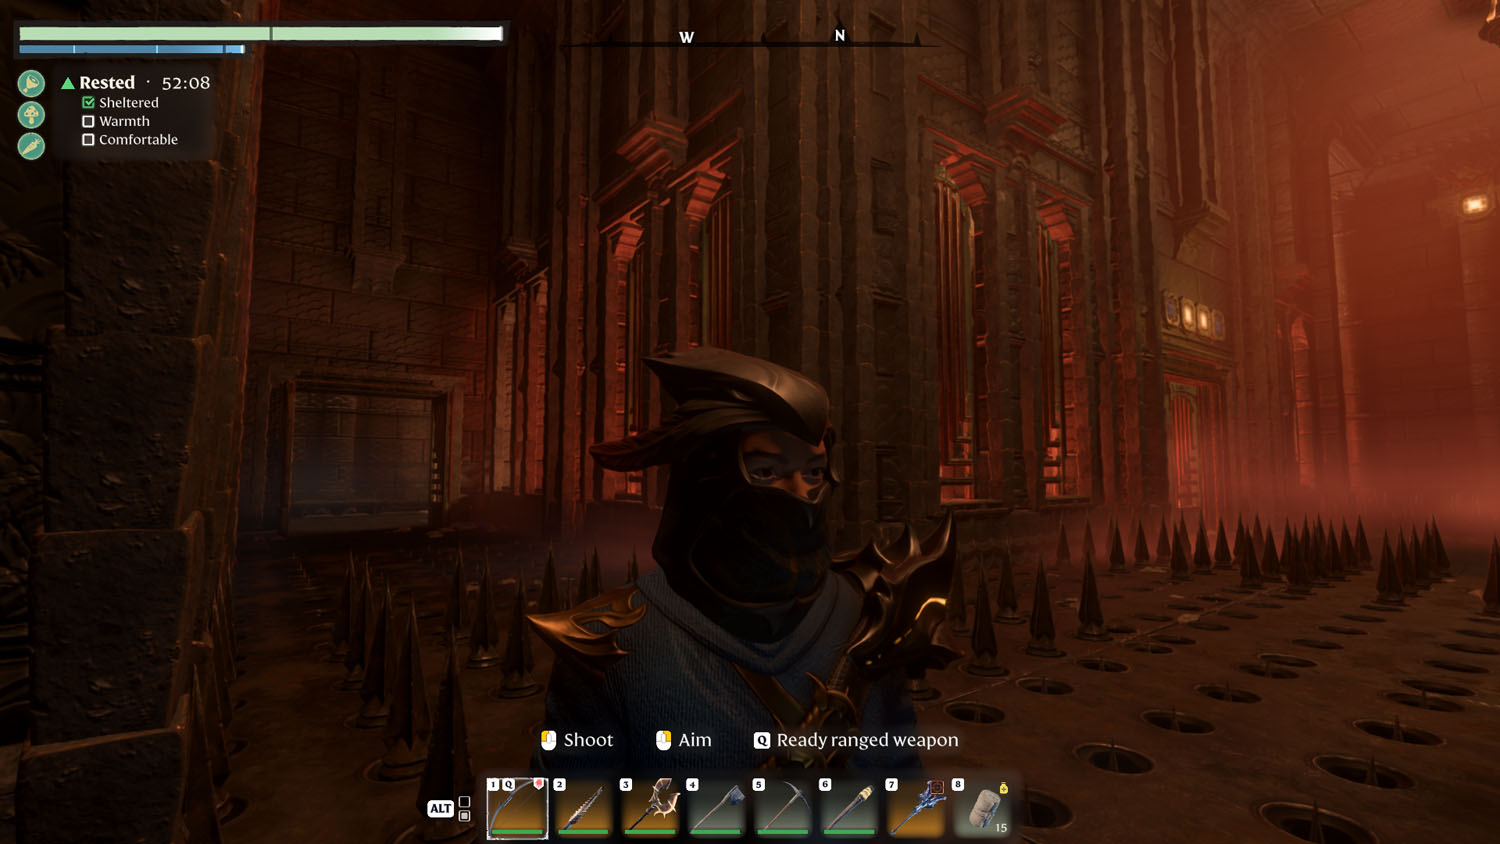
When you reach the Second Floor, you’ll quickly see a climbable grate on the wall. At the top left there is a glyph. This one requires you to have a ranged weapon / means of attack. If you lack a bow, wand, or staff with spells, you’ll have to take the Onward path.
To reach the grate on the wall, you’ll have to jump across a pit of red hot coals. Then, climb upward and to the left. This glyph will give you instructions on how to activate it. When you do hit it, this will open the door at the bottom right of the main area, which leads to the Third Floor.
Likewise, this will also open the door to the right of it, leading to a Silver Chest.
Onward
If you are unable to use magic or if you lack a bow / arrows, you’ll have to take this path. Simply jump across the glowing red coals to land on the grate over the wall. Instead of heading up and to the left, head to the small platform on the right. Make the jump across (if you miss, there are stairs on that level that will lead back up to where you entered). From the platform, head down the stairs until you reach the teleportation platform.
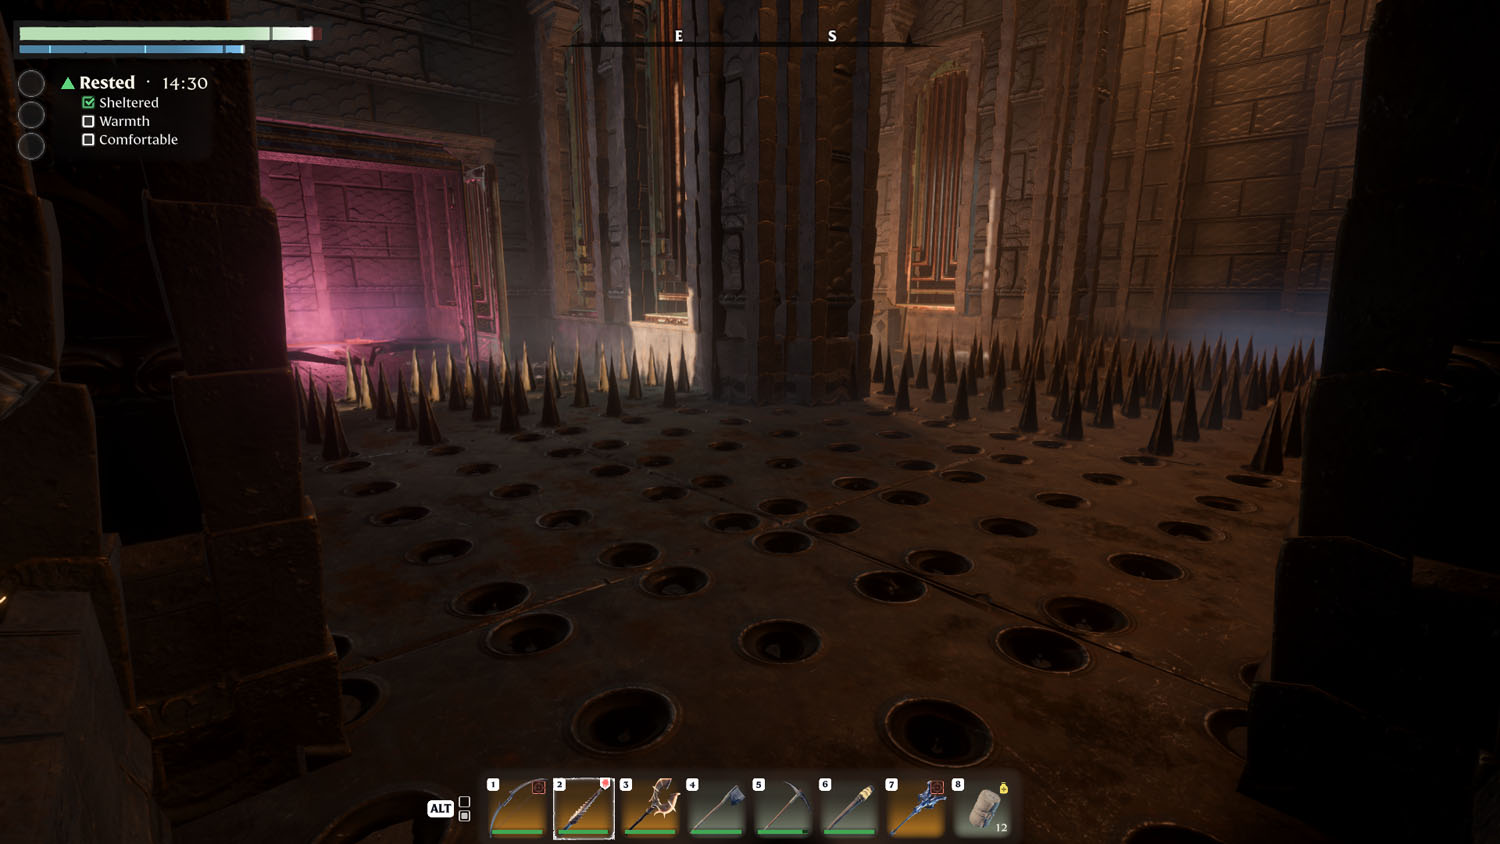
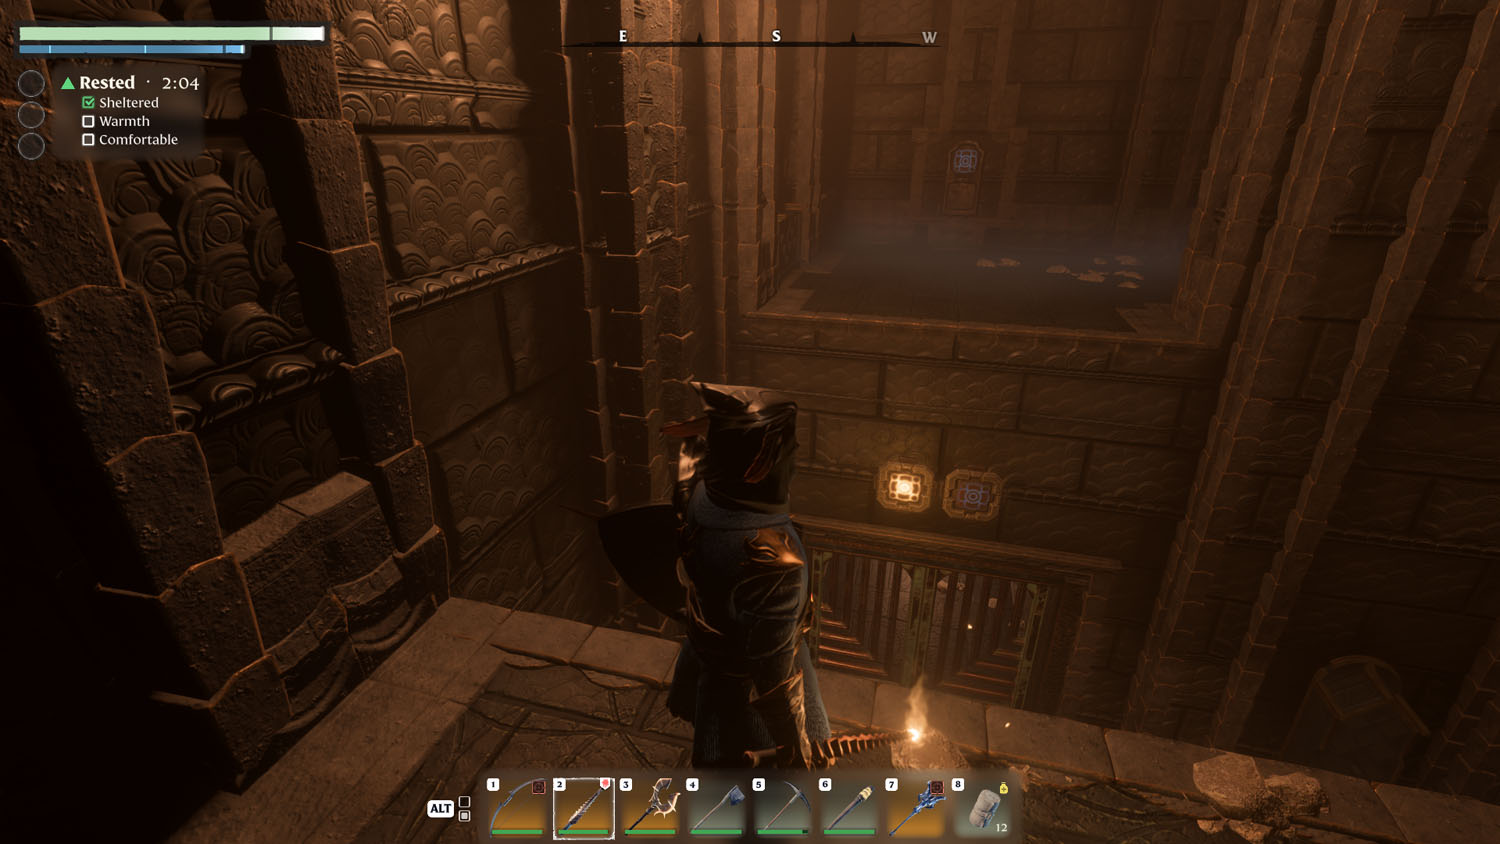
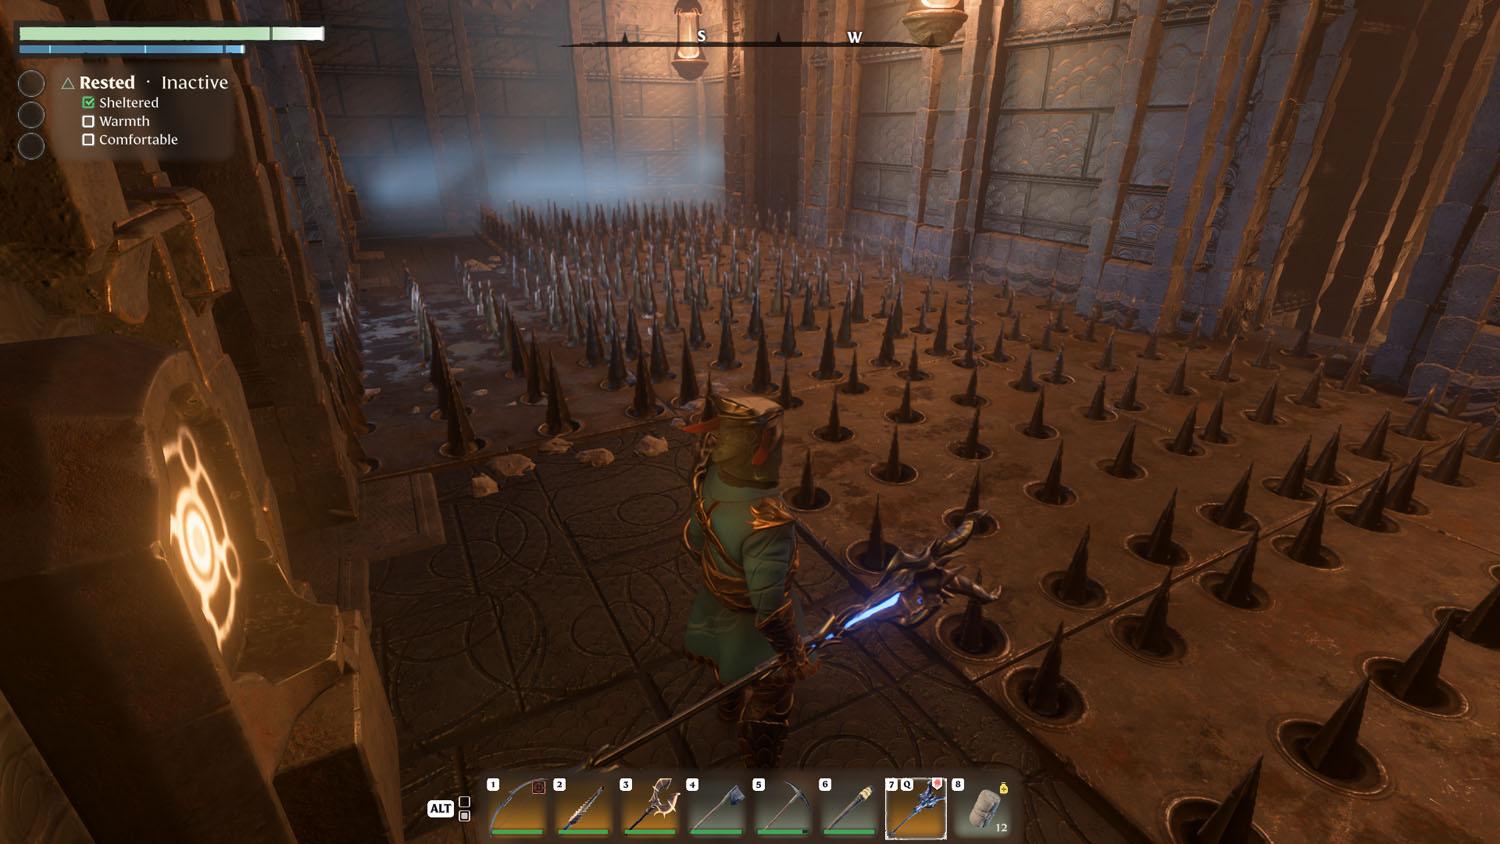
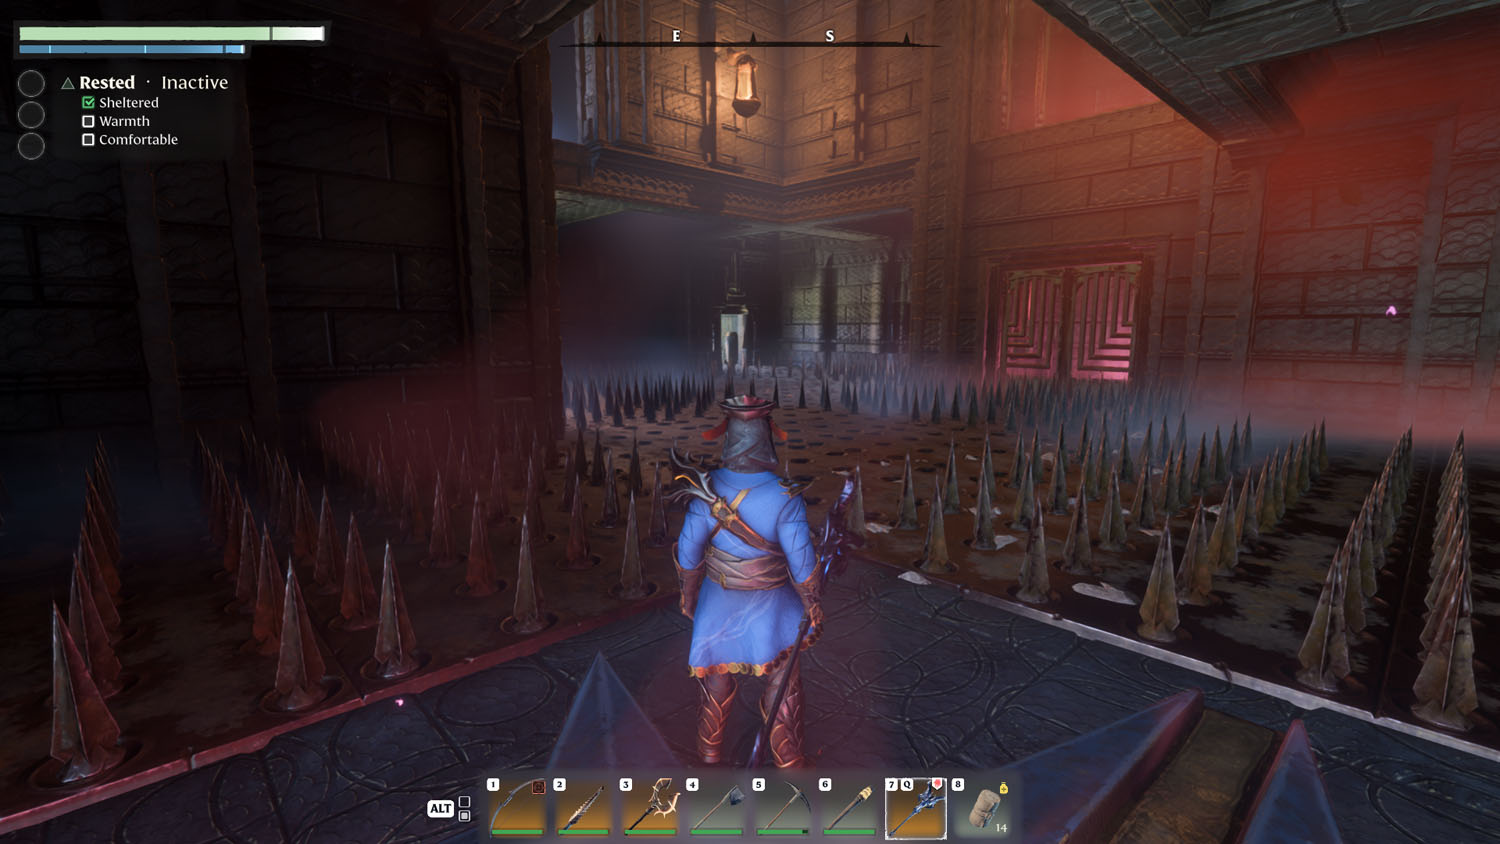
Third Floor
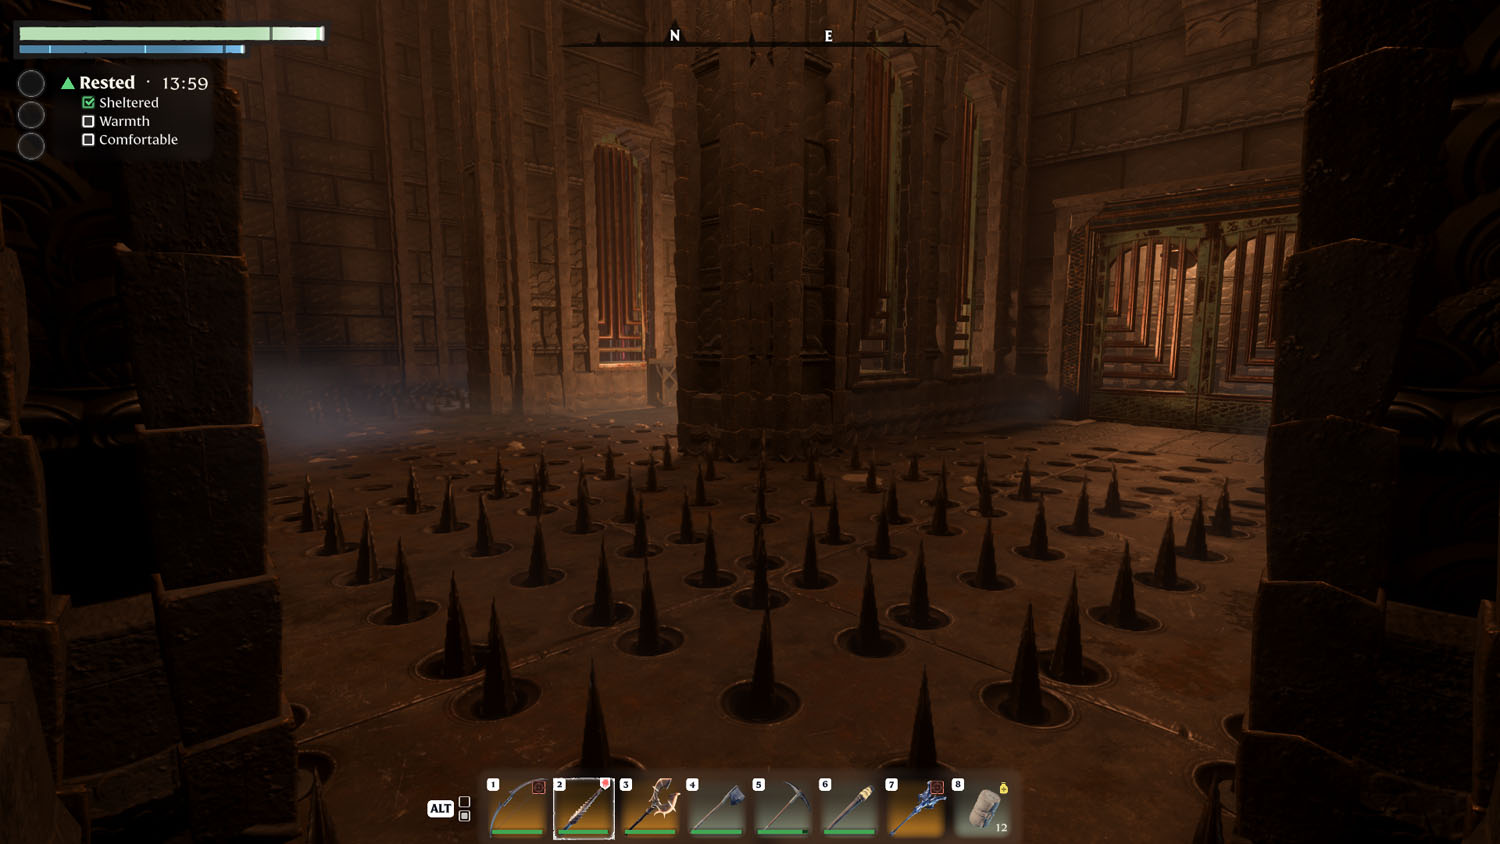
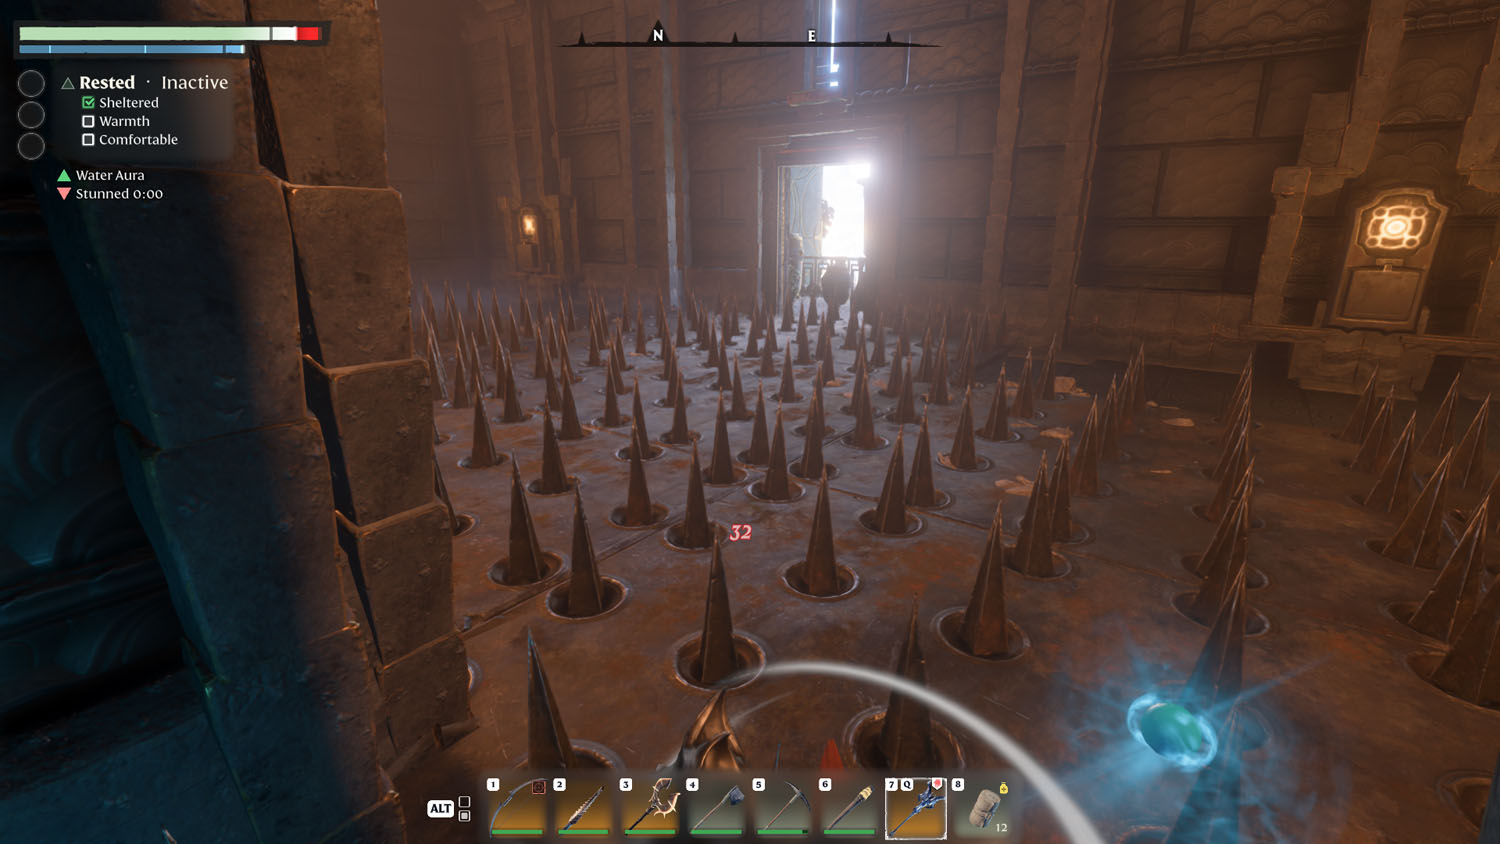
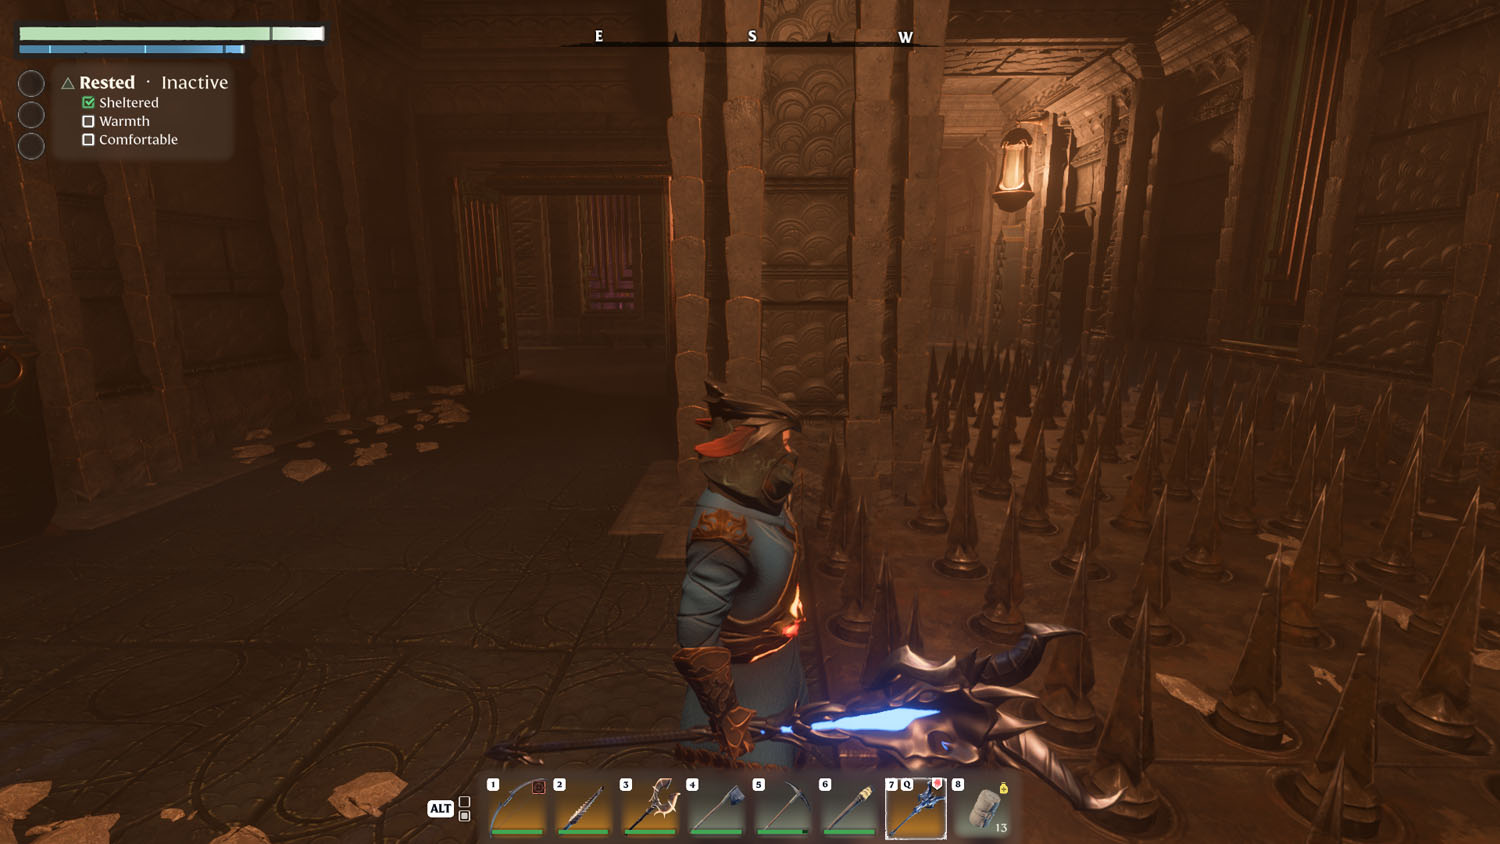
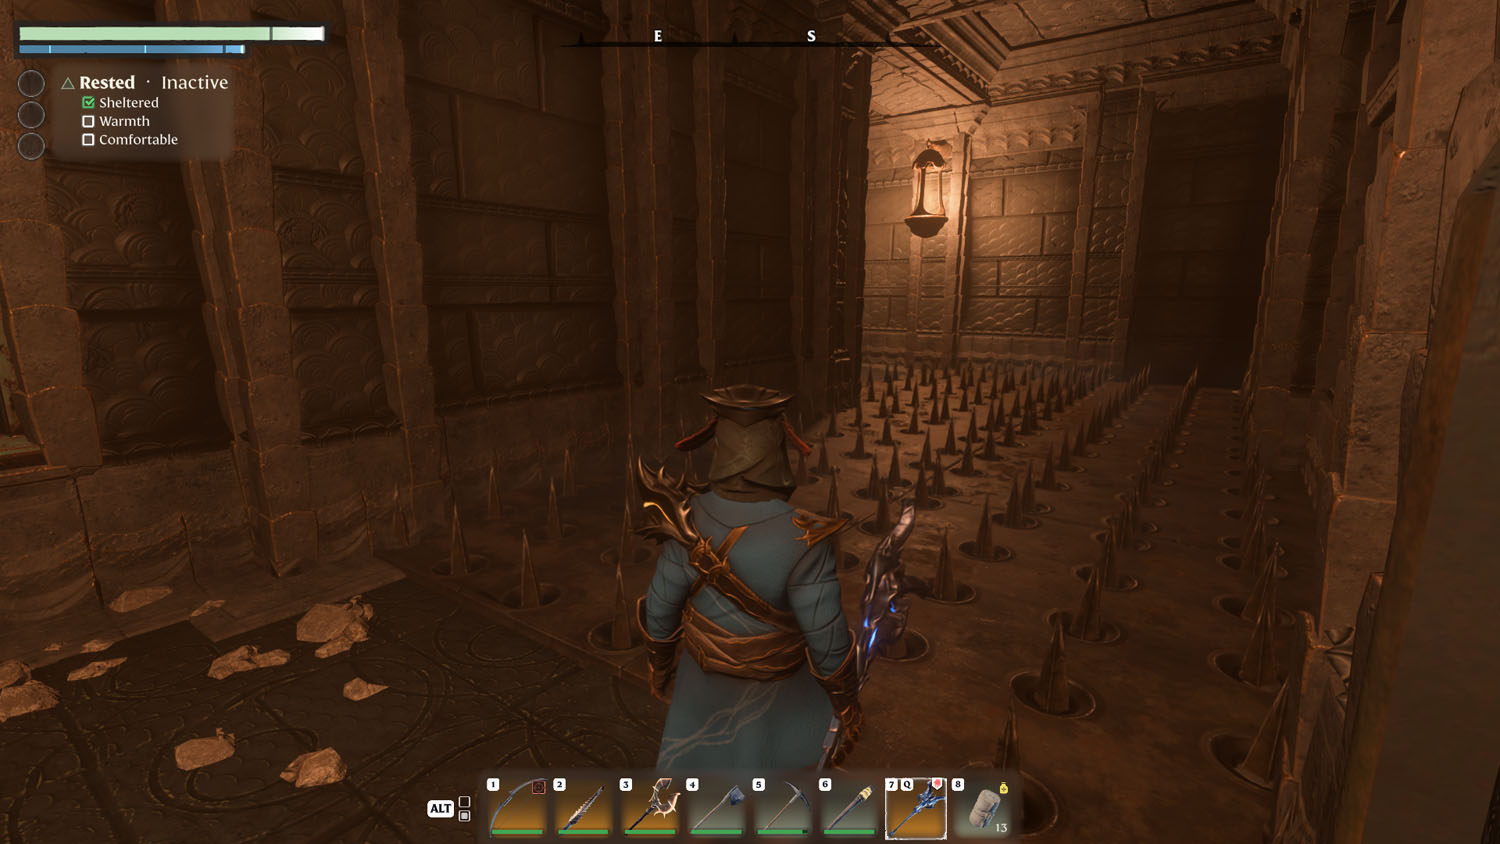
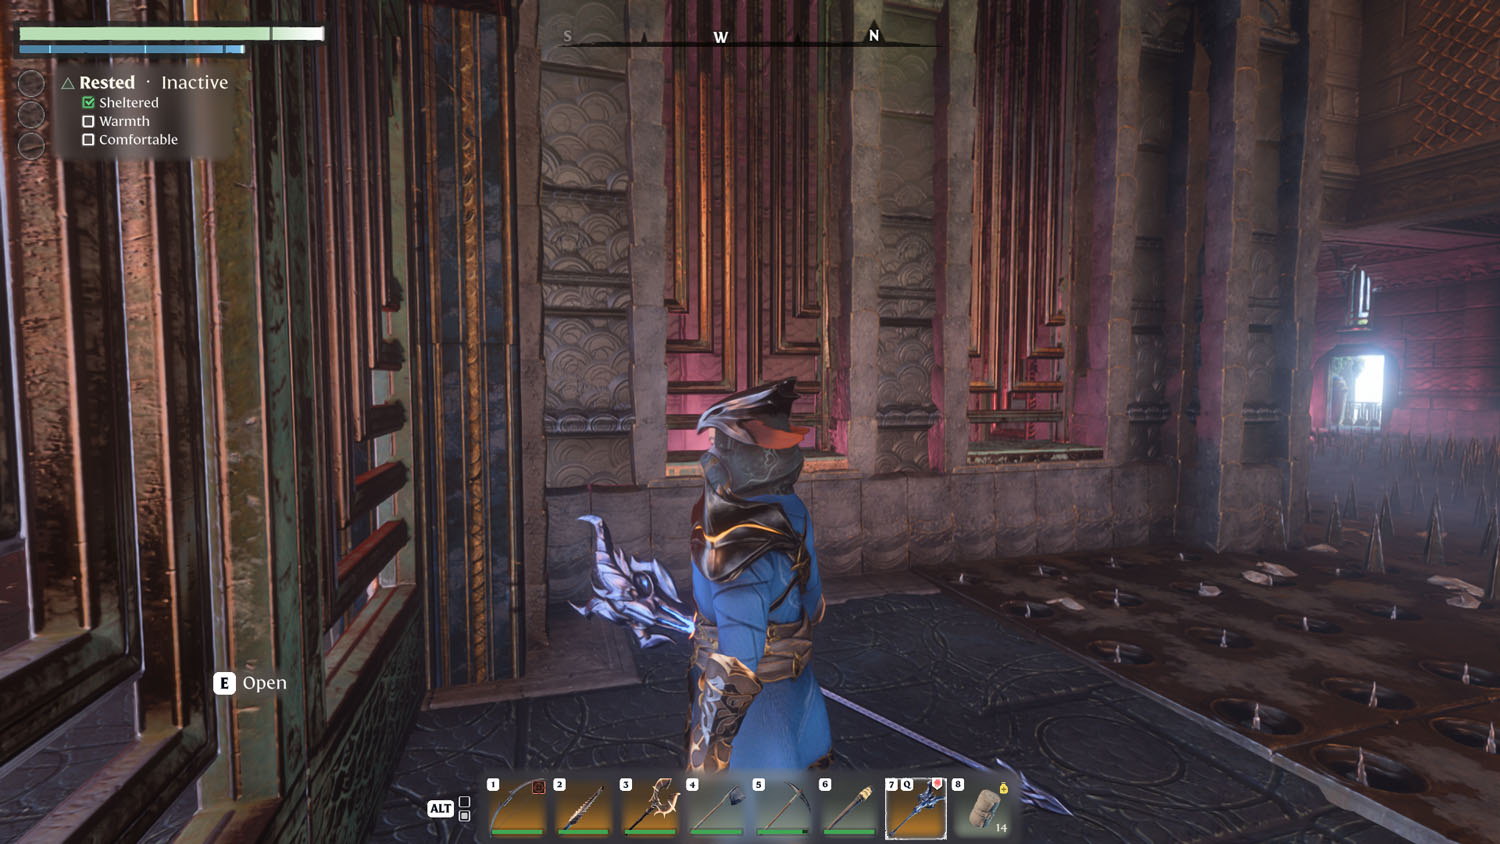
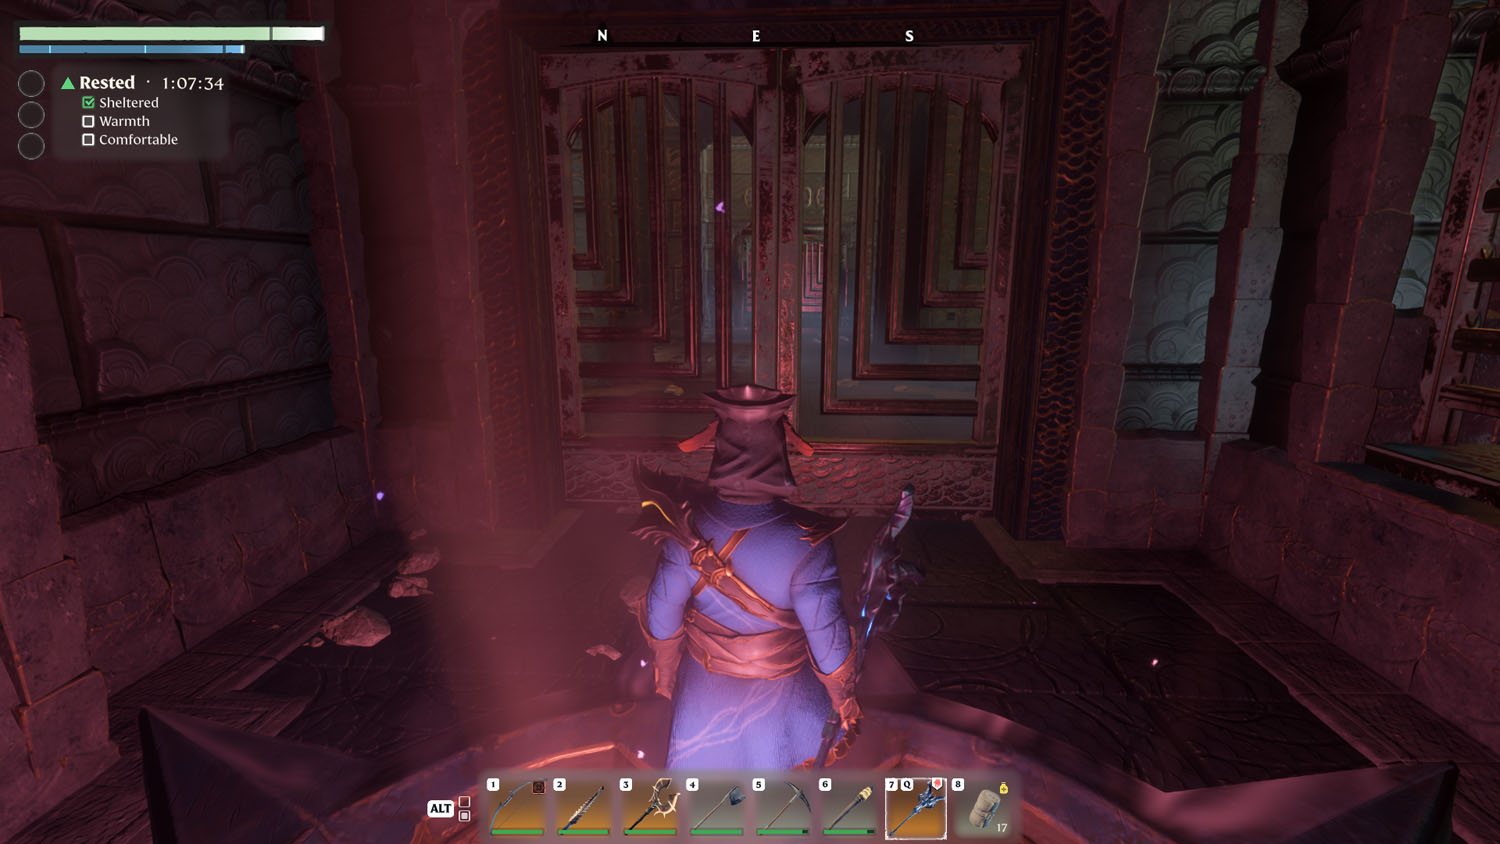
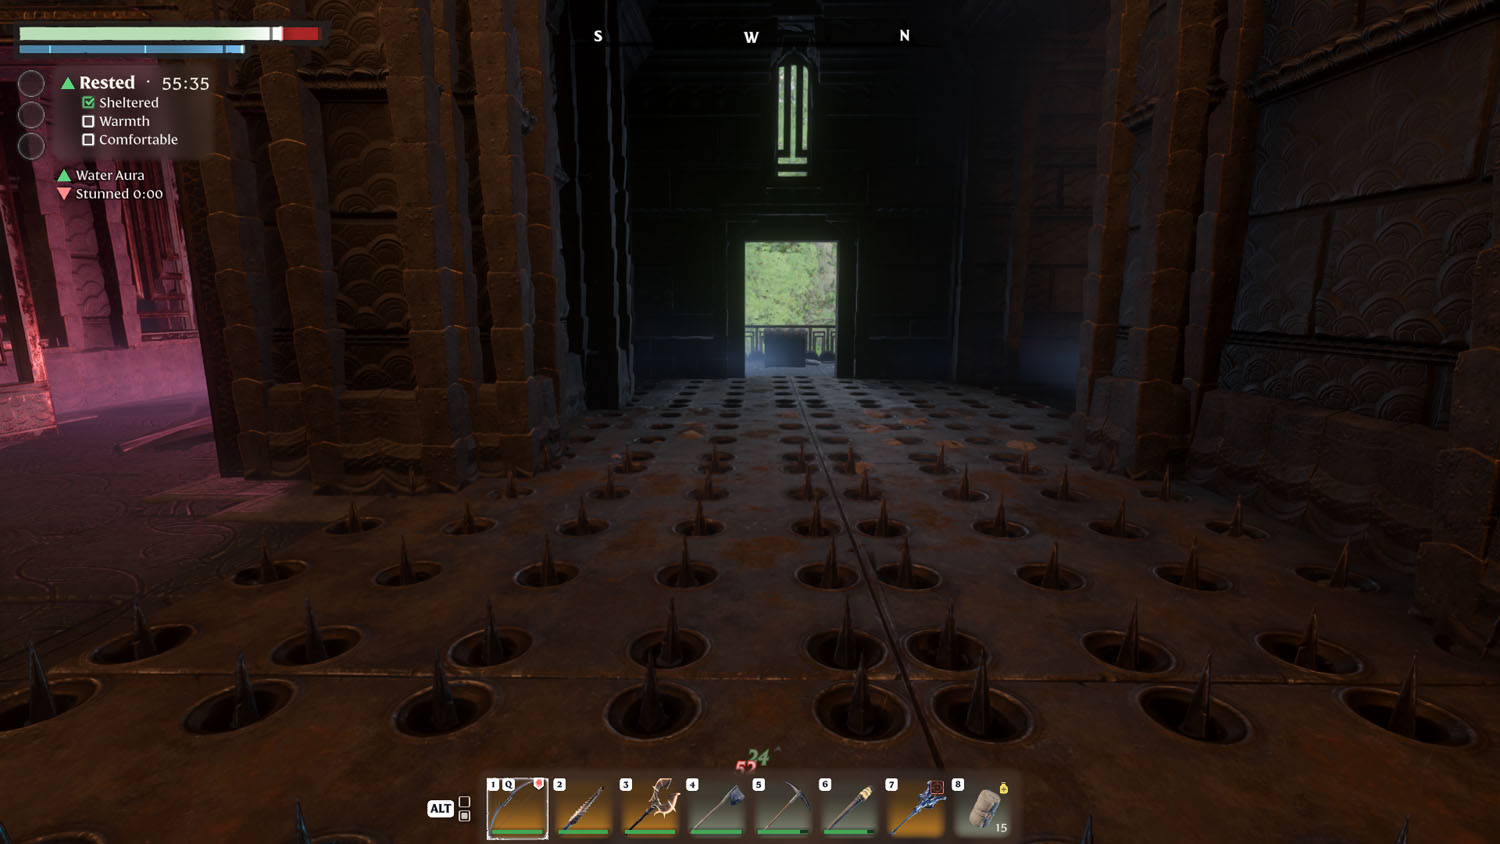
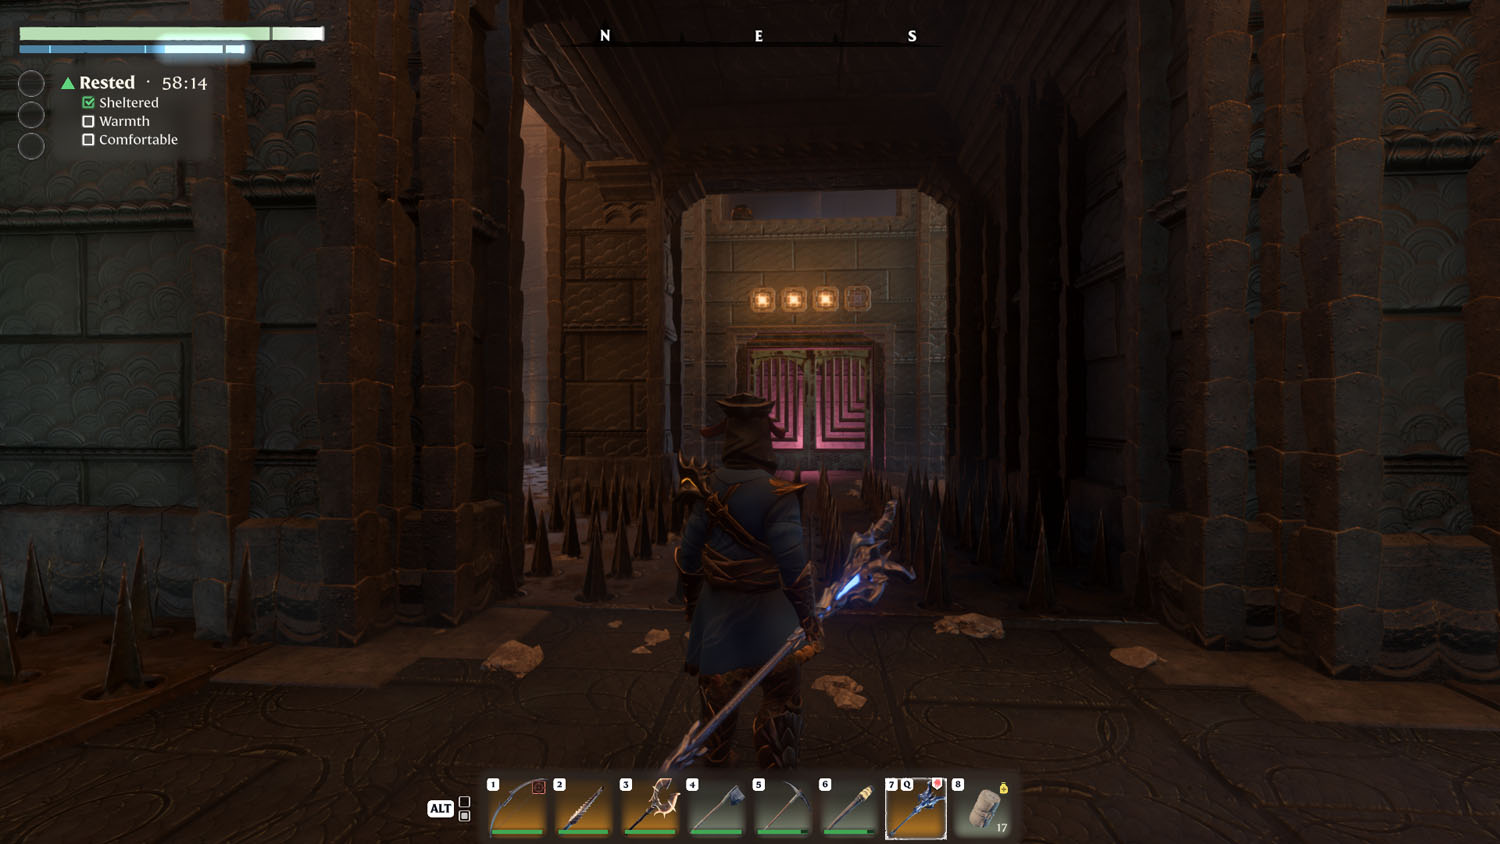
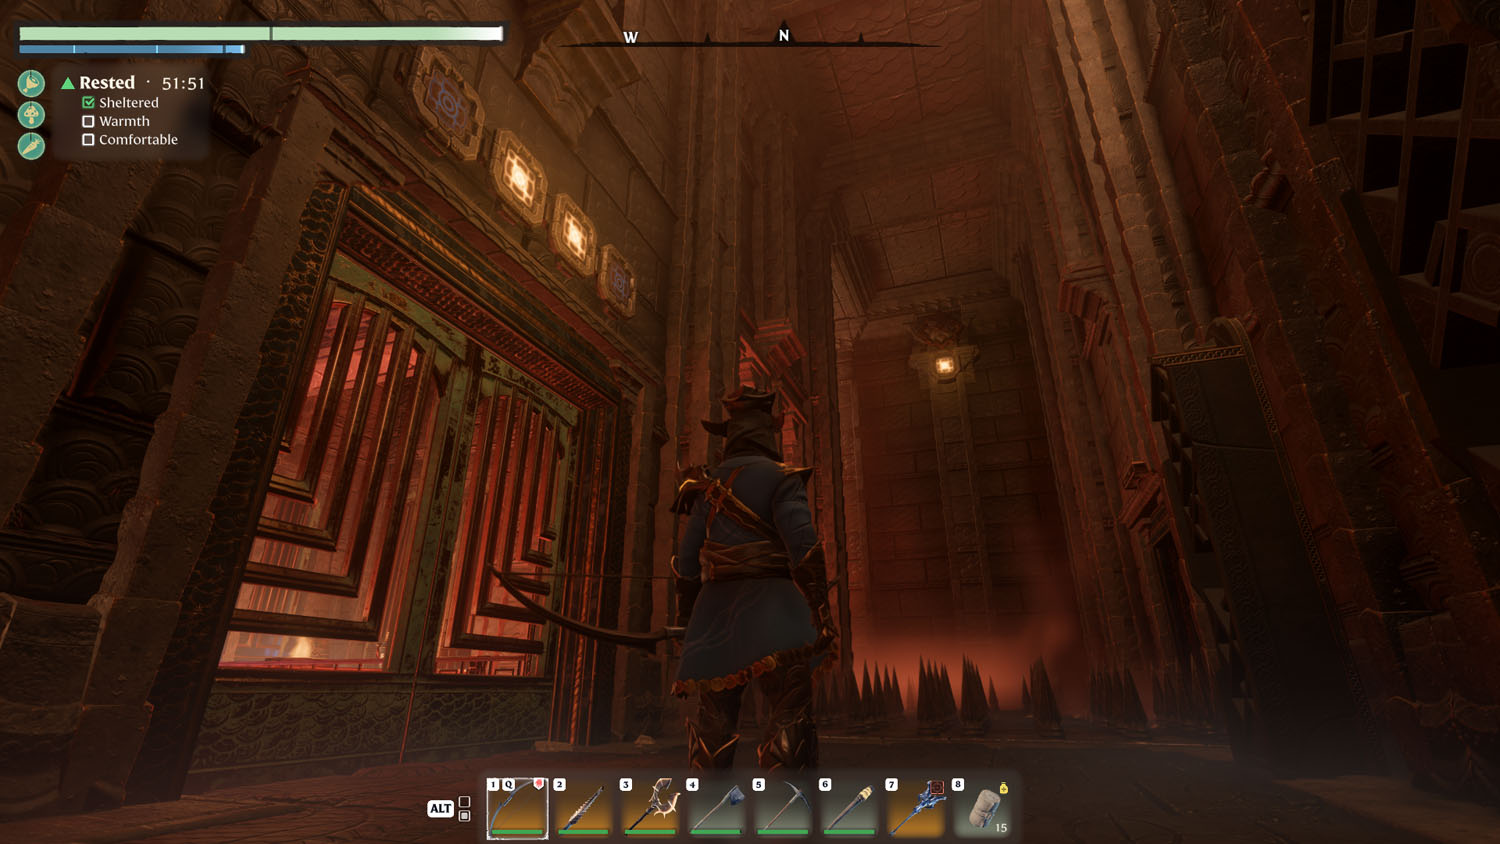
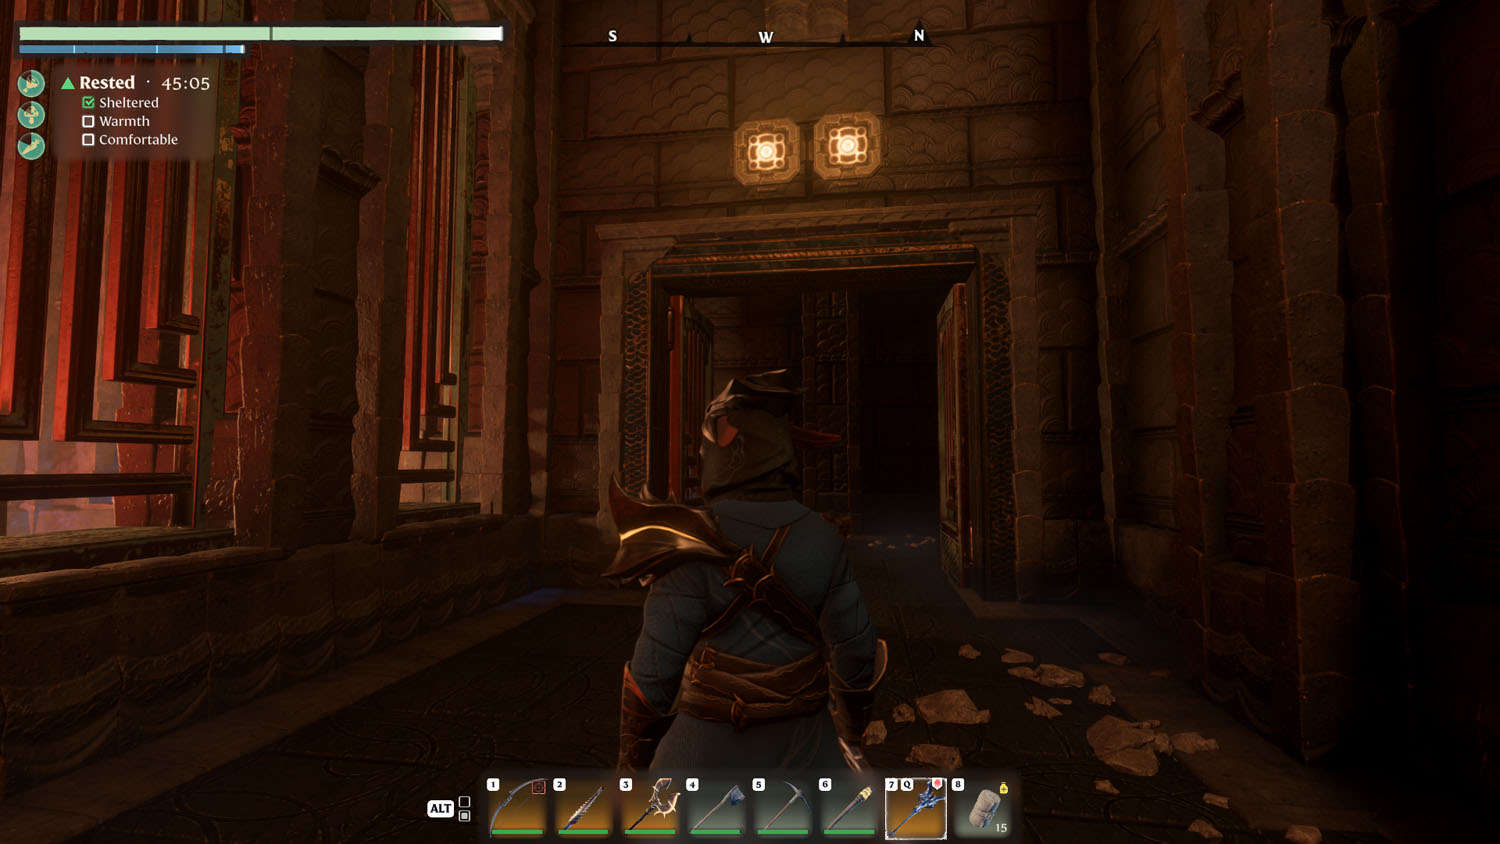
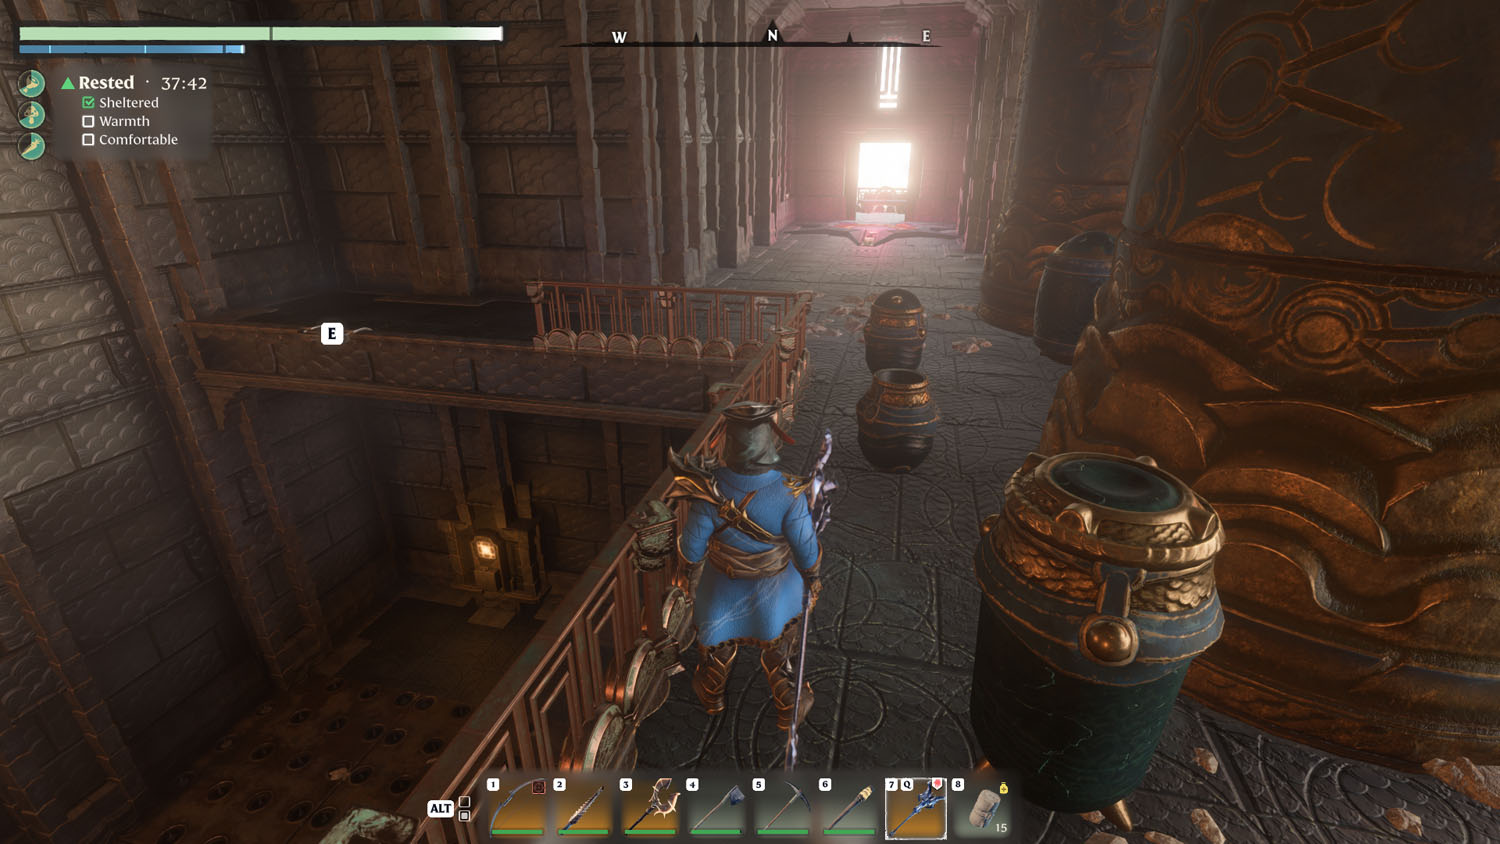
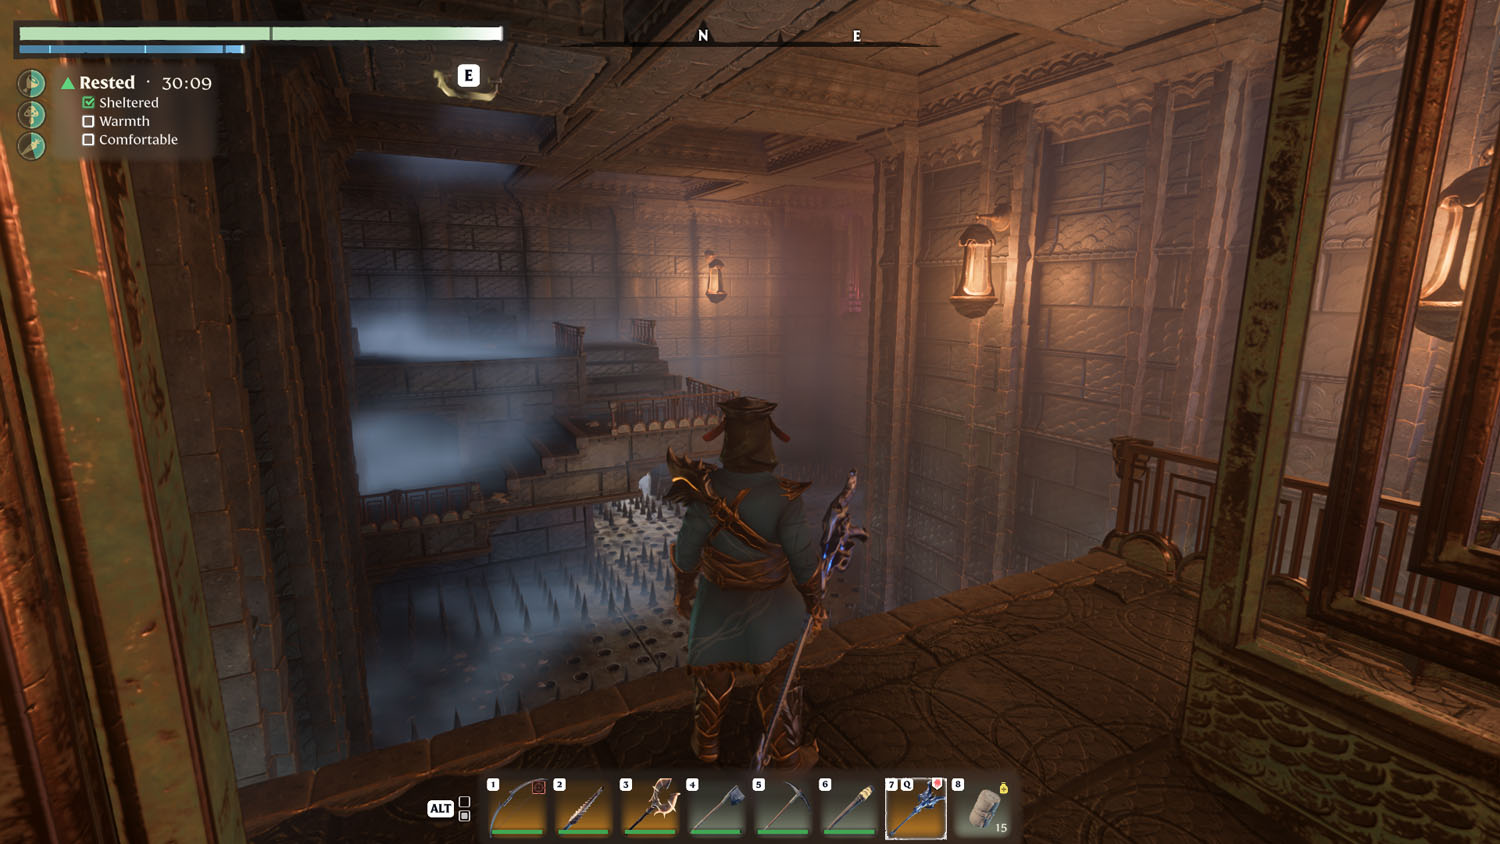
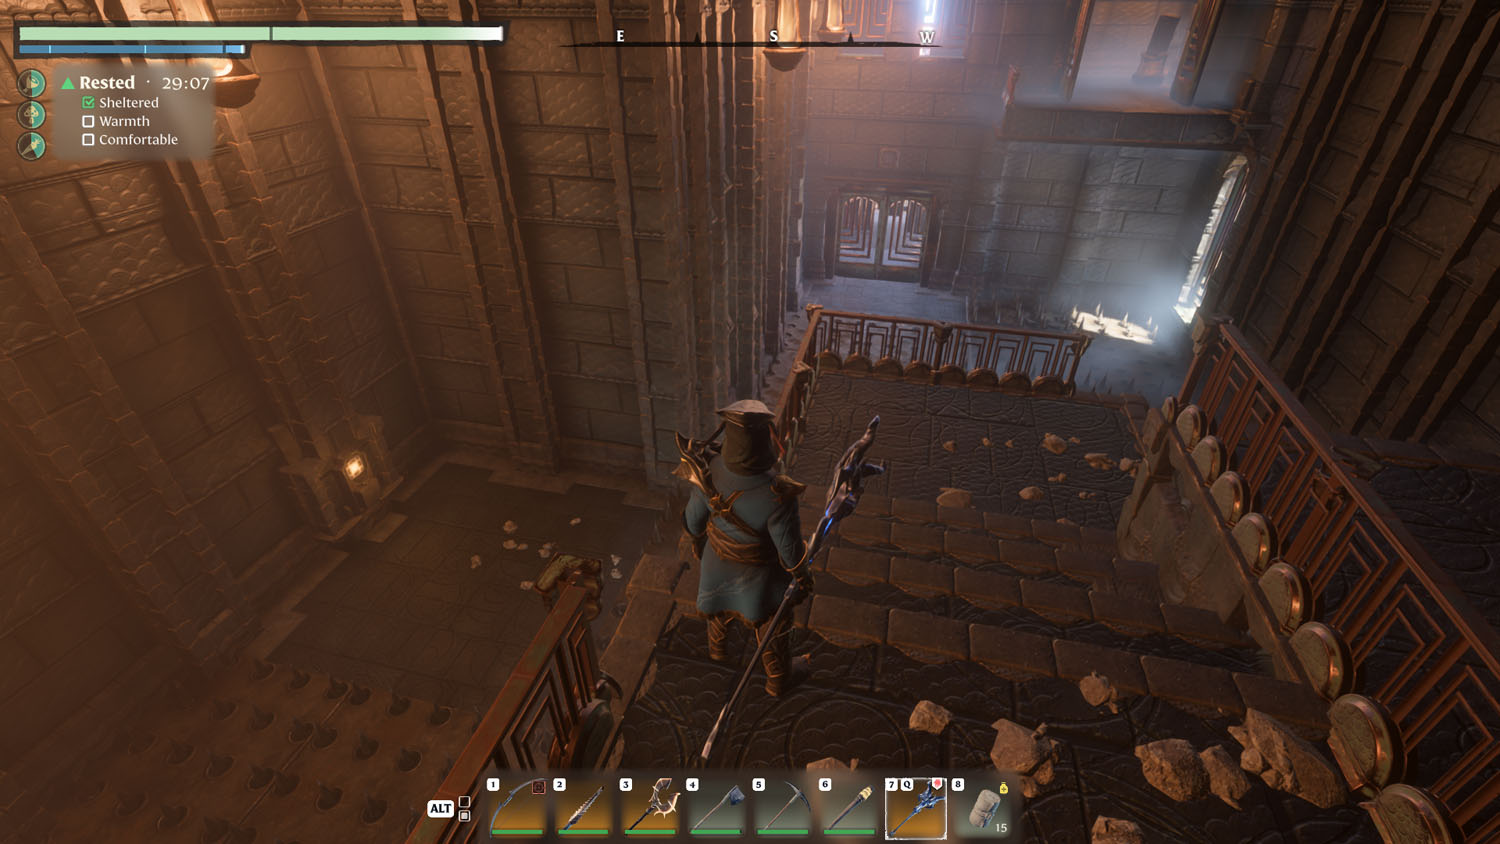
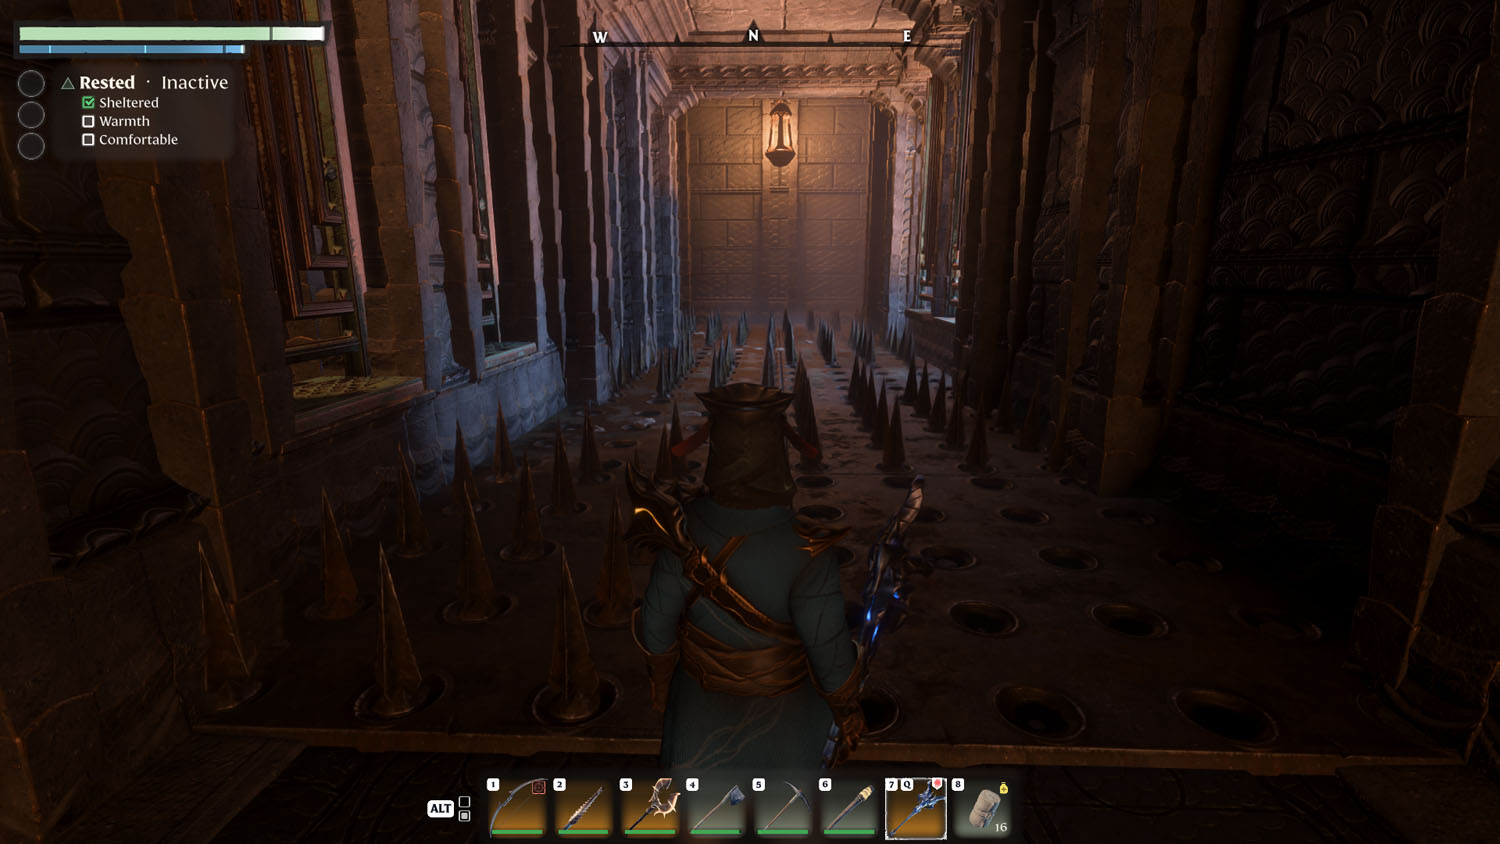
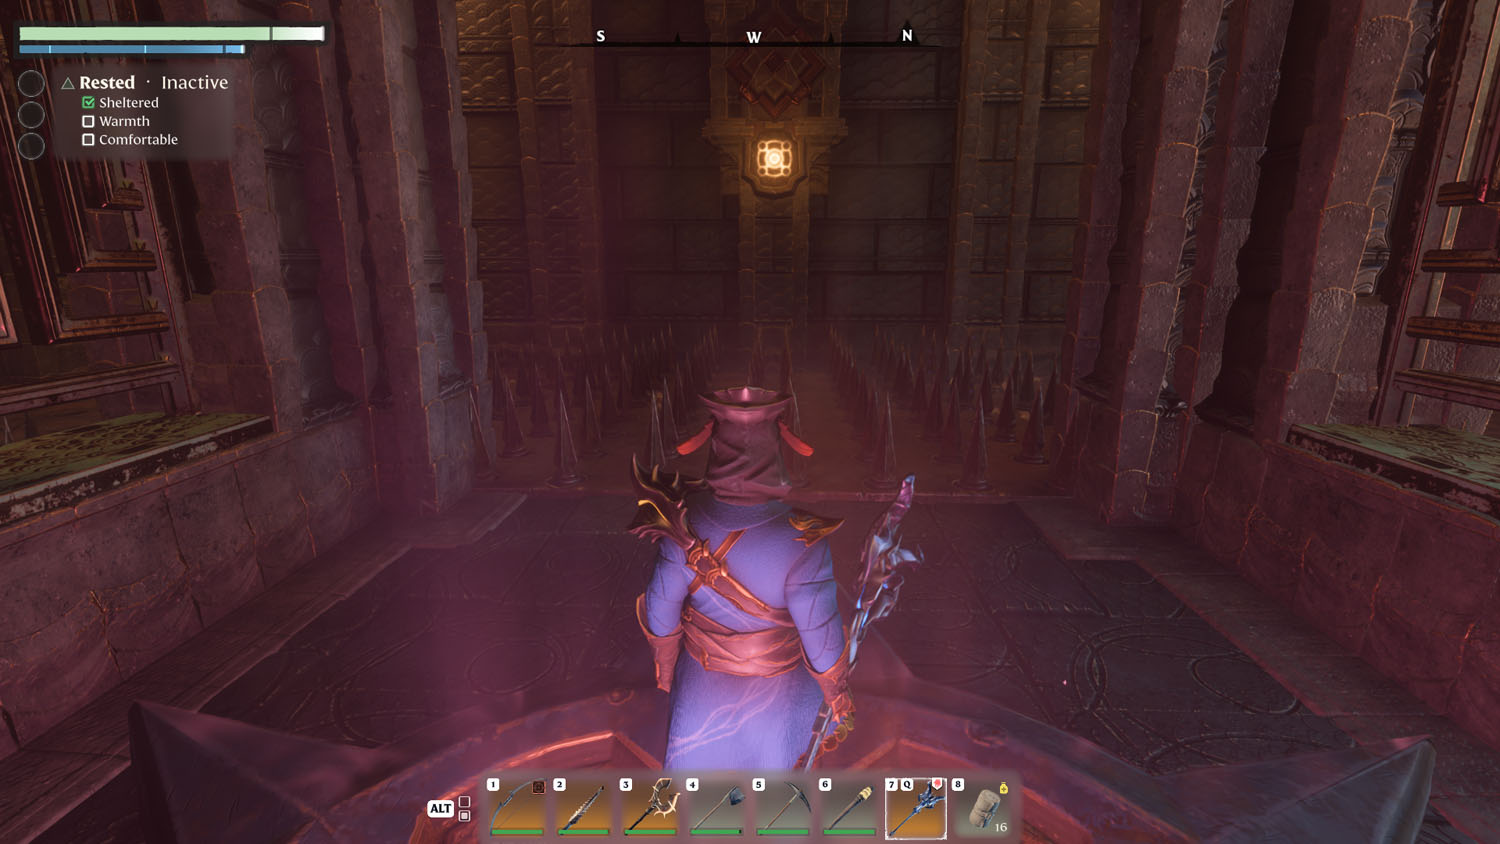
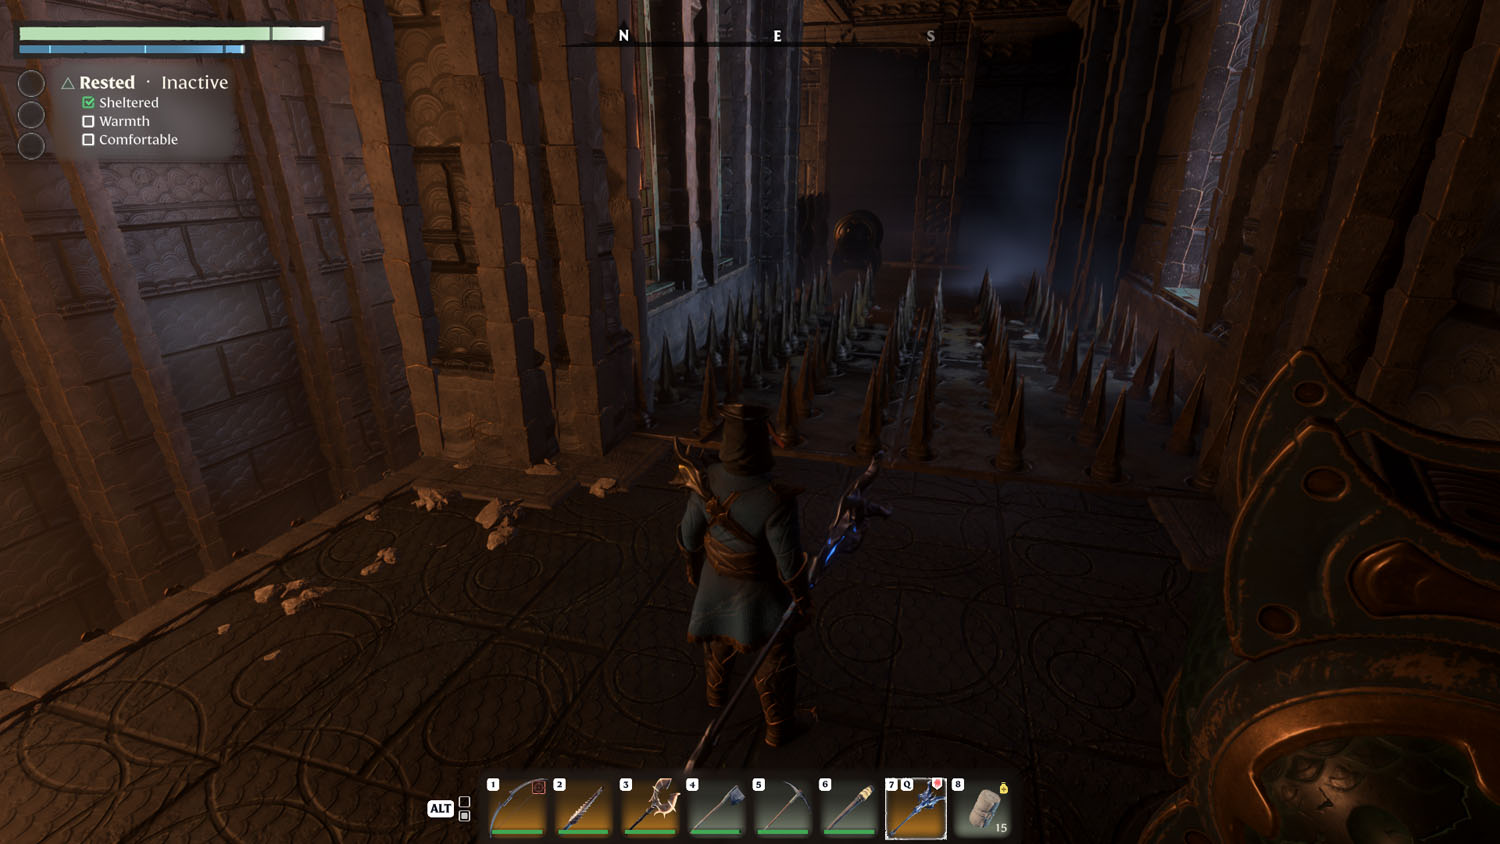
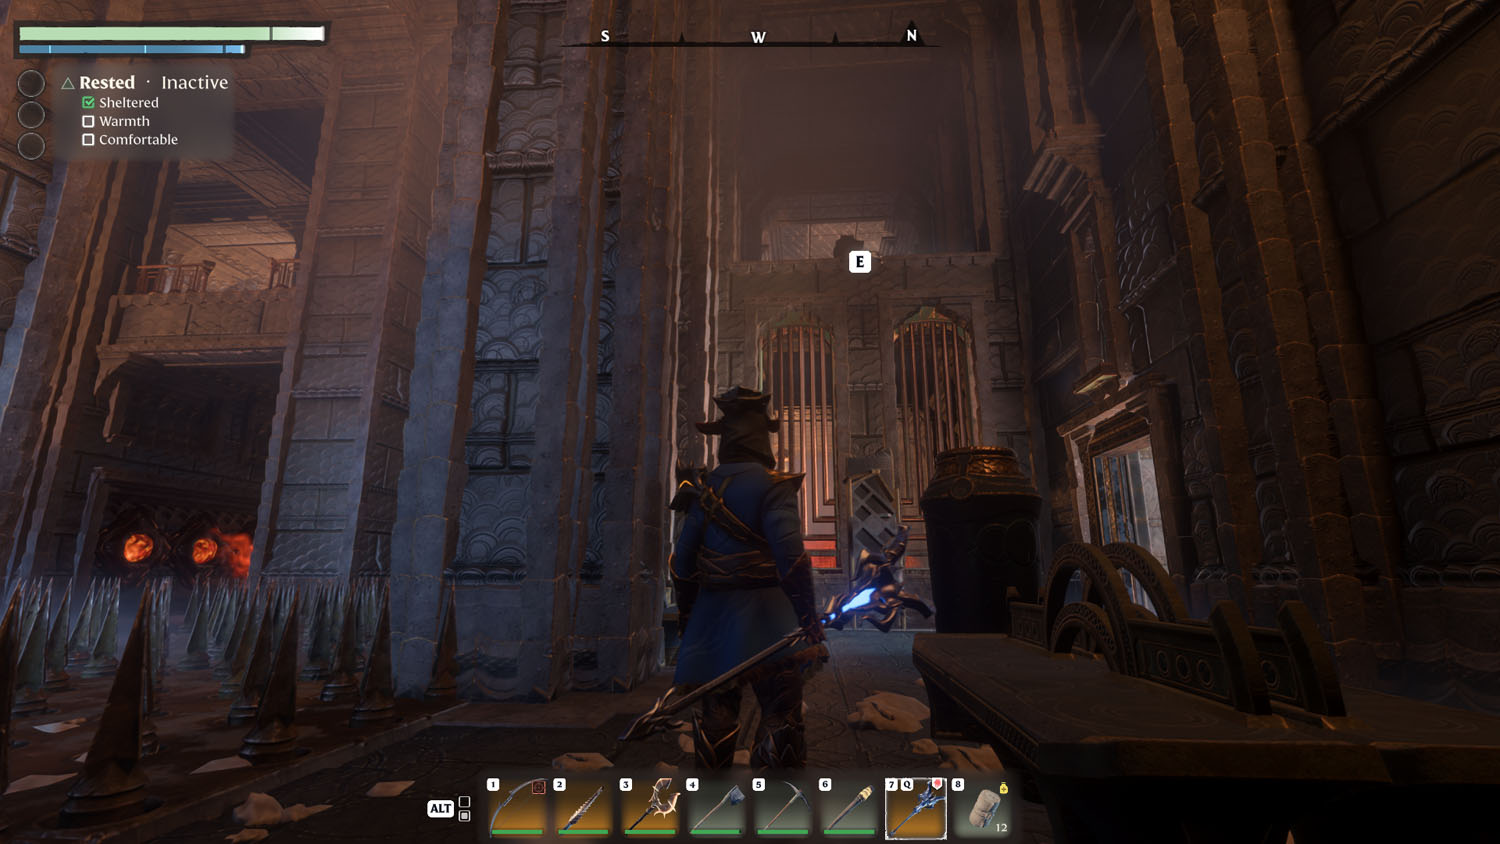
The third floor starts off with a gate. Upon opening that, you’ll find the floor is riddled with alternating spikes. You can easily walk across it, so long as you stay mindful of the pattern. There is a side room with a flame on the left of the path, which can give you a breather. Around the corner from there is a gate that takes you onward.
The path splits beyond the gate. Left goes Onward while right goes to an Optional - Gold Chest and Wood Chest Part 1.
Optional - Gold Chest and Wood Chest Part 1
Head right to open up a gate. You’ll quickly spot another closed gate, but this one has two, non-glowing blue glyphs. To activate the first glyph, take the path to the right of the door. Climb up the stairs in order to jump onto the grate on the wall. Then, climb up to the next level.

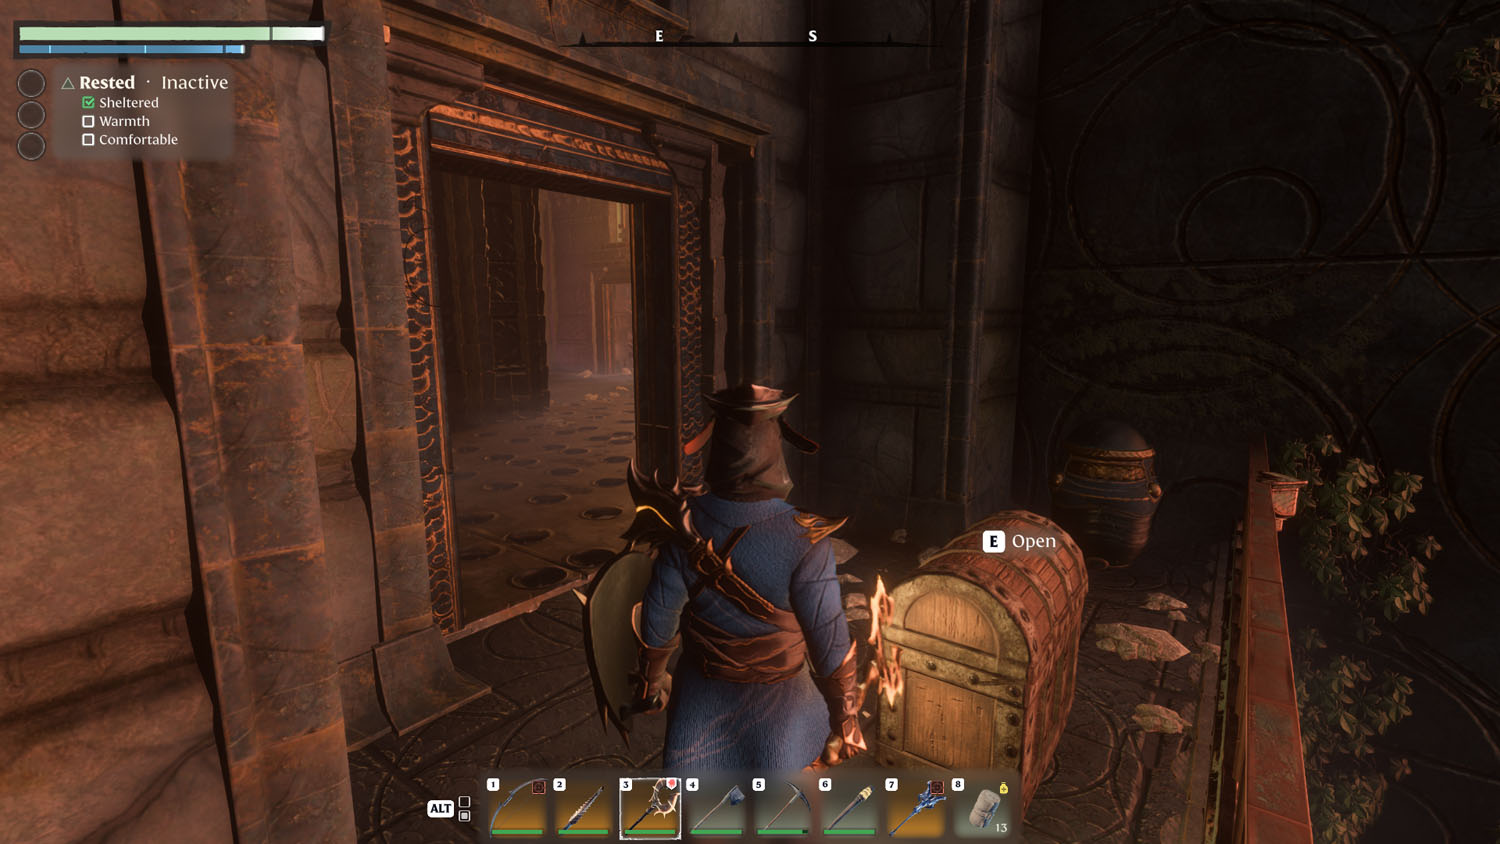
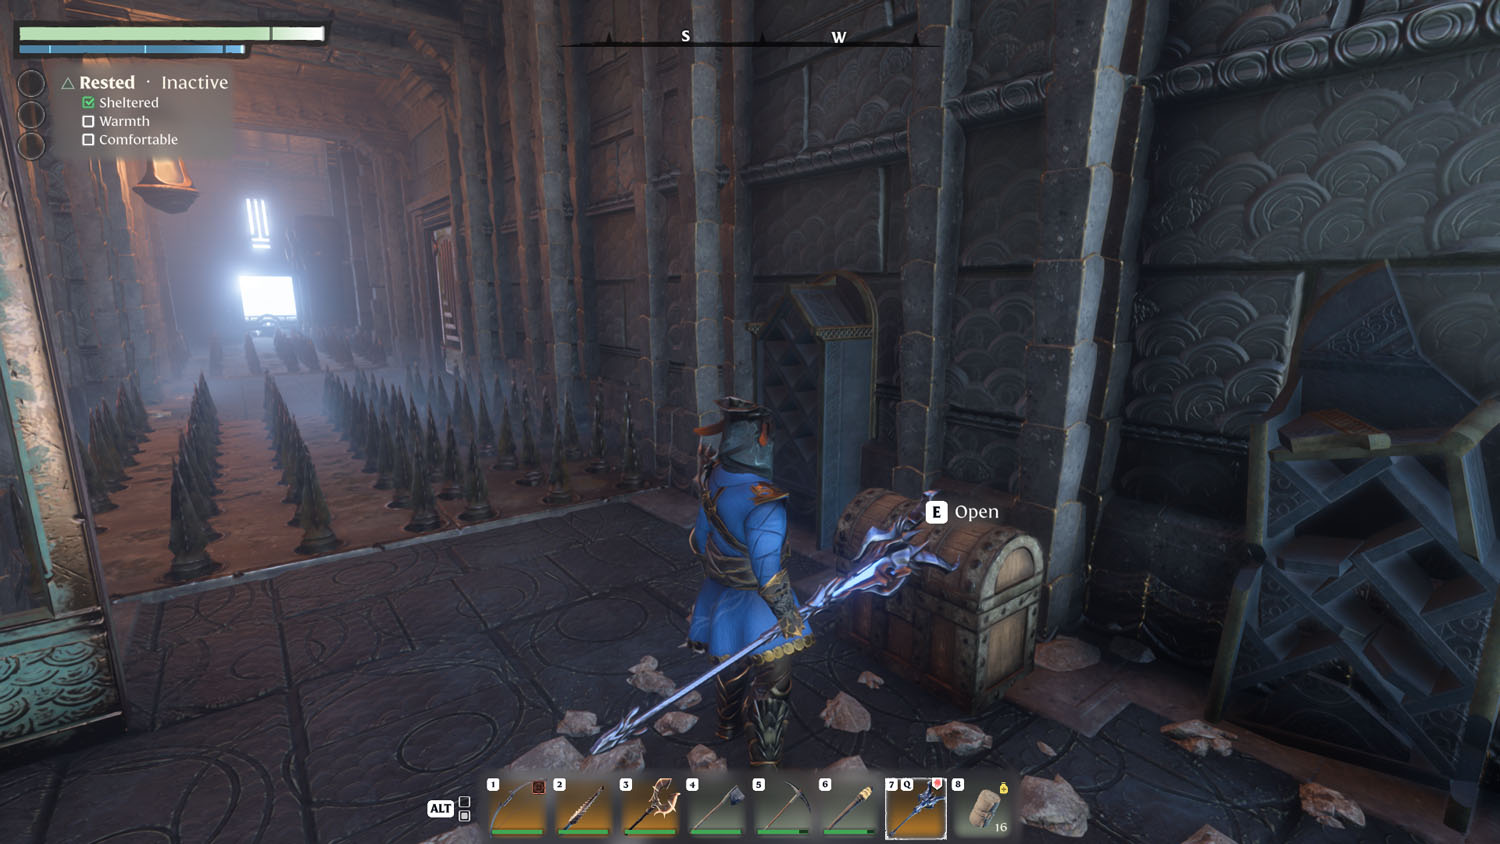
On the next floor, you’ll need to time your jump to avoid the alternating floor spike trap to safely reach the button. Hit the button, but before jumping down, jump across to the other side. There is a Wood Chest behind a massive pillar.
Now to reach the other button, you’ll want to head back to where the paths split and take the Onward path.
Onward
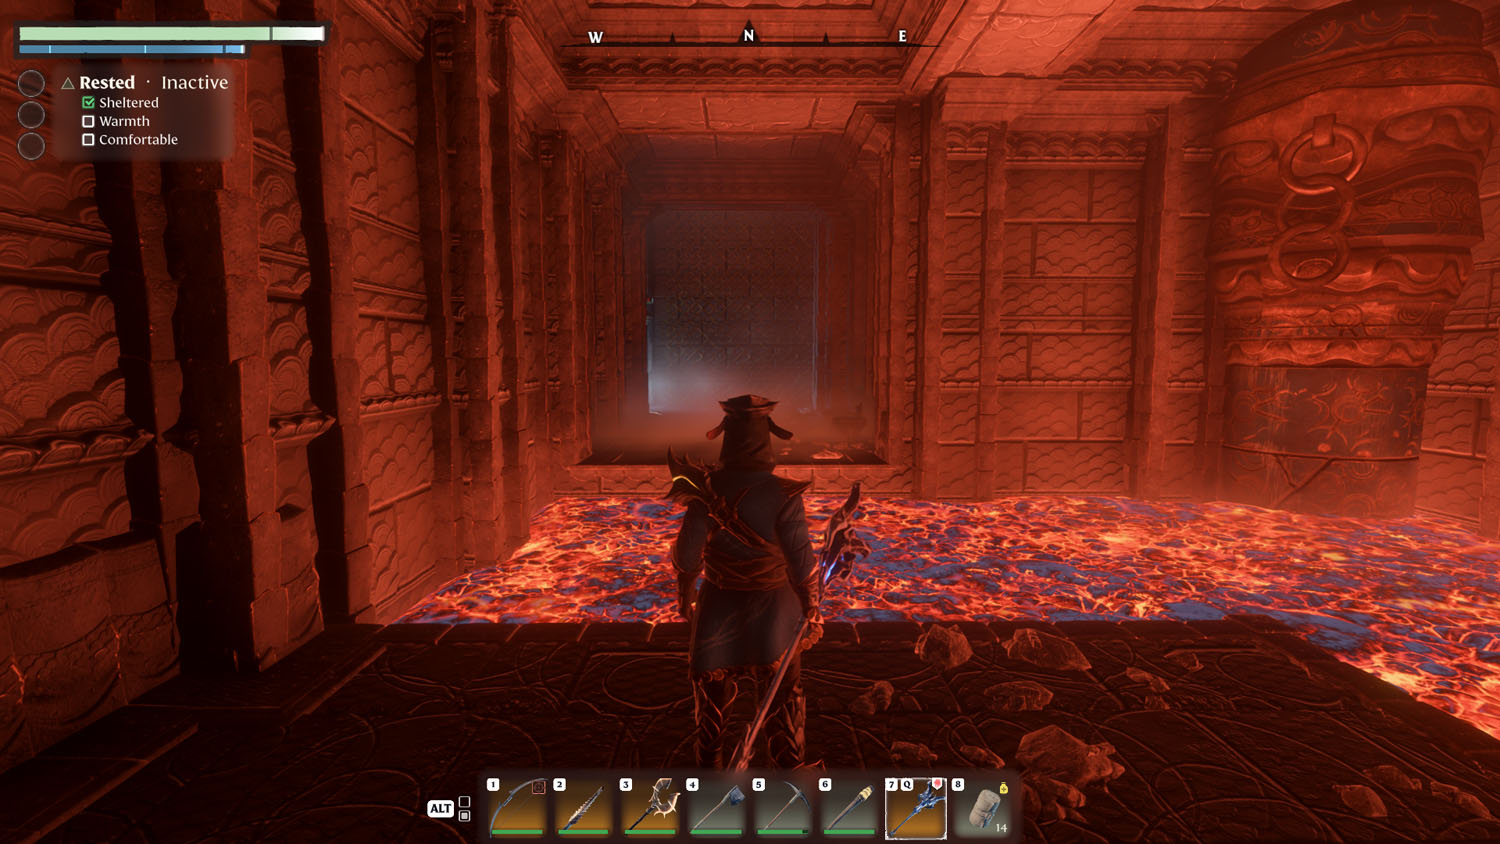
Head left and open the closed gate. You will enter a room with hot coals on the floor and platforms rising up out of it. Jump across to the other side. You may spot an easy Wood Chest in the window ledge beyond. From here, stick around for the Optional - Gold Chest and Wood Chest Part 2, or head up to the Final Floor.
Optional - Gold Chest and Wood Chest Part 2
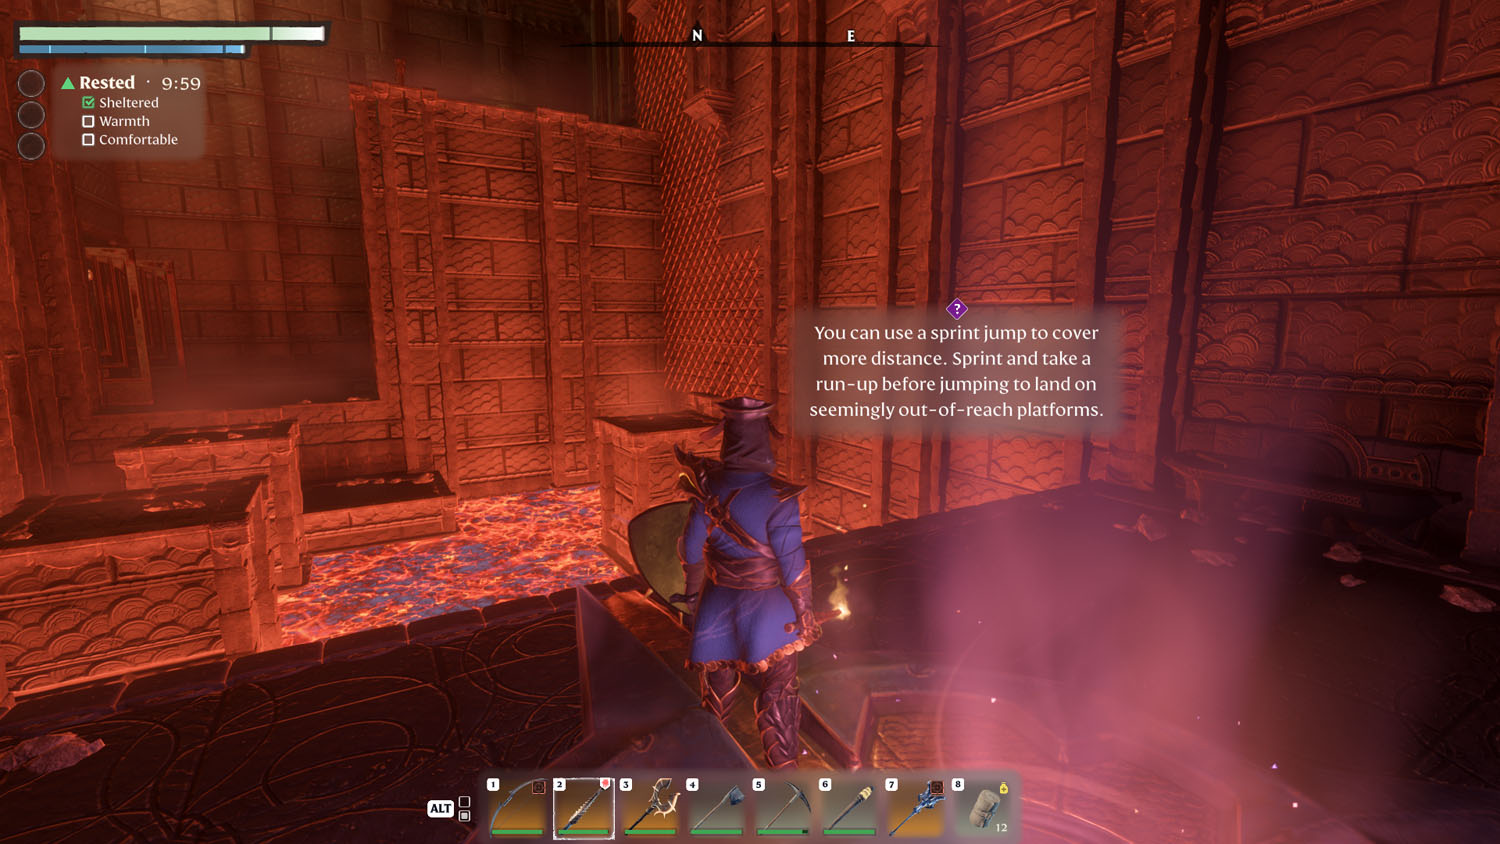
Now that you have made it across, you may have noticed that a message pops up about sprinting and jumping at the same time in order to reach a distant landing. You’ll need to do just that to reach the platform in the hot coals. If you fall, there is a lower platform that lets you jump back up, but it’s on the opposite side of where the onward teleportation platform is.
Once you have made it to the distant platform, wait for your stamina to return, and then jump on the grate. You’ll want to climb up and to the left to reach the second button.
Activating the button will now open the door to where the Gold Chest was earlier. Loot that and then run back to the hot coal room to proceed to the Final Floor.
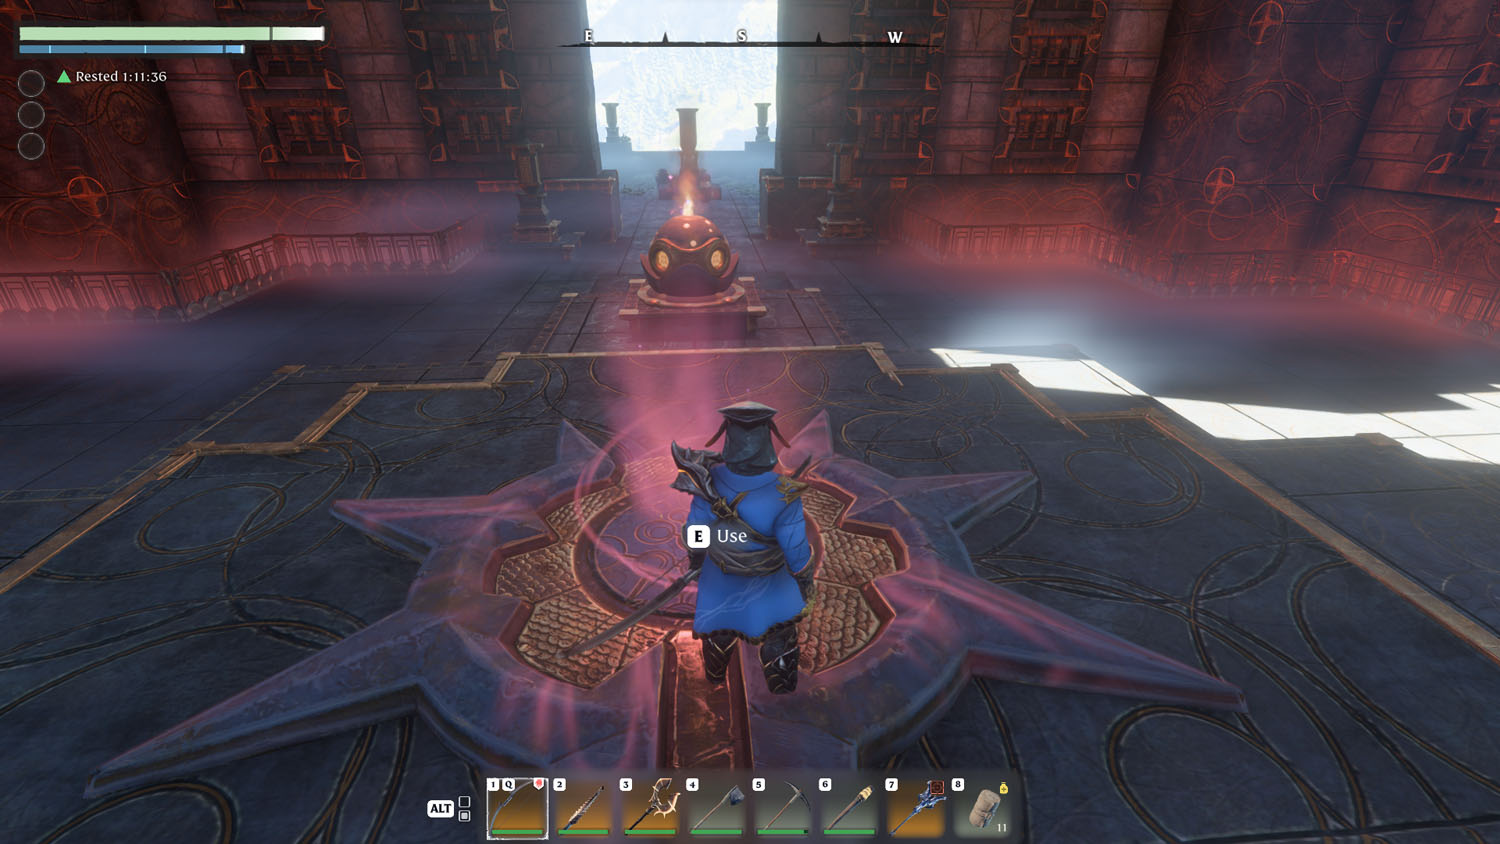
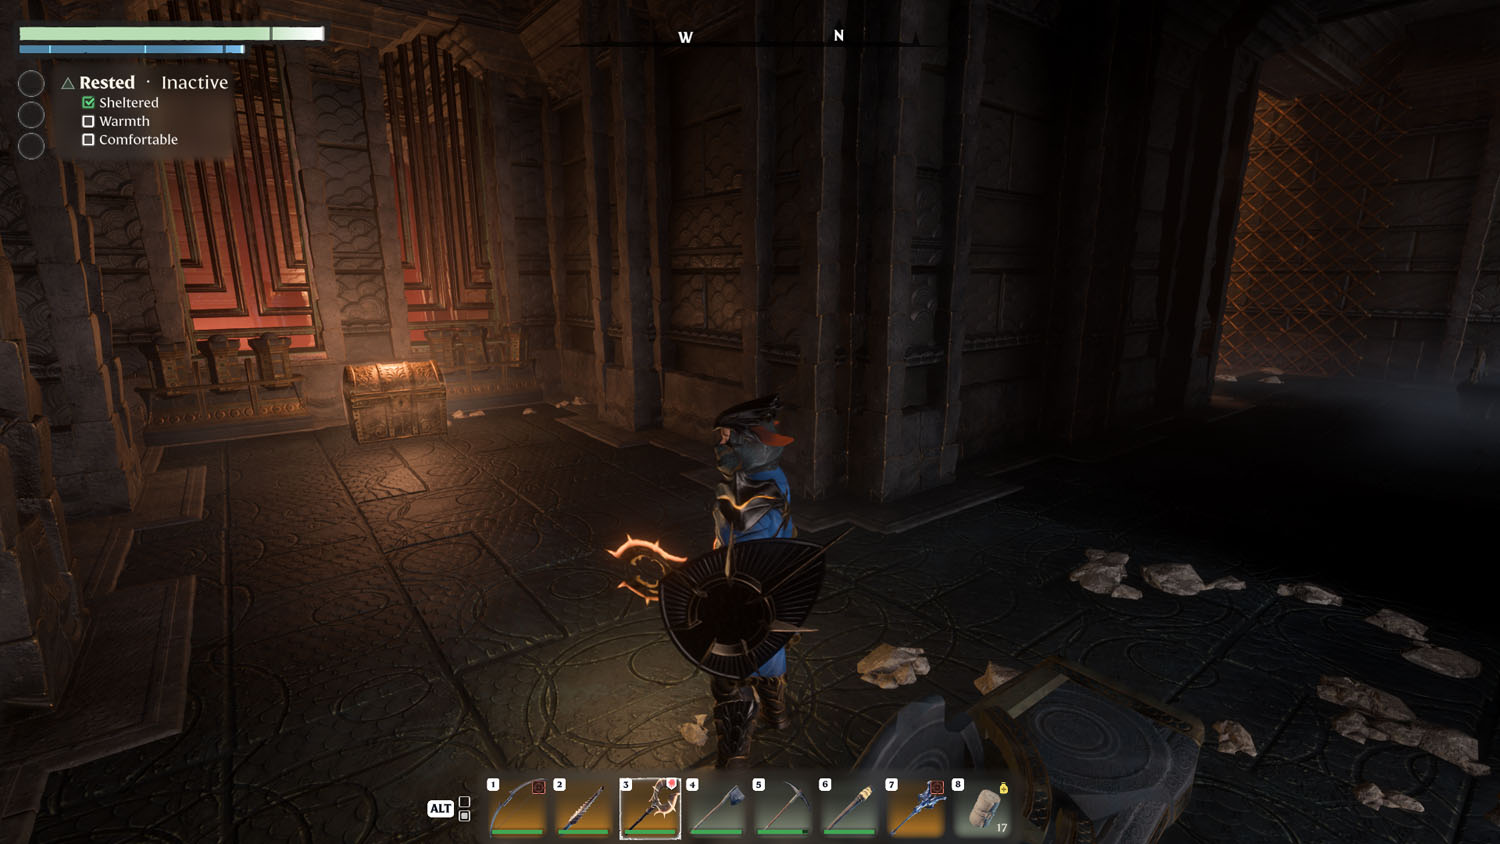
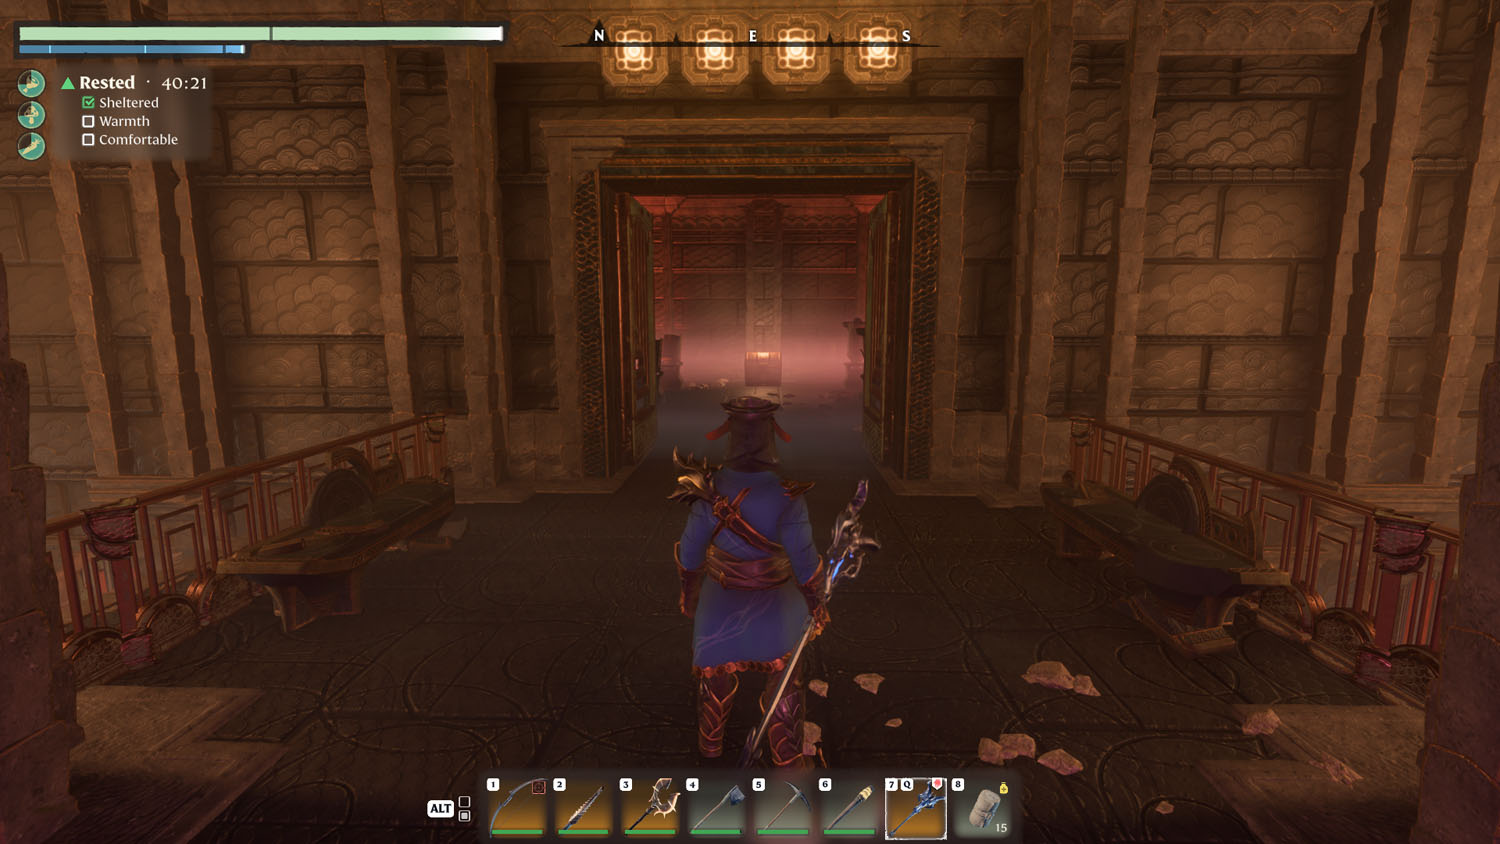
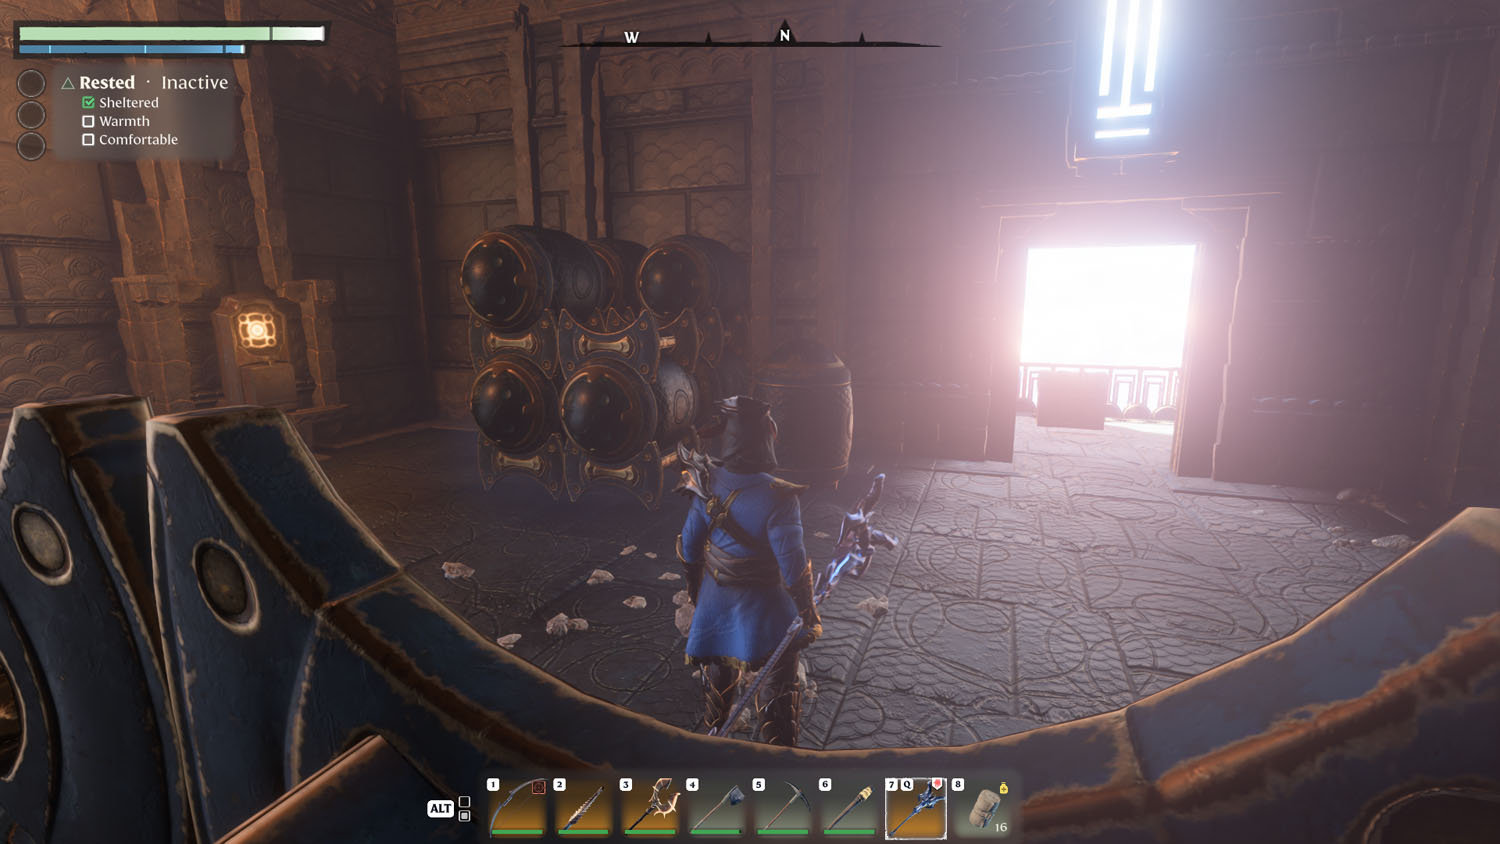
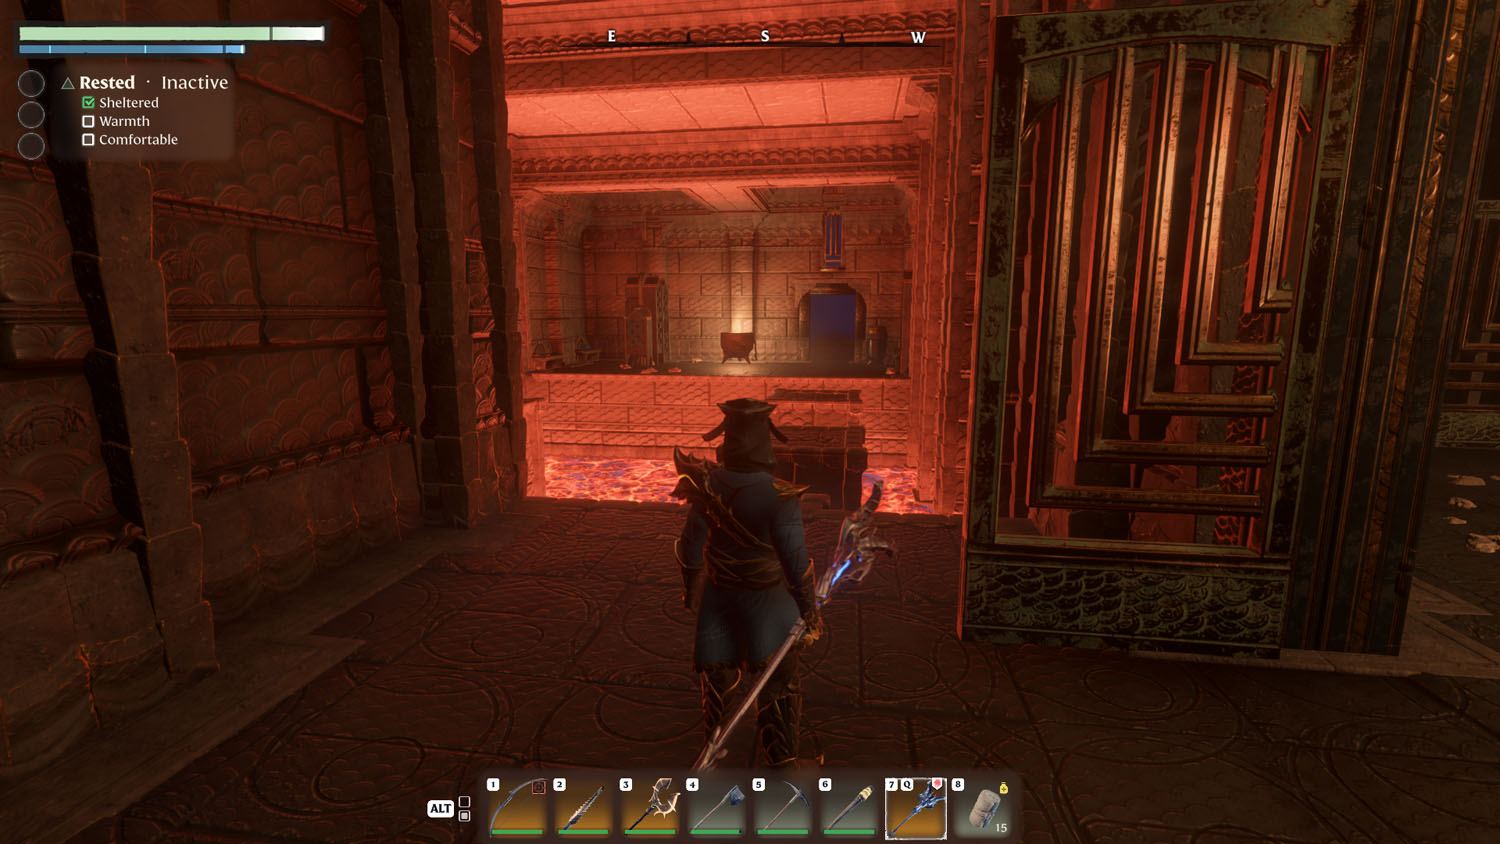
Final Floor
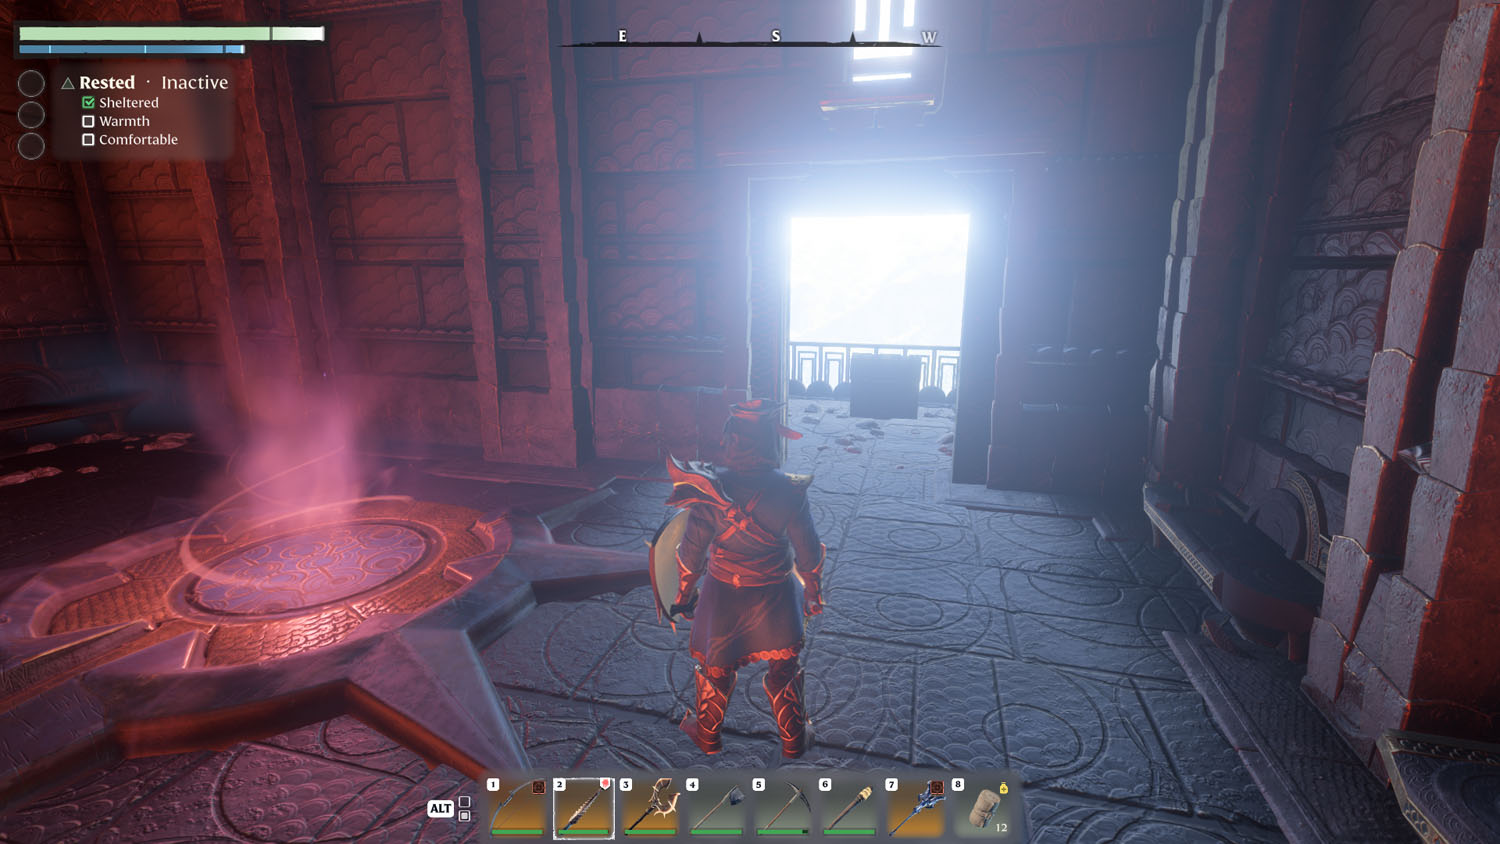
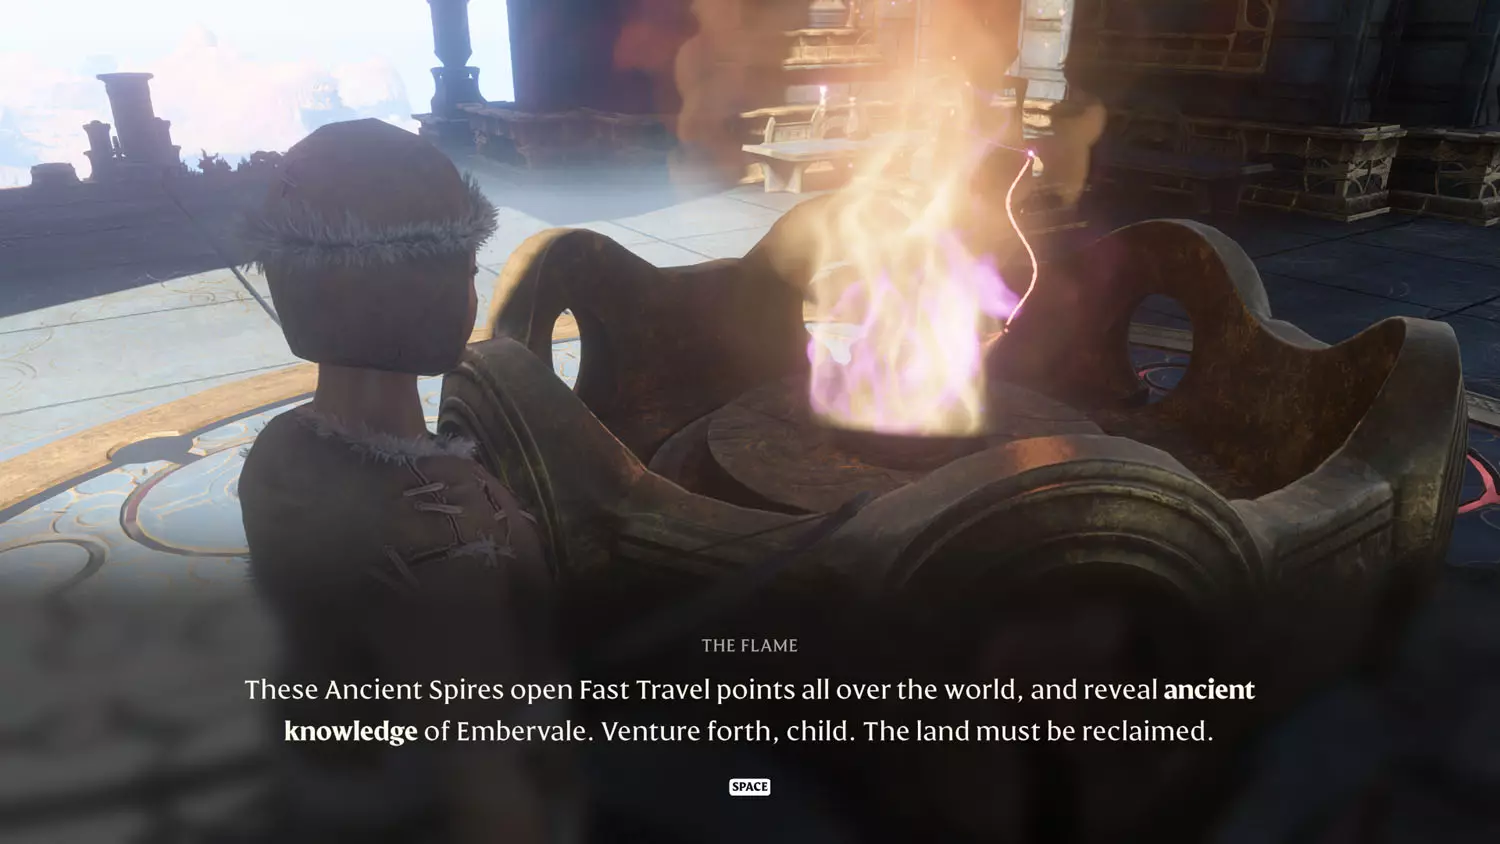
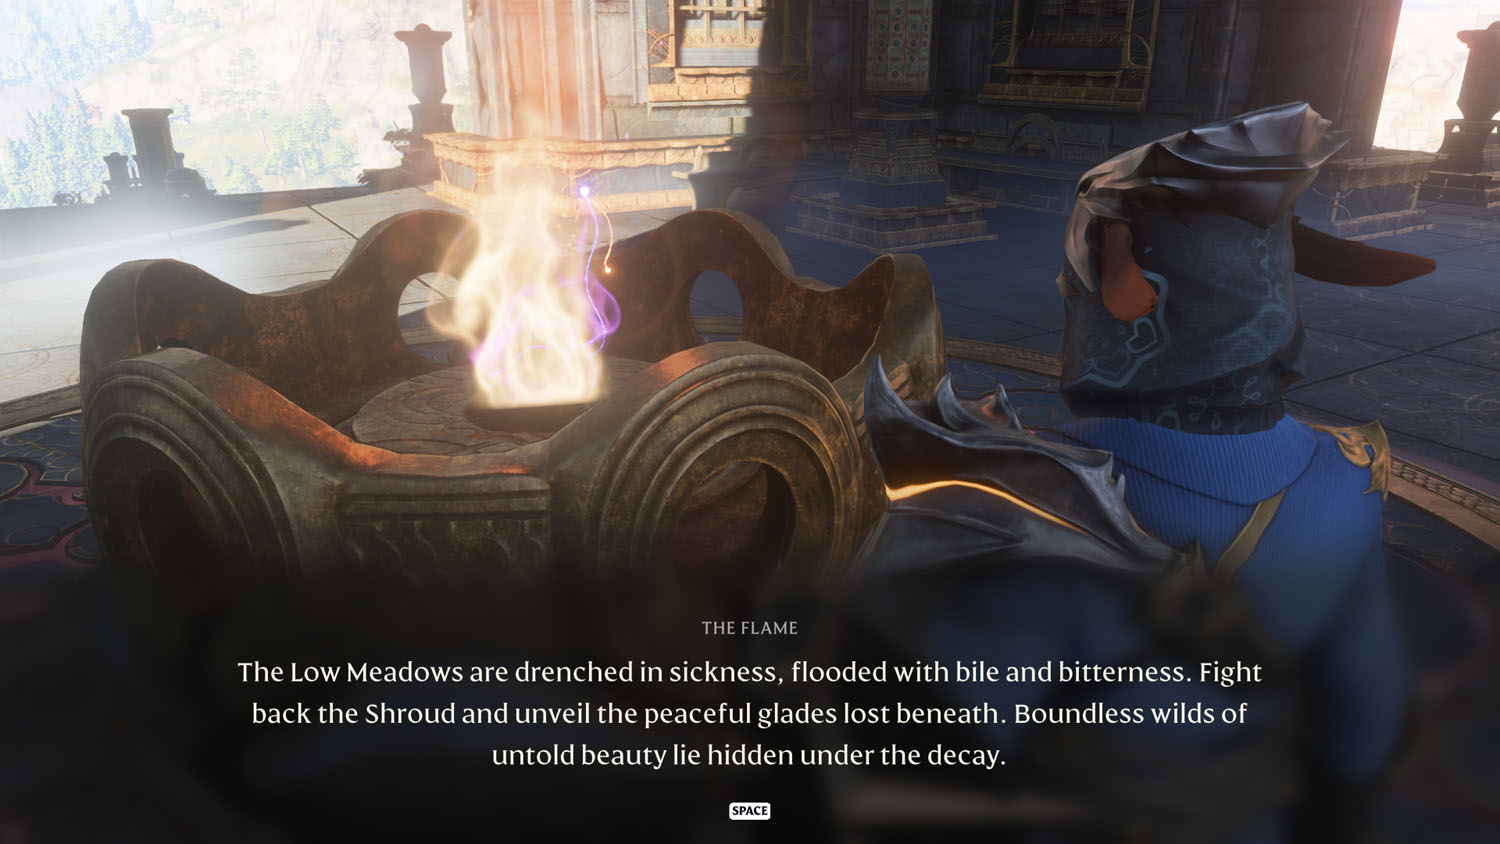
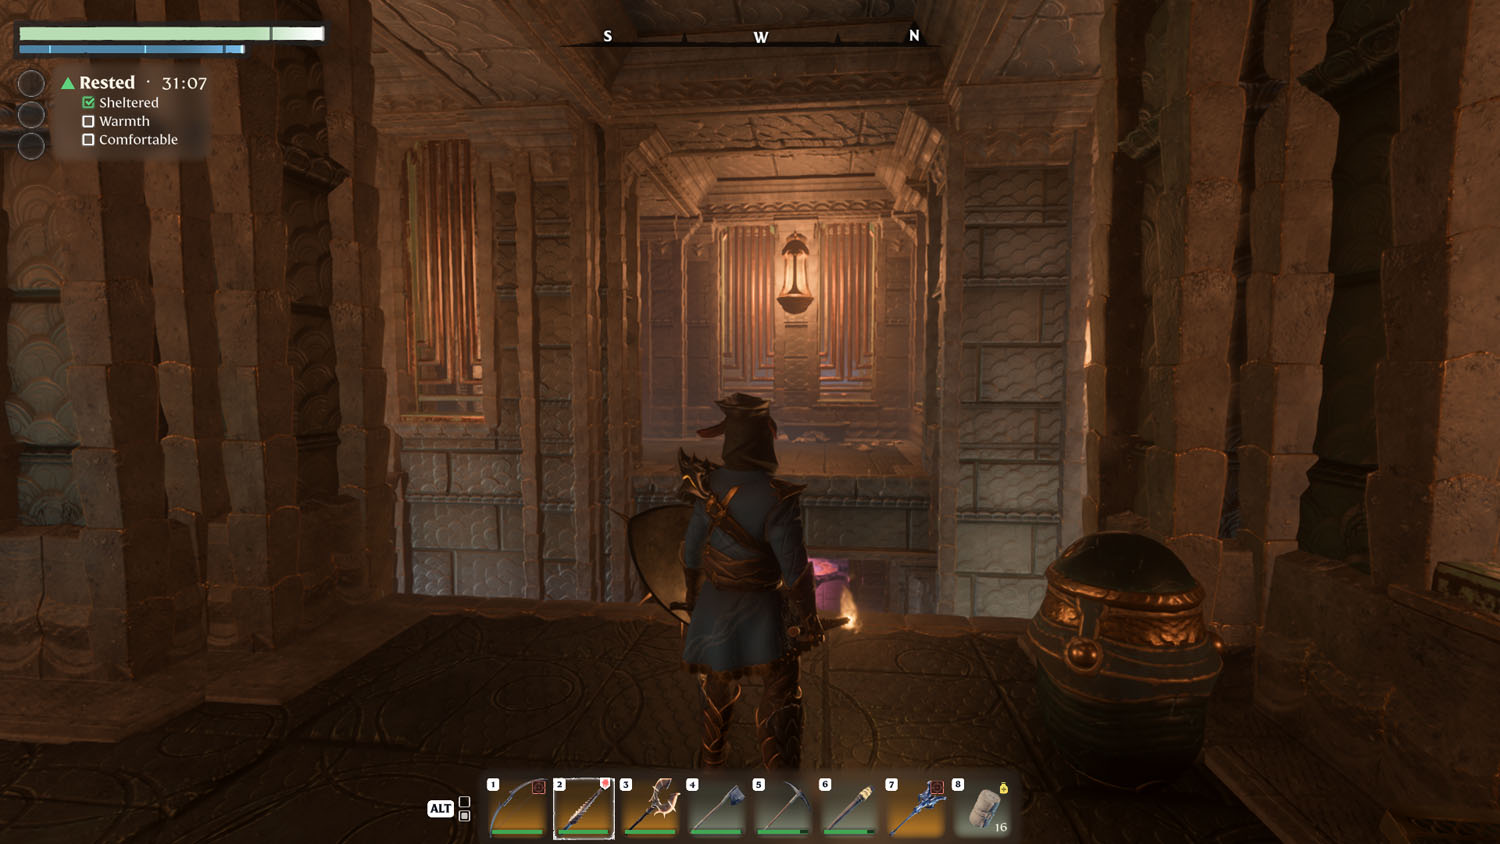
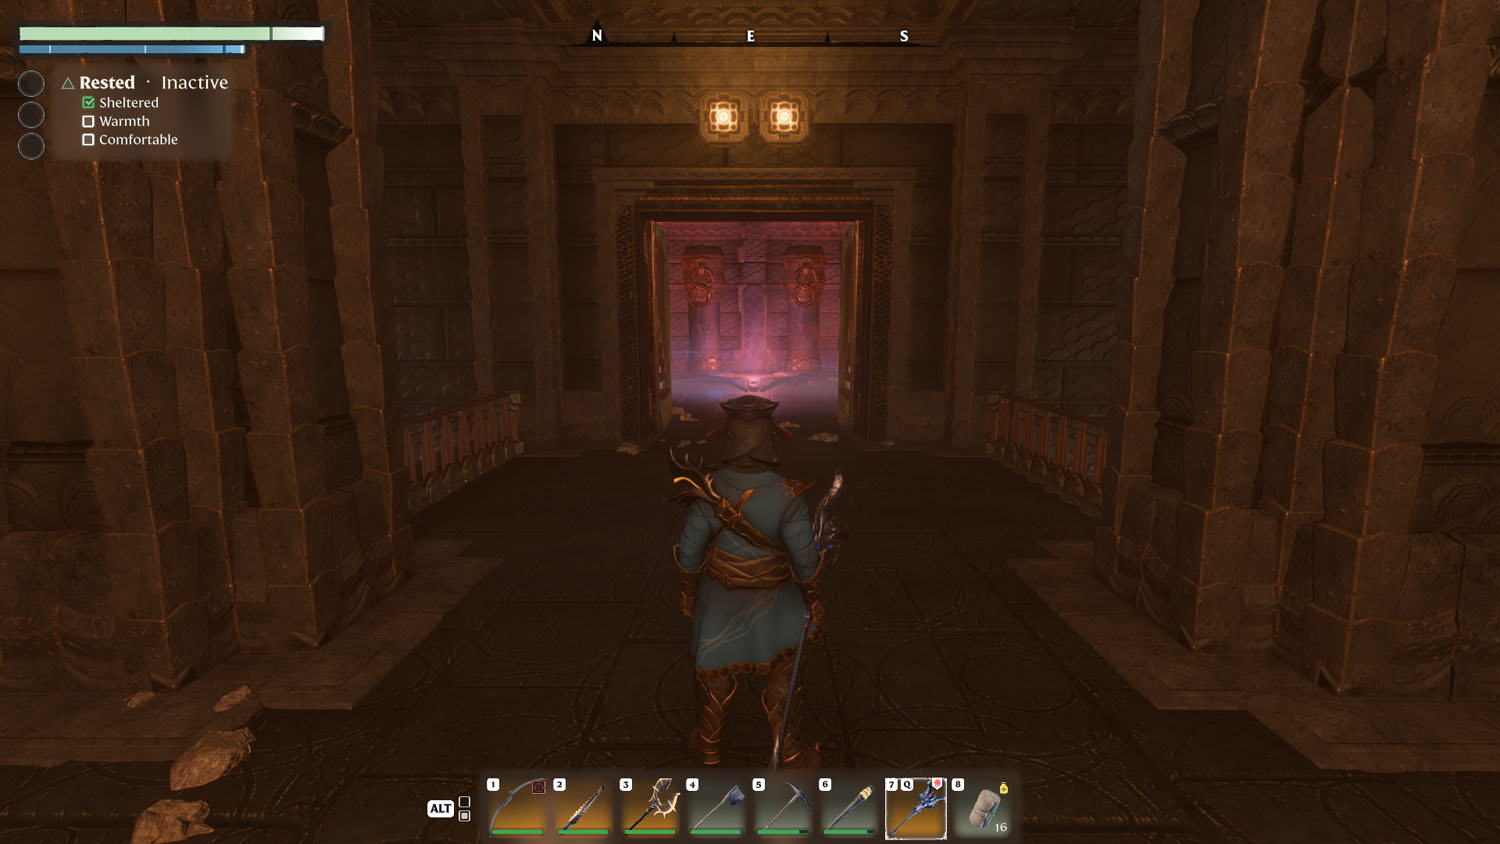
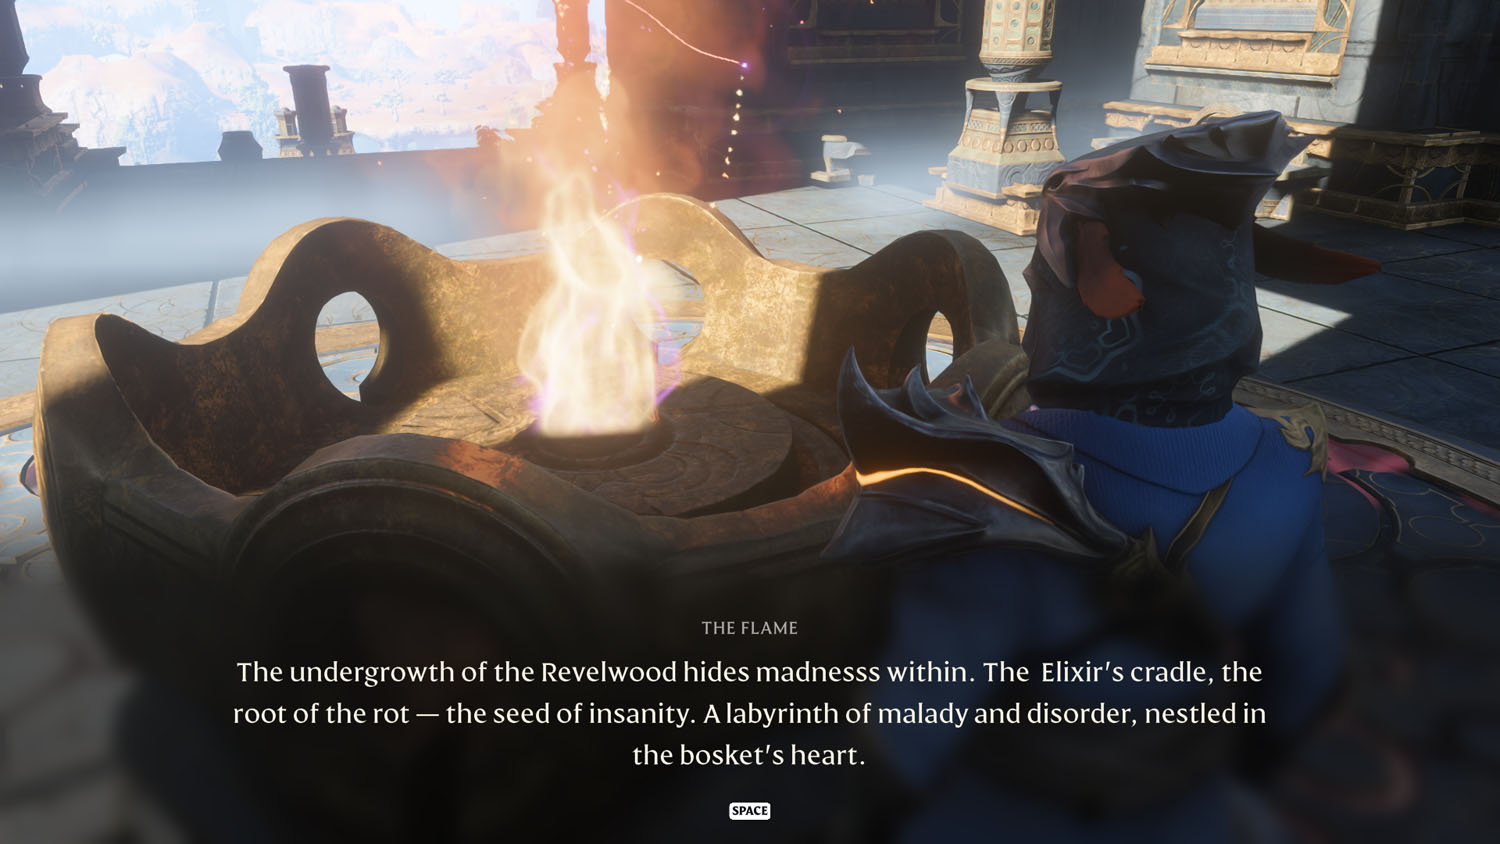
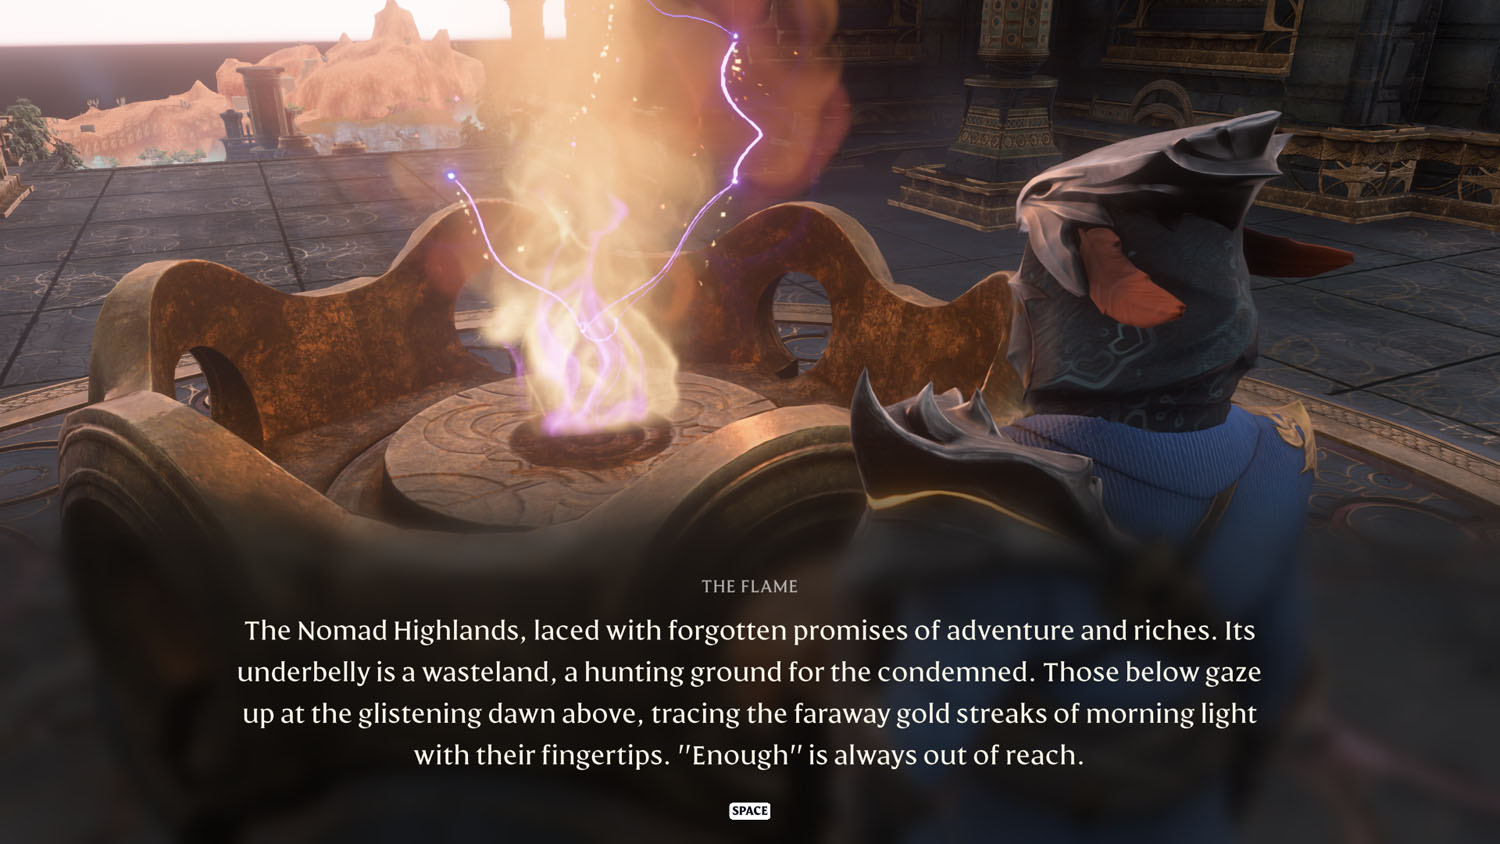
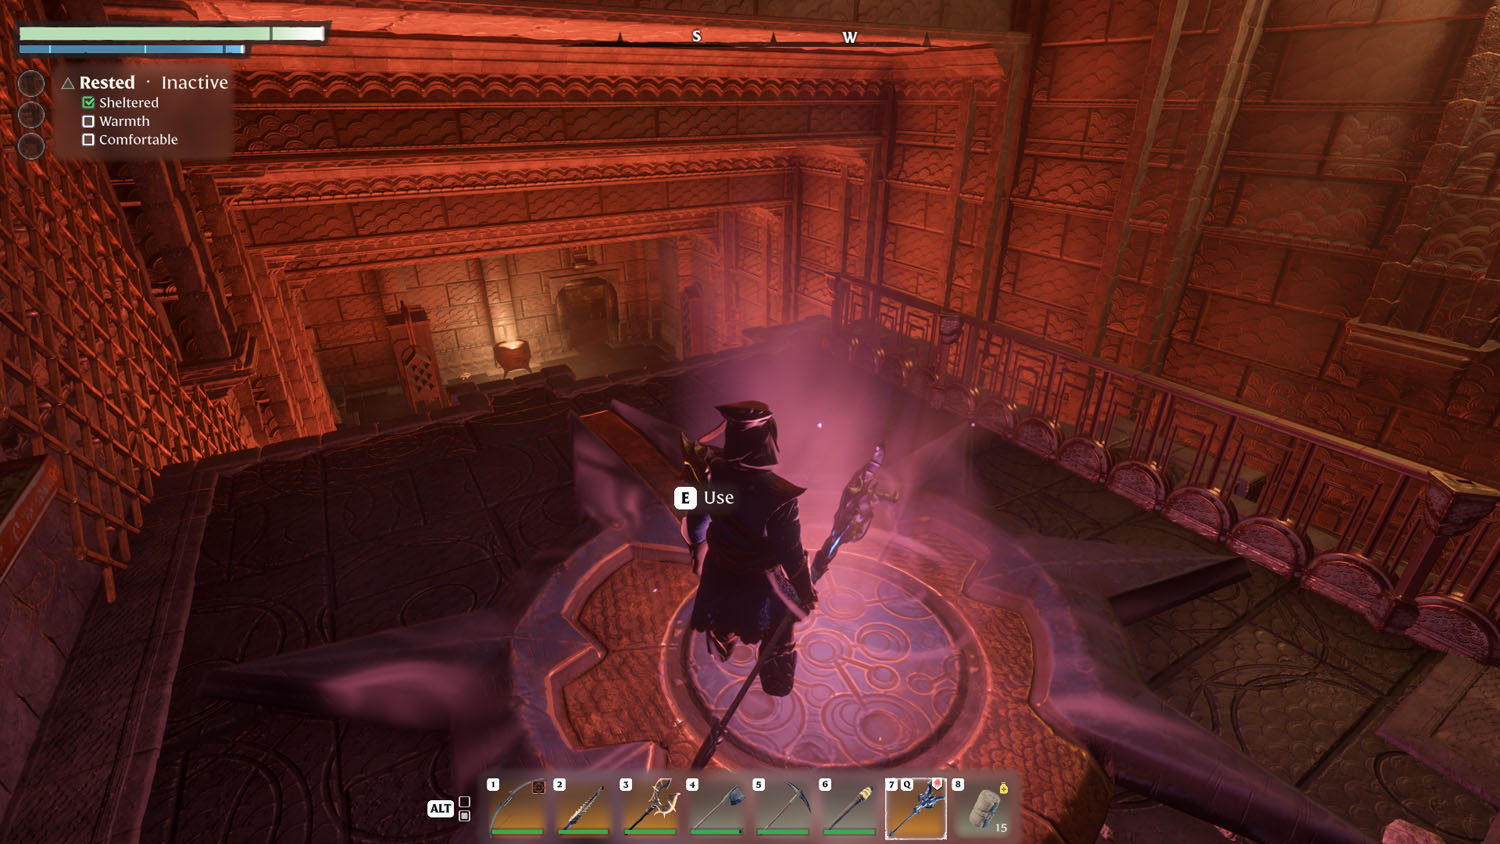
At the top, make sure to Commune With The Flame as it will unlock the Fast Travel. Also, it will unlock some question marks on your map, unless you have somehow explored them first.
WARNING: If you use the teleportation pad on this floor, it will take you to the entrance level and not to the previous floor.
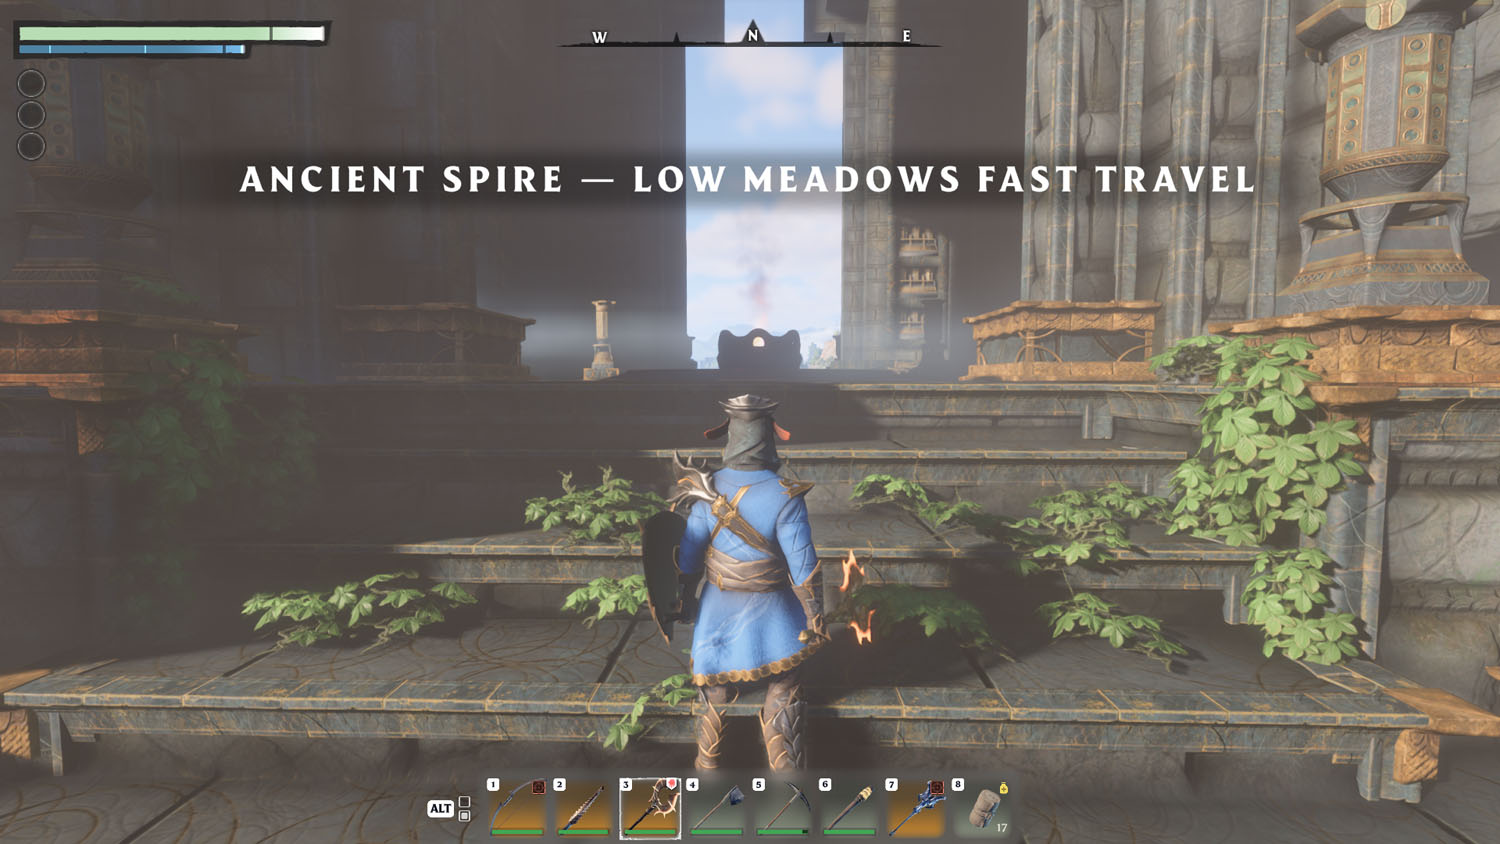
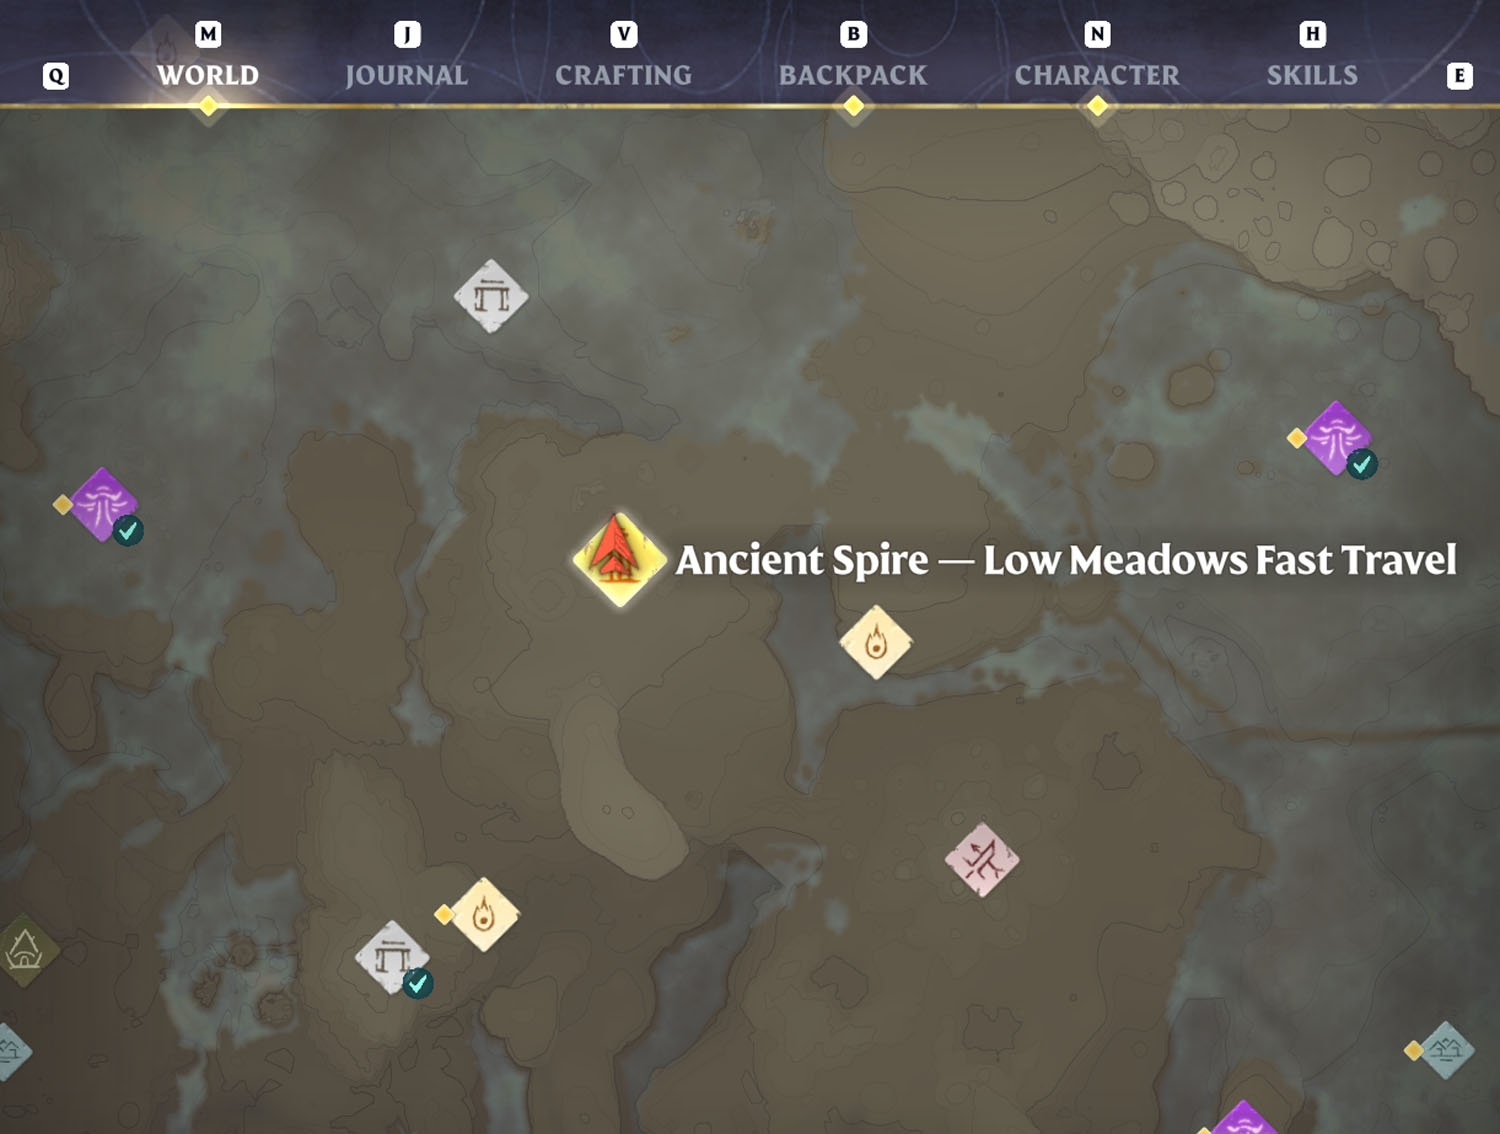
Ancient Spire - Low Meadows Fast Travel
This Ancient Spire is close to but not apart of the Alchemist Quest: An Eternal Spell. Snag some early XP by first speaking with Balthazar The Alchemist.
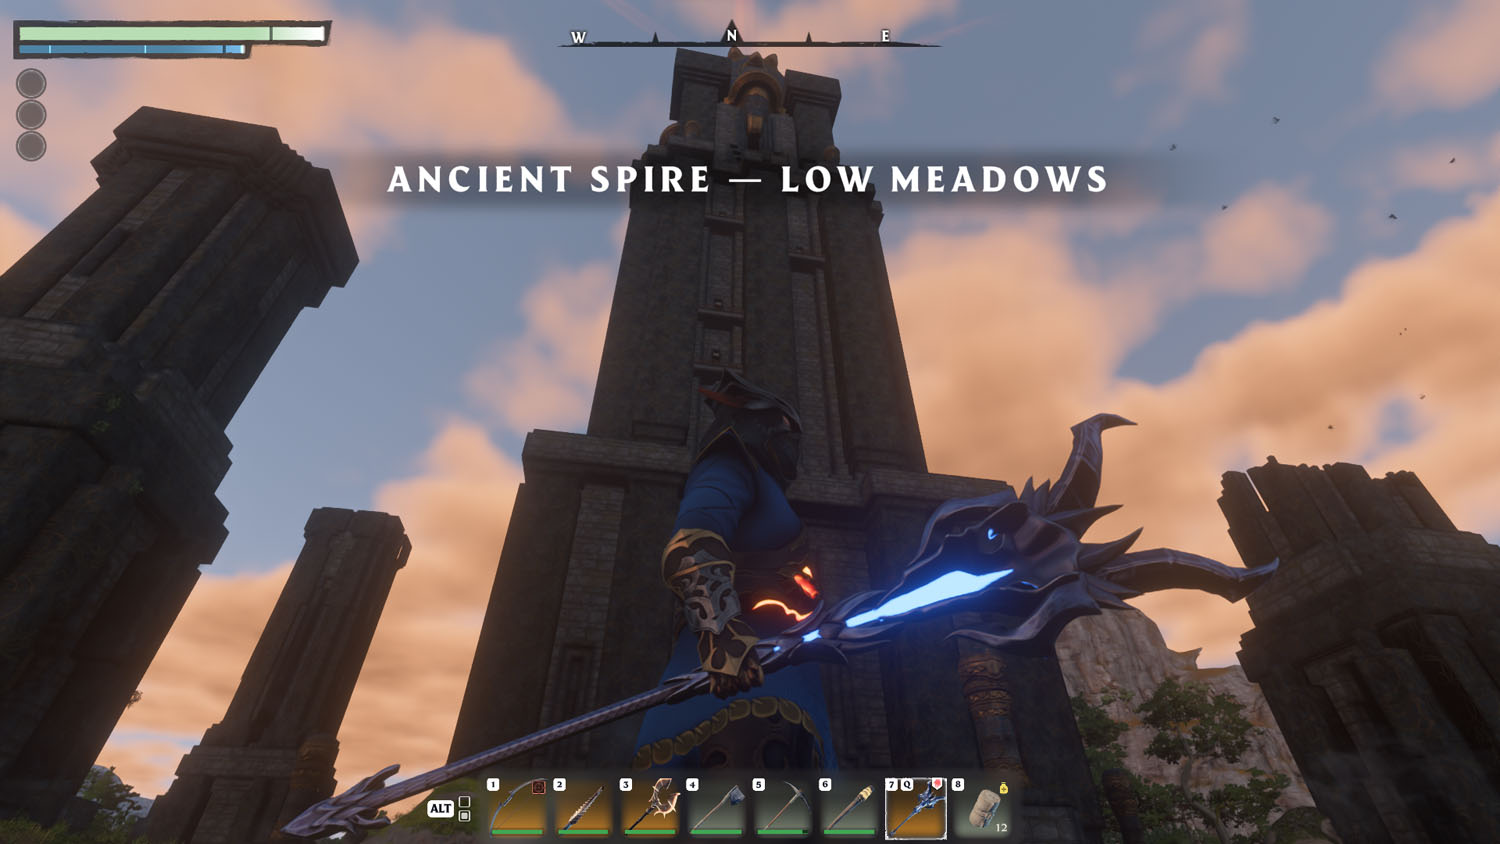
Ground Level
Upon reaching the Ancient Springlands Fast Travel location, you may notice the red smoky glow of the General Lore: The Alchemist’s Theories II The Alchemist’s Theories II 5/5 Metamorphism, located at the eastern steps.
NOTE: My book is no longer glowing because I have already read the Lore.
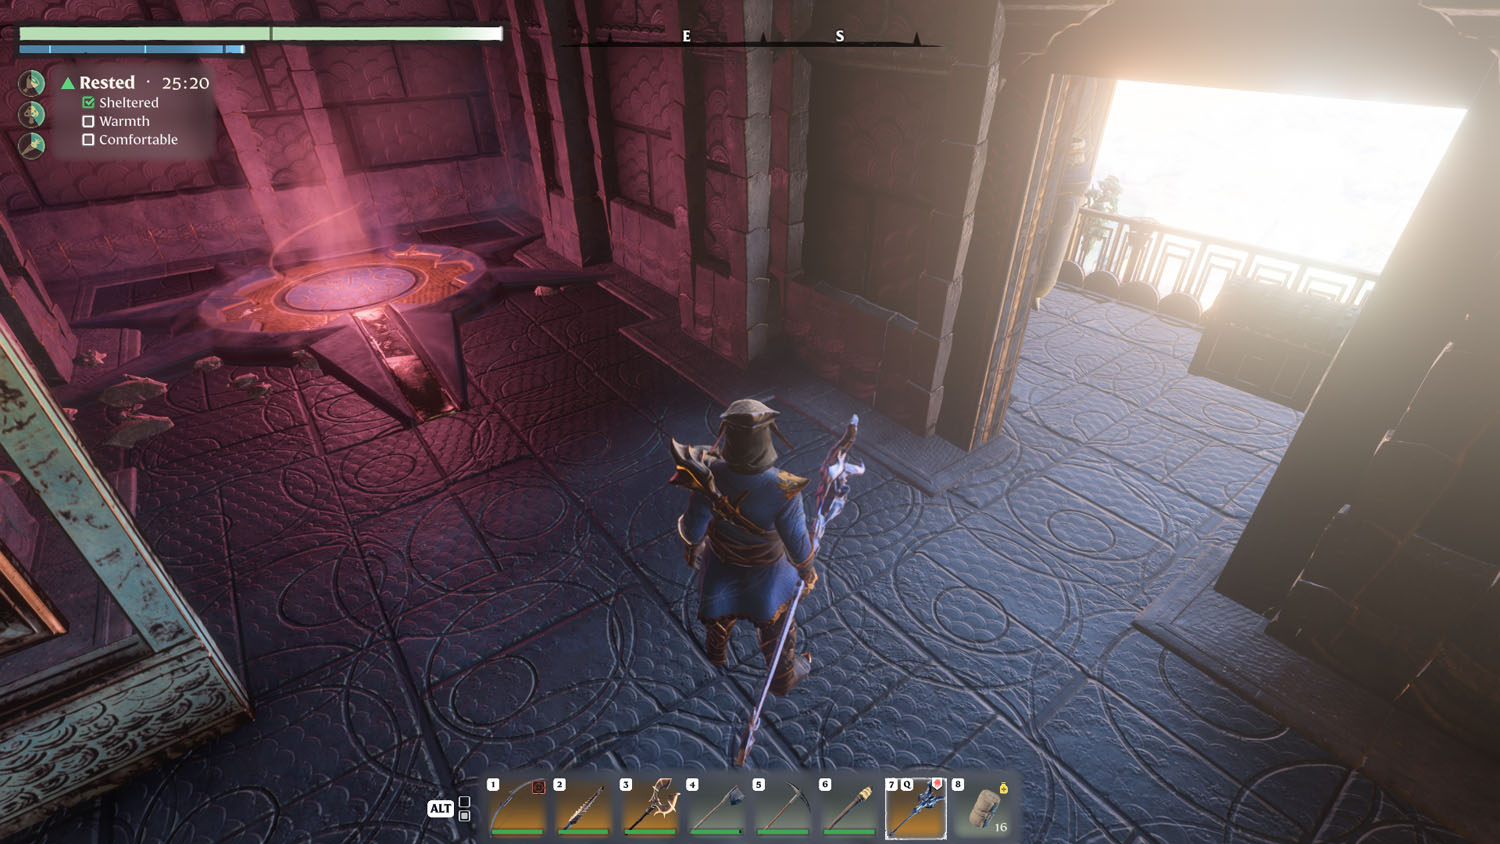
Regardless of which direction you approach from, head for the middle of the tower. There you will find an ornate metal plate that, when you interact with it, will teleport you to the First Floor.

First Floor
This tower immediately starts off with needing to unlock a door to proceed. Head right down the stairs, but beware the spike trap floor. There are two glowing yellow buttons here. Interact with them (E) to unlock the door and to proceed Onward before you head backward to the start of the floor, stand by the second button for an Optional - Silver Chest.
Optional - Silver Chest
Turn around from the second button. There is a staircase down. To the right will be two zappy death traps. Carefully hop over them to reach the Silver Chest. Then work your way back to the first area to proceed Onward.
Onward
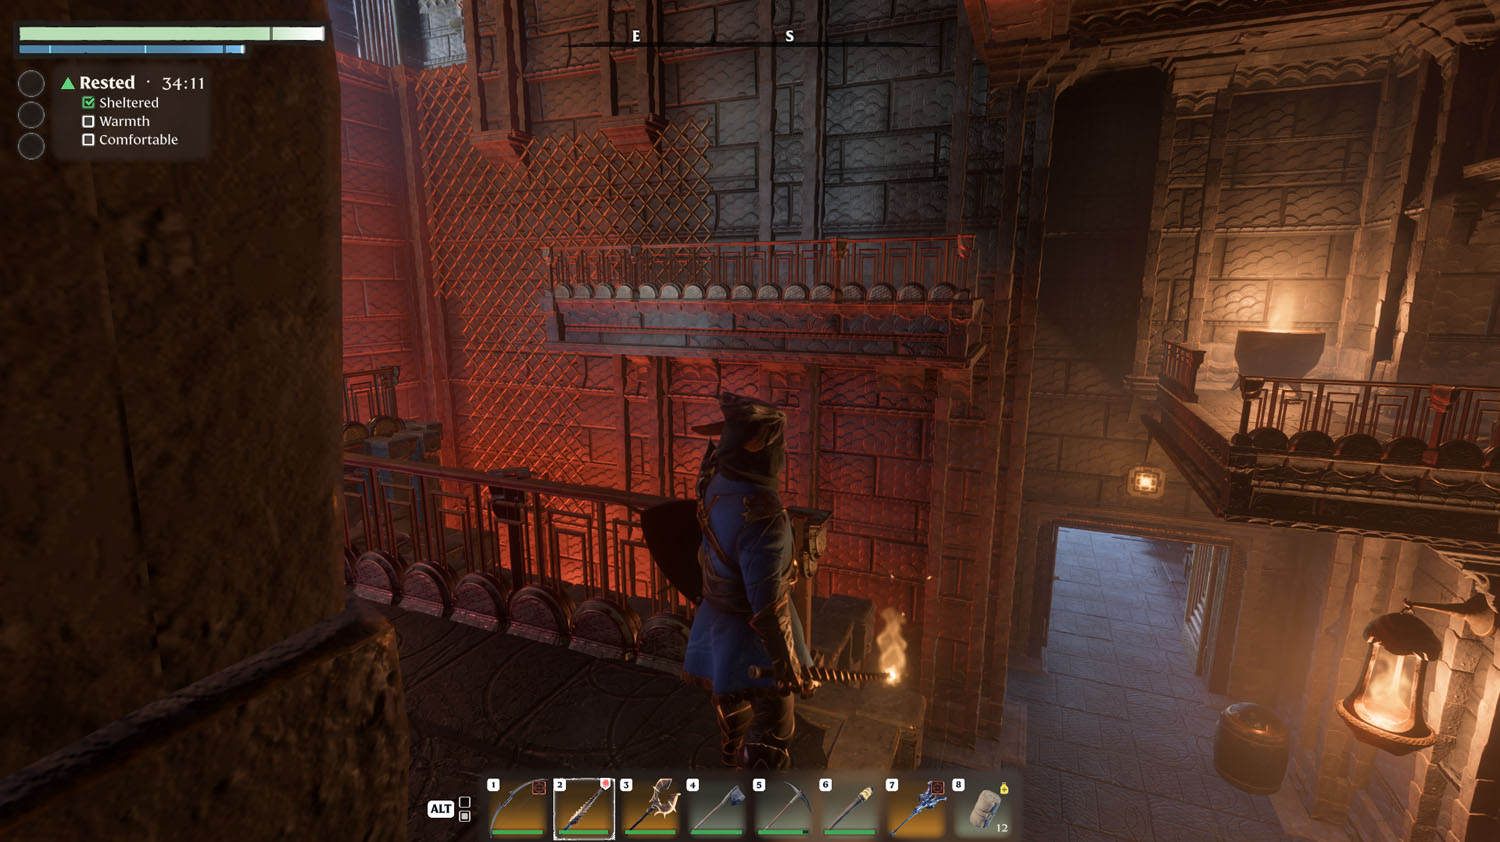
Now that you have the buttons pressed, the way onward is open. Follow the loop around to take the glowing red plate up to the Second Floor.
Second Floor
Like the First Floor, this one starts off with a closed door that requires you to push a button to proceed. This one is easy. Simply walk over the inactive spike floor. Once you hit the button, the spike floor trap will activate, so proceed with caution. From there, head through the now open door.
In the next room, there is only one way forward. Two doors are locked here, requiring a glyph each to be activated, but they are optional. Anyway, there is a nook in the back with a gate. Open it to proceed forward.
Coming up is a floor spike trap. There is a safe patch of floor between the two sets of spikes. After the first set of spikes, there is an optional Wood Chest on the window ledge nearby. Past the spike floor is a room with the teleportation pad that takes you to the Third Floor.
Optional - Gold Chest
In the final room with the teleportation pad going onward, there is a glowing yellow button on the wall closest to the hallway of spikes. Press it (E) to open the gate with the Gold Chest. Now you will have to travel backward toward the room that had the two locked doors. Enter the newly opened one. Inside is the Gold Chest. If you push the button inside this room, it will open the door across the way, allowing you easy access to the teleportation pad.
Third Floor
This floor is pretty straightforward, but it is a long one. There is a closed gate with a lone glyph over it. To the left of it is a safe spot with a gate onward. Mind the spike floor as you hop or run across to safety. After opening the gate, turn right.
Across the hall will be a room with a hot coal floor. Jump across and then head up the grate on the wall.
Turning right again, you’ll see a small drop that leads to two zappy death traps. Hop over those and snake around the corner. On the floor ahead is a glyph pressure plate. This opens an optional room straight ahead to a Wood Chest. Hit the glowing glyph inside the room with a long-ranged attack to force the gate to stay open so you can loot the chest. Or ignore it and turn left.
Snaking around the bend, you’ll quickly come to a drop off, so be careful. If you fall here, you’ll have to repeat everything again. Anyway, to proceed, save up your stamina. Then, swing across using the grapple spot and land on the grate on the wall. From there, head up and to the right. This will lead to a small room with an easy glyph button. Activate it to open the gate on the lower level, which also opens the way to the Final Floor.
With the door opened, there is an Optional Gold Chest and Wood Chest. Otherwise, you can head Onward.
Optional Gold Chest and Wood Chest
Head into the nook to the left, just below the alcove the final button is in. There will be a Gold Chest at the end of the hall and to the right. The Wood Chest will be in a window alcove across from the Gold Chest. After looting, head down to the spike floor below and head for the transportation plate and Onward.
Onward
The spike floor will no longer be active, so it’s safe to head down! FINALLY, you can proceed to the top floor. Don’t forget to talk to the Flame up there!
Final Floor
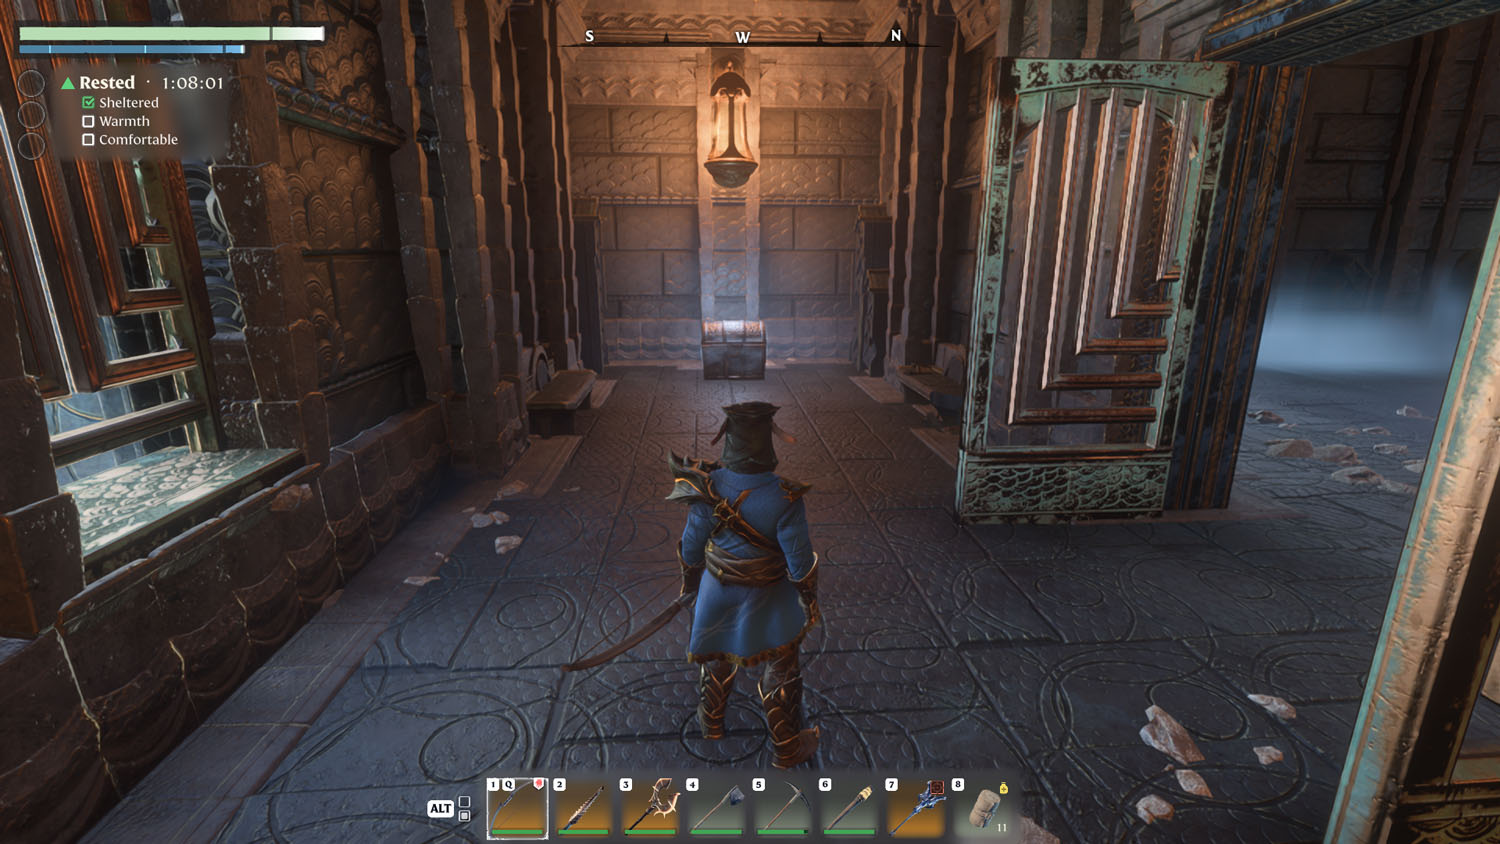
You made it! From here, make sure to talk to the Flame to unlock the Fast Travel feature.
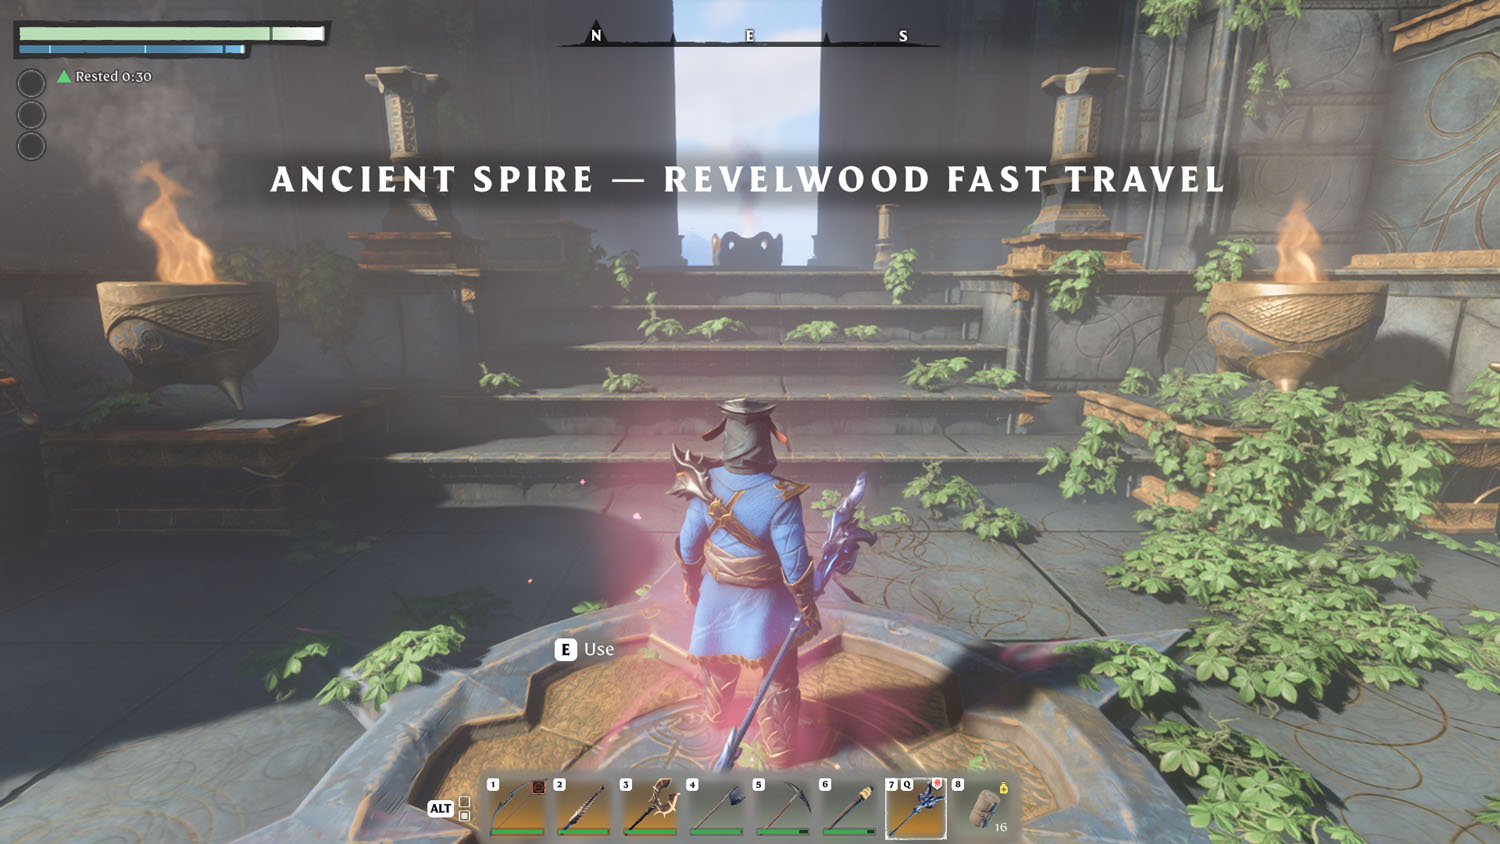
Ancient Spire - Revelwood Fast Travel
This Ancient Spire is part of the Farmer Quest: Reclaim The Wilderness. While it can be done without activating the quest, you will lose out on XP if you ignore Emily Fray The Farmer.

Ground Level
Aside from being a bit difficult to reach, this Ancient Spire starts off the same as the others. There is a revival spot inside the middle, open area of the tower and an ornate metal plate that teleports you to the First Floor when you activate it (E).
First Floor
The puzzles start off easy enough. If you explore the area, you’ll find there is a door with two glyphs and a gate that won’t budge. There are also two gates that open with no problem. For the first glyph, take the gate on the right from when you first enter. You’ll encounter the zappy death trap. Jump over the lightning bursts and keep going.
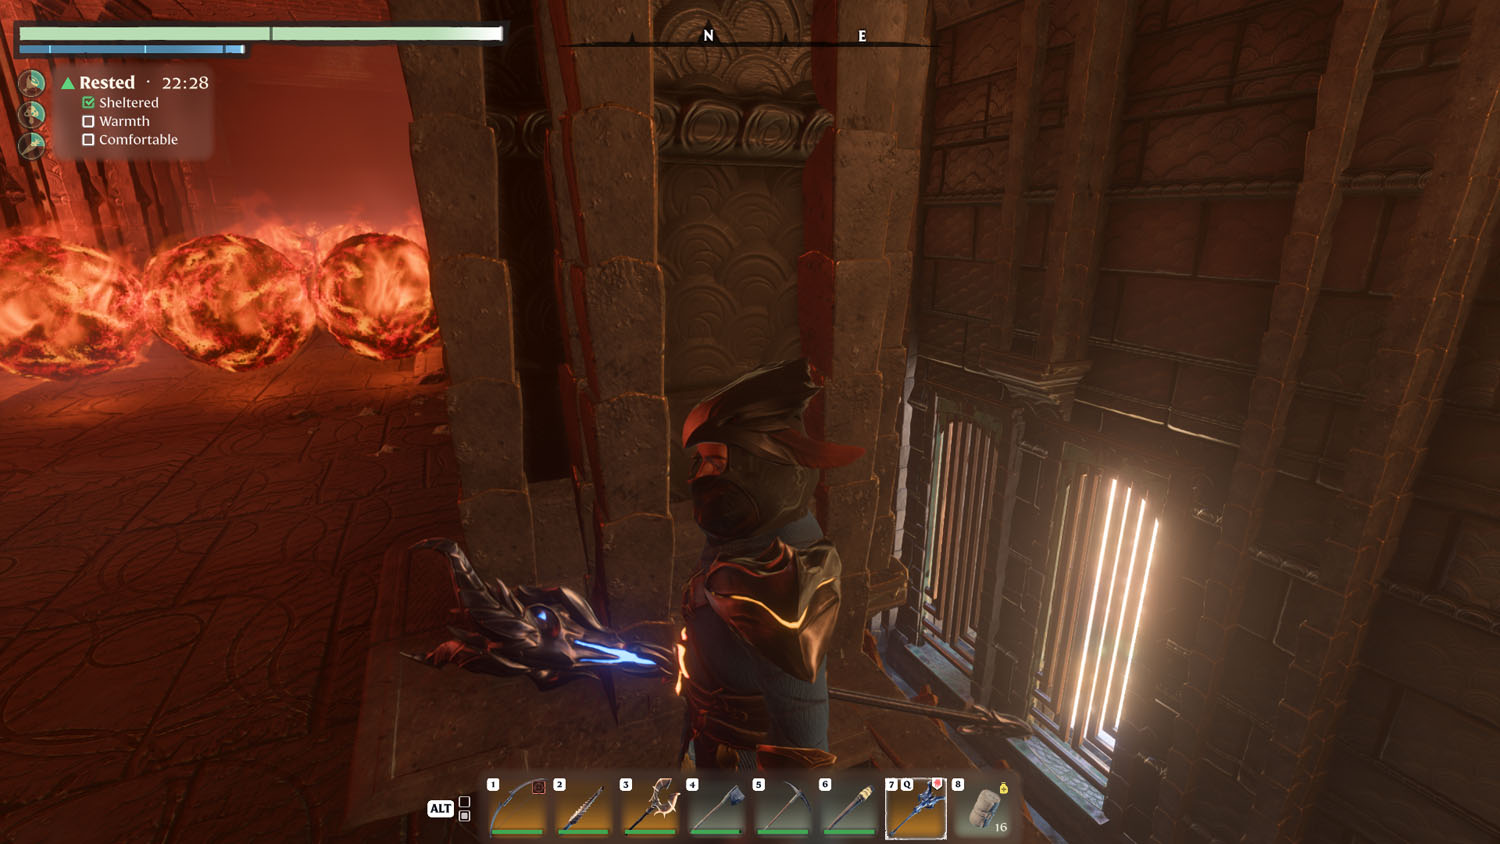
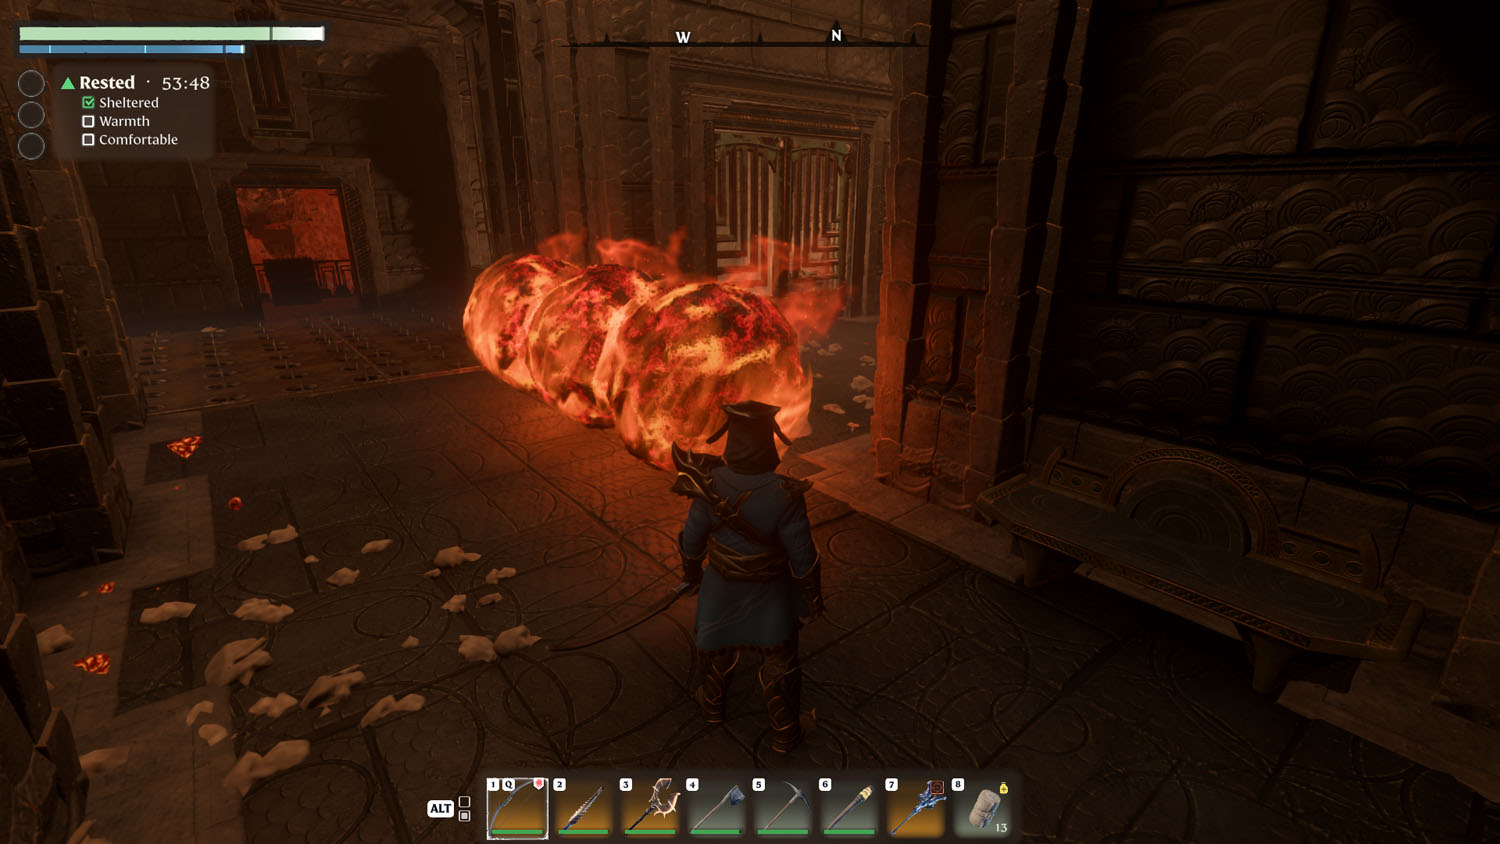
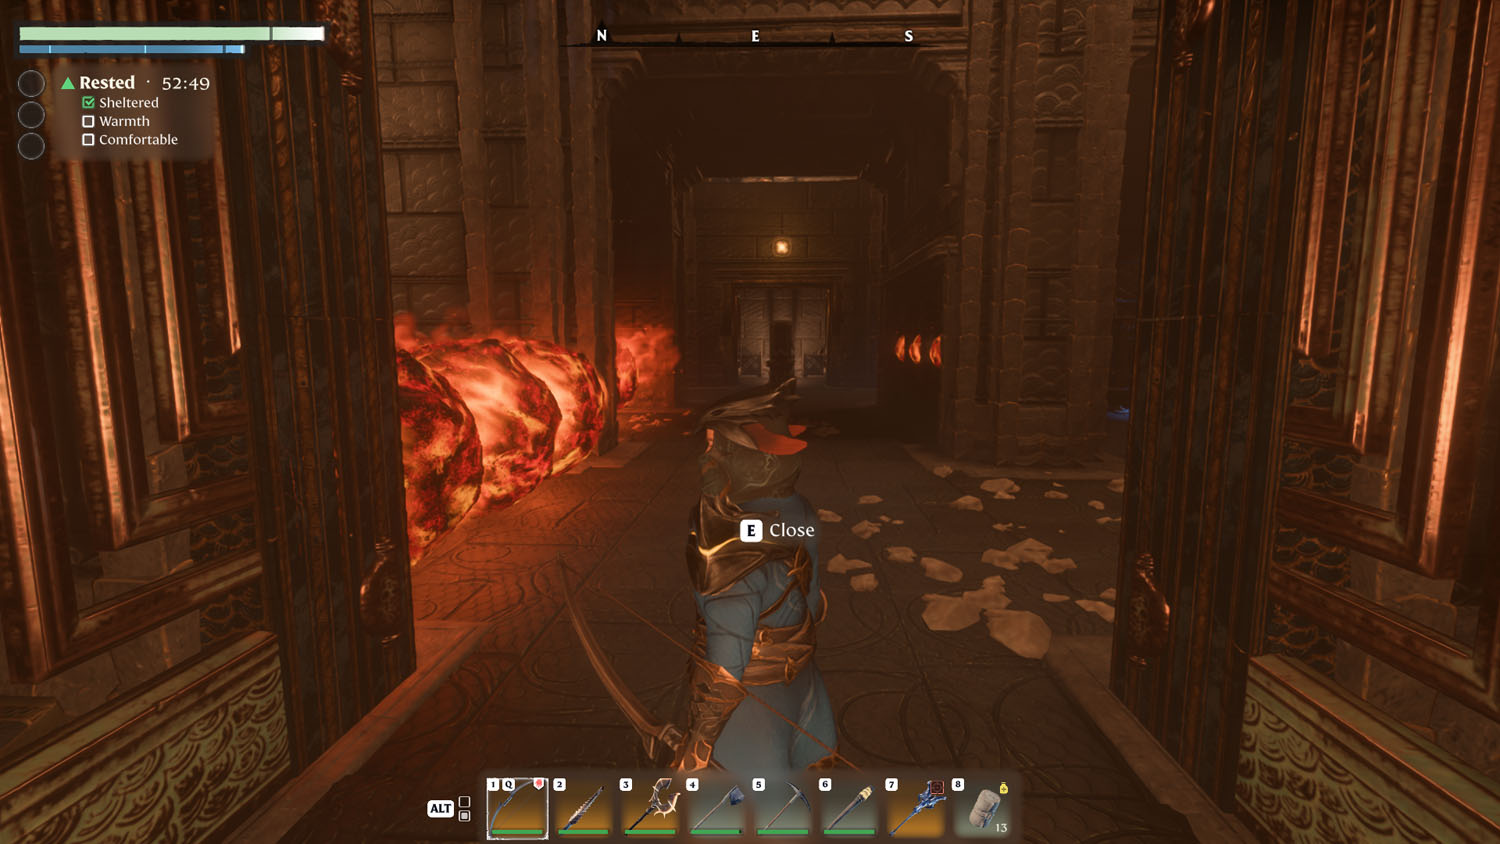
Next up is keeping pace with two rolling balls of fire. The burning-balls-of-coal both roll at the same time, so just follow behind them and veer left to reach an alcove. Inside the alcove is the first button you seek. Activating the button (E) will light up the first glyph over the door you saw when you first entered this floor.
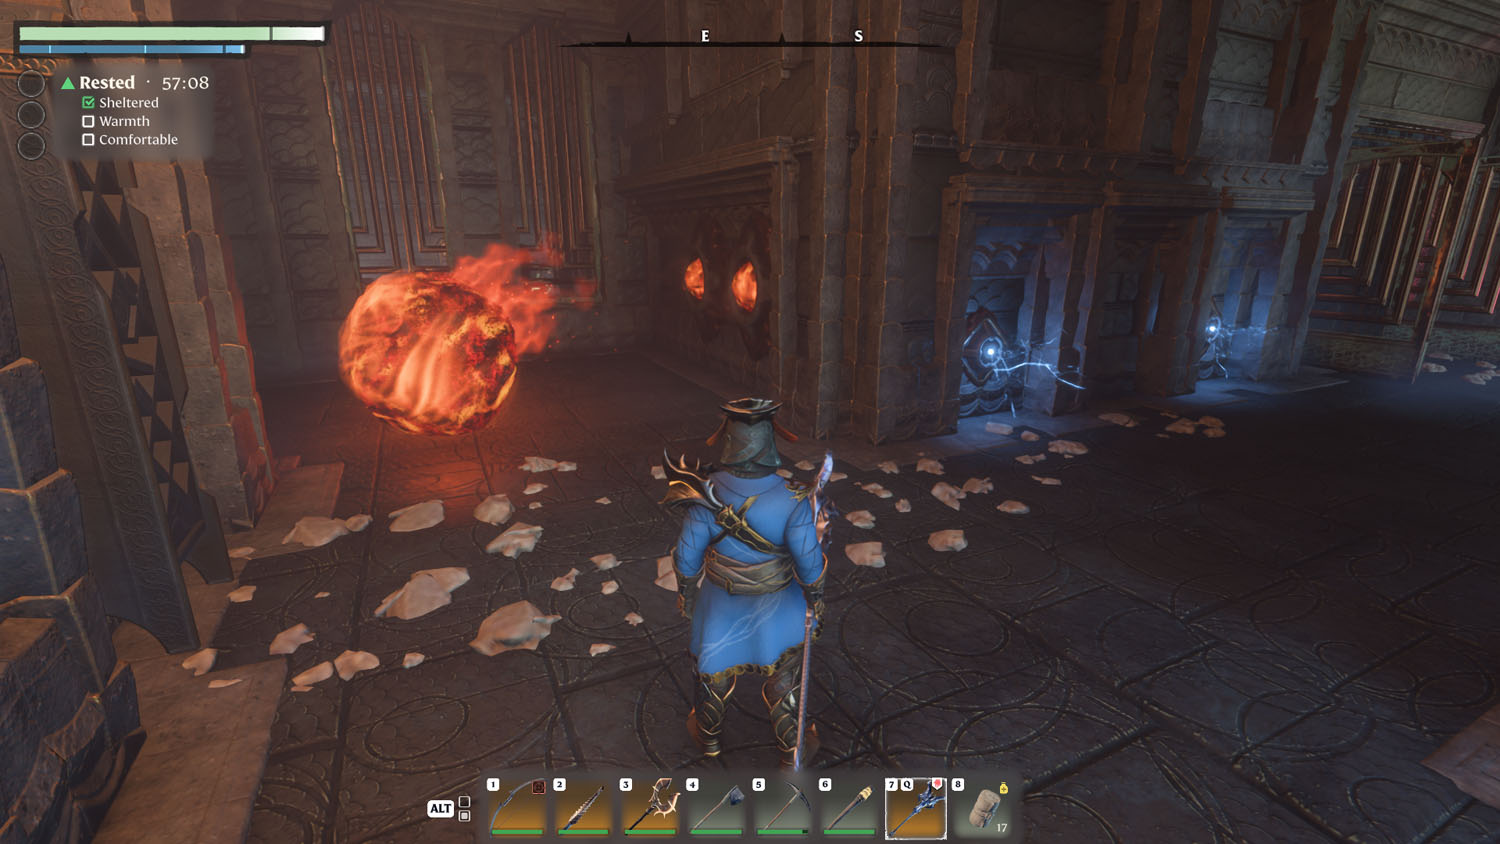
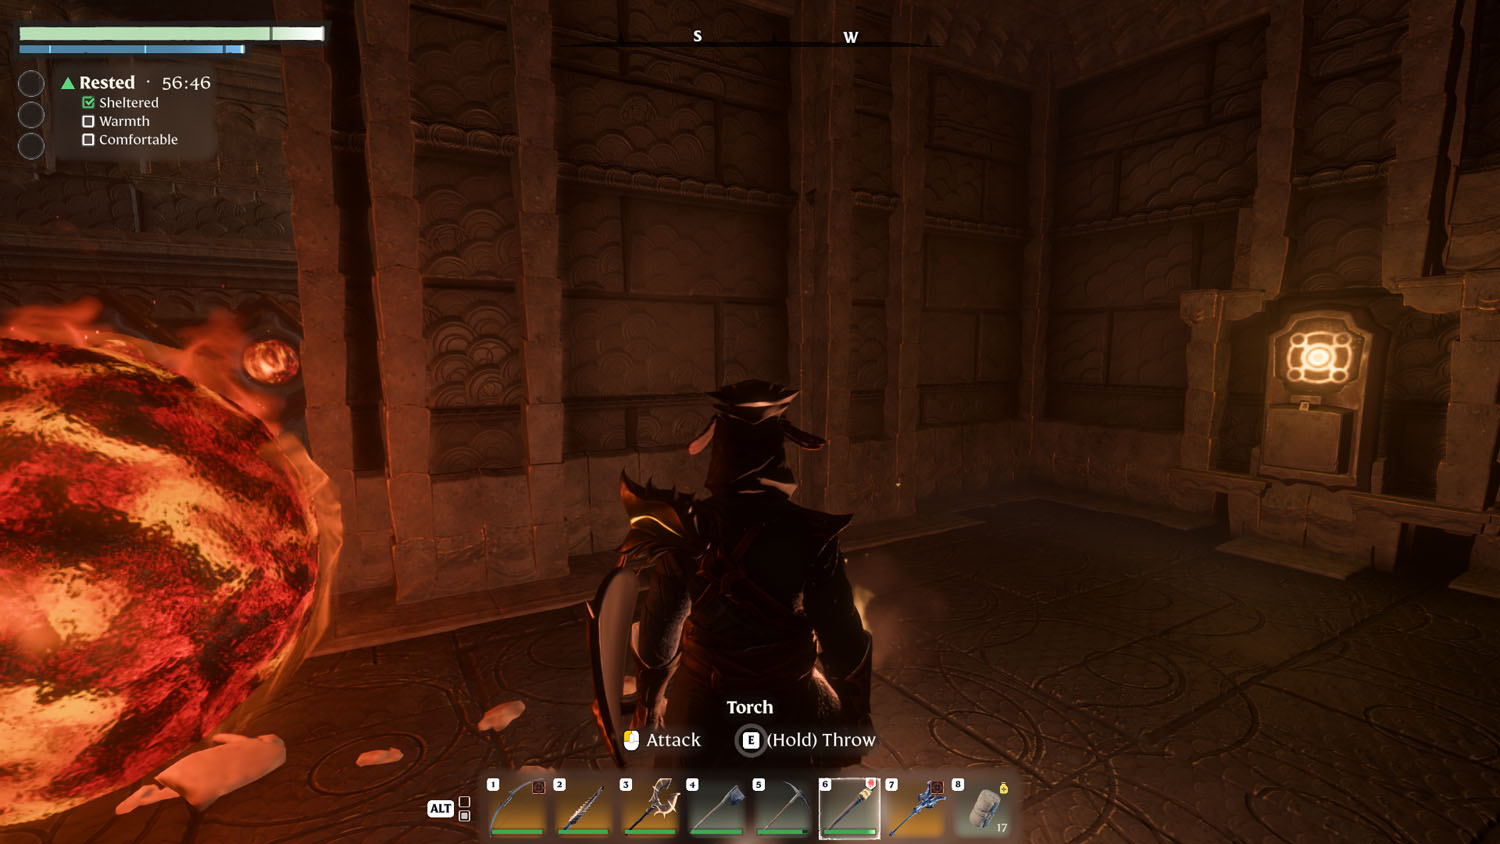
Head back the way you came. As you head toward the other only gate that you can open, you’ll see that only one glyph remains before the door opens. Around the corner, after passing through the gate, is another burning-balls-of-coal trap. This time, follow the middle of the three blazing balls until you reach the end, then veer left into the safety of a small room with a button.
Activate the final button to unlock both gates in the original room. From the button you just pressed, you can now see that the double glyph gate has opened. Head through both newly opened gates and turn right. Ahead of you will be the teleportation panel that takes you to the next floor. Head on up!

Second Floor
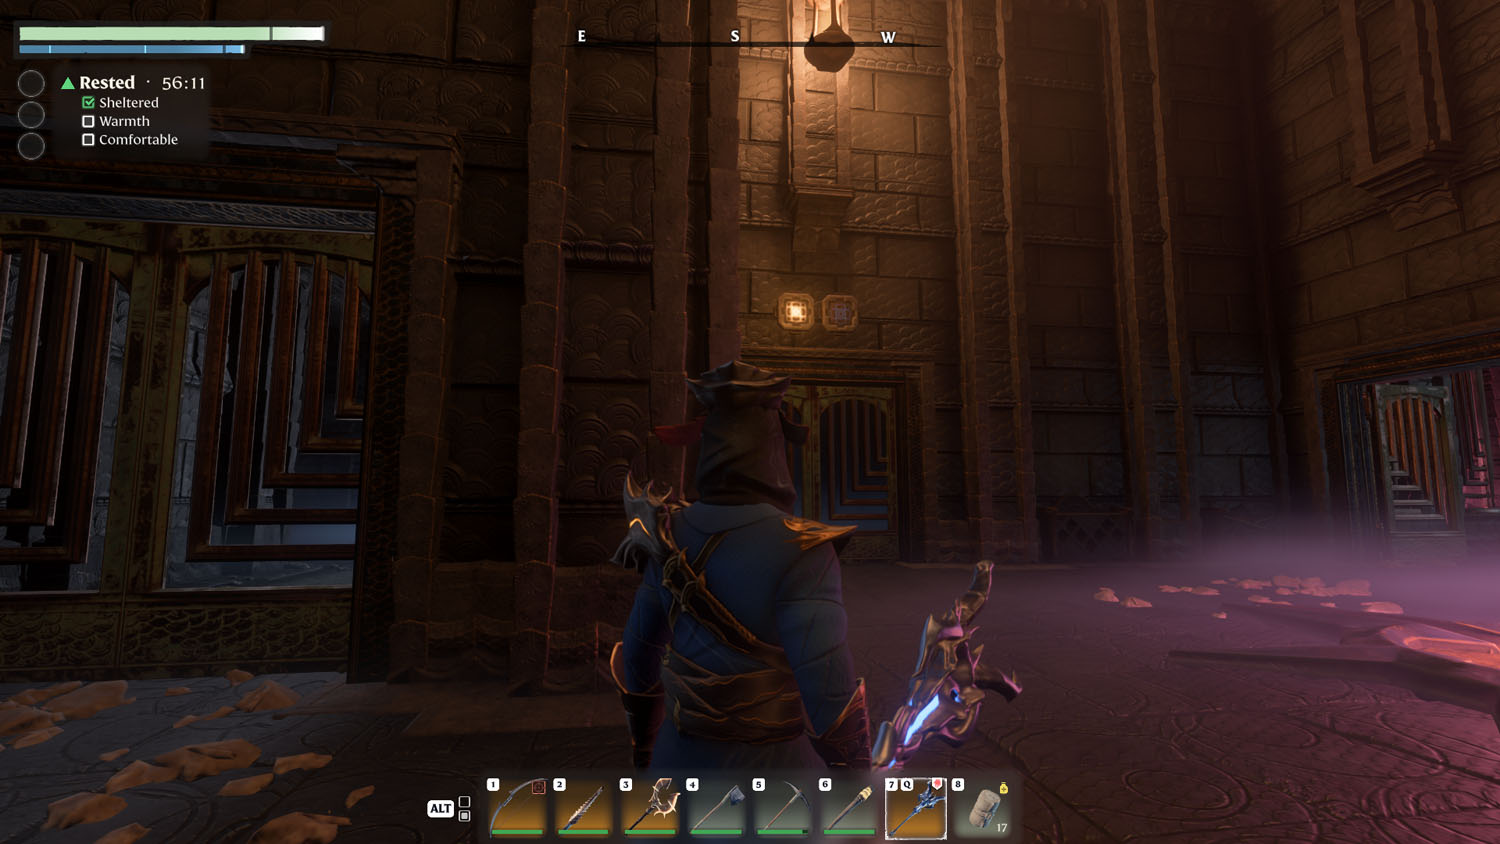
The second floor is simple enough. From the entrance, you’ll have to open a gate. Ahead of you will be a door with four glyphs. If you close the gate you just entered from, you’ll see an easy to snipe glyph to the south - your left (or you can walk over spike traps to reach it). Anyway, snipe (bow and arrow) or blast (wand or staff) the glyph.
Warning: You will need a long distance means of attack for three of the glyphs.
One down, three to go! Turn around to the left and look up (northeast). Snipe or blast the second glyph above you and then keep turning left (north). In an alcove on the other side of the gate you passed through is another glyph in a corner. Snipe or blast it to leave just one glyph. Before continuing Onward, feel free to head for an Optional - Wood Chest.
Optional - Wood Chest
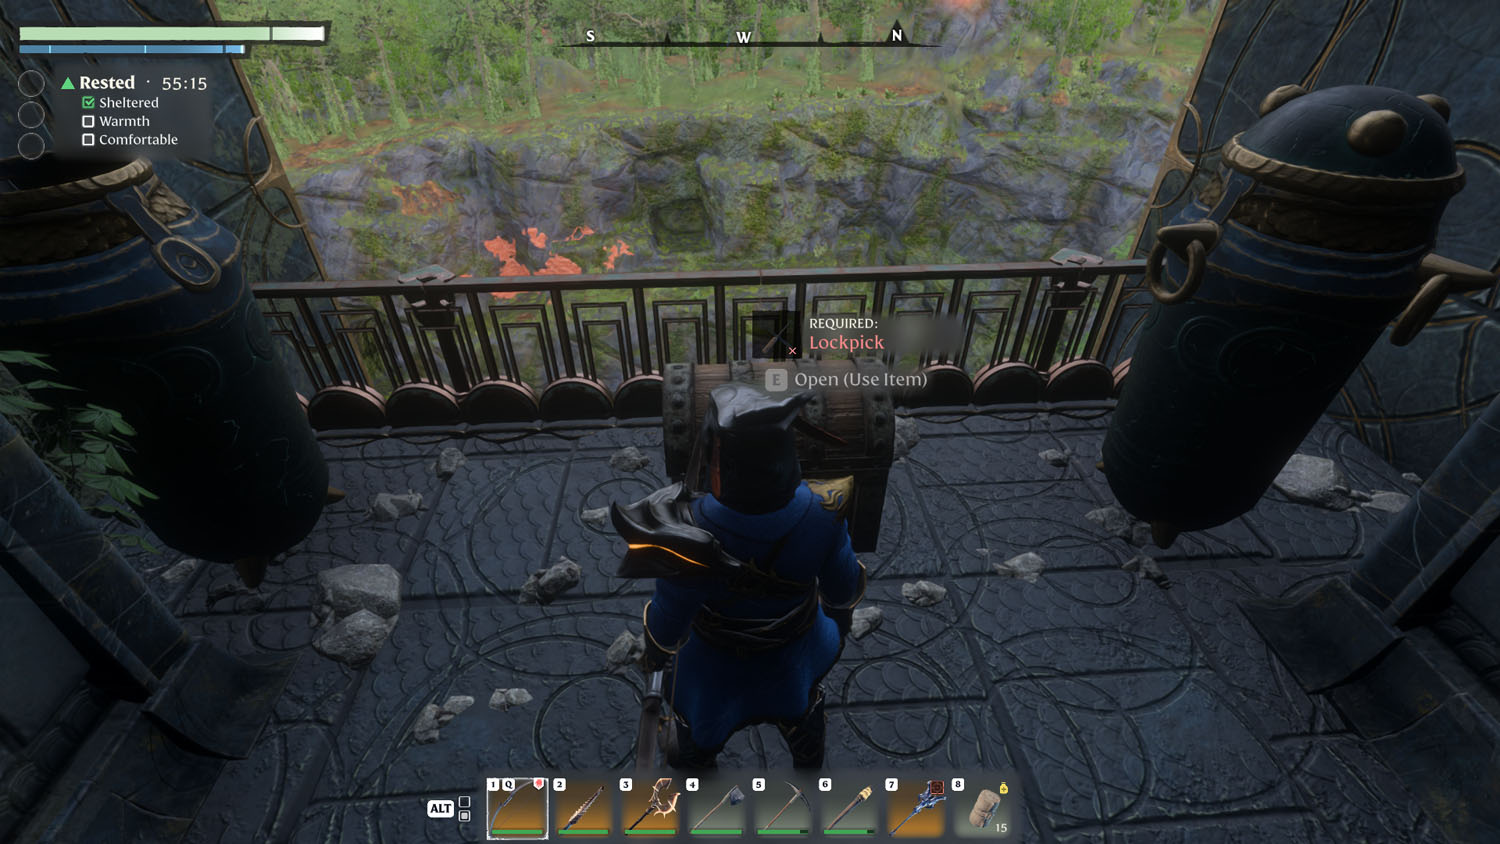
You’ll have to brave the spike traps for this one. In the same area as the third glyph you just shot, there is a window ledge with a Wood Chest. You will need a Lockpick to open the chest.
Onward
For the fourth and final glyph, on this floor, hop over to the closed gate and head left (northeast).
There is a regular floor on the other side of the spike trap floor. When you look up and southward, there is a grapple spot, which leads to the fourth and final glyph. Hit it with an arrow or magic and then turn around and hop down to the opened gate below. You can now go onward to the Third Floor, by using the teleportation plate, or, you can stick around for an Optional - Two Silver Chests.
Optional - Two Silver Chests
From the gate onward and upward, head across the spike trap floor to a safe alcove on the left side. Head up the grating on the wall and then turn around. Hop over the area you just came up from and turn right (west).
Across the way will be a grapple swing spot. You will need to jump toward it, then press (E), let it swing you across, and then move forward / press E again or Spacebar to Jump and thus release from the swing (It may land you directly on the platform, but I’m cautious and nervous, so I don’t take chances). Anyway, there will be a Silver Chest directly ahead of you.

From that same spot, turn back around and head back to the location above the grated wall you climbed. To the left there will be a spot you can jump to. Once you’ve made the jump, head left and then line up for another jump across. Once you have made the second jump, turn right and there will be your second Silver Chest. (Fun fact, you can see the first Silver Chest through the wall on the left as you enter that area.) Now, to the Third Floor!
Third Floor
This is the third and final puzzle floor. The first door is easy. Head left, look up, shoot glyph with an arrow or blast of magic and then repeat for the other side of the room. The door opens, and you can walk through. Head left (north) as you pass through the gate.
Heading right after exiting the gate is a spike trap floor. Carefully navigate to a safe landing around the corner and to the left. There is a closed gate, and on the other side is a Wood Chest. (The other hall is lame, nothing good there.)
Cross the simple spike trap and open the gate to proceed forward. The left stairs going up has a glyph on the wall, but under the stairs is a Gold Chest. If you look at the stairs on the right, there is another glyph on the wall. Give them both a good smack and head upward. The gate at the top of the stairs will now be open. Simply hop over or dodge the zap trap to reach the teleportation plate and head up to the Final Floor.
Final Floor
Don’t forget to talk to the Flame to unlock the fast travel!
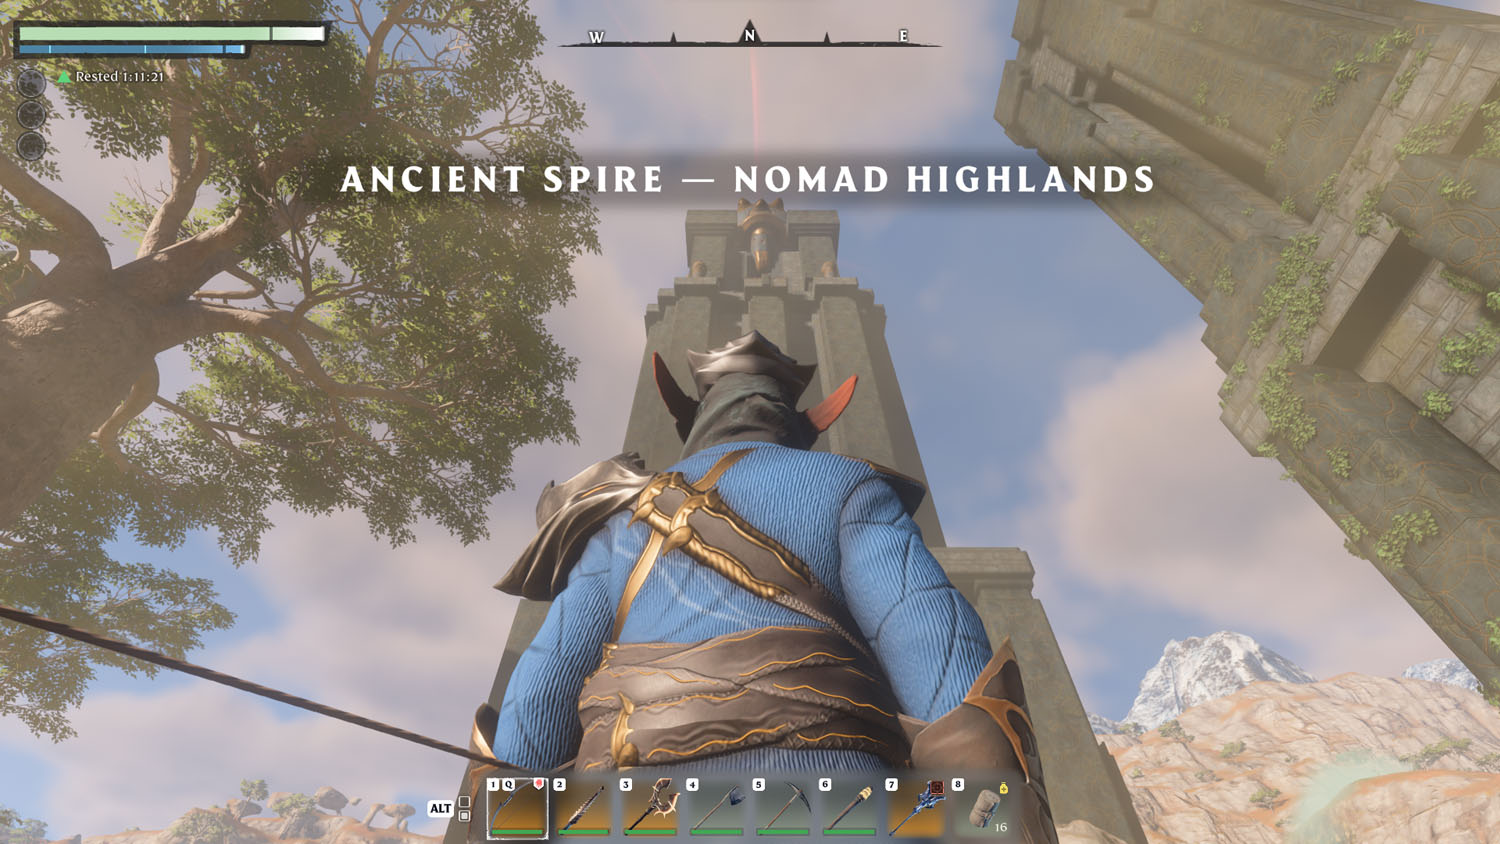
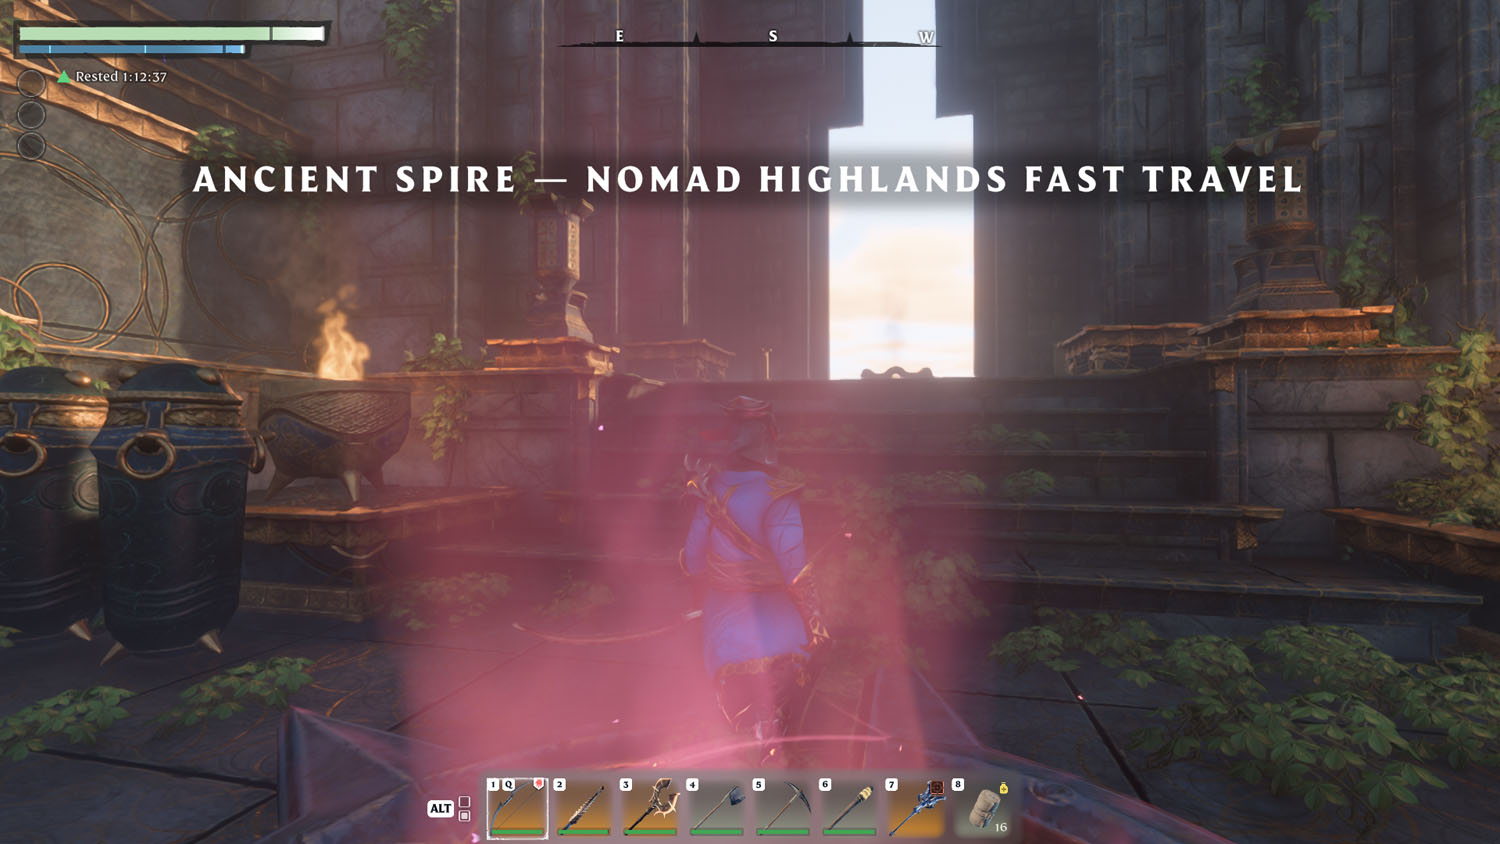
Ancient Spire - Nomad Highlands Fast Travel
Currently, this Ancient Spire does not have any quests attached to it - as of March 2024. So go for it!
Ground Level
To start with, you’ll need to reach the Ancient Spire - Nomad Highlands Fast Travel. You know the drill from there! Step on the ornate metal plate in the middle of the ground level of the tower and interact with it (E) to make it to the first puzzle floor.
First Floor
The first thing you’ll see on the first puzzle floor is a gate with four glyphs over it. On the other side is a Gold Treasure Chest. This is an optional door to open, and it won’t be fully unlocked until you also reach the way up to the next floor, which also requires you to hit all four glyphs. Before heading down the south stairs, and hitting the glyph on the wall on your way down, take a few steps forward from the entry point and hit the glyph on the north wall.
From there, turn around and head for the south stairs. Hit the glyph on the wall on the way down. Then pass through the closed gate at the base of the stairs.
Take the south path (right path). The gate here will open, but if you take the north gate, it will not budge and you will have to jump back to the other side. After opening the gate, just mind the spike floor as you navigate to the safe spot on the opposite side of where you entered the room.
Upon rounding the corner, you will see a safe floor location. Head for it. Then, look up. The south and north walls both have glyphs. Blast them with magic or poke them with an arrow. The gate will open, allowing you to proceed to the Second Floor. If you want the Optional Gold Chest, then stick around on this floor a little longer.
Optional Gold Chest
Head down either the south path (the one you took across the spike floor originally) or take the north path - the gate there will now be open. Either way works. From there, head back across the zap traps and up the stairs. At the top, the gate leading to the Gold Chest will now be open. After looting the chest, carefully hop down to the teleportation pad below, which takes you to the Second Floor.

Second Floor
Things are simple enough on this floor. Head toward the grapple spot and drop down - but be mindful of the spike floor. Directly behind you will be a button to push. You can grapple back up from here, or take the stairs on the other side. You will still have to grapple across. Then there is a hallway leading to the door the button opened.
In the next room, you will want to swing, using your grappling hook, across to the winding staircase. Follow it down to the ground floor and turn left to snag a Wood Chest on the window ledge and then make your way to the button. OR. Jump down to the button and skip the chest. From there, make your way to the gate that had been closed before - located on the same level as the button.
After passing through the door, you may notice a Wood Chest on the window ledge. Snag it before heading up to the next floor.
Third Floor
Head straight down the hall, jump or walk safely over the spike floor at the opposite end (so long as your timing is right), and climb the grate over the right (western) wall. From there, you will have to jump over three rolling, flaming balls in a hallway. This time, take a left (west) when you reach the end of the hall.
Press the button in the alcove there to open the gate on the level below you. From here, you can walk straight ahead and fall back where you first entered this floor (basically skipping the flaming balls, spike floor, and wire mesh wall).
After passing through the gate, you will have to face another spike trap floor. Run across this floor as it winds around. You will pass two closed gates before reaching a safe alcove with a button. After pressing the button, only the nearest gate will open, not the one with the teleportation pad heading to the final floor. Once the spikes finish their round, they will come to a full stop. Behind the gate and out on the window ledge is a Wood Chest, nab it before tackling the next part of the puzzle.
After jumping over the hot coals and climbing the wall, around the corner is a swinging challenge. You have two grapple spots that you will have to use to swing across the chamber. Once on the other side, turn eastward for the final button. After pressing the button, drop down and enter the gate that opened below. Then, head up to the top floor!
Final Floor
Yay! Top floor! Don’t forget to speak to the flame (E) before jumping off the tower or you will have to do all the puzzles over again.

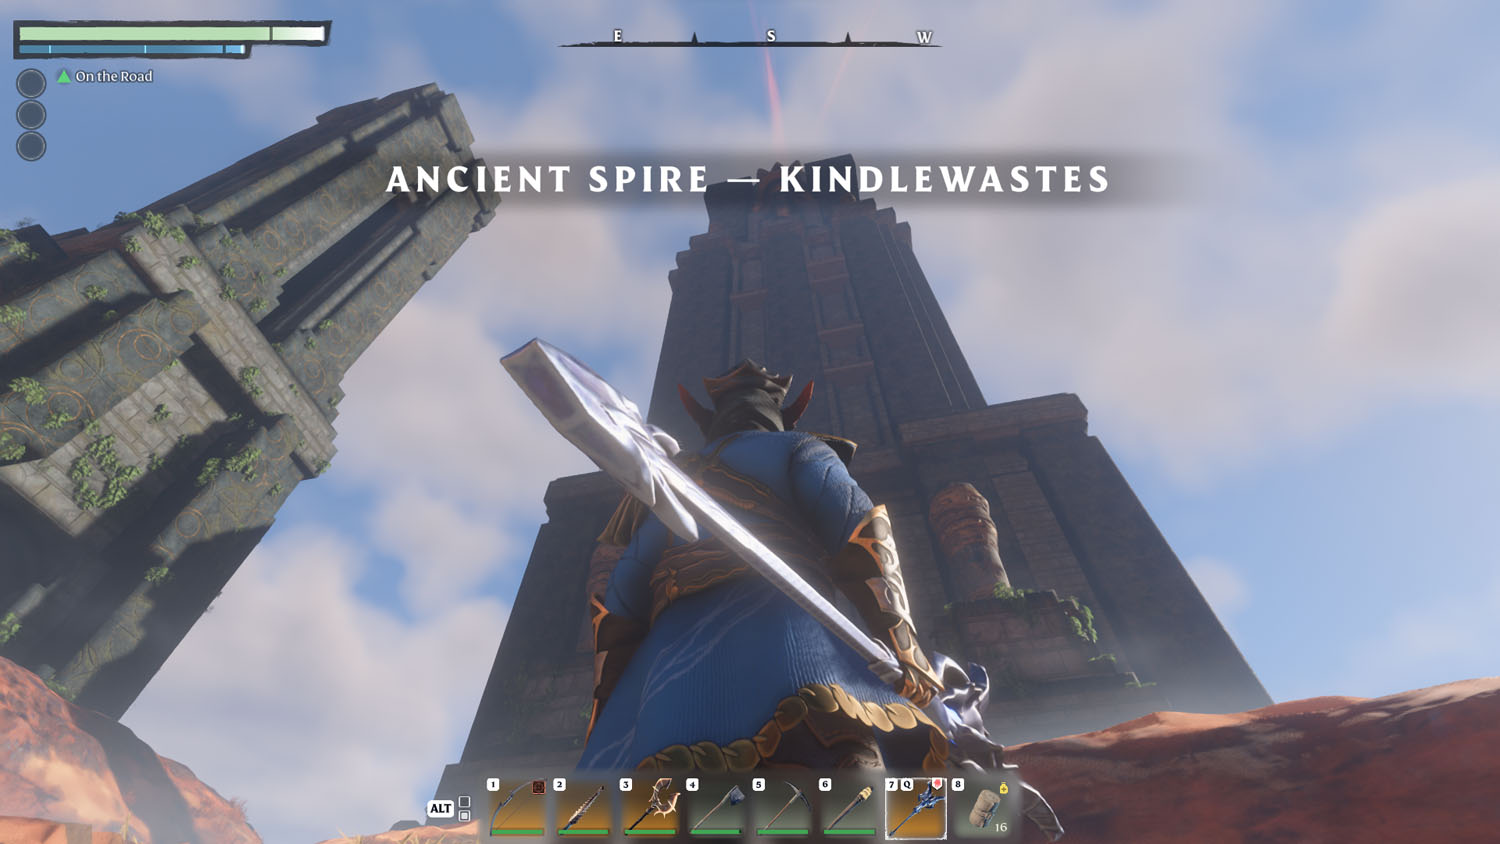
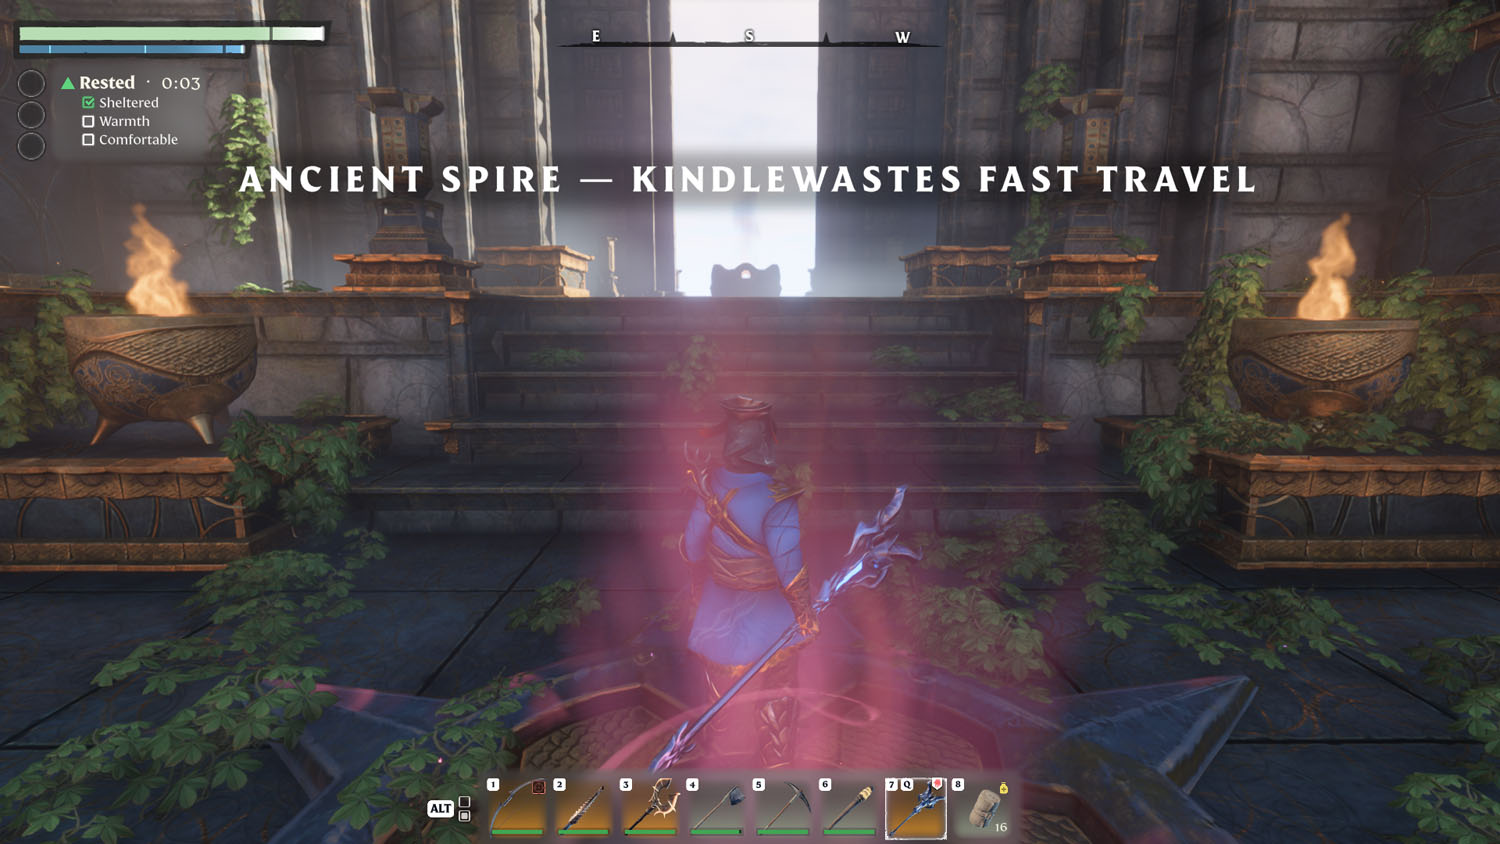
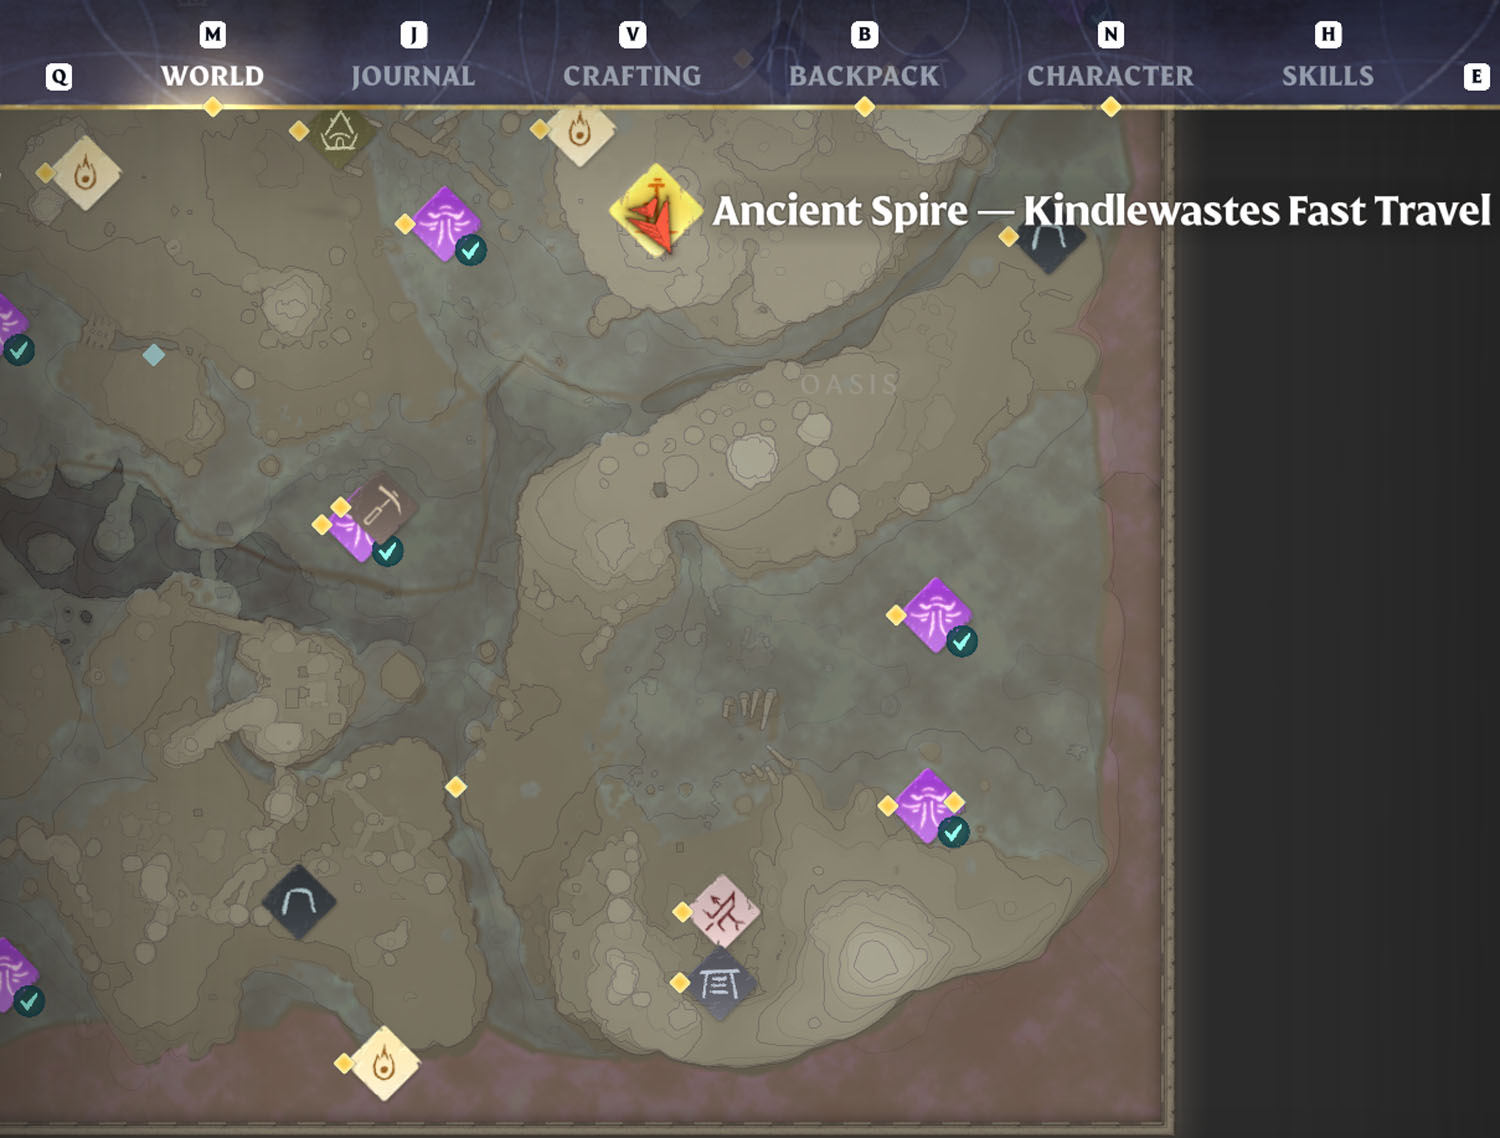
Ancient Spire - Kindlewastes Fast Travel
This Ancient Spire is also not part of a quest - as of March 2024. In other words, head for it whenever you feel like it.
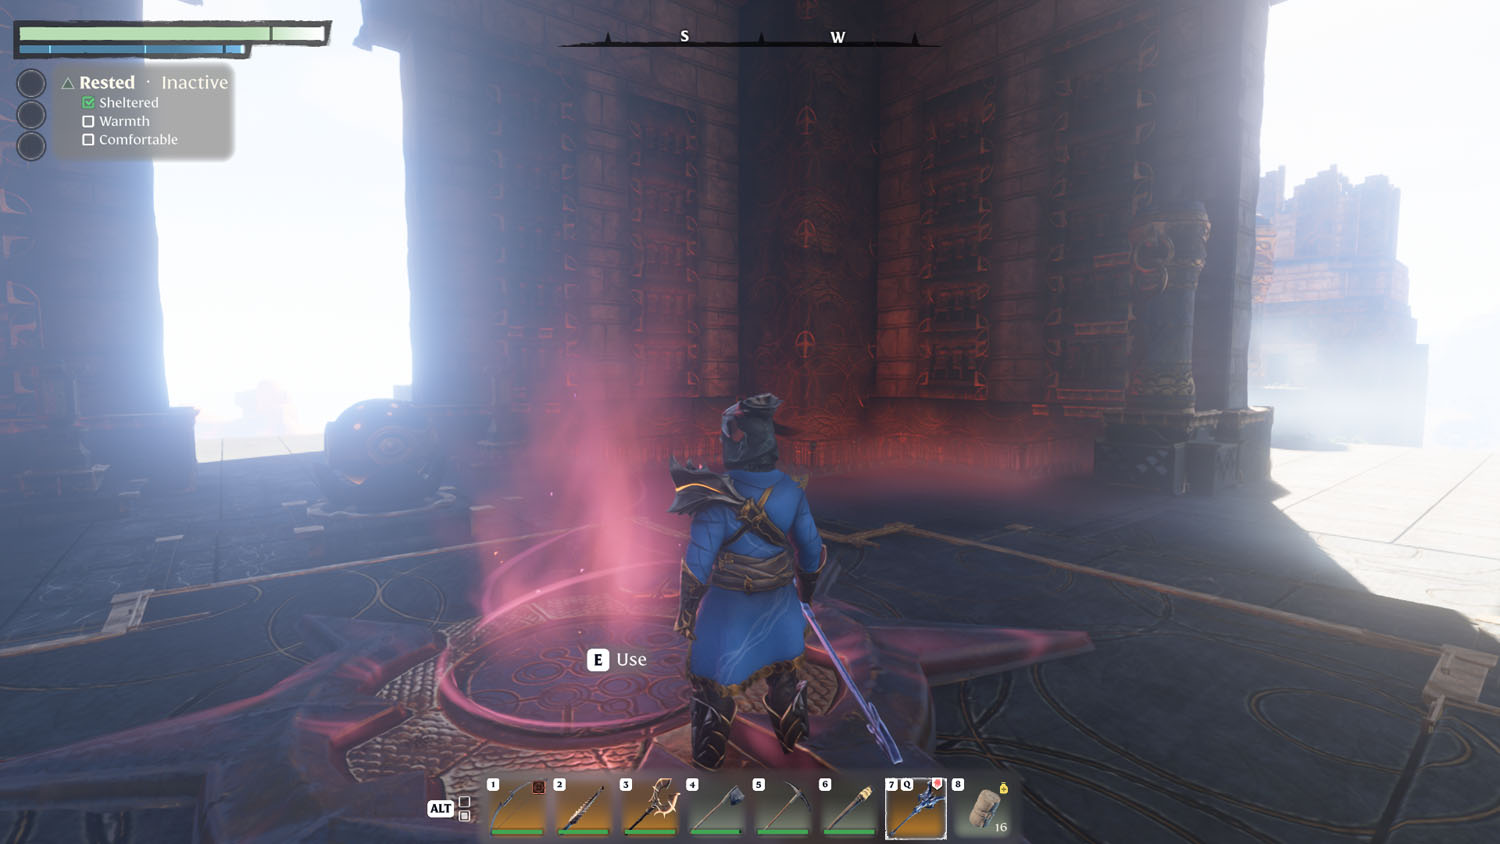
Ground Floor
This one doesn’t have much for you on the ground floor, so head for the ornate metal plate and warp up to the first floor.
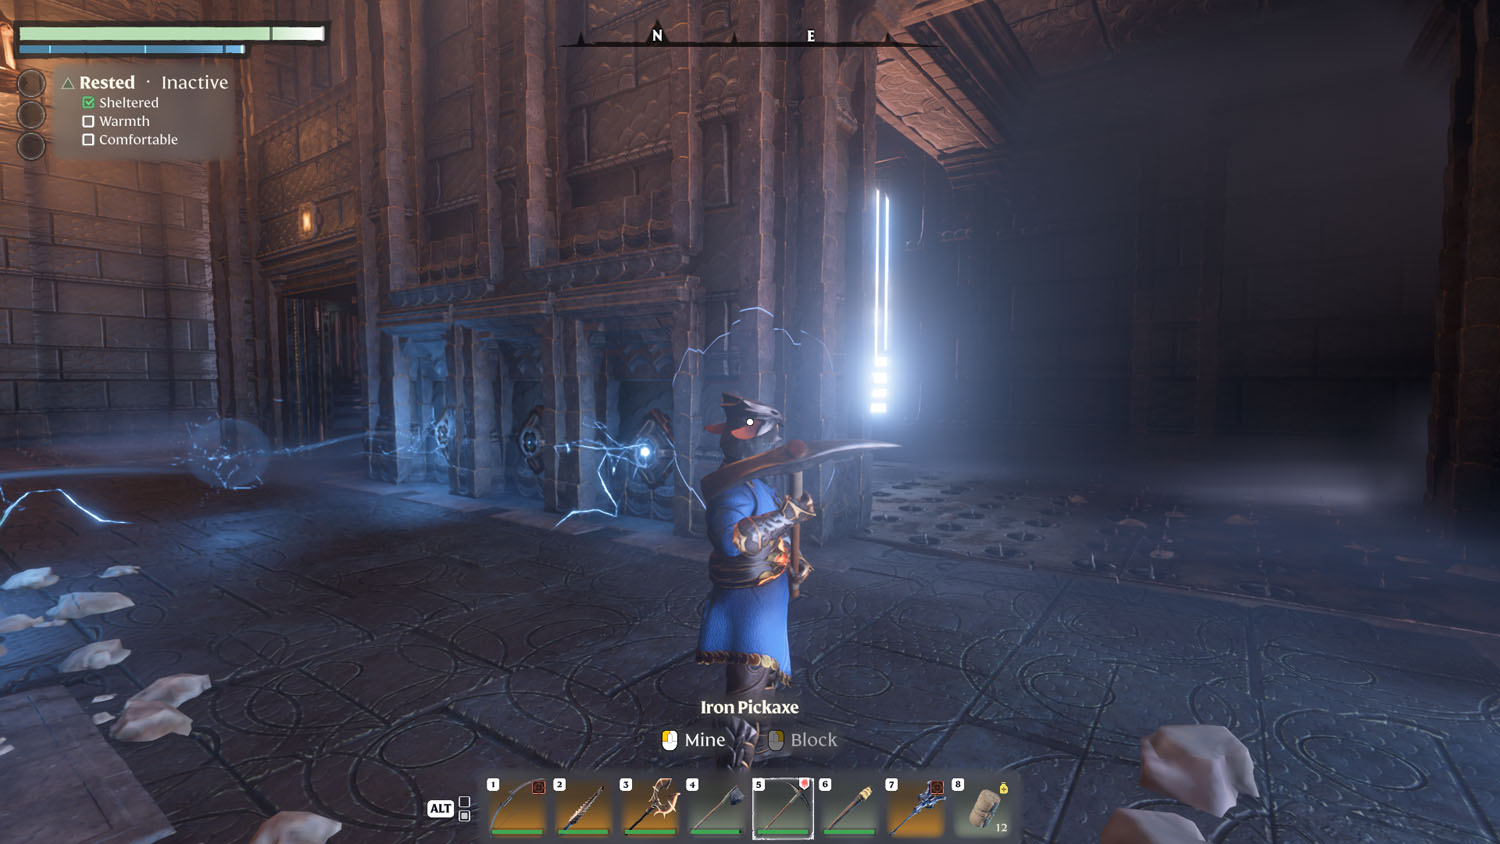
First Floor
This floor has a lot going on at first glance, but honestly, just jump down to the closed gate you see at the bottom left (eastward). From there, look to the west. There is a glyph high up on the wall where the stairs are going up. Hit it with an arrow or magic and the gate behind you will open up.
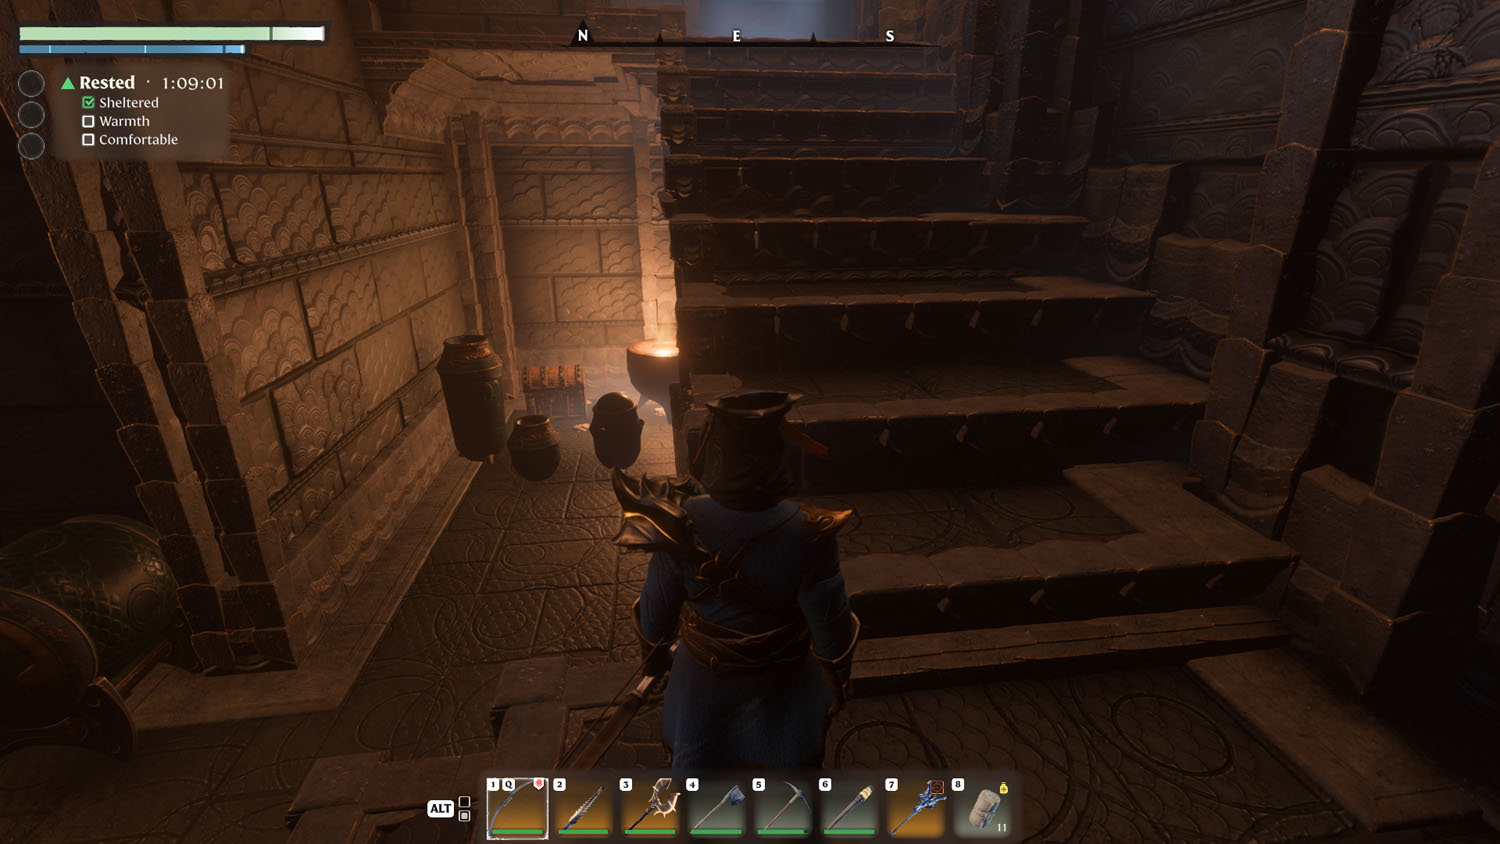
Head through the gate and up the stairs. You will find a spike floor waiting for you. Make your way across and around the corner, being careful to keep time with the spikes. Around the corner will be stairs leading to an open room with jars. Behind the jars is a button, and on the window ledge is a Wood Chest (requires Lockpick).
After you push the button, head back the way you came. In the original room, the gate leading to the second floor has opened up (you can see it from the base of the stairs).
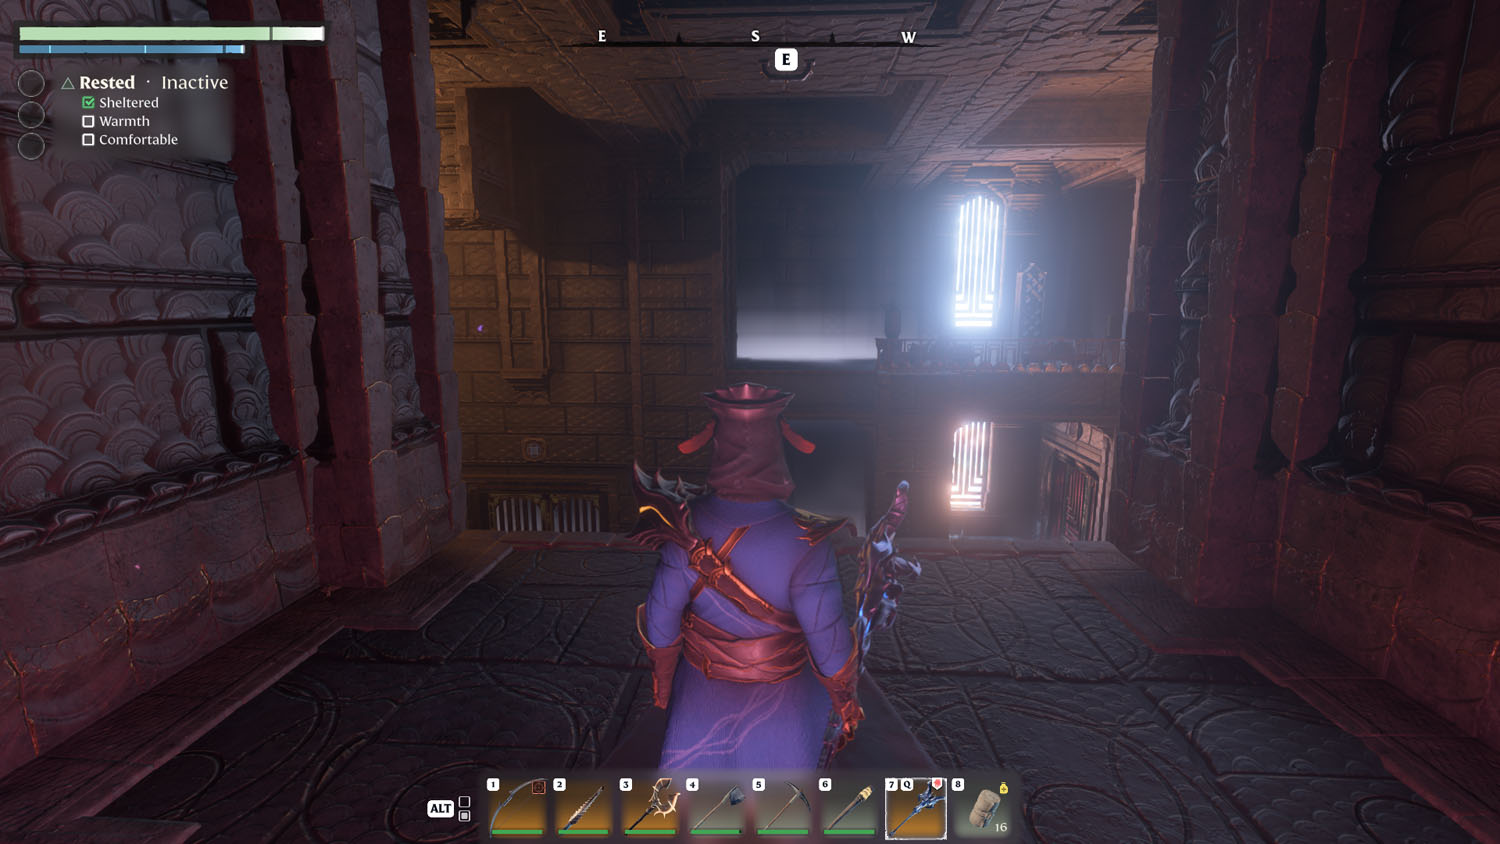
Second Floor
Straight ahead of you is a button and a spike floor. Hit the button and proceed northward and back around (the southern path will still require you to head to the north one anyway). After you push the button in an alcove on that side, head to the opposite side and pass through that gate.
In the room with no spikes, you’ll find a door requiring a second glyph to be activated. Head through the closed gate ahead. In the next room, you’ll find a closed gate requiring a glyph to open it. To the right of it is a climbable wall. Climb the wall and jump or walk over the spike trap to reach a safe space. Across the way will be a glyph. Hit it with a ranged attack and hop back down. The gate in this room will now be open. Activate the button (E) inside and head out of the room.
Pass through the previously closed gate and head across the hot coal floor to either the other side, or jump to the platform closest to the wire mesh wall. Climb up and proceed to the next floor using the teleportation platform.
Third Floor
This is the easiest floor, particularly if you have Double Jump (a Skill). Pretend the floor is ‘lava’ and just jump from one spot to the next in a sort of S-shaped pattern (or swing as the first spot has you using a grappling spot). You will reach the next teleportation pad leading to the Final Floor. OR, you can take the Optional - Two Wood Chests, Silver Chest, and Gold Chest path.
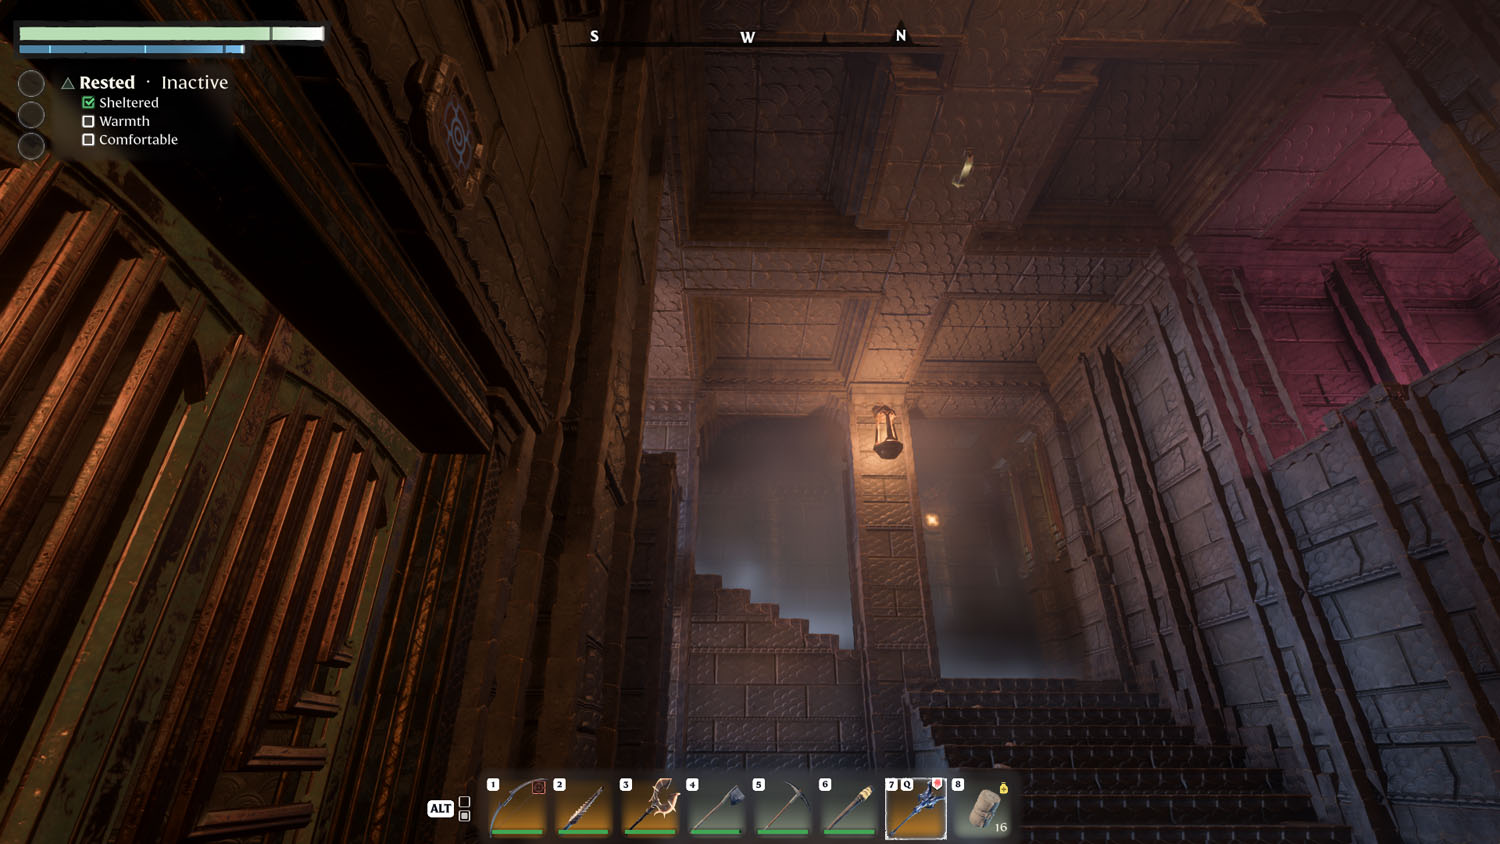
A Way Back Up
If you fall at any point, the next photo is your way back up and back on the path toward the exit. (The wall has metal grating you will have to climb.) From this spot, simply jump across, turn left, jump across, turn left and walk a bit. Turn right and jump. Then, turn left and the exit teleportation pad is right there!
Now it’s on to the Final Floor! Or keep reading for some sweet loot!
Optional - Two Wood Chests, Silver Chest, and Gold Chest
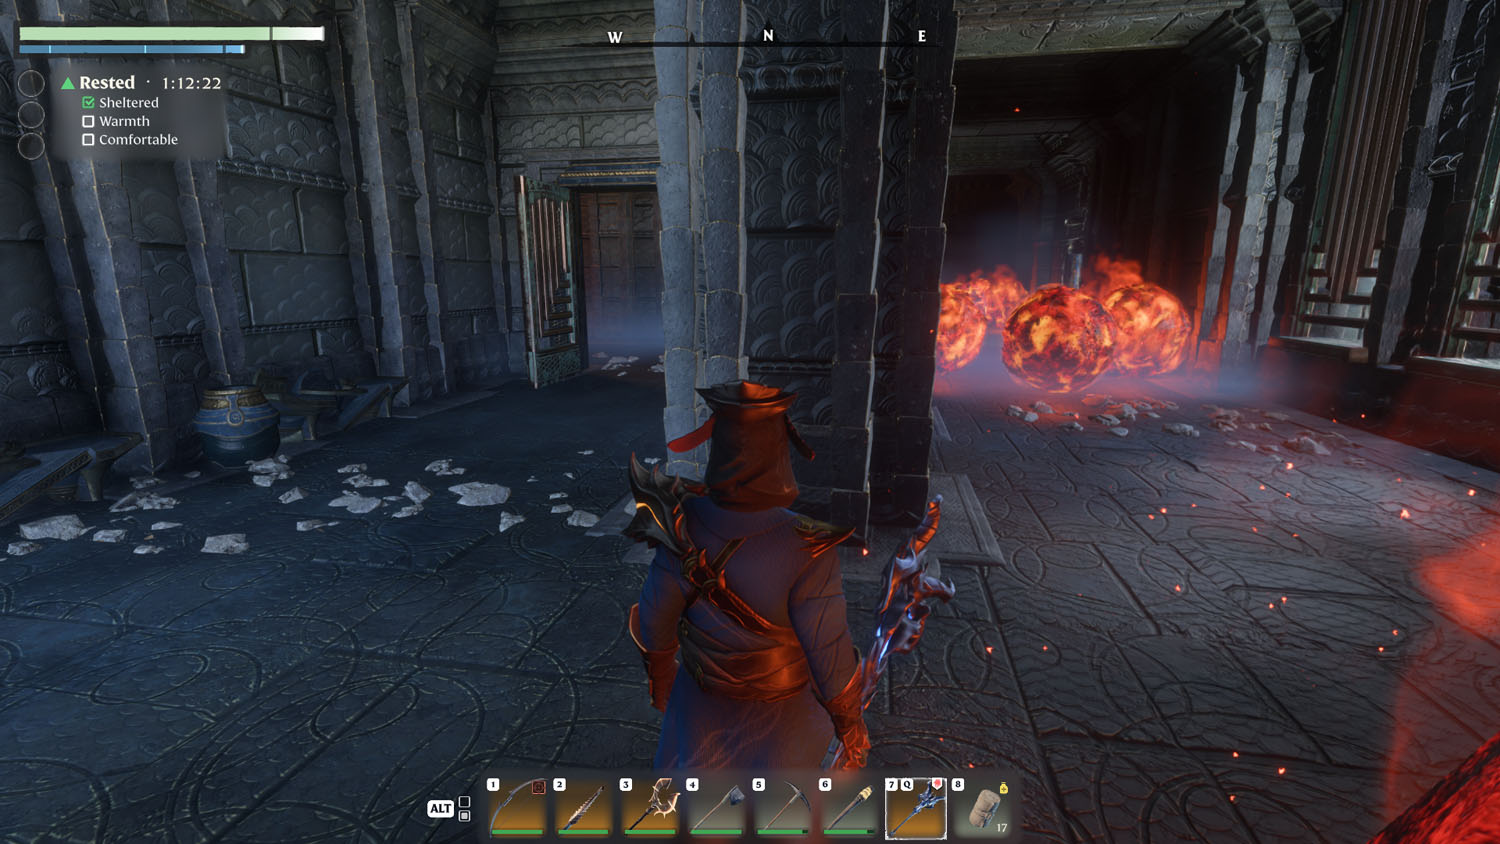
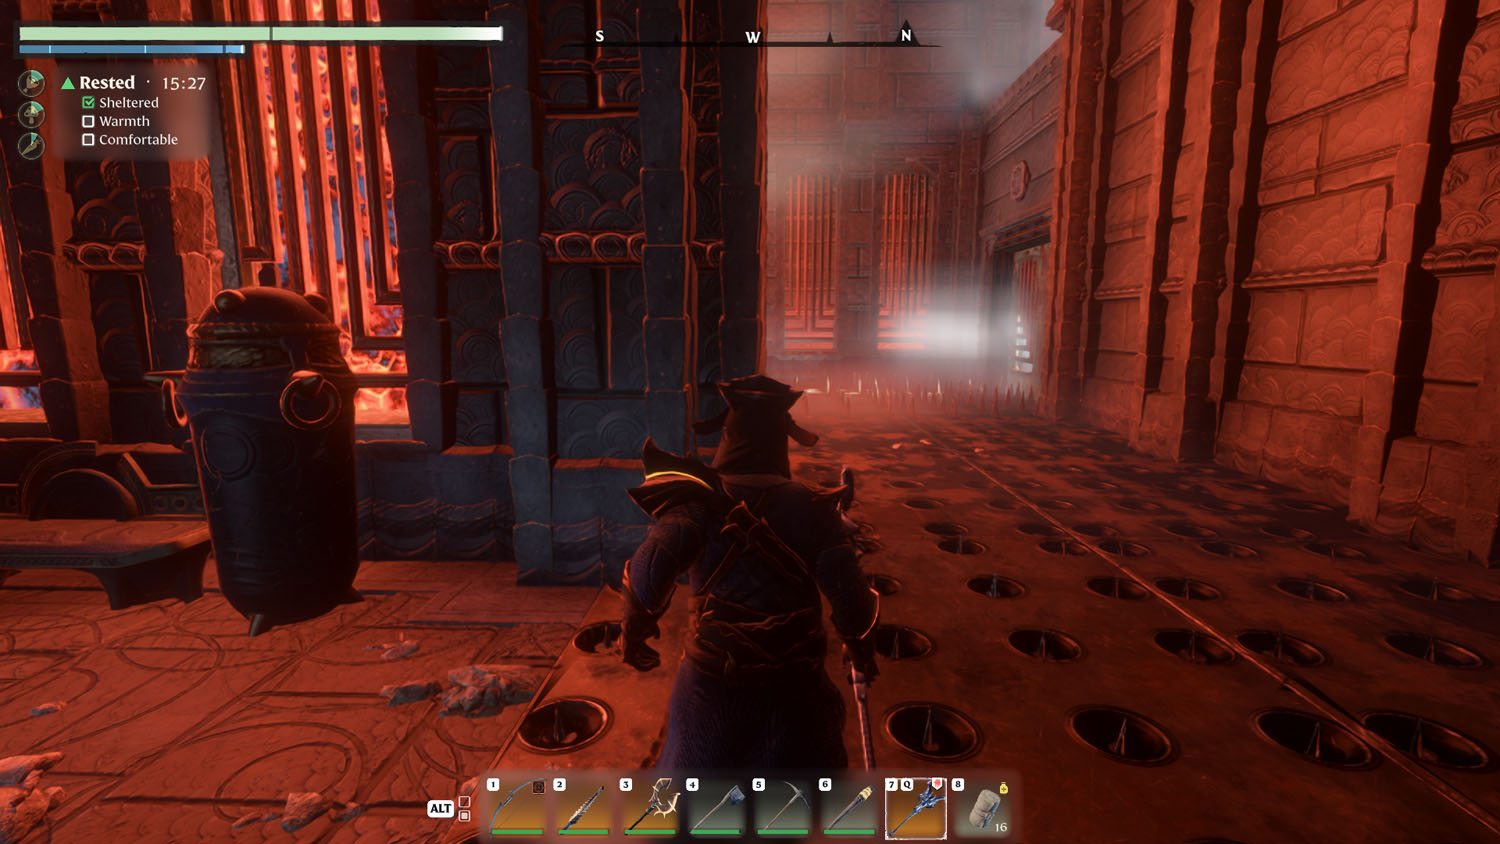
From the entrance, you can see a break in the wall where it is safe from the spikes on the ground floor. Head for that (northeast). When you land, you will find a button to press here (press it). If you turn directly around, there is a Wood Chest on a window ledge, but you will have to dodge three flaming boulders to reach it. A small gap allows you to rest between the boulders and the spike floor, so there is no rush.
From that same spot, there is a gate to the right. Interact with it to open it (E). There is enough of a gap right in front of that gate that you will not be burned as you open it. Turning around from that empty alcove, you will see a glyph on the wall - this is the one you activated by pressing the button earlier. There is a gap between the two alternating rows of blazing boulders. If you enter that gap and turn around, you can just barely see a window ledge to the right of the alcove you just left. On the window ledge is the second Wood Chest. There is a gap between the blazing boulders and the spikes, allowing you a safe resting spot before reaching the chest.
Now, head back to where you were before (between the two rows of blazing boulders). This time, head for the glowing glyph. Underneath the glyph is a Gold Chest, its gate opened by the button earlier.
Now for the Silver Chest, from the Gold Chest, head across the spike trap floor to the left. There will be a spot with two of the stone benches and a safe floor spot. If you look up, you can see a grappling spot. This will take you up to an L-shaped hallway that ends in a Silver Chest.

To return to the way back up, head back to the Golden Chest location, jump over the lightning death trap (or go the long way around the spikes), and turn left around the corner (with the spikes in that corner area).
Around that corner, you will find A Way Back Up.
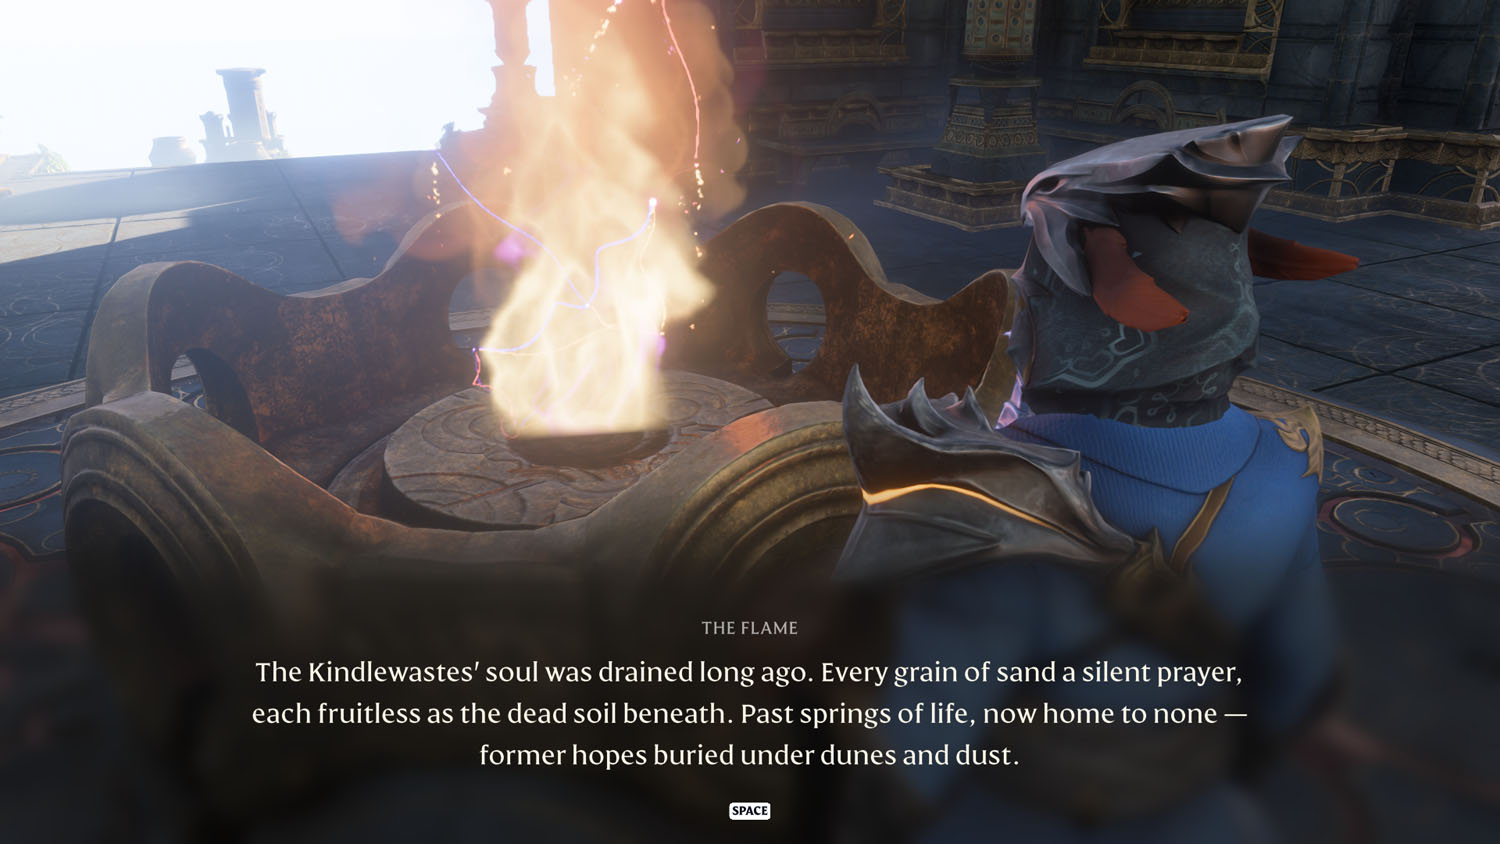
Final Floor
Ta-da! You did it! All the current Ancient Spires are now yours! Well, just make sure to talk (E) to this one to activate it first. Then (as long as you completed the ones before this) they’re all yours! - as of March 2024, that is.
NOTE: All content below is from BEFORE Hollow Halls Update - version number 510434. Content below is good for anything before March 26th, 2024. Content may still be relevant after March 26th, 2024 - but there may be gaps in the information below as more Lore and Quests were added by developers.

