Enshrouded Alchemist Quests Walkthrough

I tried keeping it sweet and simple, but some of the quests are more complex than others. If you see an error, please let me know, and I’ll work to fix it! All images used in this blog post are screenshots from the game Enshrouded.
- Quick Links To Help
SPOILER ALERT: There’s no way for me to avoid spoiling game play with the walkthrough.
NOTE: All content below is from BEFORE Hollow Halls Update - version number 510434. Content below is good for anything before March 26th, 2024. Content may still be relevant after March 26th, 2024 - but there may be gaps in the information below as more Lore and Quests were added by developers.
Alchemist Quests
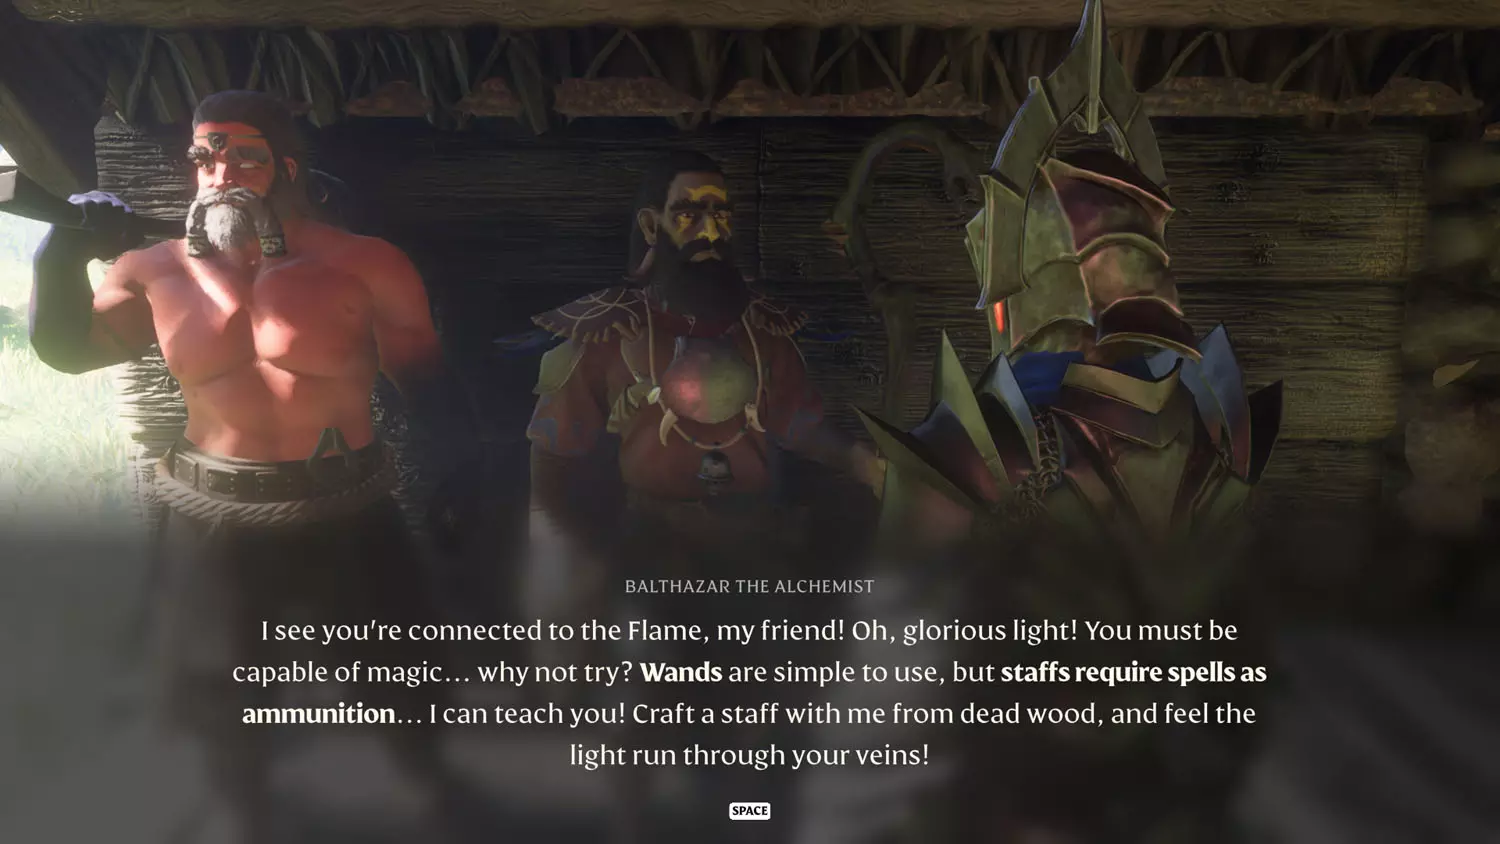
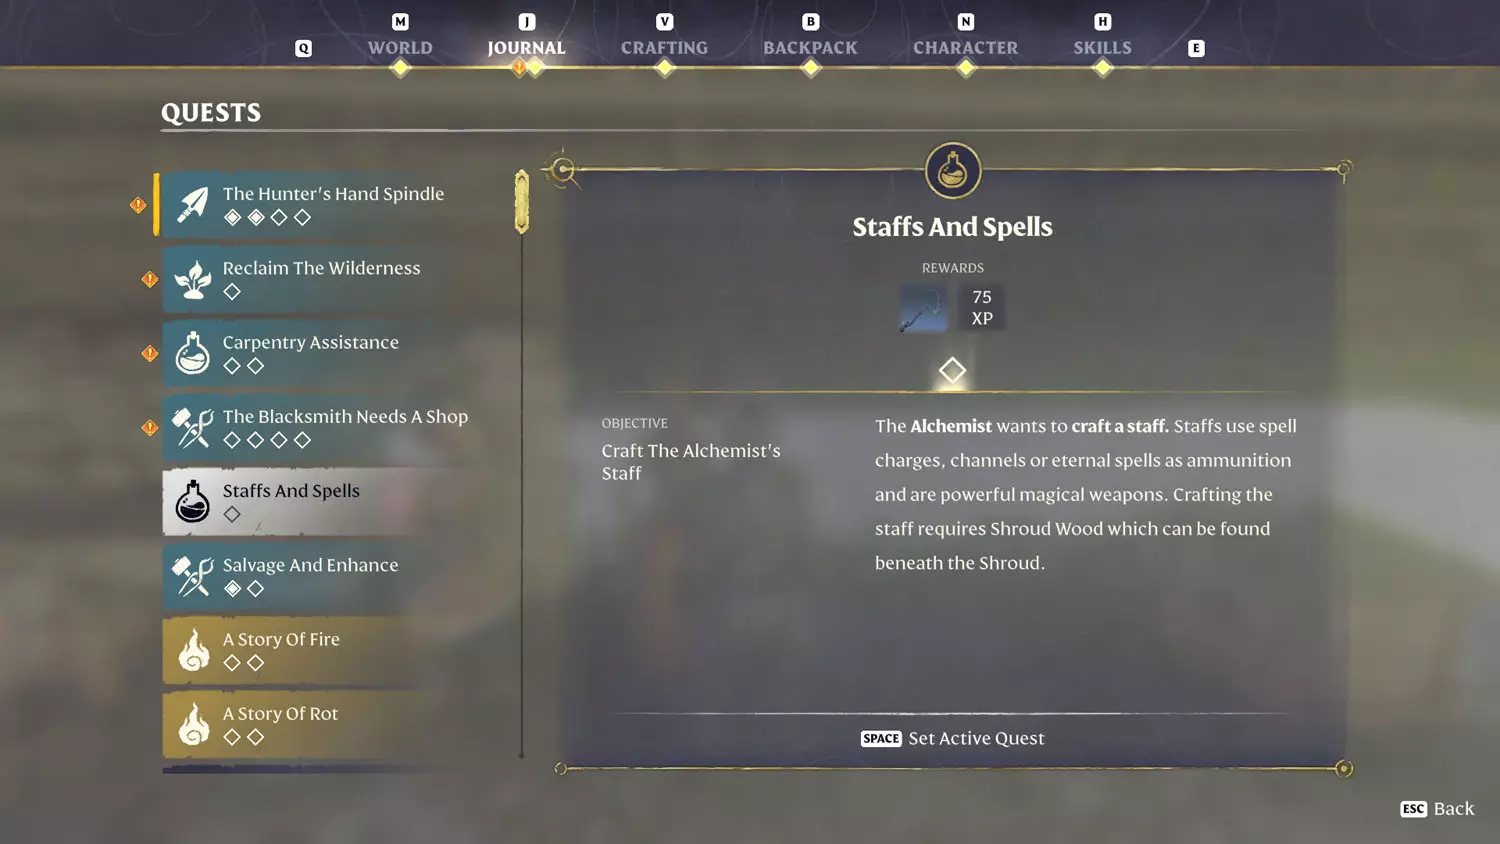
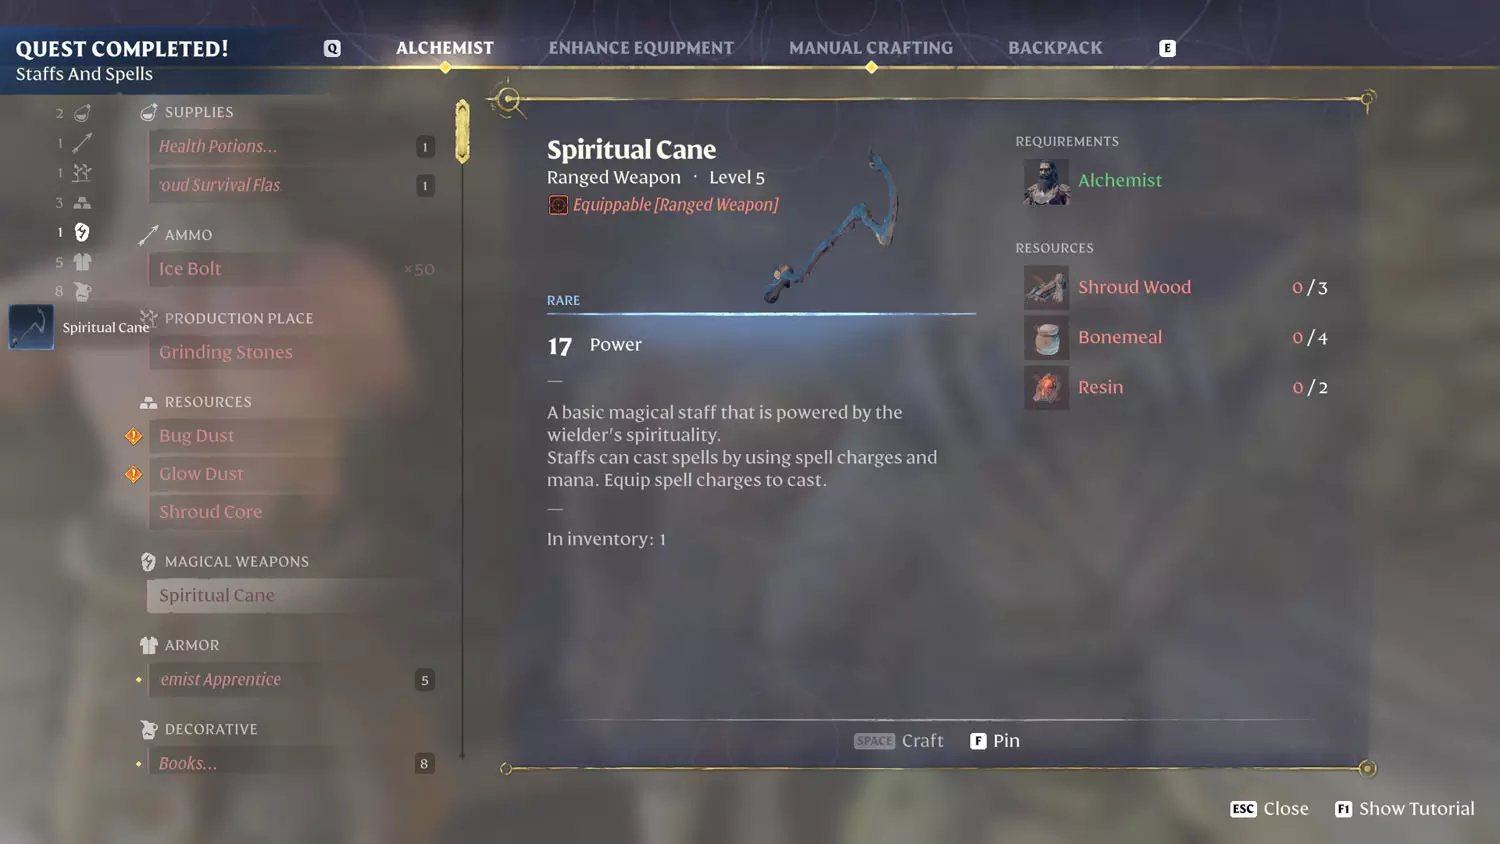
Staffs And Spells
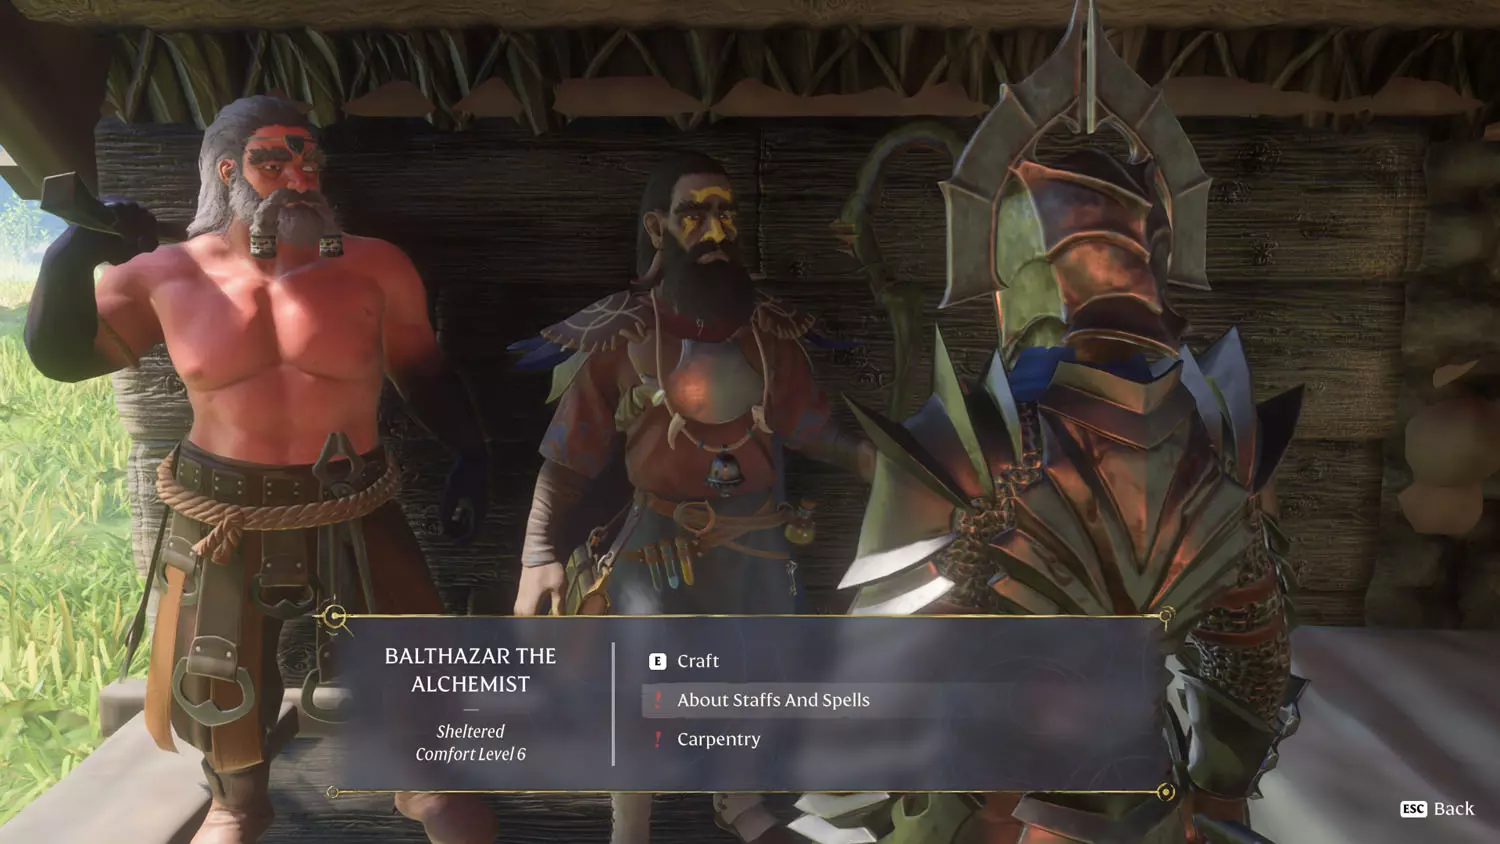
This quest is available as soon as the Alchemist is summoned. To start the quest, select the dialogue option “About Staffs And Spells”. You may not receive this quest (do to a bug?) if you already have a staff or wand or if you had one and destroyed it. In order to complete this quest, simply craft the staff he has available in the crafting section when you talk to him.
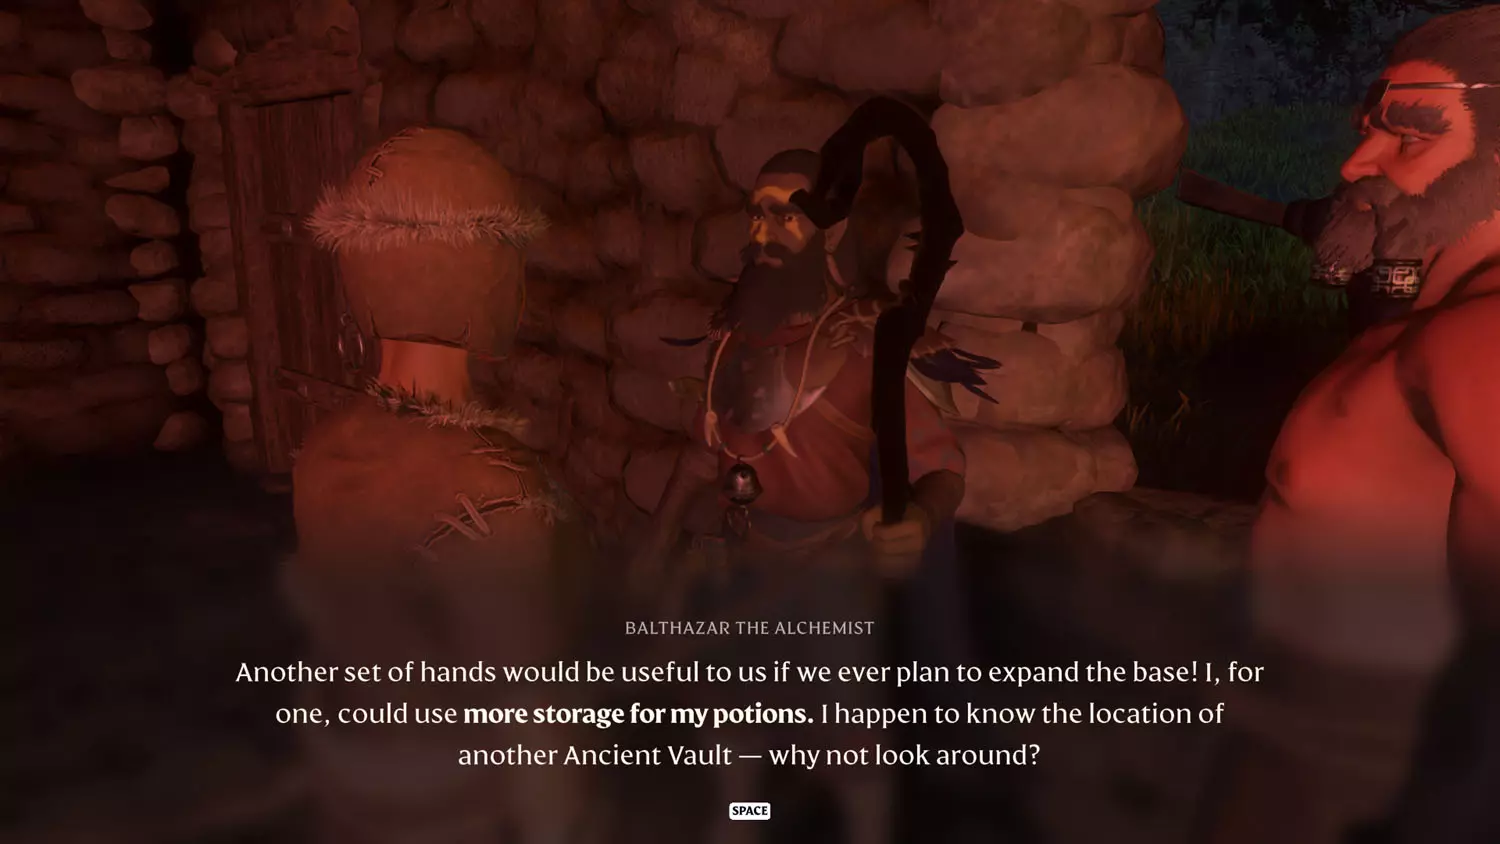
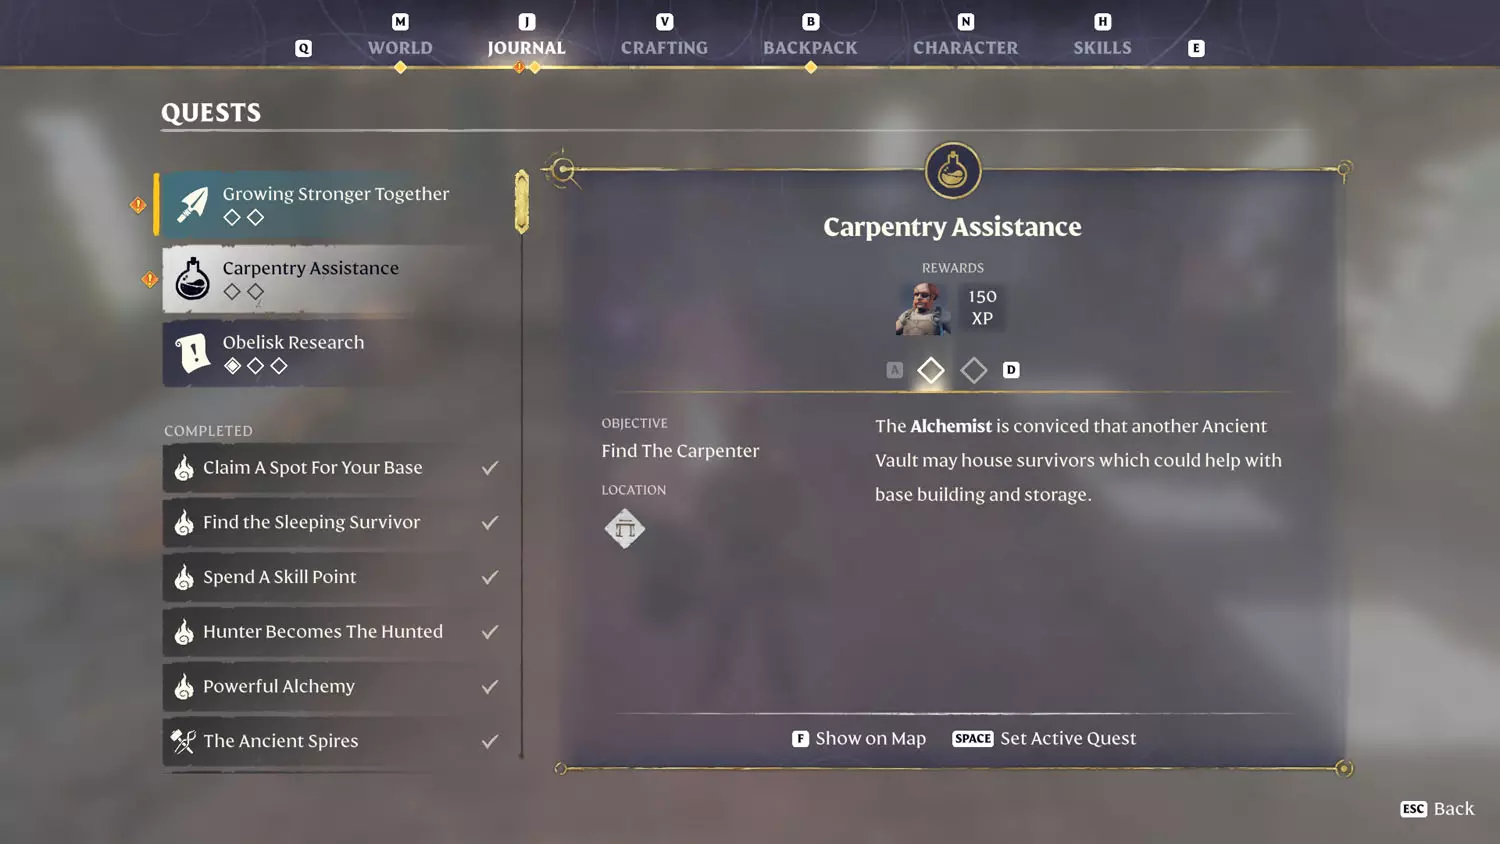
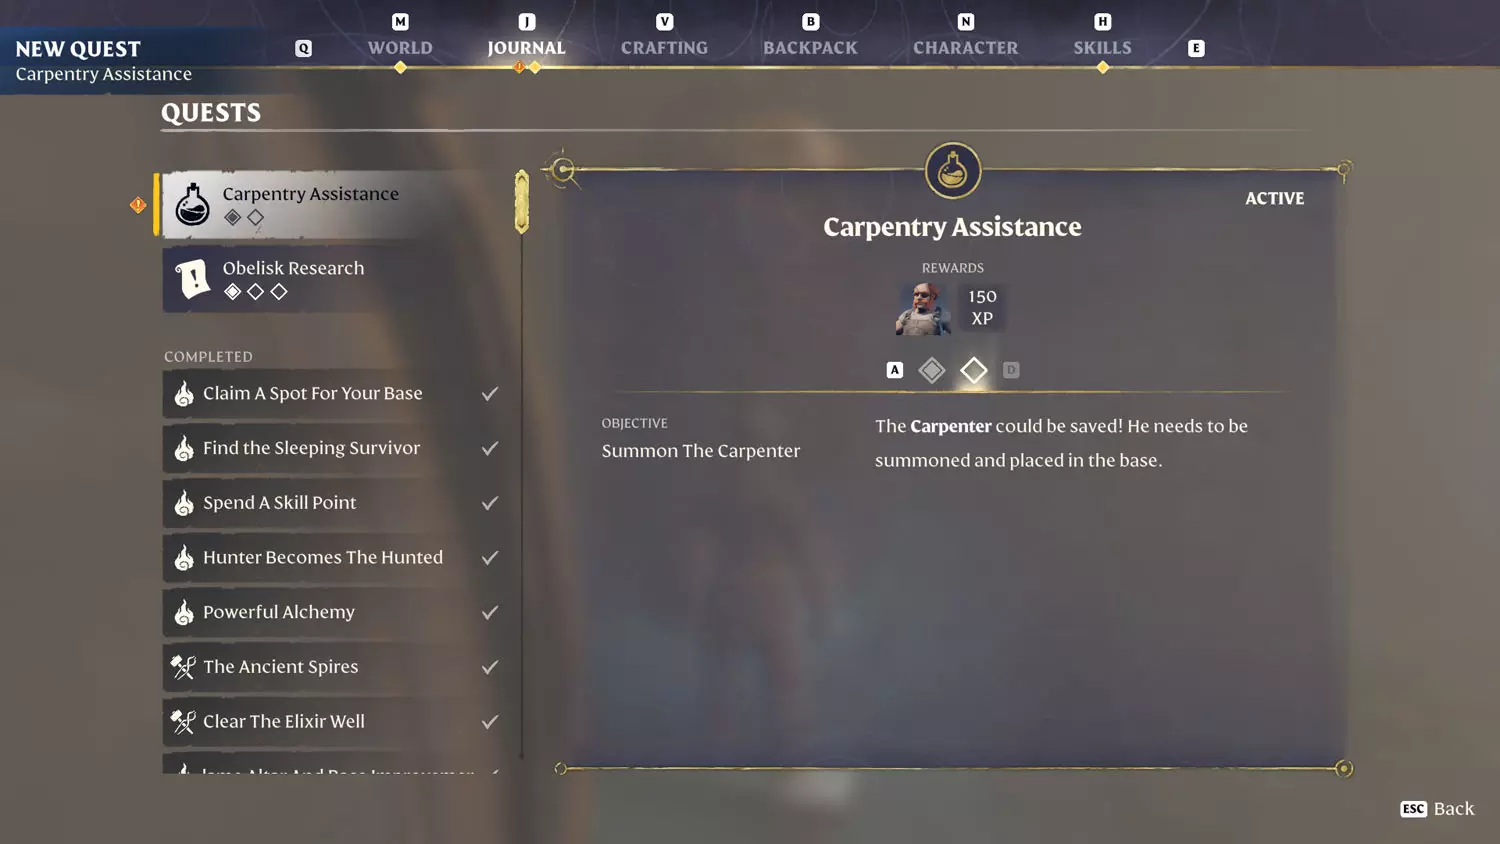
Carpentry Assistance
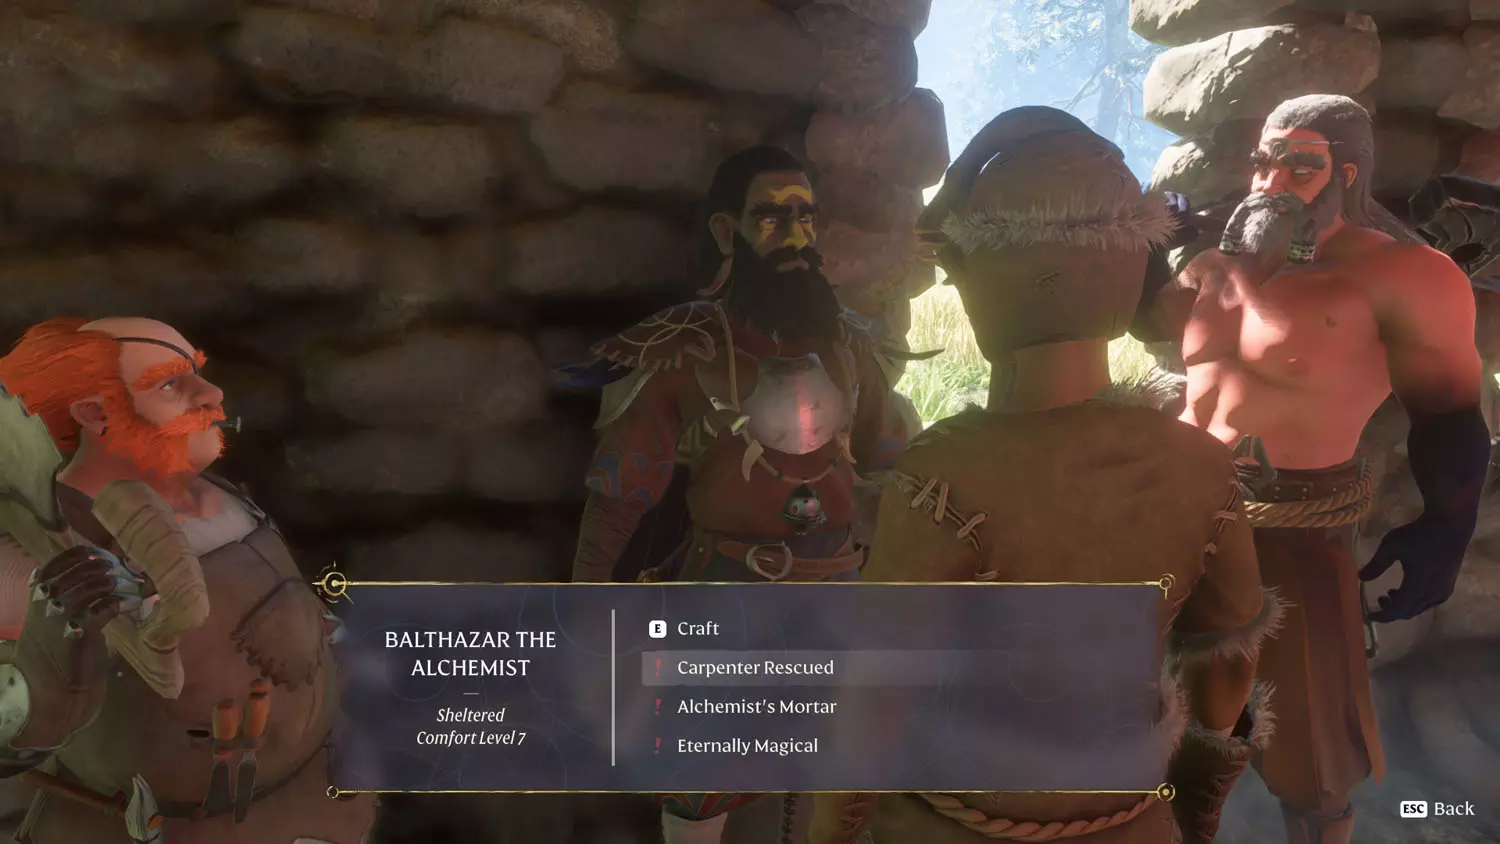
This quest comes from talking to Balthazar The Alchemist with the “Carpentry” dialogue option. He has it, and the following quest, immediately after he is summoned.

To be honest, this one is easiest to reach by being random. If you find a road that works for you, great! Go for it. I know I had a few that started good and then ended somewhere not in the direction I wanted to go. Anyway, the quickest route seems to be heading south for the Flame Shrine. Then, follow the edge of the map as you head for Morwenna.
TIP: Morwena has the Vukah And Wildlife Lore: Building Morwenna 1/2 These Lands and 2/2 A Challenging Build.
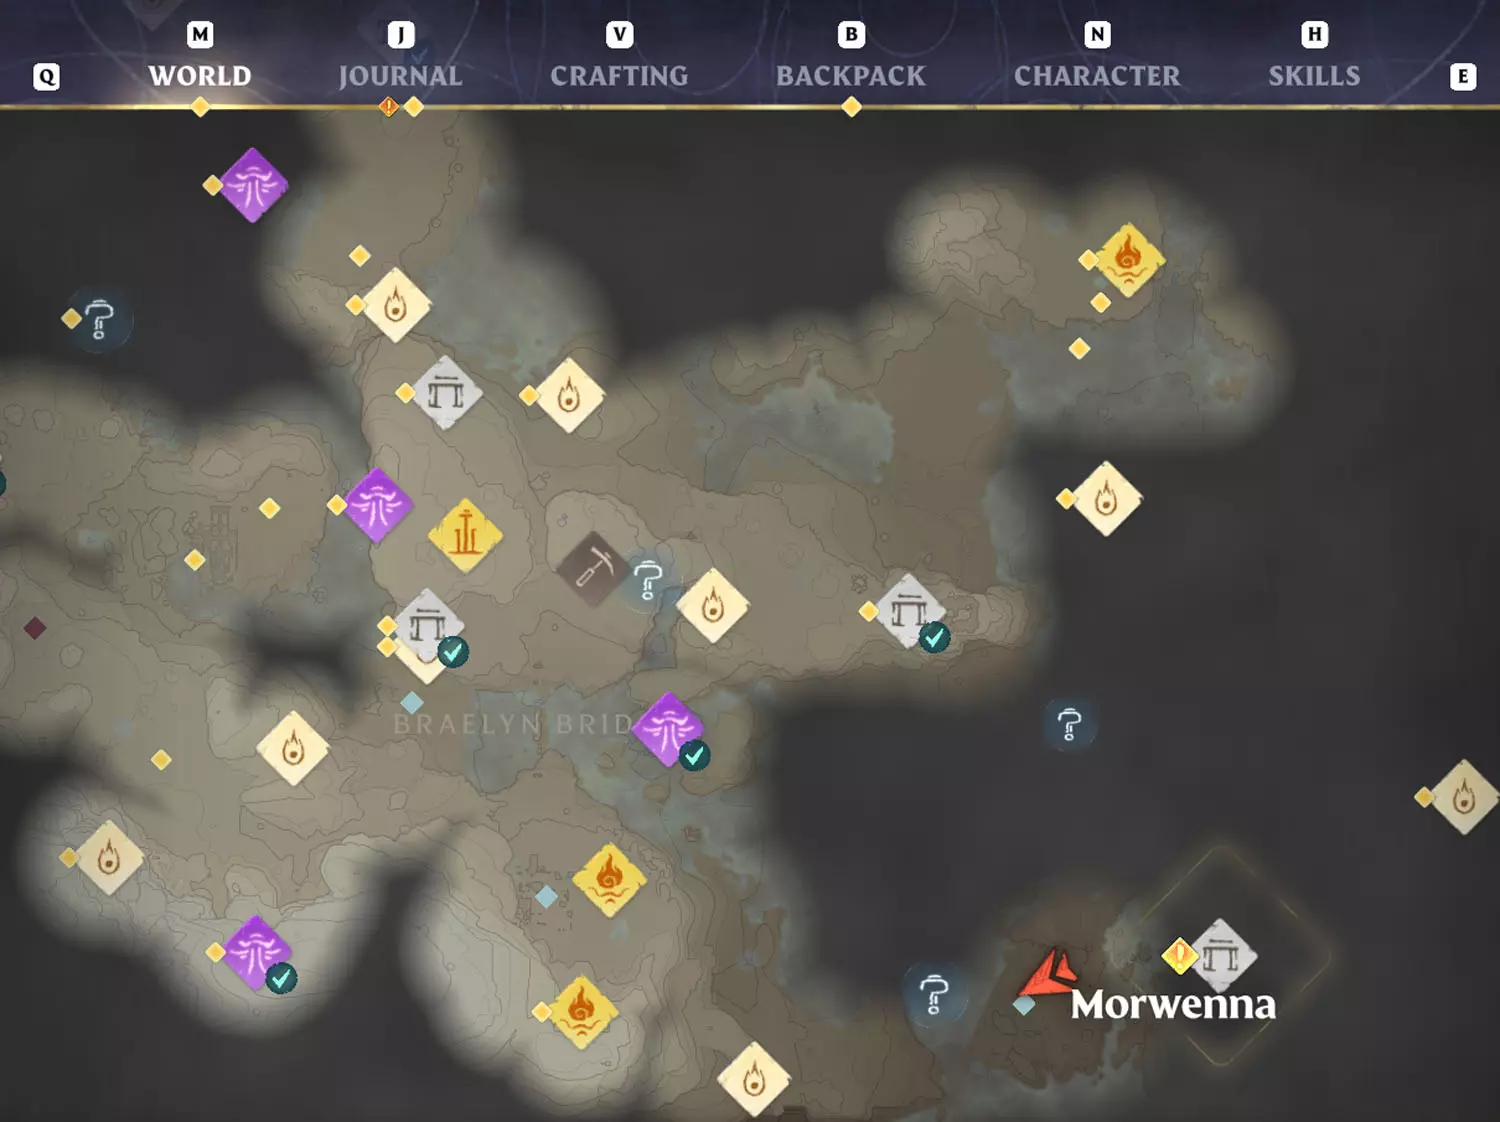
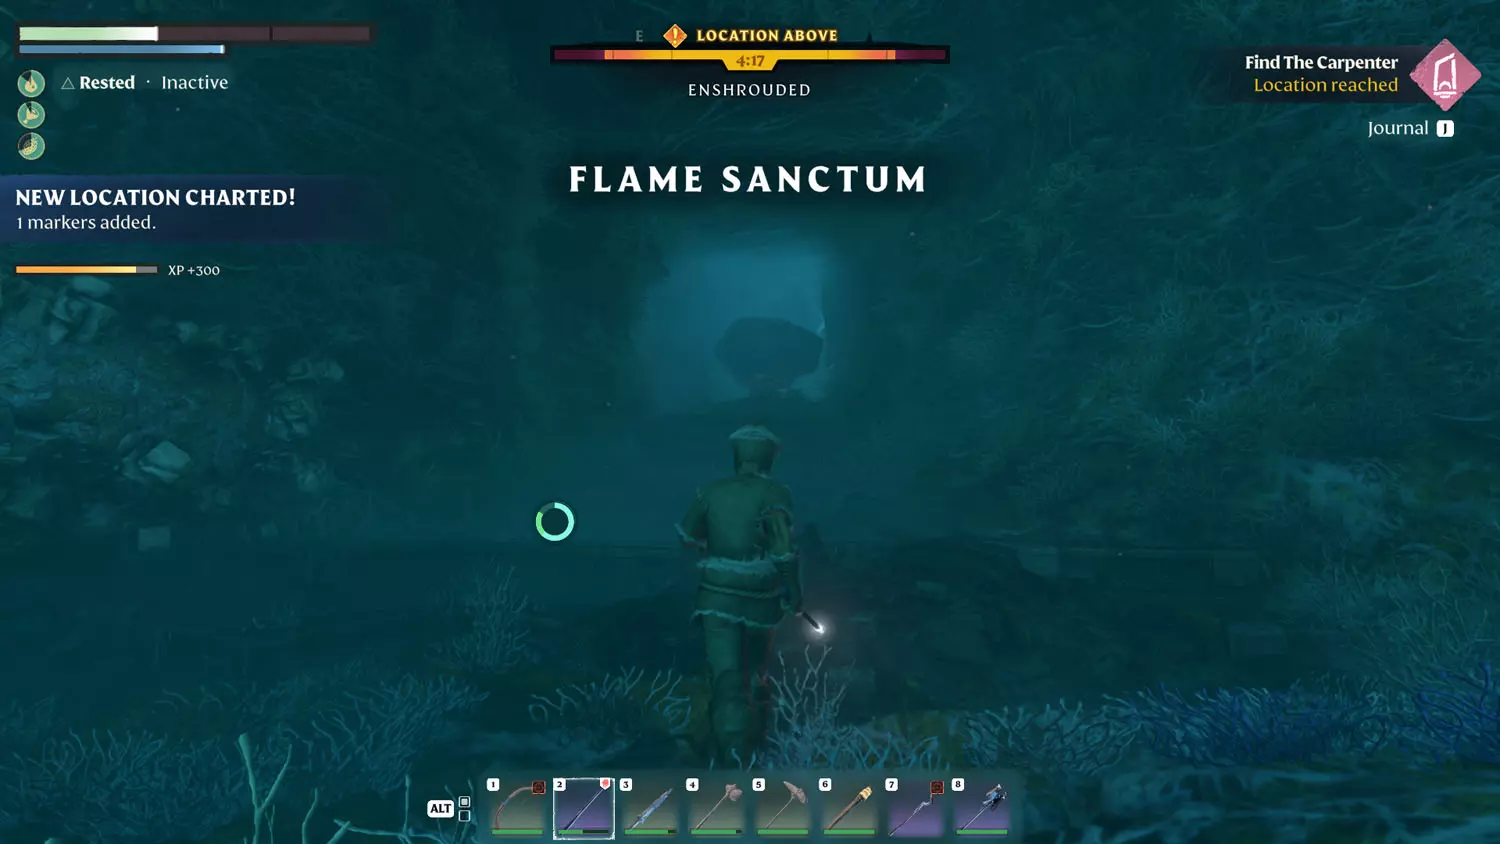
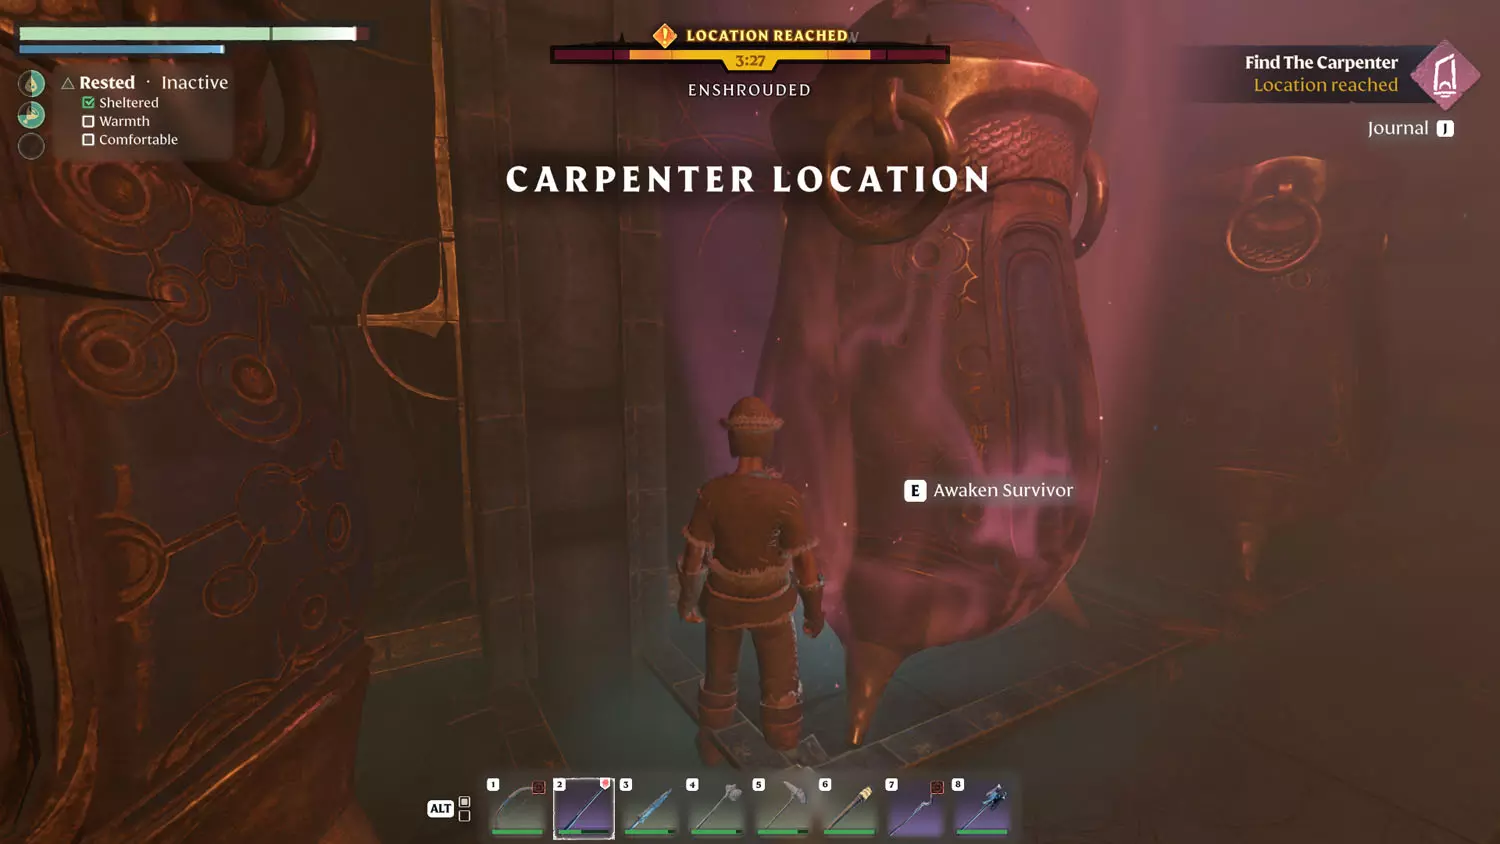
From Morwenna, there is a road that leads straight to the Vault with the Carpenter. Sadly, the area is Enshrouded, so it can be a bit challenging. Head straight in. There will be enemies and enemy nests to take out. You can skip them and simply run through. The first room is full of Fell bugs. The next area (Flame Sanctum) has the banshee types (Fell Banshies, I believe they’re called). The whole place is a square, if that helps.
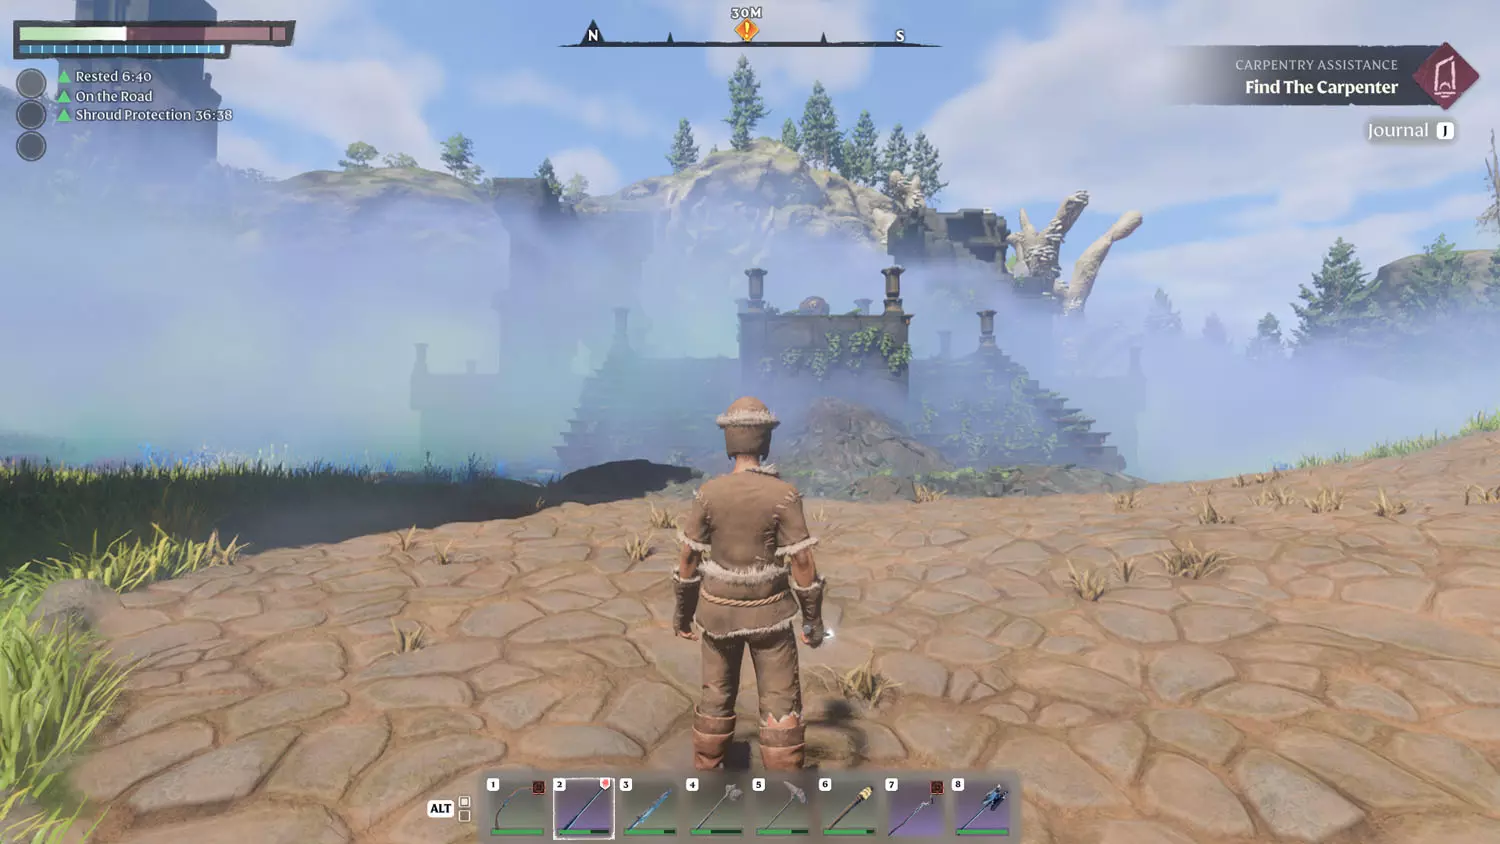
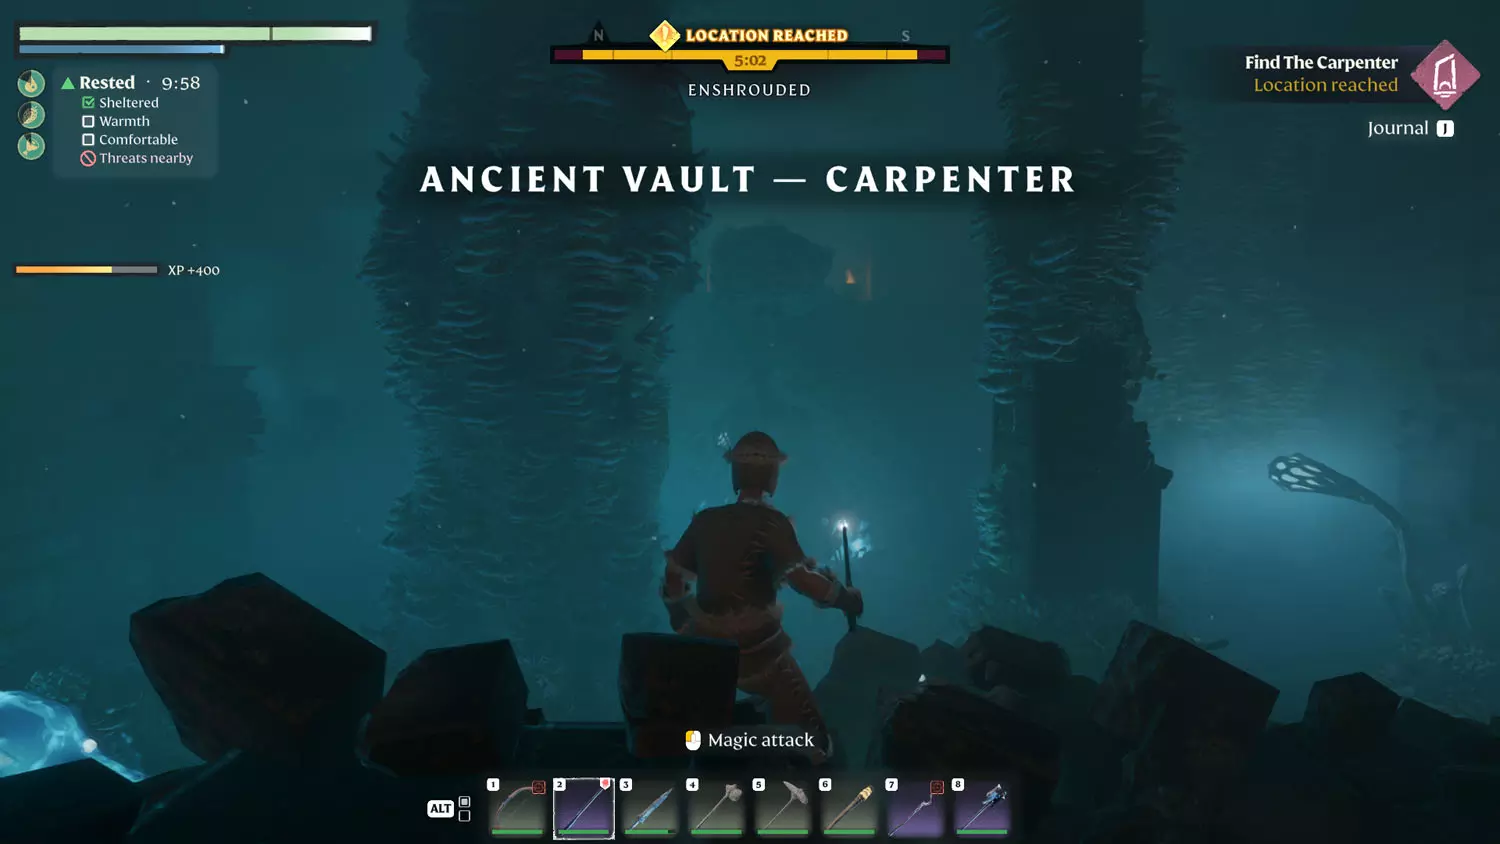
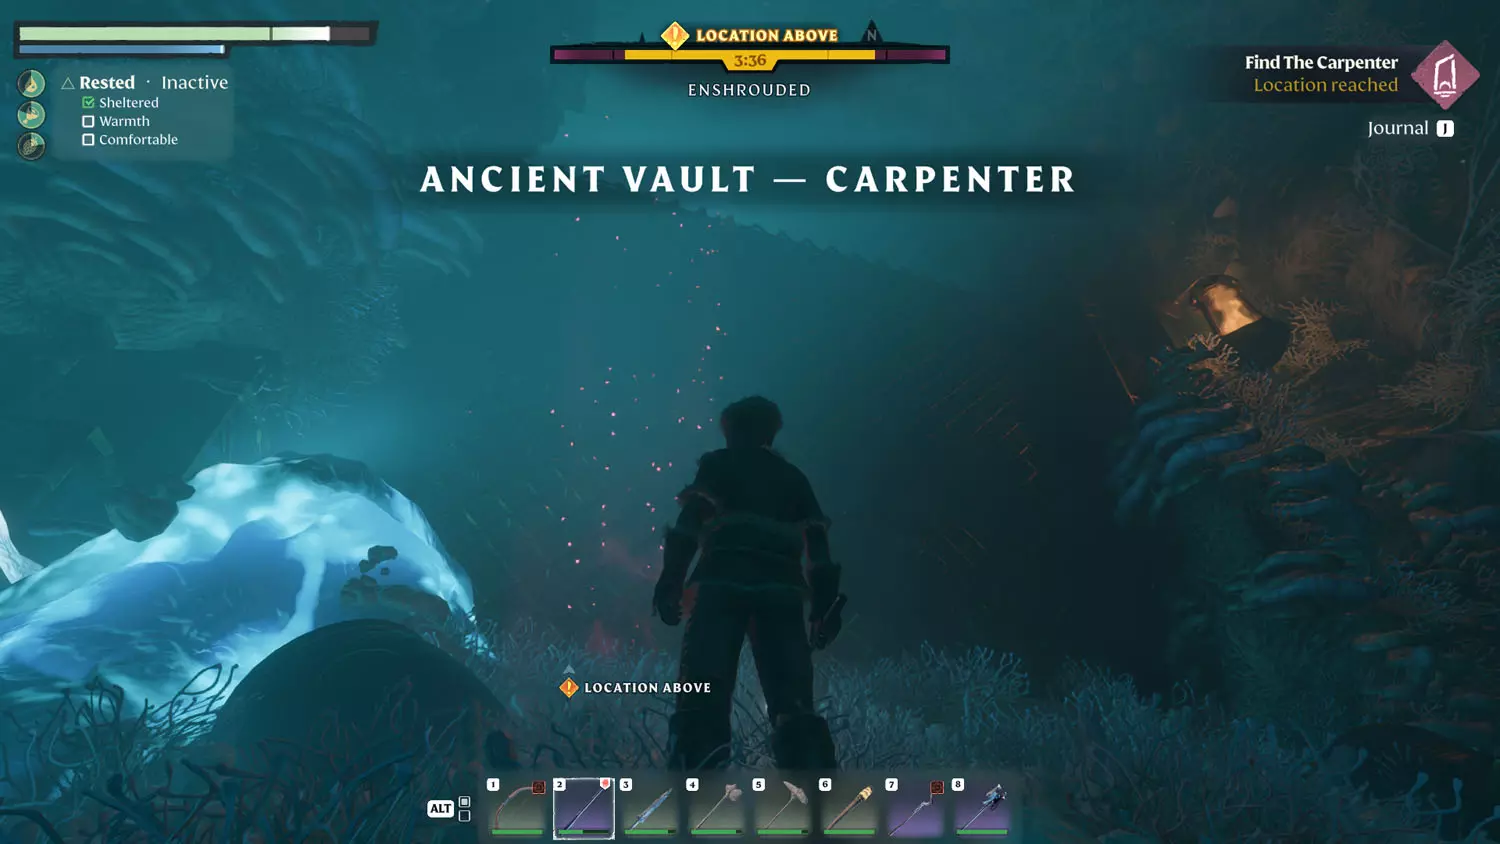
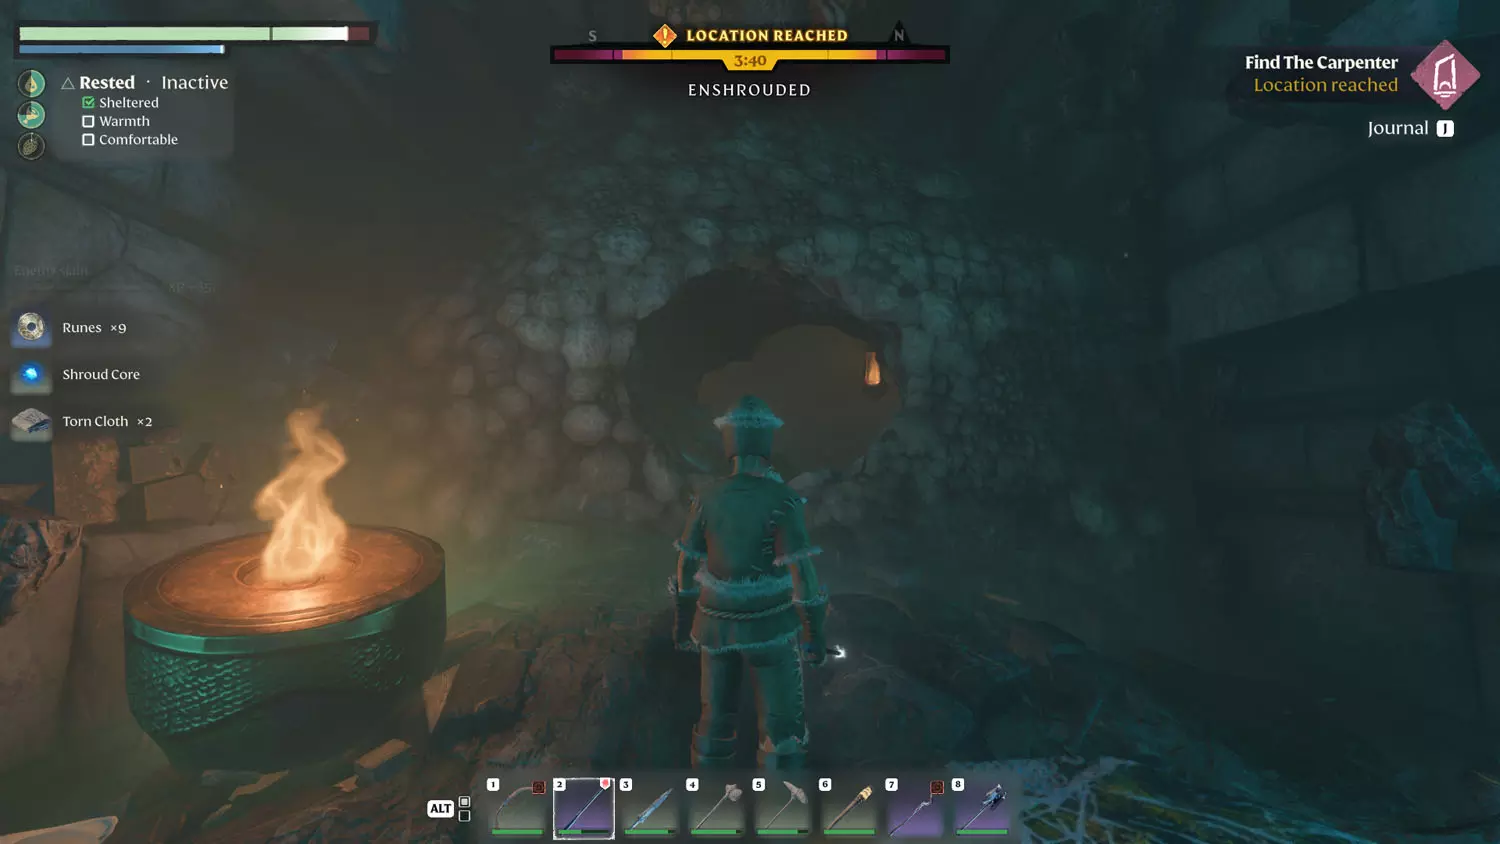
Keep moving forward and you’ll find a scalable wall, and you’re back to the Ancient Vault - Carpenter. After that, you will encounter a false wall of stone. Pickaxe it or bomb it. You’ll see a lantern on the other side, and you’ll have a floating wraith to deal with. BUT! You’ve found the Carpenter Location! As usual, the first part of the quest is completed once you interact with the Vault. Don't worry, there are doors nearby that open to let you cut through the dungeon. Just remember, it is a square shaped dungeon, so go straight out. It's easy to get lost.
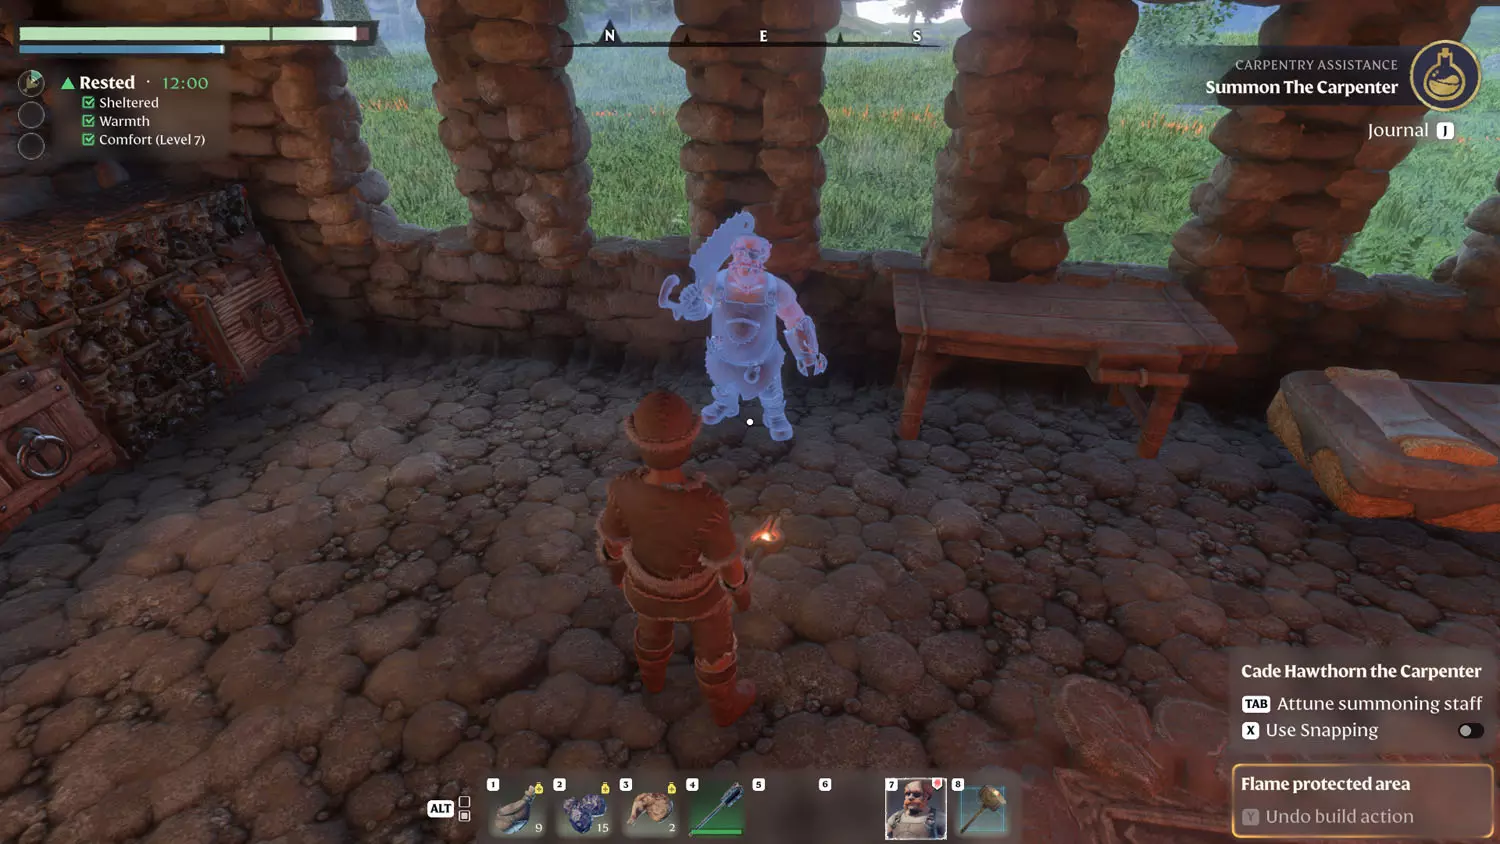
Head back to your base and place the Carpenter Cade Hawthorn to finish the quest.
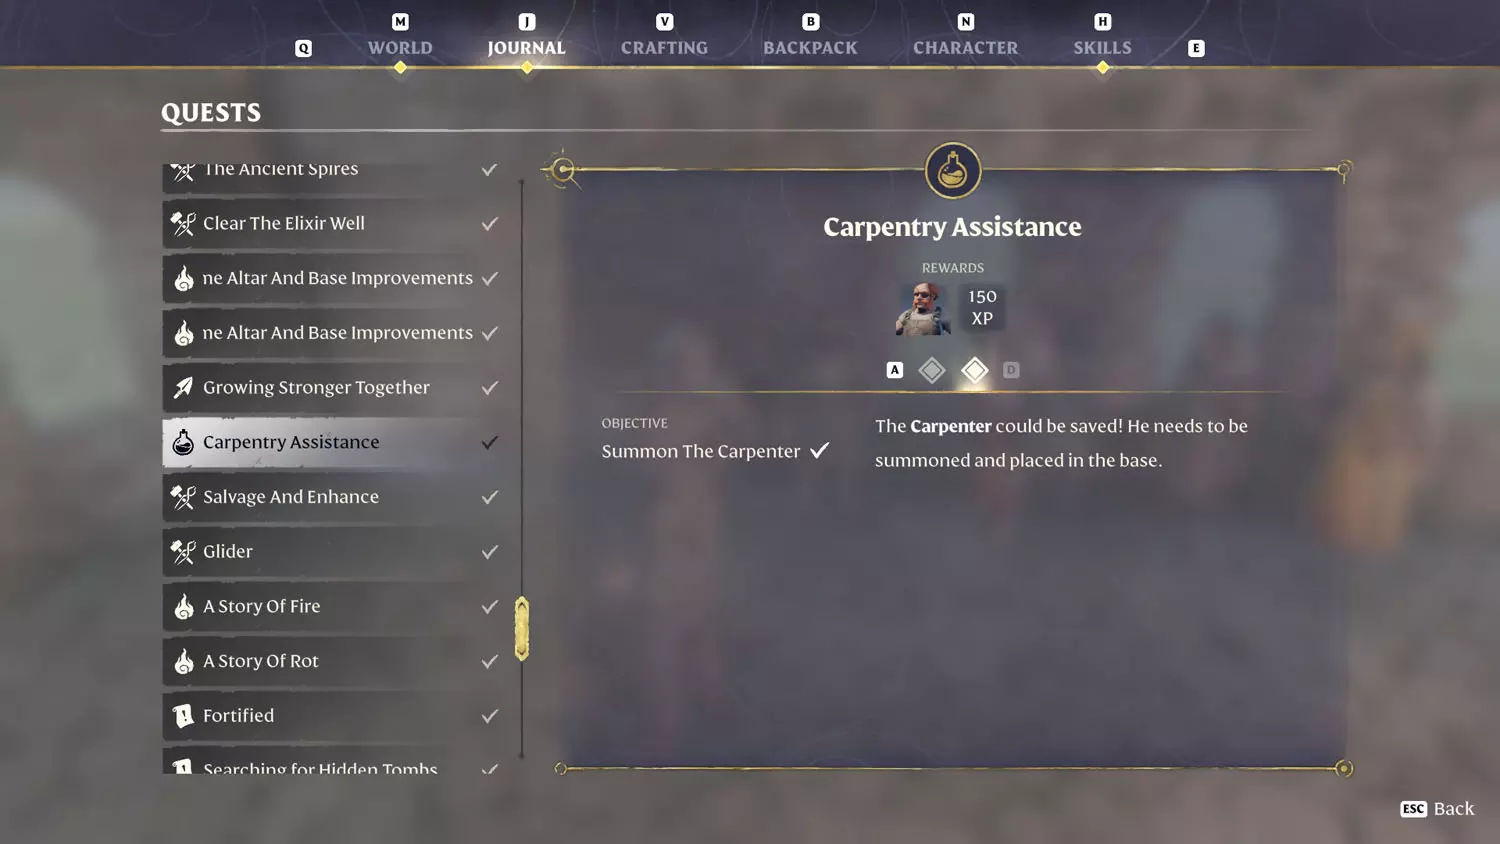
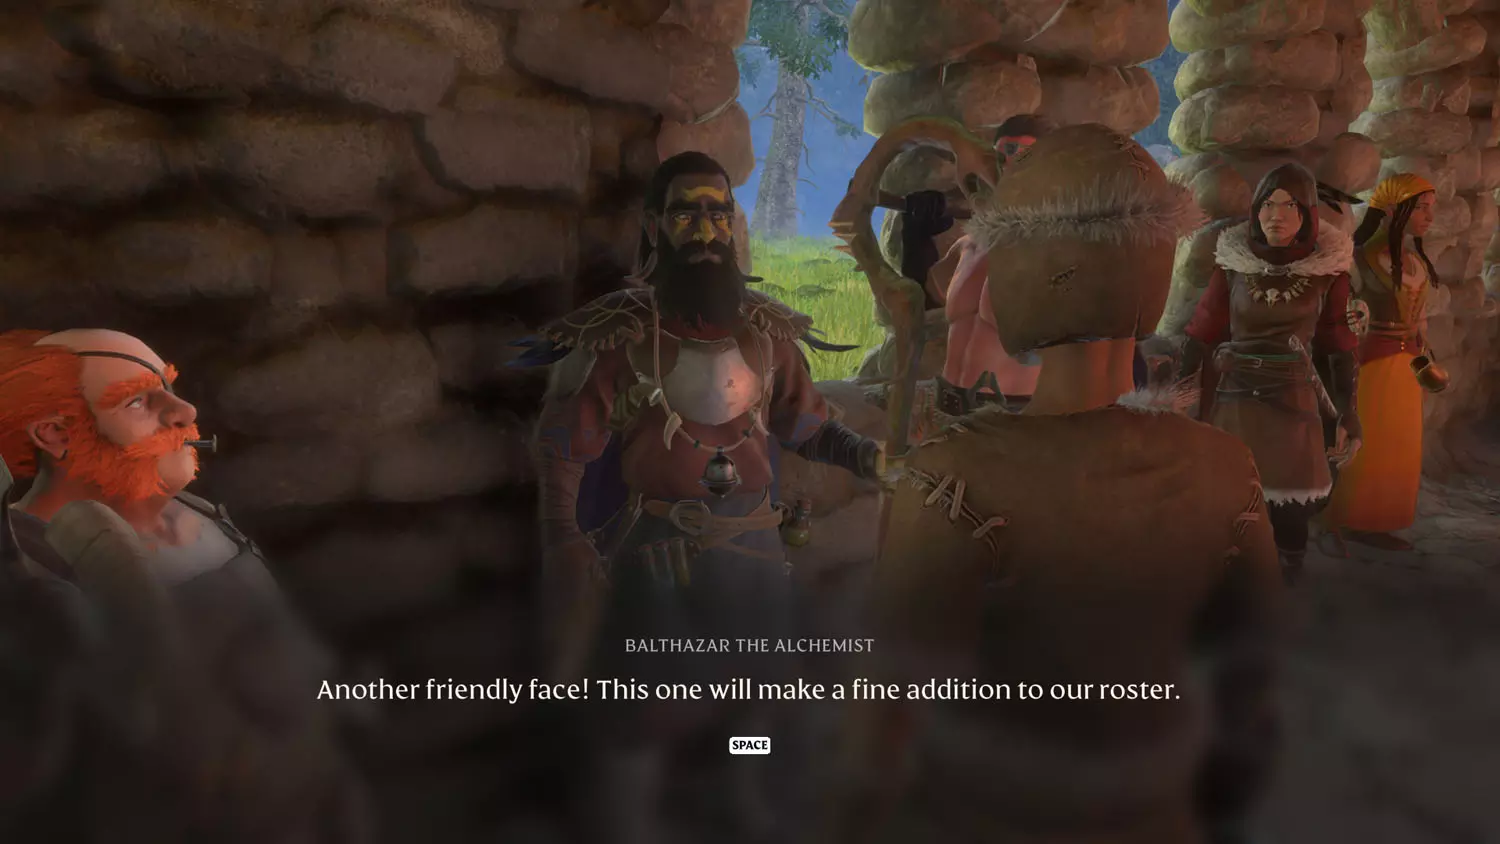
After returning to your base with the Carpenter, Balthazar The Alchemist will have the dialogue option “Carpenter Found.” Selecting this will result in a merry laugh and some banter.
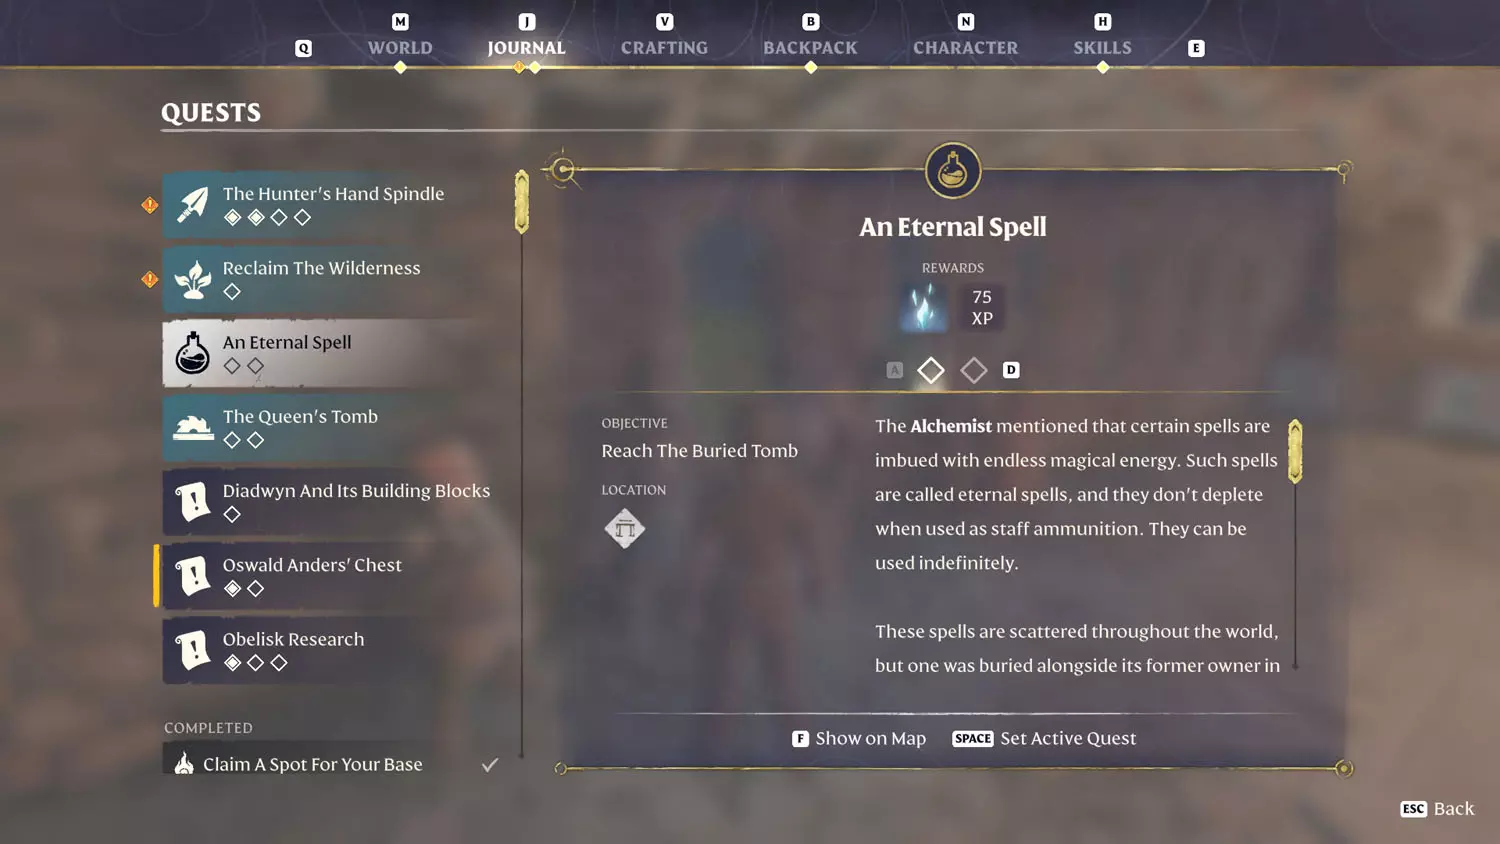
An Eternal Spell
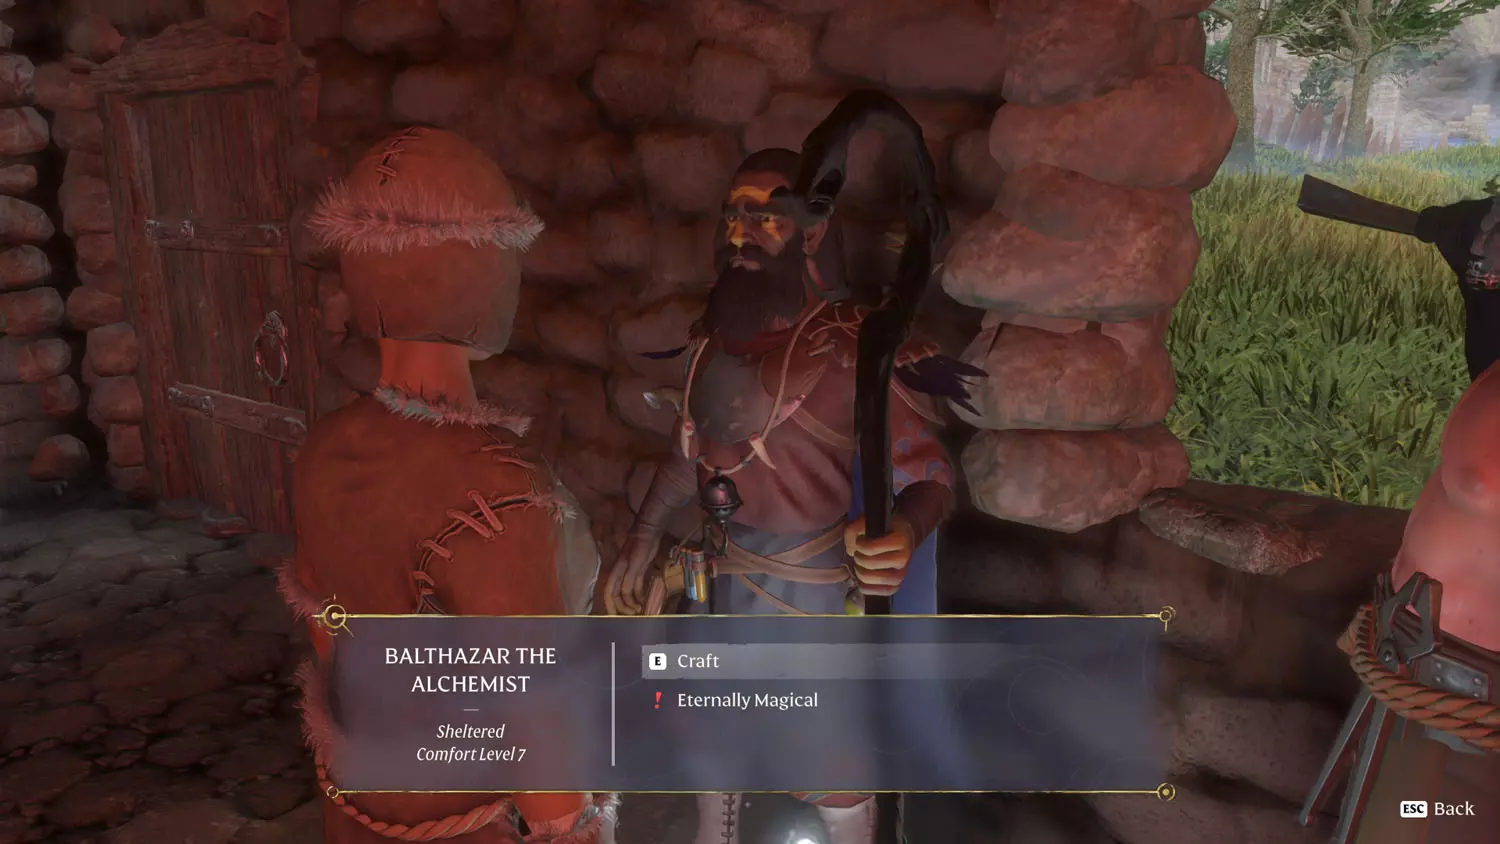
This quest comes from talking to Balthazar The Alchemist. This dialogue “Eternally Magical” is available immediately after he is summoned.
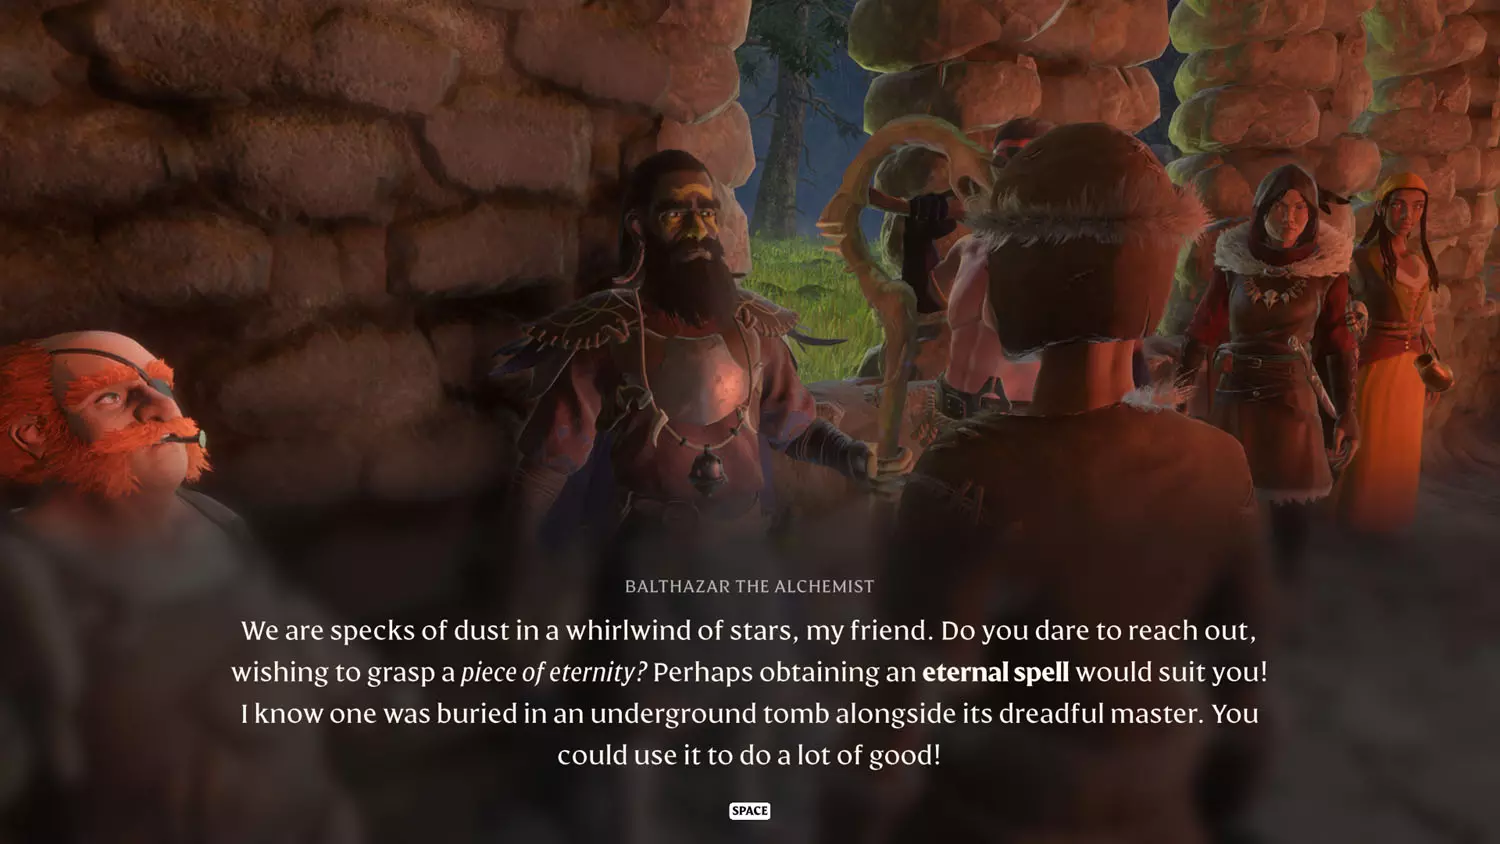
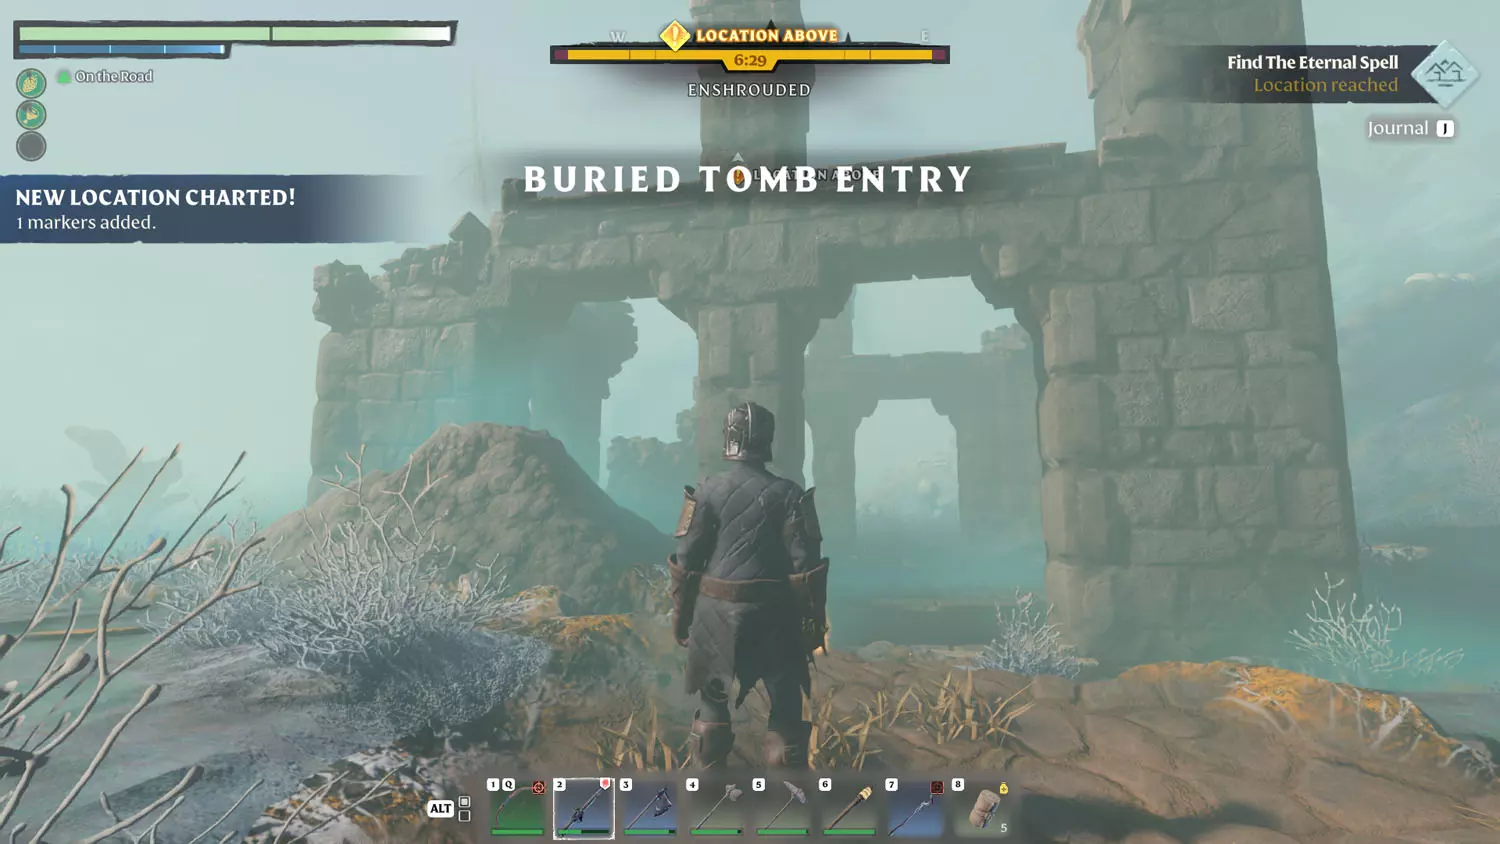
This next part is optional, but I think it helps. Head for the Ancient Spire - Low Meadows. When I went up to it, the tower unlocked automatically. In case an update changes that, here is how to get through to unlocking it as a fast travel location: Ancient Spire - Low Meadows Fast Travel.
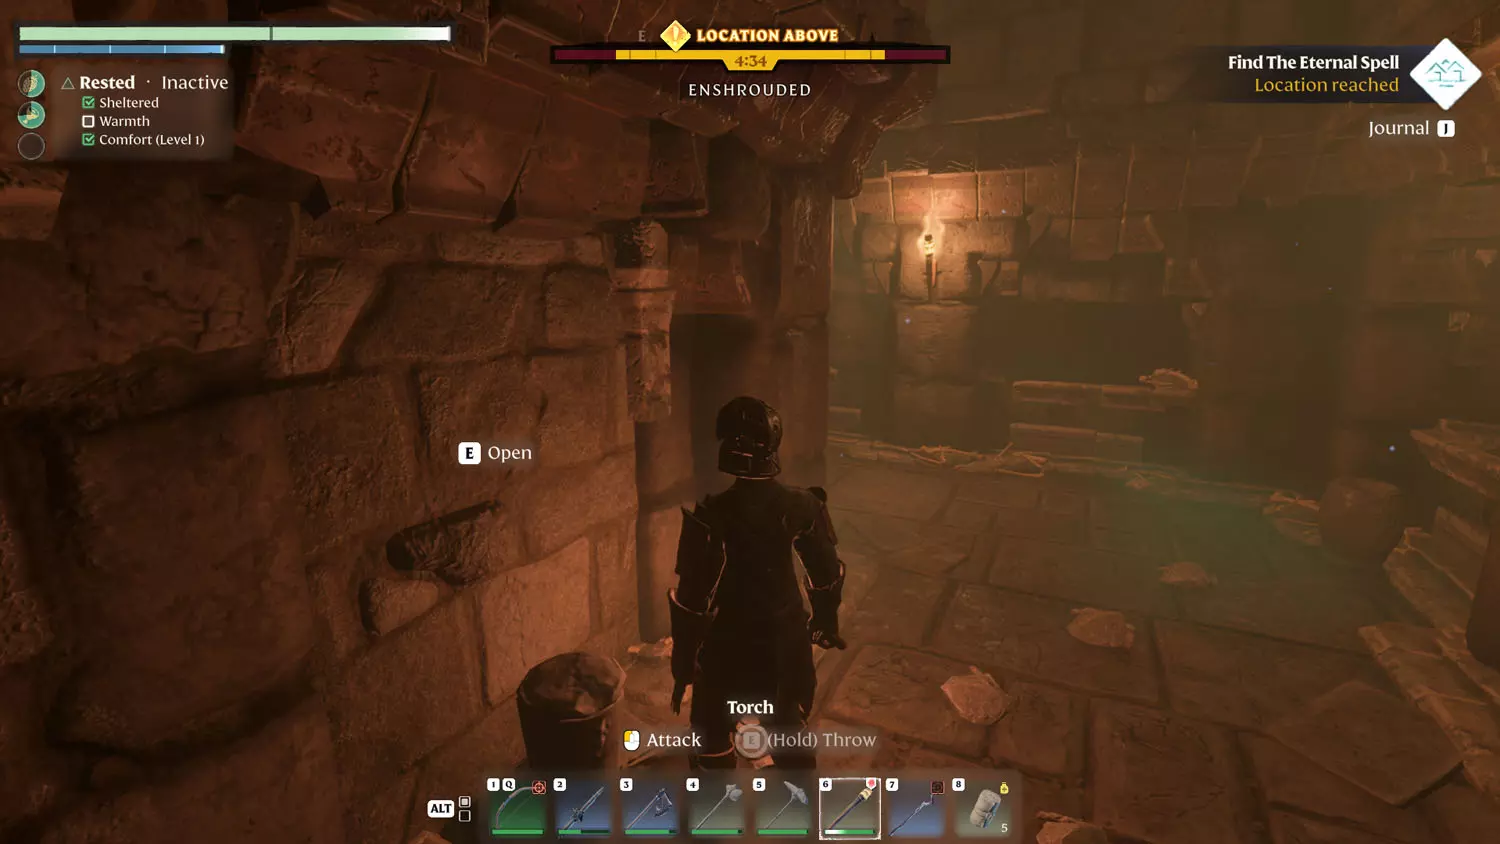
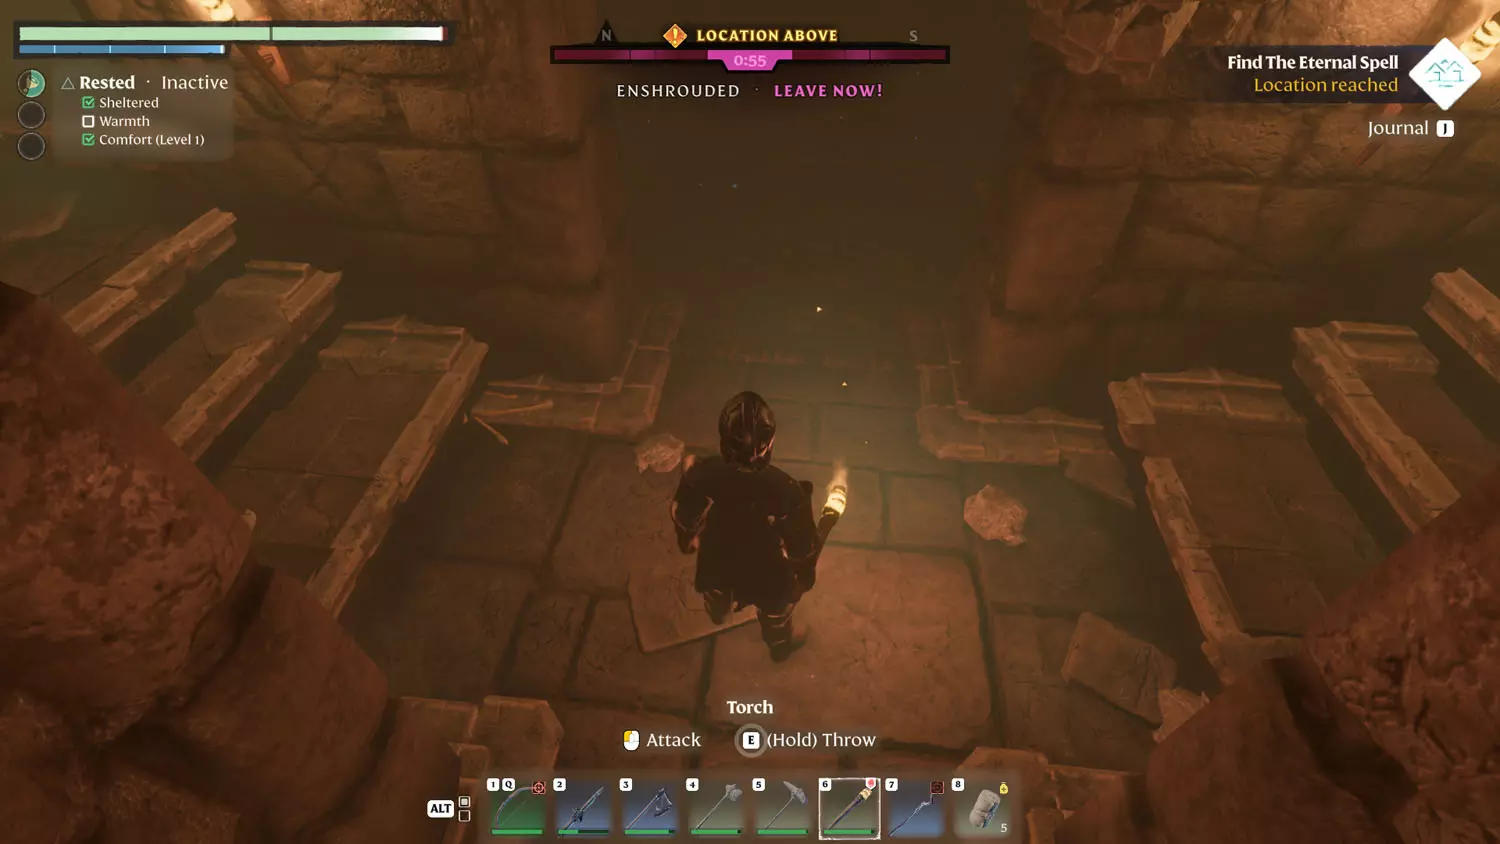
From the Ancient Spire - Low Meadows, take a small glide down to your destination, Buried Tomb Entry. This completes the first part of the quest.

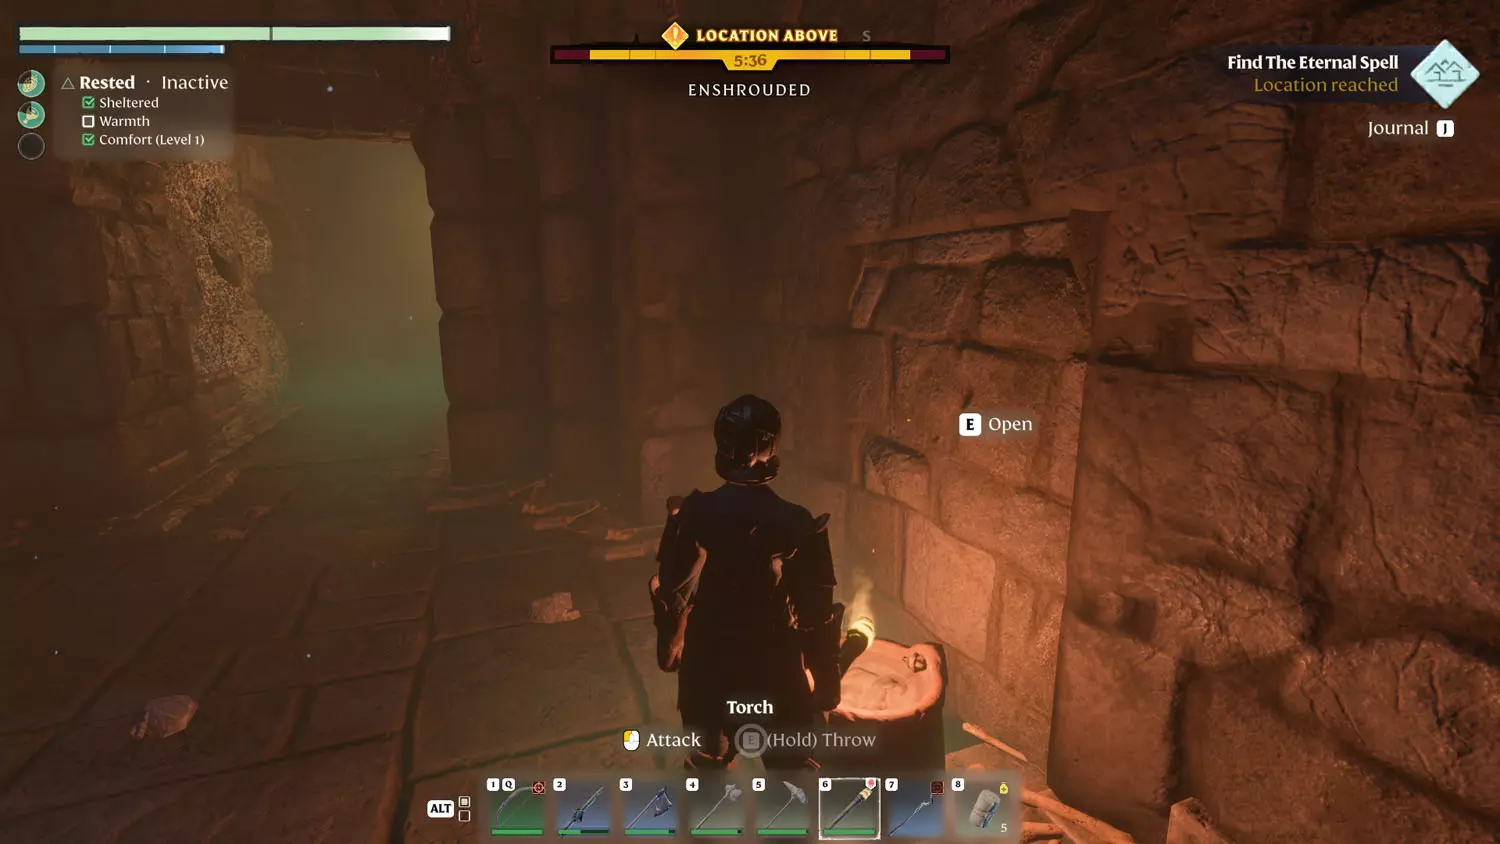
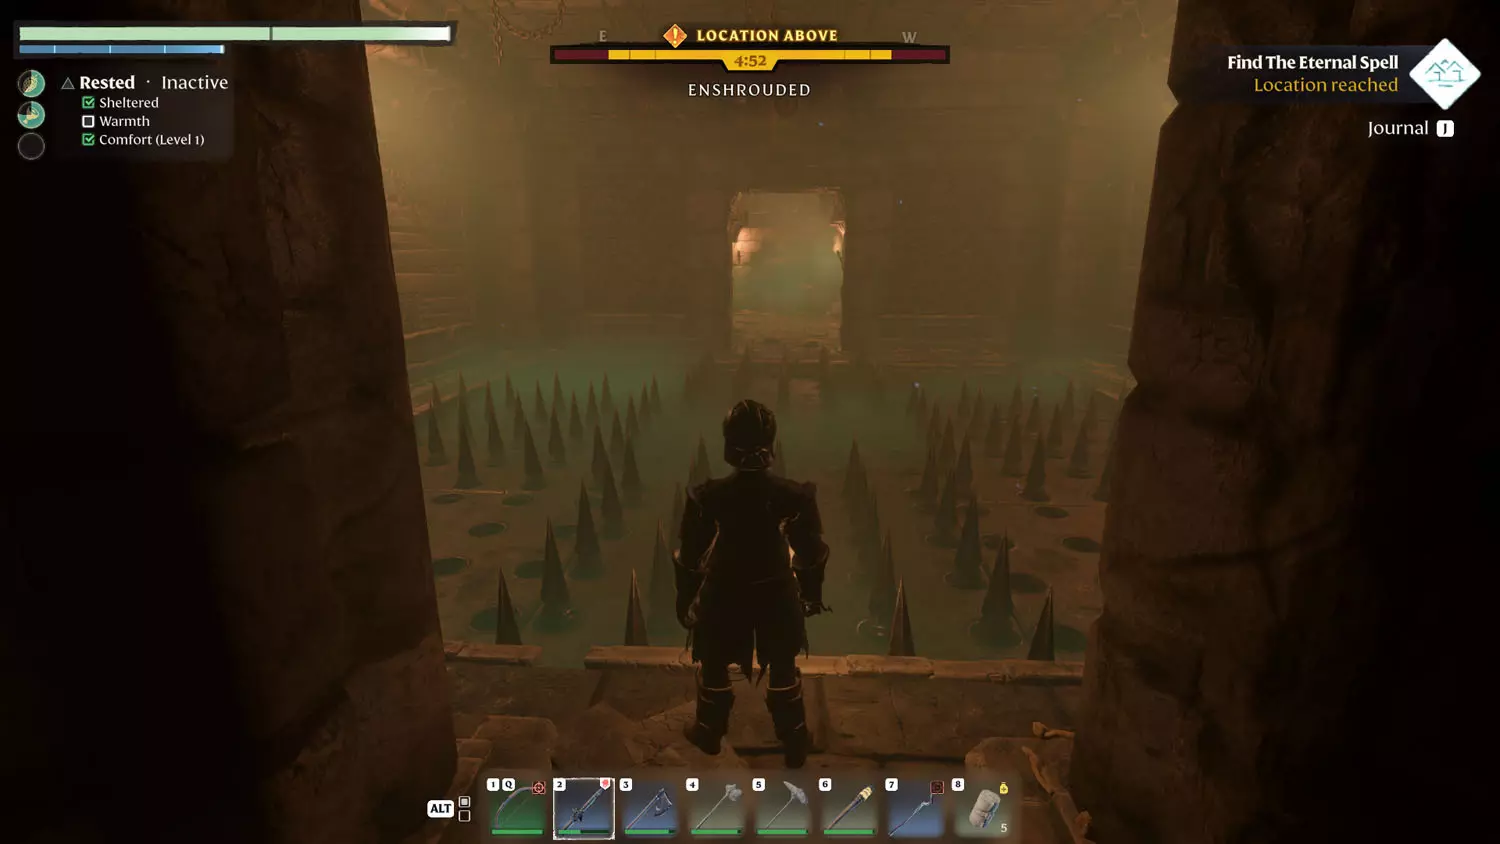
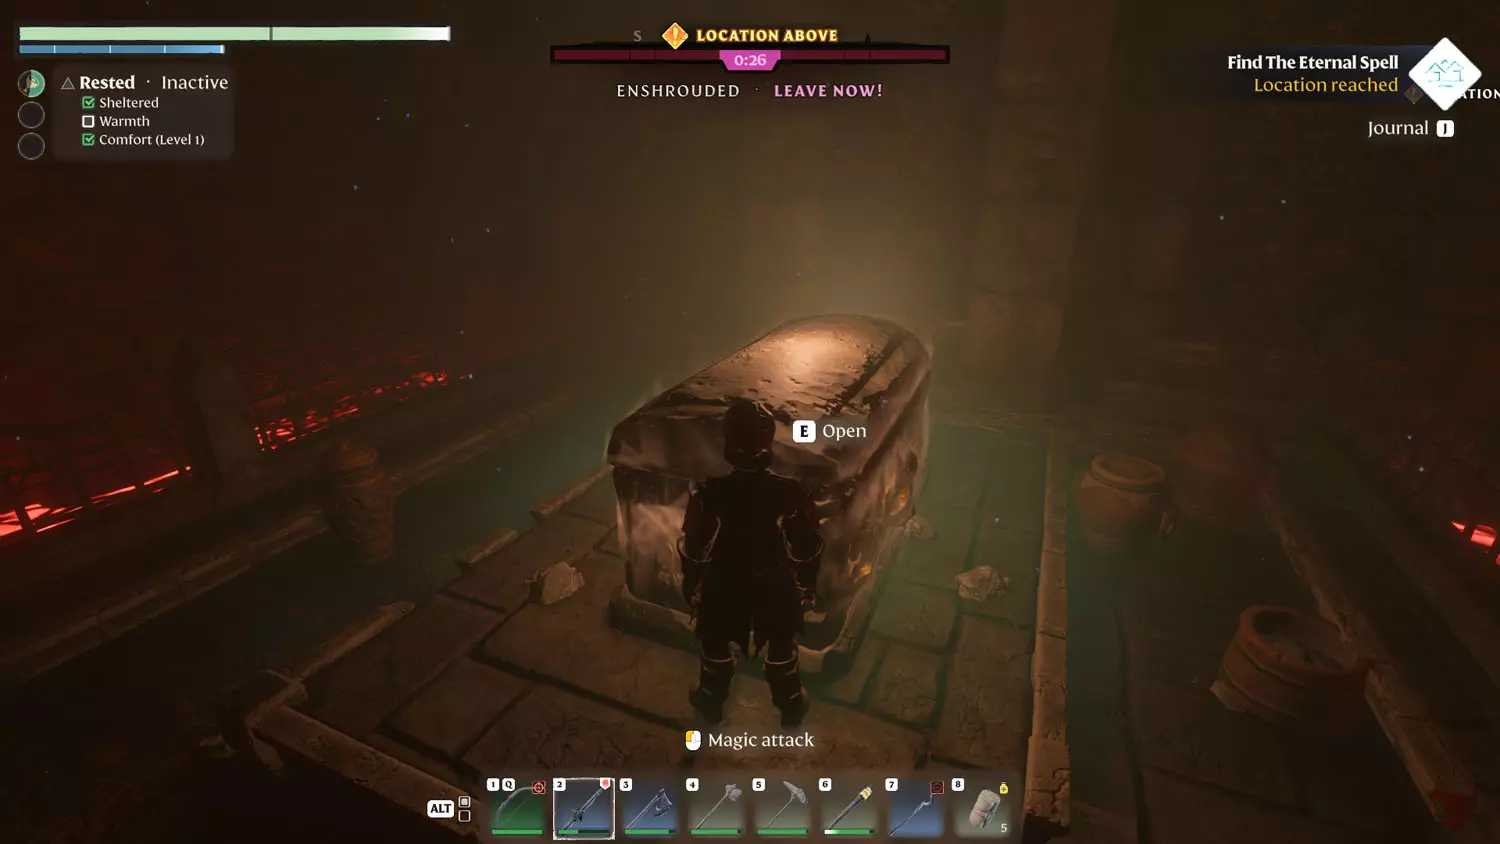
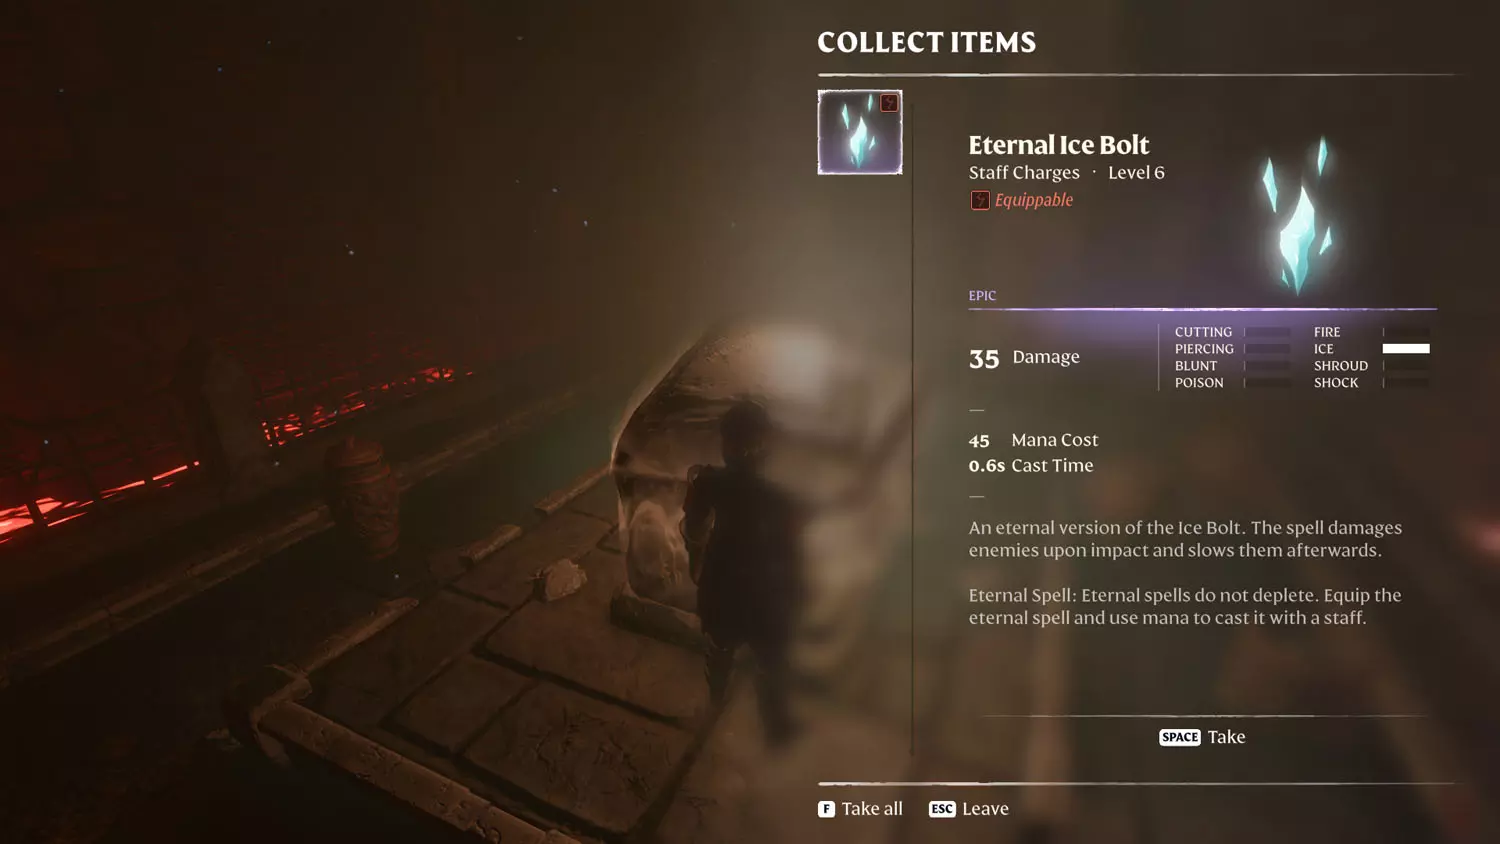
The interior of the tomb is very linear (one path). After you descend the stairs, there is a hidden door with a Wood Chest inside. Next is an alternating spike floor to travers. On the opposite side of that, before you turn the corner, is another hidden door. This one yields nothing. Next up is a split path, but don’t worry. Forward comes quickly to a dead end, and the left and right stairs lead to the same landing. From there, keep moving forward and you’ll reach a coffin. Loot the coffin to complete the quest.
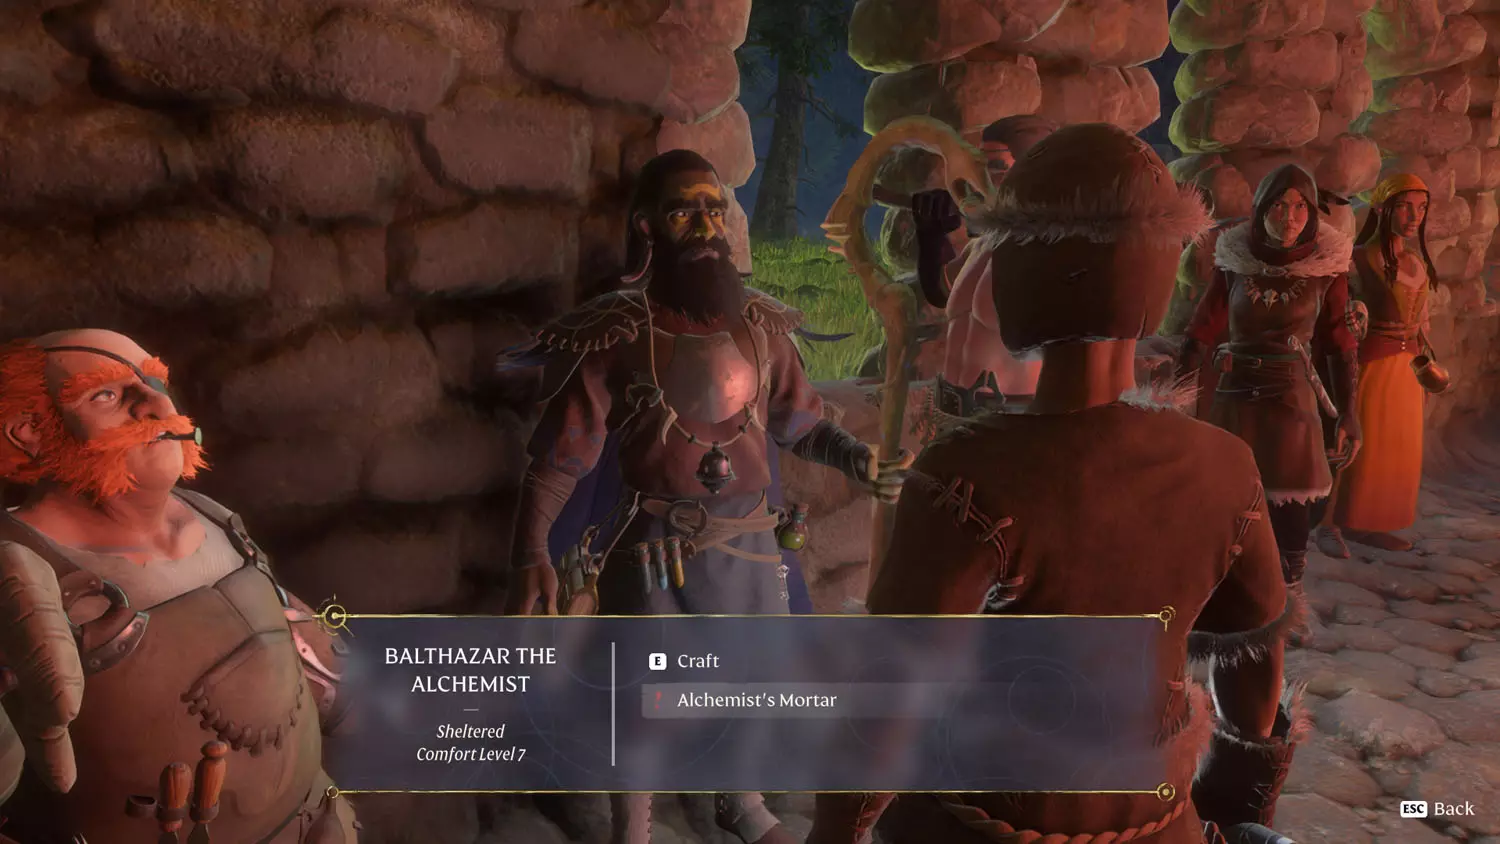
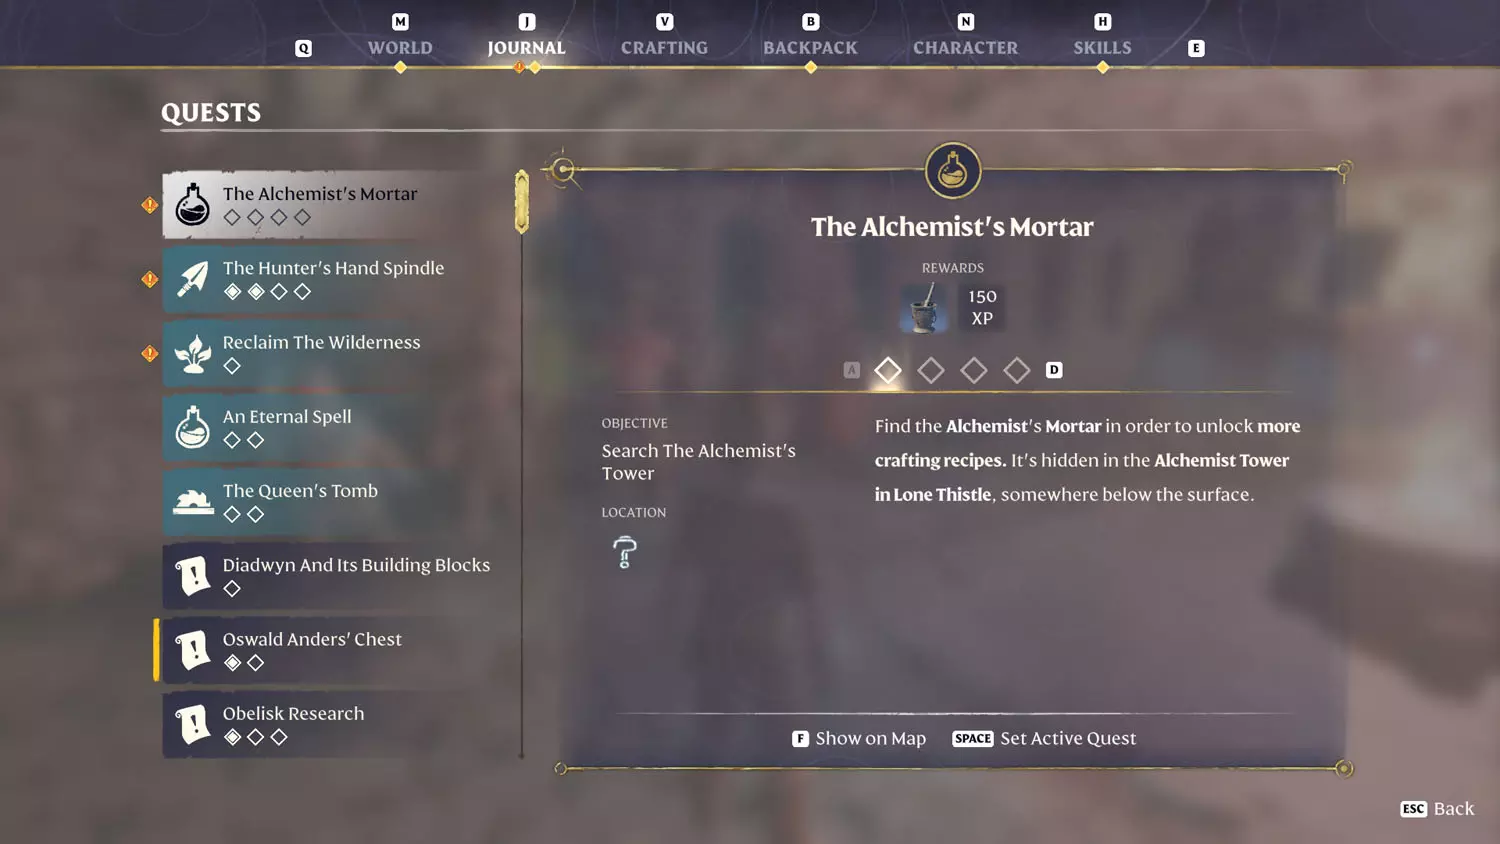
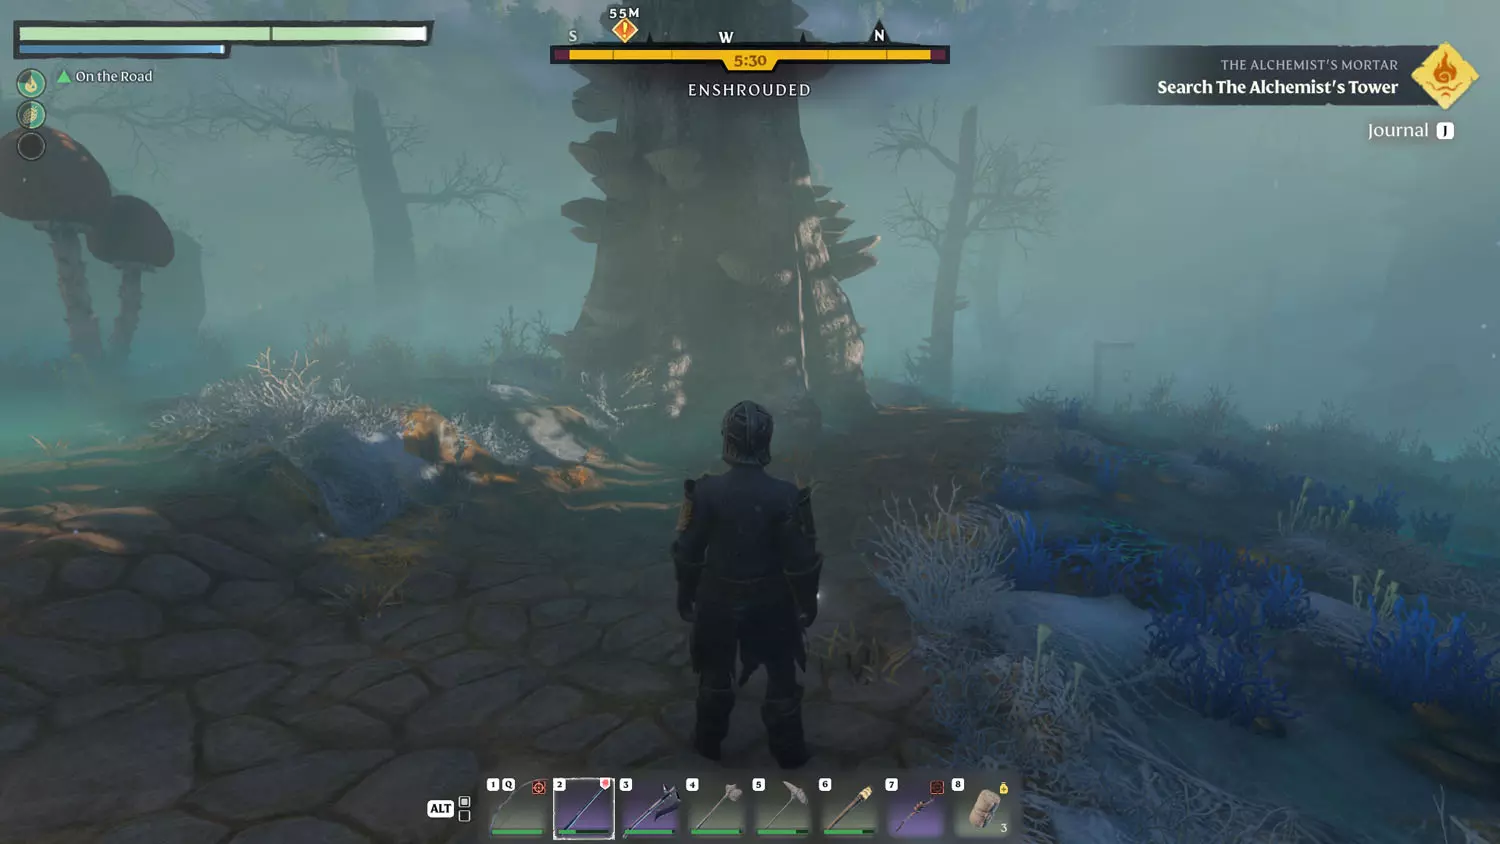
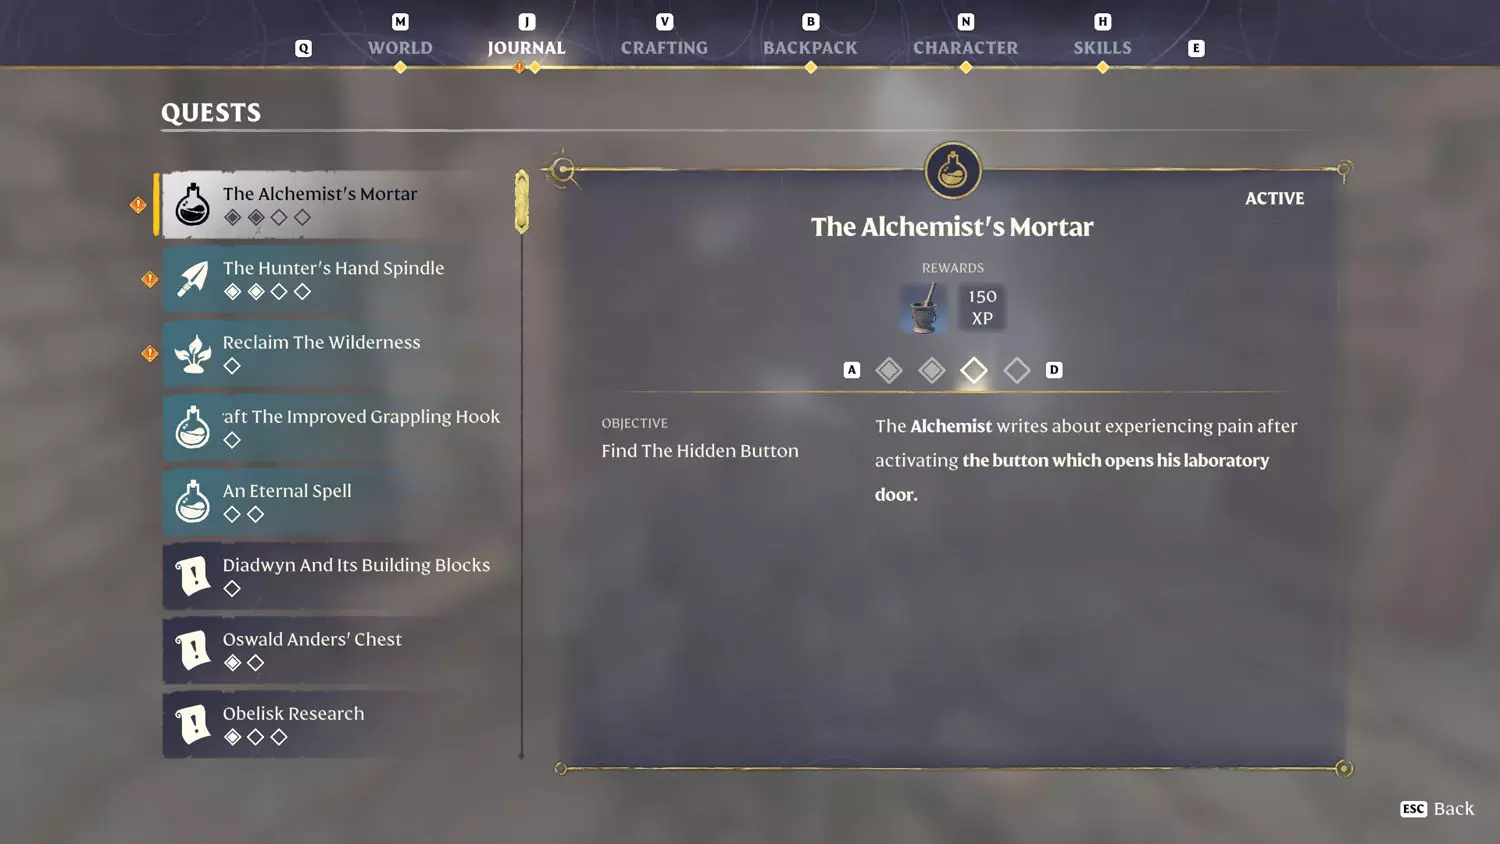
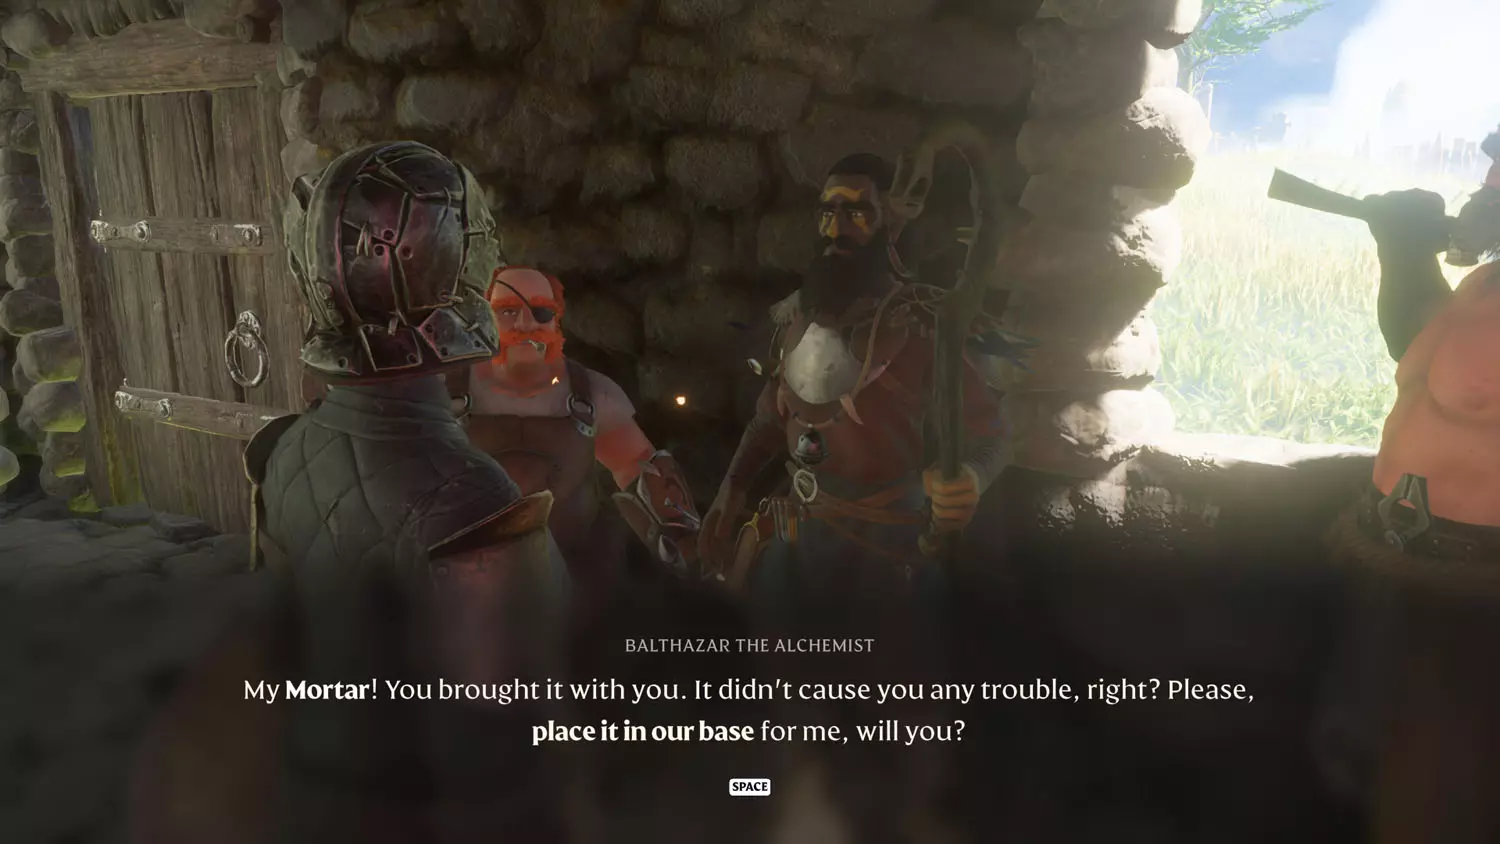
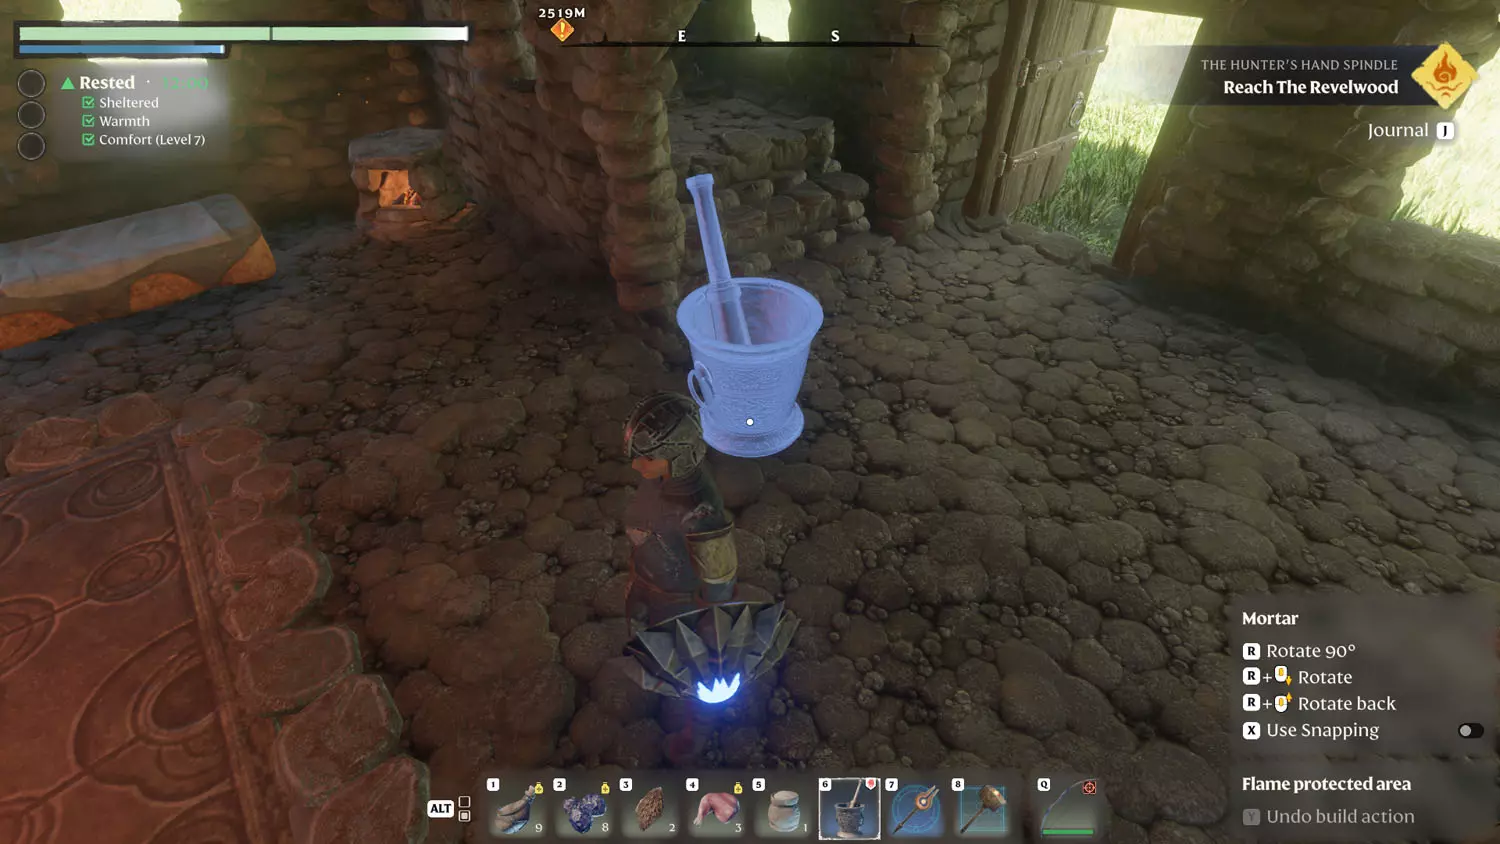
The Alchemist’s Mortar
To begin this quest, select “Alchemist’s Mortar” in Balthazar The Alchemist’s dialogue.
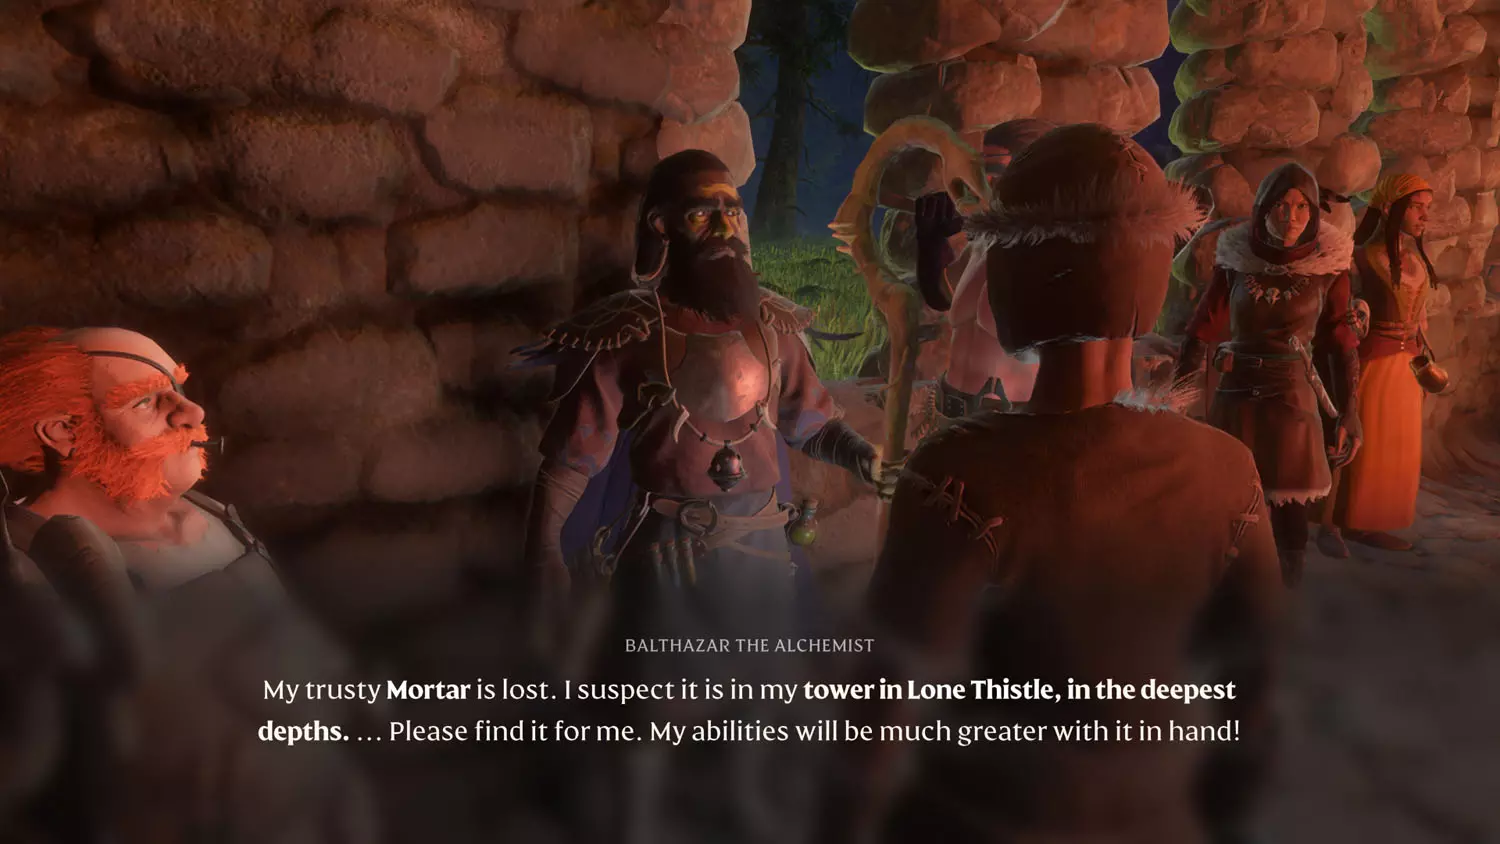
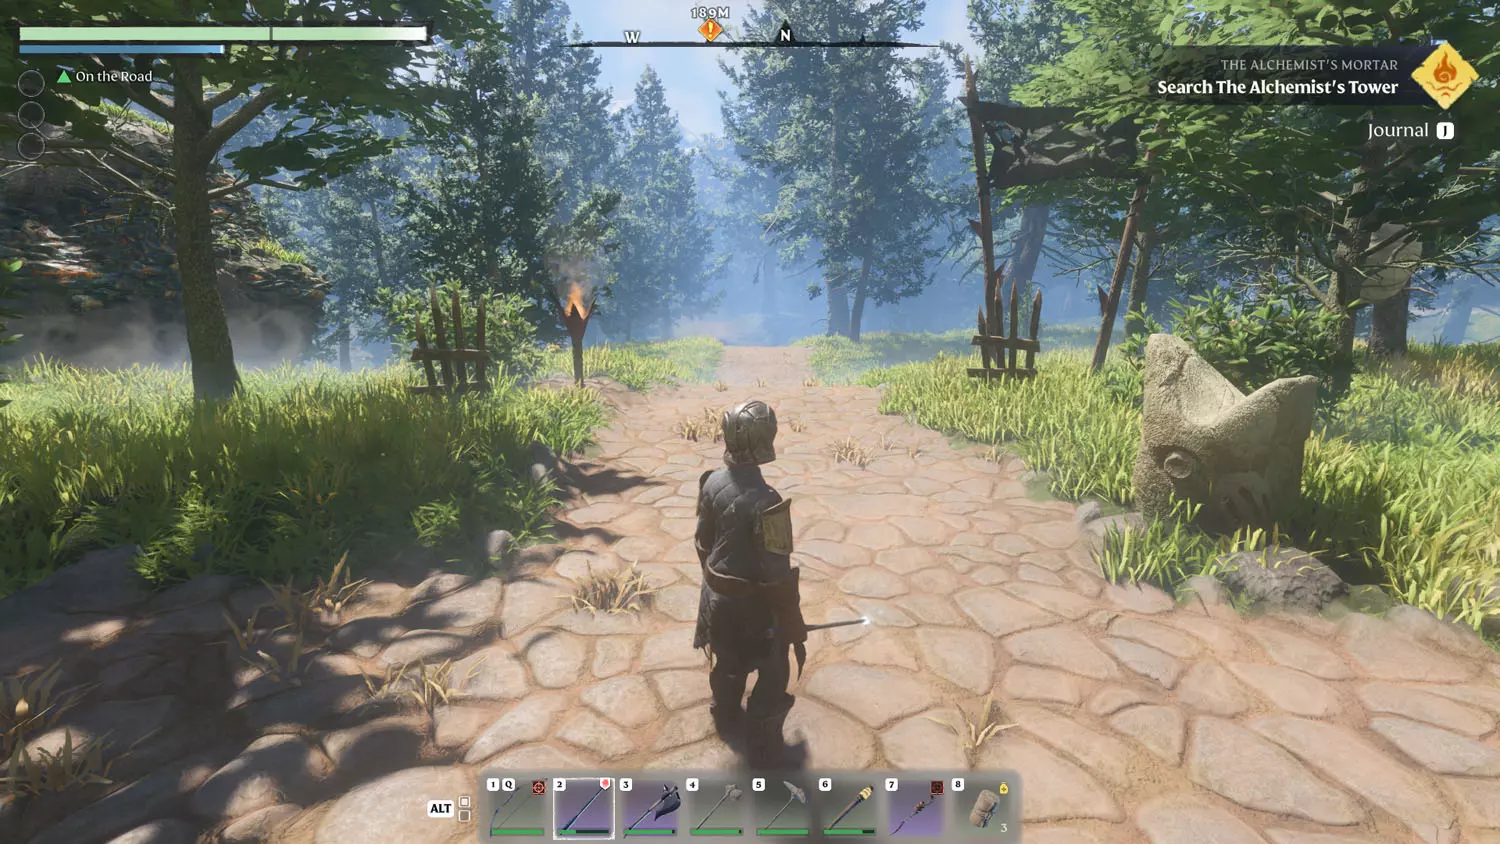
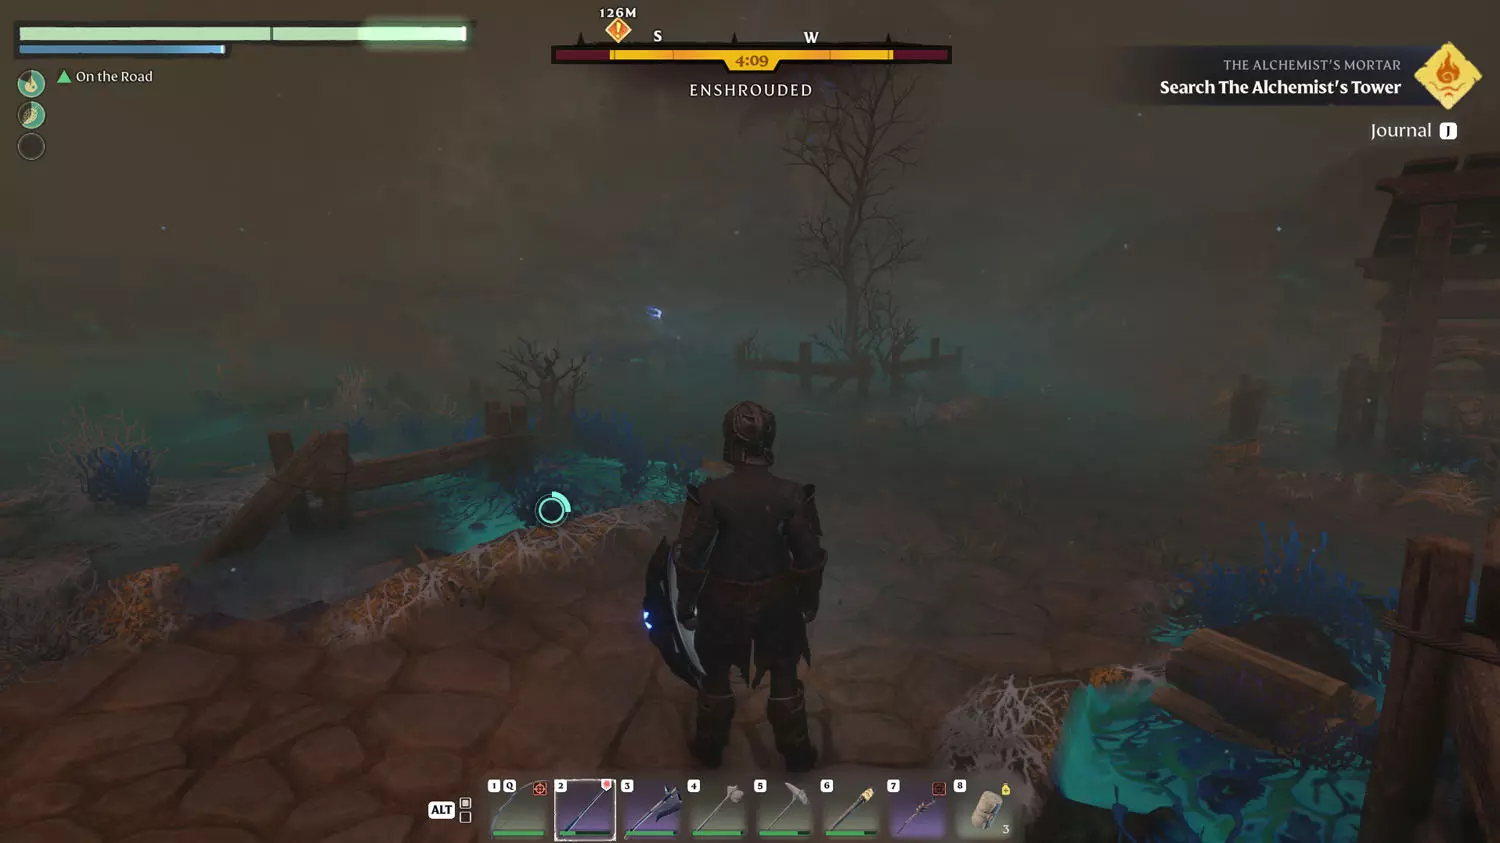
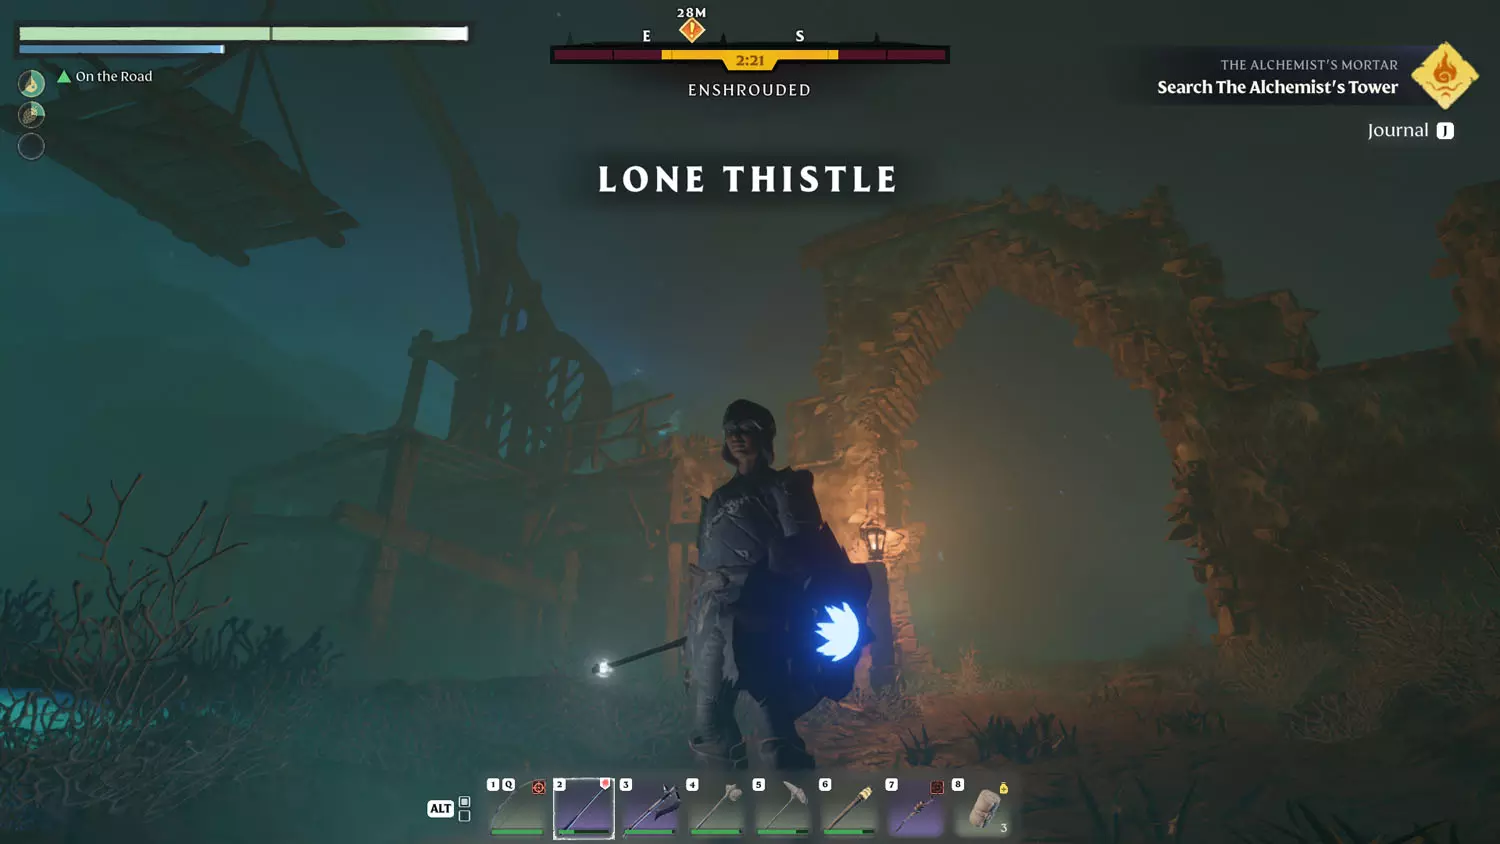
Remember how to reach the Queen’s Tomb from the Carpenter Quest: The Queen’s Tomb? Well, instead of going inside the tomb, keep going north along the road, even into the Shroud. It’s a winding path that will eventually lead to Lone Thistle (there is a left turn beside a large tree and another at a four-way intersection. Follow the map marker’s guidance, and you’ll make it!). Once you reach Lone Thistle, the first part of the quest will finish.
Before entering, you’ll likely see a floating platform to the upper left. Grappling up to it lets you get a look at the lay of the land. From here, there is a tower up on a hill, that is where you are heading. To get there, the easiest path is to run through the main street up and a little to the right until it curves to the left. The doors are OUT of the Shroud, in case your time was running out ;)
TIP: There’s some Lone Thistle Lore to seek out! General Lore has three: The Alchemist’s Theories I 2/5 Flame Shrines, Balthazar’s Aspirations 1/1 Glider, and A Cry for Help 3/3 Never Enough. The Shroud, Elixir, and Elixir Well Lore has two: Buried Curse 1/2 I Said Let Go! and 2/2 Unearthed.
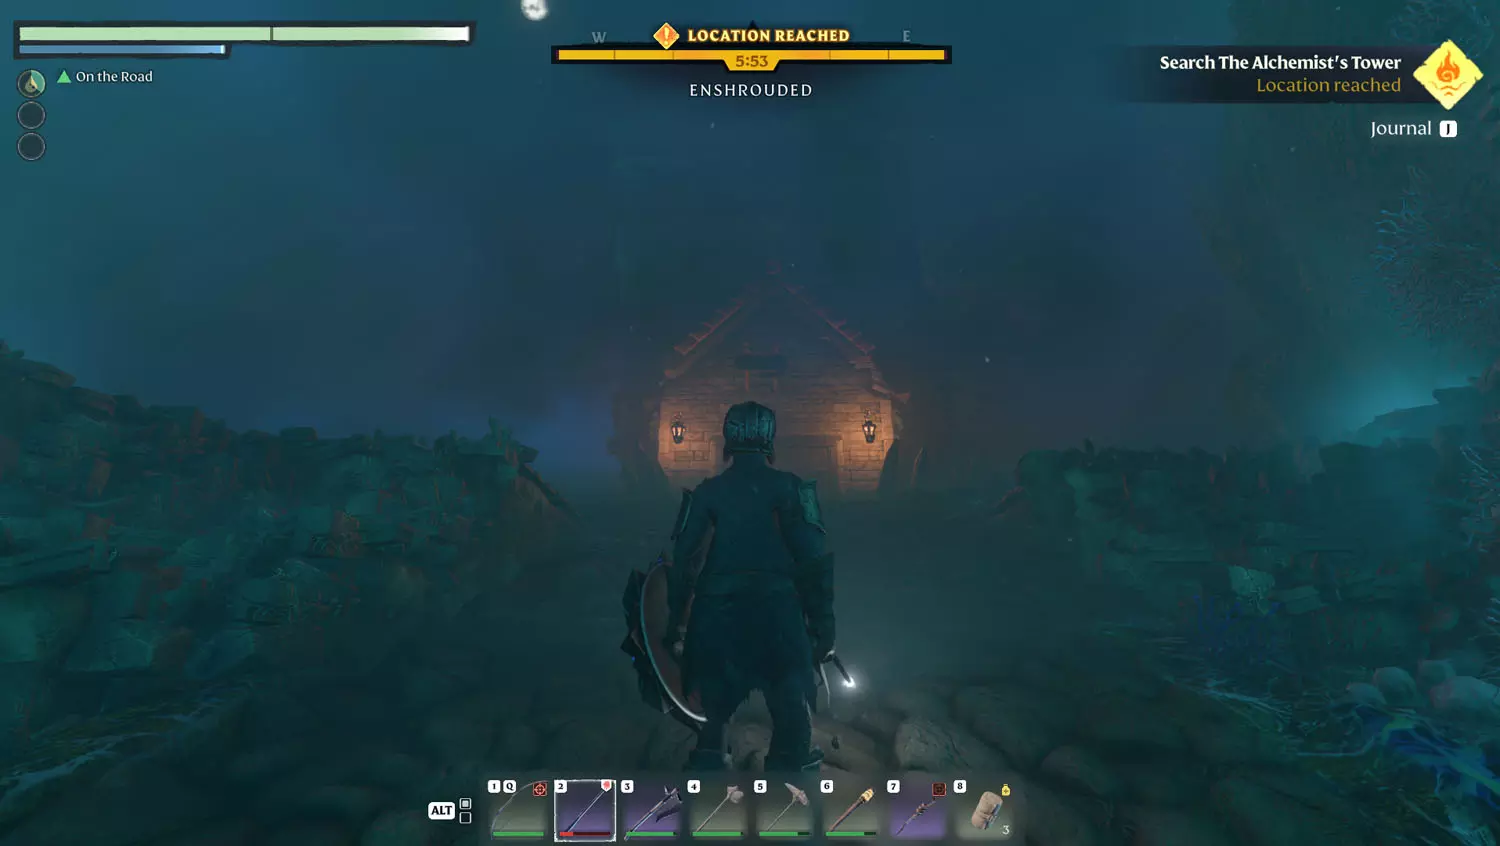
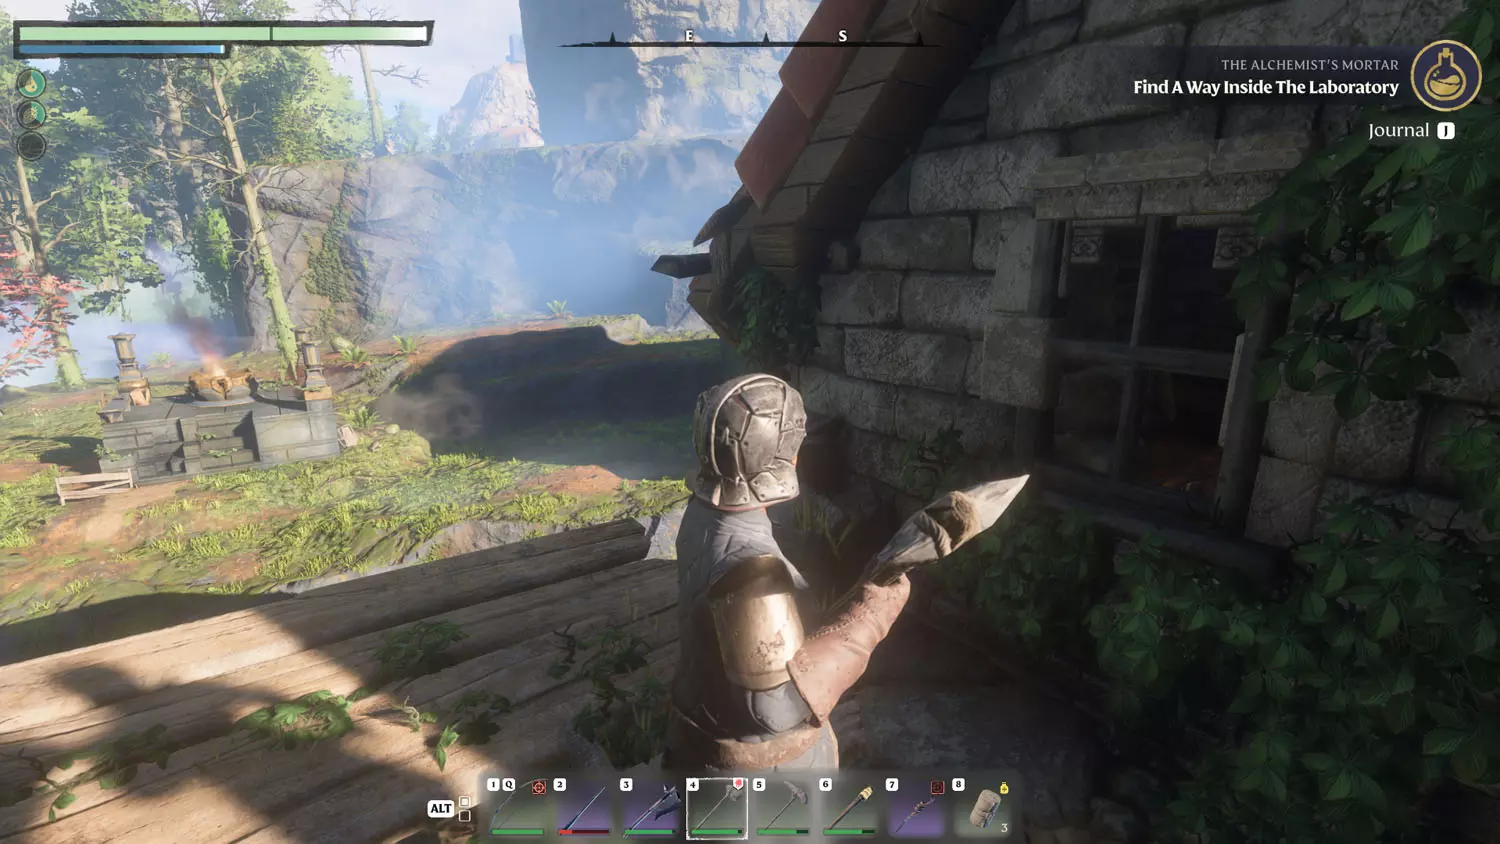
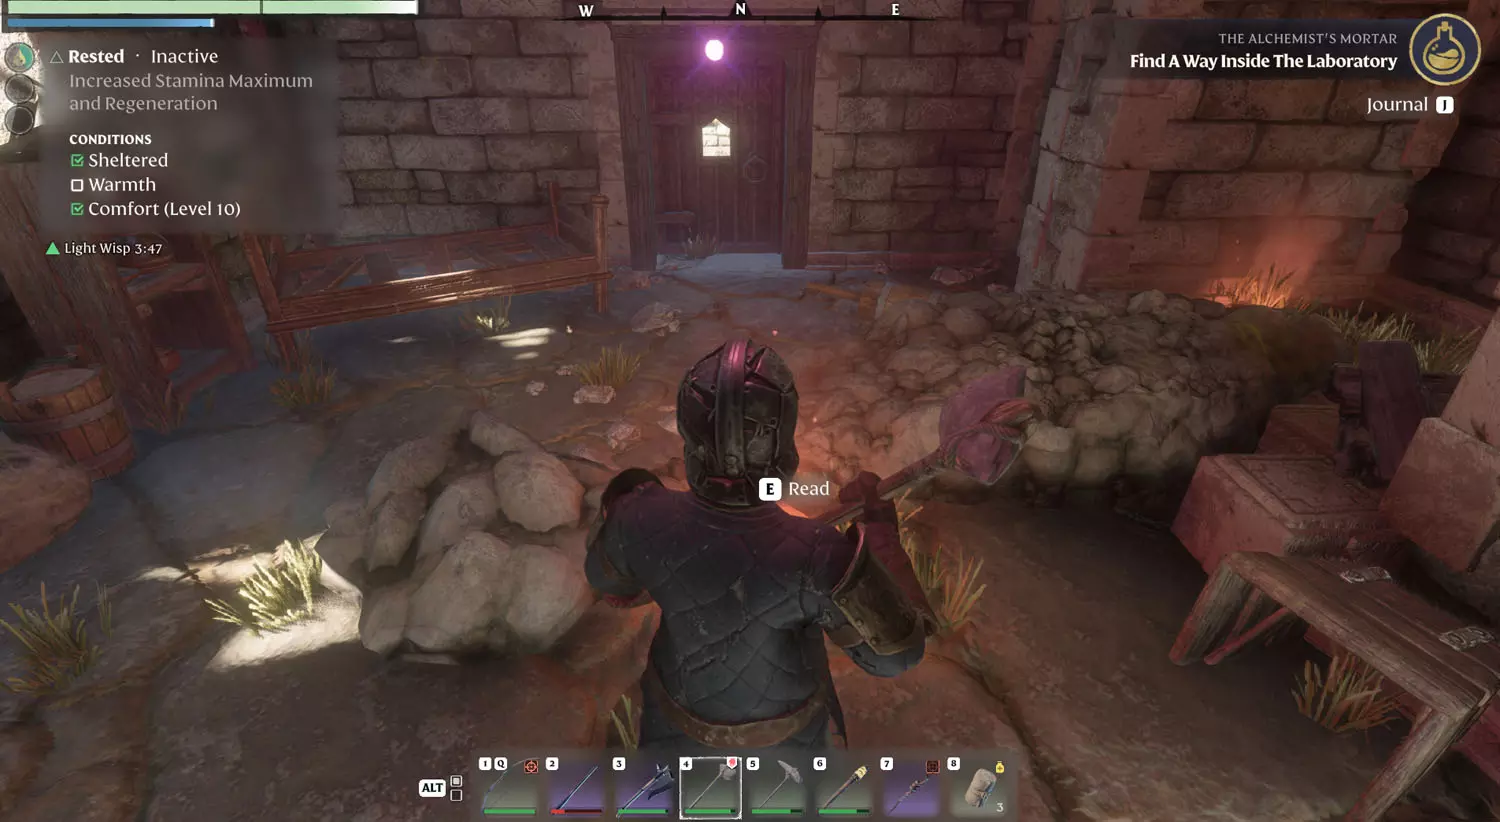
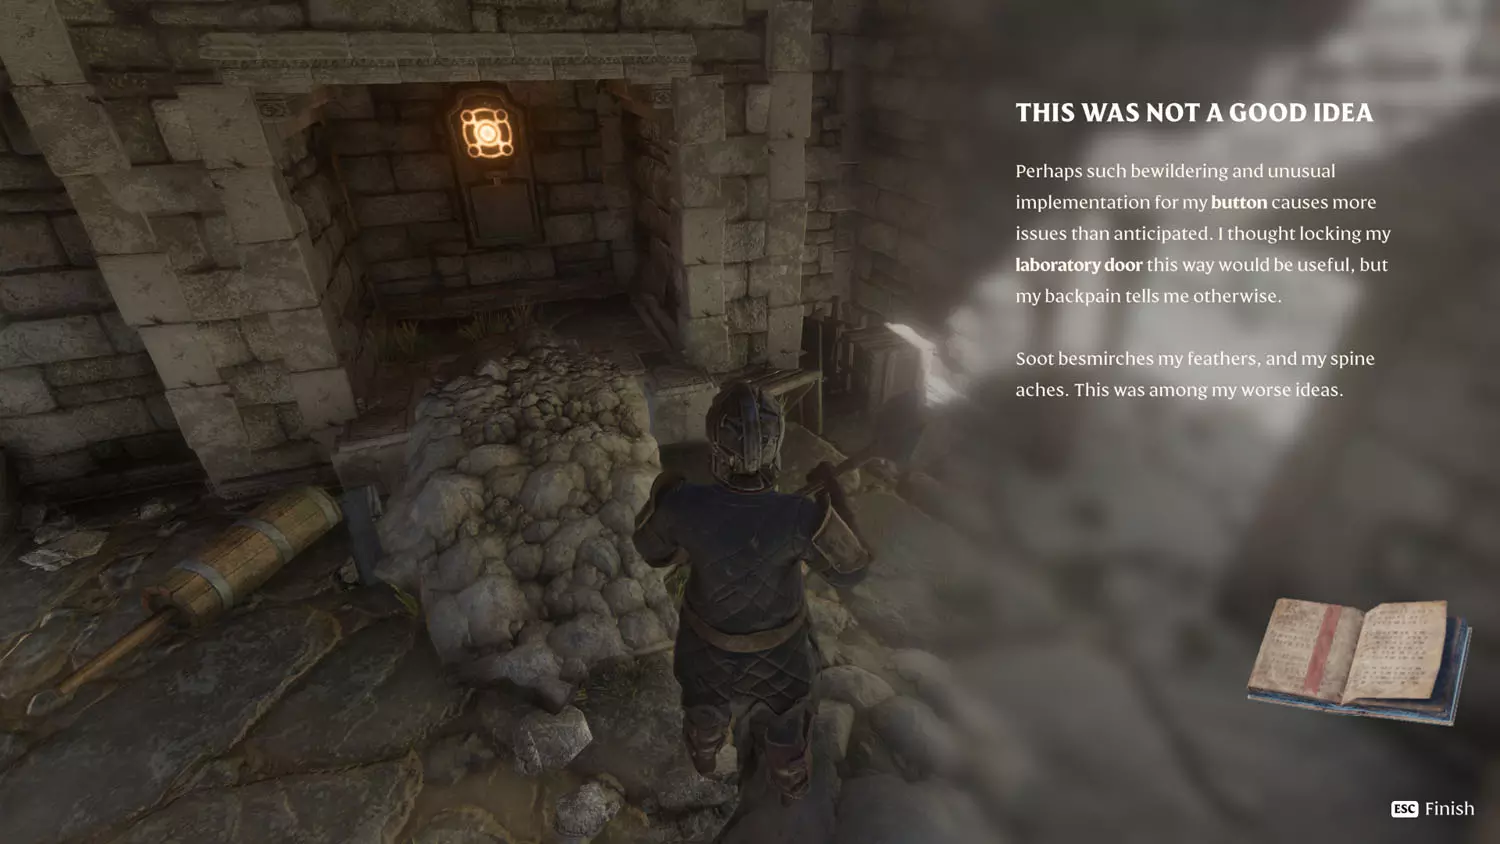
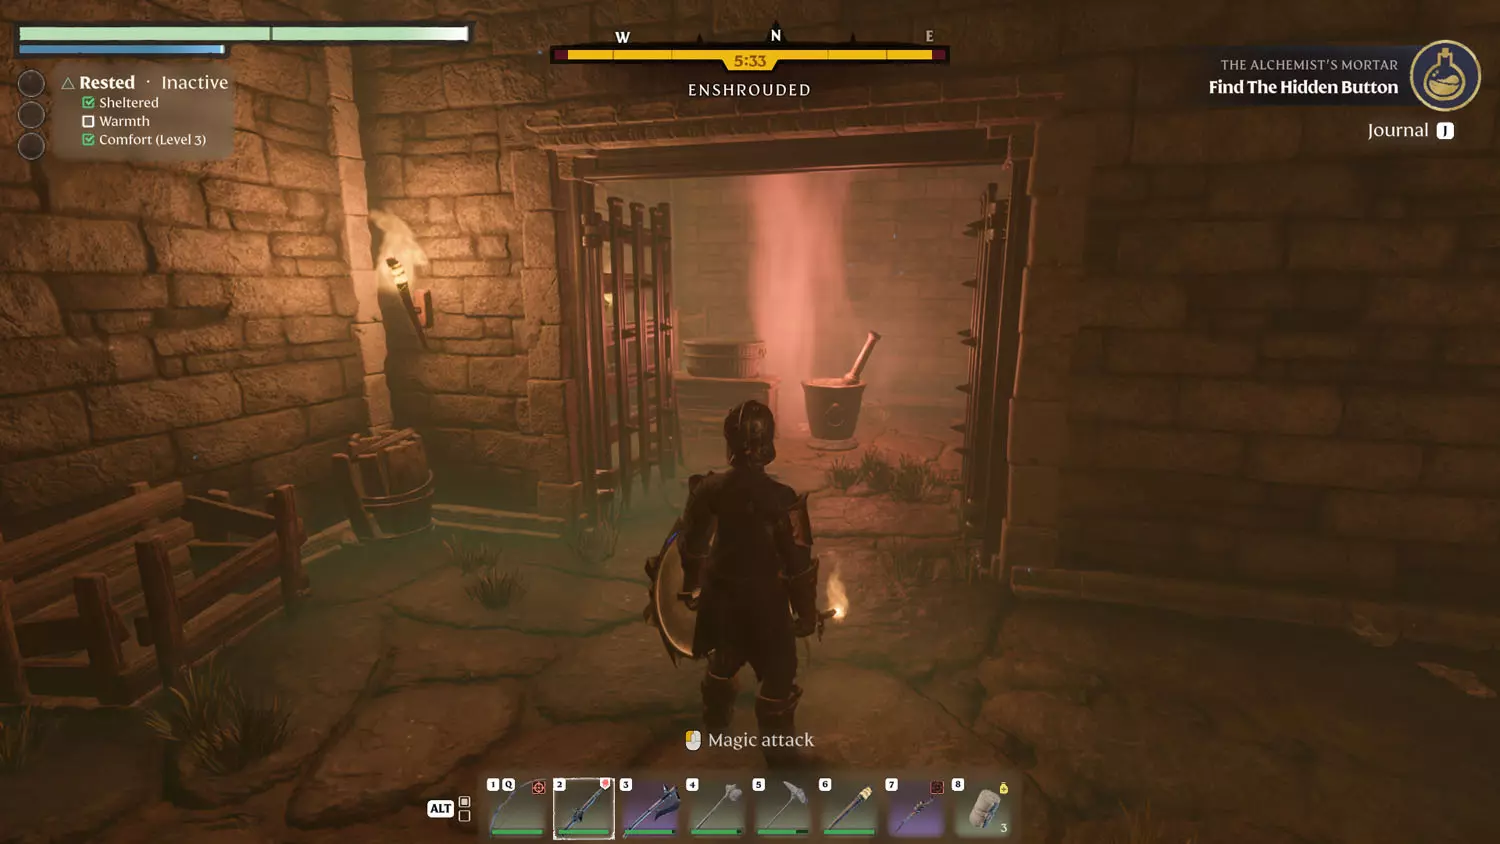
In the basement is the Mortar, but the gates are shut tight. At this point, the second part of your quest is complete. Time to puzzle solve! Head to the roof for a Wood Chest. Two floors below that is a door you can bust open. Breaking down the window of the next spot will allow you to walk into the room and loot its Wood Chest - yes, there is a ladder, but it is difficult to see! From there, swing around to bust open another door. There’s a note on the ground to read that isn’t part of any Lore. Reading it completes the second part of the quest.
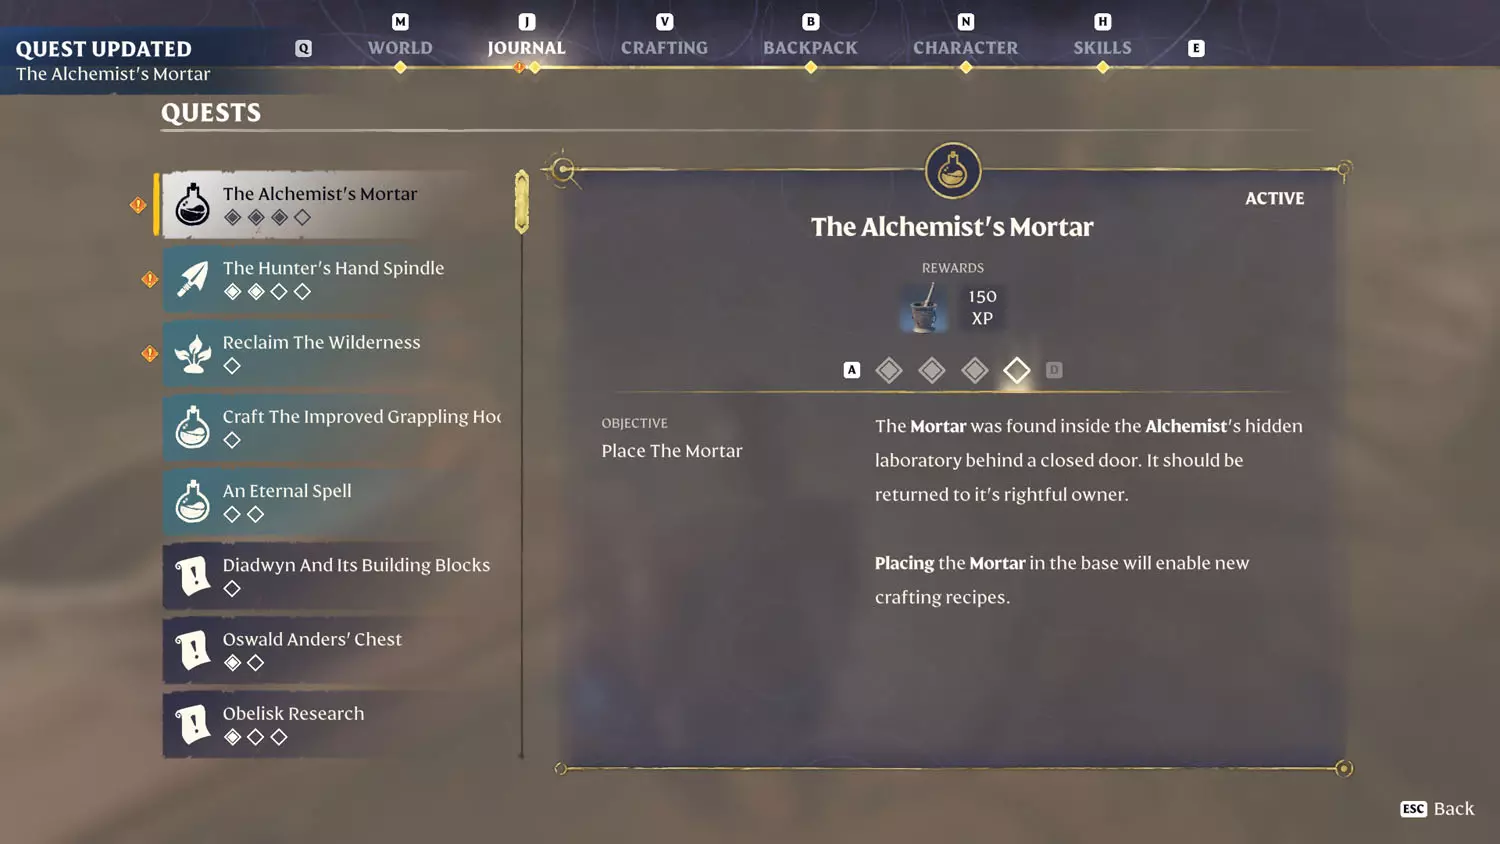
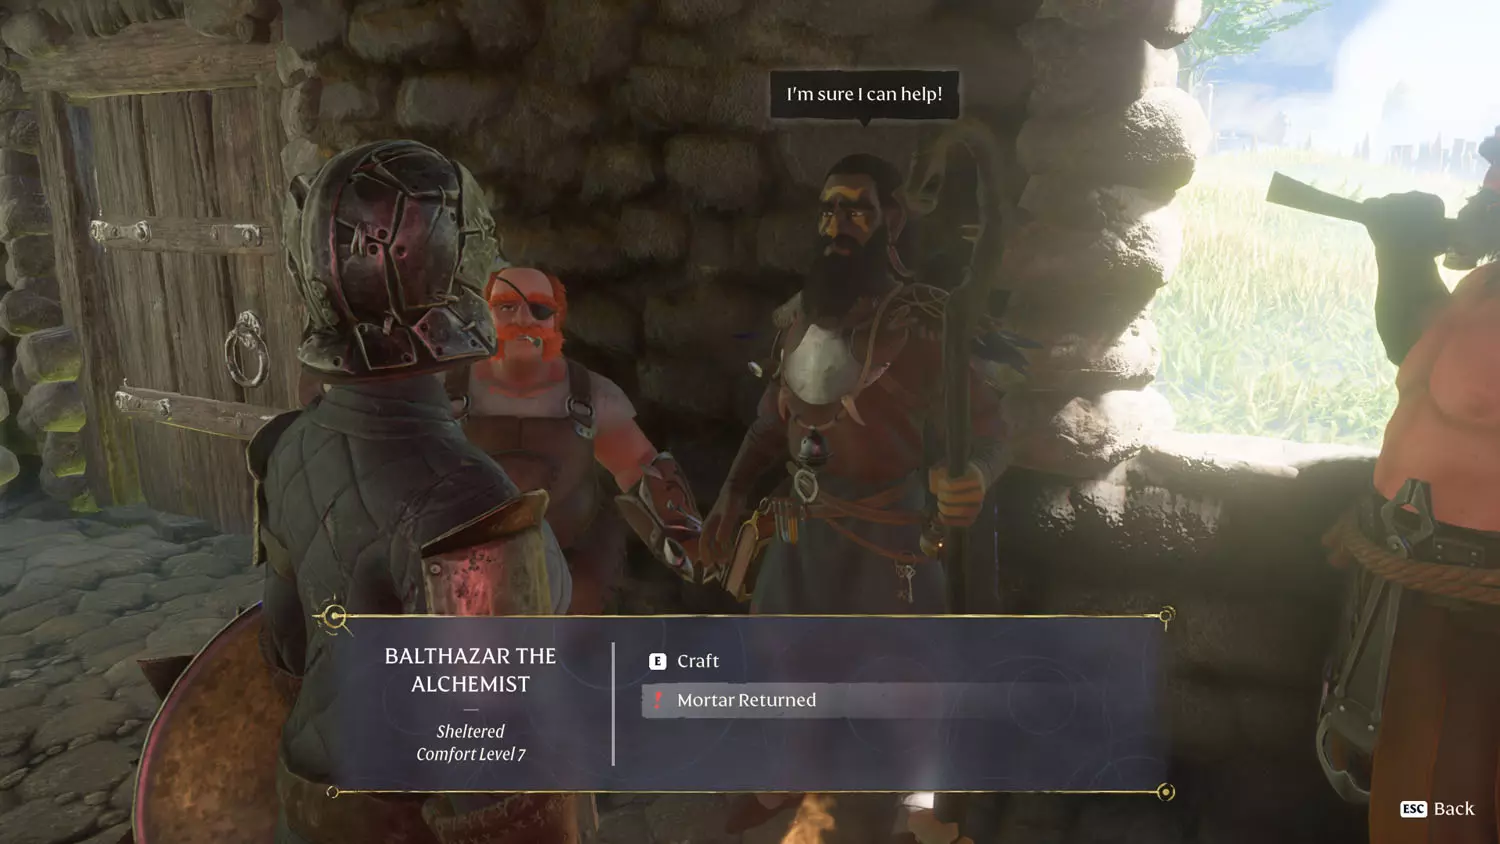
Time to head back and give the Mortar to the Alchemist! Select the “Mortar Returned” dialogue to proceed. Then, place the Mortar to complete the quest.
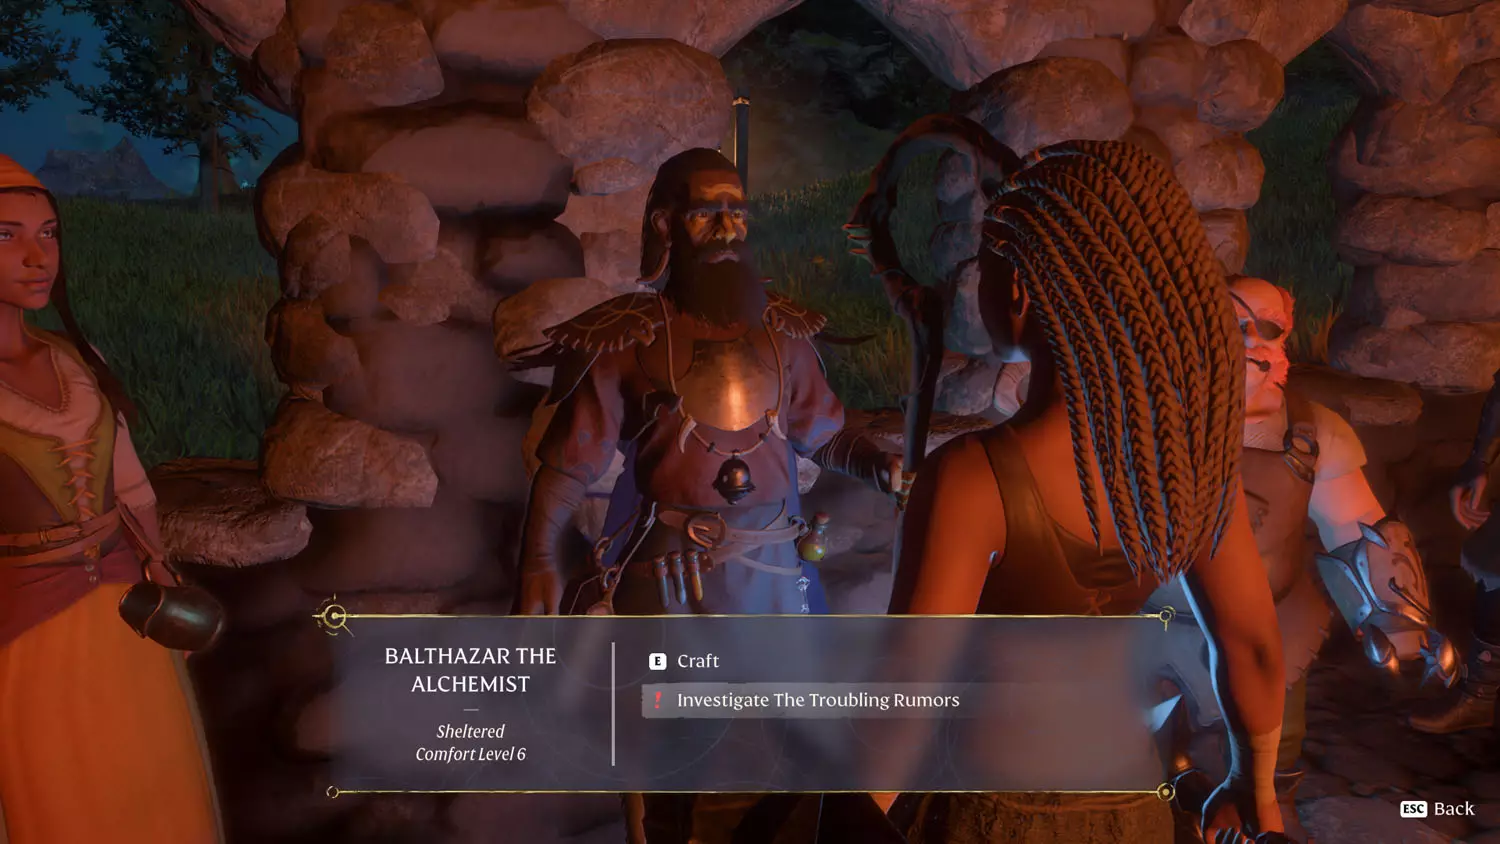
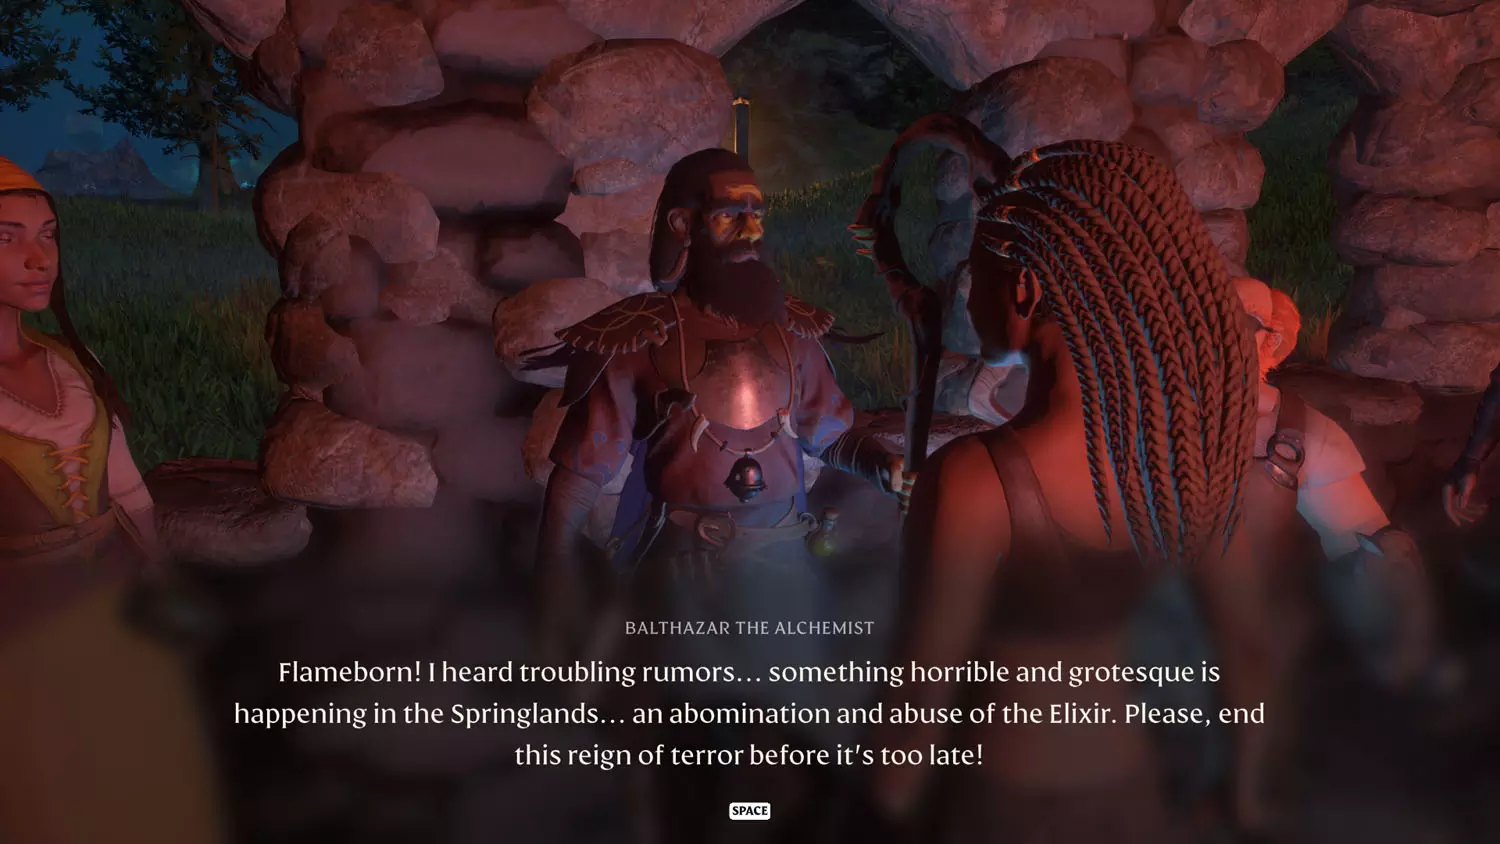
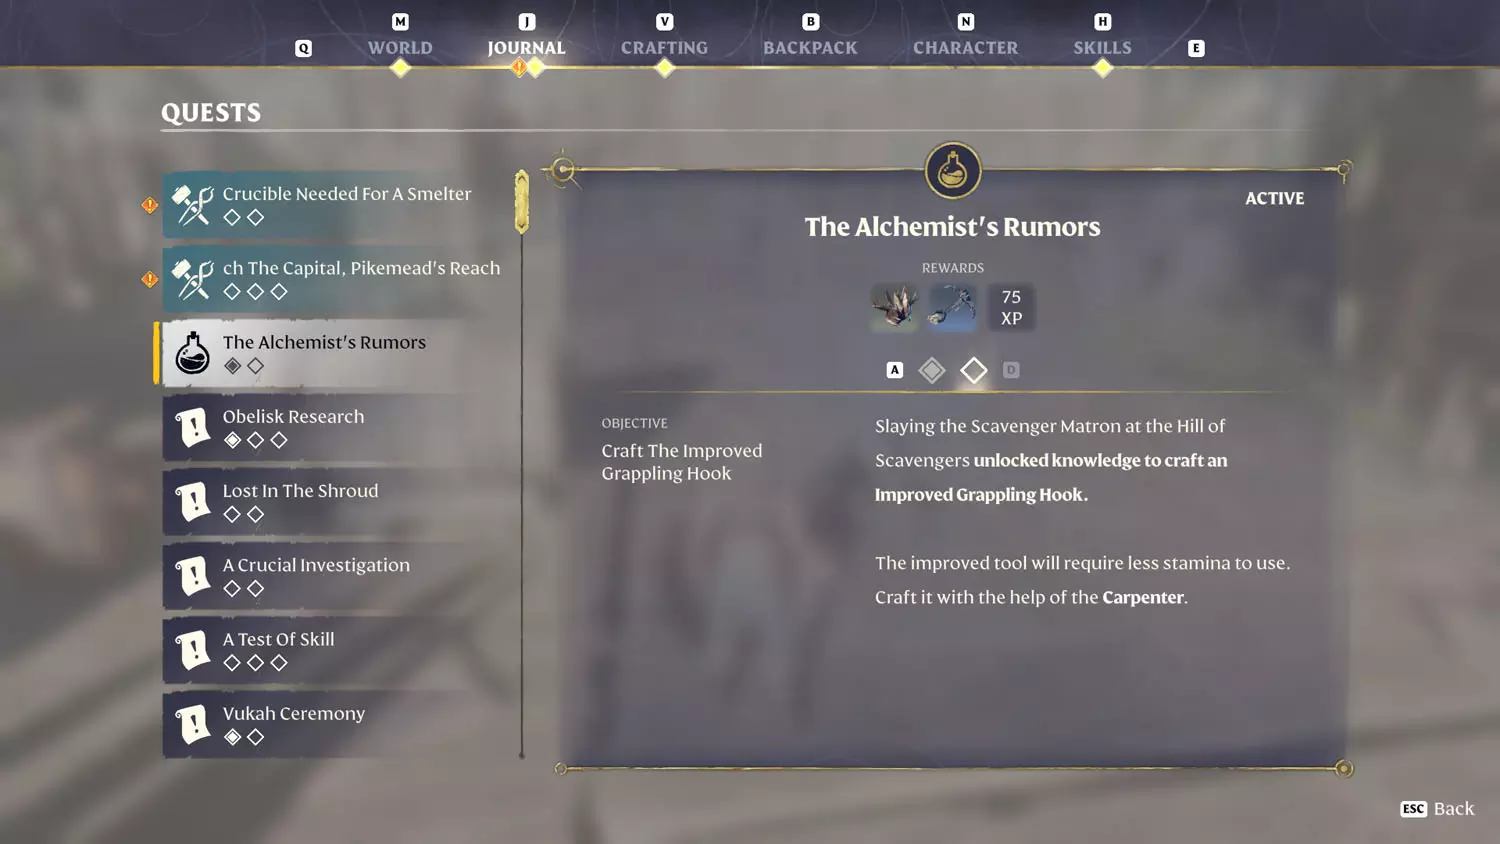
The Alchemist's Rumors
Getting the Alchemist to have the “Investigate The Troubling Rumors” dialogue is difficult. First, you have to enter the Hill Of Scavengers location, then you have to go far enough in to locate the Scavenger Gorger Matron, and then, you have to return to speak with the Alchemist. He will then reveal that there are rumors about the place. To complete the quest, slay the Scavenger Gorger Matron, loot her body, speak with the Carpenter, and craft the Improved Grappling Hook.
WARNING: It is possible to completely skip over this quest by clearing the area, looting the Scavenger Matron Head, and then returning to camp. The Alchemist will NOT have the above dialogue option. Also, you may not get his next quest to Craft The Improved Grappling Hook. At that point, this quest is gone.
TIP: The Hill Of Scavengers has the Scavenger Lore: The Rumors Are True 1/1 The Gorger!.


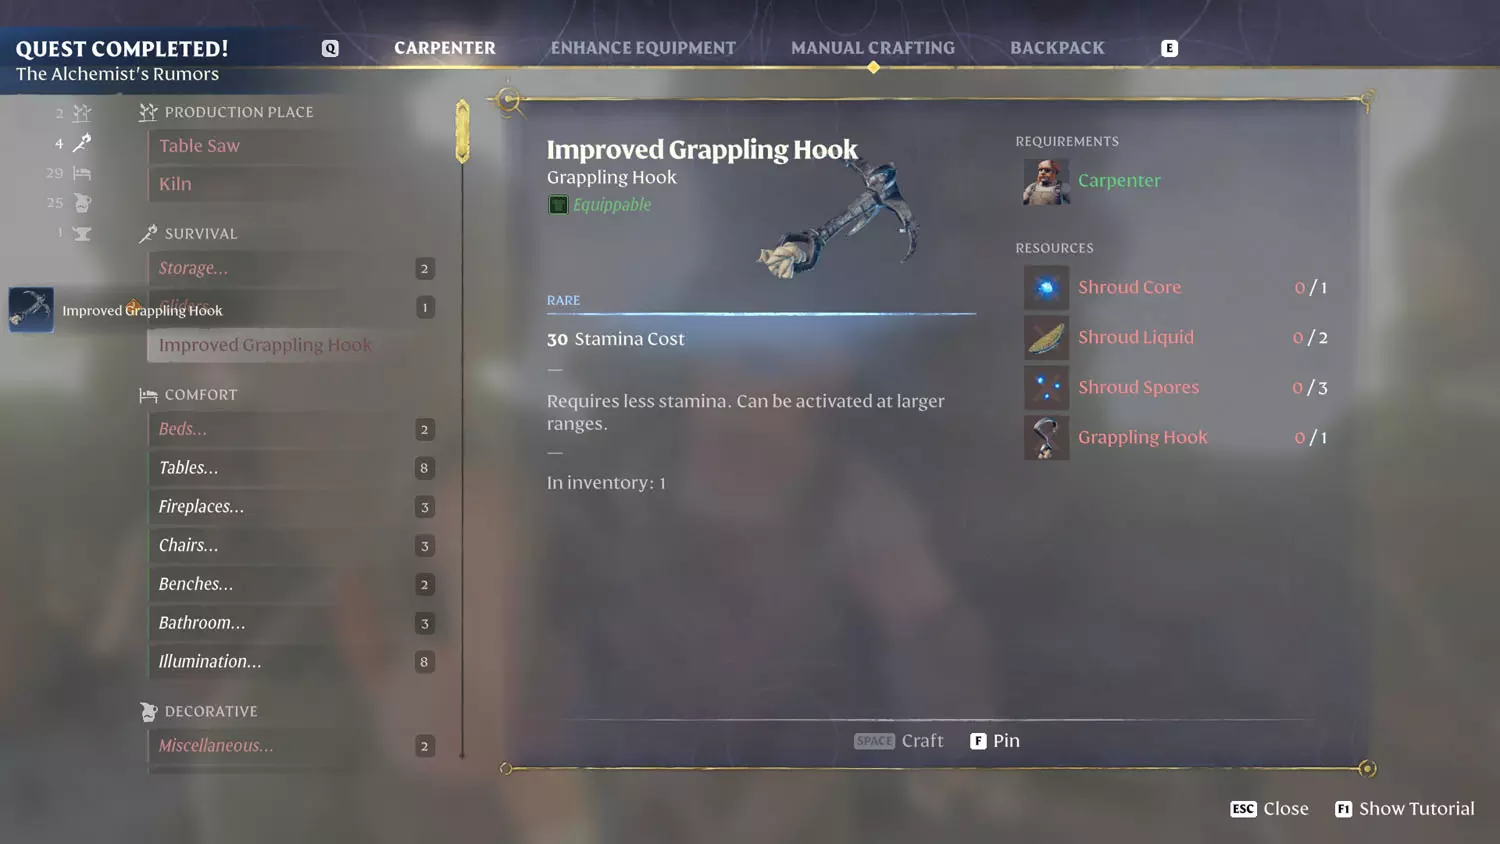
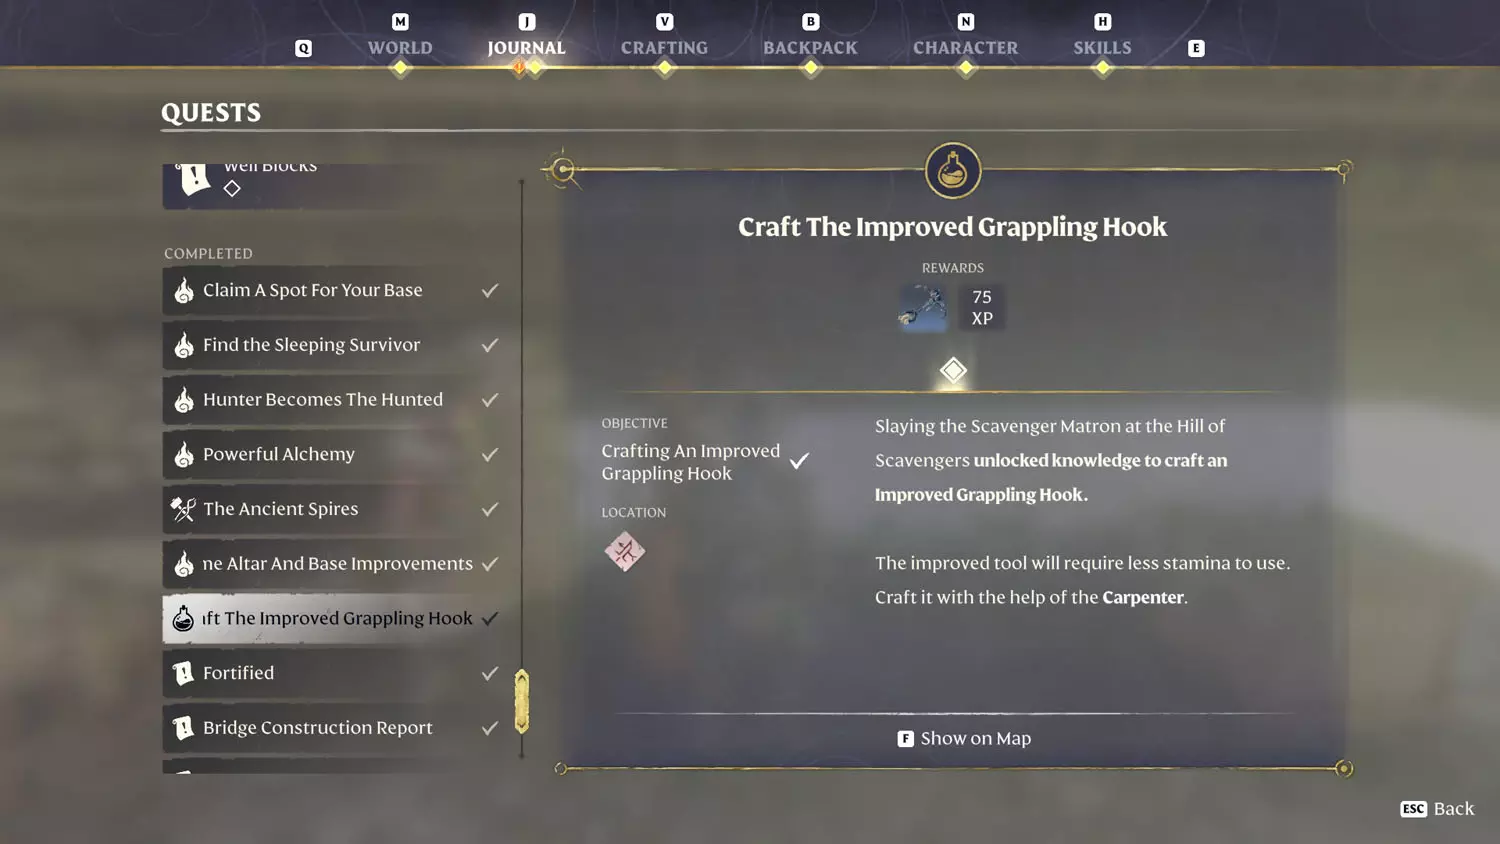
Craft The Improved Grappling Hook
It is unclear how I originally obtained this quest. It seems like you can completely skip it if you craft the Improved Grappling Hook without talking to the Alchemist. It also doesn’t automatically appear even if you have the previous quest (The Alchemist's Rumors) started and not completed. Some of my characters do NOT have this quest.
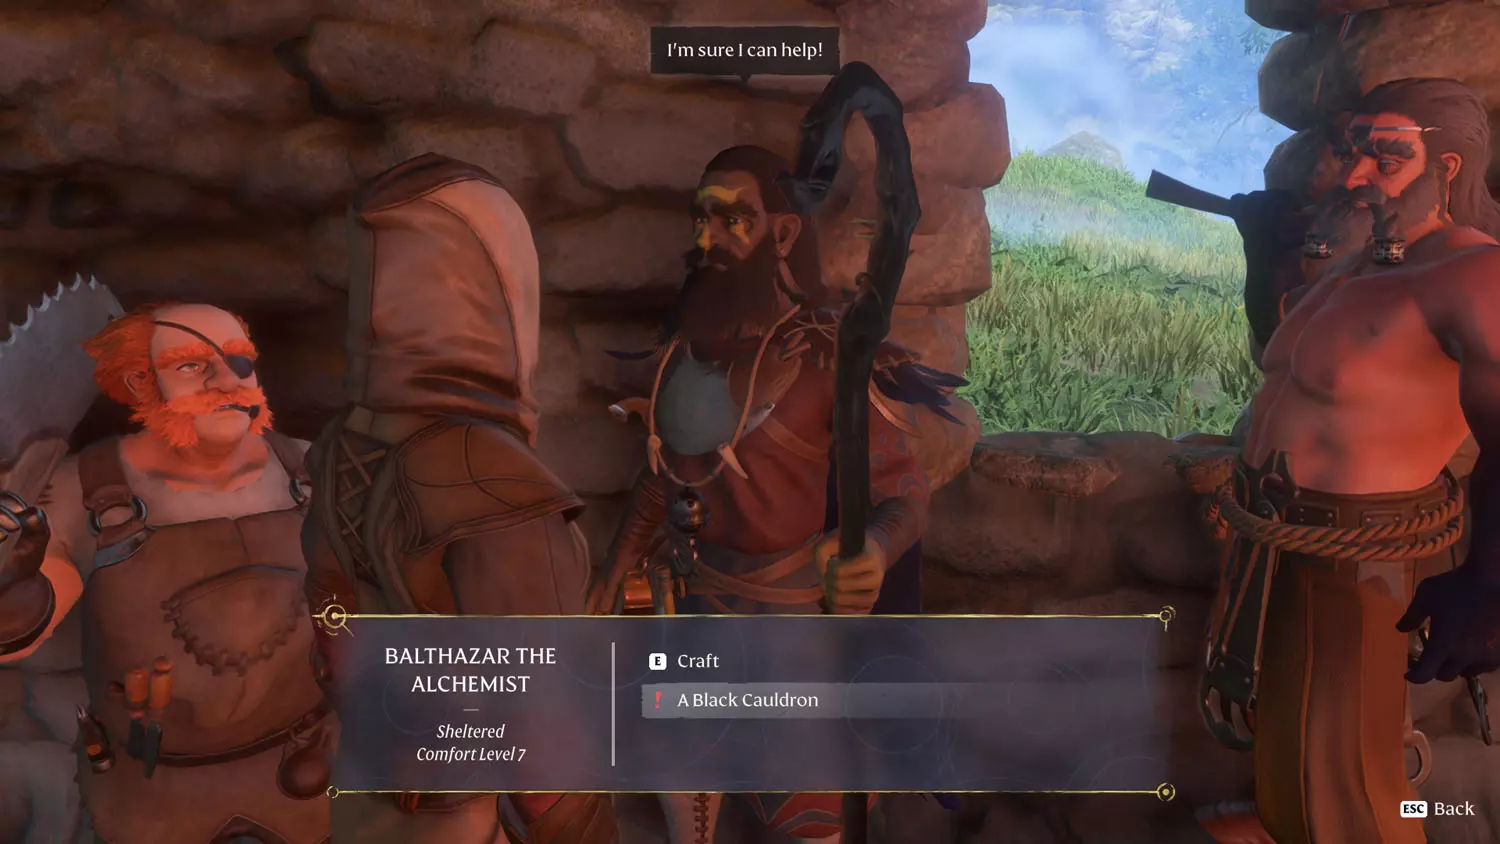
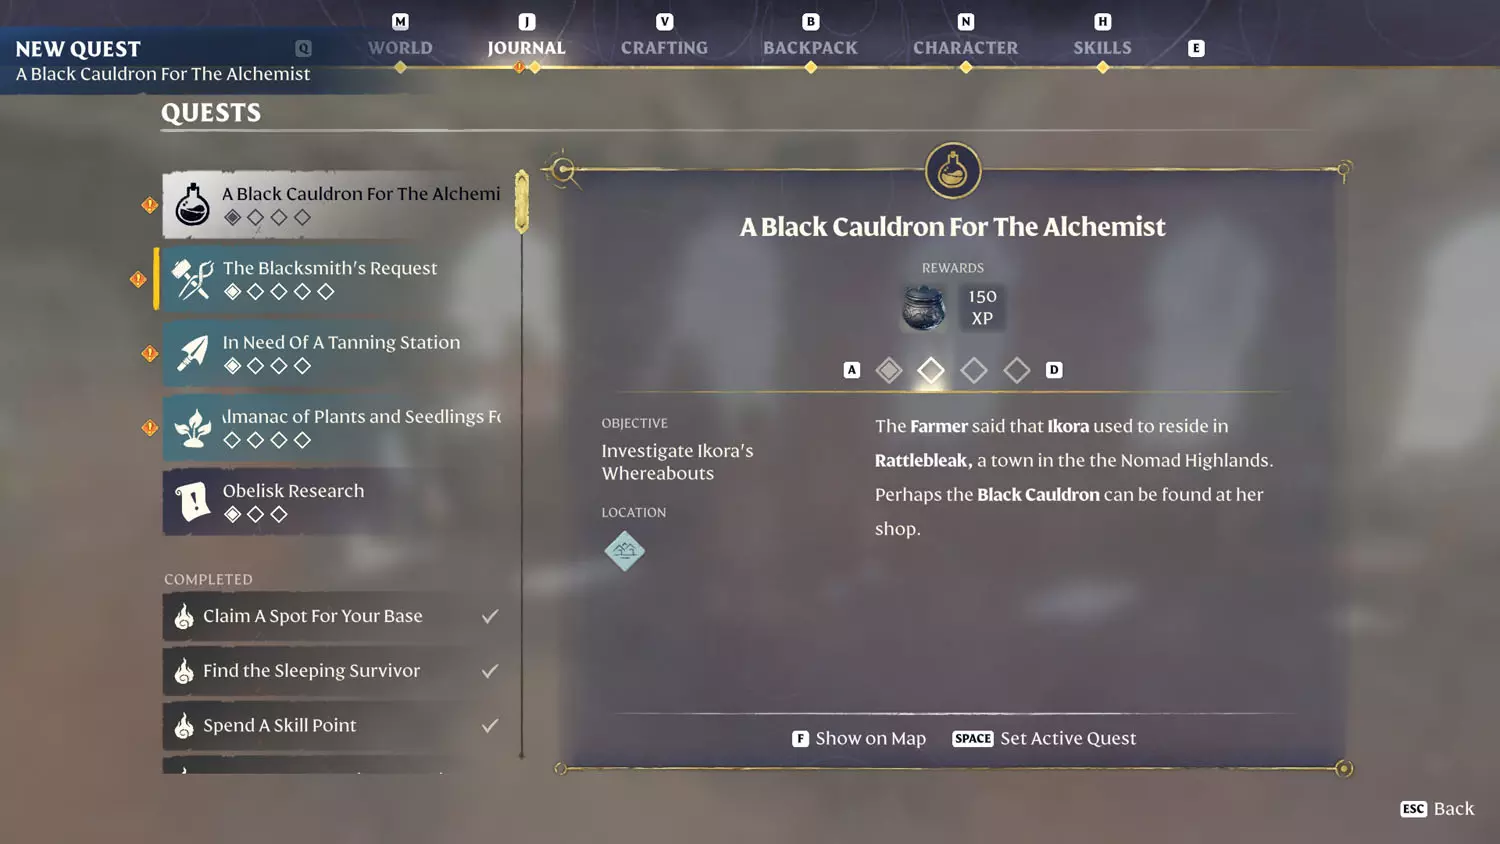
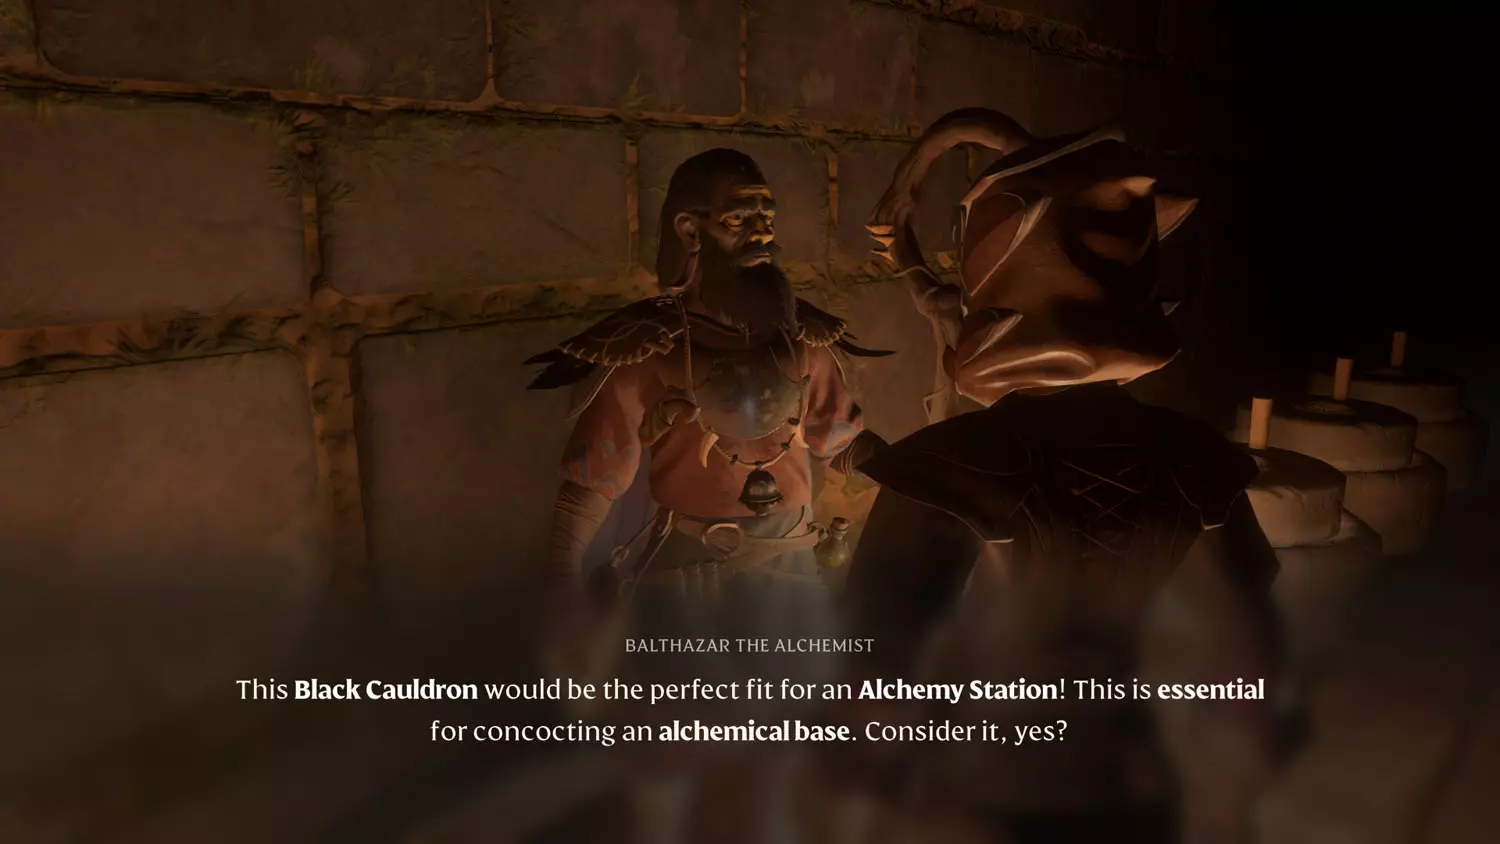
A Black Cauldron For The Alchemist
This quest becomes available at the Alchemist under the dialogue “A Black Cauldron” the second you finish the Carpenter Quest: Finding Masonry Tools.
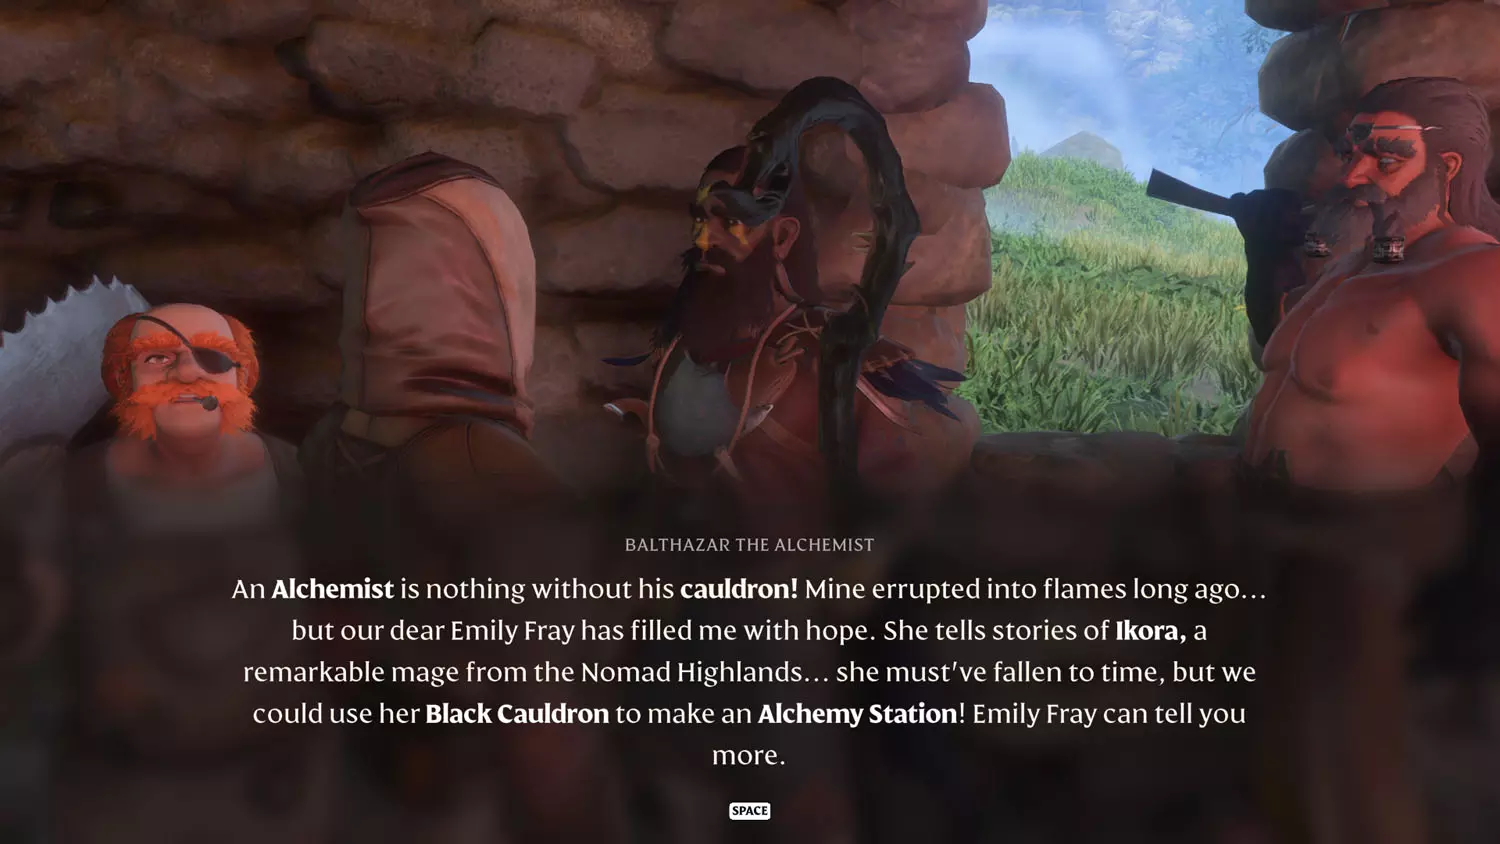
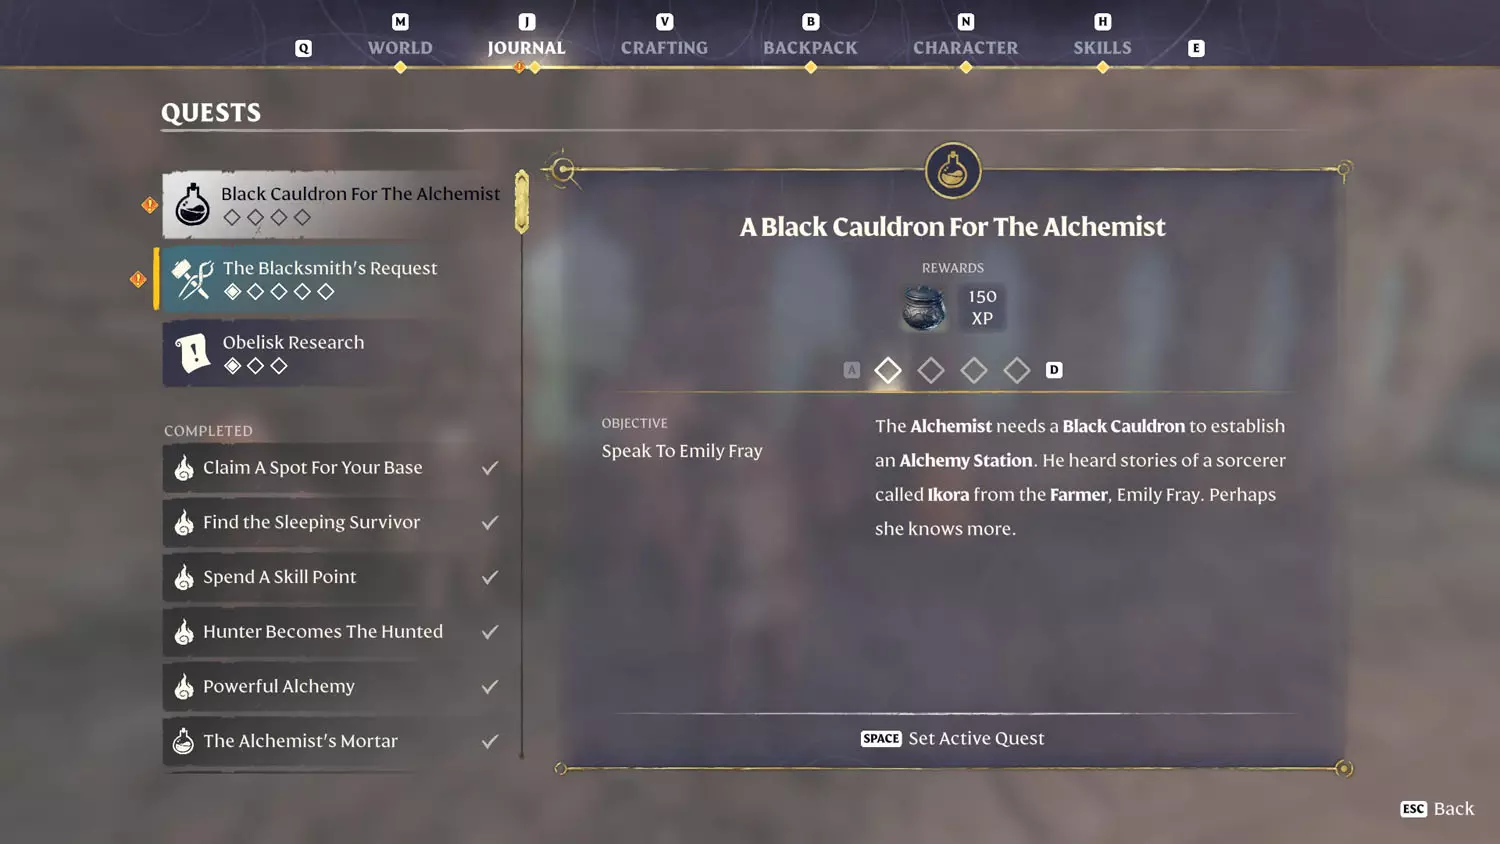
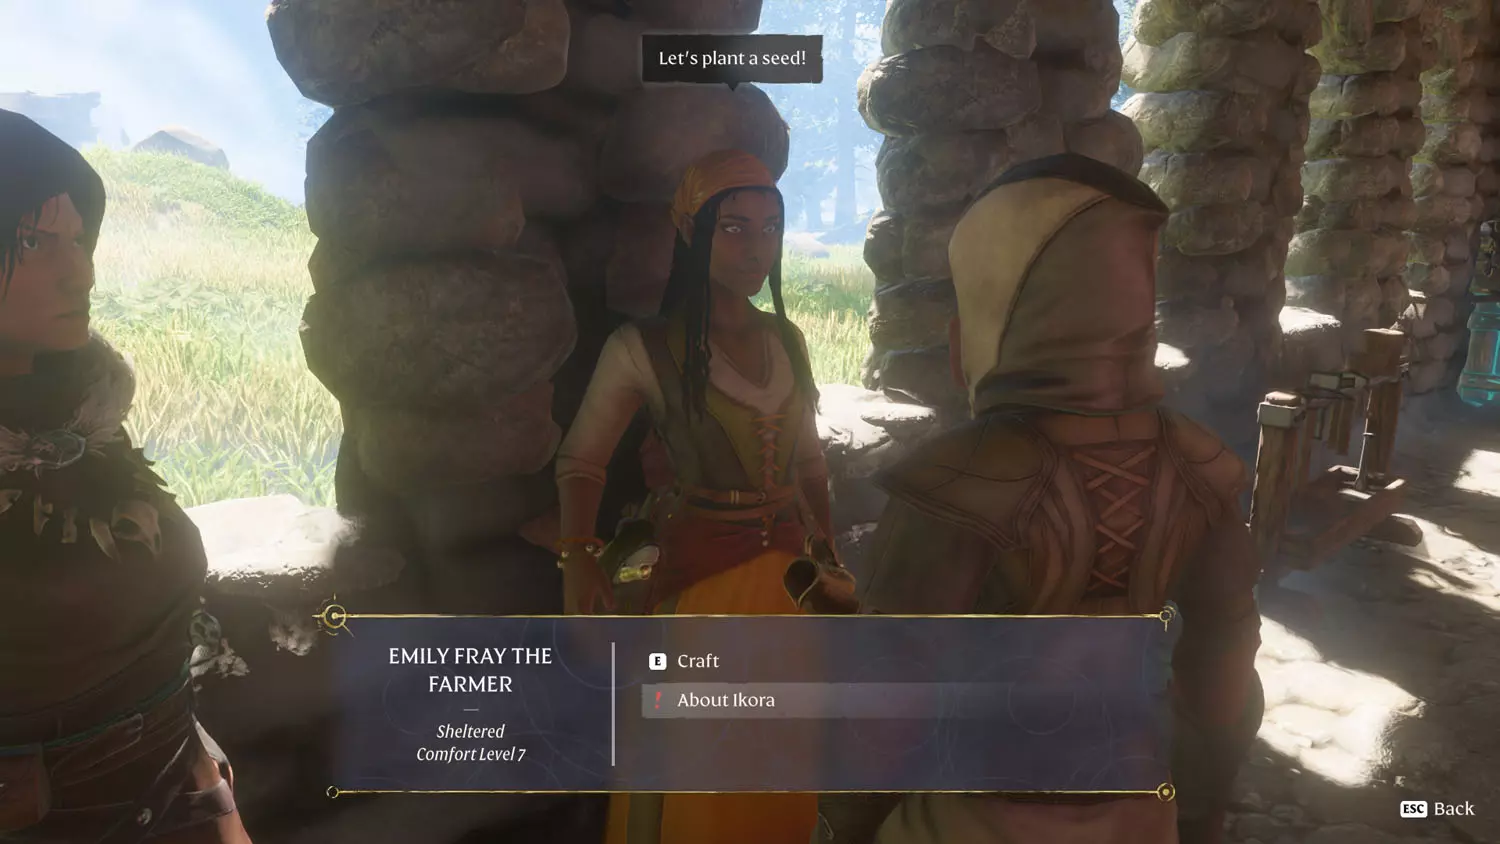
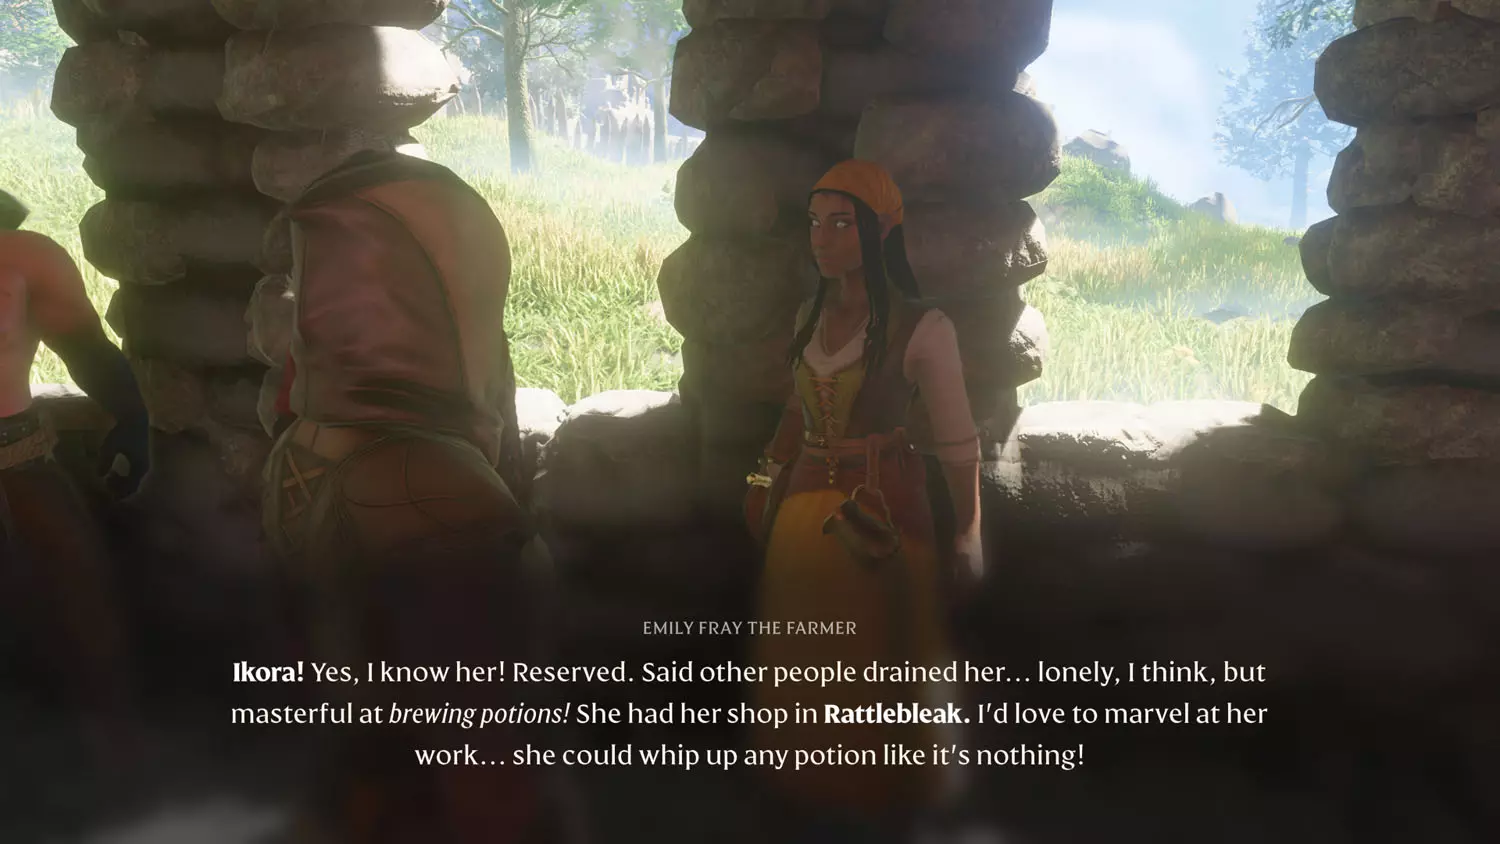
After speaking with the Alchemist, talk to Emily Fray, the Farmer, for tips on how to proceed. She will have the dialogue option: About Ikora. Talking to the Farmer will finish the first part of the quest. Now it’s off to Rattlebleak.
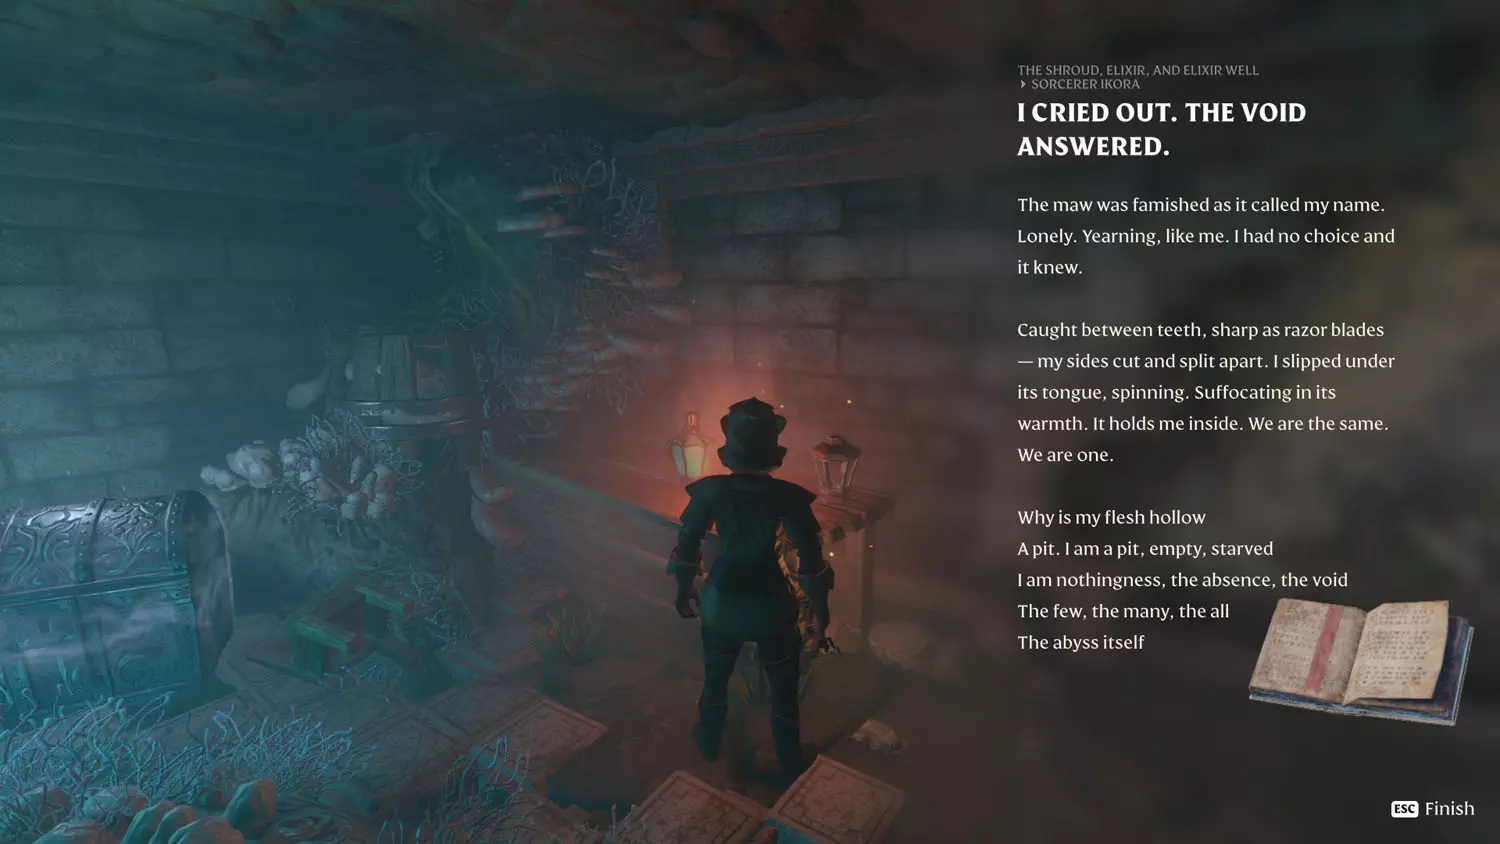
TIP: Rattlebleak has three The Shroud, Elixir, and Elixir Well Lore here (one of which pertains to the quest). Sorcerer Ikora 1/3 Its Flesh Is Potent, 2/3 A Hunger In The Dark, and 3/3 I Cried Out. The Void Answered.
Reading the third piece of The Shroud, Elixir, and Elixir Well Lore: Sorcerer Ikora 3/3 I Cried Out. The Void Answered finishes the second part of this quest and unlocks the third. To finish the quest, follow the trail of calcified bodies out of Rattlebleak.
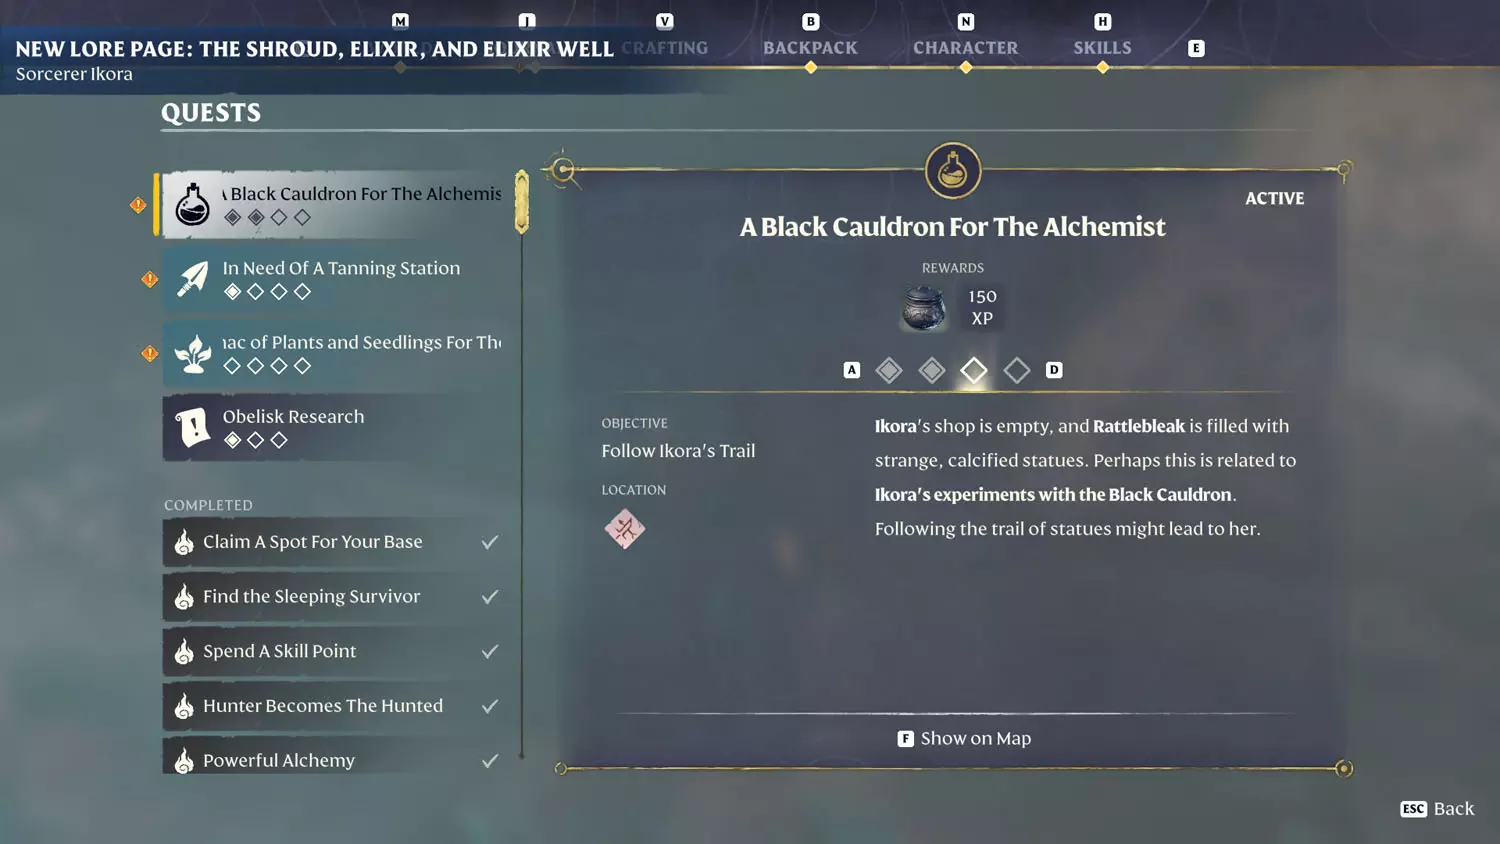
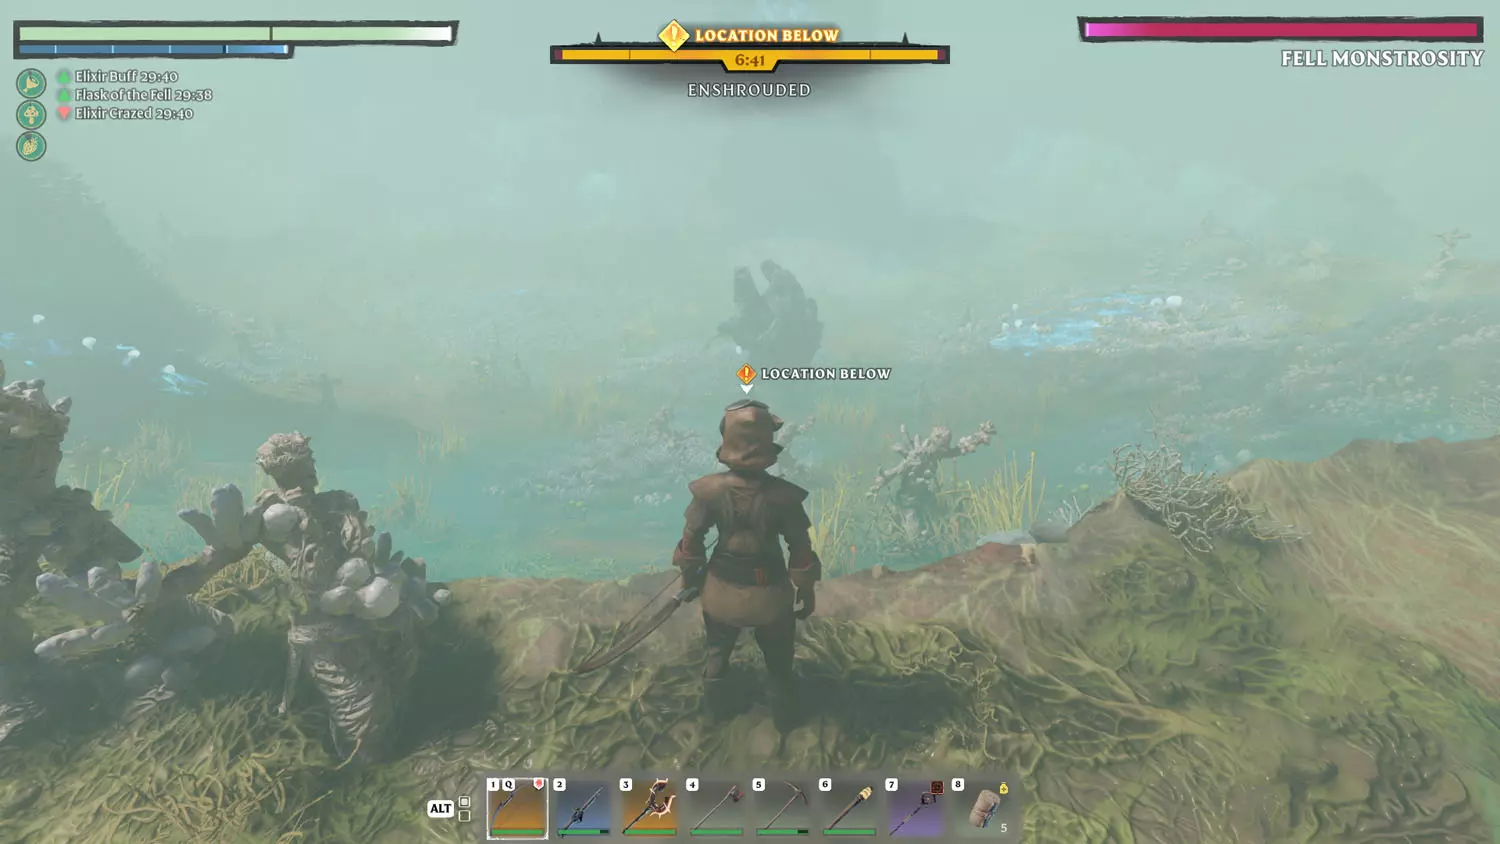
Follow the poor dead civilians that Ikora experimented on. Their trail, and the map marker, will lead to the Cradle of Dusk. Then, just a totally simple matter of slaying the Fell Monstrosity, which I think is their way of saying Ikora… Anyway, the key to winning is dodging the creatures attacks, or blocking, but I shun shields, so dodging it is!
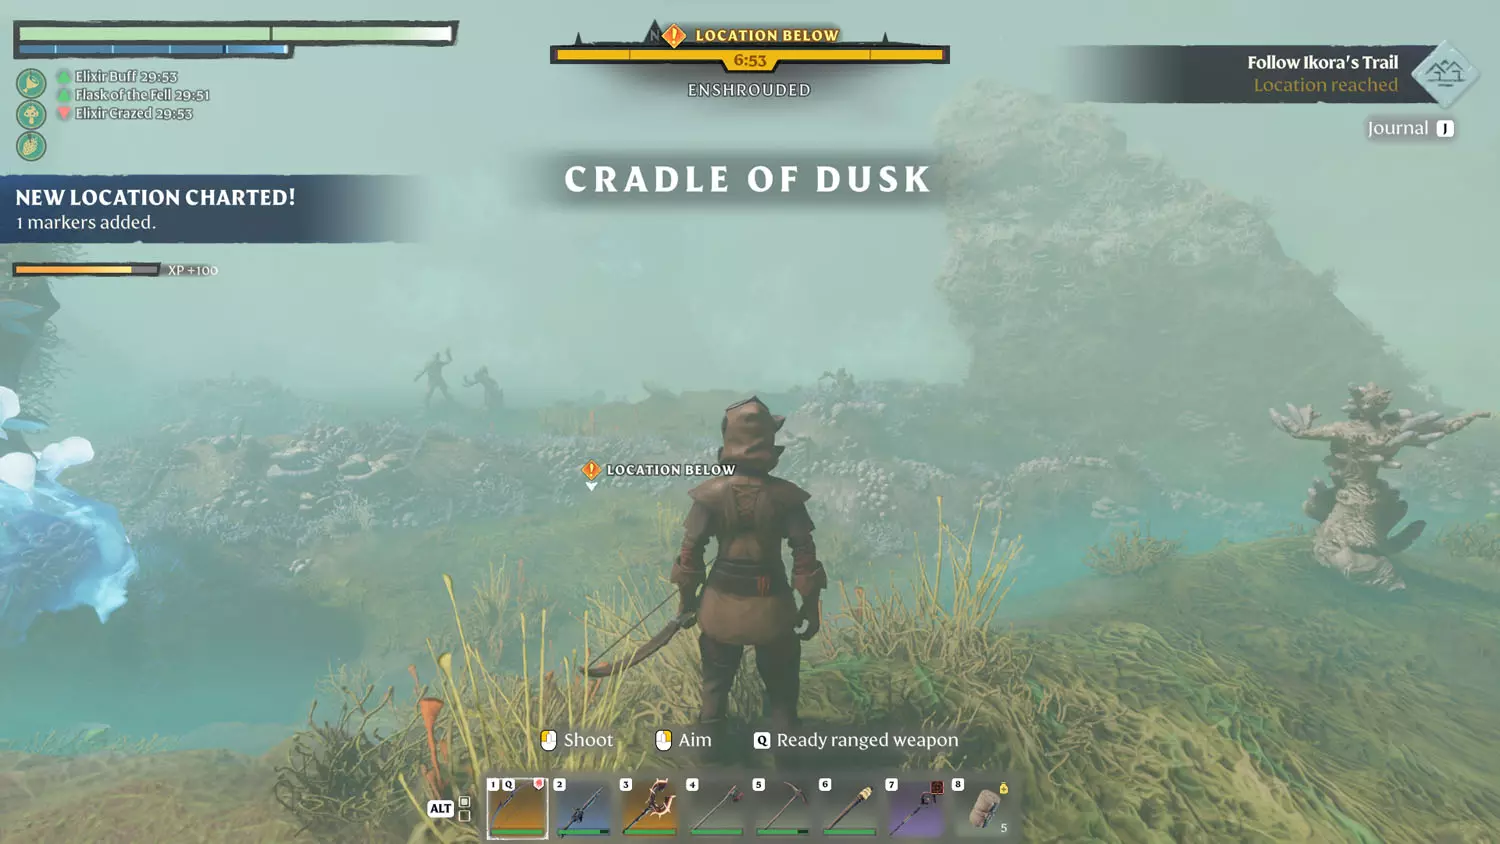
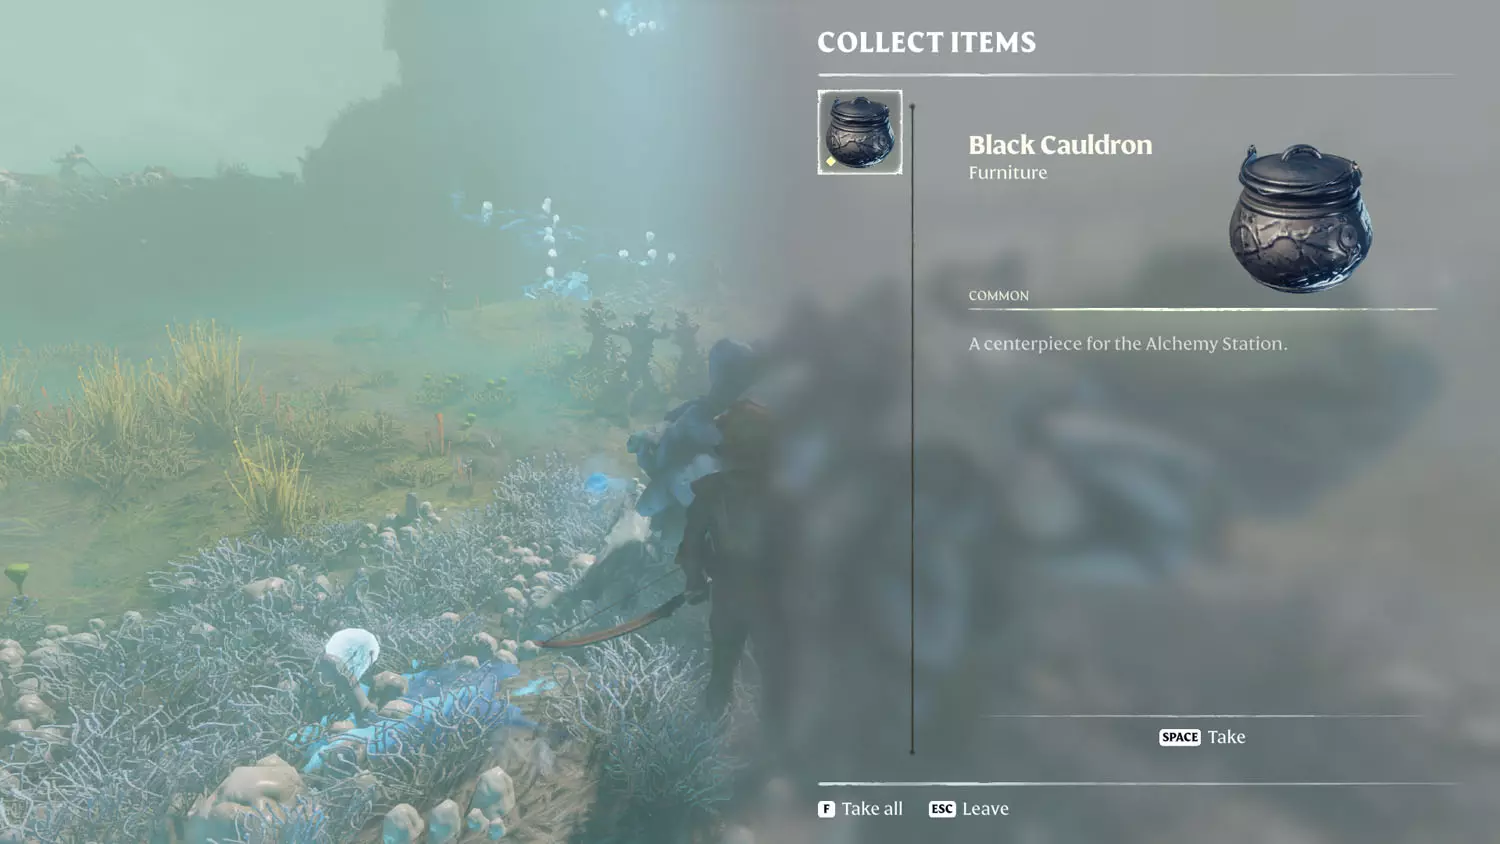
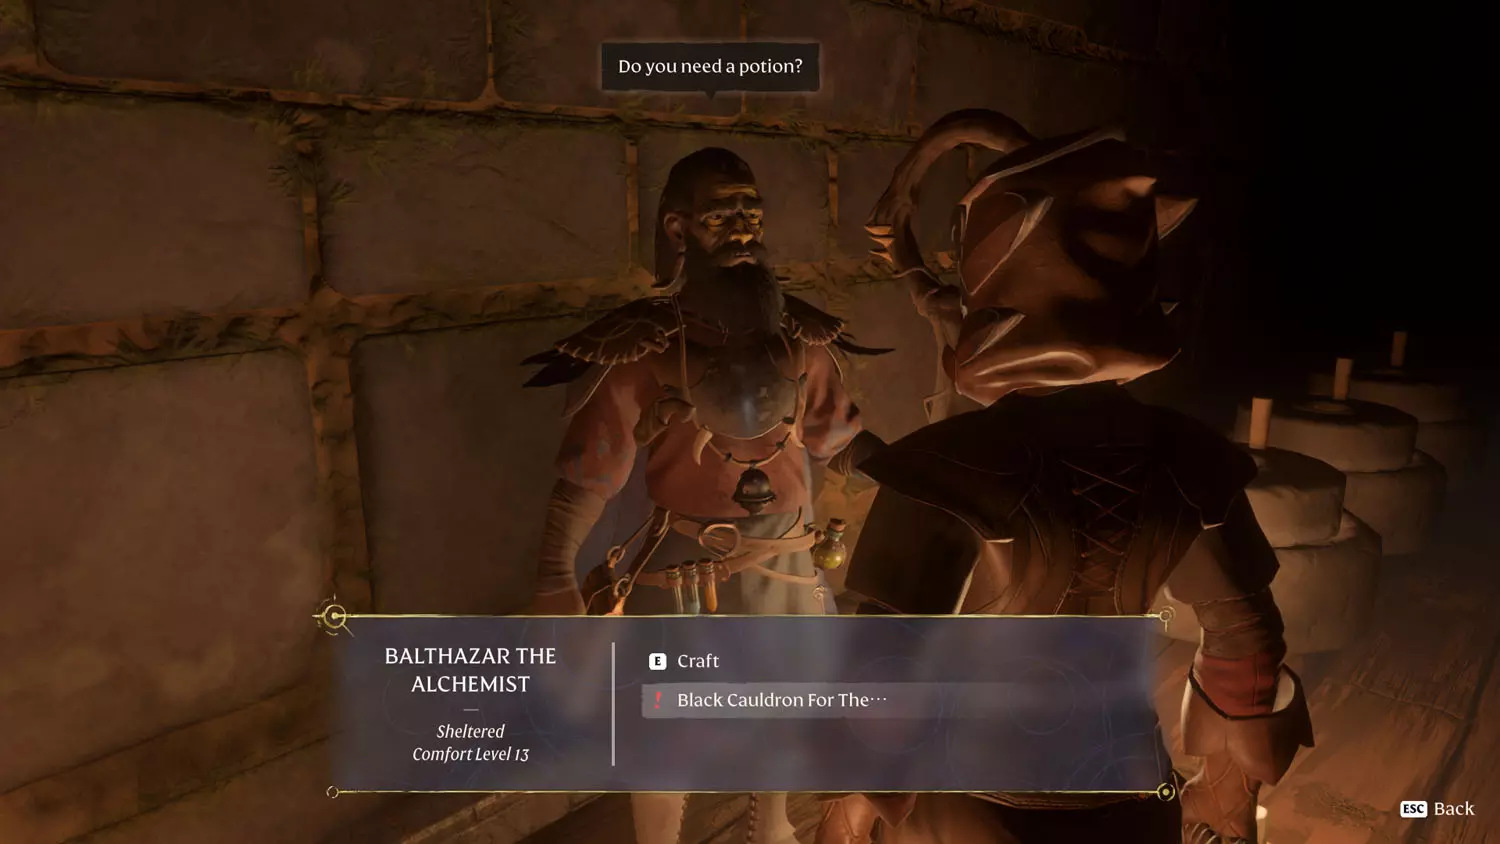
Once you win, be sure to loot the body for the Black Cauldron AND the Fell Monstrosity Head (needed for making your base Flame stronger). Looting the Black Cauldron will nearly finish the quest. Now it's back to the Alchemist where you’ll have the dialogue option “Black Cauldron For The [Alchemist]”. He just wants you to craft an Alchemy Station.
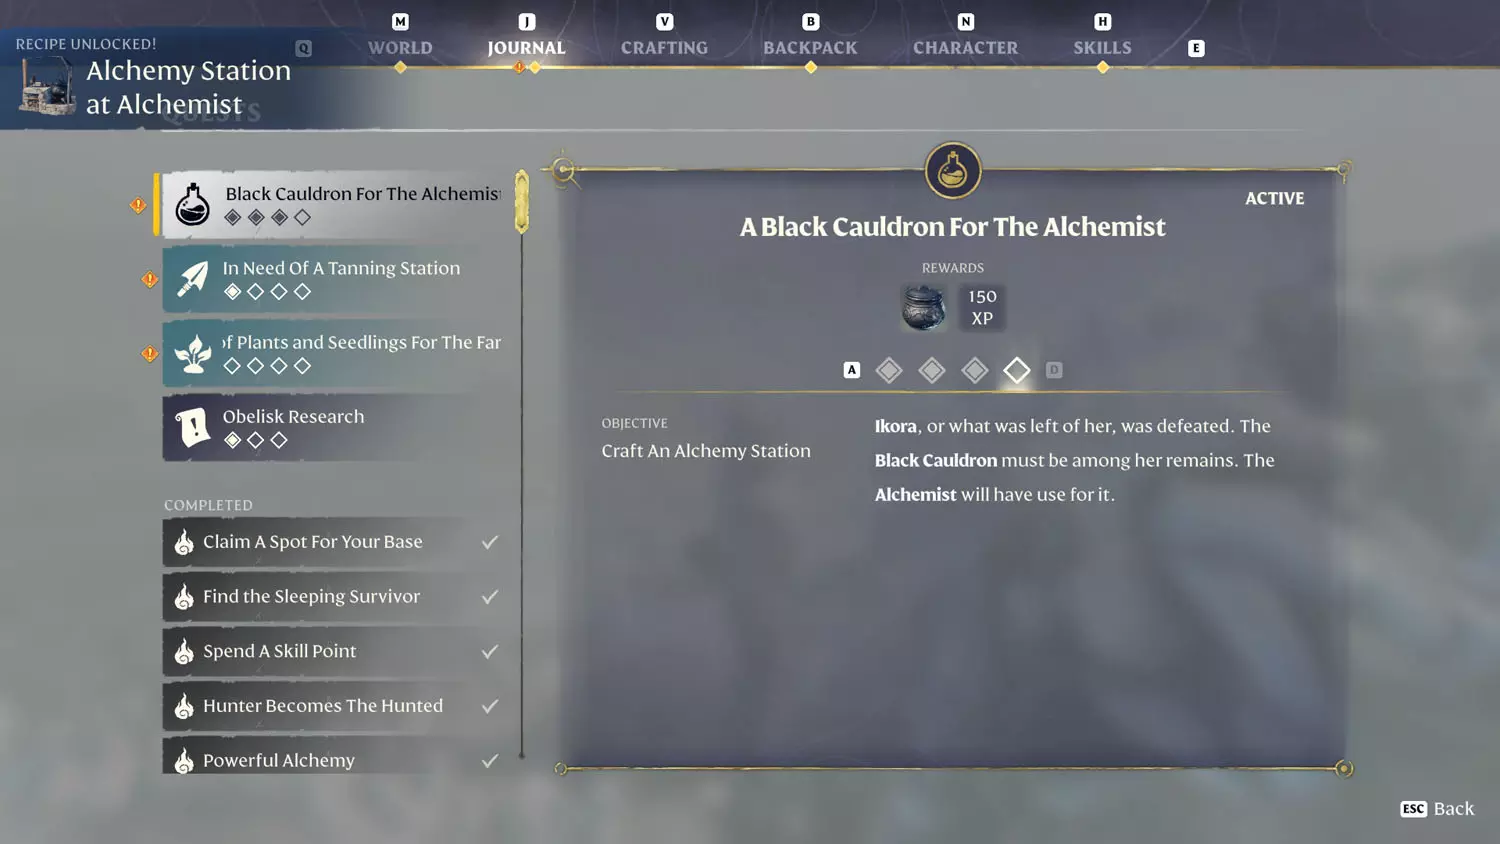
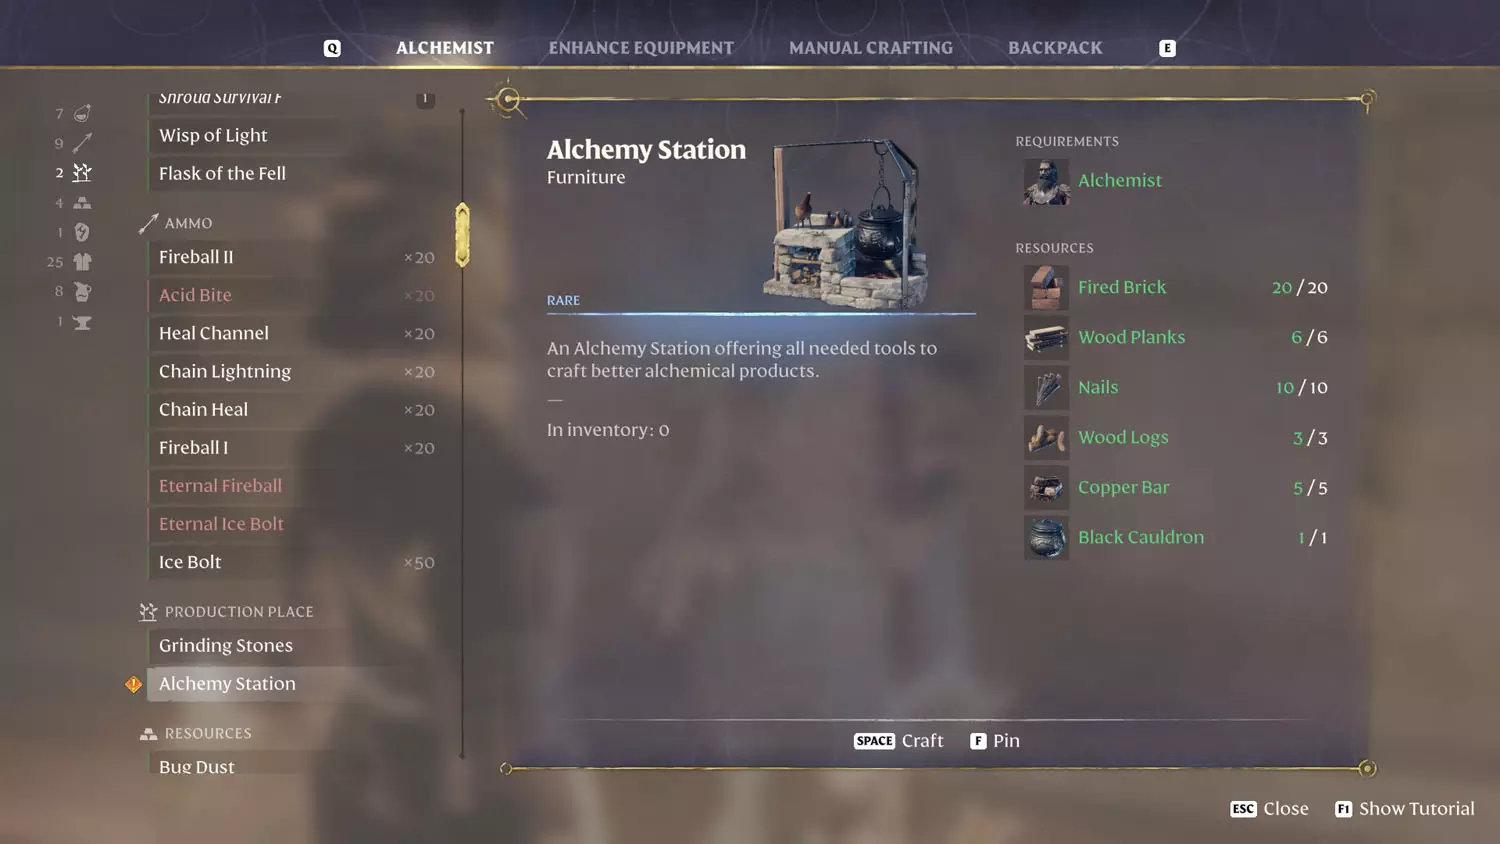
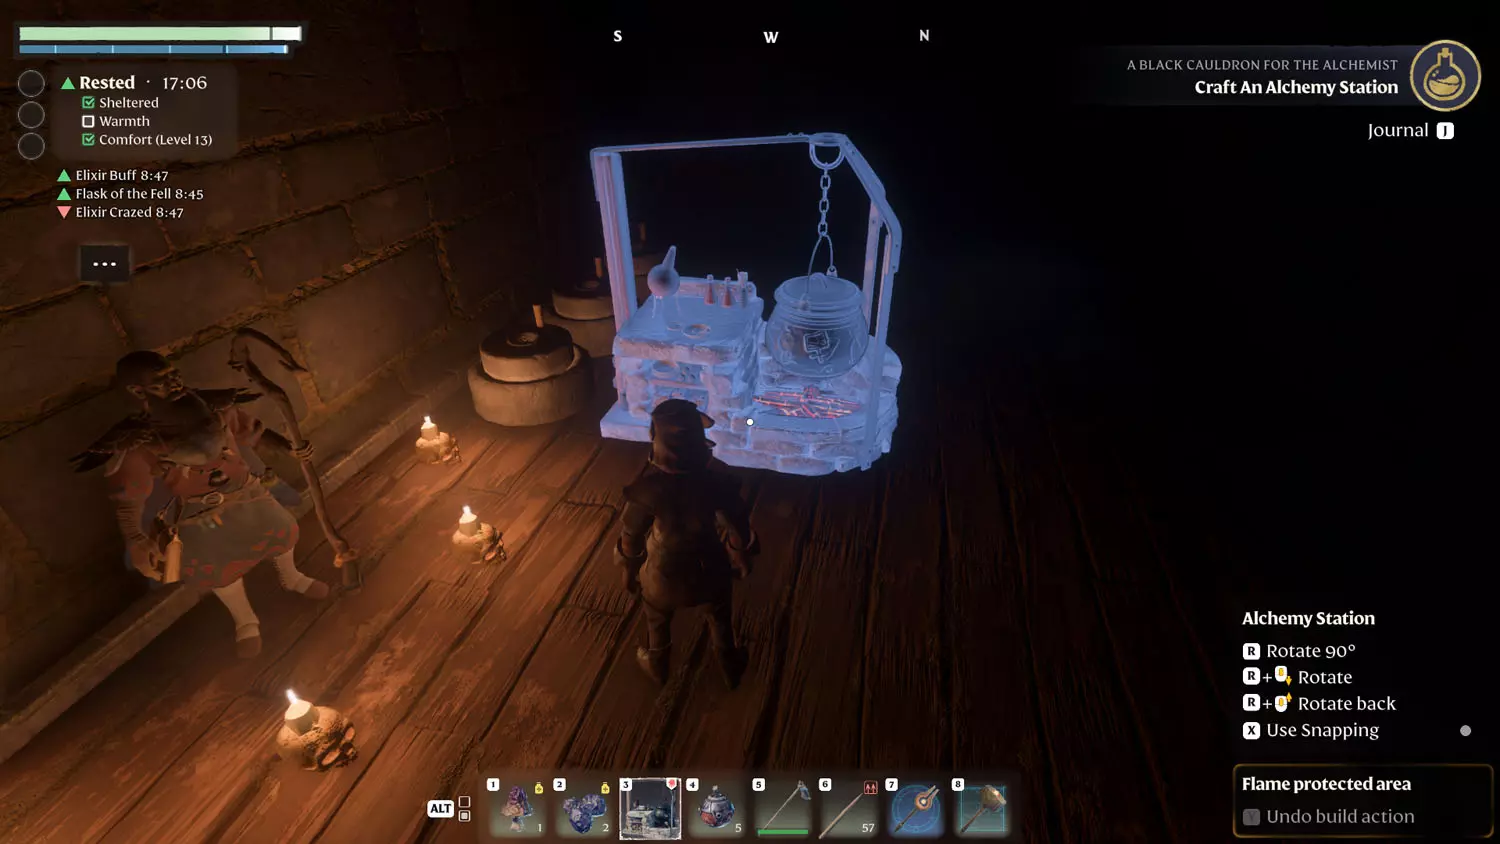
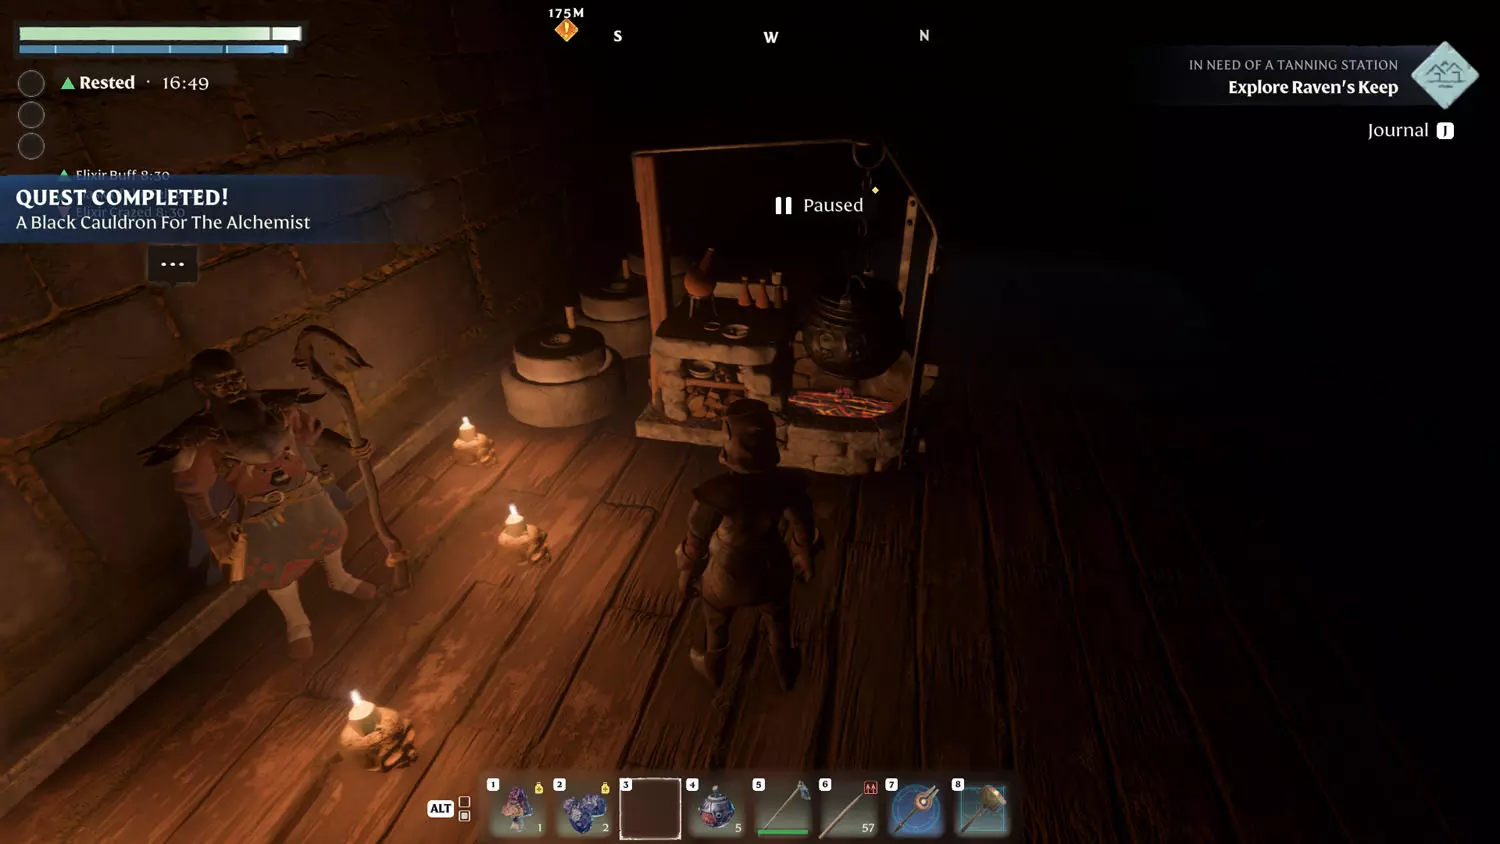
So, craft the Alchemy Station and place it to complete the quest! For materials, you will need 20 Fired Brick, 6 Wood Planks, 10 Nails, 3 Wood Logs, 5 Copper Bar, and 1 Black Cauldron.
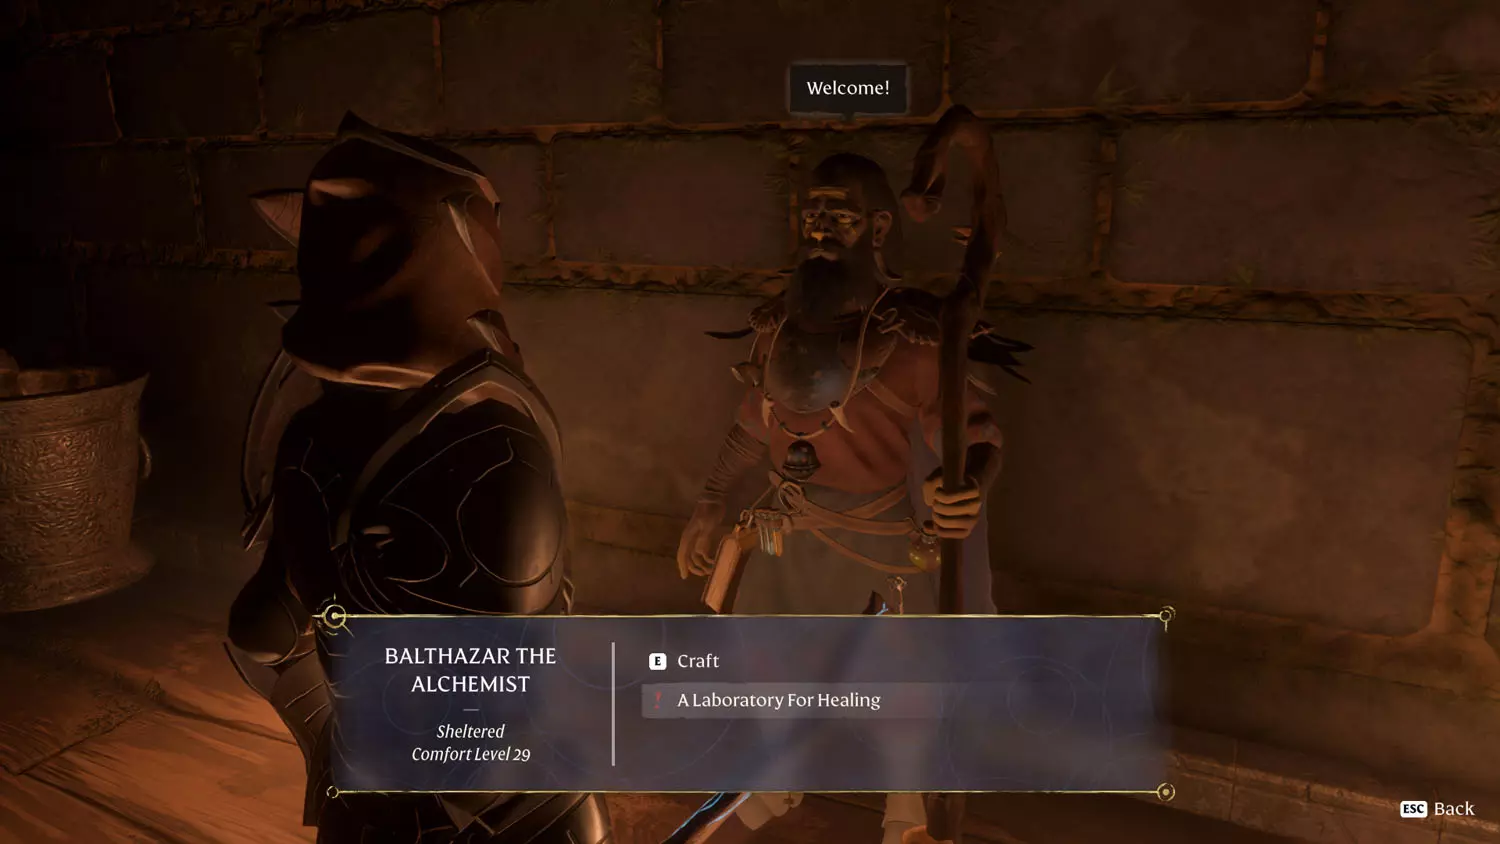
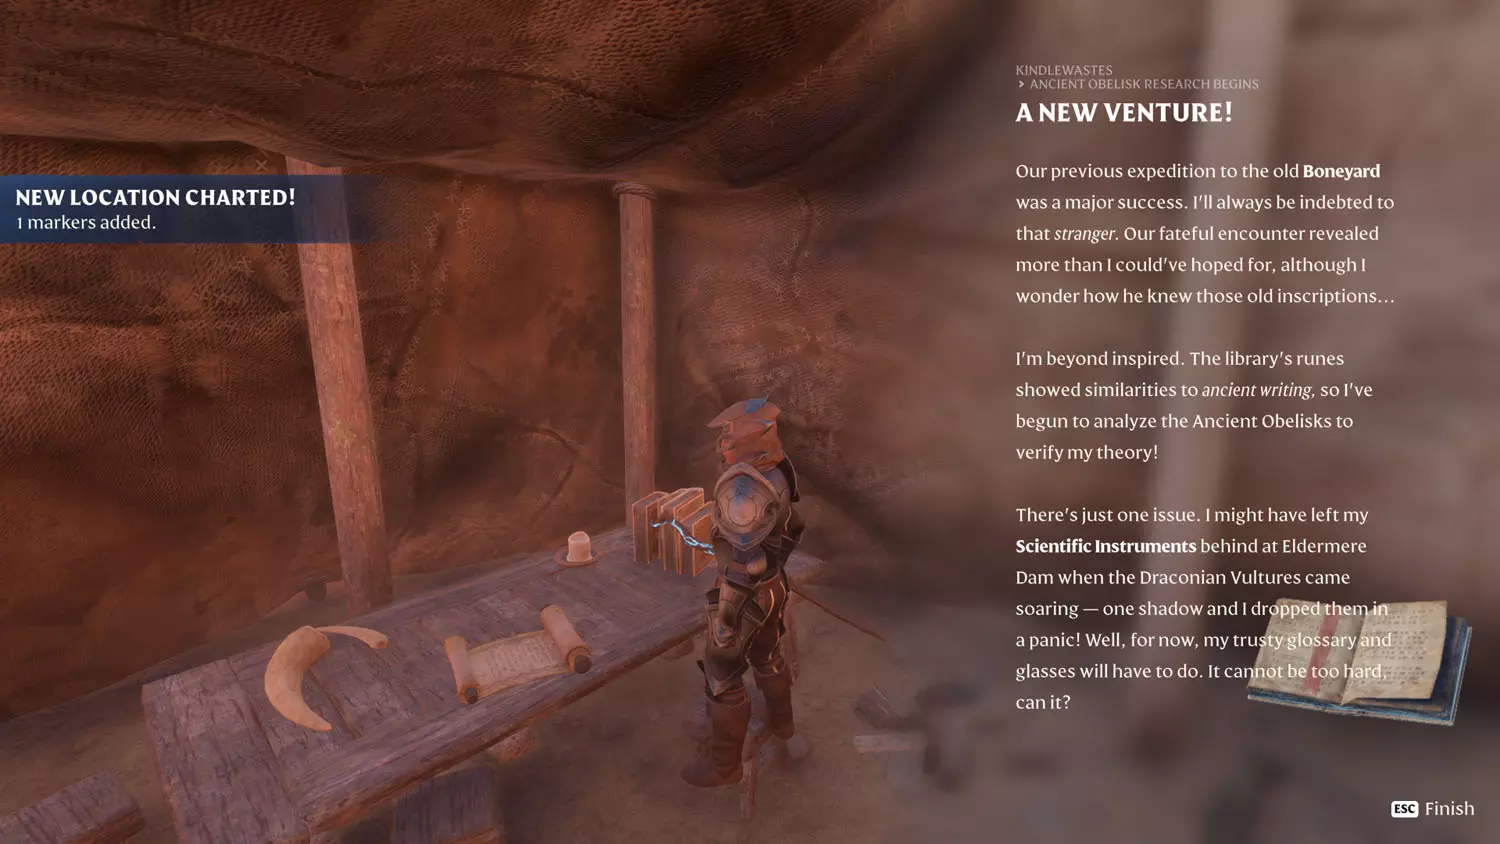
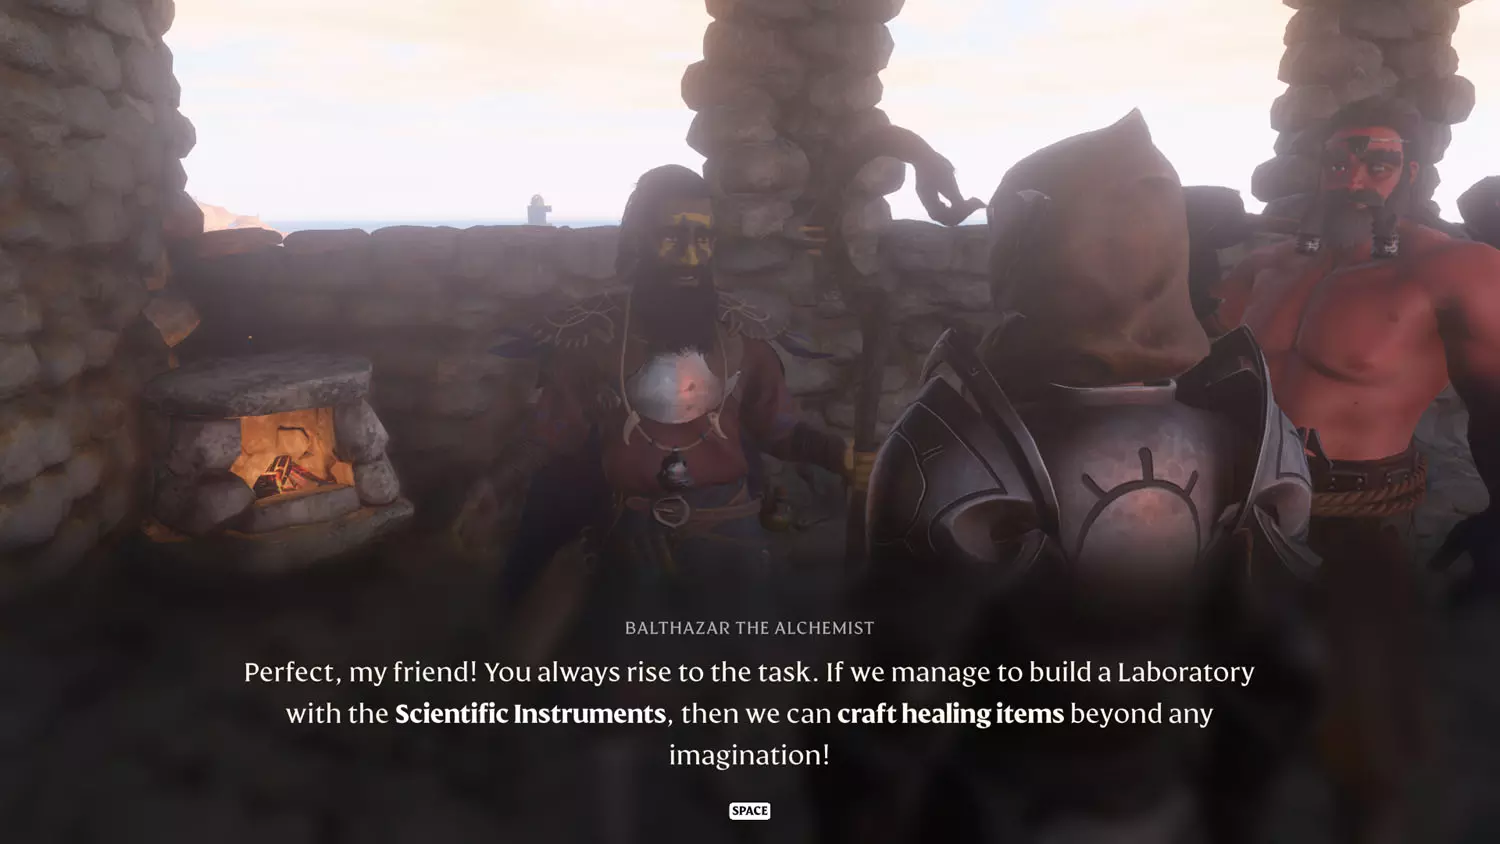
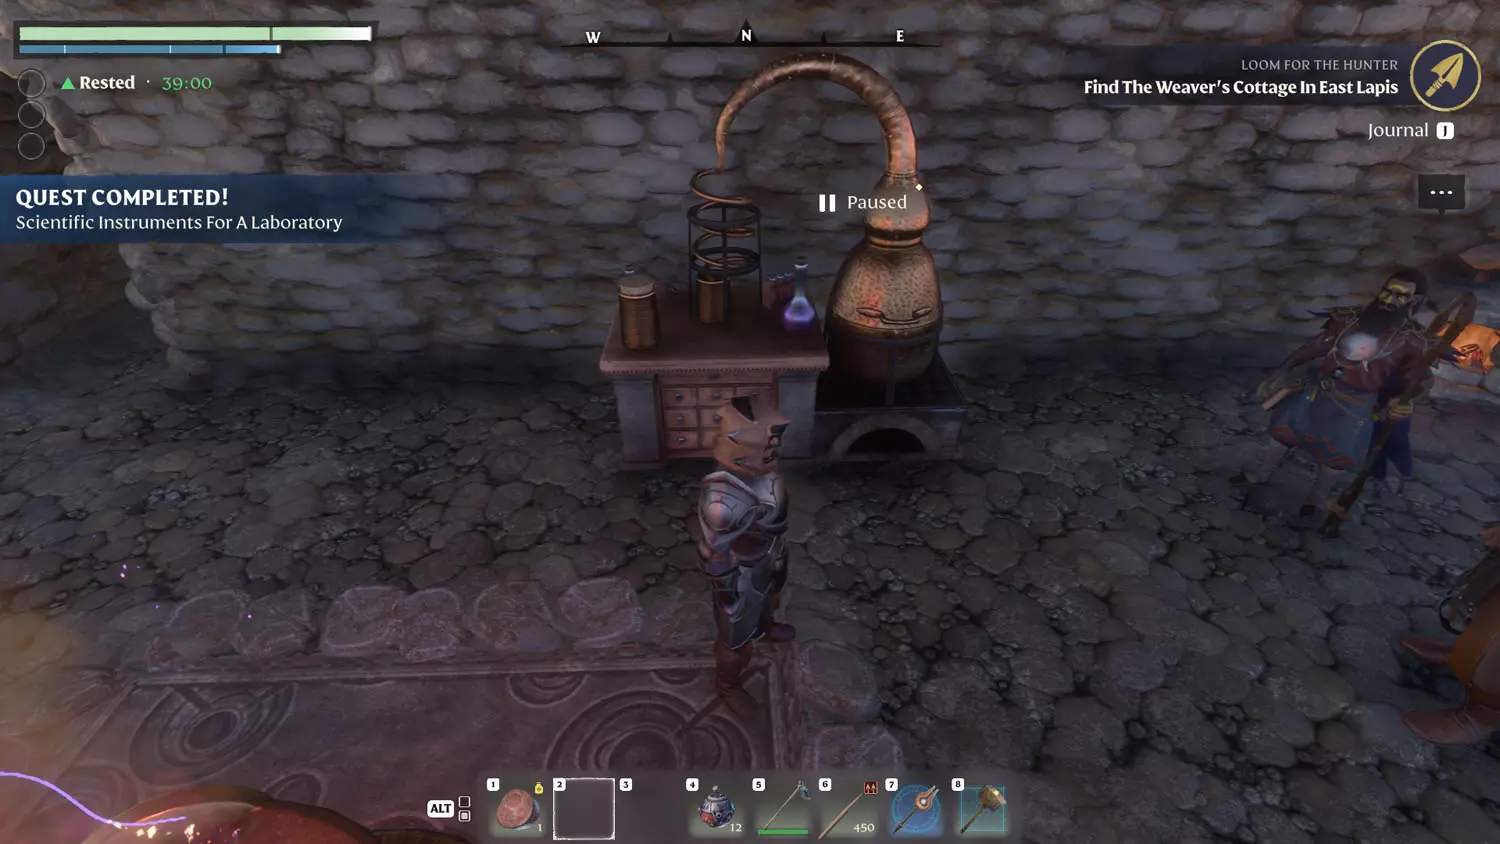
Scientific Instruments For A Laboratory
The time has come again for another important item retrieval! After finishing the Farmer Quest: Almanac of Plants and Seedlings For The Farmer, Balthazar The Alchemist will have the dialogue option “A Laboratory For Healing” available. This will start the quest.
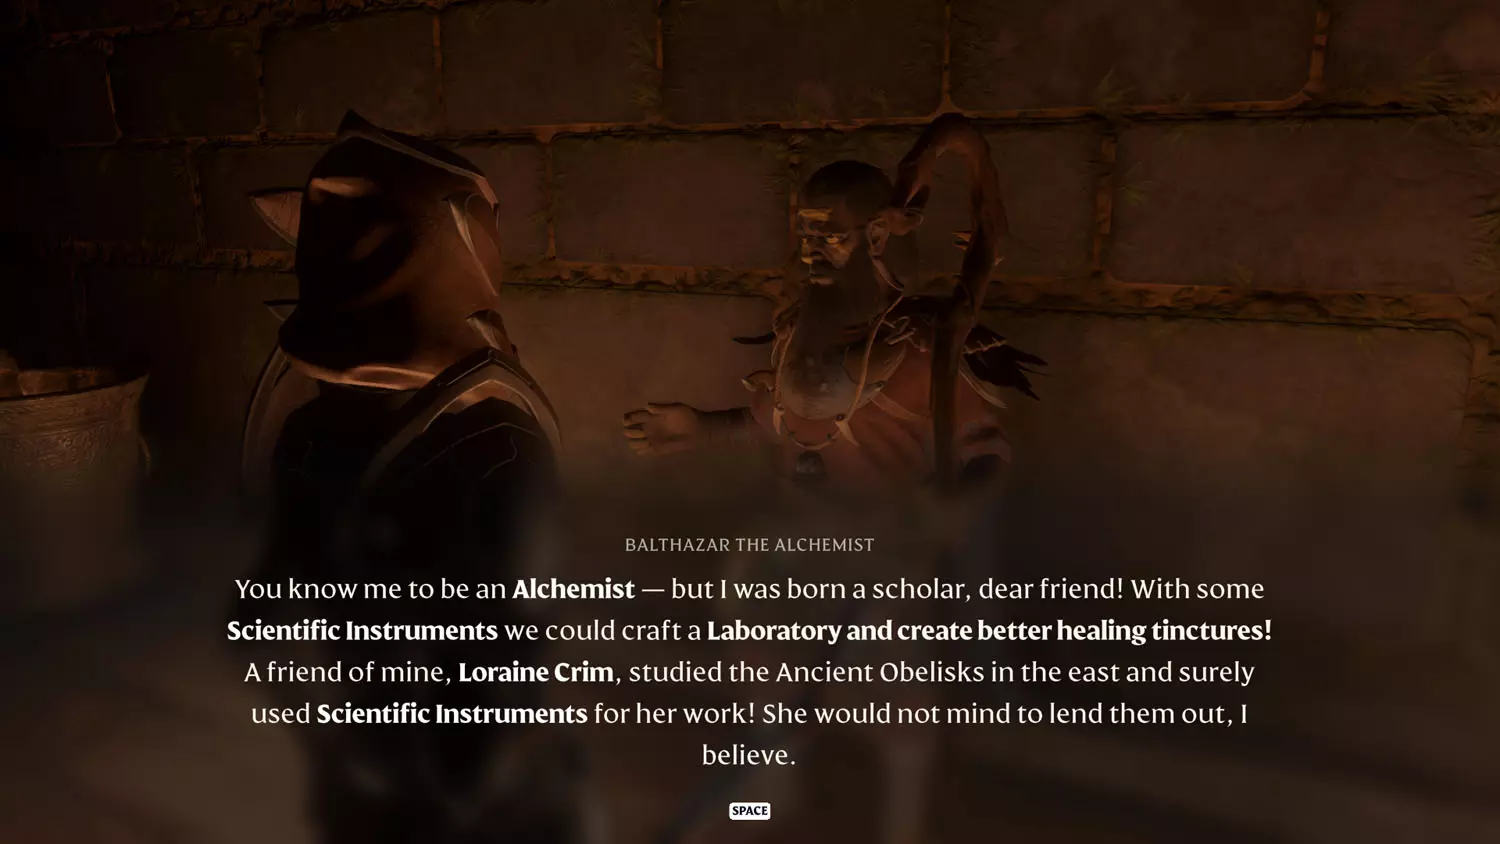
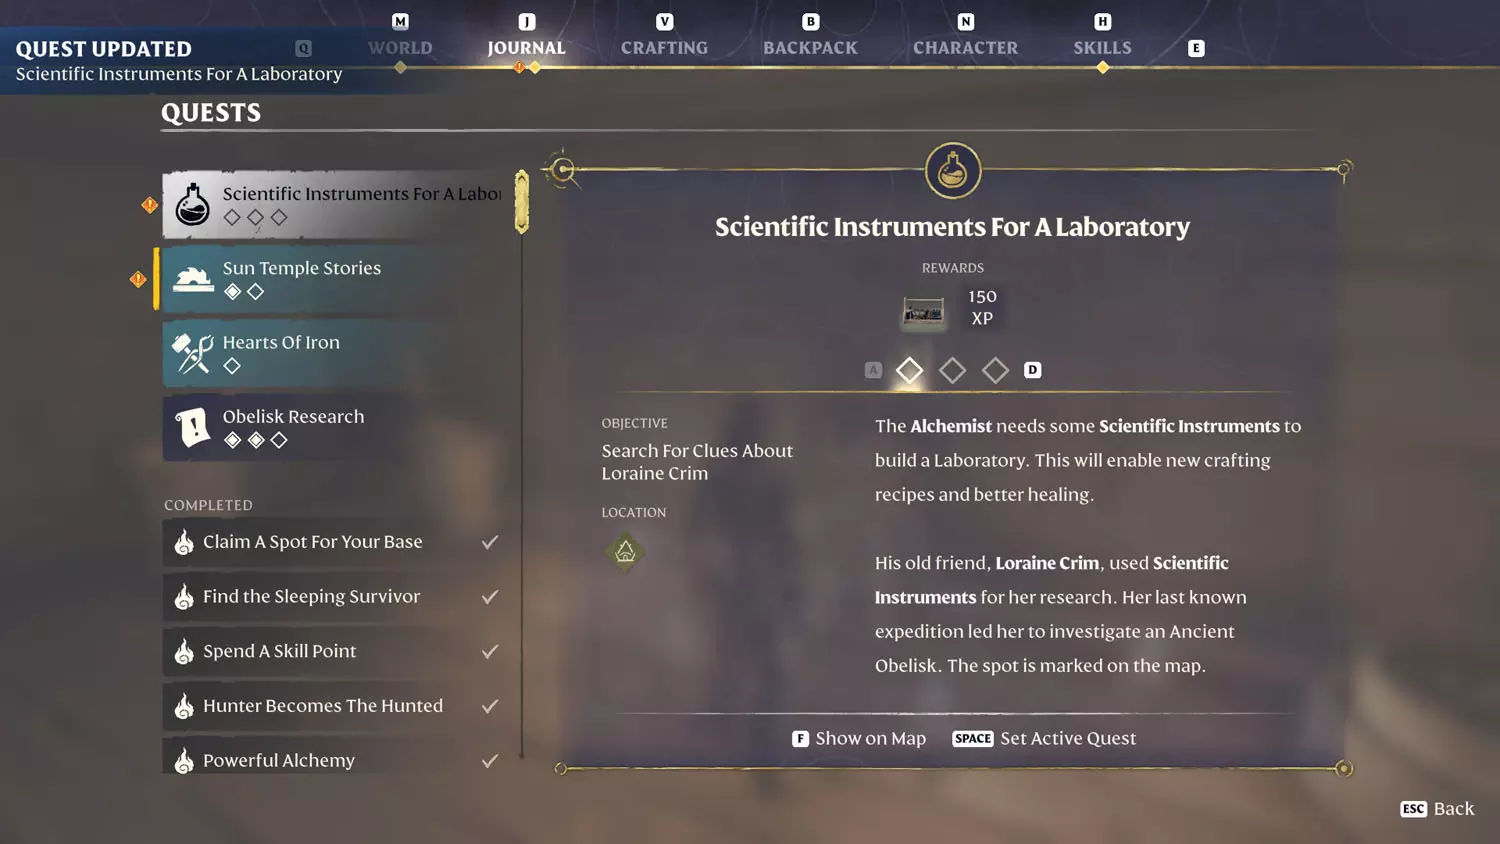
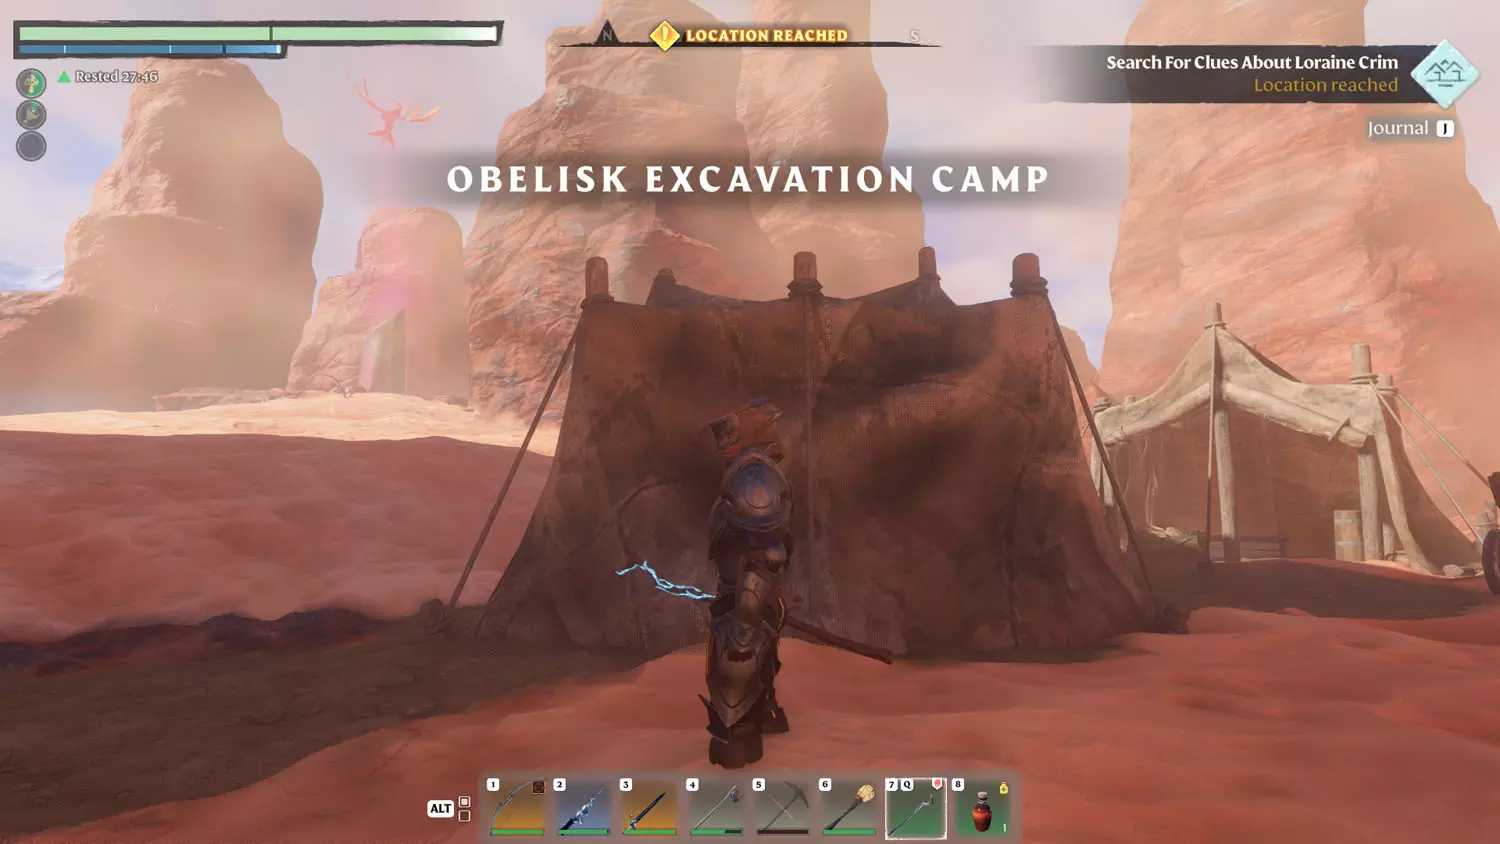
Head for the Obelisk Excavation Camp - the one with the Kindlewastes Lore: Ancient Obelisk Research Begins 1/1 A New Venture!. Reading the Lore will complete part one of three for this quest.
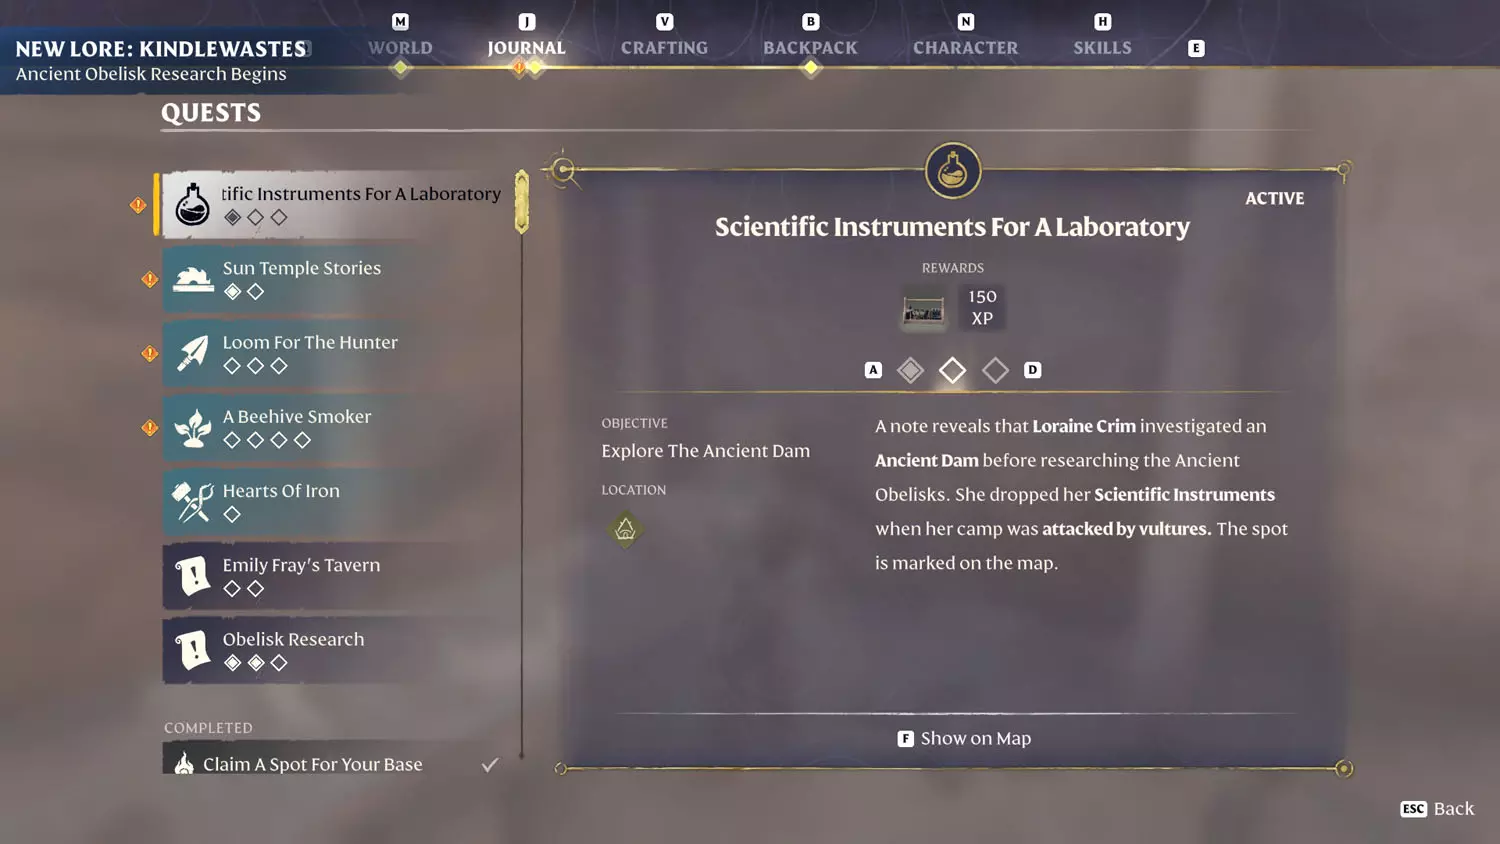
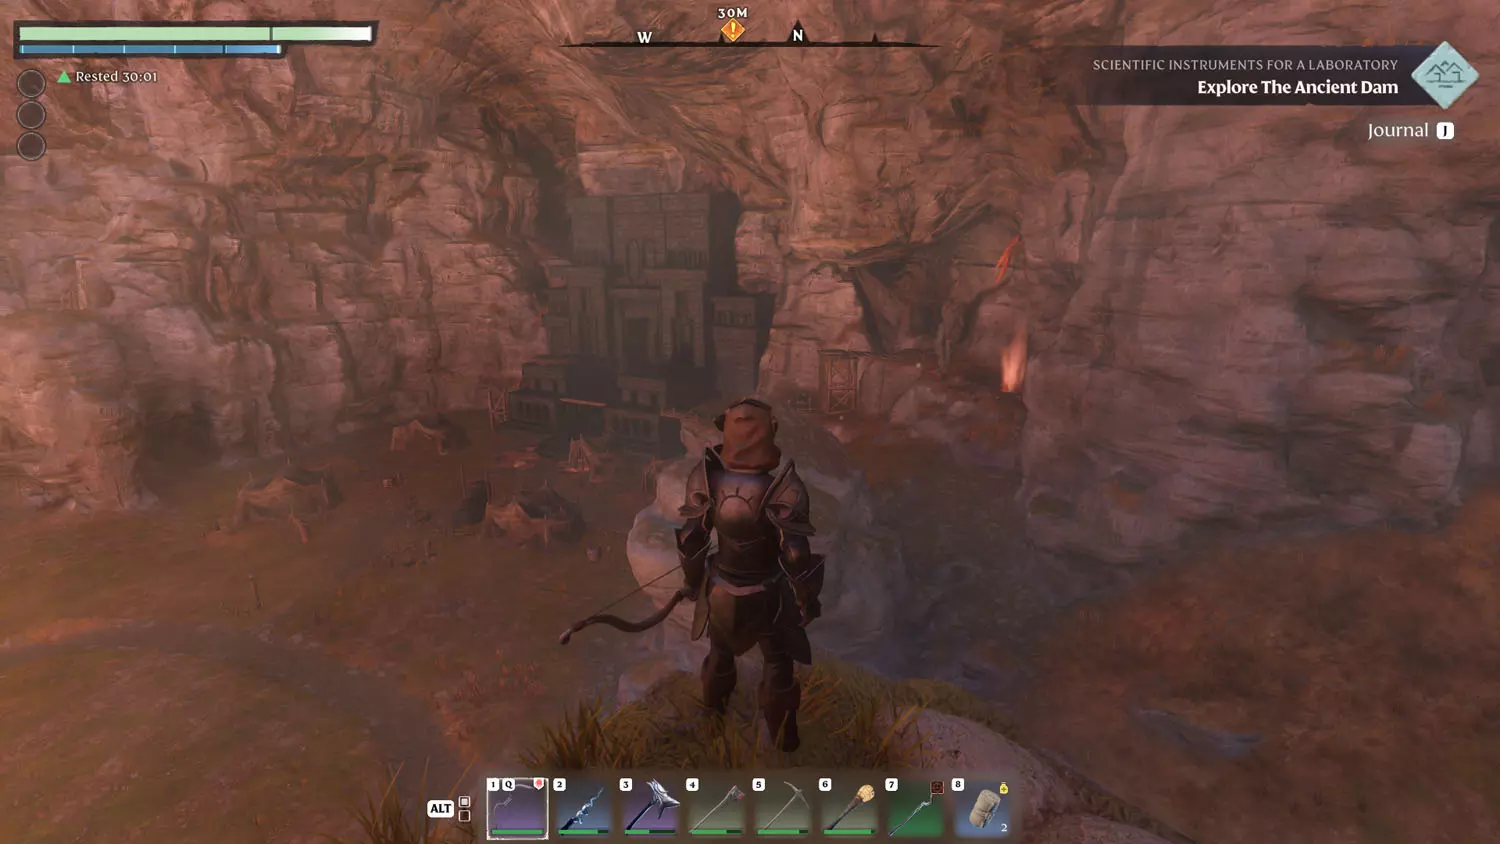
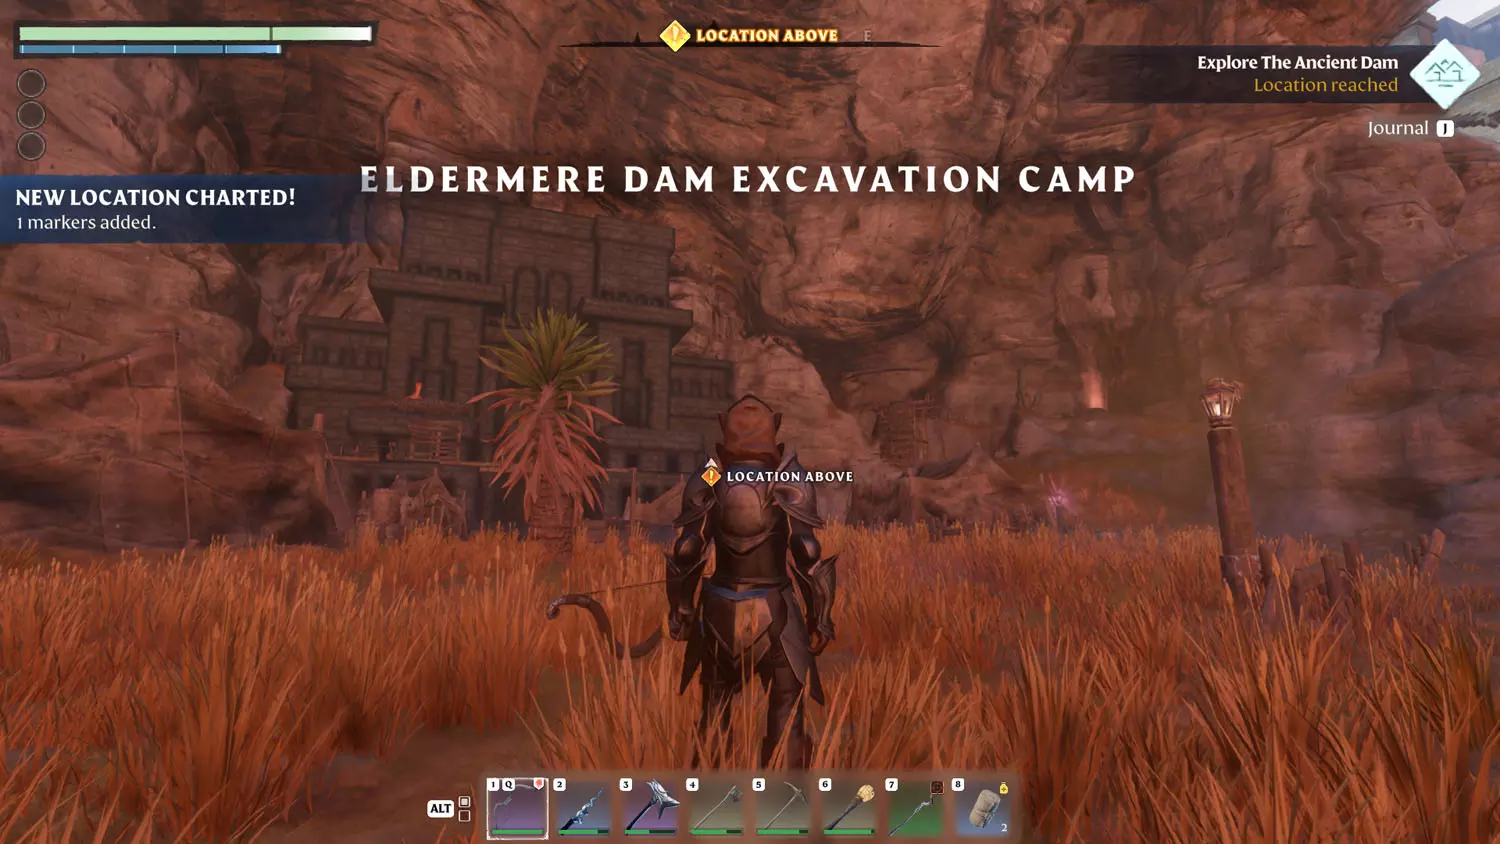
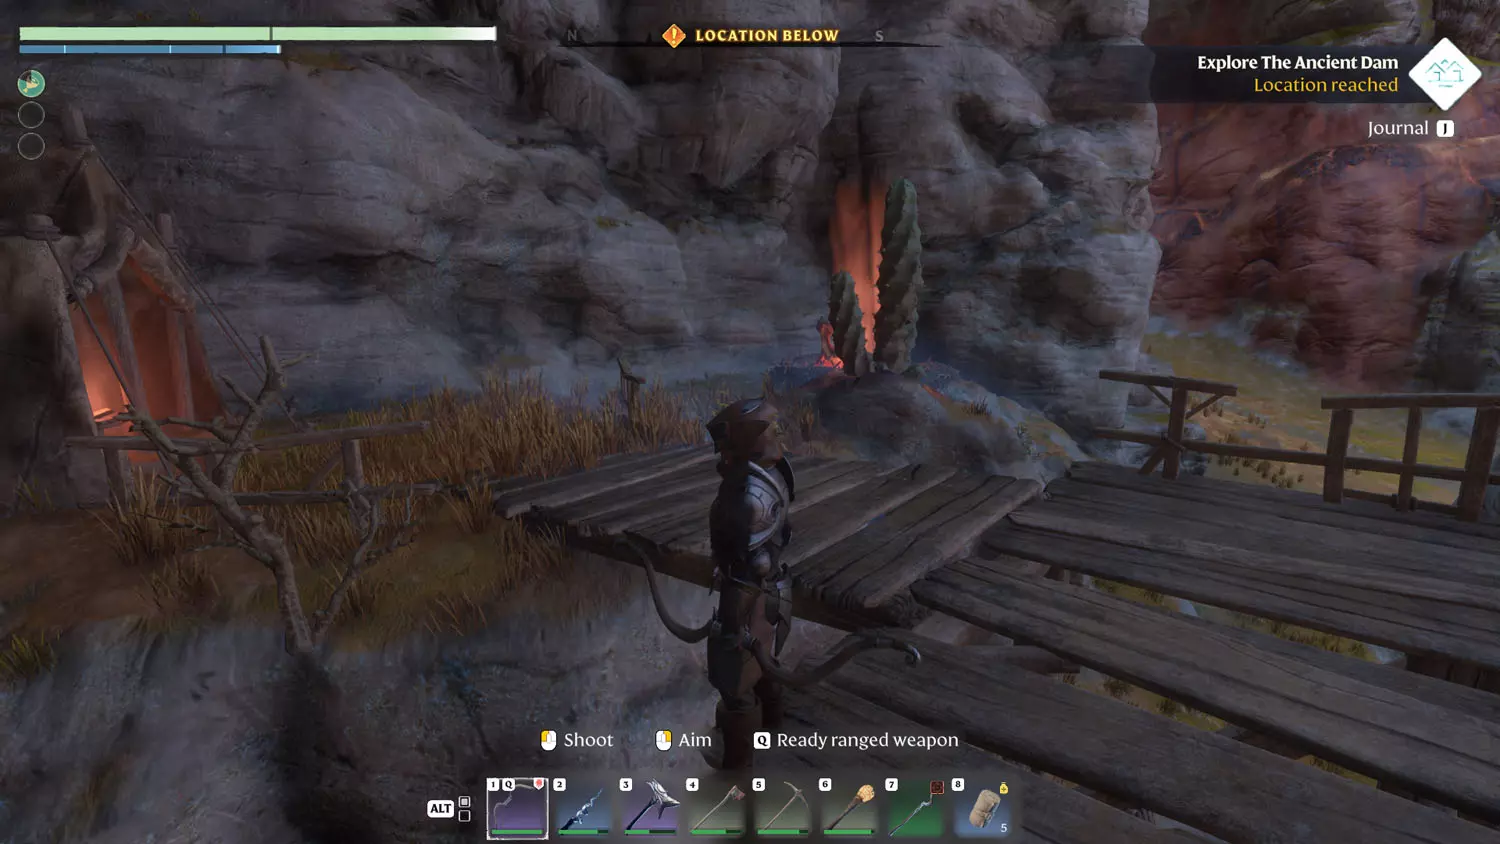
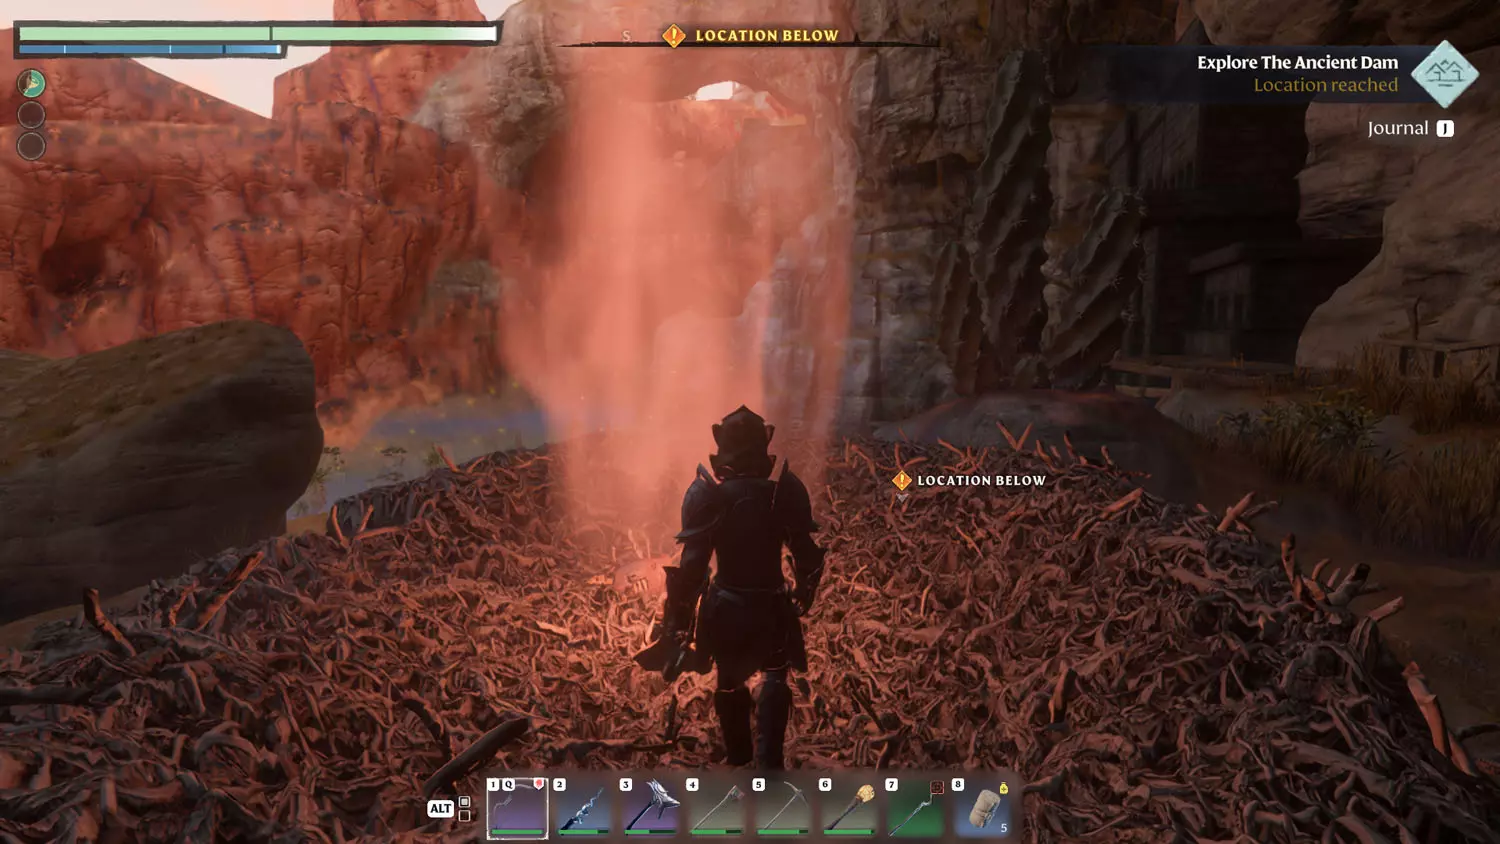
It’s time to head to the Eldermere Dam Excavation Camp. You can go high or go low when it comes to finding this place. The real goal is the Draconian Vulture nest all aglow in the top eastern part of the camp. There are two ways up, located on either side of the camp. When you reach the nest, there is a Draconian Vulture inside. Kill it and claim the glowing bundle within to finish this part of the quest.
TIP: There are two pieces of Kindlewastes Lore here: Myth Of Giants 1/2 Bones In The Sand and Mystery Of Eldermere Dam 1/1 On The Disappearance Of Water.
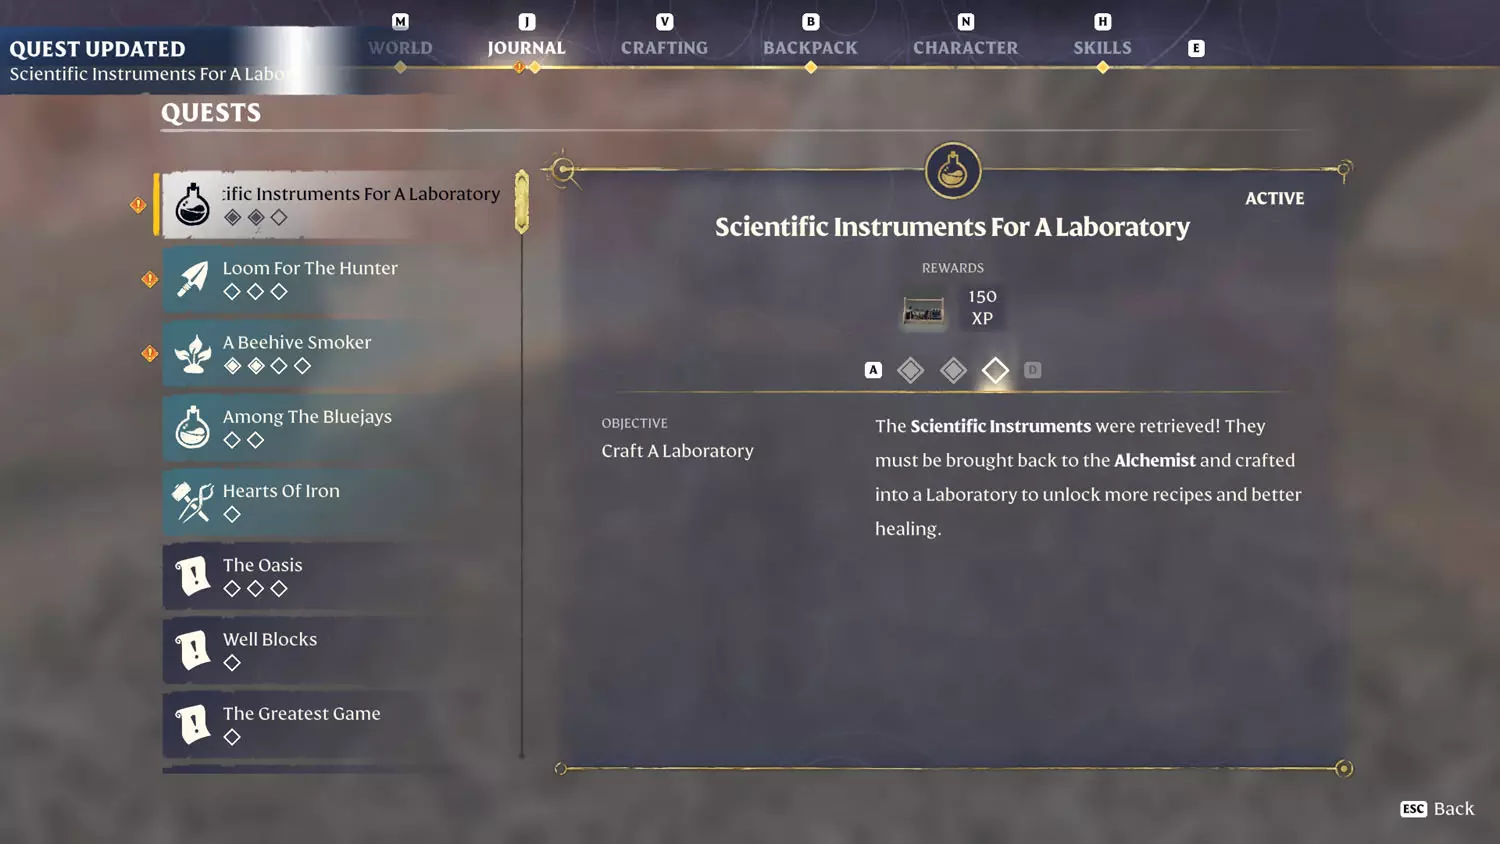
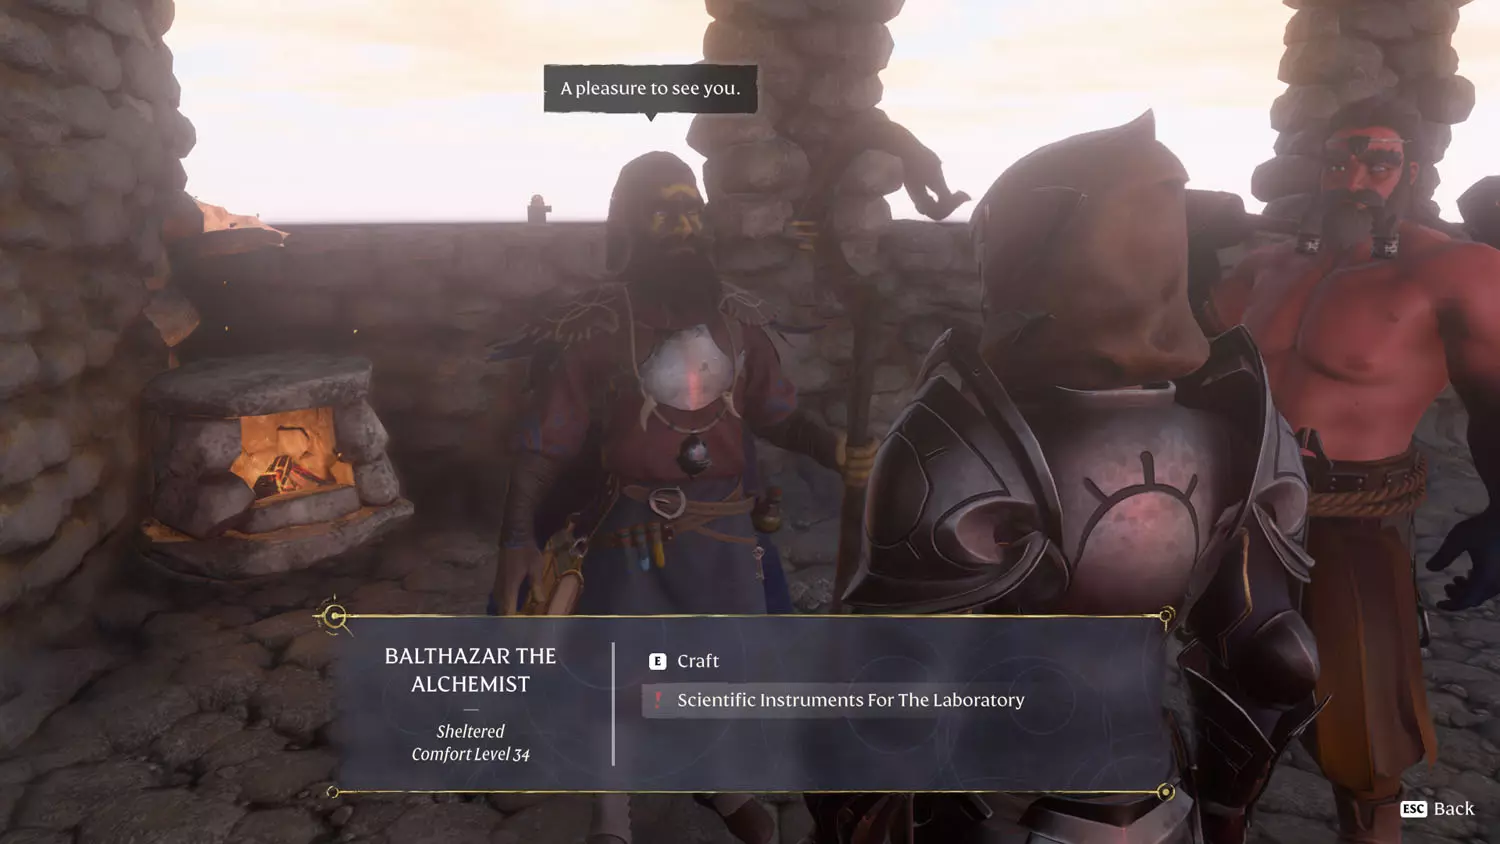
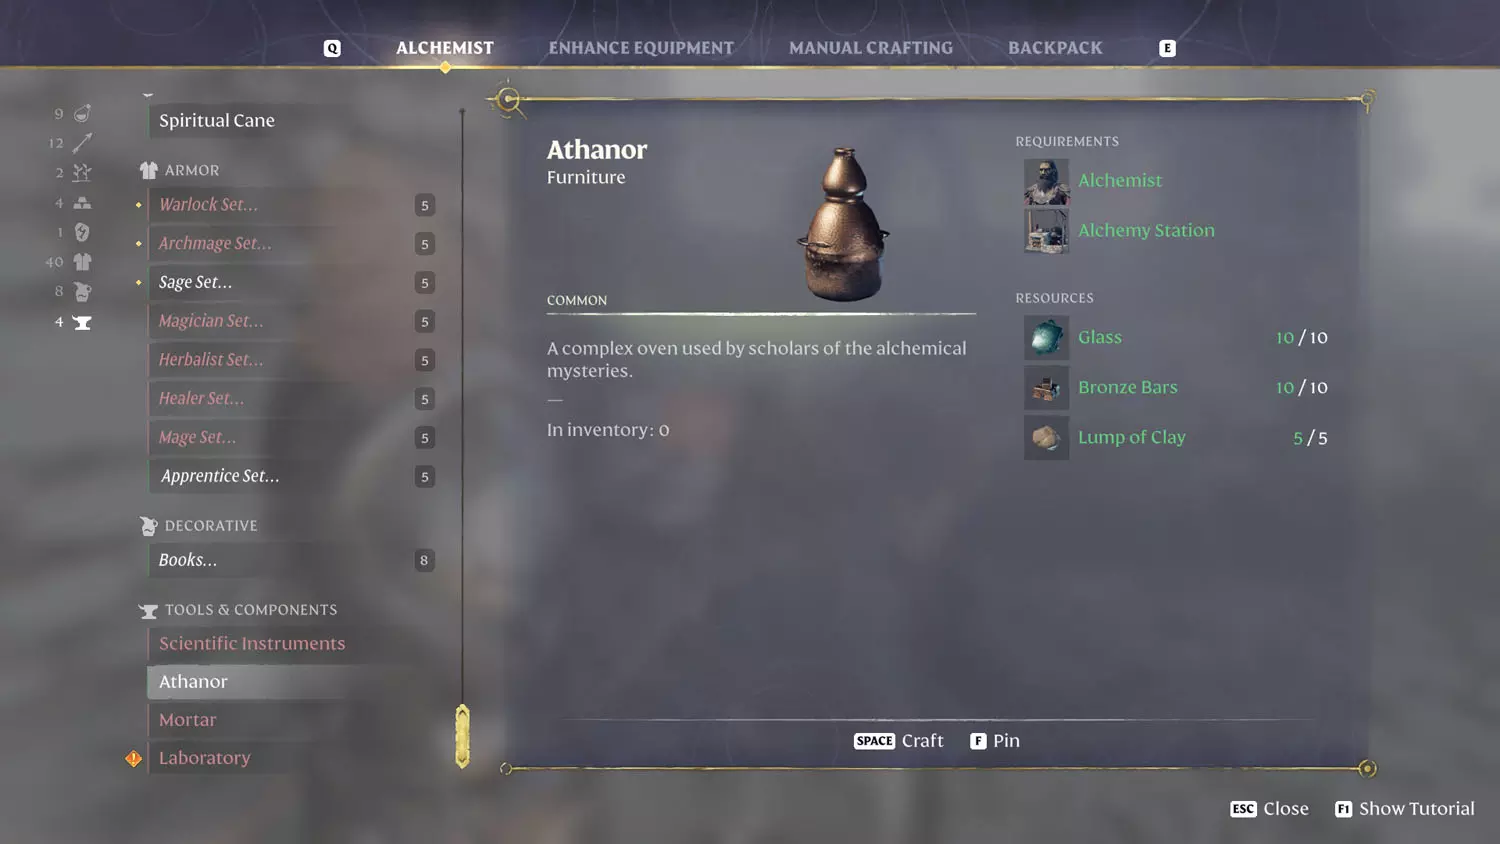
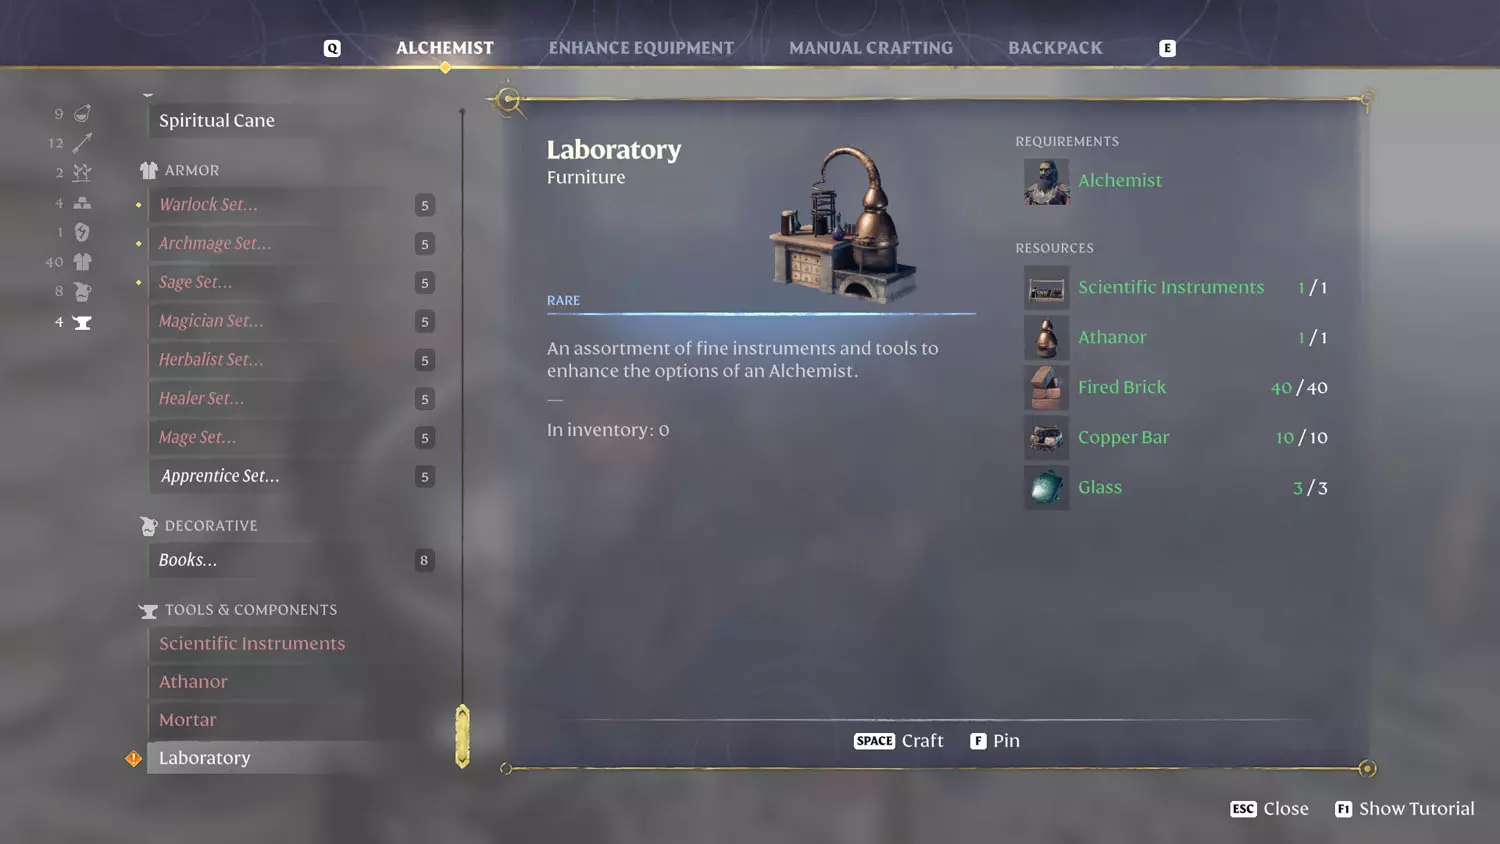
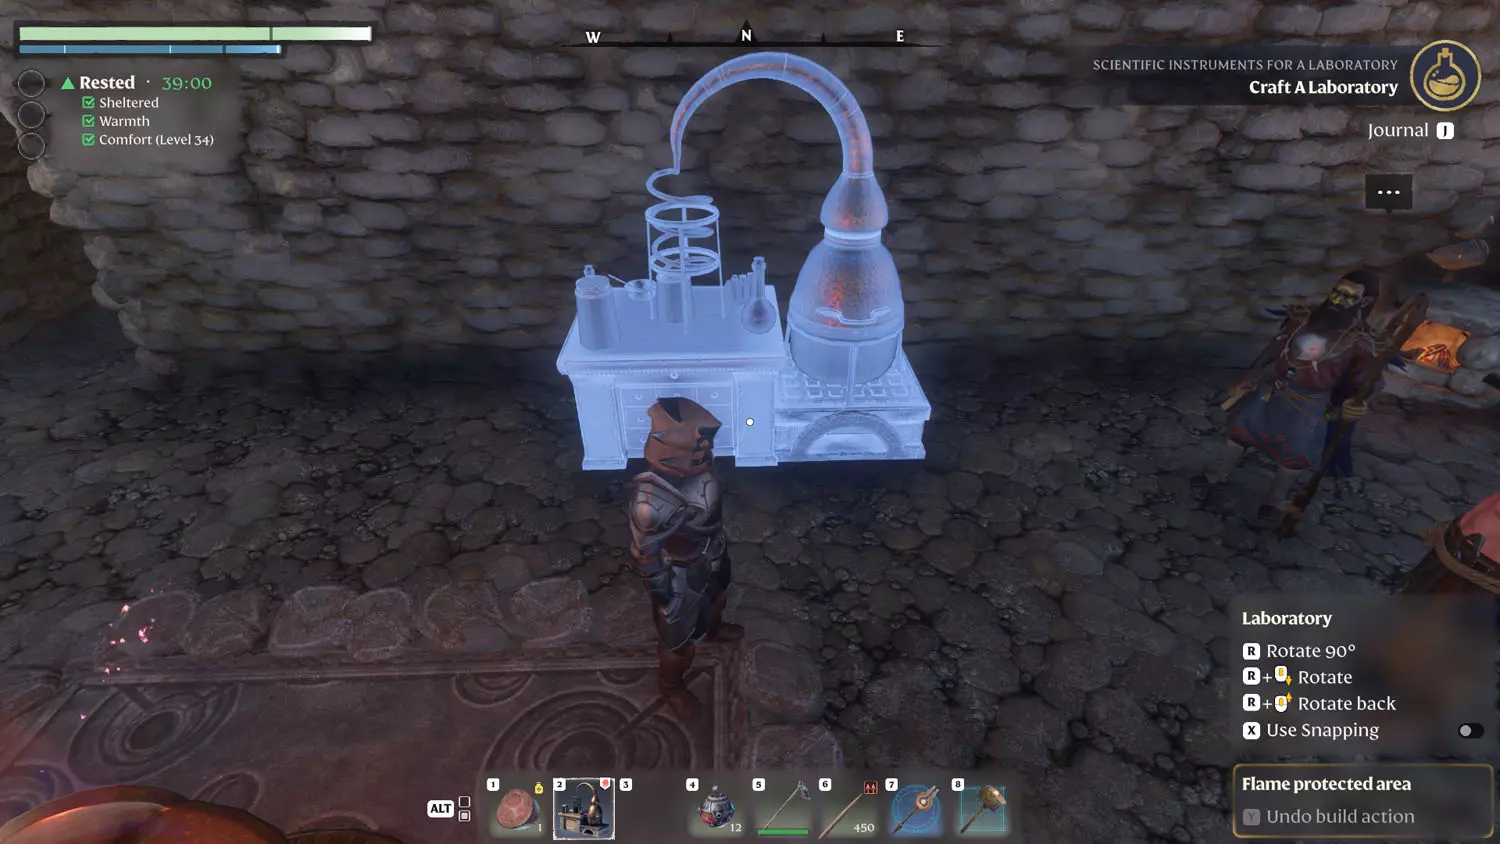
Once you have the Scientific Instruments in hand, head back to your base and speak with the Alchemist. He’ll have the dialogue “Scientific Instruments For The Laboratory” available. From there, you will need to craft an Athanor at the Alchemist. This will allow you to craft a Laboratory with him. Once it is crafted, place it down to complete the quest!
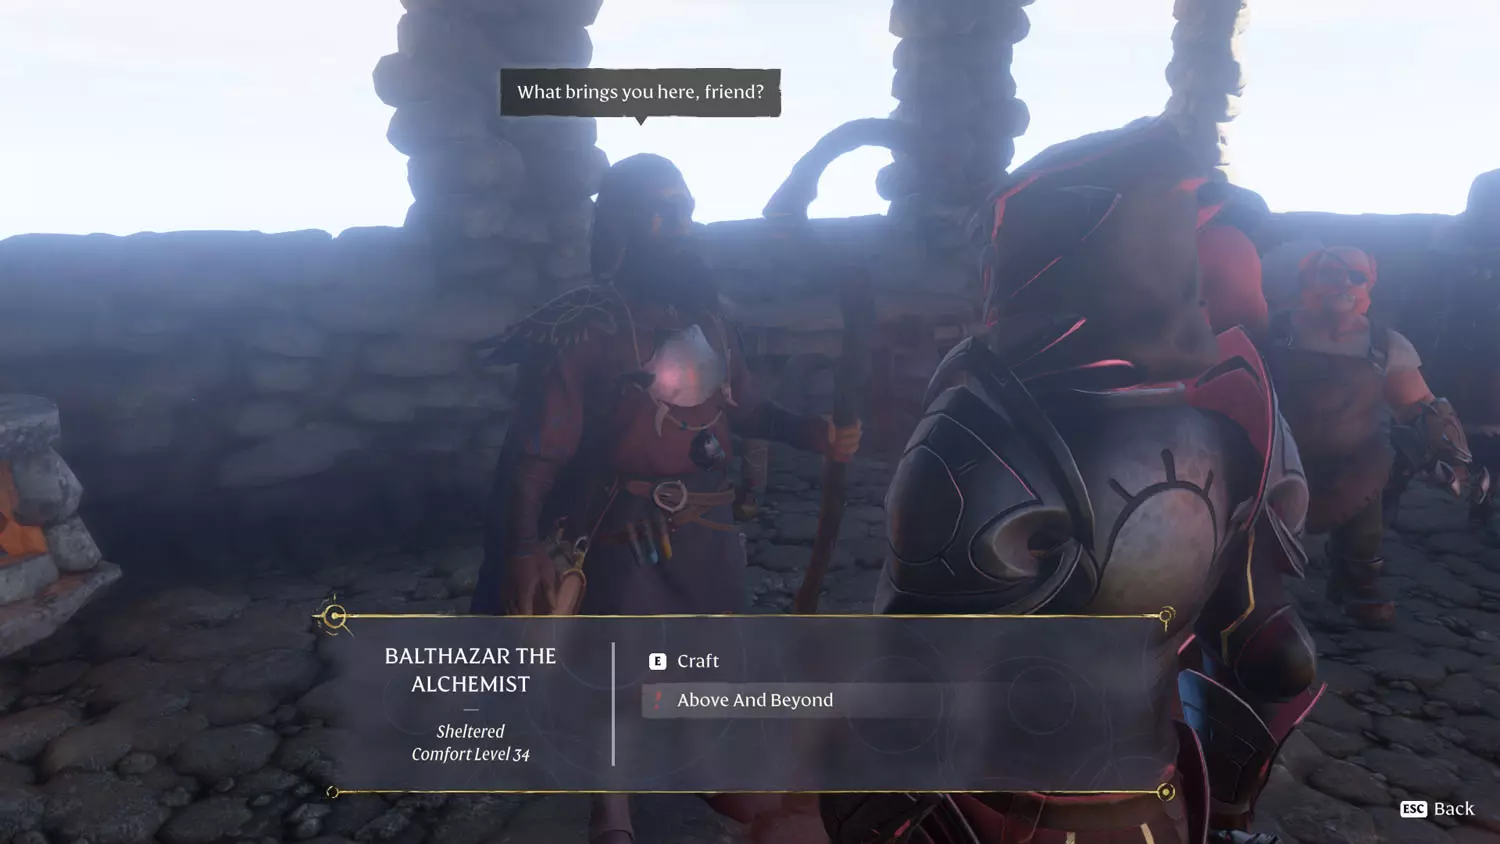
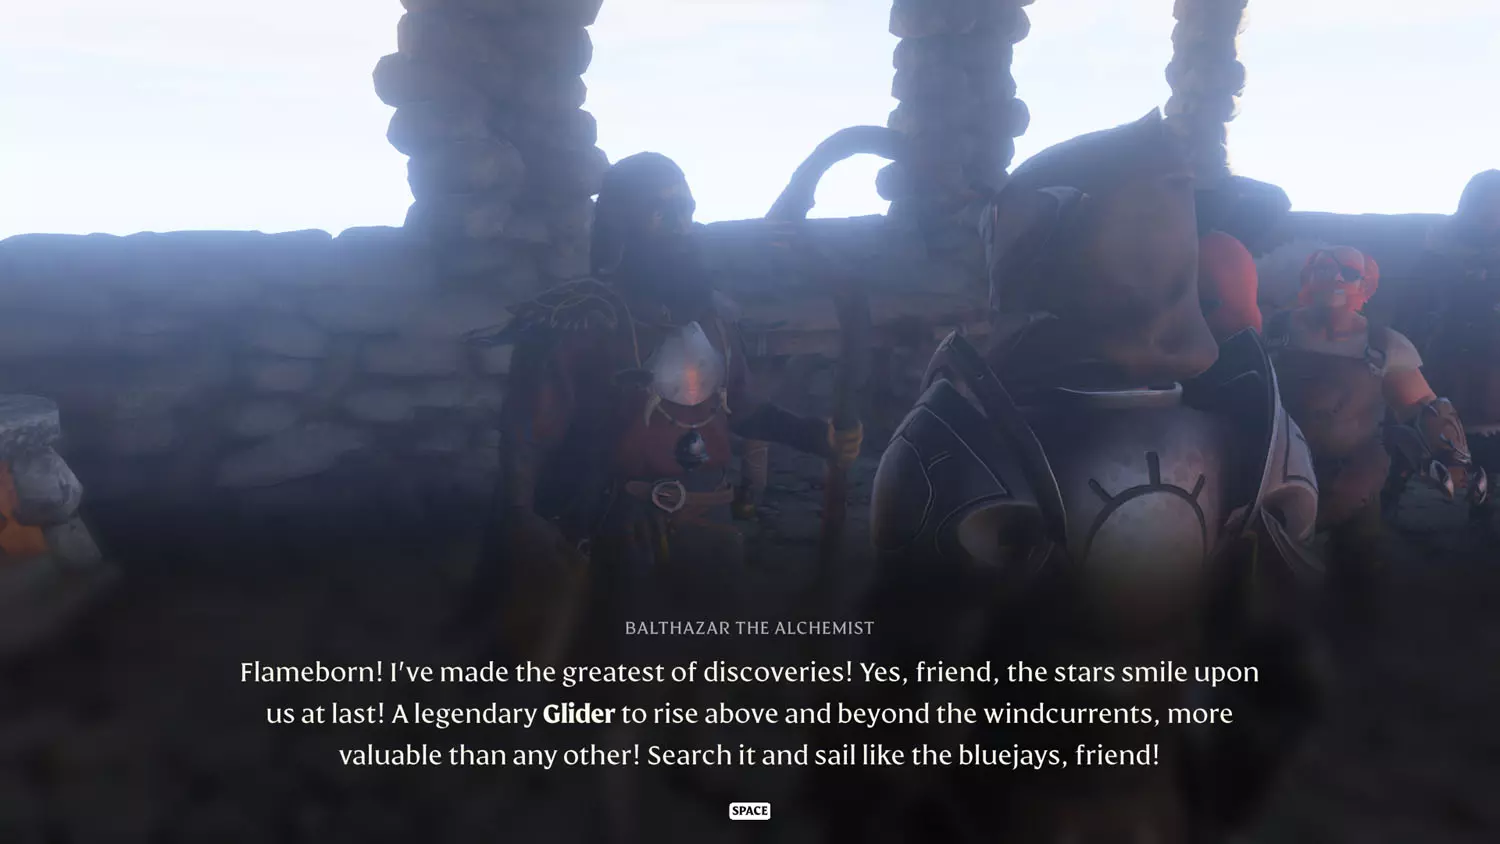
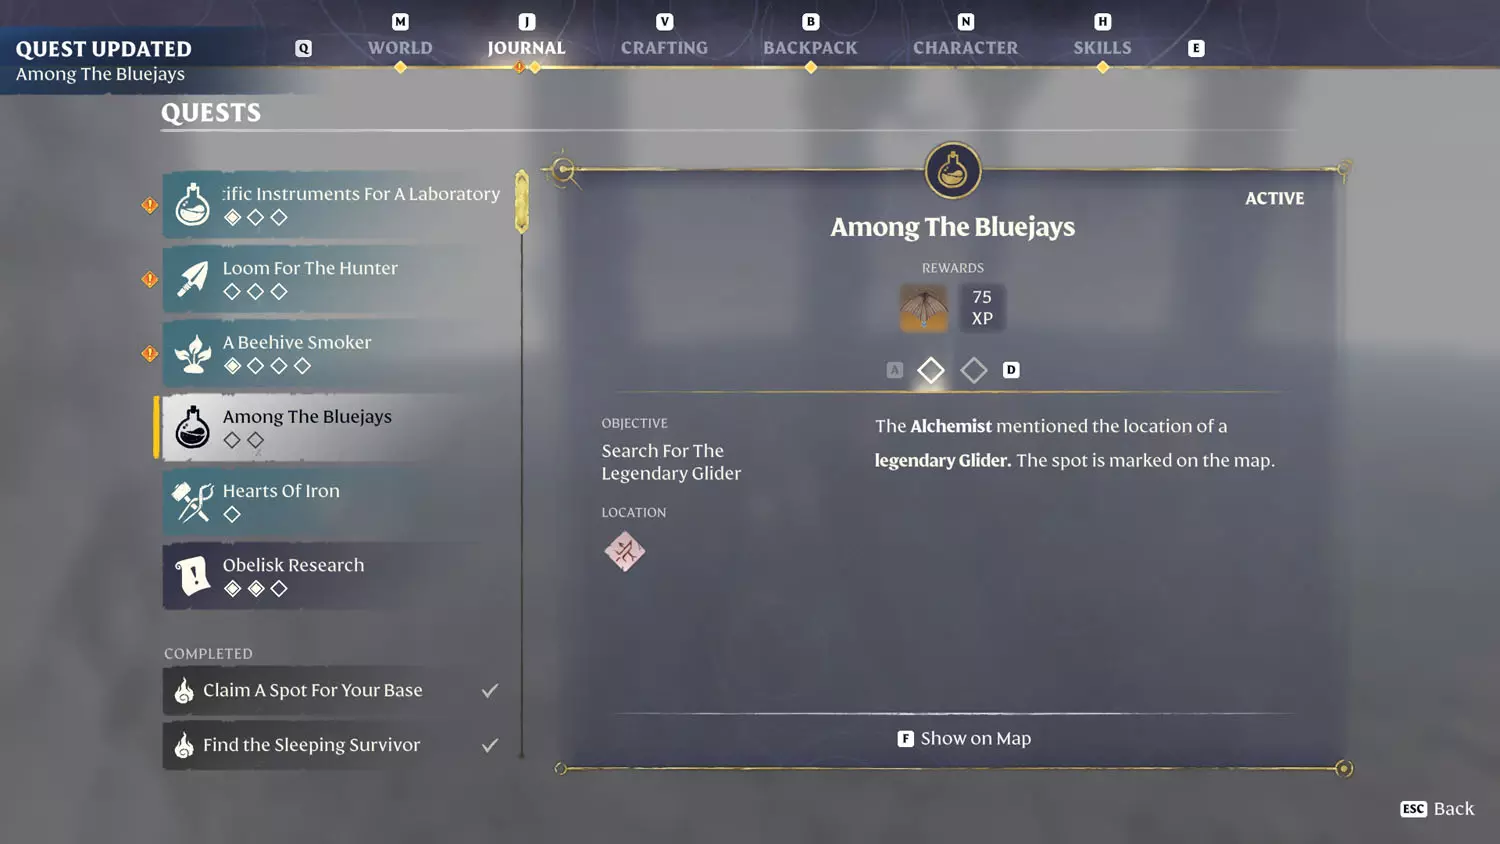
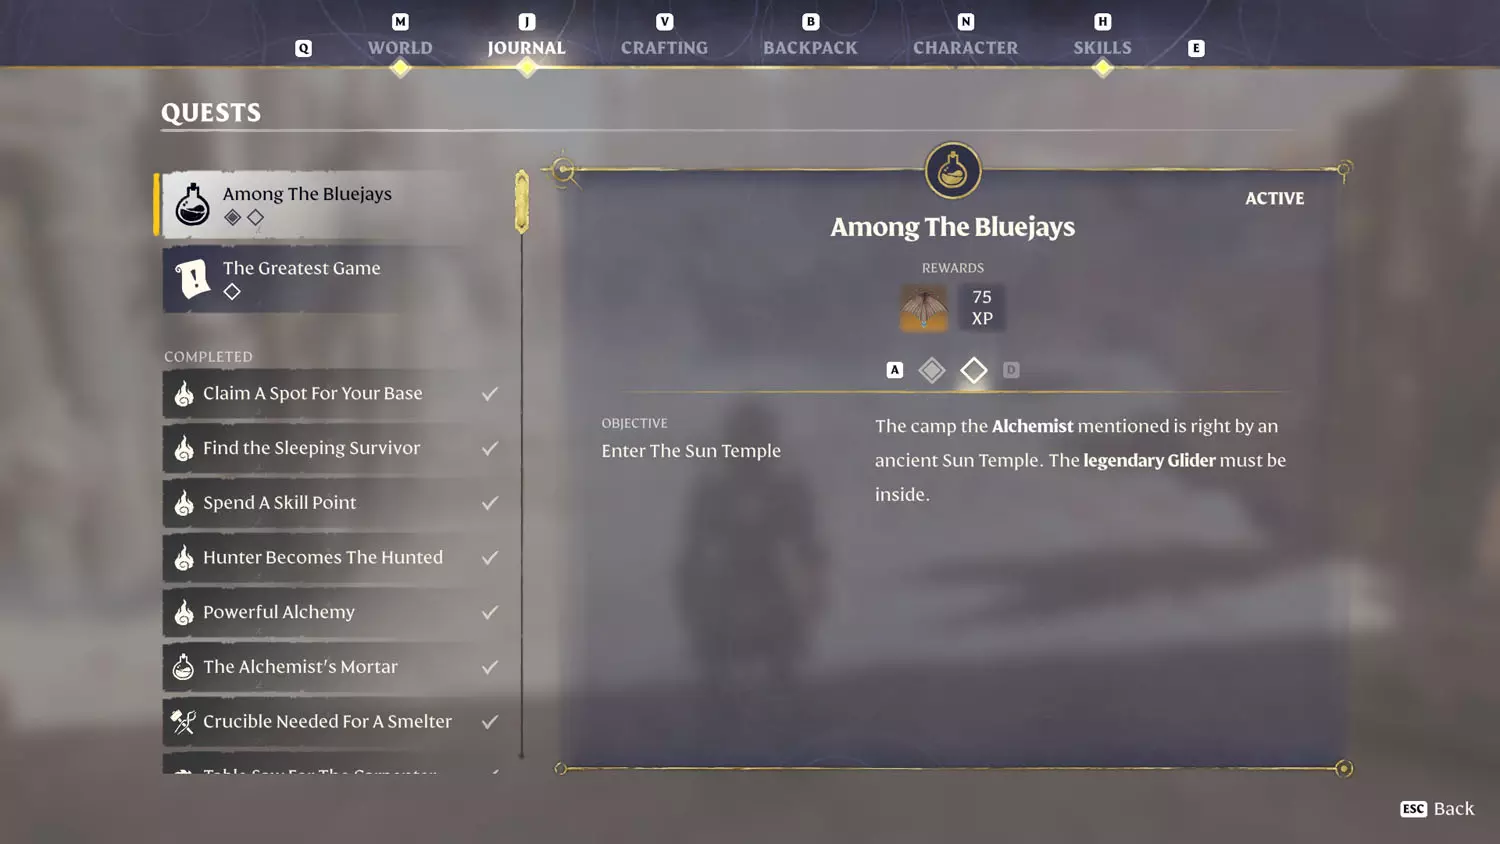
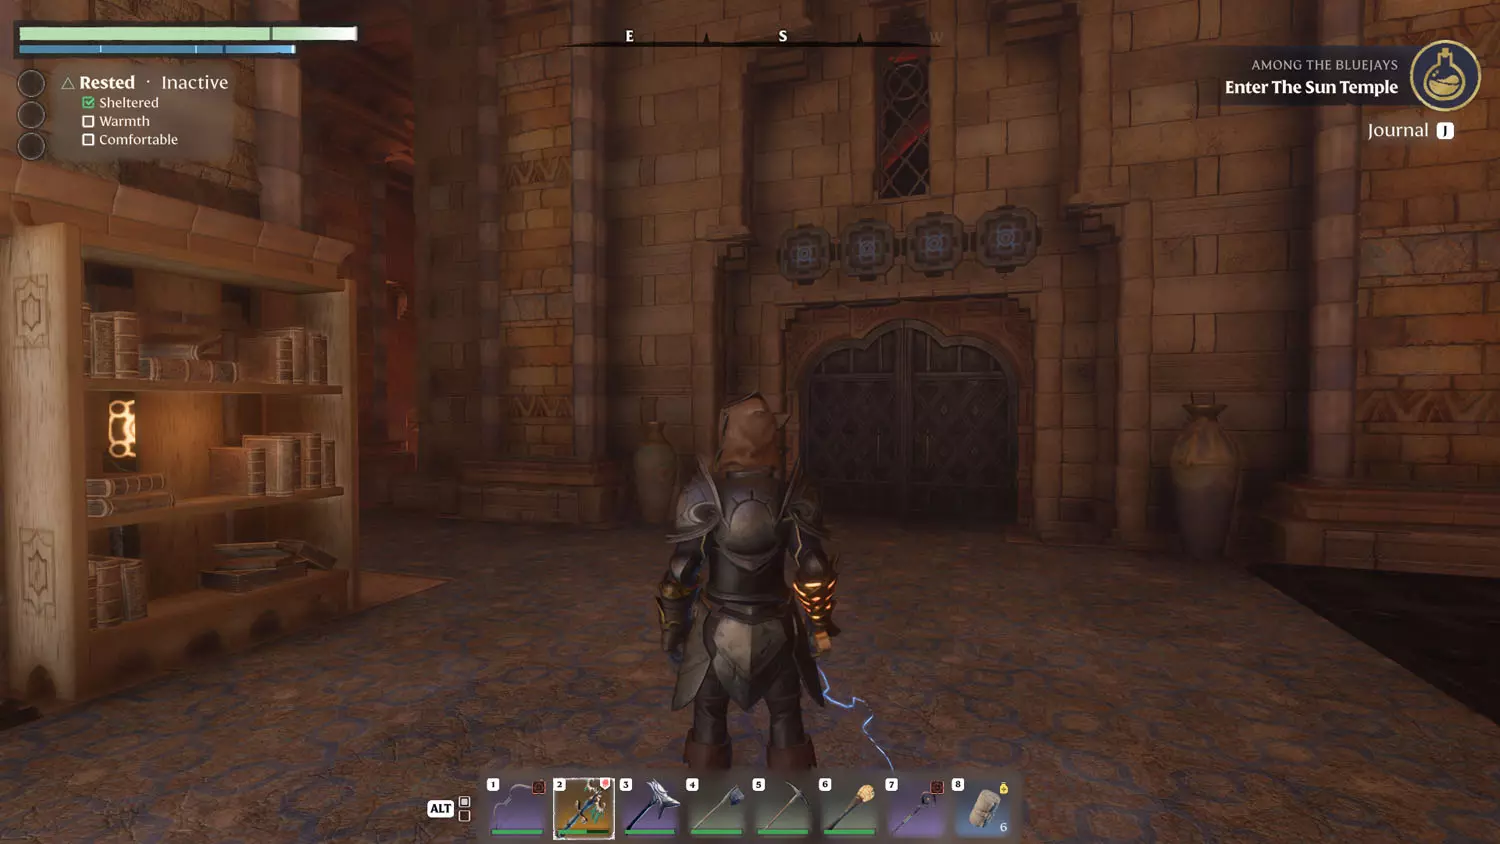
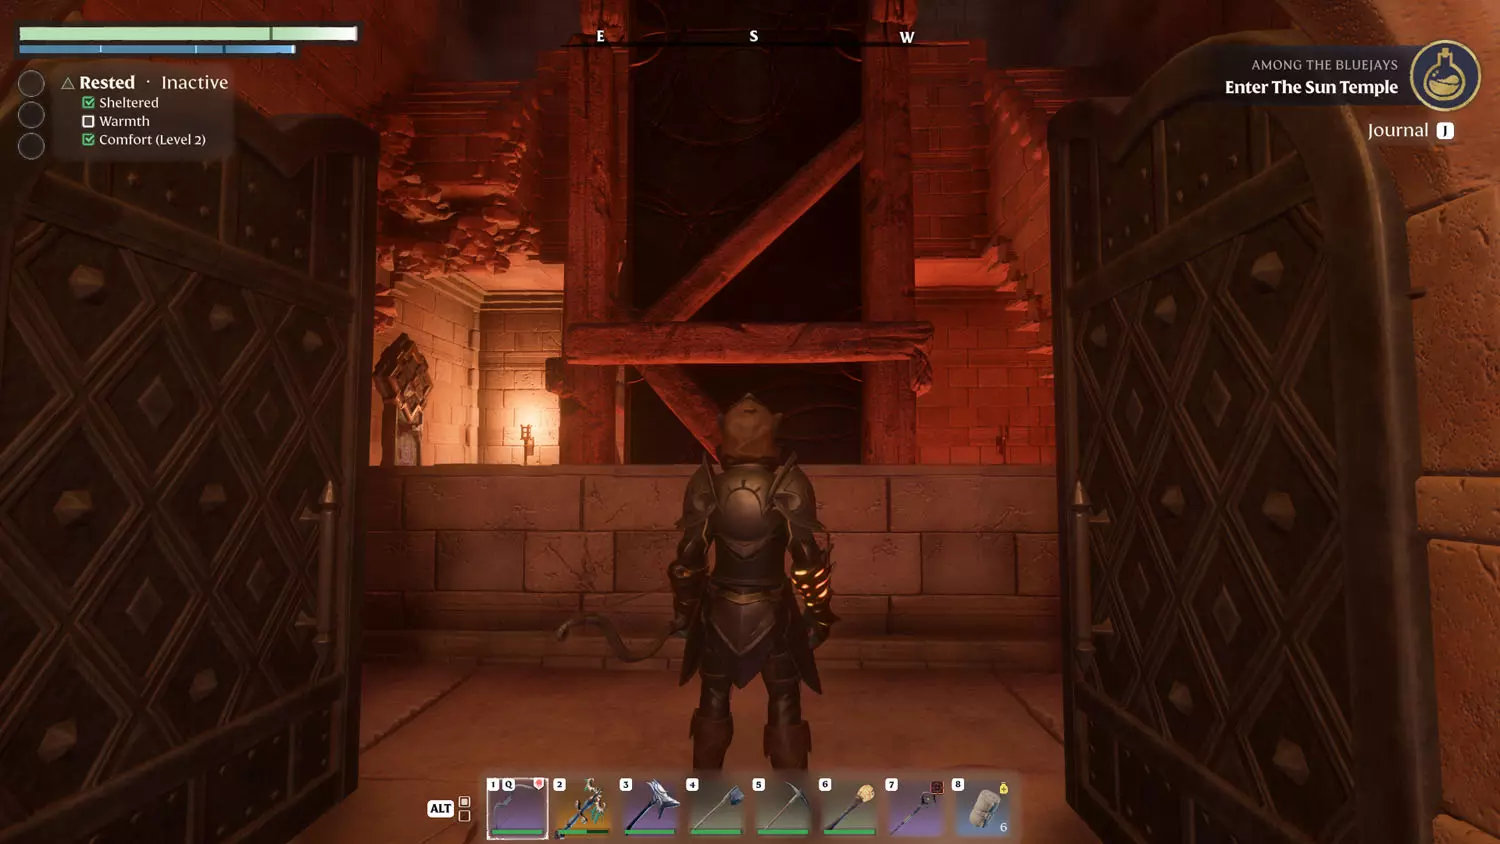
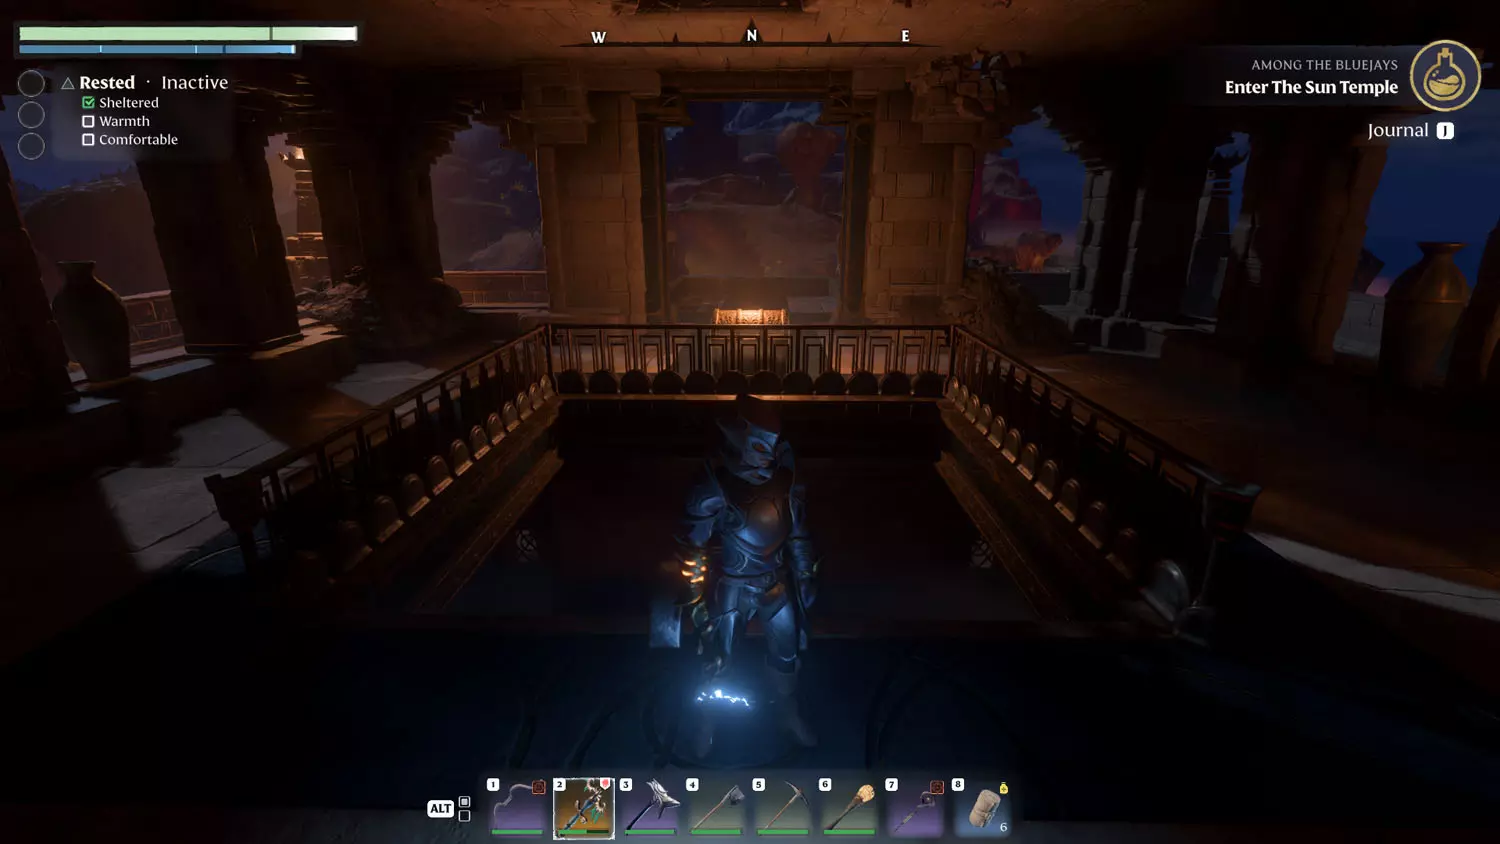
Among Bluejays
This quest became available after I finished the Carpenter Quest: Sun Temple Stories. Heading back, The Alchemist will have the “Above And Beyond” dialogue option available. This starts the quest.
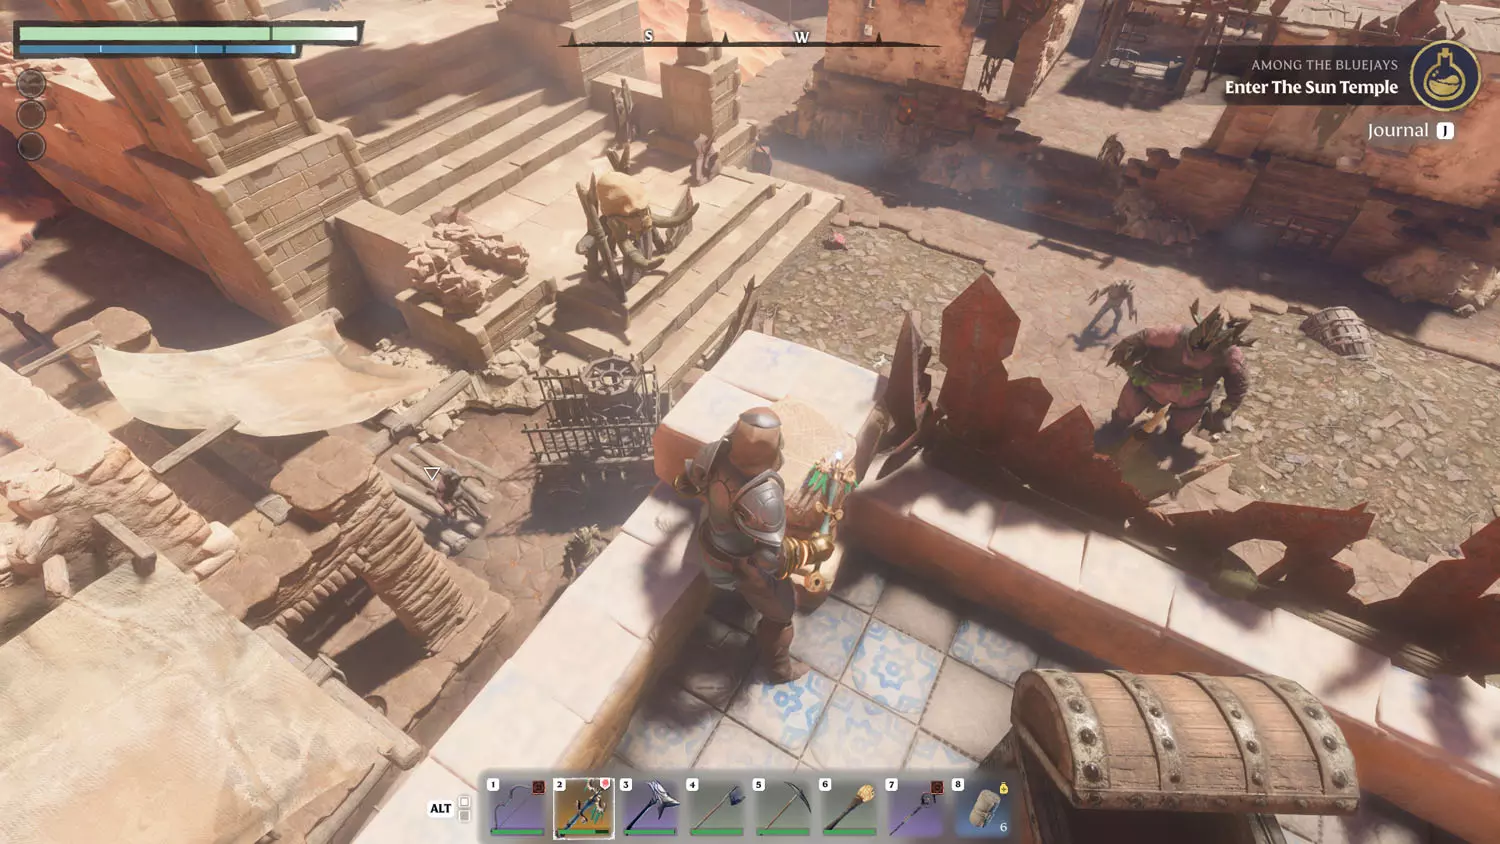
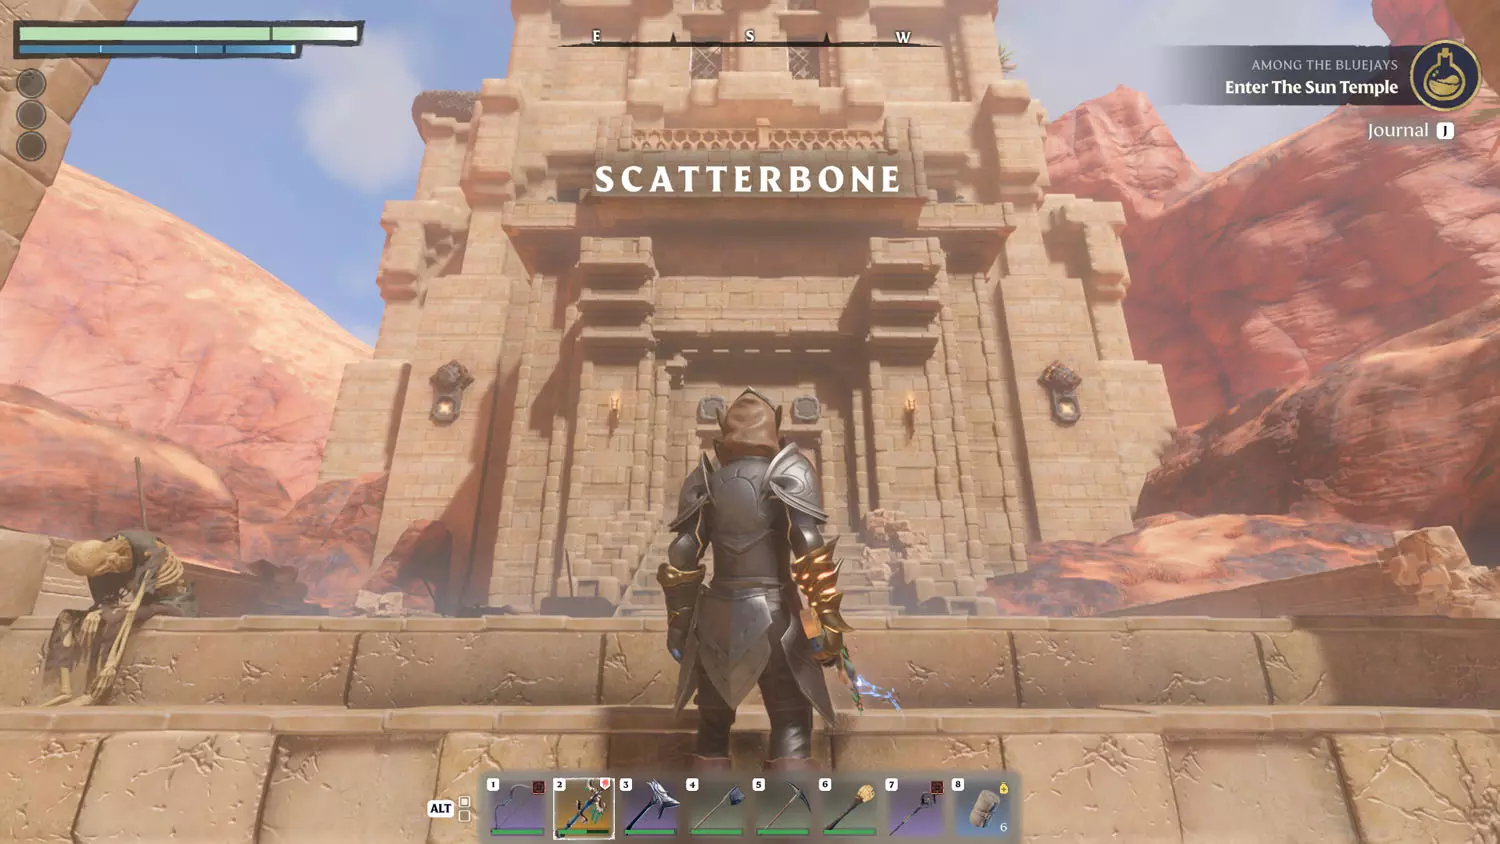
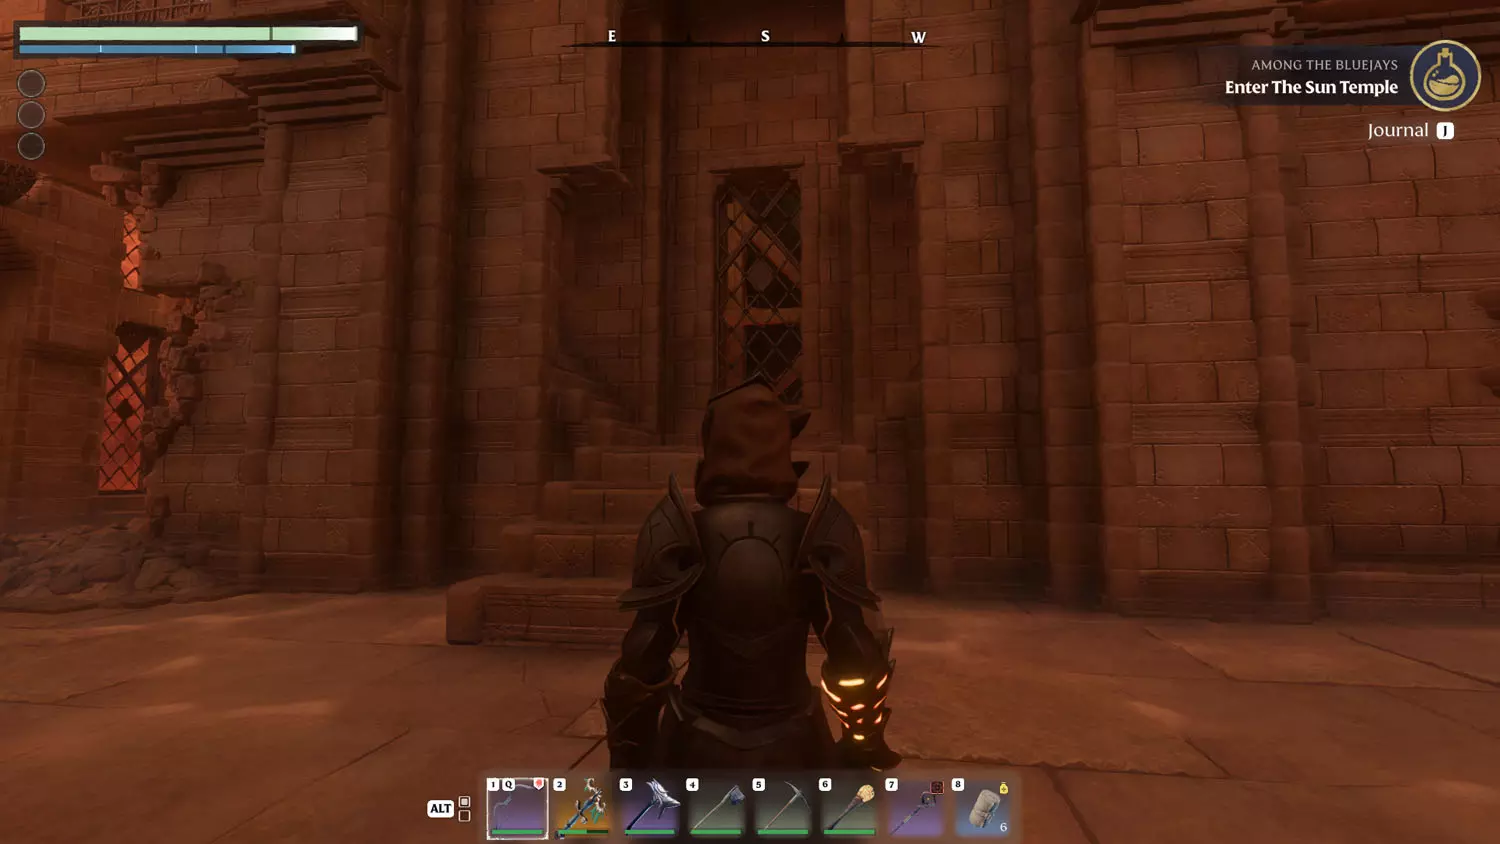
Now it’s off to Scatterbone! Once you reach the city, your goal is to conquer the temple at the far back of it. Warning! There are two Draconian Vultures at the top part, and they no longer screech a warning that they are near…

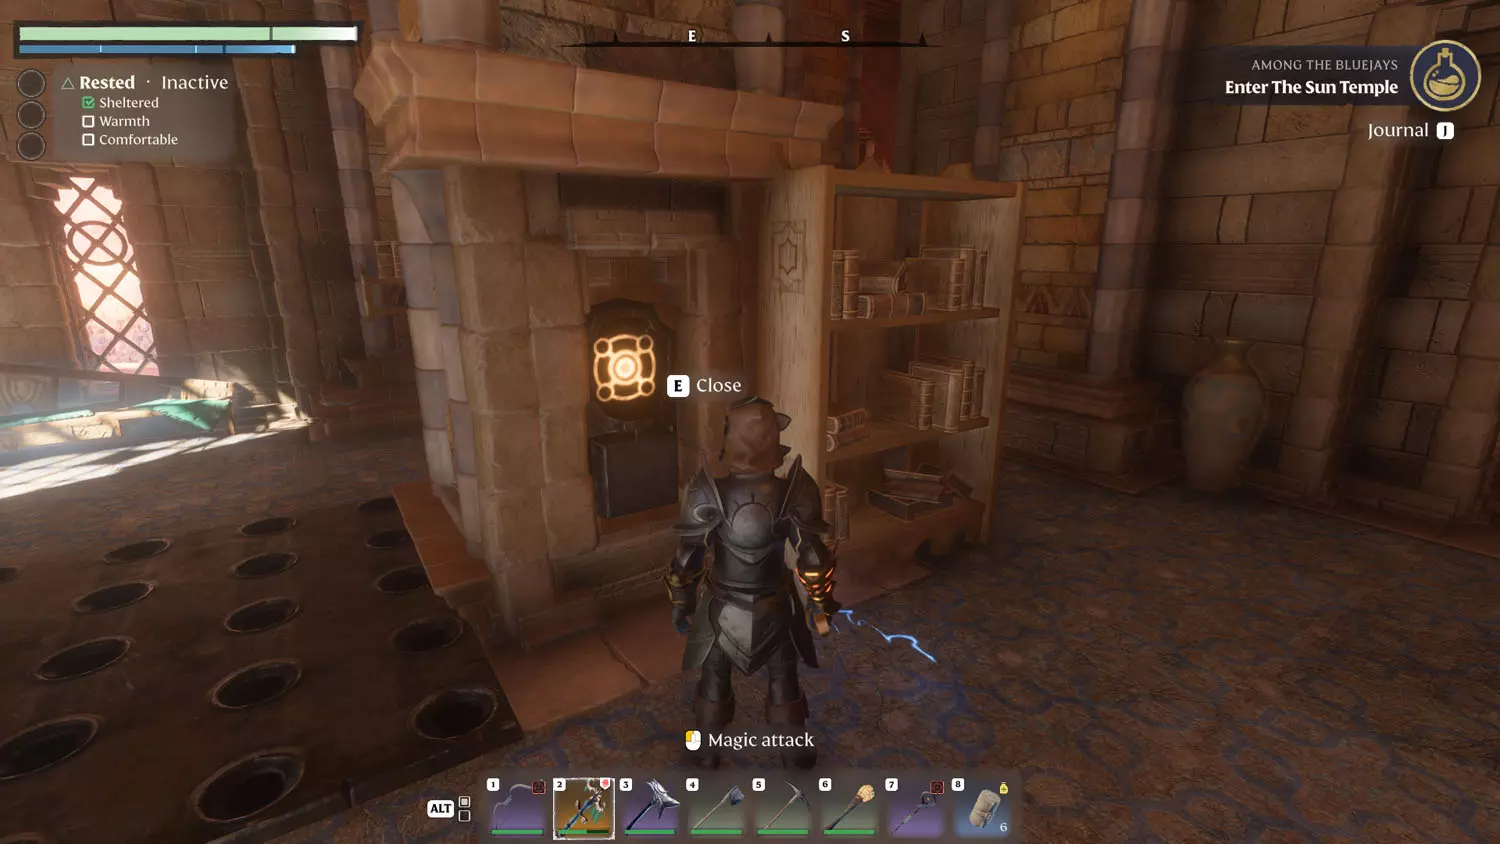
Just make your way past the two Scavenger Matrons to reach the temple steps. Then, turn around for the first button. Then go left and right of the main entrance for the remaining two glyphs. These are all long distance shots.


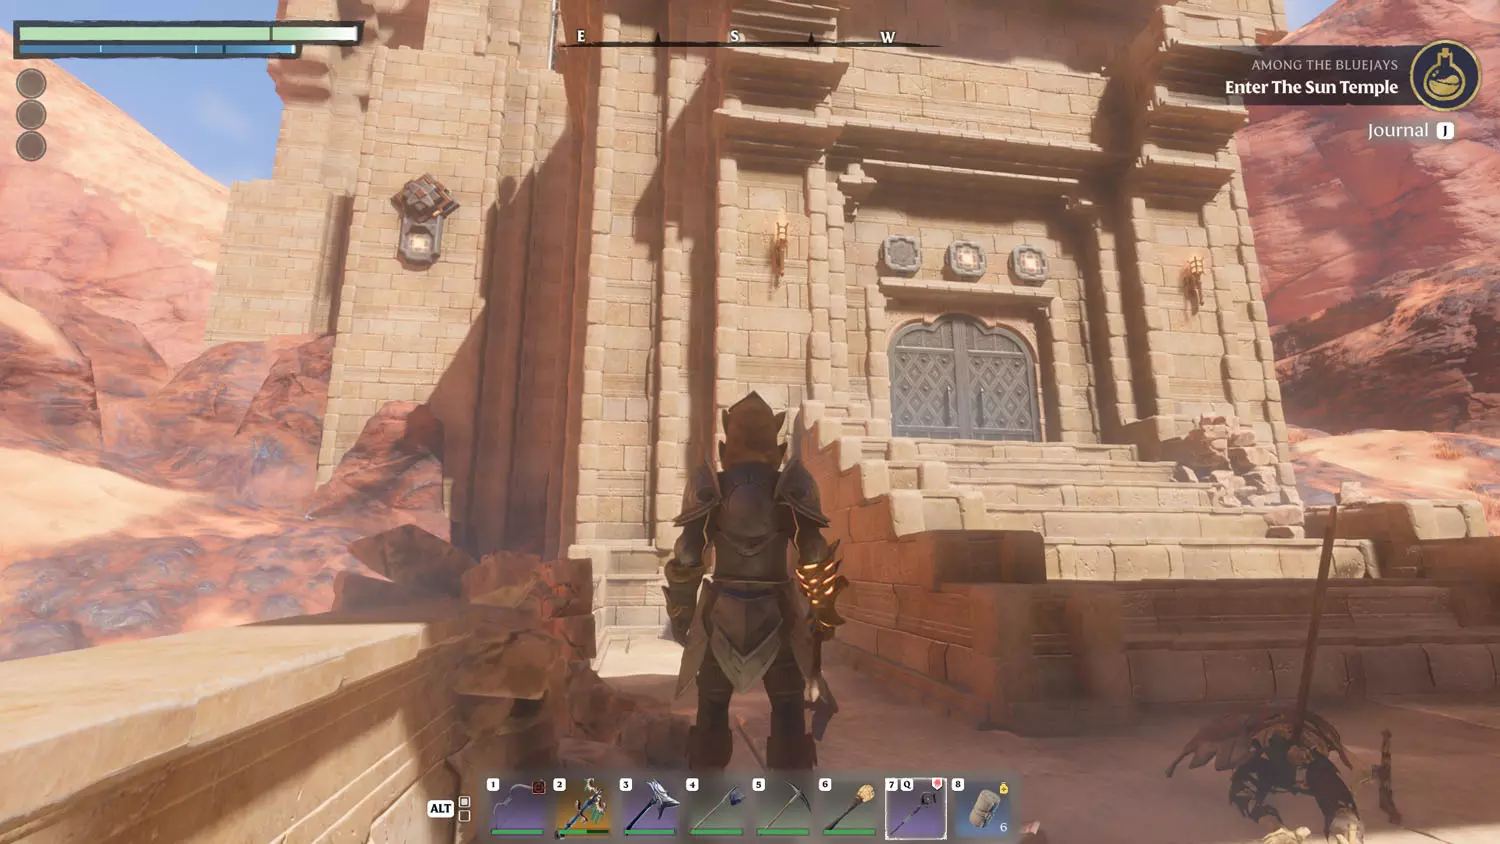
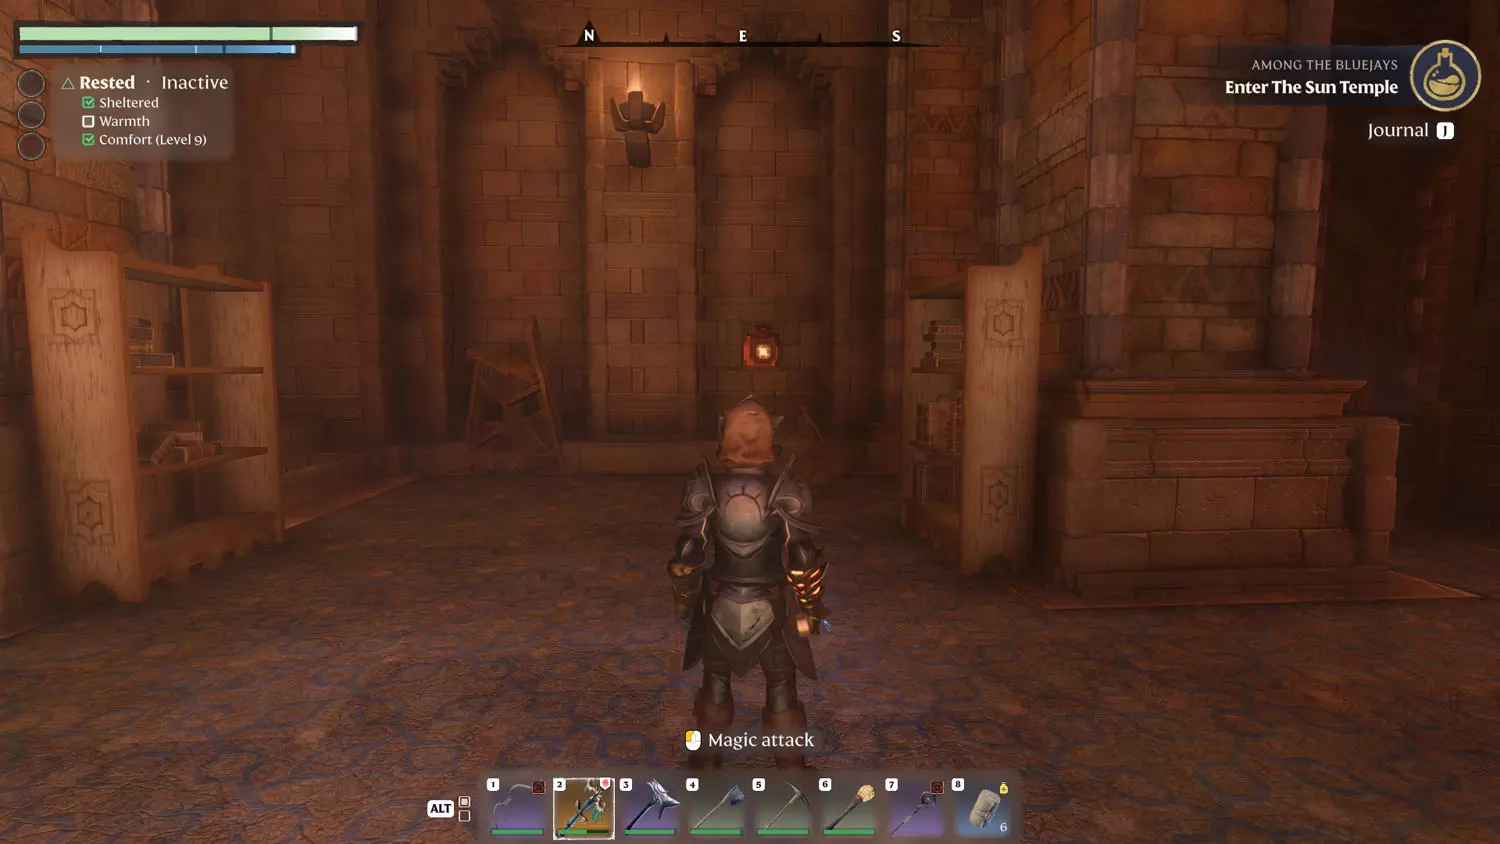
Once inside, you’ll need to reach the second floor. The traps here aren’t active until you activate the corresponding button or glyph - so be careful where you are standing when you fire your arrows or blast them with magic! From the exit doorway, there is one to the left behind a ‘trap door’ bookshelf.
To the right of the door and on the wall that connects to it, there is a hole in the wall with a glyph on the other side. From there, head outside and tap the button on the wall. Then it is back to the door as you peek around the corner to the left side. There is a glyph high up on the wall - just be careful where you stand when you let loose an arrow or blast of magic - traps can be deadly.
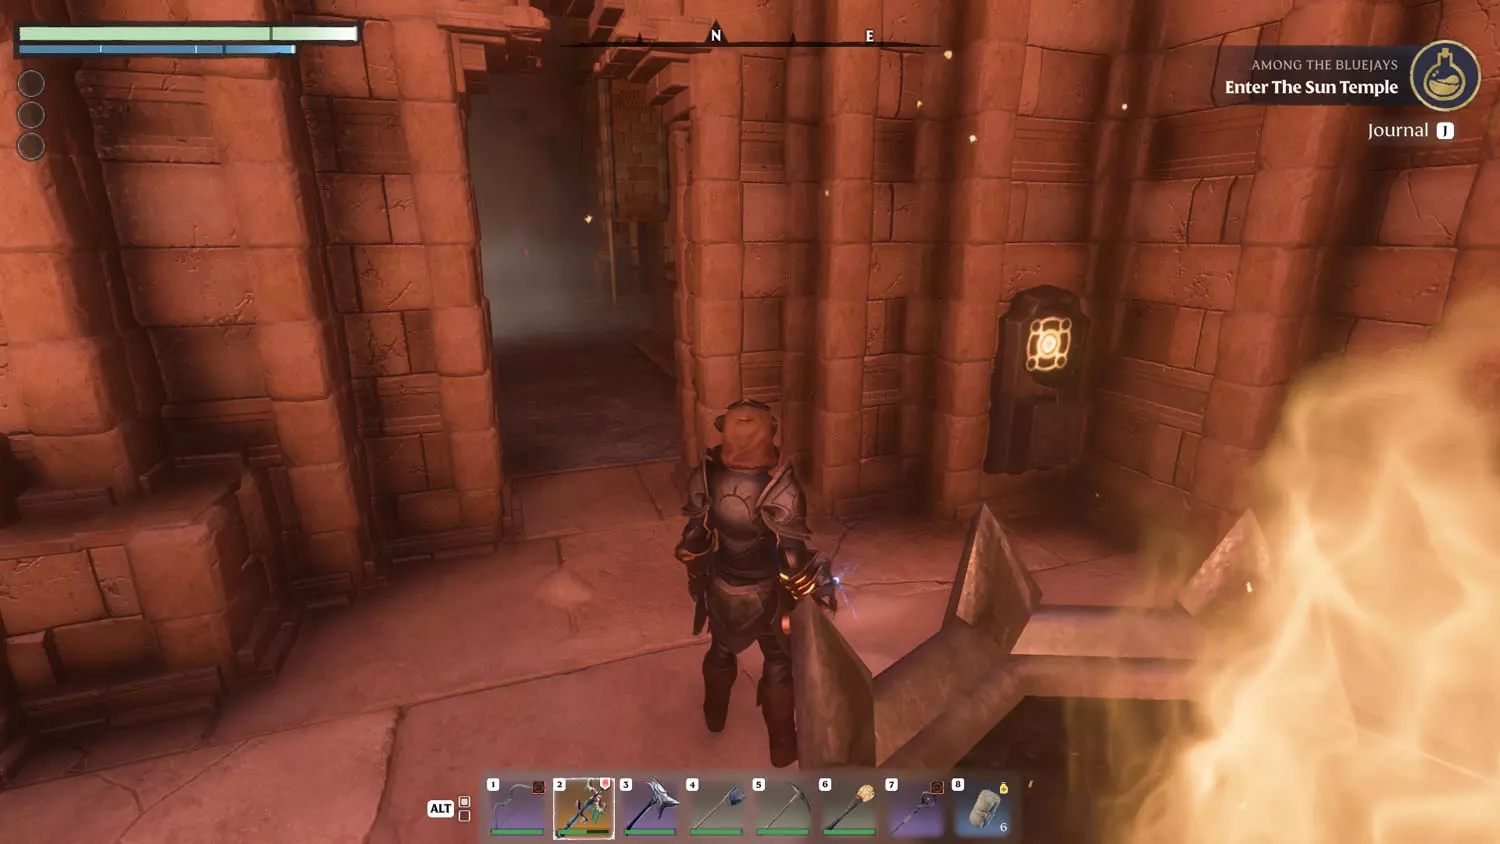

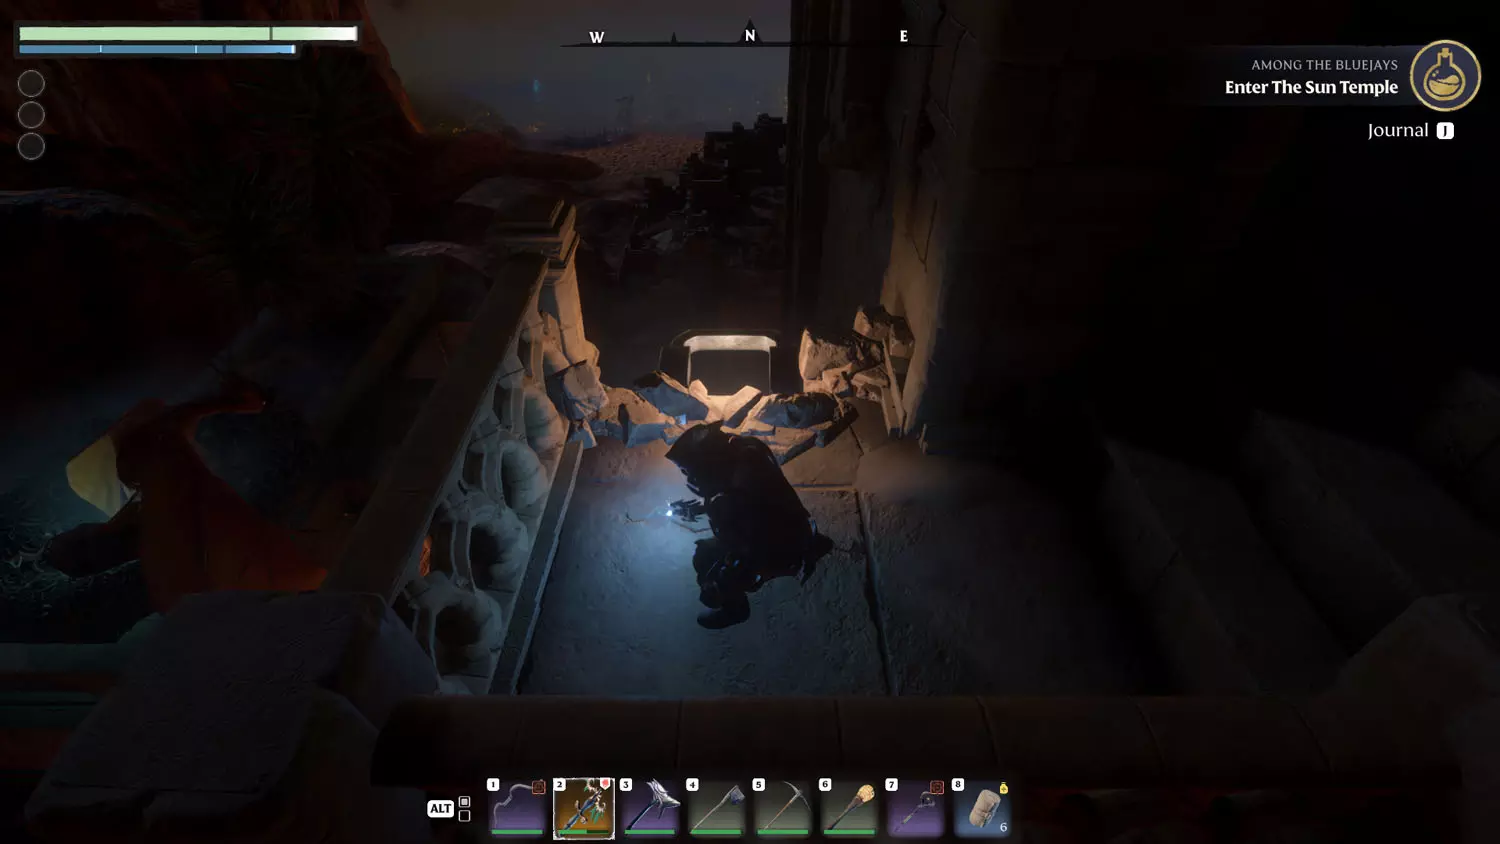
Now it is time to head through the open door and go up a few flights of stairs. The next set of stairs is on the opposite side of where you exit the first set. Take the stairs on the right. There will be a pile of rubble on the right side of the tower and a grapple spot up, which can be very useful when avoiding enemies. (My image is looking down from the grapple spot rather than how you should see it, which is looking up at it - I wasn’t doing so well against the Draconian Vultures >_>)
You’ll quickly come to a locked door that requires lockpicks. Inside the next room there is a climbable wall and a grapple spot at the next landing.

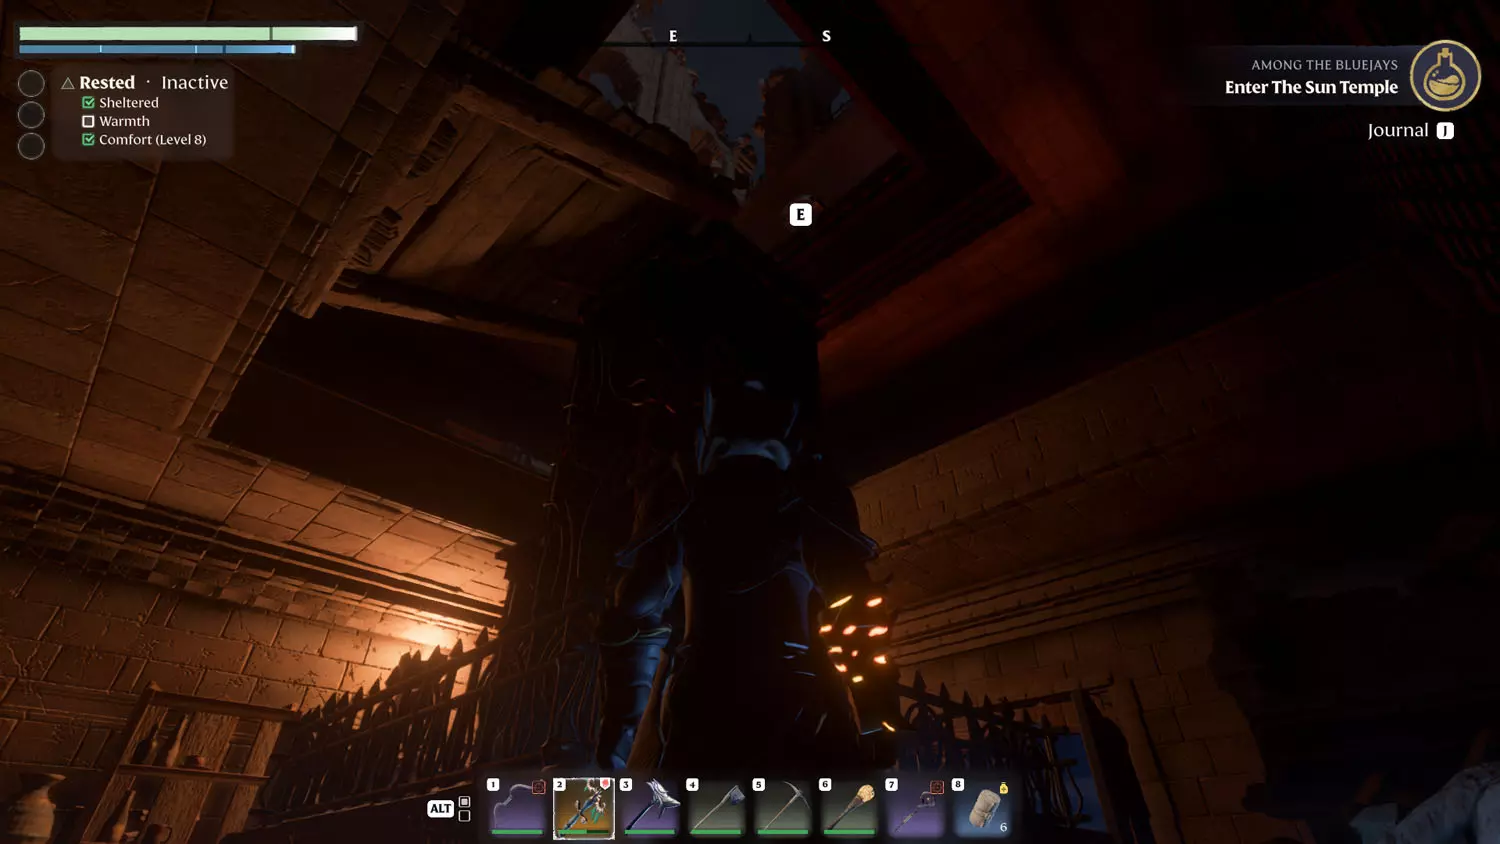
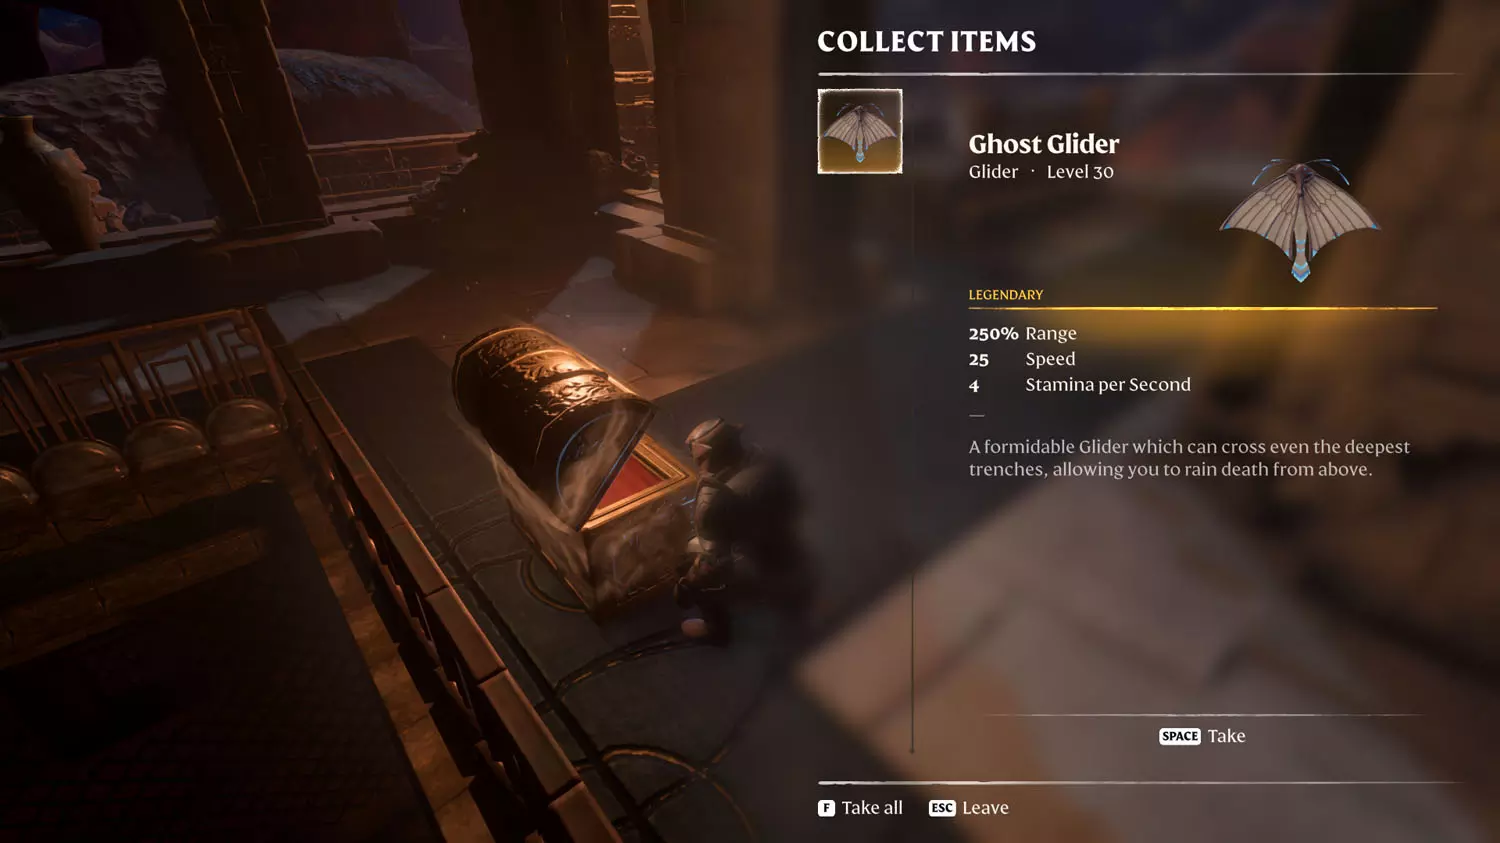
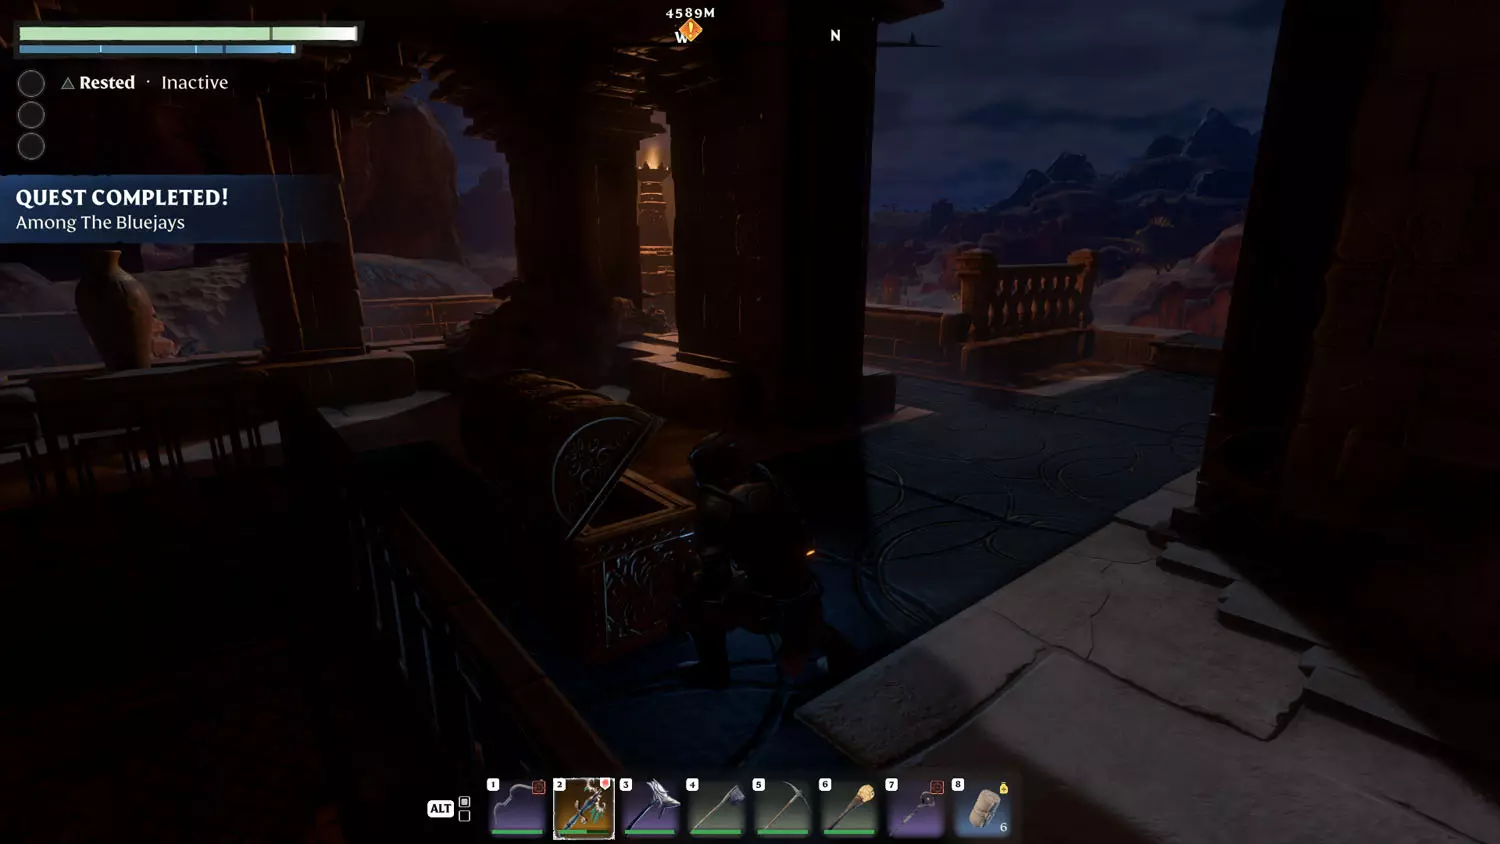
It’s smooth sailing from there! The next landing has the Gold Chest containing the Ghost Glider - the best glider in the game (so far). Loot the chest to complete the quest! Oh, and don’t forget to equip your new prized possession!
NOTE: All content below is from BEFORE Hollow Halls Update - version number 510434. Content below is good for anything before March 26th, 2024. Content may still be relevant after March 26th, 2024 - but there may be gaps in the information below as more Lore and Quests were added by developers.

