Enshrouded Farmer Quests Walkthrough

I tried keeping it sweet and simple, but some of the quests are more complex than others. If you see an error, please let me know, and I’ll work to fix it! All images used in this blog post are screenshots from the game Enshrouded.
- Quick Links To Help
SPOILER ALERT: There’s no way for me to avoid spoiling game play with the walkthrough.
NOTE: All content below is from BEFORE Hollow Halls Update - version number 510434. Content below is good for anything before March 26th, 2024. Content may still be relevant after March 26th, 2024 - but there may be gaps in the information below as more Lore and Quests were added by developers.
Farmer Quests
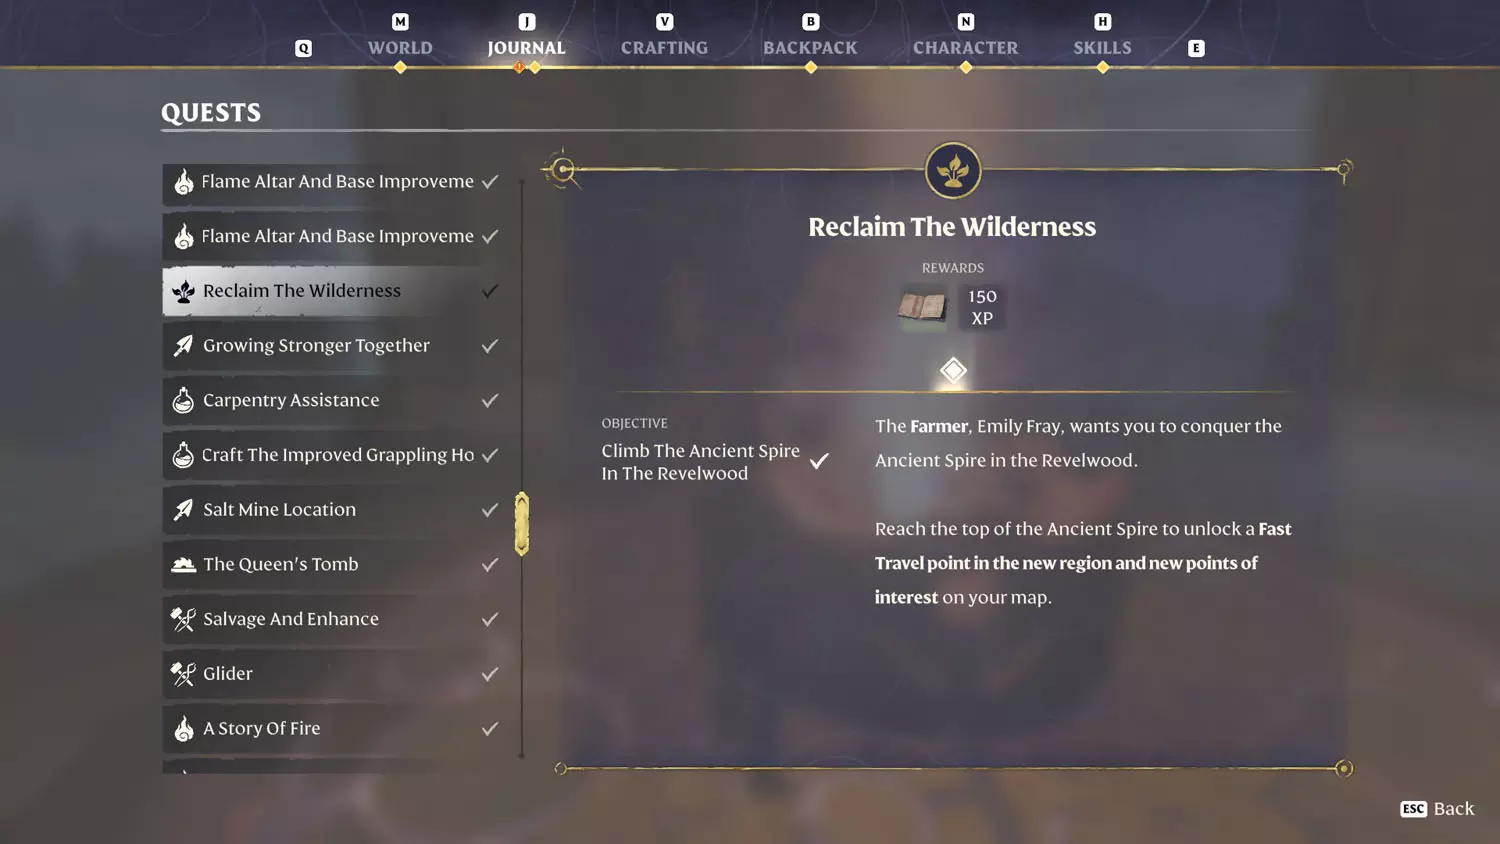
Reclaim The Wilderness
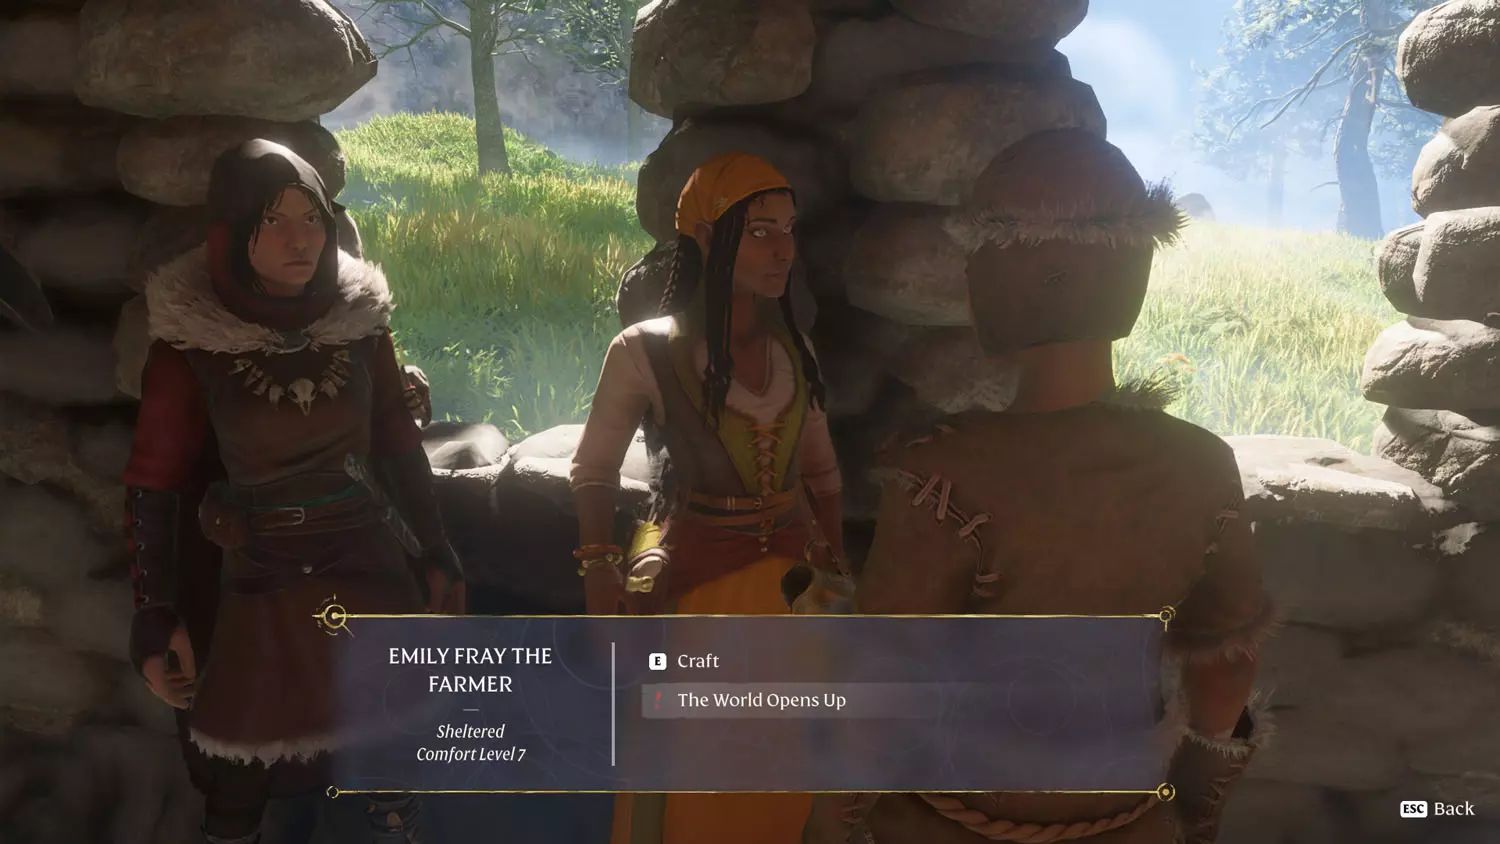
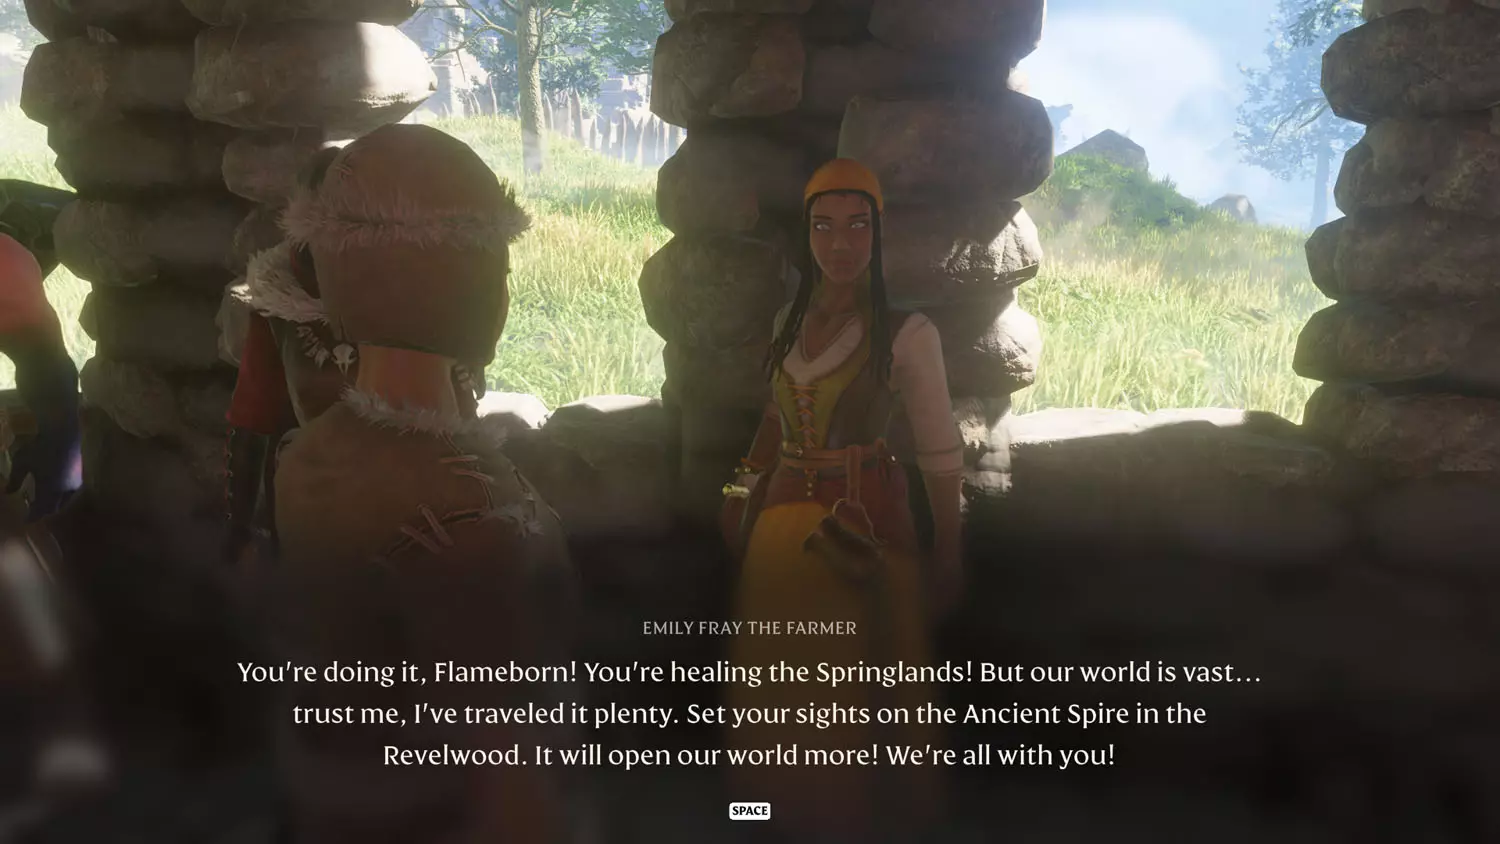
To begin this quest, speak with the Farmer Emily Fray and select the dialogue option “The World Opens Up”. This quest will open up the Ancient Spire - Revelwood Fast Travel.
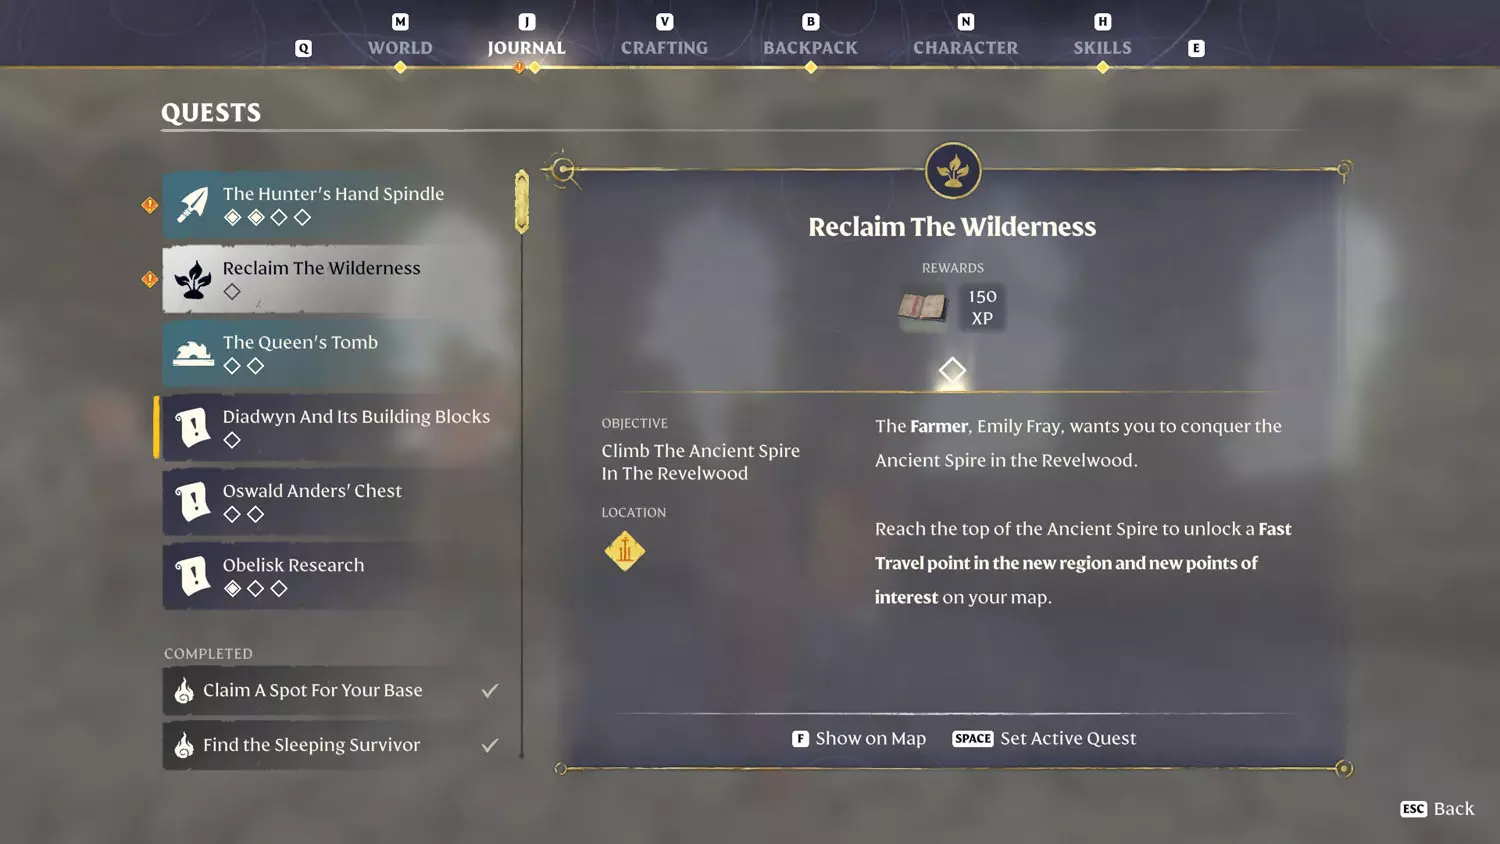
Normally I would say to ‘warp’ to the Ancient Spire - Revelwood Fast Travel, buuuuut that’s the tower that needs activated. SO! Instead, check your map and head for the nearest spot. Otherwise, like me, head for the Ancient Spire - Springlands Fast Travel. From there, head northwest toward Withered Encampment. Then, head north. Keep heading north. And keep to the higher trails if you can. It’s always easier to glide down than it is to climb up. This tower is low, so you don’t have to work too hard at staying higher up.
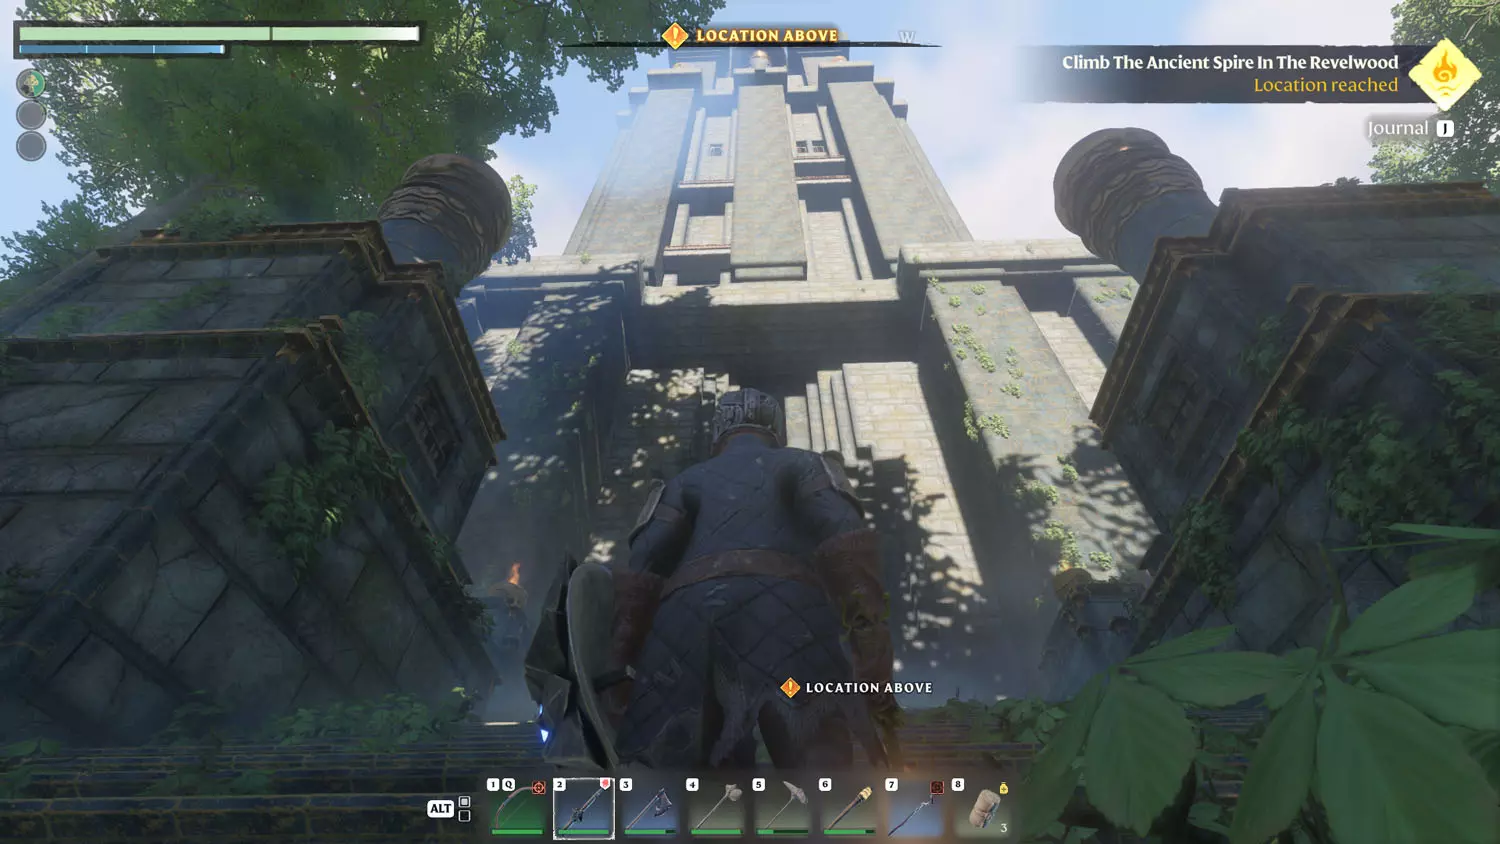
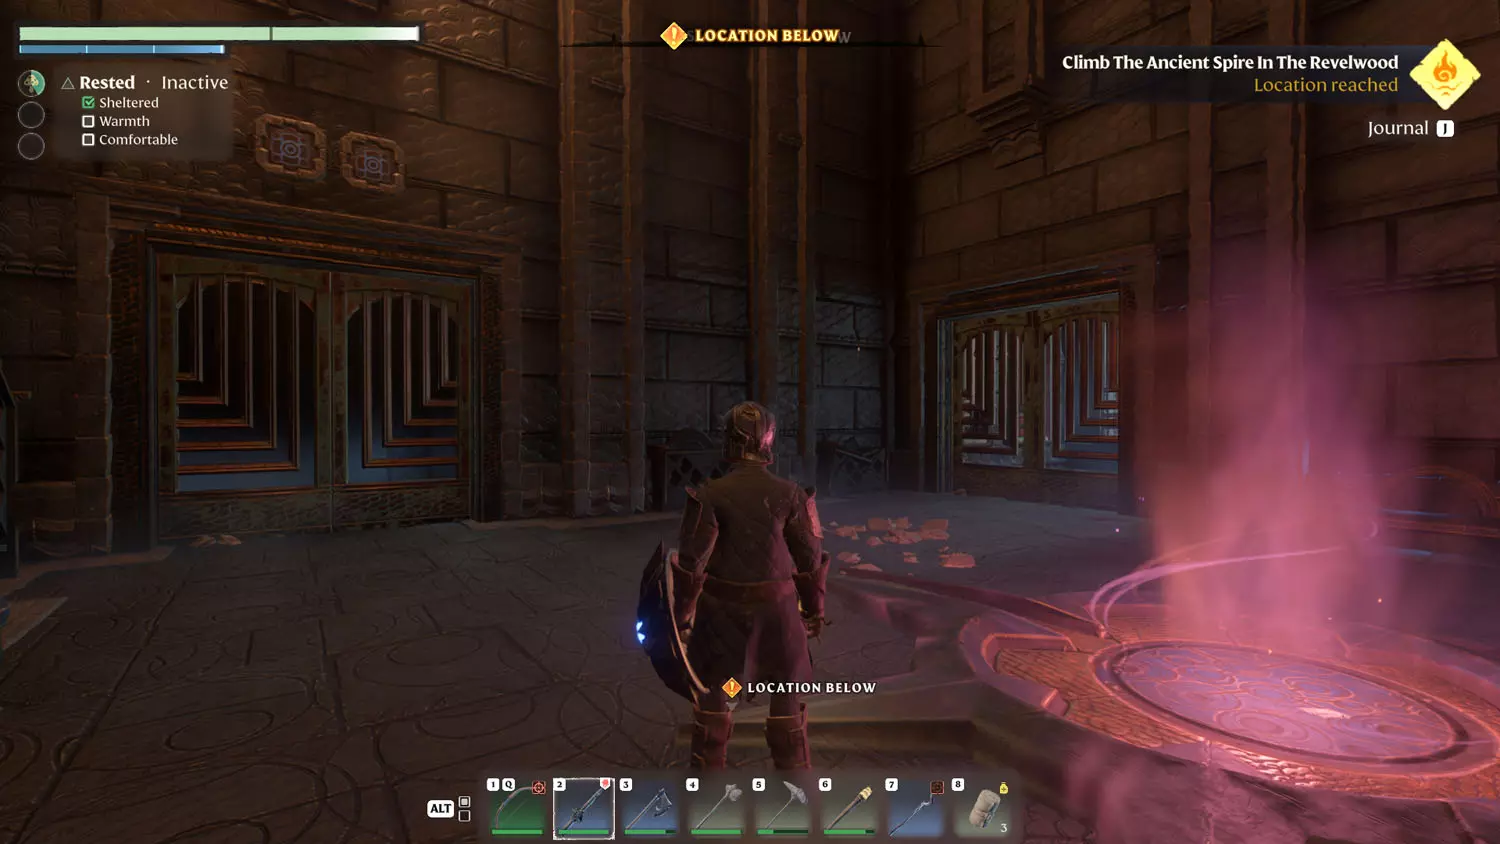
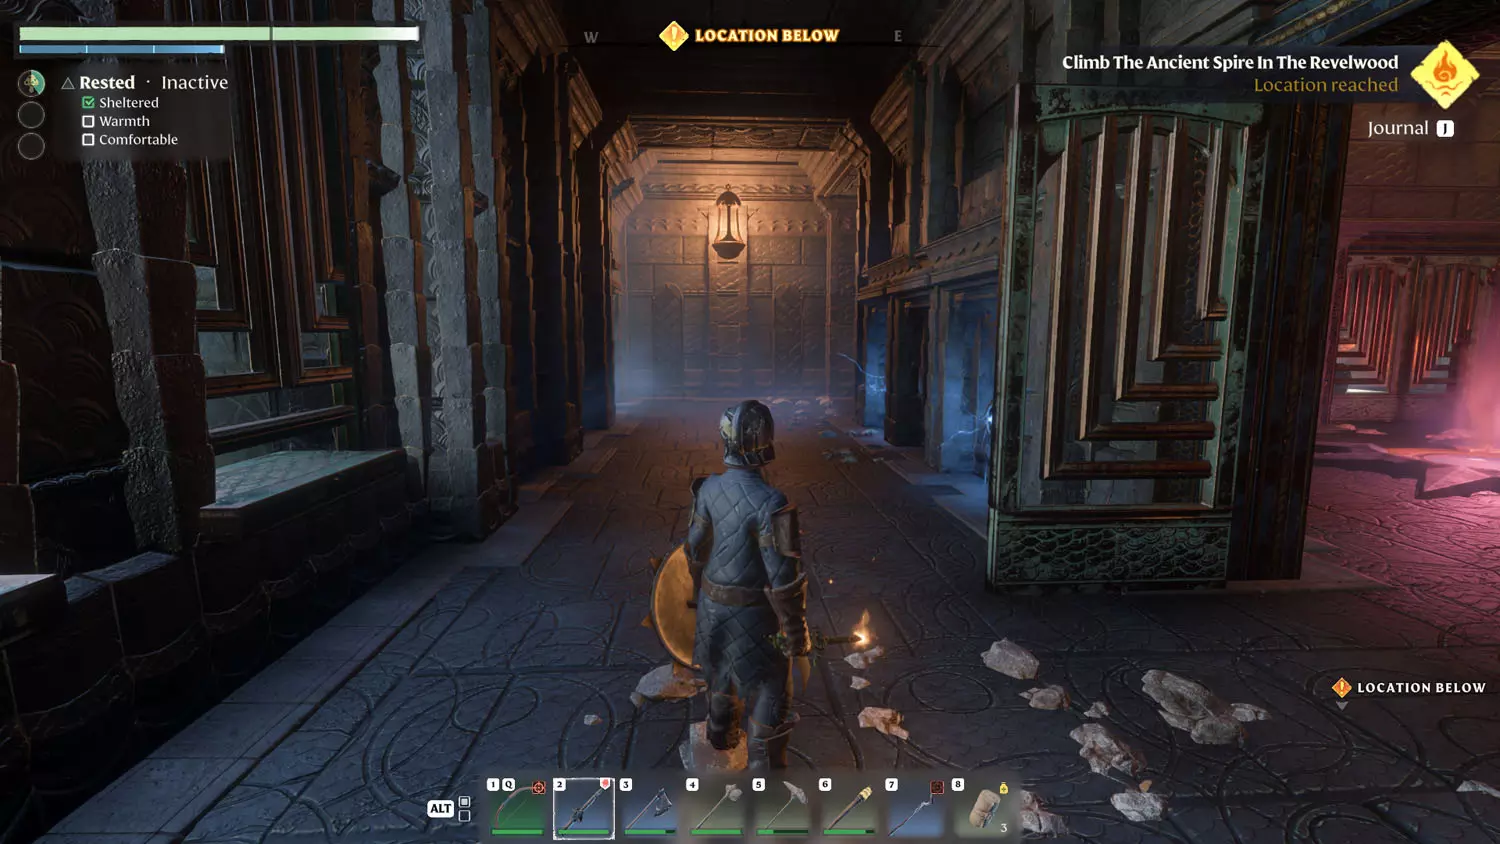
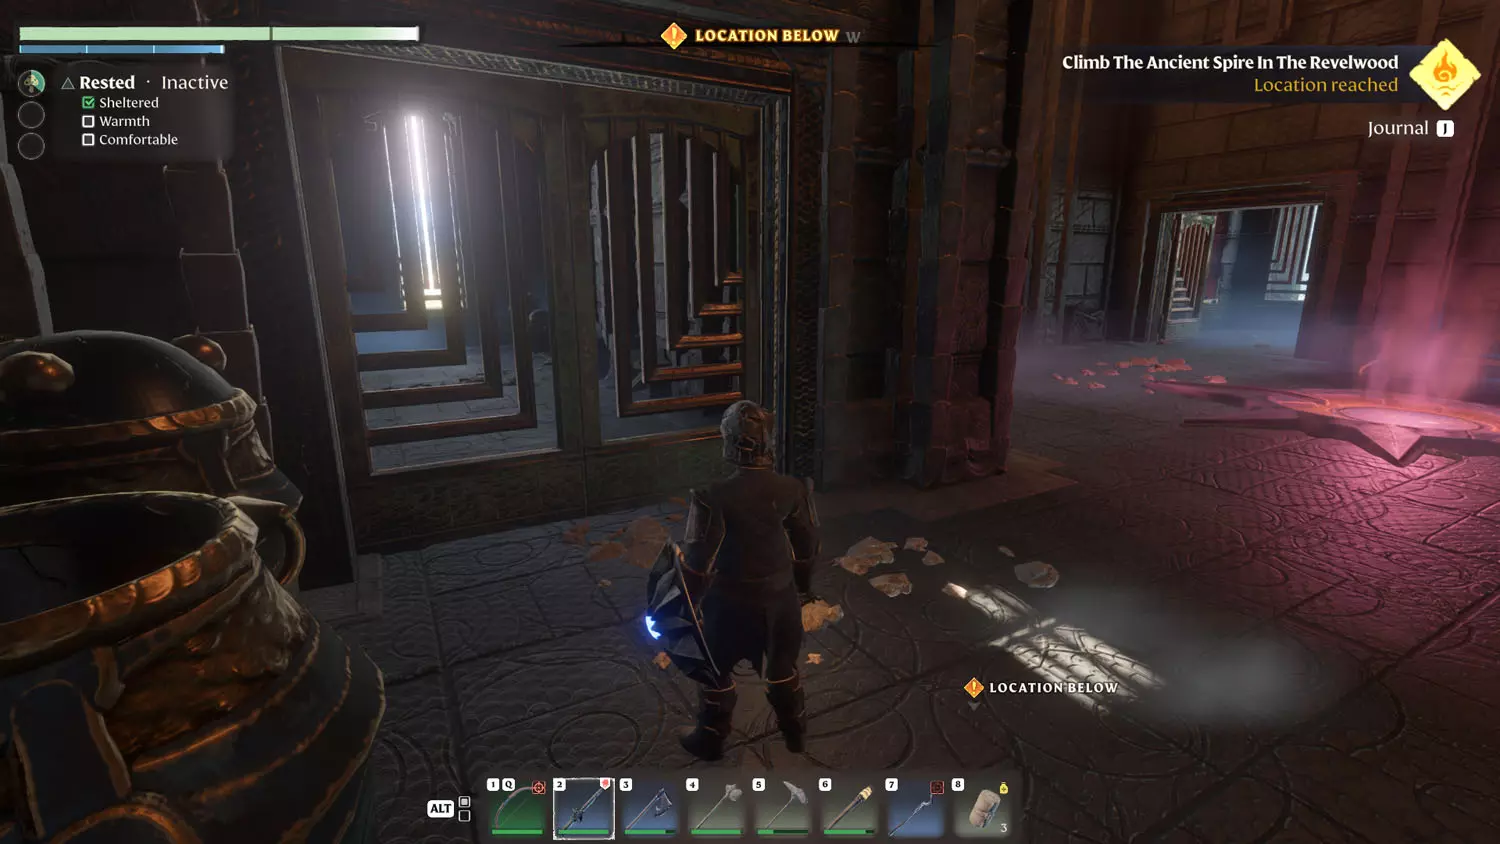
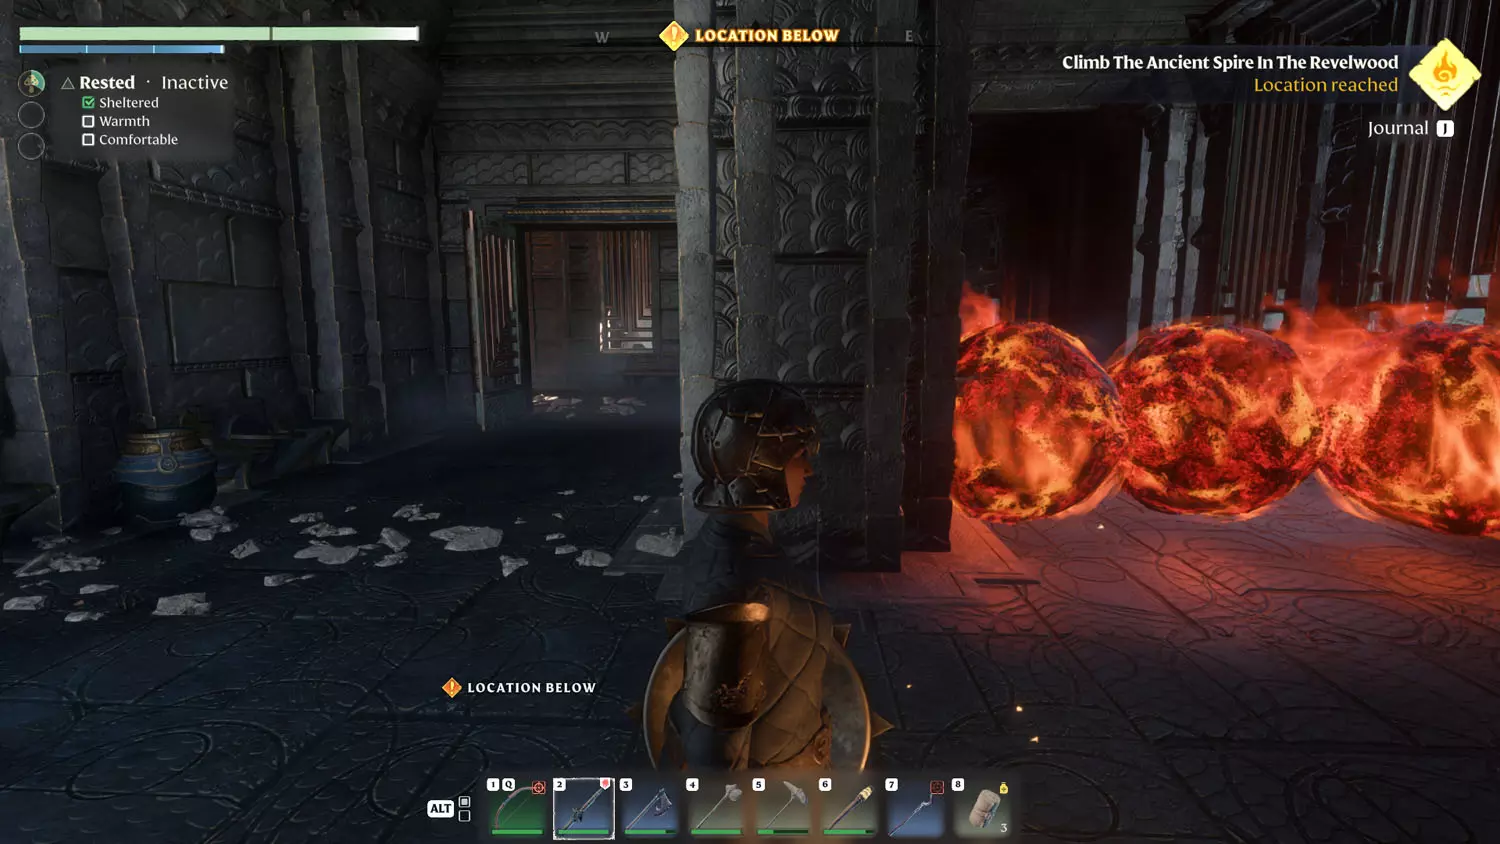
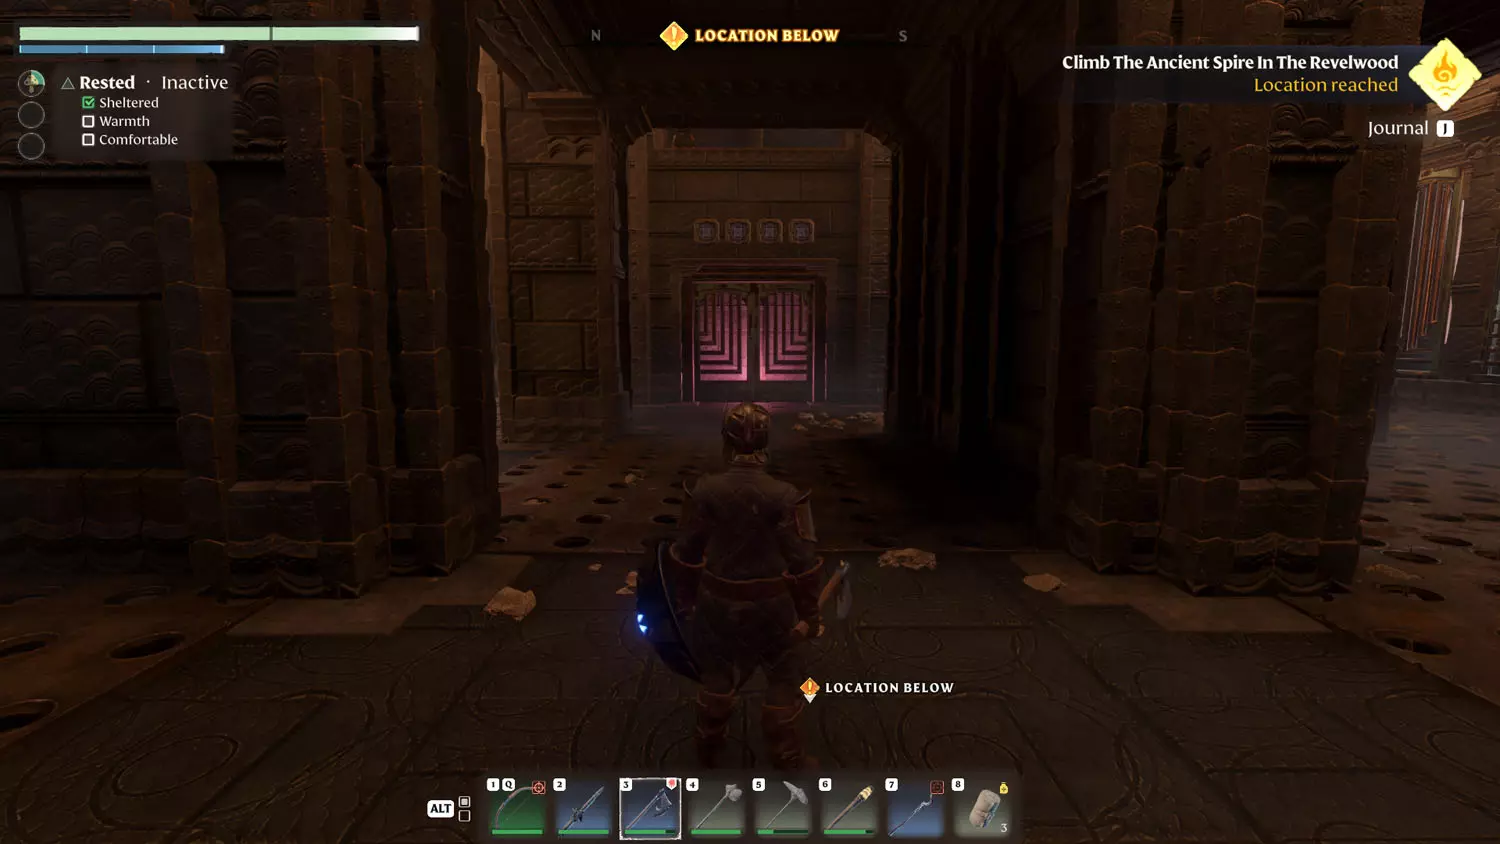
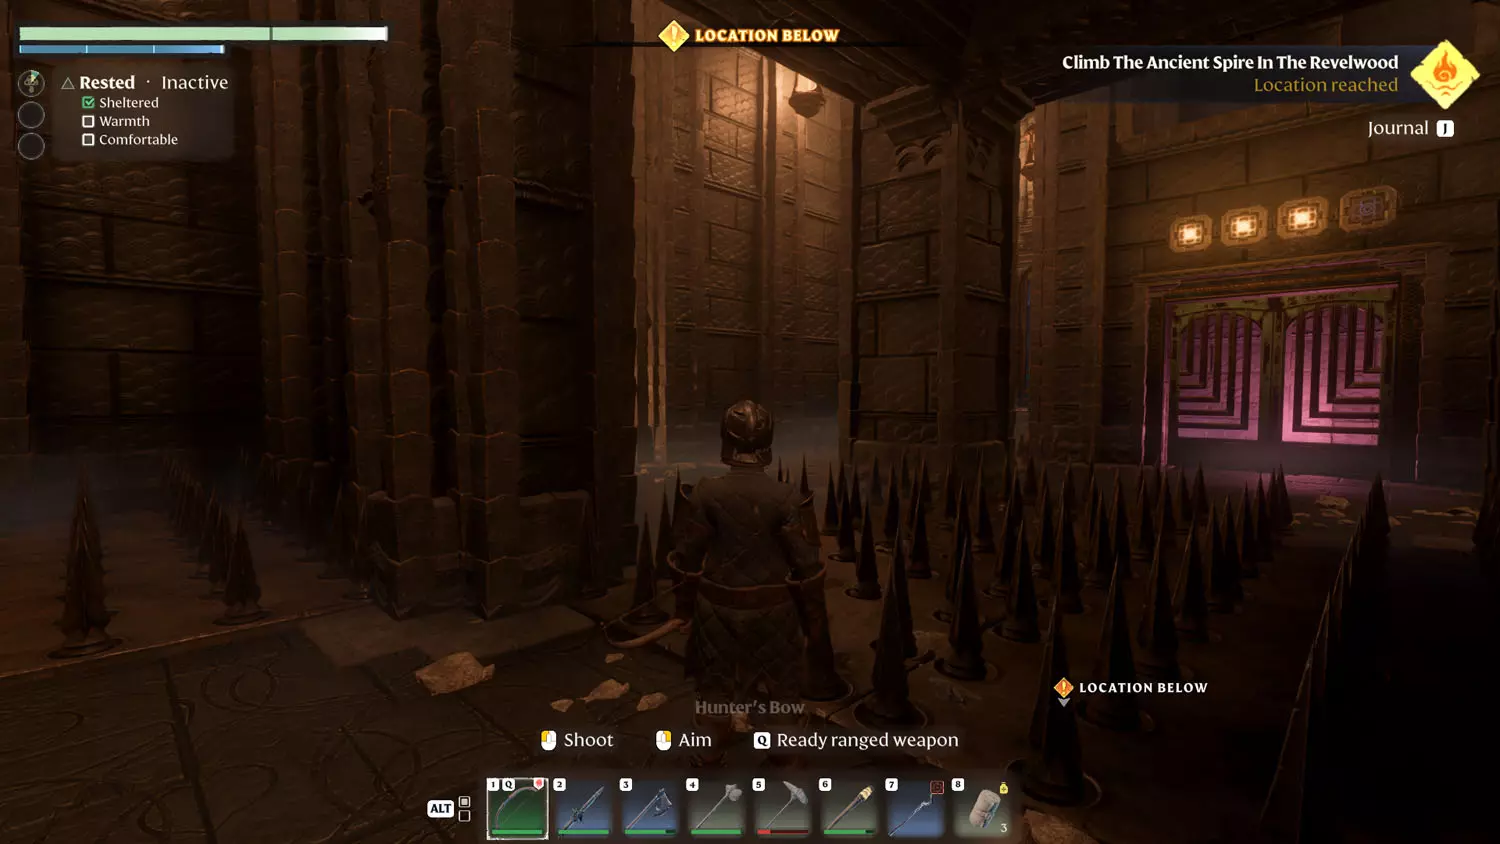
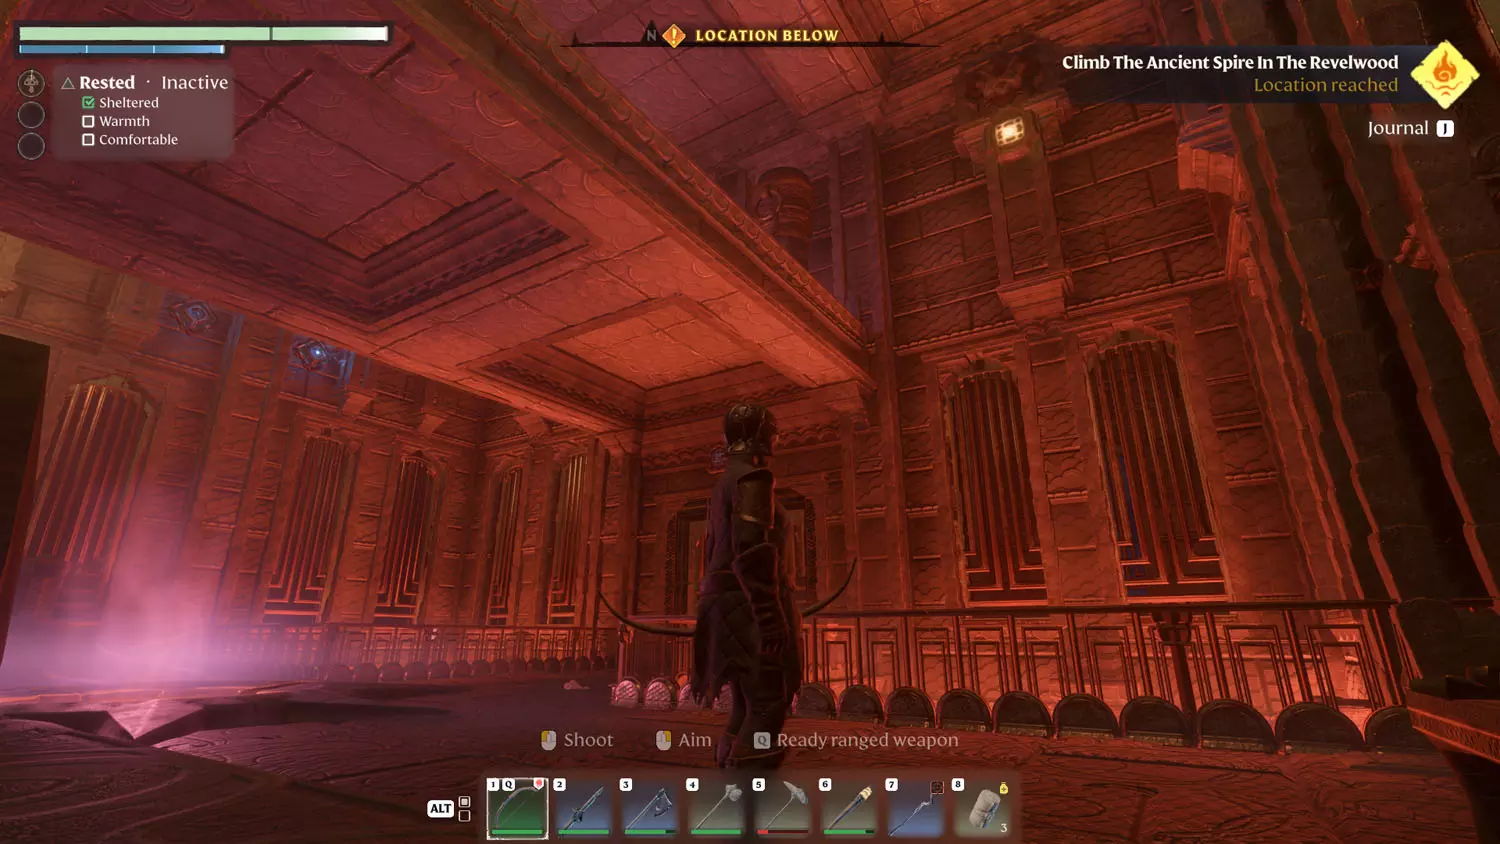
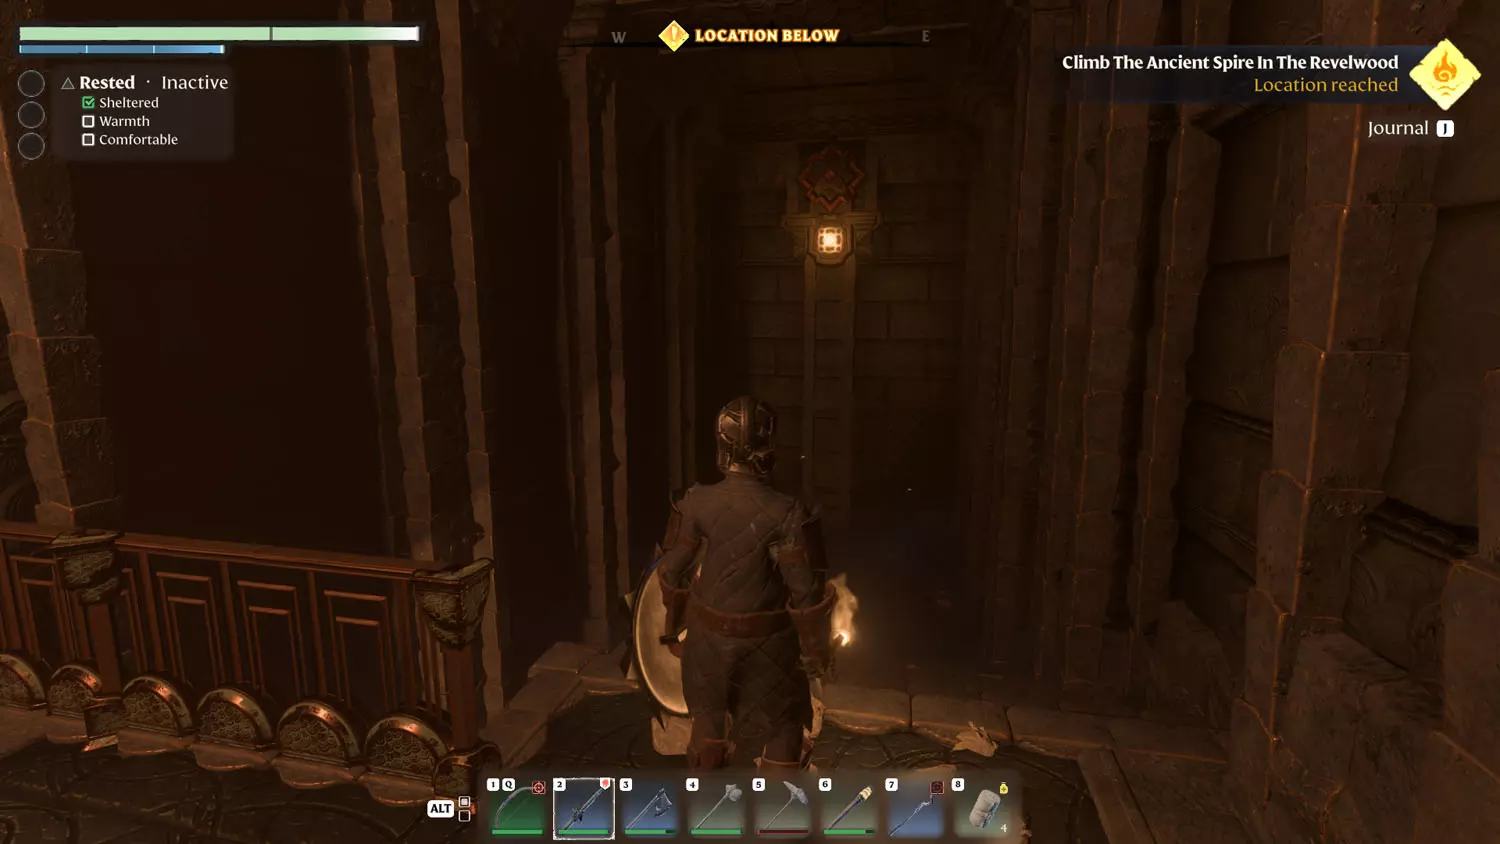
Made it? Nice! Now for the puzzle inside the tower. It starts off easy. The first level has a door with two glyphs and a gate that won’t budge. Head through the gate on the right. Jump over the zap trap in the hallway. Next up is keeping pace with rolling balls of fire. Around the corner is the first button you seek.
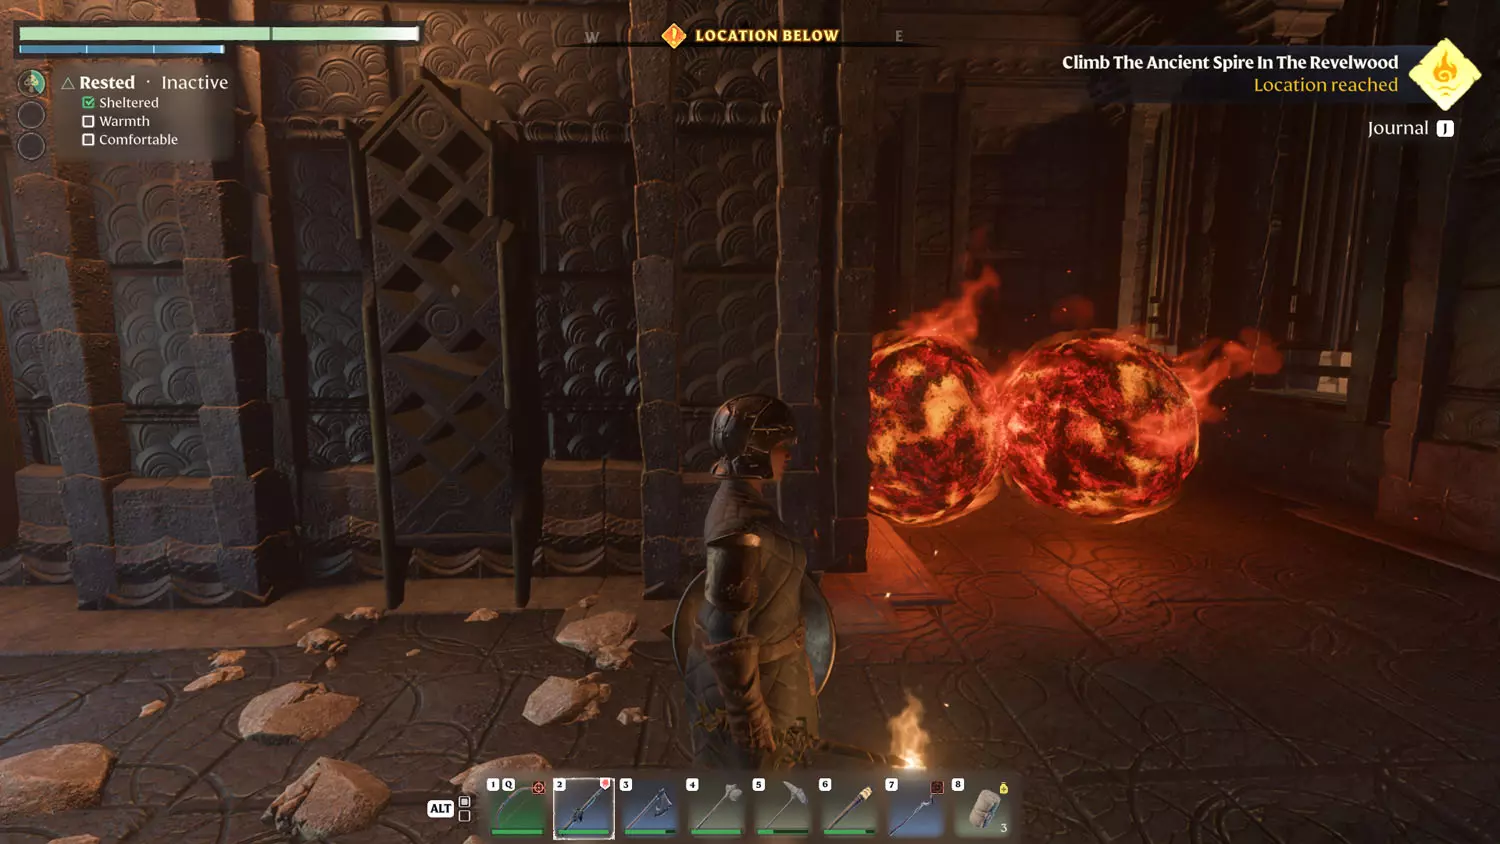
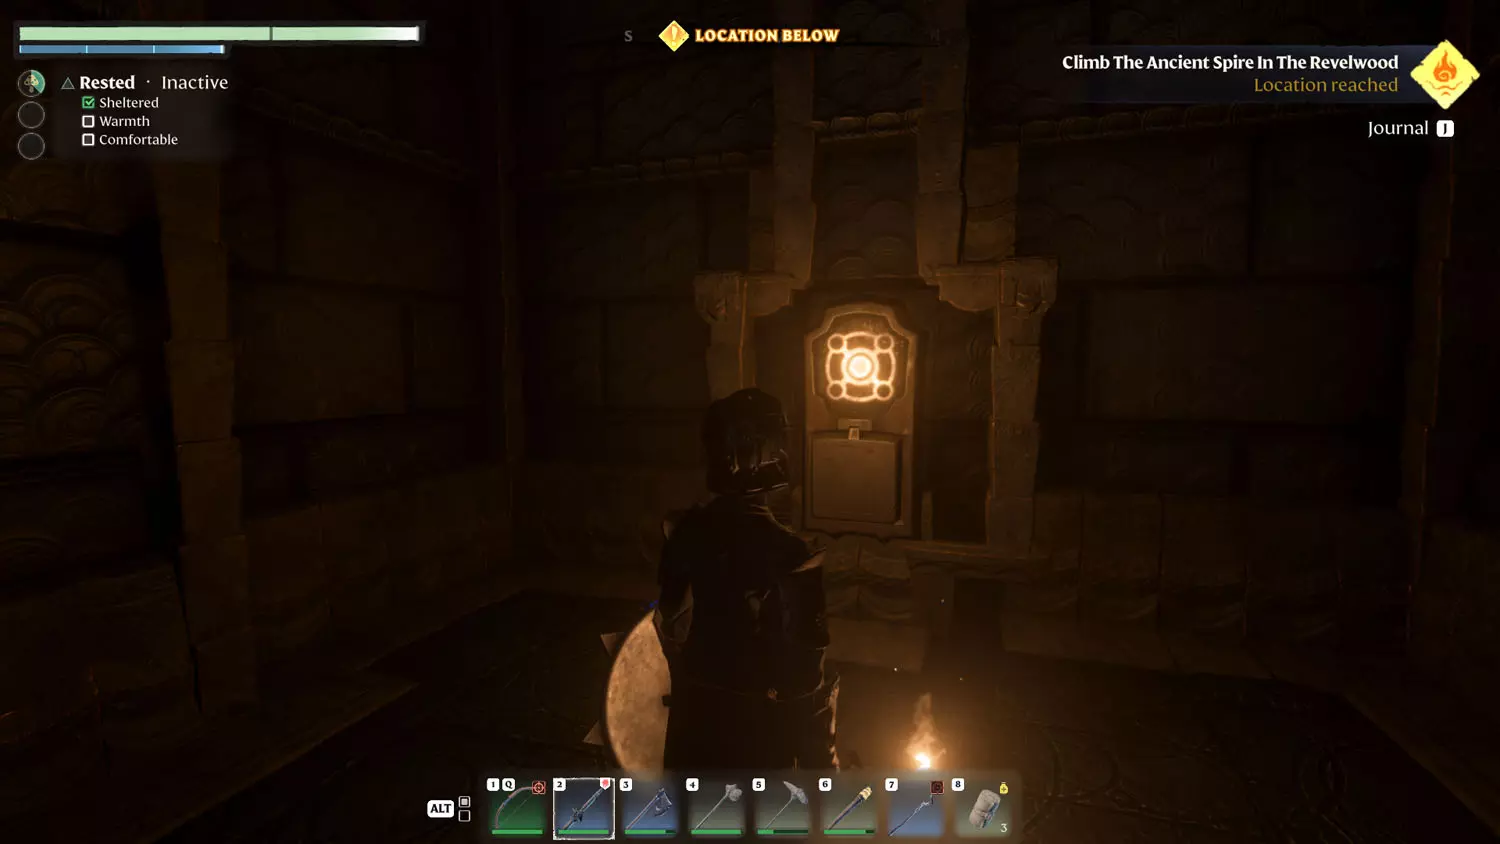
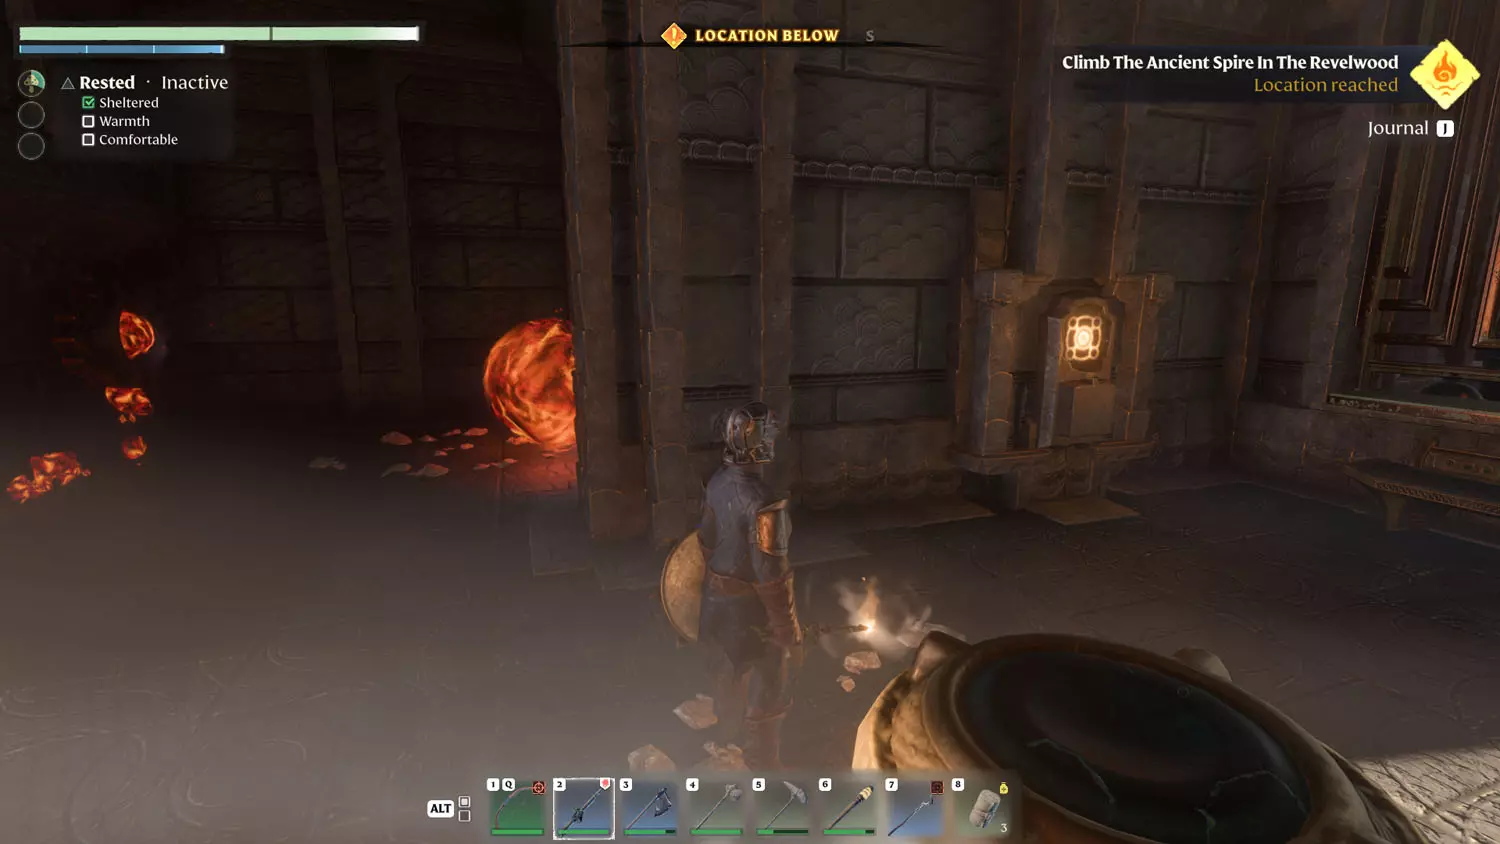
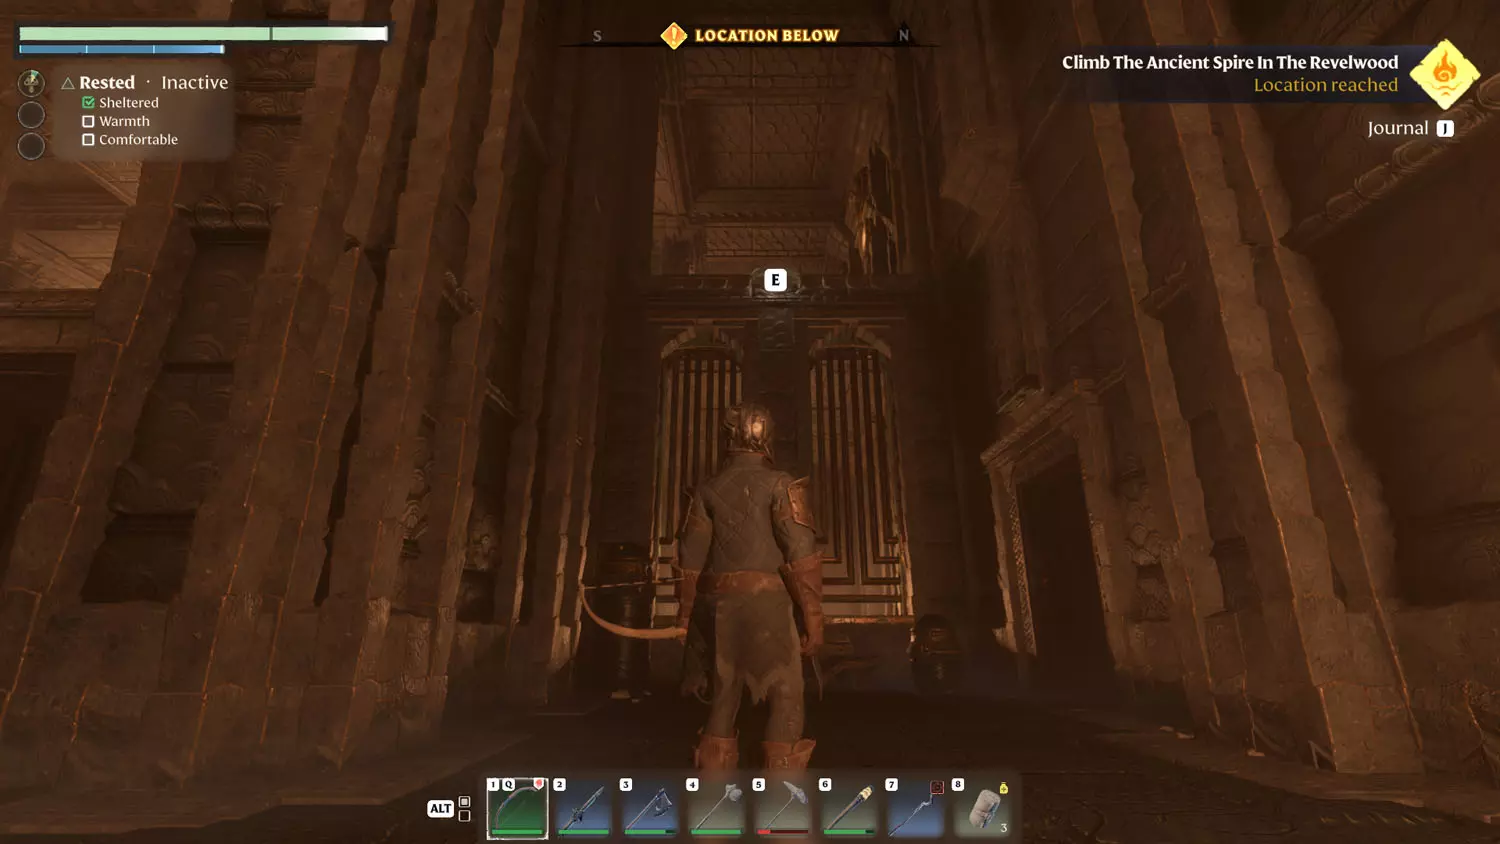
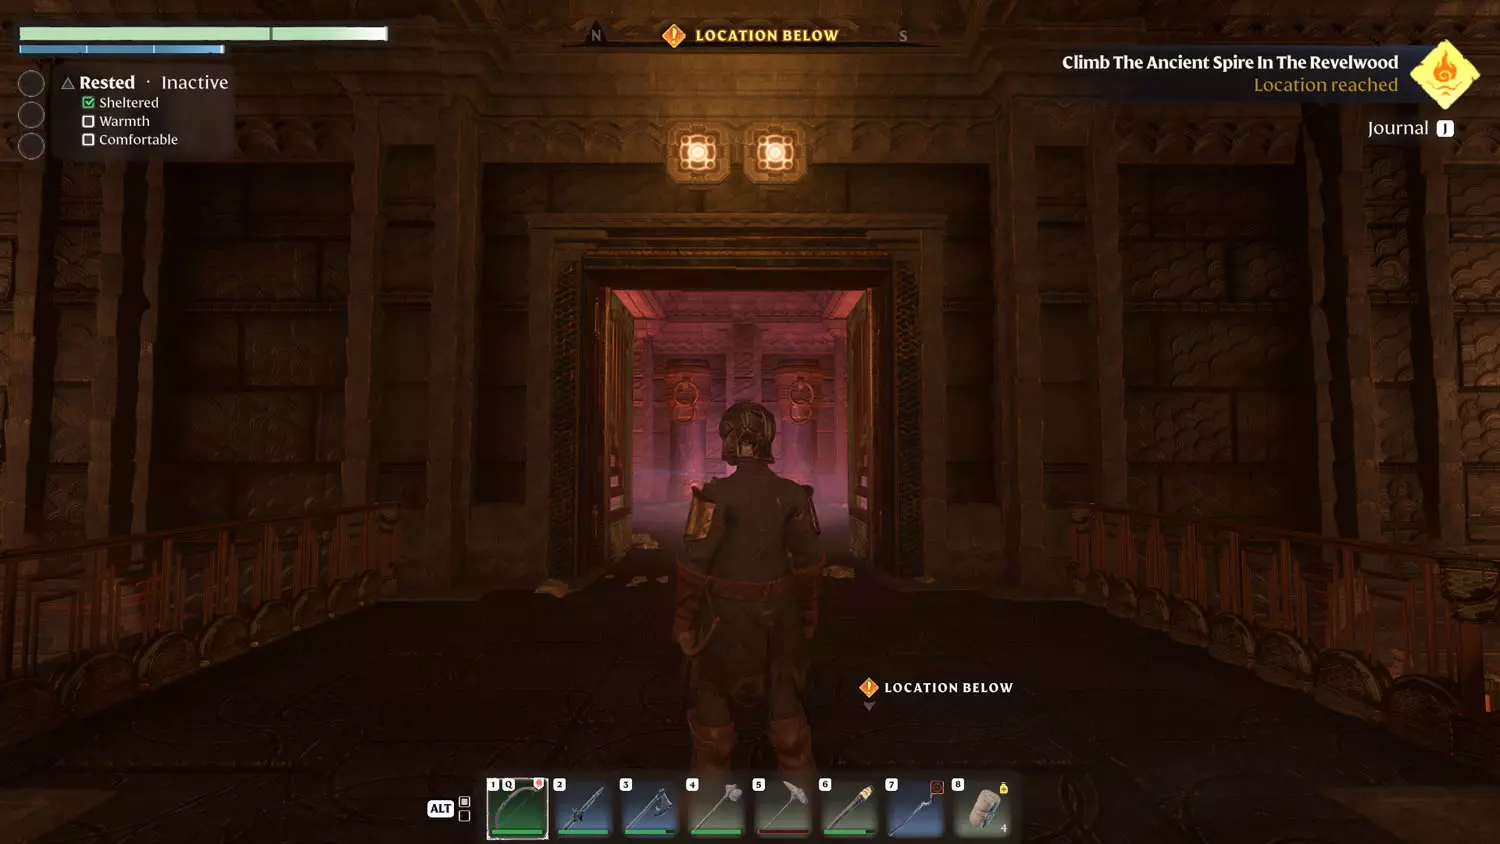
Head back the way you came. Now enter the unopened gate and head through. This one is easy. Stay in the middle and follow the ball of fire to the end. Then skitter over to the room with the button (left). This opens the gate that refused to budge. It also opens the way forward. Head on up!
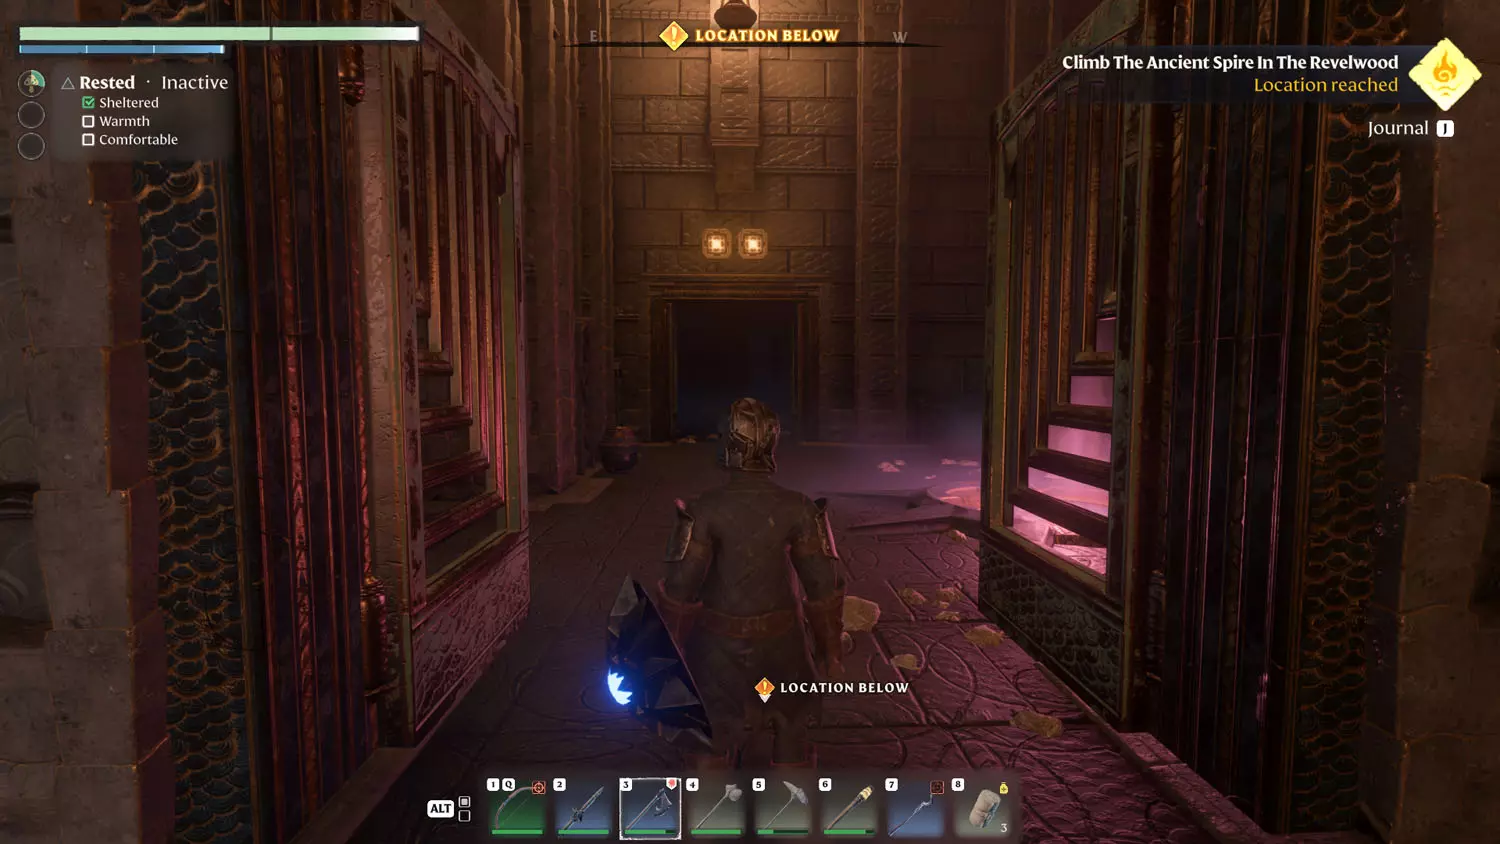
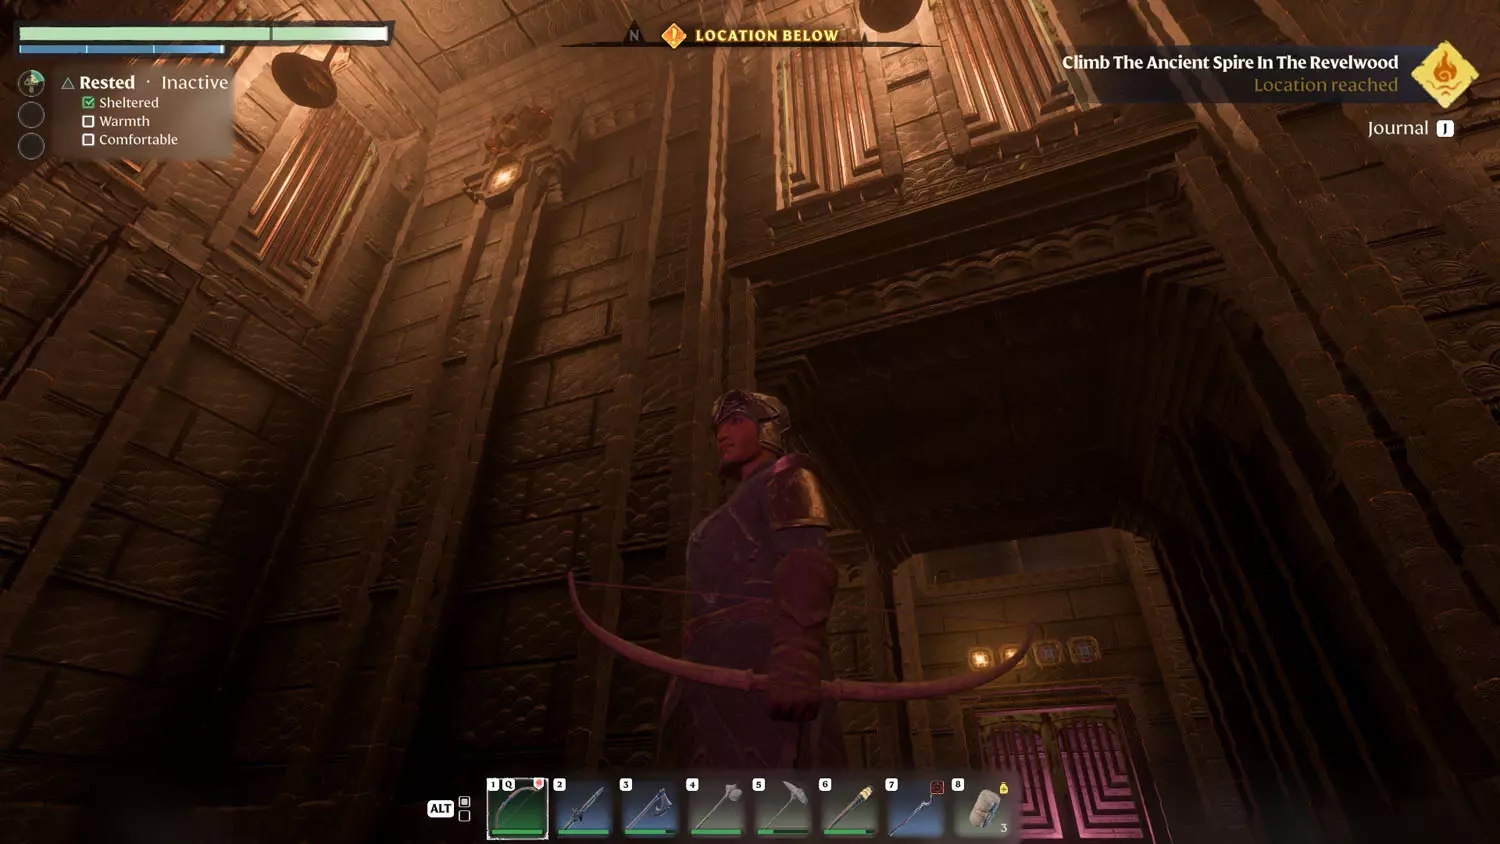
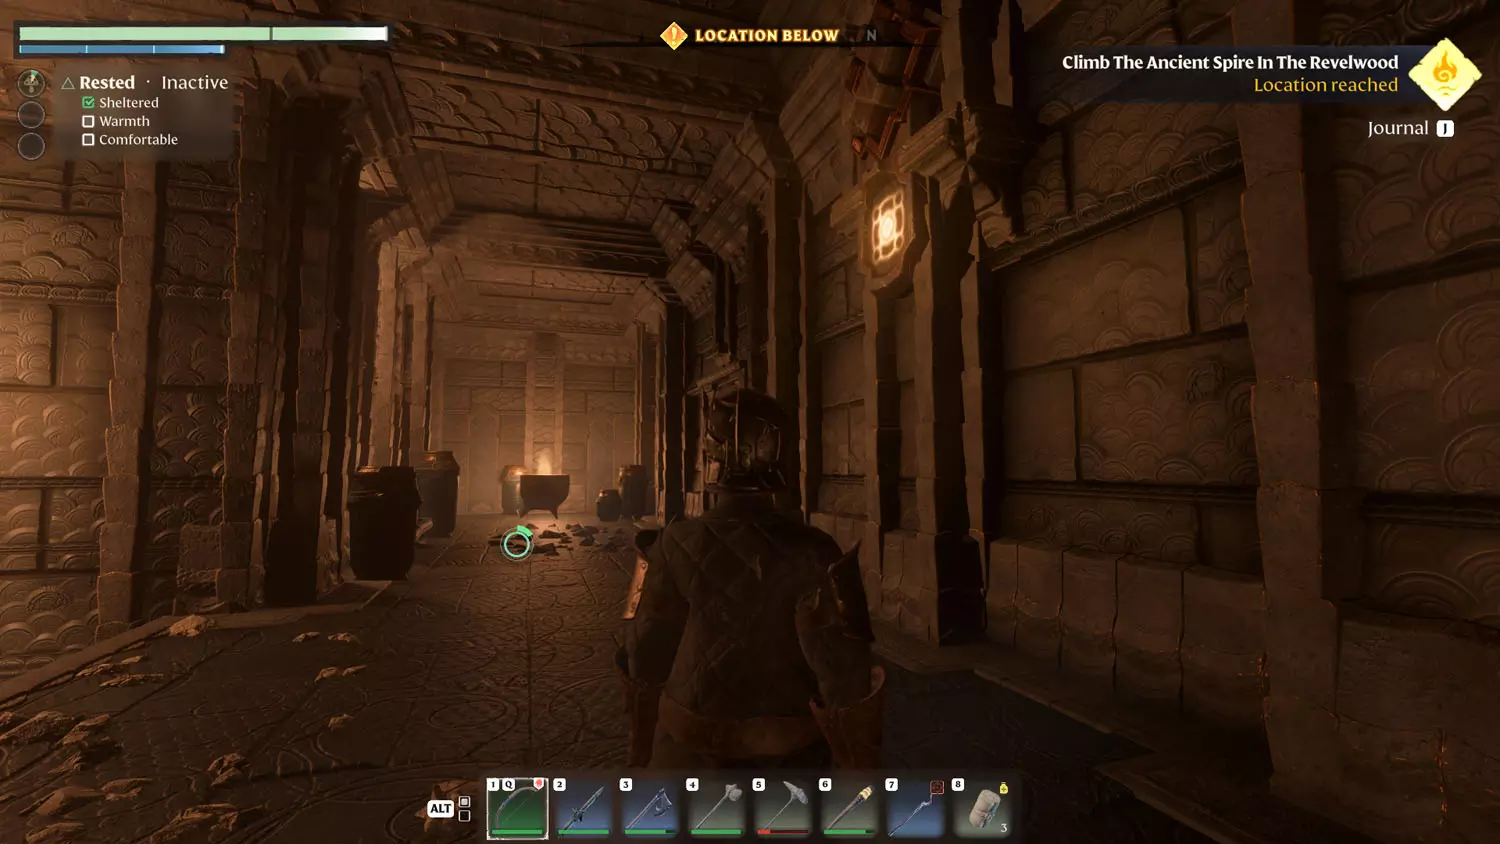
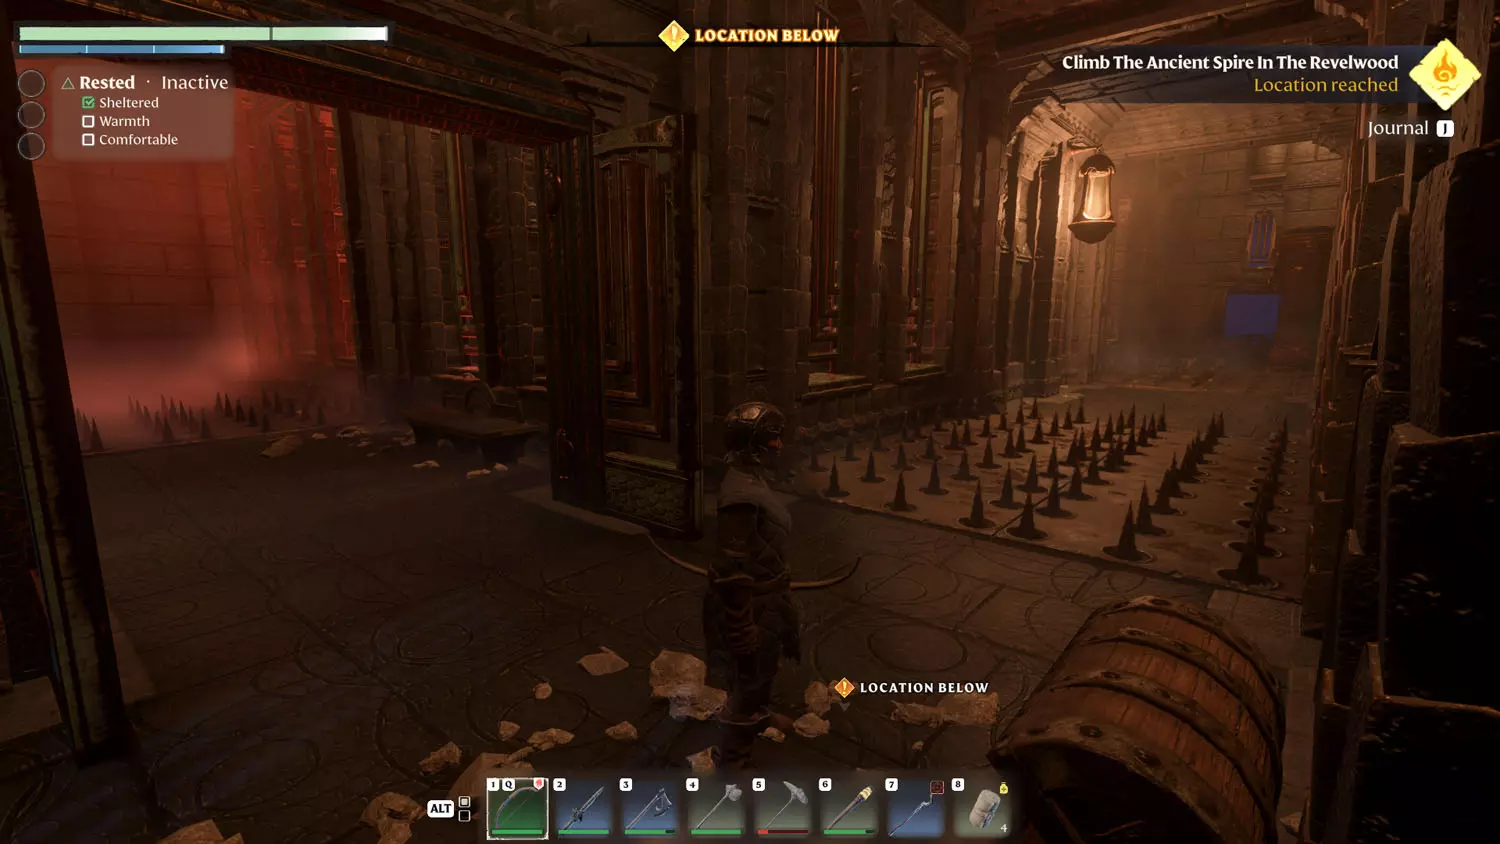
The second floor is a little more difficult as there are four switches. From the starting spot (well, a little more forward than that), look into the left alcove. There’s a button you can hit with an arrow. The same is true for the alcove on the right, but it is a tricky shot - I had to close the gate to make it work. From the same spot, look up. There’s another easily accessible glyph you can shoot with an arrow.
For the final one, jump over the middle spikes toward the left hallway. There will be a grapple spot up and then BAM a glyph to hit. On to the next level!
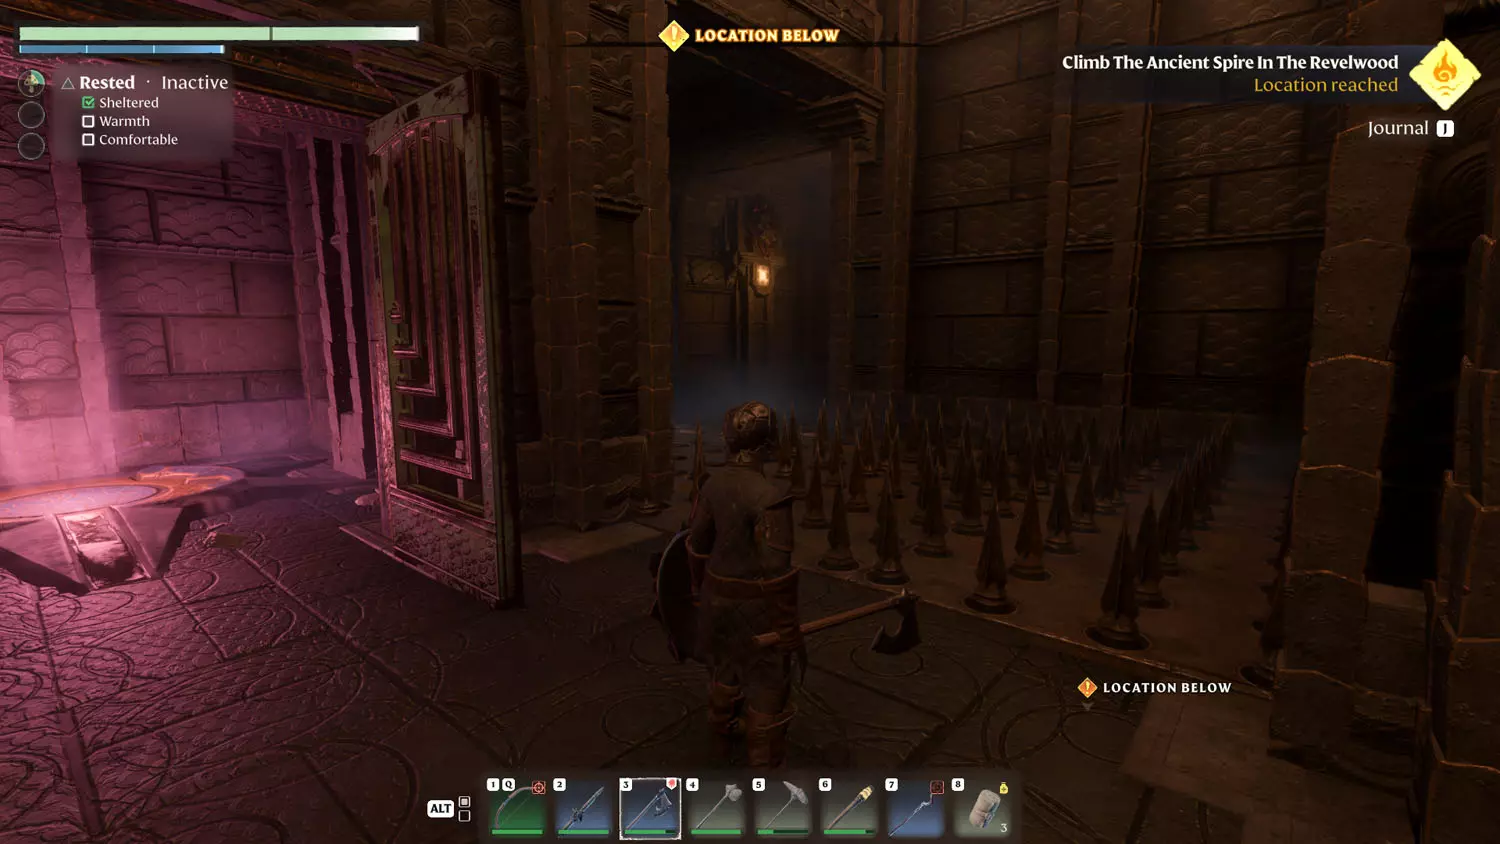
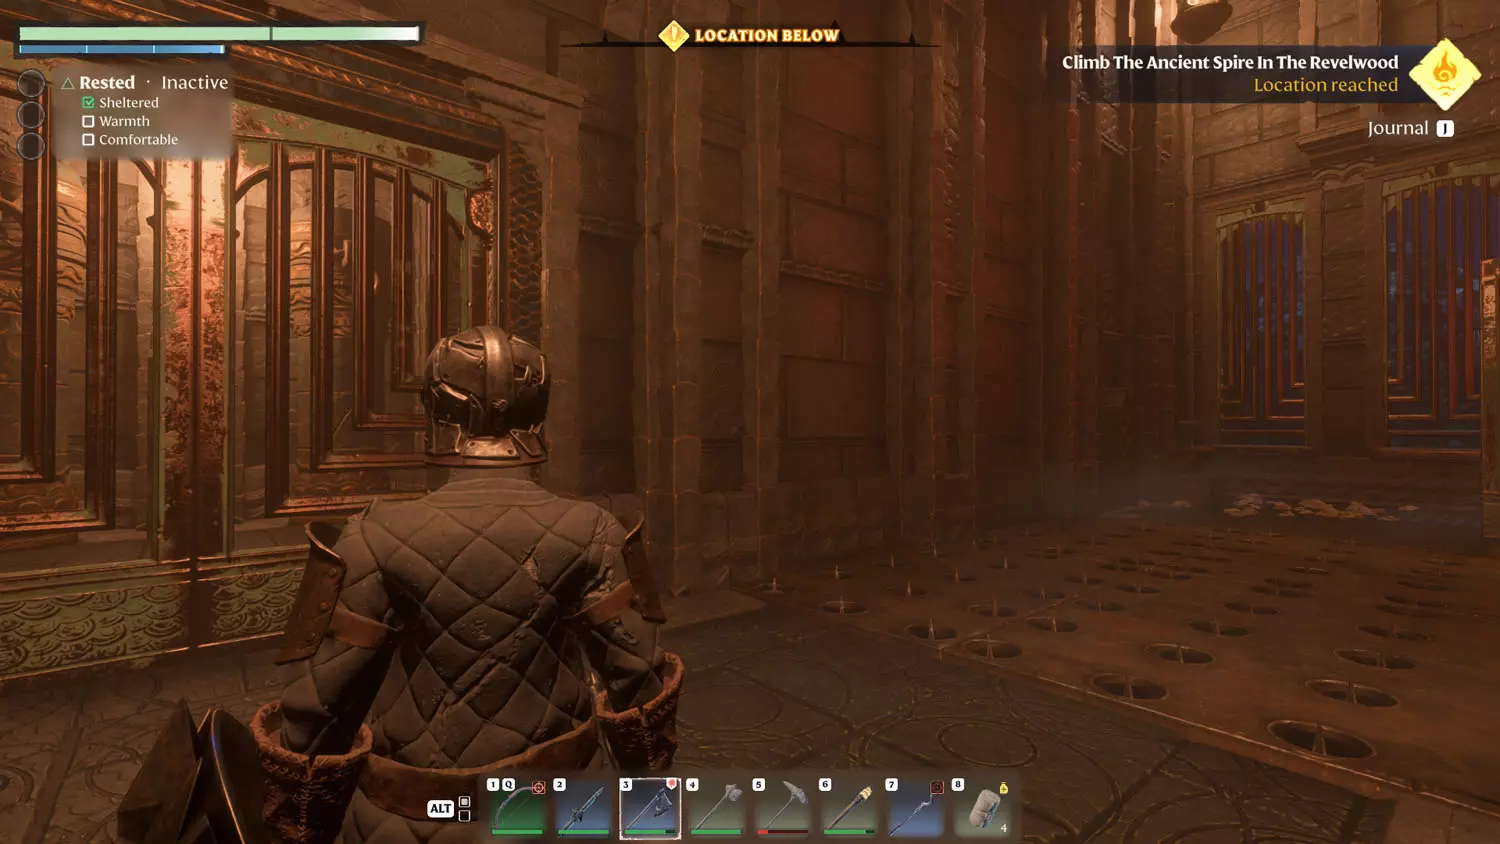
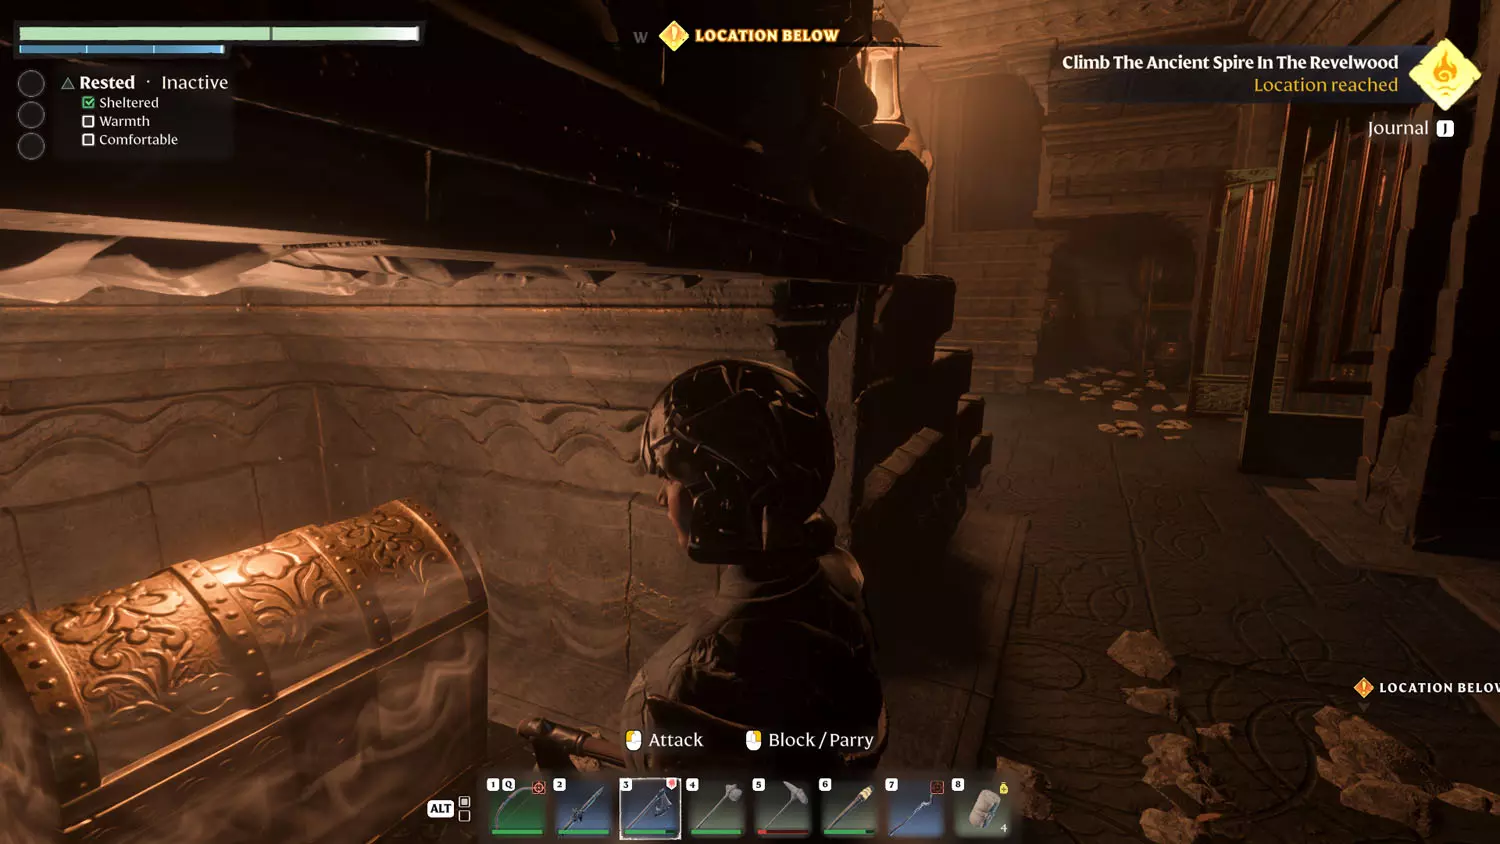
This is the third and final puzzle floor. The first door is easy. Head left, look up, shoot glyph with arrow and then repeat for the other side of the room. The door opens, and you can walk through. Heading right from the gate is a Wood Chest.
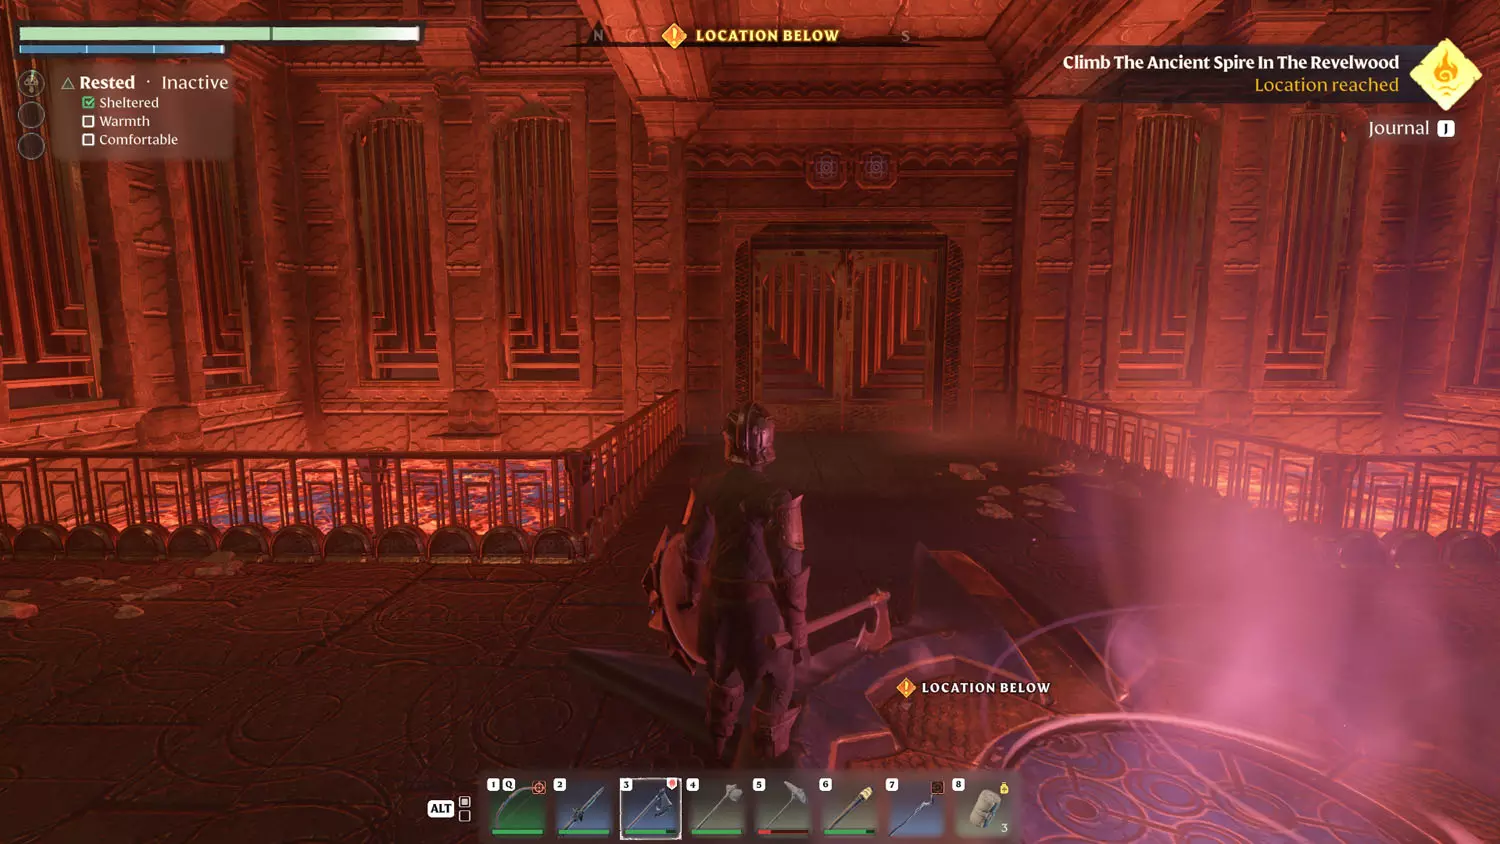
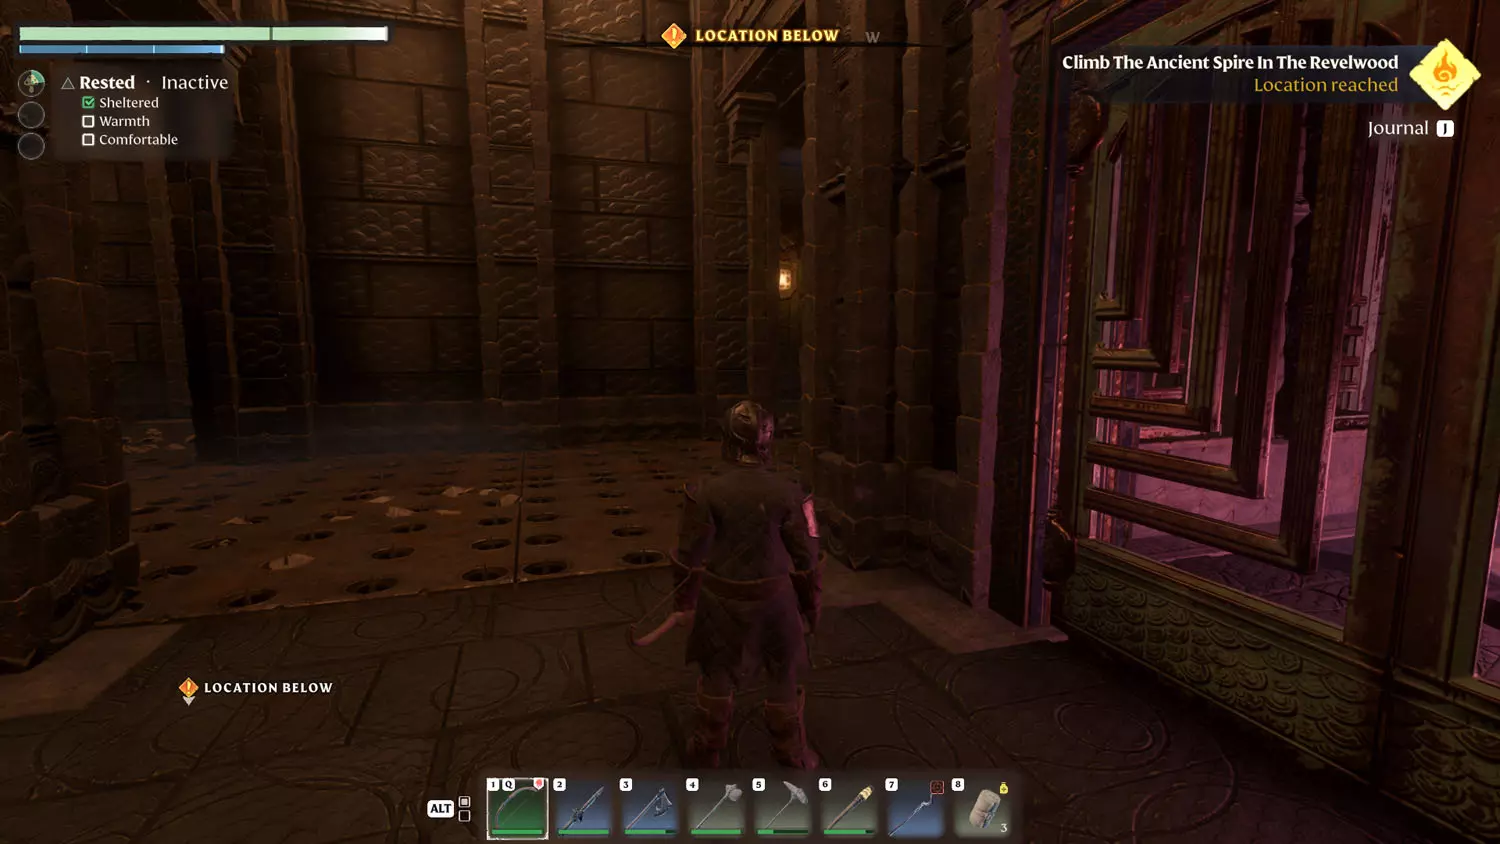
Heading right from the gate is a Wood Chest. Make it across the spike traps on the floor until you reach a gate. Going through, there are two sets of stairs. The left side has a Gold Chest under it. BOTH have glyphs on the wall as you go up the steps - visible from the top landing, too. The doorway opens! A simple zap trap remains, but then you are at the top!
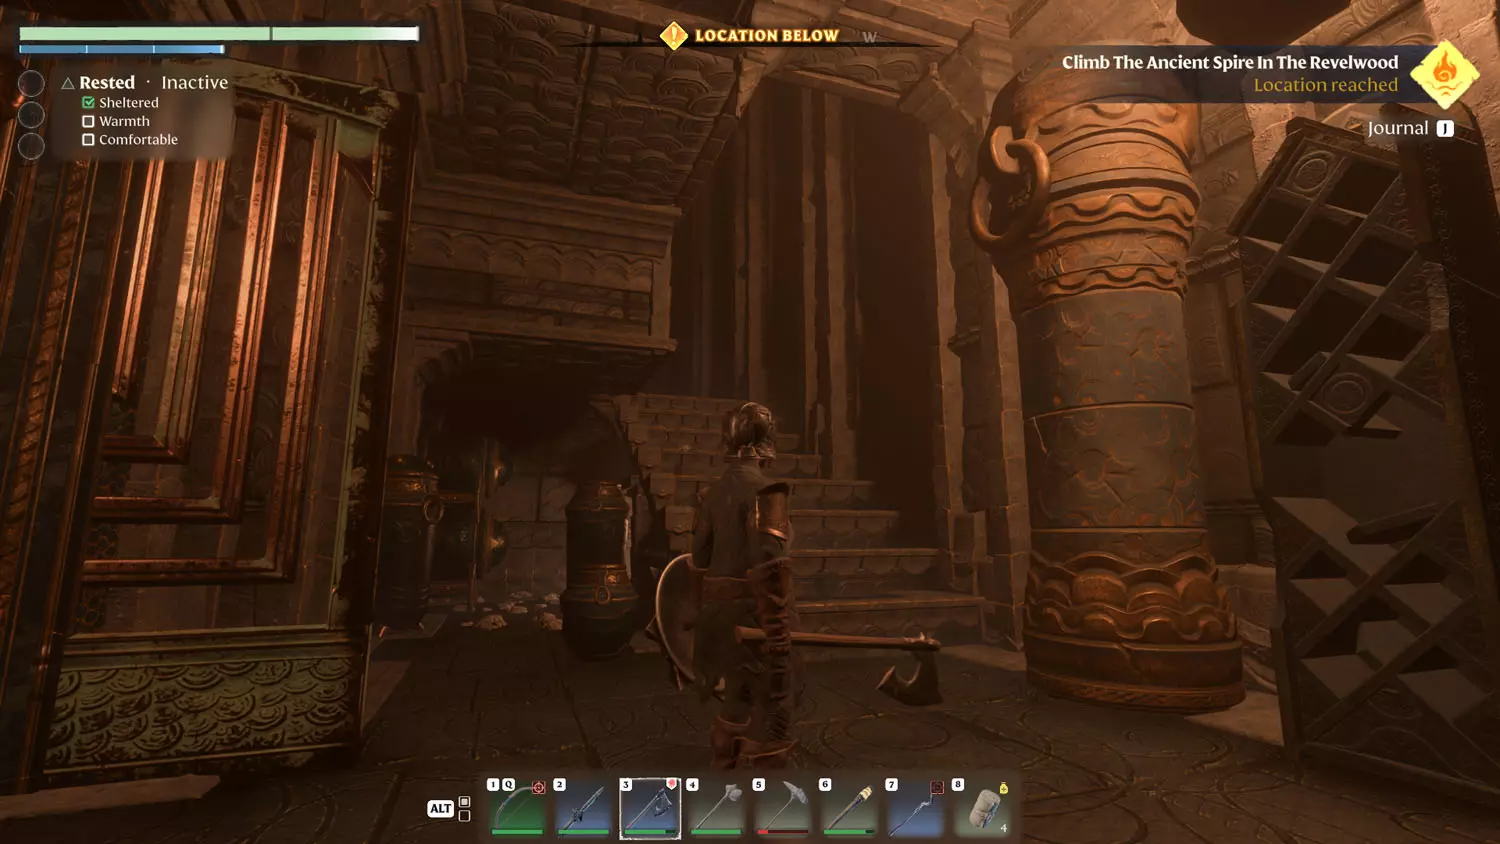
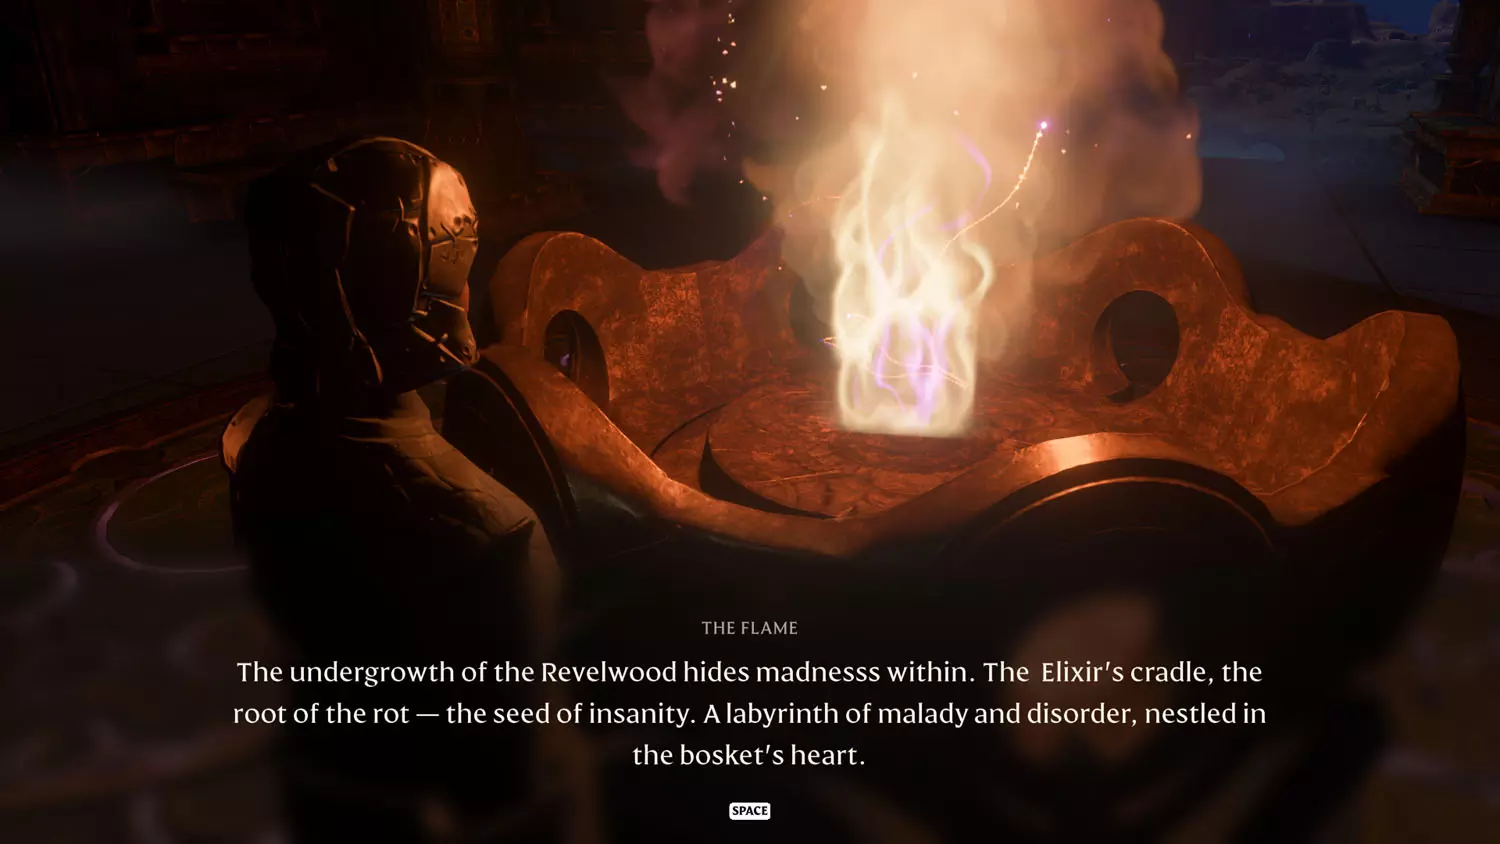
Once you reach the top, head for the flame and have a chat with it. This will complete the quest!
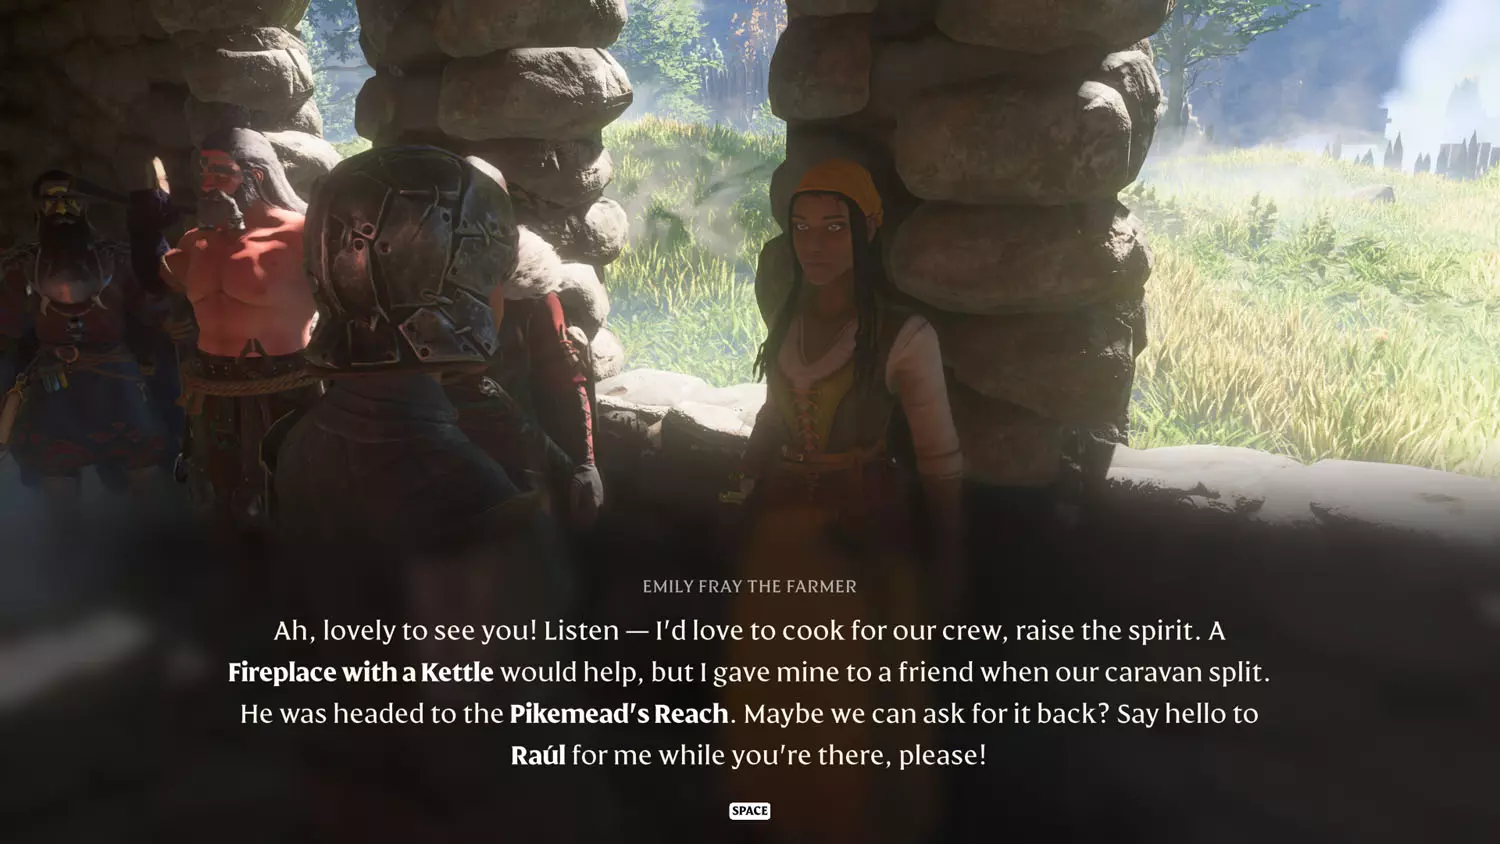
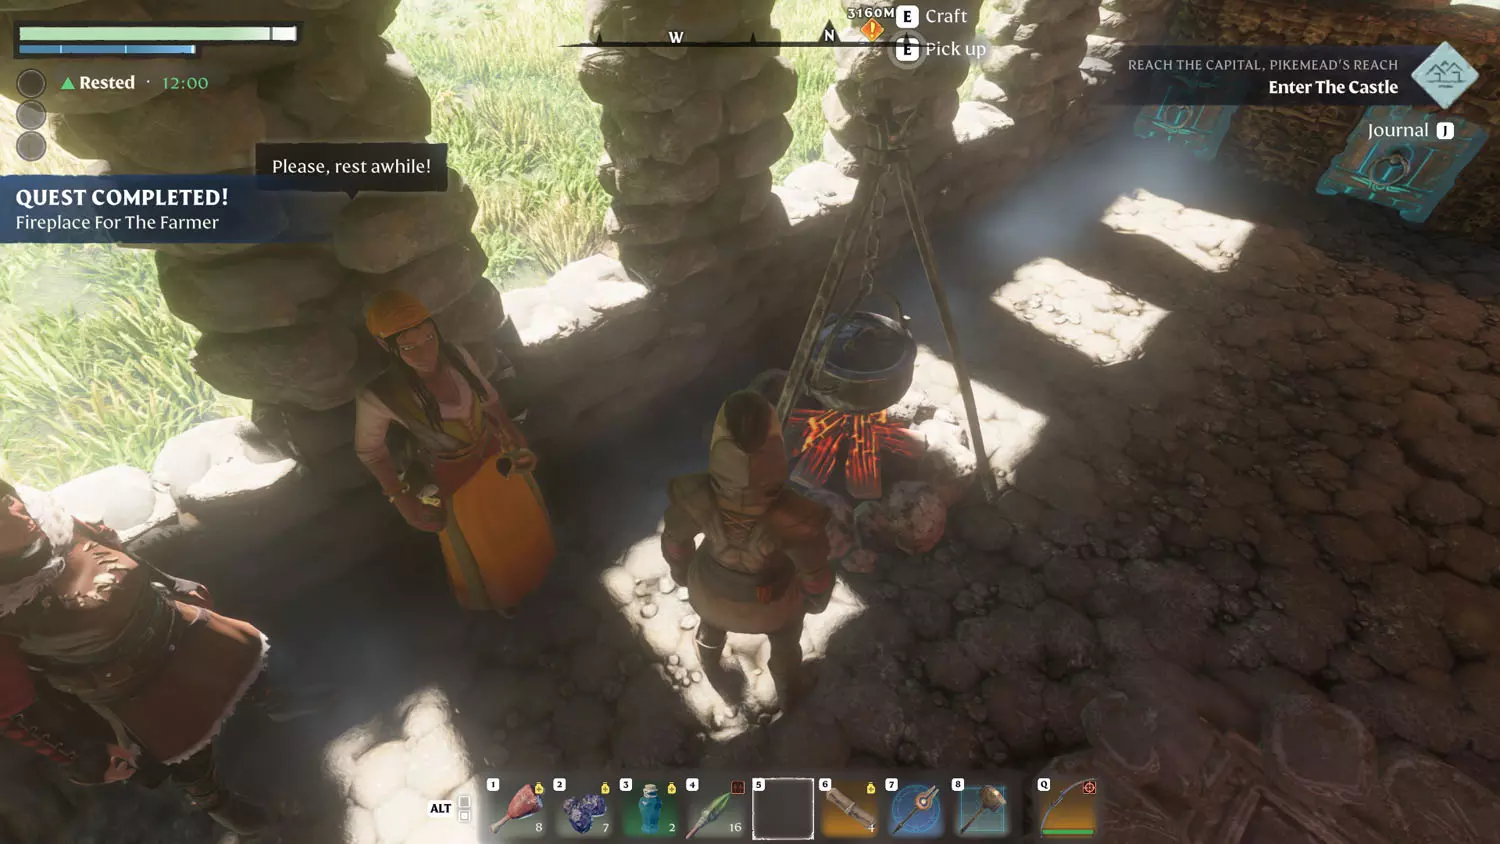
Fireplace For The Farmer
The dialogue option, “Kettle For A Fireplace”, became available the second I placed the Smelter (Blacksmith Quest: Crucible Needed For A Smelter). This is also the first quest that has given me a warning by telling me to strengthen my Flame Altar (visible in the quest description screenshot). There was probably one more before this that would have warned me, but I upgraded the Flame Altar as soon as I could.
TIP: For a quick look at what it takes to - Strengthen The Flame.

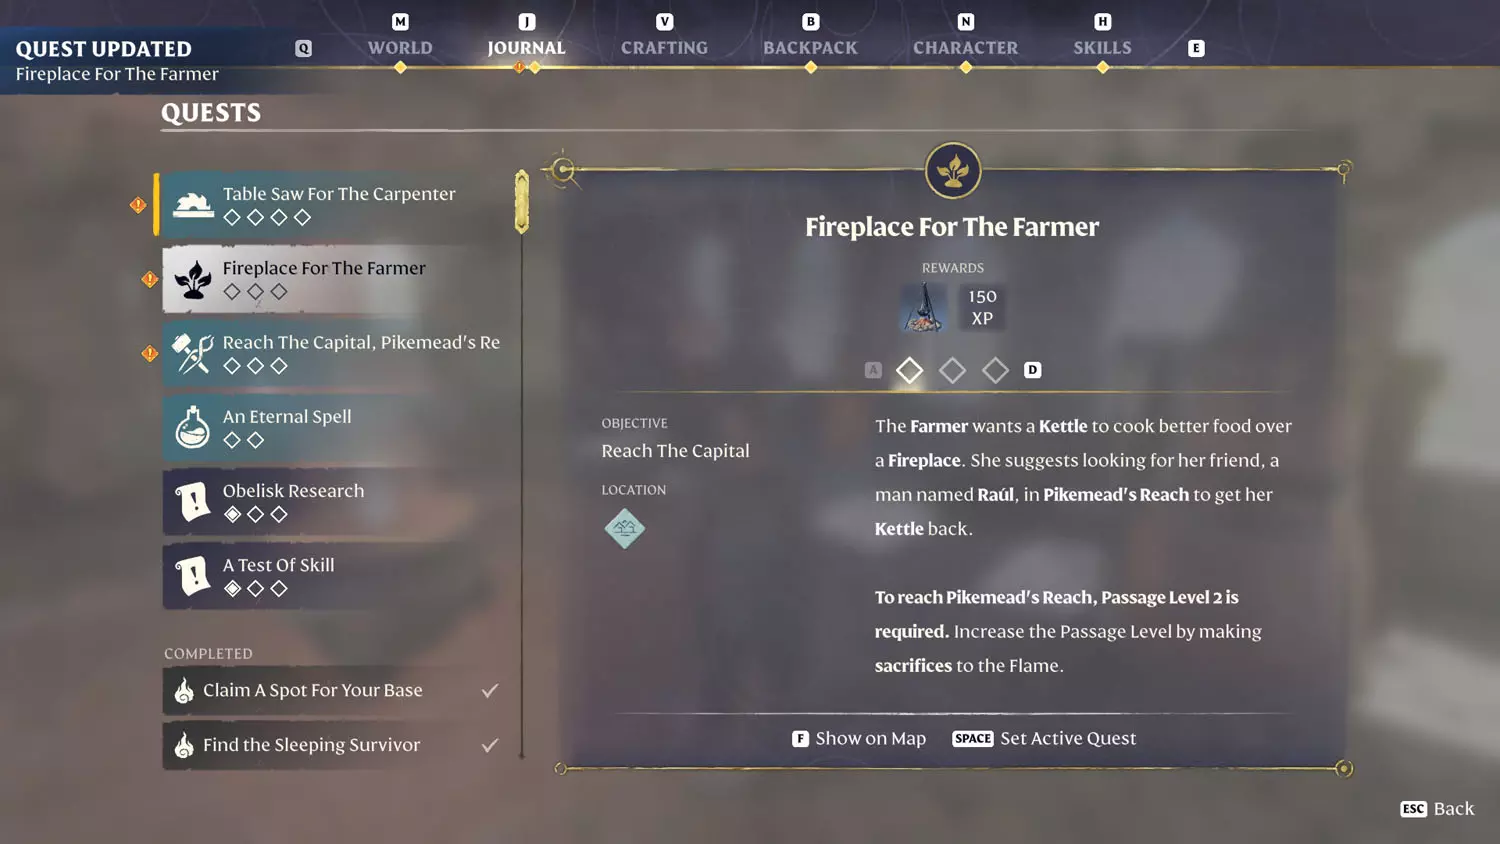
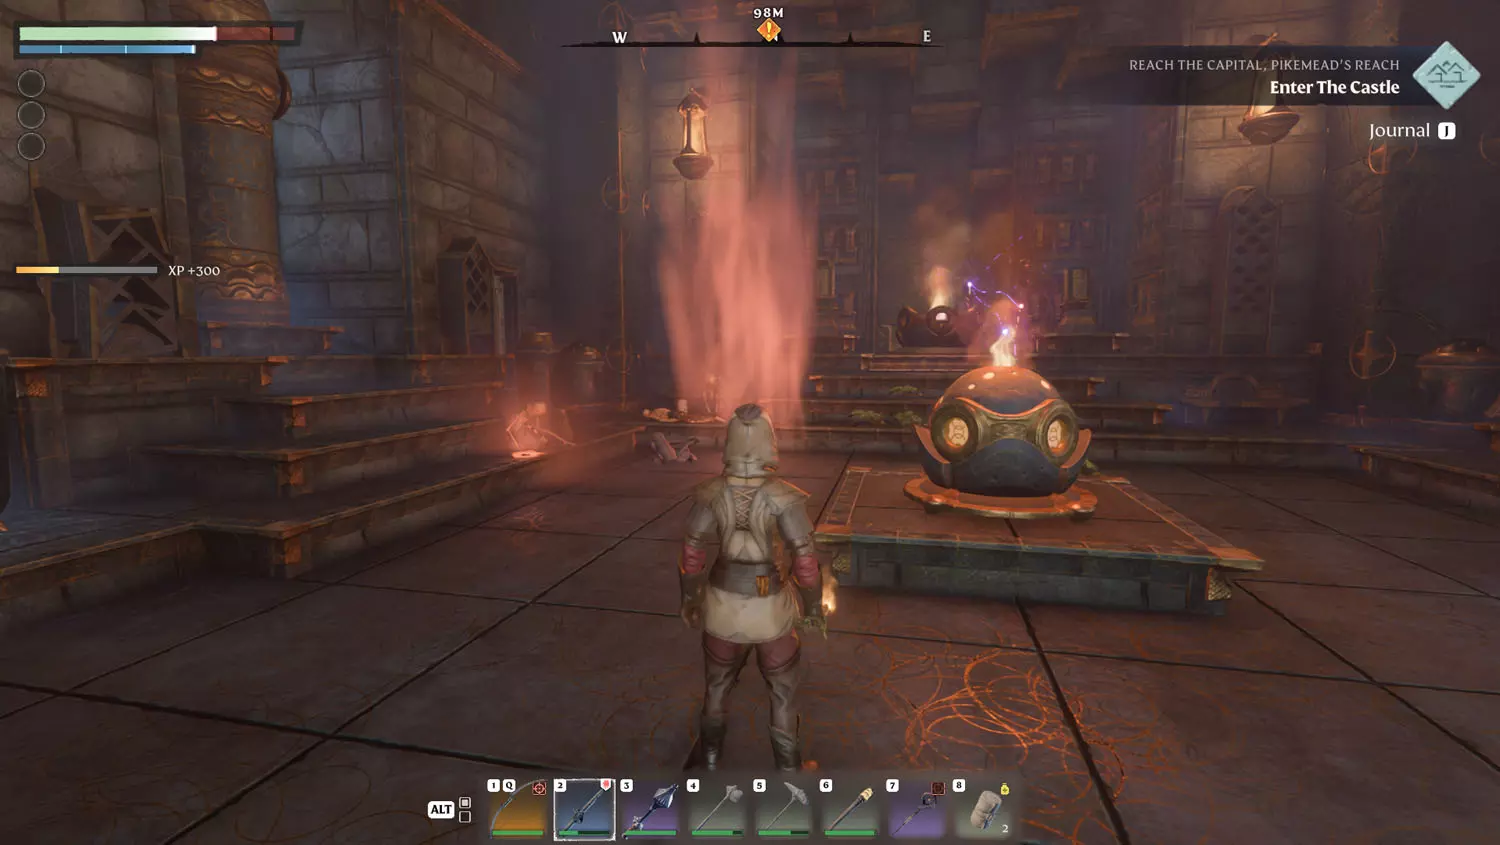
Anyway, in order to proceed, you’ll need to head to the same place as the Blacksmith Quest: Reach The Capital, Pikemead’s Reach. Reaching the location Pikeamad’s Reach will complete the first part of the quest.
TIP: I suggest checking out my Revelwood Lore as the bulk of it is ALL in the Pikemead’s Reach area, and it’s a hot mess.

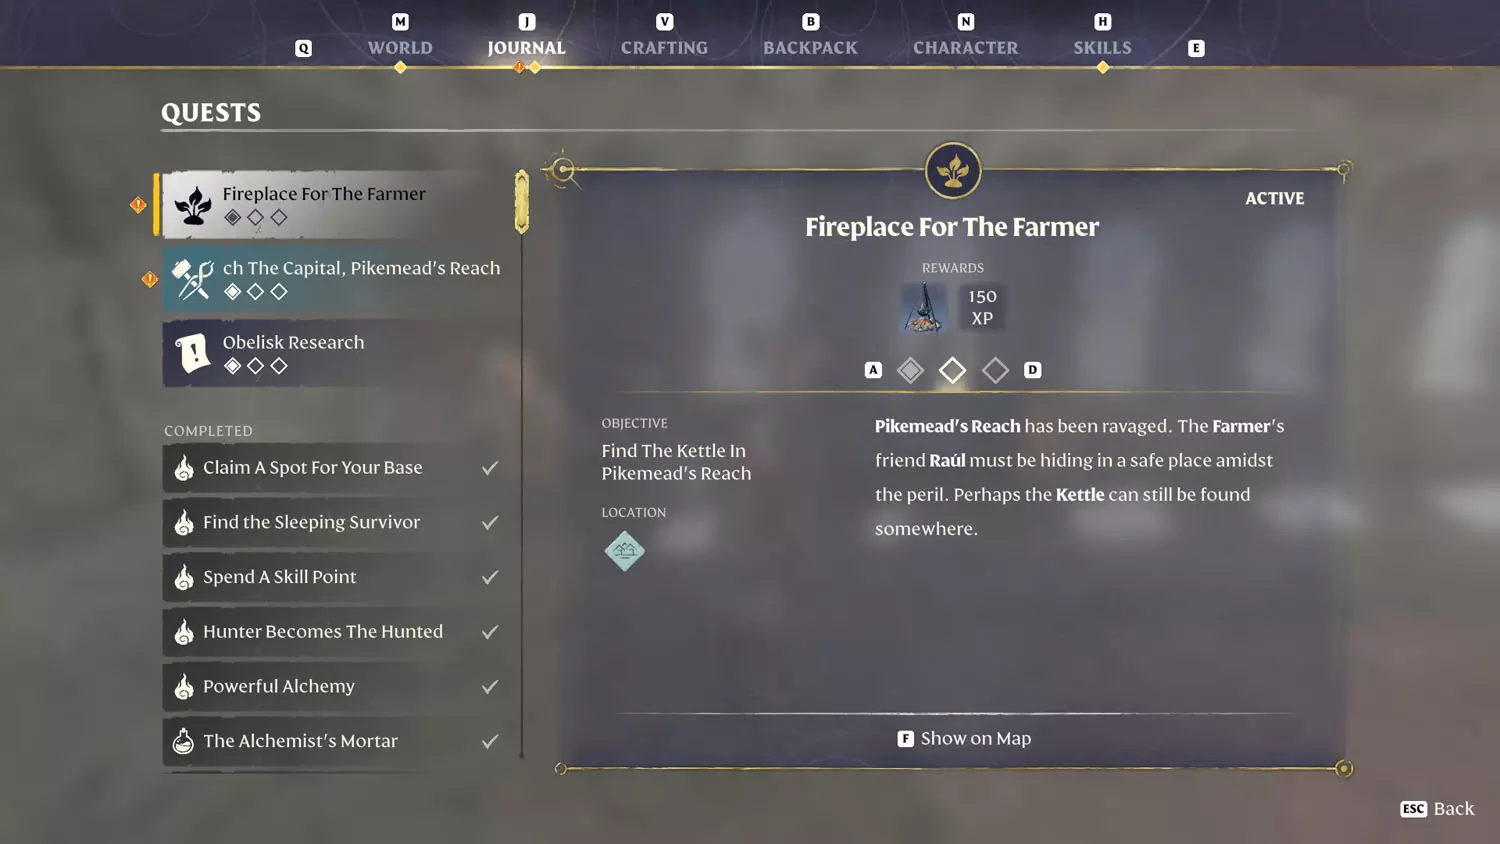
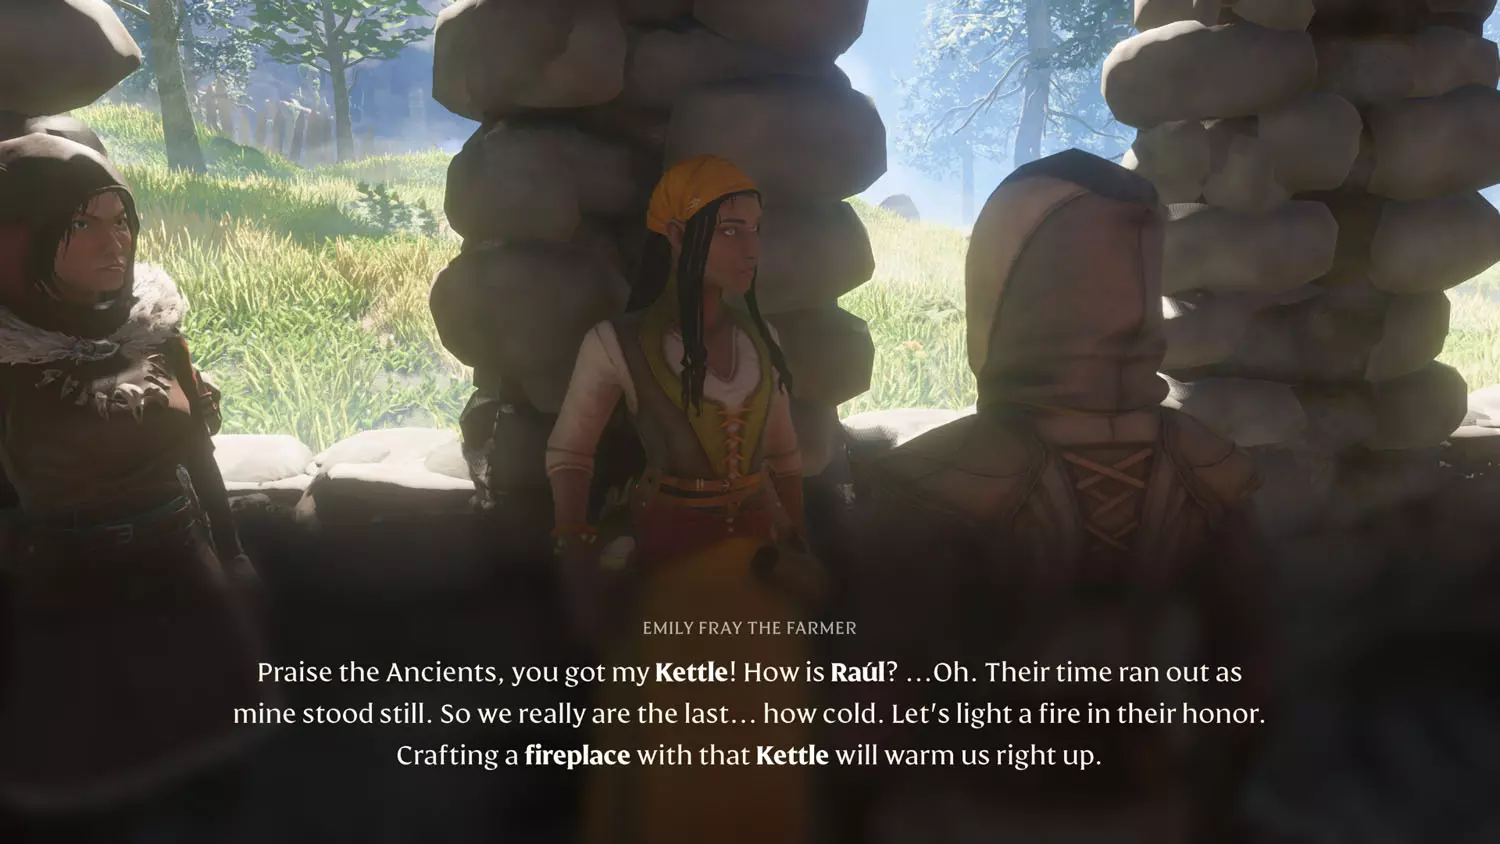
Your next step is to locate Revelwood Lore: Raúl’s Fate 1/1 Veiled In Holy Light. Well, to be more specific, you’re headed for the Flame Sanctum where the Lore resides. Well, that and the Kettle. This will complete the second part of your quest!

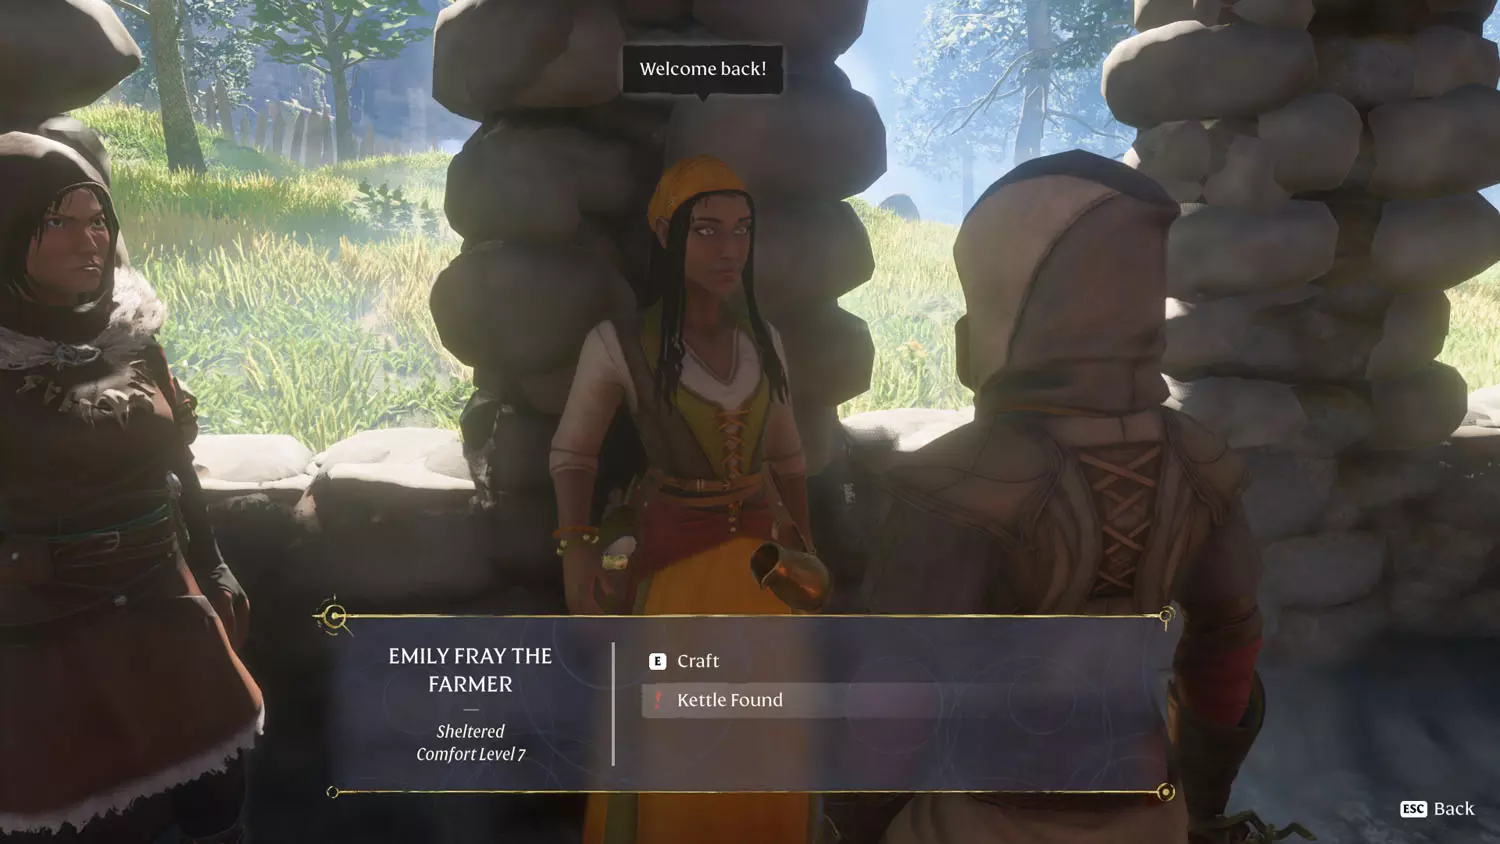
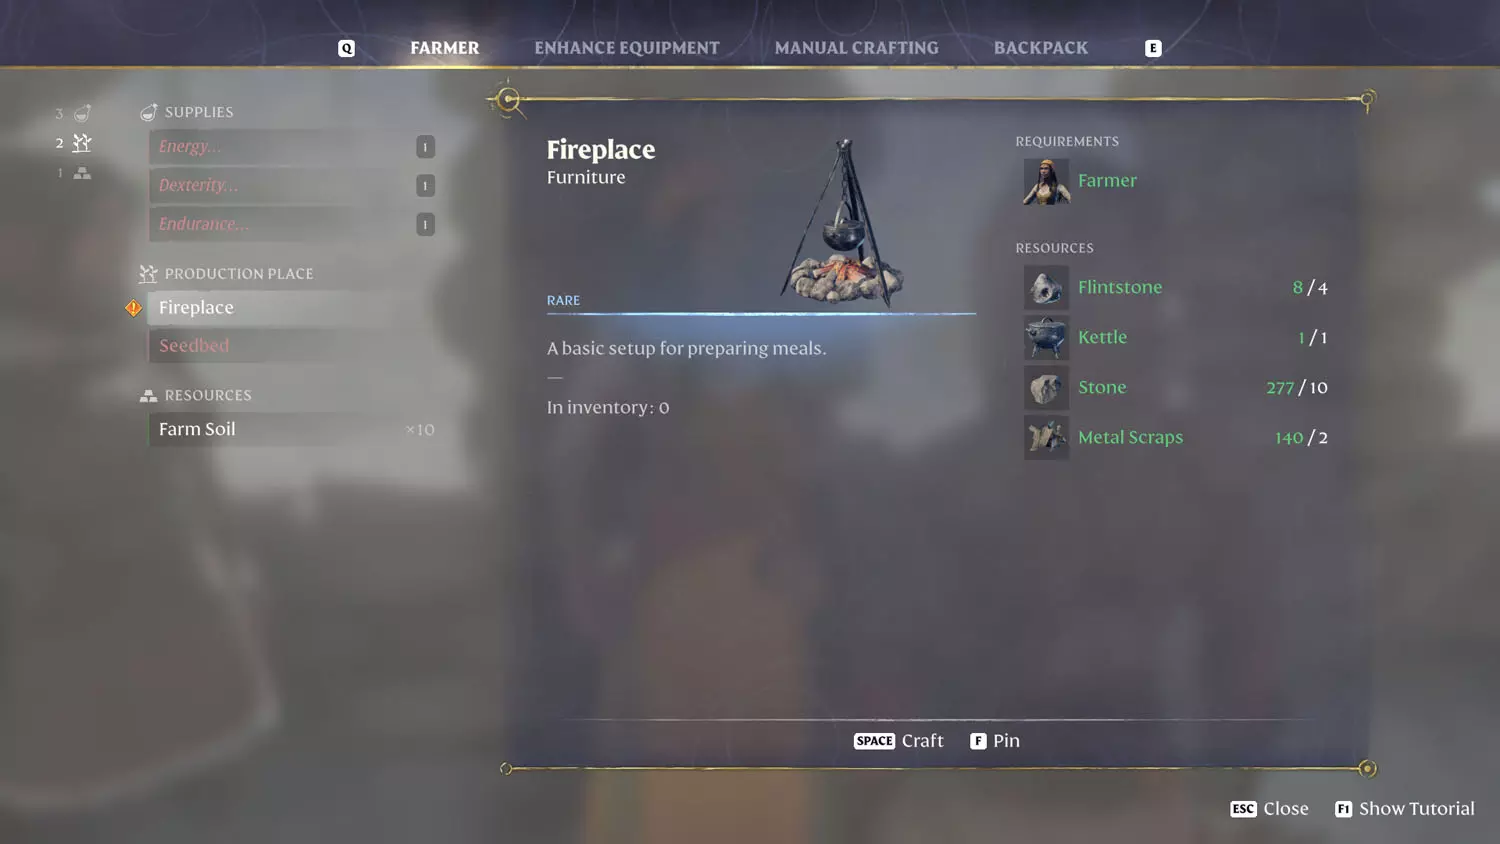
When you’re ready, head back to your Farmer and select the now available dialogue “Kettle Found”. Craft the Fireplace AND place it to complete the quest.
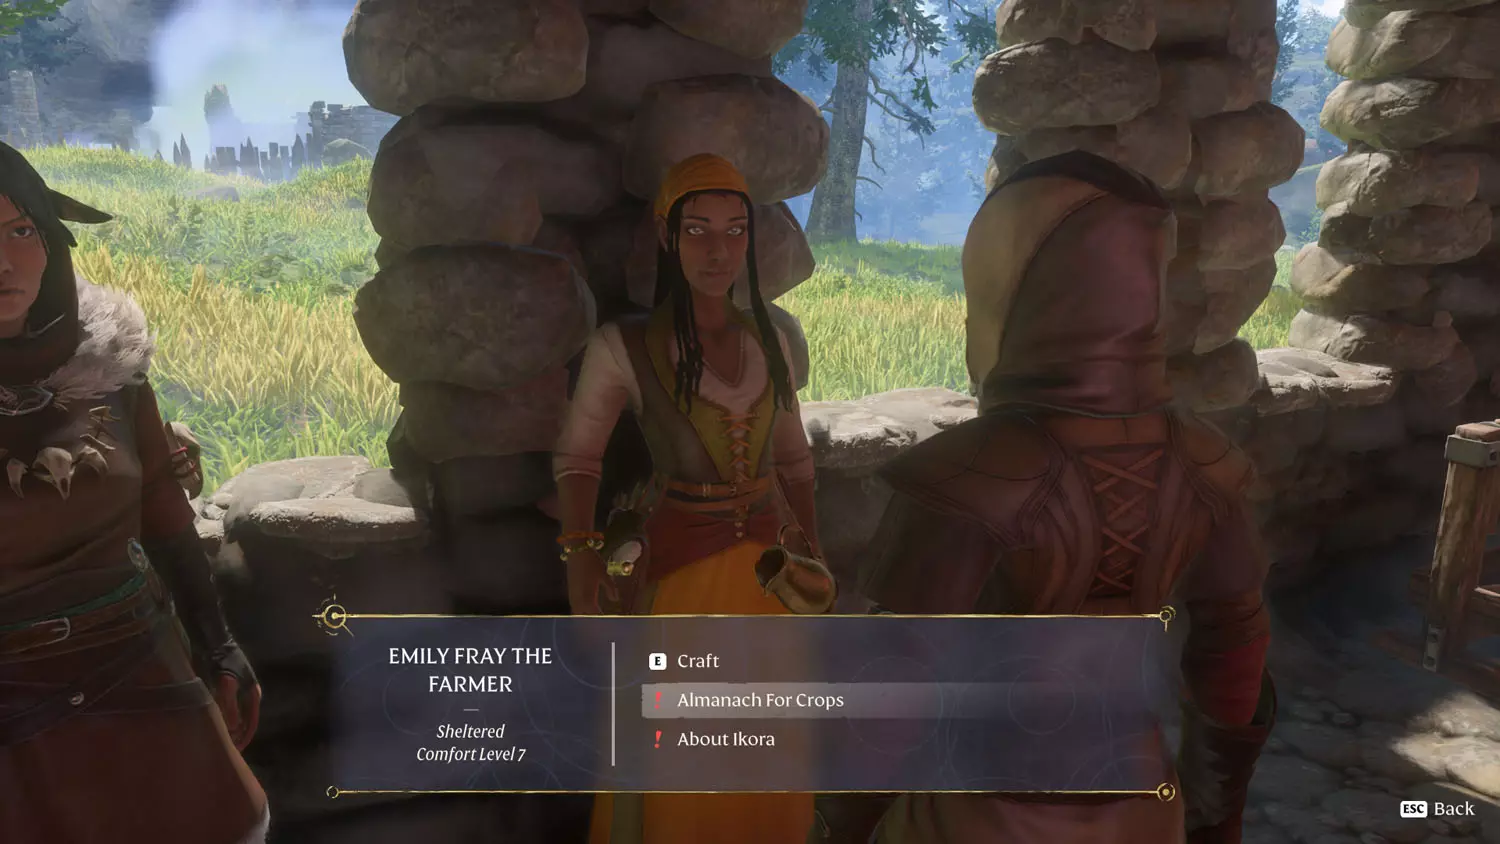
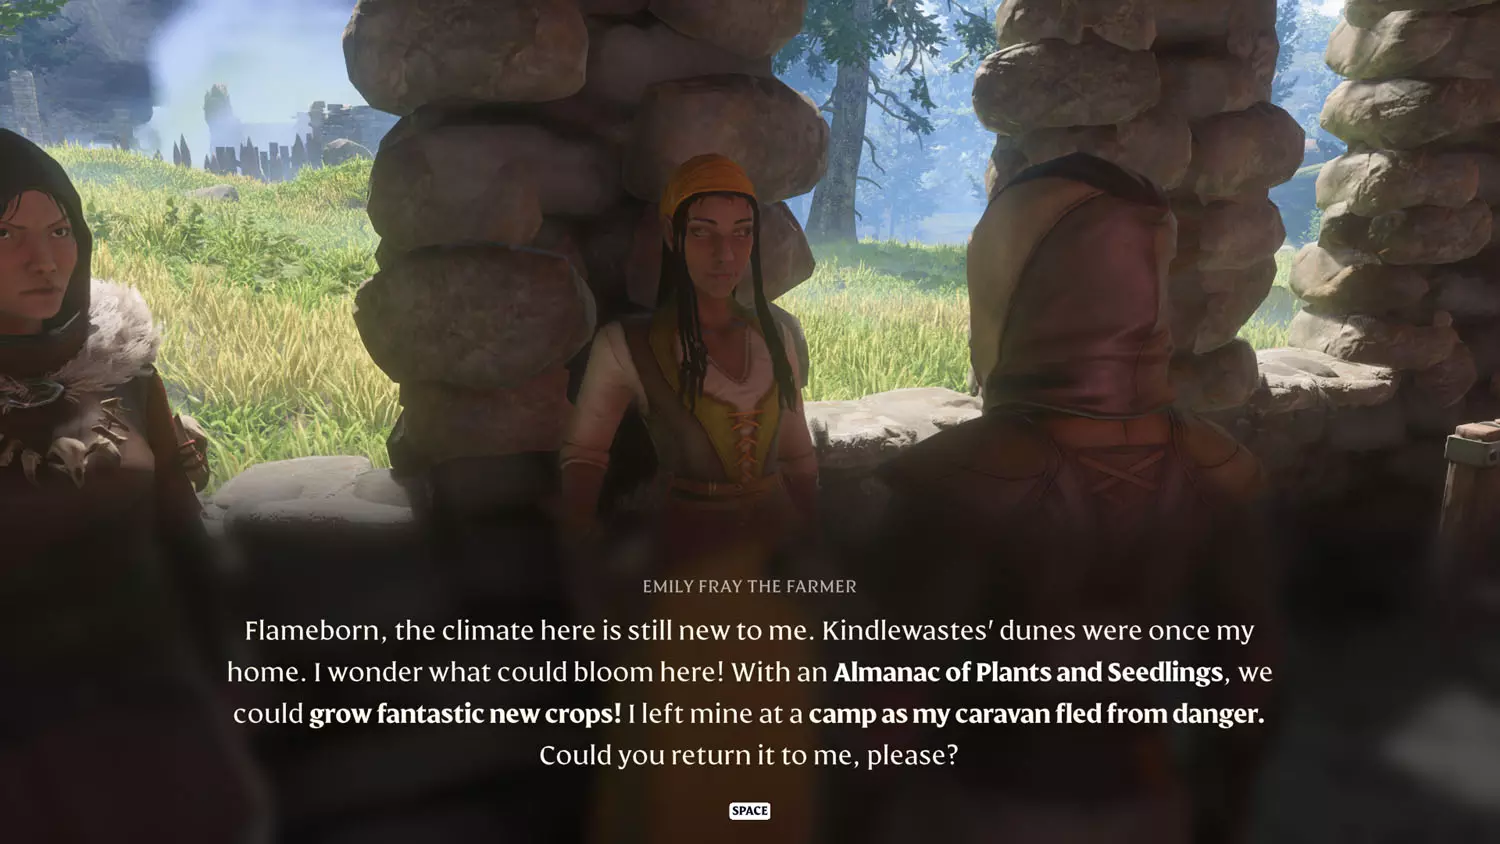
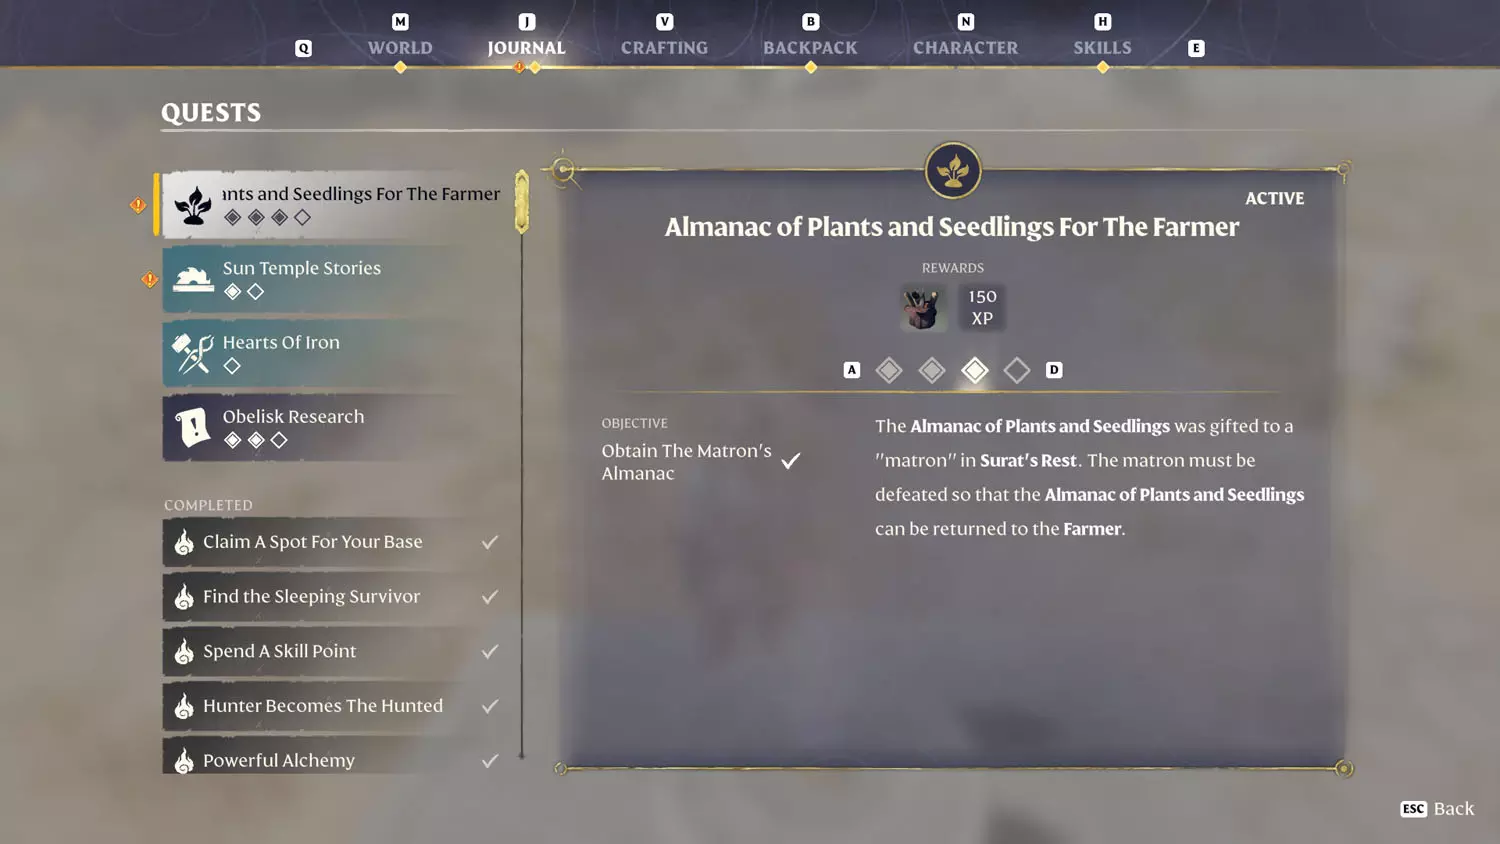
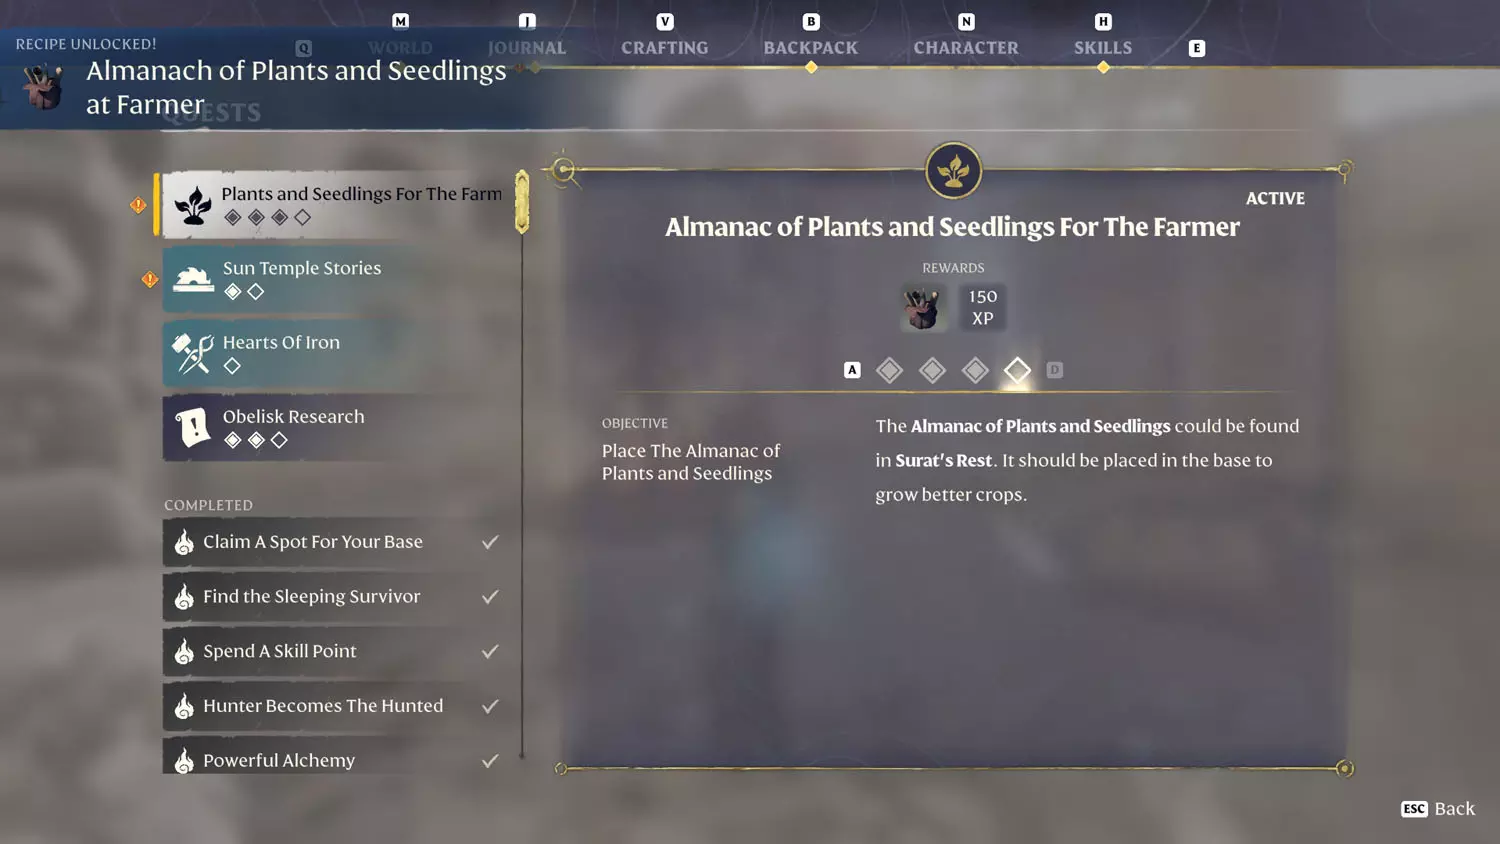
Almanac of Plants and Seedlings For The Farmer
This quest becomes available at the Farmer under the dialogue “Almanac For Crops” the second you finish the Carpenter Quest: Finding Masonry Tools.
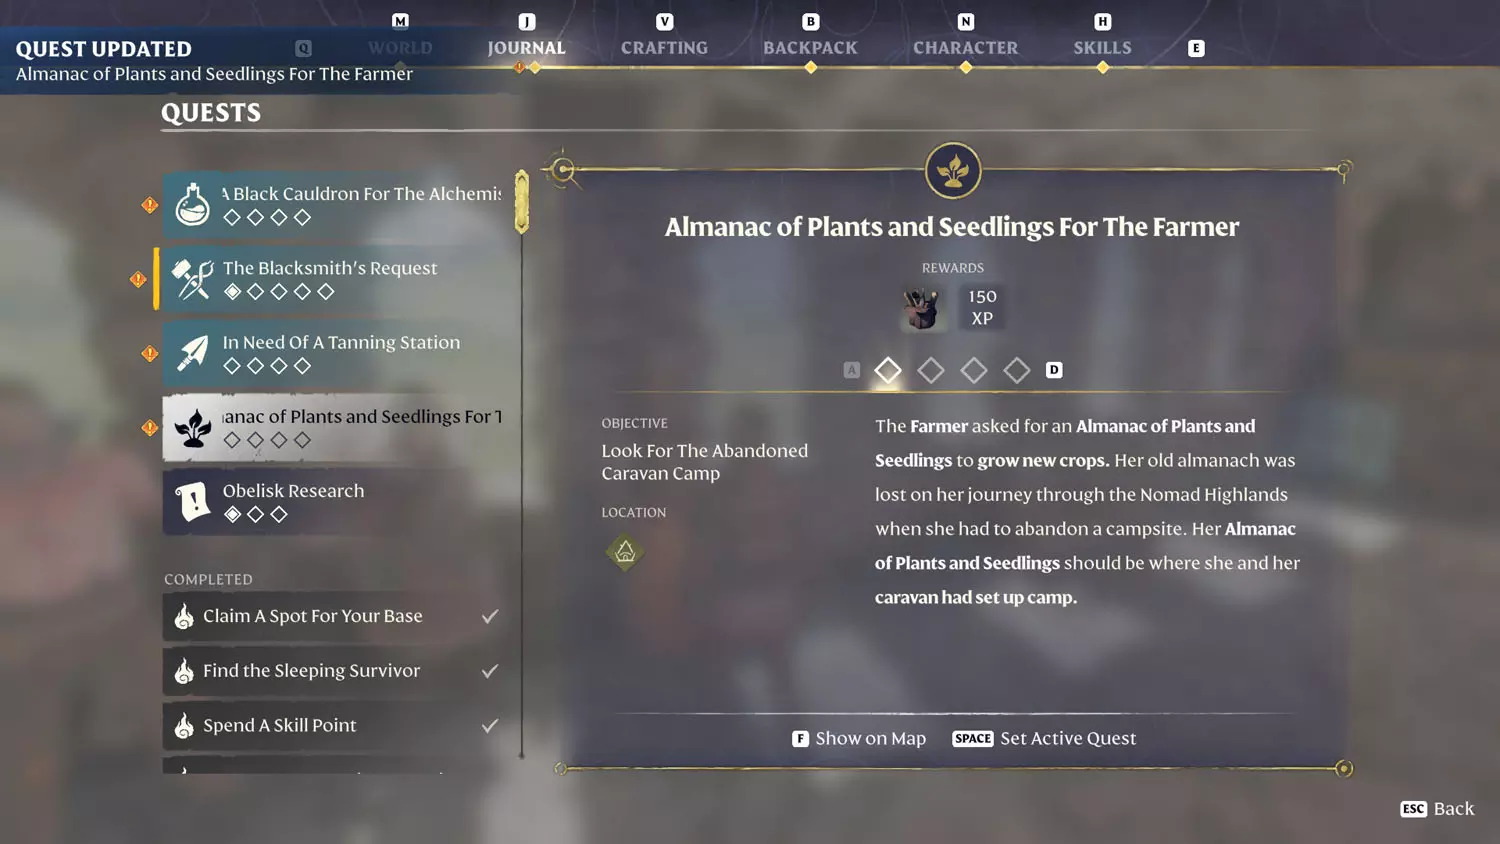
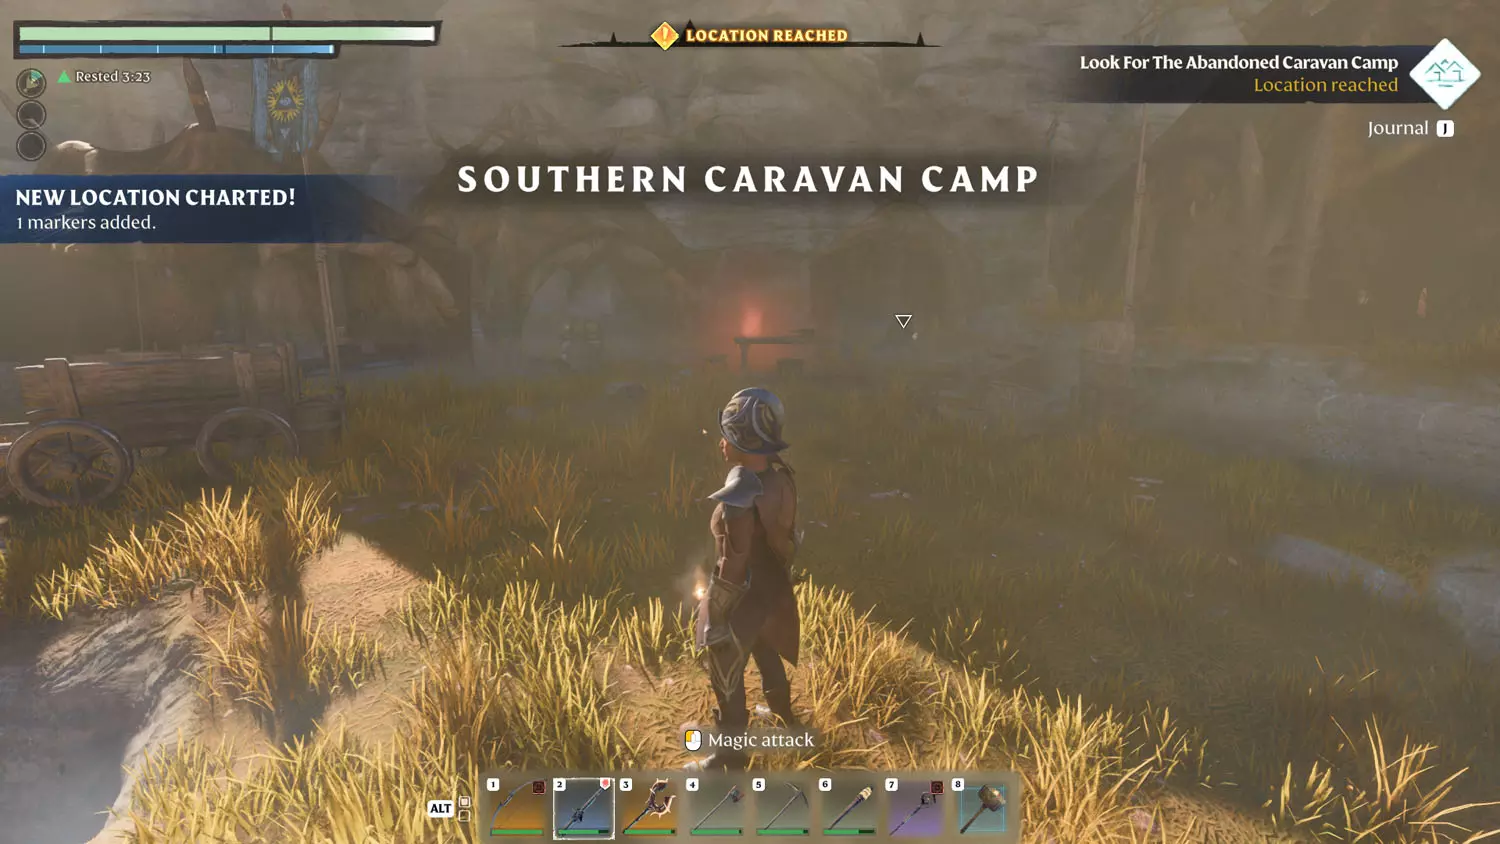
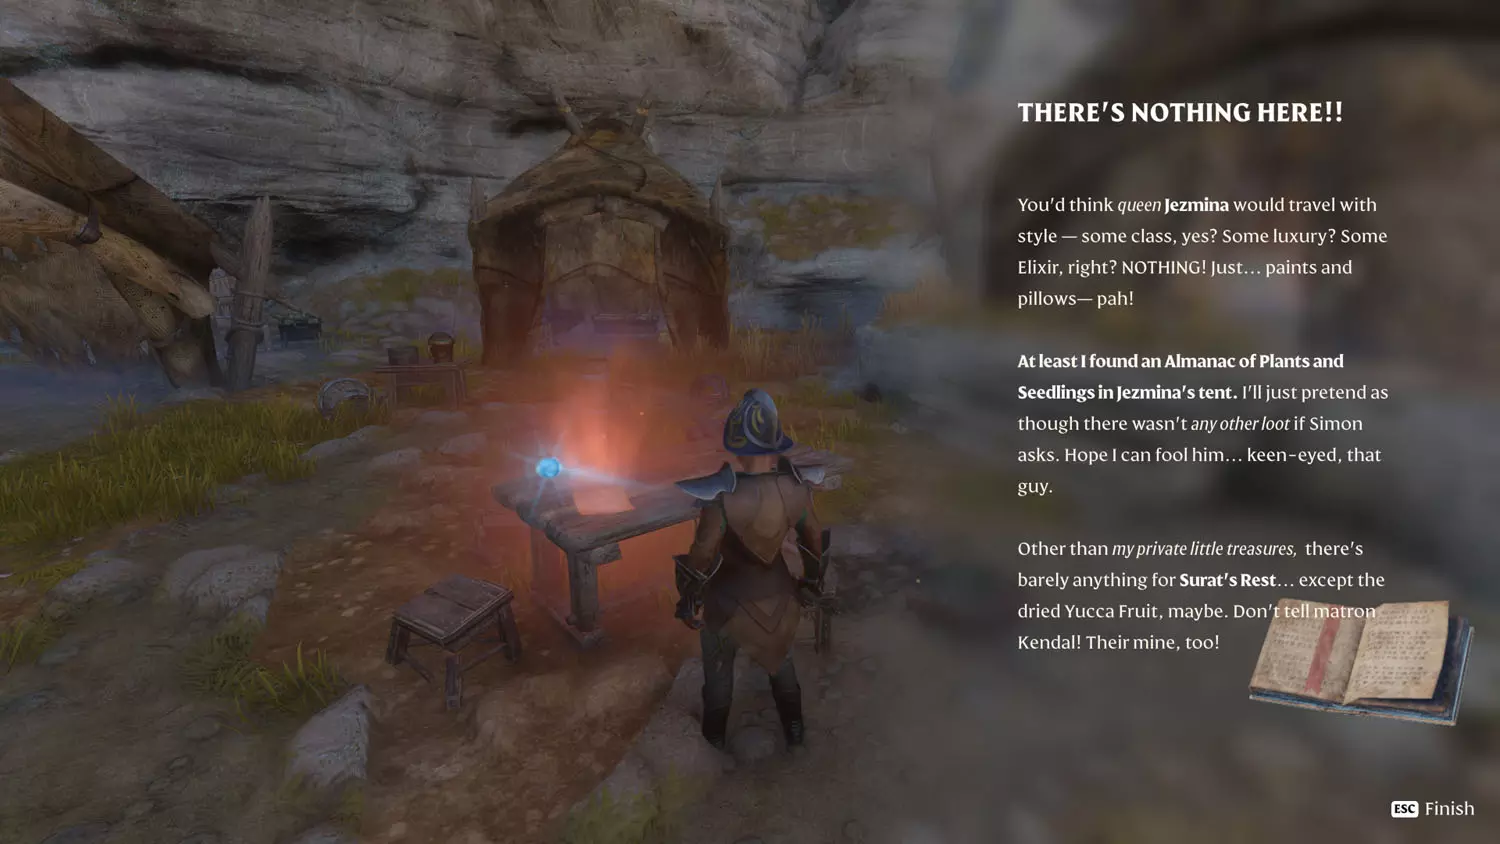
From here, head out for the Southern Caravan Camp. Reading the Scavenger Lore: Caravan Raid 1/2 There’s Nothing Here!! completes the first part of the quest, but you may just need to ‘explore’ the camp a bit to reveal that the item isn’t here. Anyway, it’s off to Surat’s Rest next!
TIP: Reading the above Lore will also start the Building Block Quest: Caravan Raid - Limestone Block.
TIP: Southern Caravan Camp Nobles and History Lore: Love Letter To Queen Jezmina 1/2 To My Beloved Queen, and Southern Caravan 1/4 Smoke On The Horizon.
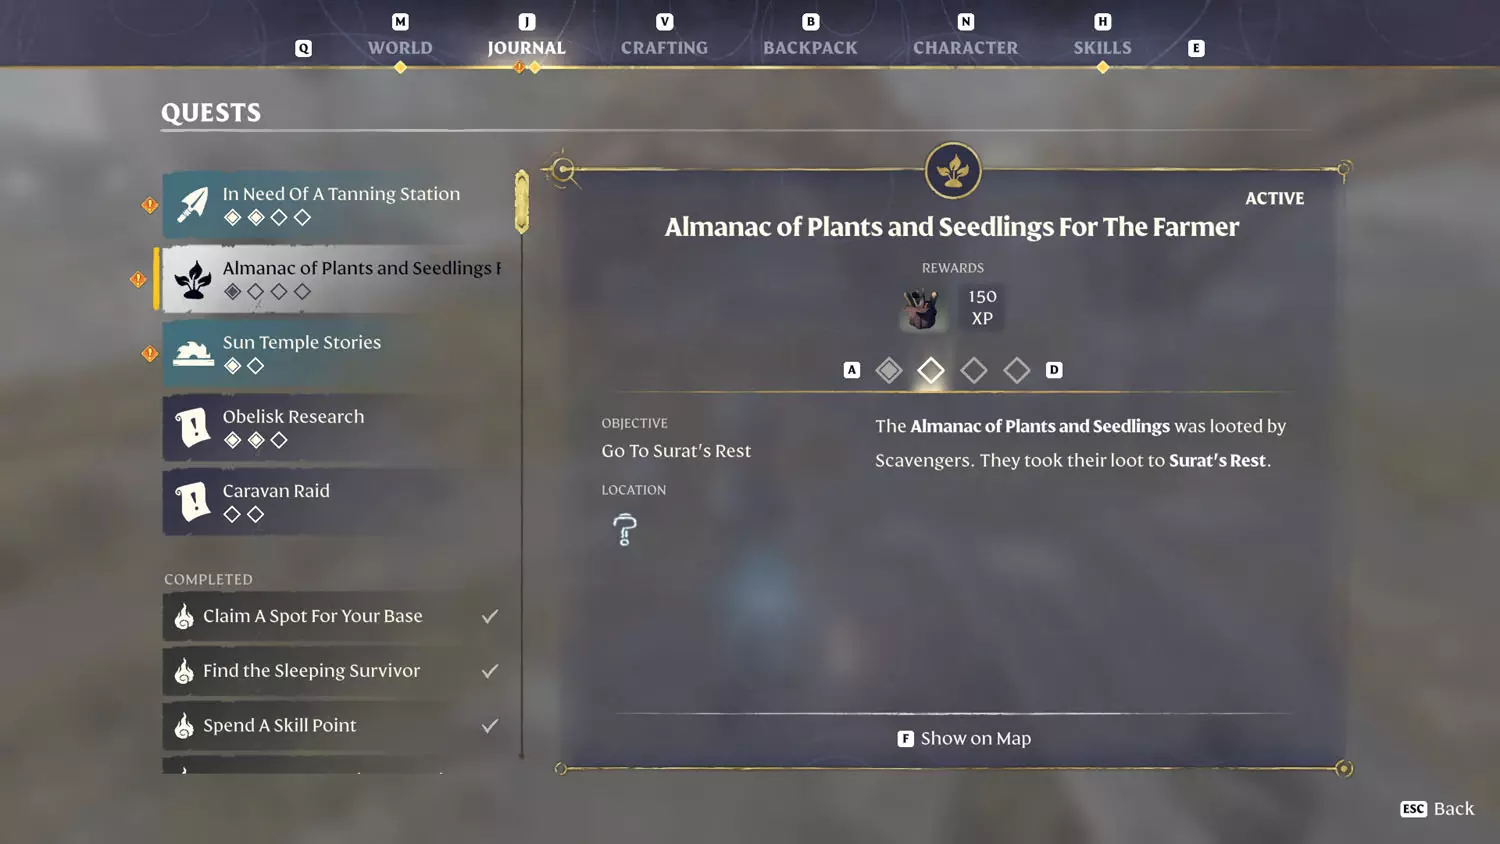
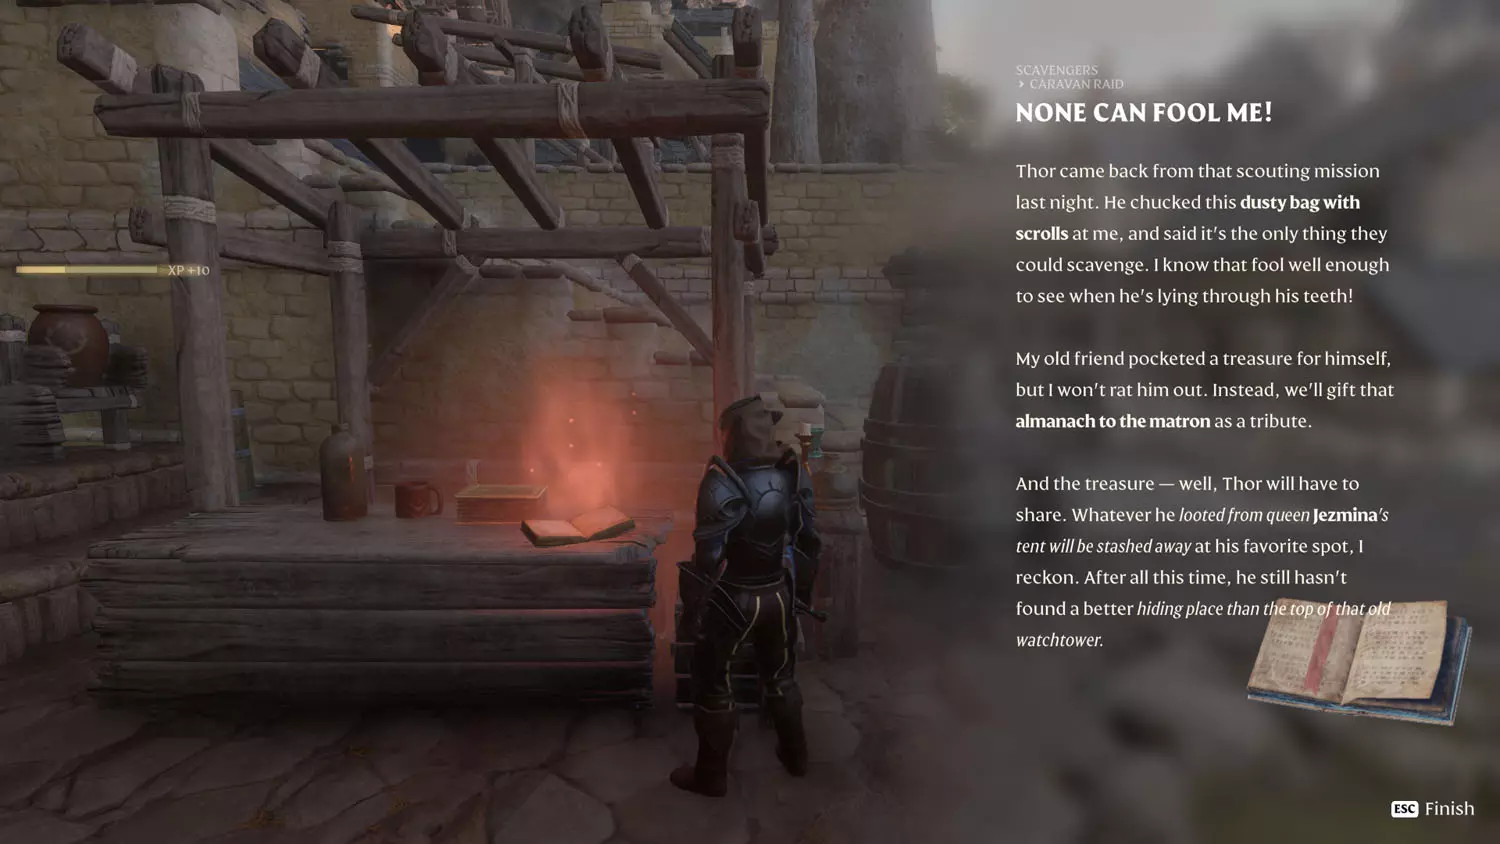
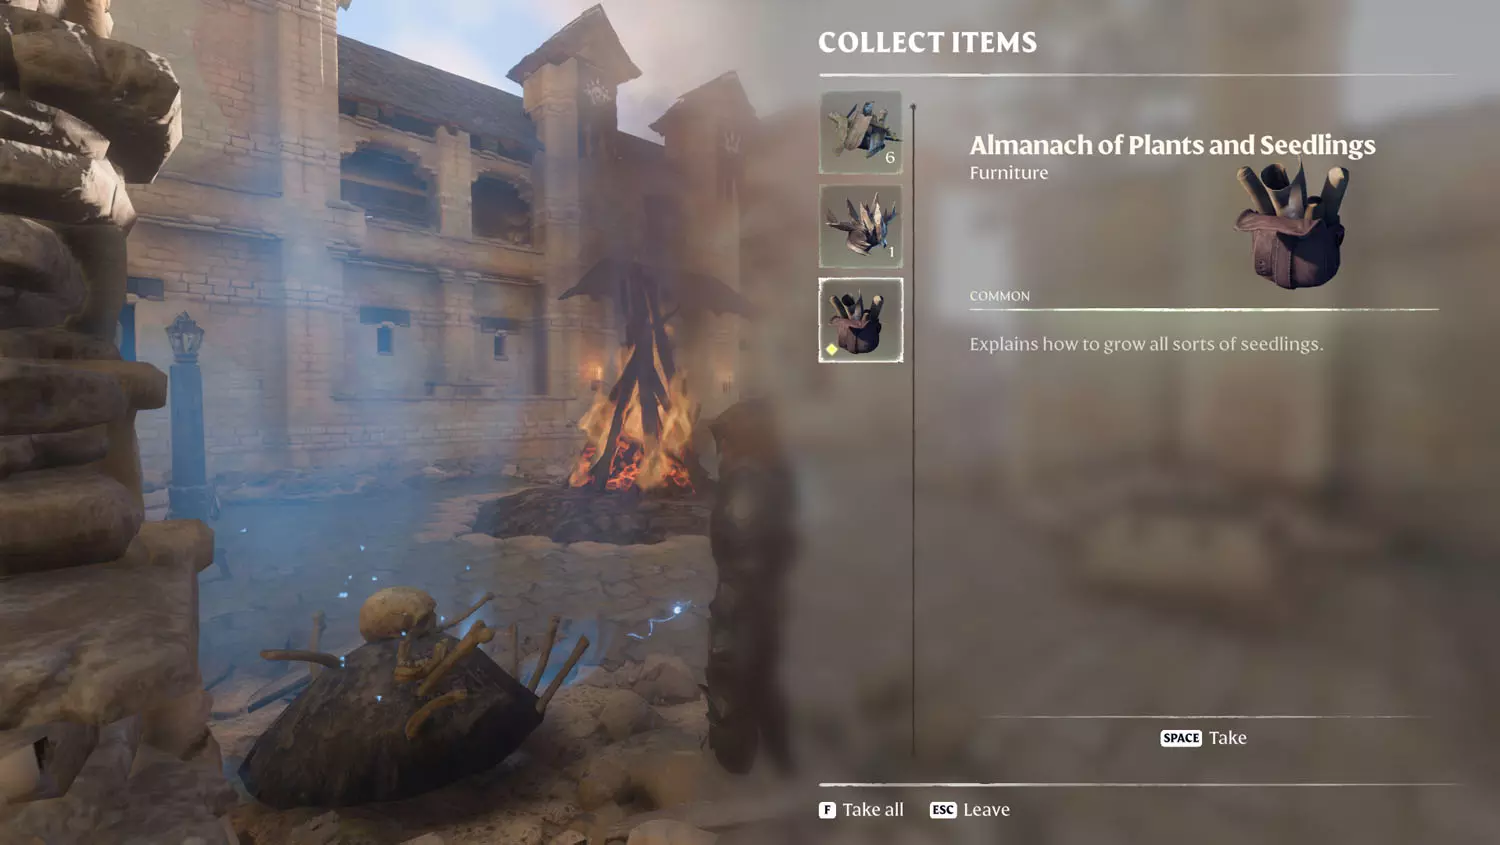
Next up is Surat’s Rest! Like before, reading the Scavenger Lore: Caravan Raid 2/2 None Can Fool Me! Will progress both this quest and the Building Block Quest: Caravan Raid - Limestone Block. The quest item you are after is located on the Scavenger Matron inside the Scavenger Arena (still in Surat’s Rest). Kill the boss and loot the item to complete the third phase. Then head back to the Farmer for more dialogue.
TIP: In the Scavenger Arena is also the Scavenger Lore: Sister, Sister 2/3 A Note To Kendal. Surat’s Rest also has the Nomad Highlands Lore: As Above So Below 2/2 Crimes Of Surat's Rest.
TIP: There is one other quest at this location - Items, XP, and Loot Reward Quest: “Nursery Supplies”, which starts with the Nomad Highlands Lore: “Nursery Supplies” 1/1 Mind The “Nursery Supplies”.

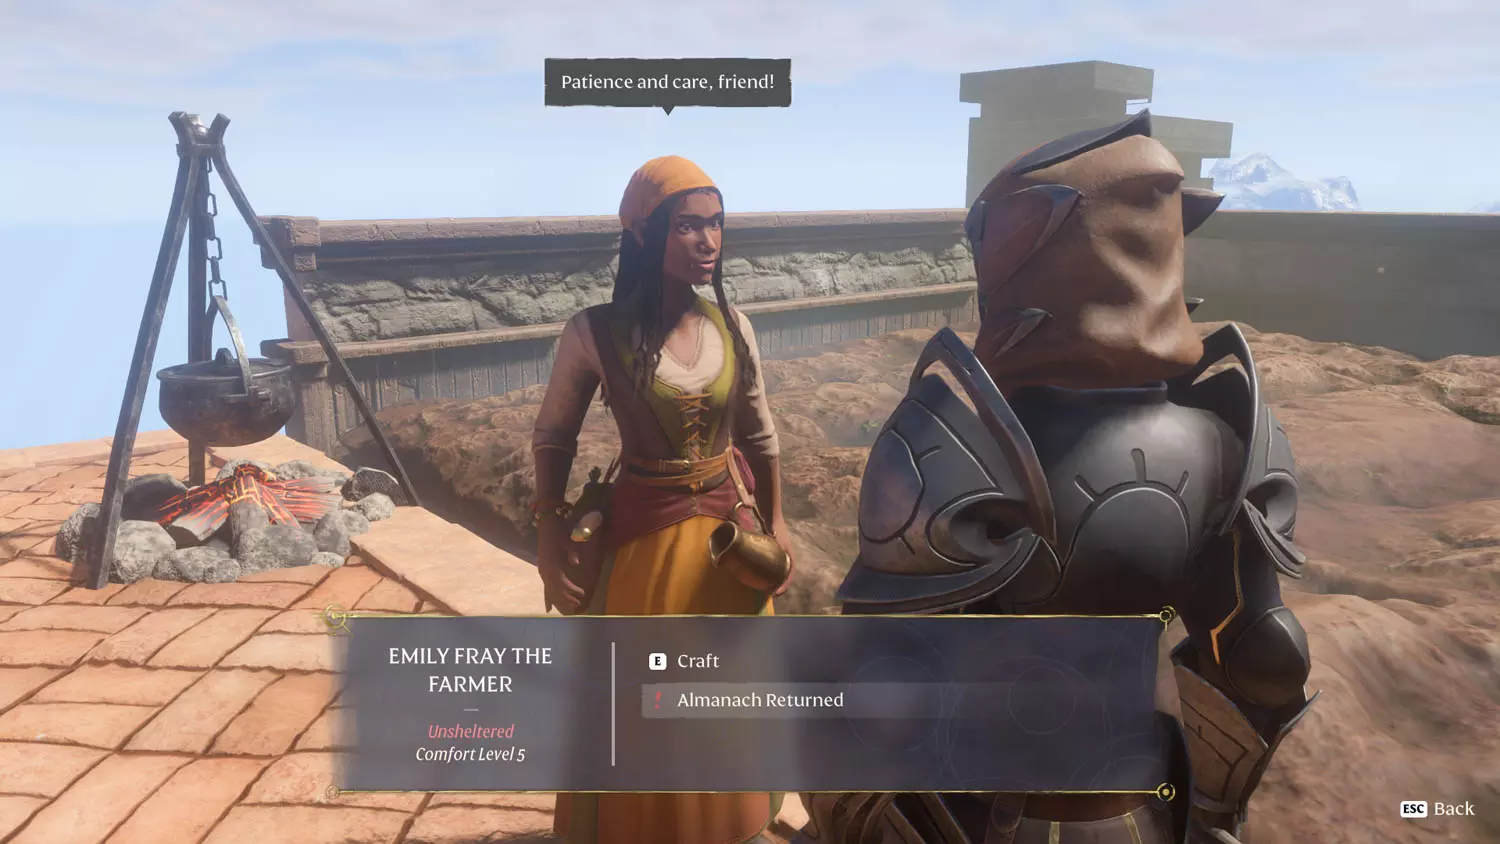
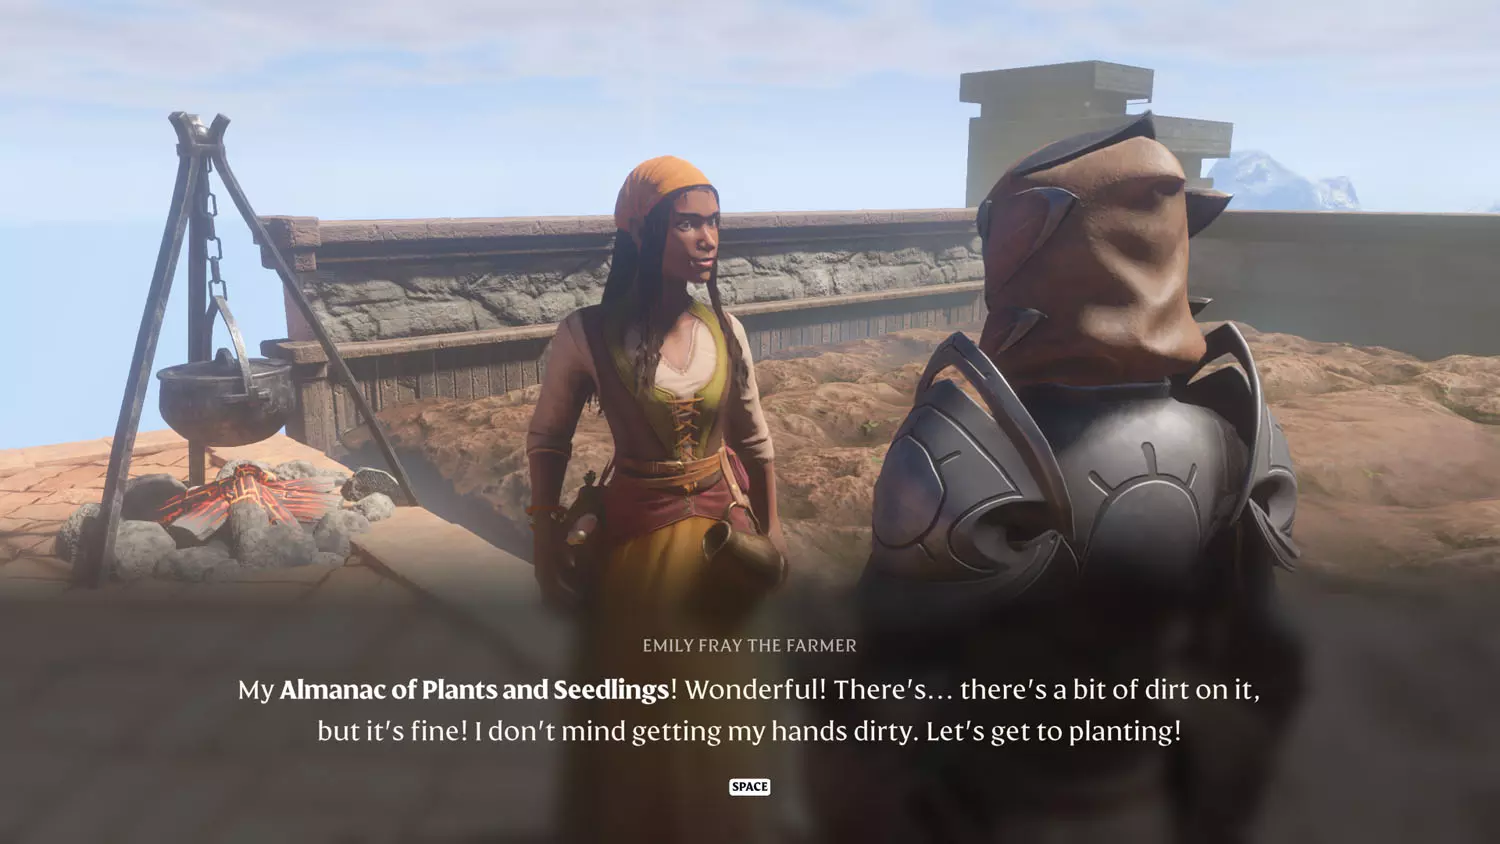
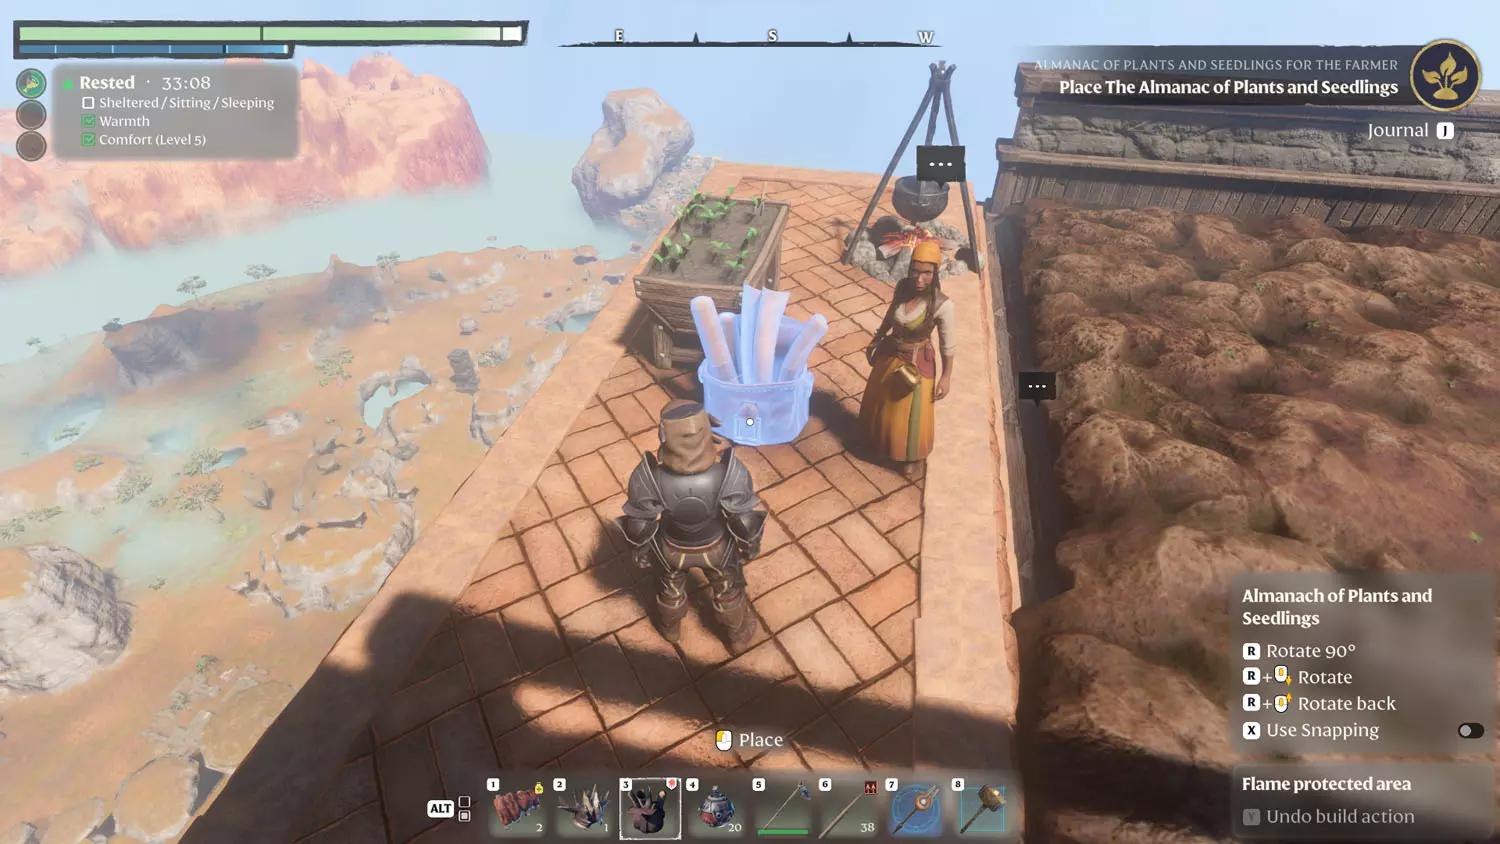
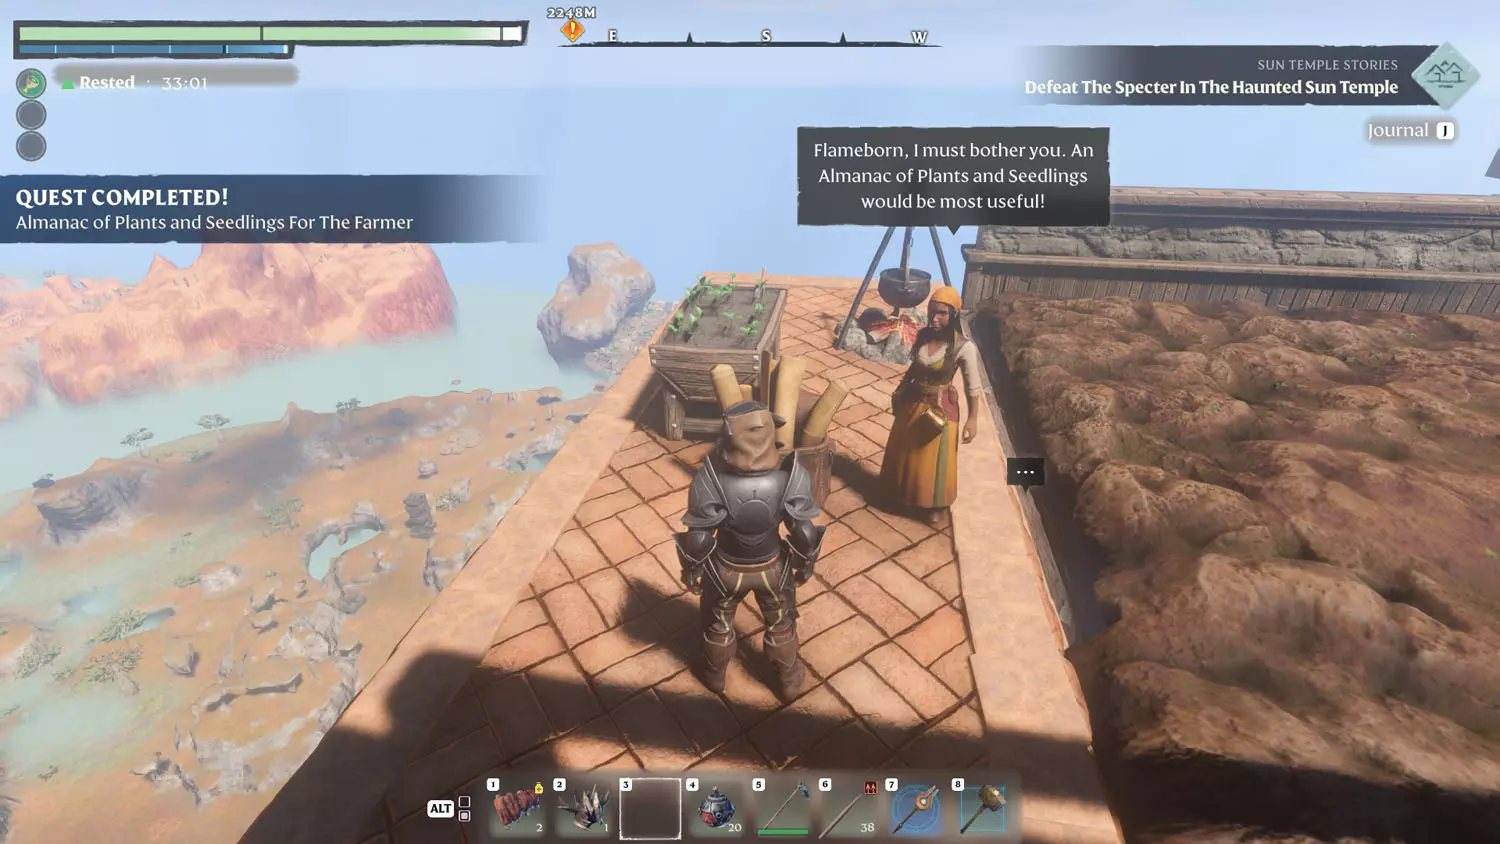
Farmer Emily Fray will now have the dialogue option “Almanac[h] Returned” to select. Place the Almanac of Plants and Seedlings to complete the quest!
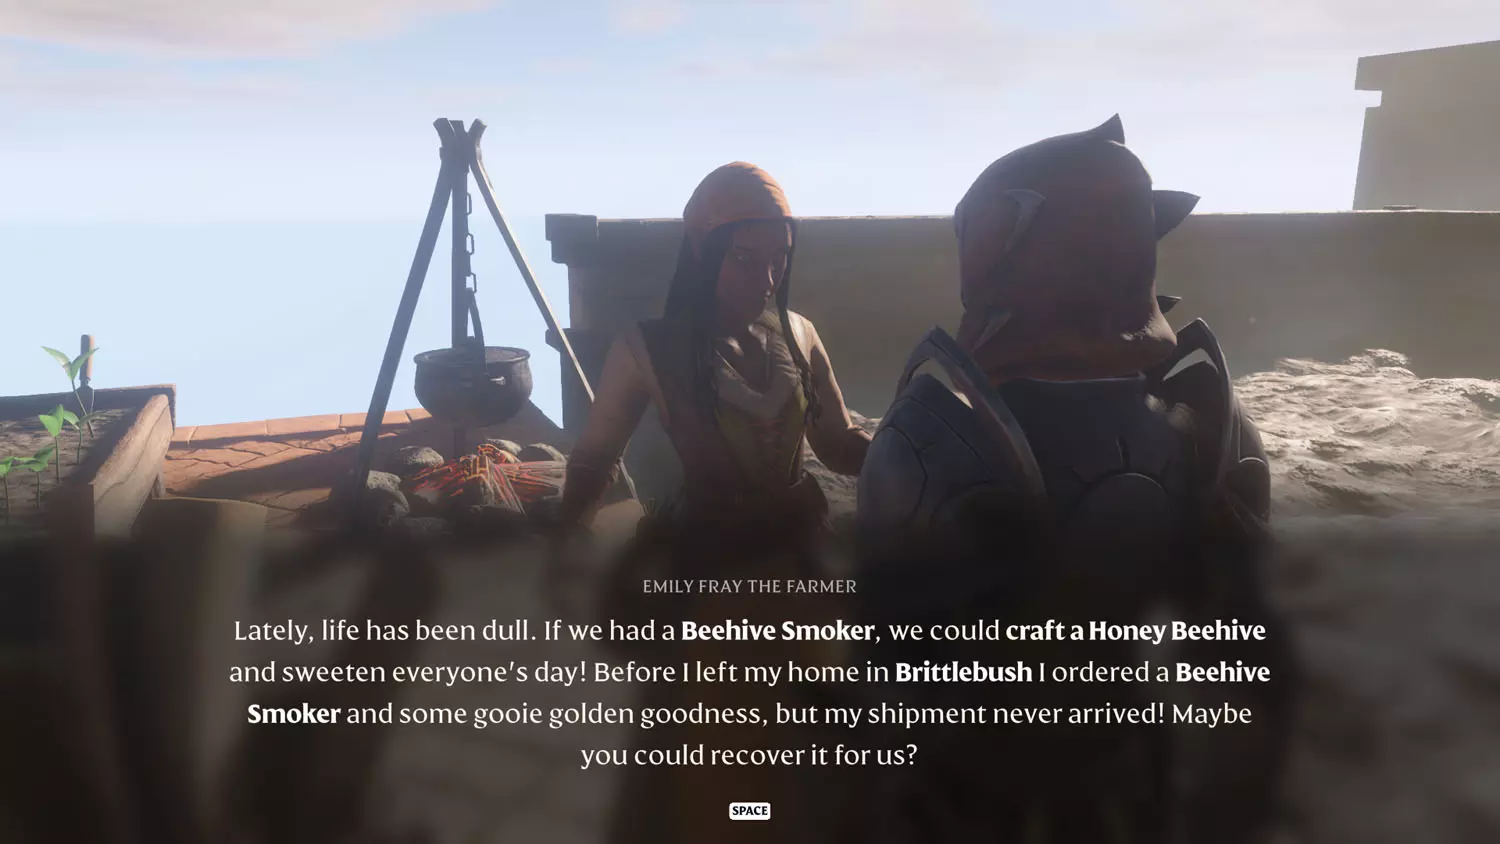
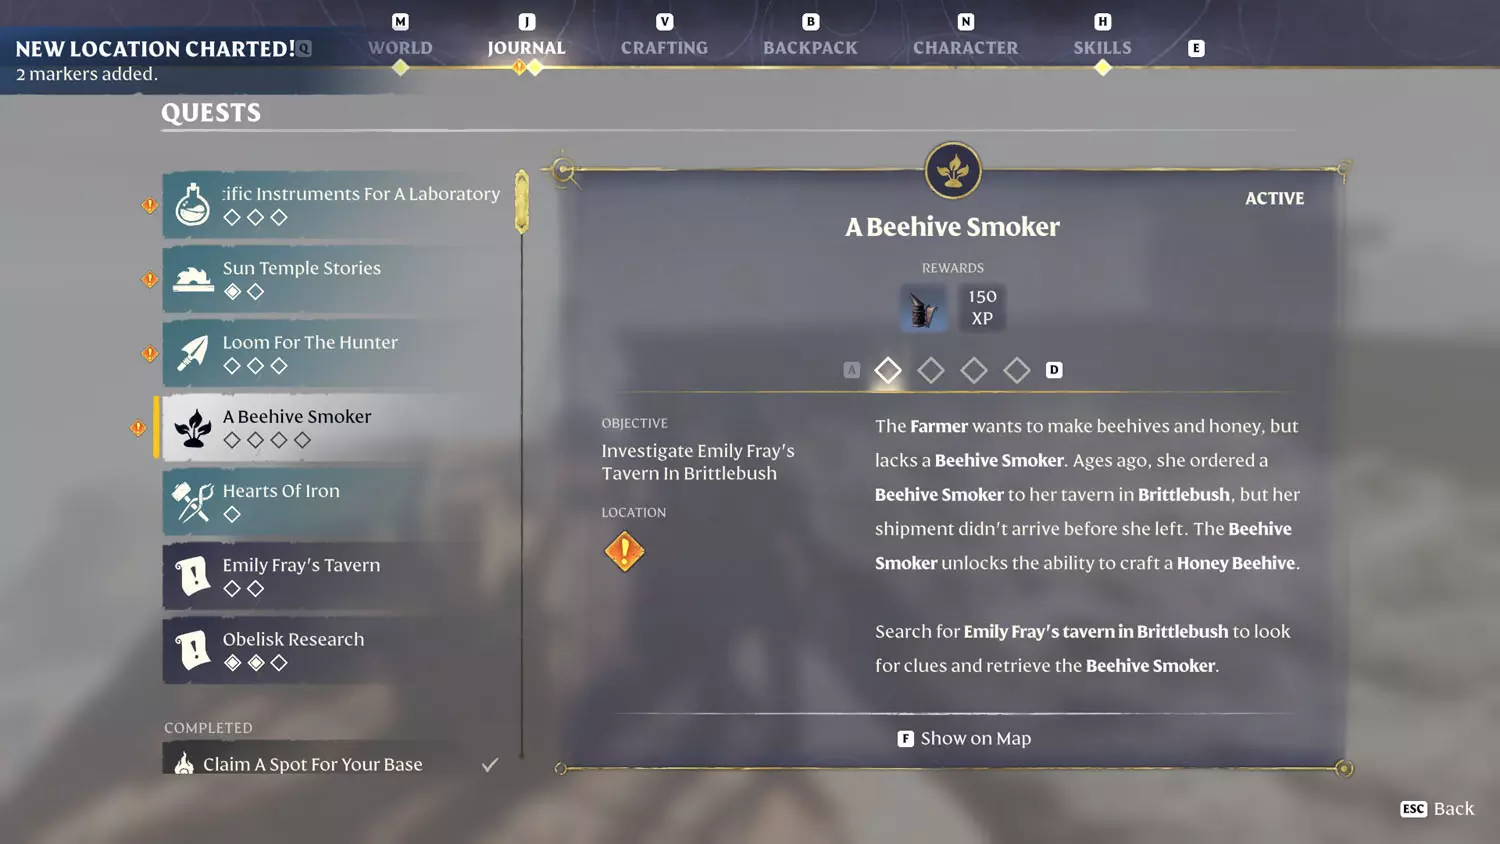
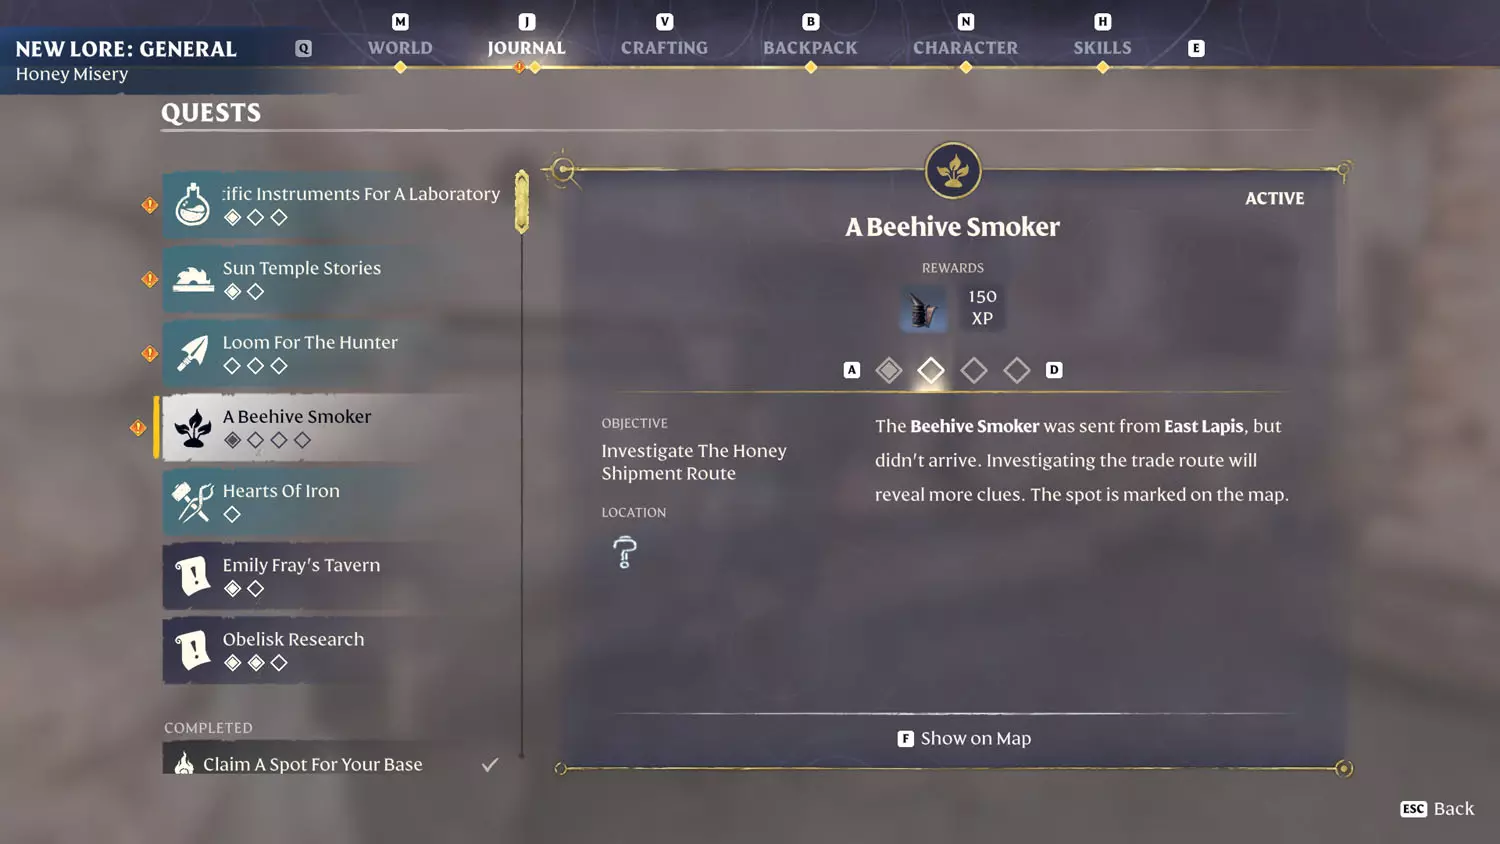
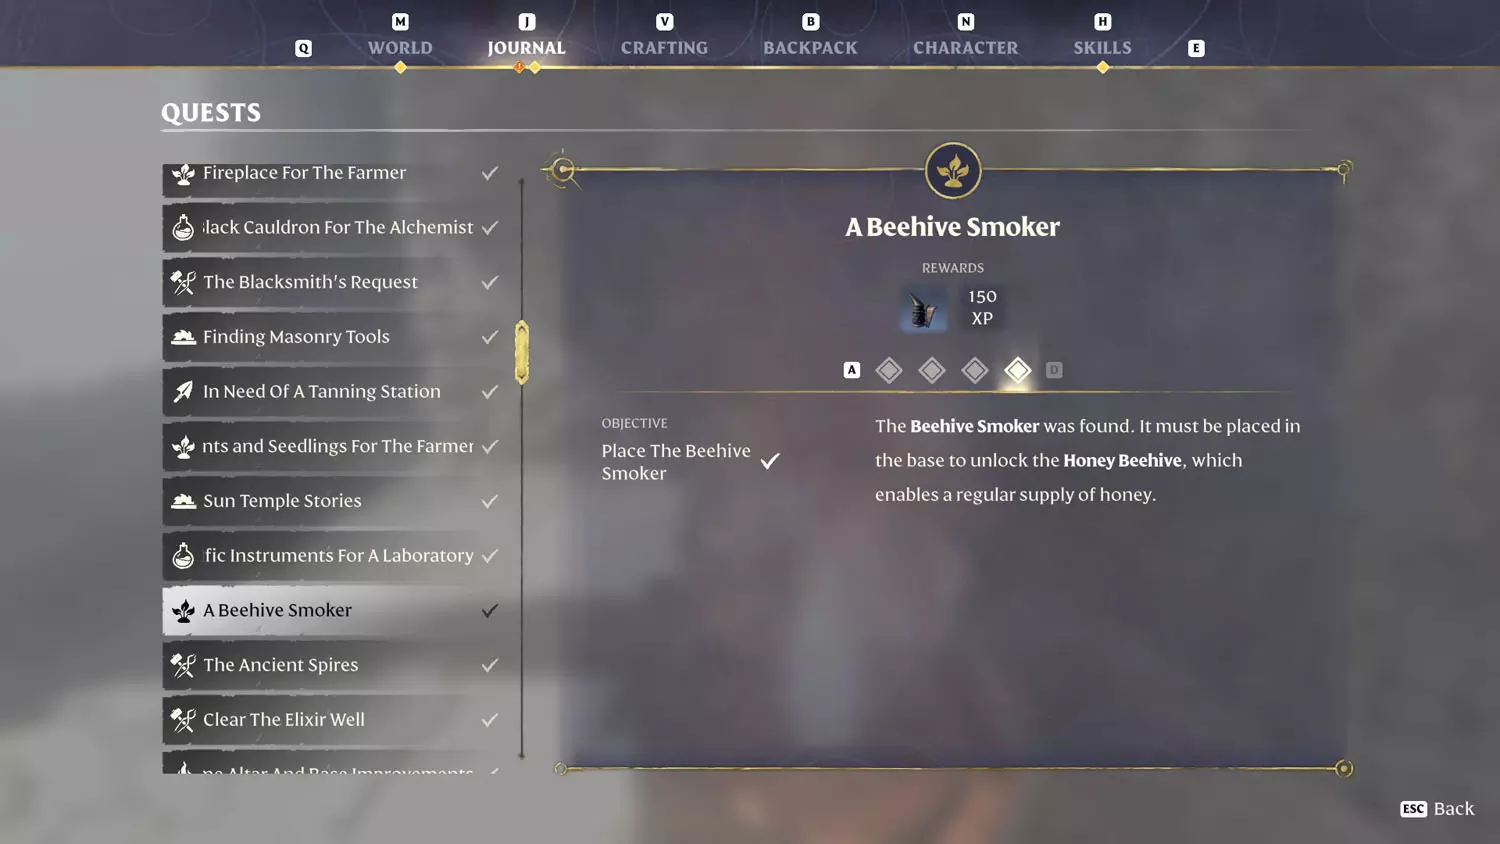
A Beehive Smoker
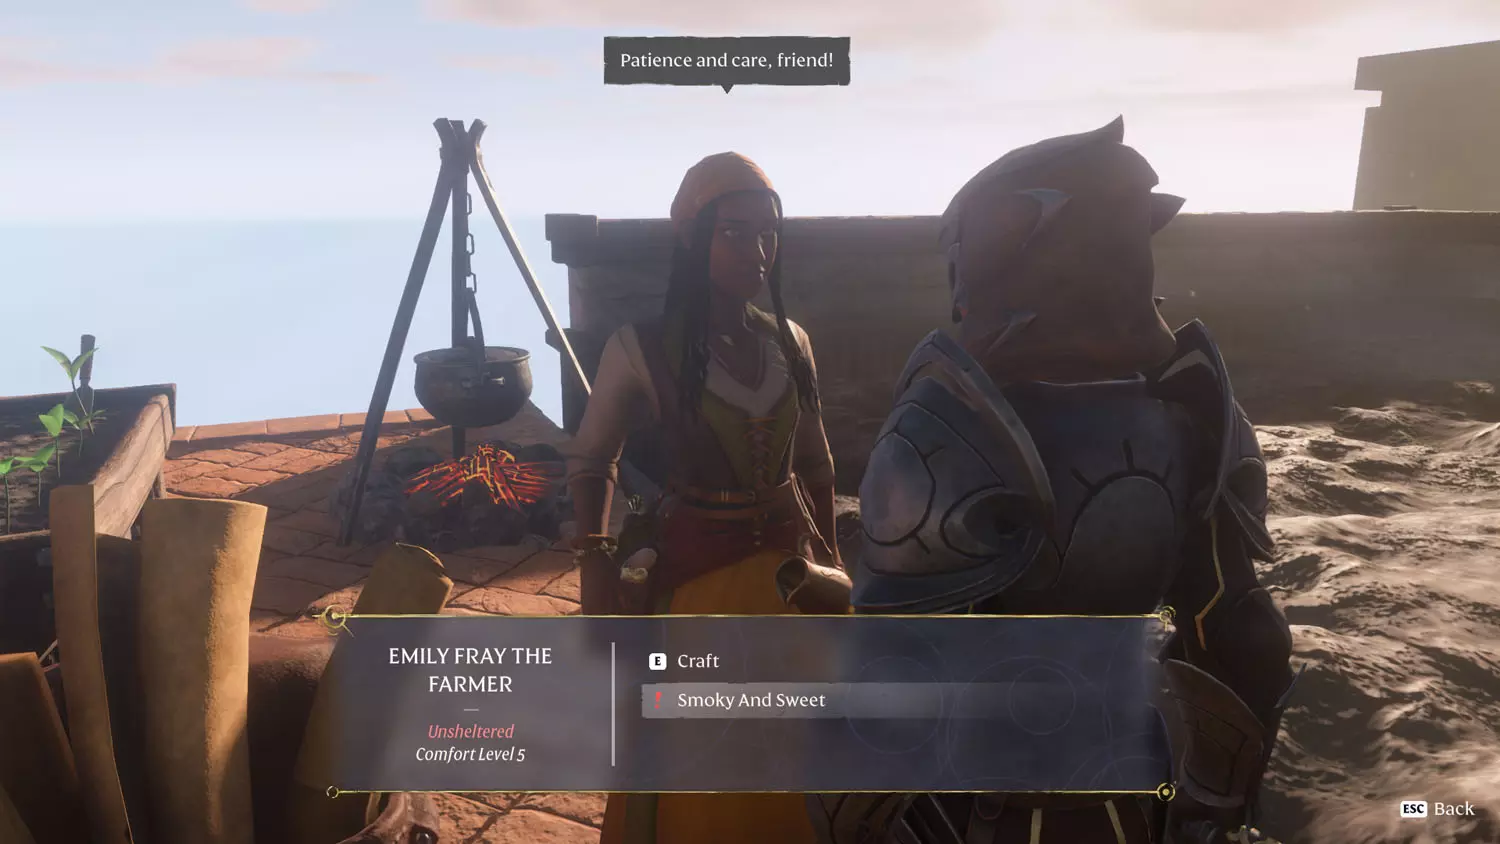
After starting the Alchemist Quest: Scientific Instruments For A Laboratory, Emily Fray The Farmer will have the dialogue option, “Smoky And Sweet”. Selecting this dialogue will start the quest. This in turn will also activate the Building Block Quest: Emily Fray’s Tavern - Desert City Wall.
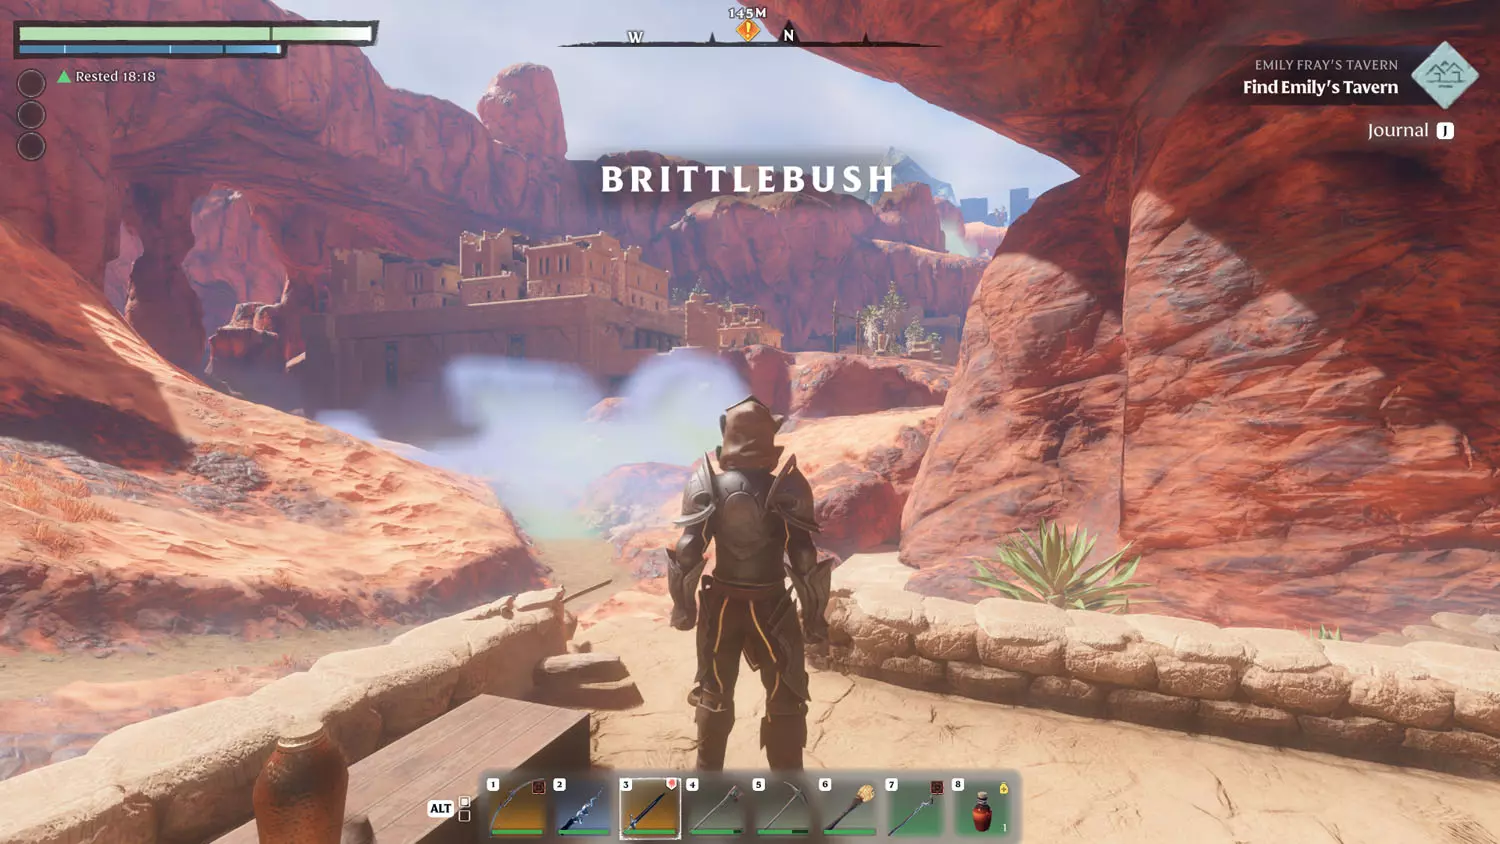
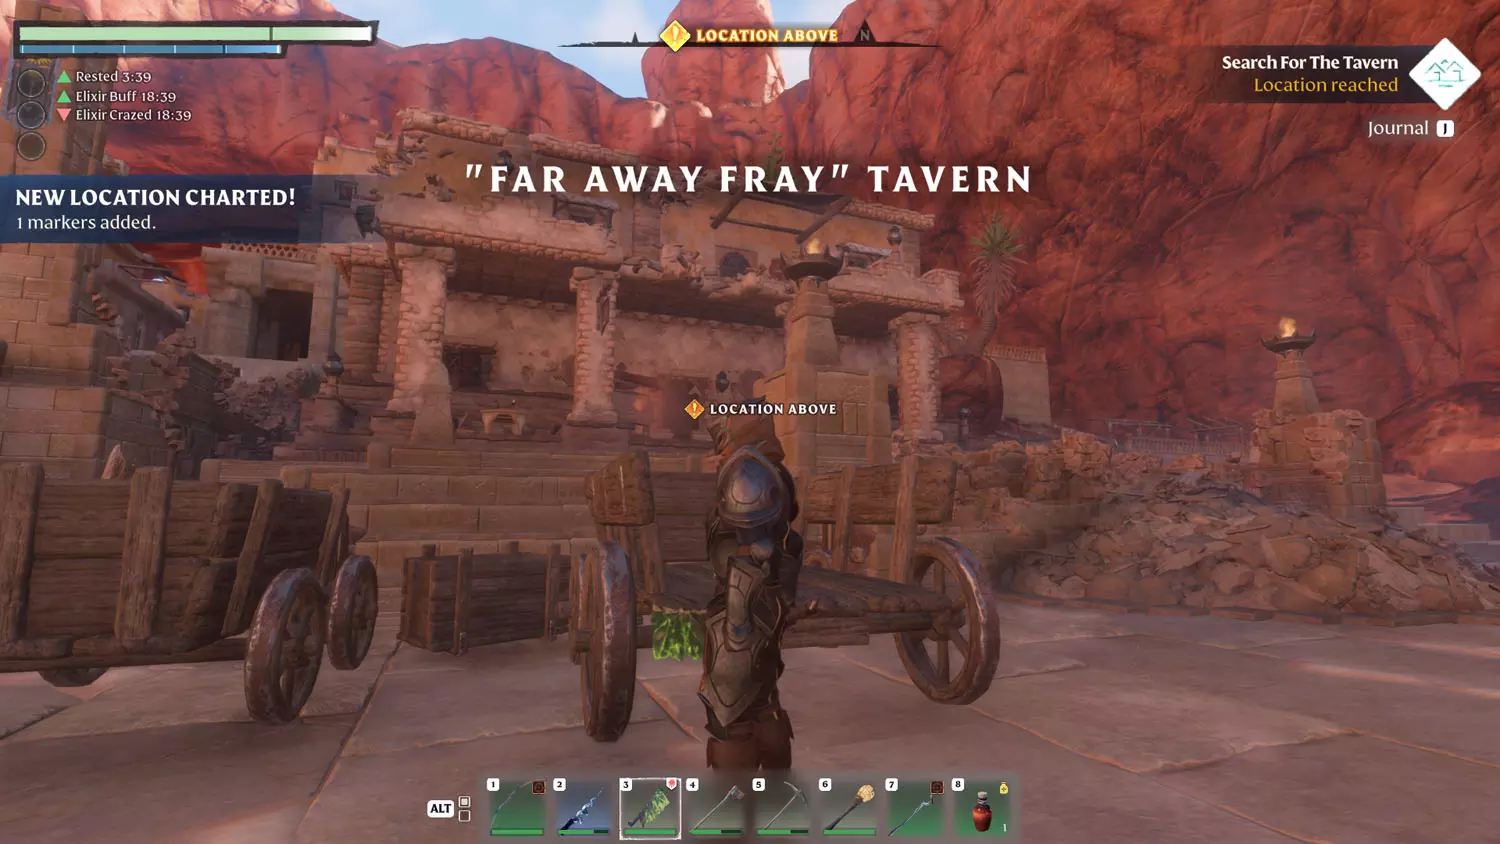
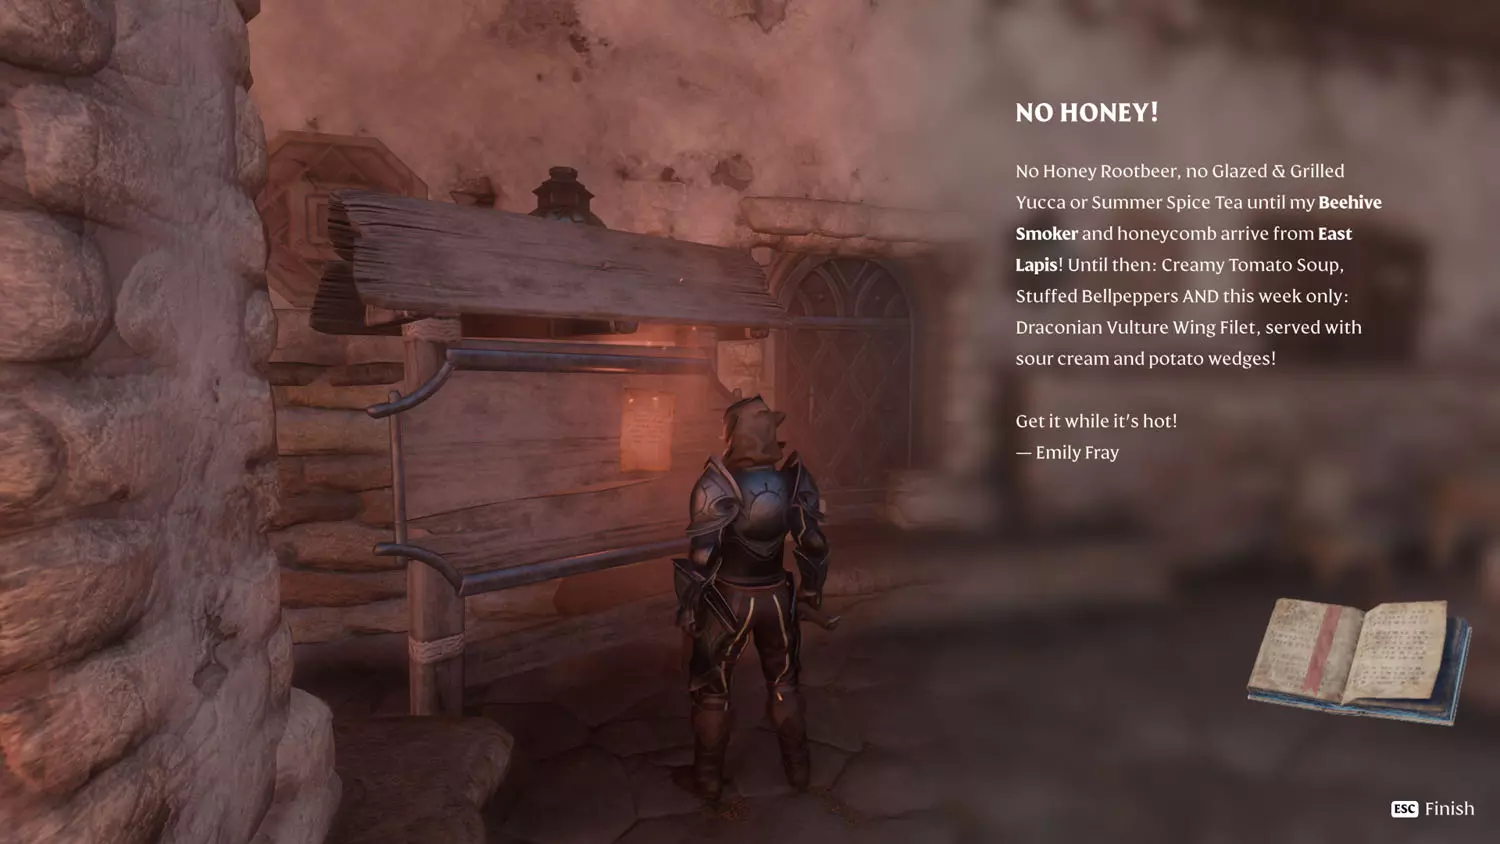
It’s off to Brittlebush! Your goal is Emily Fray’s Tavern, or rather, the goal is the bulletin board outside the tavern. There you will find the General Lore: Honey Misery 1/1 No Honey!. Reading it will complete part one of four.
TIP: Two other quests are nearby! The first is the Building Block Quest: Emily Fray’s Tavern - Desert City Wall. The second is the Carpenter Quest: Sun Temple Stories. Reading The Shroud, Elixir, and Elixir Well Lore: Elin’s Warning 1/1 The Walls Are Alive!, which is in Brittlebush, will help move that quest along.
TIP: Just one Lore is actually in the city (aside from the two above) - General Lore: Emily Fray’s Tavern 1/3 Emily Fray’s Diary, Entry 1.
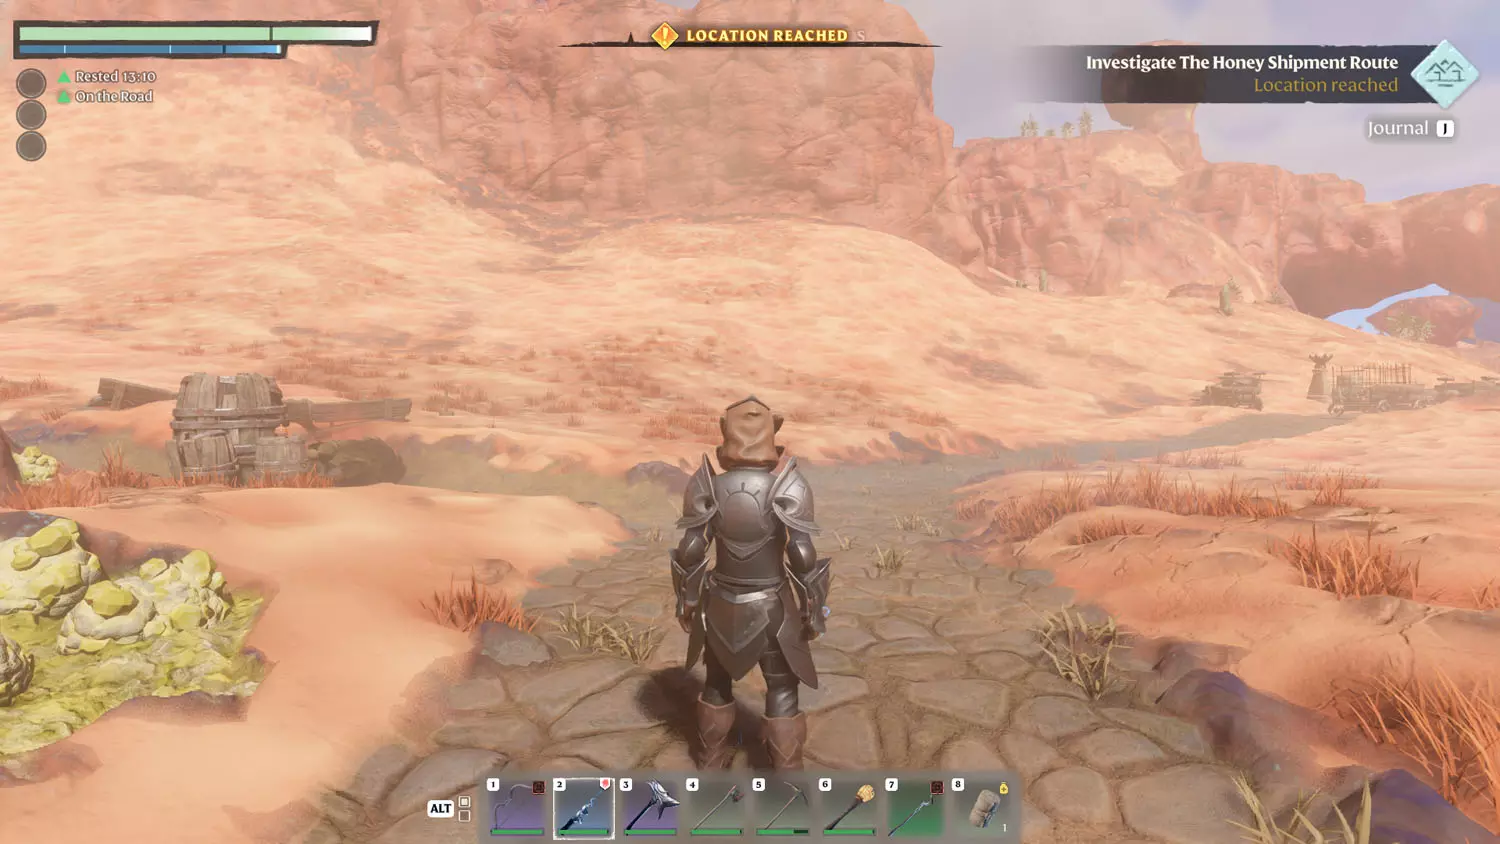
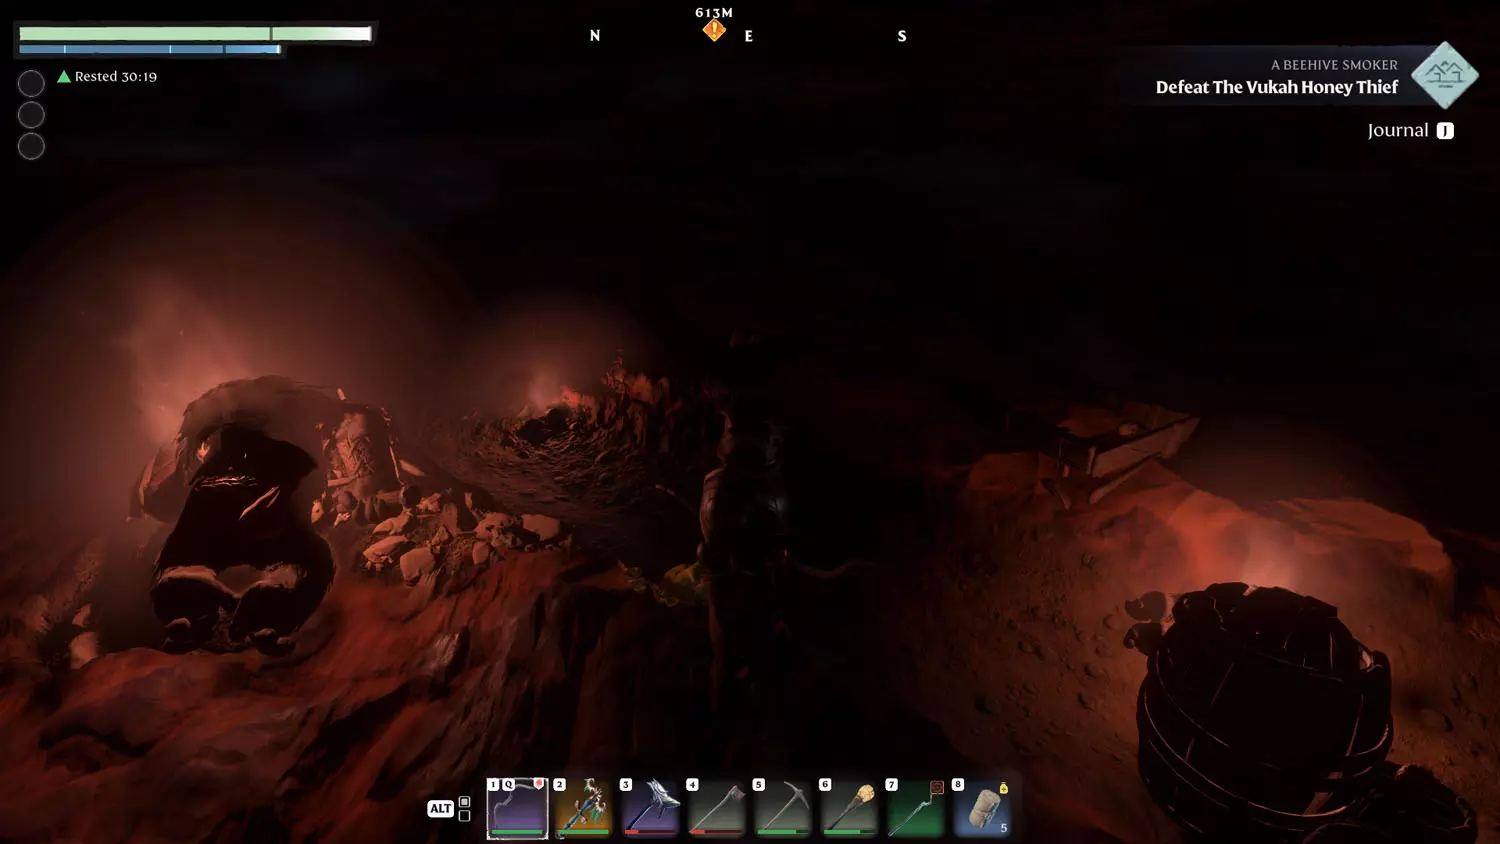
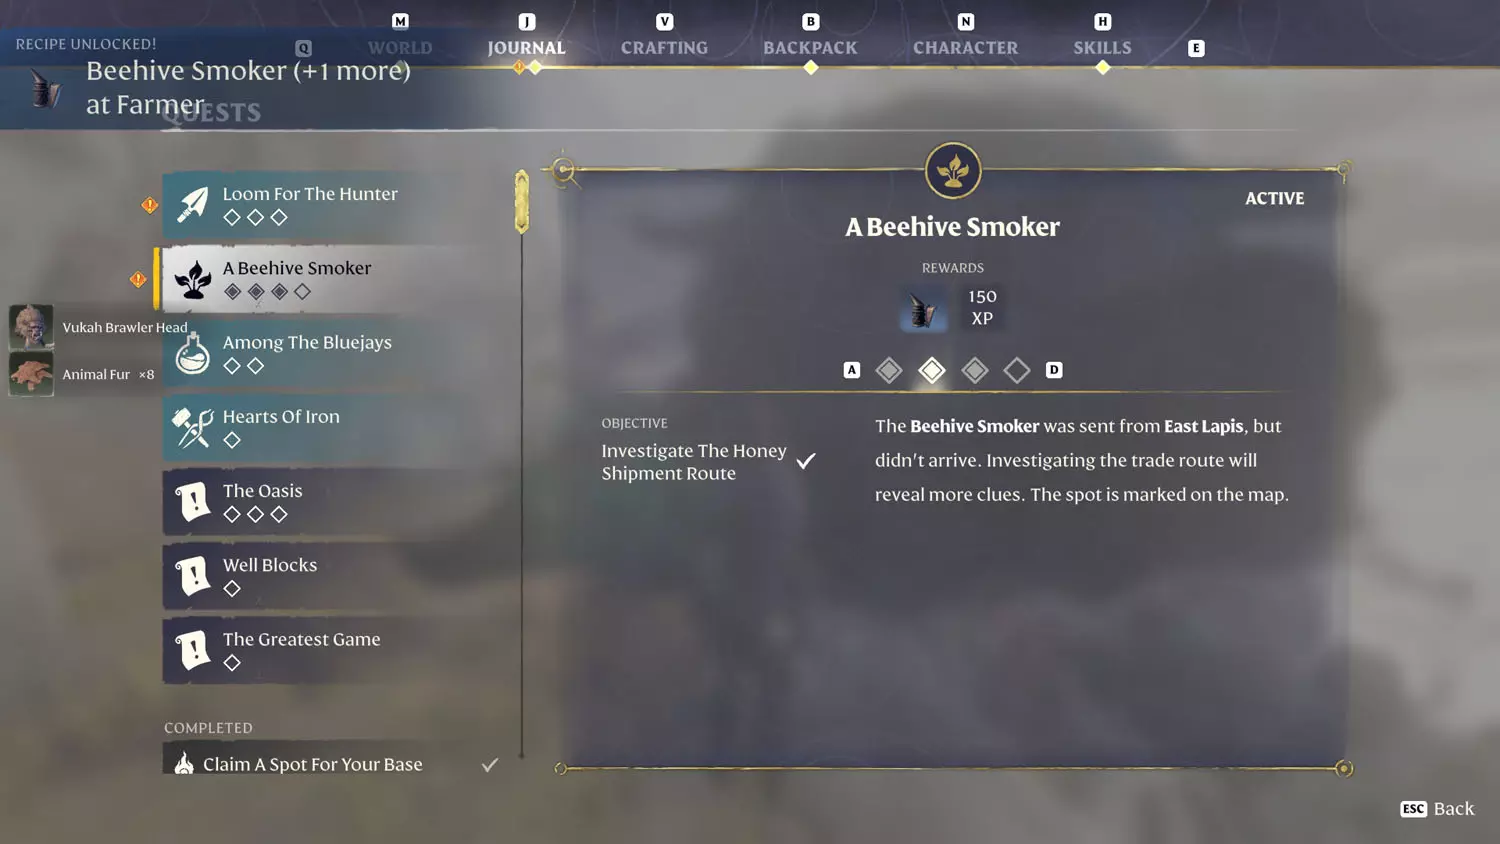
From here, head northward out of the city. There is a road. Following it while keeping an eye on the quest marker will help you reach the location. This was useful for me, particularly because the location is a destroyed caravan with broken wagons and such. The spot is not marked on the map as a location of interest, but it does have a quest marker to guide you there.
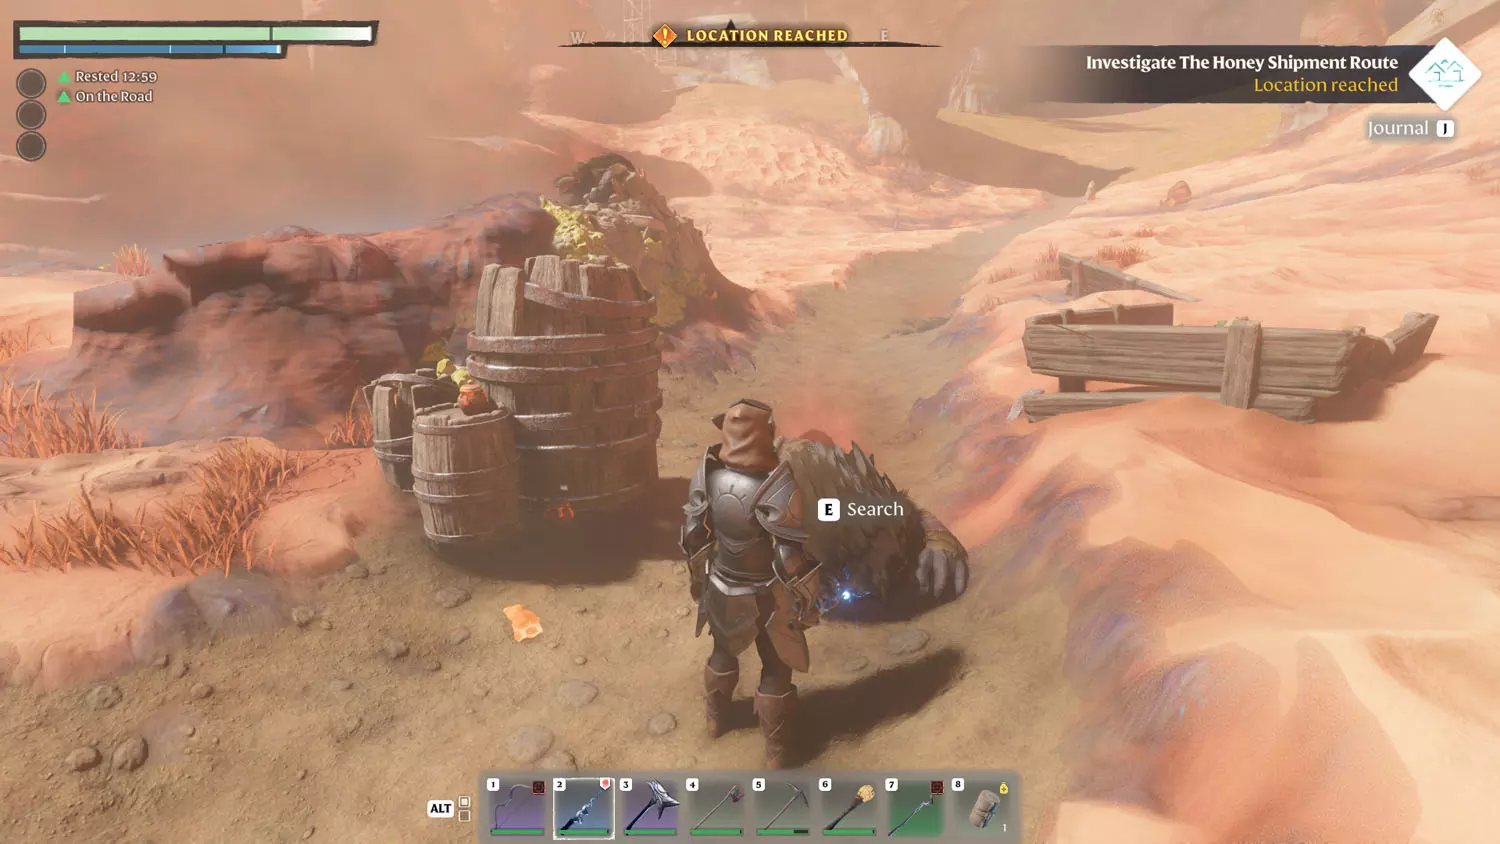
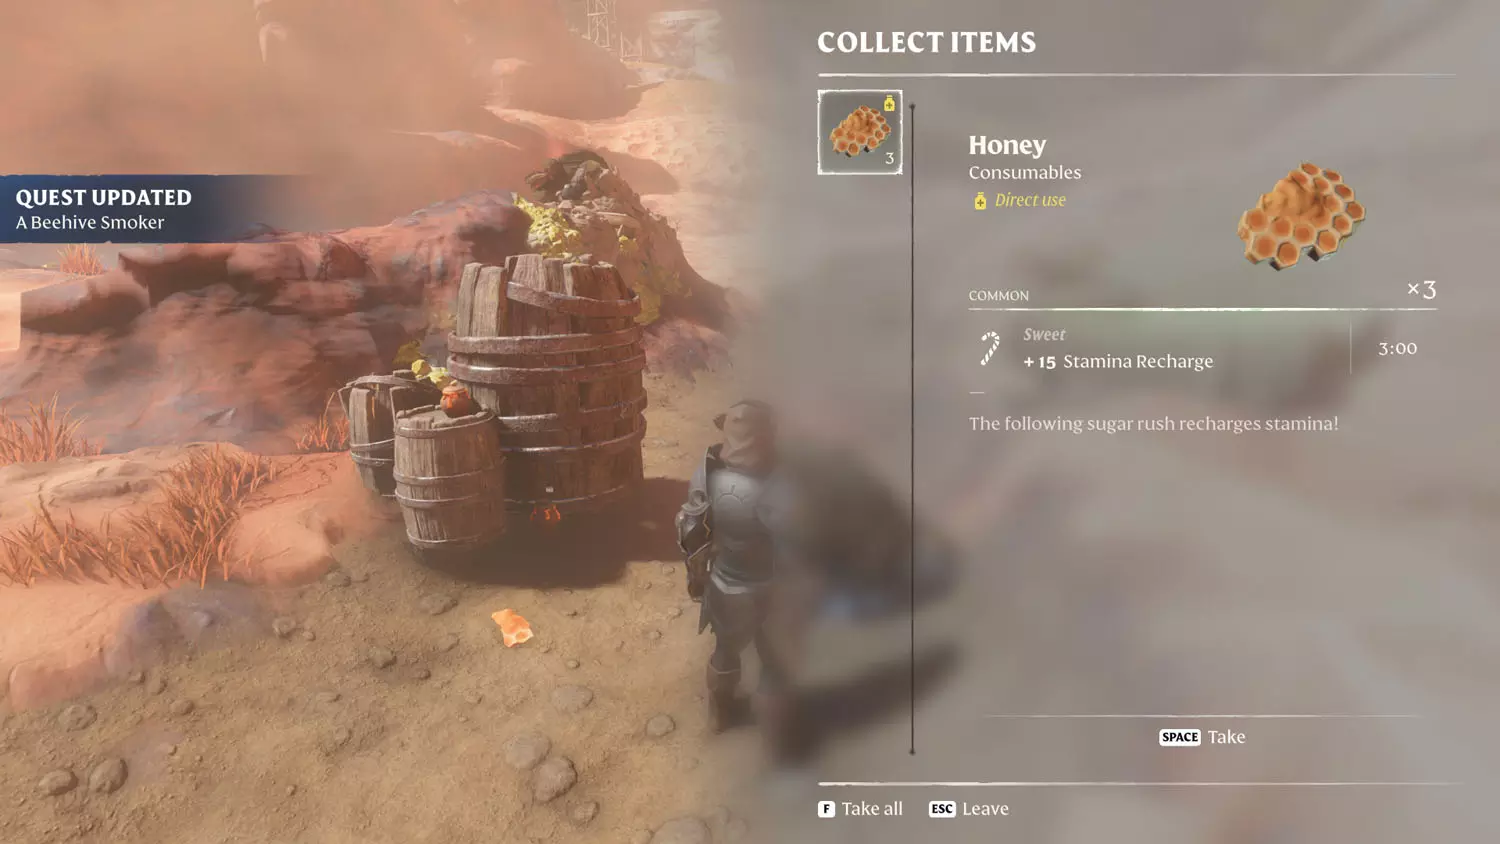
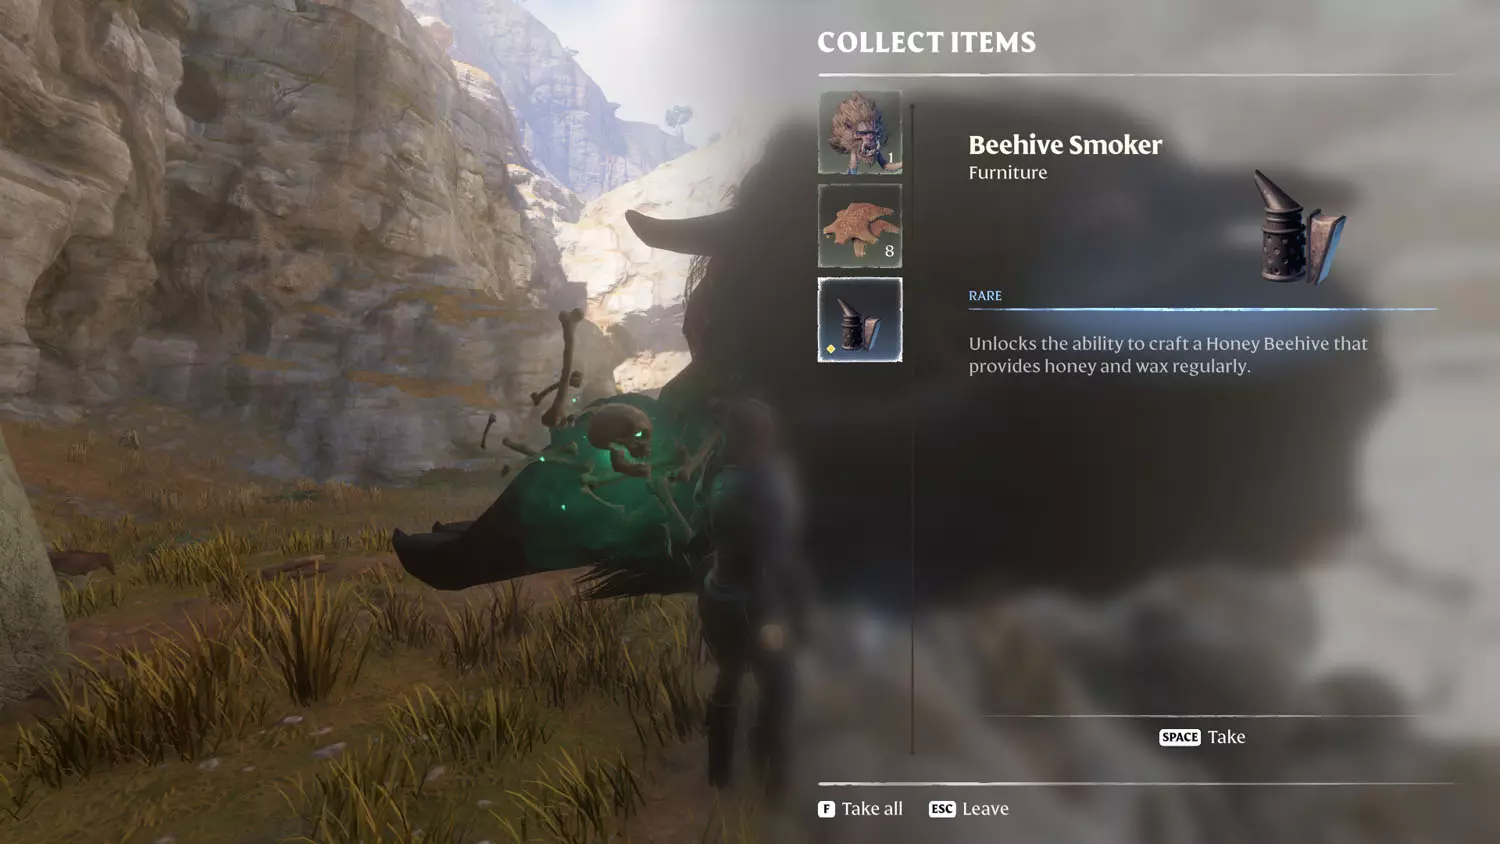
Anyway, once at the location, there are three downed Vukah next to a destroyed wagon. Their bodies glow a faint red color during the day and is much easier to spot at night (there is also a night shot below). Anyway, When you loot one of their bodies, part two of four is completed for the quest.

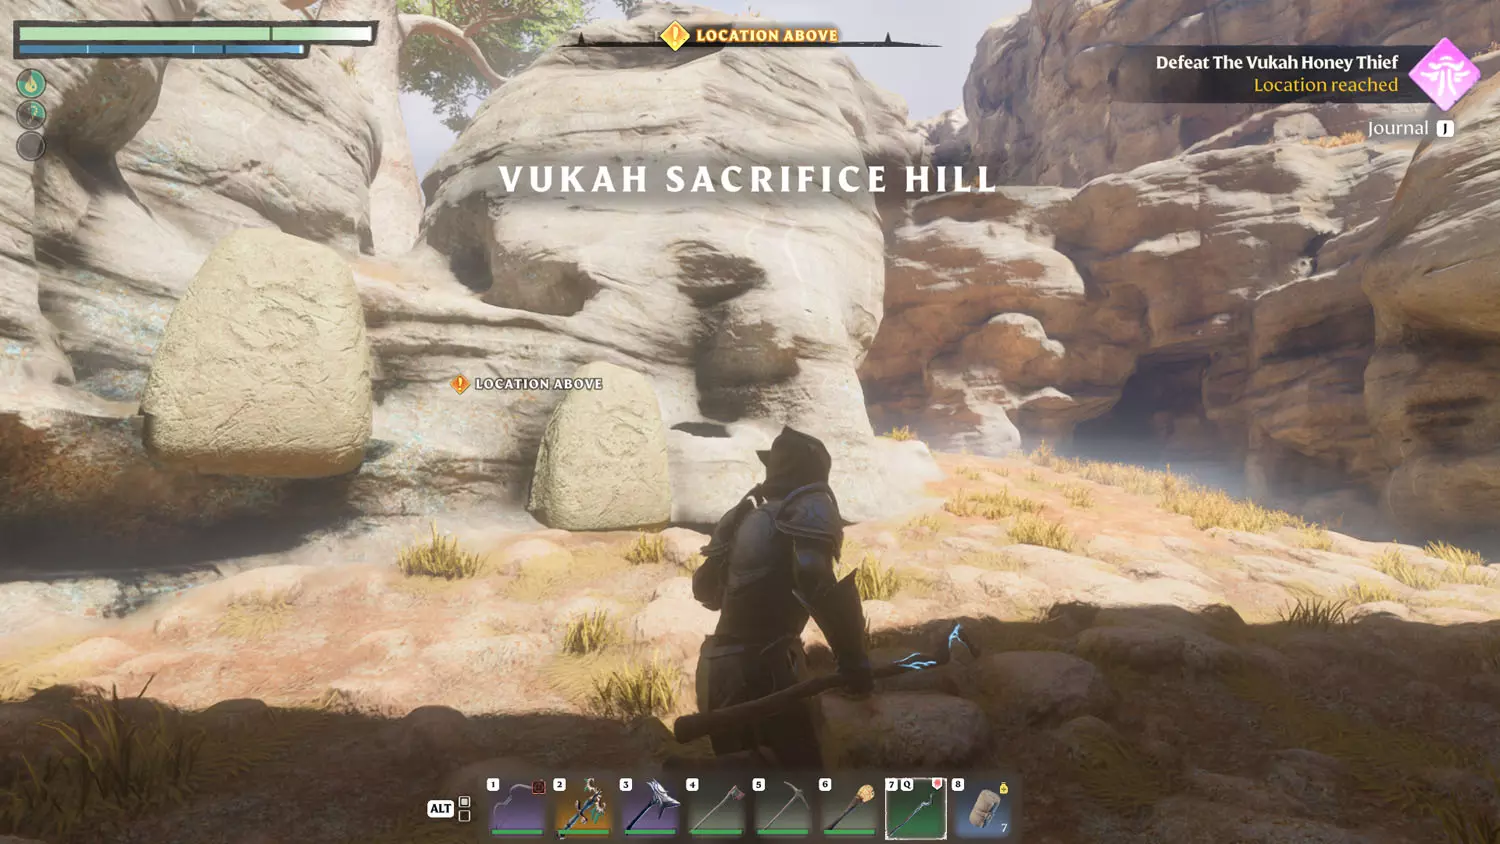
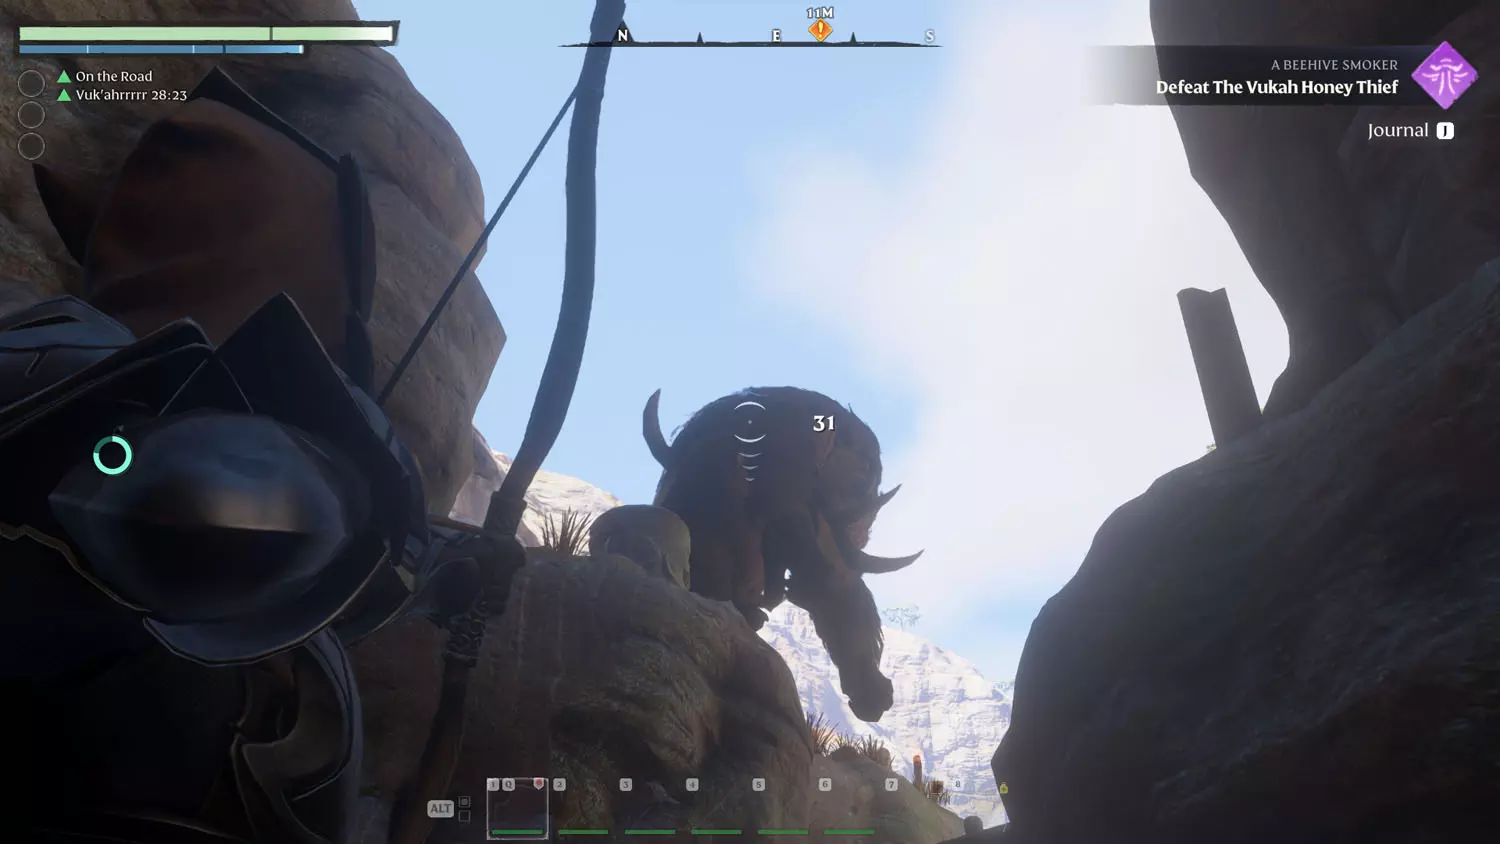
For part three of the quest, follow the road from the downed Vukah and you will reach the next location - Vukah Sacrifice Hill. Then, it’s time to slay the honey thief! It’s a Vukah Brawler, so come prepared! (I managed to get mine stuck up on the ridge, sweet!) Loot the body to move the quest along. After that, head back to the Farmer.
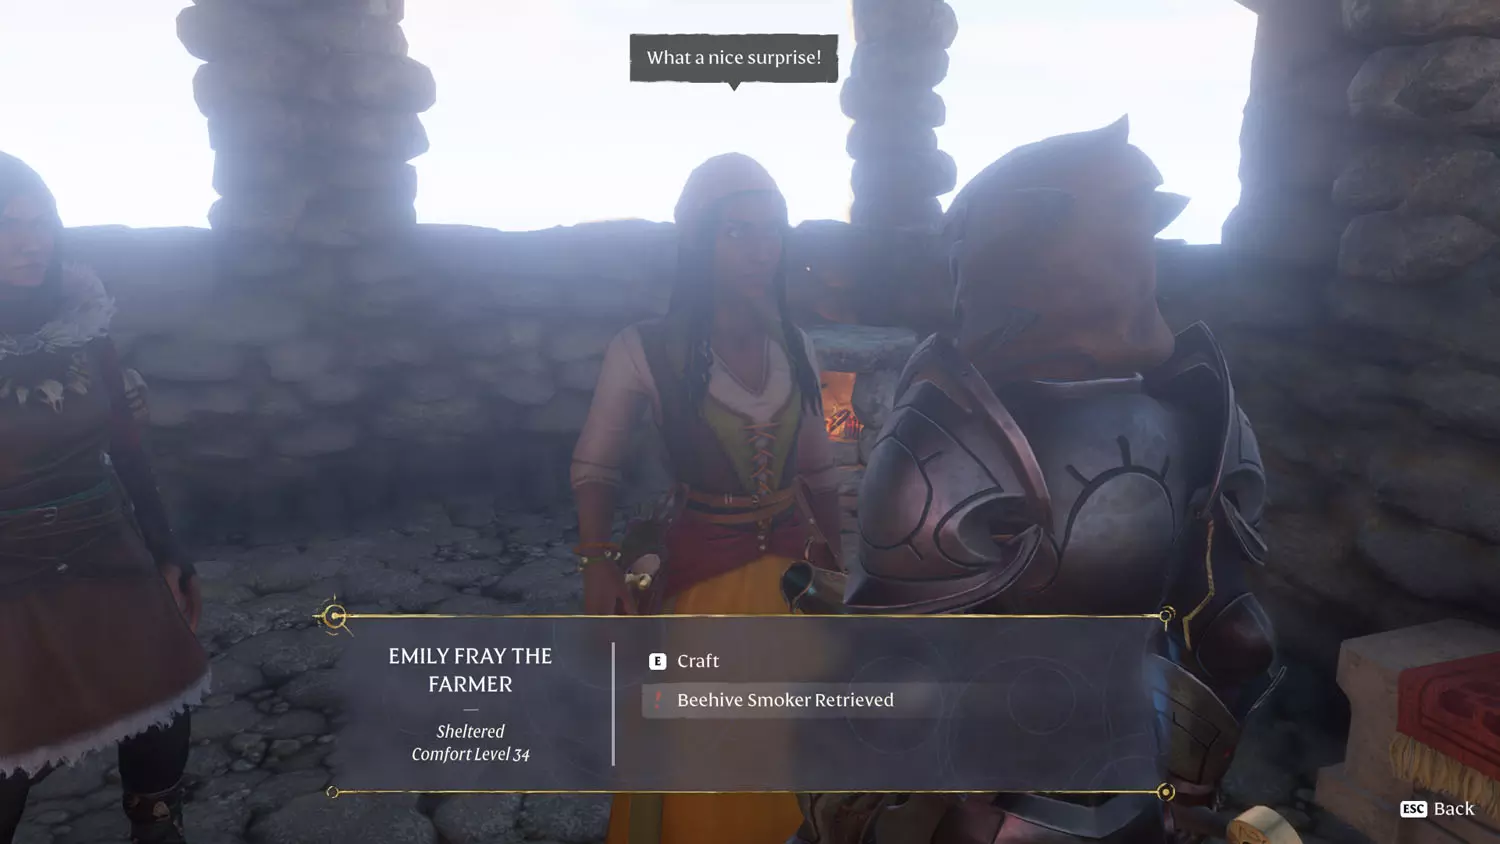
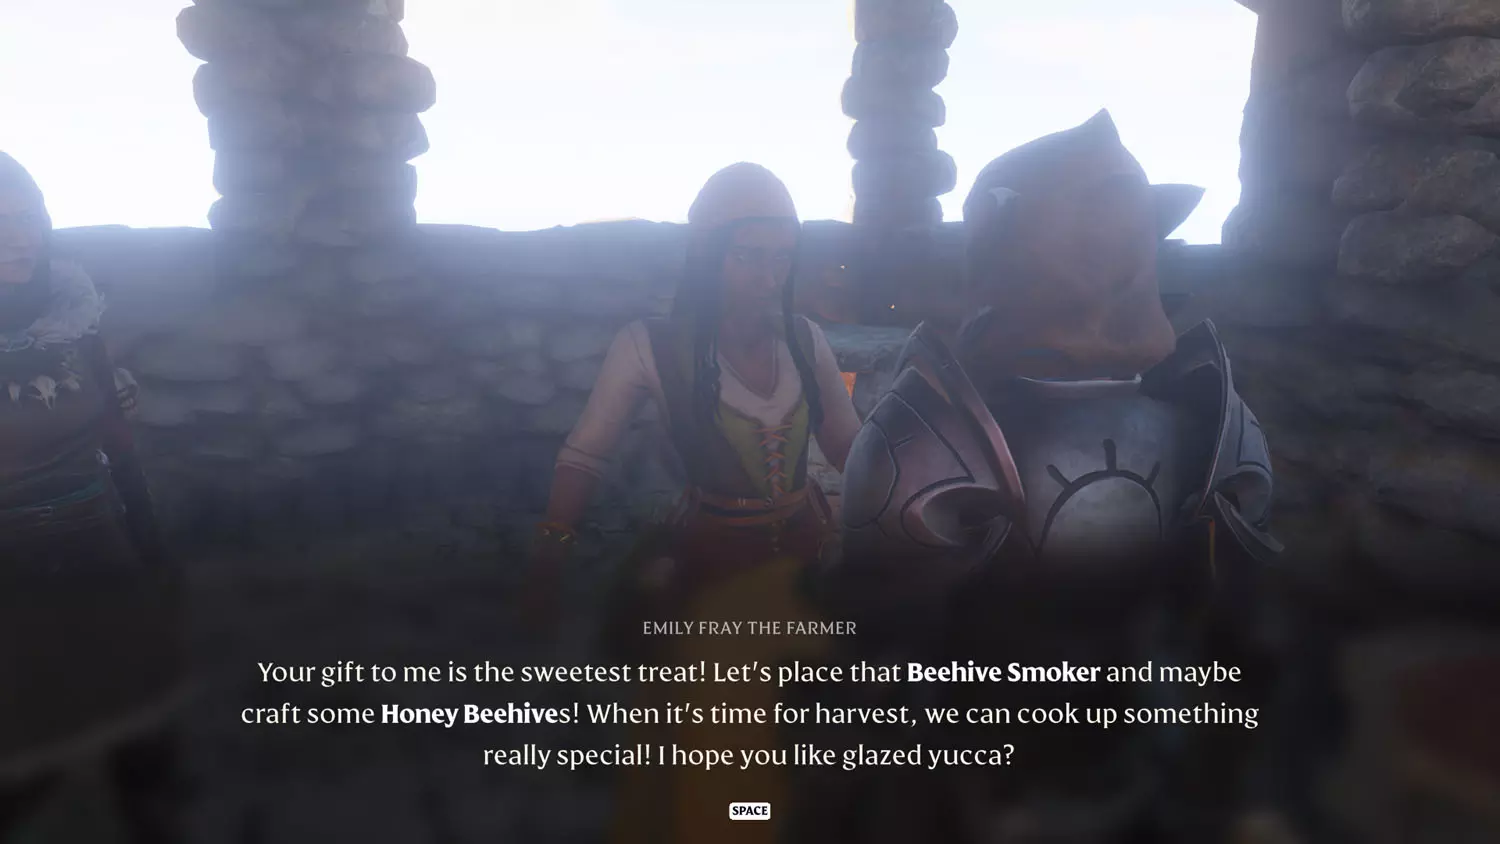
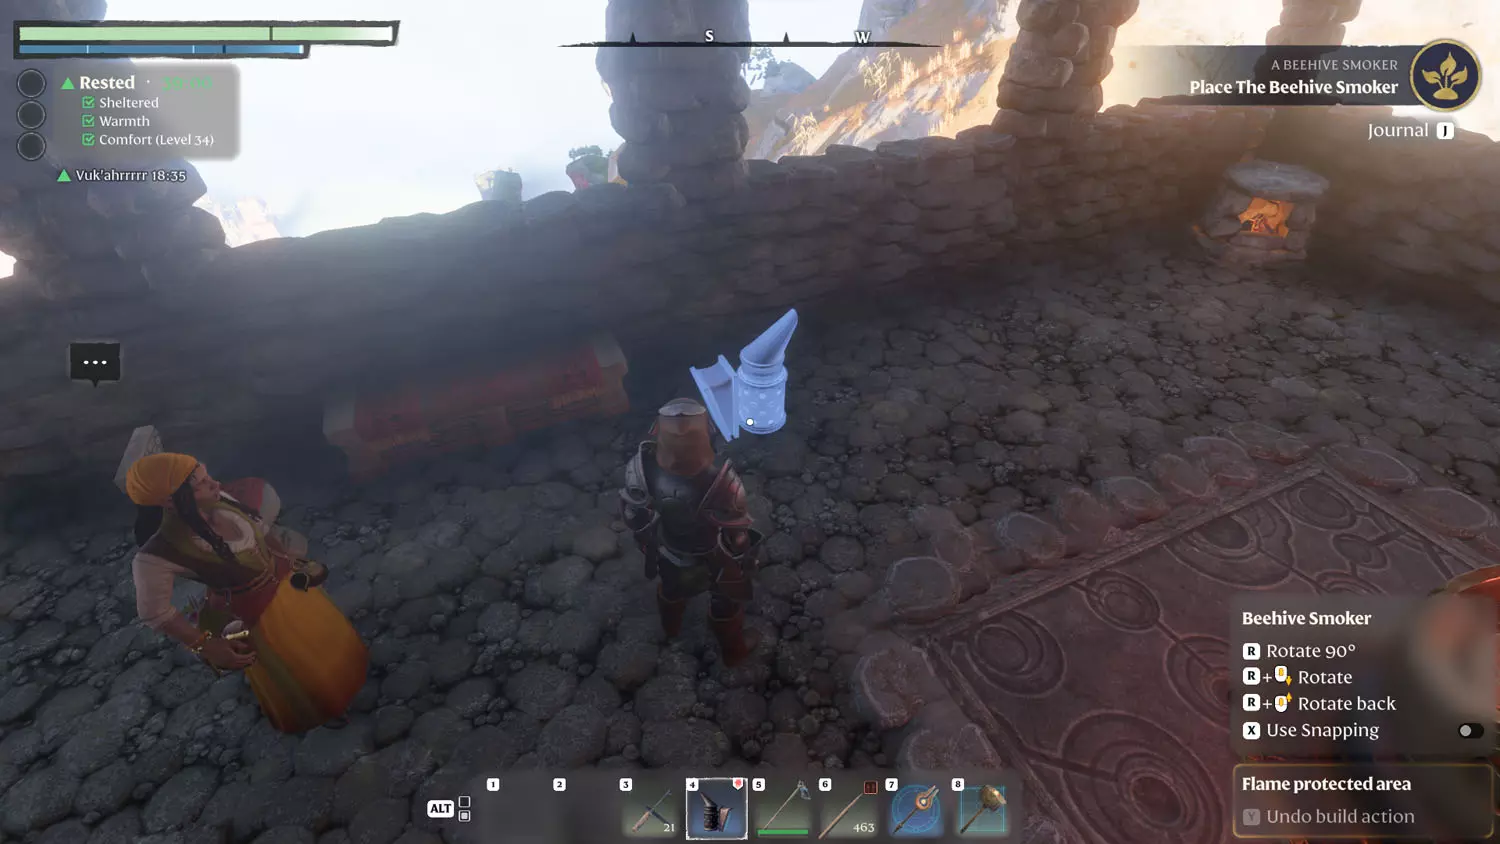
Now that you’ve returned with the Beehive Smoker, the Farmer will have the dialogue “Beehive Smoker Retrieved” available. Then, it’s time to finish the quest by placing the Beehive Smoker.
NOTE: All content below is from BEFORE Hollow Halls Update - version number 510434. Content below is good for anything before March 26th, 2024. Content may still be relevant after March 26th, 2024 - but there may be gaps in the information below as more Lore and Quests were added by developers.

