Enshrouded Items, XP, and Loot Reward Quests Walkthrough
- Items, XP, and Loot Reward Quests
- Animal Reward
- Clothing Reward
- One Last Journey
- Spitting Plants
- The Morning Grind
- Gravedigger's Rest
- The Cosmetic Maid Outfit
- Another Cosmetic Maid Outfit
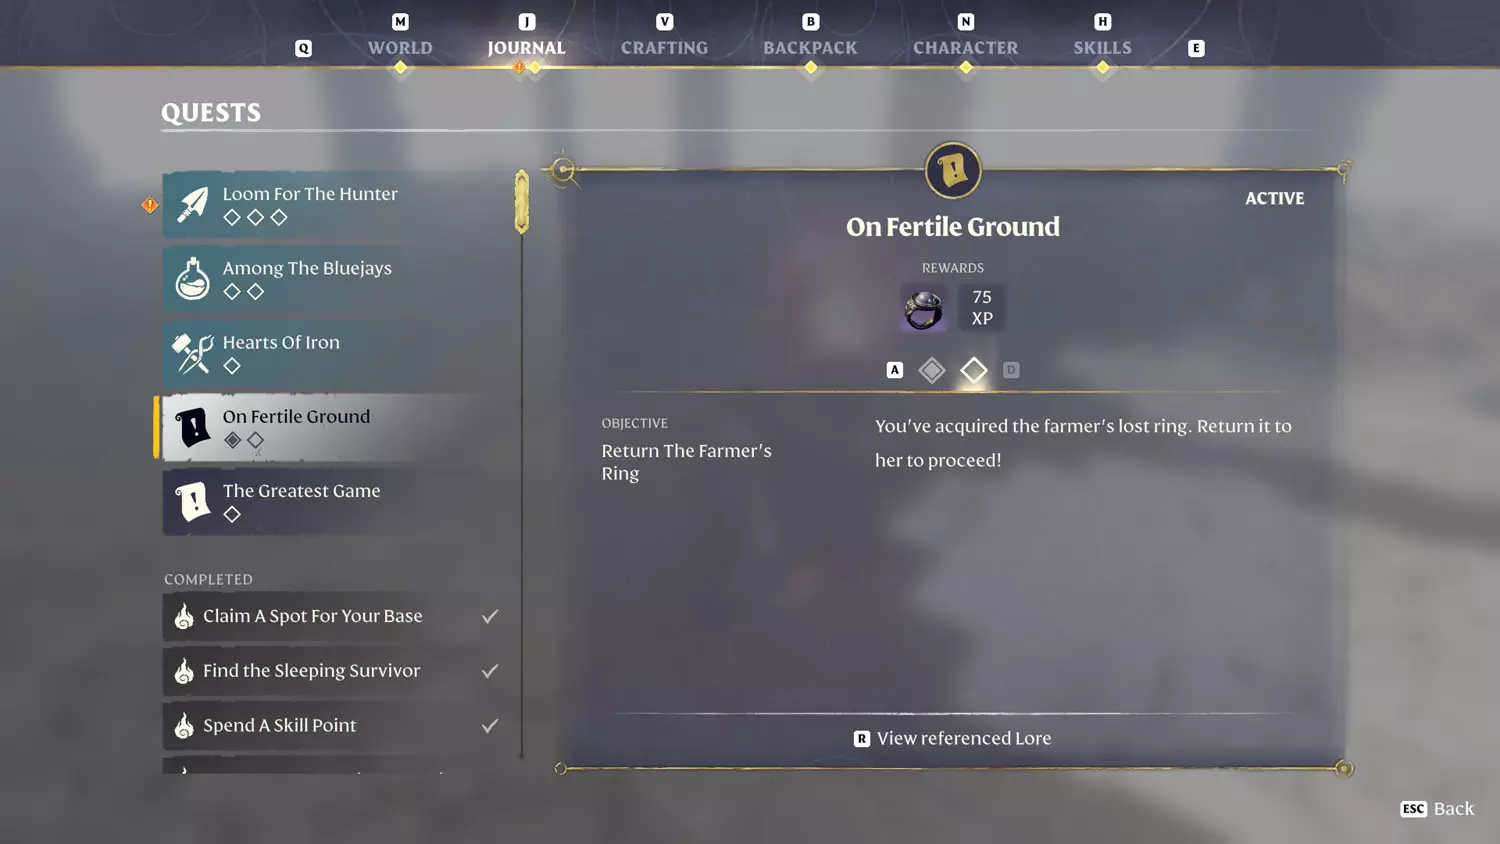
- On Fertile Ground
- The Cosmetic Hunter Outfit
- The Cosmetic Blacksmith Outfit
- Cosmetic Hats
- Spider Goat Farm
- Finding Cosmetic Fluffy Set
- Finding Cosmetic Winterly Set
- A Special Guest On Hollow's Eve
- Enemy Drop Reward
- Gold Chest Reward
- Other Reward
- Pure Soul Reward
- Silver Chest Reward
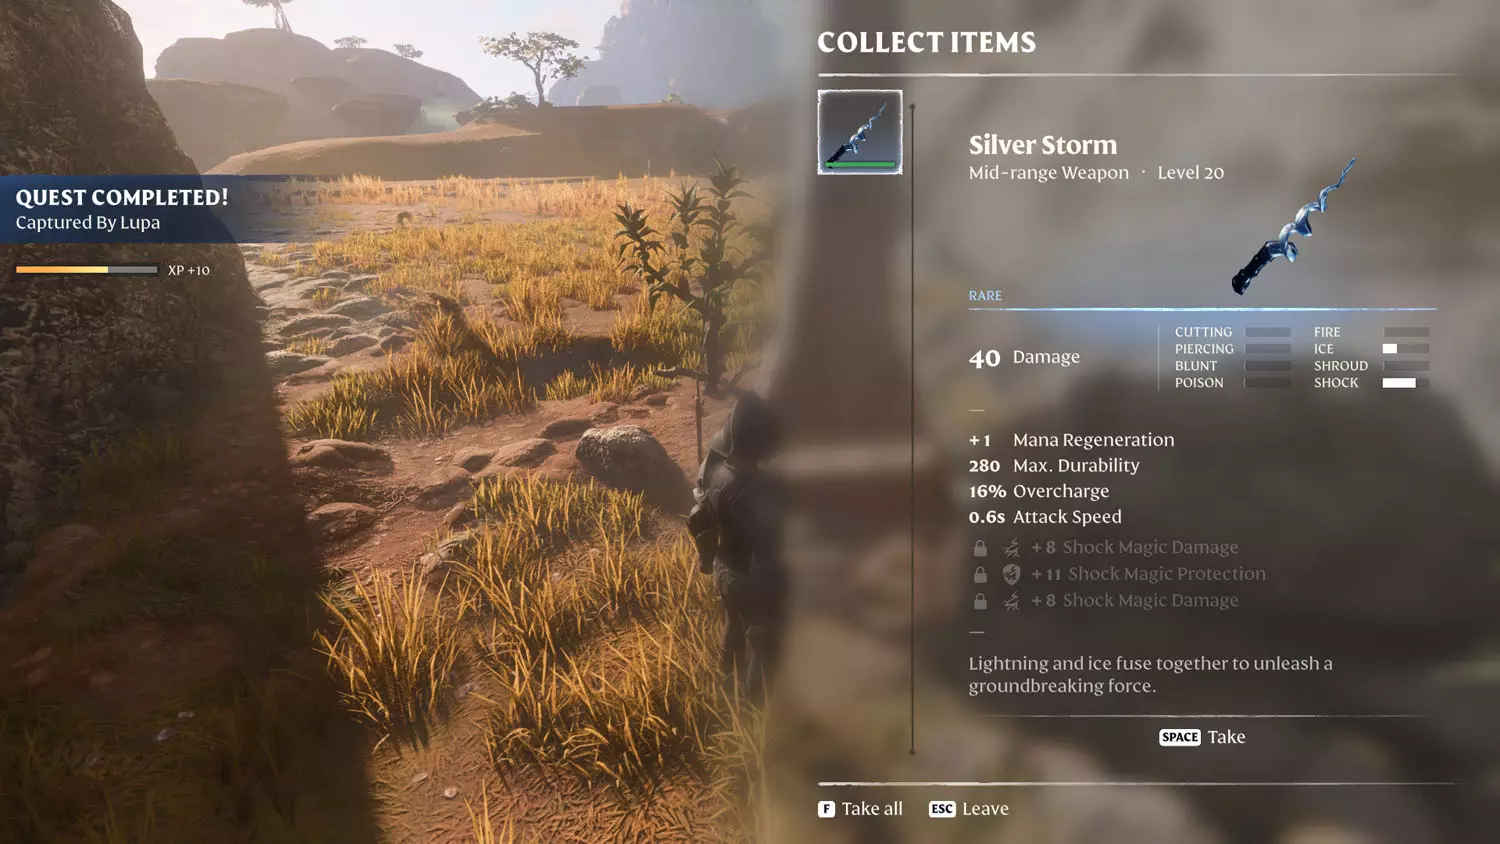
- Weapon Reward
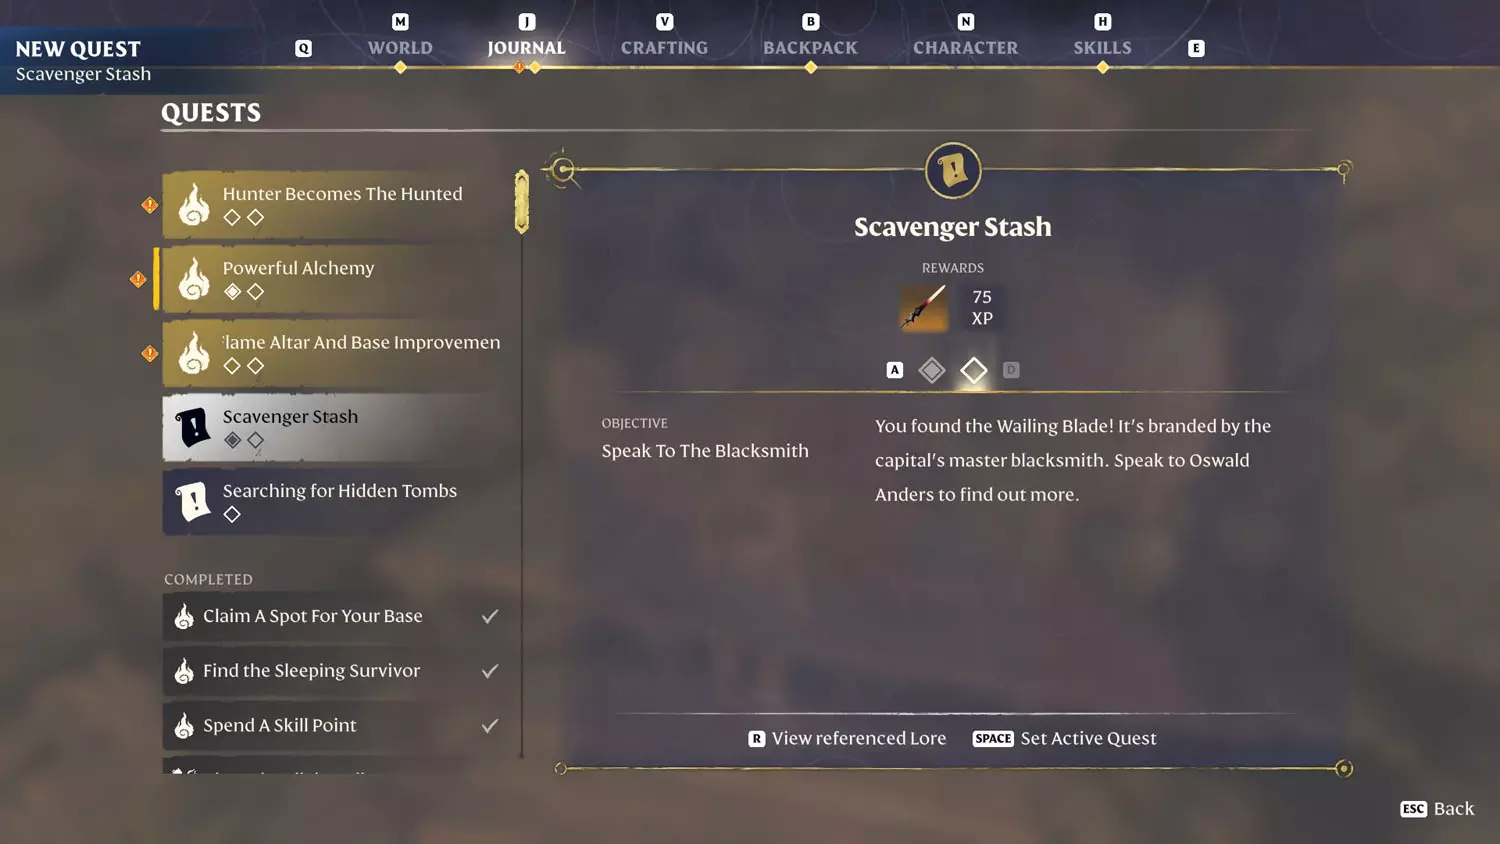
- Scavenger Stash
- Wolves At The Door
- Buried Curse
- Lunar New Year Staff
- Lunar New Year Sword
- Lunar New Year Bow
- Vukah Rituals Uncovered
- Lost In The Shroud
- A Chest In The Attic
- The Pillars of Creation
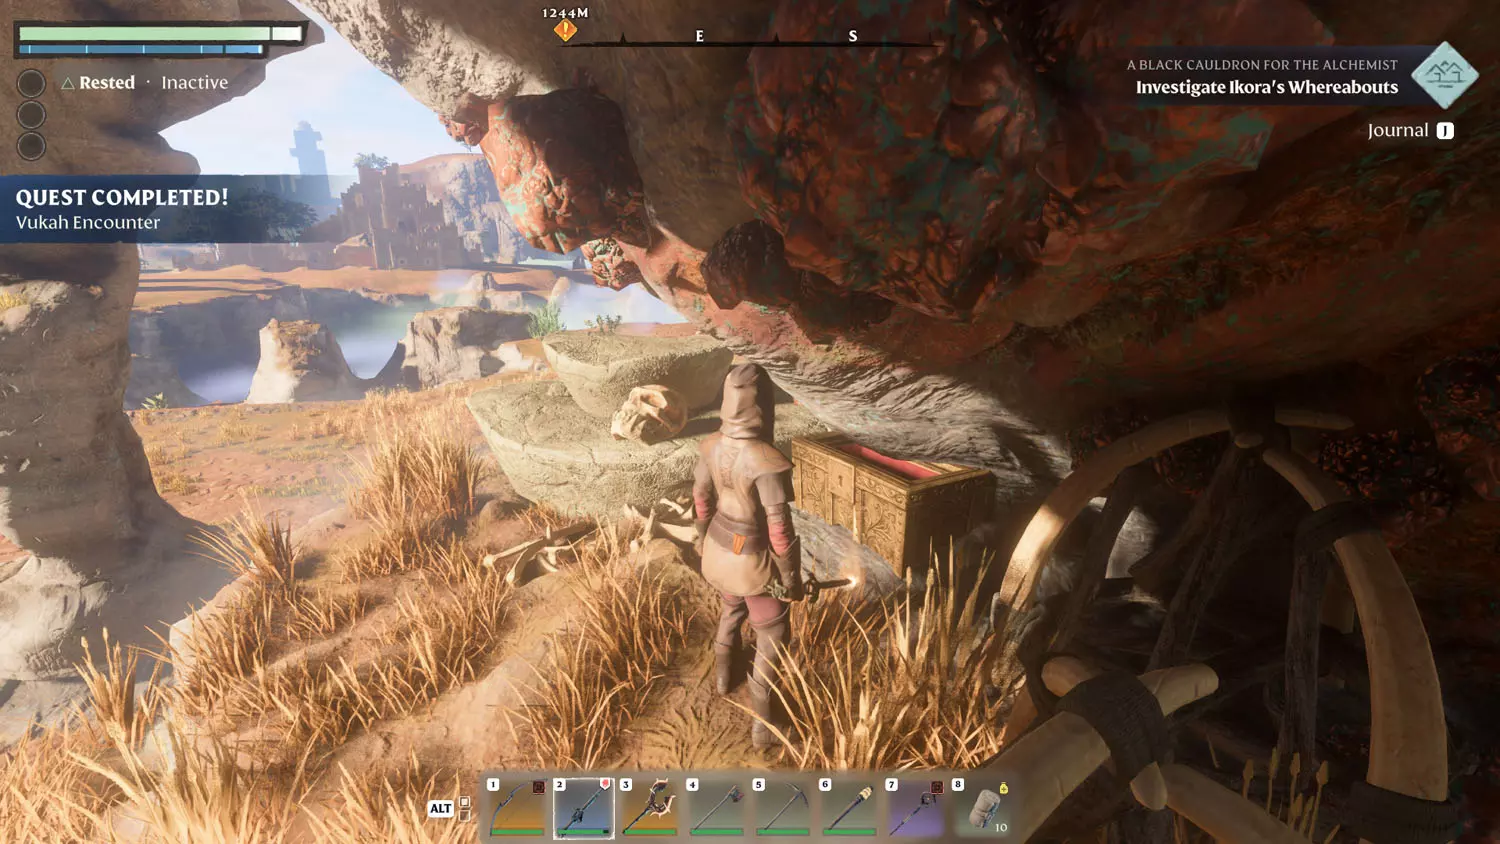
- Vukah Encounter
- Rumors Of The Dragon Cave
- The Draconian Vulture Took Him
- Underground Infestation
- The Mysterious Wanderer Appears
- Ancestor's Weapons
- The Greater Twinflame Sword
- A Devious Performance
- The Lesser Twinflame Sword
- XP Only Reward
I tried keeping it sweet and simple, but every quest is different. If you see an error, please let me know, and I’ll work to fix it! All images used in this blog post are screenshots from the game Enshrouded.
- Quick Links To Help
SPOILER ALERT: There’s no way for me to avoid spoiling game play with the walkthrough.
NOTE: A LOT of the content below is from BEFORE the Hollow Halls Update - version number 510434. Some of it has been updated with the Souls Of The Frozen Frontier - VO.7.4.0. Previous content may still be relevant after March 26th, 2024 - but there may be gaps in the information below as more Lore and Quests are being added by developers. I am trying to stay on top of the changes.
Items, XP, and Loot Reward Quests
Animal Reward
Lupa's Hounds
Reward: Dog Ikko + 75XP
Raven’s Keep is the starting point of this quest, and you don’t have to go inside to get it! Out in the open is a bulletin board with the Nomad Highlands Lore: Lupa's Hounds 1/1 Where Are Her Dogs?. Spoiler, there is only one hound to find, so if you’re like me and pepping ahead, only craft one bed, not two. Oh, but don’t forget the bait!
TIP: Raven's Keep also has Scavenger Lore: Raven’s Keep Log 1/1 Raven’s Keep Log, Prison Break 1/2 No Better Than Us! and 2/2 Glory To Matron Lupa!, and Sister, Sister 3/3 I Will Reach You.
TIP: There's also the Hunter Quest: In Need Of A Tanning Station and the Building Block BONUS Quest: Fancy Stone Block.


From the first piece of this quest, head to the Abandoned Watchtower nearby. Reaching this destination will complete the first part of this quest.
TIP: Besides Ikko, the dog, you will also find the Nomad Highlands Lore: Echoes Of Ikko 1/5 He Echoes All Throughout, 2/5 Ikko #2, 3/5 Ikko #3, 4/5 Ikko #4, & 5/5 Ikko.


If you’ve already tamed an animal, then the next step is familiar. Free the pup from his cage and toss some Dog Bait on the ground. Then, sneak up from behind and pet the pooch. Repeat until you have a new puppy! Obtaining the pupper will complete the quest.


Cat Naming Problem
Reward: Captain Whiskers + 75XP
Reading the Nomad Highlands Lore: Cat Naming Problem 1/2 We Have To Choose! will start this quest. Currently (November 17, 2024), there is no name for the location where this Lore can be found. It is located in a destroyed town East of Pikemead’s Reach. After reading the Lore (on a bulletin board), head toward the Scavenger Ruins a little North of the unnamed place.


At the Scavenger Ruins nearby, there is a sign on a building, which is the second piece of the Lore, but more importantly, the barricaded door leads to a cellar with the Captain Whiskers inside. Tame the cat to complete the Quest!


Gertrude's Dogs
Reward: Pompom Jr. + 75XP
This quest begins when you read the Kindlewastes Lore: Gertrude’s Dogs 1/2 It's No Use.

From there, head to Shorewatch, but don’t forget to bring some Dog Food Bait! Reaching the destination will finish the next part of the quest. From the entrance closest to Deepcut, you’ll want to enter the first building on the left.
TIP: Also here is the Vukah and Wildlife Lore: Draconian Vulture Warning 1/1 Song Of Swooping Shadows.


Next up, it’s time to tame that pup!


Clothing Reward
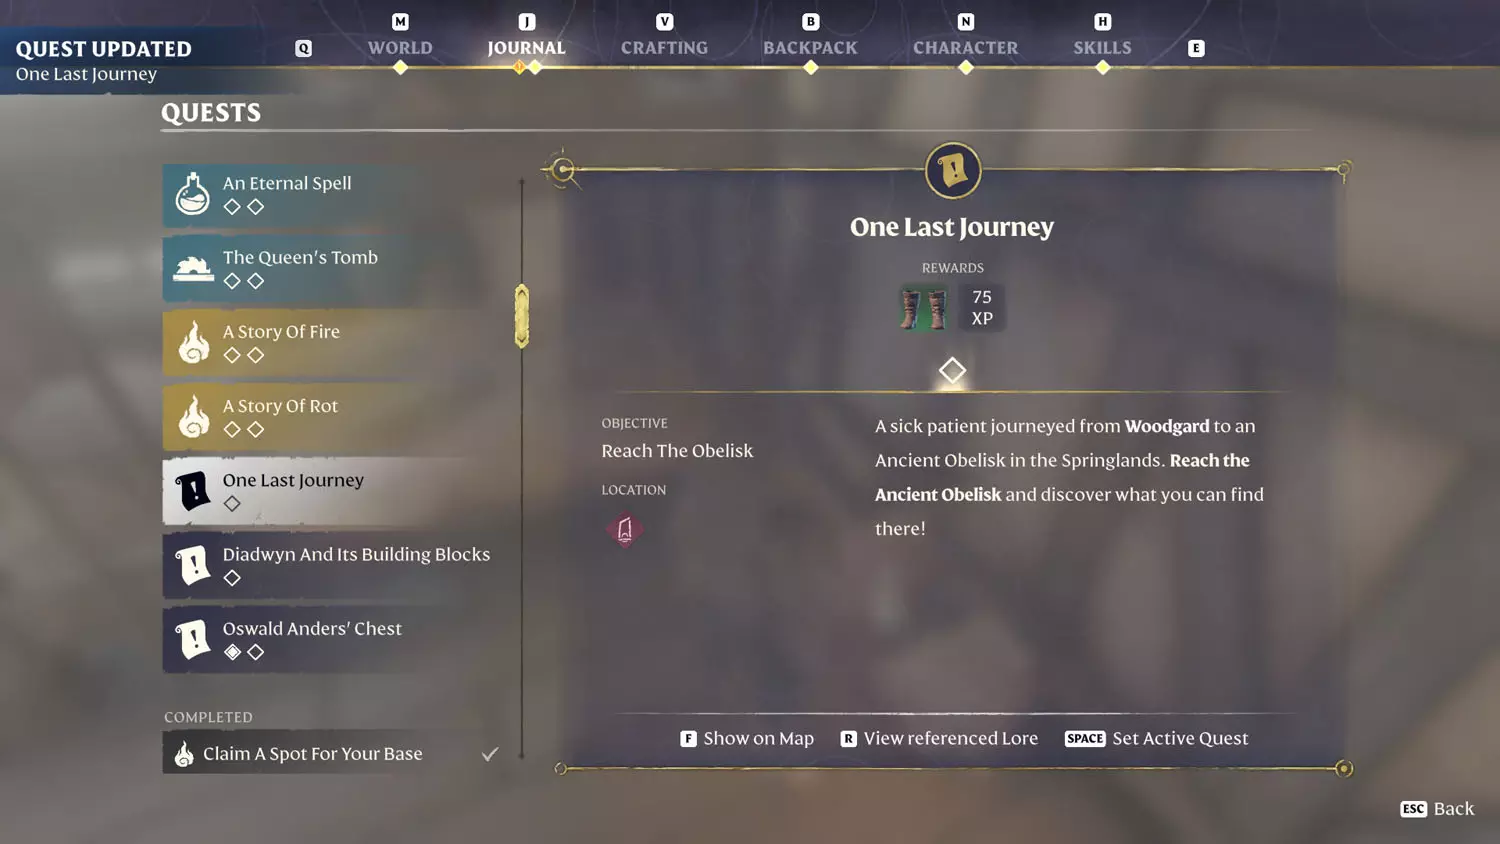
One Last Journey
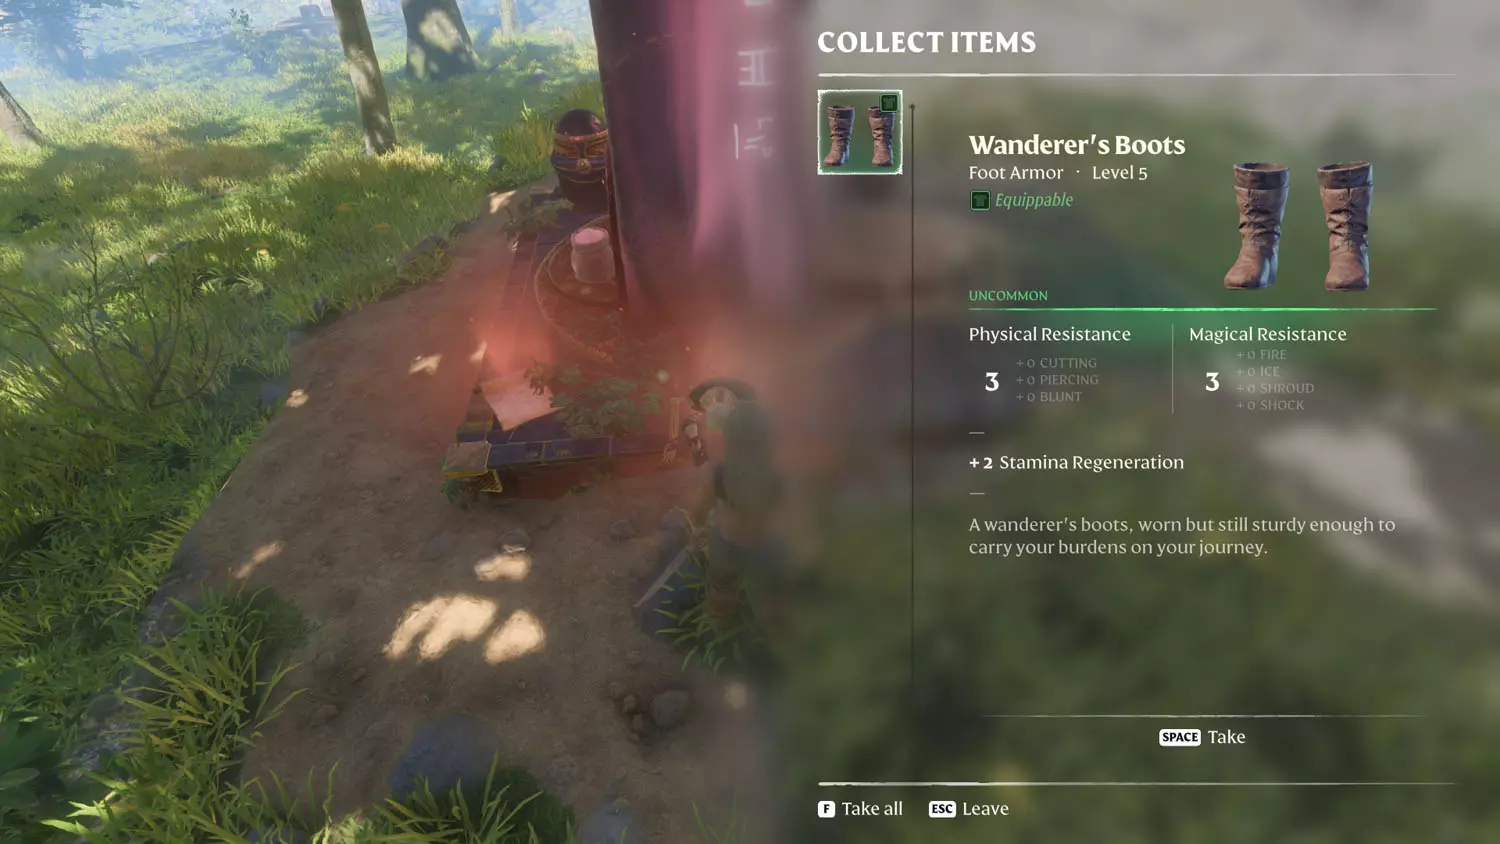
Rewards: Wanderer's Boots + 75 XP
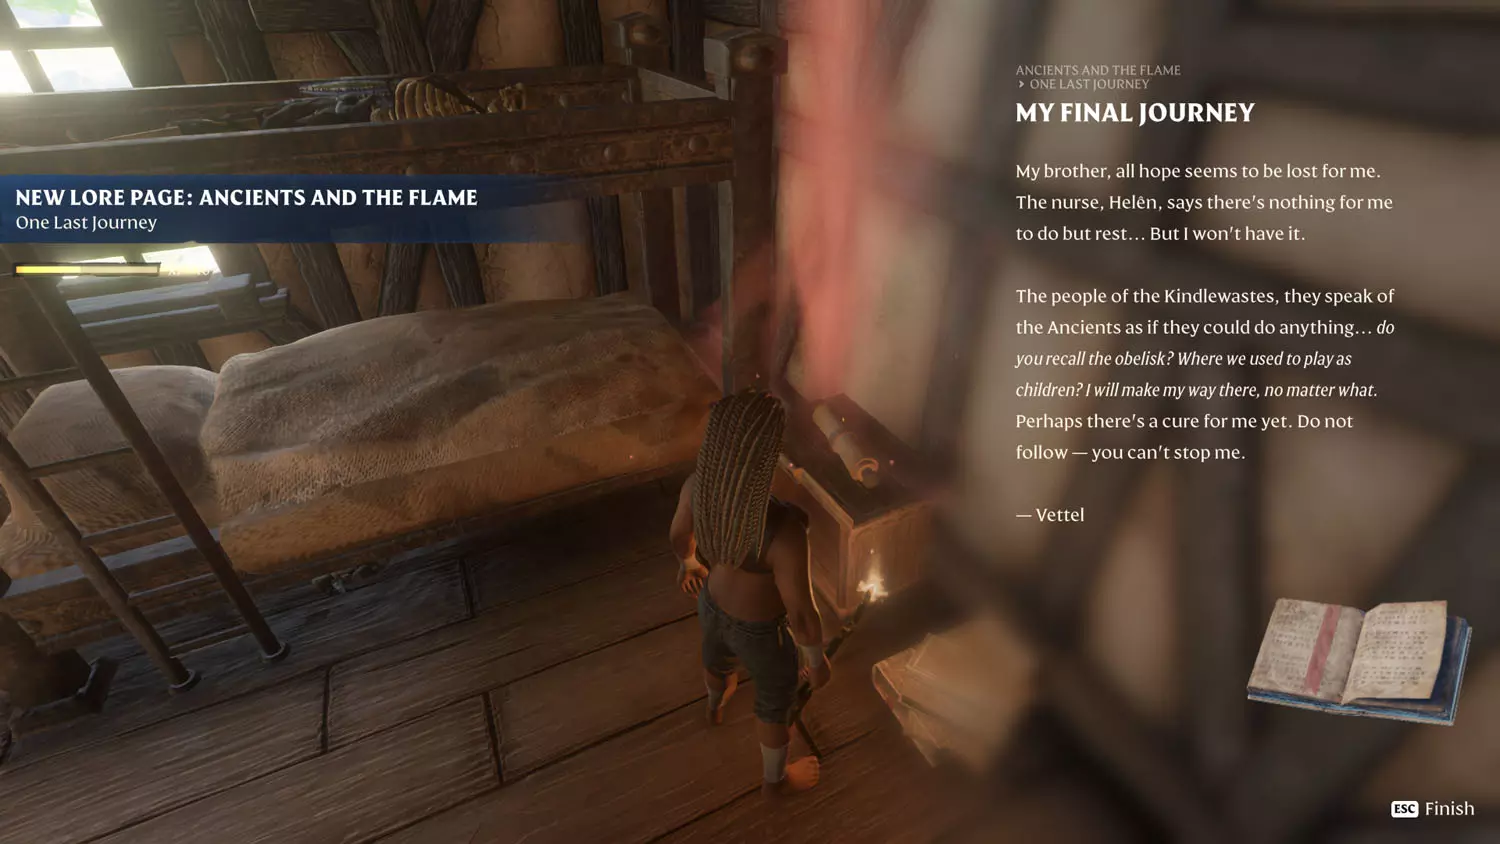
This quest begins when you read the Ancients and the Flame Lore: One Last Journey 1/3 My Final Journey in Woodgard. There’s more Lore in the area, so be sure to check out my guide for tips and ways to find it all!
TIP: This quest goes to the same destination as the Flame Altar Quest: A Story Of Fire.

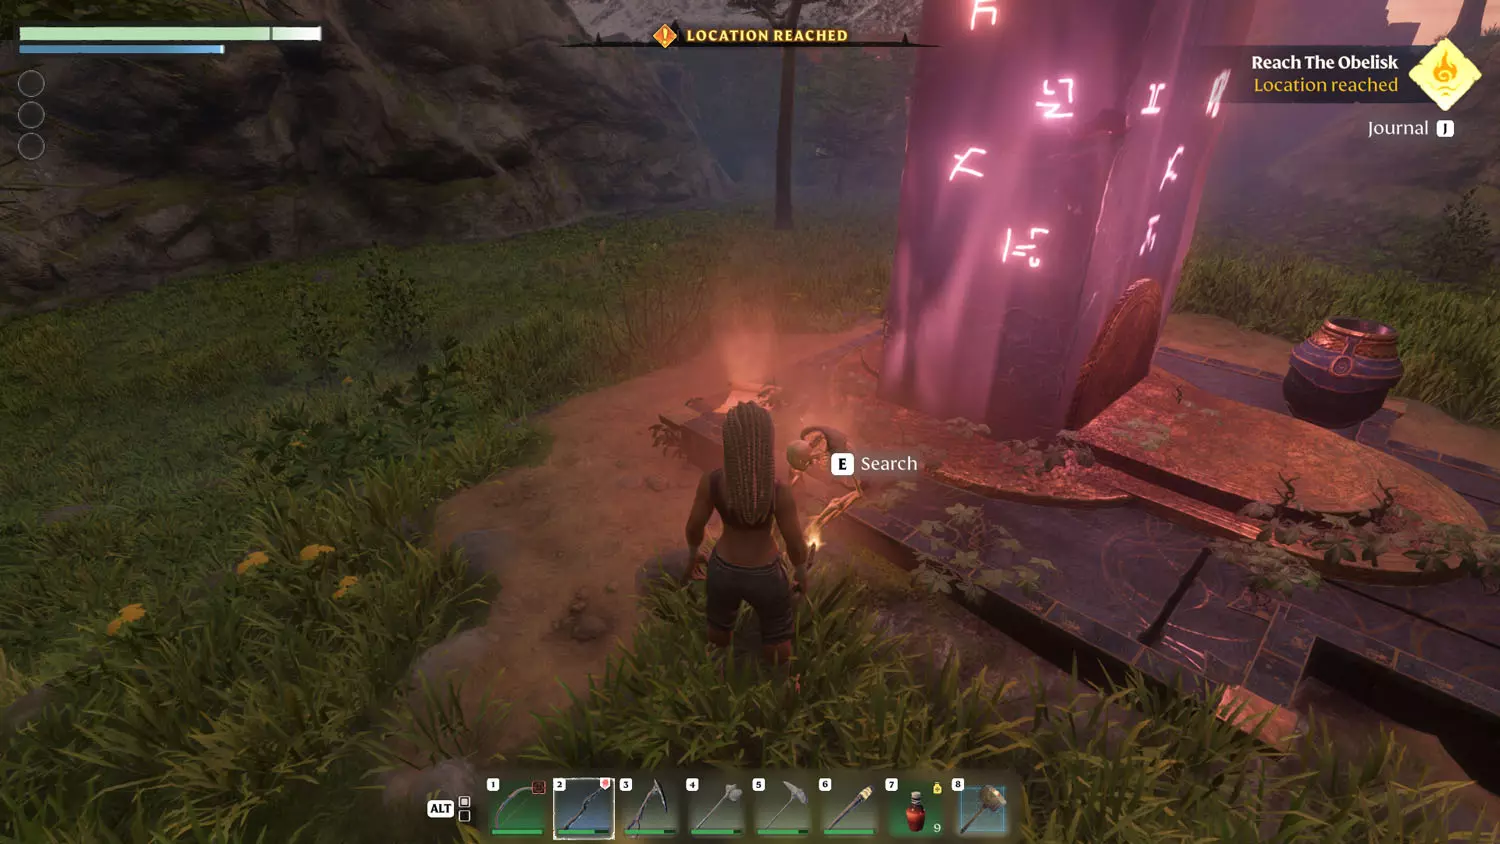
Once you are at the Ancient Obelisk, the quest will be completed once you loot the skeleton. If you loot the body and read the Lore, you will also complete the Ancients and the Flame Lore: One Last Journey. Reading the glowing Ancient Obelisk will also complete the Flame Altar Quest I mentioned above.


Spitting Plants
Rewards: Farmer Garb + 75 XP
This quest starts when you read the Vukah and Wildlife Lore: Spitting Plants 1/2 Dear Oskar,. From there, head to Lush Pasture to raid a house and some bodies.
TIP: You'll also find the second half of the Vukah and Wildlife Lore: Spitting Plants 2/2 The Weeds Are Bad Enough! in Lush Pasture.


The Morning Grind
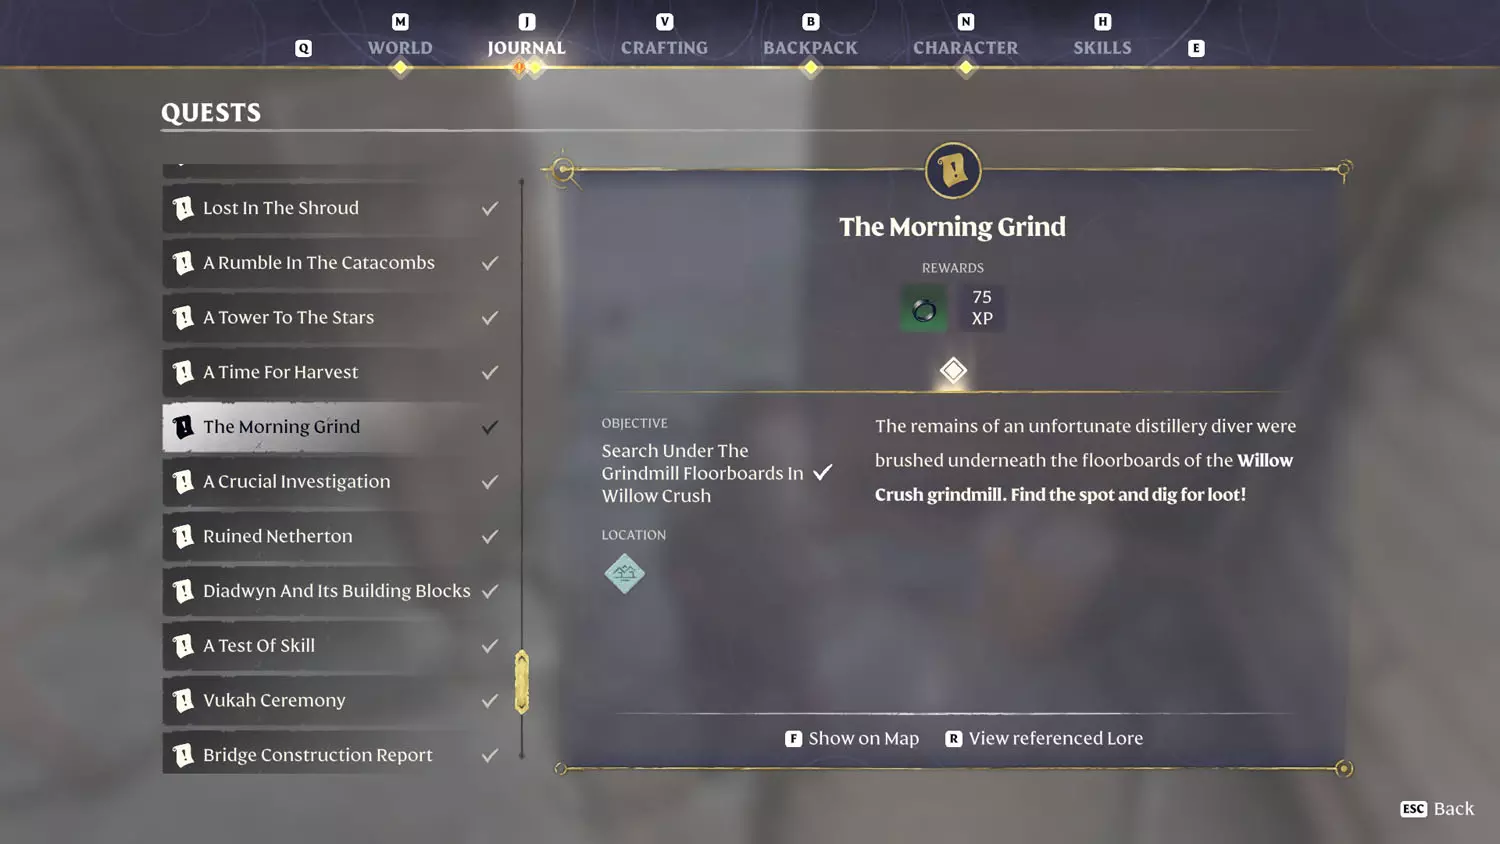
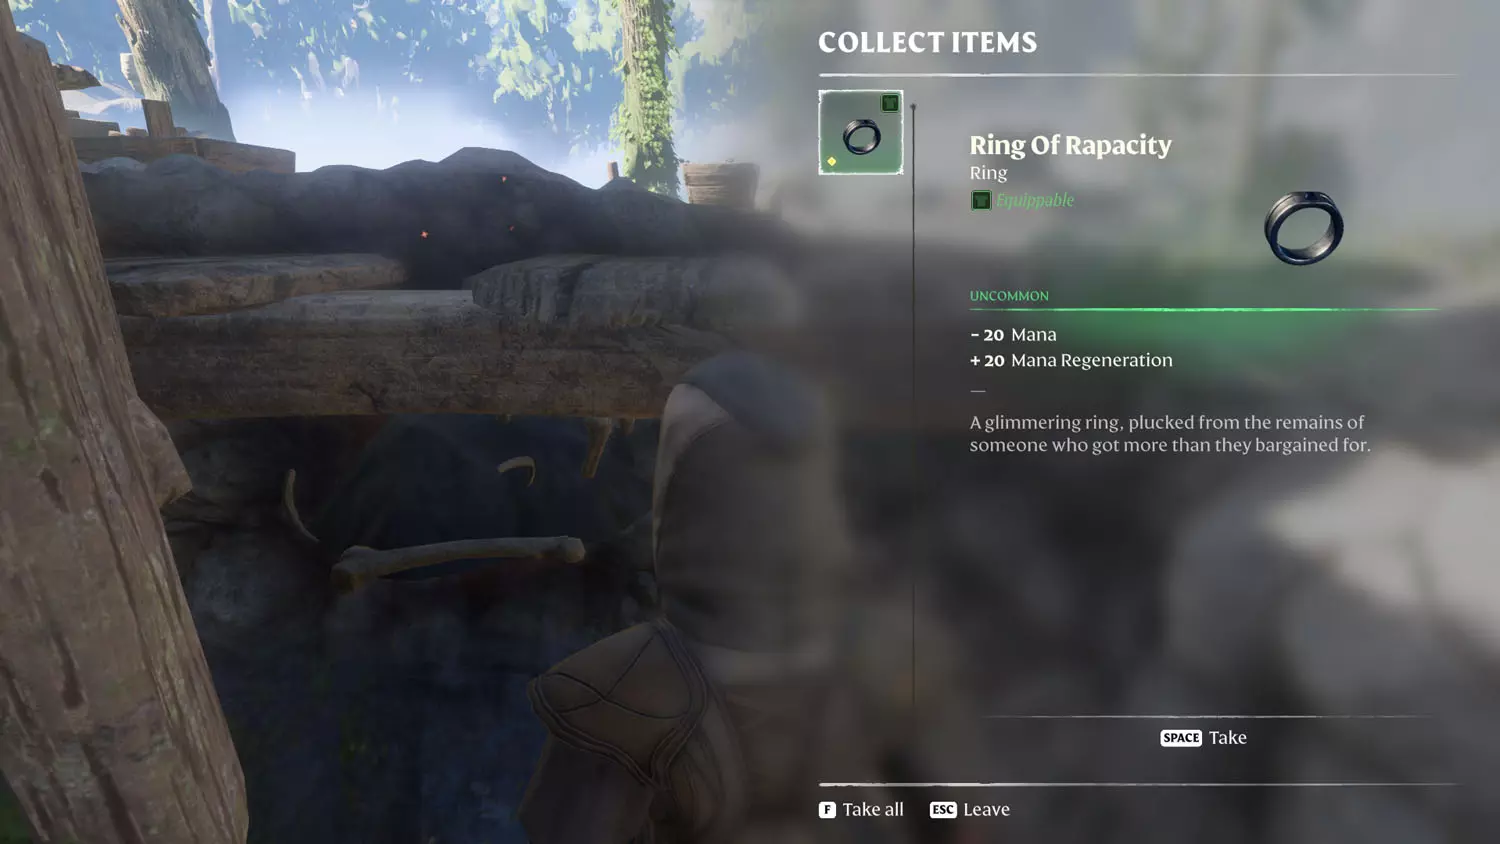
Rewards: Ring Of Rapacity + 75 XP
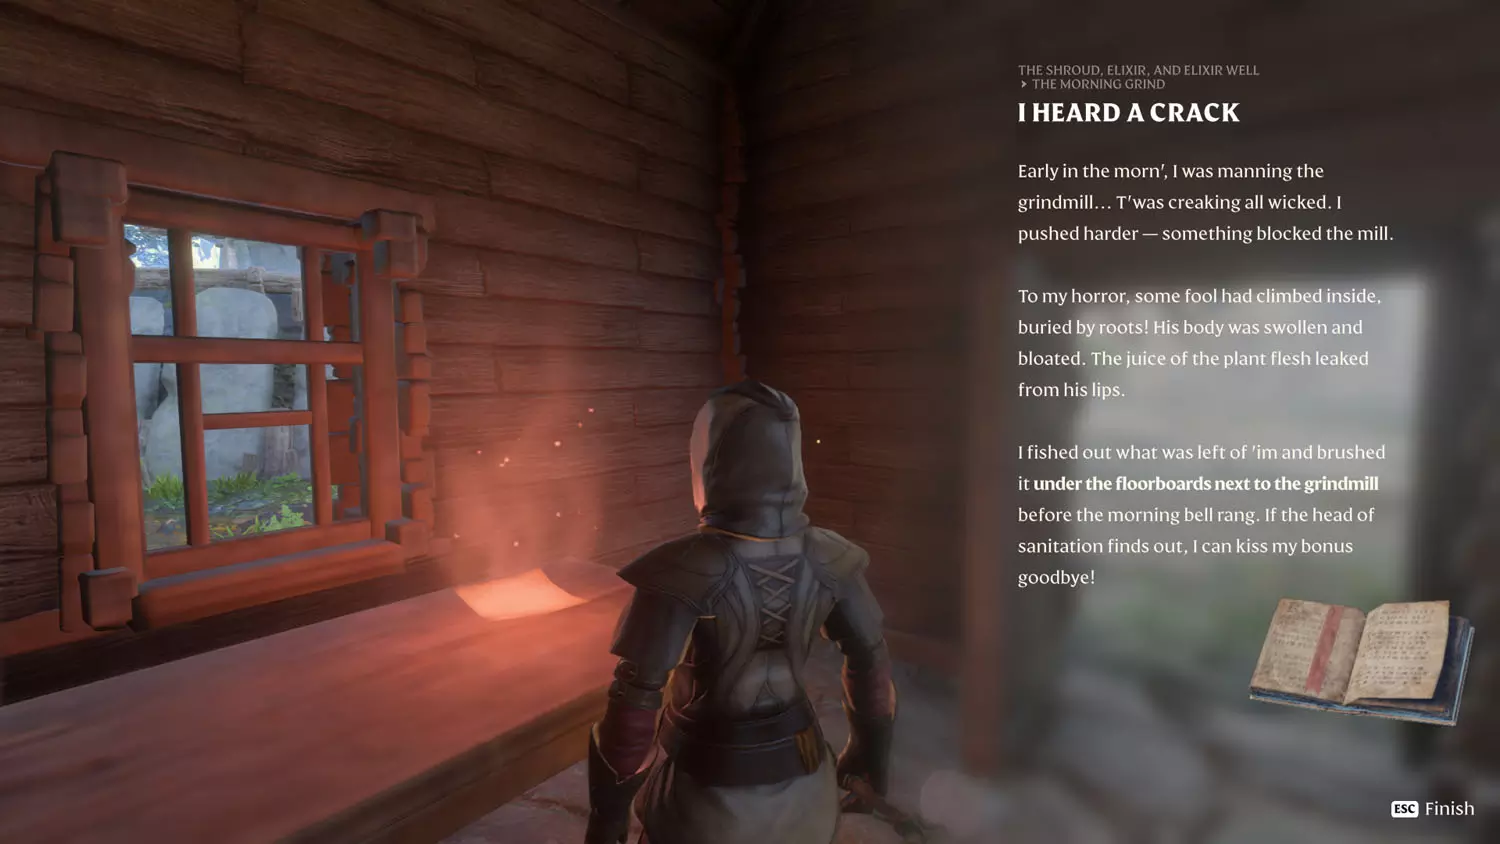
This quest begins when you read The Shroud, Elixir, and Elixir Well Lore: The Morning Grind 1/2 I Heard A Crack, and it is completed when you complete the Lore 2/2 Ring Received.
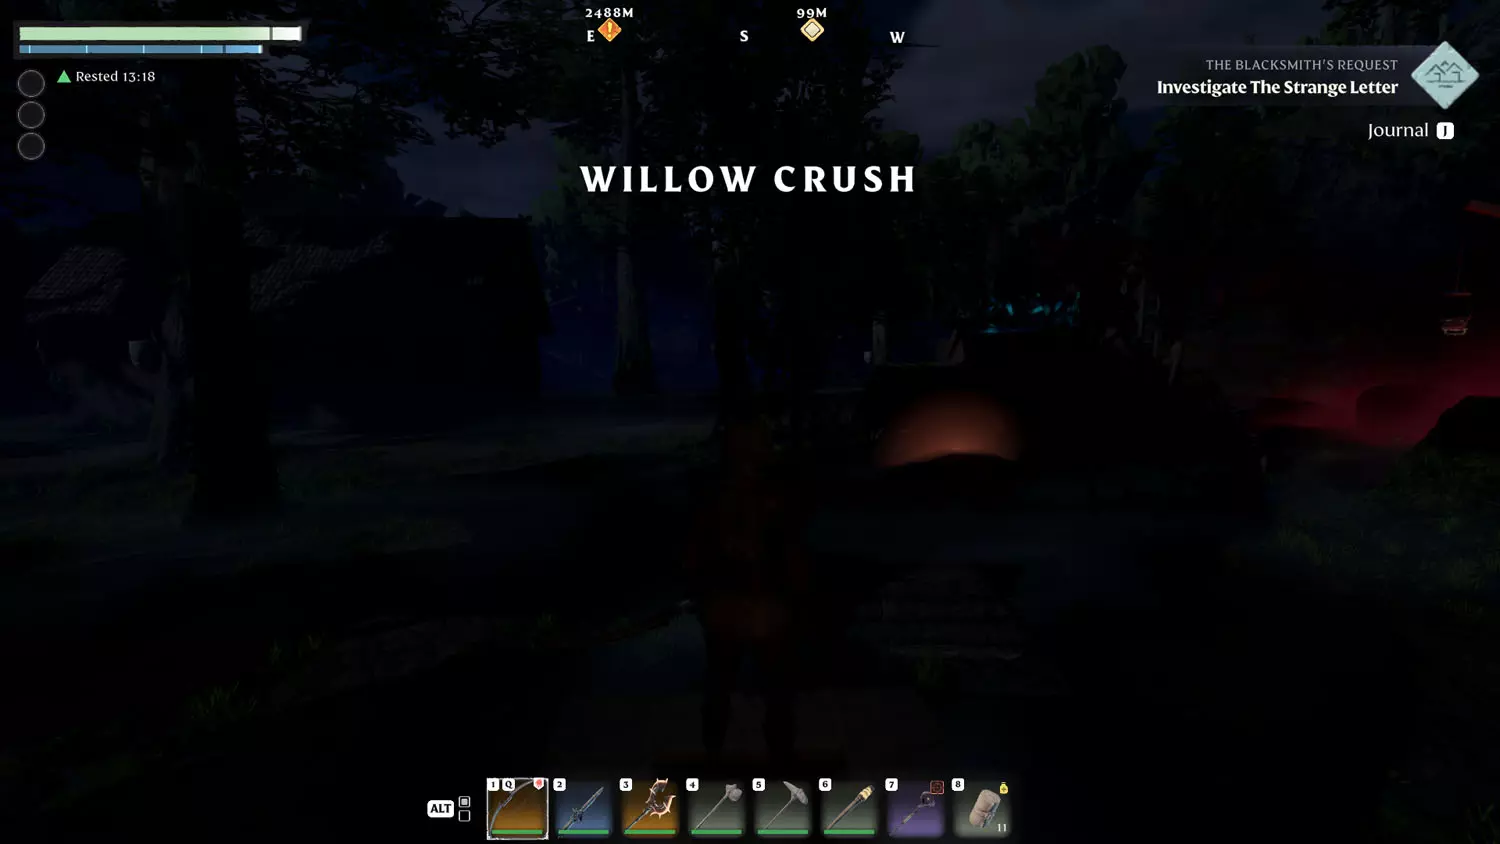
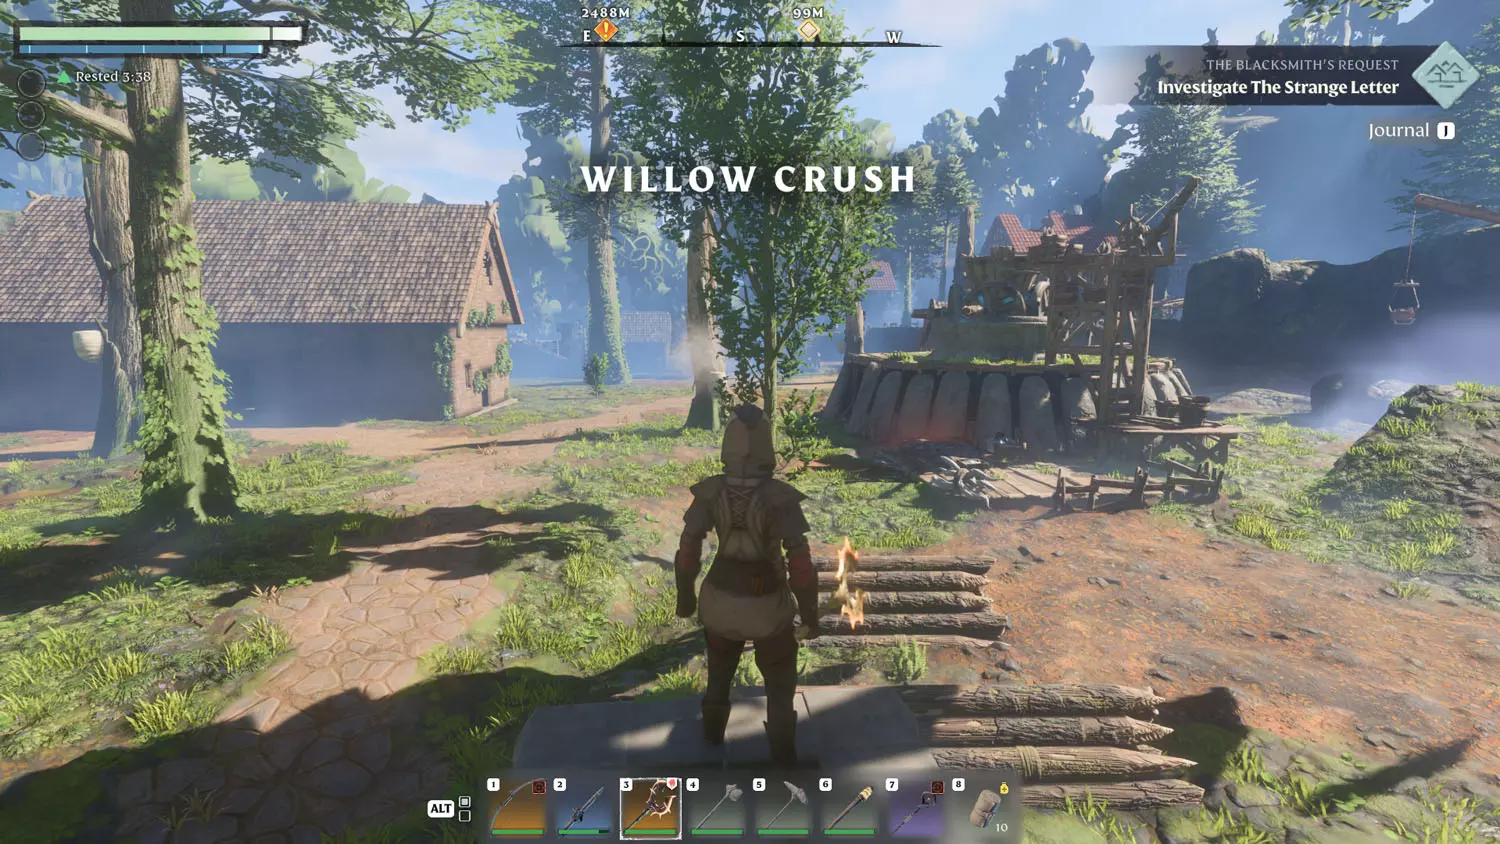
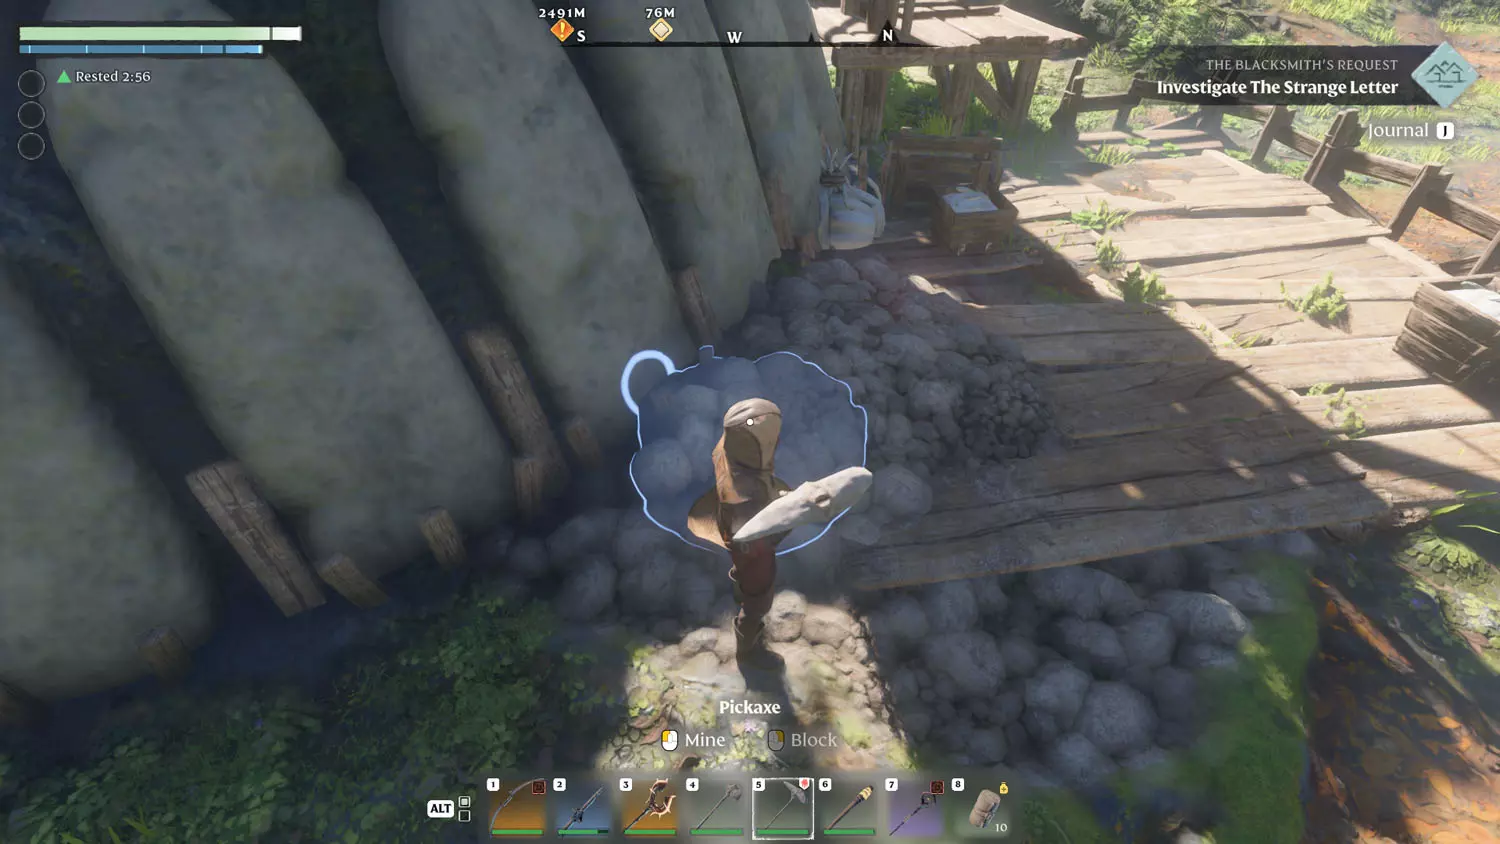
Quick Recap: On the northern end of Willow Crush is a house with the first piece of Lore. From there, still on the northern side of Willow Crush, and at night, it is super easy to spot the body as it glows beneath the grinding mill (there is a night and day shot). Loot the body and the quest is complete! (Willow Crush was updated to be a much bigger place, but I have updated the photos below!)


Gravedigger's Rest
Reward: Gravedigger Attire + 75XP
This quest begins when you read the Nobles And History Lore: A Scattered Legacy 4/5 We Return To Earth Today
.TIP: Check out Pikemead’s Reach Lore And Quests In Enshrouded for more going on in the region.

From atop a nearby roof, you can see the stump of an old tree, located very close to the building you would have entered for the Lore. Beneath that tree is a pile of rubble in front of an unmarked grave. Dig there for the treasure you Gravedigger Treasure you seek!


The Cosmetic Maid Outfit
Reward: The Cosmetic Maid Outfit + 75XP
After completing the Items, XP, and Loot Reward Quest: Tracing The Footsteps, Hannah Reed will have “Our Old Homes Rot Away” dialogue available. This will start the quest for the maid outfit.


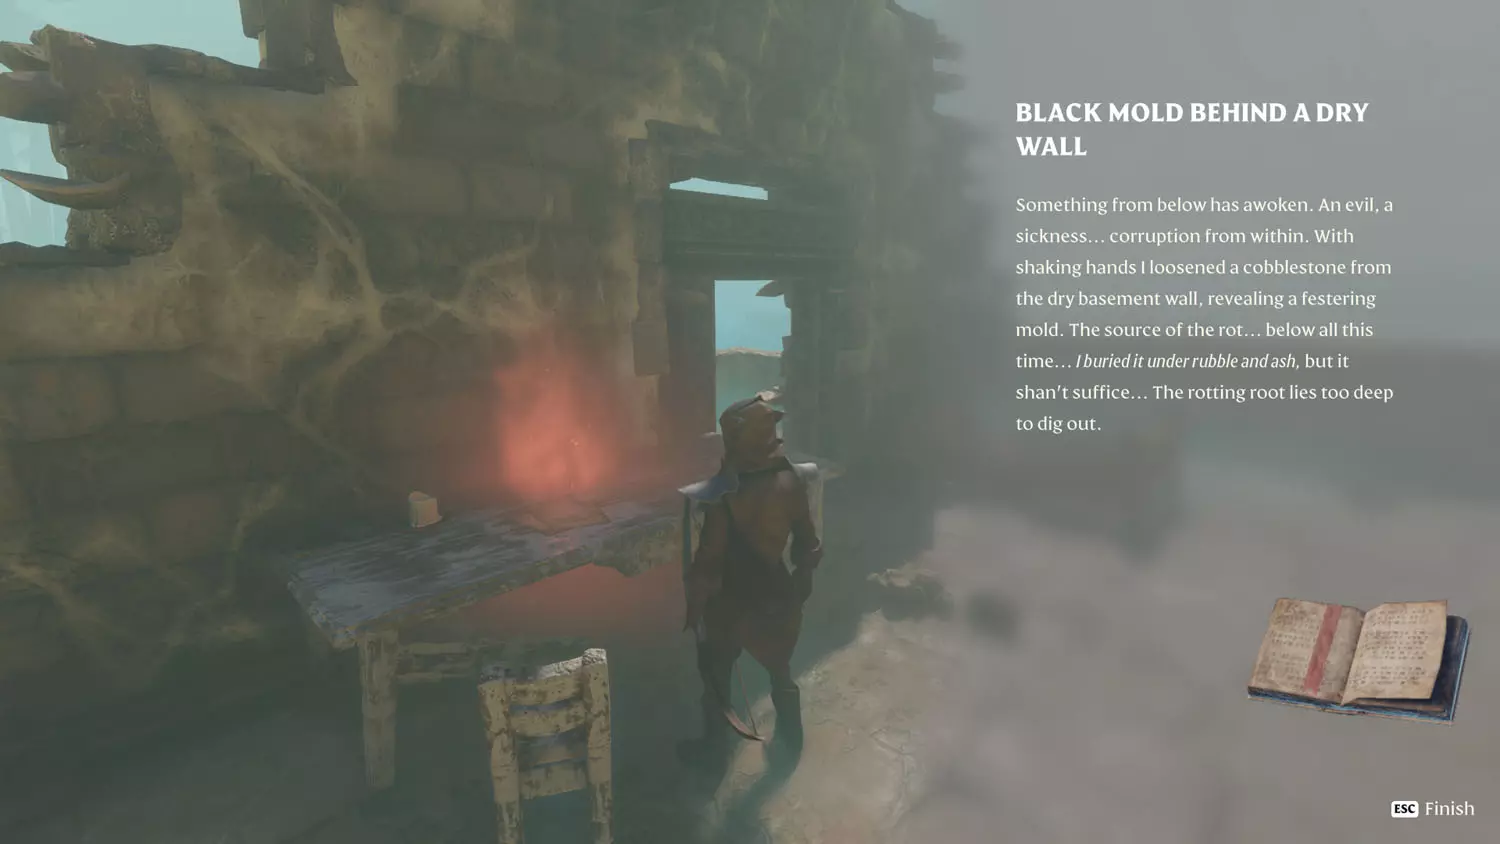
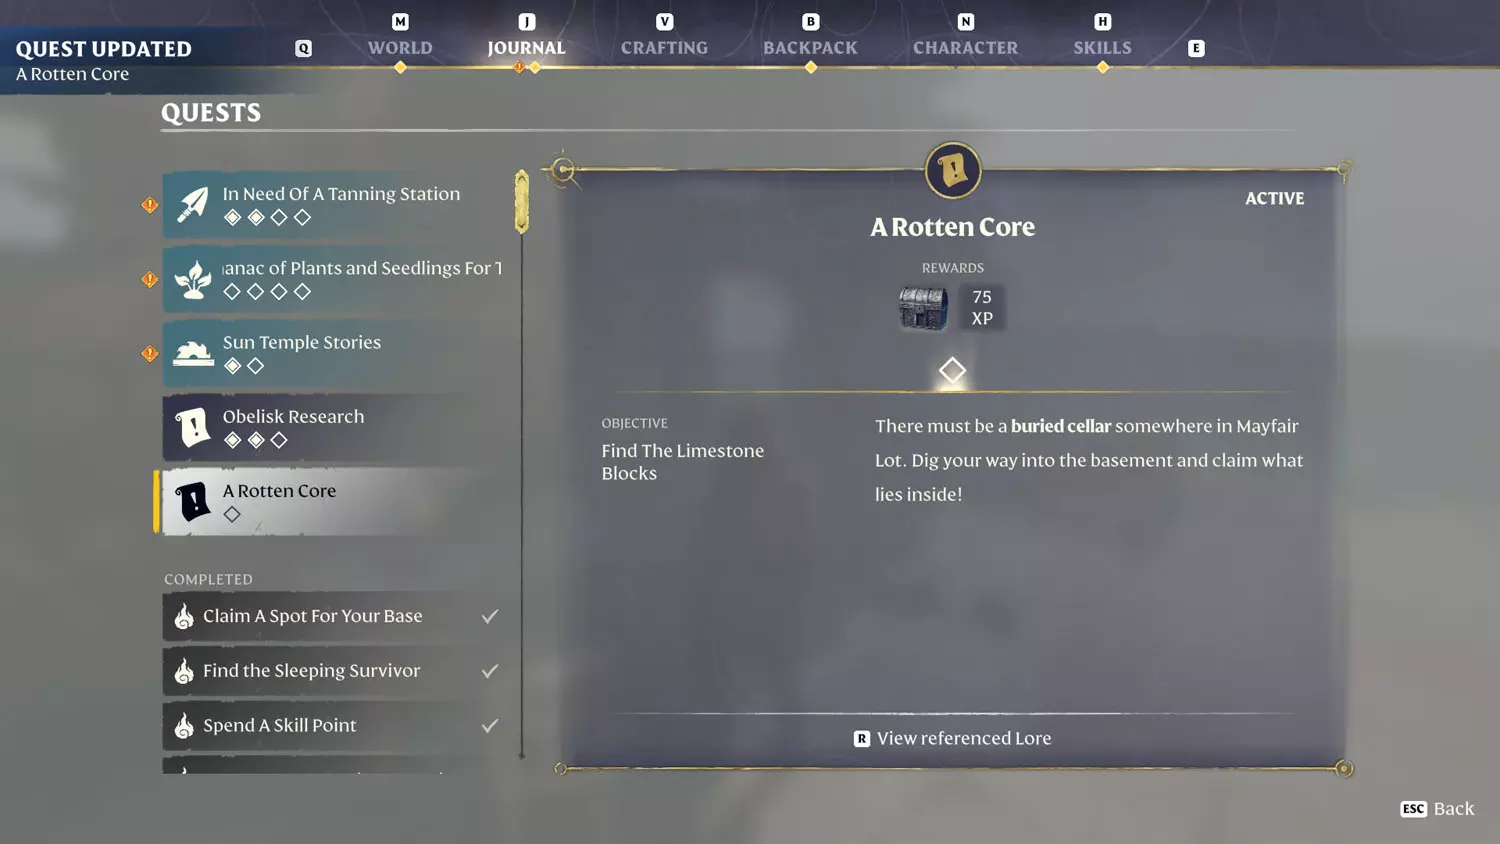
Head to Mayfair Lot (arriving there completes the first requirement) and the hidden basement in the house with the creepy bugs. There will be a silver chest containing the outfit, which will complete the quest.


Another Cosmetic Maid Outfit
Rewards: Milkmaid Garb +75xp
This became available after the Pact Of The Flame Update. Speak with Kaori Conway and select “Dress To Impress” to start the quest.


It’s time to head into the Shroud and an Abandoned Outpost. Reaching the outpost will complete the first part of the quest.


From there, just work your way to the very top and the Silver Chest that awaits you!


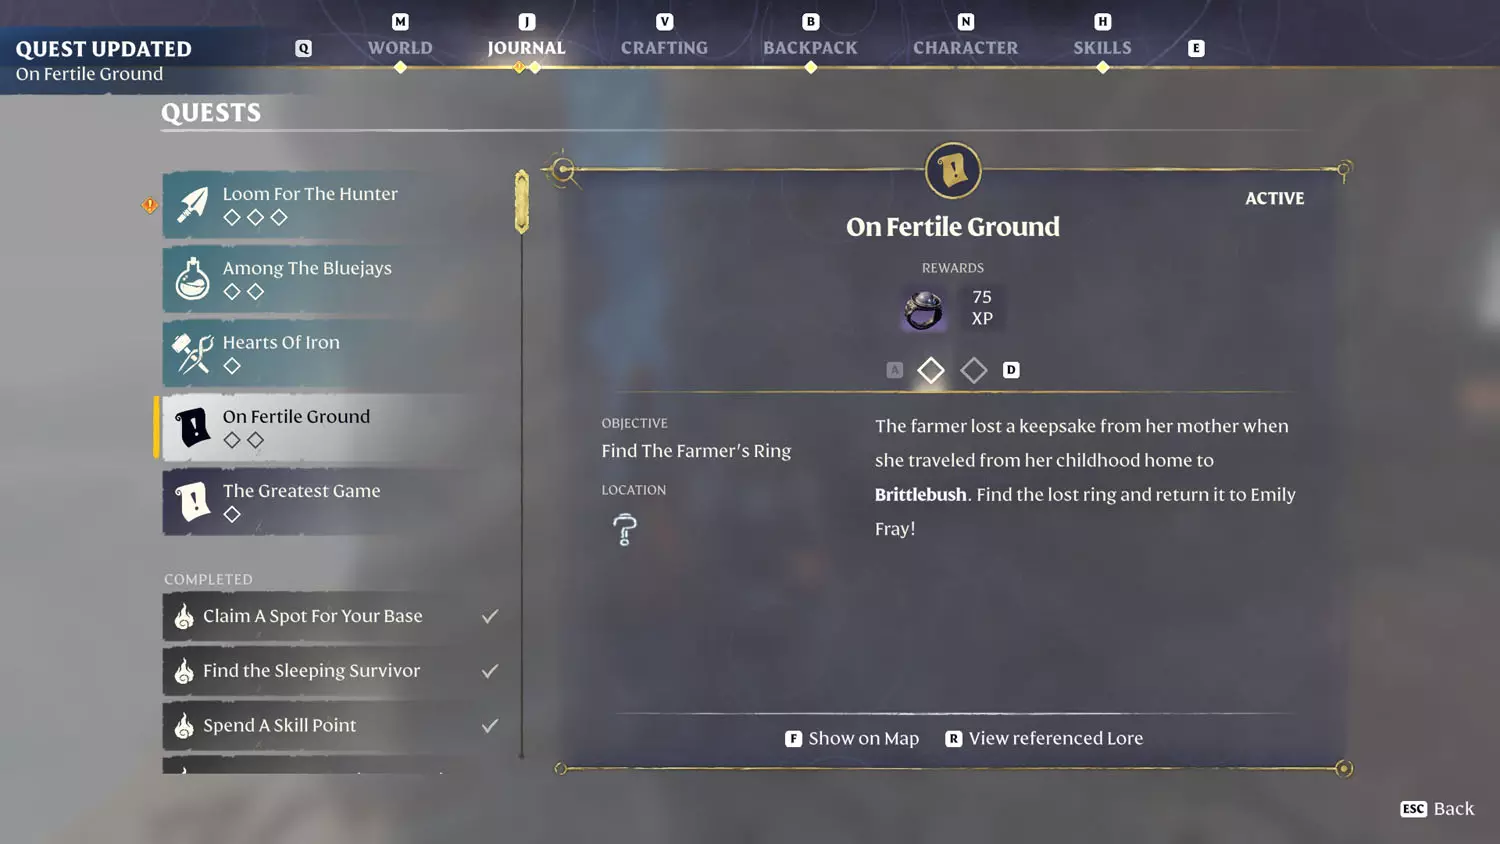
On Fertile Ground
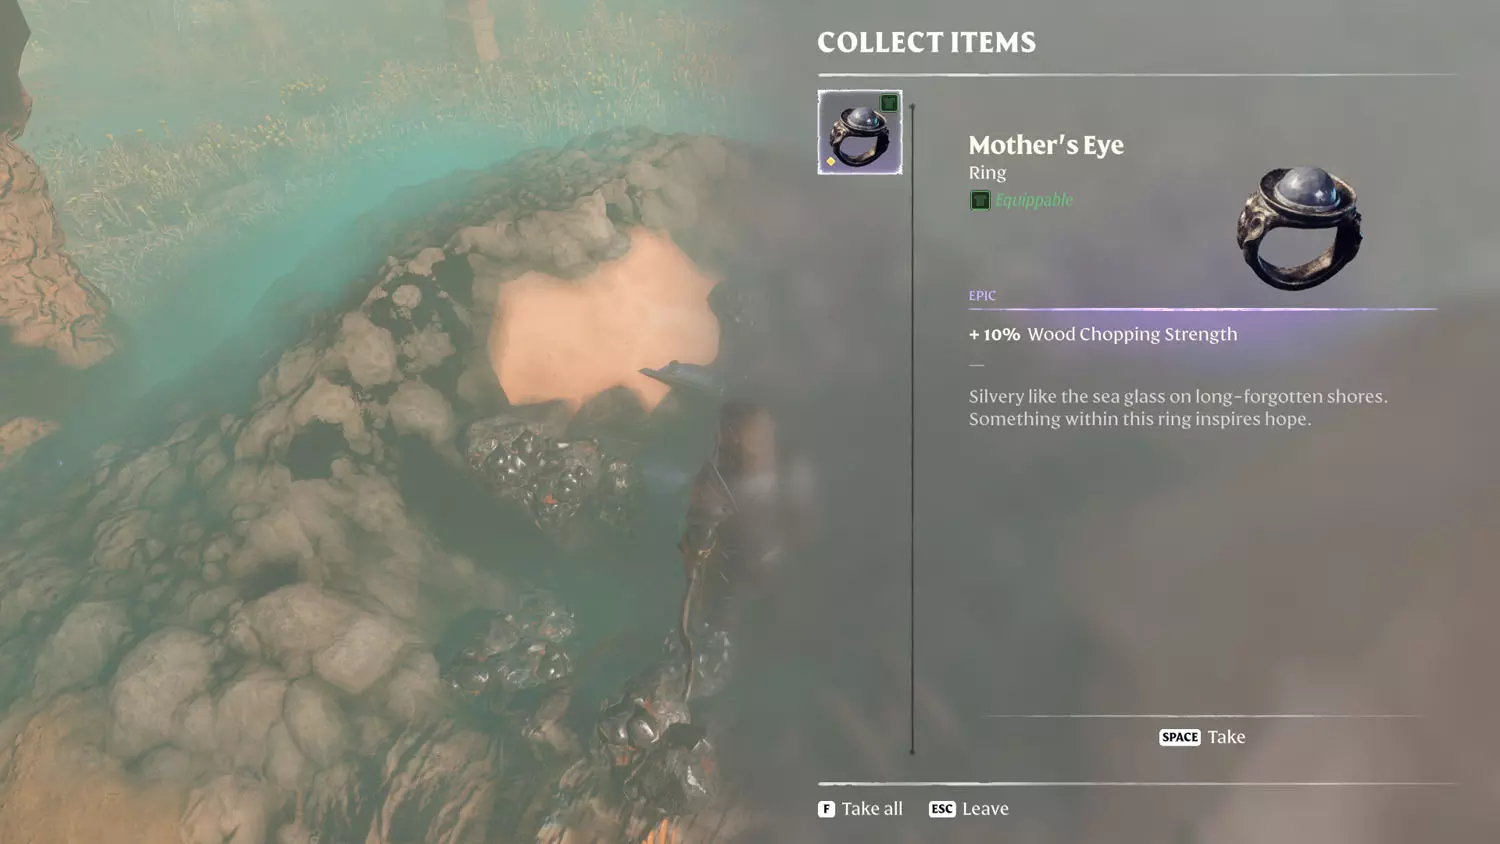
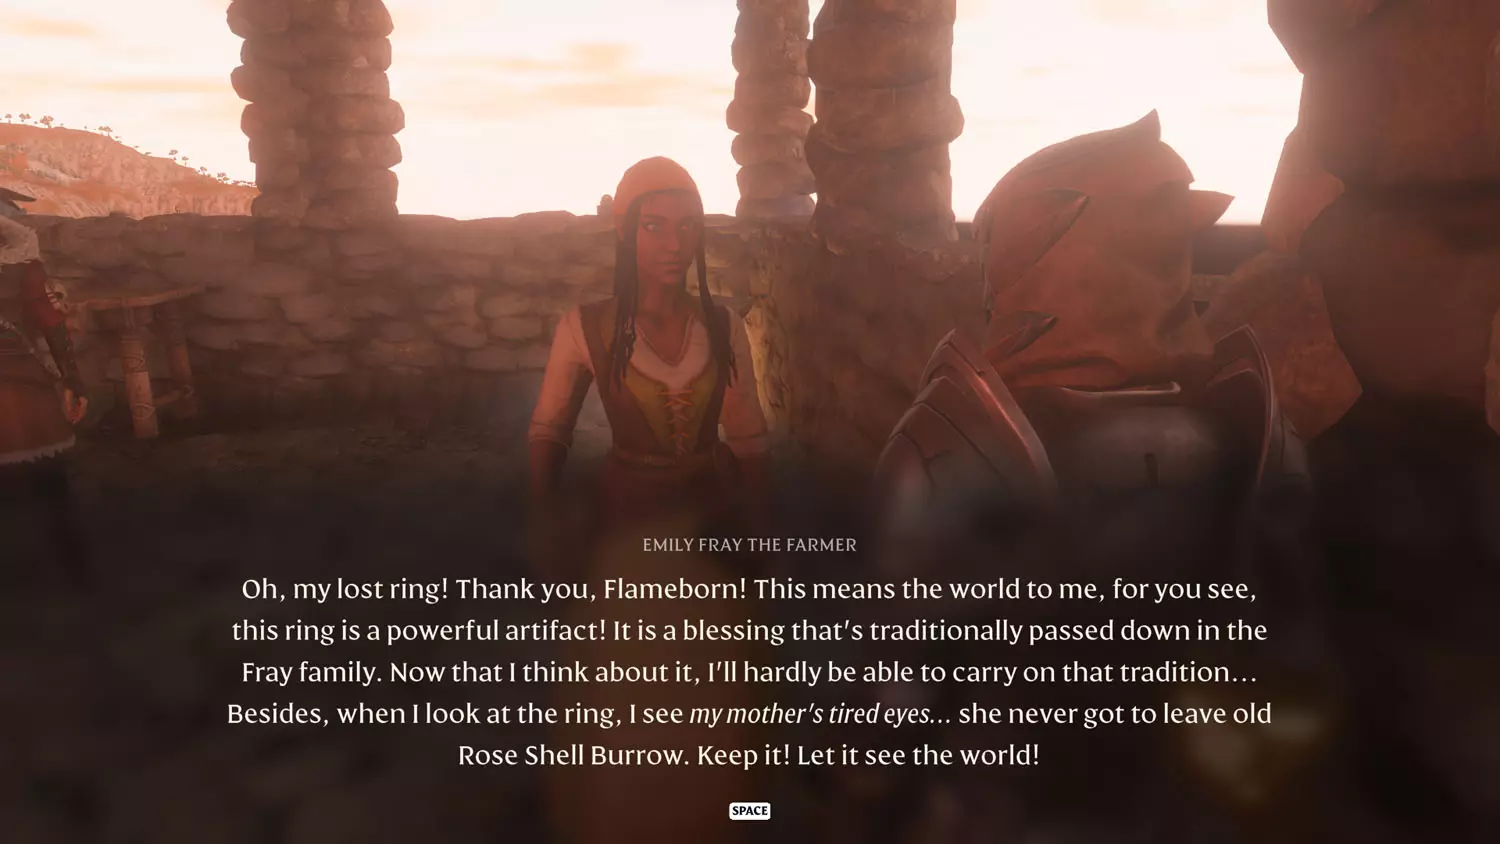
Rewards: Mother’s Eye + 75XP
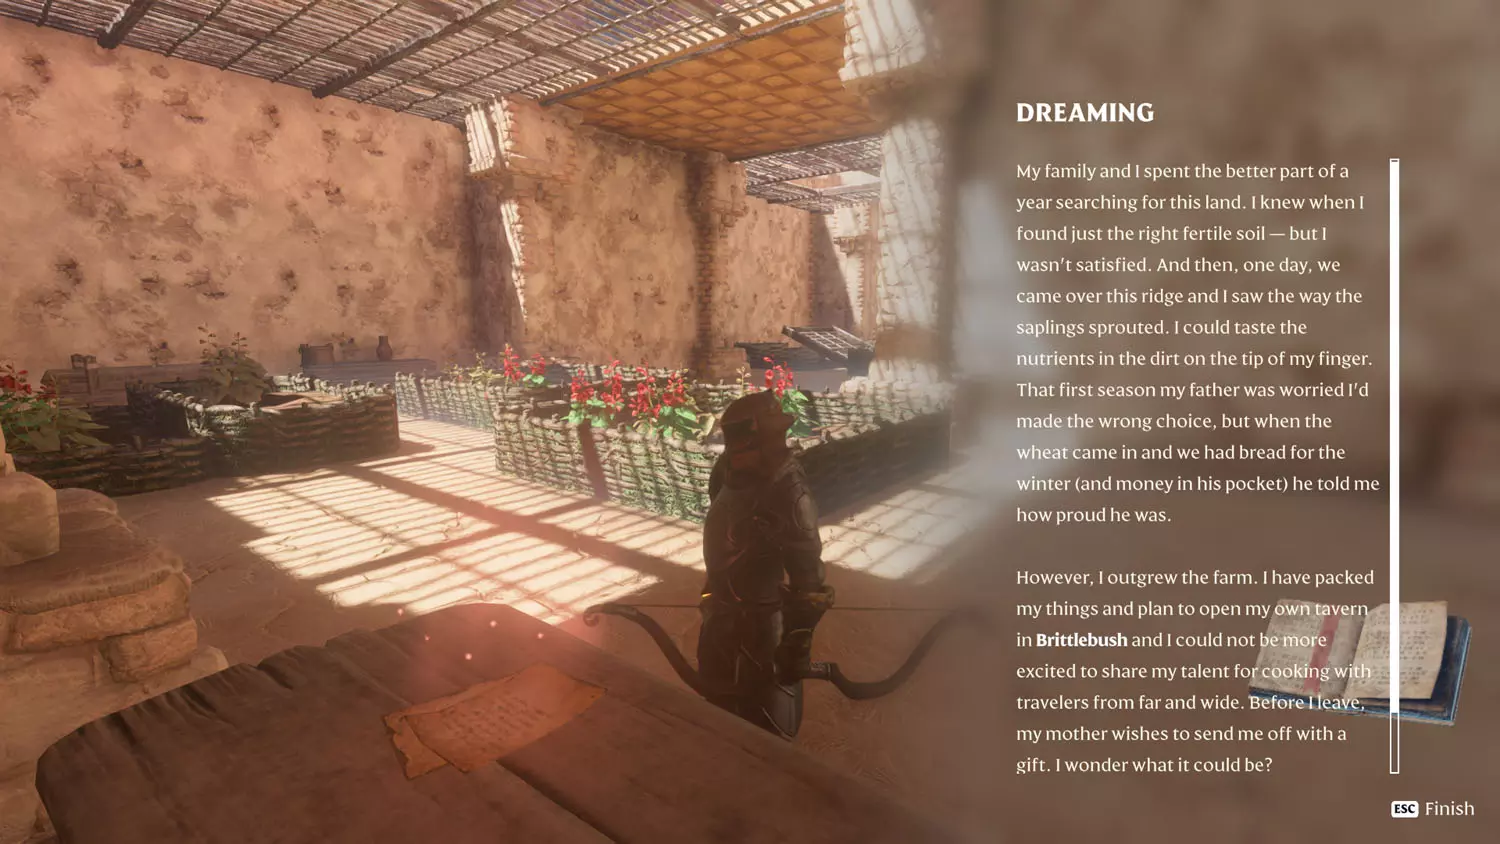
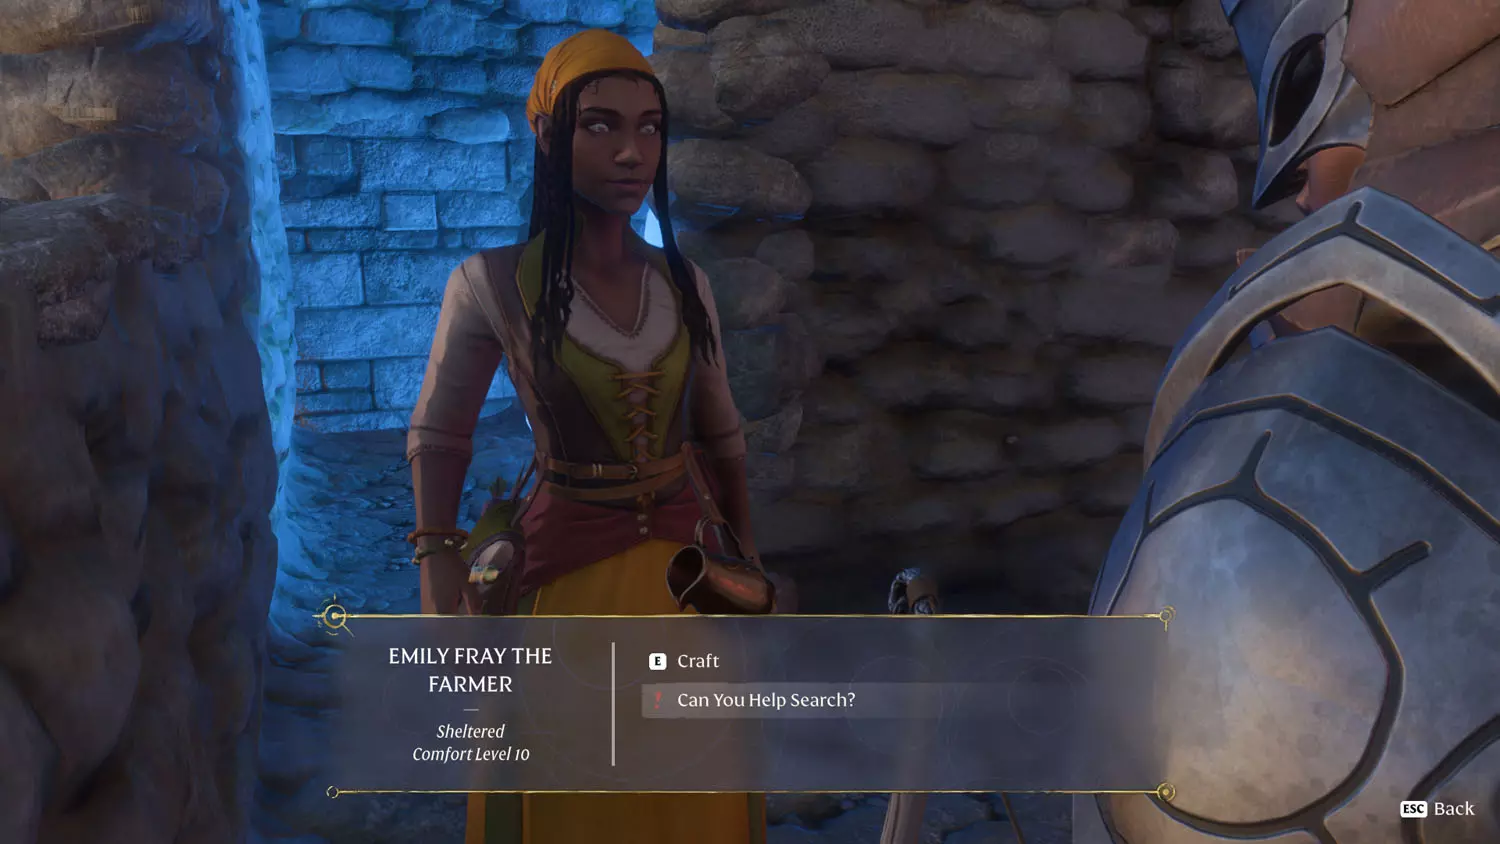
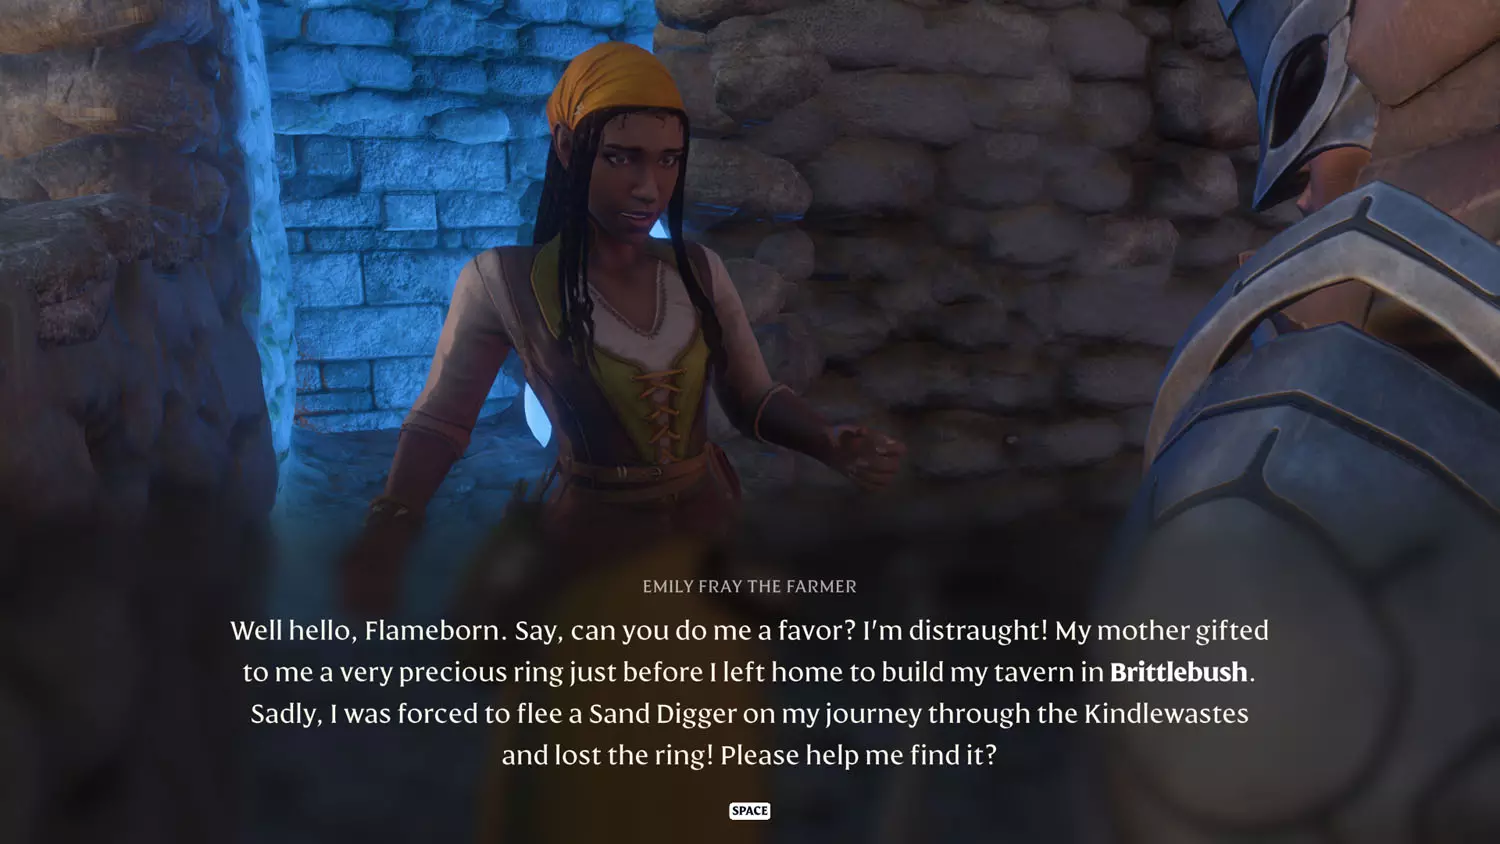
To start this quest, head to Rose Shell Burrow in the Kindlewastes and read the General Lore: On Fertile Ground 1/3 Dreaming. Then, head back to Farmer Emily Fray for the dialogue option “Can You Help Search?”.


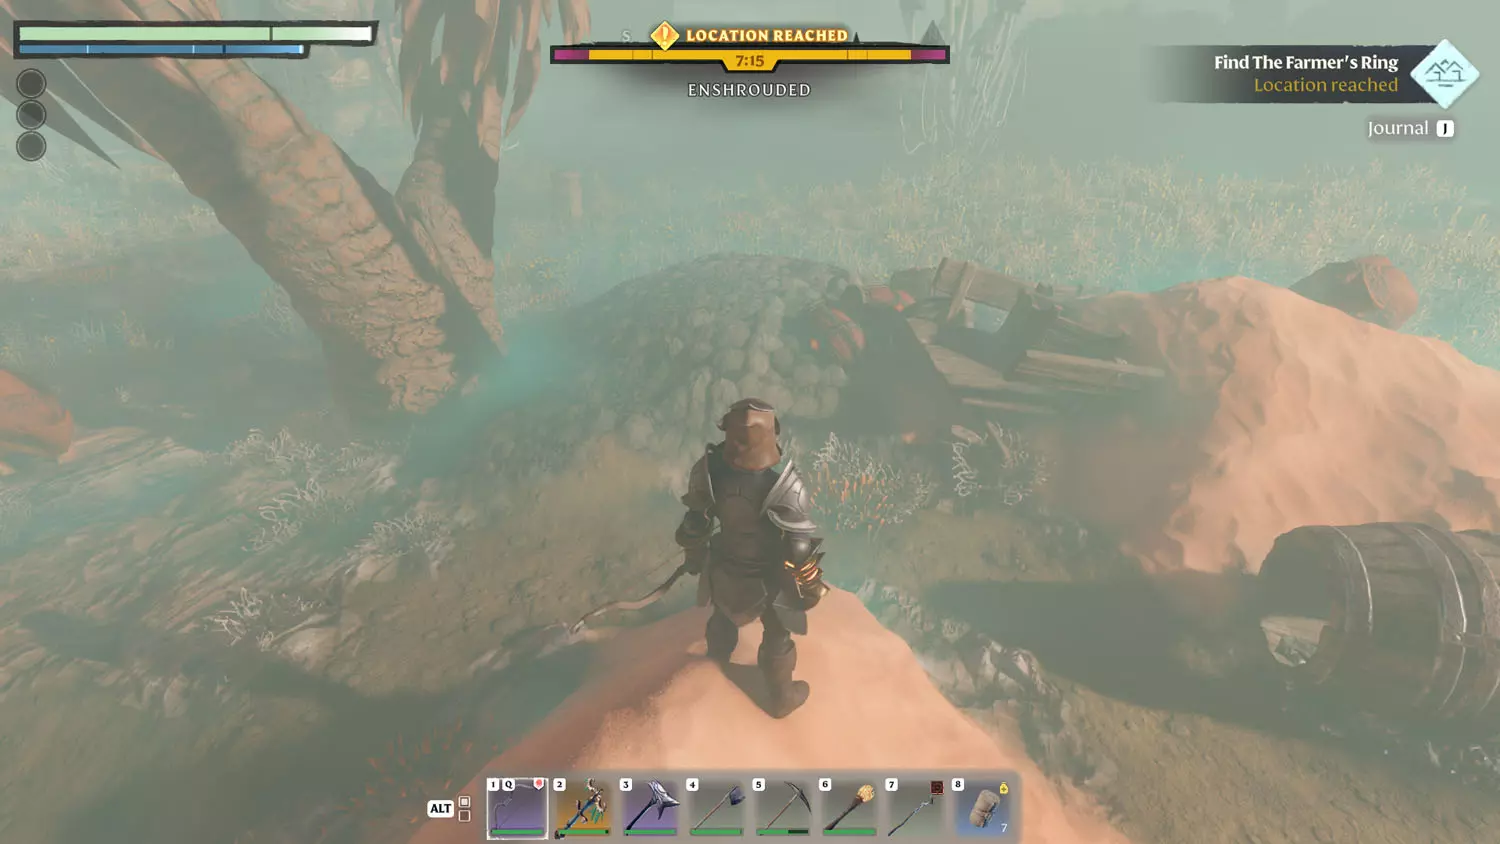
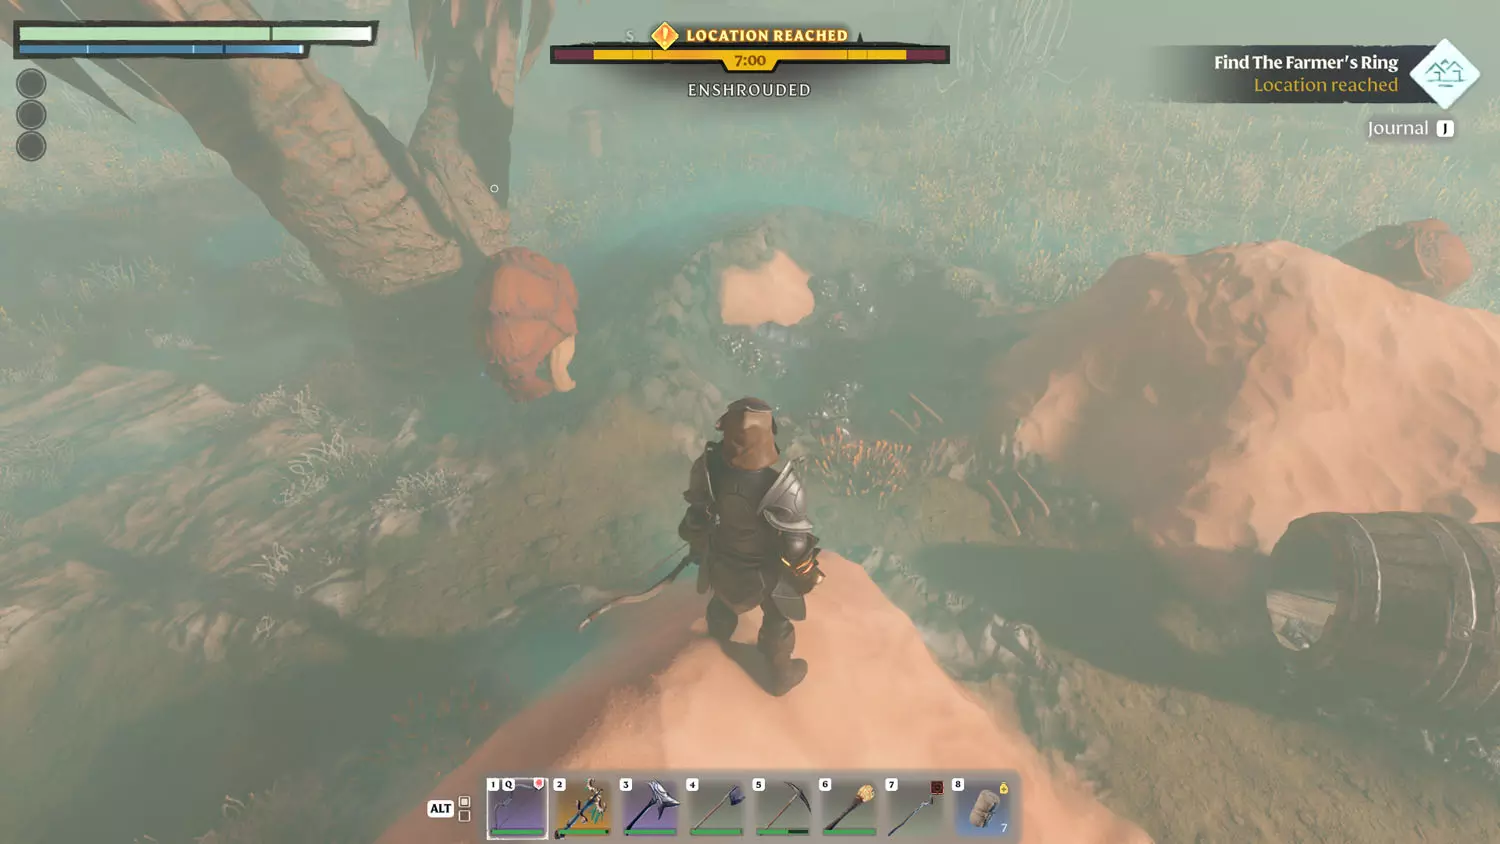
Next up is the Sand Digger location, which doesn’t seem to want to mark itself on the map. Once you obtain the ring Mother’s Eye, part 1 of 2 will be finished.
TIP: This is also part of the General Lore: On Fertile Ground 3/3 Ring Obtained.


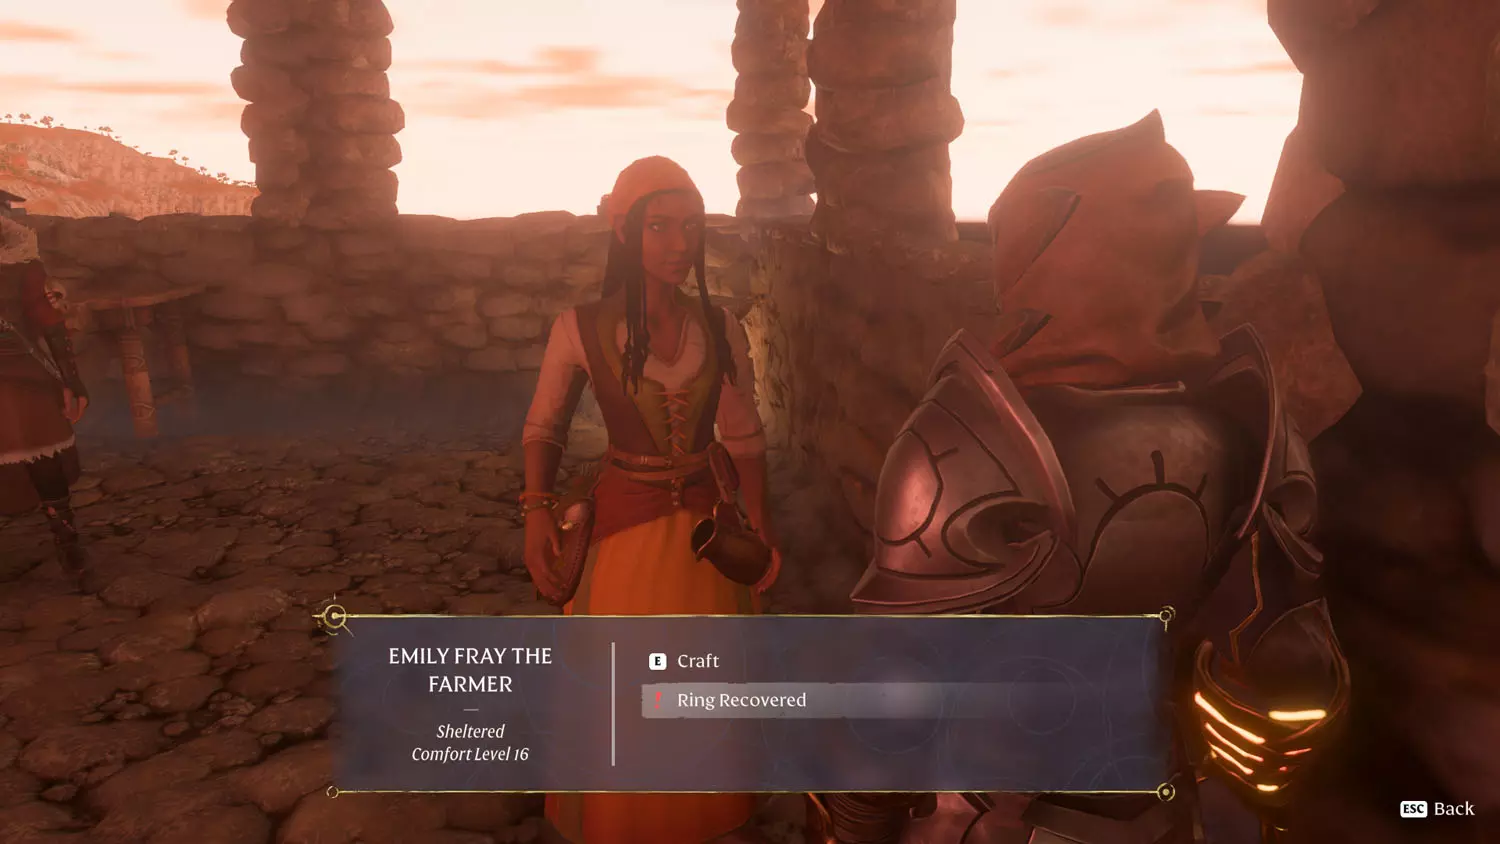
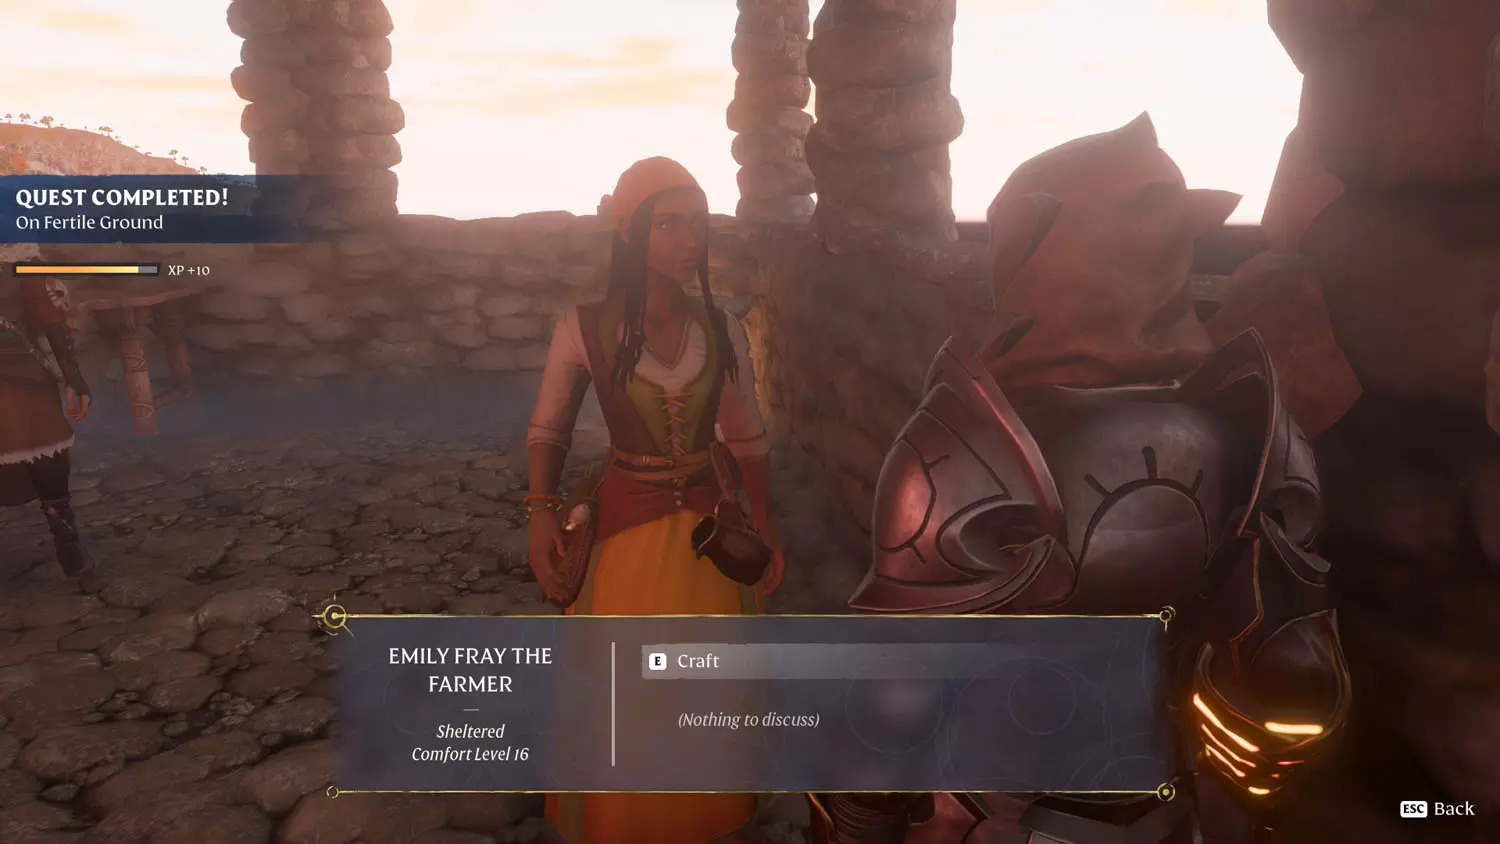
To complete the quest, speak with Farmer Emily Fray again. She will now have the dialogue “Ring Recovered” to select.


The Cosmetic Hunter Outfit
Reward: The Cosmetic Hunter Outfit + 75XP
This quest begins when you select the “Dispersed Hunting Party” from Galen Yager, the Hunter.


From there, head to Brittlebush. Once there, it gets a bit tricky as there are enemies you have to slay in a certain area in order to obtain the loot off their corpses.
TIP: Quests in the area – Farmer Quest: A Beehive Smoker, Building Block Quest: Emily Fray’s Tavern - Desert City Wall, and Carpenter Quest: Sun Temple Stories.
TIP: Lore in the area – General Lore: Honey Misery 1/1 No Honey! & Emily Fray’s Tavern 1/3 Emily Fray’s Diary, Entry 1; The Shroud, Elixir, and Elixir Well Lore: Elin’s Warning 1/1 The Walls Are Alive!


Once you have all the looted cosmetic items (four enemies), the quest will be done!


The Cosmetic Blacksmith Outfit
Reward: The Cosmetic Blacksmith Outfit + 75XP
Shortly after placing Rochelle Anders, she’ll have the dialogue “A Fresh Set Of Clothes”. This starts the quest.


Your destination is a Hidden Tomb Entry. You’ll need to pickaxe or blast your way inside. The clothes are in the deepest part of the tomb in a coffin. Once you loot it, the quest is technically completed.


As a bonus, Rochelle will have the dialogue “Blacksmith Clothes Retrieved” for you when you return.


Cosmetic Hats
Reward: Cosmetic Hats + 75XP
Kaori Conway will have the dialogue “Back Alive” for you shortly after placing her in your base. This will then lead to “Hats Galore”, which will start the quest for the missing hats.


Minstrel Hat
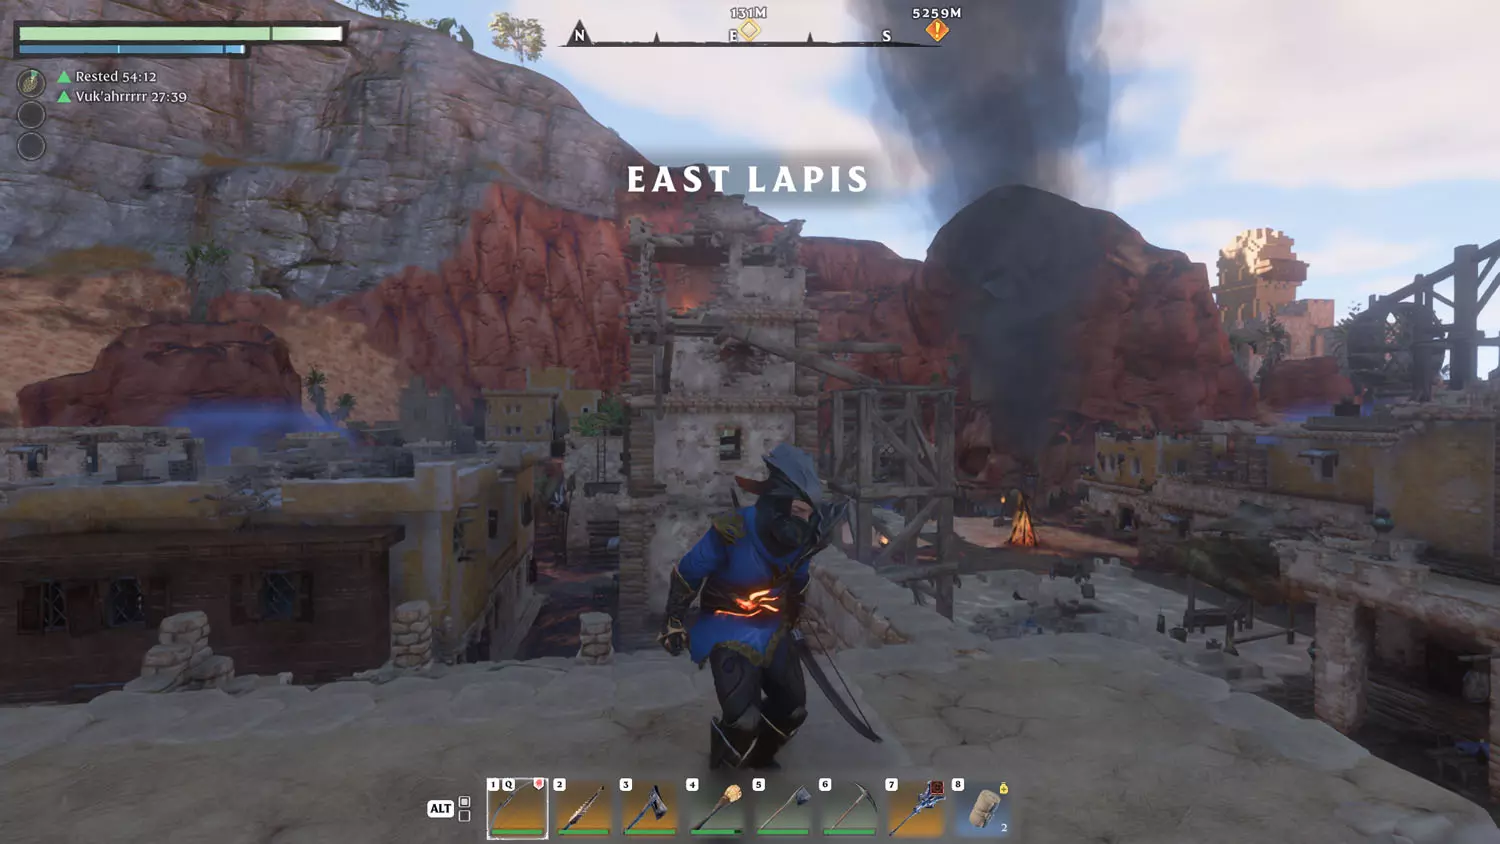
West of East Lapis is a small Vukah camp, but it is not labeled on the map. This is the location of the first hat – Minstrel Hat. It is located on the ledge above the opening in a Silver Chest.


Trader Hat
The second hat (Trader Hat) can be found on a nearby bridge, which is close-ish to Rose Shell Burrow. Your goal is a Silver Chest on the side of the bridge, where there is a damaged edge.


Headscarf
This third hat, the Headscarf, is a bit trickier. It is located in a cave passage southwest of Rose Shell Burrow. Toward the bottom of the passage is a gravely spot with a busted cart sticking out of it. Blow up the pile or dig and you’ll find a Silver Chest with the hat.


Tricorn
The final hat, the Tricorn, can be found at a Shrouded Camp located West of the Ancient Spire - Kindlewastes Fast Travel. Follow the road to an old well and hop inside. Be careful to glide before landing below or you may die.

Here is a before and after of the well opening (left of character’s head) with the Shroud Root behind it and then with the Shroud Root chopped down.


At the bottom of the well is a Silver Chest. Opening the chest will complete the quest!


Spider Goat Farm
Reward: Cosmetic Fluffy Boots + 75XP
This quest starts when you read the Vukah And Wildlife Lore: Spider Goat Farm 1/1 How Do I Tell The Boss?. It is also connected to the Items, XP, and Loot Reward Quest: Finding Cosmetic Fluffy Set (this link has the walkthrough). The quest is completed when you obtain the boots.

Finding Cosmetic Fluffy Set
Reward: Cosmetic Fluffy Set + 75XP
This quest starts when you find a piece of Lore or a piece of Loot related to the Quest.

Fluffy Hood
This one is located pretty close to the Ancient Spire – Albaneve Summits Fast Travel. Take a quick dive down to the Fairfield Goat Farm. There, you’ll find the Albaneve Summits Lore: Brotherly Hijinx 1/1 It's Not Phair, Mom!. From there, head back outside and down the hill a little. There will be a small pen for goats. Dig in the pen and you’ll find a Silver Chest with the Fluffy Hood.


Fluffy Tunic
The Fluffy Tunic can be found in the Enshrouded Goat Farm, though you’ll need a Flame Altar of level 8 to survive long enough to snag the loot. Head through the front door and up the ladder and metal grate to a platform. From there, hop over to a slanted platform and you should see a Silver Chest in a nook ahead of you (it’s near my head in the third image).


Fluffy Mittens
The Fluffy Mittens can be found at the Grassy Pasture Goat Farm to the northeast. The Silver Chest is just inside the front door.


Fluffy Pants
Wickmouth Goat Farm has the pants you’re after! Head into the building on the right and grapple your way to the top. There you will find the Silver Chest with the Fluffy Pants.


Fluffy Boots
The Fluffy Boots can be found at Little Rock Goat Farm. In the main building, head up the side stairs to a door and then look up. There will be a grapple spot that takes you to a Silver Chest. Loot the chest to claim your Fluffy Boots!
TIP: This piece of the set is related to the Vukah And Wildlife Lore: Spider Goat Farm 1/1 How Do I Tell The Boss?, which starts the Items, XP, and Loot Reward Quest: Spider Goat Farm.


Finding Cosmetic Winterly Set
Reward: Cosmetic Winterly Set +75 XP
This quest began after finding one of the Cosmetic Winterly Set items. All 5 pieces are located in Polaris Falls.
TIP: Lore and Quests in Polaris Falls - Ancients And The Flame Lore: The Twinflame Swords 1/2 Never Whole (reading this will start the Items, XP, and Loot Reward Quest: The Lesser Twinflame Sword) & Albaneve Summits Lore: Polaris Falls Cyclops Cave 1/2 Gotta Fix That Fence (reading this will start the Items, XP, and Loot Reward Quest: Polaris Falls Cyclops Cave) and Bed Time Stories 1/2 Who Is Scared Of Flying Horrors?.

Winterly Hat
The hat can be found in what I believe is the tavern of the town. Head through the double doors and take a right and down a short flight of stairs.


There is a hidden door behind a flimsy bookshelf (I destroyed it in the image above so it was easier to spot). Behind the door is a Silver Chest with the headgear inside.


Winterly Chest
The chest piece is a sneaky bugger! You’ll want to go above and just outside of the town to reach it. I followed a cave near the goats and blew up / dug my way into a cave which wound itself up to the cliff in the photo below.

Just outside of that cave is a suspicious rubble pile. Destroy it to reveal the Silver Chest with the chest piece inside.


Winterly Gloves
Next up are those comfy cozy gloves! It’s time to head inside the warehouse for the ships. Head back into the suspiciously dark room and look to the left (not the fire side).


Smash the barrels and open the hidden door on the other side. There you’ll find the silver chest with the loot.


Winterly Pants
This one is pretty easy to get to. There is a bridge area and ice under the bridge. There’s also a hidden door down there with a Silver Chest on the other side.


Winterly Boots
The boots can be found near the entrance to Polaris Falls.

Head up and through the double doors below and to the left of the hole in the wall. Just inside the doors is a barricade to the right. Smash it down and blow up the barrel on the other side to reveal a secret door. On the other side of that door is the last piece of the cosmetic set.


A Special Guest On Hollow's Eve
Reward: Hollow's Eve Cosmetic Outfit + 75XP
This quest begins when you read the Hollow Lore: A Special Guest On Hollow’s Eve 1/1 Moving Shapes.

Reaching the Spooky Grave will complete the first part of the quest.


Hollow’s Eve Gloves
From the entrance, I descended and took the right path – the other path had spikes. Be careful in the red room not to fall into the Shroud lava floor or you’ll have to start over … like I did >_>

After the red room, there is a hidden door with a Silver Chest. There were other hidden doors before this, but they all had empty coffins. From there, I went right again. Then, the path split again, and I took another right. This path leads to the gloves – located in a silver coffin.


Hollow’s Eve Pants
Heading back over the spike trap floor, I went straight and descended a staircase (left would have taken me back to that Silver Chest from before.

This path leads to a Silver Coffin, but the path also splits here. I took the dark and spooky left path. The darkness led to a Gold Coffin with the Hollow’s Eve Pants.


Hollow’s Eve Chest
Next up was to head back to the Silver Coffin and head down the red path. This pretty quickly led to the Hollow’s Eve Chest piece.


Hollow’s Eve Boots
Heading back to the Silver Chest, I went straight this time (left heads back to the entrance). There was a Silver Coffin down this path “hidden” by a wall of wooden planks.


Hollow’s Eve Hood
Back to the entrance! Head right to meet back up with that Silver Chest from before. Then head up the stairs and through that first red room and keep going until the path splits. Take the right path (it’s the path I ignored I the very beginning).

This rather quickly leads to a dead-end, but wait! There’s a trap door with a skeleton there! Loot the Silver Chest inside to complete the quest. Then, take the right path to exit the place.


Enemy Drop Reward
A Crucial Investigation
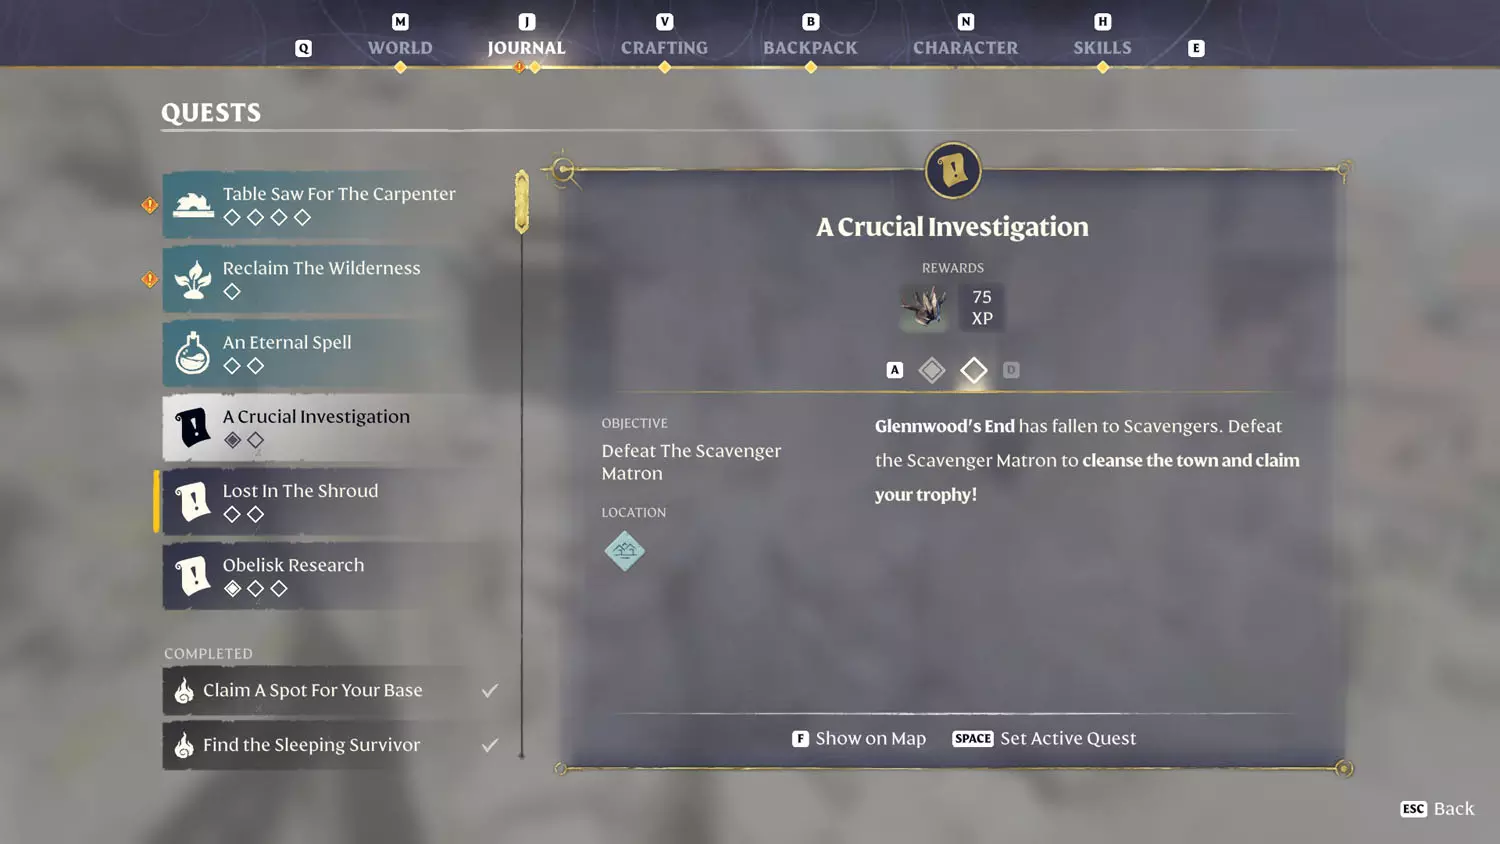
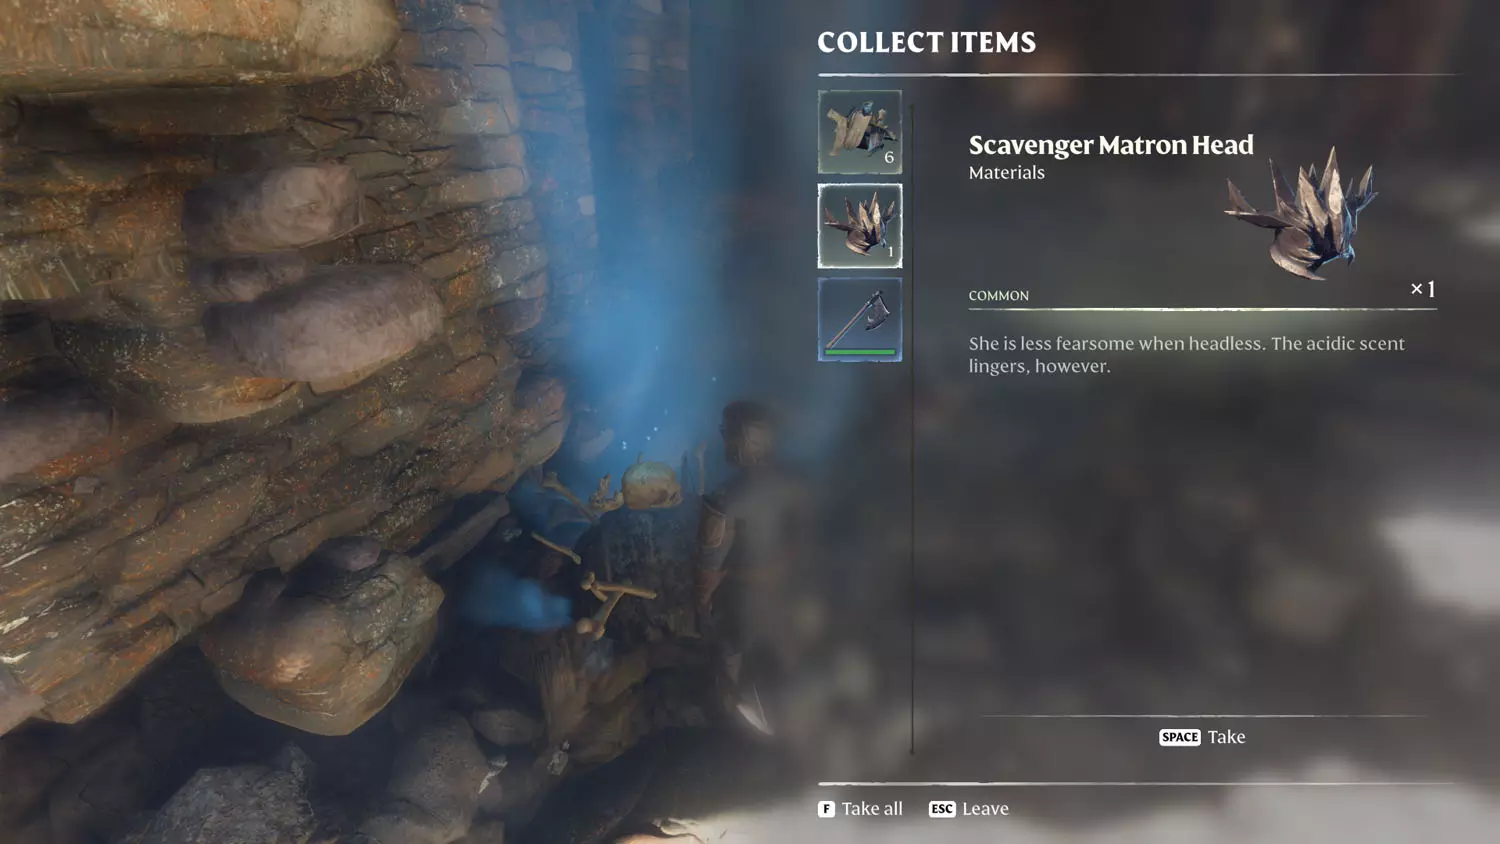
Rewards: Scavenger Matron Head + 75 XP
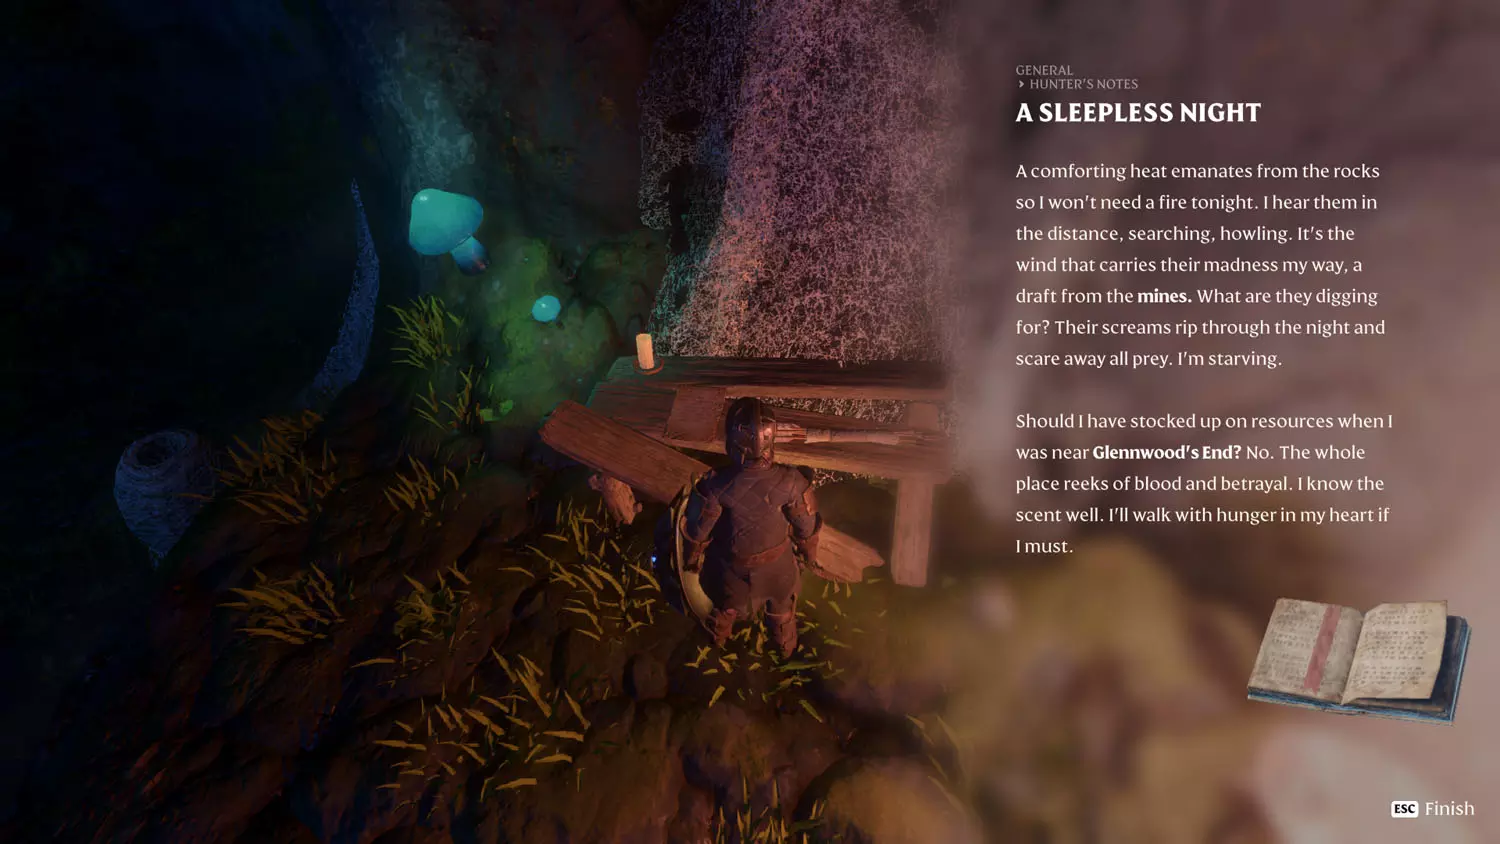
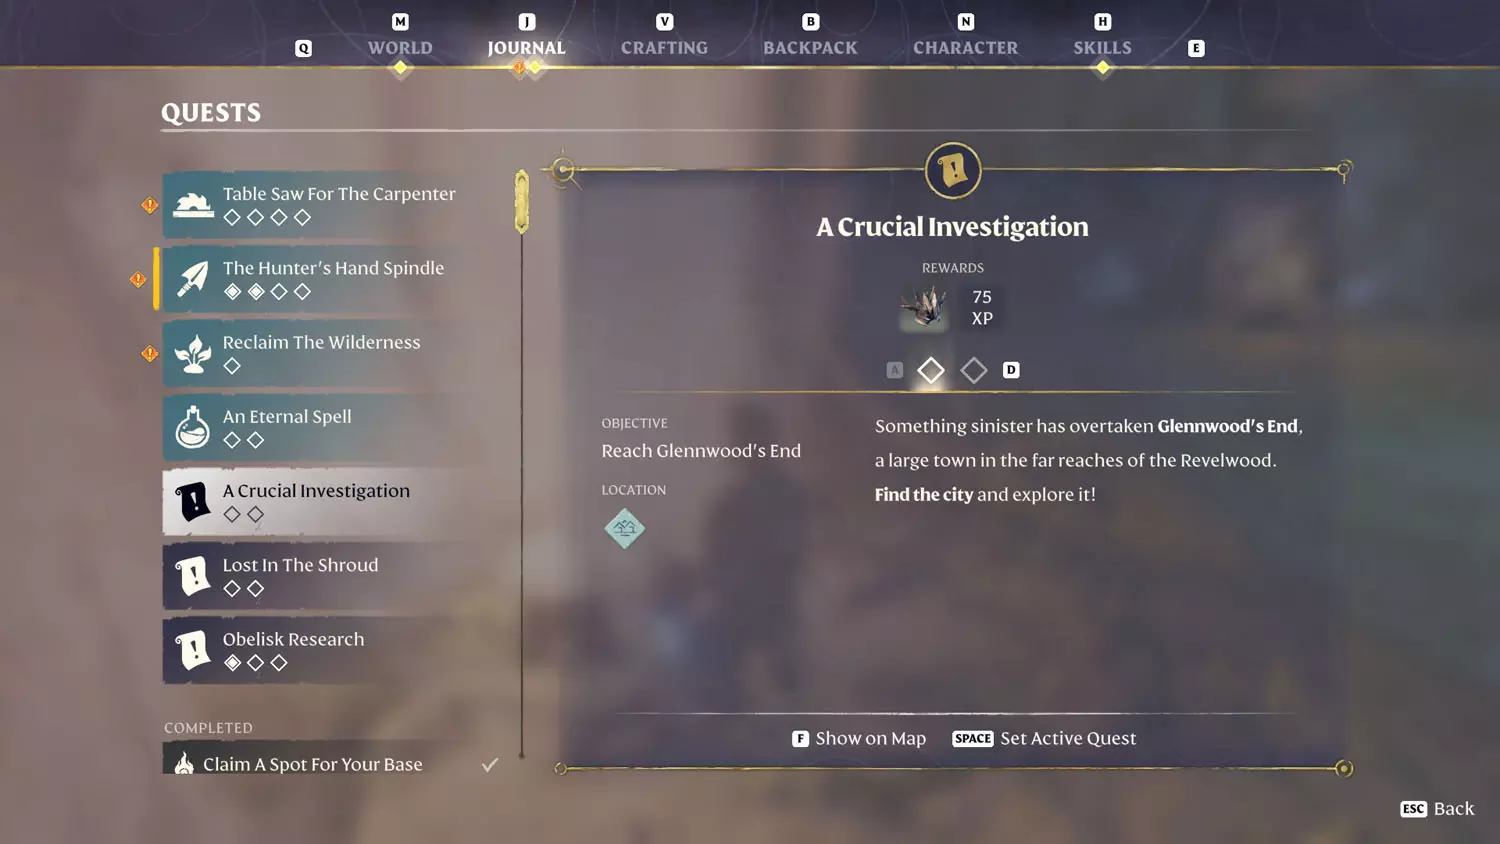
Reading the General Lore: Hunter’s Notes: 2/3 A Sleepless Night will generate this quest. The fastest way here is to glide from the Ancient Spire - Revelwood Fast Travel. Your destination is Glenwood’s End. Once you are in the town, head for the largest building in the back. There, the Matron awaits defeat.
TIP: There’s also some Scavengers Lore here to find, too! (They’re the second two pieces of the Royal Investigation series - 2/3 From Investigator Lachlan and 3/3 The Crimes of Glennwood’s End)

Reaching the town will finish the first part, and defeating the Scavenger Matron will complete the mission! She is located in the furthest building along the rocky wall.


Vukah Ceremony
Rewards: Vukah Brawler Head + 75 XP
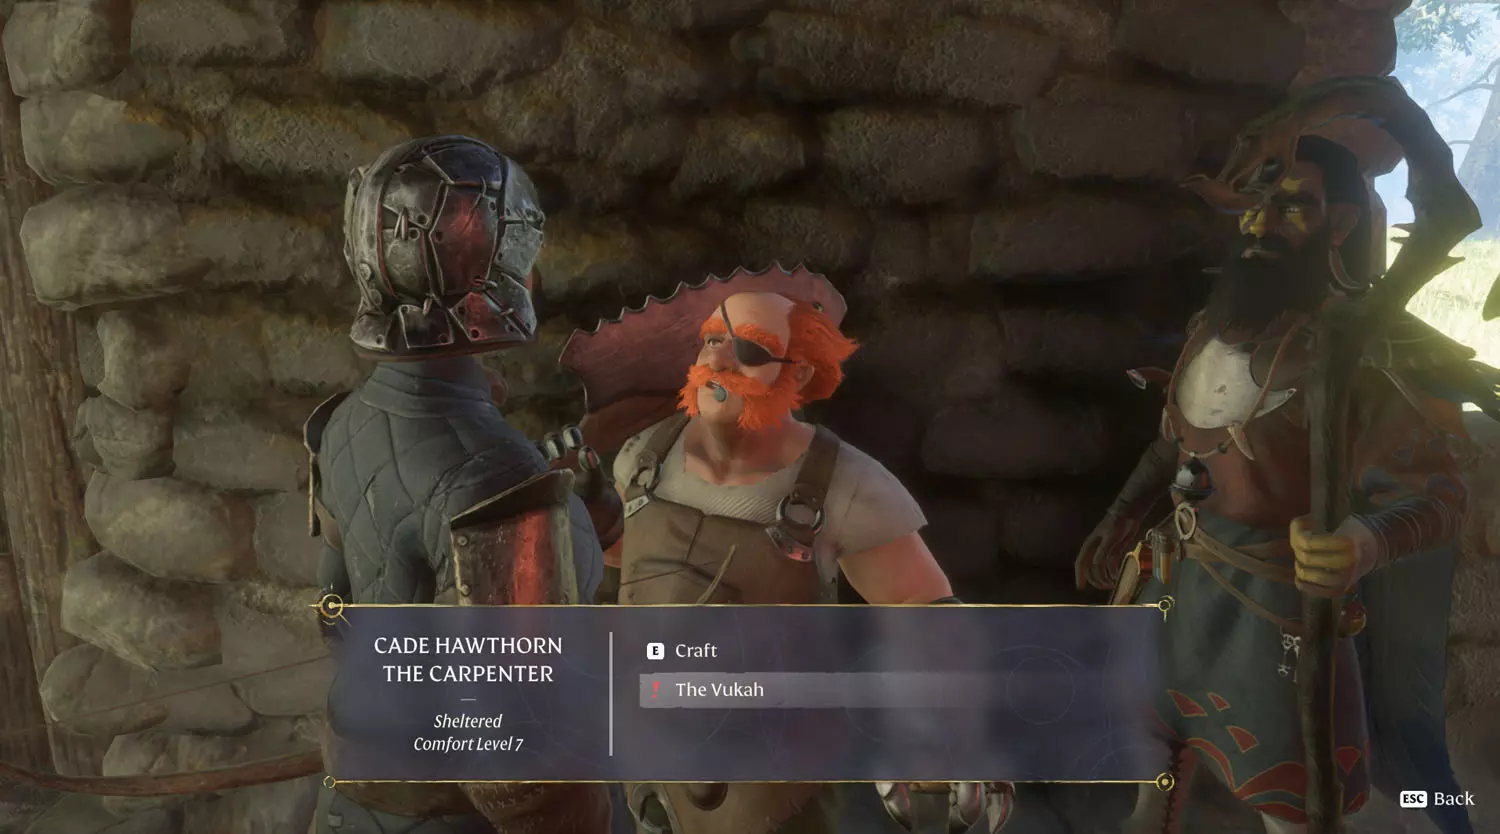
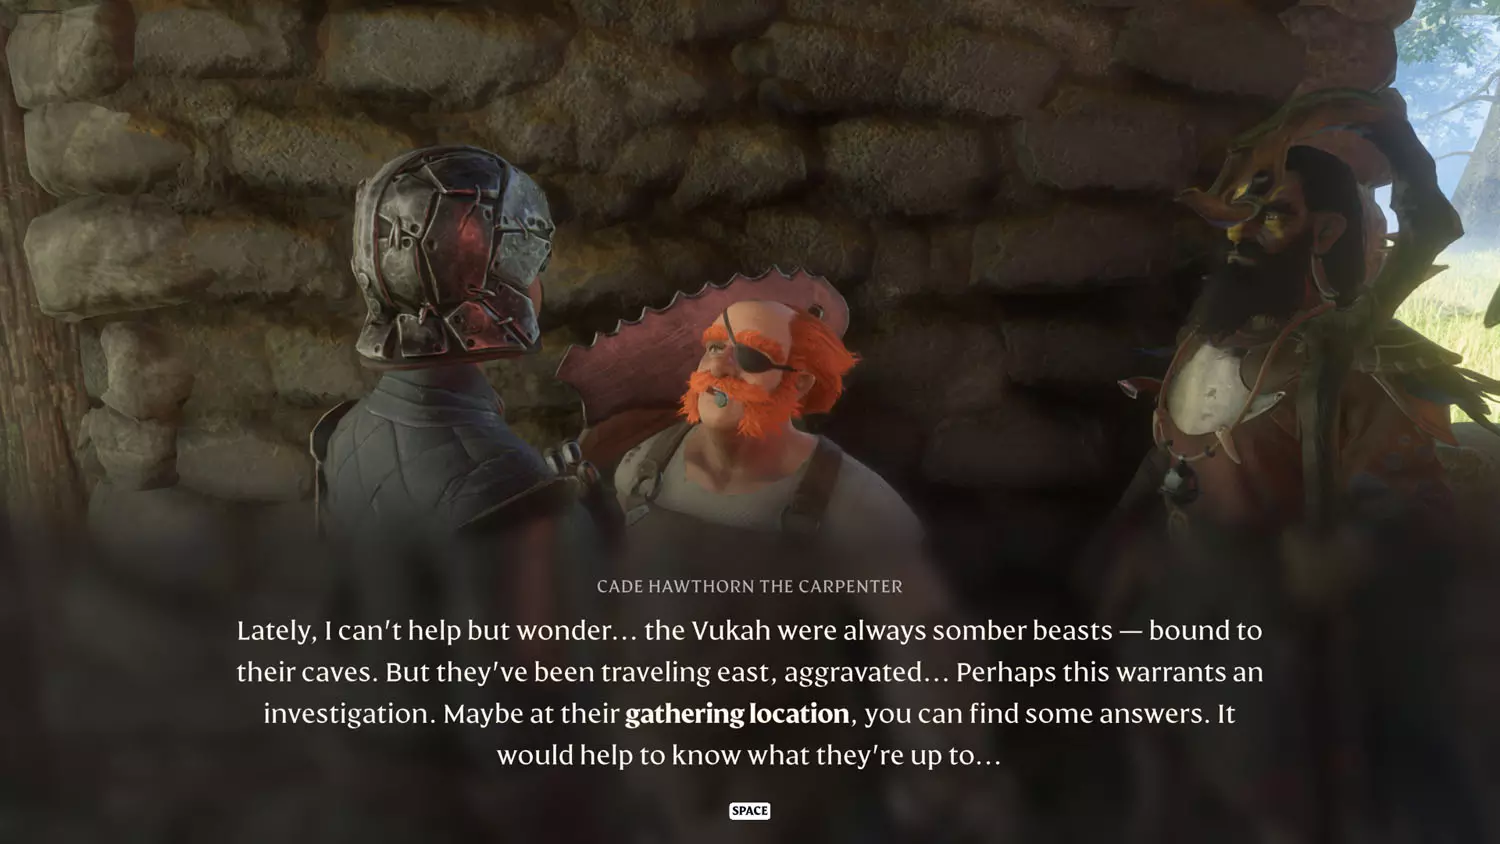
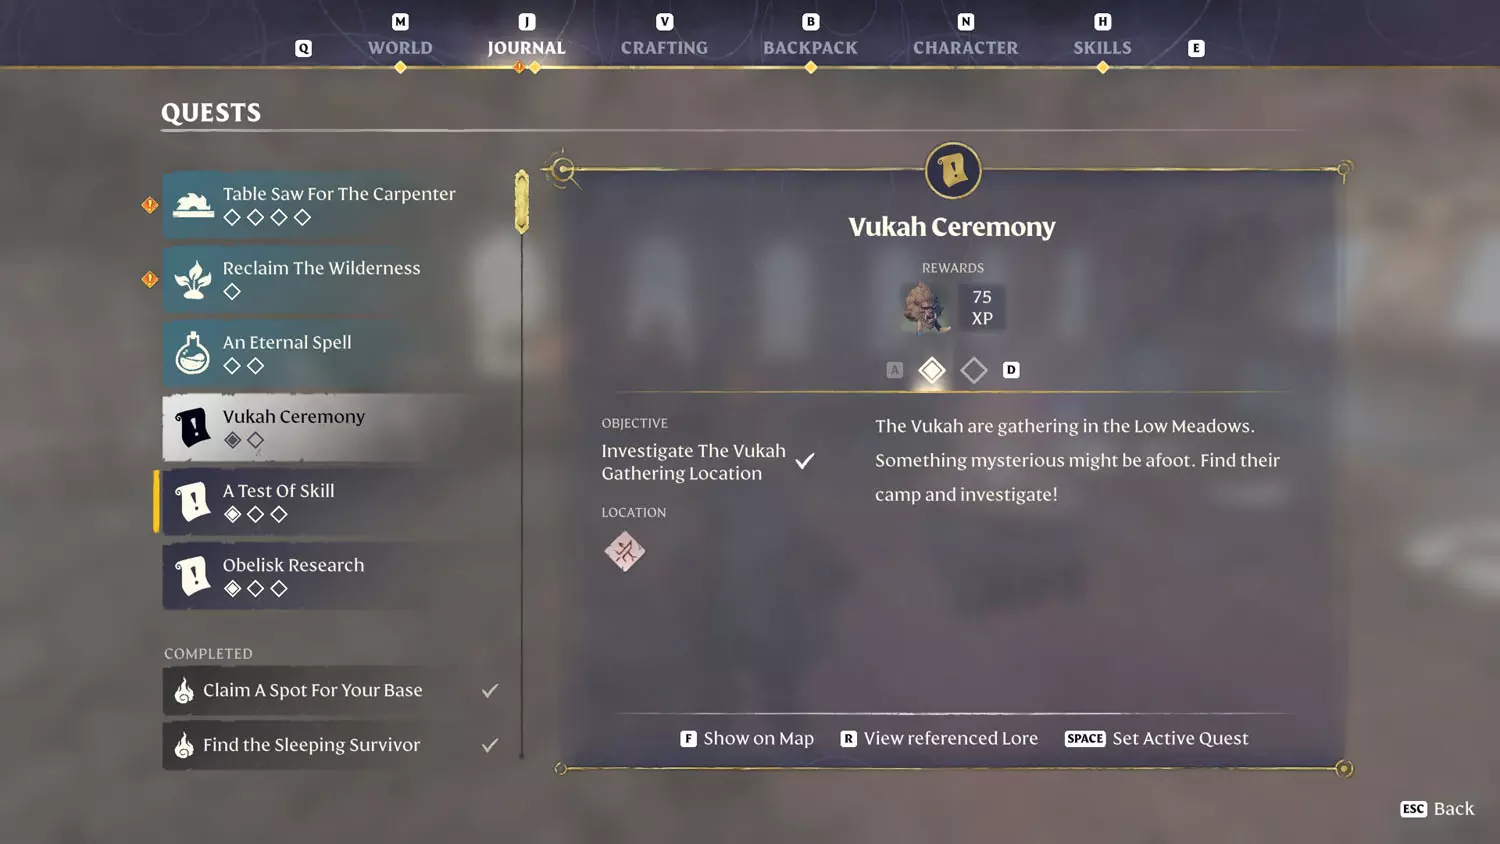
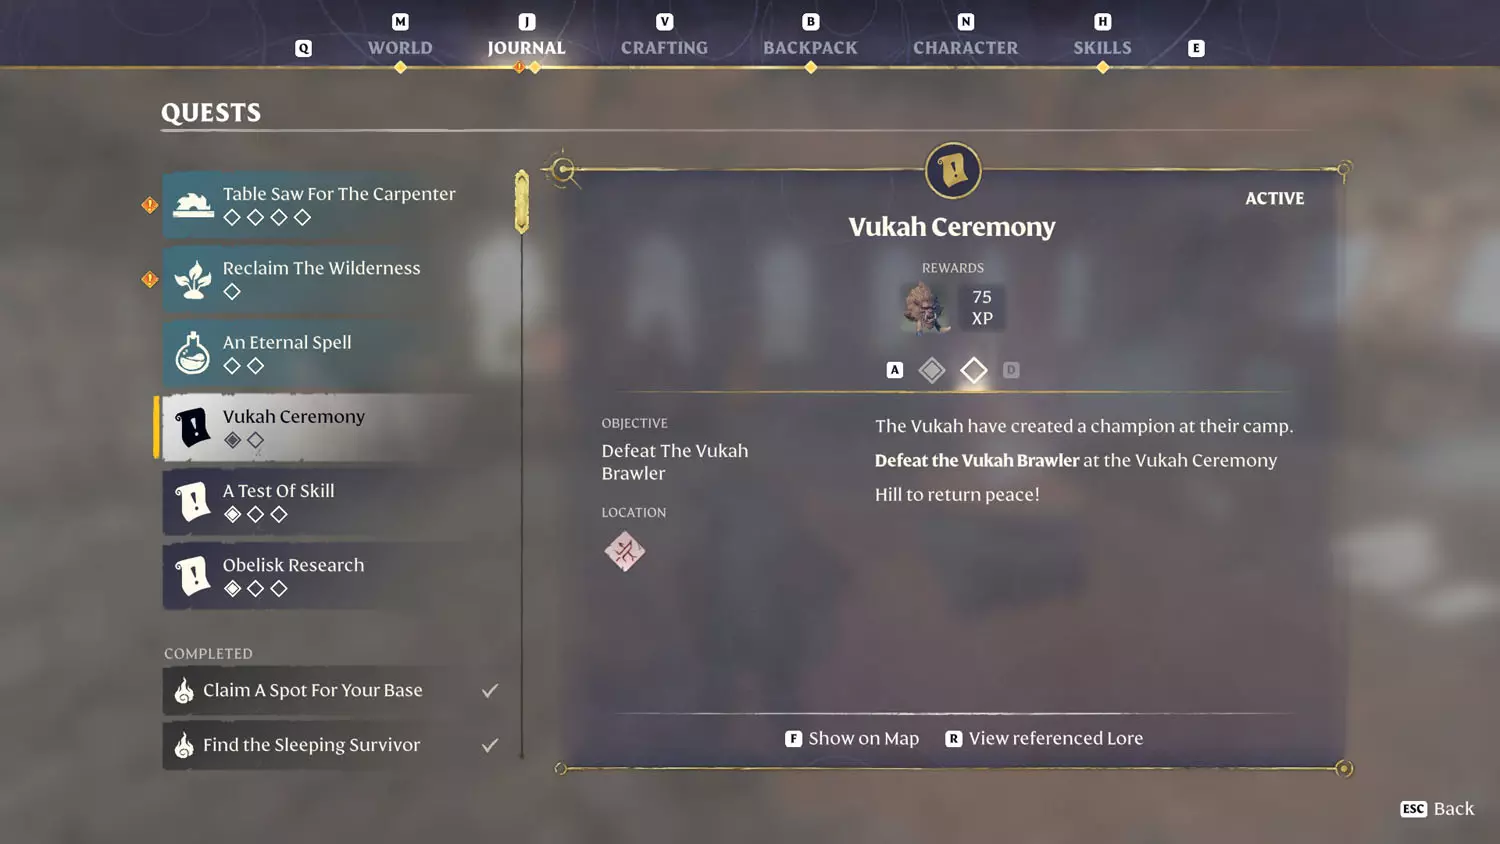
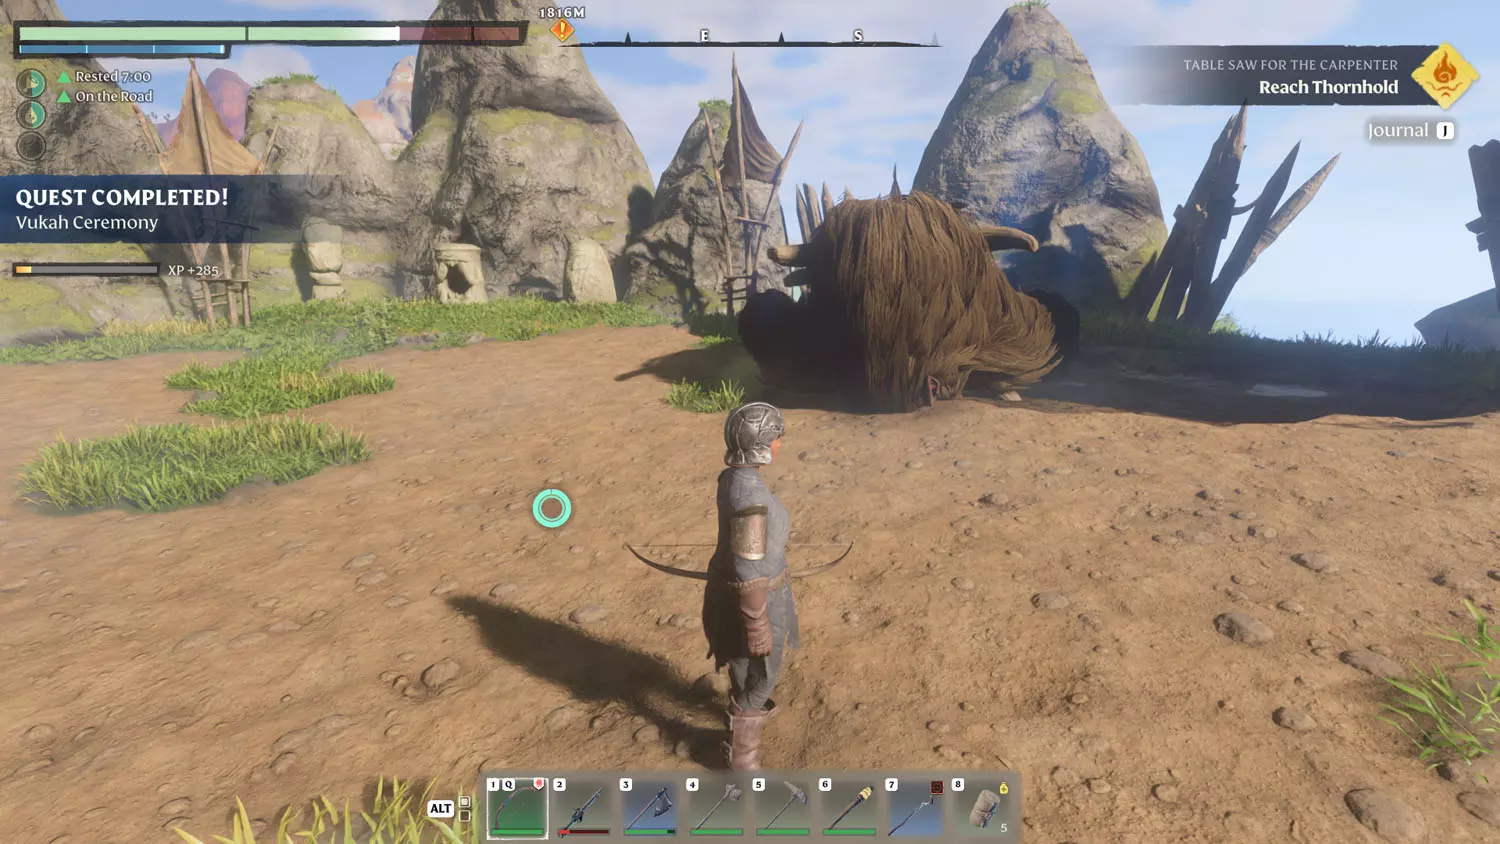
This quest is initiated by the Carpenter. It seems to happen after crafting the Kiln. Also, just by talking to him, the first part of the quest is completed, but it implies that you have to go TO that location to finish that task. Maybe a later update will change this? Anyway, select the dialogue “The Vukah” to initiate this.
TIP: This quest is closely linked to the Vukah and Wildlife Lore: Vukah Ceremony 1/2 Vukah Gathering and will likely lead you to the 2/2 Strength Of The Vukah. It is also closely linked to the quest Hannah Reed Needs Help.


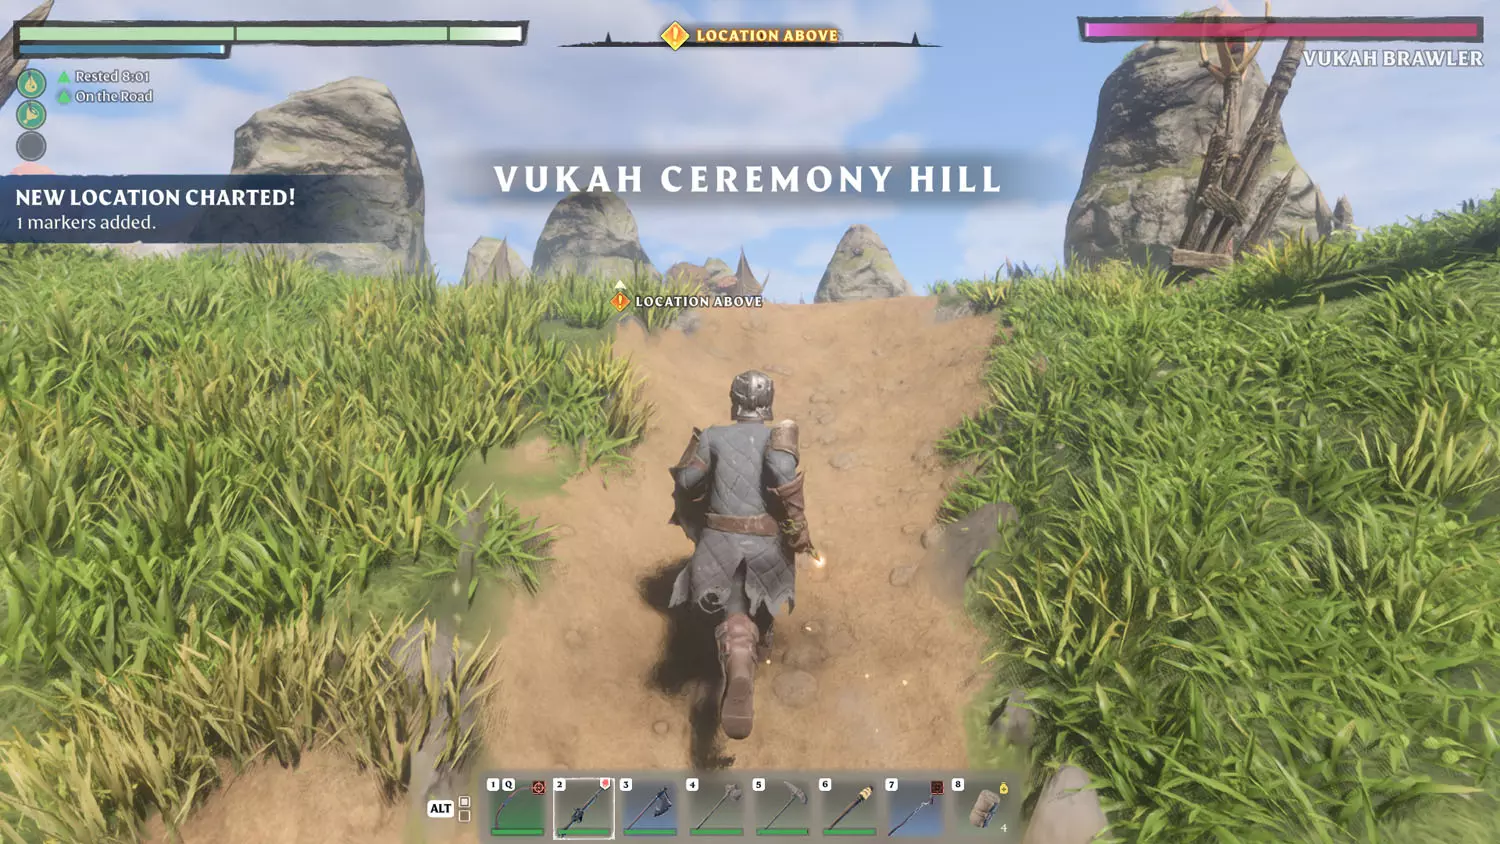
If you are doing this early on, be sure to snag the power buff at the back of the ‘arena’ where you battle. It will glow red. Slaying the Vukah Brawler will finish the quest.


Cyclops Head Research
Reward: Cyclops Skull + 75XP
This quest begins when you read the Albaneve Summits Lore in Balefire Stronghold “Lance Point”: Cyclops Head Research 1/1 Thank You For Your Service.
TIP: The loot for this quest is part of The Collector Quest: A Skeleton Cyclops Collection. The location is also part of the Flame Altar Quest: Slaying The Corrupted Beast.

From the lore, head back up the stairs until you reach the top of the tower where you entered. Then, head through the door on the opposite side.

From there, head through the other door in the room and cross the broken bridge.


Then the head is just down the stairs and resting on a table. Yay!


Cyclops Cave Near Bridge
Reward: Right Cyclops Arm + 75XP
This quest begins when you read the Albaneve Summits Lore: Polaris Falls Cyclops Cave 2/2 Big Brain Tactics.
TIP: This quest is closely connected to The Collector Quest: A Skeleton Cyclops Collection.

Once you reach the cave, which is an interesting journey, fight the cyclops within and loot its corpse to complete the quest!


Polaris Falls Cyclops Cave
Reward: Cyclops Pelvis + 75XP
This quest begins when you read the Albaneve Summits Lore Polaris Falls Cyclops Cave 1/2 Gotta Fix That Fence. This is nearby the Ancients And The Flame Lore: The Twinflame Swords 1/2 Never Whole (reading this starts the Items, XP, and Loot Reward Quest: The Lesser Twinflame Sword.
TIP: Also in Polaris Falls is the Items, XP, and Loot Reward Quest: Finding Cosmetic Winterly Set. This quest is also part of The Collector Quest: A Skeleton Cyclops Collection. Plus, there's the Albaneve Summits Lore: Bed Time Stories 1/2 Who Is Scared Of Flying Horrors?.

Your destination now is the Cyclops Cave. Inside is the foe with all the loot! This loot also directly relates to The Collector Quest: A Skeleton Cyclops Collection.


Gold Chest Reward
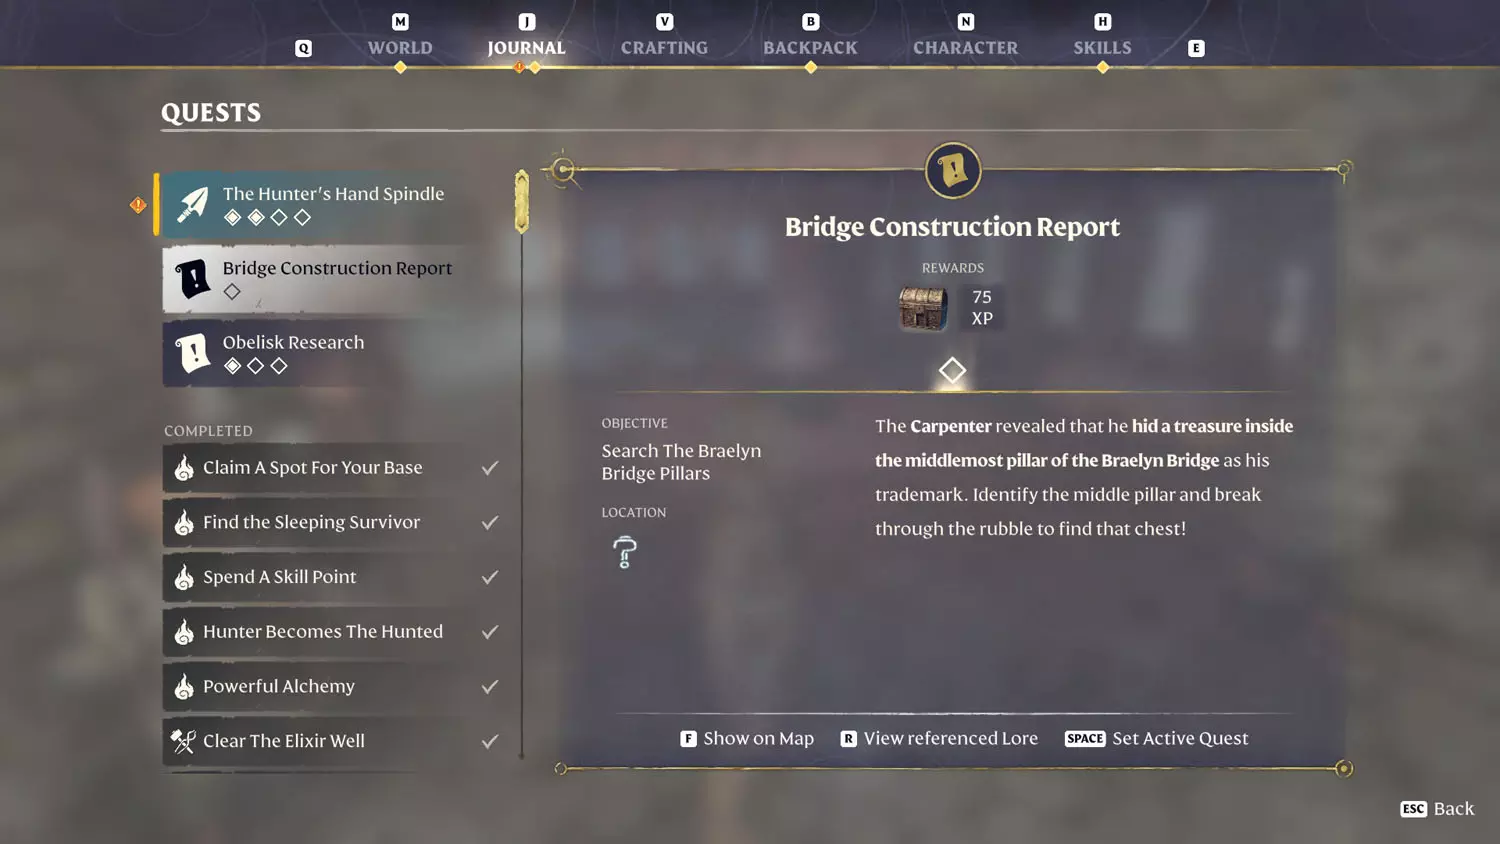
Bridge Construction Report
Rewards: Gold Chest + 75 XP
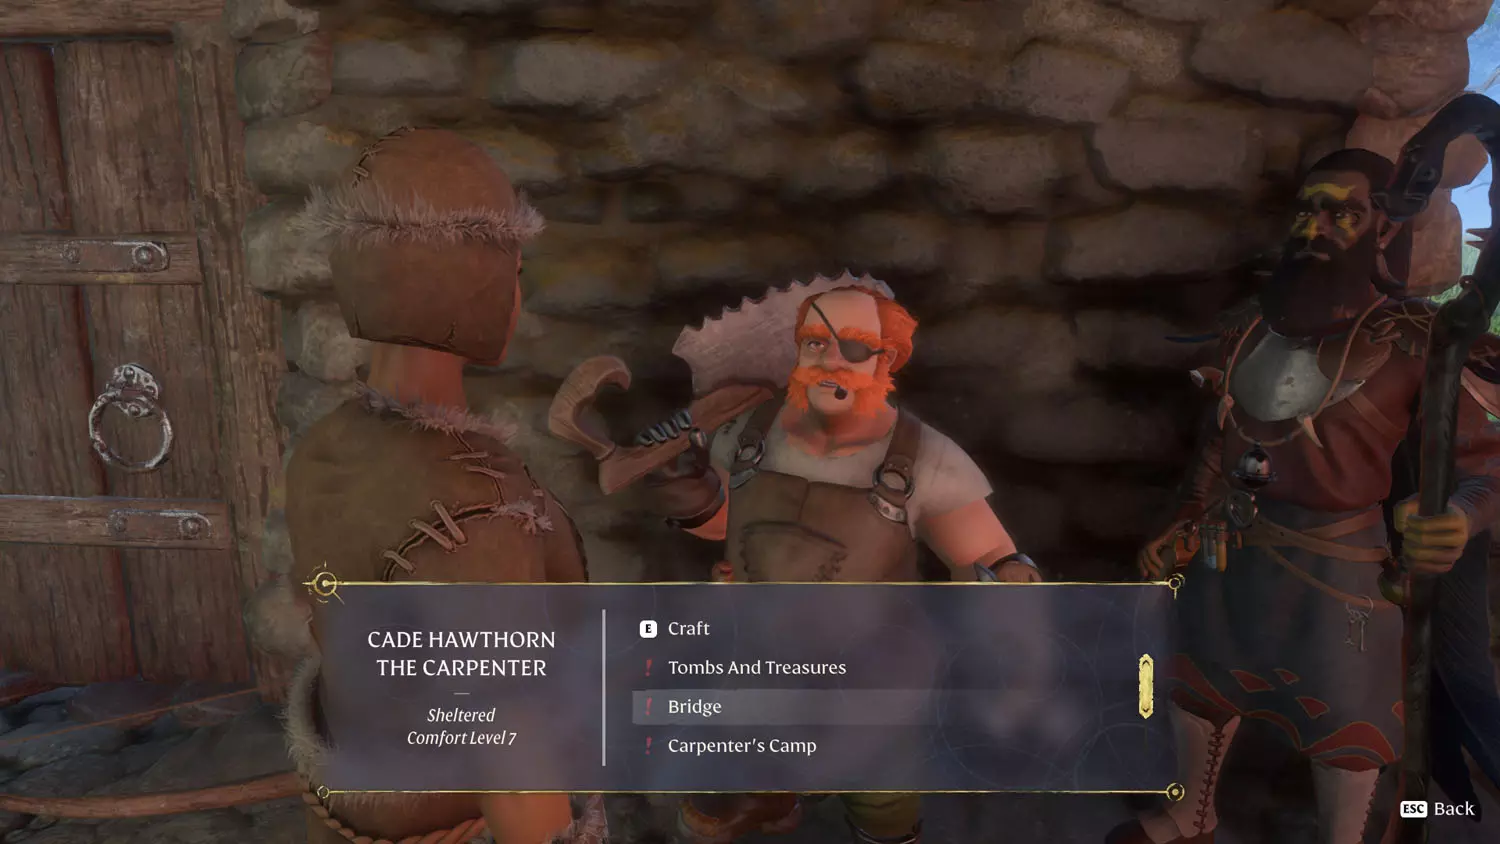
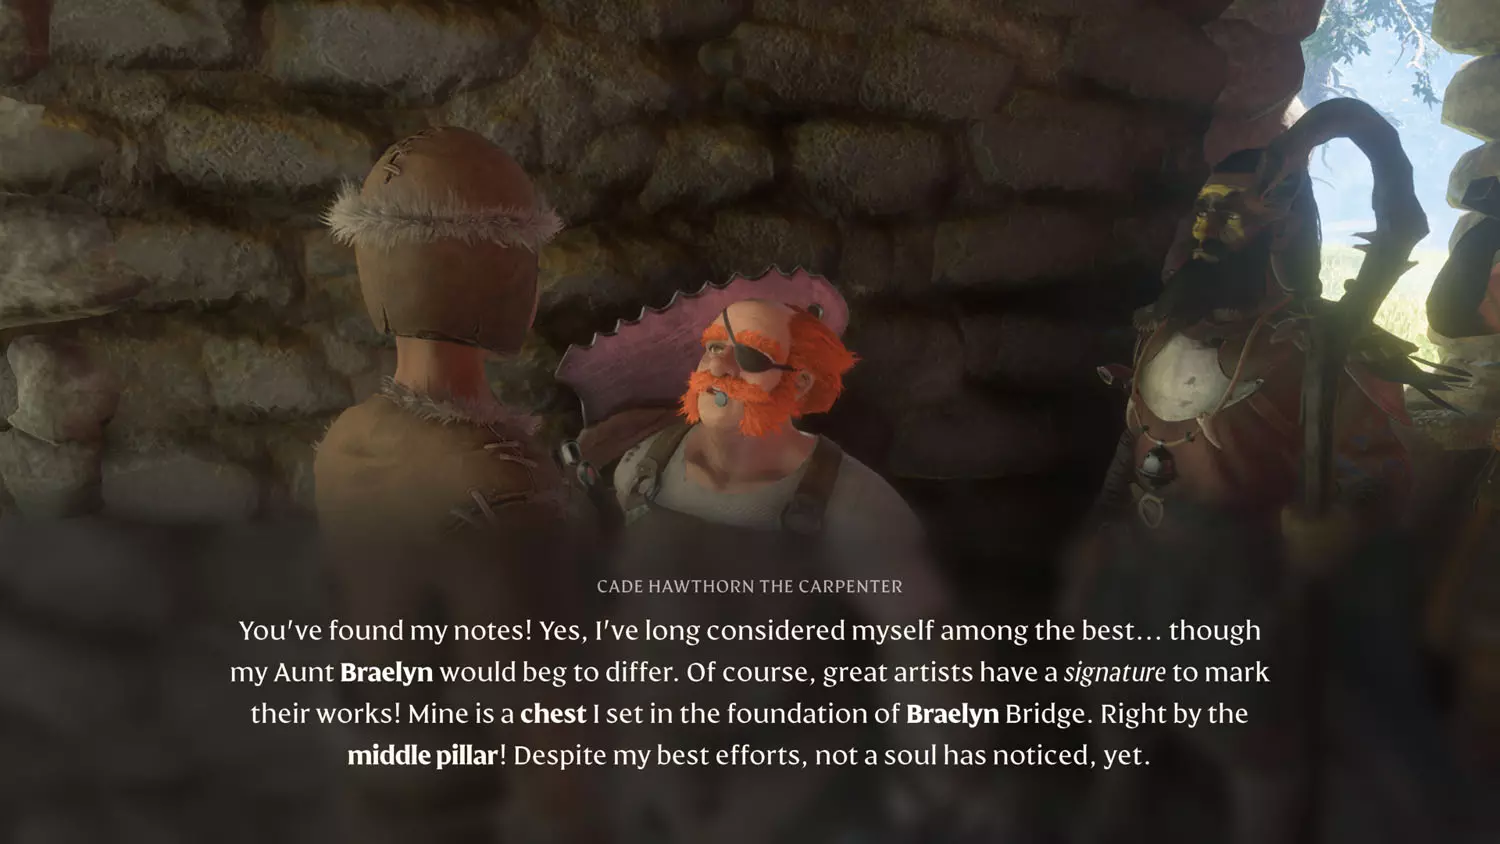
Speak with Carpenter Cade Hawthorn, once you have him, to initiate this quest. You will need to select the “Bridge” dialogue option in order to do so.


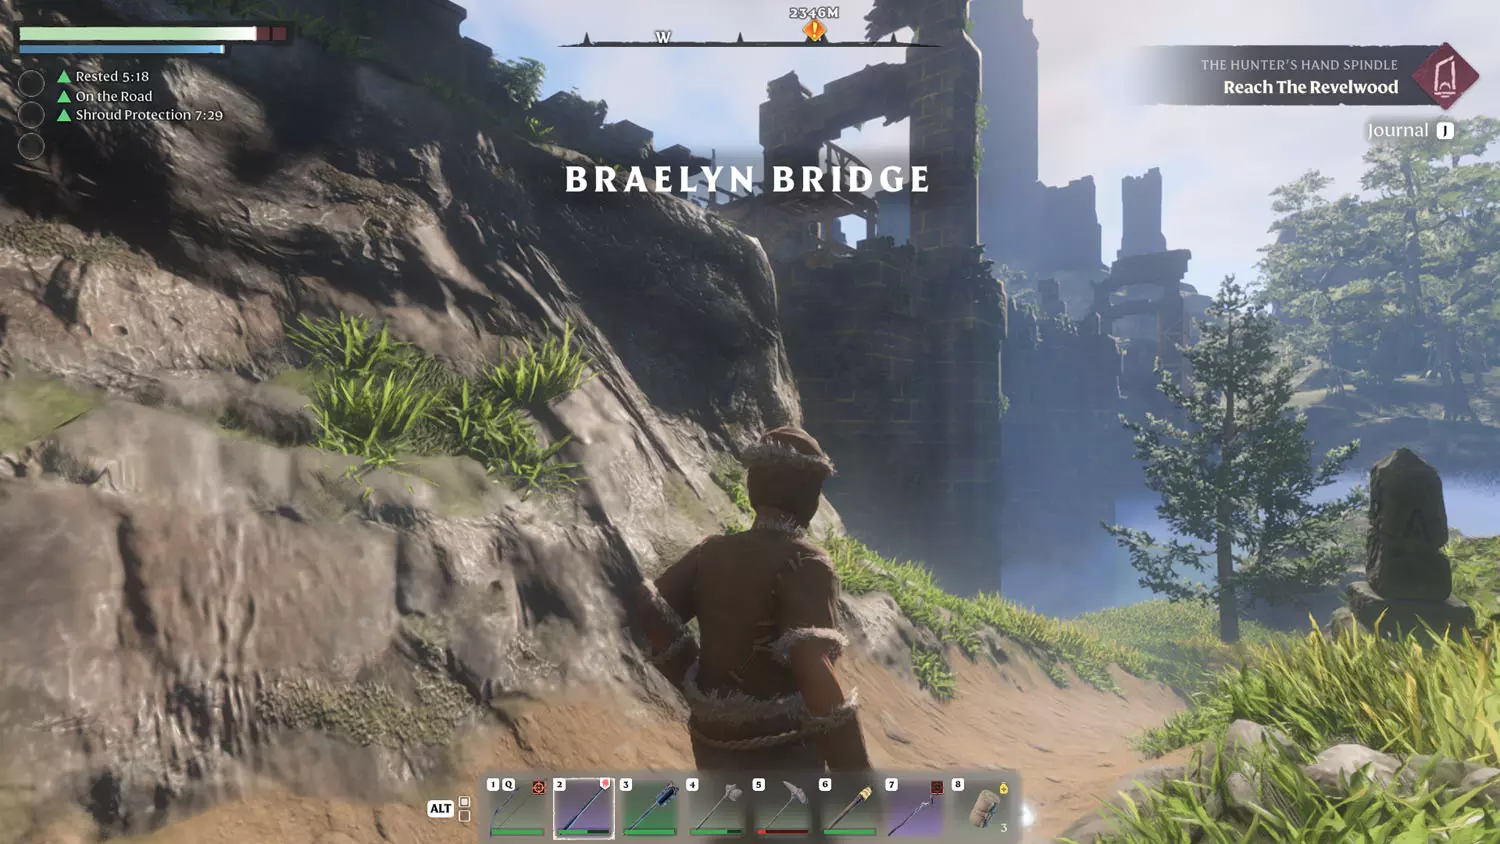
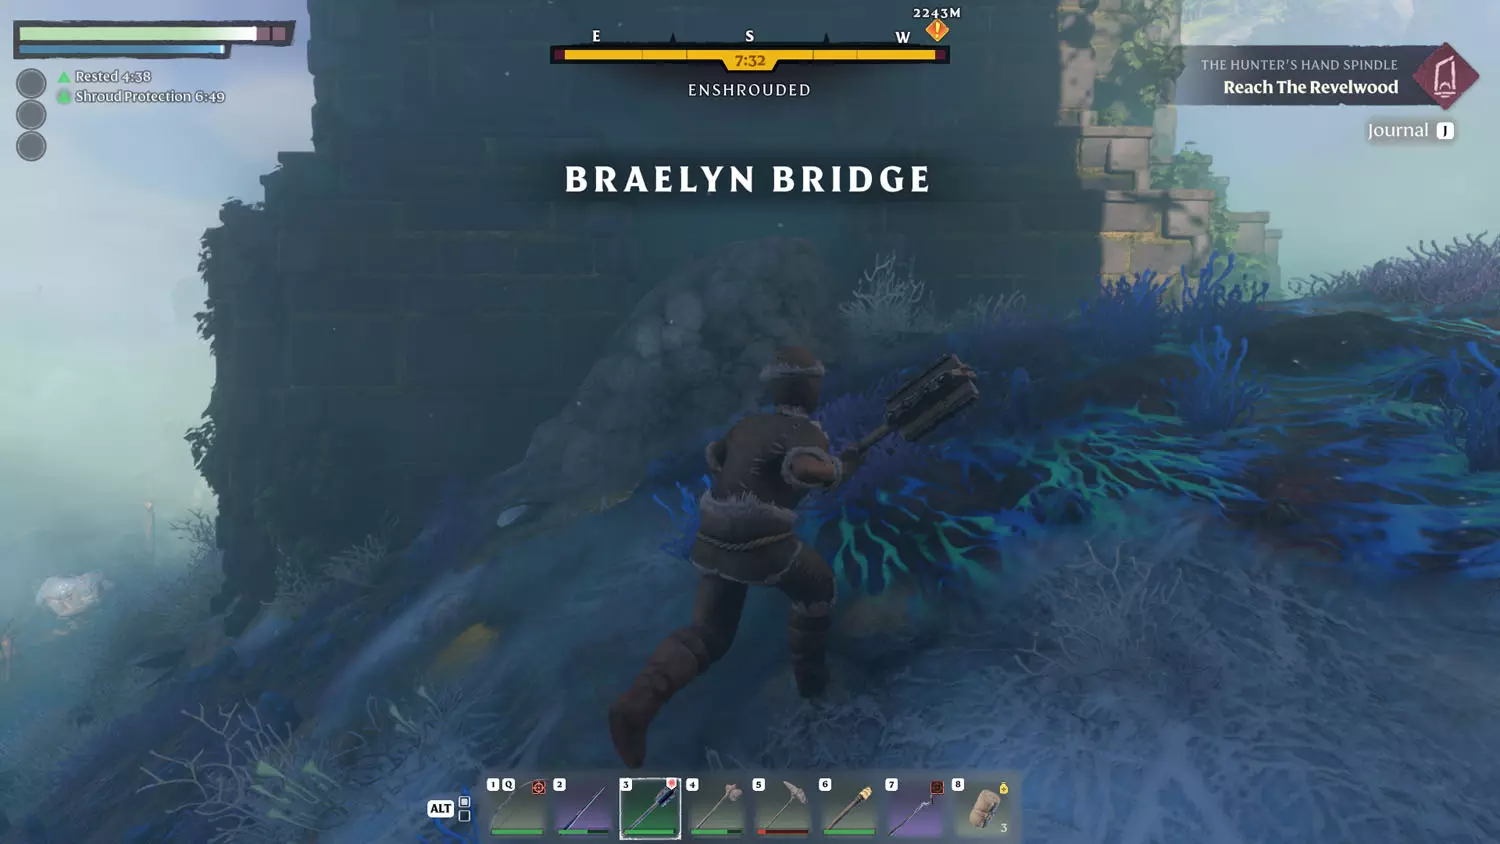
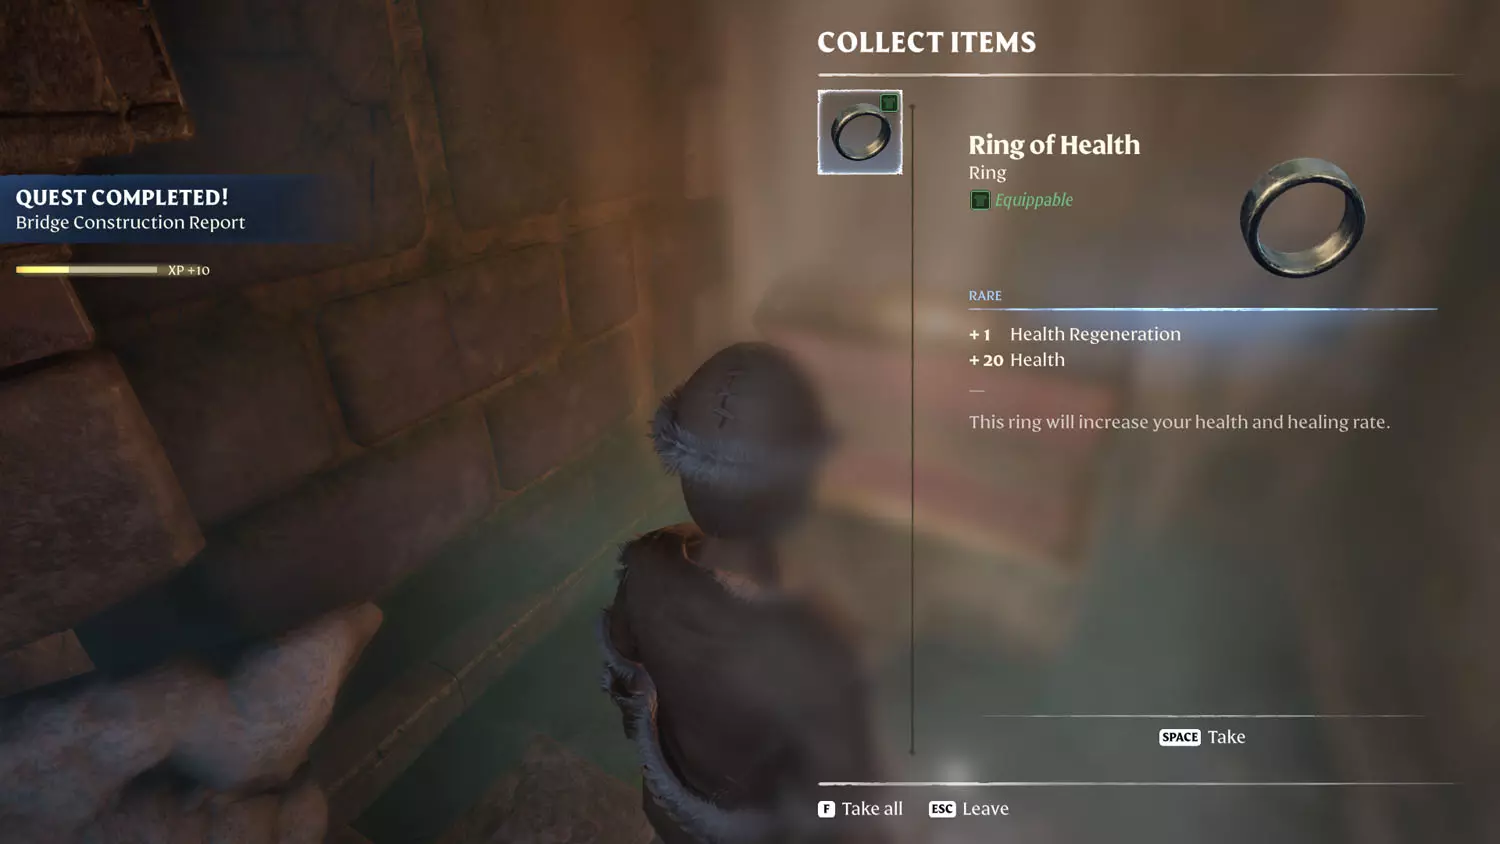
From there, head to Braelyn Bridge (near the first base you built). The third pillar, in the Shroud, has a suspicious mound. Dig there,or blow it up to reveal a chest. Opening the chest completes the quest!


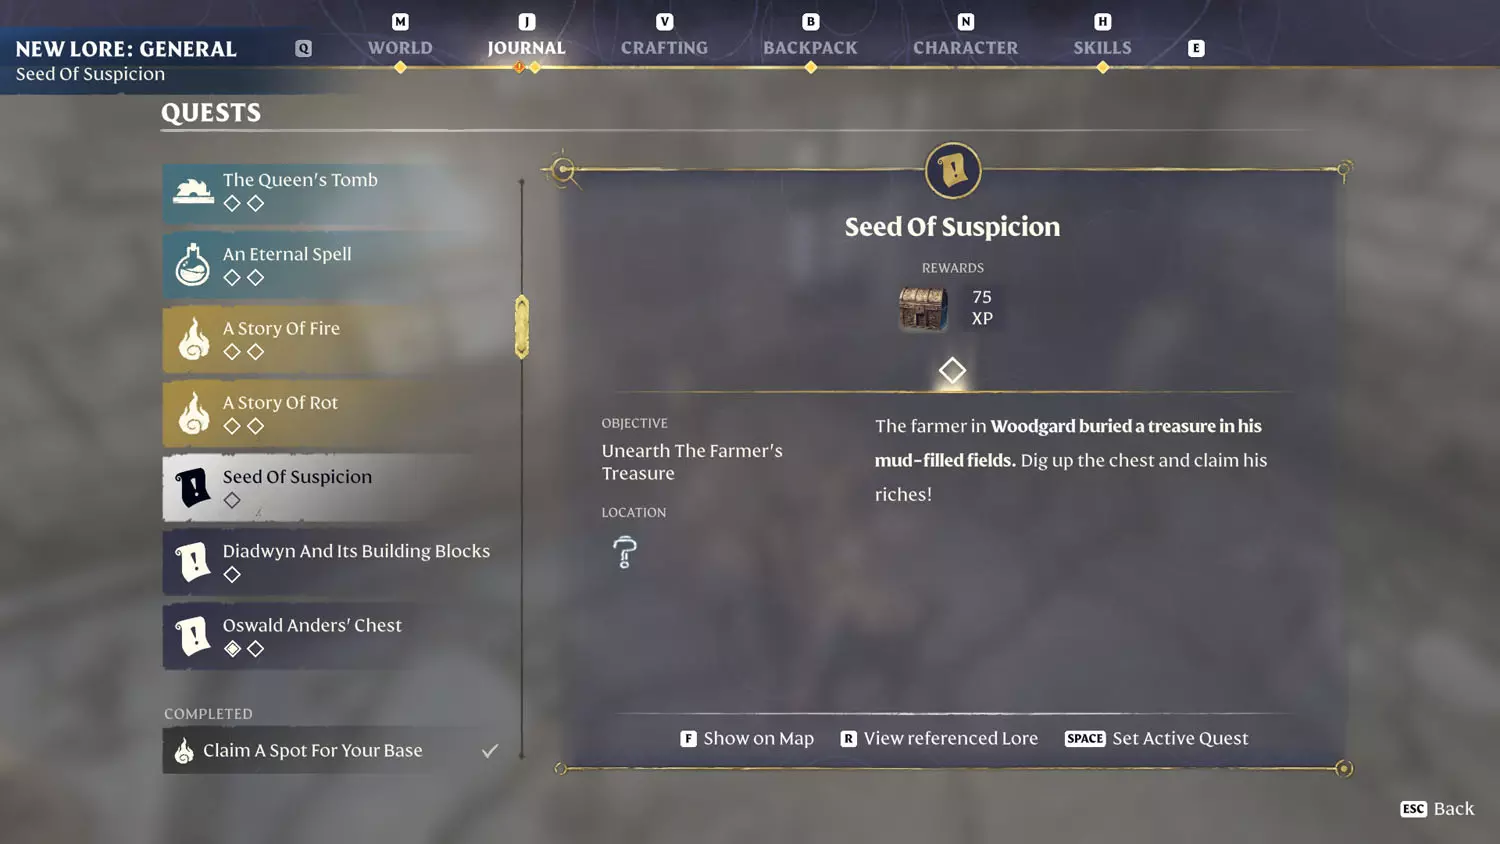
Seed Of Suspicion
Rewards: Gold Chest + 75 XP
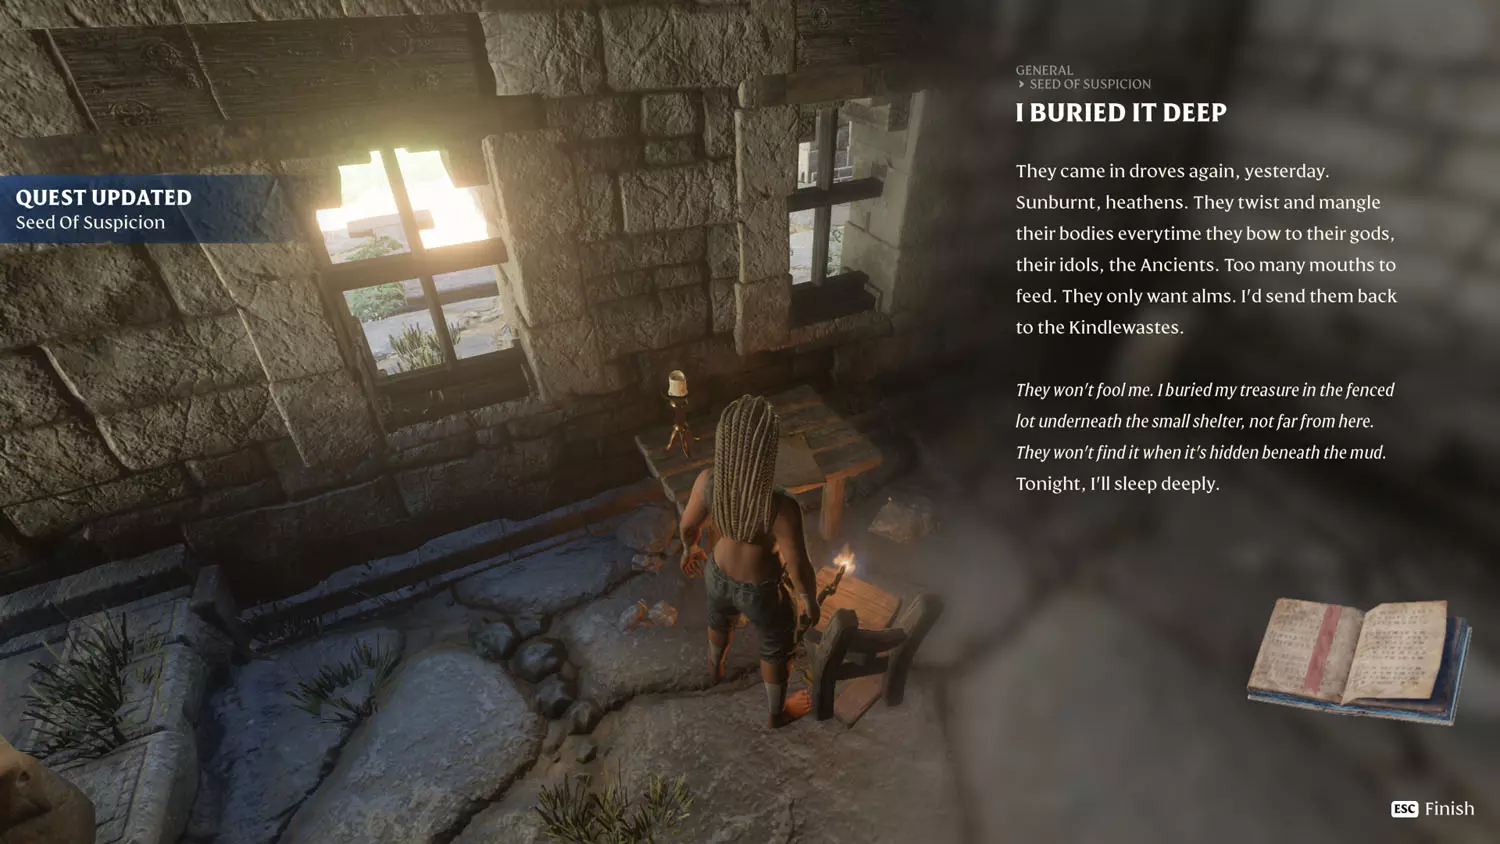
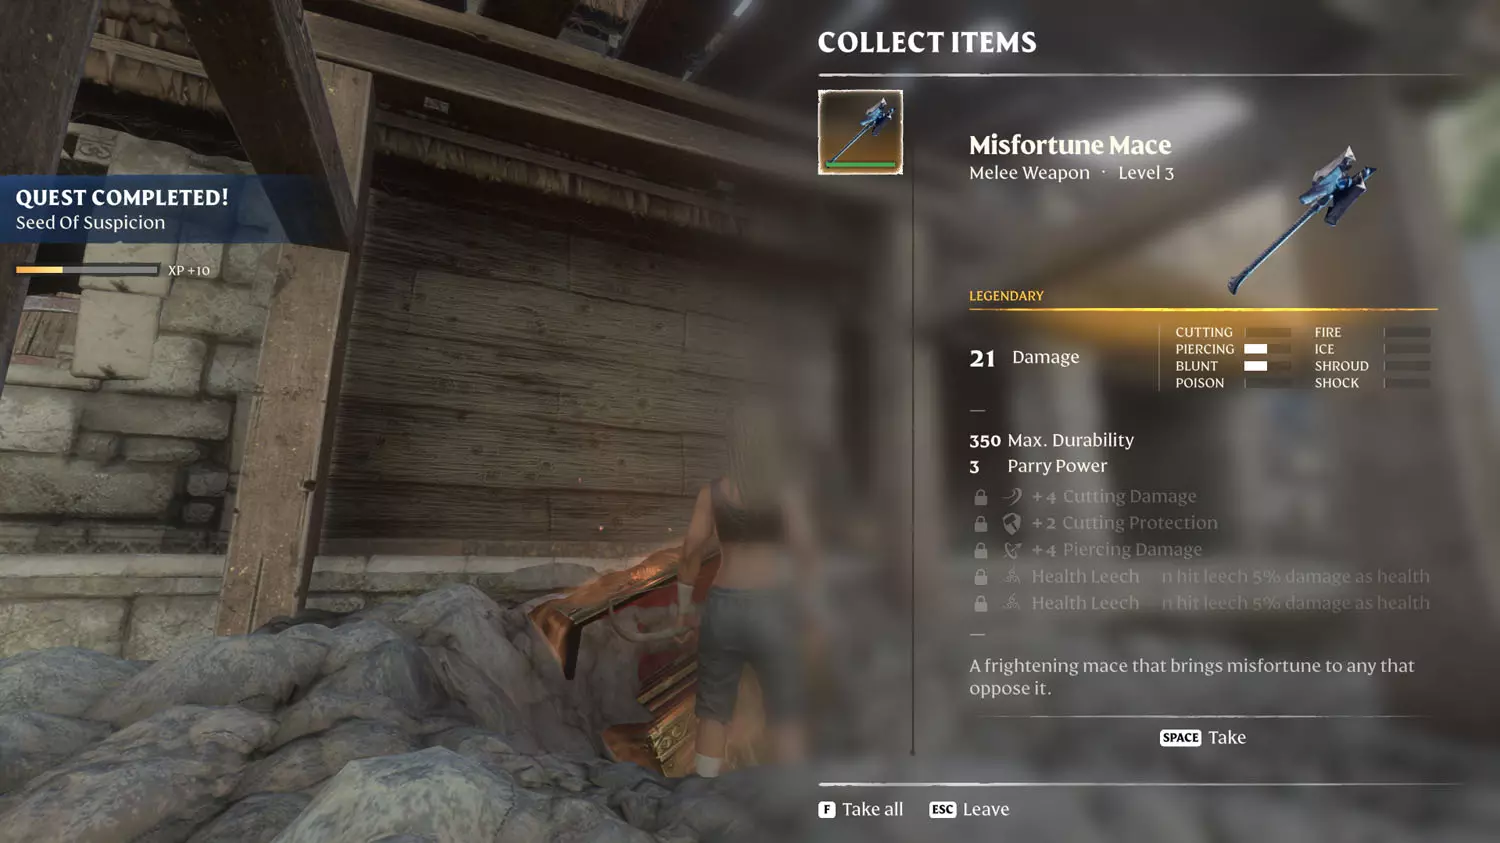
I can’t believe I missed this one on my first playthrough, but here it is! Reading the General Lore: Seed of Suspicion 1/1 I Buried it Deep will start this adventure for a Gold Chest.

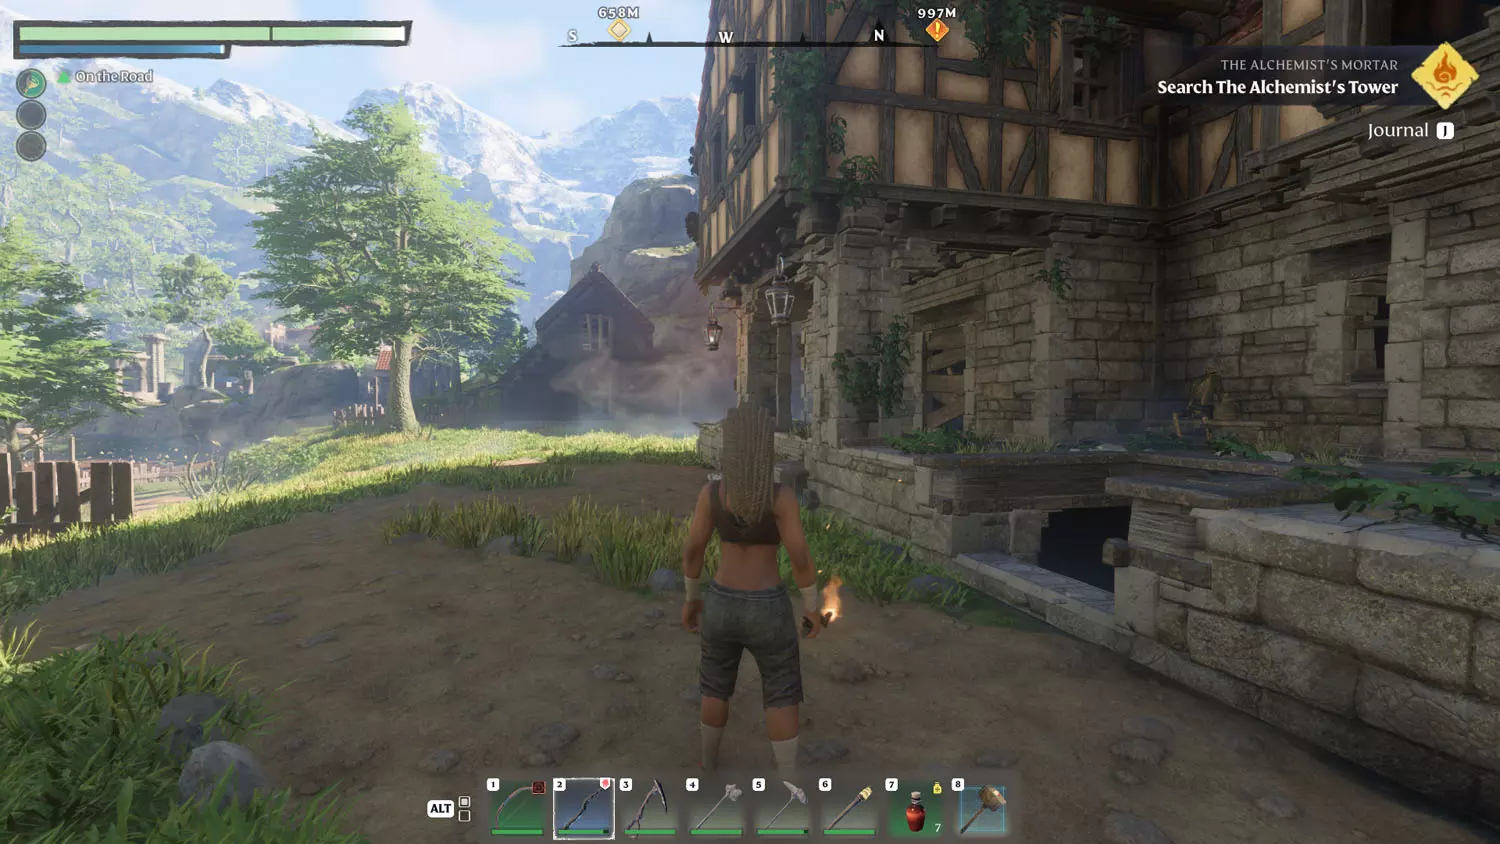
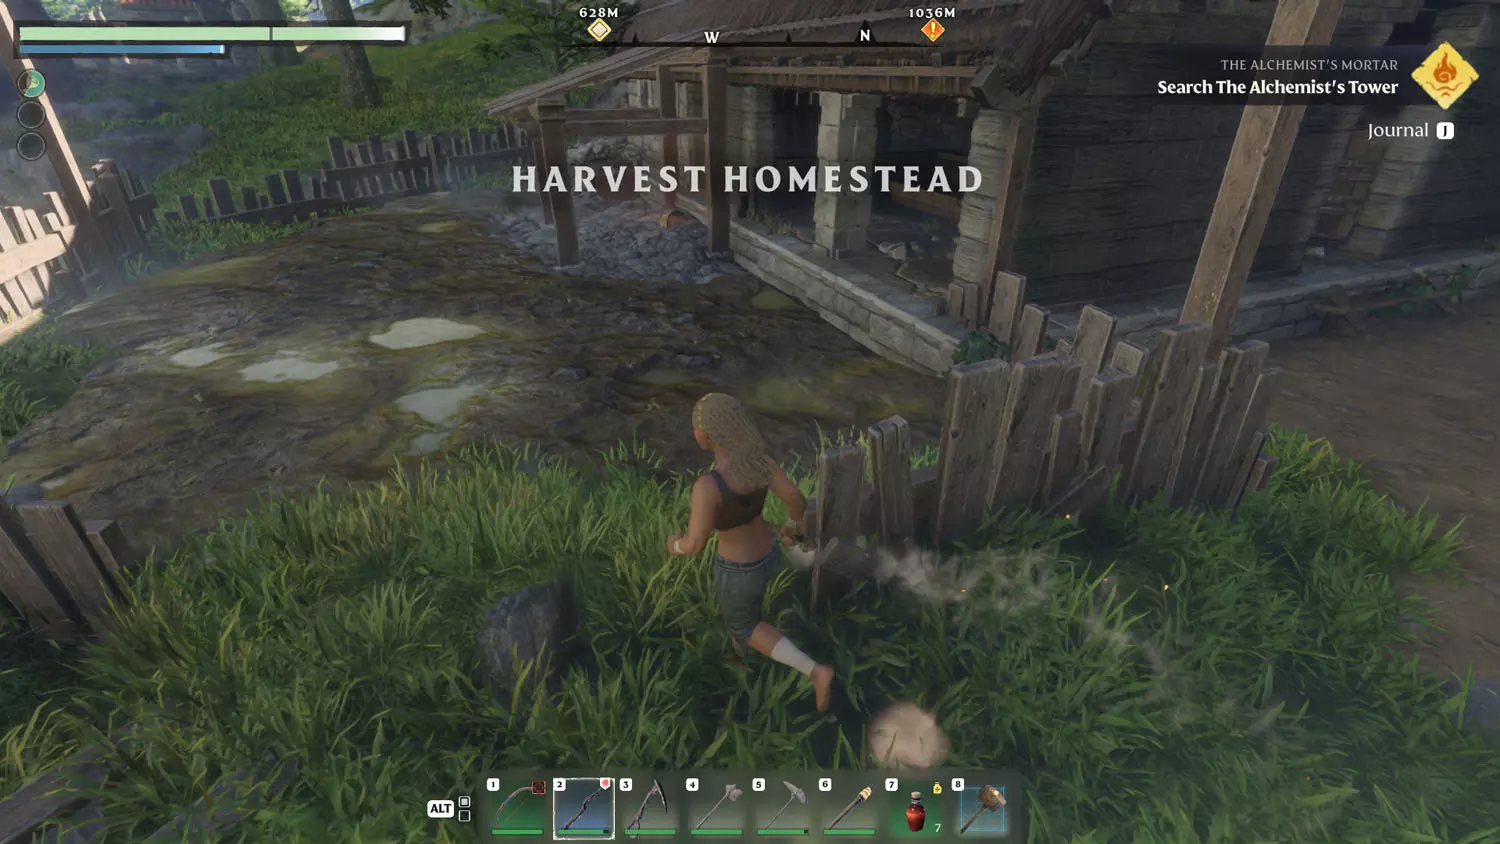
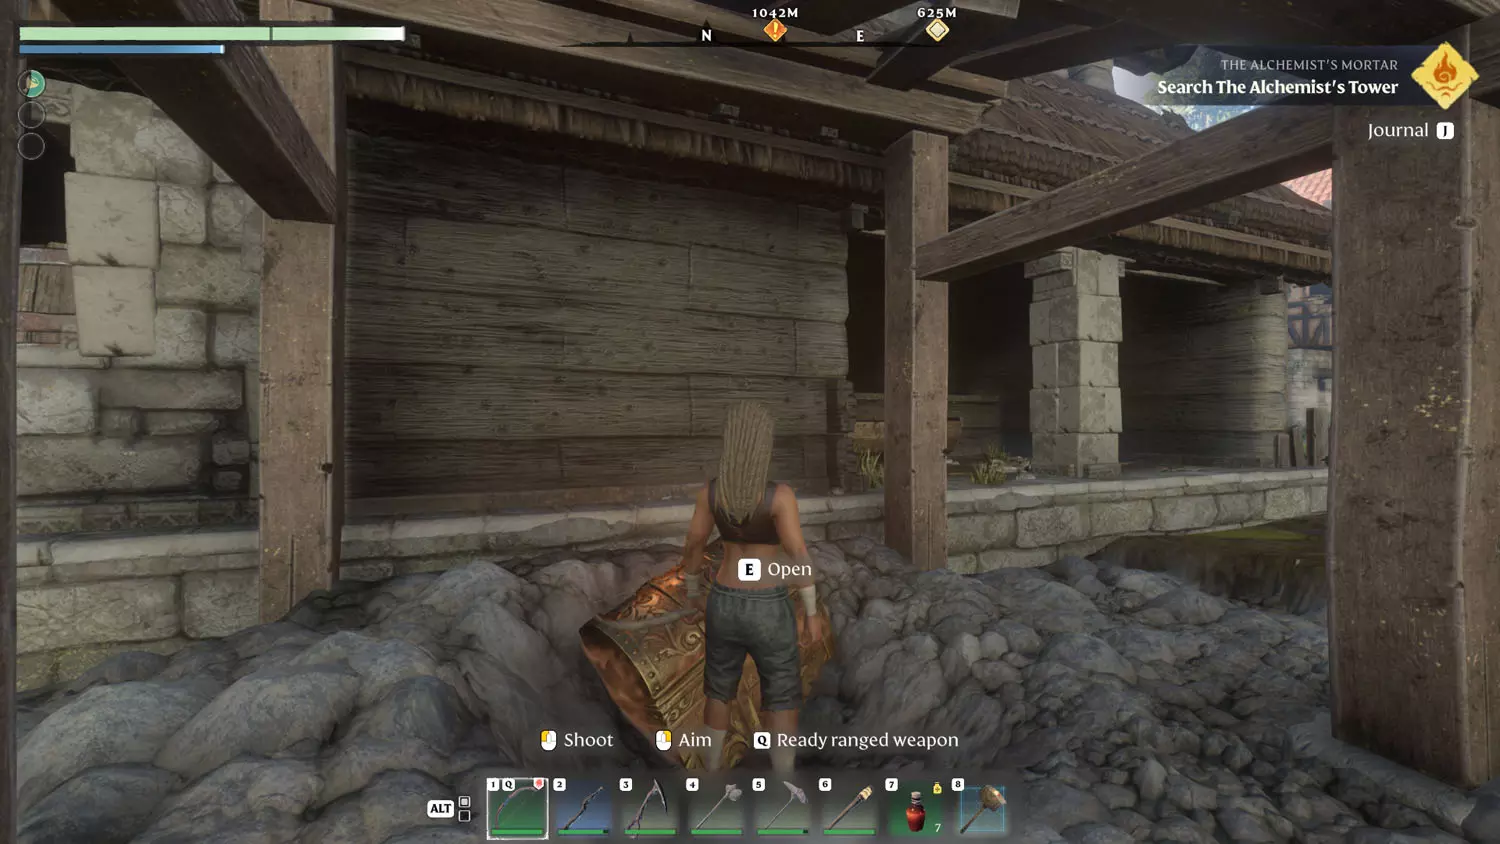
From the Harvest Homestead building where you read the Lore, head westward toward the barn-like structure. The porch outside has a suspicious mound with a … Gold Chest clearly visible. A little digging lets you loot it. Opening the chest completes the quest!


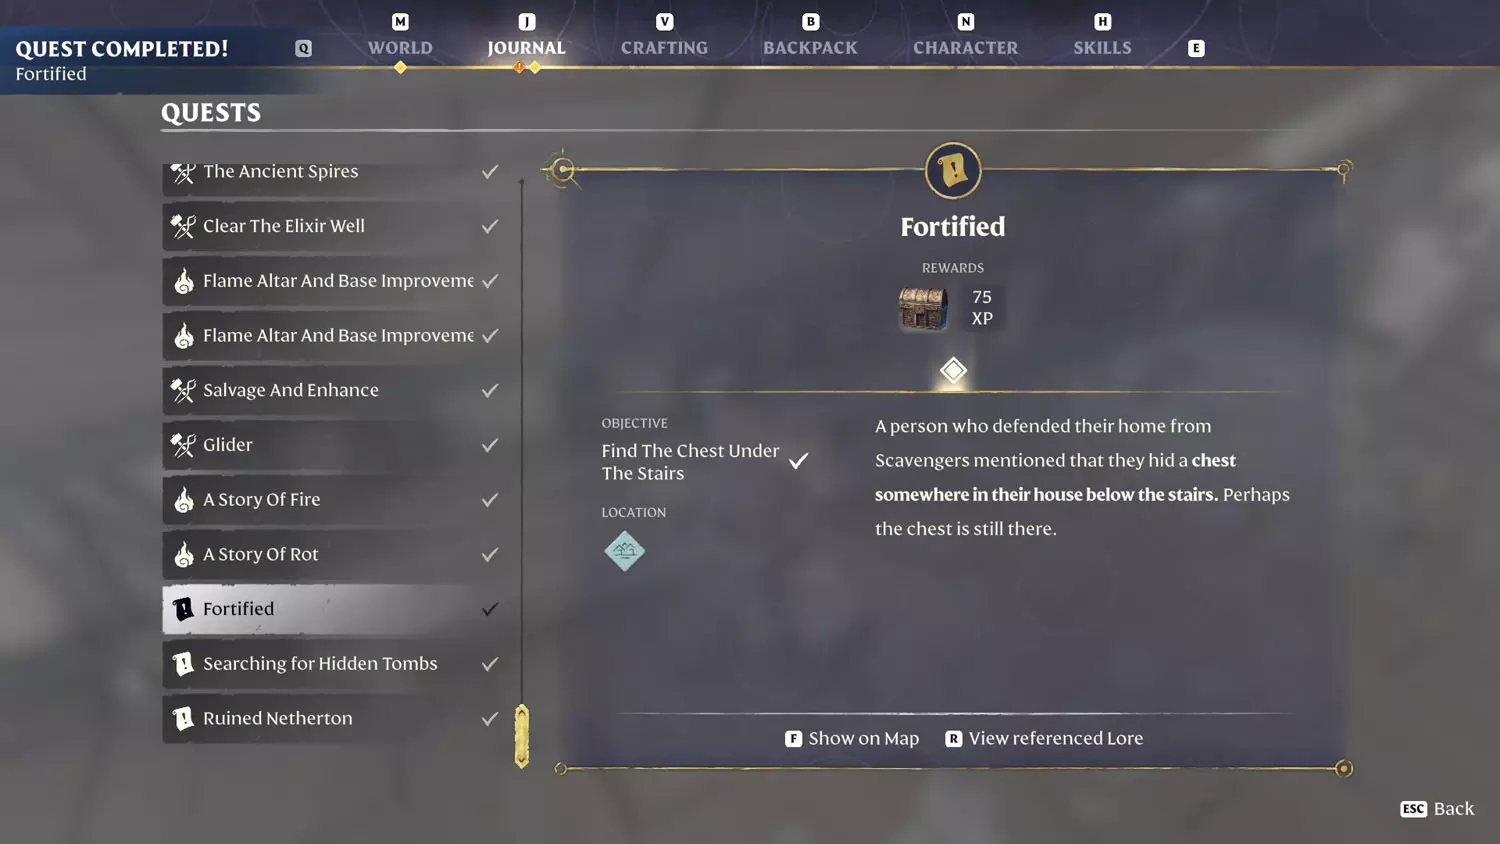
Fortified
Rewards: Gold Chest + 75 XP
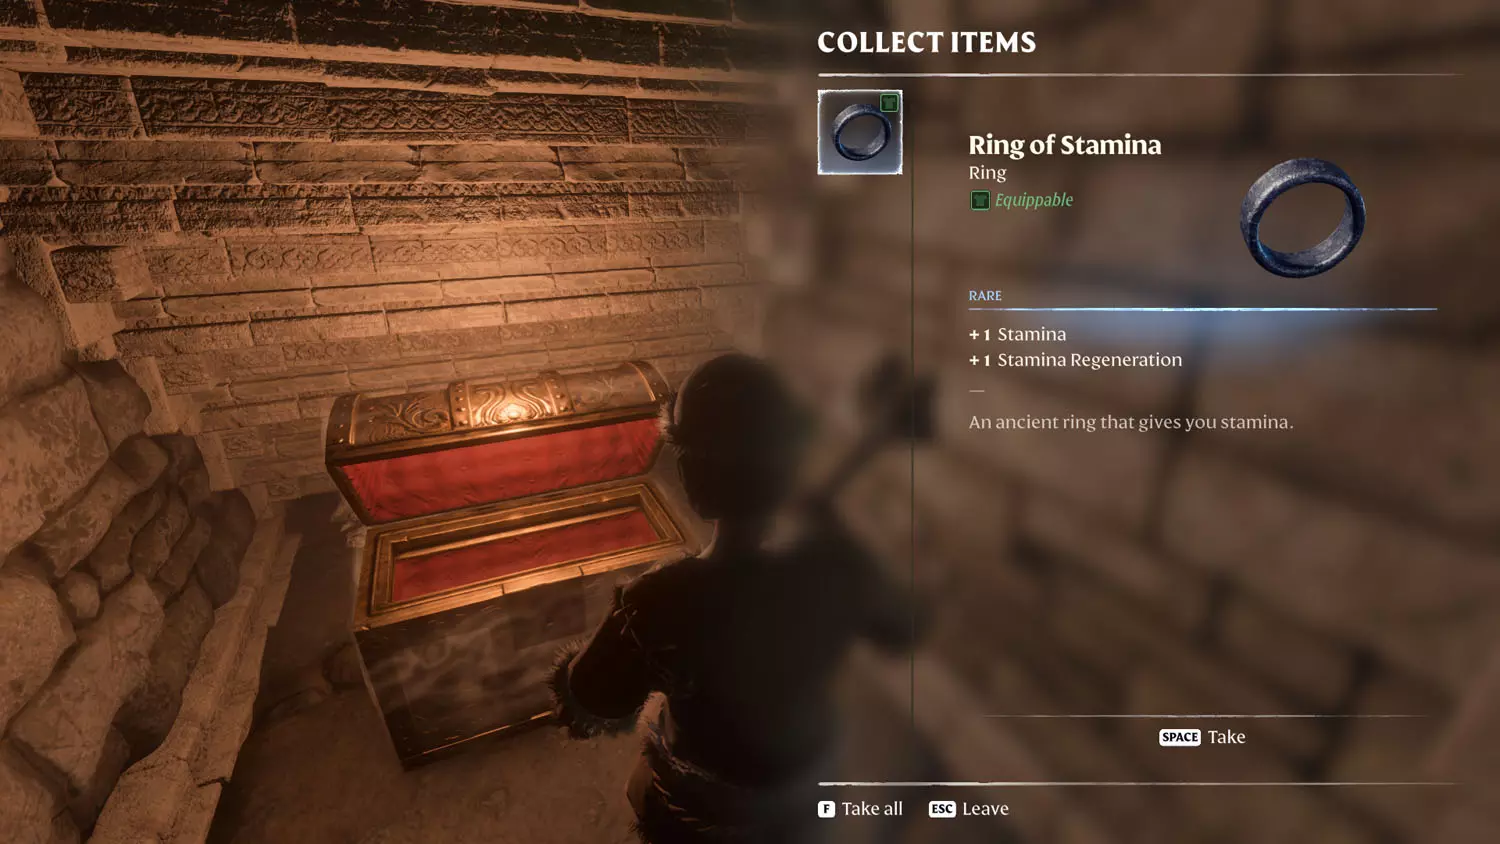
Located in Ferndale, this quest starts when you read the Scavengers Lore: Fortified 1/1 I Will Defend My House!. On the first floor of the same building is a staircase going down. Open the bookshelf below the stairs to reveal the Gold Chest. Lotting it and reading the Lore finishes the quest.
TIP: You can also find two pieces of the General Lore: A Cry For Help 1/3 Ointments and 2/3 Protection Against the Shroud.


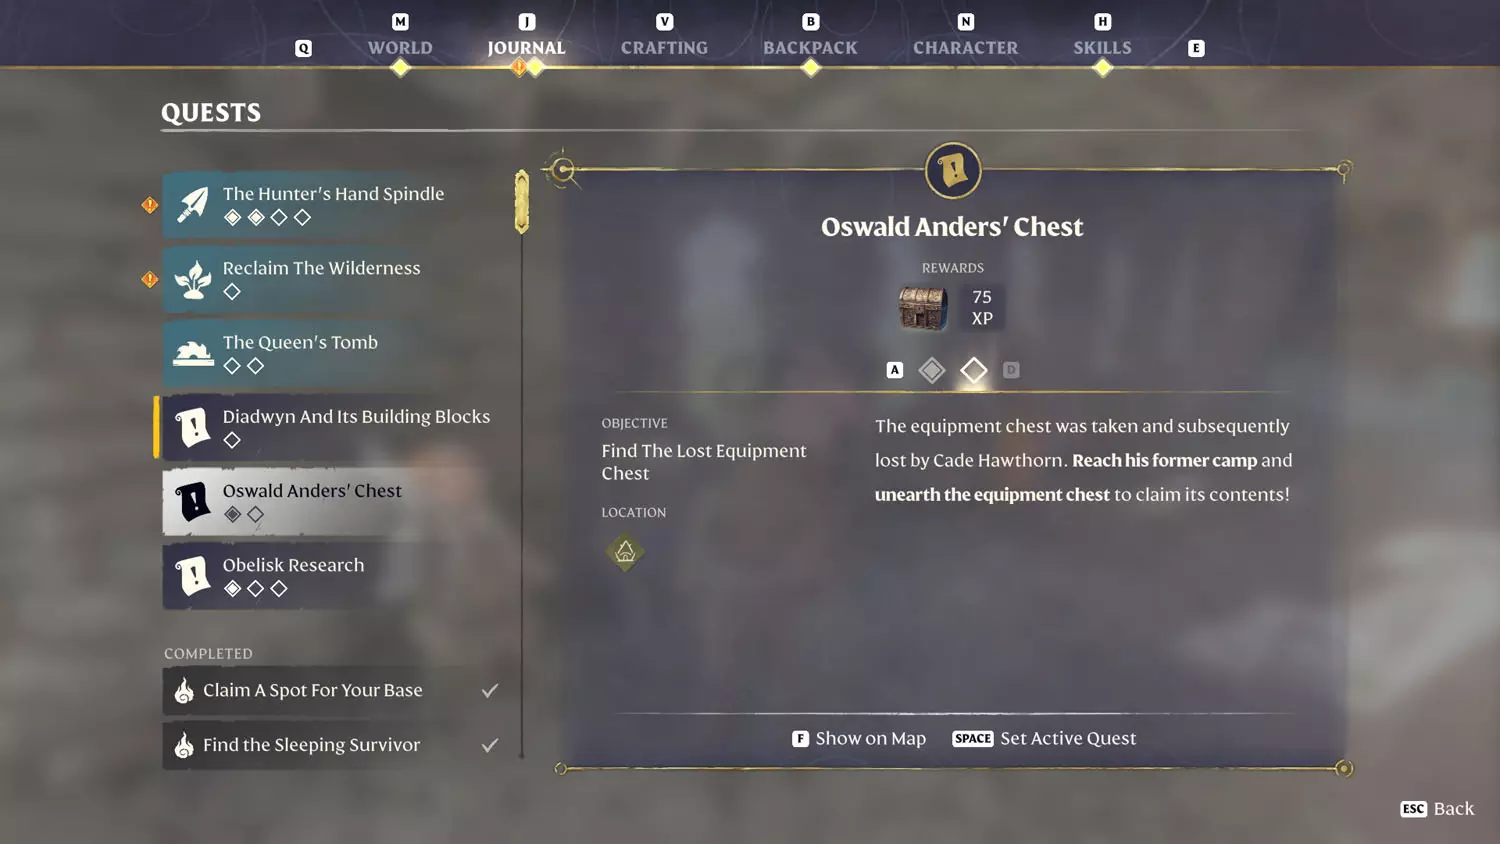
Oswald Anders’ Chest
Rewards: Gold Chest + 75 XP
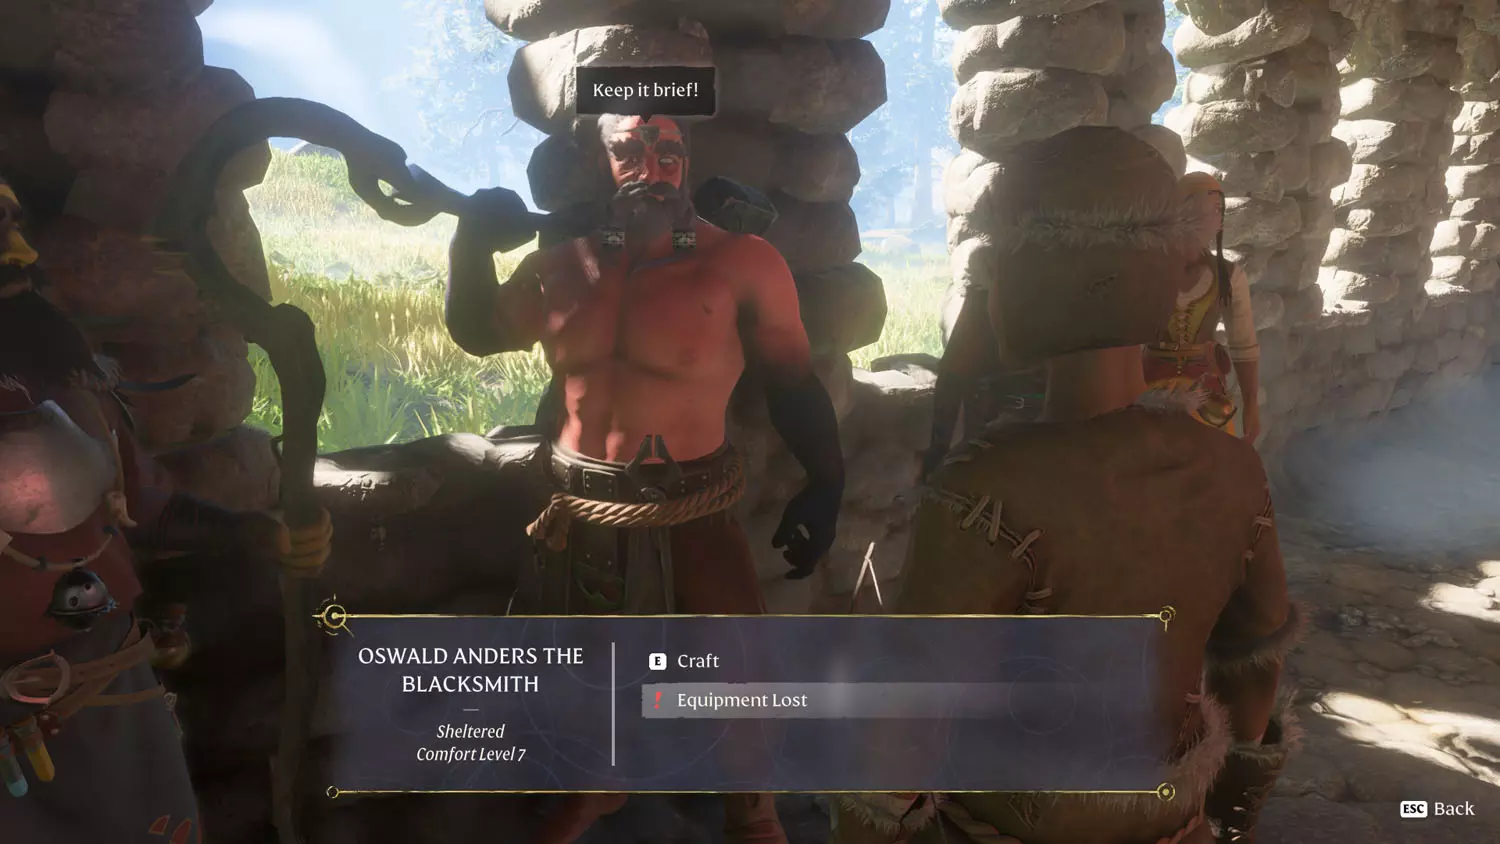
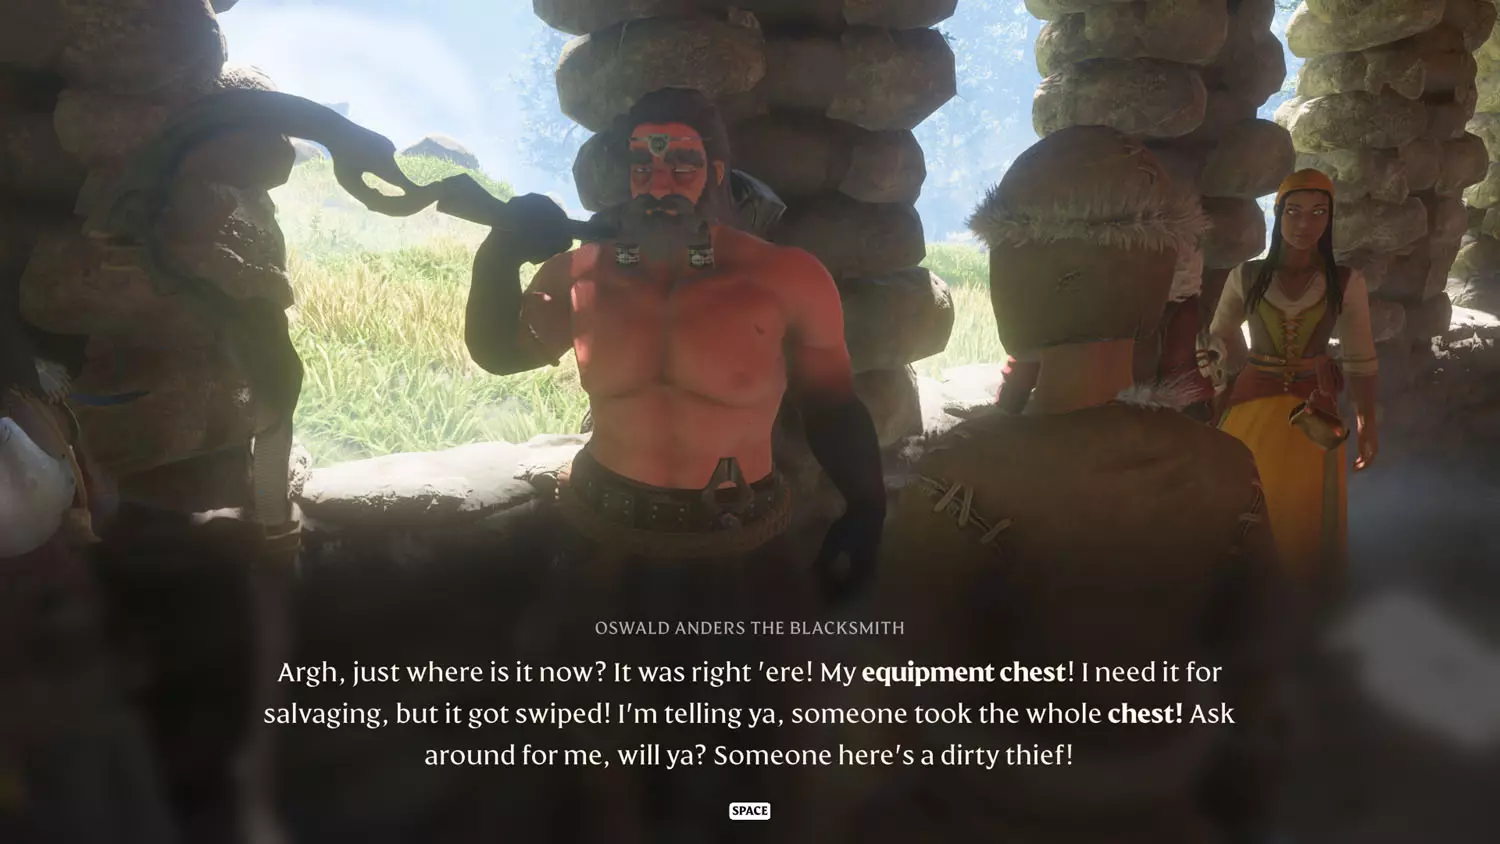
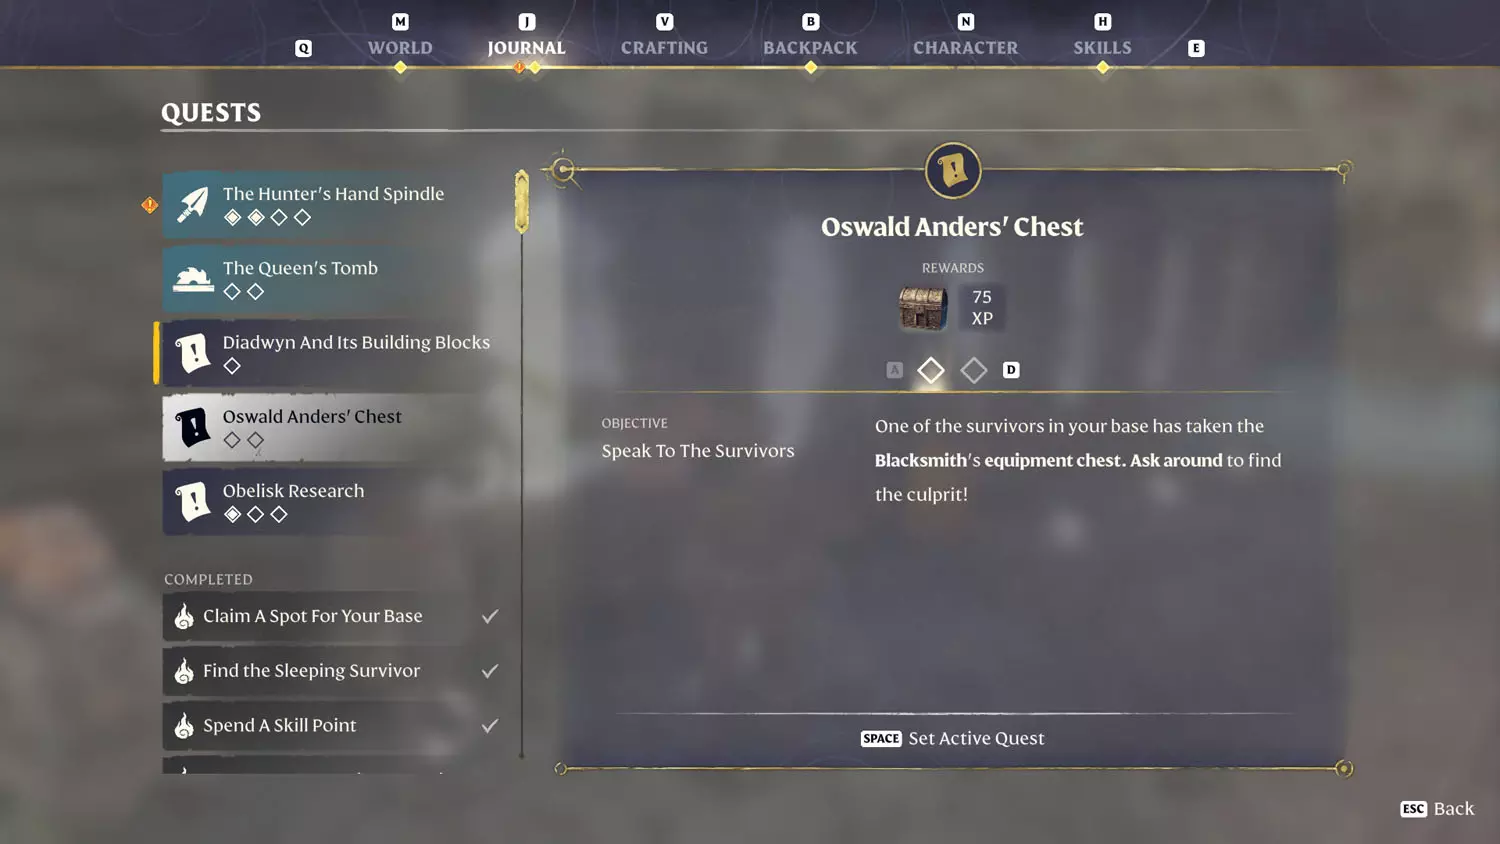
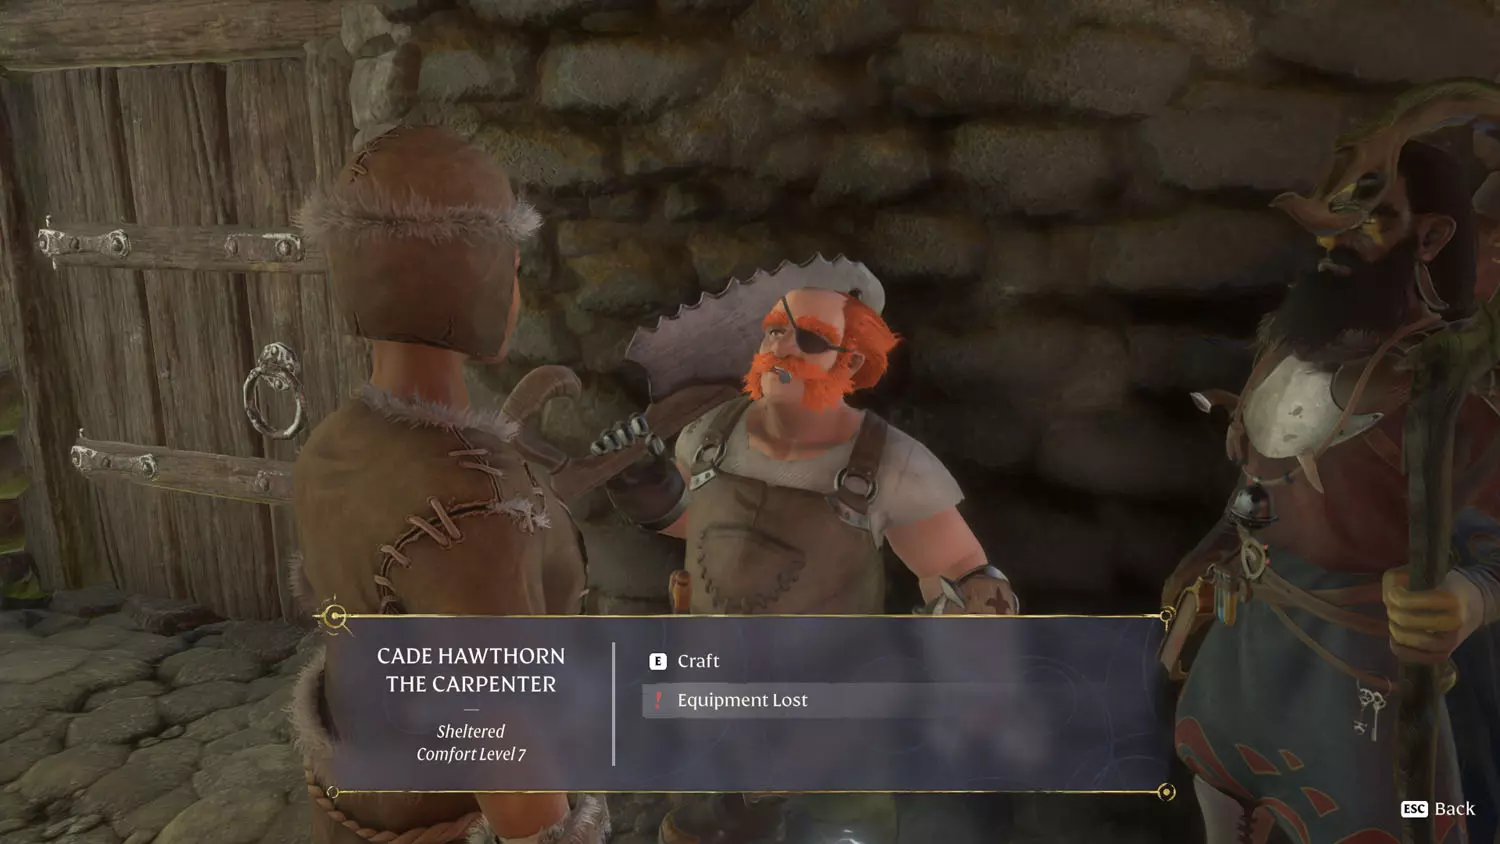
Select the dialogue “Equipment Lost” from the Blacksmith Oswald Anders to begin this quest.


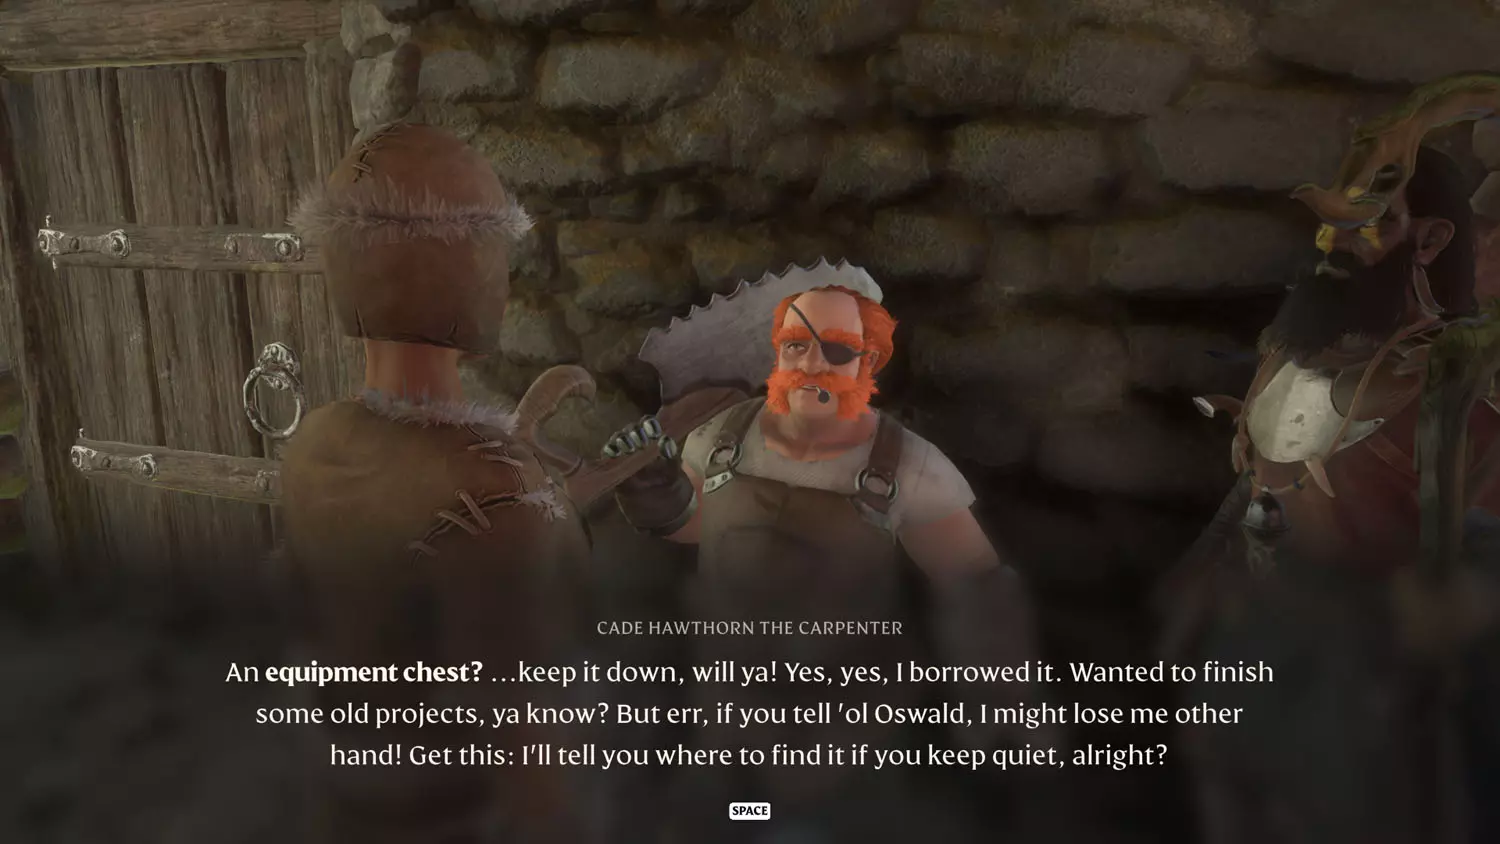
Speak with the Carpenter Cade Hawthorn and select the dialogue option “Equipment Lost”. This will finish the first part of the quest.


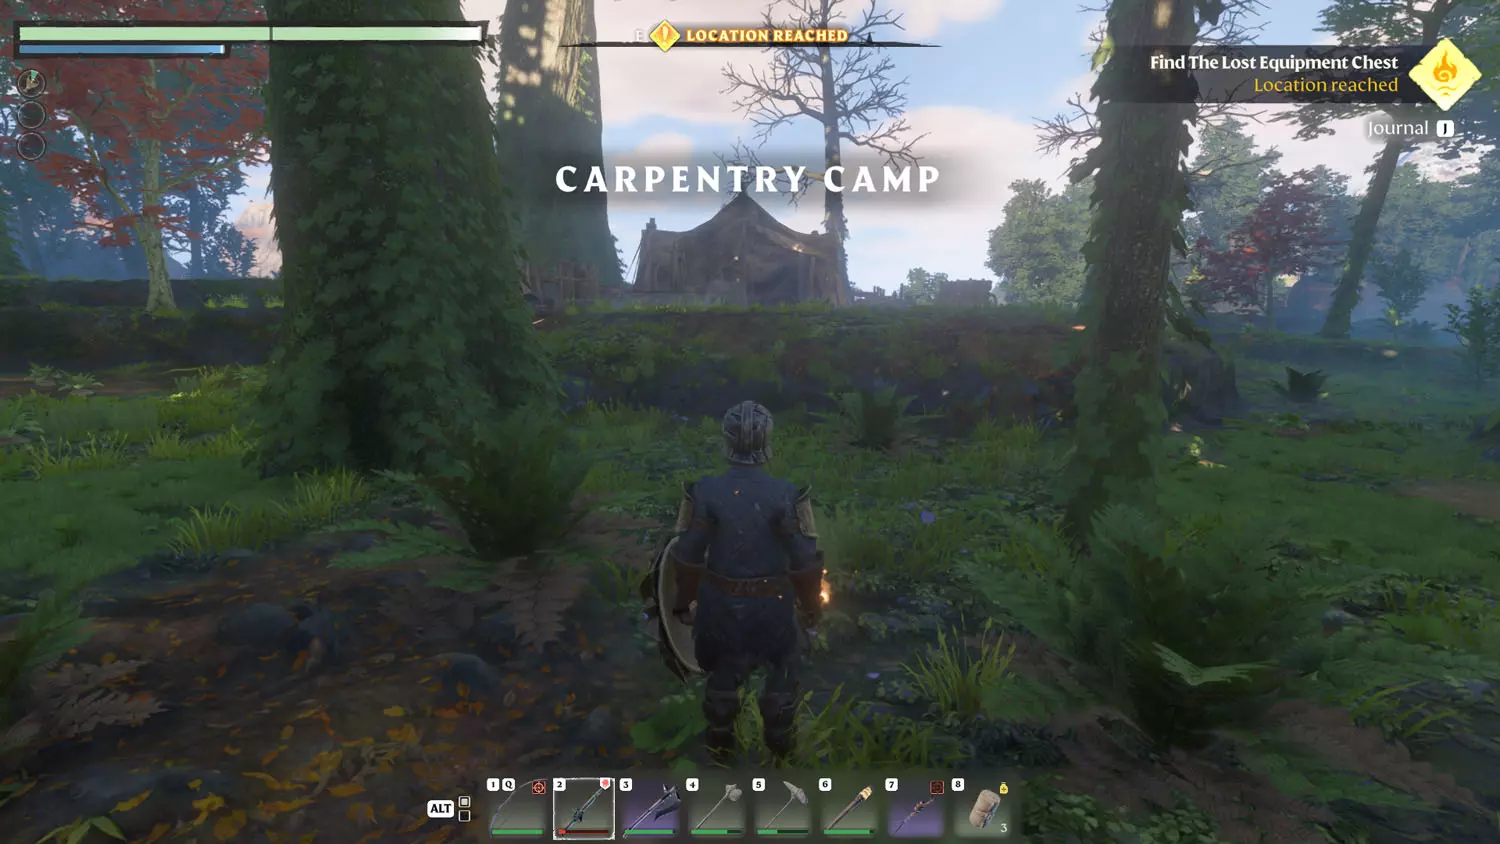
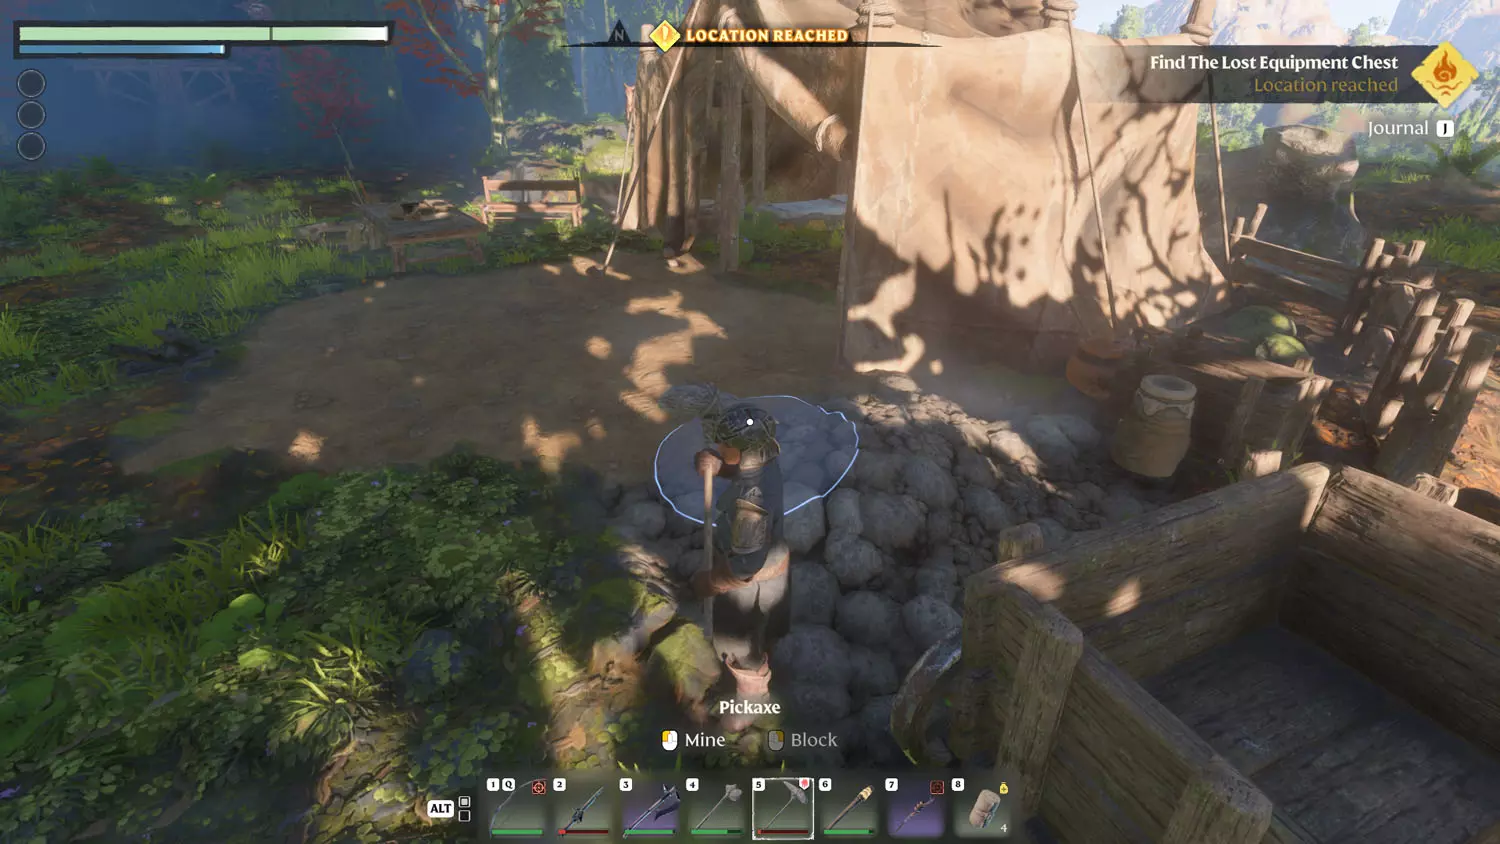
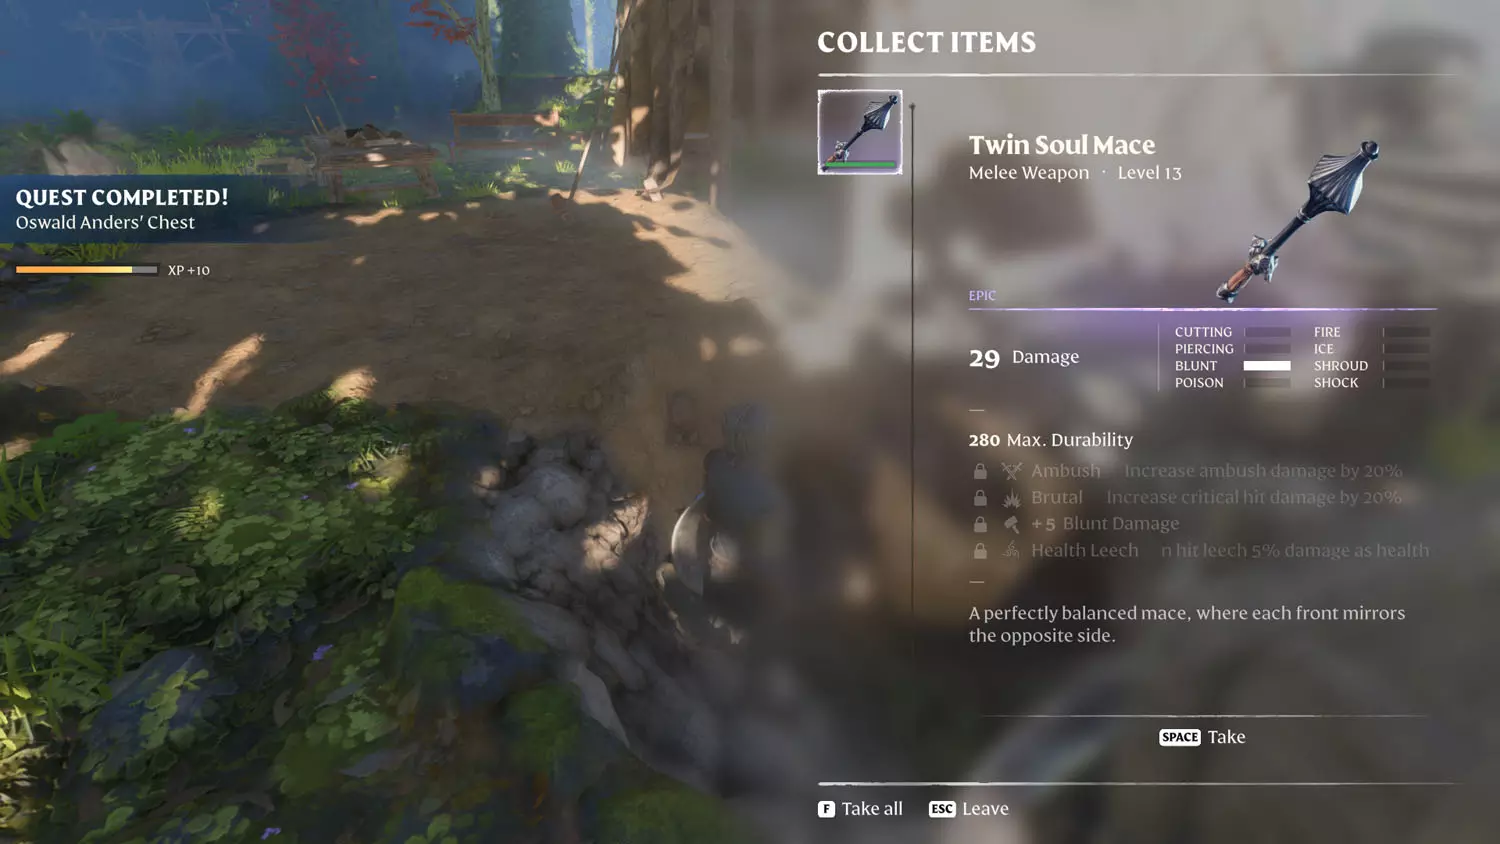
From there, I suggest checking out the Building Block Quest: Diadwyn And Its Building Blocks - Half-Timbered Block Reward. Once you make it to Diadwyn, keep going right through the town toward the Carpenter Camp. Beside the tent is a gravel spot you can dig. Inside is a Gold Chest. Opening it will complete the quest!
TIP: This is also the location for the Scavenger Lore: Elixir For All 1/1 Worth It In The End, and the Vukah and Wildlife Lore: Diadwyn And Its Building Blocks 1/2 Town Of Diadwyn and 2/2 Half-Timbered Blocks.


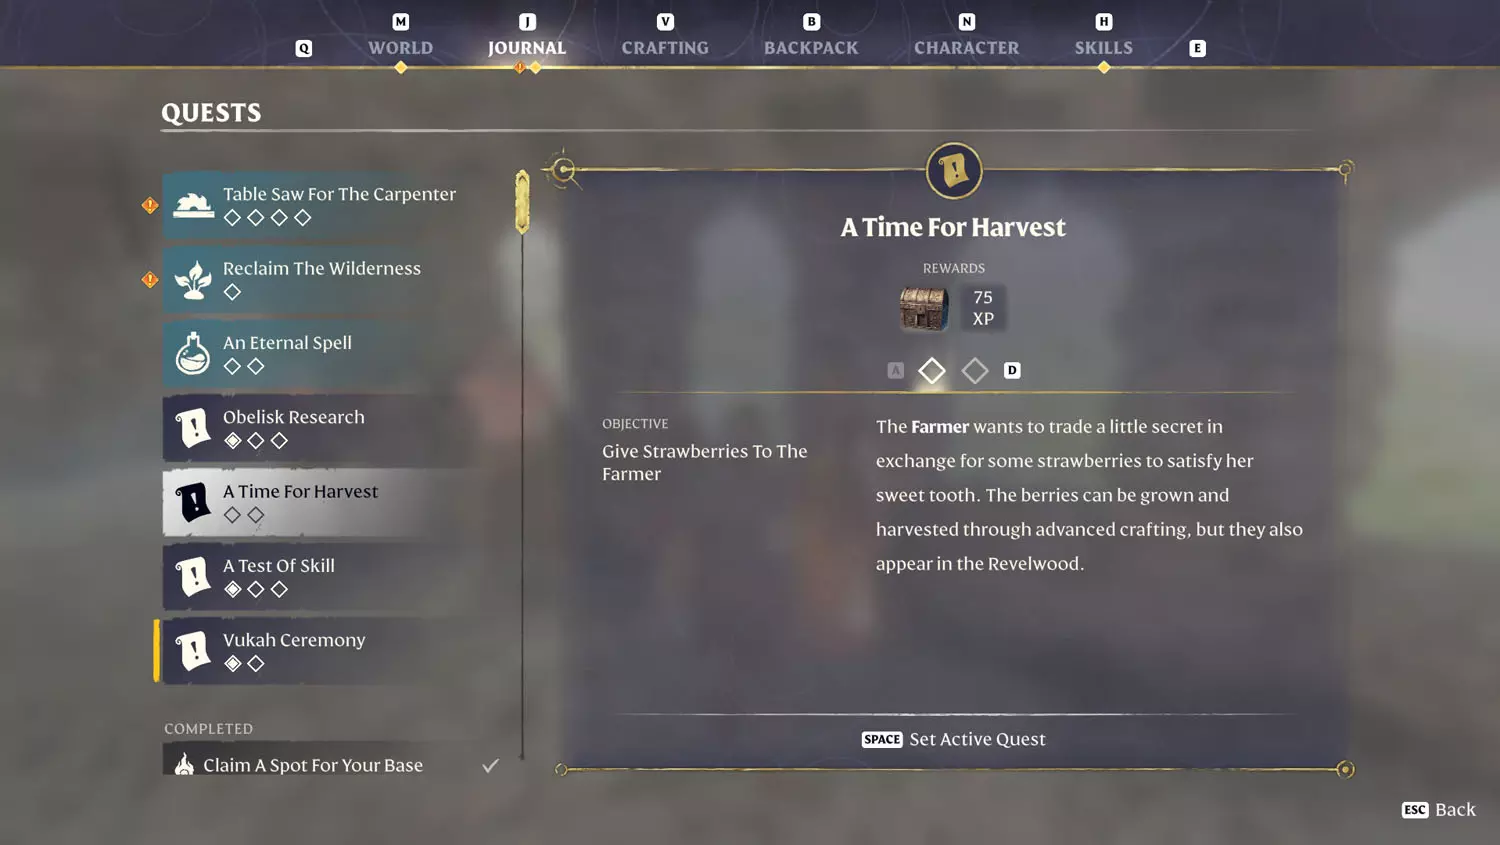
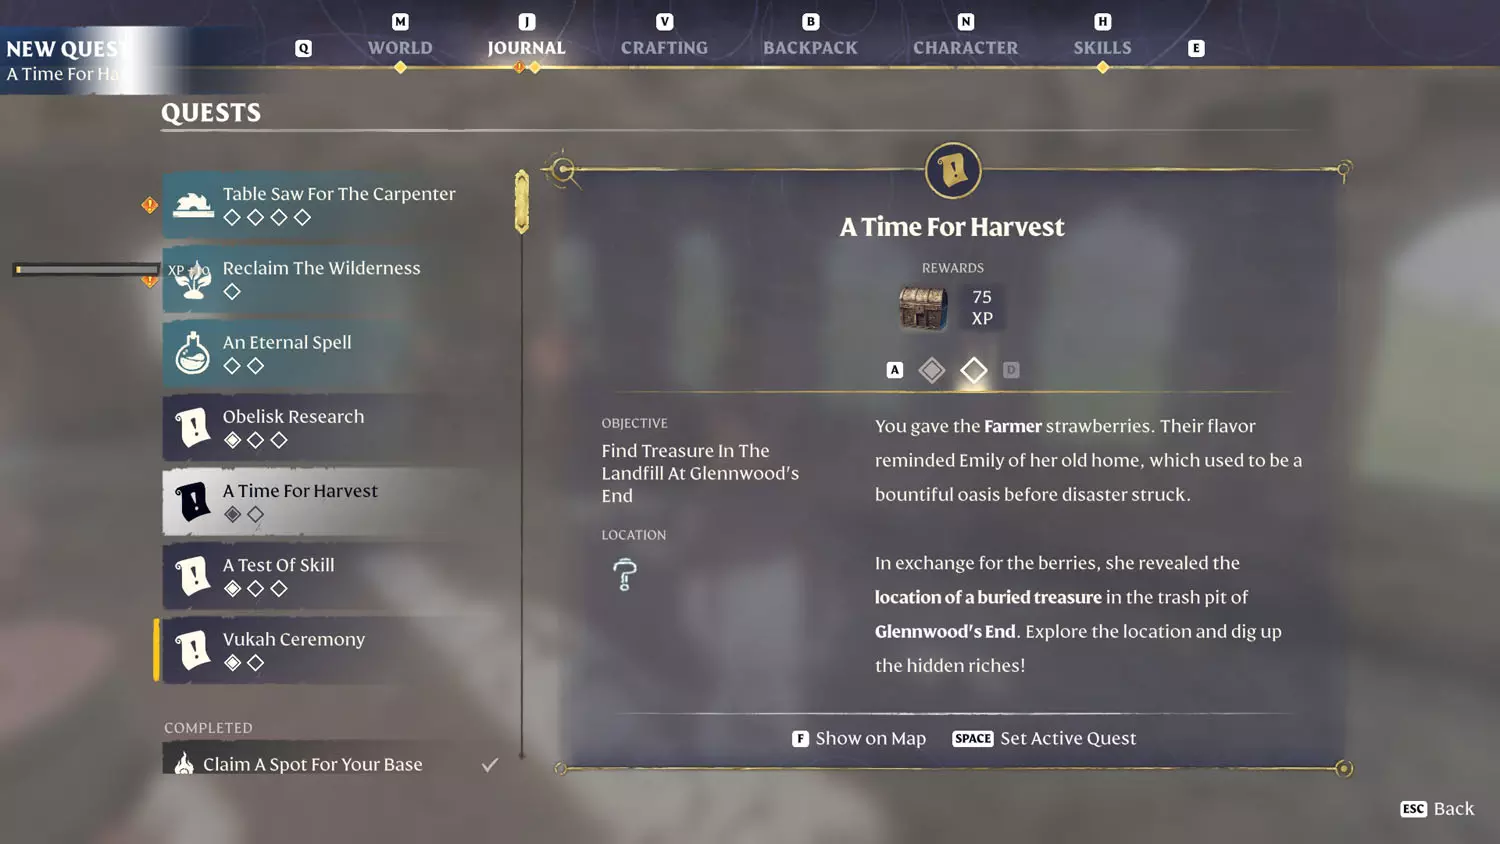
A Time For Harvest
Rewards: Gold Chest + 75 XP
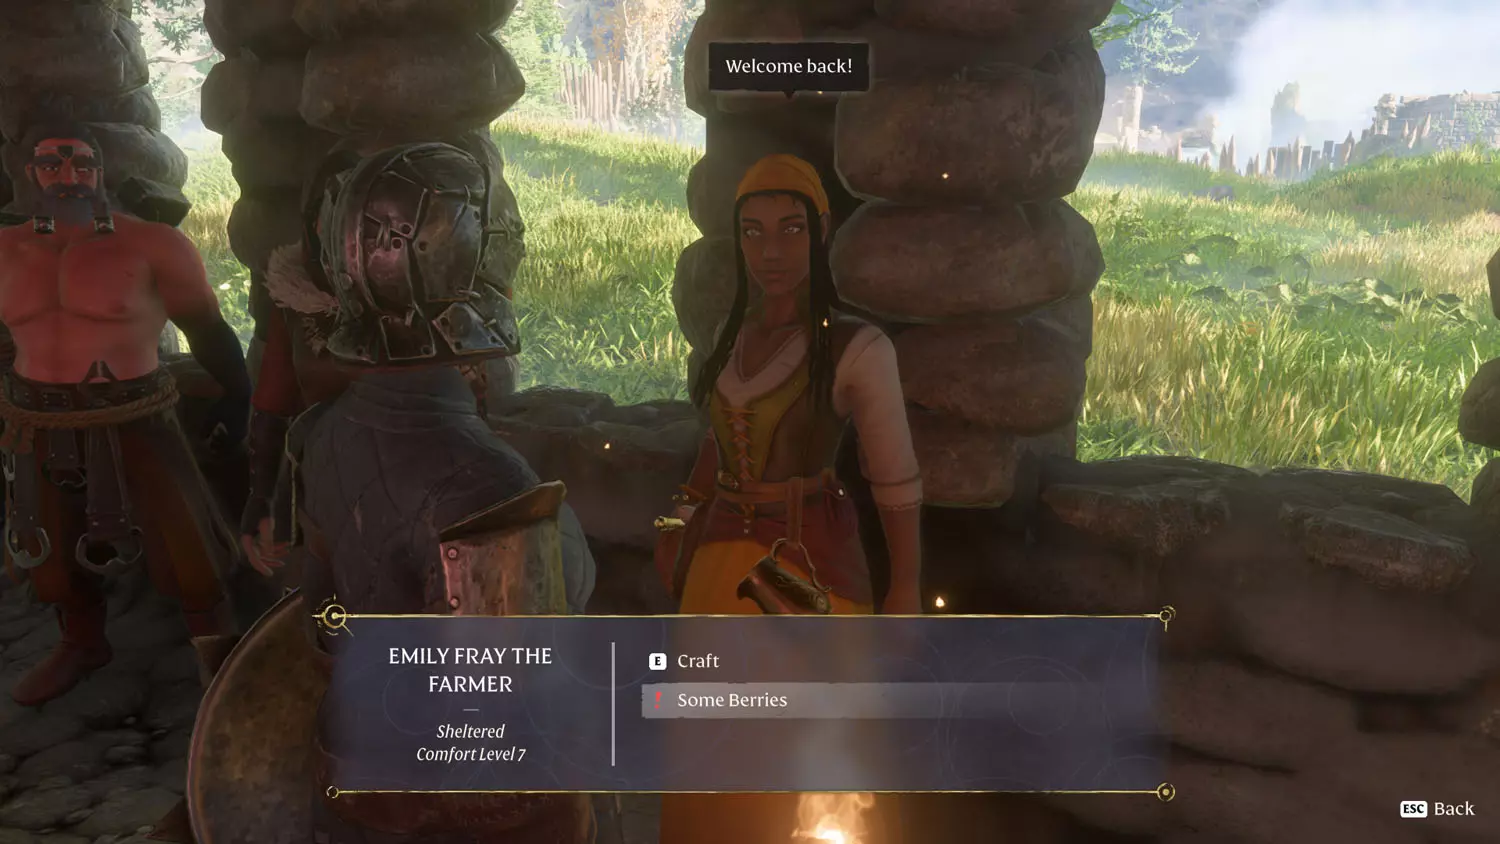
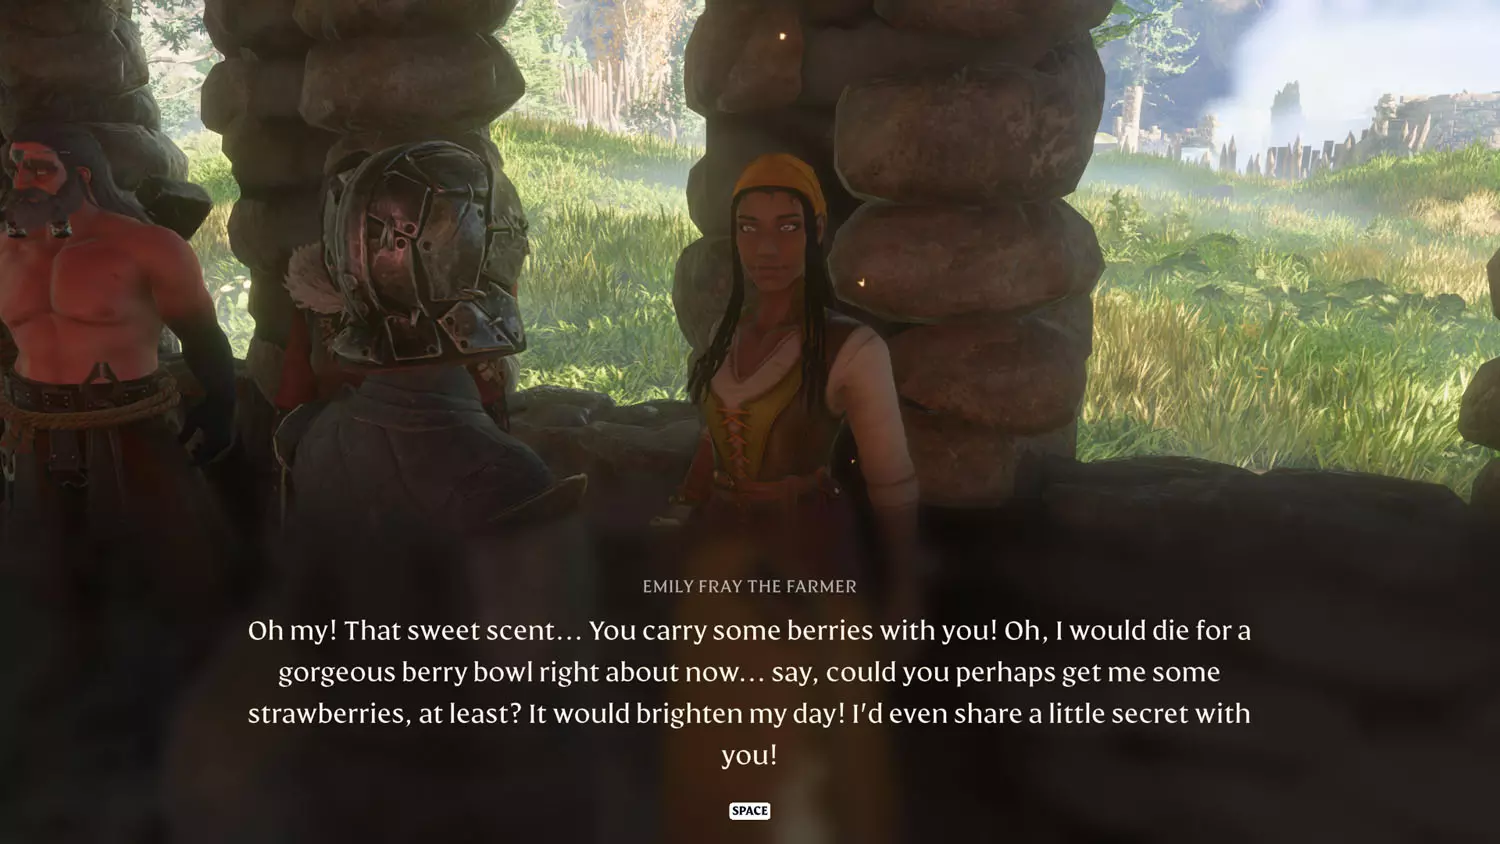
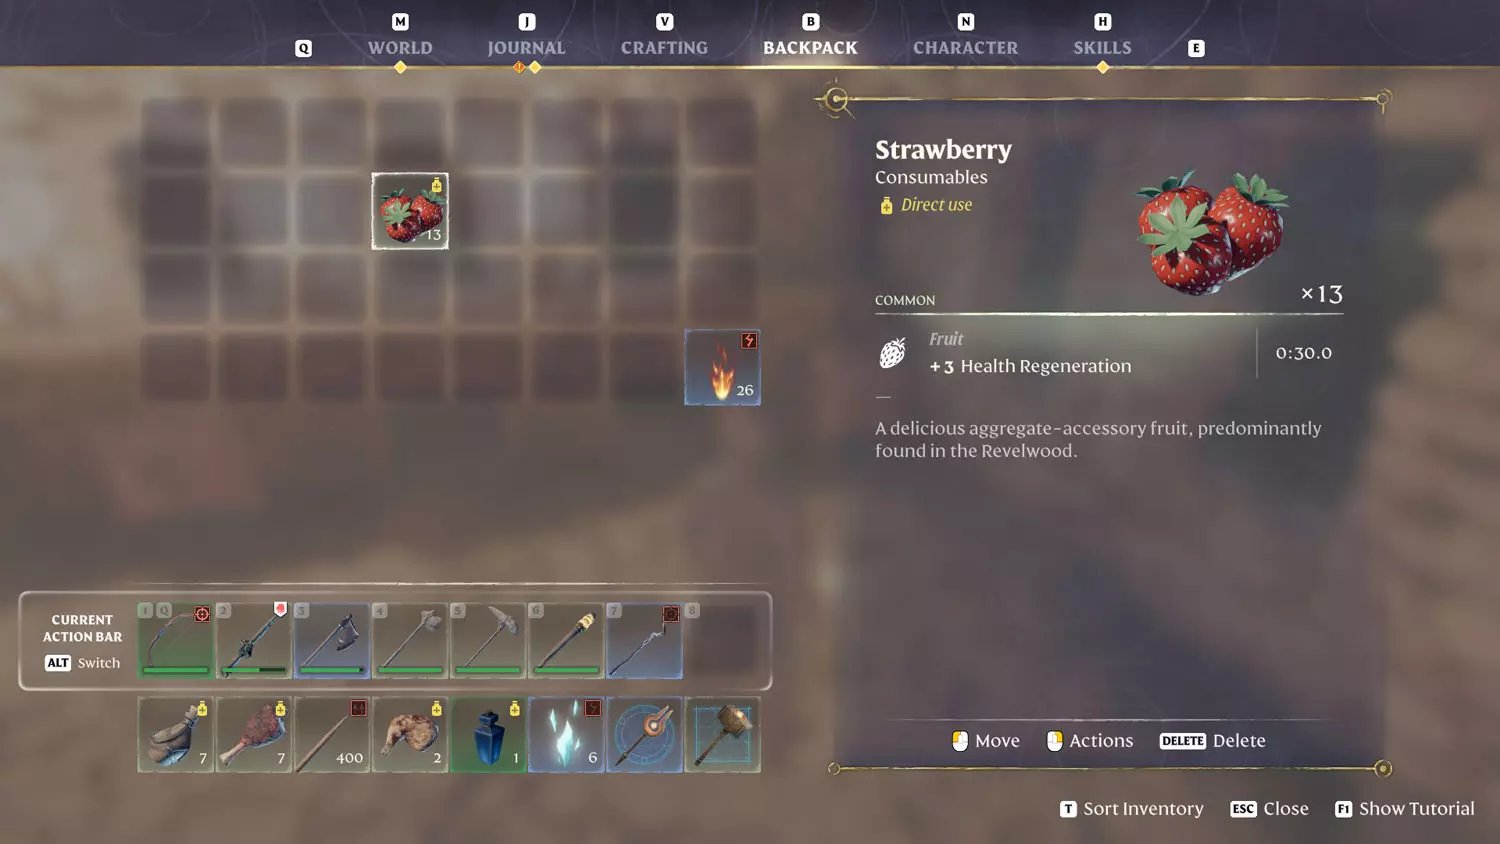
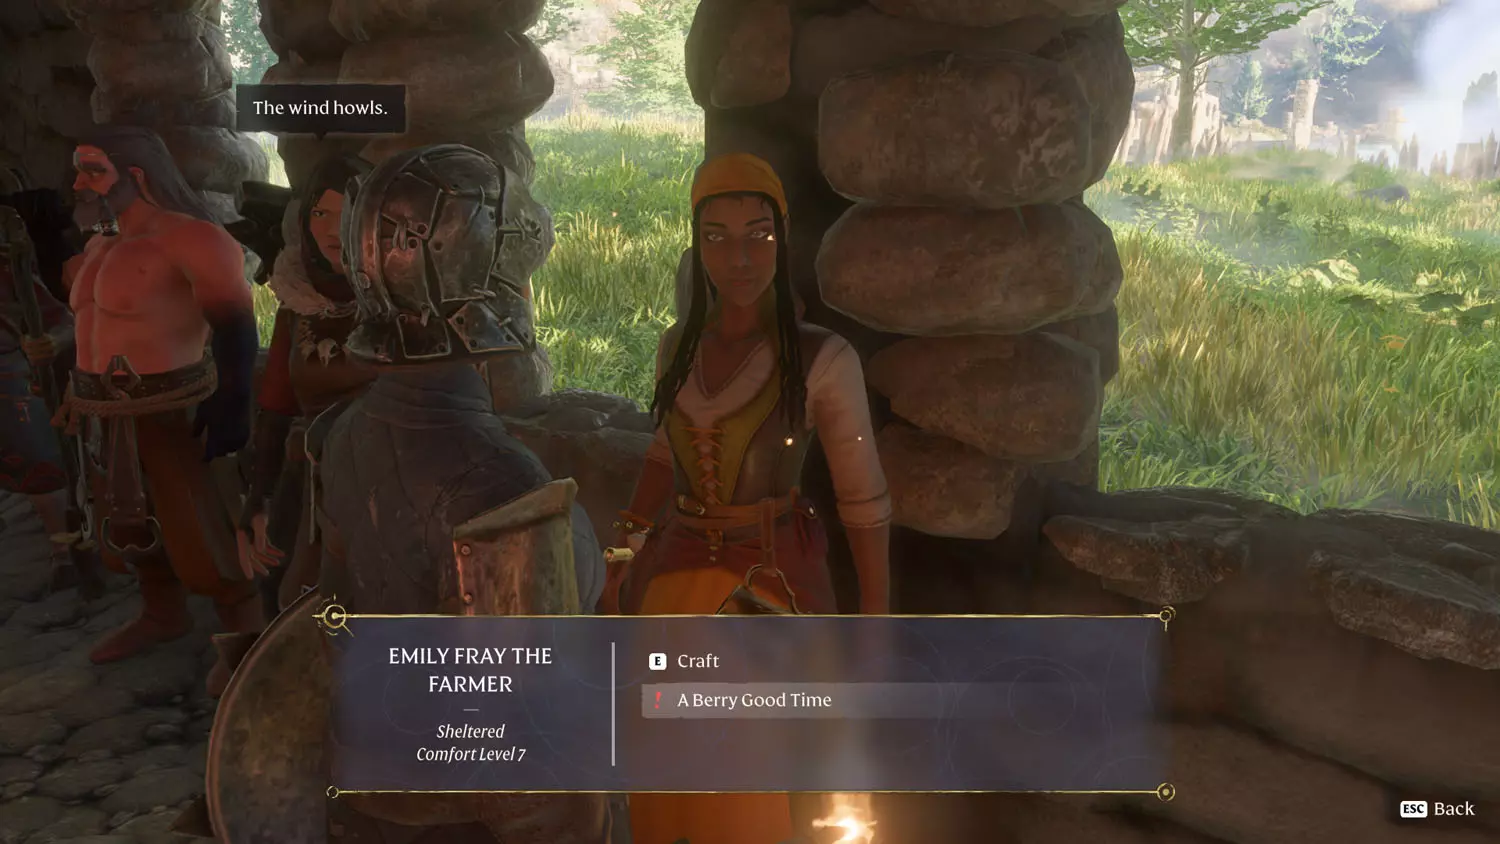
After claiming the Ancient Spire - Revelwood Fast Travel, the Farmer will have the dialogue option: “Some Berries”. You may also need to pick a strawberry to initiate this quest, I don’t know since I did that before the tower.


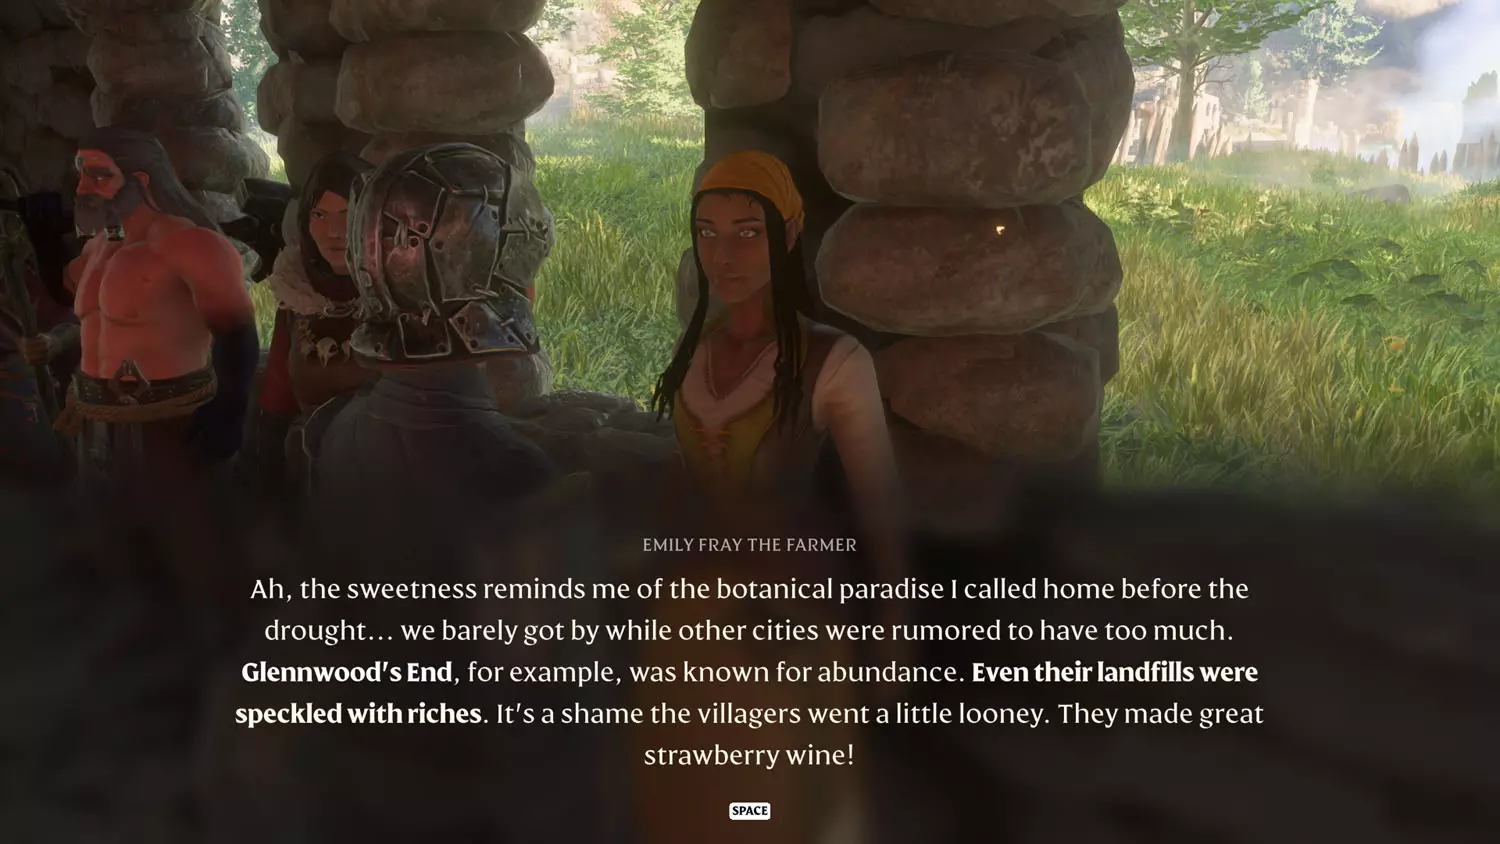
Anyway, bring Farmer Emily Fray some strawberries to finish the first part of this quest. In order to do that, have the strawberries in your inventory and select the dialogue “A Berry Cool Time”.


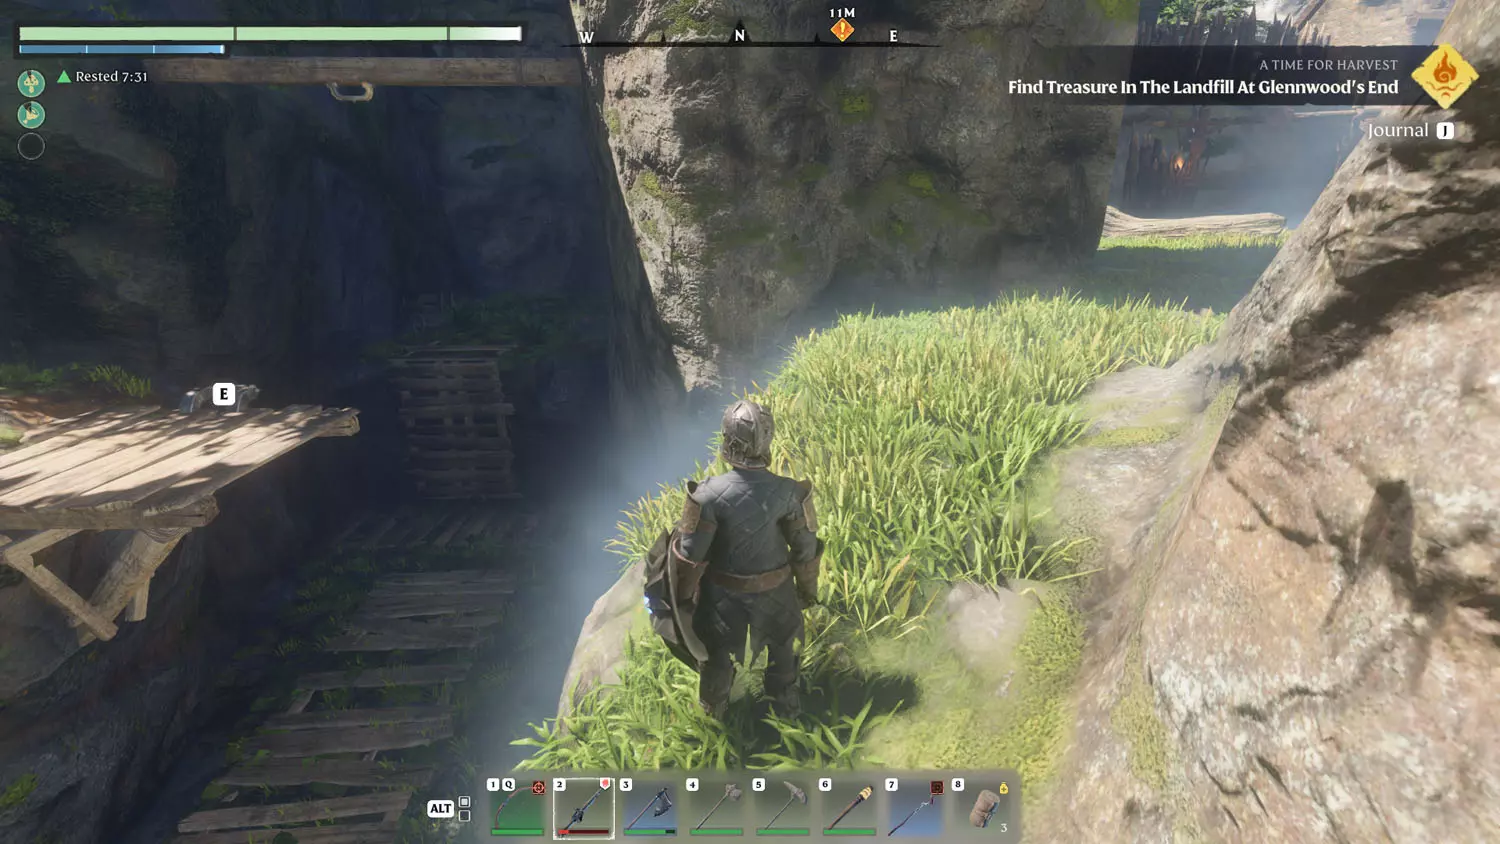
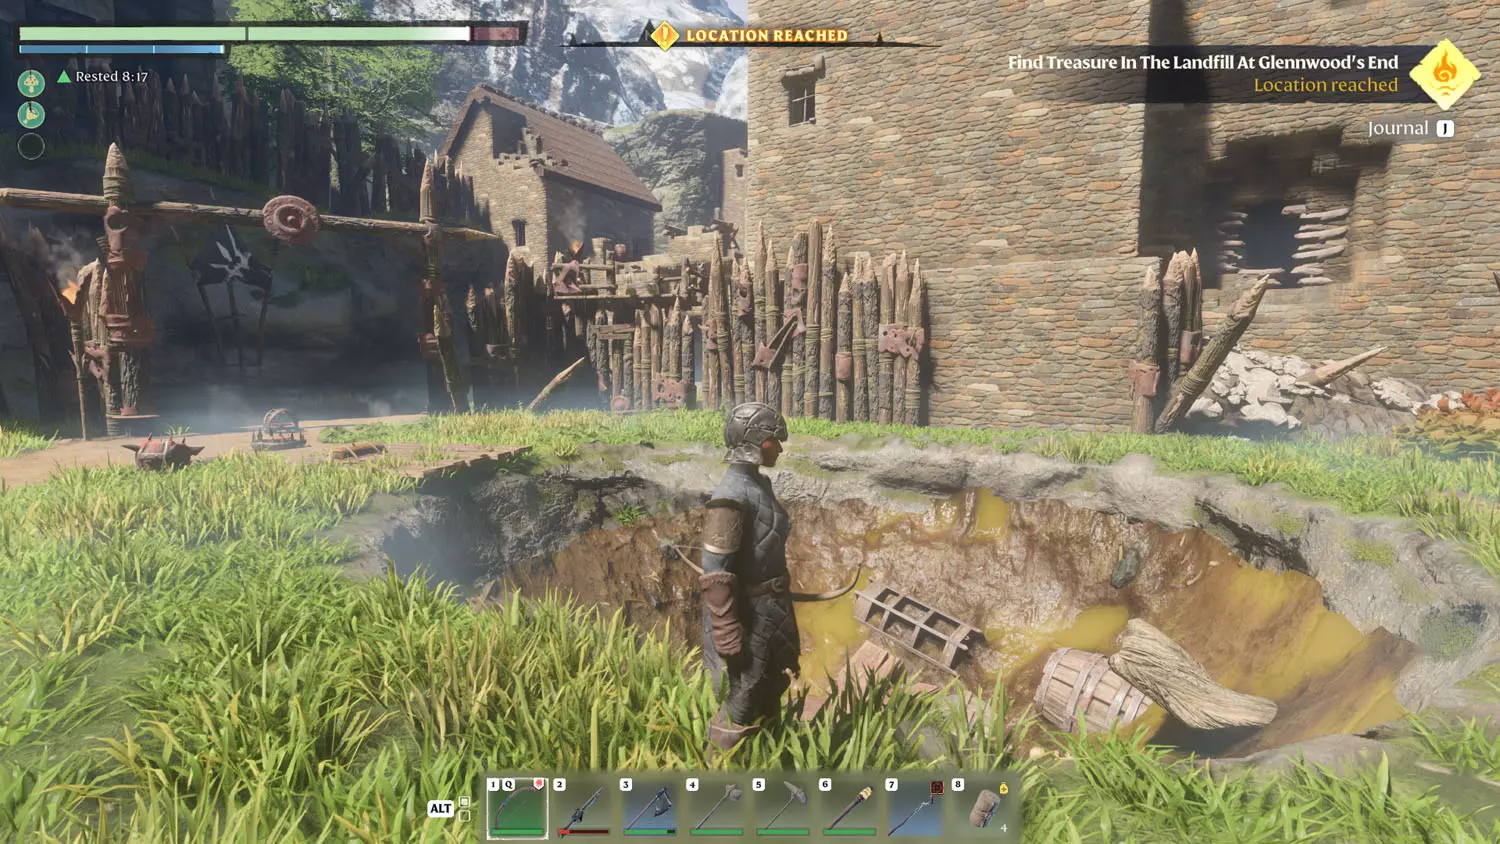
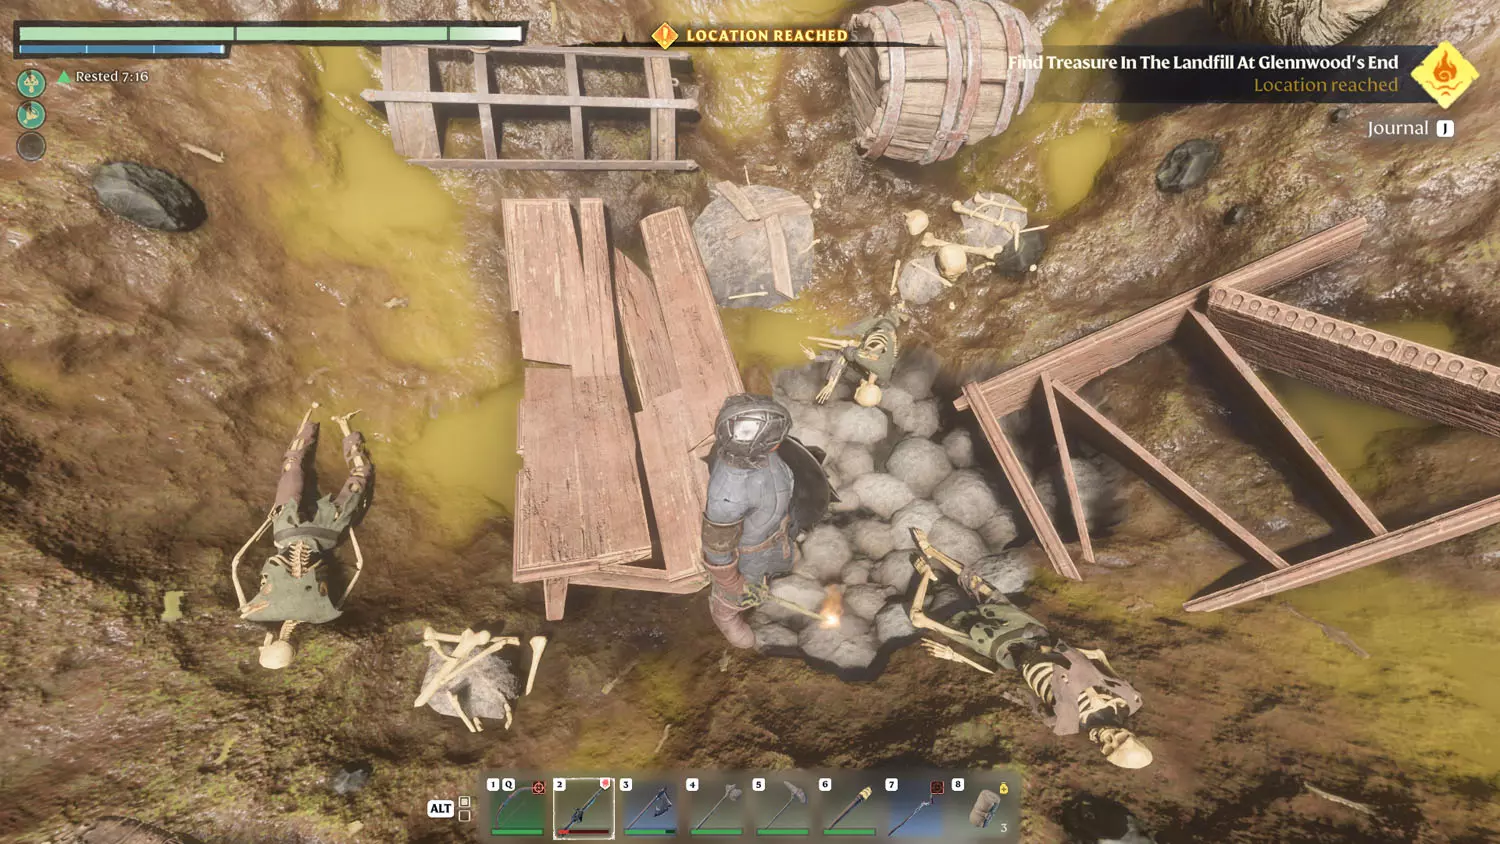
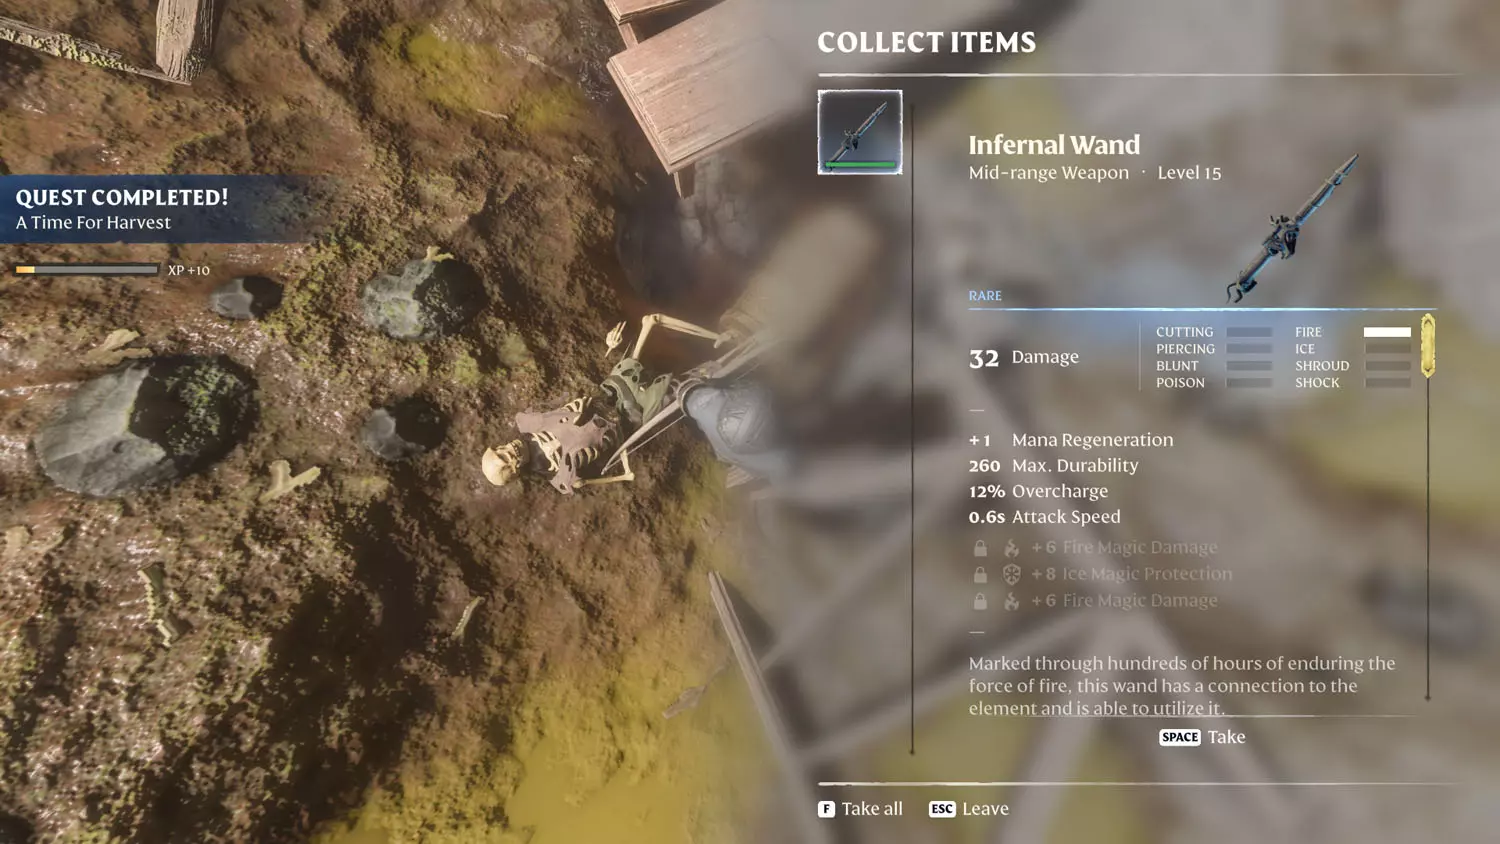
Head to Glennwood’s End for the buried loot! I chose the sneaky route with a grapple spot and a spitting plant on the left side of the town. The path goes right to the pit with the treasure. At the bottom of the hole is a gravel spot to dig. Beneath that is a Gold Chest.


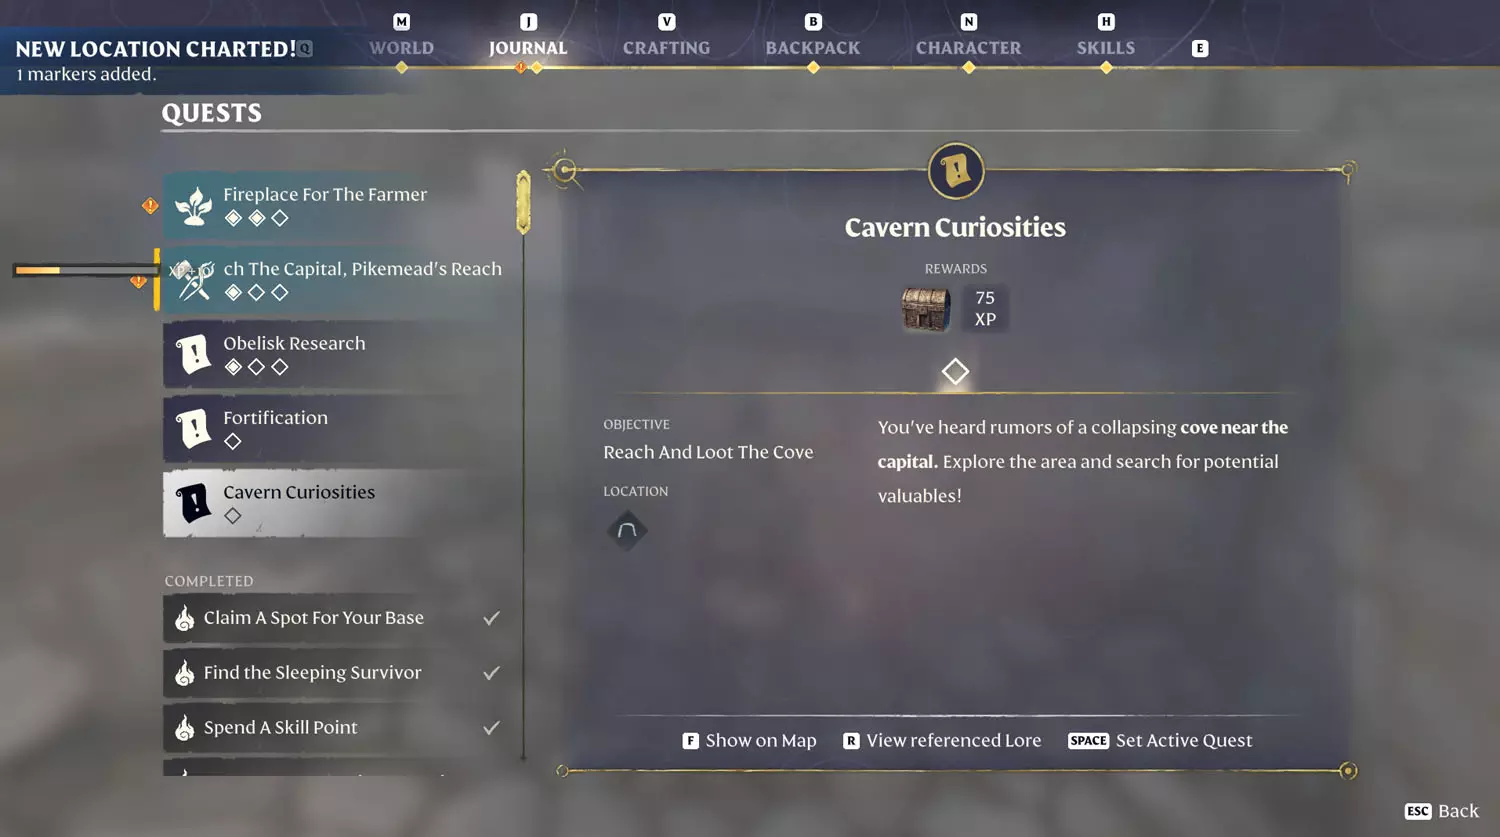
Cavern Curiosities
Rewards: Gold Chest + 75 XP
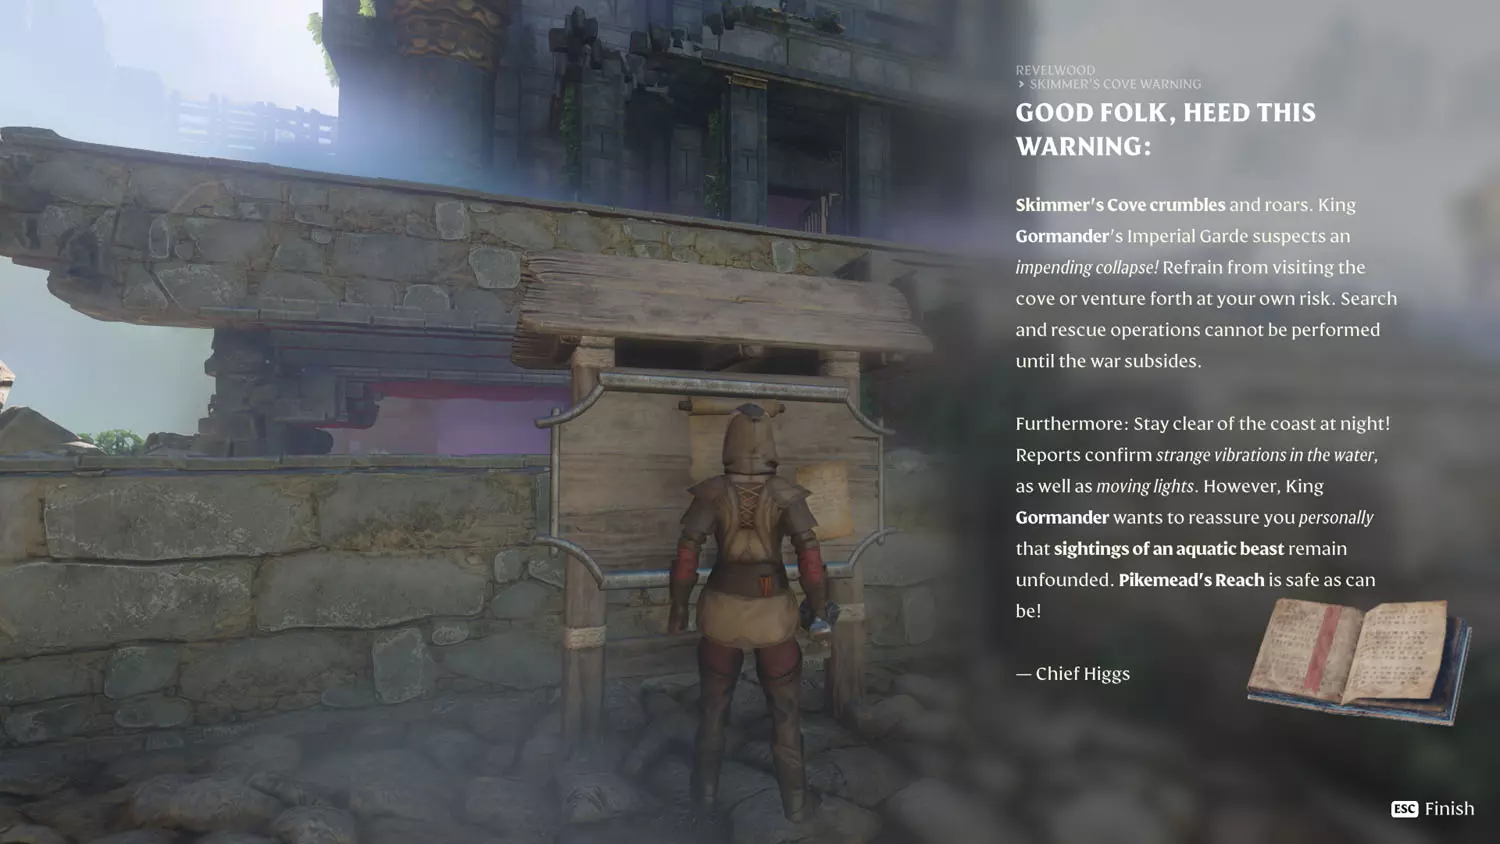
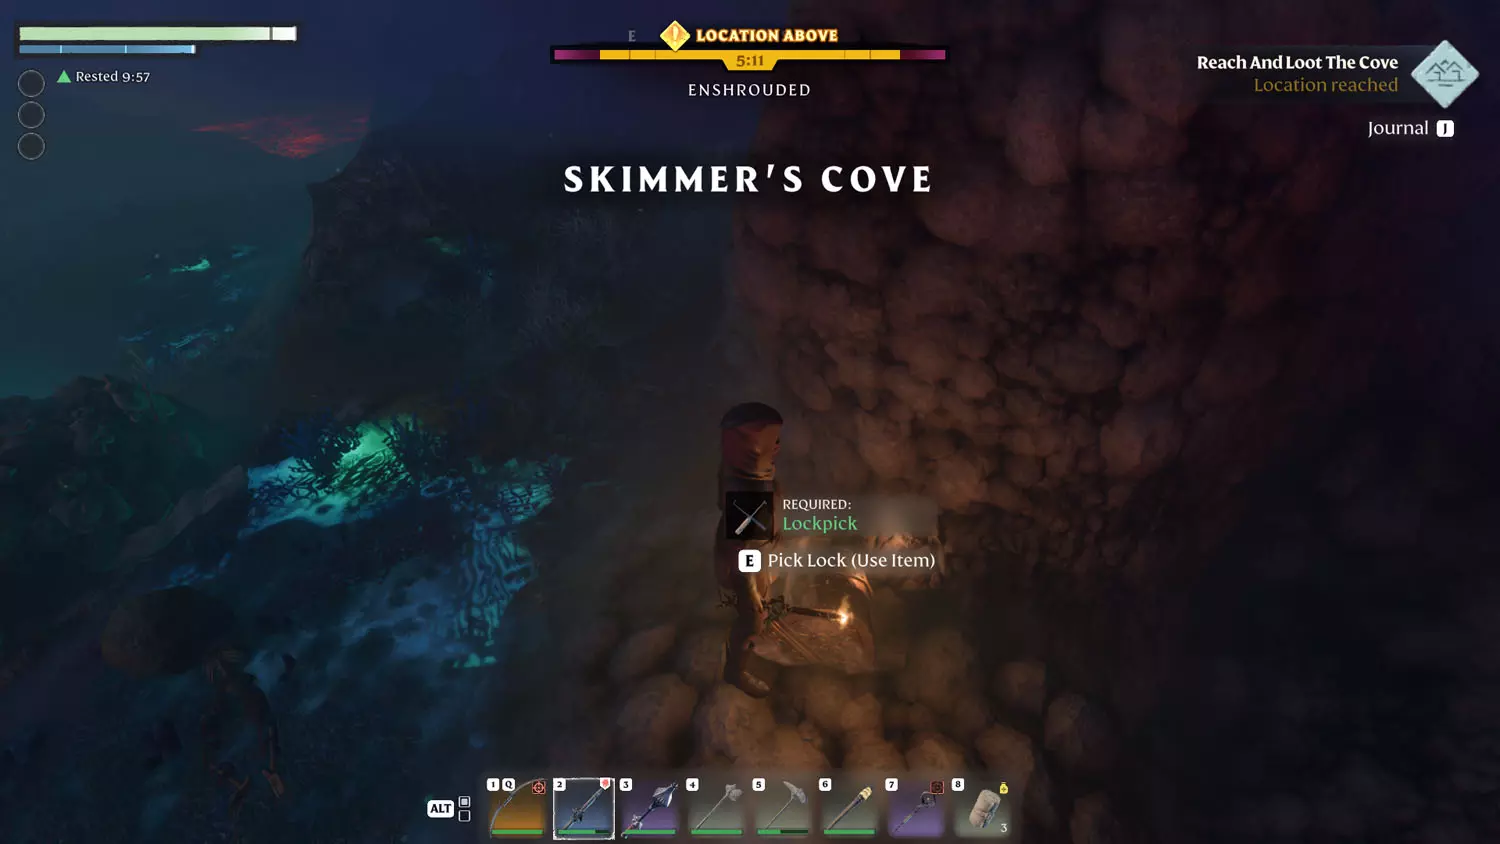
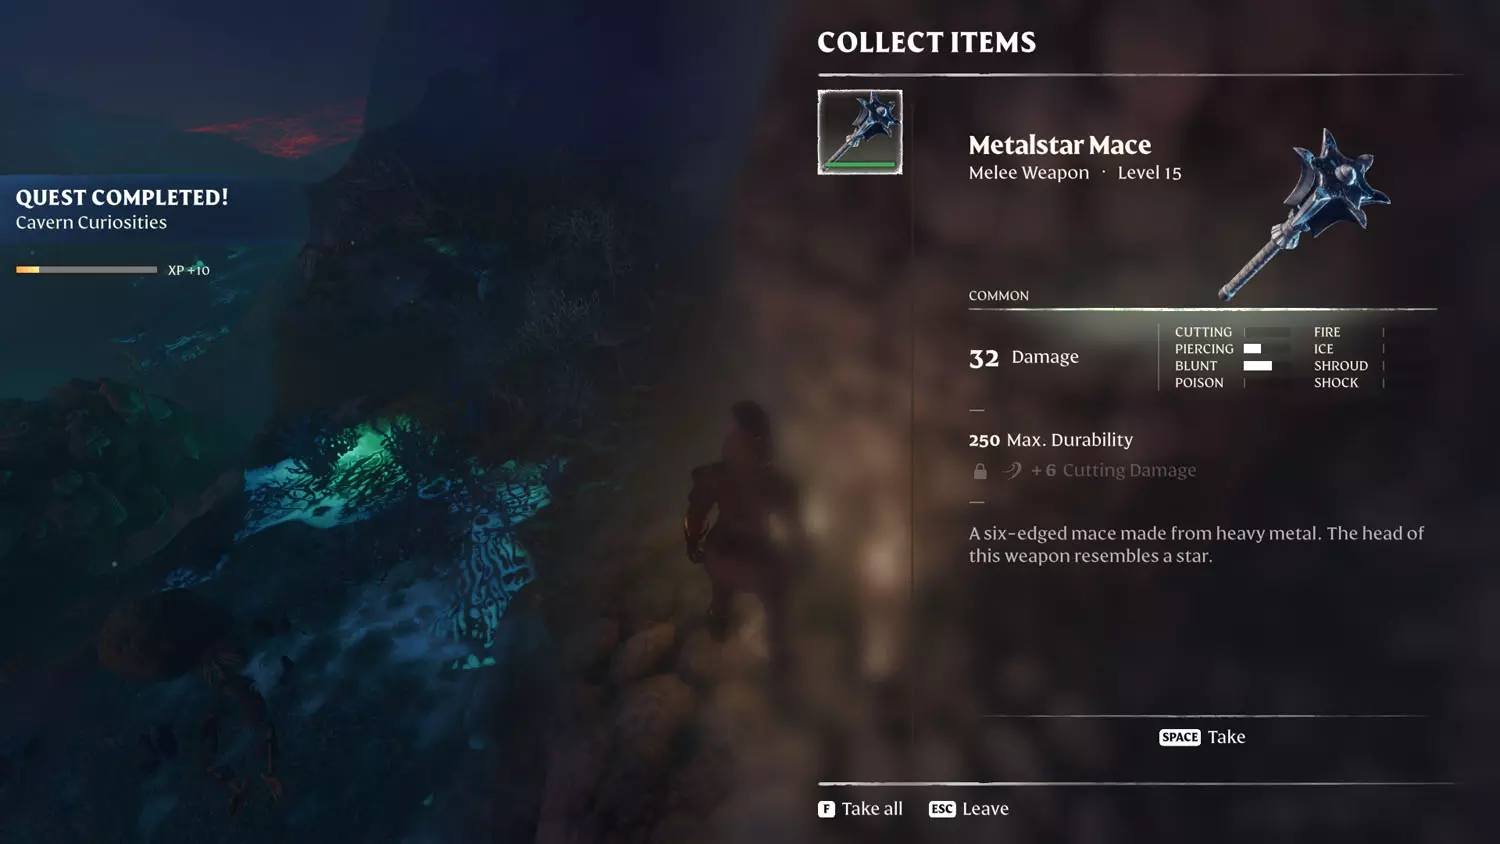
Located in Pikemead’s Reach, this quest is closely tied to the Revelwood Lore: Skimmer’s Cove Warning 1/1 Good Folk, Heed This Warning:. Once you read the page on the bulletin board, the quest will automatically be started for seeking out Skimmer’s Cove and the Gold Chest. You’ll need a lockpick to open it, so be prepared!

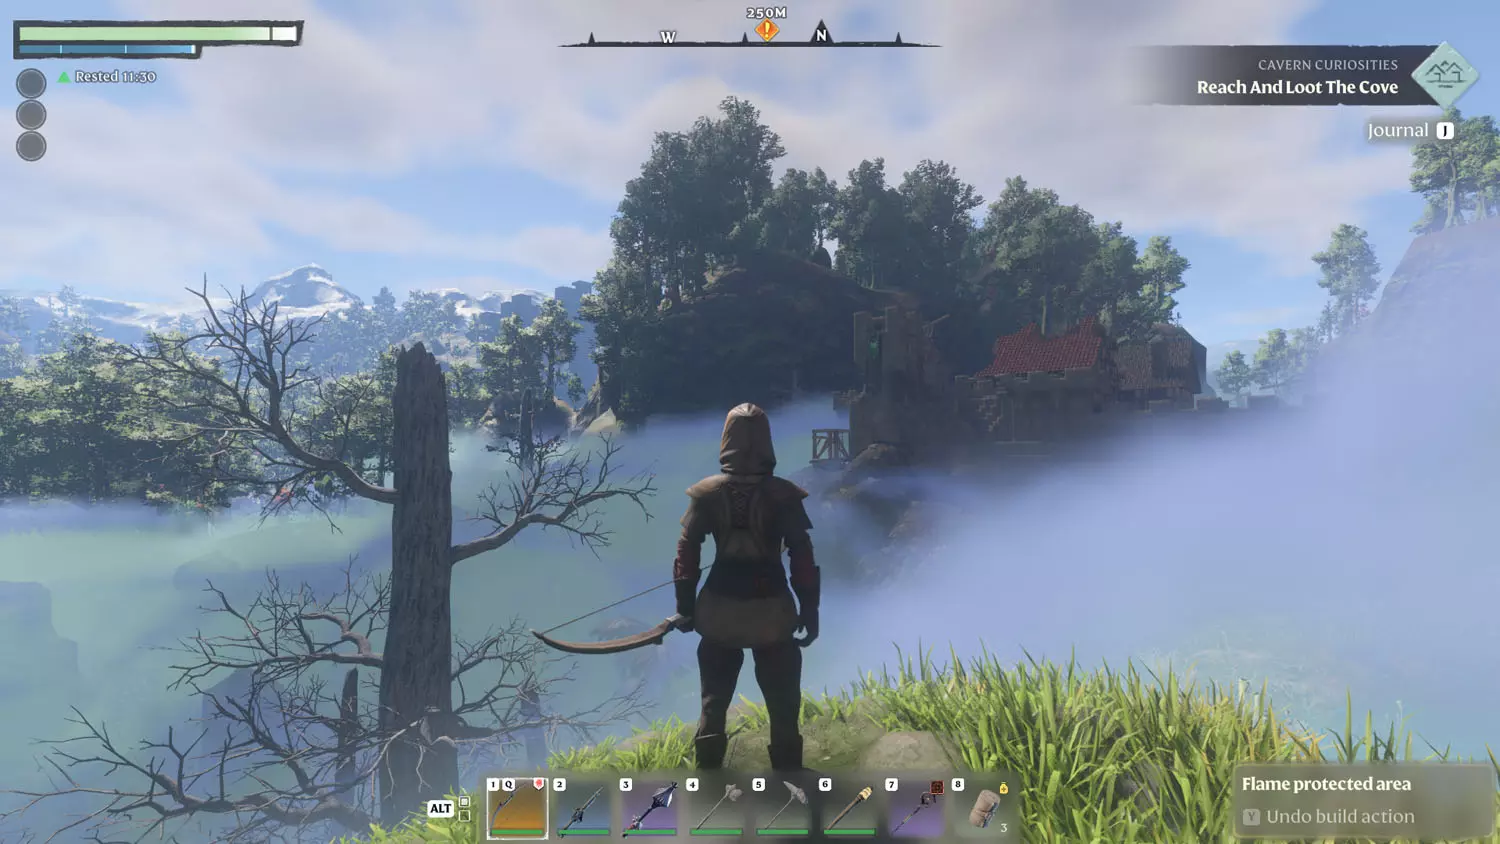
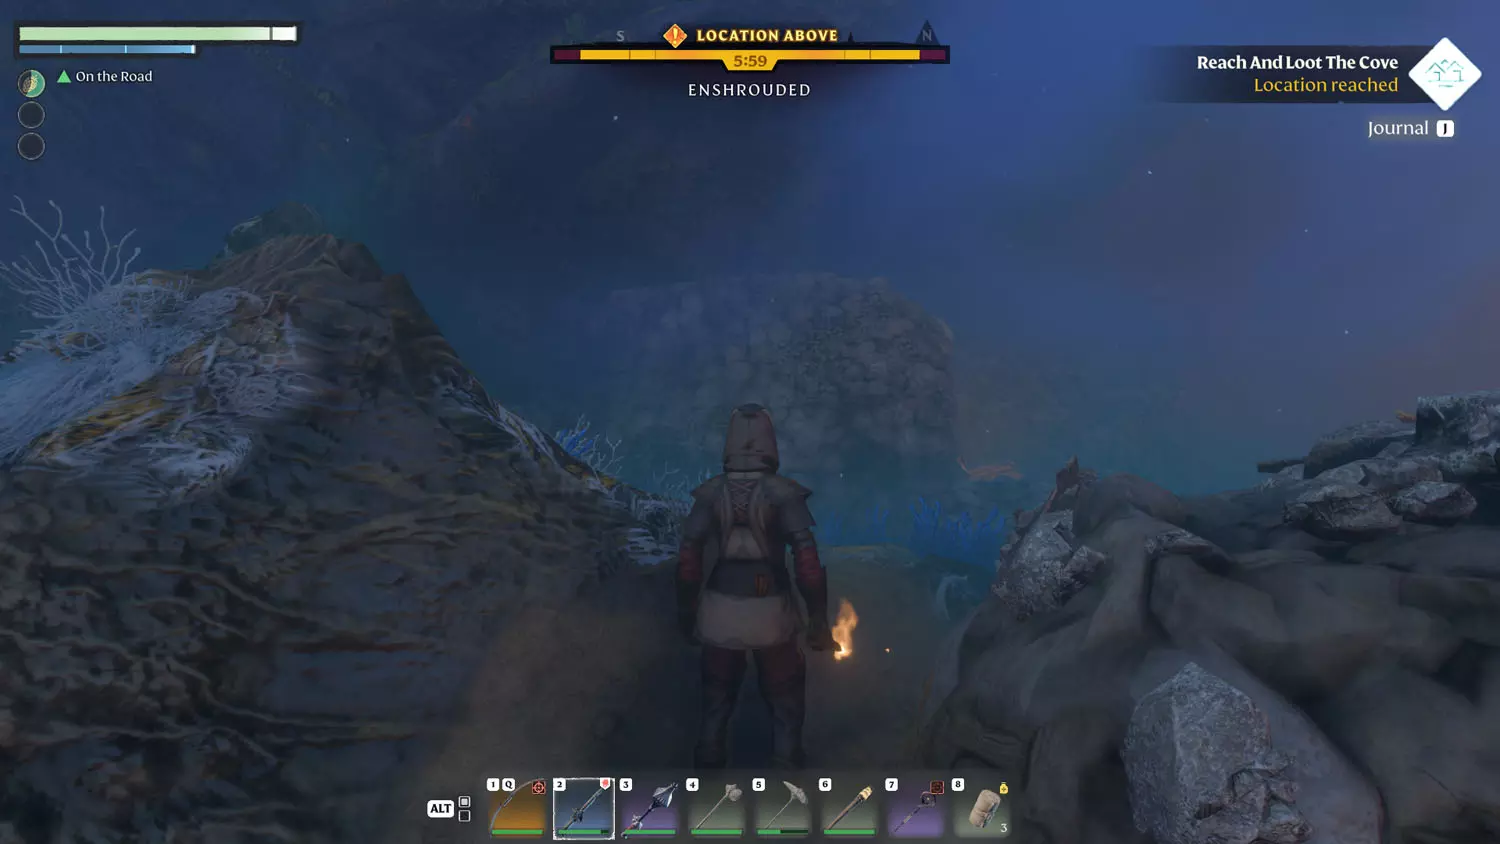
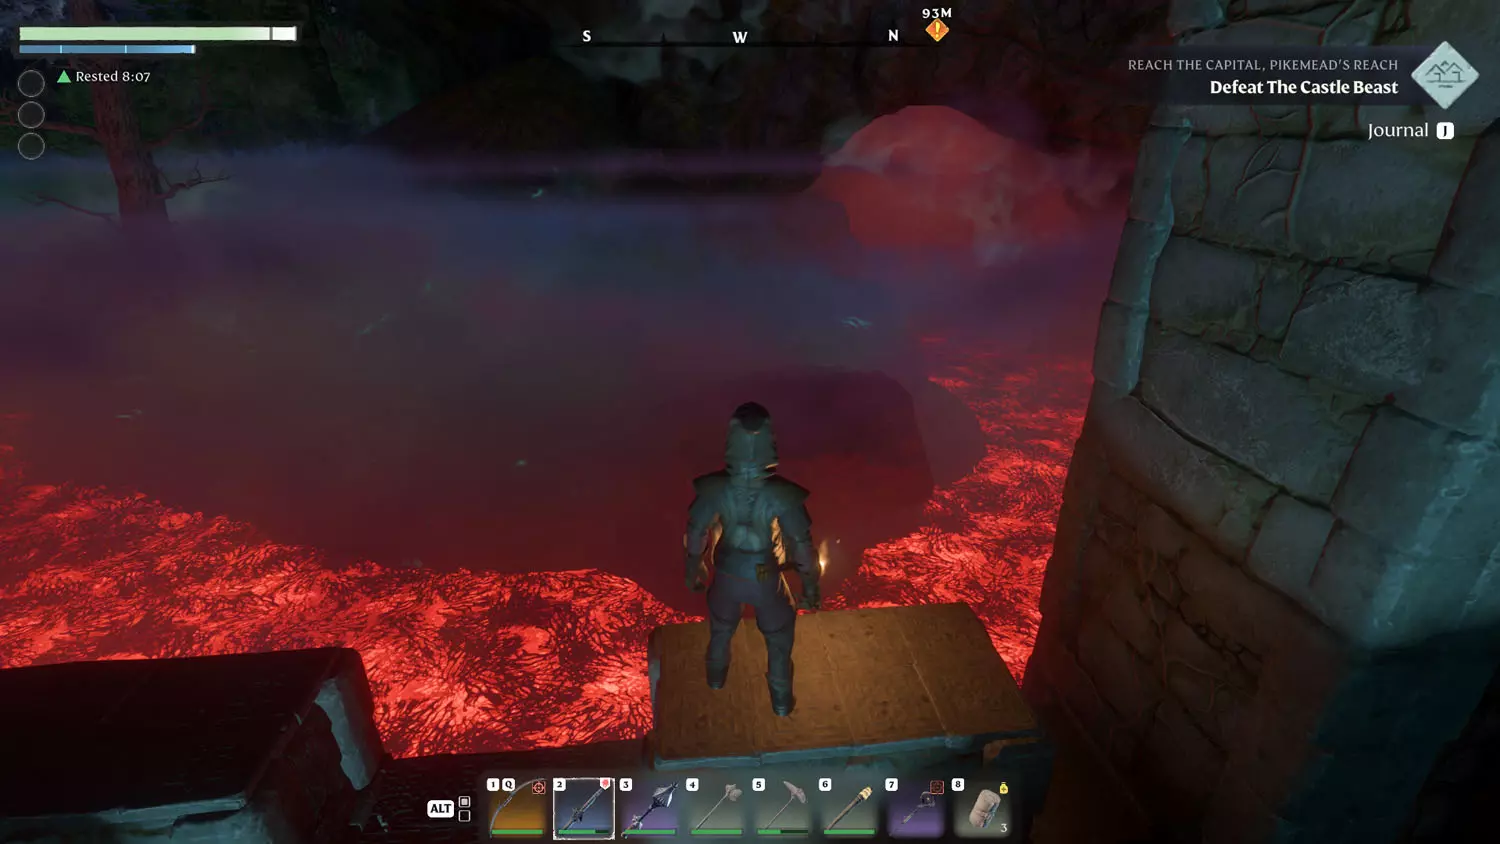
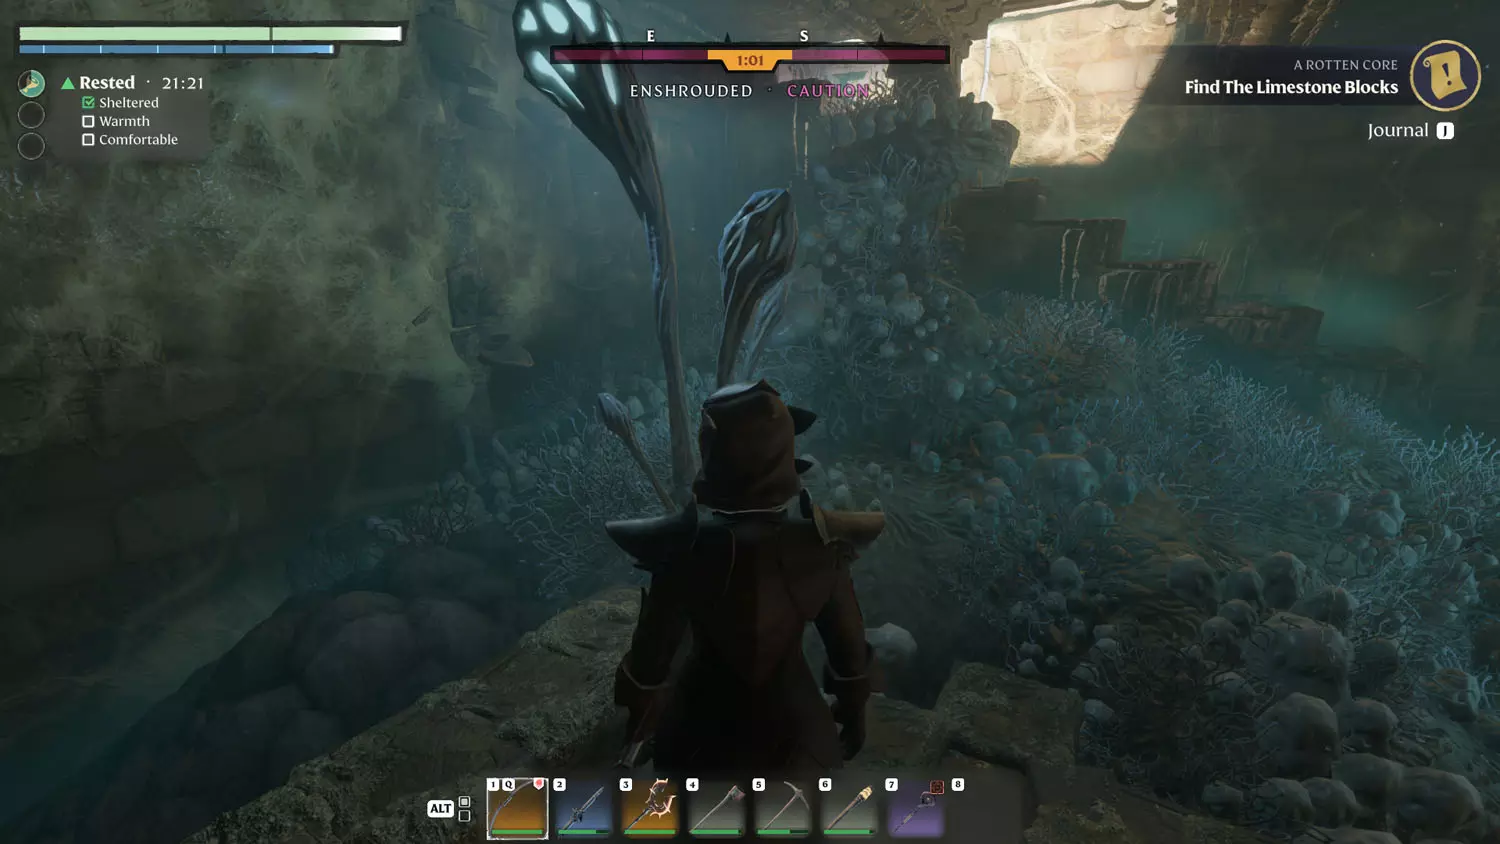
I reached Skimmer’s Cove by skimming around the outside of the city and by doing a bit of gliding. There is a very narrow dirt road that leads up to the cove, and by narrow I mean that it is easily missed (I followed the road a ways, and it seems to start at the Elixir Well a good ways off). The way up is easy enough, just be careful not to fall into the Shroud Water (looks like lava). You will know you’ve reached your destination when you come across a wall of rubble. The chest is off to the side of it, no digging or bombs required. Opening the chest completes the quest.


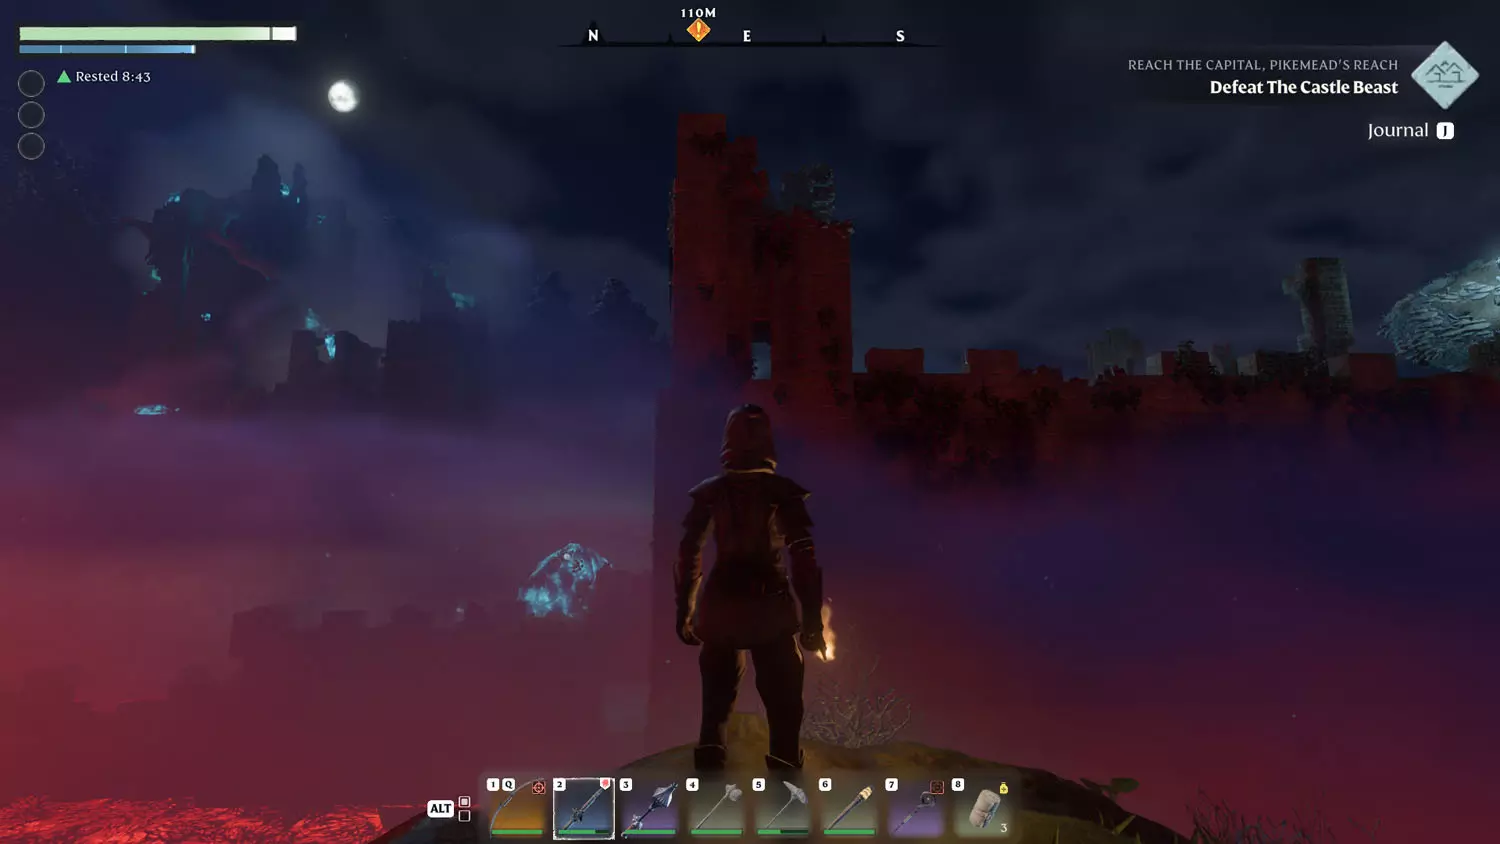
TIP: If you are having trouble finding it, there is a spot in Pike’s Port where you can see a ledge of land sticking out over the Shroud Water (lava river). That goes directly to Skimmer’s Cove. See below for what it looks like from the castle to the cove and from the cove to the castle.


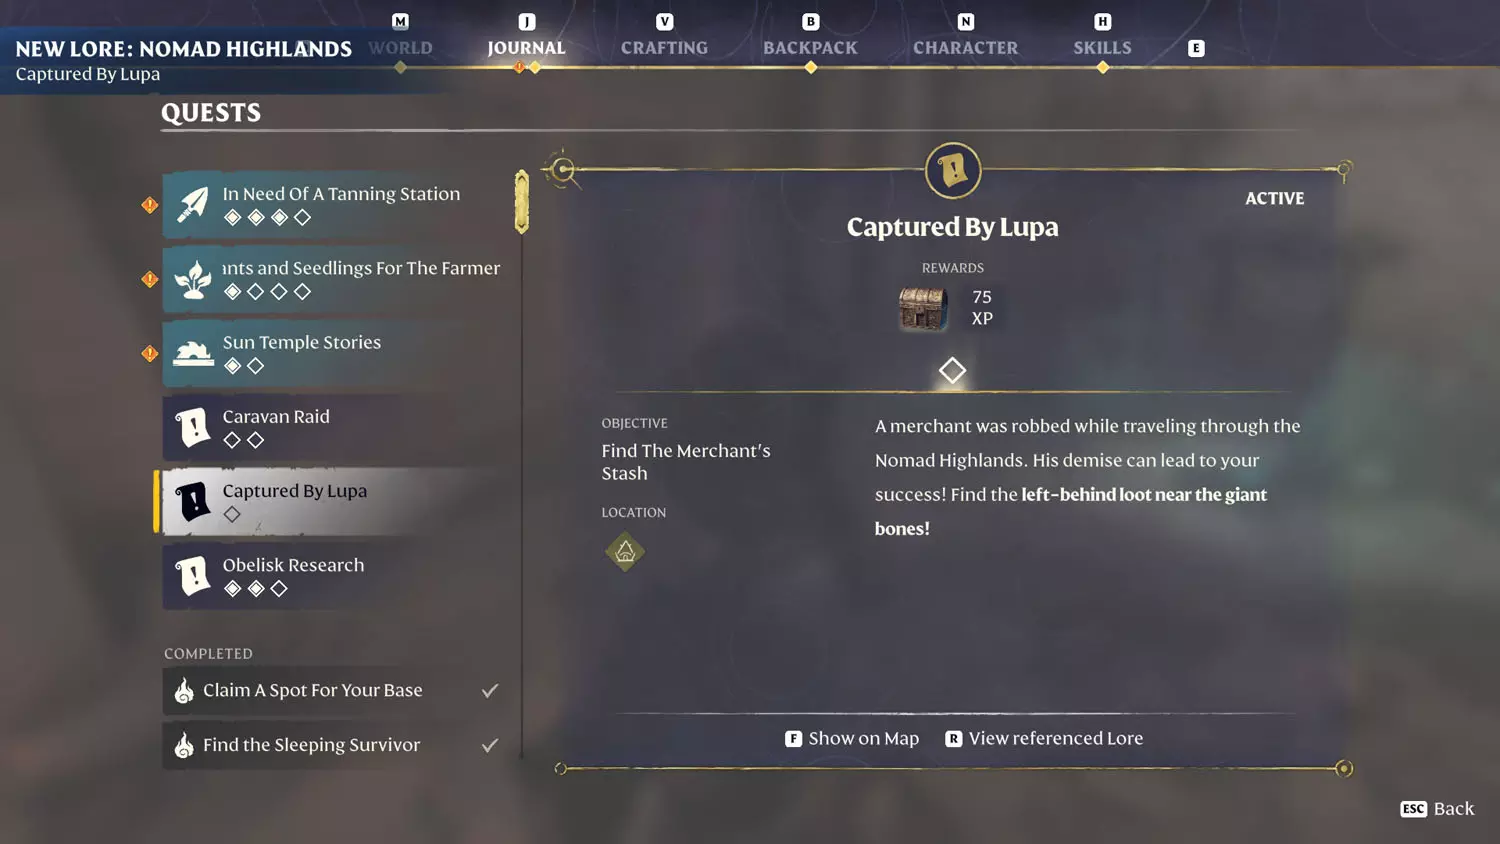
Captured By Lupa
Rewards: Gold Chest + 75XP
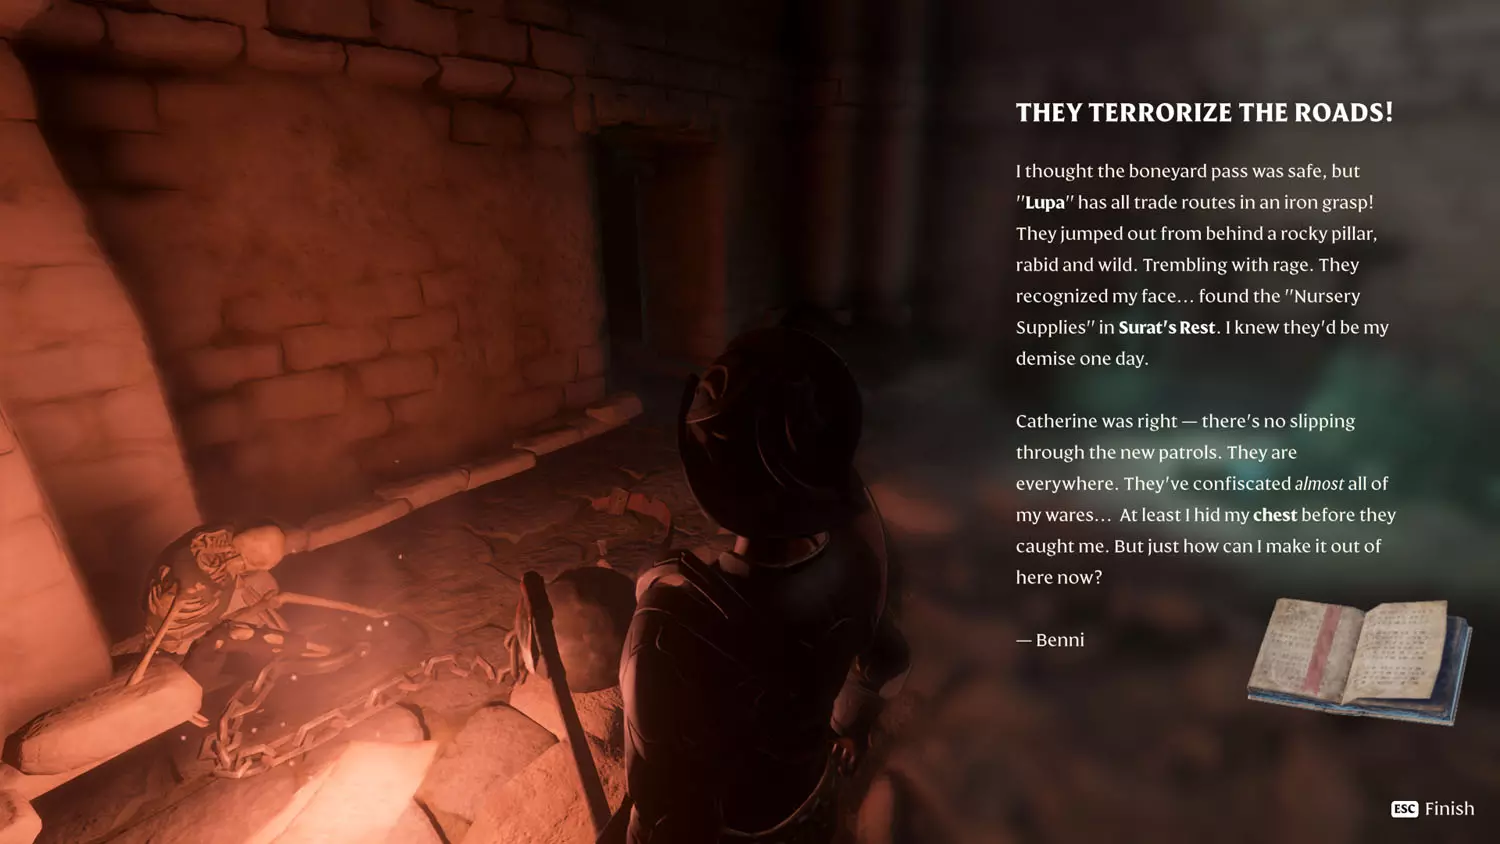
Head to Lupa’s Lair for this one! Upon reading Nomad Highlands Lore: Captured By Lupa 1/1 They Terrorize The Roads!, the quest becomes activated.
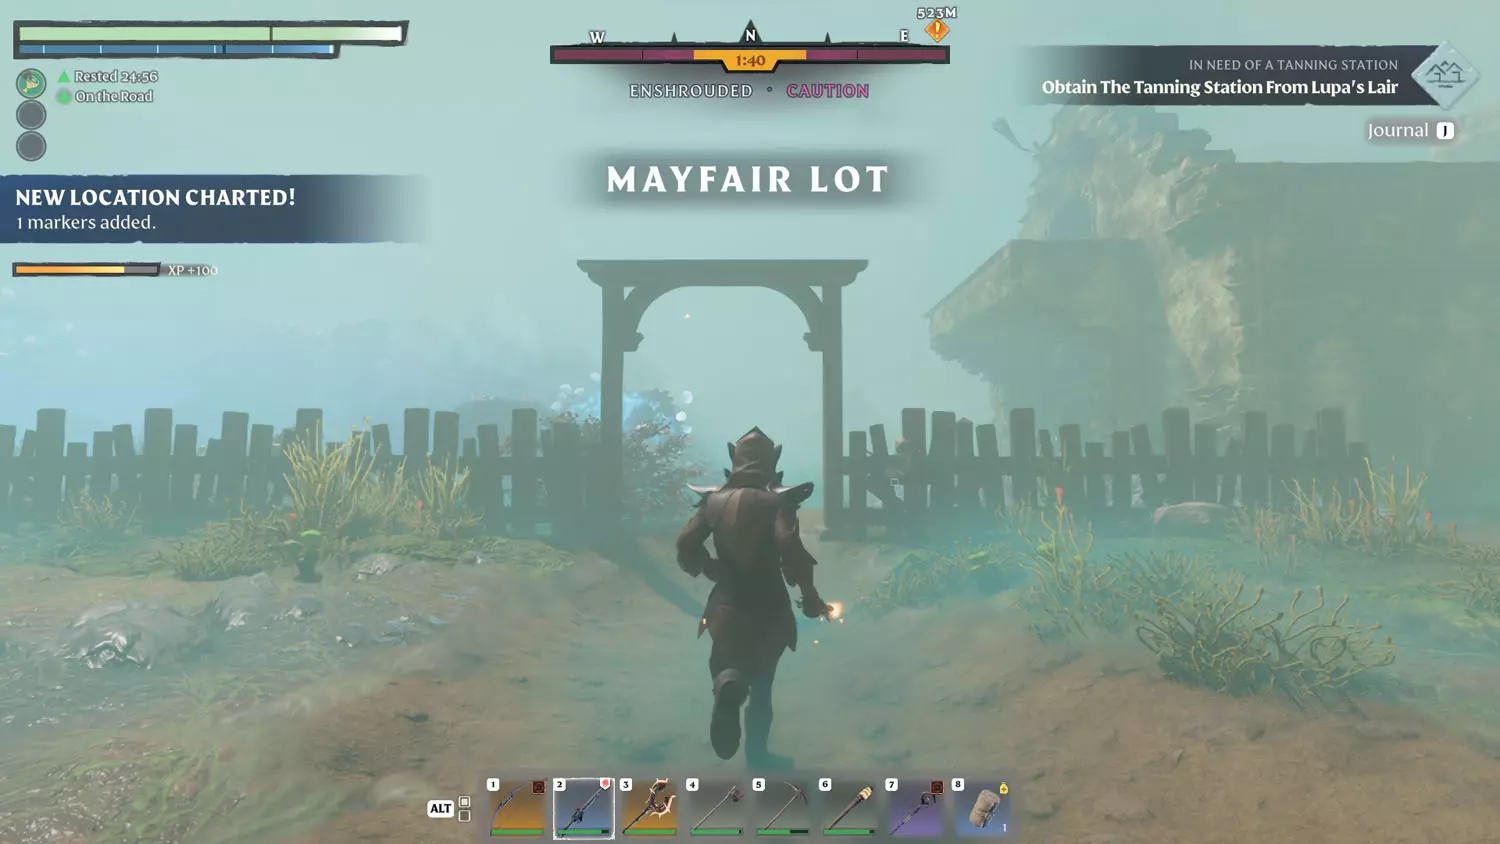
TIP: Lupa’s Lair is also related to the Hunter Quest: In Need Of A Tanning Station.
TIP: Just one other piece of Lore here! Scavenger Lore: Tanning Station 1/1 Tanning Station Recipe.

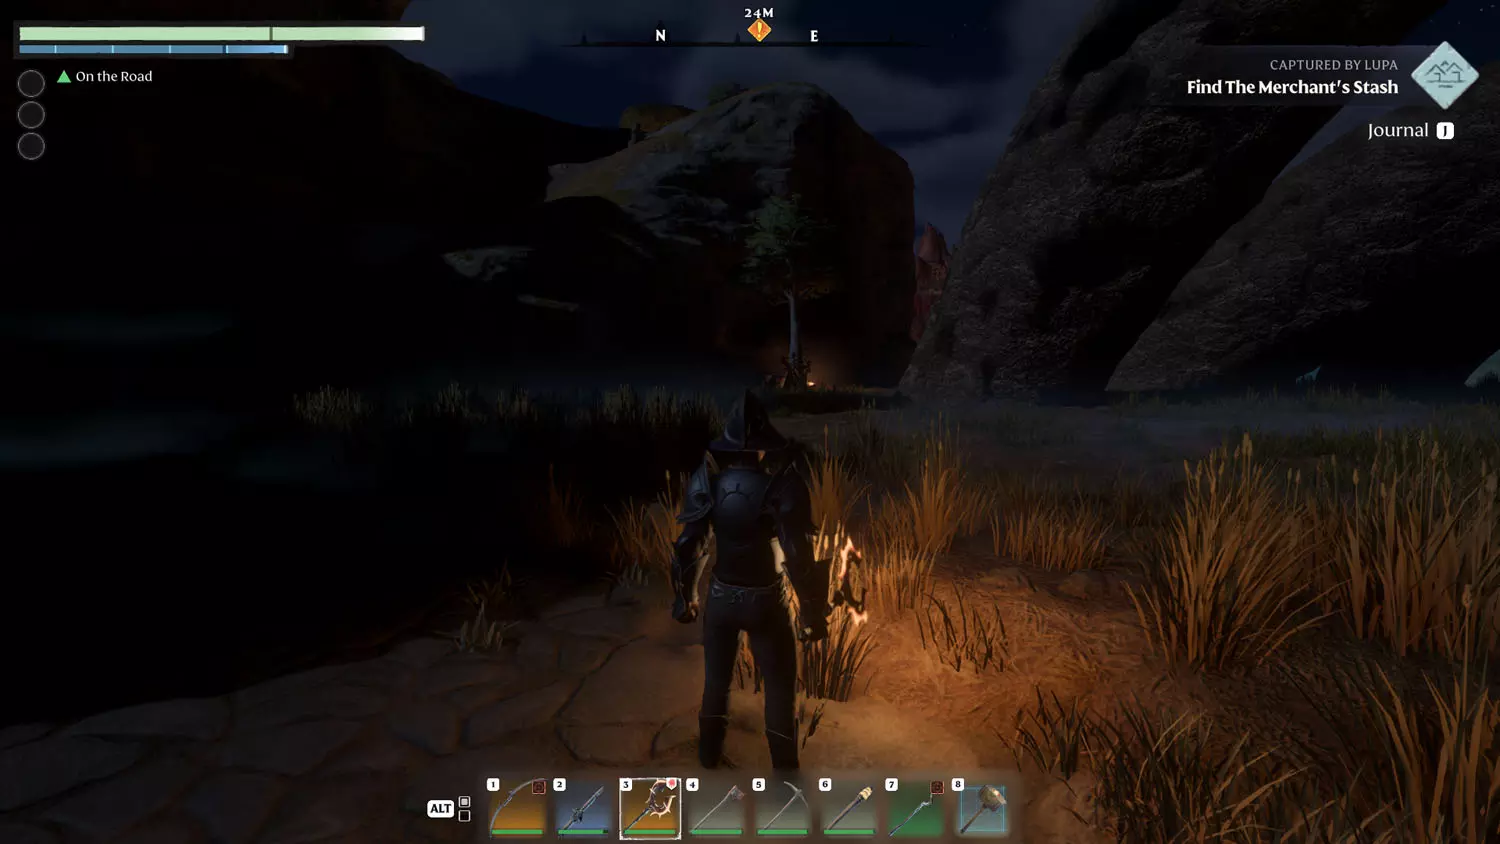
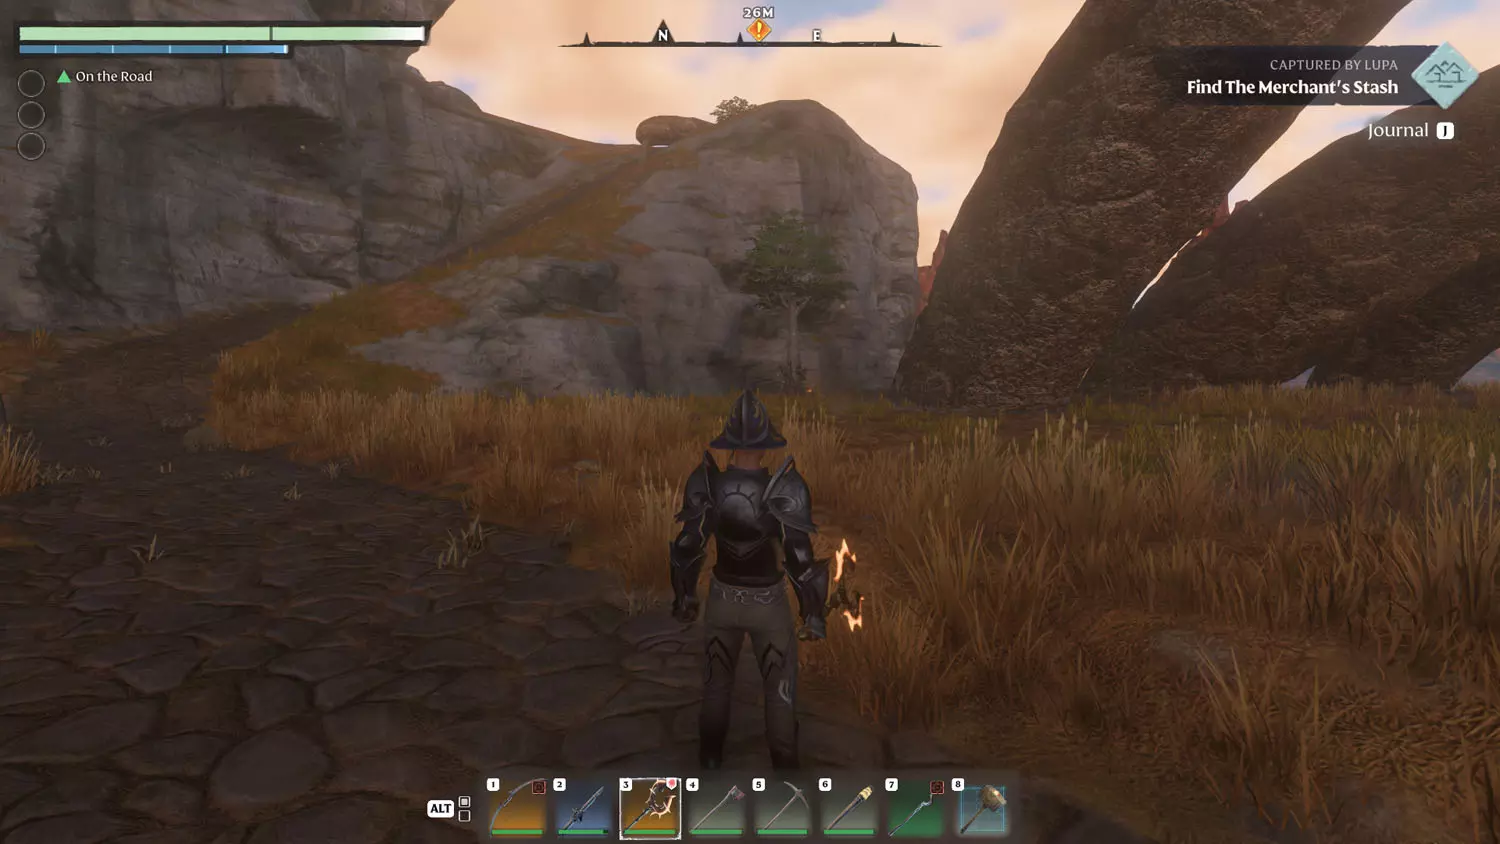
Your final destination is a bit of a walk, but it’s not bad. If you arrive at night, the Gold Chest glows nicely from a distance, making it an easy find (there is a day picture, too). Opening the chest completes the quest!


The Oasis
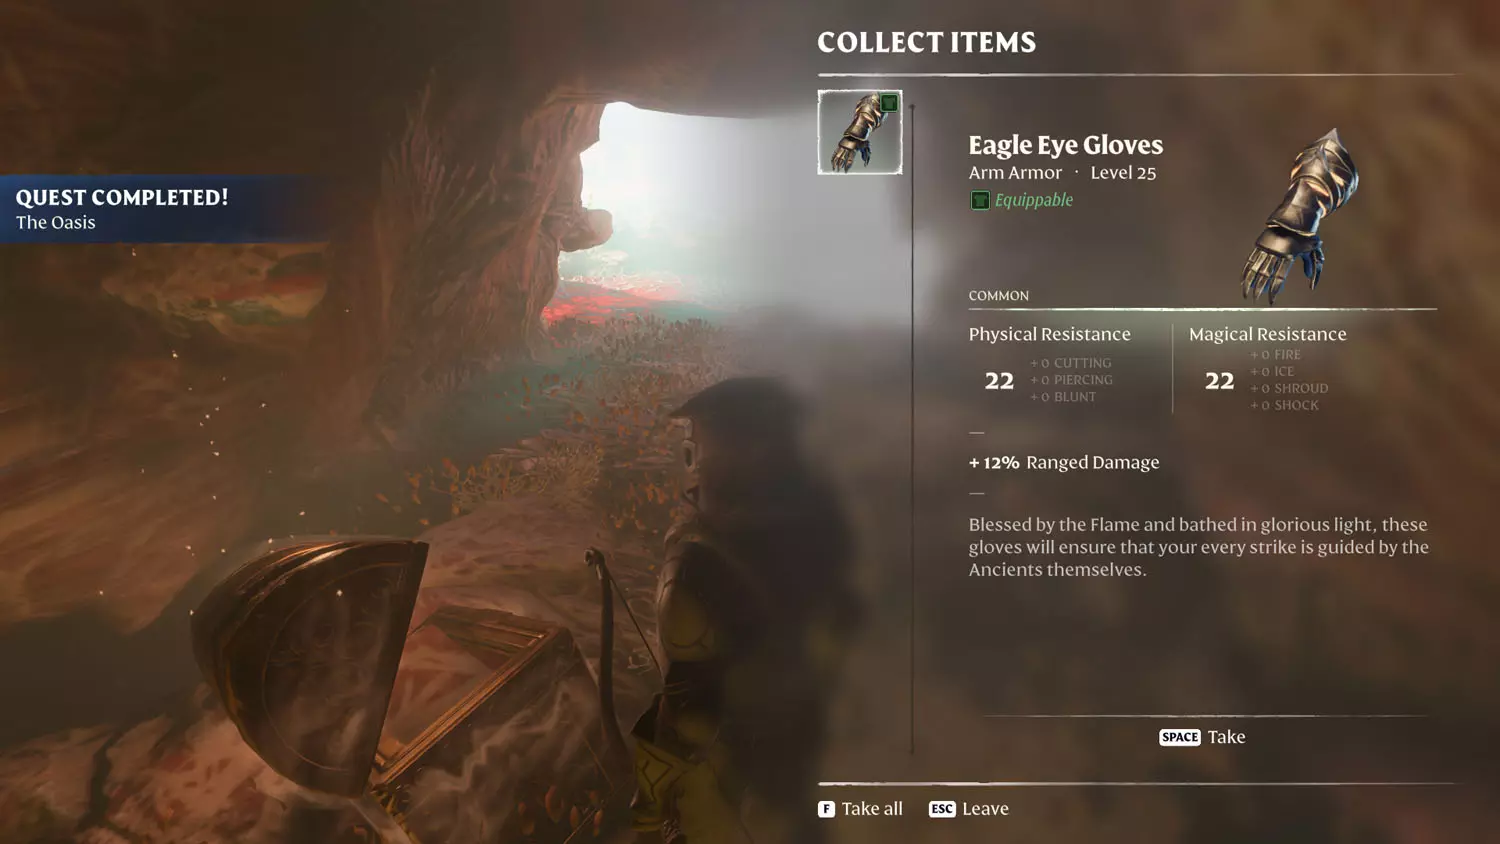
Rewards: Gold Chest + 75XP
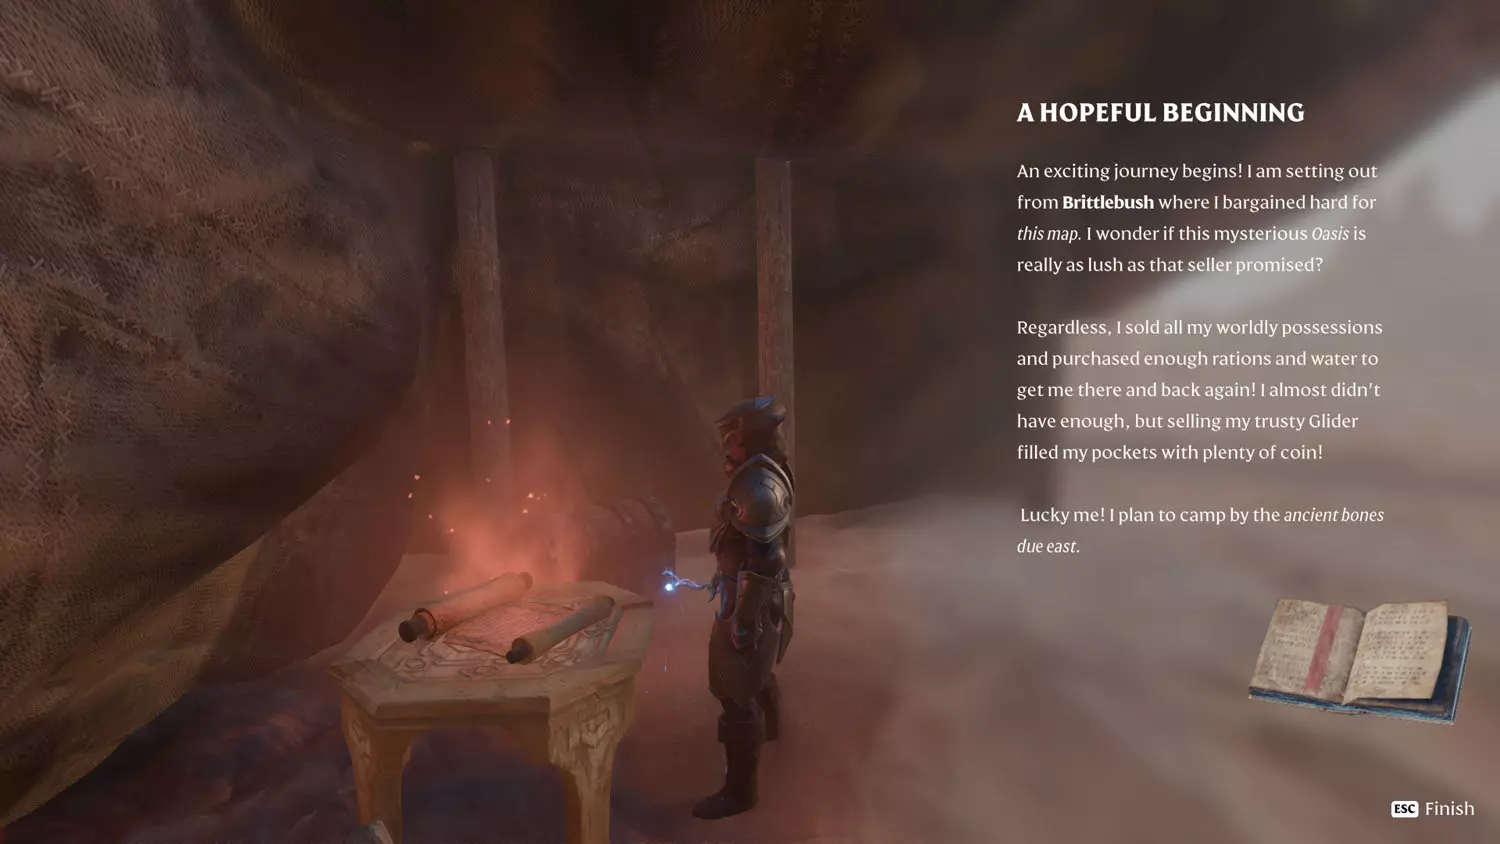
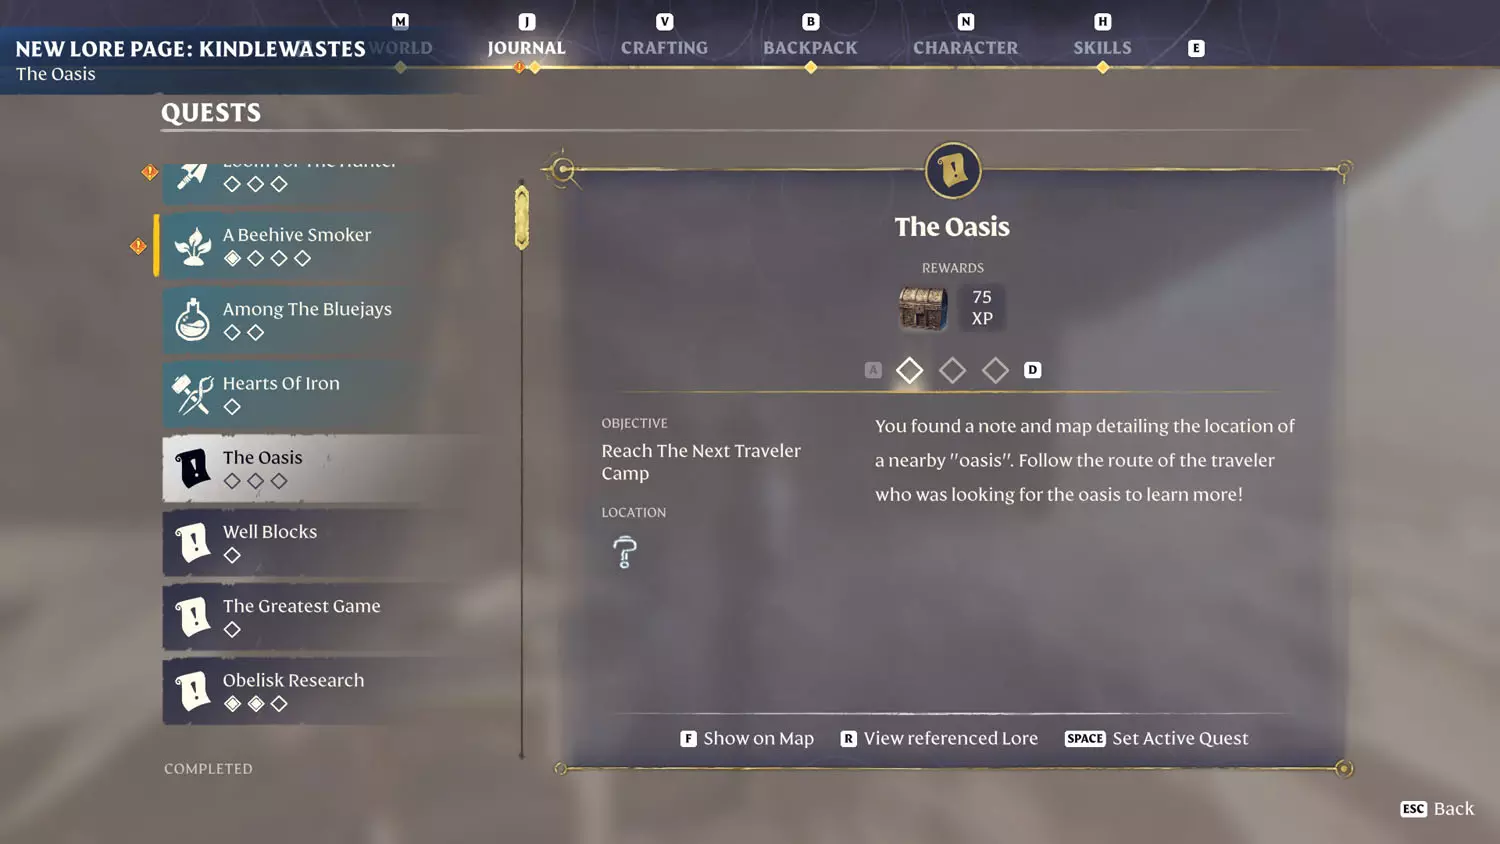
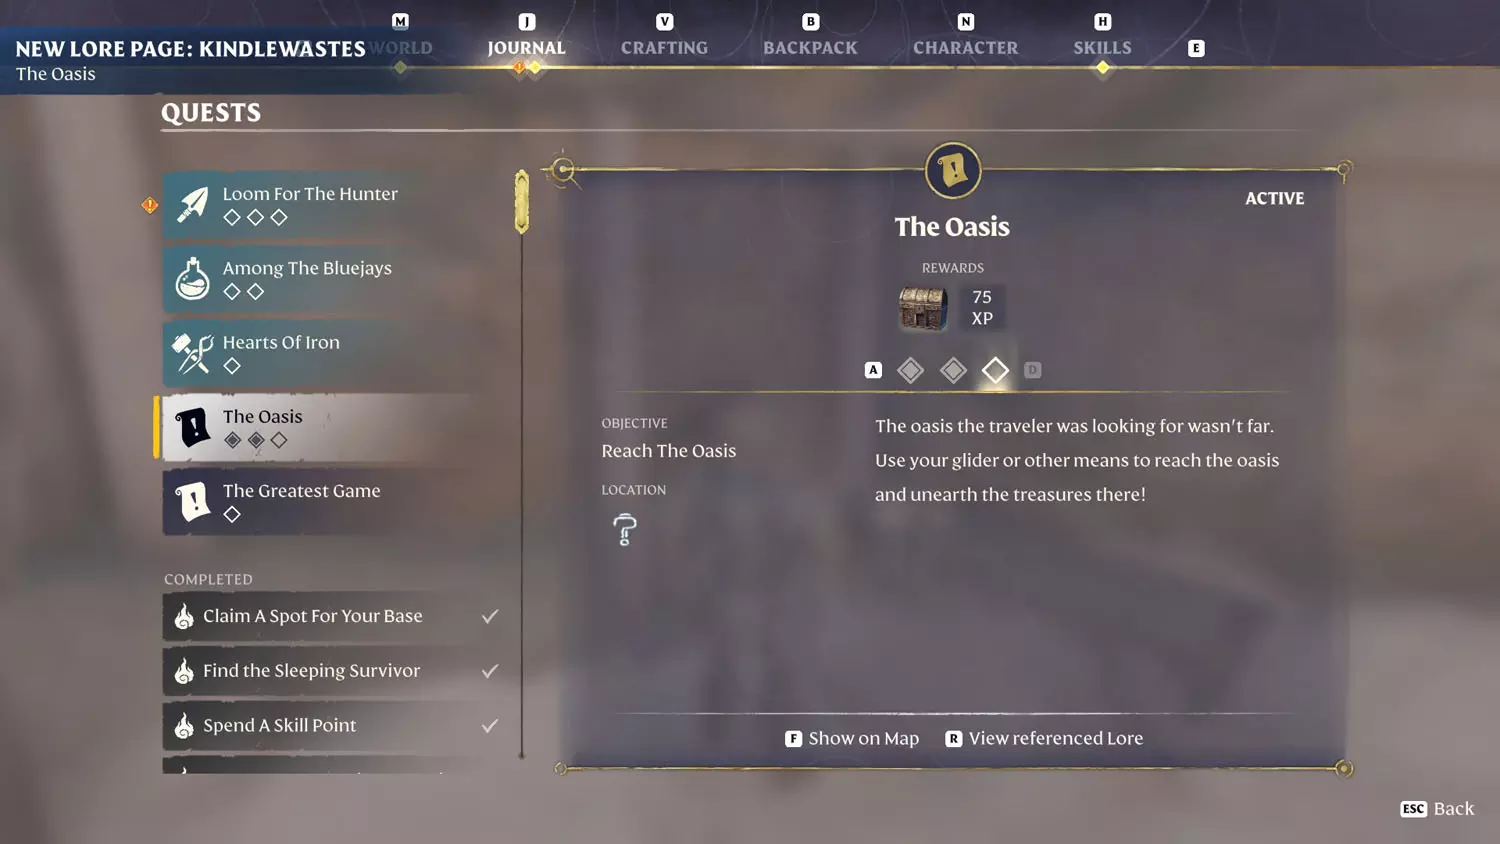
Once more, this quest is closely linked to all three pieces of the Kindlewastes Lore: The Oasis. Reading the first piece of the Kindlewastes Lore: The Oasis. 1/3 A Hopeful starts the quest.

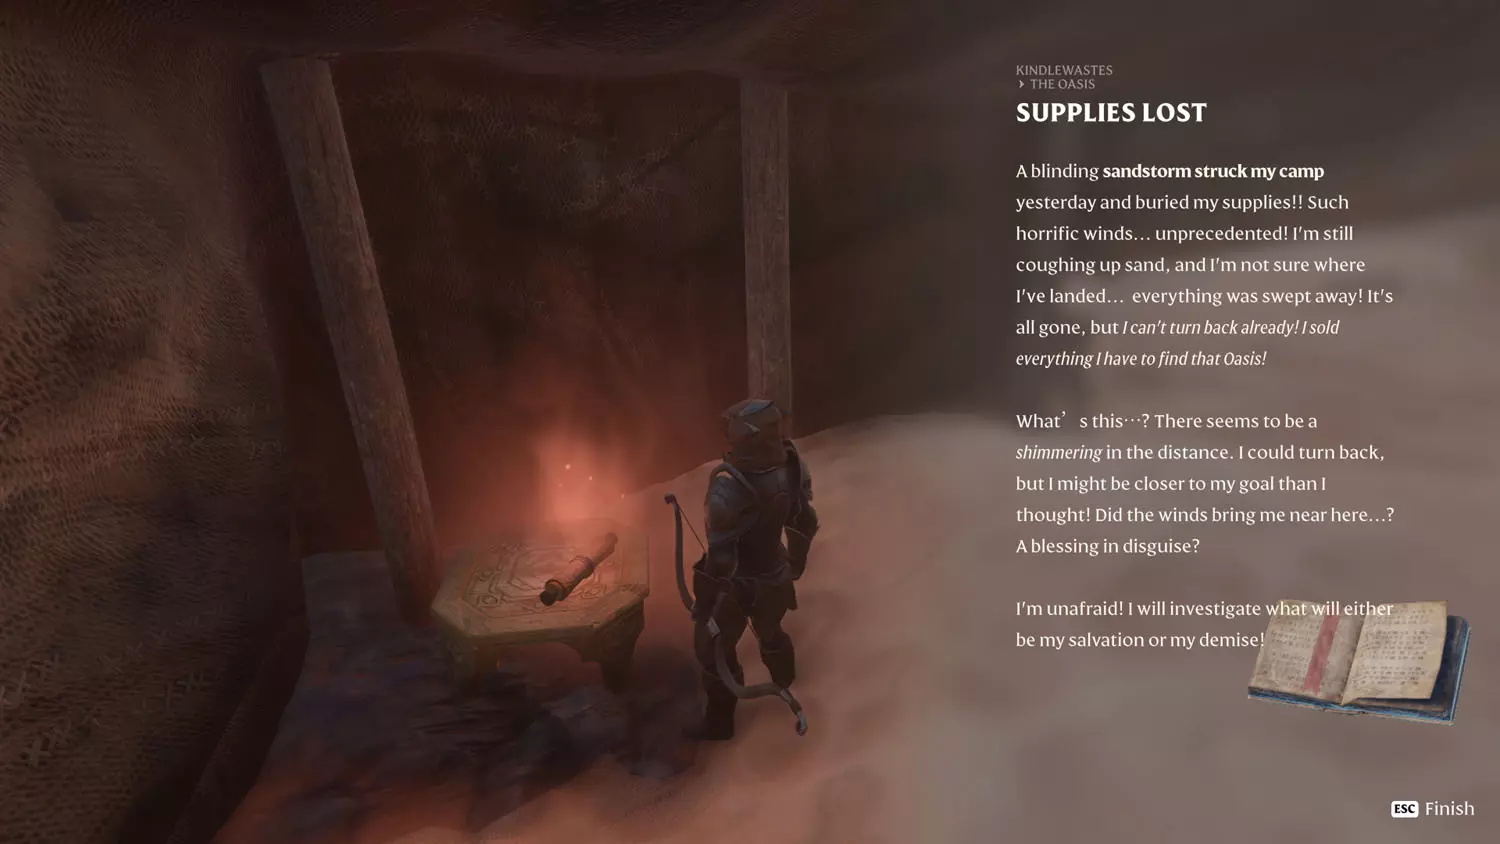
Reading the Kindlewastes Lore: The Oasis:2/3 Supplies Lost completes the first part of the quest.

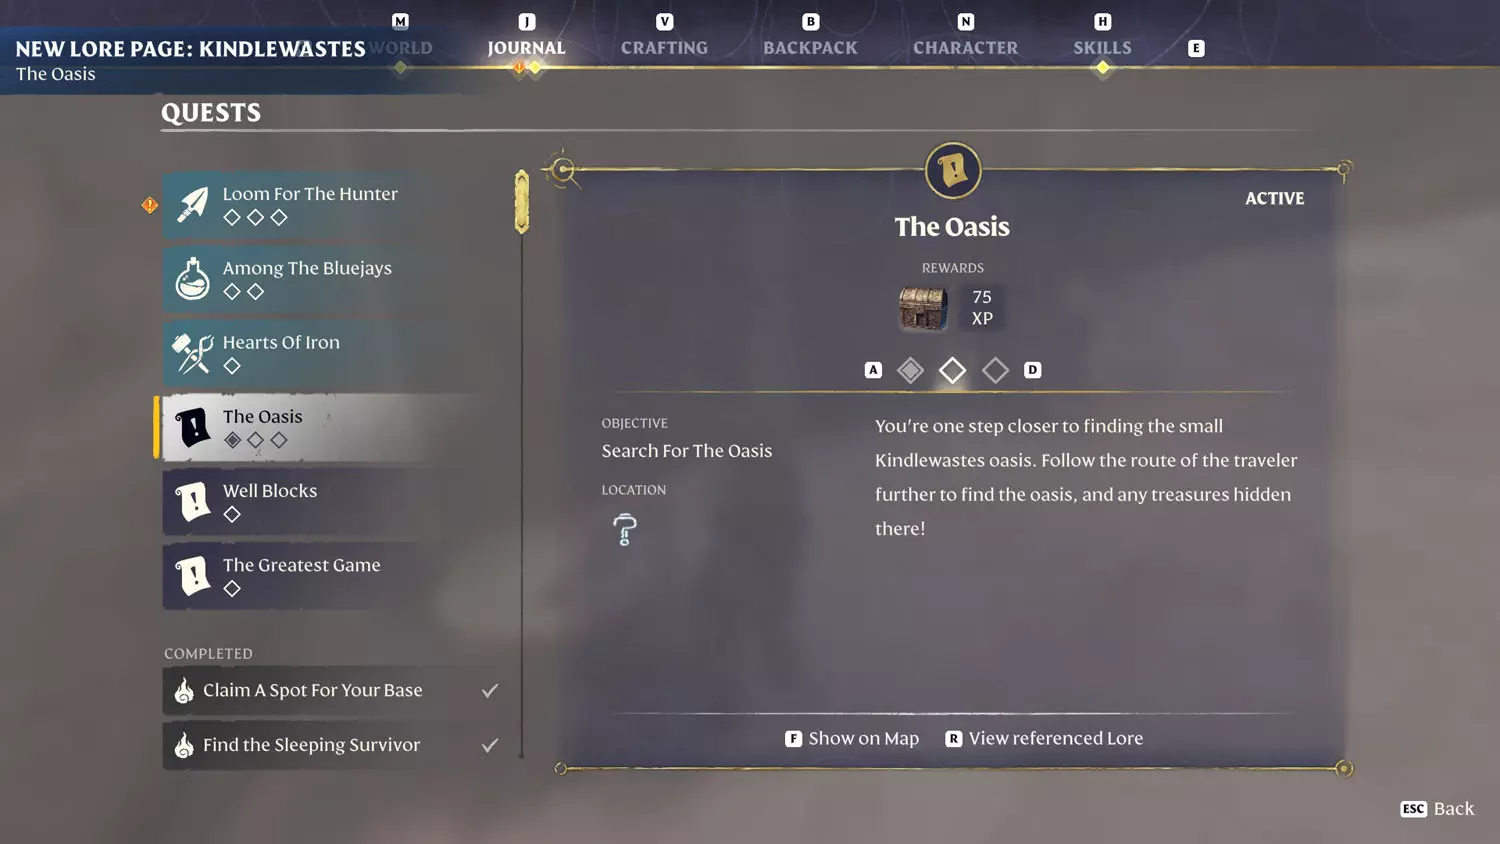
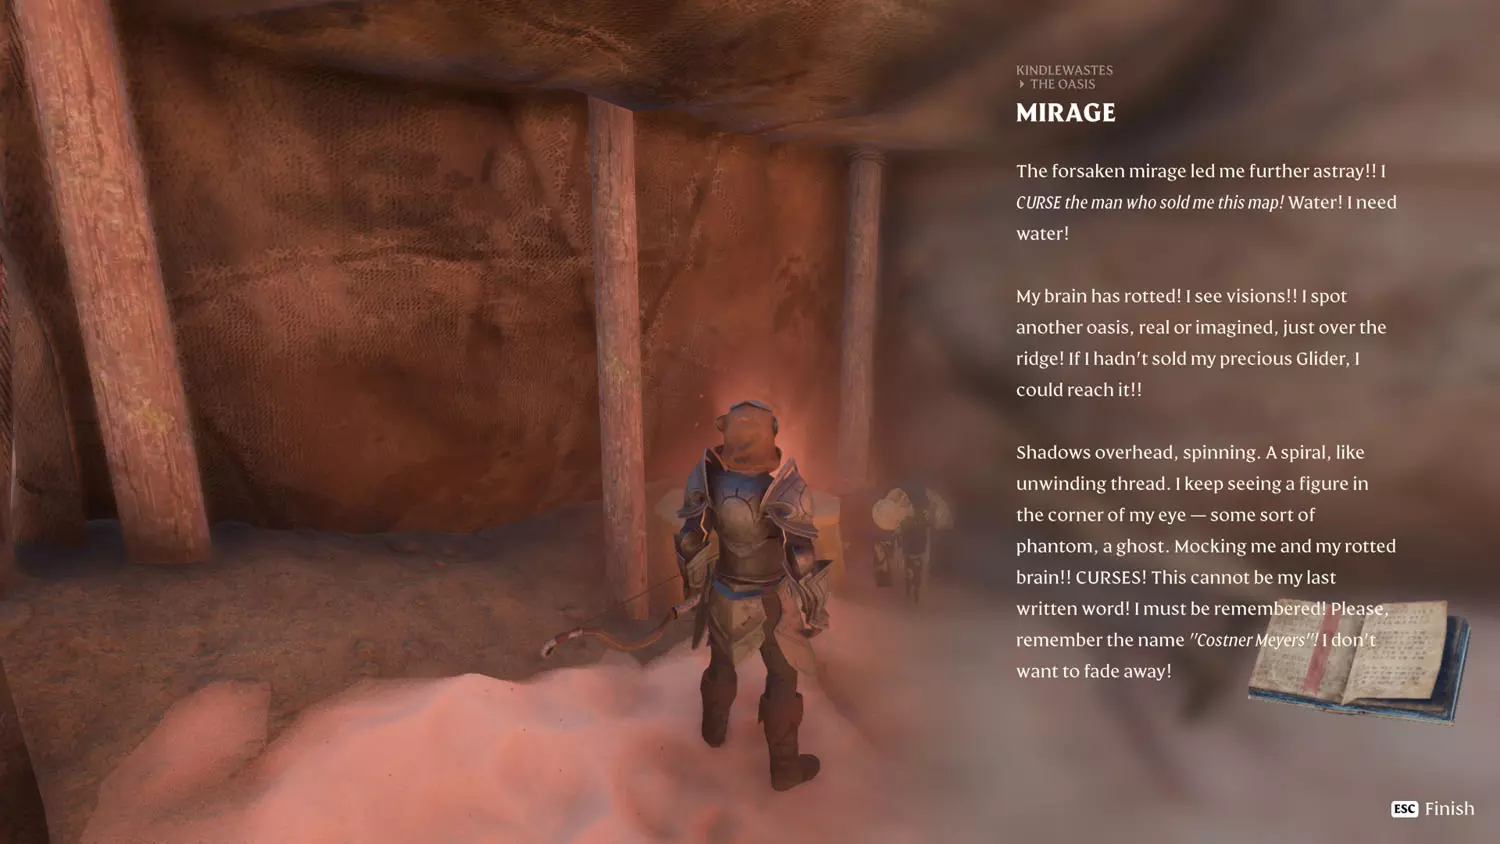
Surprise! Reading the third piece of the Kindlewastes Lore: The Oasis:3/3 Mirage completes the second part.

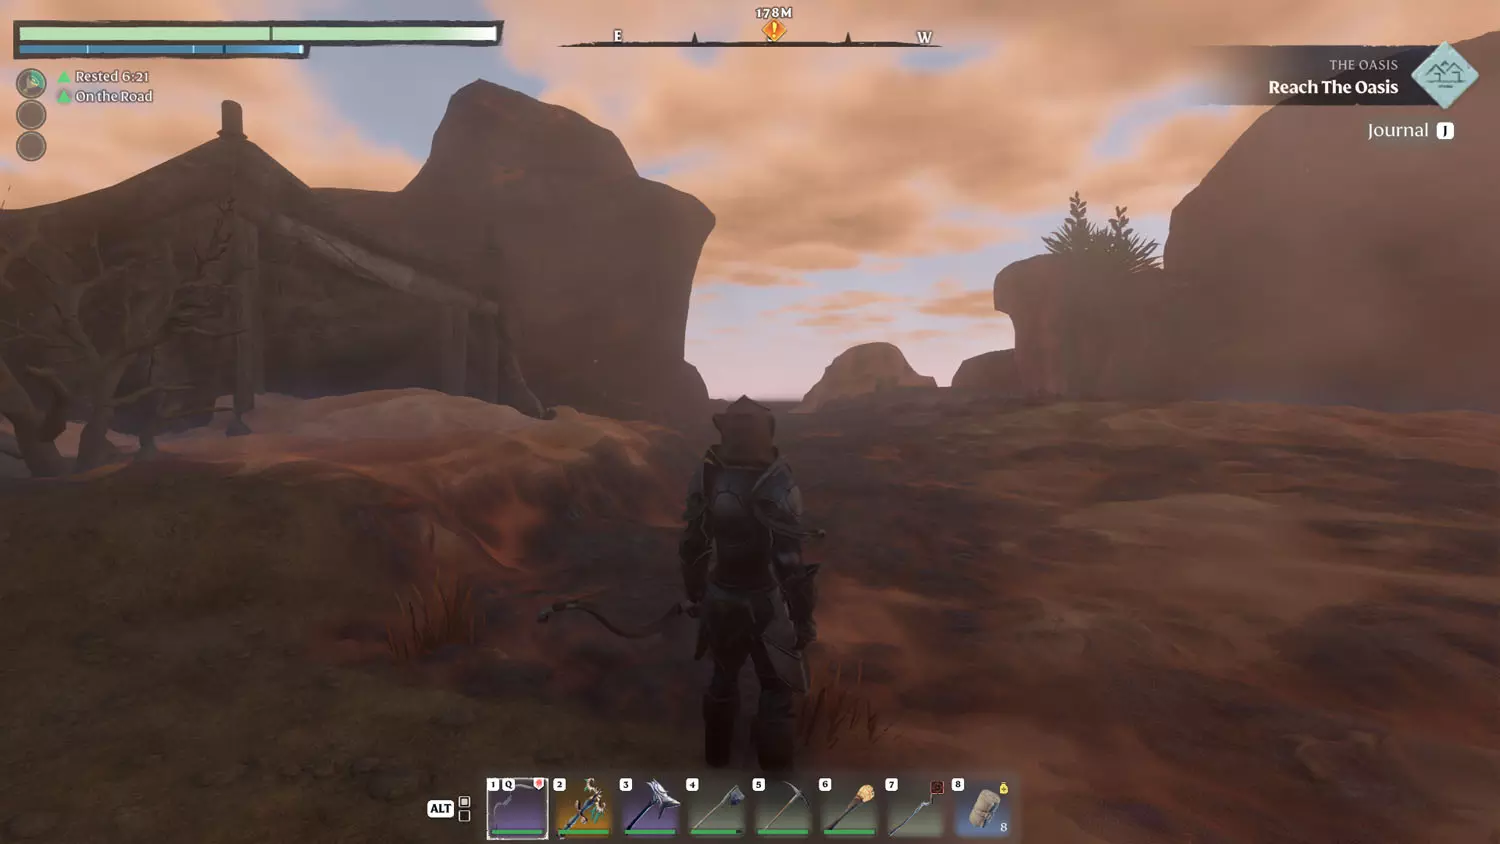
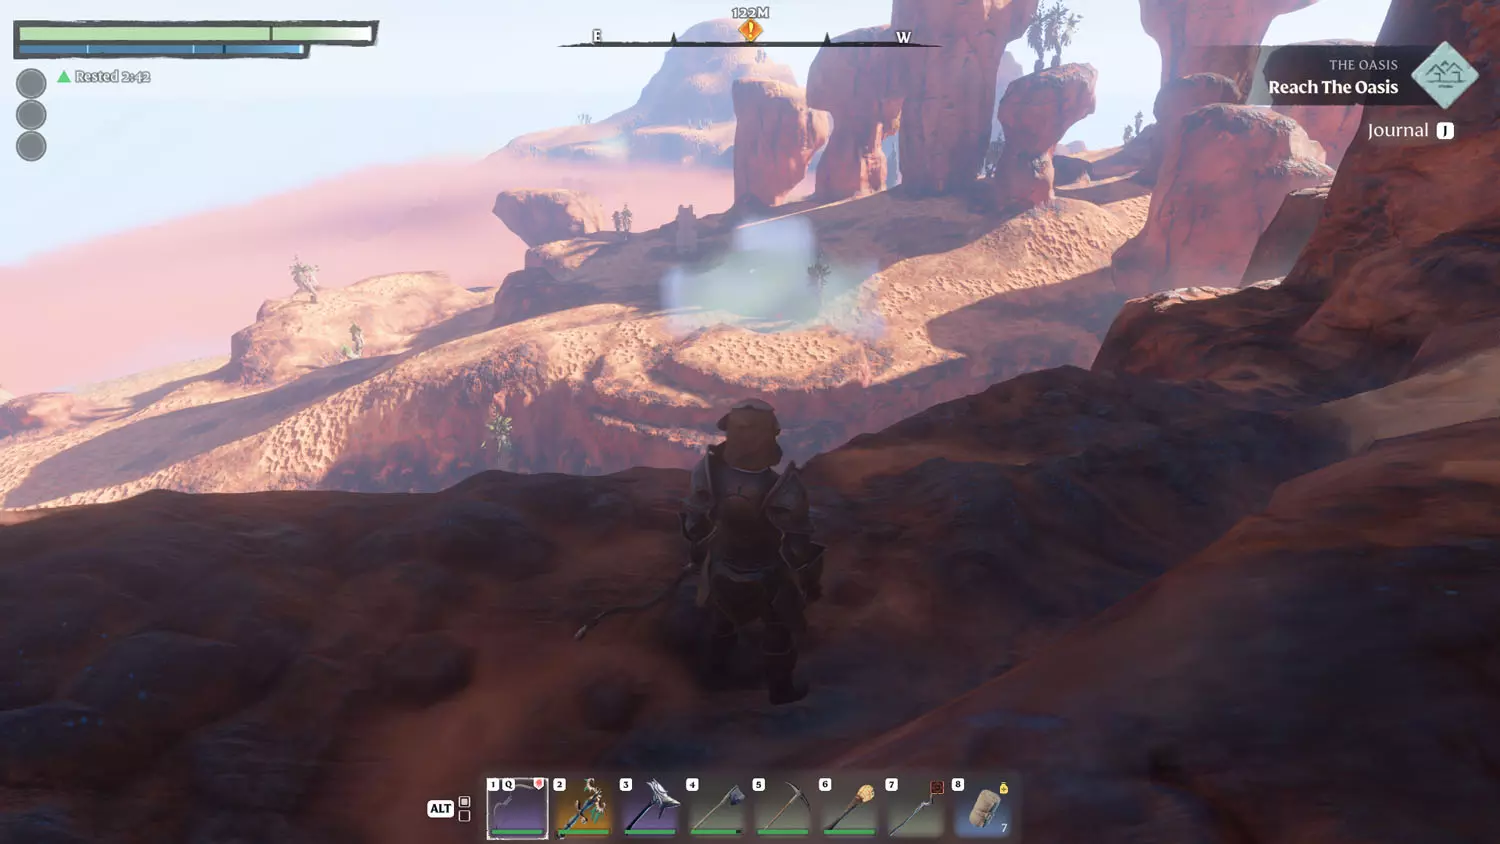
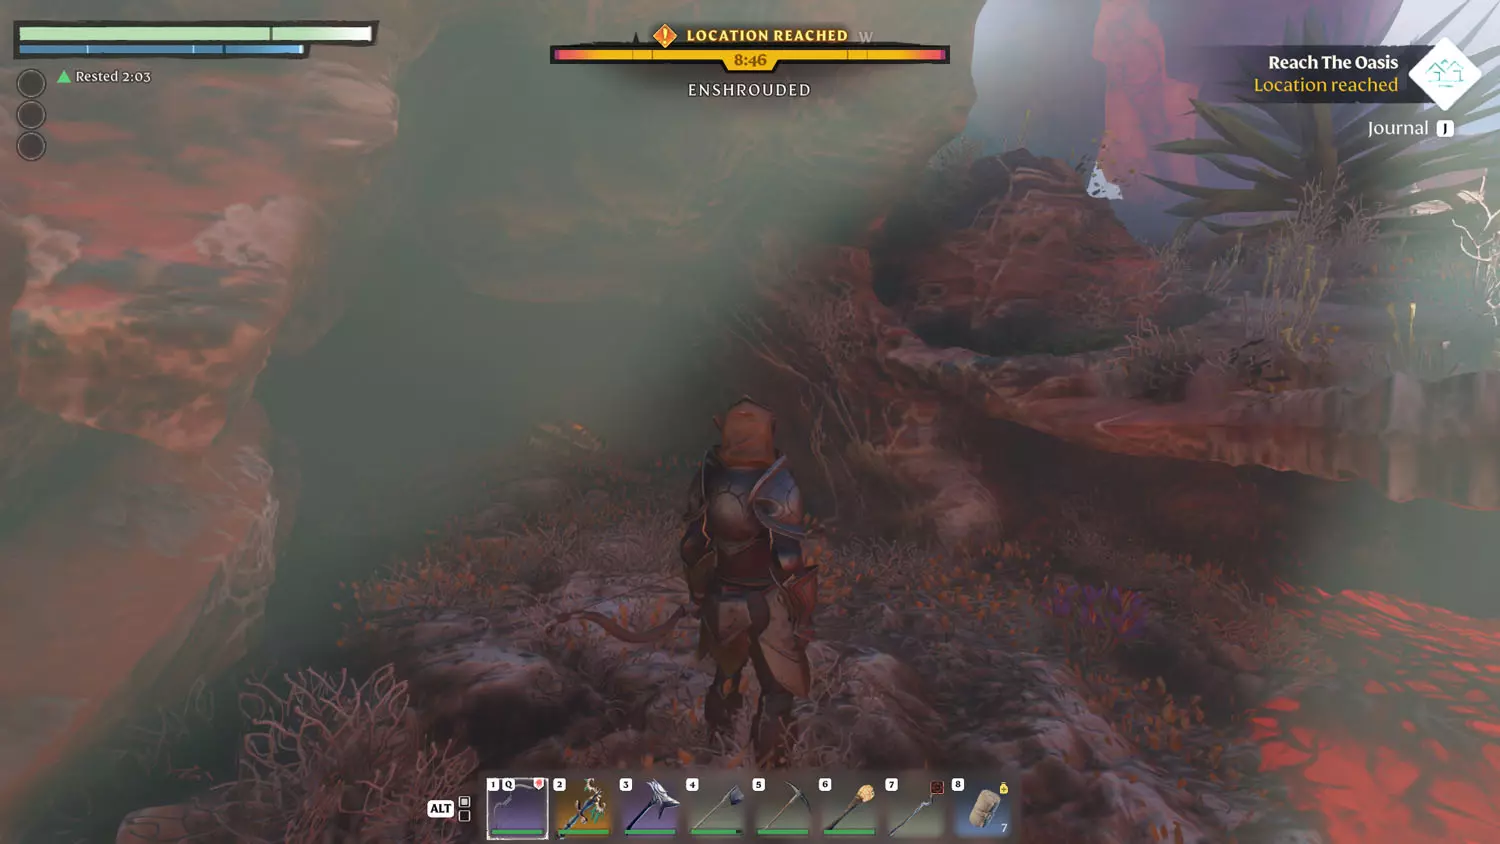
Now that you’ve read all three pieces of the Lore, it’s time to glide across to The Oasis. The Oasis can be reached from the tent with the final piece of Lore. Looting the Gold Chest in the Shroud completes the quest!


Secret Brewery
Reward: Gold Chest +75XP
Reading the Albaneve Summits Lore: The Mysterious Recruit 1/2 About The New Recruit will start this quest. Both are located at the Elixir Production Site.
TIP: Also here is the Albaneve Summits Lore: Chester Loft Notes 2/2 What A Lucky Day.

From the image below, there is a door and ledge you can glide to. Or, you can take the longer way around that involves grappling and jumping a bit. Anyway, bust open the door and loot the Gold Chest to complete the quest!


Missing Socks
Reward: Gold Chest +75XP
From the Albaneve Summits Lore: Missing Socks 1/1 We're out of socks, head up the stairs until you reach the roof with the skull gong. The Gold Chest you’re after is behind the gong, but you’ll need to jump onto a platform behind the wall to reach a hidden door. Once you open the chest, the quest is complete!


Other Reward
A Lantern For Mei
Reward: Paper Lantern + 75XP
This becomes available after you rescue Mei-Yin Chen. She’ll have the dialogue option “Lanternlight”.


To finish the first part of the quest, speak with the Carpenter about a “Lost Lamp”.


Now it’s off to Morwena!! I glided in from the Ancient Spire – Low Meadow Fast Travel. This one was a bit tricky. The quest told me to go low, but you actually need to go as high as you can. Your goal is the tower with the wheel on top. You’ll have to cross rooftops to get to the spot with the Silver Chest.
TIP: Morwena has the Vukah And Wildlife Lore: Building Morwenna 1/2 These Lands and 2/2 A Challenging Build. And it has the Alchemist Quest: Carpentry Assistance.


Lunar New Year Plants
Reward: Cymbidium Flower Pot, Fern Pot, Lily Flower Pot + 75XP
After completing the Items, XP, and Loot Reward Quest: A Lantern For Mei, the trader had “Decorative Plants” available. This starts the quest!


It’s time to fly to Fort Kelvin! Woot!
TIP: Fort Kelvin has all three pieces of the Vukah and Wildlife Lore Welcome to Fort Kelvin and it has the first piece of Revelwood Lore: Ramone’s Writing 1/1 What Do You Think Of My Draft?. You can also find the building block Brick-Timbered Block here. Fort Kelvin also has one music sheet from the Bard Quest: Music Sheets, and the Items, XP, and Loot Reward Quest: We The Only Ones.

Cymbidium Flower Pot
I am chaotic as I search, so I don’t remember what roof I climbed where, but as you can see, there is a glowing plant in the attic of that building across the way. Make your way there and nab that pot!


Fern Pot
From the main entrance you may see a building with a barricade at the bottom of it. That building has the plant you seek.


Lily Flower Pot
Tricky! This one’s tricky! Toward the top part of Fort Kelvin, you’ll find a building with a fireplace, a suspicious fireplace. Climb the grating and then jump backwards to land in the room with the flower pot. Picking up the plant (as long as you have the other two) will complete the quest!


Glory To Pikemead Forever
Reward: Pikemead Statue + 75XP
Speaking with Ramone Jones about “Glory To Pikemead!” initiated this quest.


To complete the first part, head to Pikemead’s Reach and the Revelwood Lore: Queen Pikemead’s Statue 1/1 Under The Sea and snag the statue piece that is hanging on the rafter there. Obtaining these will complete the first part of the quest.
TIP: Check out Pikemead’s Reach Lore And Quests In Enshrouded for more going on in the region.


Next, head for the harbor Pike’s Port. There you will find a revival spot. Tucked away in a corner, and blocked in by barrels, is a Silver Chest. I took out the bottom two barrels so you can see the chest easier. Inside the chest is the second piece of the statue. Obtaining this will complete the second part of the quest.


Finally, head to the western side of The Pike. There will be some boats in the "red water". Follow them around a pillar to locate the top half of the statue. Obtaining the third piece of the statue will complete the third step in the quest.


Go talk to the Carpenter so he can craft you a Pikemead Statue Showcase!

After all that, place the Pikemead Statue Showcase in you base and load it up with the three pieces to complete the quest!

Finding Epic Instruments
Rewards: Exceptional Flute, Exceptional Hand Drum, Exceptional Lute, Exceptional Harp + 75XP
Hugo Vanderhall
I’m not sure if he is part of a quest, but I found him! He’s at the Sun Temple just south of Scatterbone (very southwest in the Kindlewastes). Anyway, once you bring him back, he has a quest for you!
TIP: Also in this area is the Alchemist Quest: Among Bluejays.


When you talk to Hugo Vanderhall about “Otherworldly Music”, he’ll have five locations for you to visit. Not all of them have instruments, but I don’t know if the loot is random or not. So, therefore, here are all five of the dungeons, just in case!


Exceptional Flute
Located in a hidden temple in the Kindlewastes, this is the eastern most location. It’s also in the Shroud, so you’ll have to fly south into the shroud and then head north to reach it.


The Hidden Temple itself is pretty straight forward. There are two buttons that activate the door. One is on the left wall and the other is on the right. Behind the door is the Exceptional Flute.


Prawn Fossil
This is a dud temple, but I thought I’d include it in case the loot is randomized. Or in case you wanted a Prawn Fossil. Who am I to judge? Anyway, this Hidden Temple has two sections, both of them have a square hallway format where you can go in a circle and each side is the same. At the end of the “maze” you’ll have a coffin to loot.


Exceptional Hand Drum
Next up, a Hidden Temple! Lol. Jokes aside, this place was more difficult to reach than it was to loot. Just go in a straight path through the place, and you’ll reach your prize.


Crab Fossil
Well, this is an intense Hidden Temple! Get ready for a battle – with a Fell Monstrosity! At least you had warning, I just jumped down there! Anyway, this place is also enshrouded, so don’t bother looking for it from the air. Once inside, it is straight forward. The Gold Chest is located in the back.


Exceptional Lute
Hooray! This Hidden Temple is above the Shroud!


Button 1
Head inside and down some stairs and then turn left and face the entrance again to spot your first of four buttons.

Button 2
On the same side of the room, look up and you’ll spot another button on a pillar.

Button 3
Head up the first, lower set of stairs and enter a back corridor for this pressable button.

Button 4
This one can be reached after climbing the stairs and heading across the walkway. It’s another one that you have to press.

Exceptional Lute
With the doors open, head back across the walkway and claim your prize!


Exceptional Harp
So, after all those Hidden Temples, it’s time to talk about “Epic Instruments Retrieved” with Hugo Vanderahall.


Next up is Valory The Bard with her “Royal Instruments” talk.


Finally, head for Ocean Heart. From the Nobles and History Lore: Caravan To Longkeep 1/2 Survival Depends On Me. Head up the ladder to the roof to reach the Exceptional Harp.
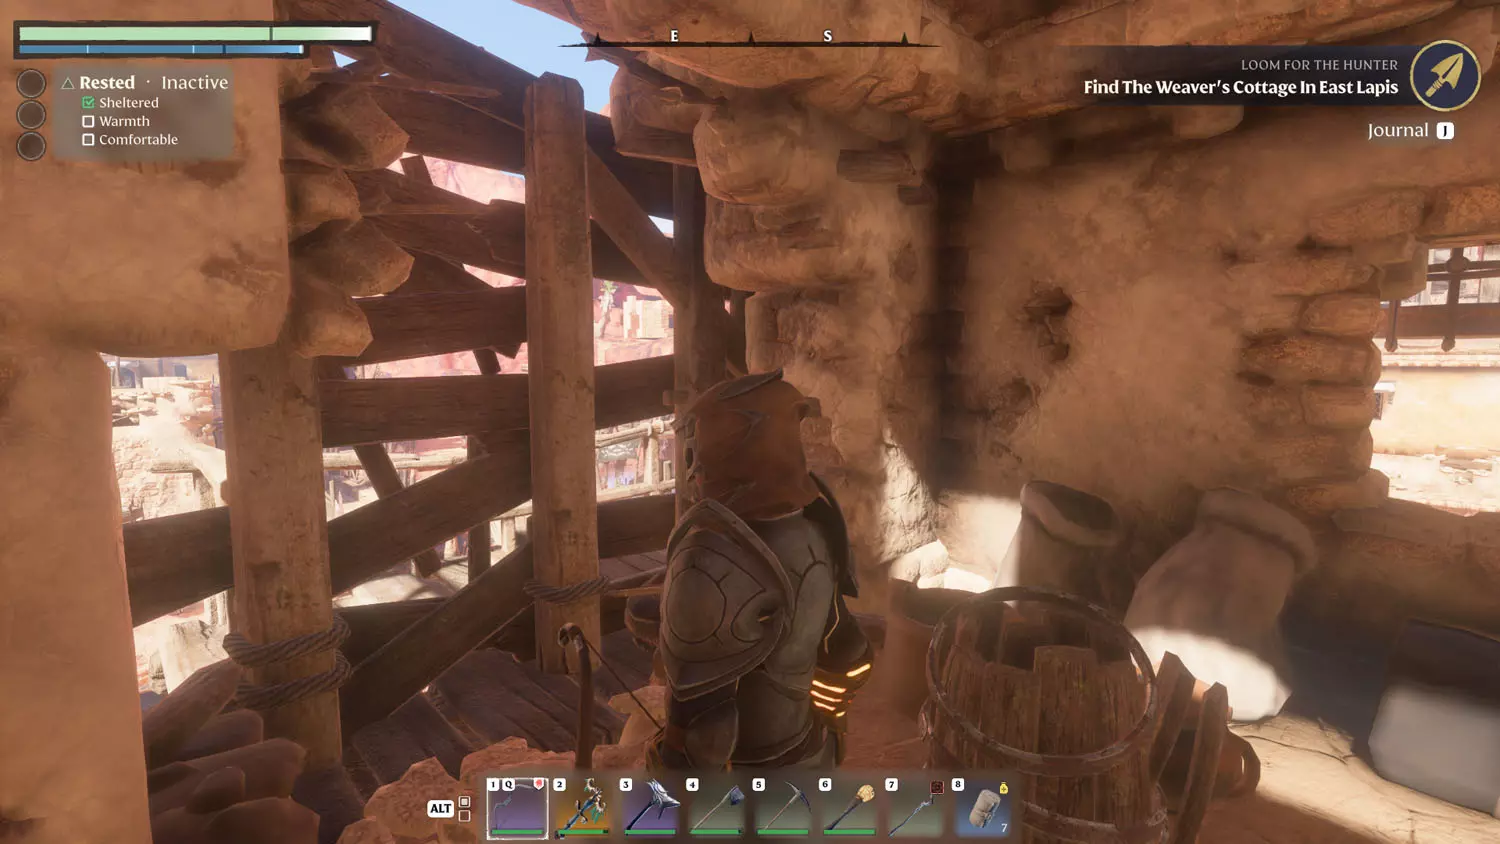
TIP: Lore in East Lapis / Ocean Heart – Kindlewastes Lore: 1/2 Uncle Dreadbane, 2/2 Dreadbane Hammer Discovered, and Hats Shipment Missing 1/1 Our Hats Are Lost!.
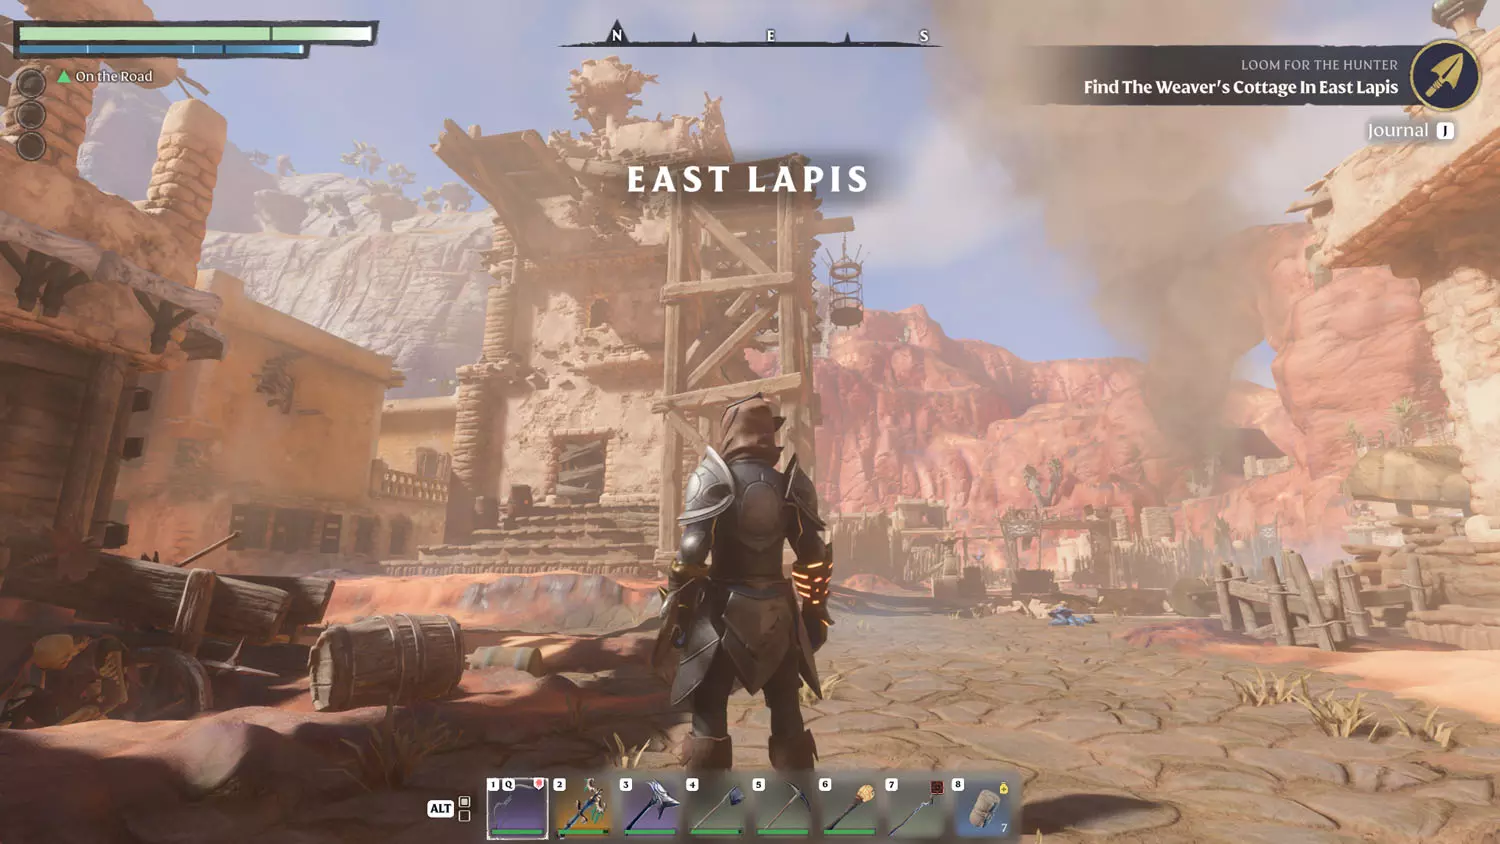
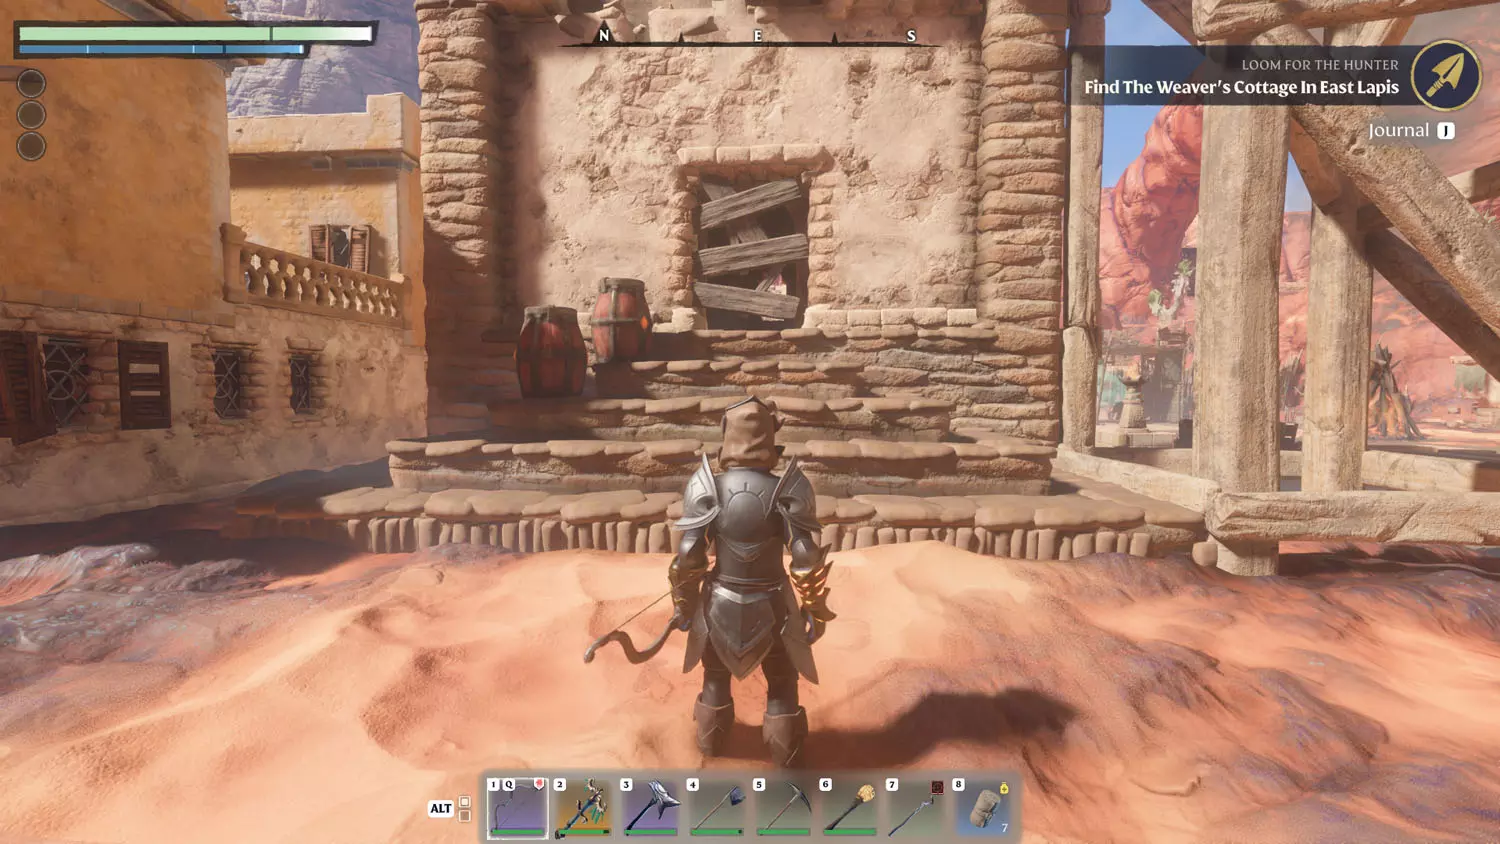
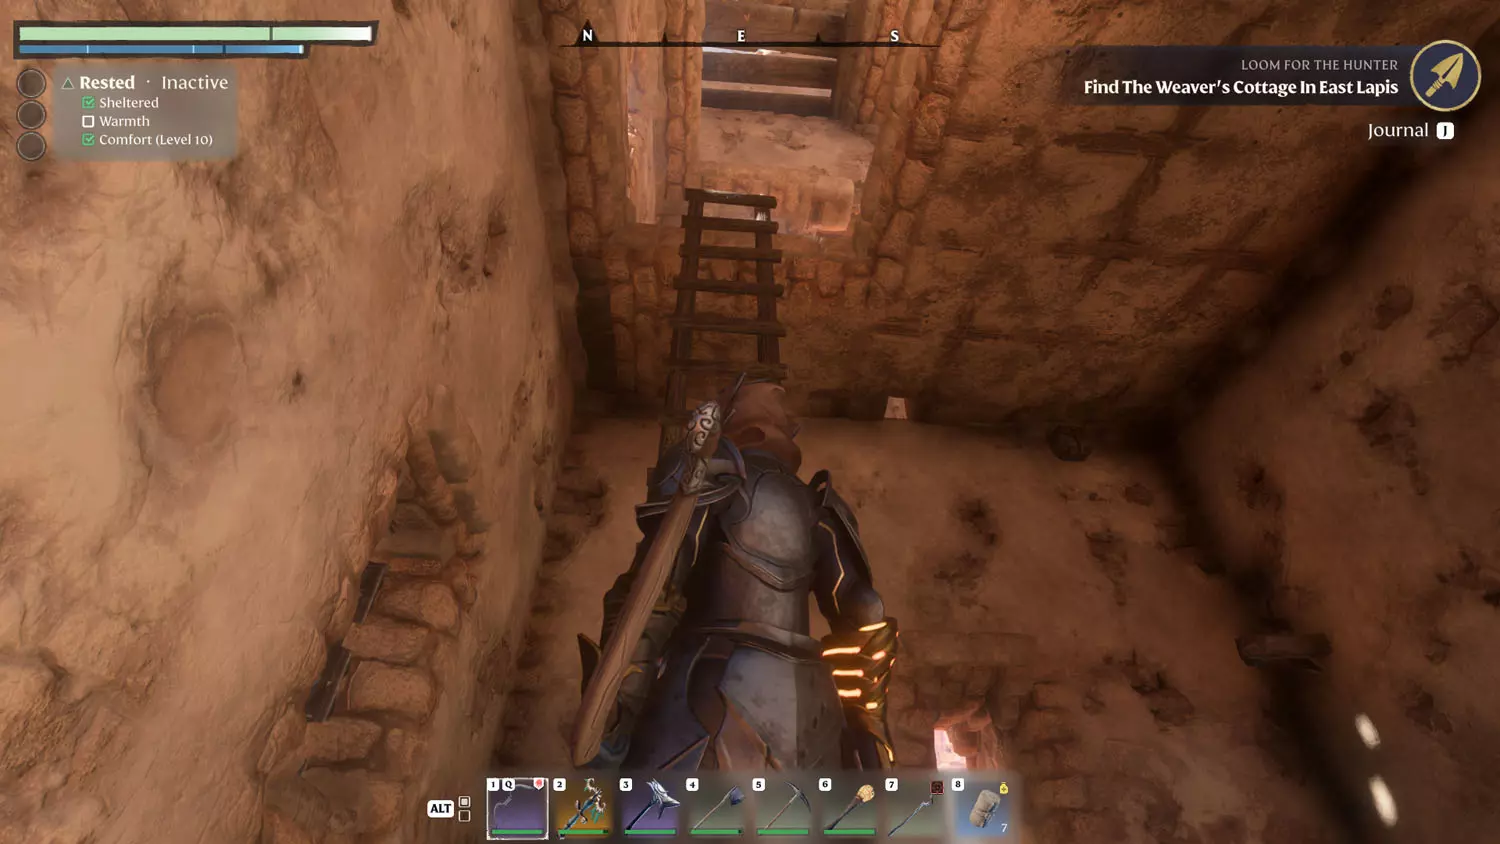
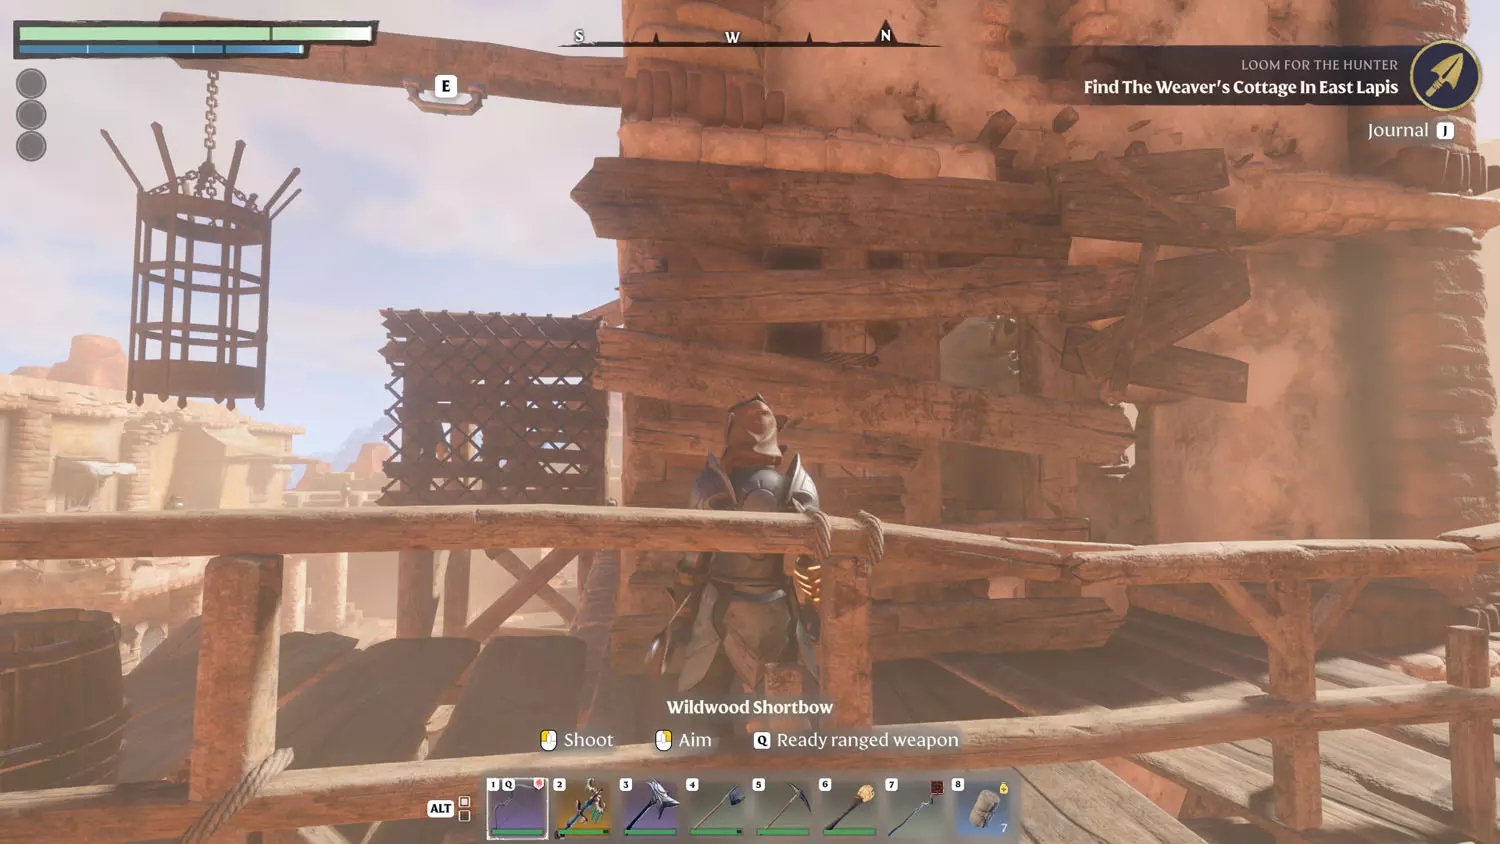
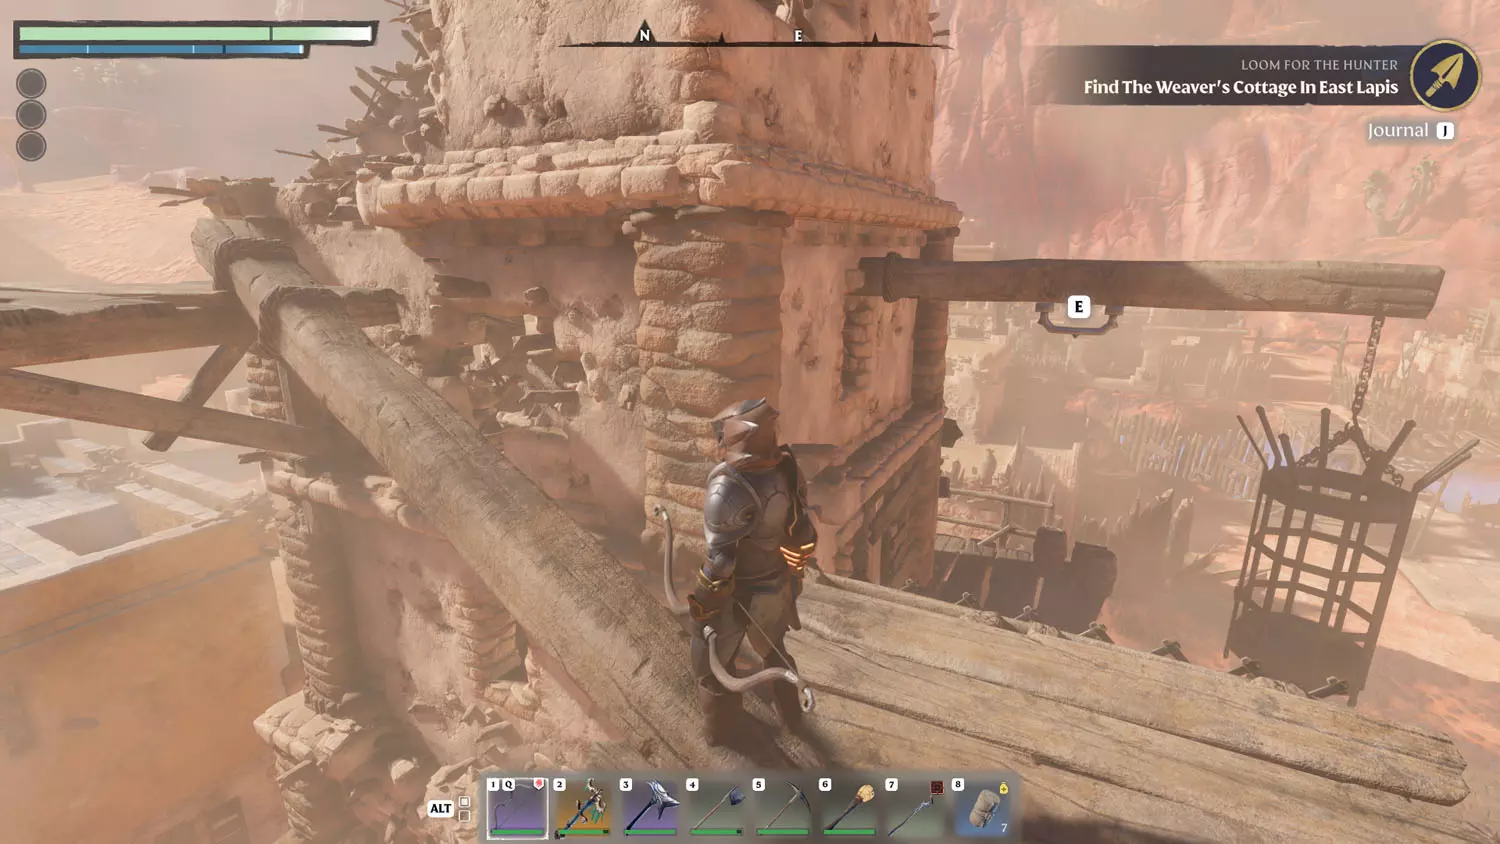
TIP: Quests in East Lapis / Ocean Heart – Hunter Quest: Loom For The Hunter; Items, XP, and Loot Reward Quests: Underground Infestation and Robert Gibson Needs Help; Bard Quest: Music Sheets; and Block Quest: Highly Polished Stone Block.


Hidden Flame Shrine
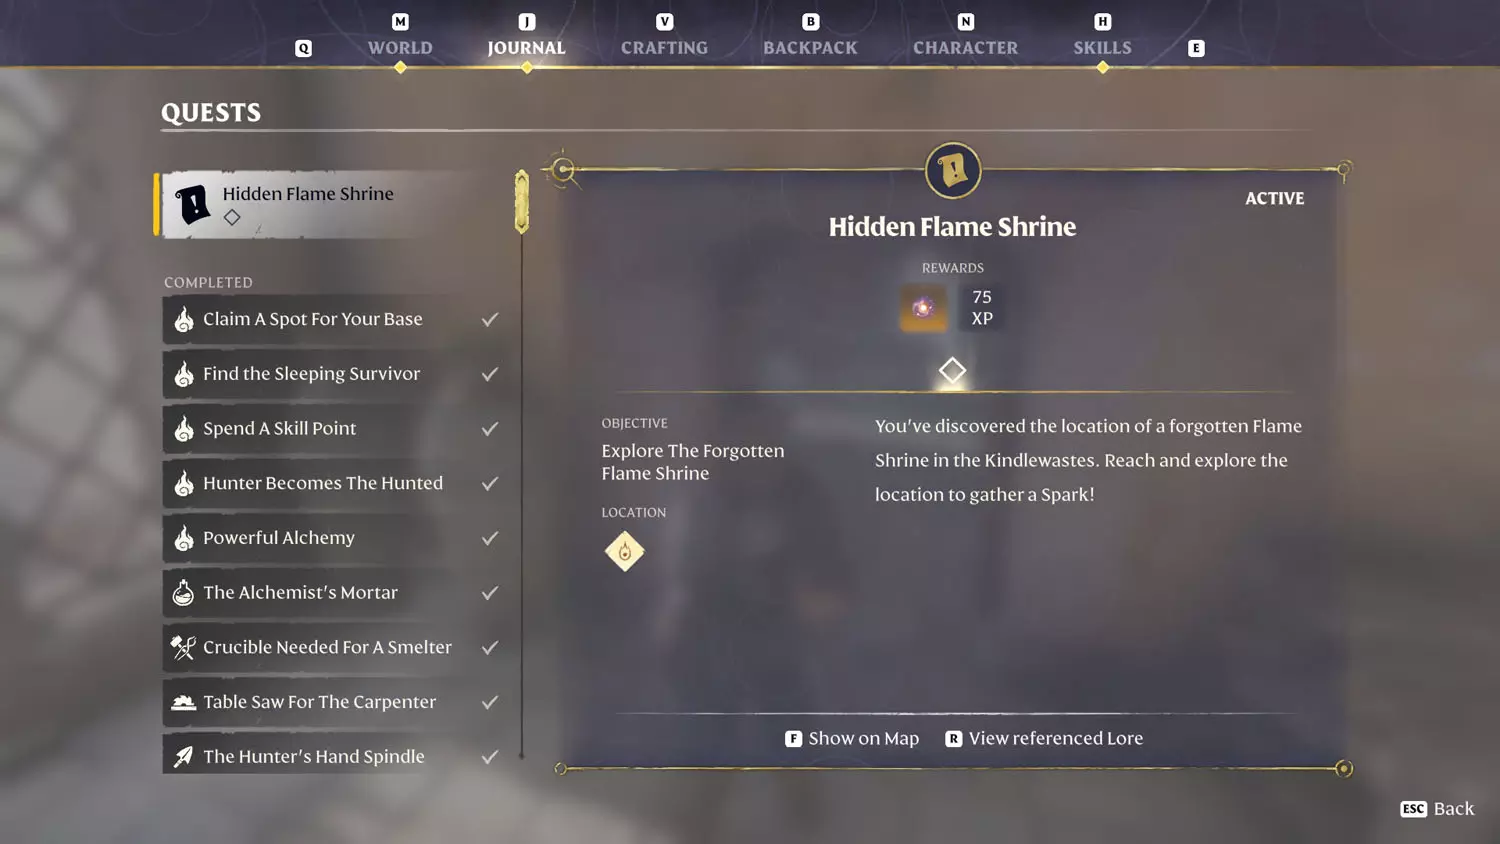
Rewards: Spark + 75XP
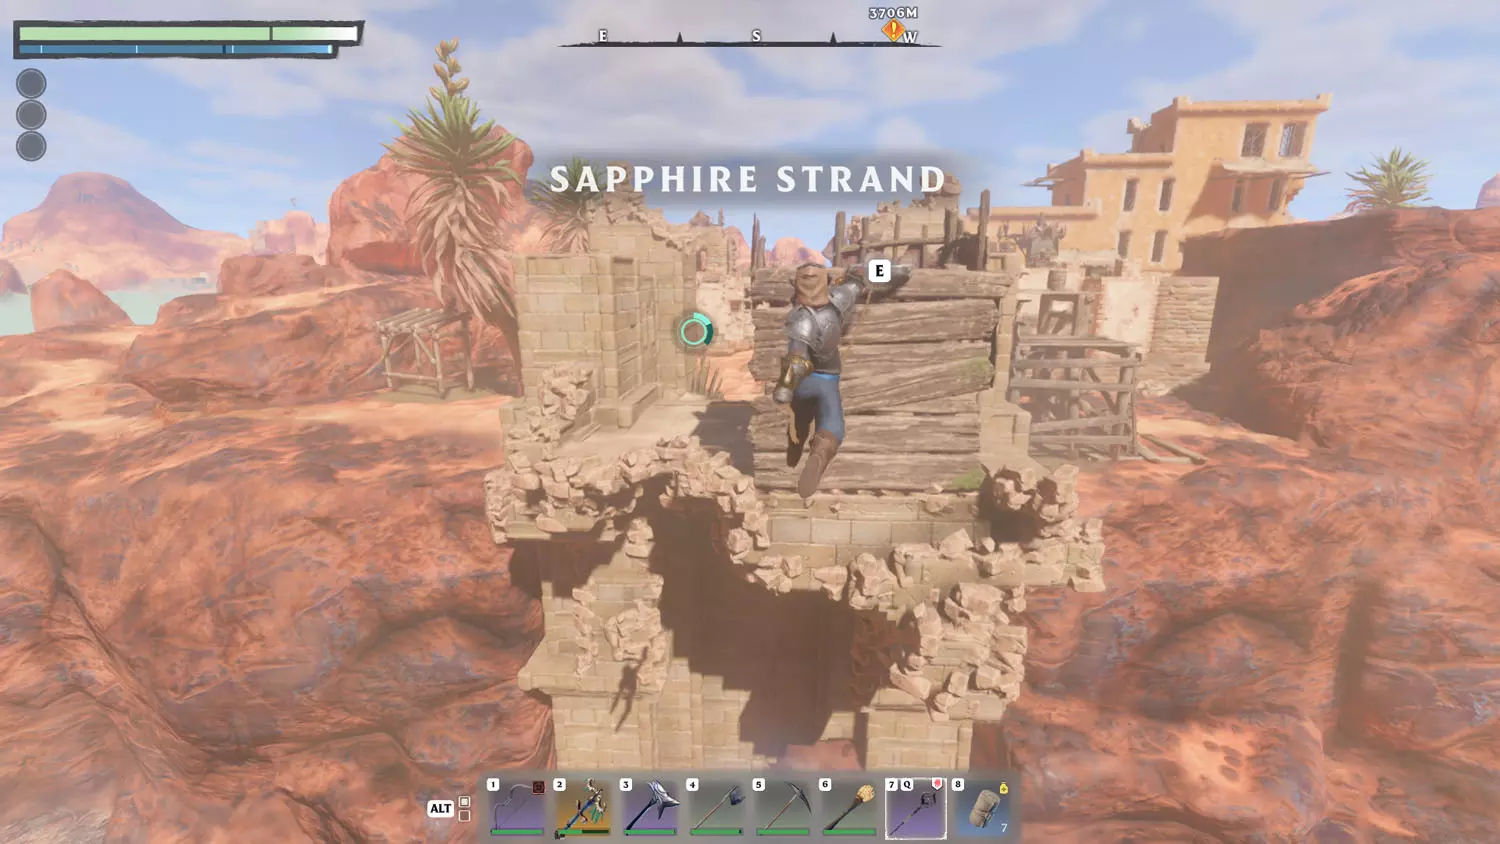
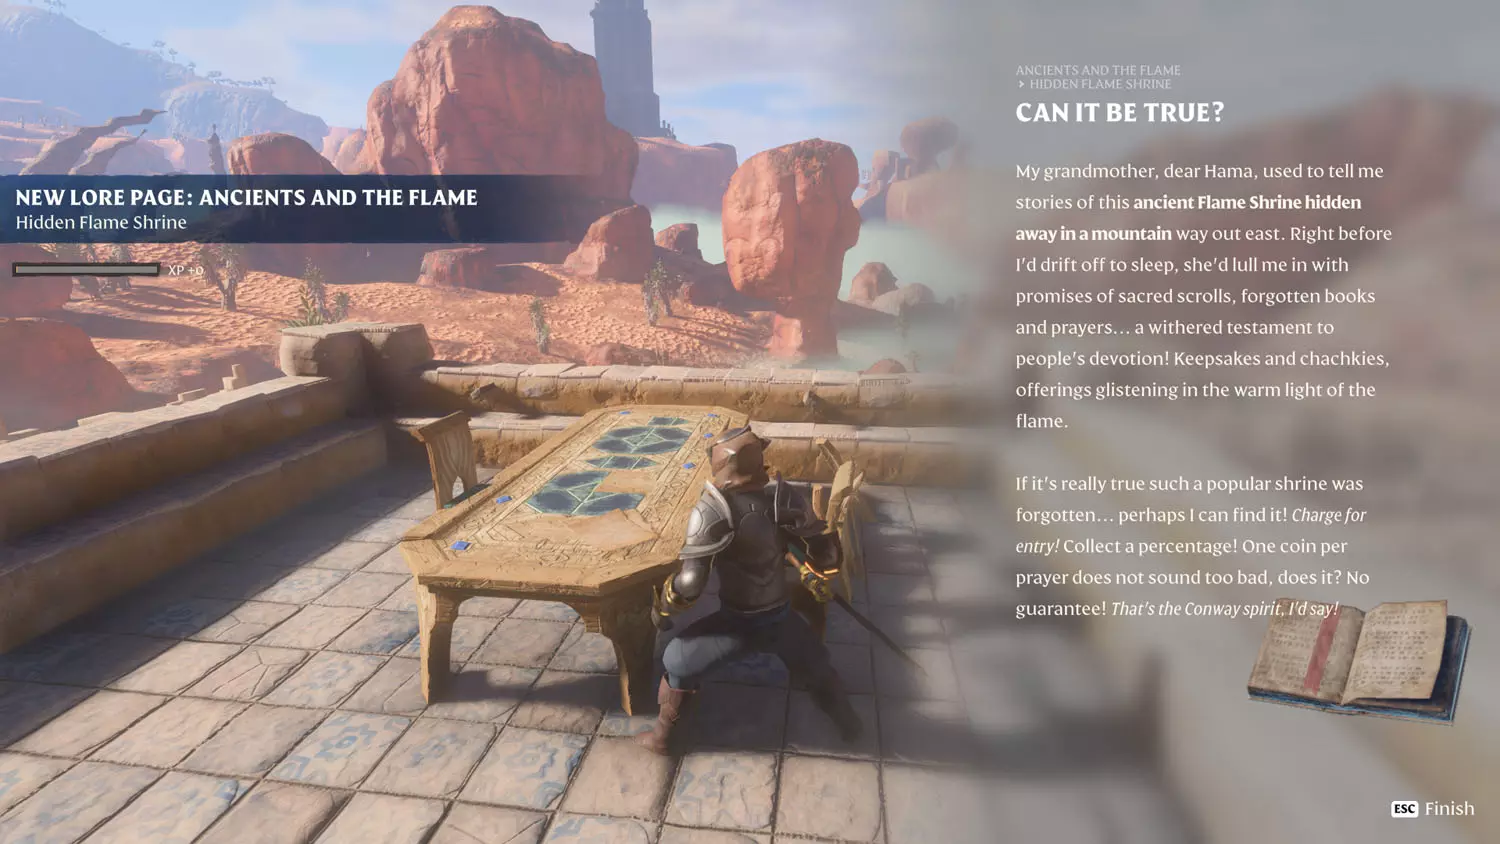
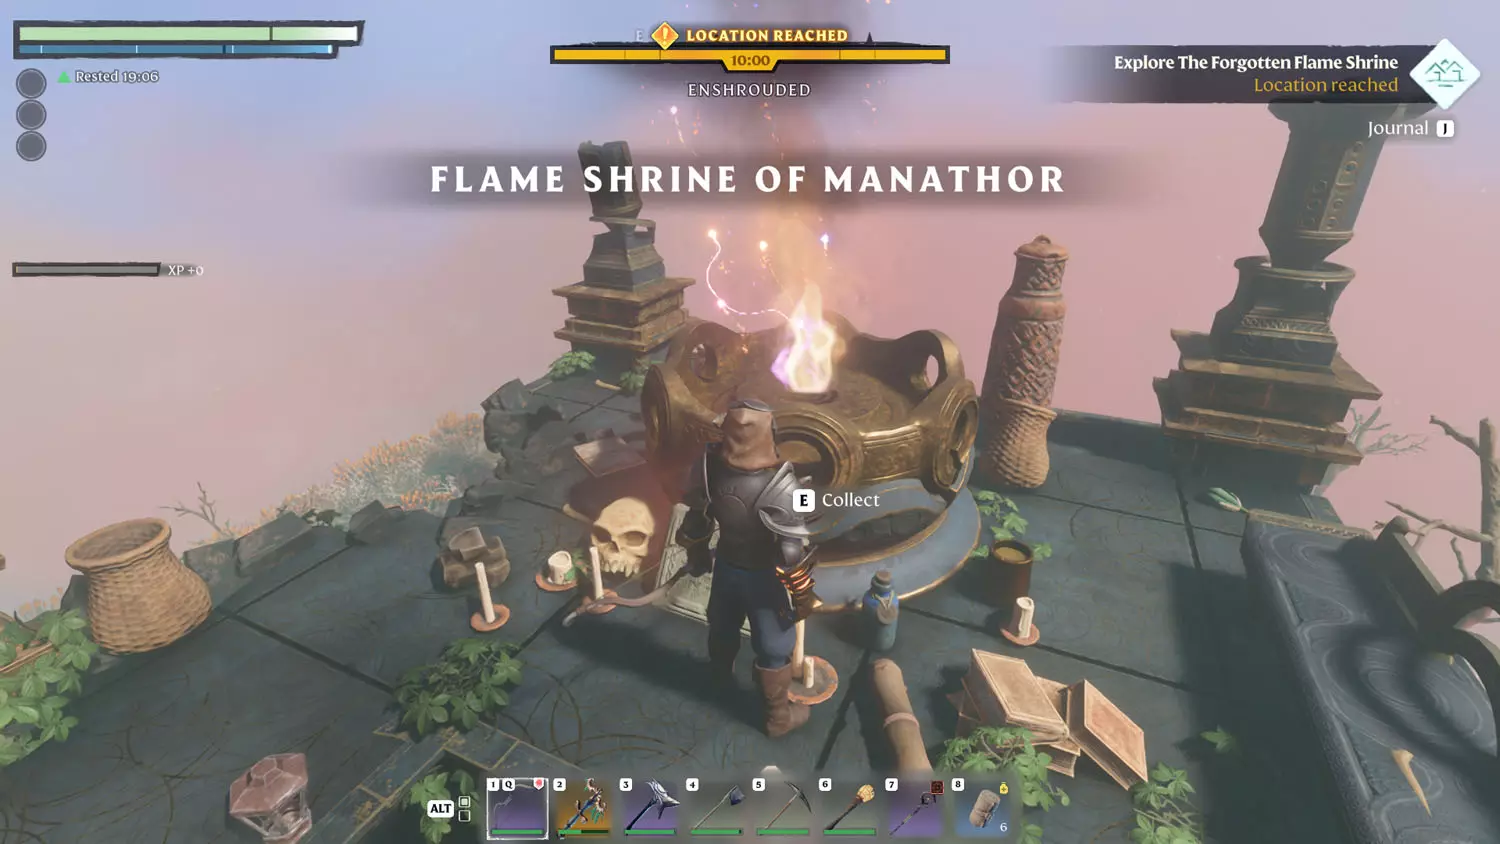
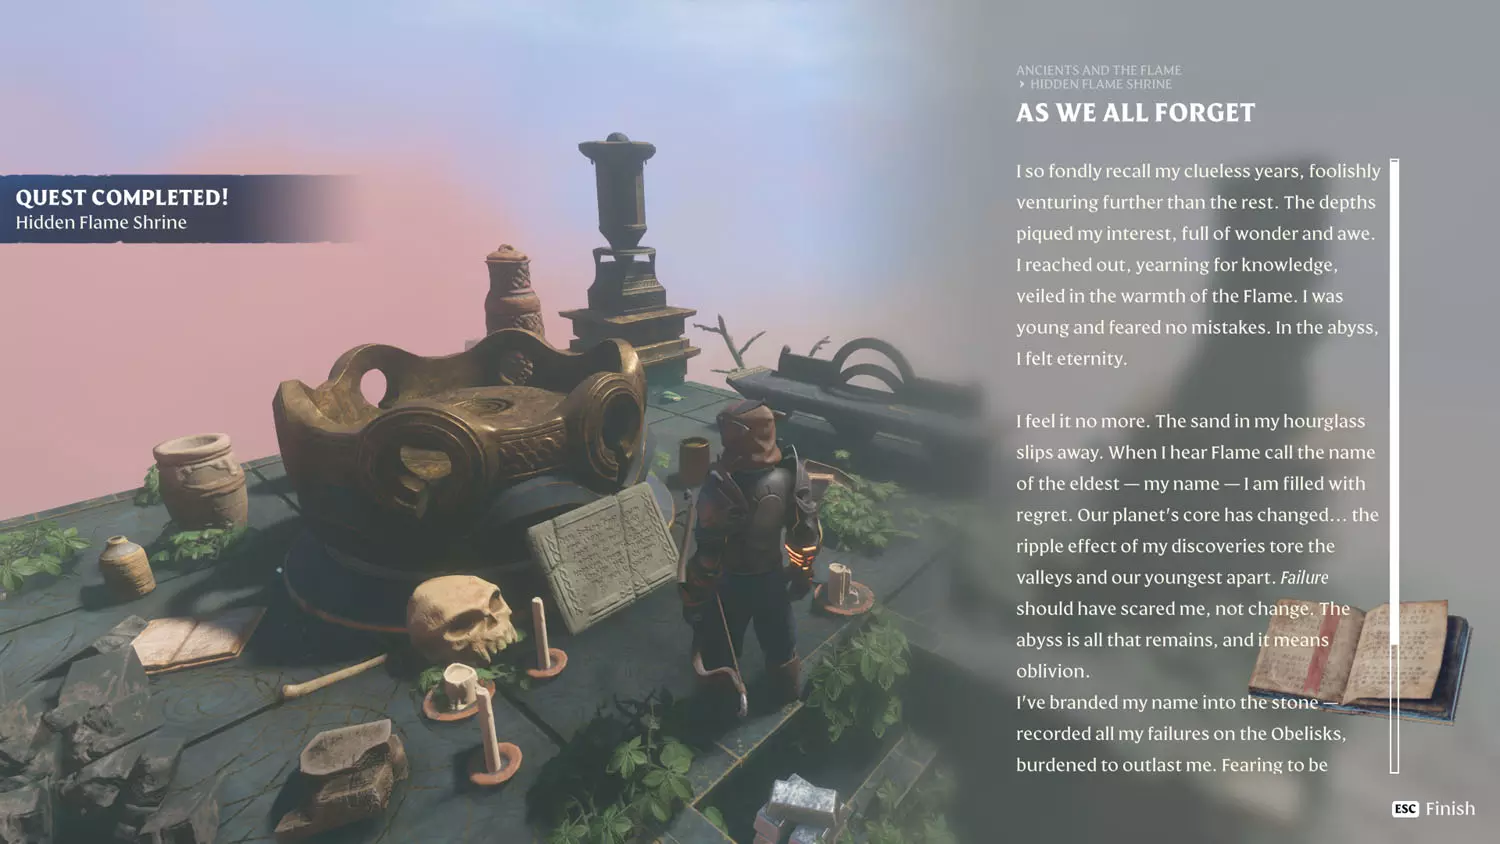
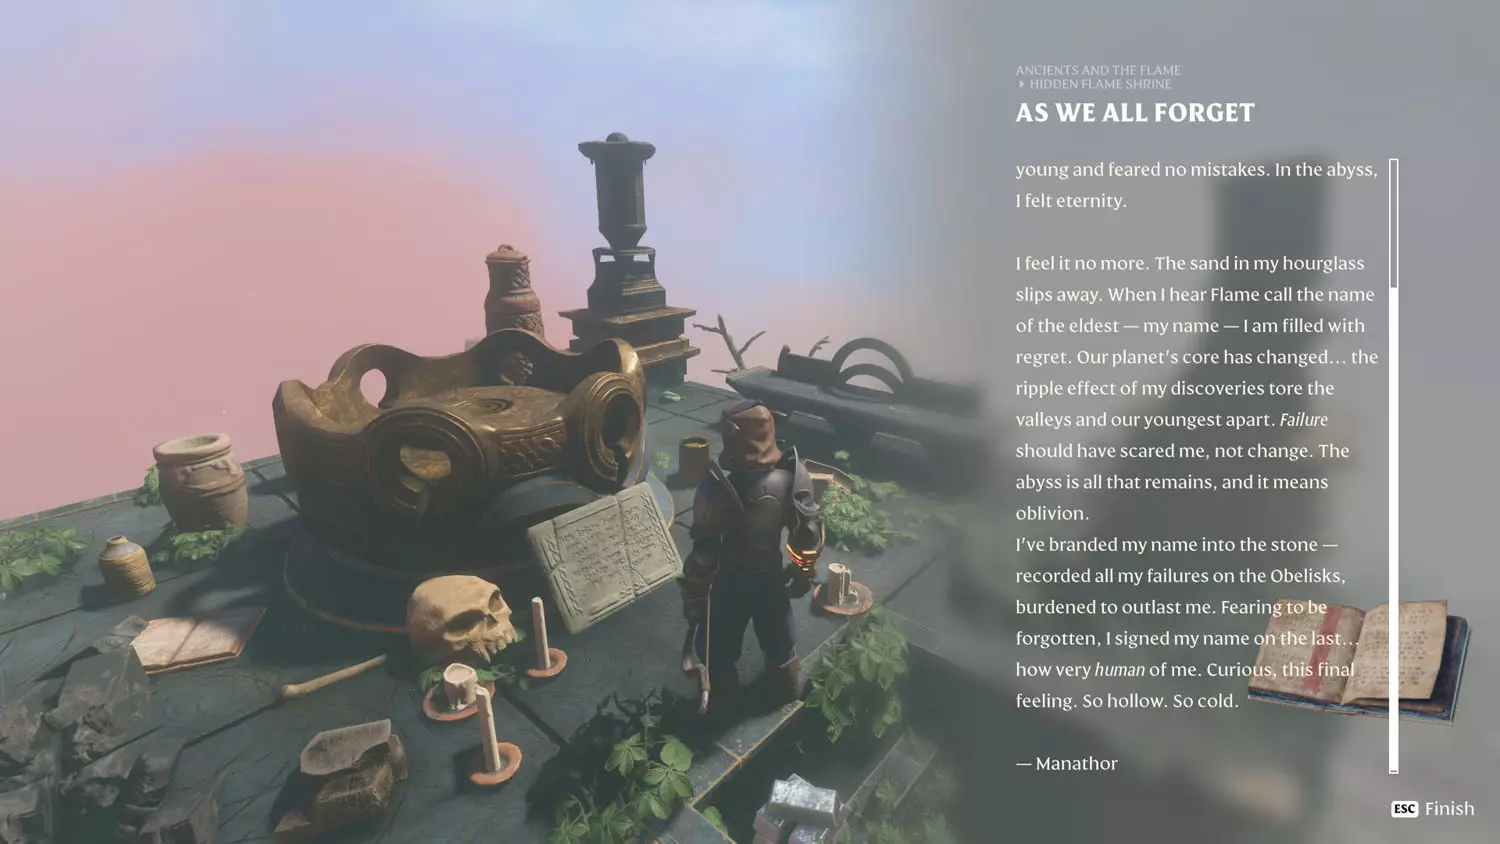
A simple glide west of the Ancient Spire - Kindlewastes Fast Travel is Sapphire Strand. Head there for the Ancients and the Flame Lore: Hidden Flame Shrine 1/2 Can It Be True? Reading the Lore will start this quest.


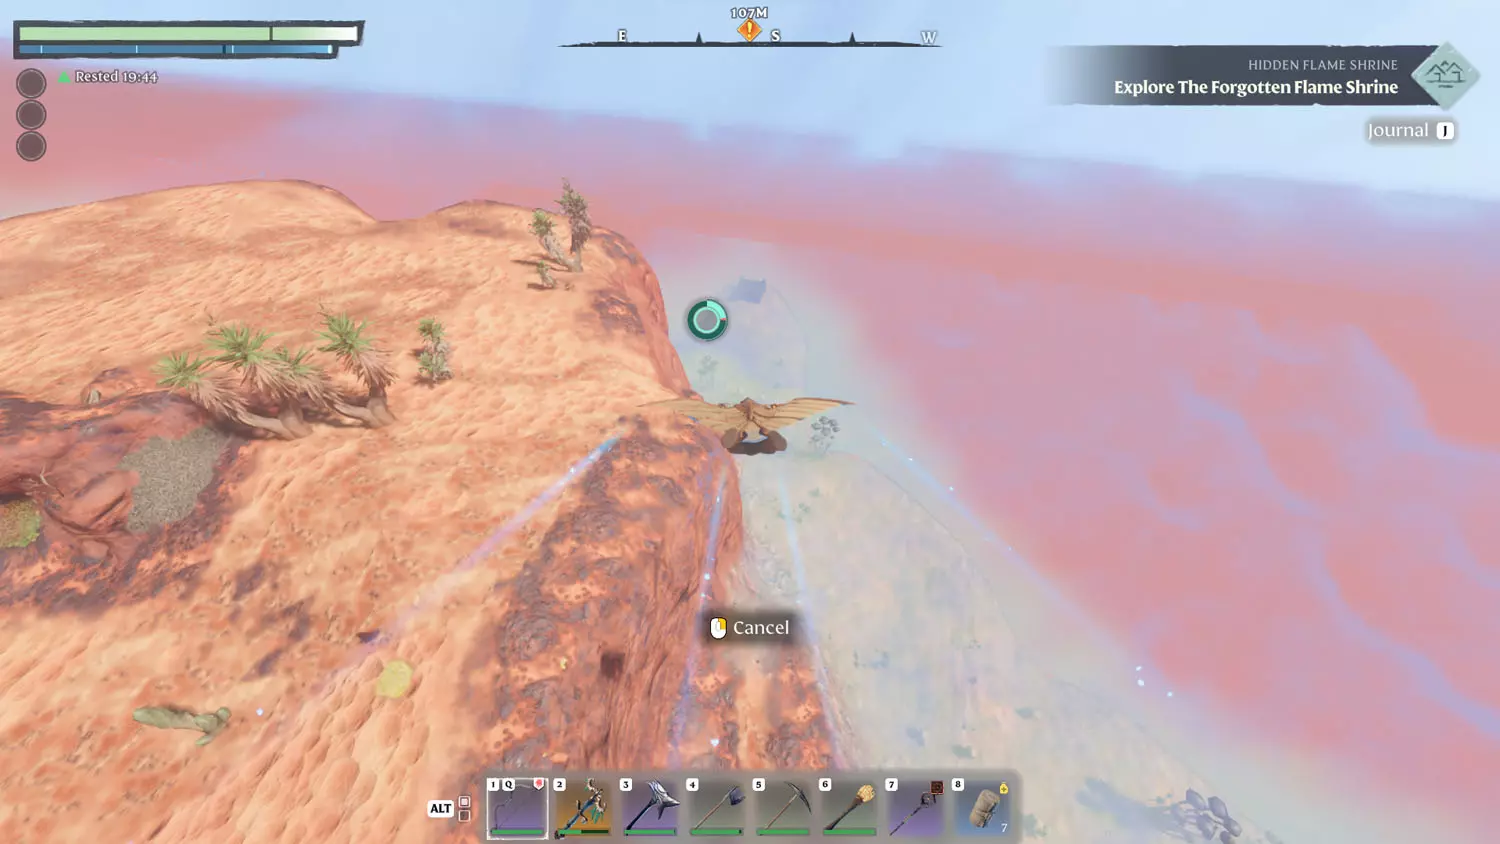
To complete the quest, head to the Flame Shrine of Manathor. Loot the Flame there to obtain the reward: Spark. To complete the quest, read the second half of the Lore 2/2 As We All Forgot.


Hollow's Eve Decor
Reward: Hollow's Eve Decor + 75XP
This quest comes from Lady Leclair with “Hollow’s Eve Festivities” talk.


The first destination she wants you to go to is Pretty Patty’s Pumpkin Farm. Seize the glowing pumpkin head to complete the first part of the quest.


Next up is Pumpkin Patch! Head left from the gate, and you’ll find the door to a house. Inside is the head you seek.


Head to Vinebrook Farm for the final pumpkin decoration! It’s another glowing pumpkin head looming at you from the entrance. Snag it to finish the quest!


A Beautiful Home
Rewards: Wall Tapstry + 75 XP
After completing the Items, XP, and Loot Reward Quest: Ancestor's Weapons, Gunther Galefort will want to talk about “A Beautiful Home”. This starts the quest, and reaching the Balefire Tower “1000 Miles” finishes the first part of it.
TIP: Balefire Tower “1000 Miles” has the Flame Altar Quest: Slaying The Corrupted Beast.


For how to reach the tapestry piece, check out the Ancients and the Flame Lore: The Twinflame Swords 2/2 Starfall Legend – reading this starts the Items, XP, and Loot Reward Quest: The Greater Twinflame Sword. Claiming the tapestry piece will complete the next part of the quest.


For the next piece of the tapestry, head to a Small Watchtower to the north of the garrison. Behind the barricaded and locked door is a small room with the final piece of the tapestry.


For the final step, head to the Carpenter and craft a Wall Tapestry Showcase. Then place the pieces, and the quest will be complete!


Flame Mosaic
Rewards: Flame Mosaic + 75 XP
This quest begins when you pick any 1 of 8 pieces of the Flame Mosaic, located in Everfrore Keep.
TIP: More Everfrore Keep Lore And Quests In Enshrouded can be found here.

Piece One
The first piece I located was back by Everfrore’s Balefire Brazier. There’s a locked door up the steps from it with a piece inside.


Piece Two
Near a gated entrance to Everfrore Keep, there is a building with two balconies. The piece is on the outer balcony and is a bit tricky to get to. Enter the building (on the right in the image below) from the second story balcony (jump on the wall and then the slanted roof to then jump onto the balcony). From there, head inside and exit out the hole in the wall. Then, climb the grating to reach the ledge with the Mosaic Piece.


Piece Three
There’s a large courtyard in Everfrore with a very beaten-up building. Head down into the pit and turn left around the corner until you see the light at the end of the tunnel. I don’t normally say this, but go towards the light.


There will be a door on the right next to a bookshelf, take it. Head down the stairs and follow the path until it reaches the Flame Mosaic Piece.


Piece Four
This one is located near the Albaneve Summits Lore: Bed Time Stories 2/2 Mountain's Cradle. Head through the locked door and make your way up to the second floor of the building with the glowing second balcony.


Piece Five
Toward the West part of Everfrore Keep, there is a stand-alone tower. Make your way across and snag the piece there.


Piece Six
This one is easy enough to spot from a distance, but it can be tricky to reach…if you do it the difficult way >_> Anyway, for the easier path, head across the chasm to the side with the piece and climb up to the ballista above the piece. Then, drop down onto the ledge with it. It’s much easier than navigating through the Shroud and winding passageways.


Piece Seven
This one is easiest to reach if you jump down into the Shroud. There is a bridge down below (not Enshrouded on one end). Head across this bridge into the Shroud. On the right there will be a giant mushroom type thing. You want the opening on the other side of it – where the glowing blue mycelium is on the ground.


From there, head straight back until you hit a wall. Then, go around the corner to your left and you should see the glowing piece at the end of the hall.


Piece Eight
This one is located at a grave beside a tree on top of a cliff near the Balefire Brazier. Search the grave for the final piece! (There is a grapple spot and climbable wall that will help you reach the top.)


Fire Mosaic Completed
Talk to the Carpenter for crafting the Flame Mosaic Showcase. Then, find a fun spot to place the new décor!


Pure Soul Reward
We The Only Ones
Rewards: Hannah Reed + 150 XP
This quest begins after you finish the Flame Altar Quest: Bring Back The Pure Souls. To complete it, head to Fort Kelvin and obtain the Pure Soul Fenrig Mills.
TIP: Fort Kelvin has a LOT going on. Lore - All three pieces of the Vukah and Wildlife Lore Welcome to Fort Kelvin, and Revelwood Lore: Ramone’s Writing 1/1 What Do You Think Of My Draft?. Quests include the Building Block Quest: Brick-Timbered Block, the Bard Quest: Music Sheets, and Items, XP, and Loot Reward Quest: Lunar New Year Plants.


That done, it’s time to head out for Fort Kelvin! You’ll find this fair maiden (or maid) high atop the tallest tower. Her Pure Soul is particularly visible at night. Claim her soul to complete the quest.


Hannah Reed Needs Help
Reward: Pure Soul Marianne Reed + 75XP
Hannah Reed has the quest after you place her in your base. Start the quest by selecting “Missing Daughter”.


Your destination for this Pure Soul quest is the Vukah Ceremony Hill, which is a short glide from the Ancient Spire - Low Meadows Fast Travel. The body is guarded by the Vukah, so beware!
TIP: This is also the location for the Items, XP, and Loot Reward Quest: Vukah Ceremony and Vukah And Wildlife Lore: Vukah Ceremony 2/2 Strength Of The Vukah.


Despite the quest being finished, when you return to your base, Hannah Reed will have the “Reunited With Daughter” dialogue available.


Ramone's Writing
Reward: Pure Soul Ramone Jones + 75XP
Finishing the Items, XP, and Loot Reward Quest: Vukah Rituals Uncovered will start this quest. Reading either of the last pieces of the Revelwood Lore: Ramone’s Writing 2/3 A Small Thank You or 3/3 It Doesn't Look Good For Me (this Lore is where the body is at) will also activate this quest.

After you've read the Lore, Ramone's body / soul can be found next to the third piece of Lore.
TIP: Check out Pikemead’s Reach Lore And Quests In Enshrouded for more going on in the region.


Dark Rites
Reward: Pure Soul Lady Leclair + 75XP
This quest starts when you read the Revelwood Lore: Dark Rites 1/1 Just One More Embrace. It is closely connect to the Revelwood Lore: Riddle 1/2 Riddle Me This and 2/2 A Hidden Room. Follow the steps for the other two to reach the next phase of this quest.
TIP: Check out Pikemead’s Reach Lore And Quests In Enshrouded for more going on in the region.

After having found the dark ritual, it’s time to head back to Glennwood’s End. Here you’ll want to head to the house on the far left or western half of the town. Entering the front door will land you in a room with a book to read.


Reading the Revelwood Lore: Glimpse Into The Beyond 2/2 Ritual Of Reunion – Reimagined! will complete the next part of the quest.

The book tells of a secret basement, so head for the chimney and climb down. In the secret basement, you will find the Pure Soul of Lady Leclair. Claiming her soul will complete the quest.


Pit Fights
Reward: Pure Soul Gabrielle Fairburn + 75XP
This quest begins when you read either the Kindlewastes Lore: Hat Shipment Missing 1/1 Our Hats Are Lost! or the Nomad Highlands Lore: Pit Fights 1/1 A Fearless Woman. From the second of the two, stay in the arena of Surat’s Rest, but head toward the back, where the Matron wobbles out from. You’ll find a set of stairs descending down, but don’t worry, it stops before you hit the deadly red mist. At the bottom is the Pure Soul of Gabrielle Fairburn.
TIP: Check out more of Surat’s Rest Lore And Quests In Enshrouded.


After placing Gabrielle Fairburn, she will want to talk to you. Although she has the “Ready To Fight” dialogue, and she even offers to be your sparring partner, I’m not sure that’s available just yet. (November 16, 2024)


Tracing The Footsteps
Reward: Pure Soul Galen Yager + 75XP
Shortly after placing Rochelle Anders, she will have the option to talk about “Hunting Party”, which will start the quest to find the hunting party – or what’s left of them.


The next step of this quest is a glide down from the Ancient Spire - Nomad Highlands Fast Travel. Follow the road into the Shroud and then work your way up to the Vukah And Wildlife Lore: The Draconian Vulture Took Him 1/2 This Desert Contains Horrors.


From there, you’ll be making the journey up to the Vukah And Wildlife Lore: The Draconian Vulture Took Him 2/2 A Powerful Hunter’s Bow (the body is in a different nest).


Robert Gibson Needs Help
Reward: Pure Soul Kaori Conway + 75XP
I’m not sure if there was a quest to find Robert Gibson, but I found him anyway! He’s in the hidden cell in Lupa’s Lair.
TIP: Quests in the area – Hunter Quest: In Need Of A Tanning Station, Building Block Quest: Mixed Stones - Regular Stone Block, and Items, XP, and Loot Reward Quest: Finding Epic Instruments (which has information about the Pure Soul Hugo Vanderhall).
TIP: Some Lupa’s Lair Lore, lol: Scavenger Lore: Tanning Station 1/1 Tanning Station Recipe; Nomad Highlands Lore: Captured By Lupa 1/1 They Terrorize The Roads! - Reading this Lore will start the Items, XP, and Loot Reward Quest: Captured By Lupa.


From there, take him back to your base, and you’ll have a quest from him when you read what he has to say about “A Piece Of My Heart”.


For this next part, you’ll be after the Kindlewastes Lore: Hat Shipment Missing 1/1 Our Hats Are Lost!. This one is located in East Lapis’ Weaver’s Cottage. Reading the Lore will complete the first part of this Quest, but it will also trigger the Items, XP, and Loot Reward Quest: Pit Fights.
TIP: East Lapis has the Nobles and History Lore: Caravan To Longkeep 1/2 Survival Depends On Me. Kindlewastes Lore: Underground Infestation 1/2 Uncle Dreadbane and 2/2 Dreadbane Hammer Discovered - these two pieces of Lore are linked to the Items, XP, and Loot Reward Quest: Underground Infestation.
TIP: Ocean's Heart, nearby, also has the Bonus Building Block: Highly Polished Stone Block and the Items, XP, and Loot Reward Quest: Finding Epic Instruments (which has information about the Pure Soul Hugo Vanderhall).
TIP: East Lapis also has one music sheet from the Bard Quest: Music Sheets, and the Hunter Quest: Loom For The Hunter.

Now to head back across the bridge towards where you likely entered East Lapis (not Ocean Heart). The building you’re after has a soft red glow on top, which indicates the Pure Soul within. I found it by wandering the outer wall, but there is a map below for the location. Obtaining the Pure Soul will complete the quest!


Silver Chest Reward
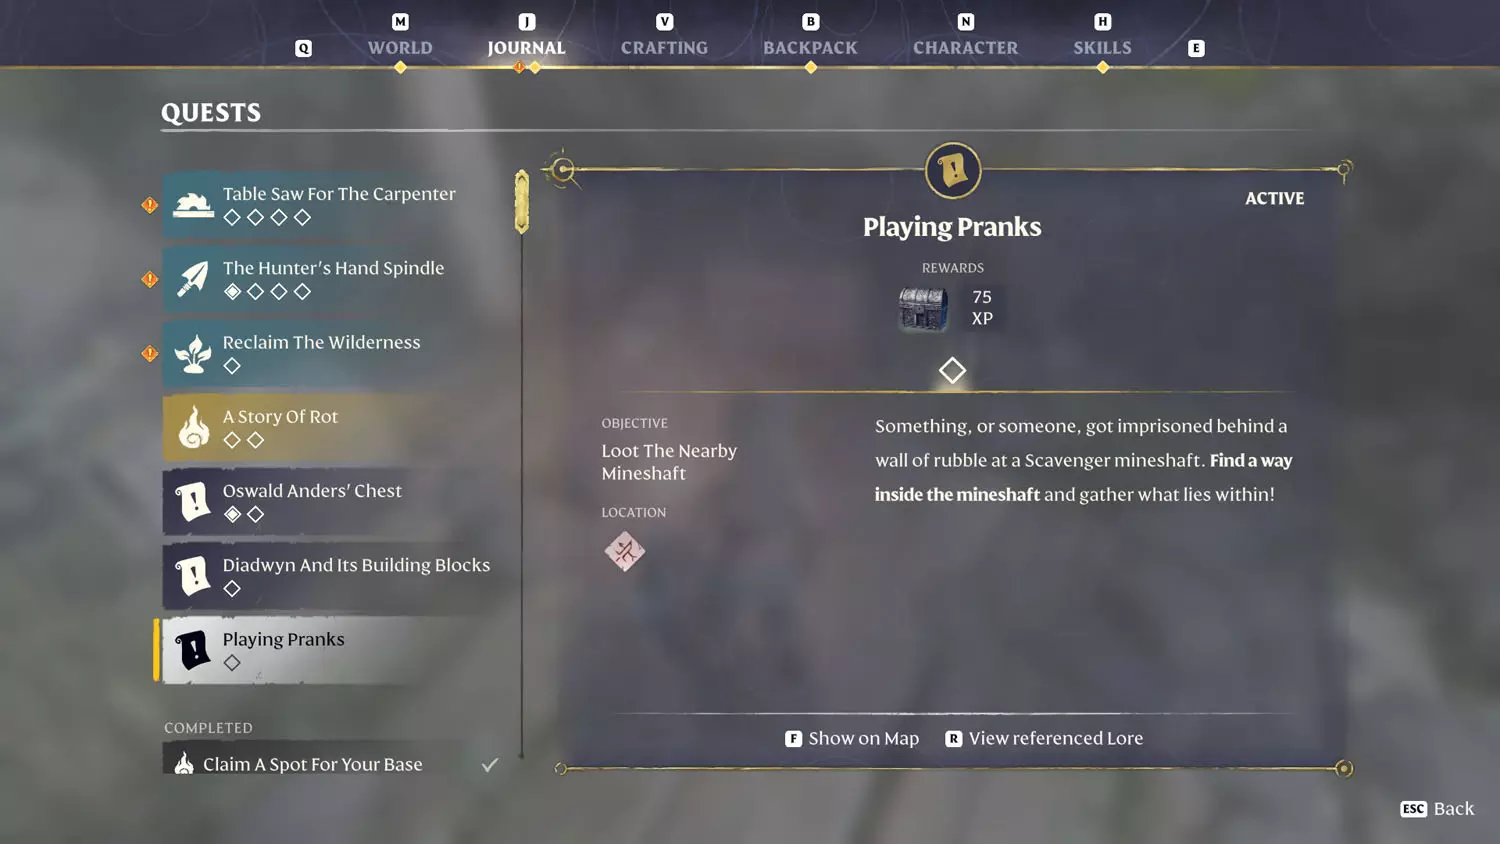
Playing Pranks
Rewards: Silver Chest + 75 XP
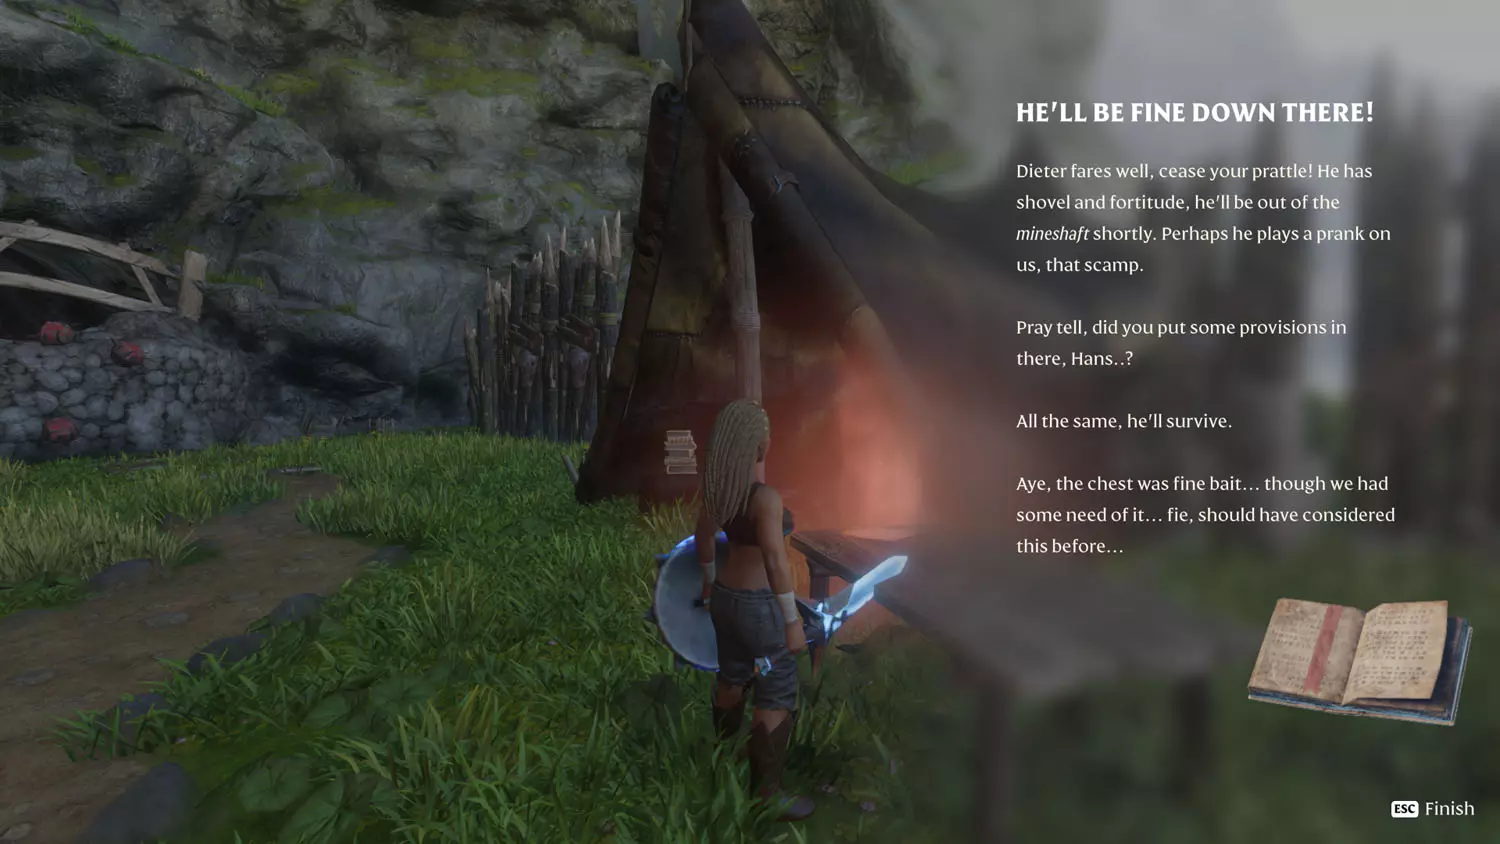
Near the start of the game and a little northeast of your first base is the Scavenger Camp With Mineshaft. Reading the Scavenger Lore: Playing Pranks 1/2 He’ll Be Down There! will start this quest.
TIP: More Scavenger Lore: Playing Pranks 2/2 Curse These Numbskulls.


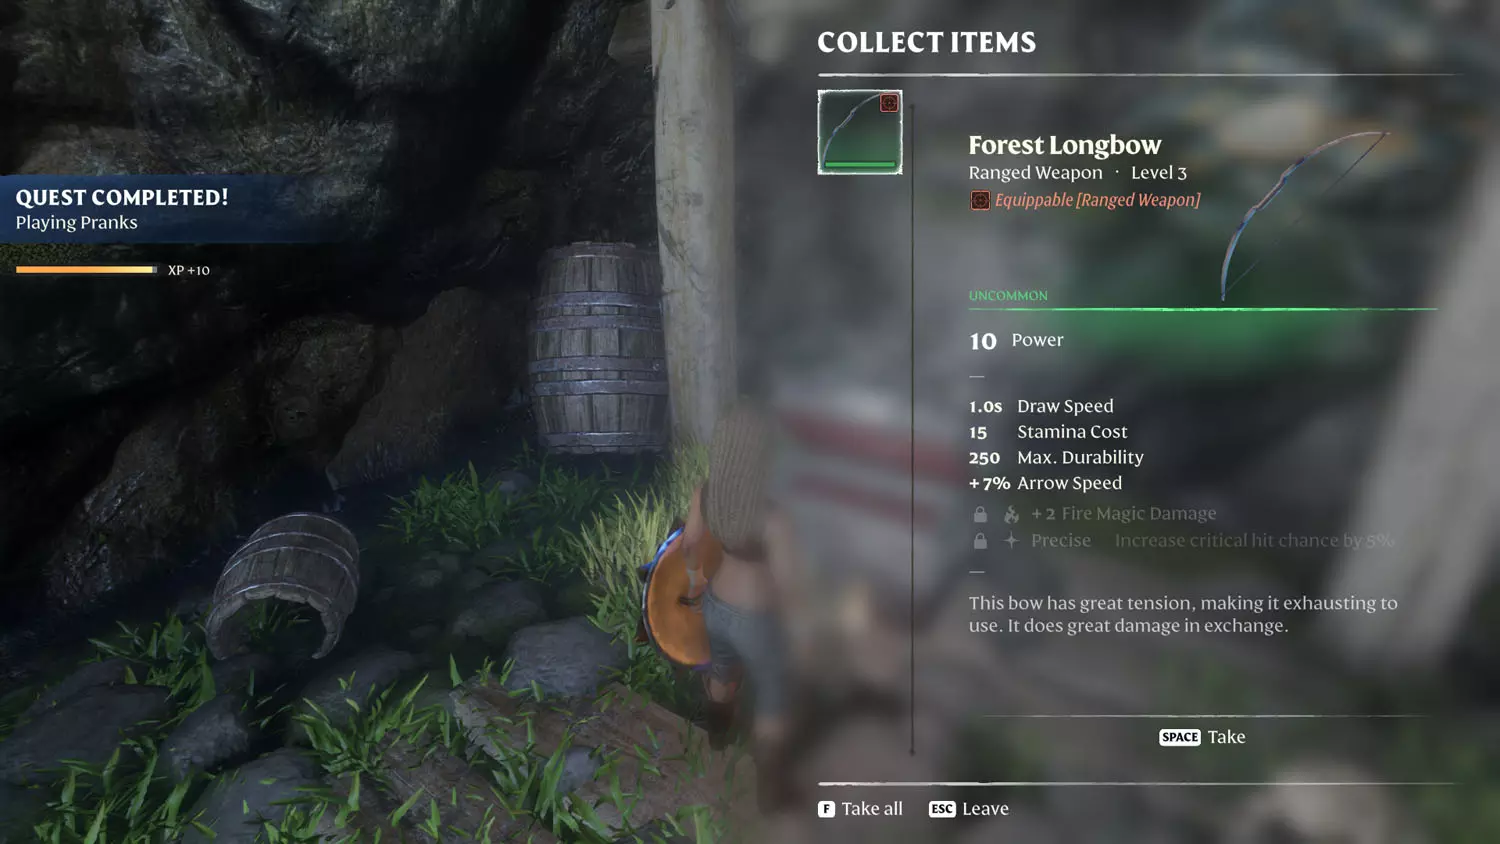
To complete the quest, blow up the rubble (in the background of my second image), and loot the chest. The second piece of Lore is also here, but reading it won’t affect the quest.


A Rising Tide
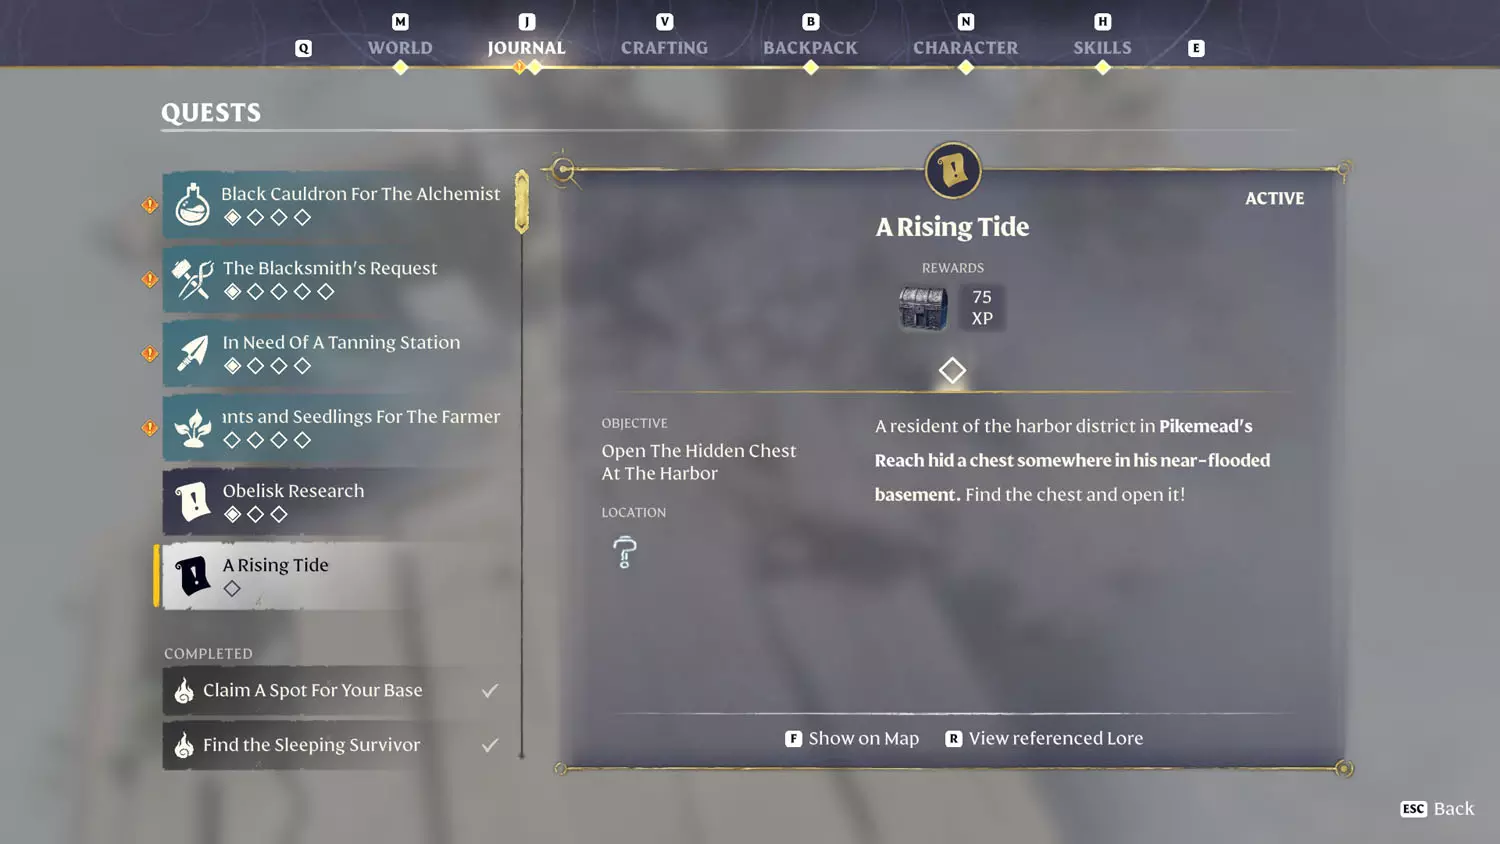
Rewards: Silver Chest + 75 XP
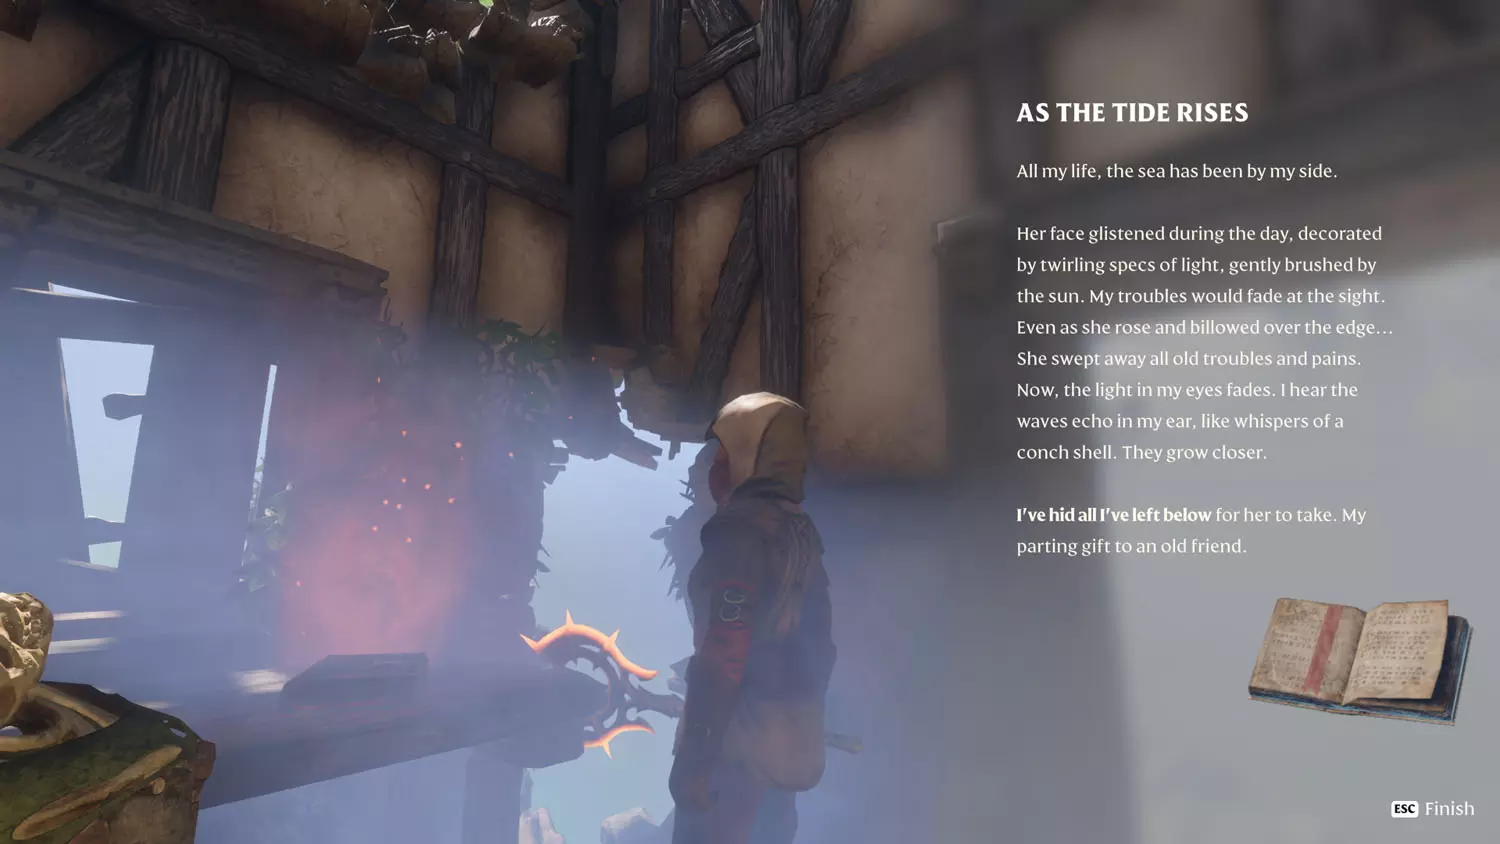
This quest begins when you read the Revelwood Lore: A Rising Tide 1/1 As The Tide Rises.

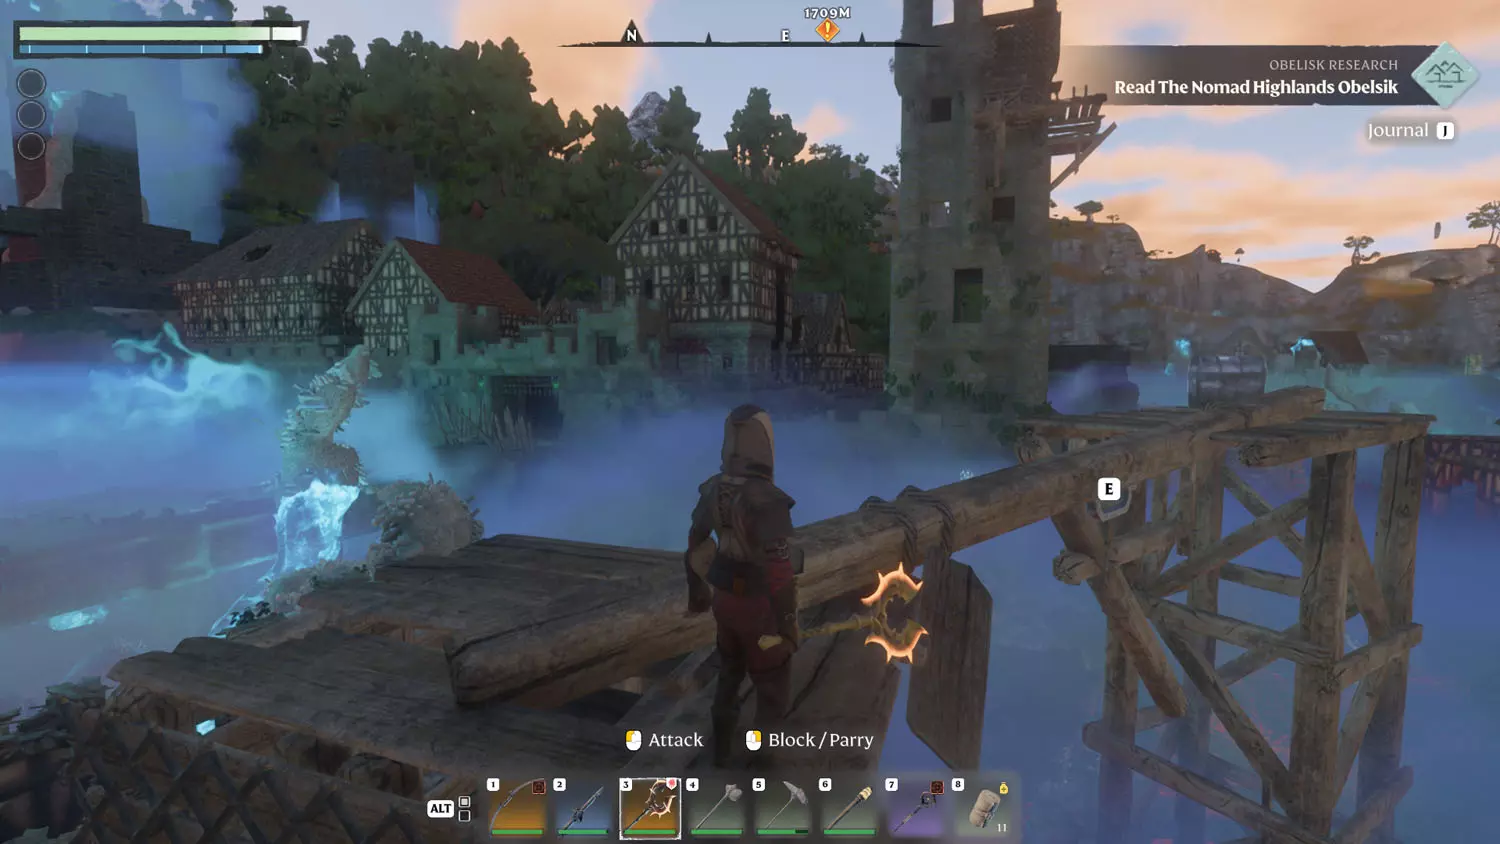
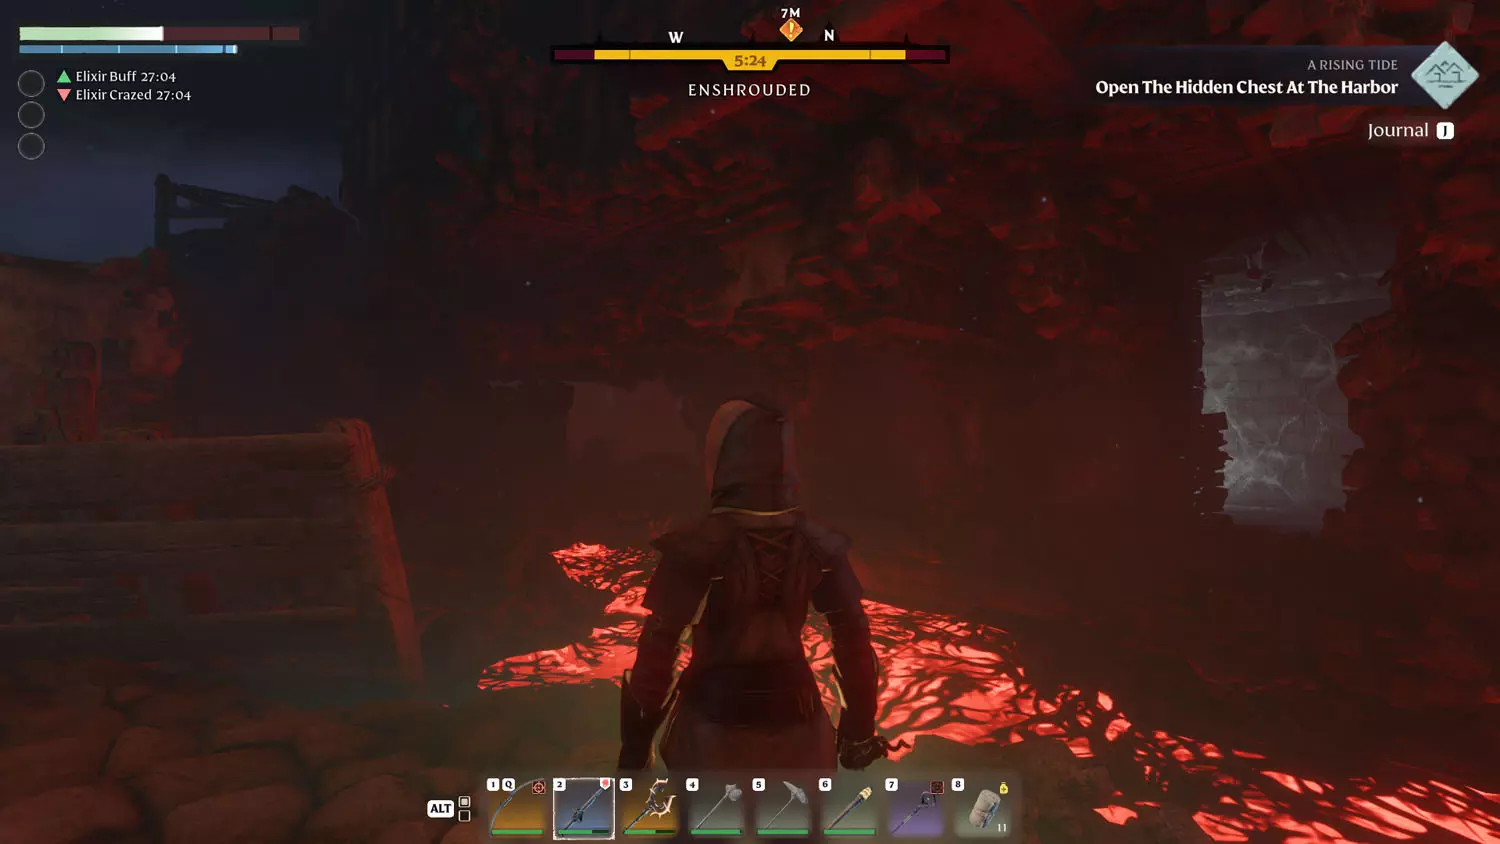
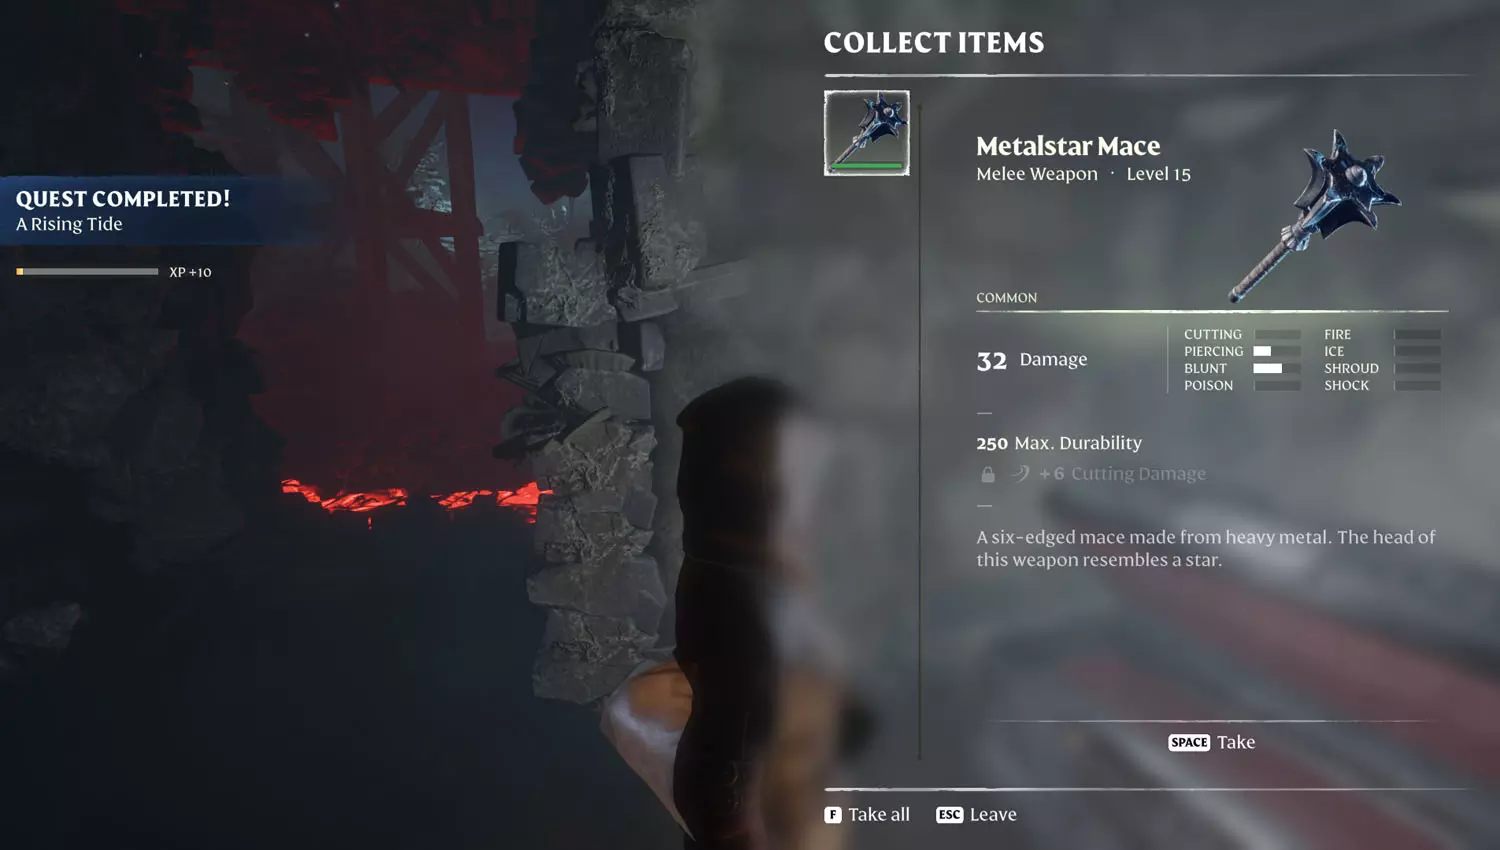
From the Lore, look up / head up the ladder and then the climbable wall near you. You’ll see a Silver Chest on a tall platform (feel free to loot that chest while you are there). The spot you need is at the base of the platform it is on, so hop down. Now, it is easier to see the glow of the Silver Chest at night. But, as you look around, you should spot the small alcove across the Shroud Water (lava river). Opening the chest completes the quest!


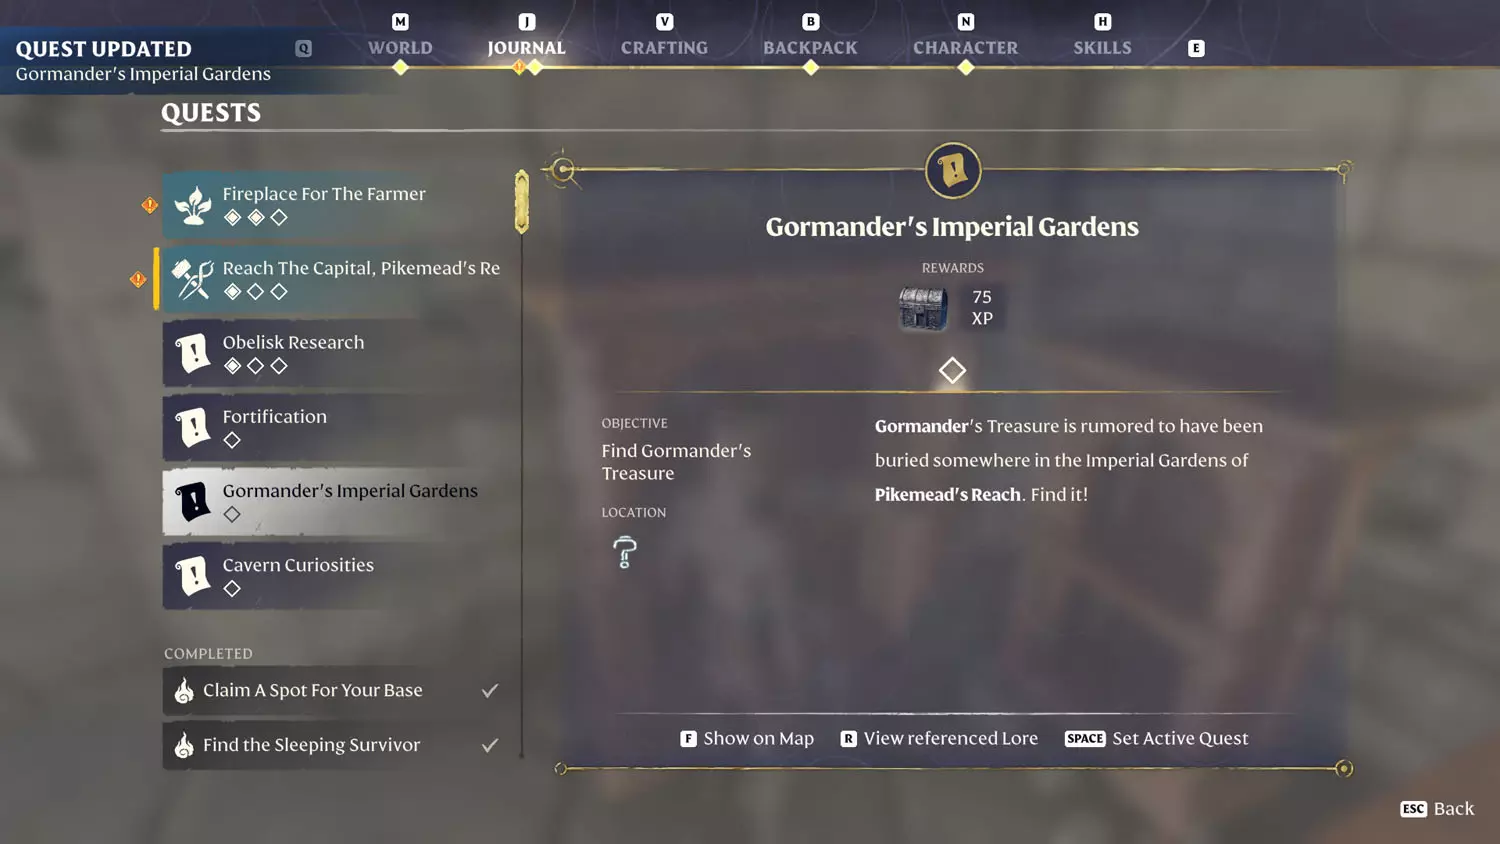
Gormander’s Imperial Gardens
Rewards: Silver Chest + 75 XP
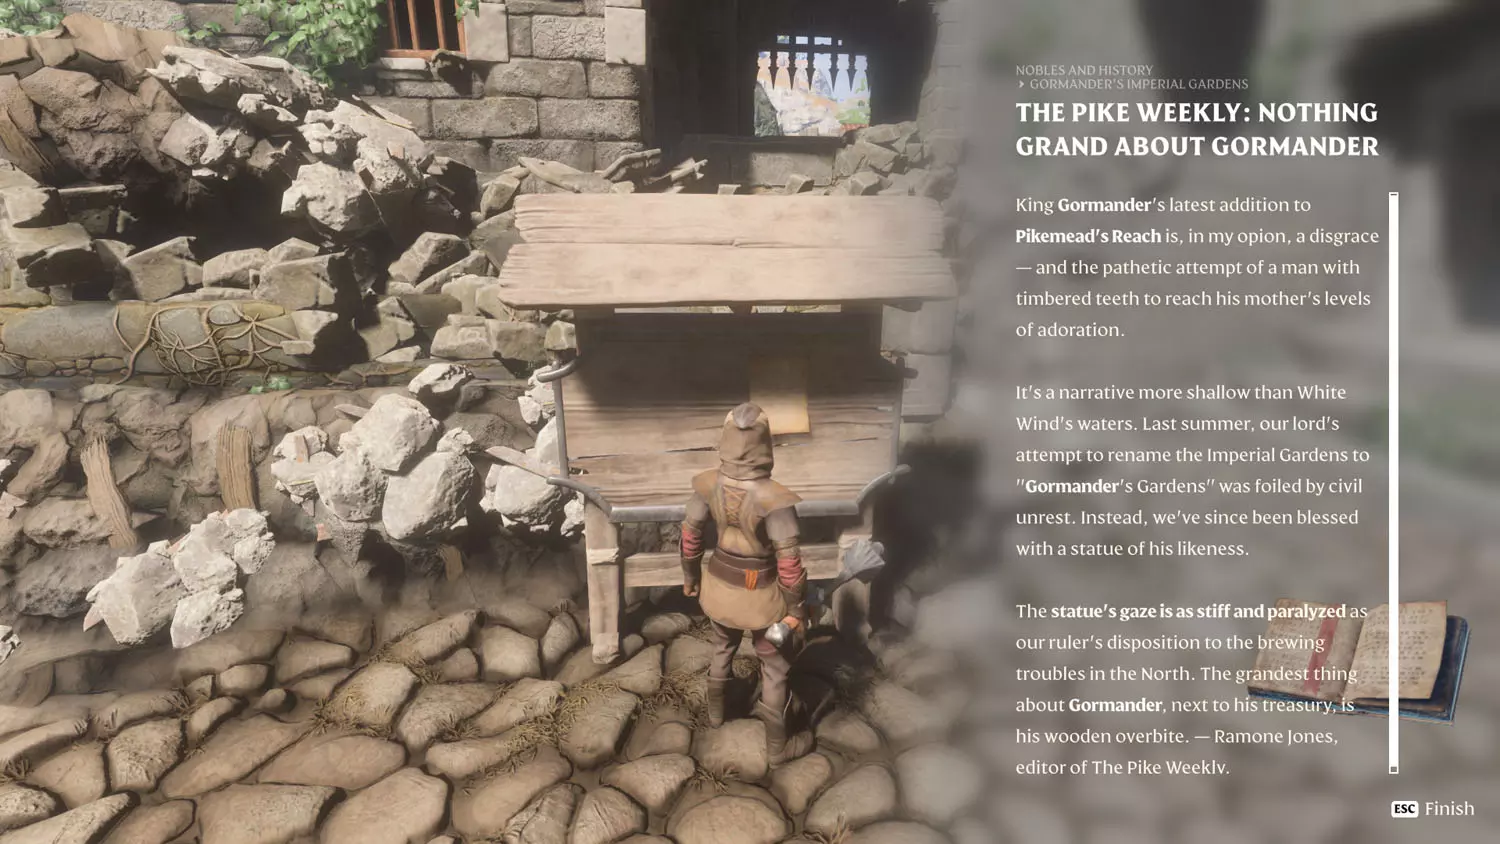
Located in the Imperial Gardens of Pikemead’s Reach, this particular Quest is closely linked to the Nobles and History Lore: Gormander’s Imperial Gardens 2/2 The Pike Weekly: Nothing Grand About Gormander.

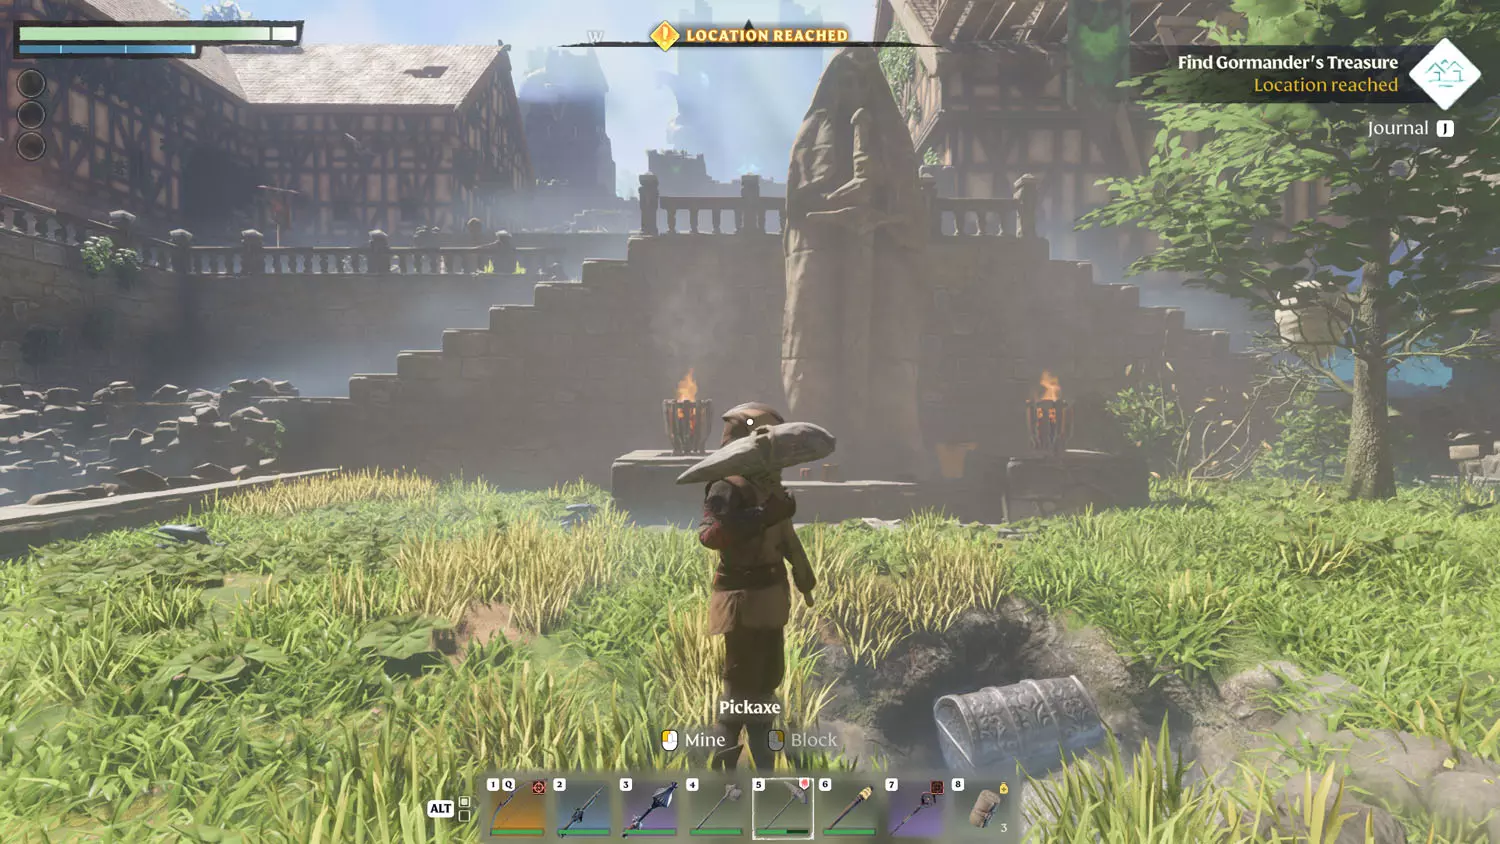
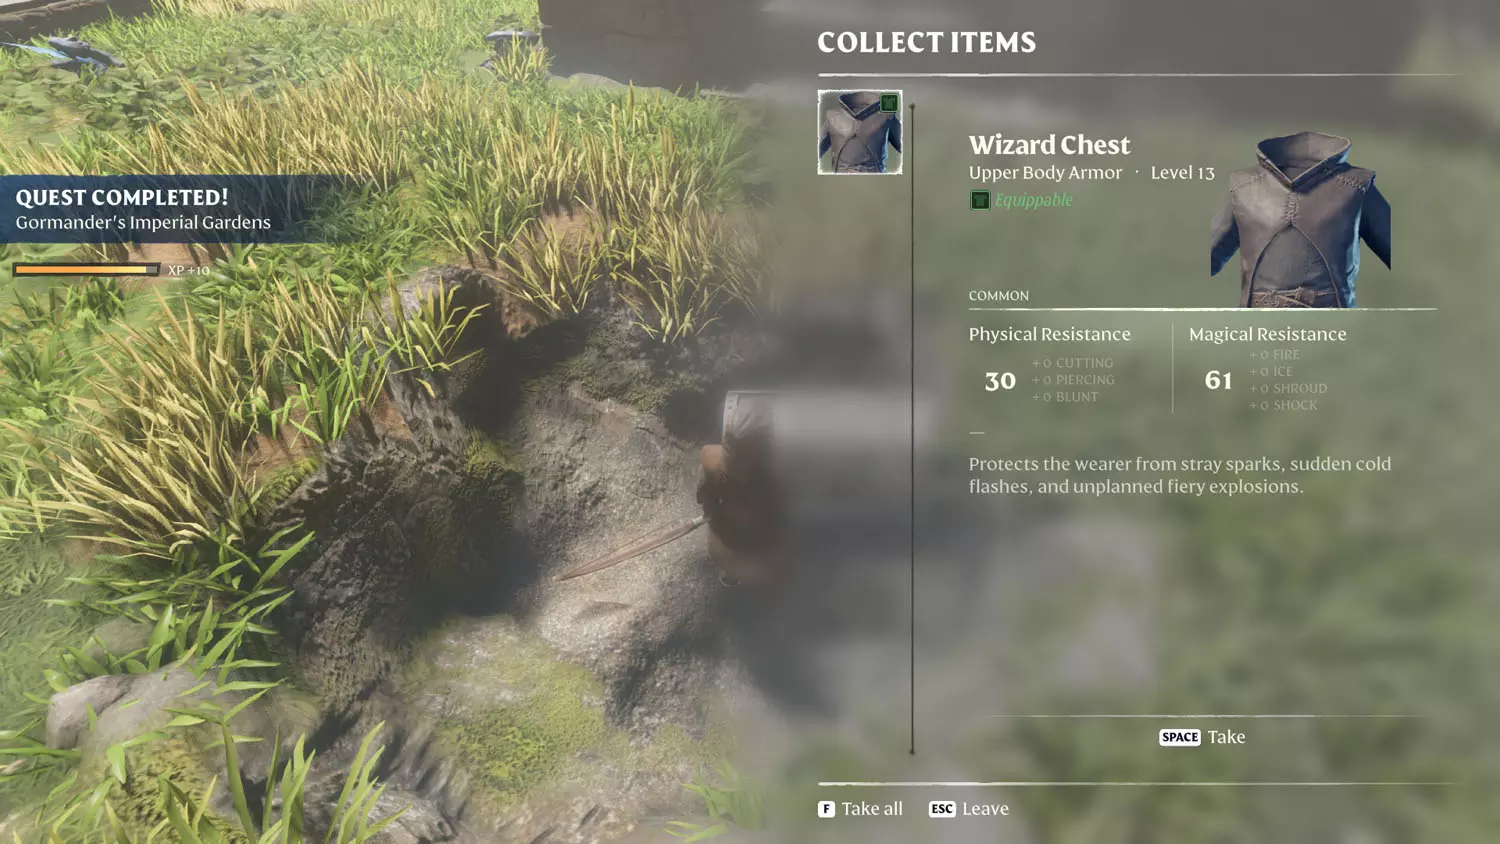
When you are done reading or activating the Lore, simply turn around and hop over to the statue. Then dig in front of the statue and you’ll uncover a Silver Chest. Opening the chest completes the quest.


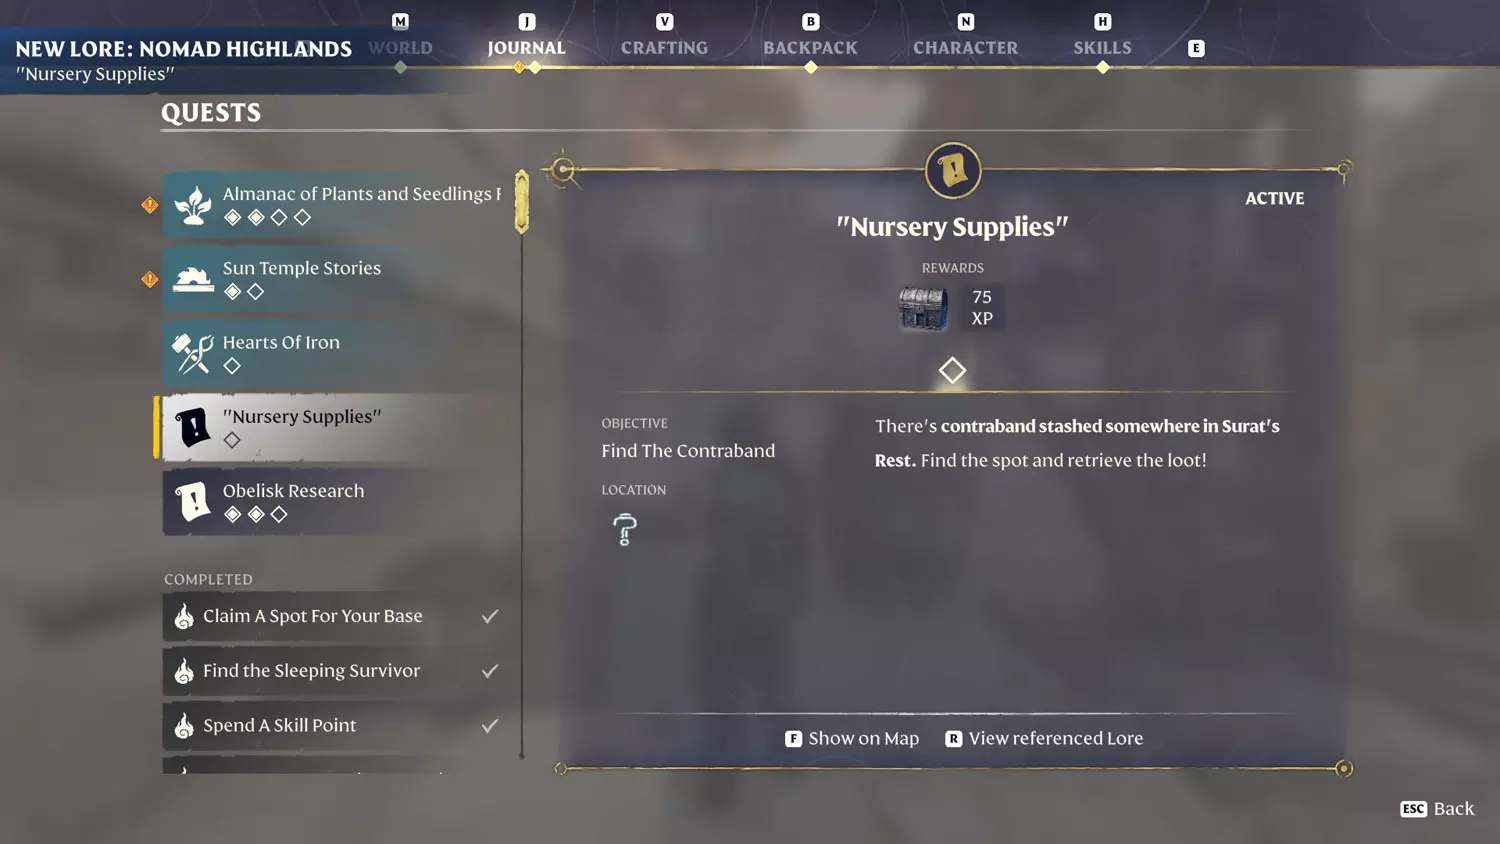
“Nursery Supplies”
Rewards: Silver Chest + 75XP
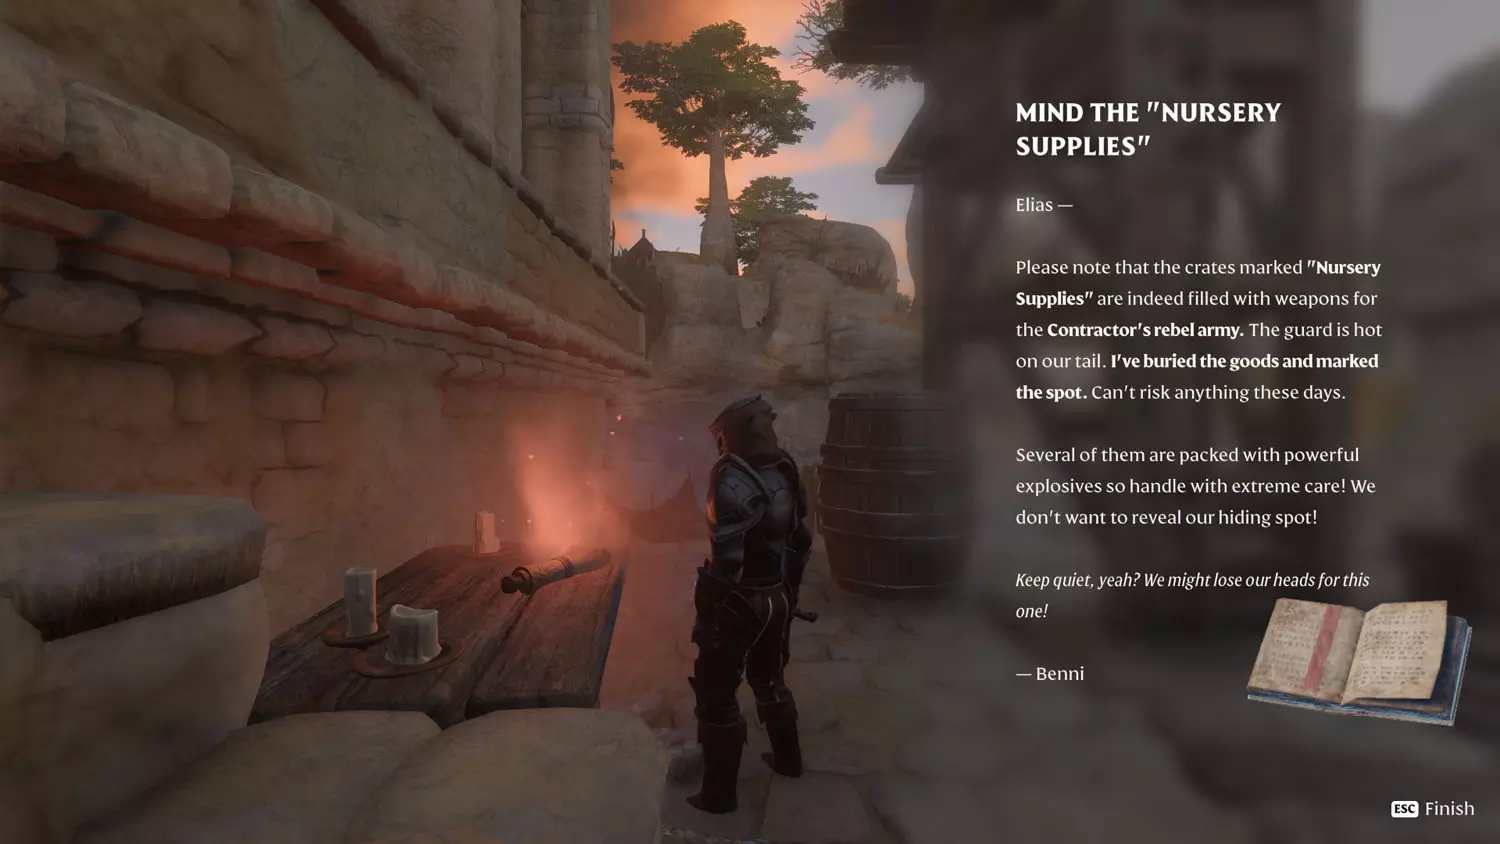
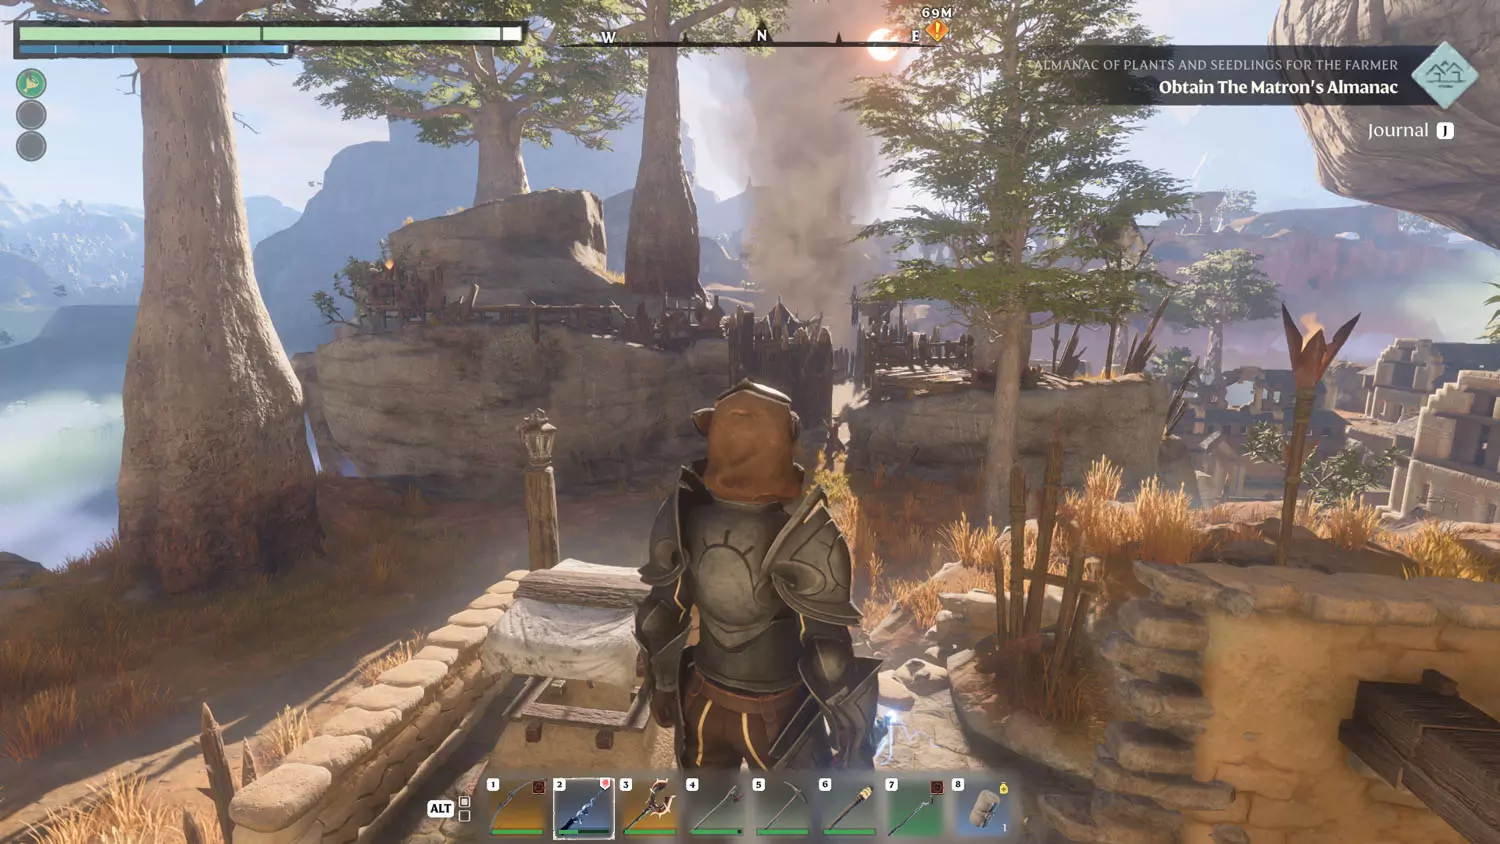
To start this quest, you’ll want to read the Nomad Highlands Lore: “Nursery Supplies” 1/1 Mind The “Nursery Supplies” located in Surat’s Rest. From the starting location (first image below), you can “see” the end location. You just need to get up to that area with the trees…
TIP: Check out more of Surat’s Rest Lore And Quests In Enshrouded.


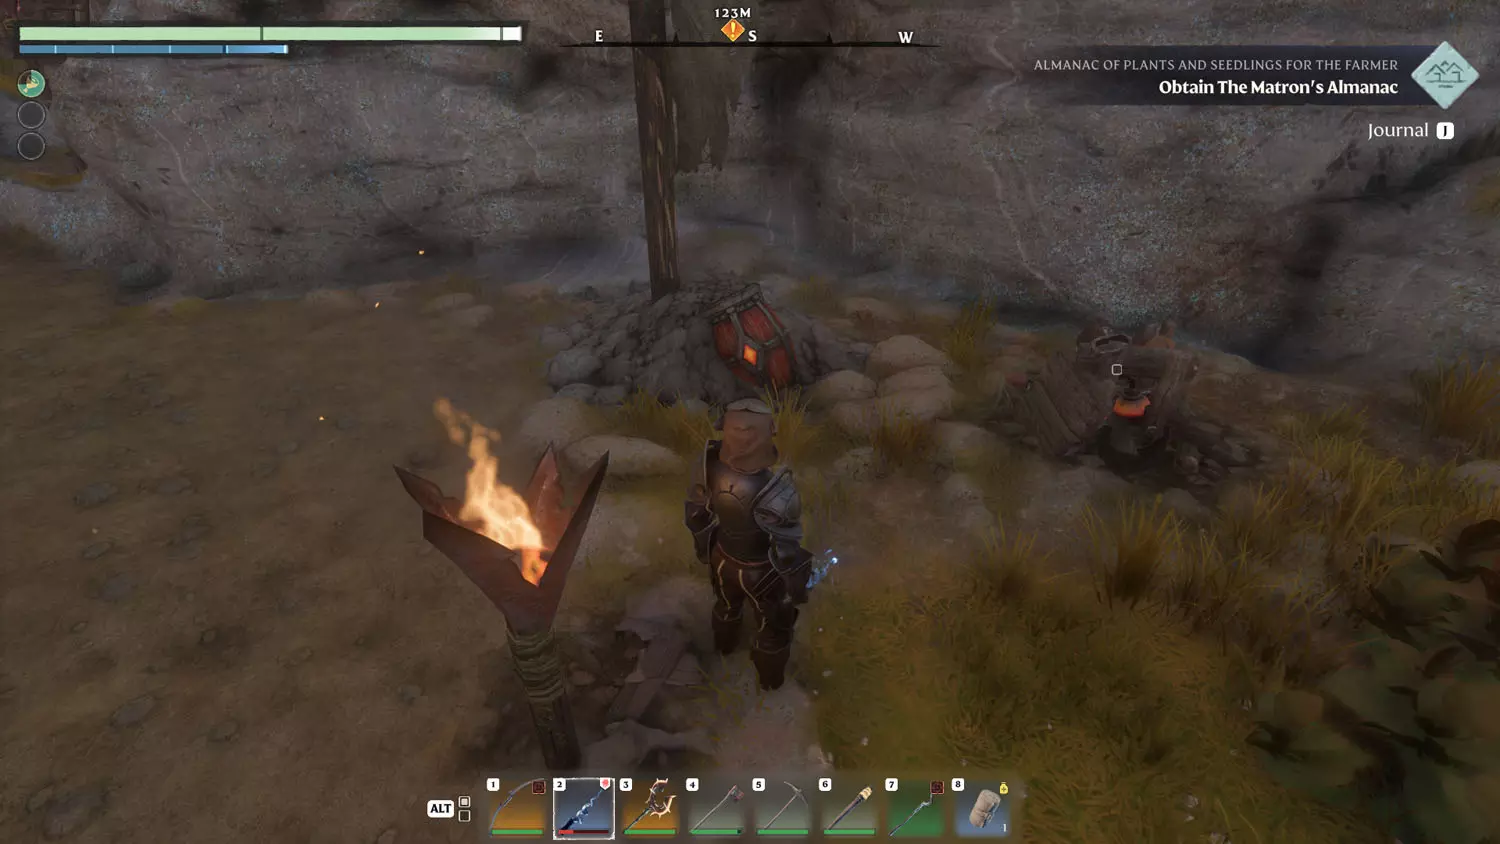
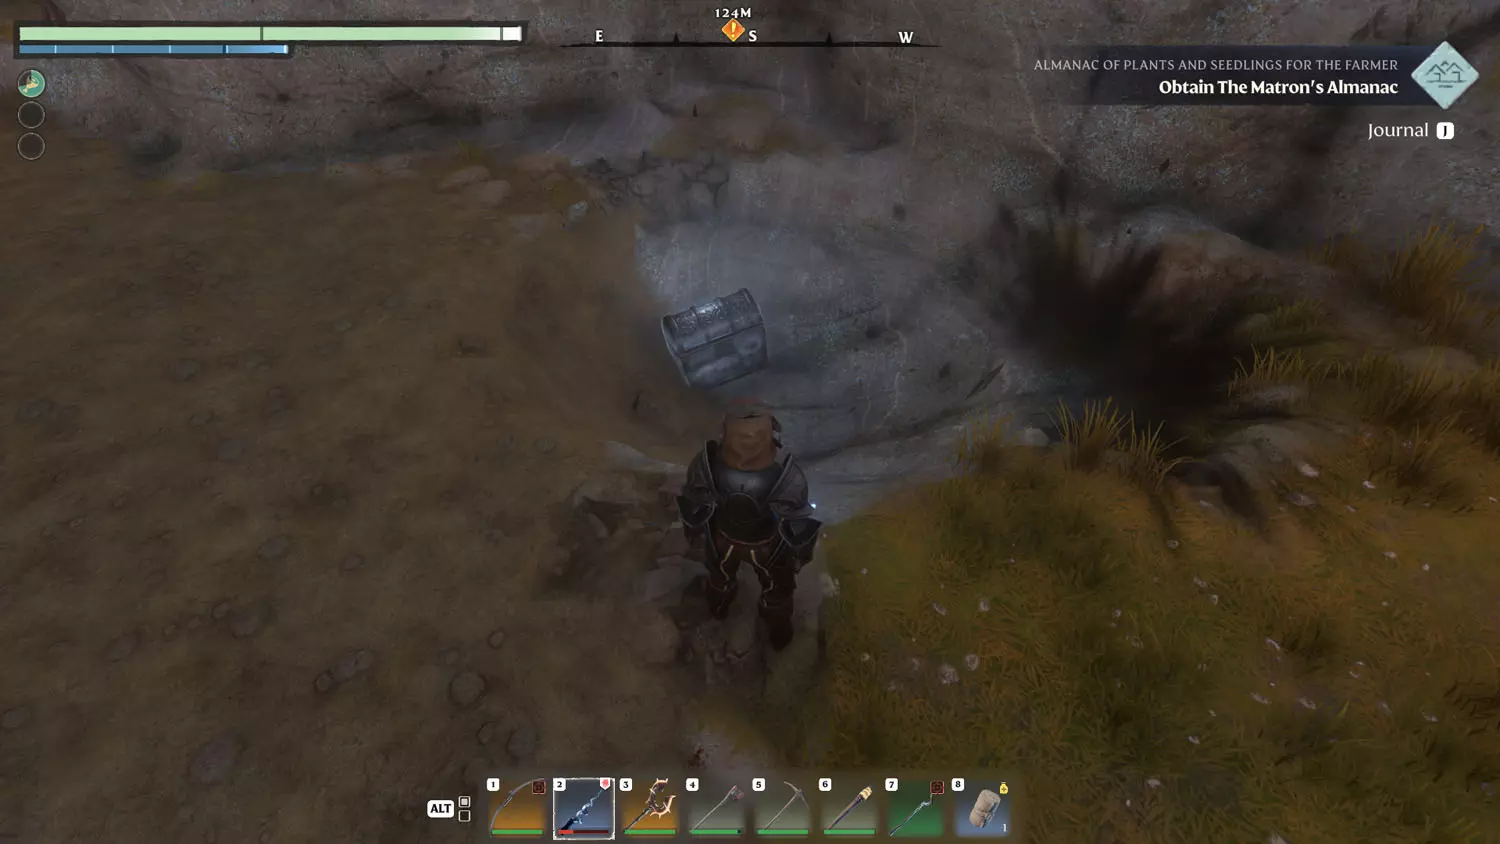
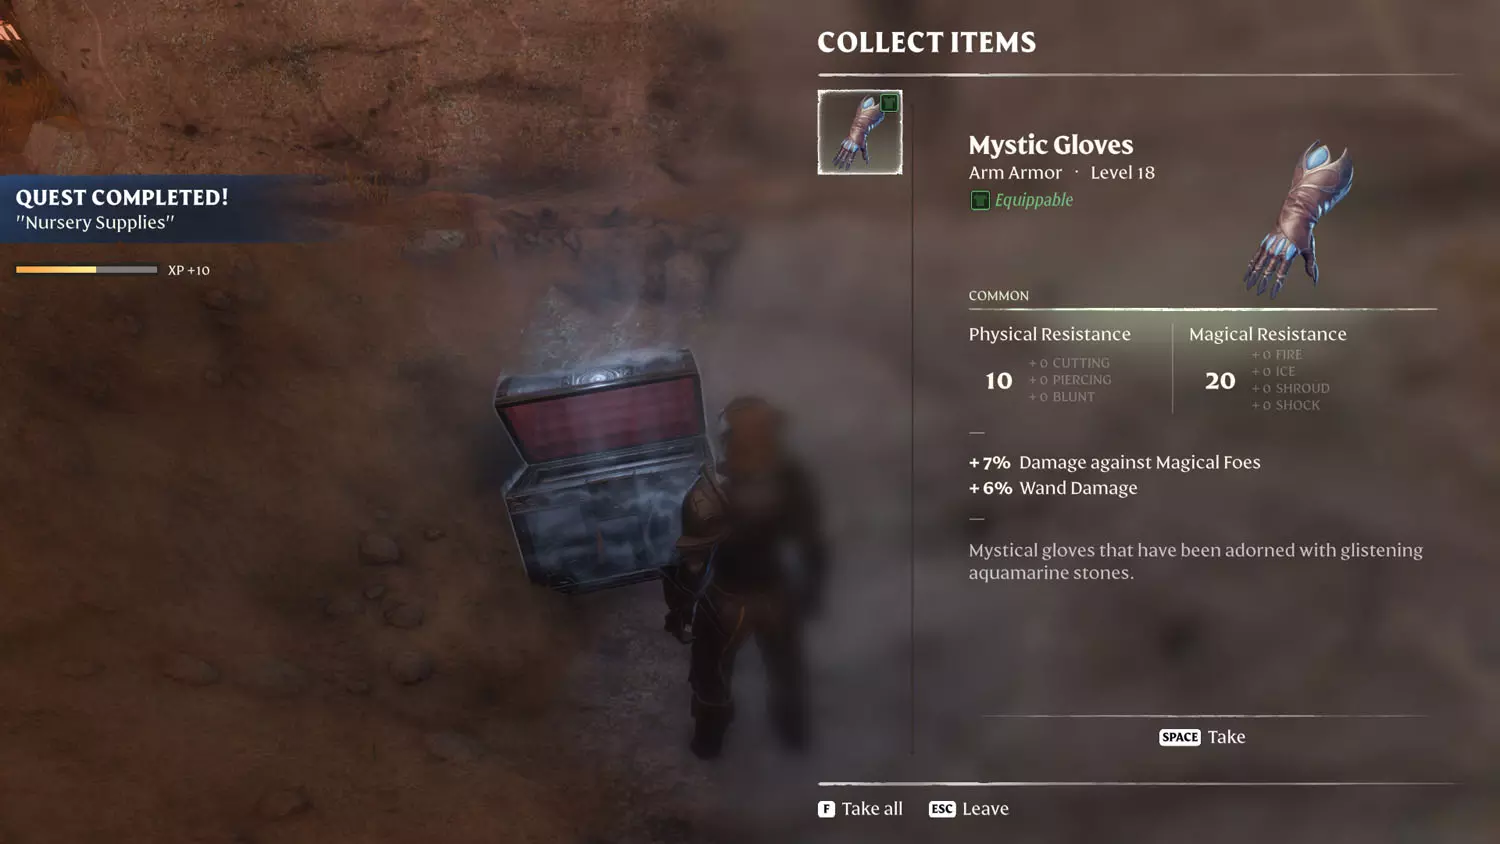
Now that you’ve made your way up to the trees and the billowing smoke, head through the gap in the spike wall and head left. You’ll see a lone explosive barrel. Looting the item next to it will trigger an explosion, which will reveal the Silver Chest. Open the chest to complete the quest!


The Greatest Game
Rewards: Silver Chest + 75XP
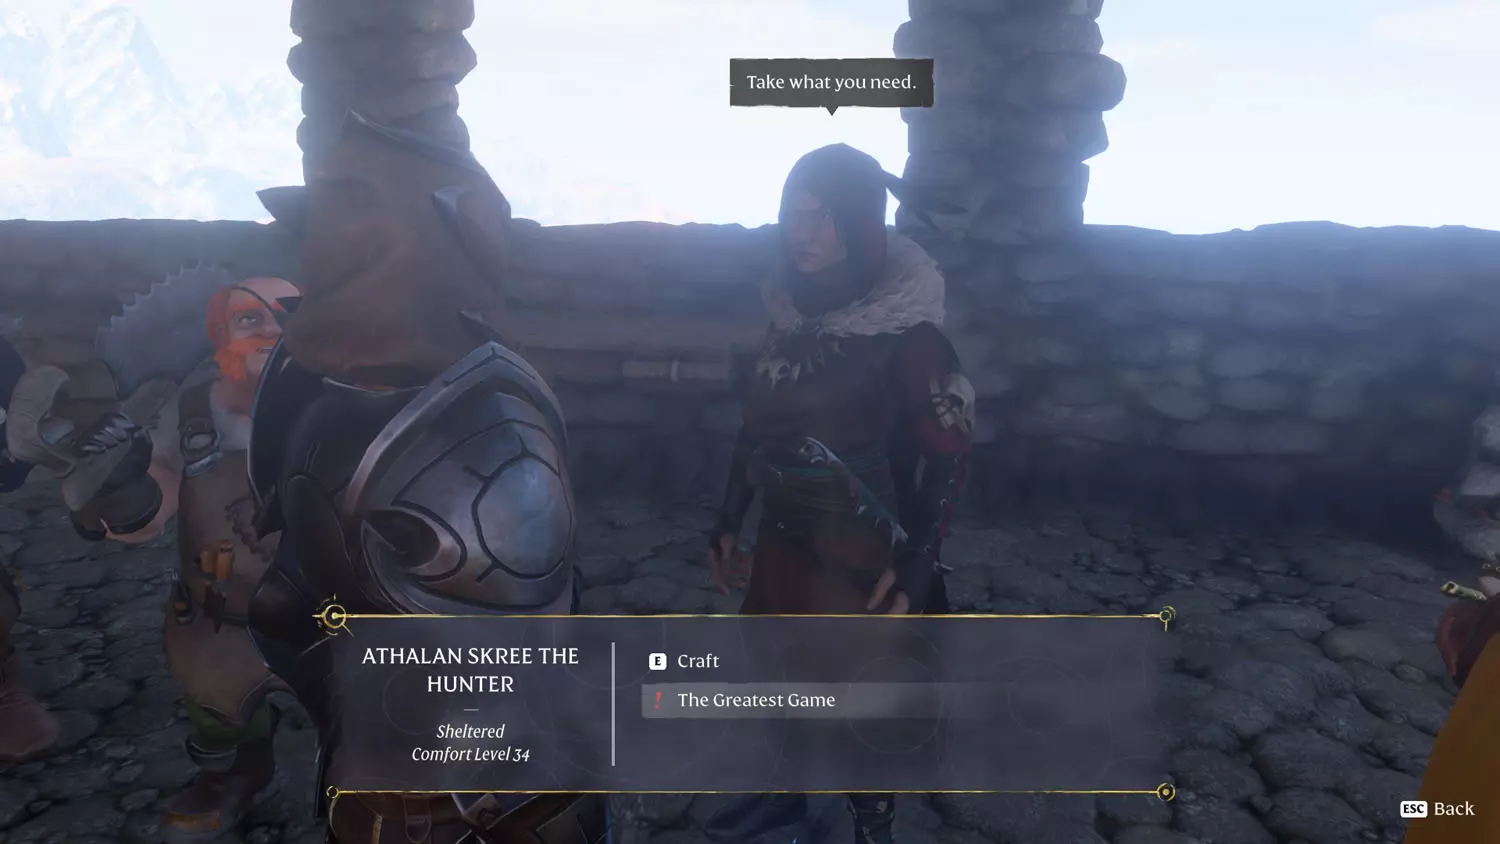
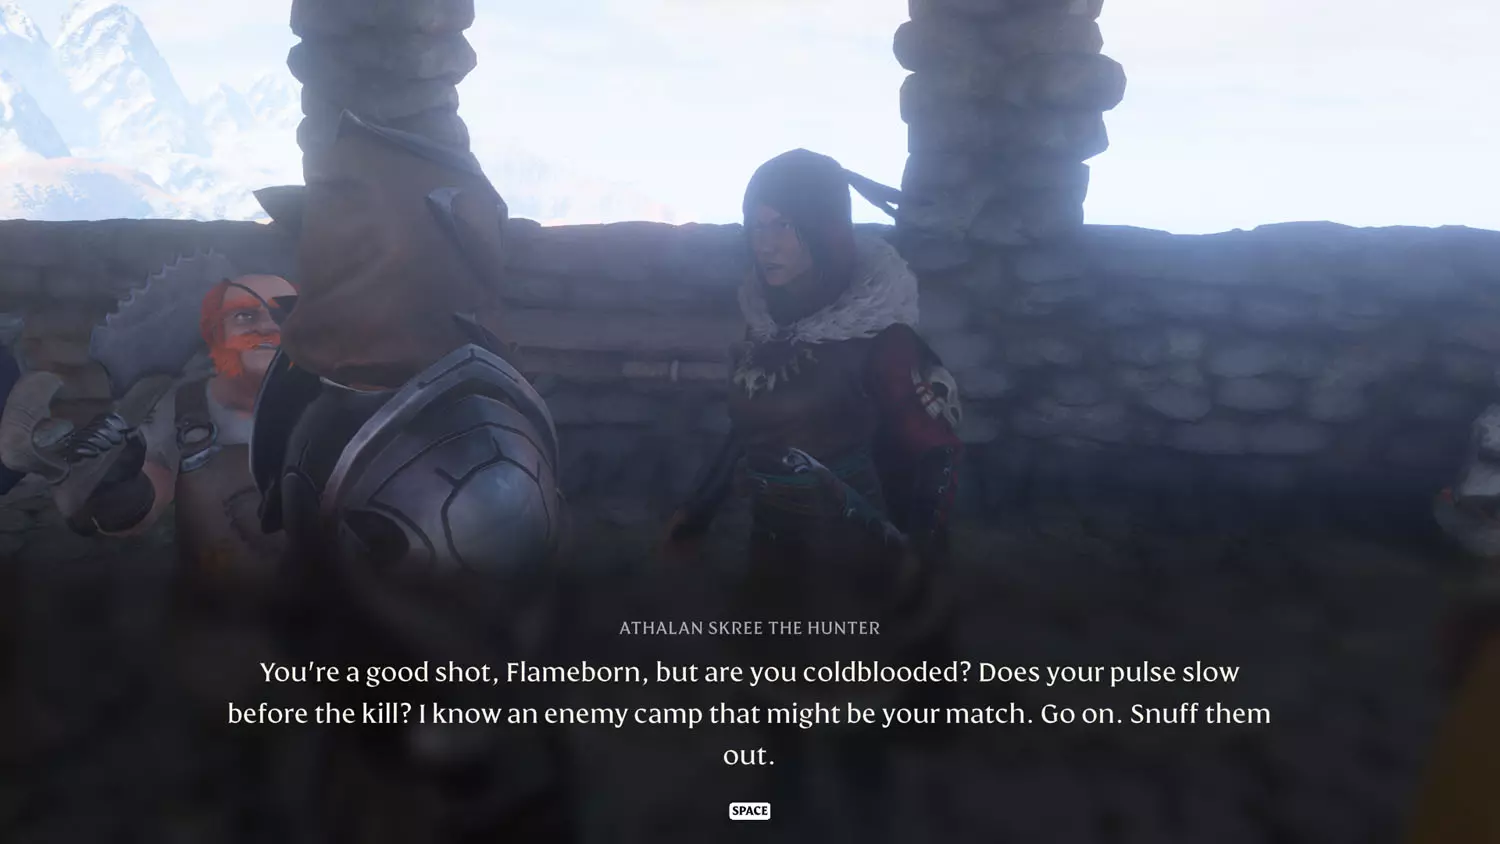
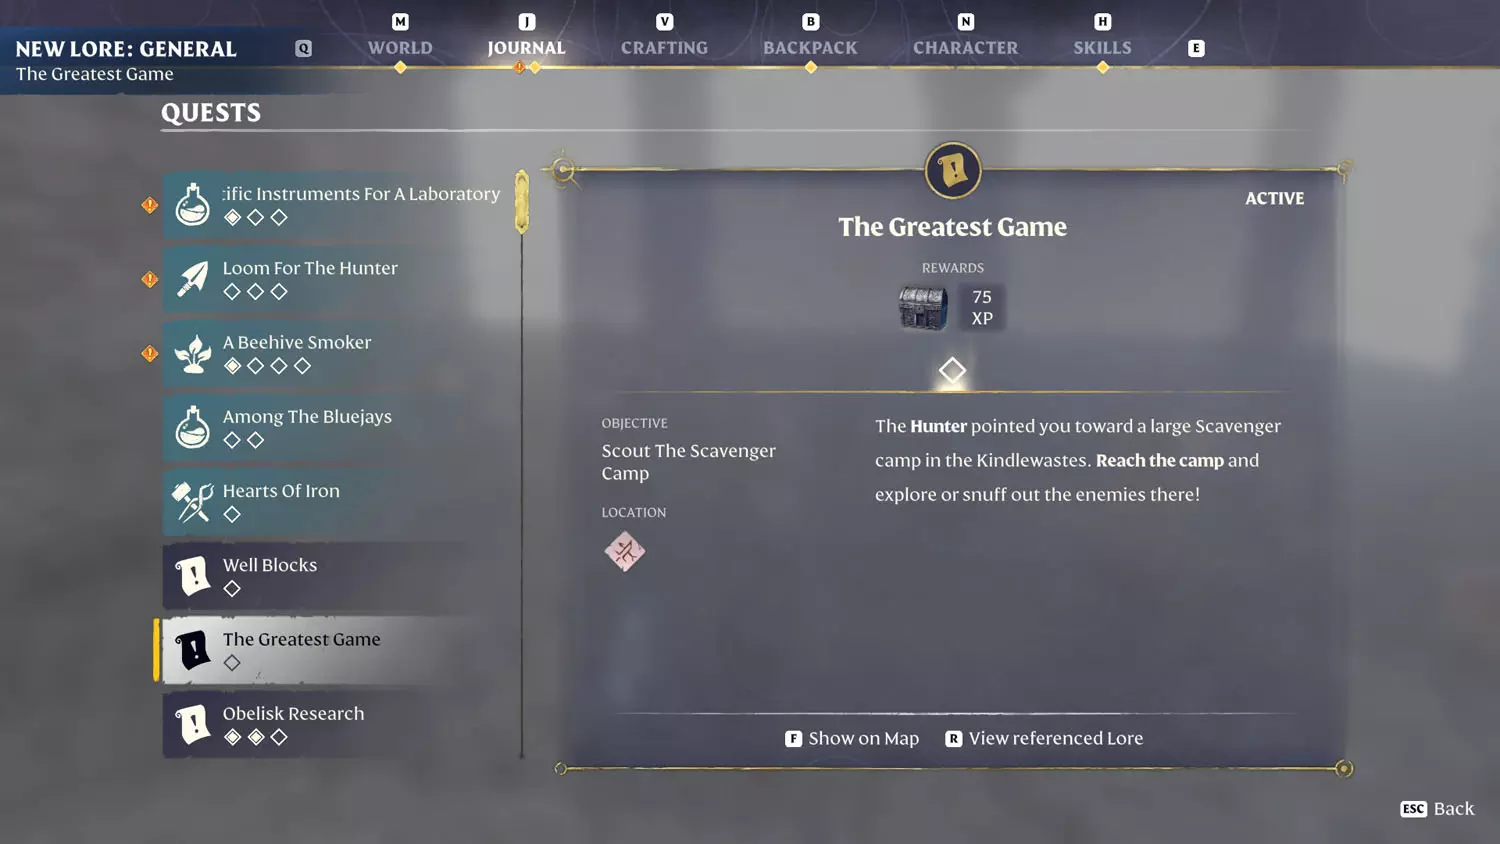
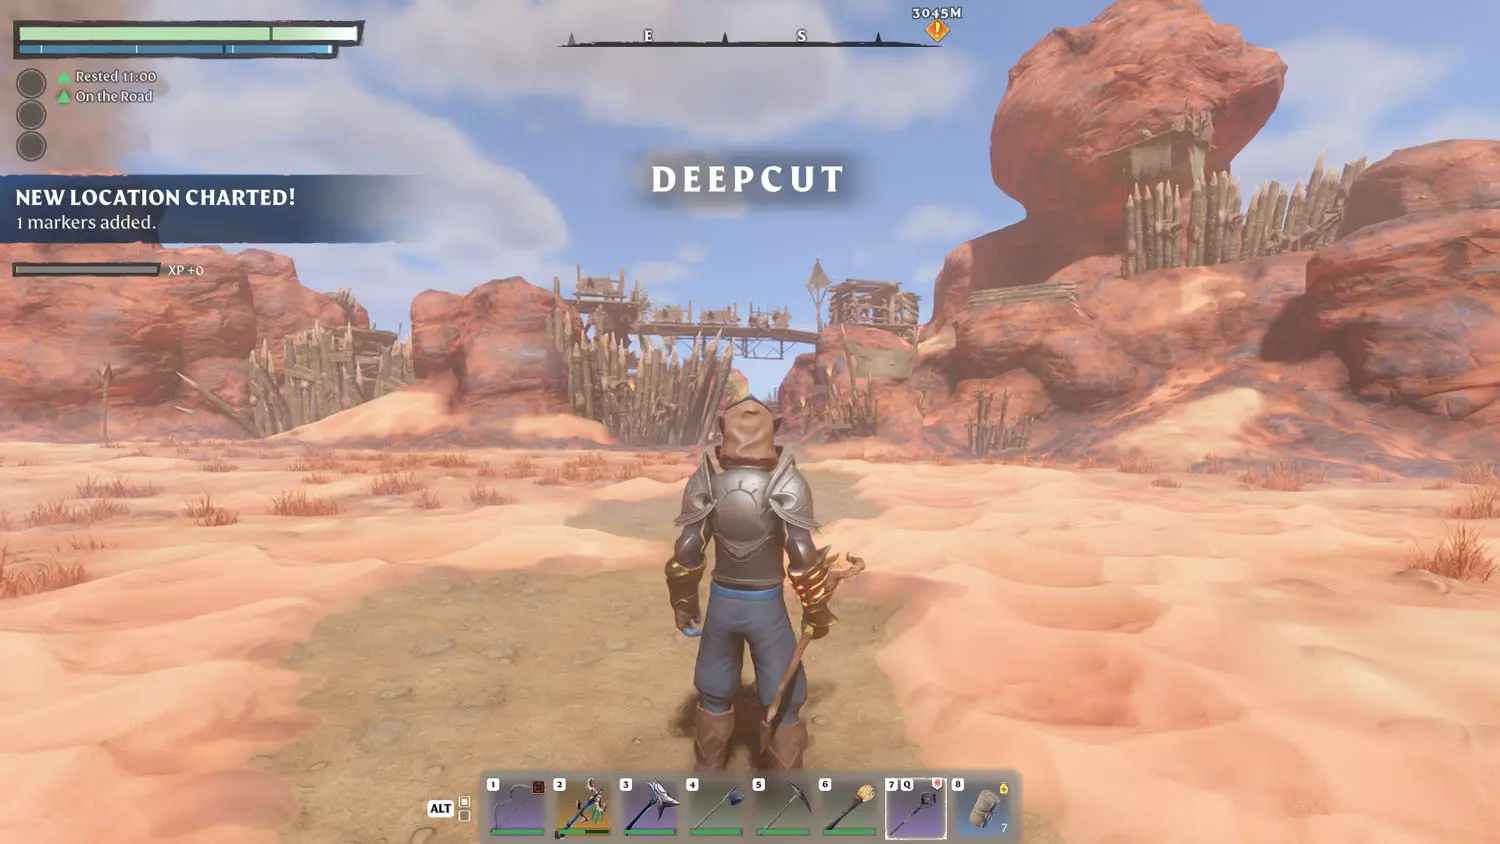
This quest became available after I finished the Carpenter Quest: Sun Temple Stories. Then the Hunter had “The Greatest Game” dialogue available, which will start the quest. After she is done talking, feel free to head to Deepcut. Reaching the town will complete the quest, but it won’t get you the Silver Chest. To get that, head into the town. (This may be fixed with a future update. Checked on February 1st 2025.)
TIP: also here is the Kindlewastes Lore: Gertrude’s Dogs 1/2 It's No Use.


Forever Waiting
Rewards: Silver Chest + 75 XP
This quest begins when you read the Albaneve Summits Lore: Forever Waiting 3/3 There's Too Much Paperwork!. From the Lore, hop down the South side of the tower. There is a pile of rubble. Dig it up and there will be a Silver Chest. Open the chest to complete the quest!
TIP: More Everfrore Keep Lore And Quests In Enshrouded can be found here.


Weapon Reward
Scavenger Stash
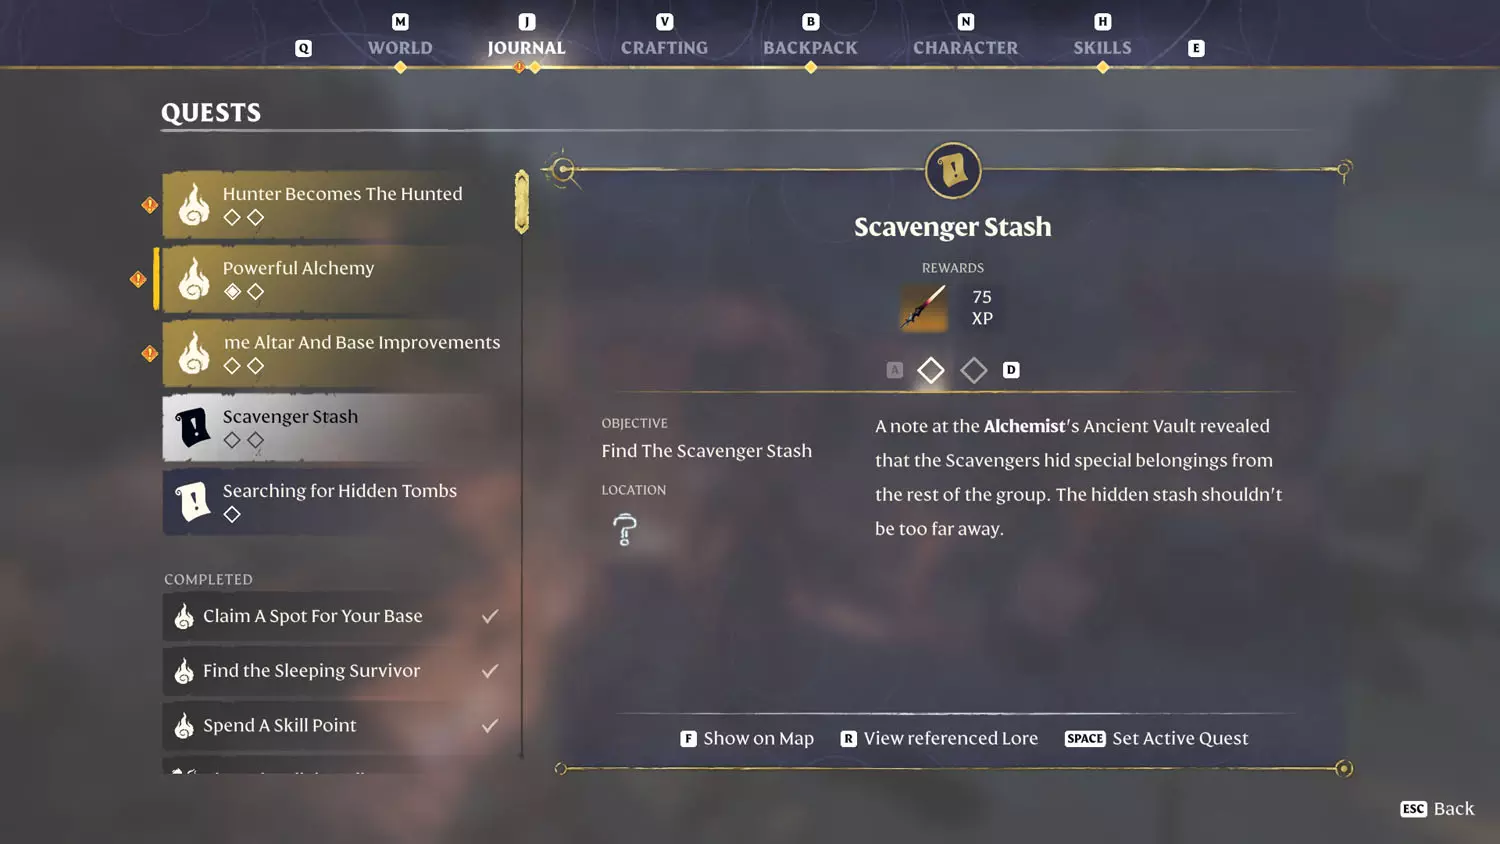
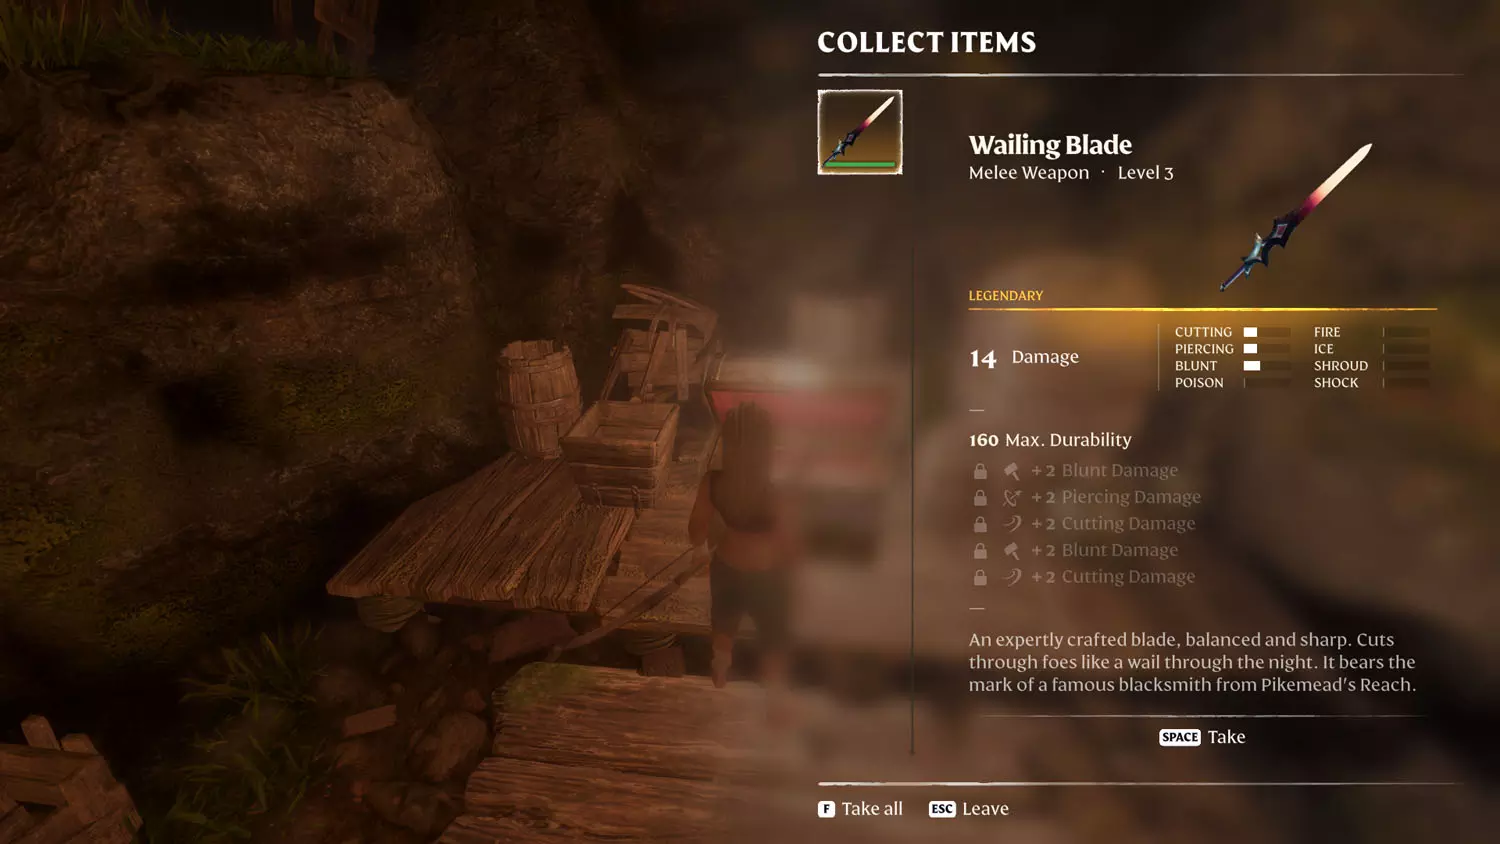
Rewards: Wailing Blade + 75 XP
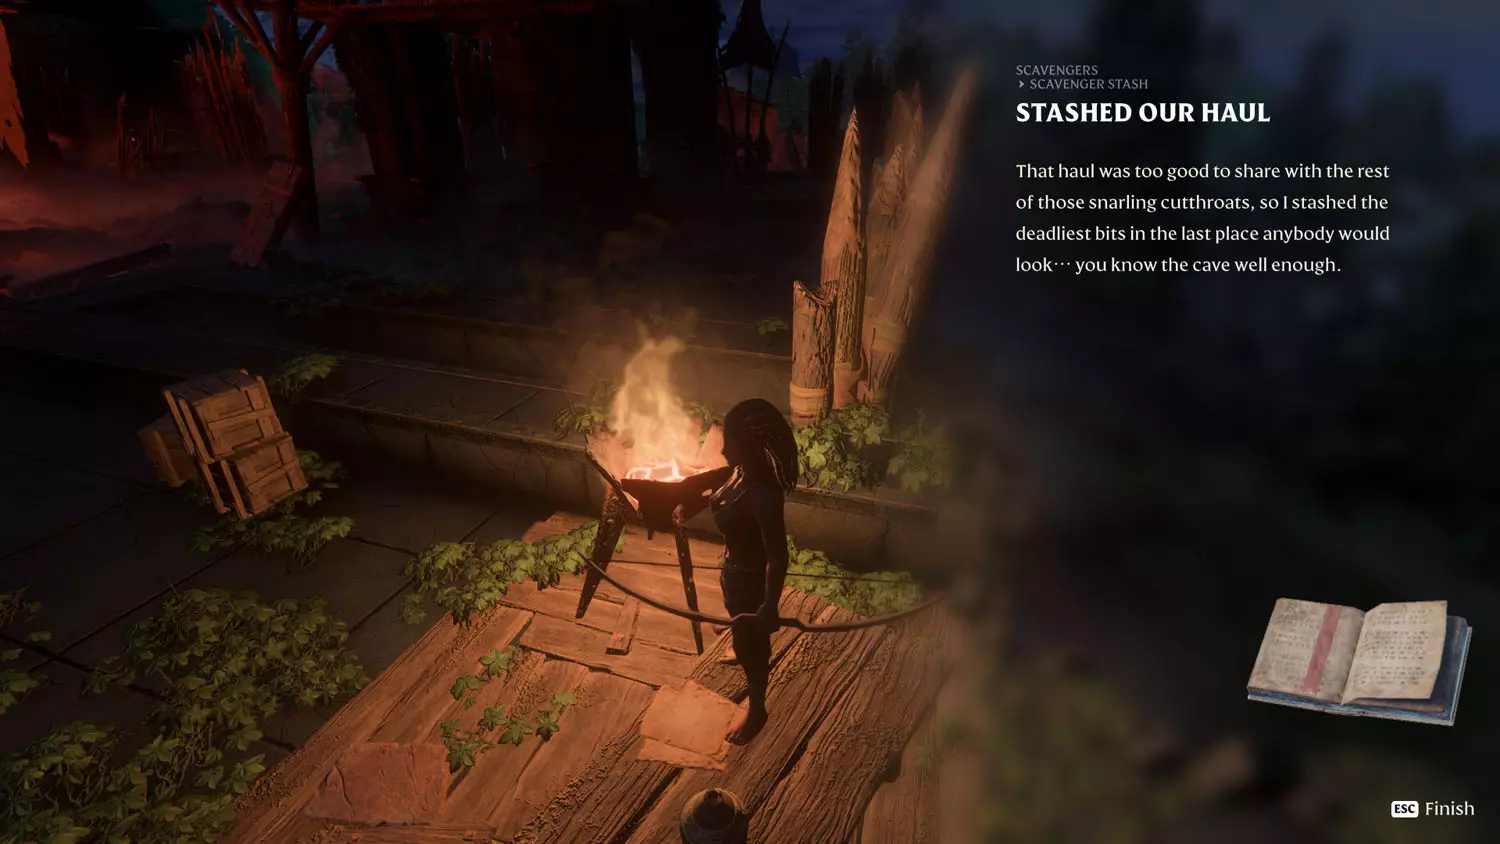
This Quest begins when you read the Scavenger Lore: Scavenger Stash 1/3 Stashed Our Haul. The note can be found outside of the Ancient Vault - Alchemist, and the final location isn’t too far from the note (it is a journey, just not a bad one).
TIP: This location coincides with the Flame Altar Quest: Powerful Alchemy.

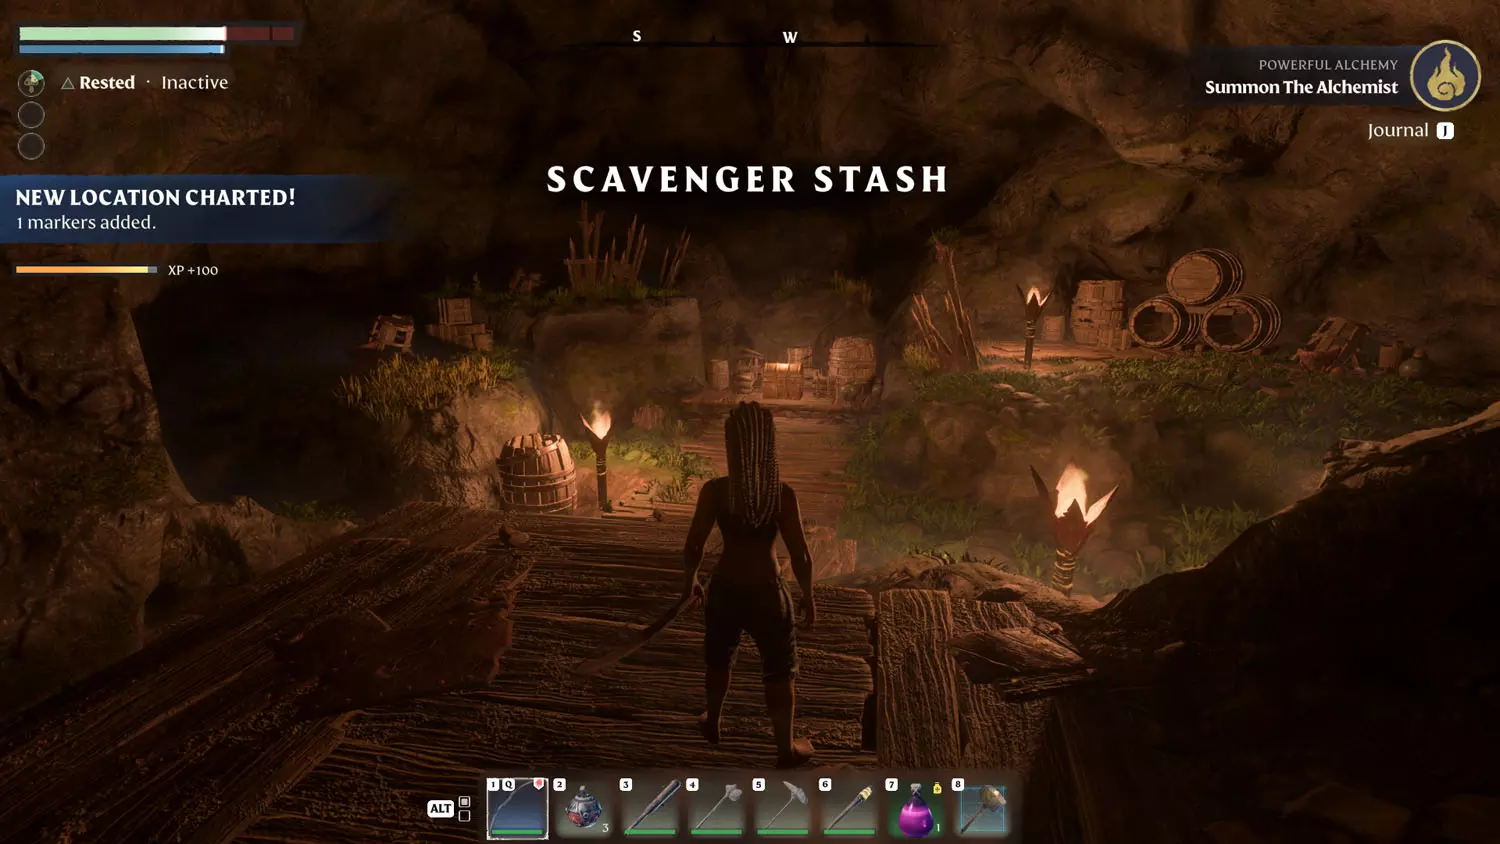
From the vault, follow the marker on your map to Scavenger Stash location. Looting the Gold Chest inside the cave will complete the first part of the quest.


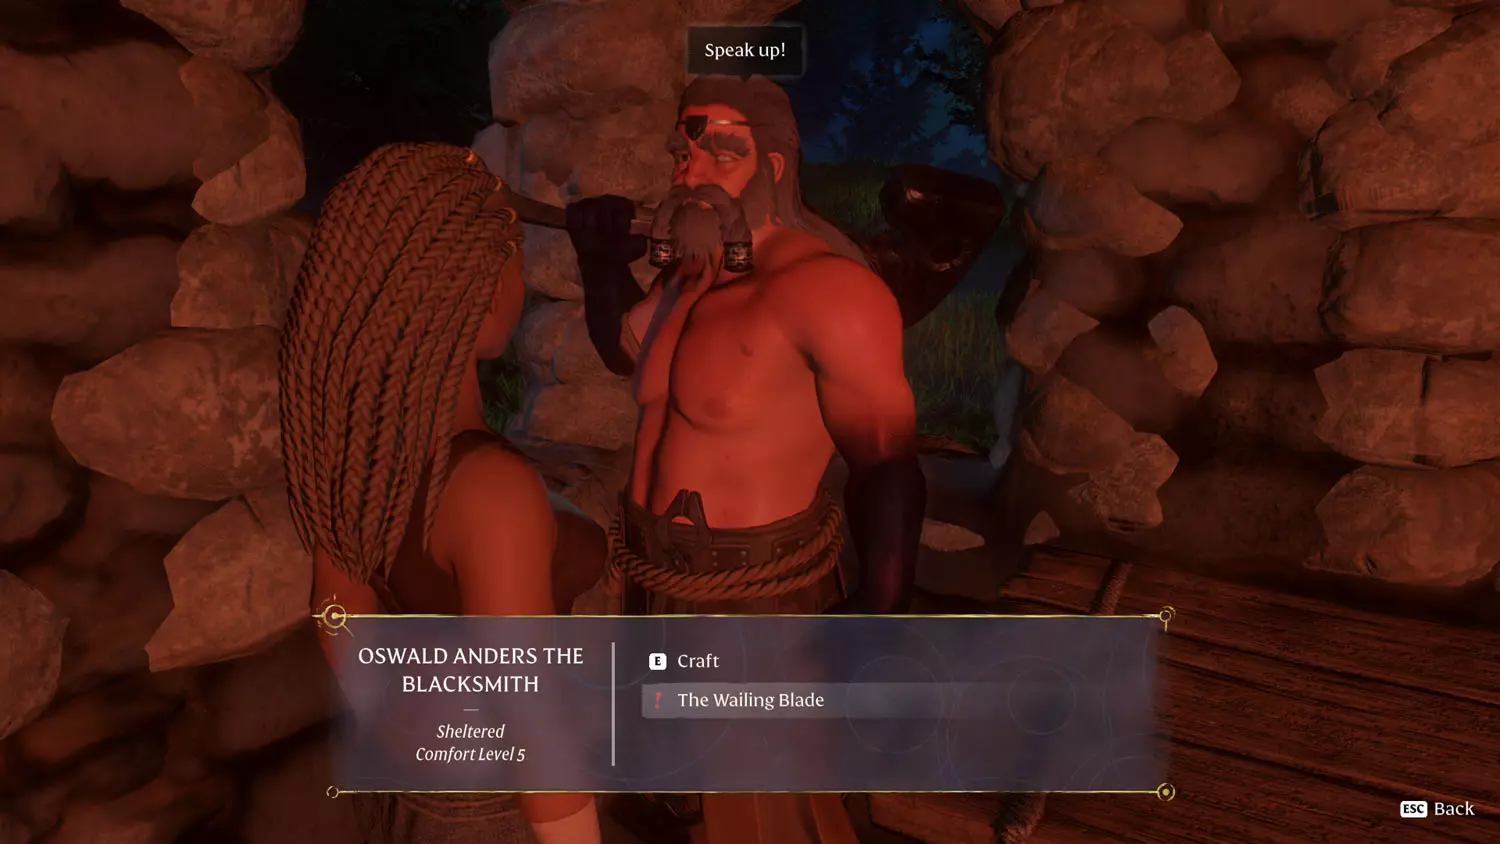
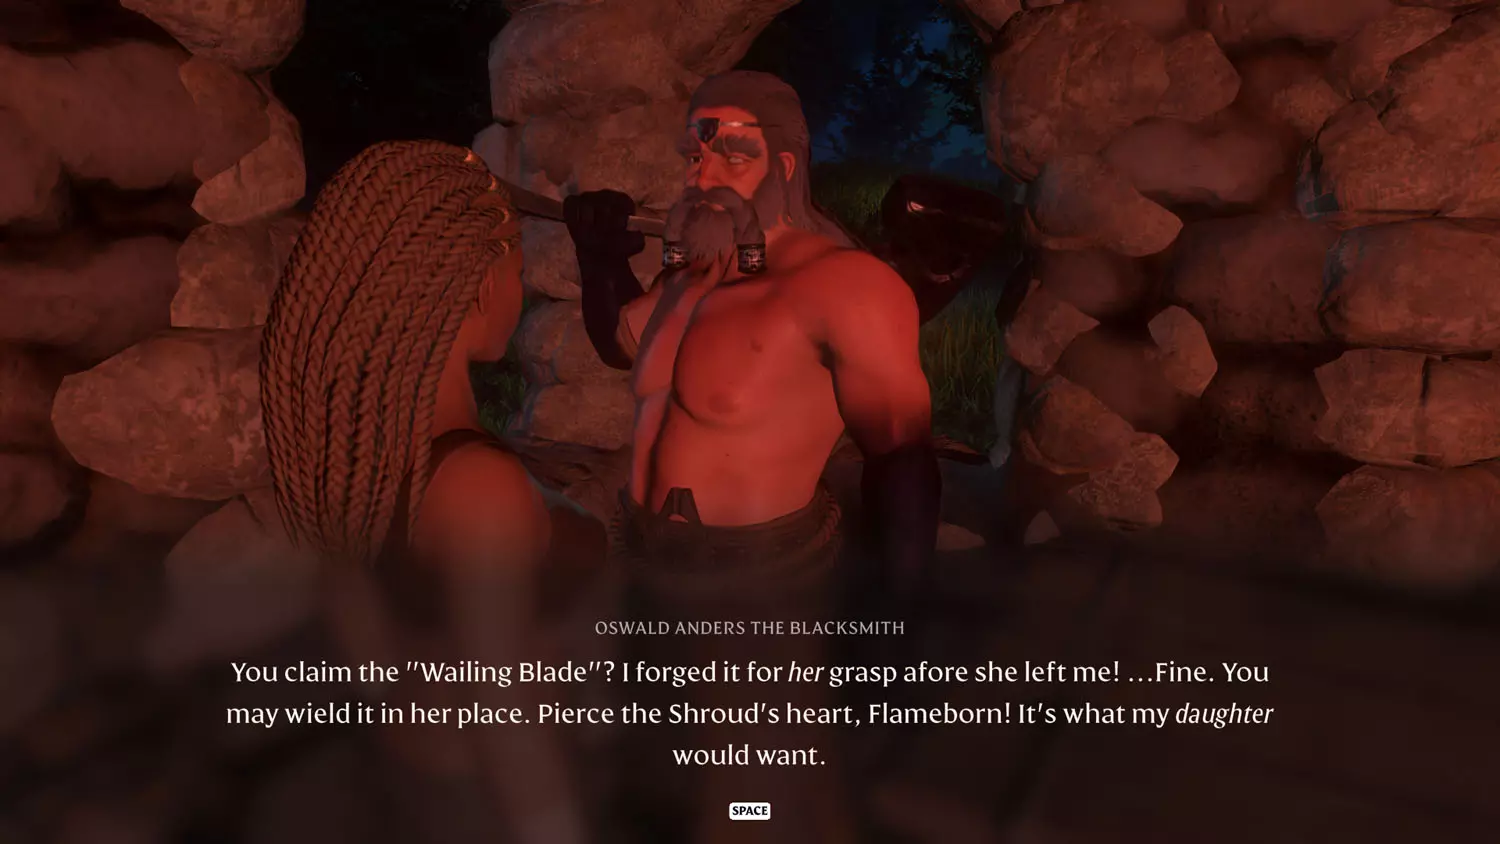
You’ll still need to talk to the Blacksmith to complete the quest.


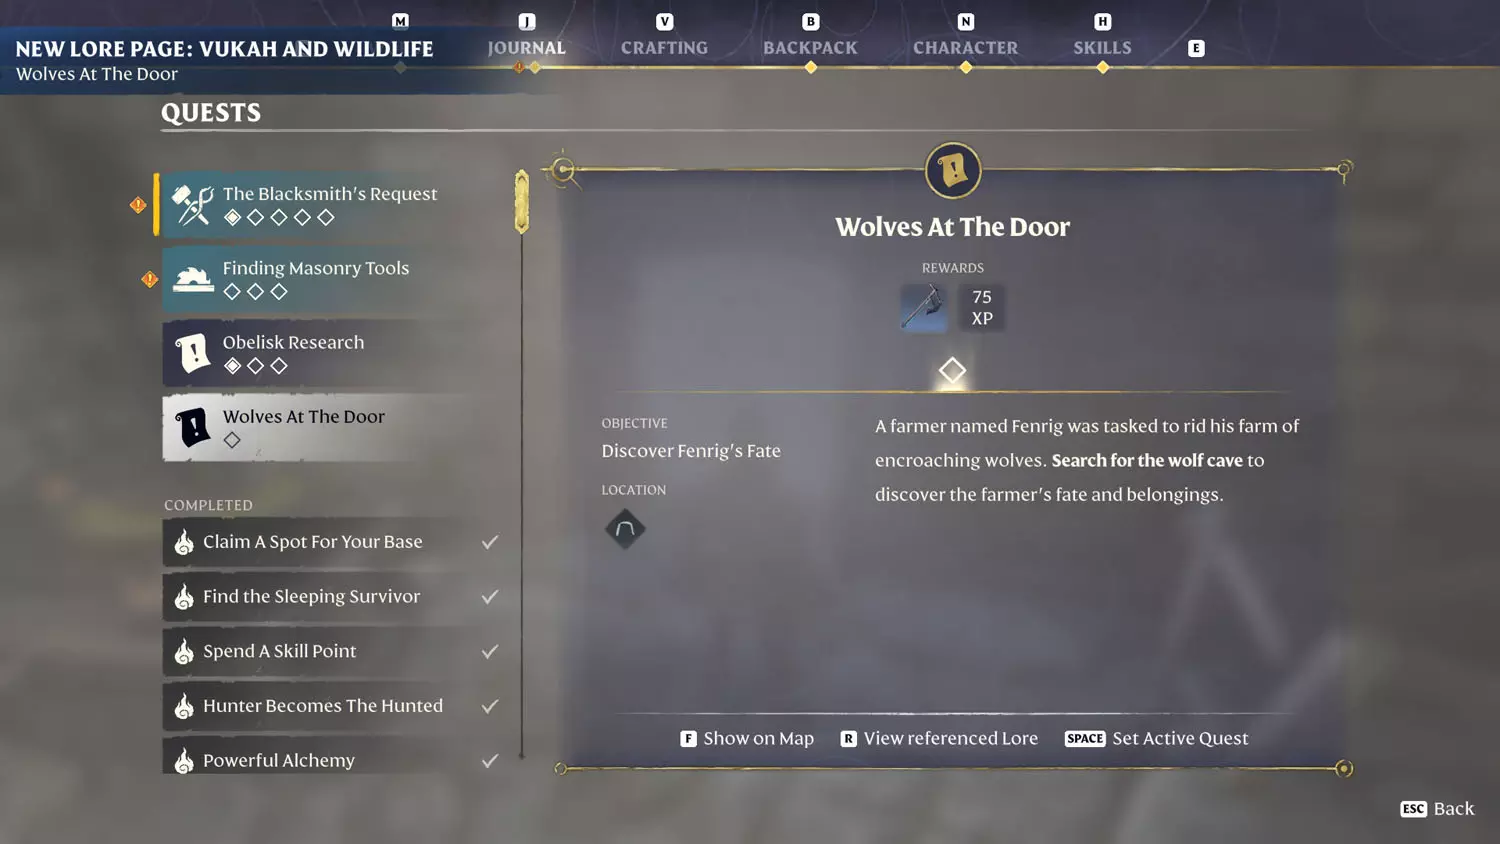
Wolves At The Door
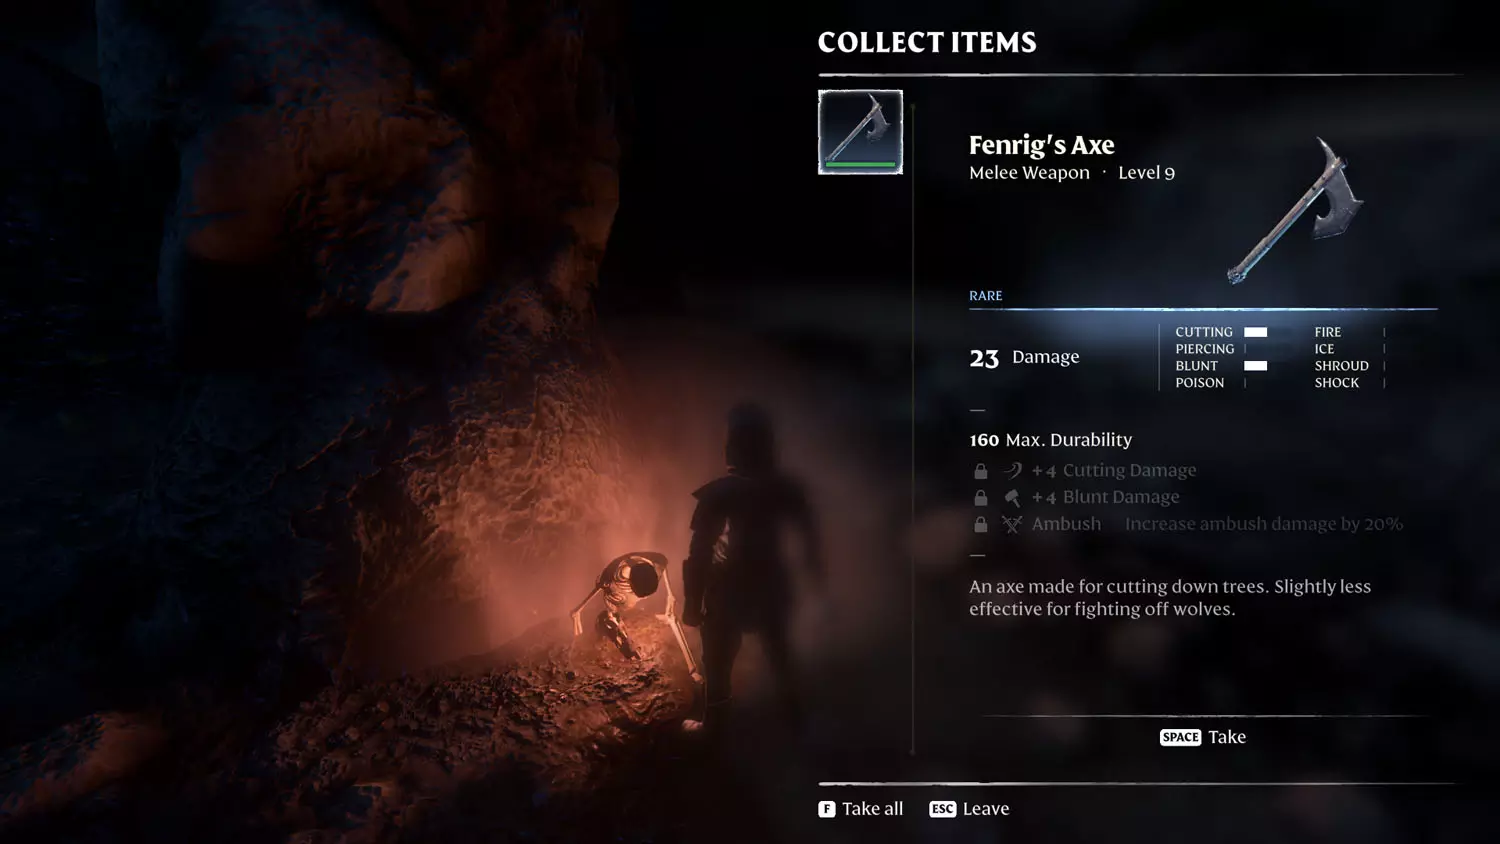
Rewards: Fenrig's Axe + 75 XP
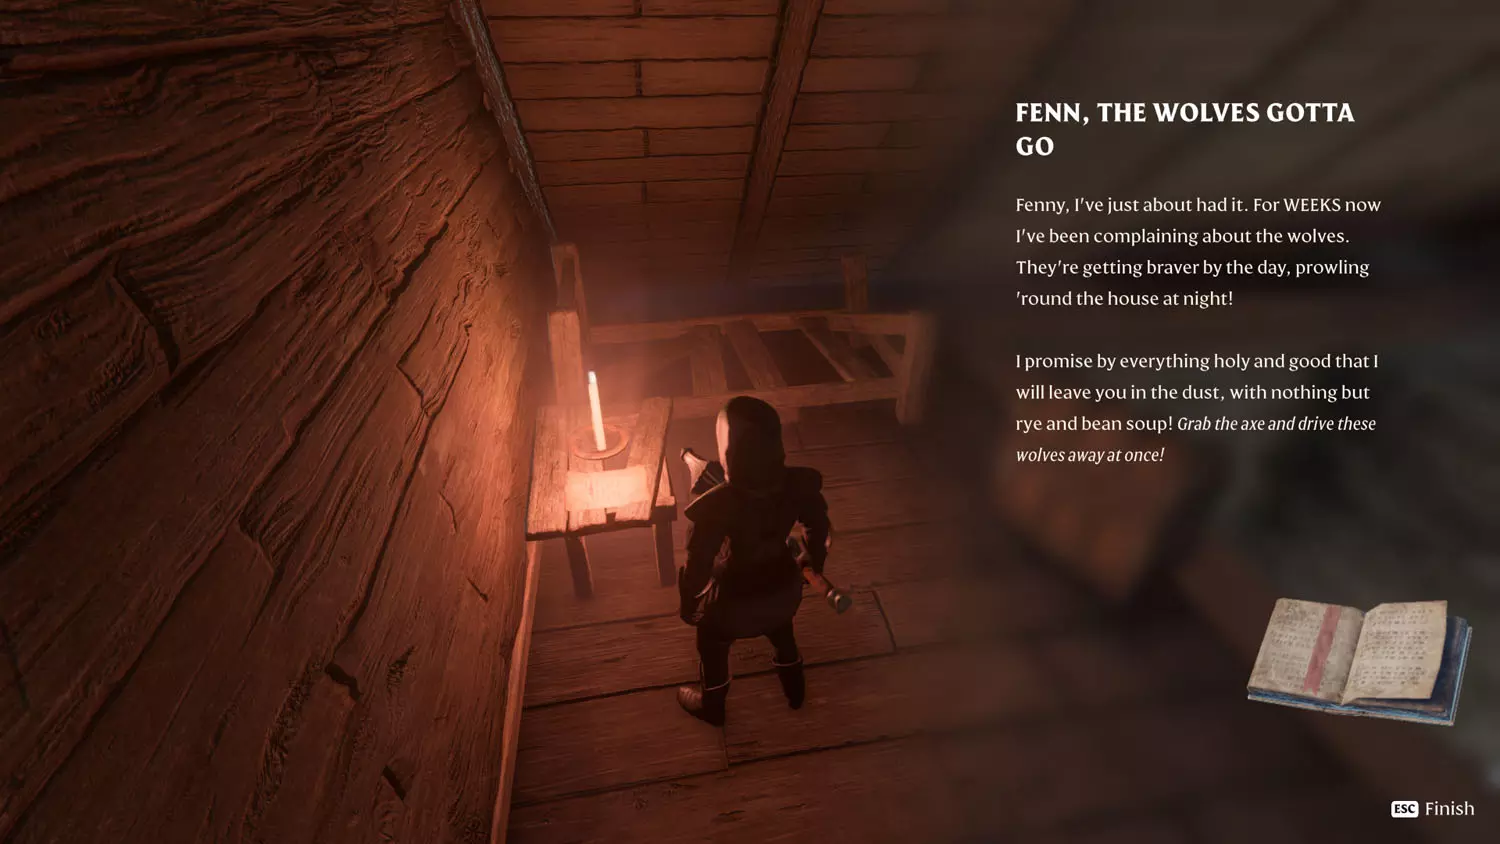
Reading the Vukah and Wildlife Lore: Wolves At The Door 1/2 Fenn, The Wolves Gotta Go will begin this quest. (Photos had to be updated as the game developers changed the house and the cave, so I don't have the proper quest title on the top right of the screen, sorry!)
TIP: This pairs with the Flame Altar Quest: Bring Back The Pure Souls.

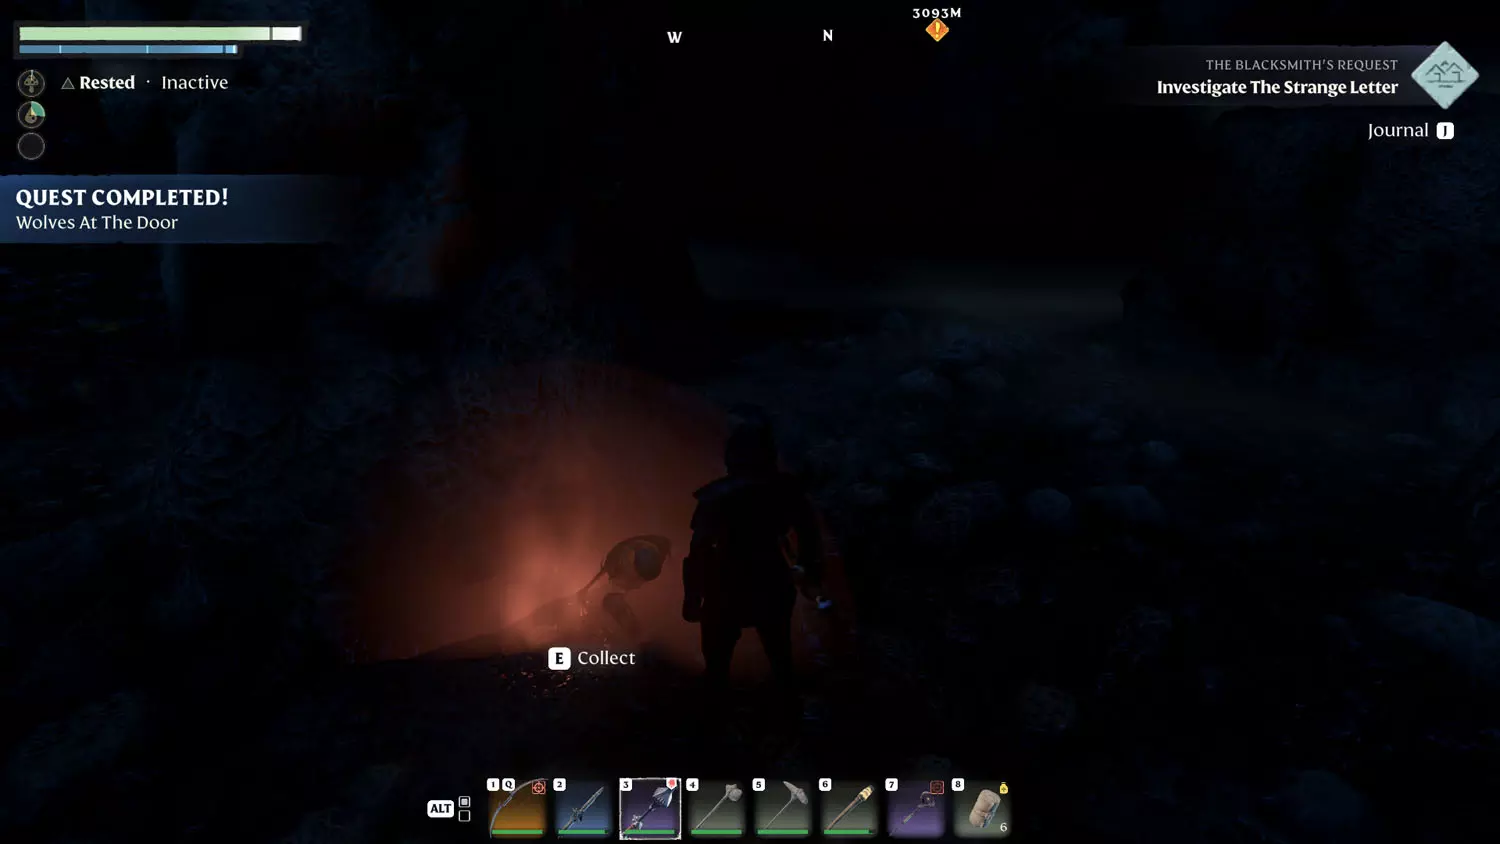
To complete the quest, follow the map marker to Wolf Cave. Collecting Fenrig’s Axe will complete the quest and give you the Vukah and Wildlife Lore: Wolves At The Door 2/2 Fenrig’s Demise (this may have changed with Fenrig telling you what happened after you collect and place his Pure Soul).


Buried Curse
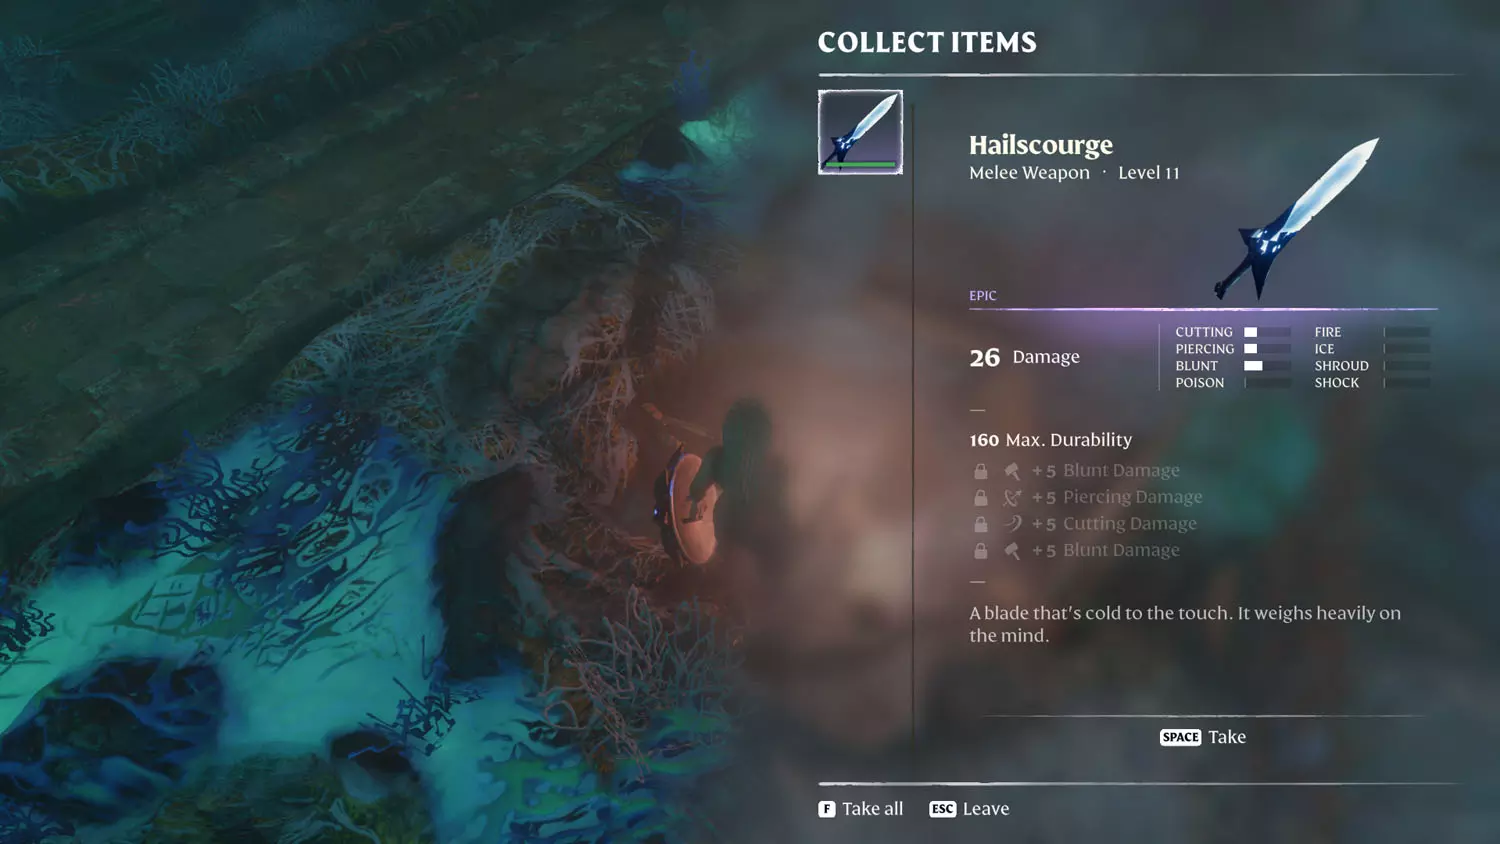
Rewards: Hailscourge + 75 XP
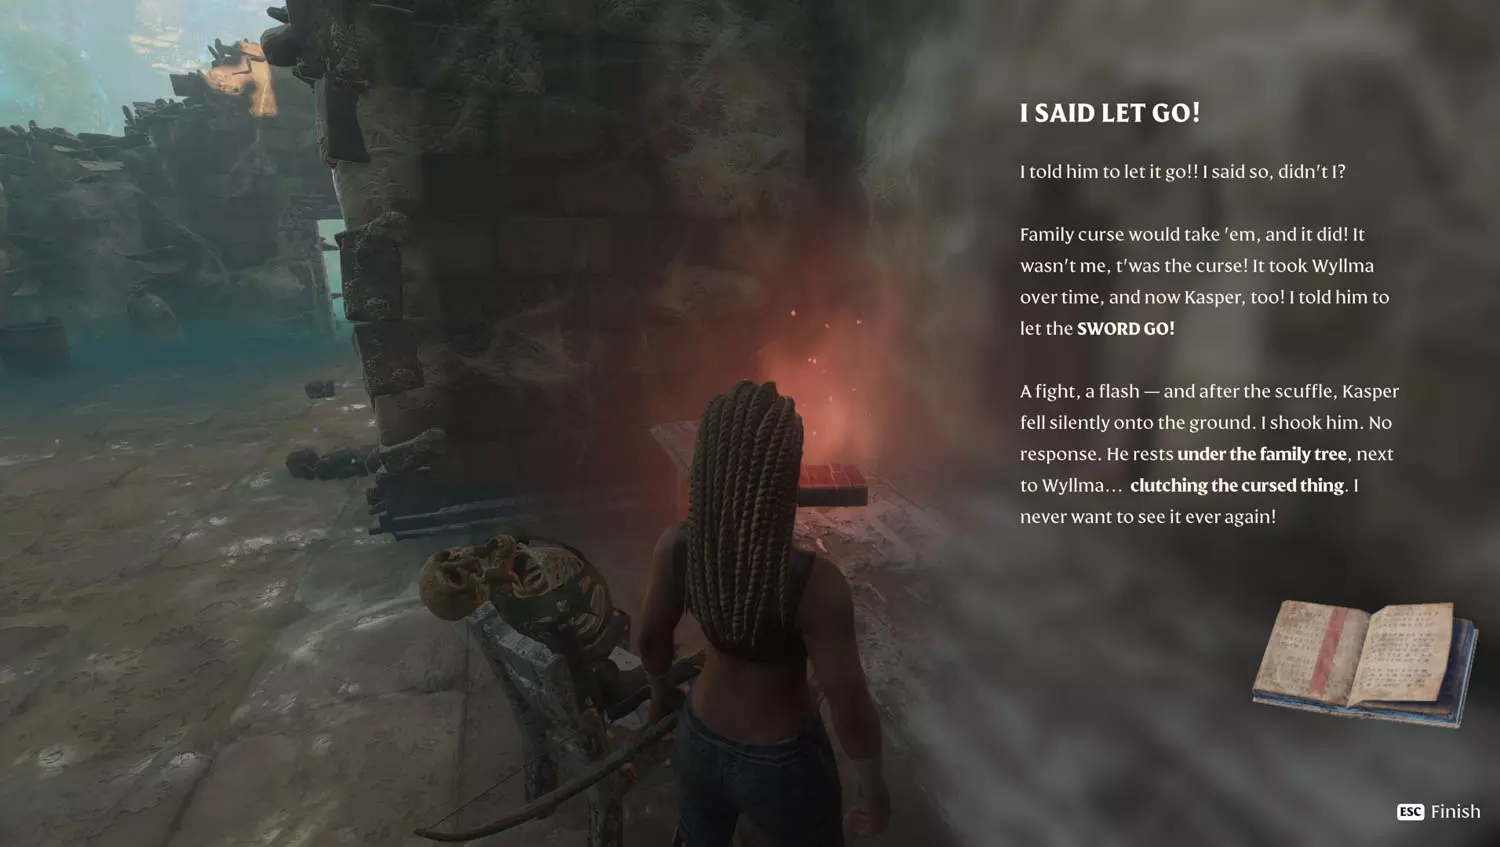
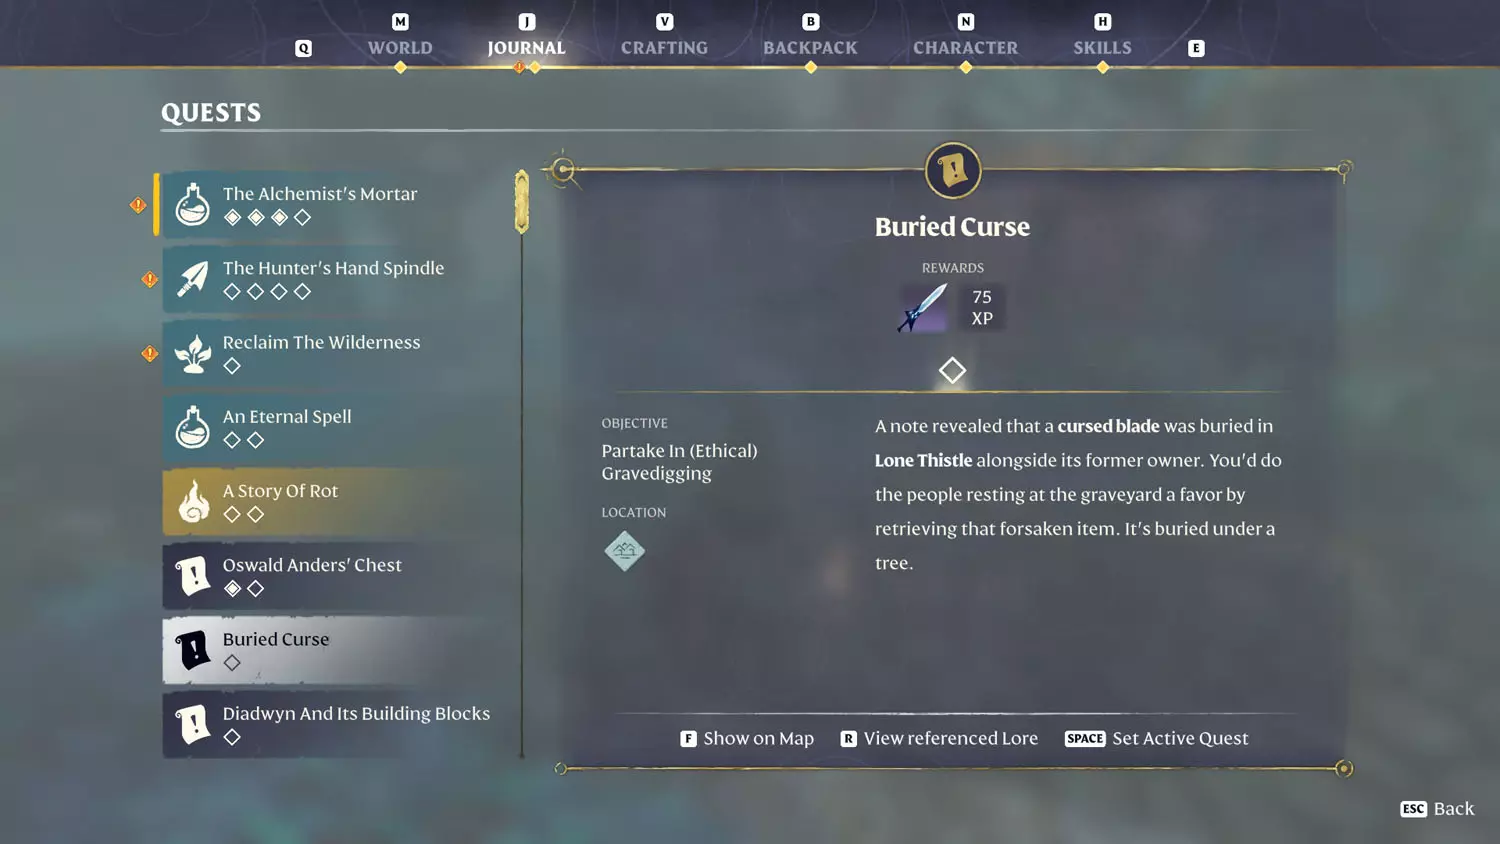
Lone Thistle is your destination for this trinket! You may find yourself in the area for the Alchemist Quest: The Alchemist’s Mortar and/or Cat Search. Reading The Shroud, Elixir, and Elixir Well Lore: Buried Curse 1/2 I Said Let Go! will start this quest.

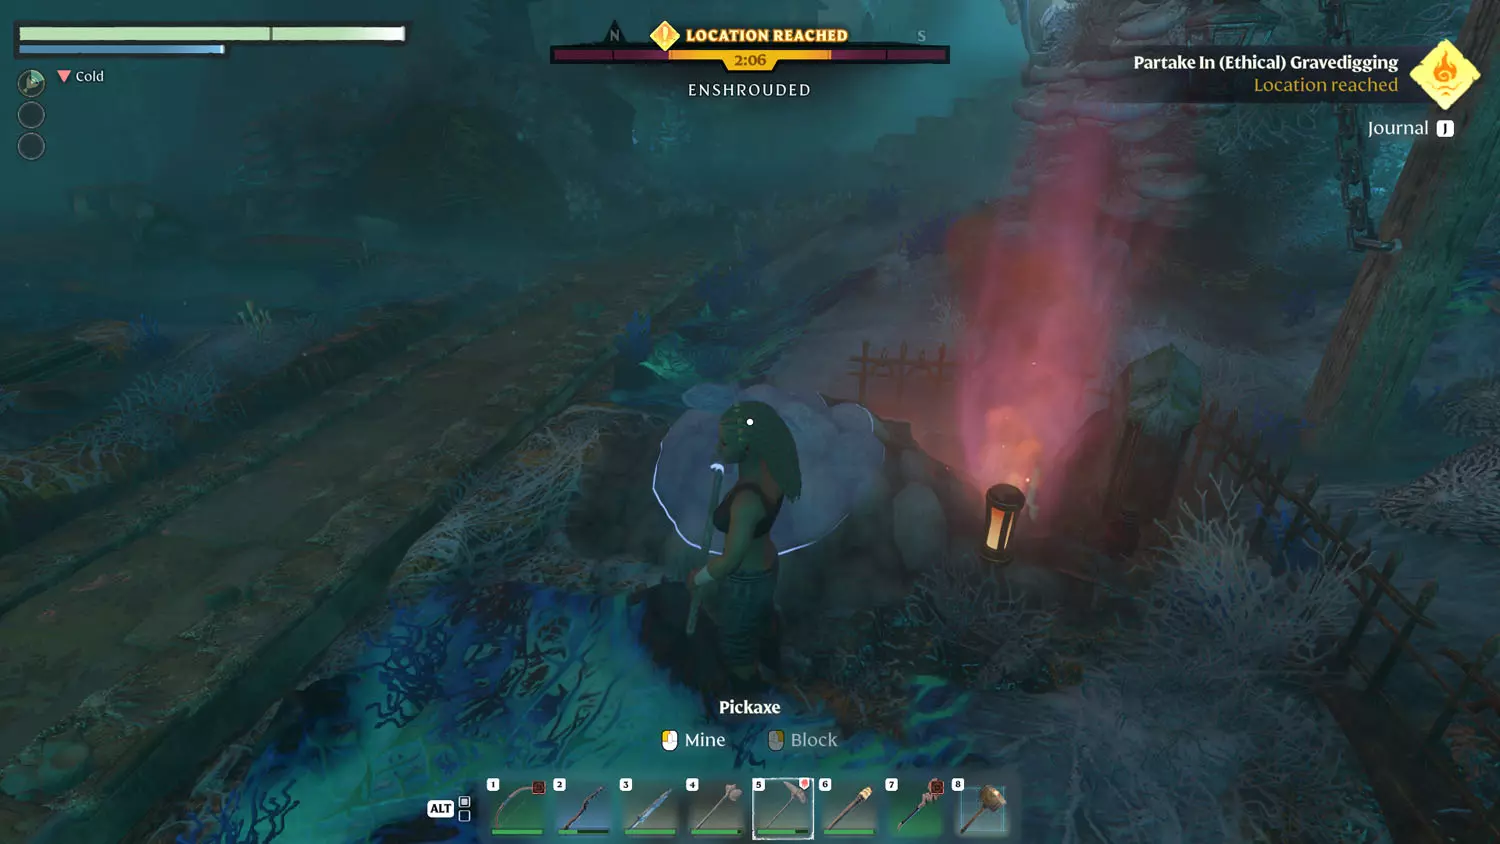
Loot the body in its grave to finish both the The Shroud, Elixir, and Elixir Well Lore: Buried Curse 2/2 Unearthed and the quest.


Lunar New Year Staff
Reward: Staff Of The Serpent + 75XP
This becomes available after you rescue Mei-Yin Chen. She’ll have the dialogue option “Lost Weaponry”.


Next up, I started my flight with a dive from Ancient Spire – Low Meadow Fast Travel. From there, I made my way toward Netherton. To the right of the entrance is a scroll on a window ledge - General Lore: Lunar New Year Bandit Notes 1/1 About The Goods. Reading it will complete the first part of this quest AND the Items, XP, and Loot Reward Quest: .
TIP: The Shroud, Elixir, and Elixir Well Lore: Ruined Netherton 1/1 Ruin Has Come To Our Family. Block Quest: Ruined Netherton - Roughly Cut Stone Block Reward. Also, continuing this quest gets you the Items, XP, and Loot Reward Quest: Lunar New Year Sword.


From there, head through the opening in the wall and to the left. There will be a ledge with a grate you can climb down. Follow the path as it curves right and into a spooooooky tunnel. There will be a trap door on the left wall with the Silver Chest you seek. Opening the chest completes the quest!


Lunar New Year Sword
Reward: Sword Of The Serpent + 75XP
This quest begins after you read a scroll on a window ledge in Netherton - General Lore: Lunar New Year Bandit Notes 1/1 About The Goods. This occurs during the Items, XP, and Loot Reward Quest: Lunar New Year Staff.

From there, head to a spot just outside of Willow Crush. There will be an unmarked, small-ish area near a revival spot. Read the Revelwood Lore: Weapon Trade 1/1 Let Sleeping Dogs Lie – photos available at the link. This completed the quest for me, but I may have already accidentally found the sword.

Anyway, from there, head to Glenwood’s End. There is a Gold Chest behind the Scavenger Matron there. That’s where the Sword Of The Serpent is. Fight her or run around her and claim the prize!


Lunar New Year Bow
Reward: Bow Of The Serpent + 75XP
This quest begins after you have completed the Items, XP, and Loot Reward Quest: Lunar New Year Staff. Mei-Yin Chen will then want to talk about the “Lunar New Year Bow”.


It’s time for a temple!! Head to the location marked on your map, and get ready for a dungeon. I glided to Ouroboros Temple from the Ancient Spire – Nomad Highlands Fast Travel. It is in the lower enshrouded area, so feel free to hop down and enjoy the snake maw as you glide in from above :) Reaching the destination completes the first part of the quest.


They didn’t want to make this one easy… 5 buttons?!!

Button 1
From the entrance, there is a snake on the right and a button on the wall. Blast it.

Button 2
From the entrance, there is a snake on the left and a button in its mouth. Stab it with an arrow!

Button 3
You can nab a Wood Chest and two Silver Chests with this button. Head right and climb the grate to reach a Wood Chest around the corner.


Up top is the third button and crossing the chains gets you the first Silver Chest. Head back the way you came to jump down to the second Silver Chest.


Button 4
SNEAKY! SNEAKY BUTTON! Ahem, take the path opposite of that wooden chest from the start of button 3. Head through the opening and up. Then, look down. I cleared the ledge of sneaky bottles and décor, so you can more easily see this SNEAKY BUTTON.


Button 5
From the entrance, head down the left staircase and make your way to an alcove with a pressure plate. Across the way, a door will open. Now smack that button with some magic or an arrow! You’ll want to aim higher than I did if you don’t want to miss :D


Bow Of The Serpent
Now, head through the double door you opened and claim your prize! Opening the chest completes the quest!

Vukah Rituals Uncovered
Reward: Sacrificial Vukah Dagger + 75XP
After rescuing the Pure Soul Marianne Reed (Items, XP, and Loot Reward Quest: We The Only Ones), she will have the dialogue “Vukah Rituals Uncovered” available. This will start the quest.


Once again, it’s time to head back toward Fort Kelvin, but this time you’re looking for a sacrificial pit at the base of a cliff. Reading the Revelwood Lore: Ramone’s Writing: 1/3 What Do You Think Of My Draft? and picking up the dagger will complete the first part of the quest. Then it’s back to Marianne Reed to finish it up!


Finishing this quest will start the Items, XP, and Loot Reward Quest: Ramone's Writing (below).


Lost In The Shroud
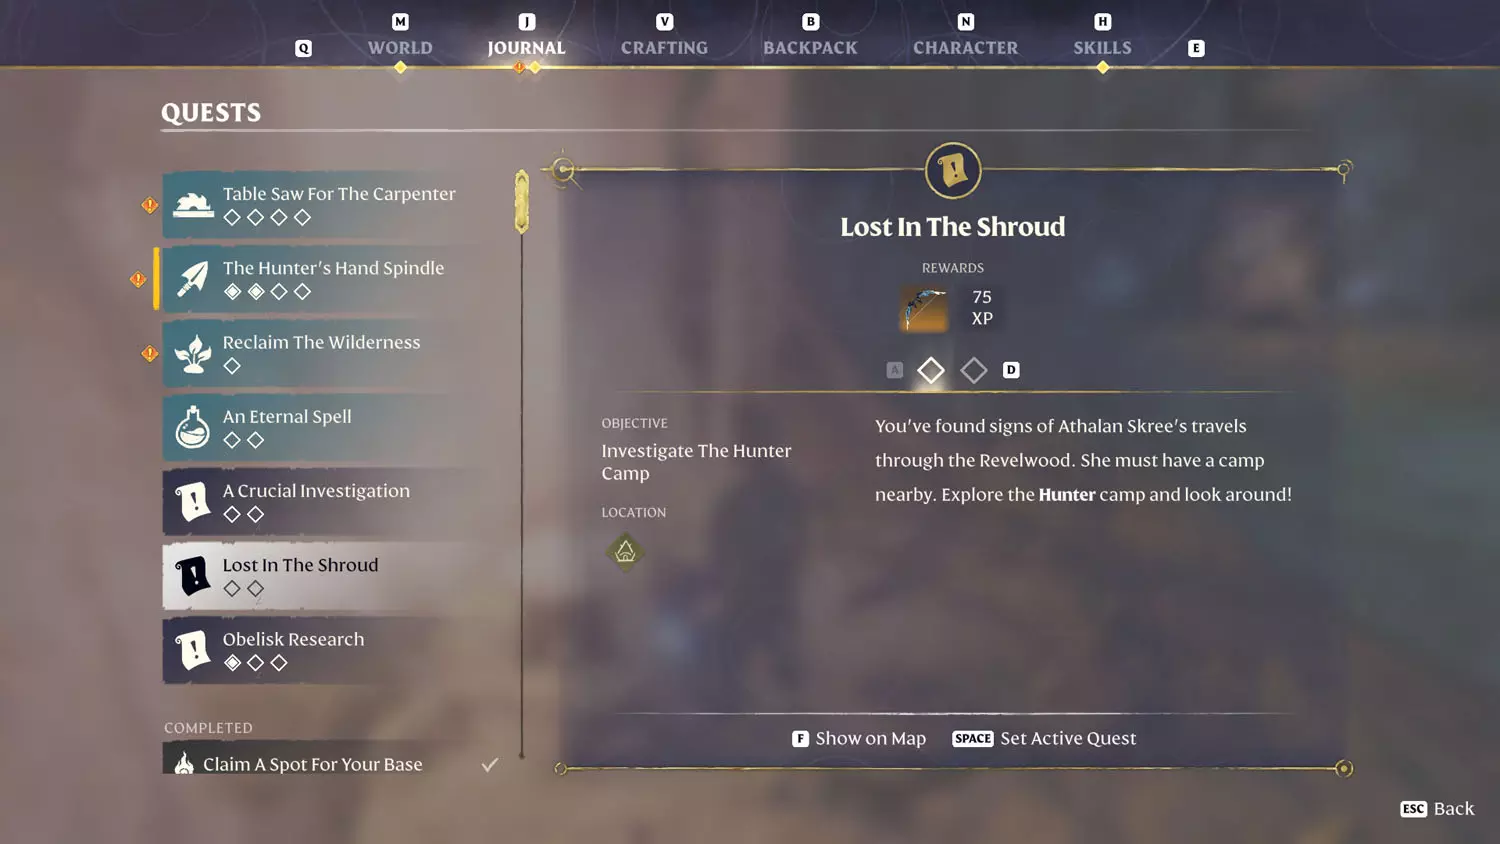
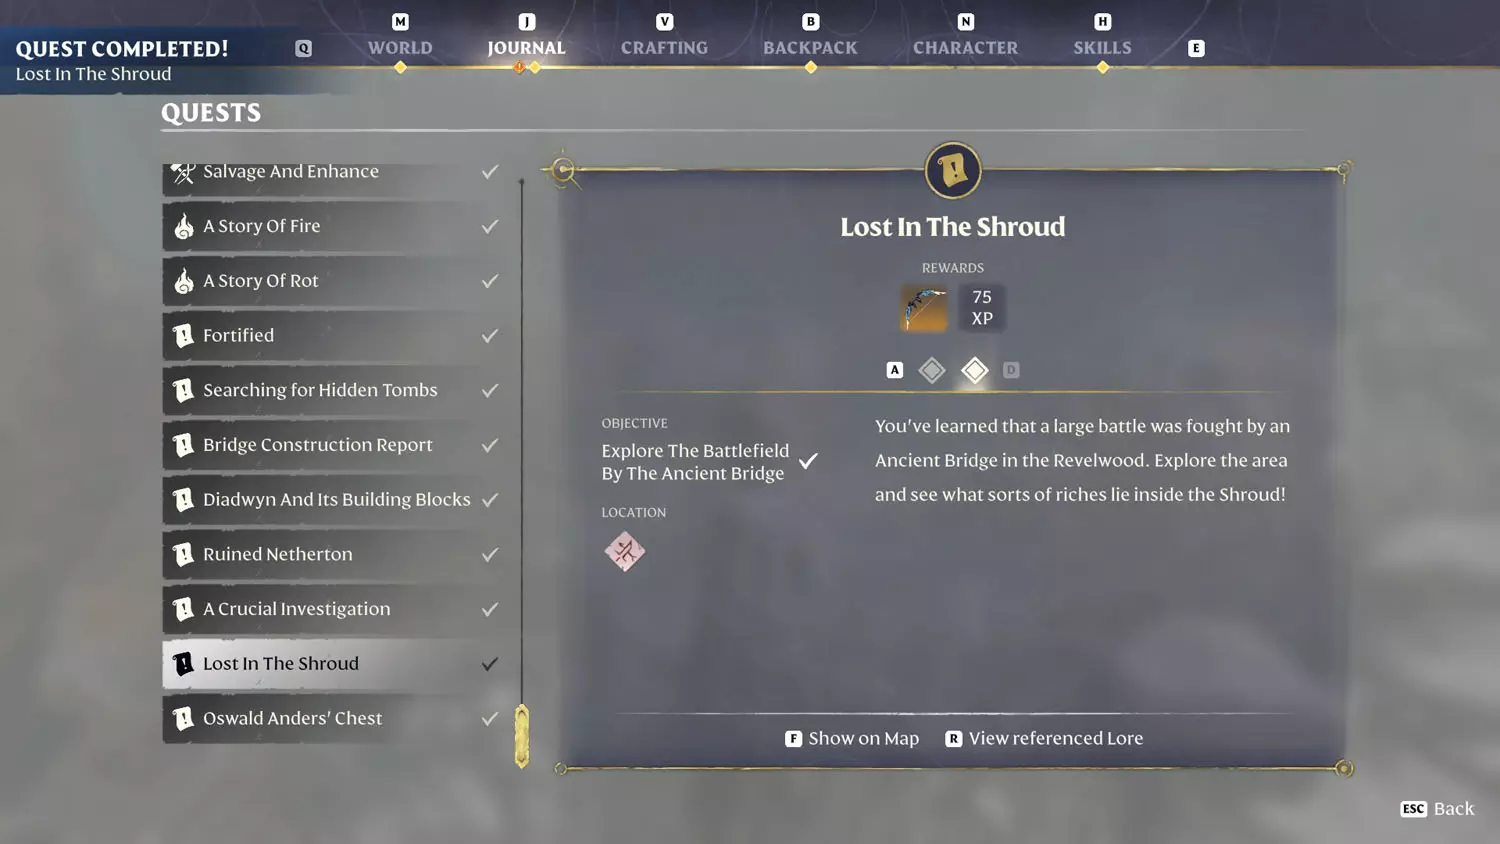
Rewards: Fell Commander Bow + 75 XP
Reading the General Lore: Hunter’s Notes 2/3 A Sleepless Night will generate this quest, but it will lead to the General Lore: Hunter’s Notes 1/3 Long Way From Home. The fastest way there is to take the Ancient Spire - Revelwood Fast Travel.

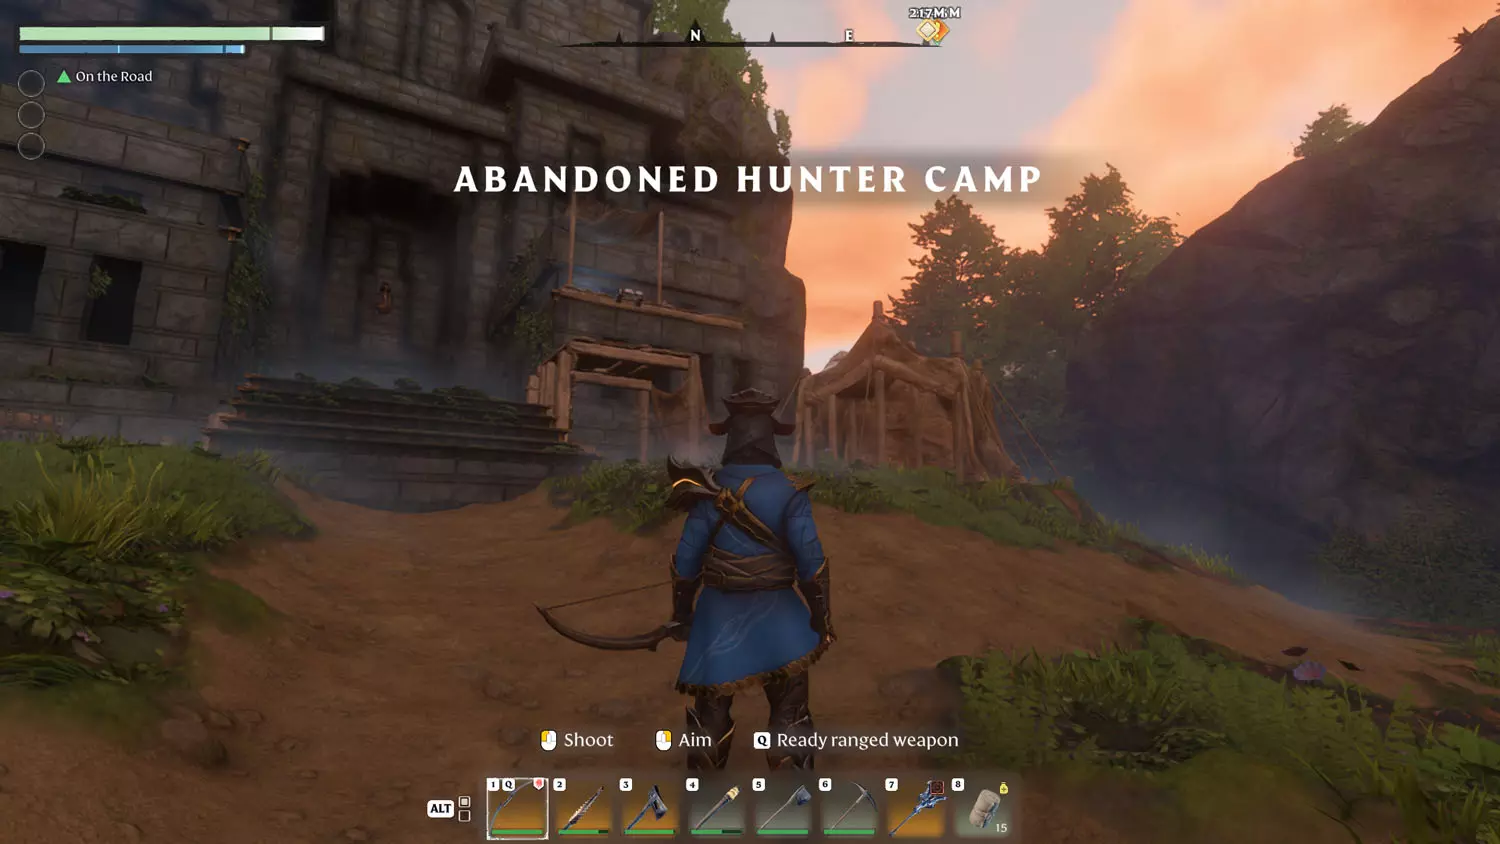
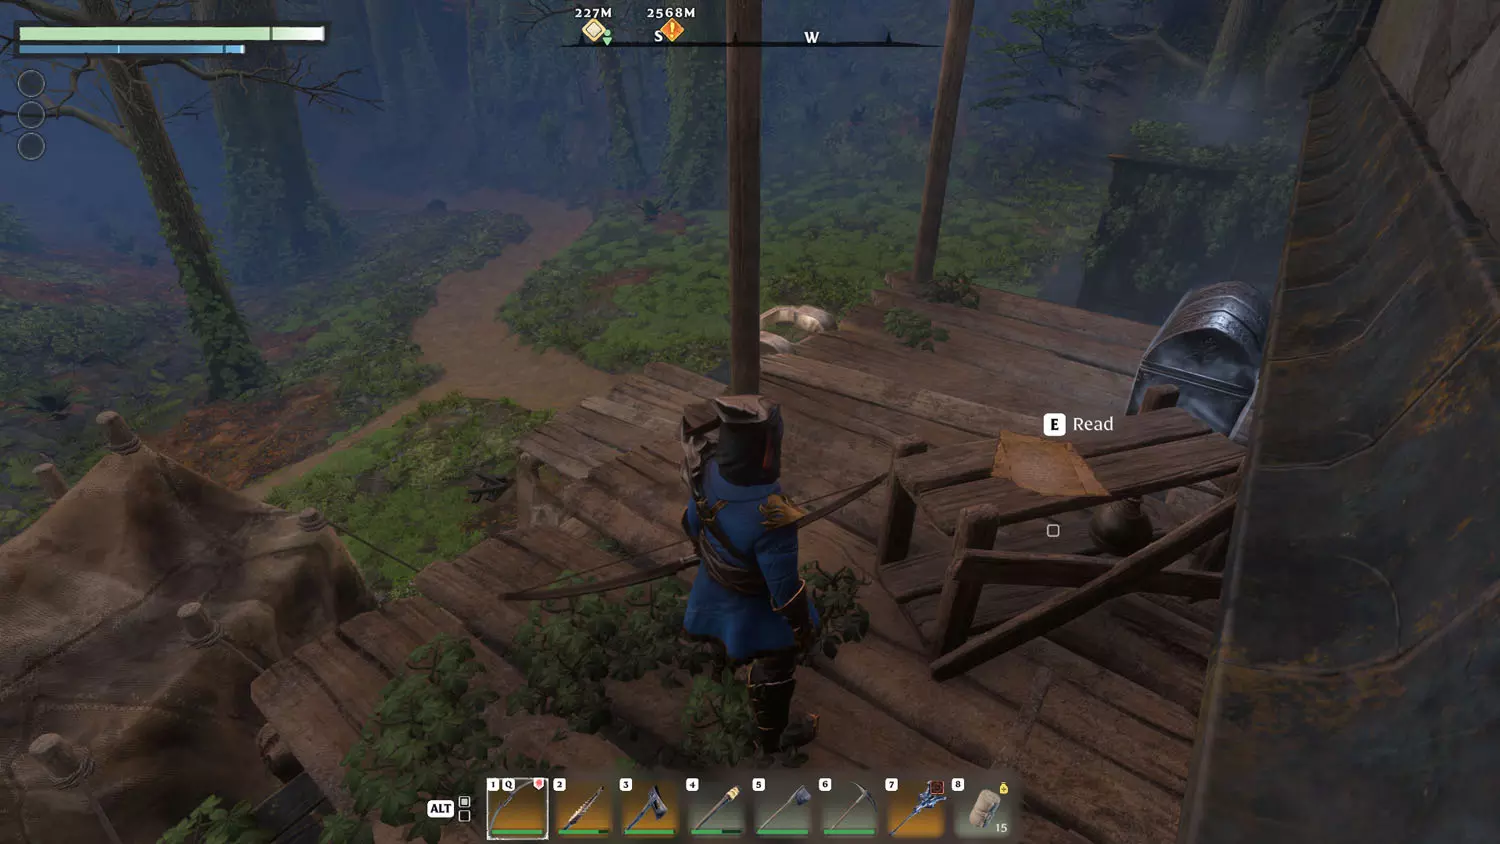
Reaching the camp and reading The Shroud, Elixir, and Elixir Well Lore: Lost In The Shroud 3/5 Talion! will finish the first part.

Now, to finish off this quest, I have a detailed description here: The Shroud, Elixir, and Elixir Well Lore: Lost In The Shroud 5/5 Bow Found. Looting the body of the Fell Thunderbeast will complete this quest. You will also now have the Quest Item: Fell Commander Bow.


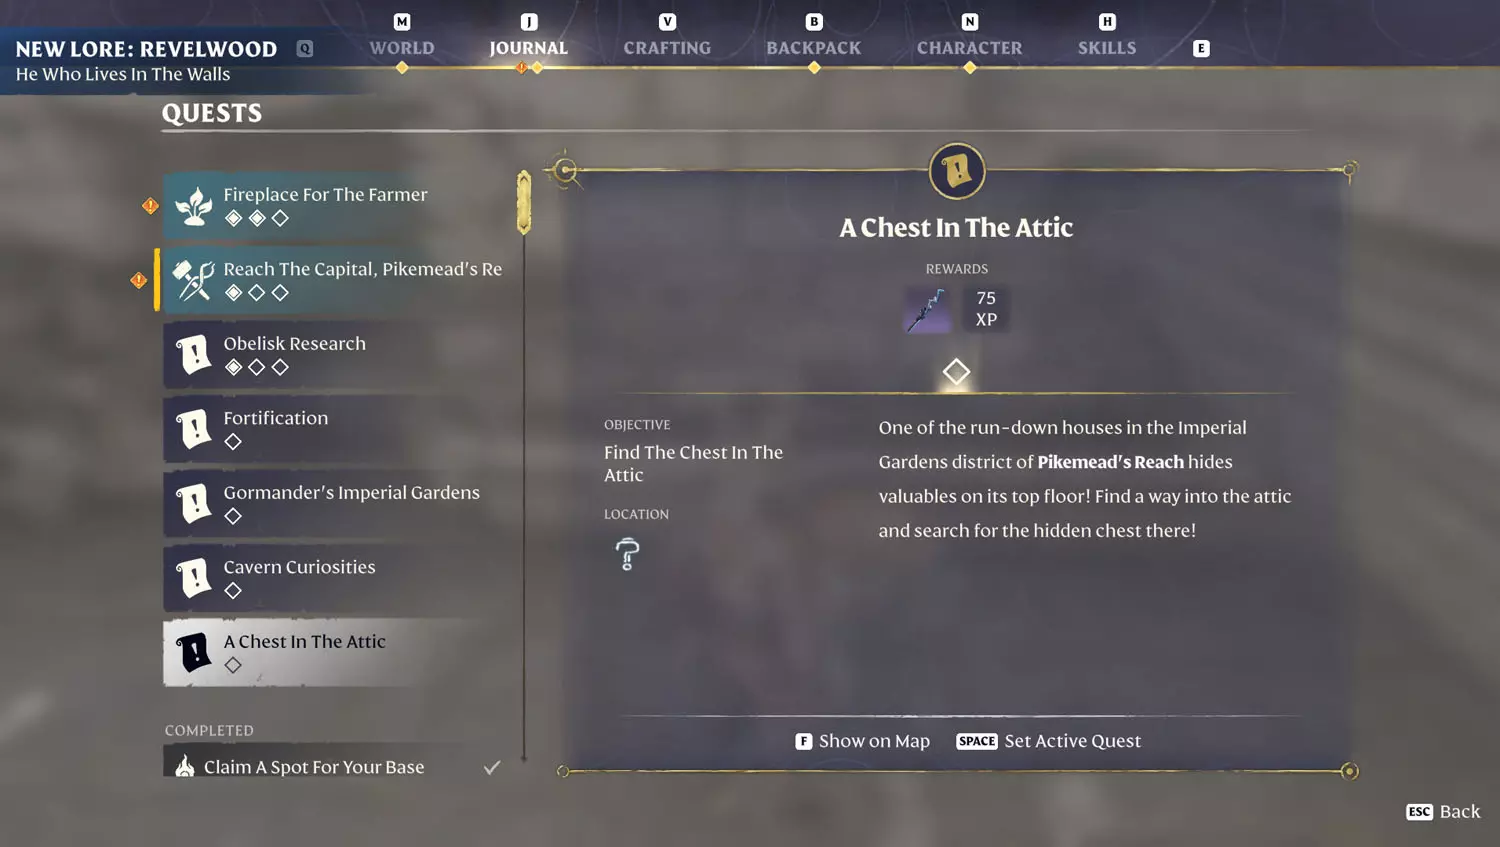
A Chest In The Attic
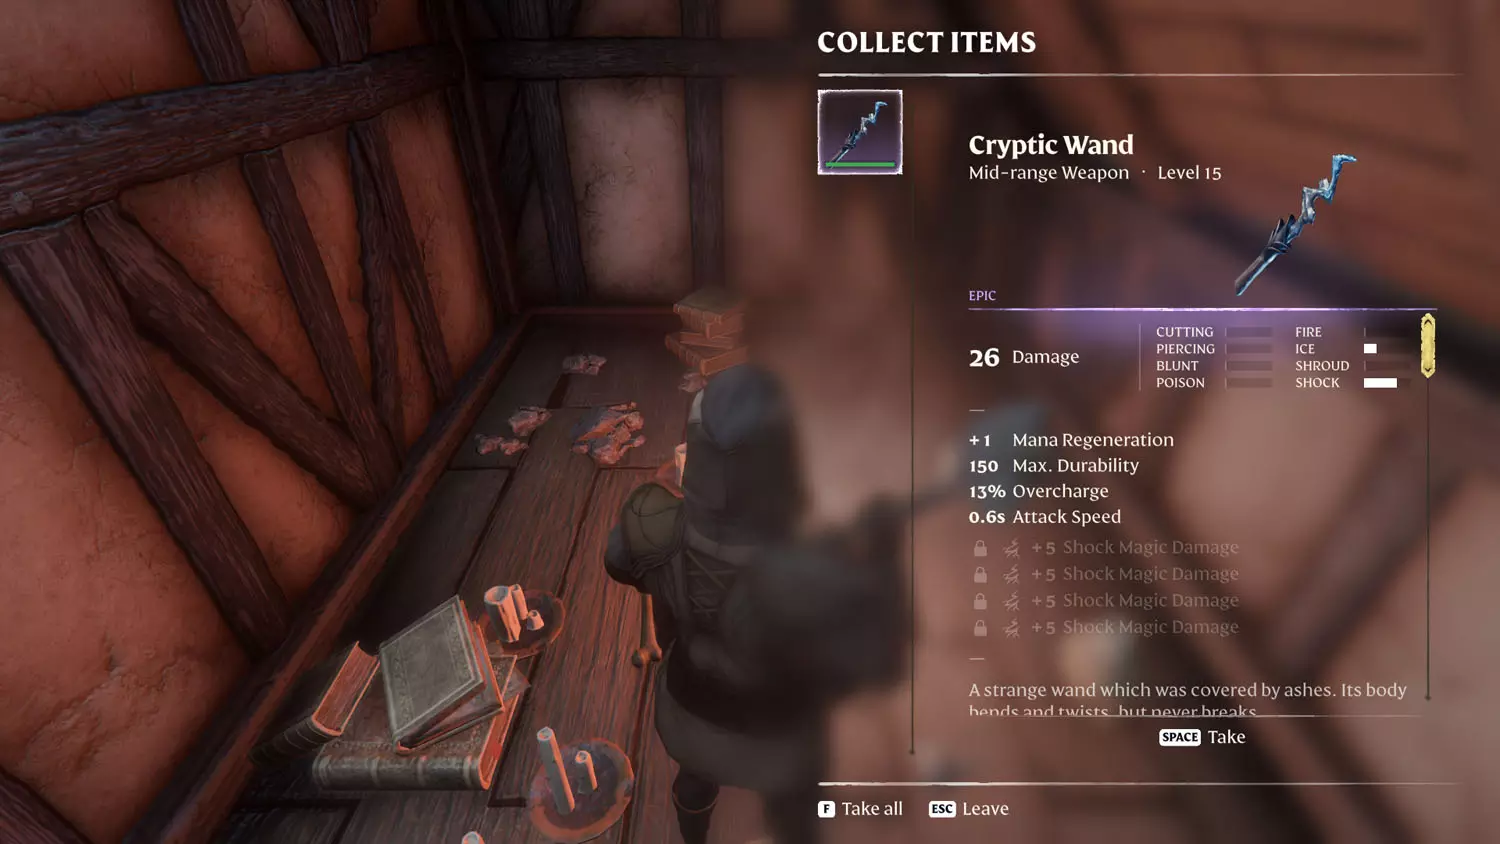
Rewards: Cryptic Wand + 75 XP
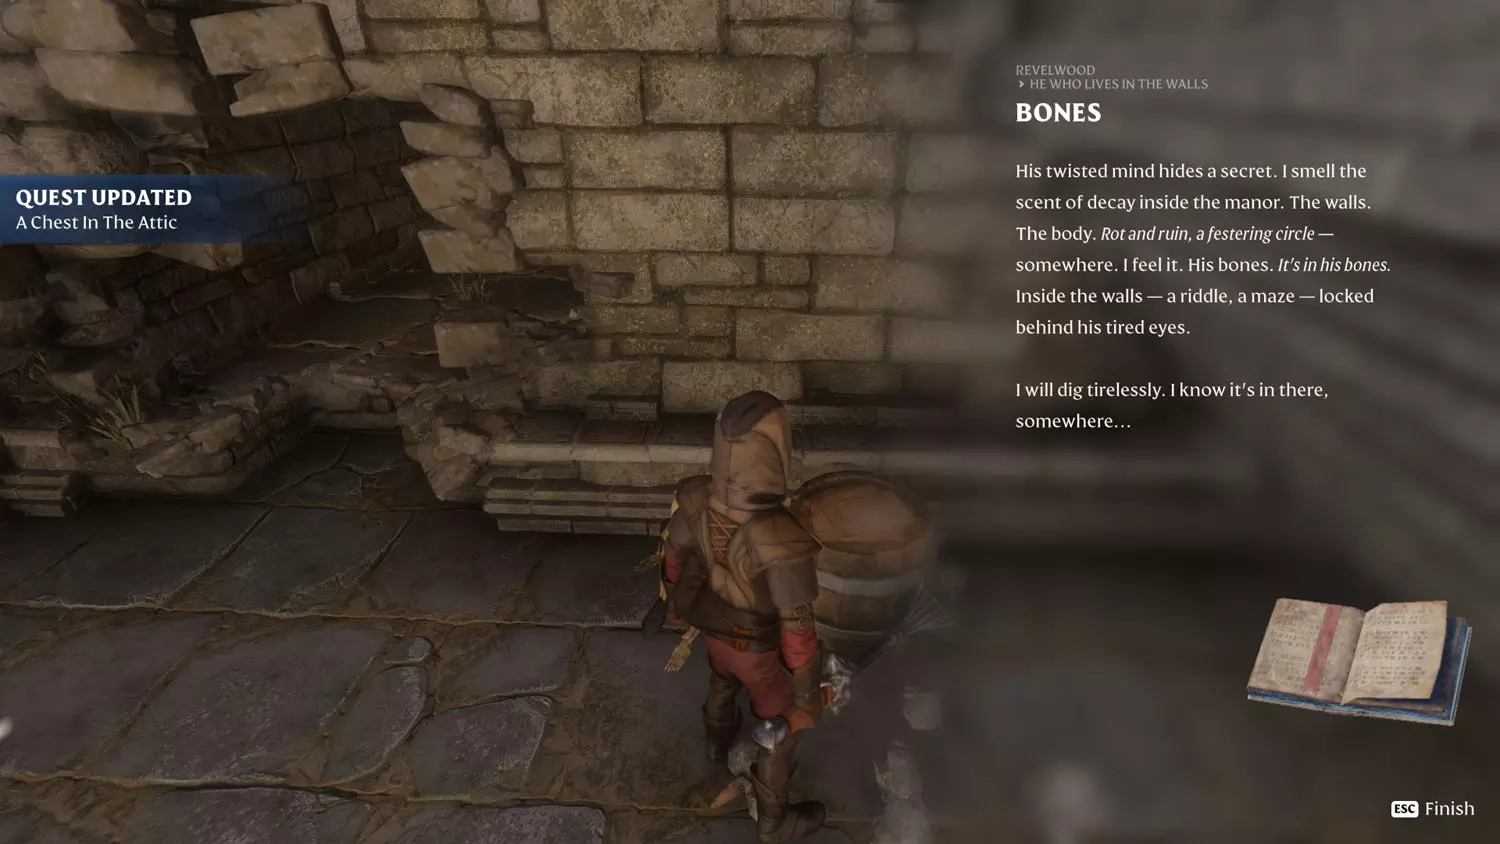
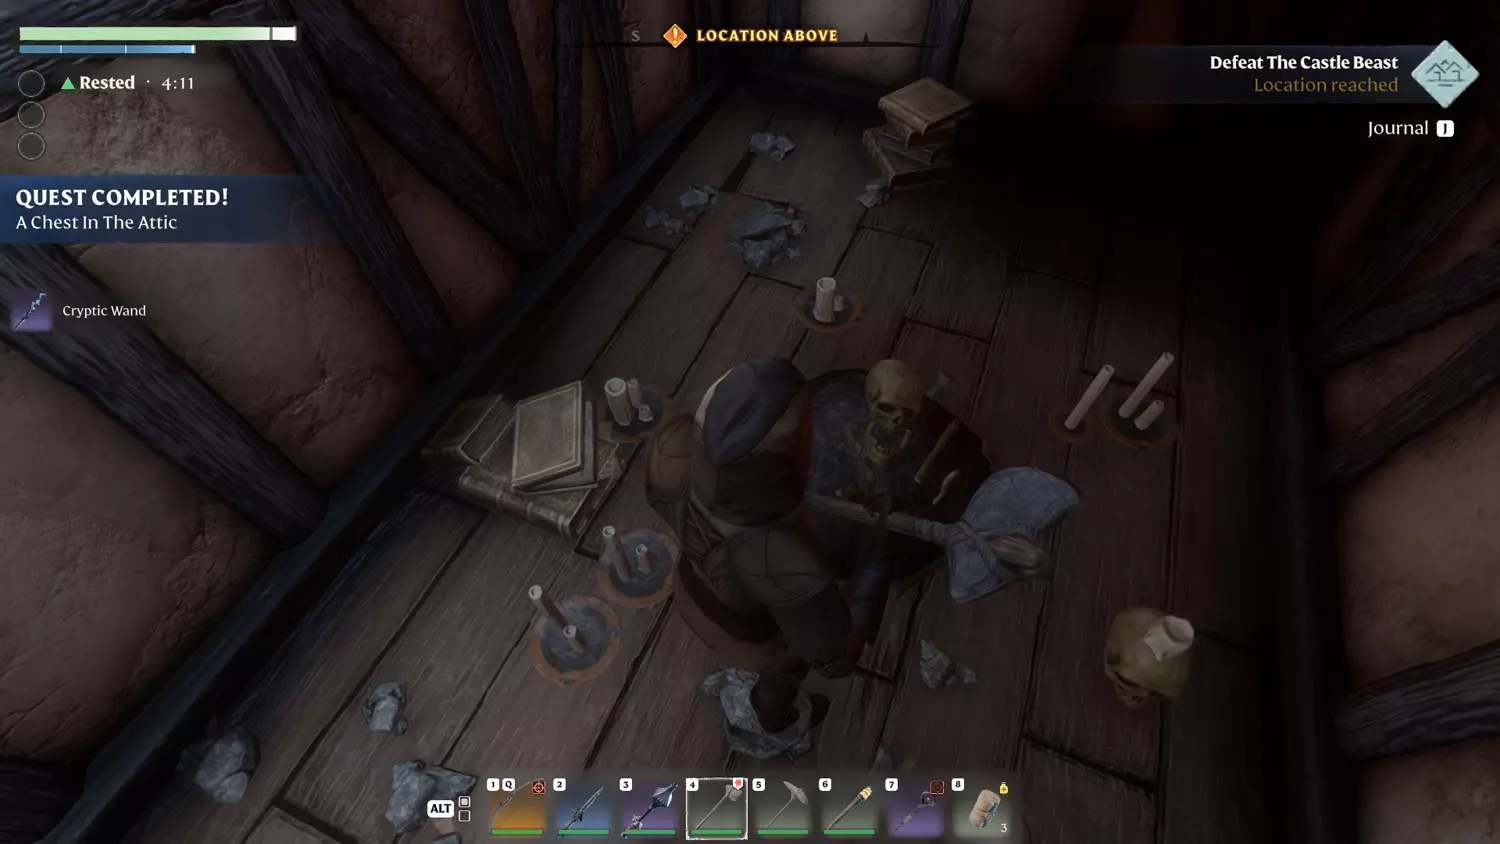
Check out the Revelwood Lore: He Who Lives In The Walls 1/1 Bones. Reading this Lore will start the quest, but reading the Revelwood Lore Riddle 1/2 Riddle Me This will give you the house location, and completing 2/2 A Hidden Room gives you the ending location. Once you loot the pile of bones in the attic, the quest will be finished!


The Pillars of Creation
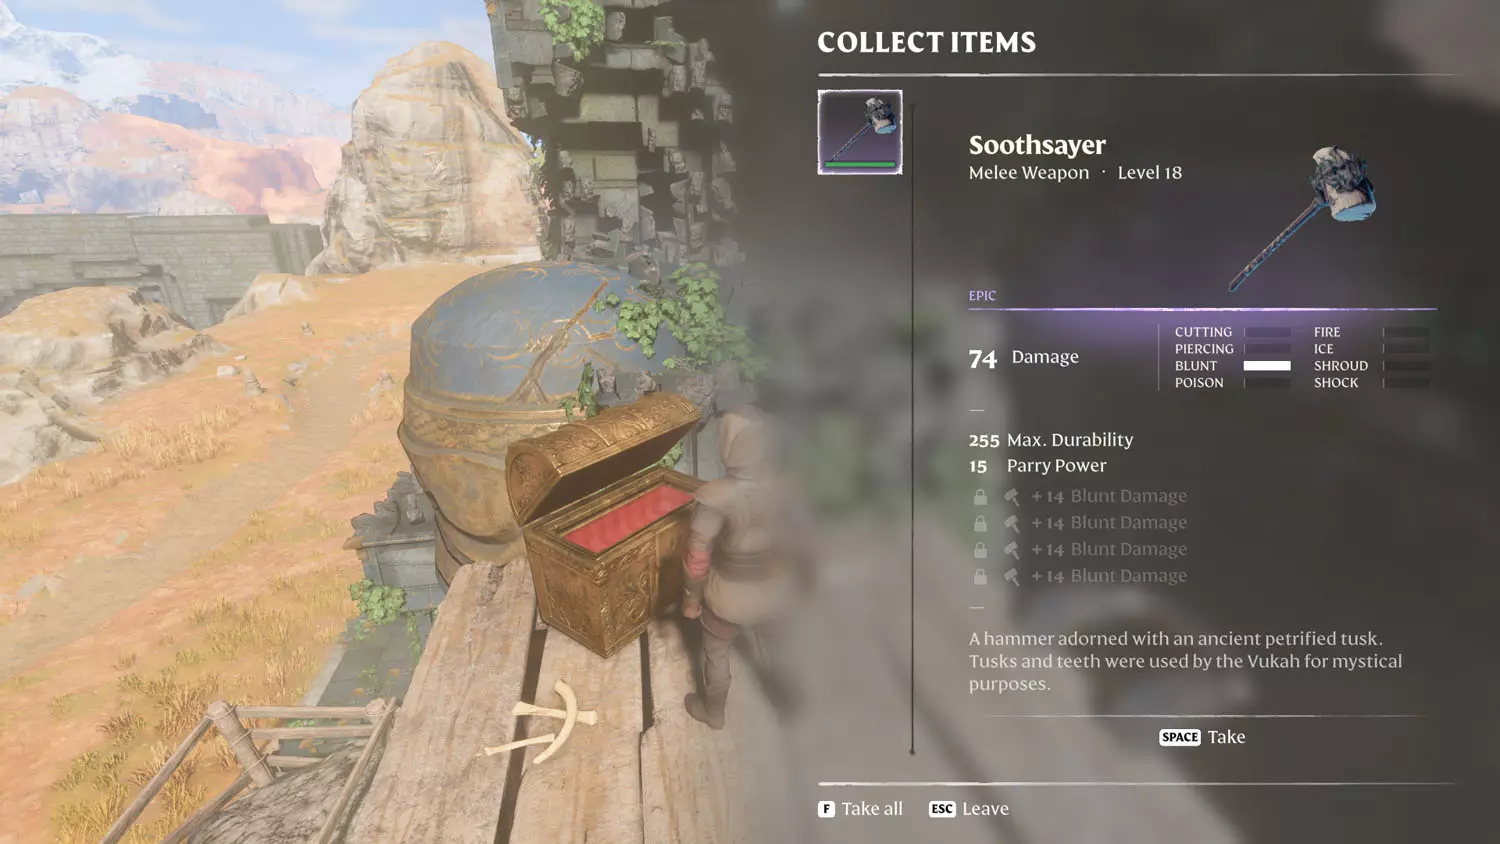
Rewards: Soothsayer + 75 XP
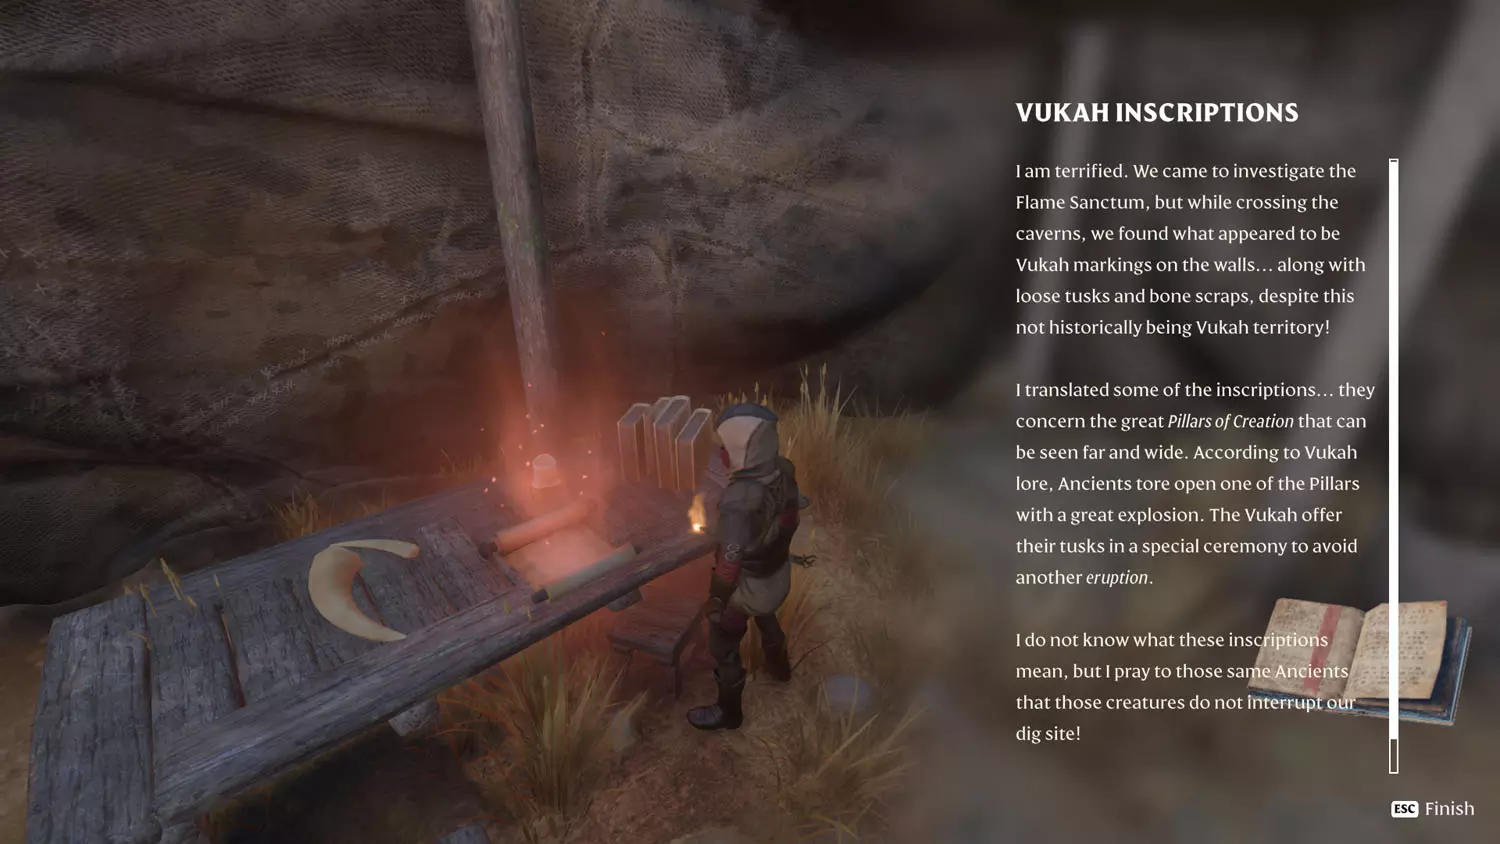
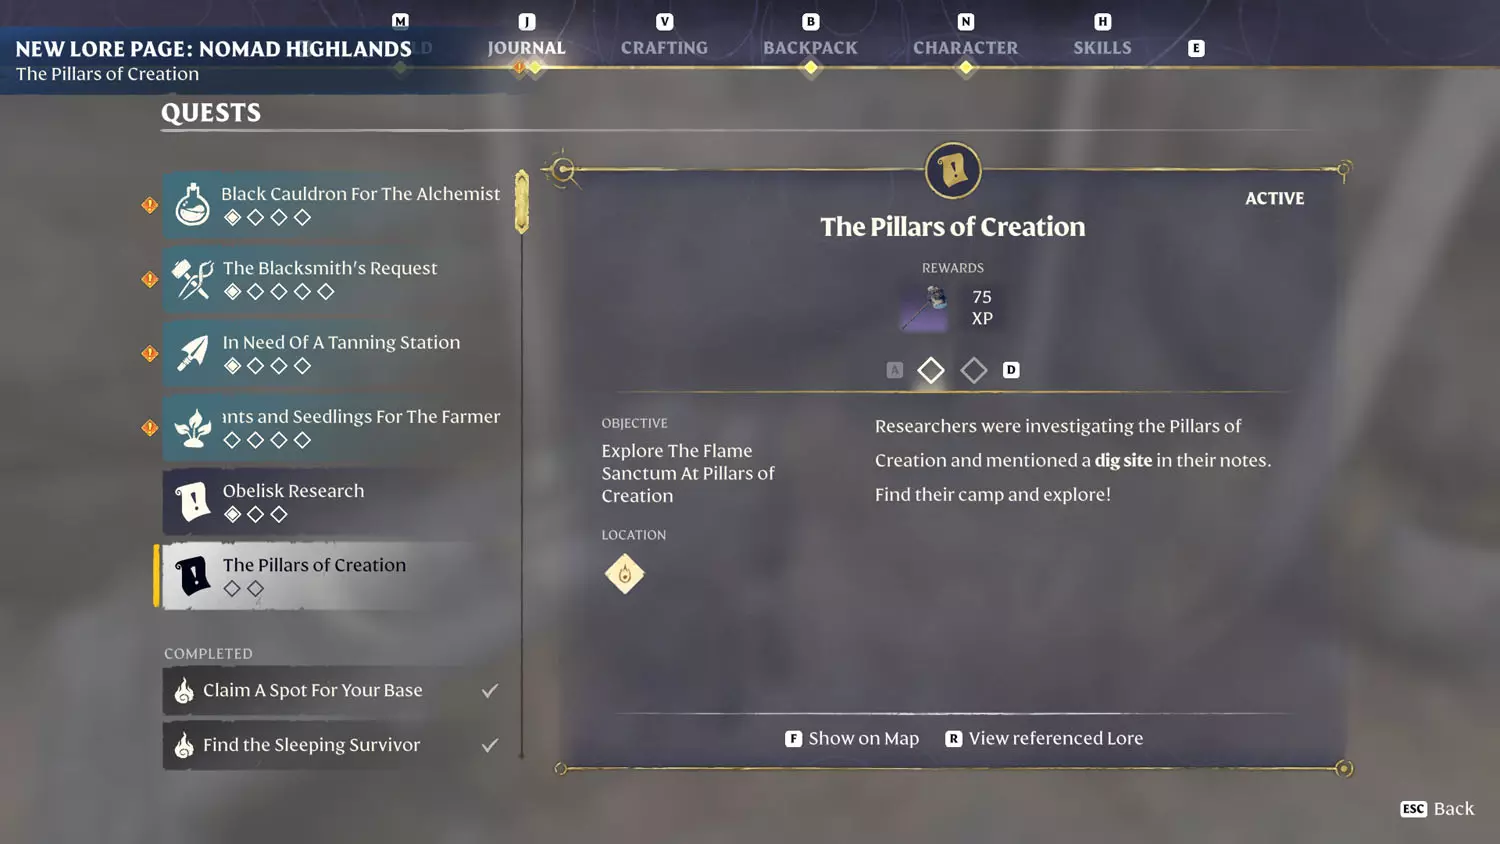
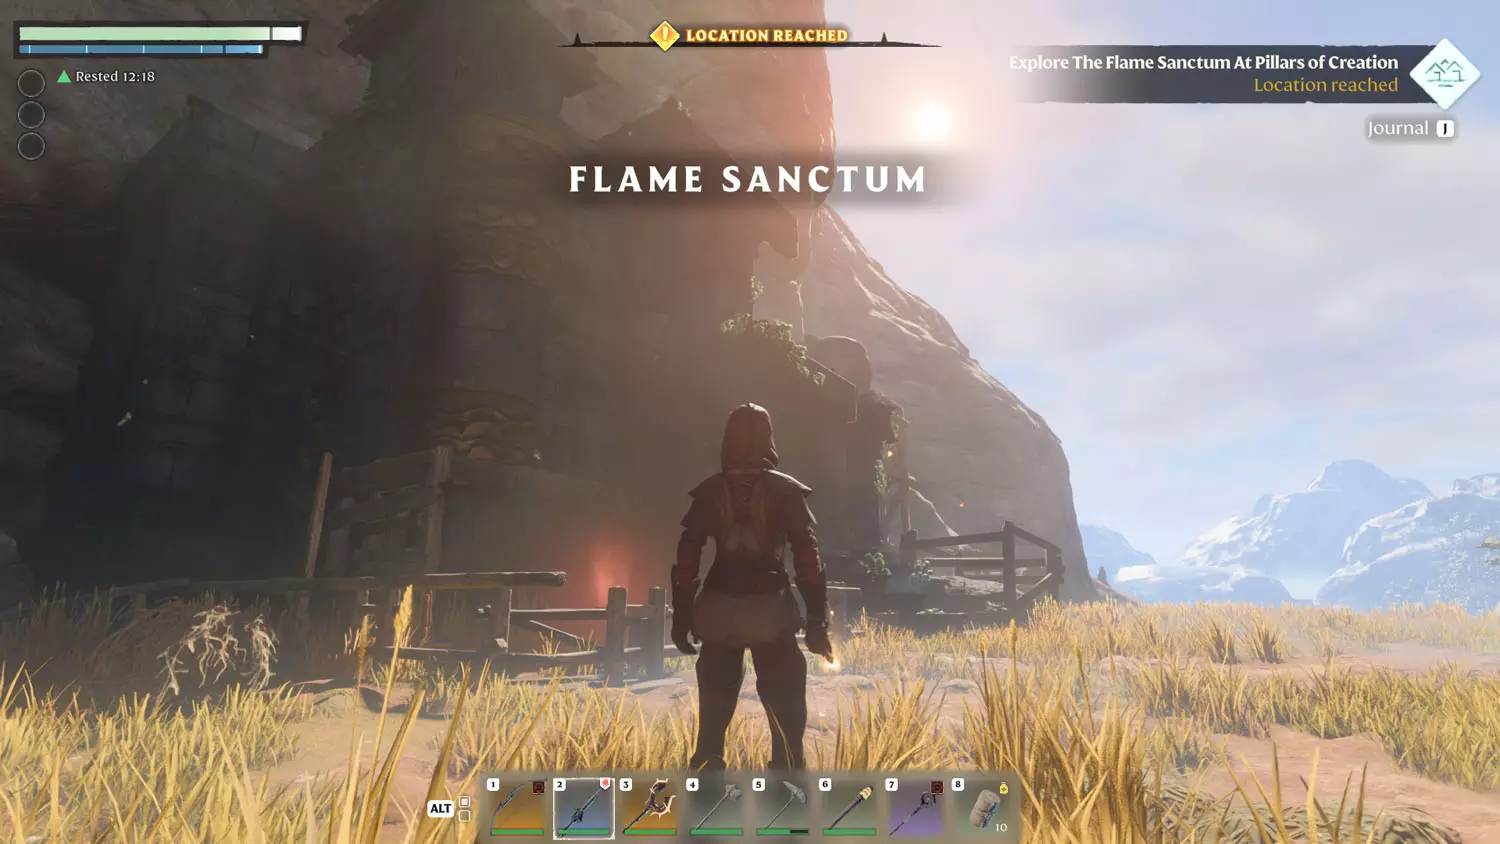
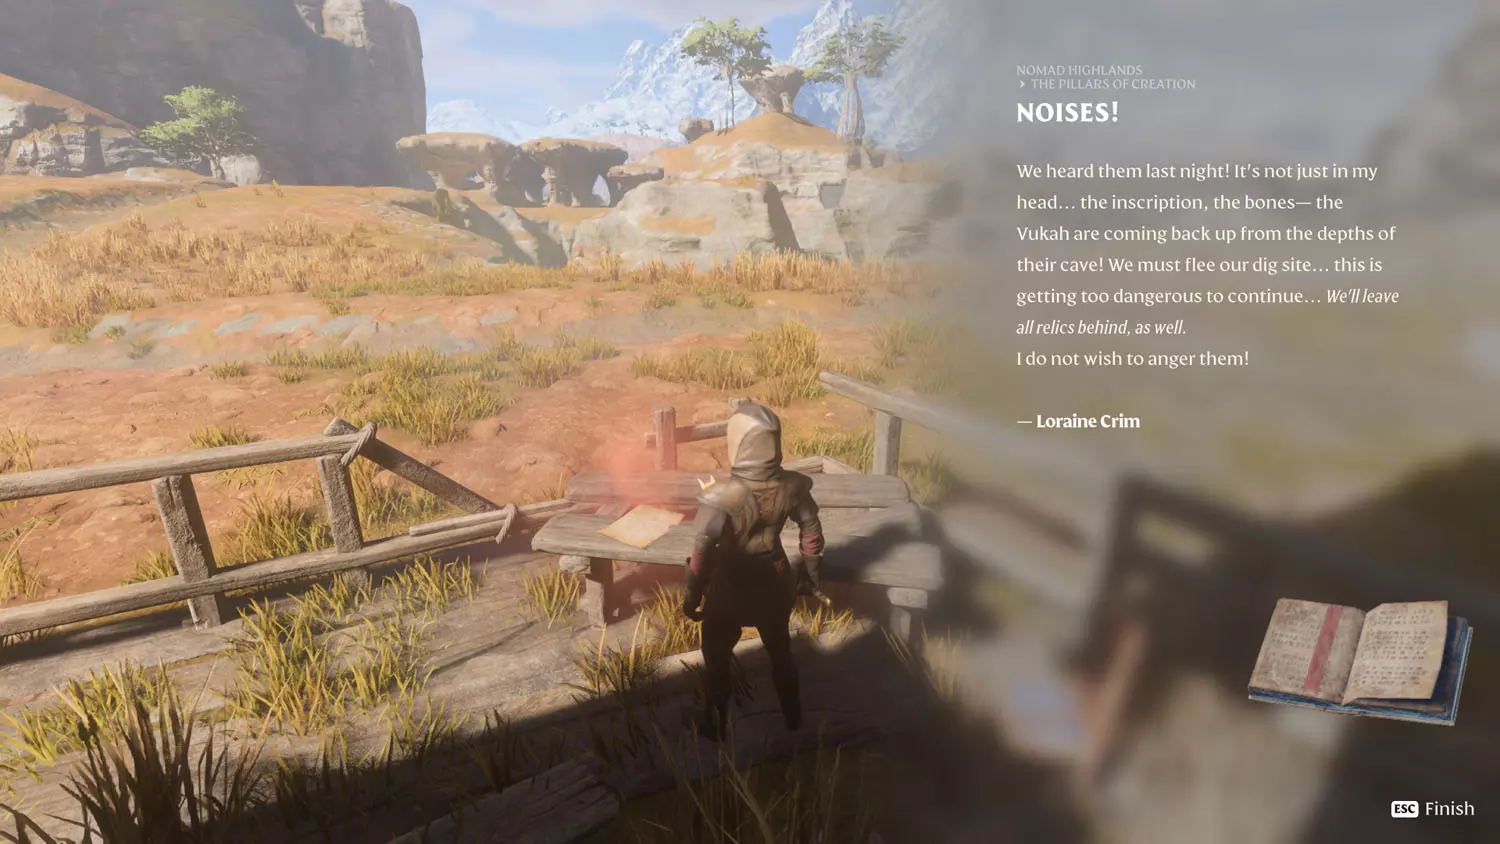
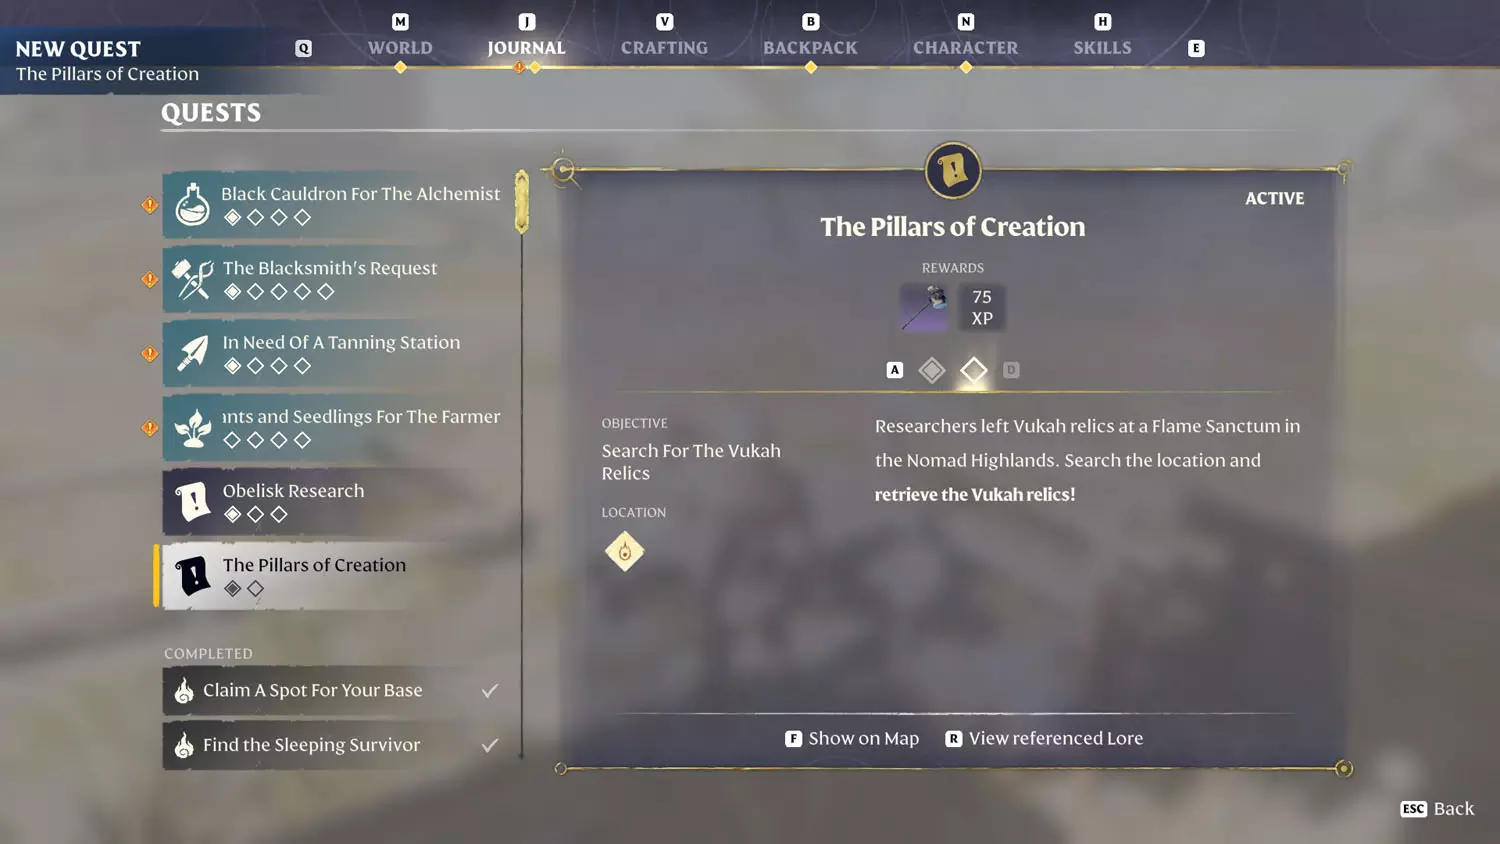
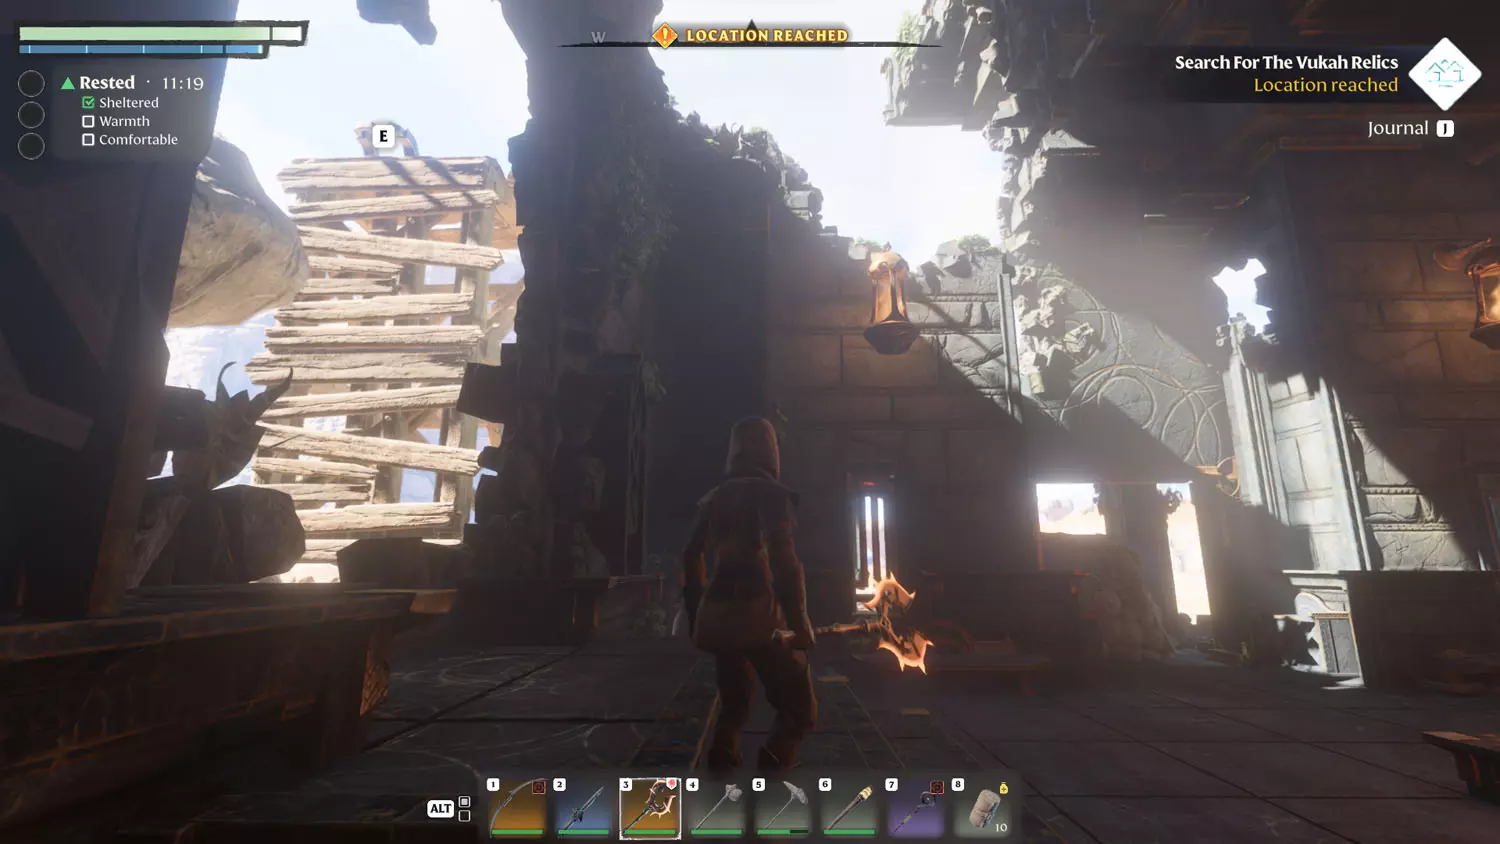
Head out for the Pillars of Creation. This quest begins when you read either piece of the Nomad Highlands Lore: The Pillars Of Creation 1/3 Vukah Inscriptions or 2/3 Noises!. Reading the first one will start the quest, and the second piece will complete the first part of the quest.


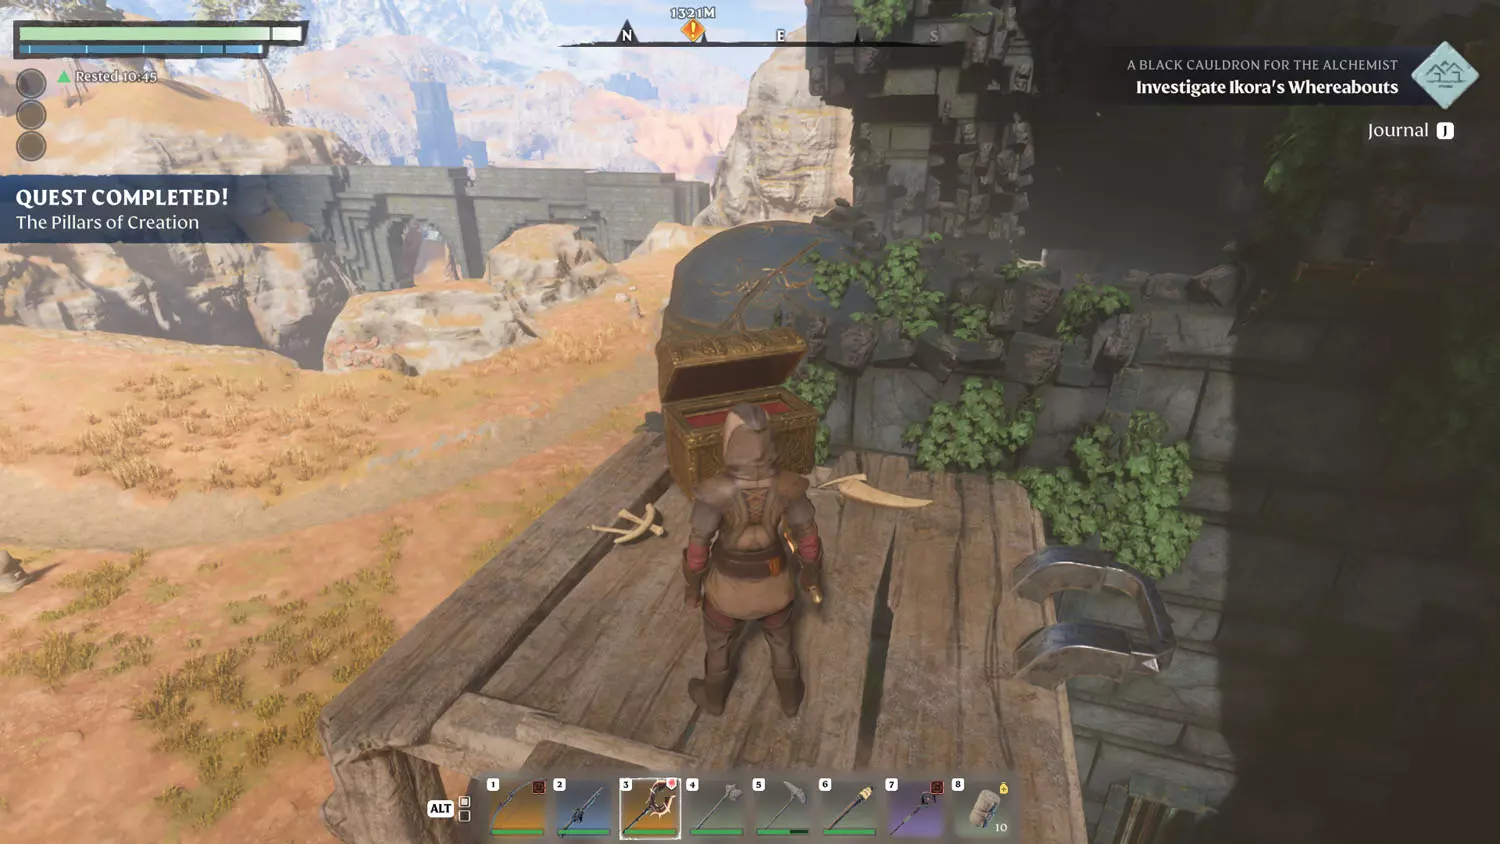
To complete the quest, you’ll need to complete the Lore 3/3 Soothsayer Found. To do that, head into the Flame Sanctum and turn around and look up. There’s a grapple spot with a Gold Chest on top. Loot the chest to complete the quest!


Vukah Encounter
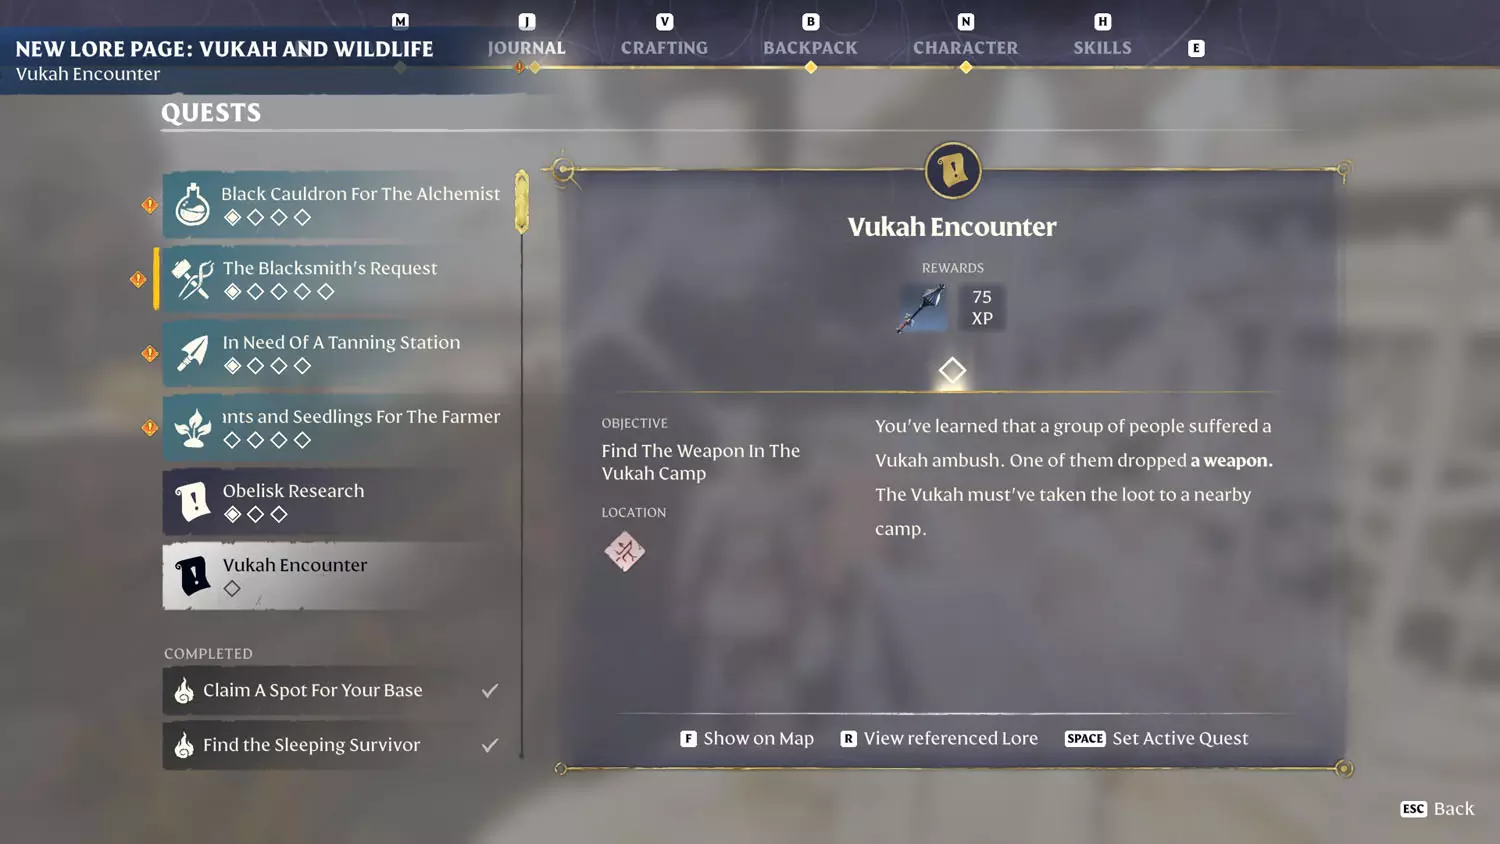
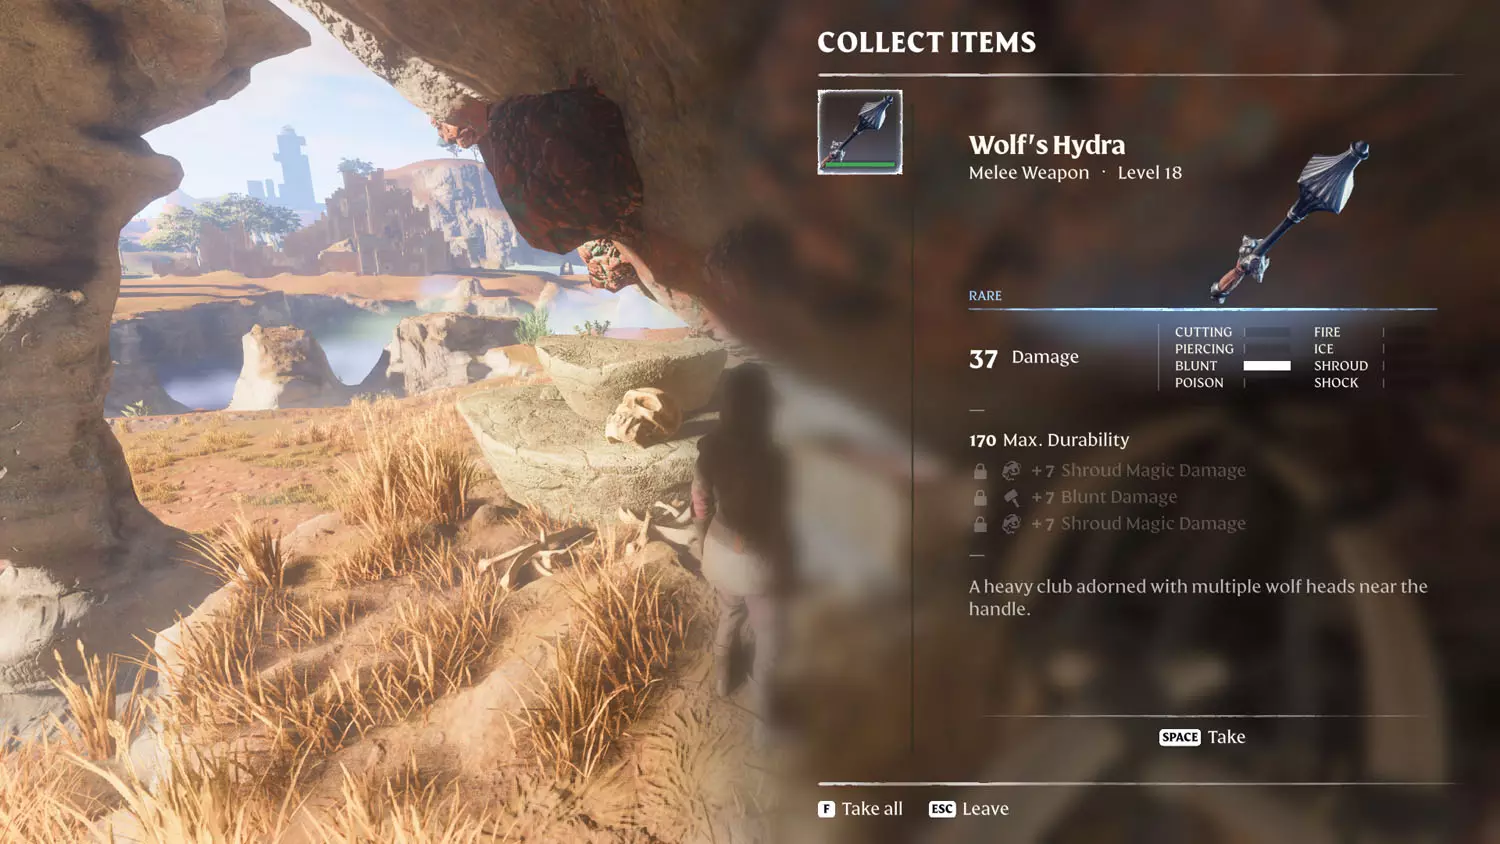
Rewards: Wolf's Hydra + 75 XP
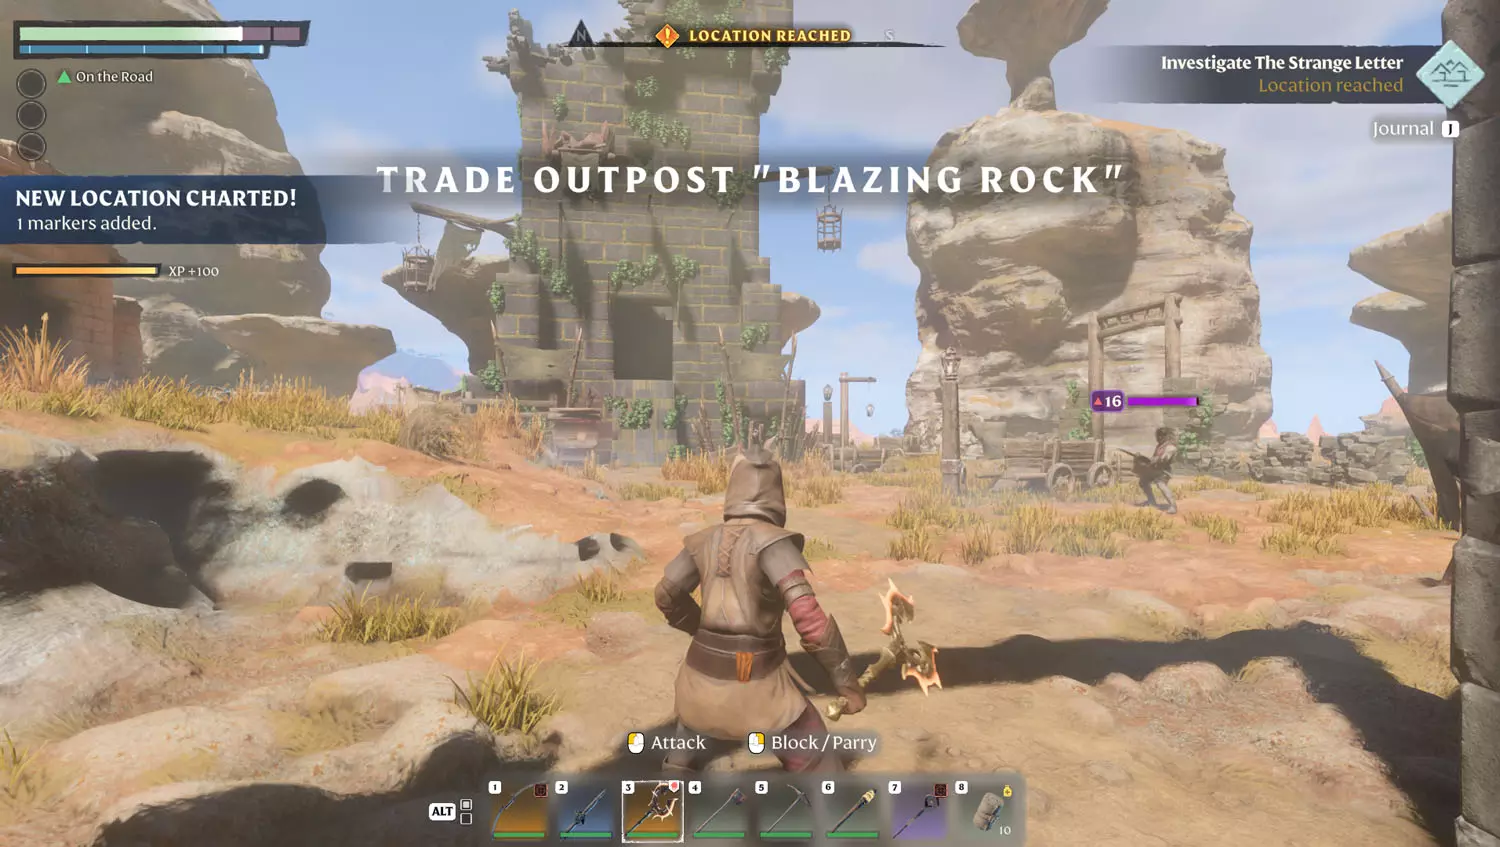
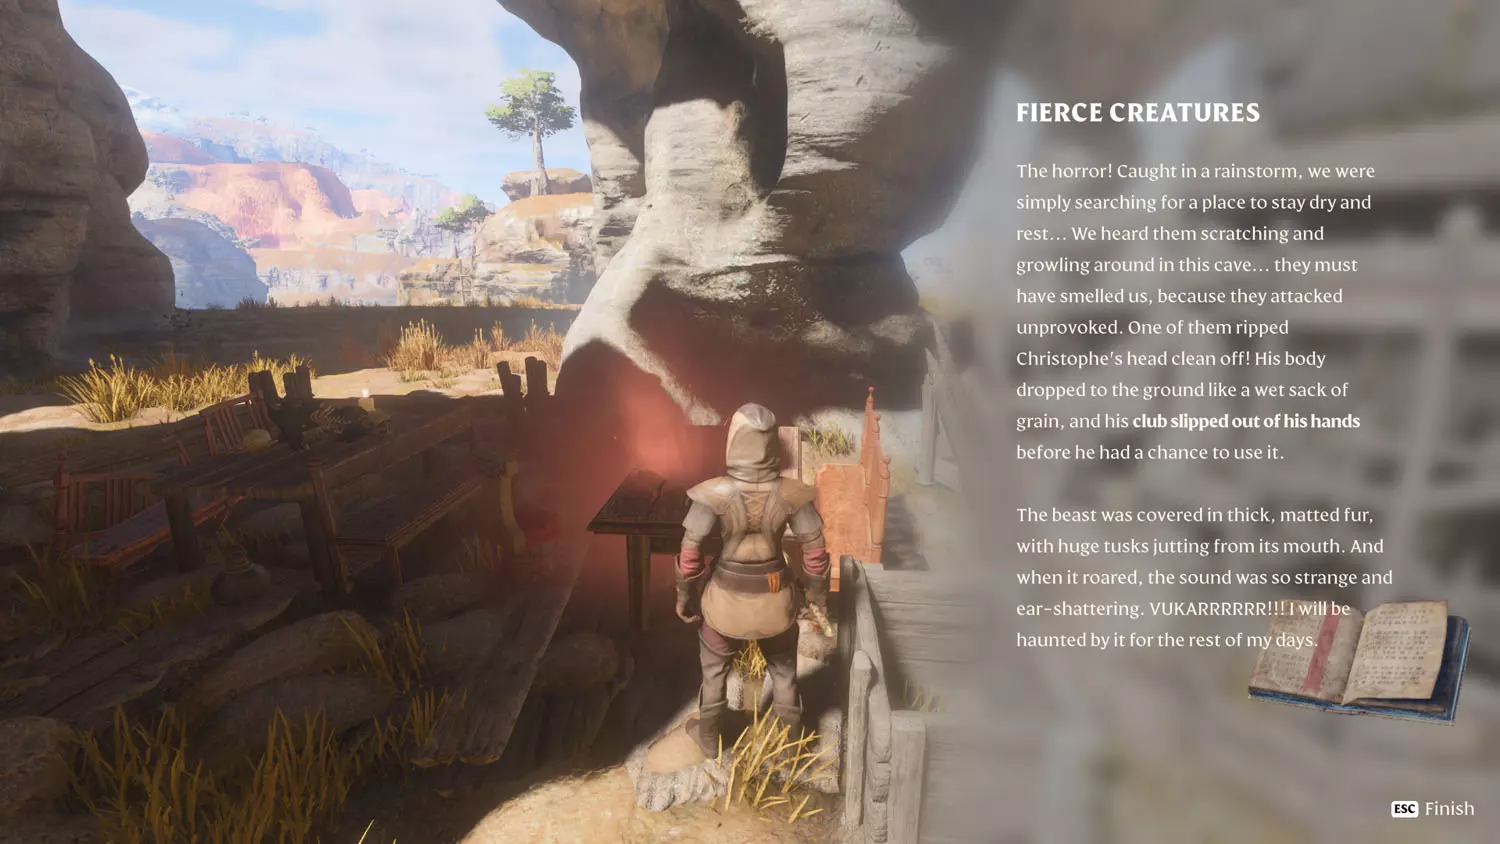
For an extra guide on this, check out my Vukah and Wildlife Lore: Vukah Encounter 1/2 Fierce Creatures and 2/2 Club Found. Reading the first piece of the Lore, located at Trade Outpost "Blazing Rock", will start the quest.
TIP: This is also the location for the Blacksmith Quest: The Blacksmith’s Request and it has the Nomad Highlands Lore: Conway Brothers 1/3 Rafa.


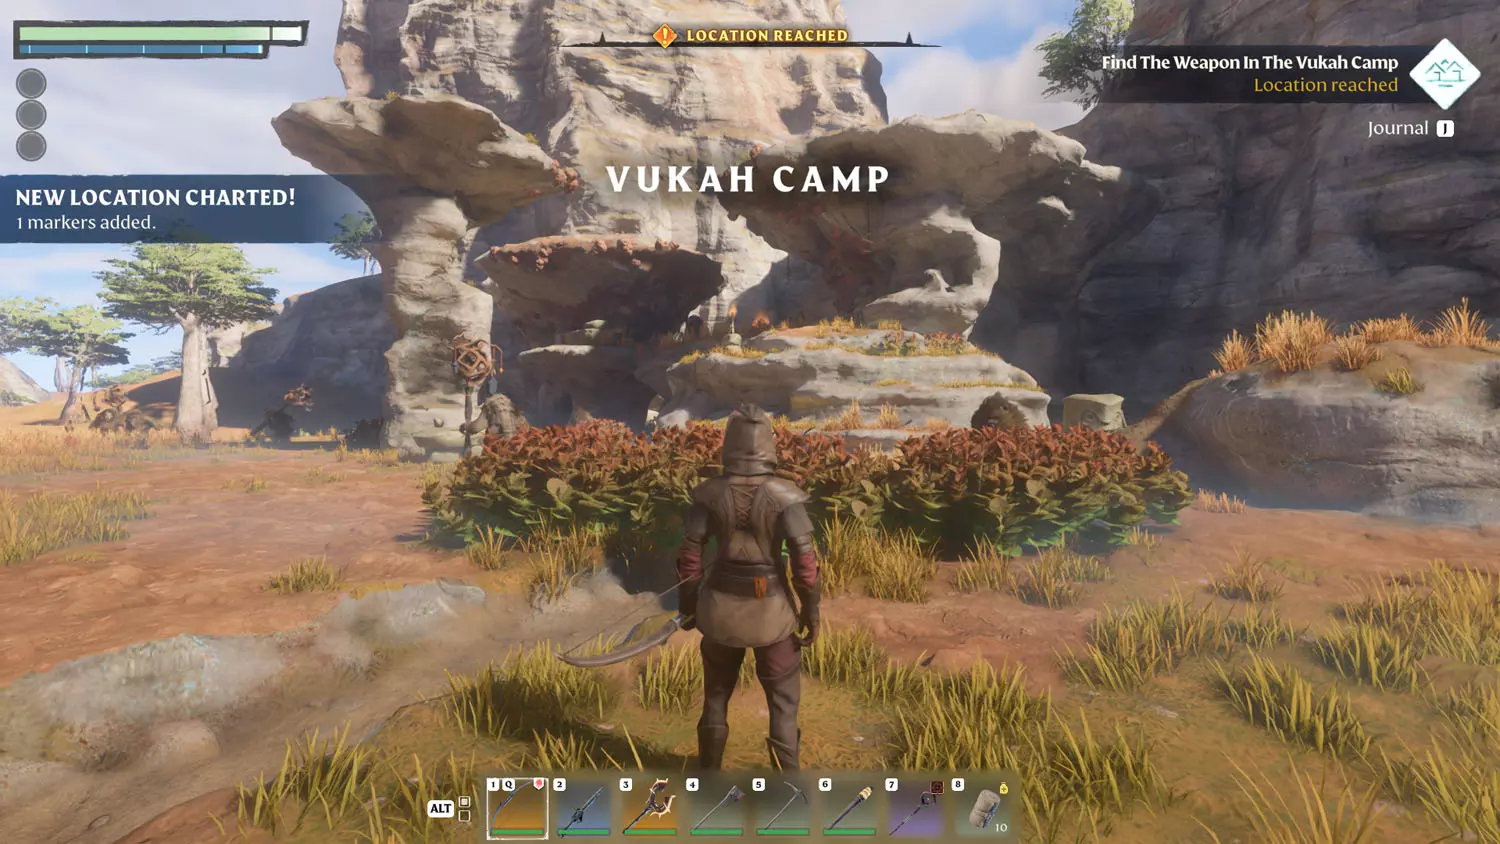
From the outpost, head to the Vukah Camp, open the Gold Chest on top of the rocks, and loot it to complete the quest! Your reward is the Wolf’s Hydra (lvl 18).
TIP: You can sneak around to reach the chest, or wait for a chicken to wander by. The Vukah love chasing chickens. Who knew? (You’ll still have to fight some of them, but these methods reduce the enemies, though the chicken is random and will run back toward the camp, so…)


Rumors Of The Dragon Cave
Reward: Dragon Sword
This quest is activated when you locate any of the three pieces of Nomad Highlands Lore: Rumors Of The Dragon Cave.

To complete this quest, you have to locate the dragon cave. It’s a bit of a long flight from the Ancient Spire – Low Meadows Fast Travel.


There is a road leading to it, but I found falling into it from above to be helpful, too. When you enter the ground-level cave, there will be a split in the path. Head left for the Dragon Cave. Since the quest currently completes before obtaining the item, don’t forget to snatch it up before you leave!


The Draconian Vulture Took Him
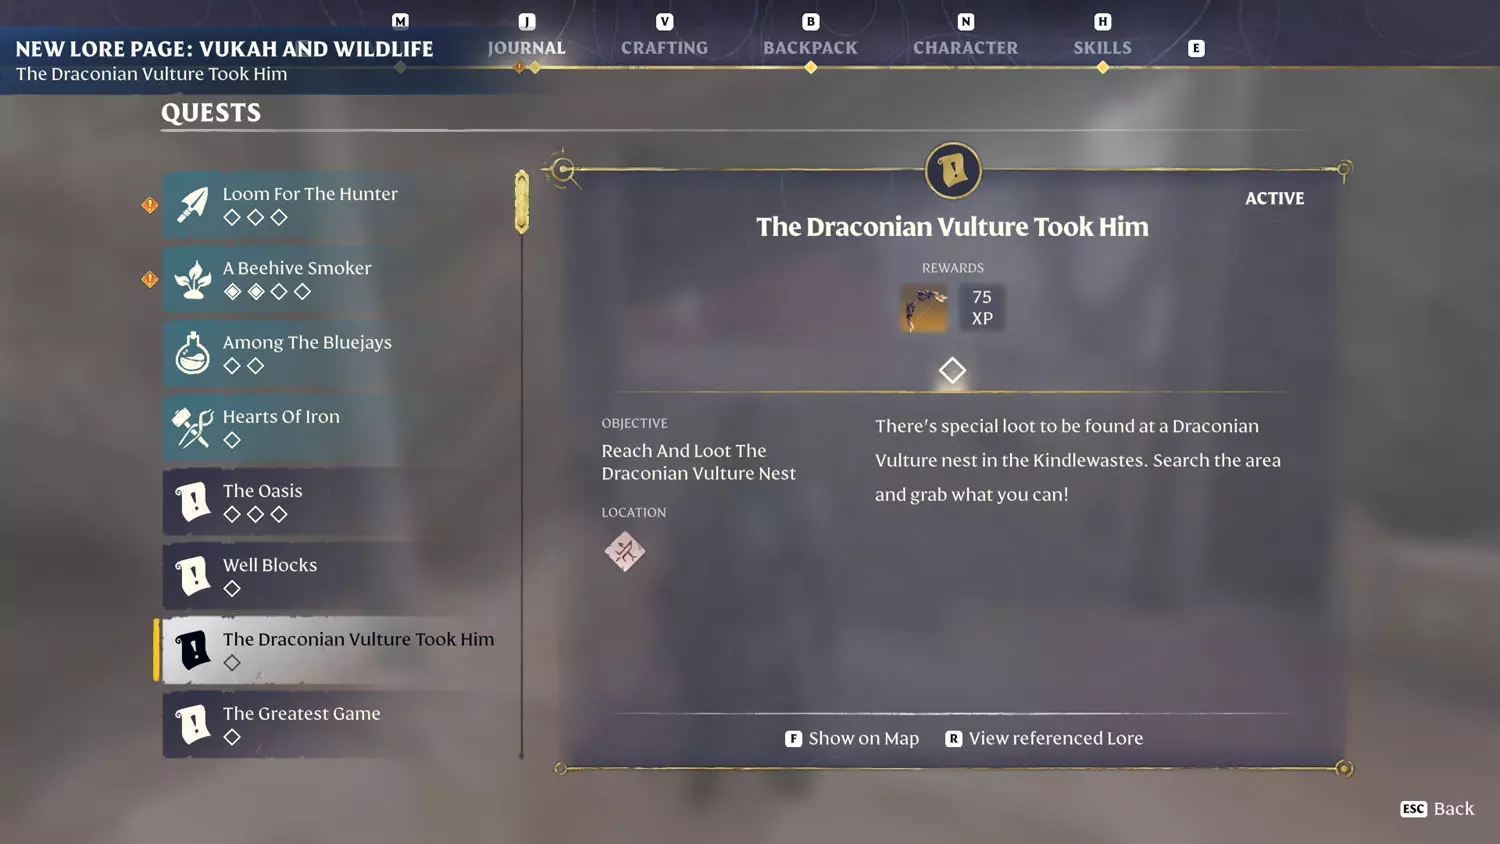
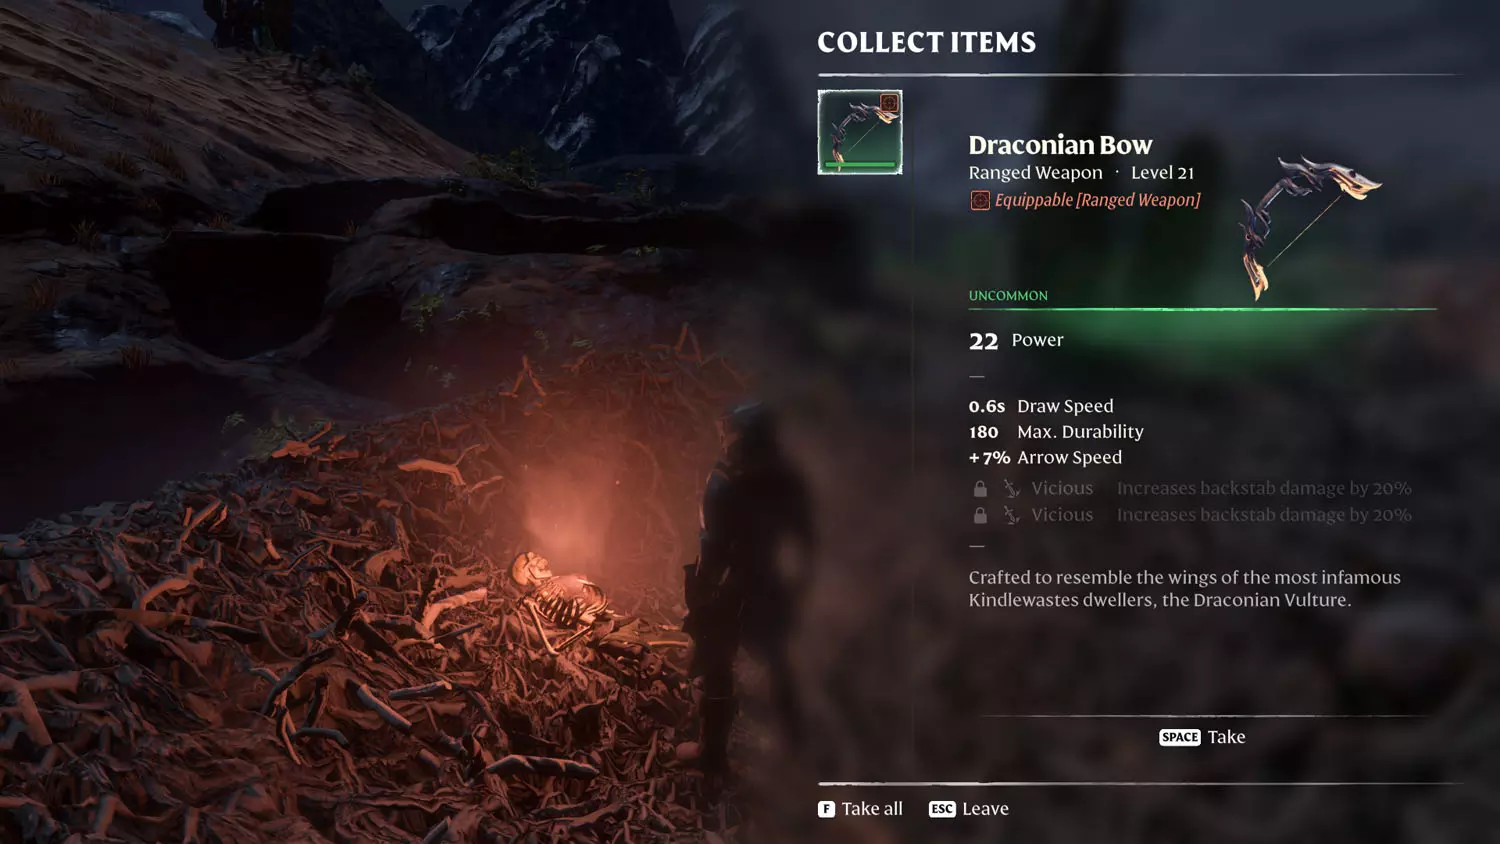
Rewards: Draconian Bow + 75XP
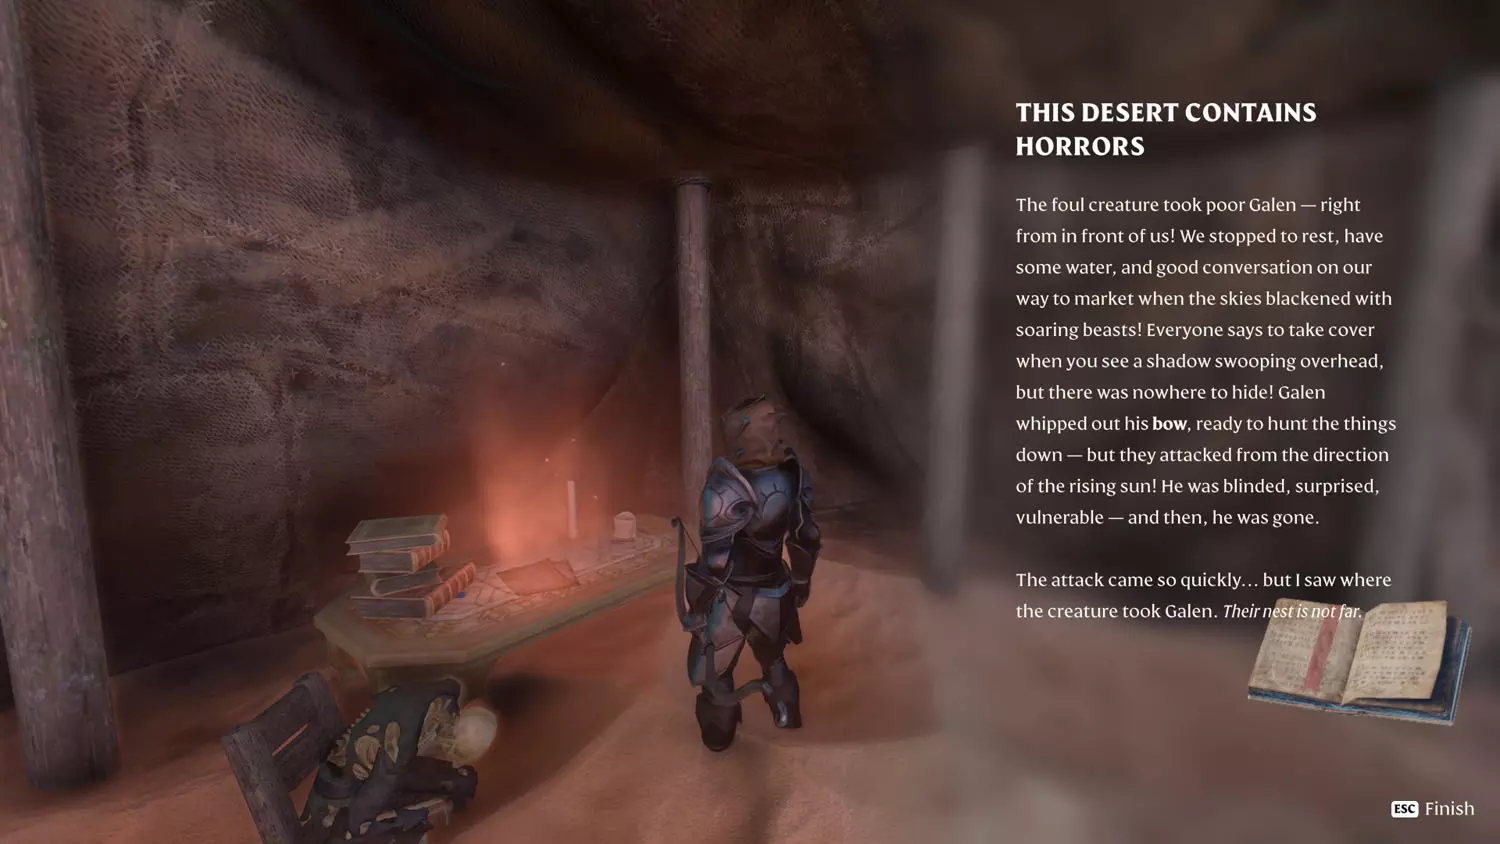
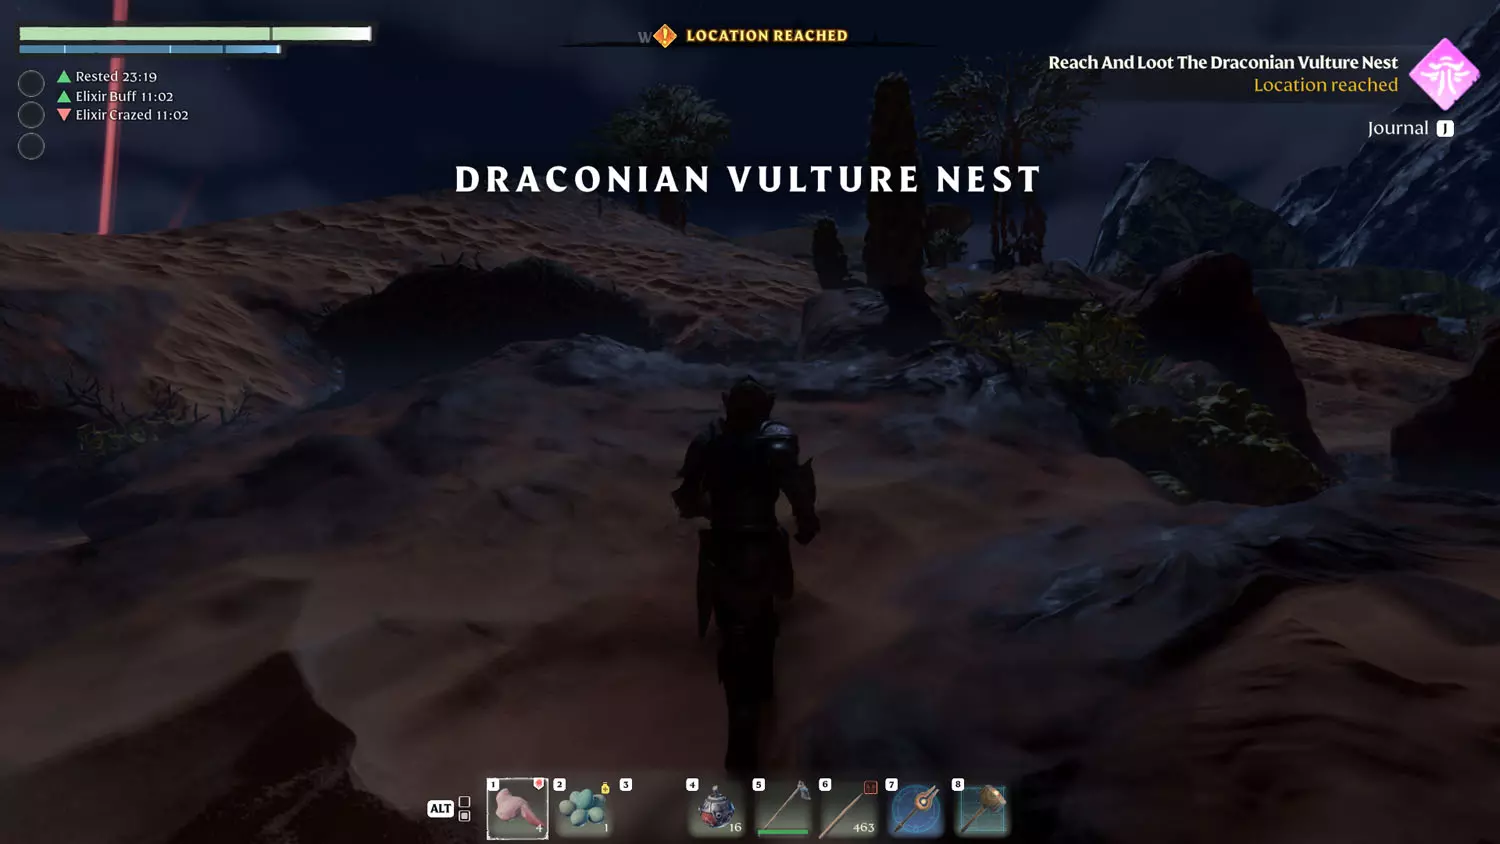
Reading the Vukah and Wildlife Lore: The Draconian Vulture Took Him 1/2 This Desert Contains Horrors will start this quest.

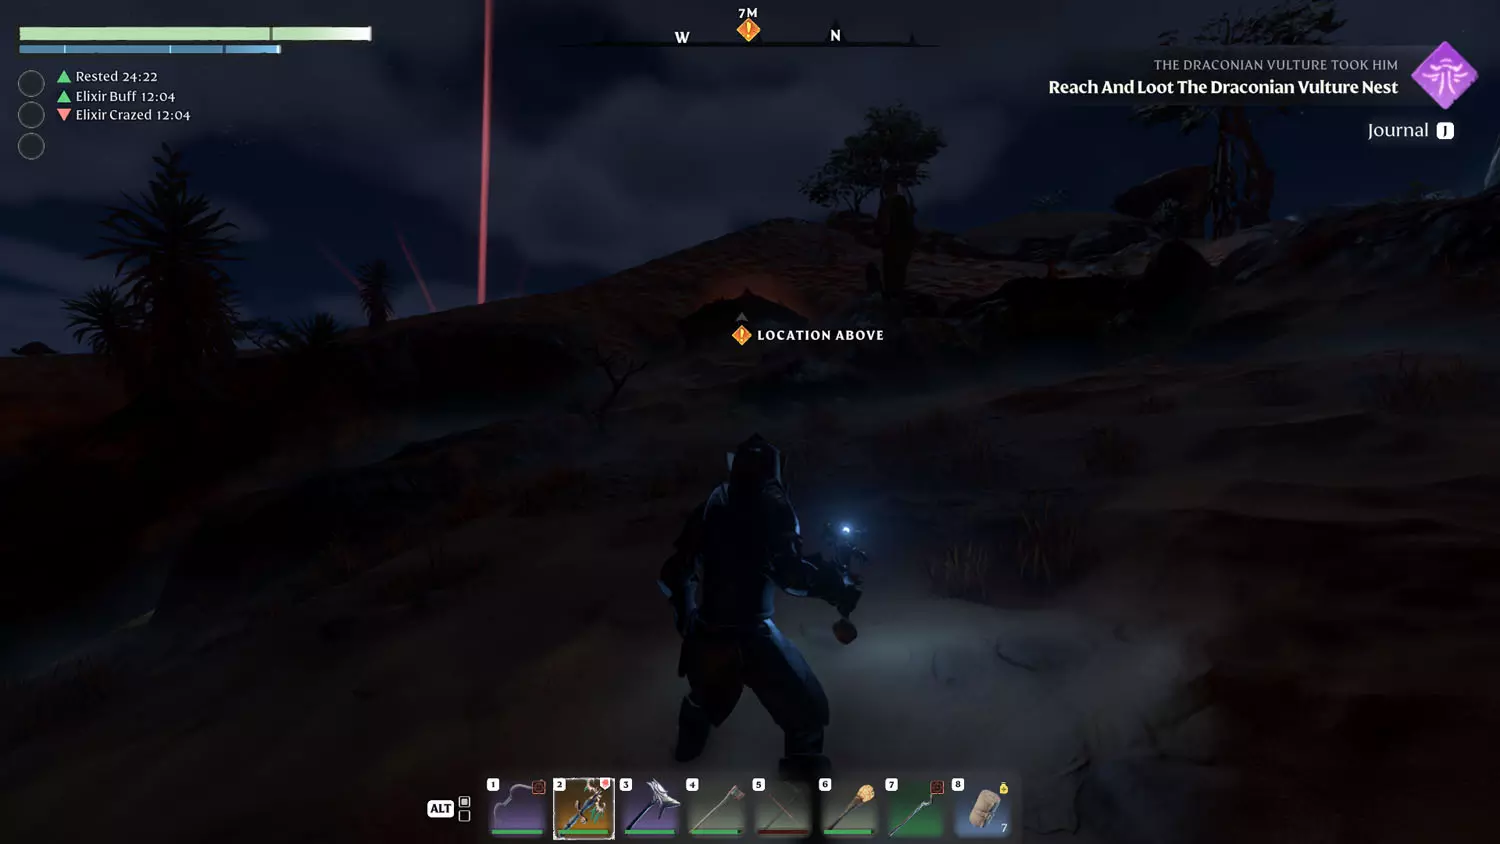
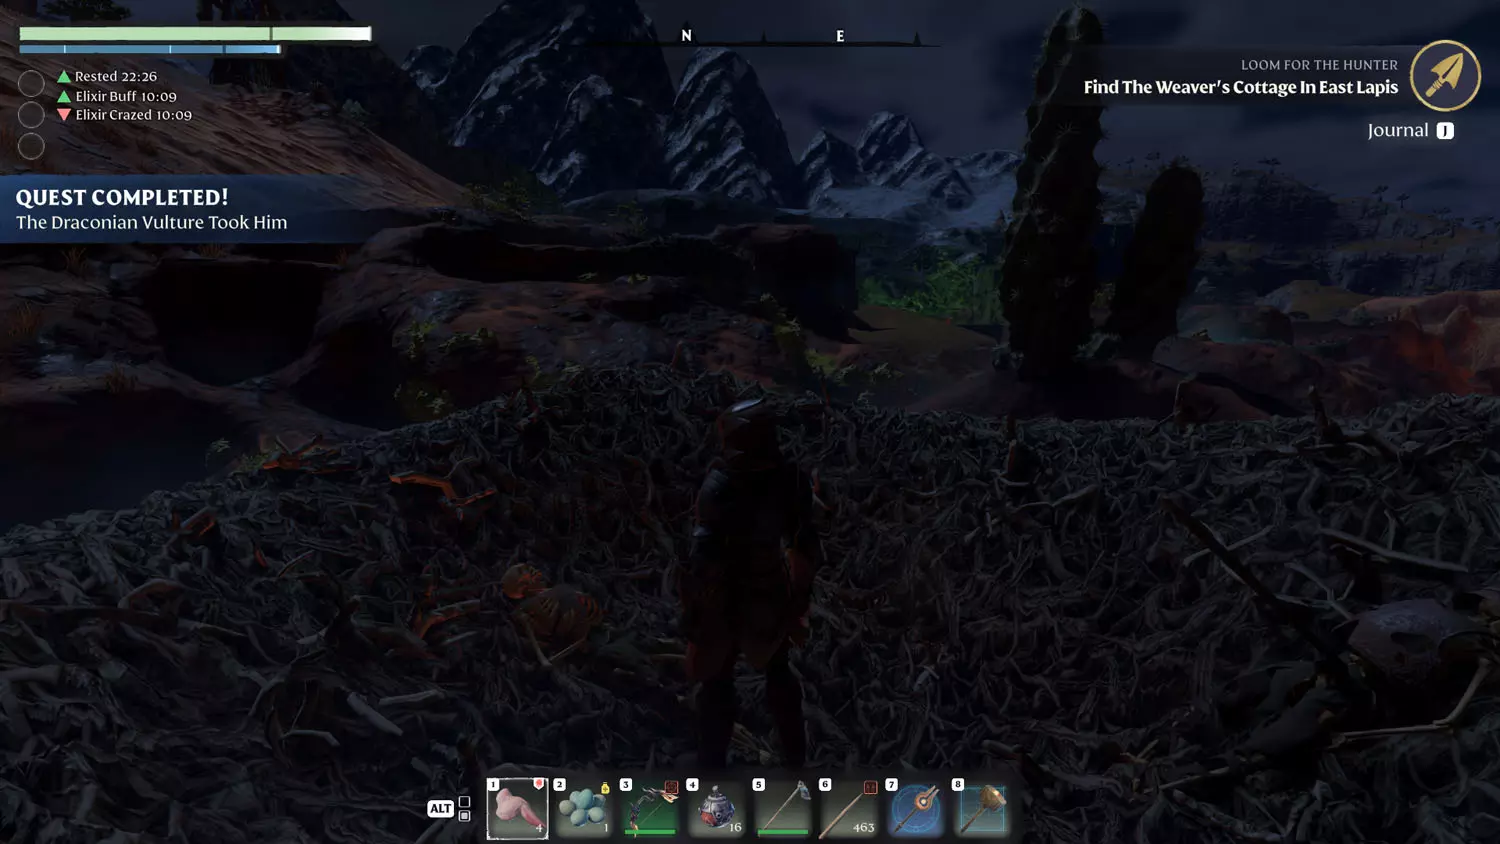
Climb up the tunnel near the Lore and reach the Draconian Vulture Nest. To complete the quest, obtain the second half of the Lore: 2/2 A Powerful Hunter’s Bow. Enjoy the quest item, Draconian Bow!


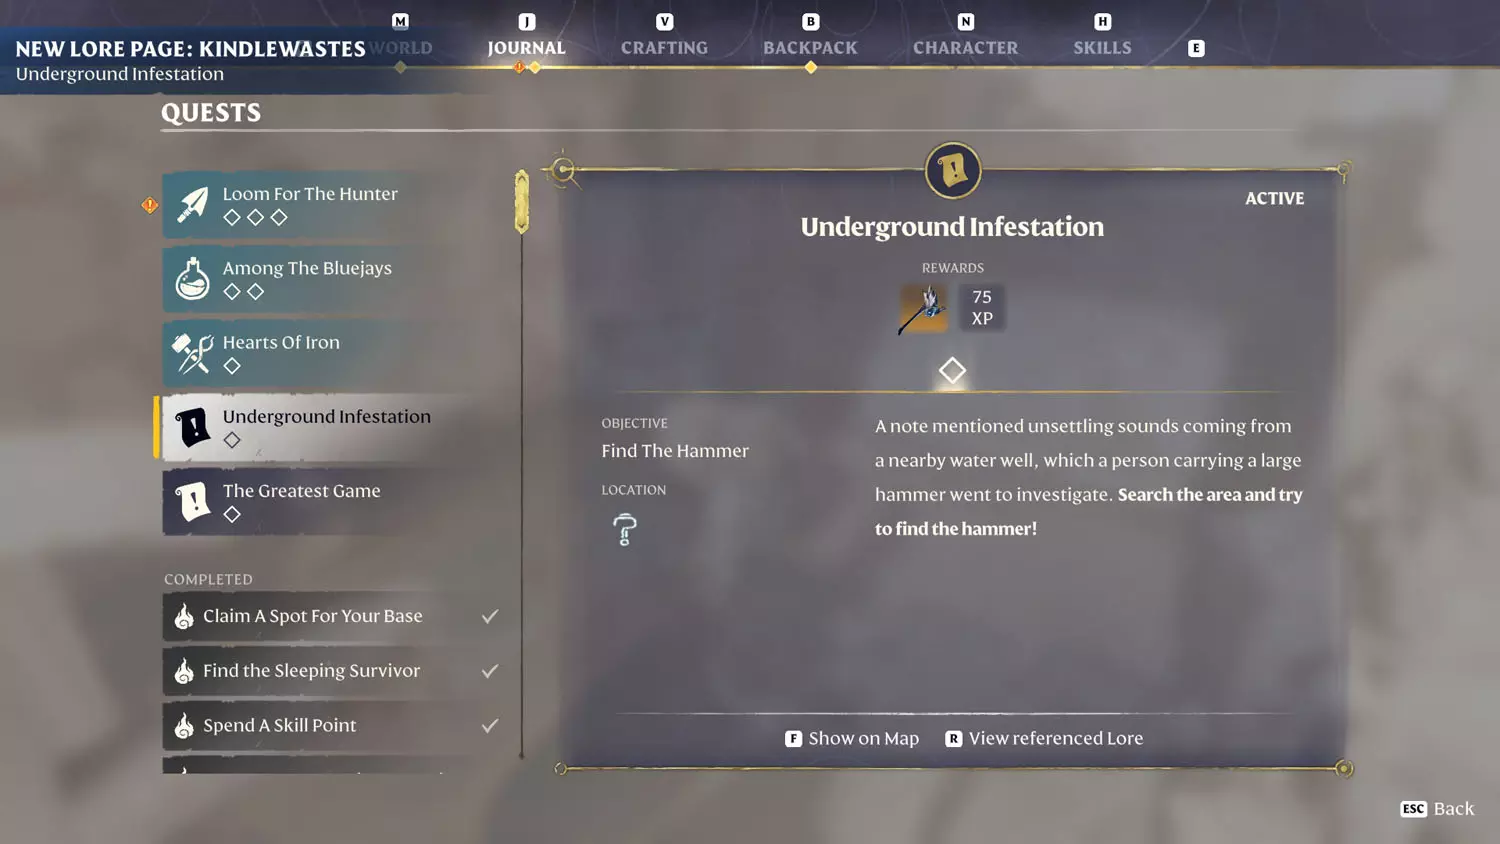
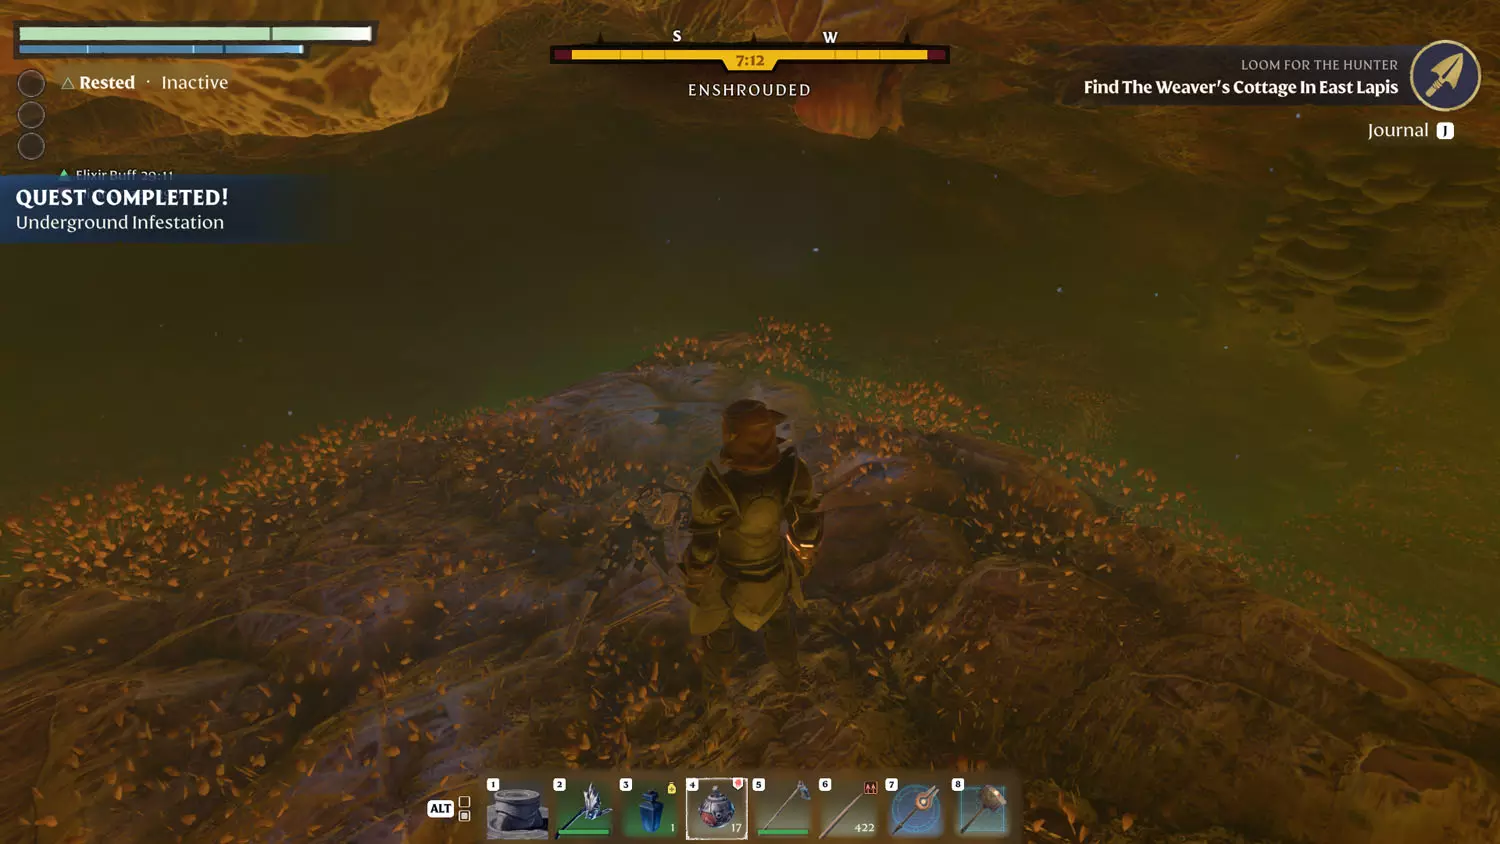
Underground Infestation
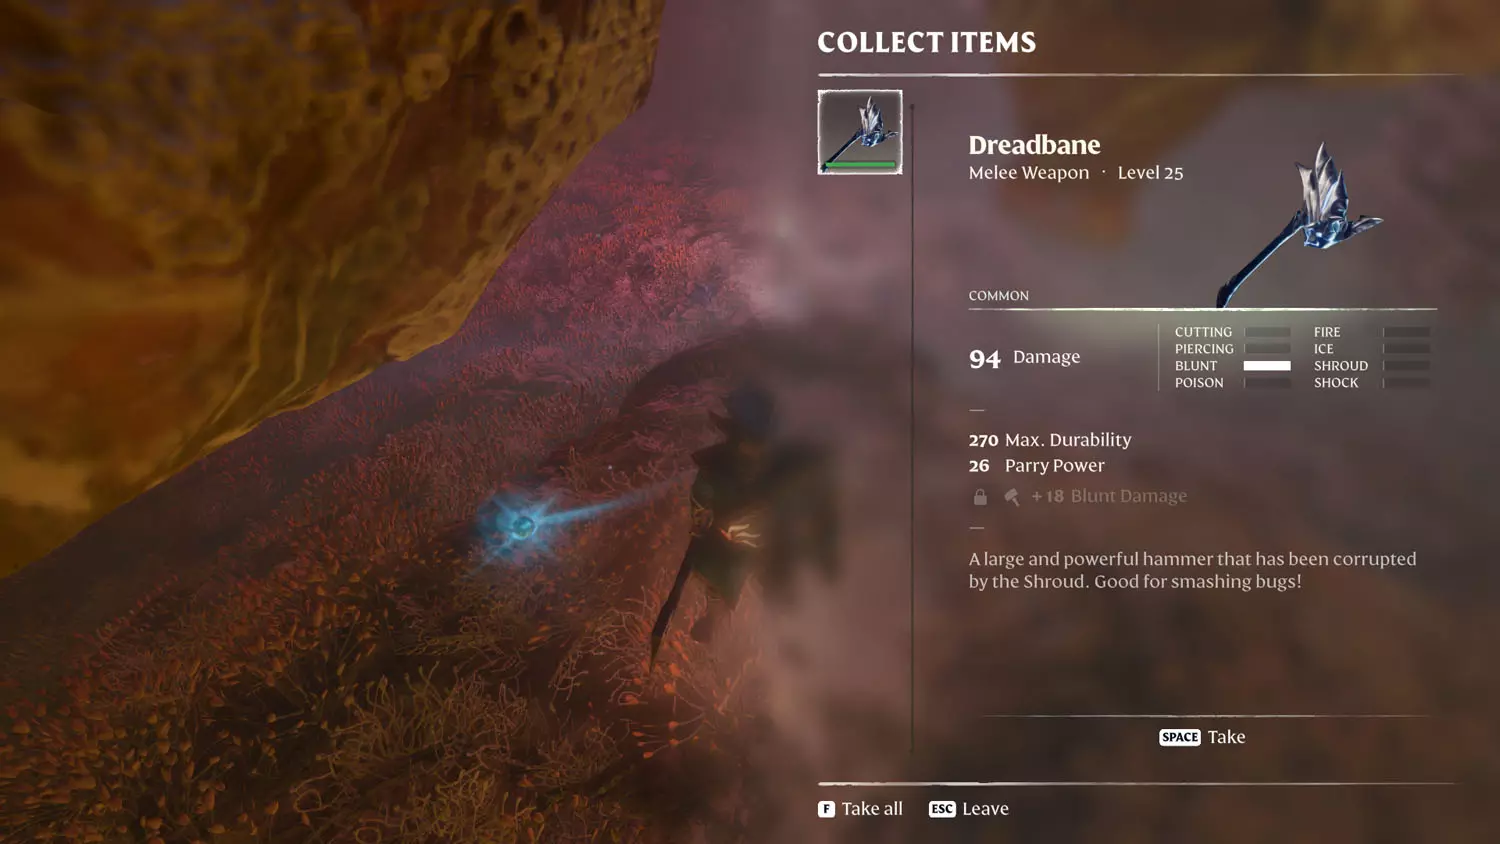
Rewards: Dreadbane Hammer + 75XP
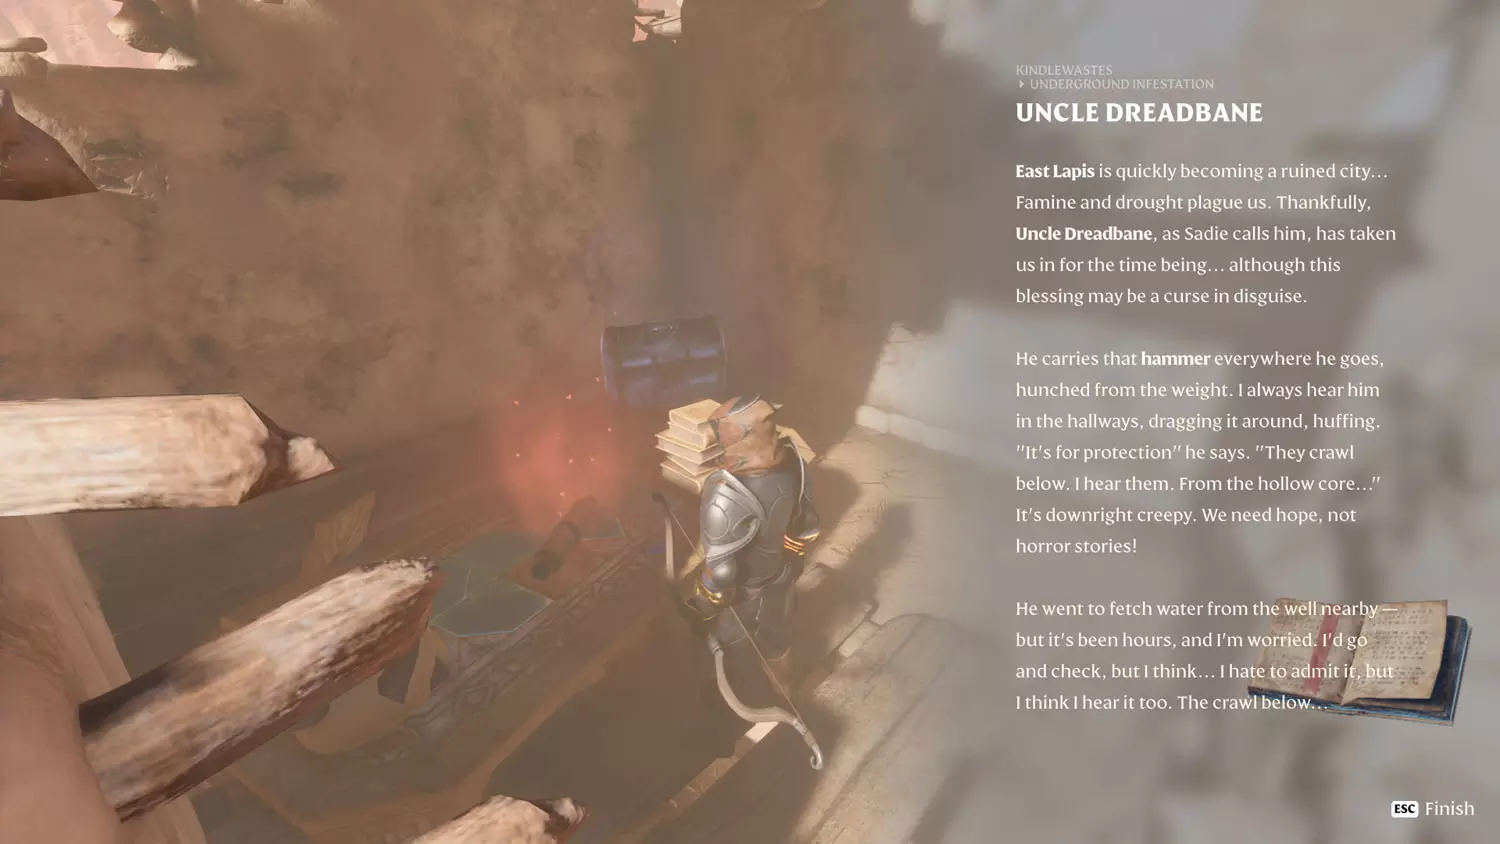
It may come as no surprise, but this quest also starts when you read some Lore in East Lapis. Check out the Kindlewastes Lore: Underground Infestation 1/2 Uncle Dreadbane for details on reaching the Lore.
TIP: More Lore here! Kindlewastes Lore: 2/2 Dreadbane Hammer Discovered and Hats Shipment Missing 1/1 Our Hats Are Lost!; Nobles and History Lore: Caravan To Longkeep 1/2 Survival Depends On Me.
TIP: Quests in the area - Hunter Quest: Loom For The Hunter; Bonus Building Block: Highly Polished Stone Block: Items, XP, and Loot Reward Quest: Underground Infestation, Robert Gibson Needs Help, and Finding Epic Instruments (which has information about the Pure Soul Hugo Vanderhall); & Bard Quest: Music Sheets.

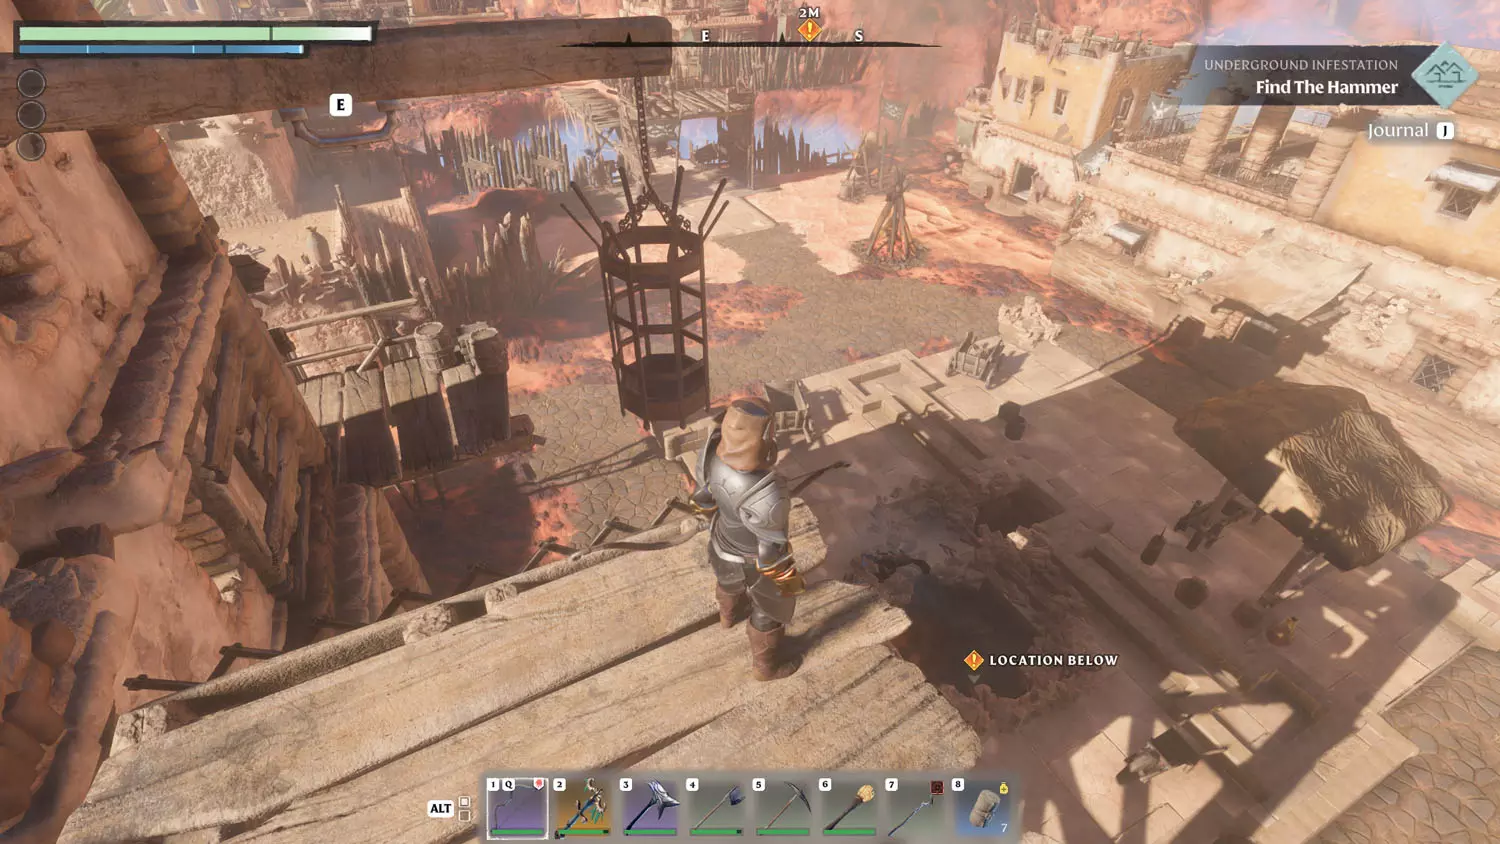
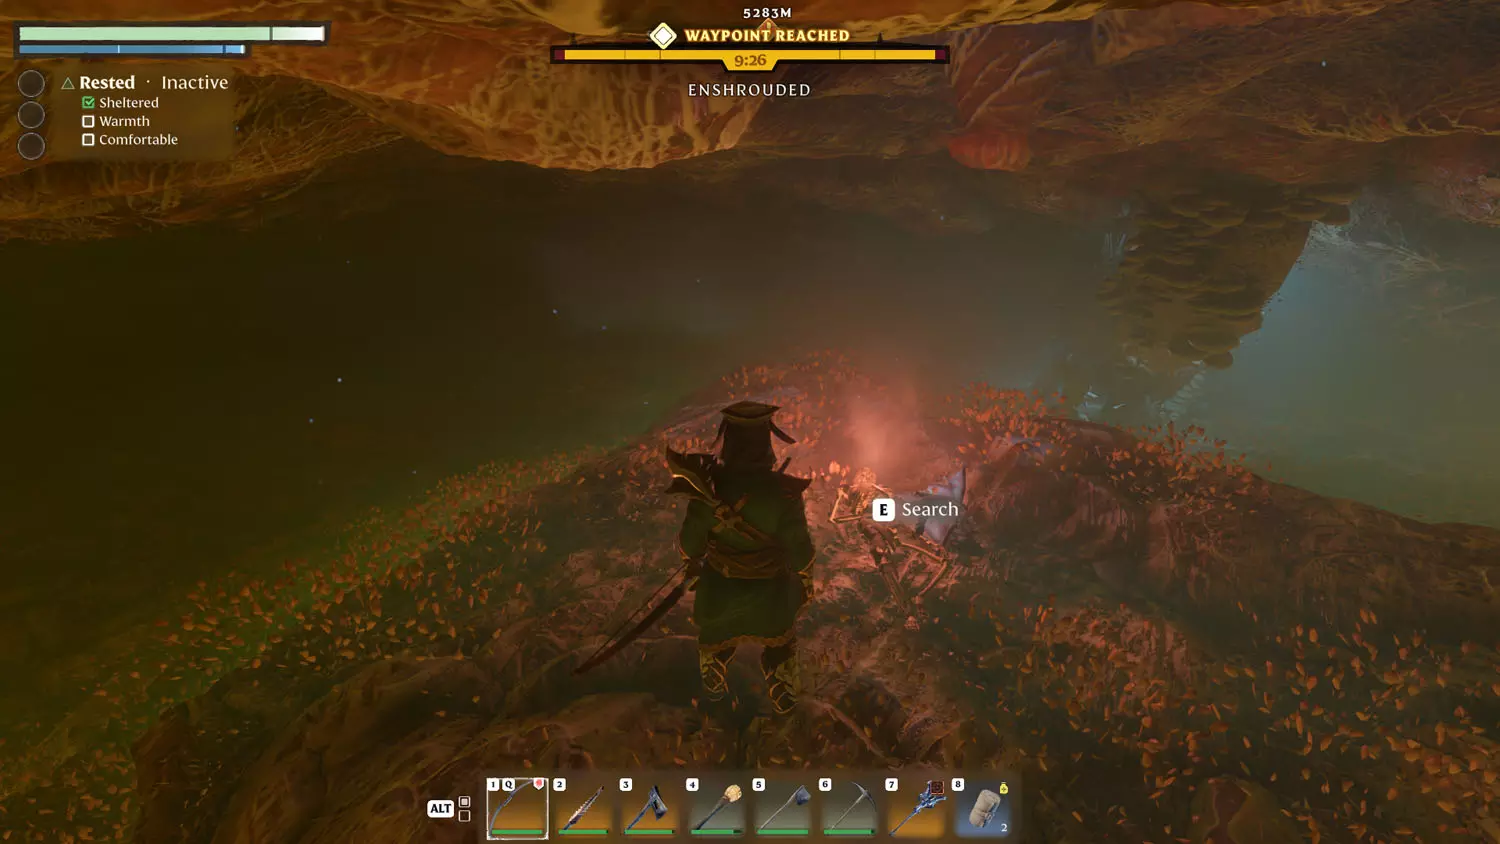
After reading the Lore previously mentioned, it’s time to exit the building and take a look downward. You’ll finish the quest in an underground “well” when you loot the body and thus also complete the other half of the Lore mentioned before (2/2 Dreadbane Hammer Discovered).


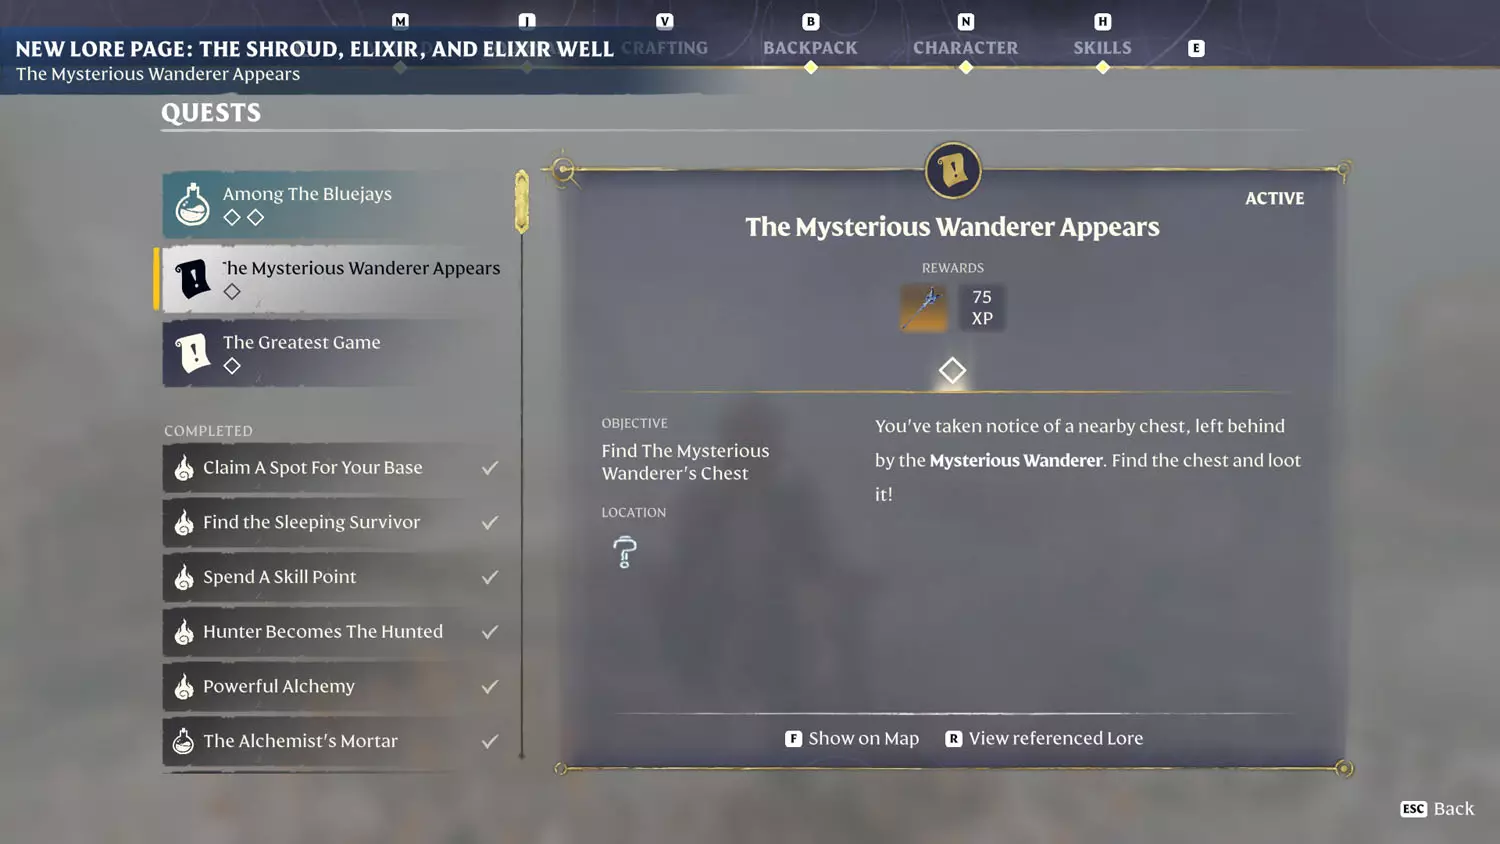
The Mysterious Wanderer Appears
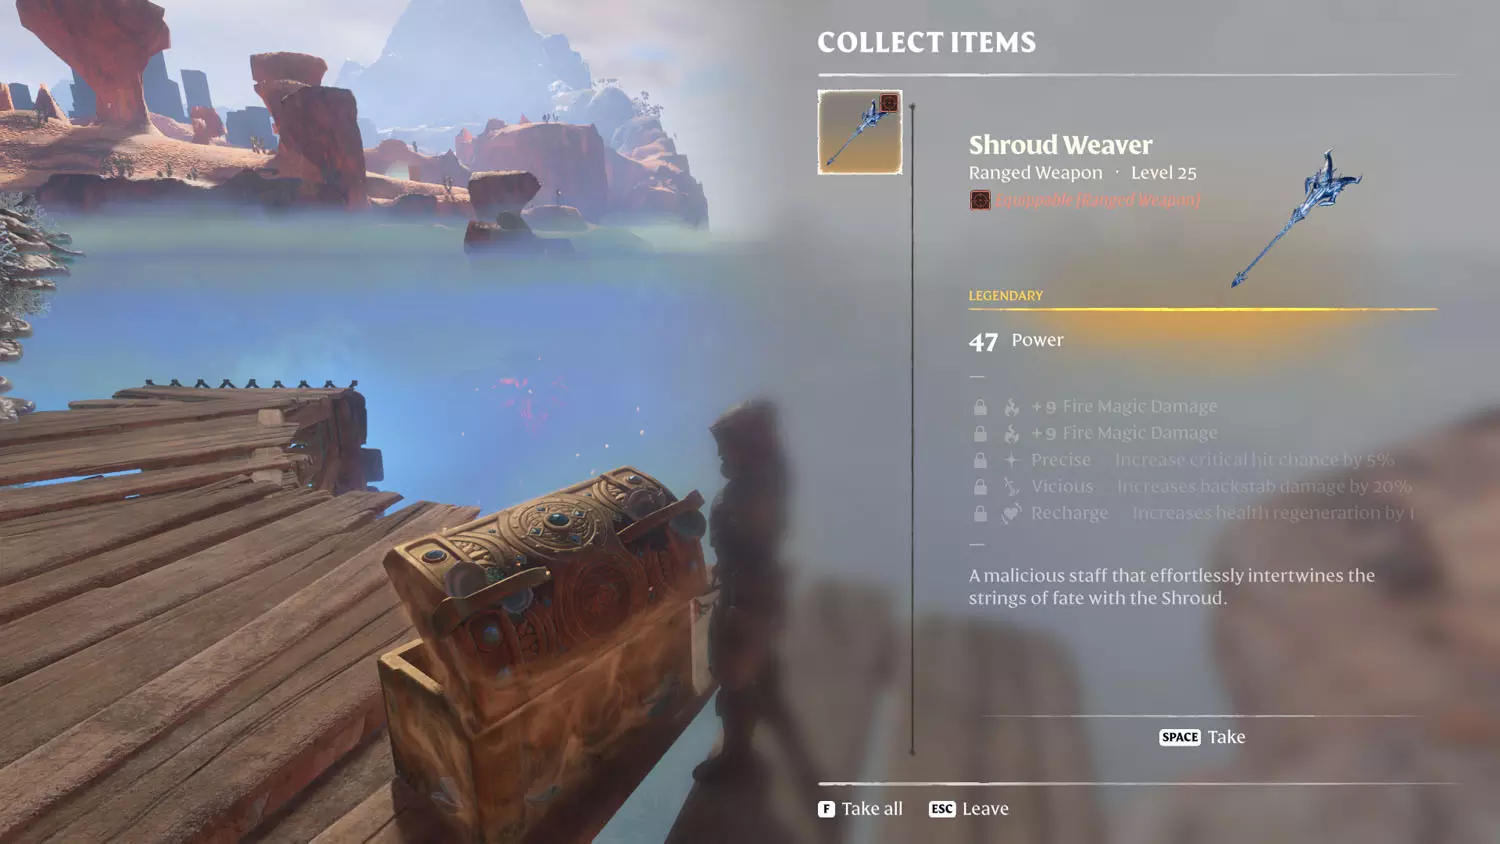
Rewards: Shroud Weaver + 75XP
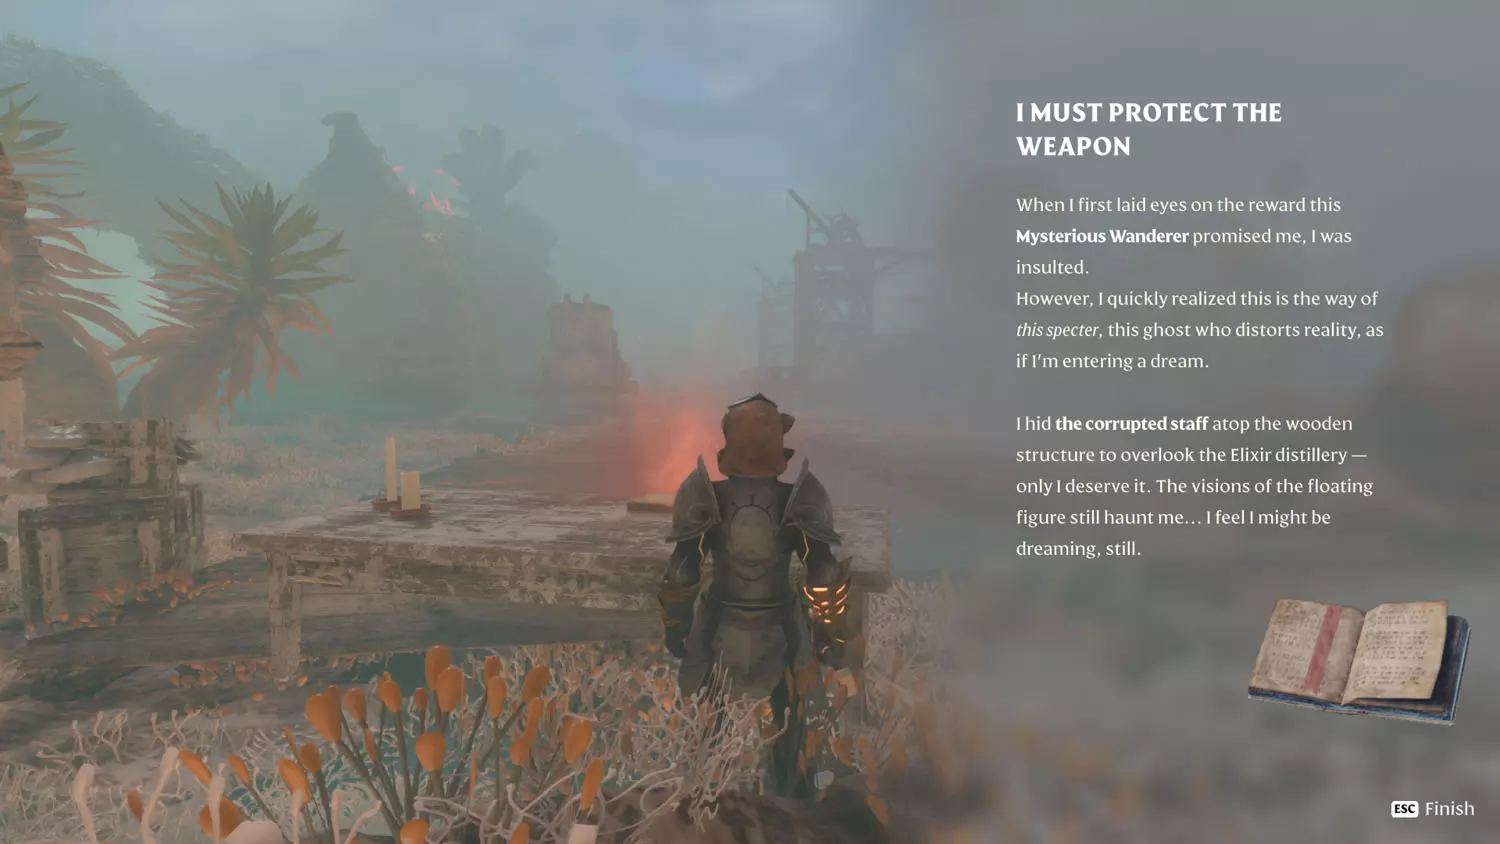
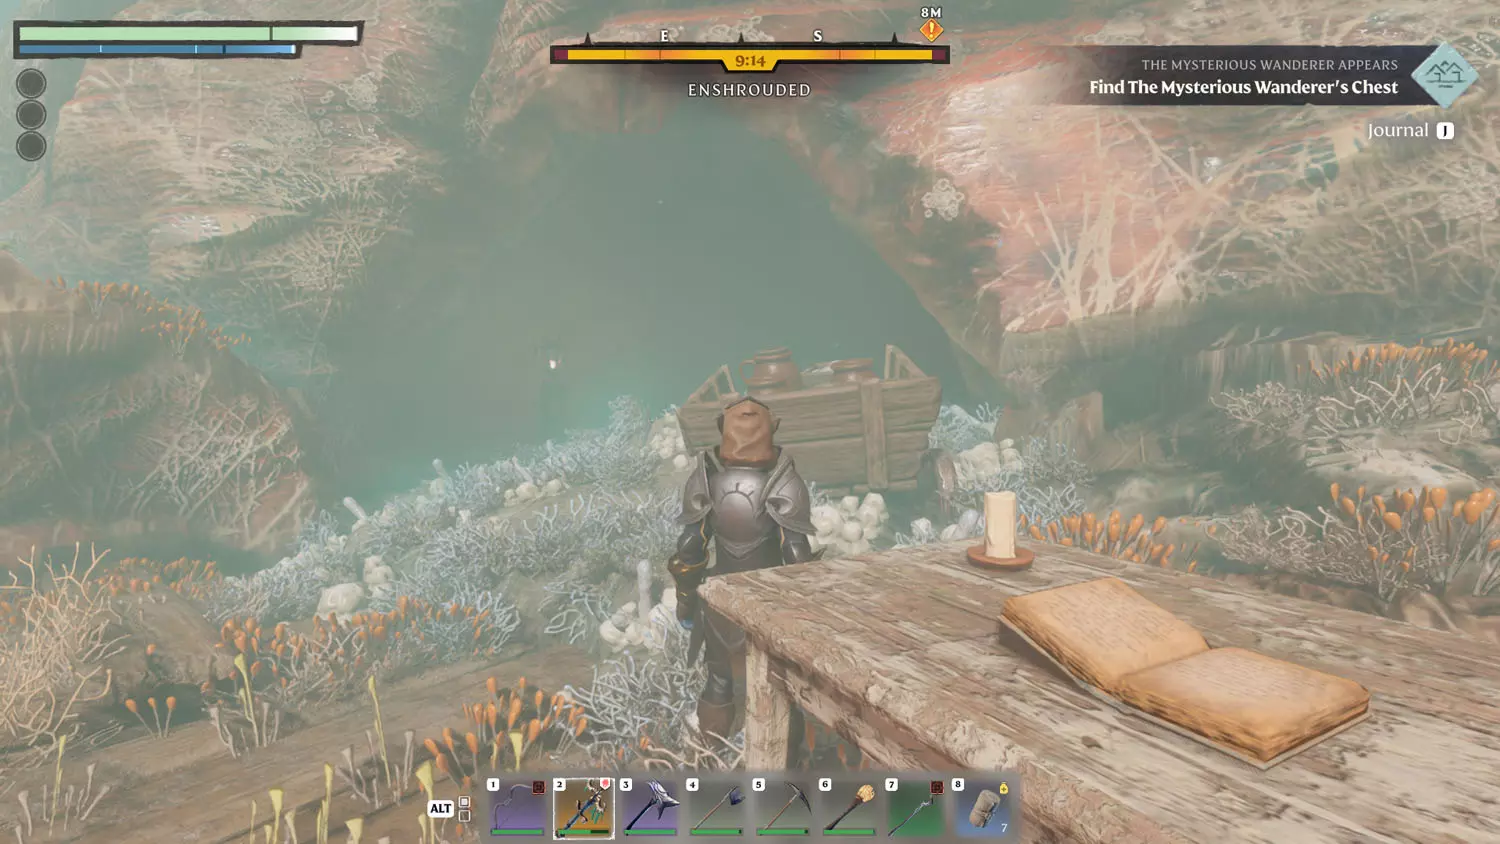
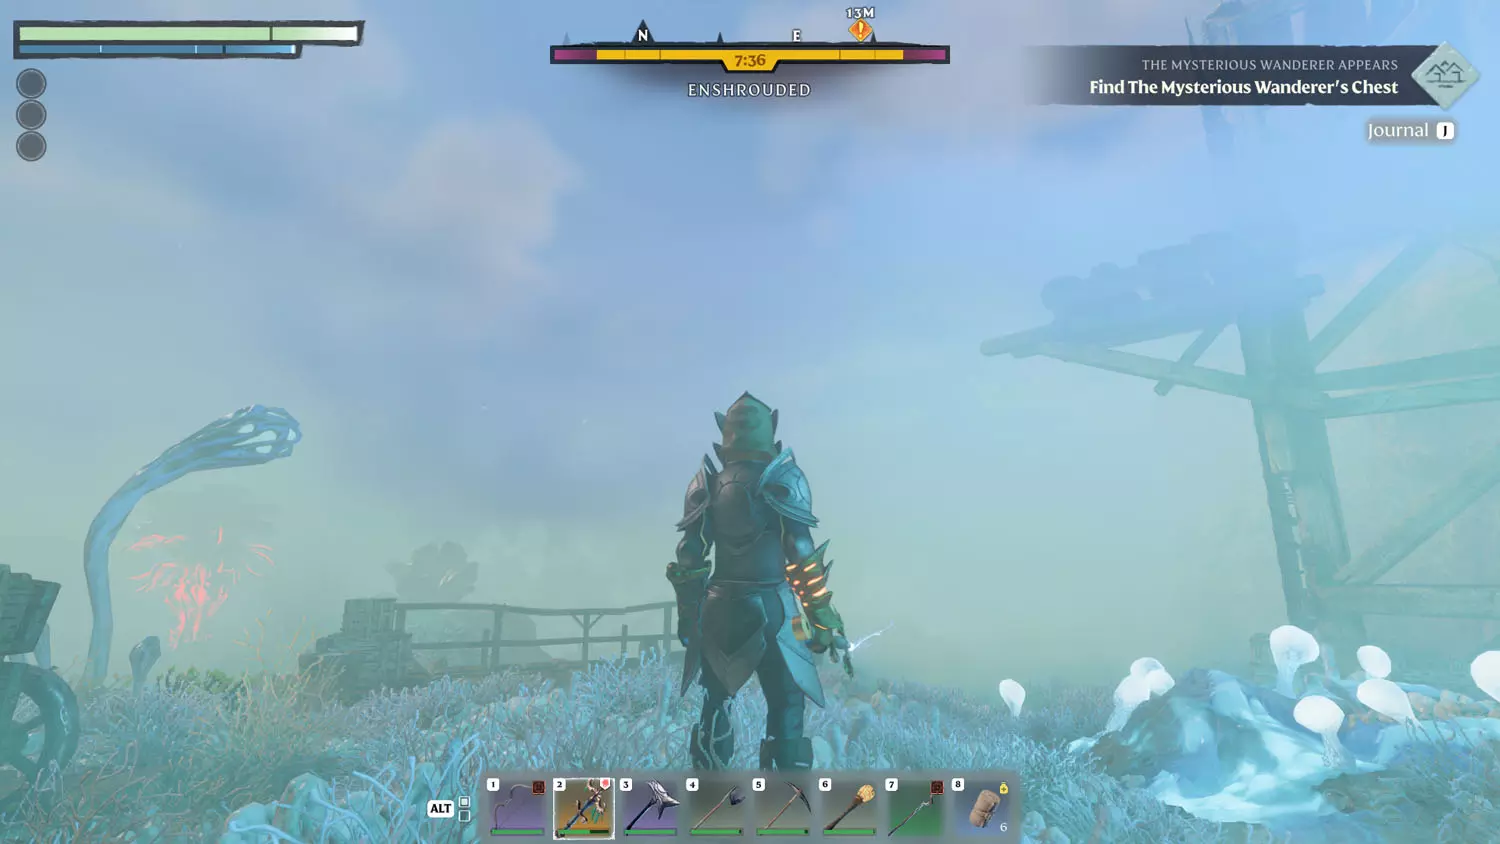
Like many quests, this one begins when you read some Lore - specifically The Shroud, Elixir, and Elixir Well Lore: The Mysterious Wanderer Appears 1/2 I Must Protect The Weapon, located in Low Tide.


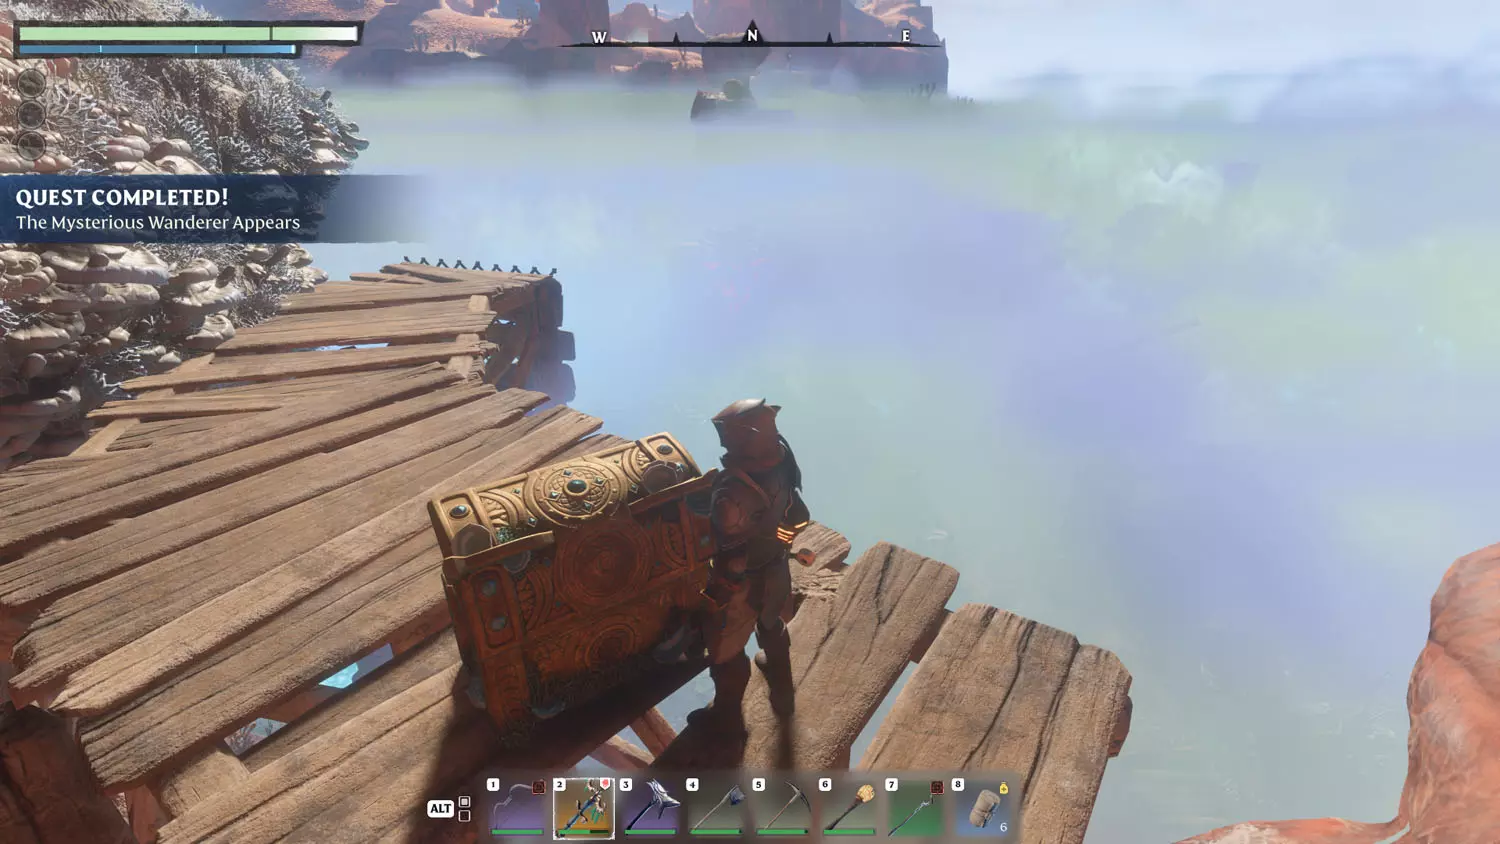
From the first Lore, head into the cave behind it. It will lead to a lookout spot over the town and will have a platform with a climbable wall. Up top, and out of the Shroud, is the Gold Chest with the Shroud Weaver inside. To complete the quest, and the second part of the Lore (2/2 Staff Found), loot the chest.


Ancestor's Weapons
Reward: Ancestral Star + 75XP
Gunther Galeforth
I don’t know if anything triggers finding Gunther Galeforth, but I found him! He was near the Albaneve Summits Lore: Balefire Garrison "Windward" Notes 1/2 I'm Not Cut Out For This, which is also near 2/2 Wind Riders. You can find him in a room located at the bottom right of the garrison.
TIP: Area is related to the Flame Altar Quest: Slaying The Corrupted Beast.


When you speak with Gunther Galeforth, he’ll do some “Introductions” and then he’ll want to talk about “Ancestral Weaponry”.


After you have spoken with Gunther Galeforth, it’s time to head to a Hidden Tomb Entry!


There are two main coffins within the tomb, so don’t give up if you are fooled by the first one like I was. Take the first available right and then just follow that as it curves and then heads straight for the prized coffin. The quest completes when you open the proper one.


The Greater Twinflame Sword
Reward: Greater Golden Twinflame Sword + 75XP
Reading the Ancients And The Flame Lore: The Twinflame Swords 2/2 Starfall Legend will start this quest!
TIP: This is at the Balefire Tower “1000 Miles”, which is also part of the Flame Altar Quest: Slaying The Corrupted Beast. Also here is the Items, XP, and Loot Reward Quest: A Beautiful Home.

Your next destination is the nearby Cyclops Cave Passage. Head down, slay the beast or just run in and grab the sword. Either way getting the sword completes the quest!
TIP: This location is also part of The Collector Quest: A Skeleton Cyclops Collection.


A Devious Performance
Reward: Circus Knives + 75XP
This quest becomes active after finding the Albaneve Summits Lore: A Devious Performance 1/2 All Preparations Are Done!.
TIP: Also in New Cromville is the Albaneve Summits Lore: A Devious Performance 2/2 Only Today: The Fabulous Godwin’s “Impalement Act!”.

Head to the west of New Cromville for the Circus Knives. These can be found on a tied up skeleton that is guarded by a Fell Thunderbrute.


The Lesser Twinflame Sword
Reward: Lesser Twinflame Sword + 75XP
This quest begins when you read the Ancients and The Flame Lore: The Twinflame Swords 1/2 Never Whole.
TIP: Nearby is the Albaneve Summits Lore: Polaris Falls Cyclops Cave 1/2 Gotta Fix That Fence - starts the Items, XP, and Loot Reward Quest: Polaris Falls Cyclops Cave. Items, XP, And Loot Reward Quest: Finding Cosmetic Winterly Set. Albaneve Summits Lore: Bed Time Stories 1/2 Who Is Scared Of Flying Horrors?

Located near Lake Luma, there is a cliff edge with a grave. Dig up the grave and retrieve the sword to complete the quest!


XP Only Reward
Obelisk Research
Reward: 75 XP
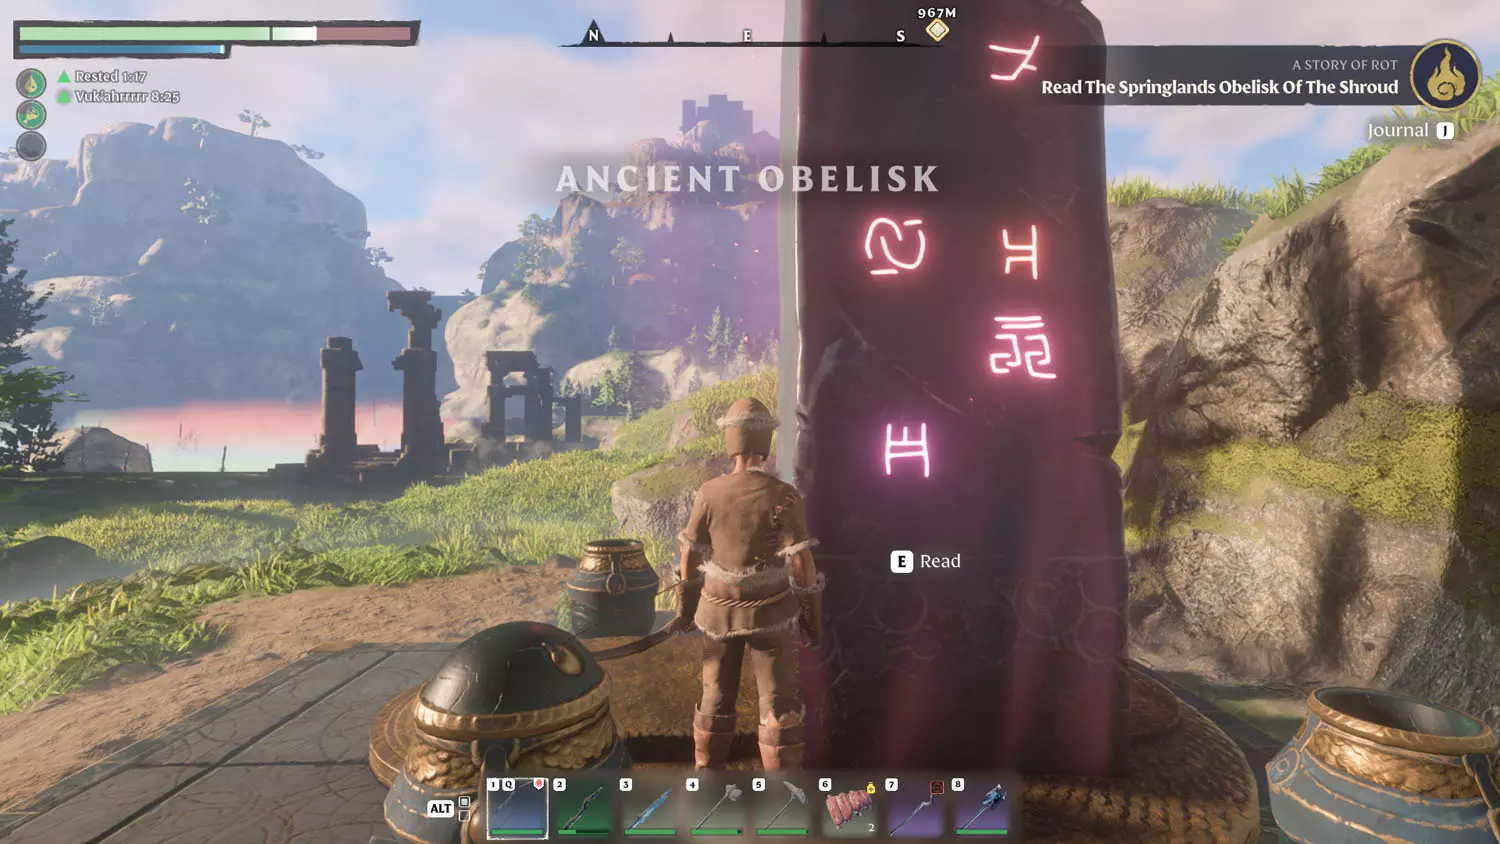
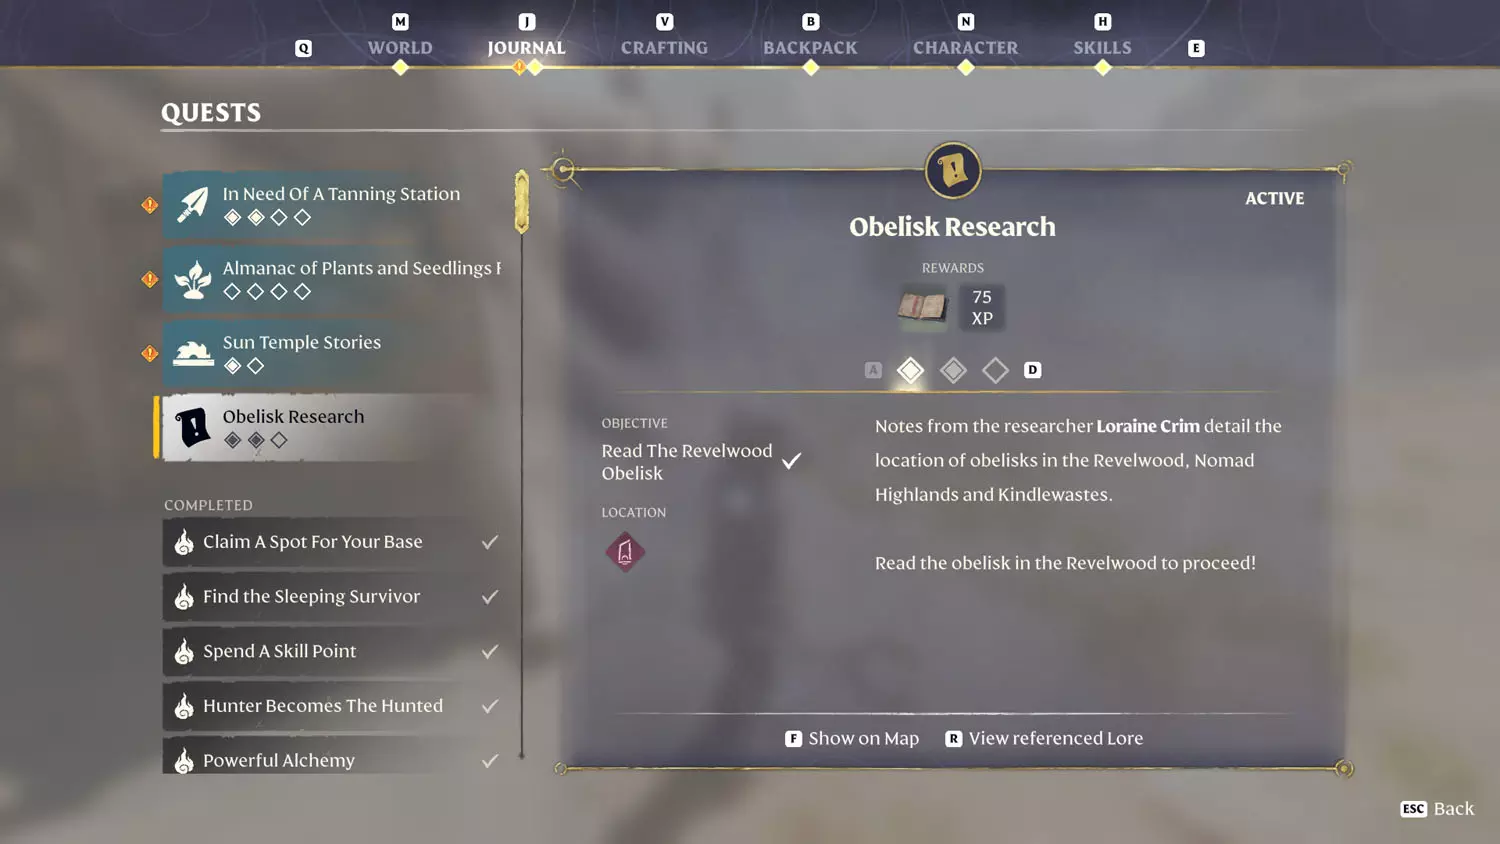
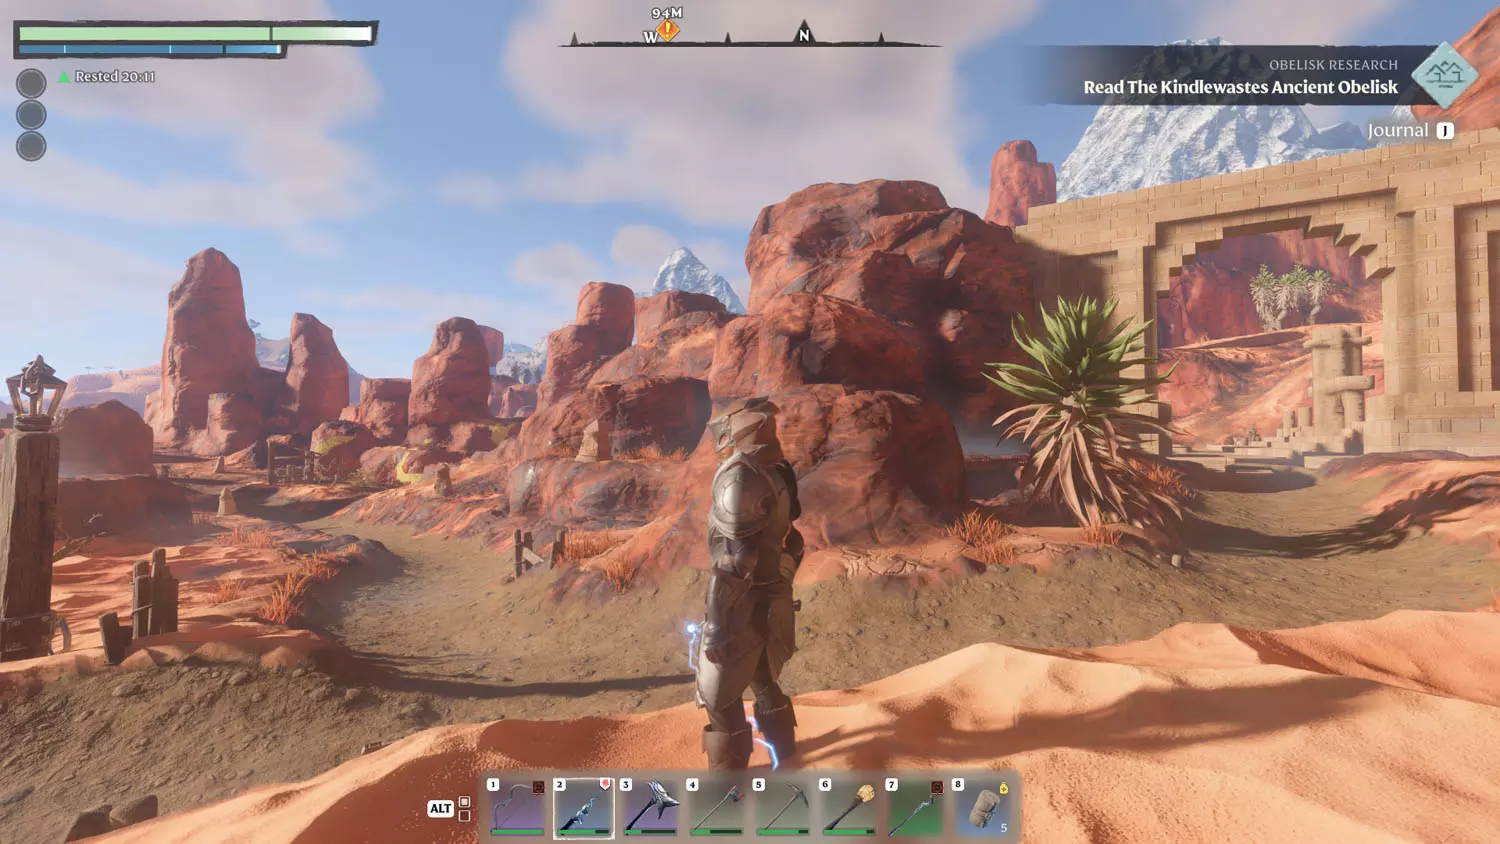
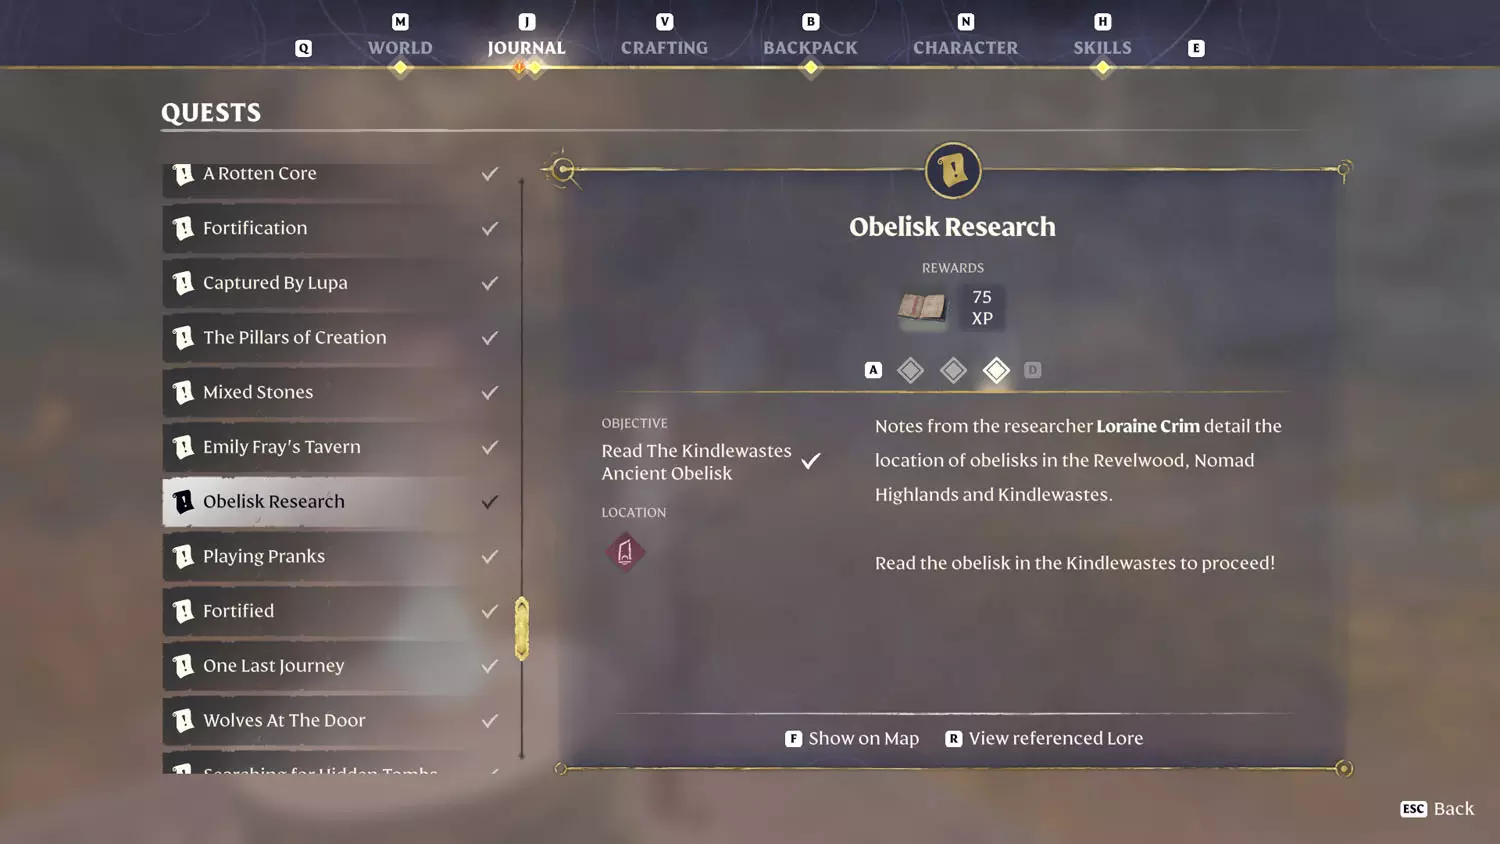
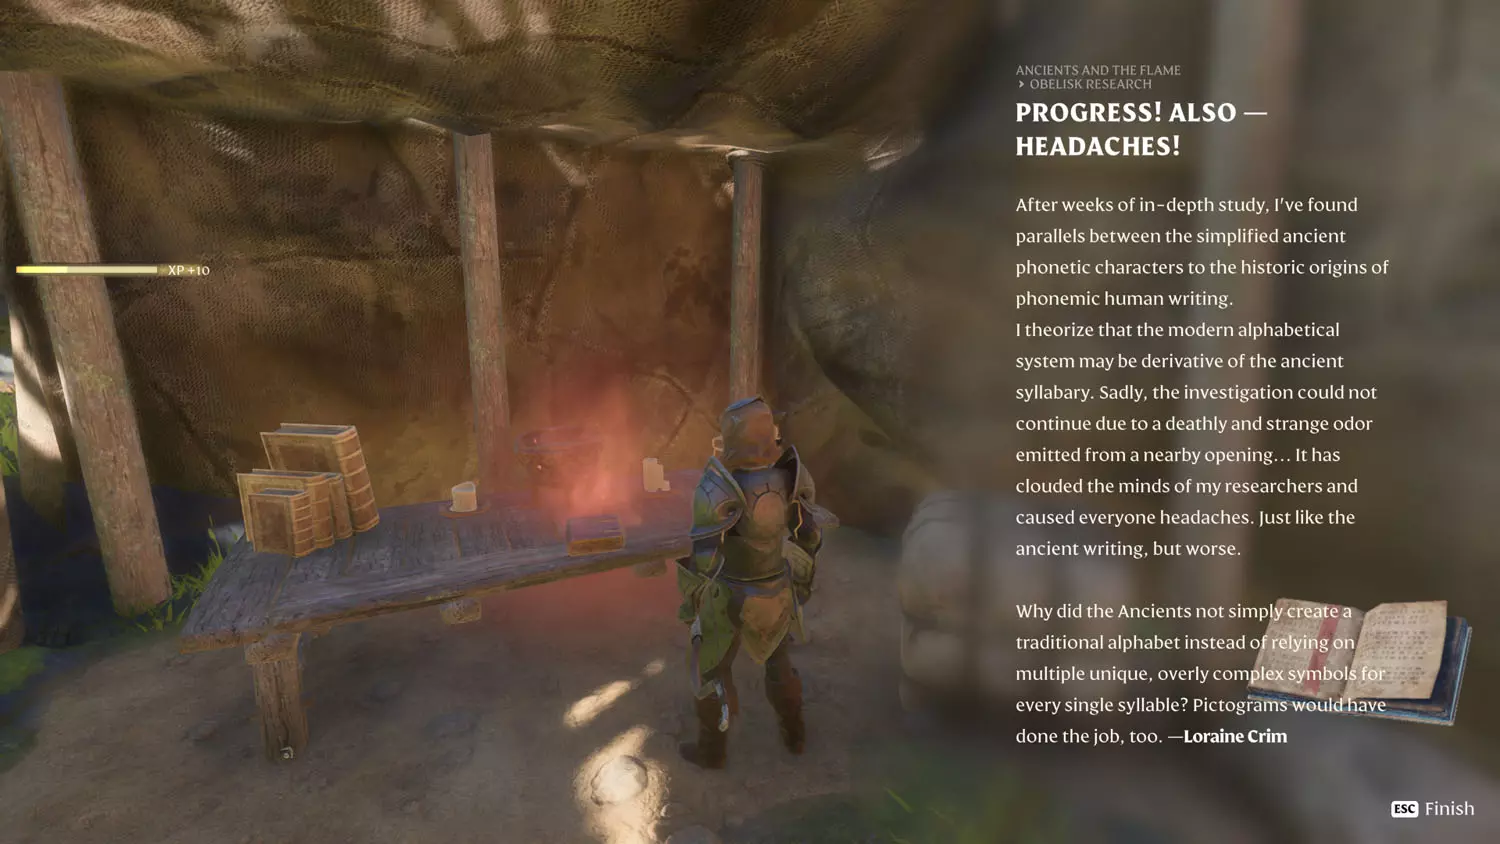
Reading the Ancients And The Flame Lore: Obelisk Research 1/3 Obelisk Writing starts the quest! From there, your first destination is the Revelwood Ancient Obelisk!
TIP: This is closely connected to the Flame Altar Quest: A Story of Rot.


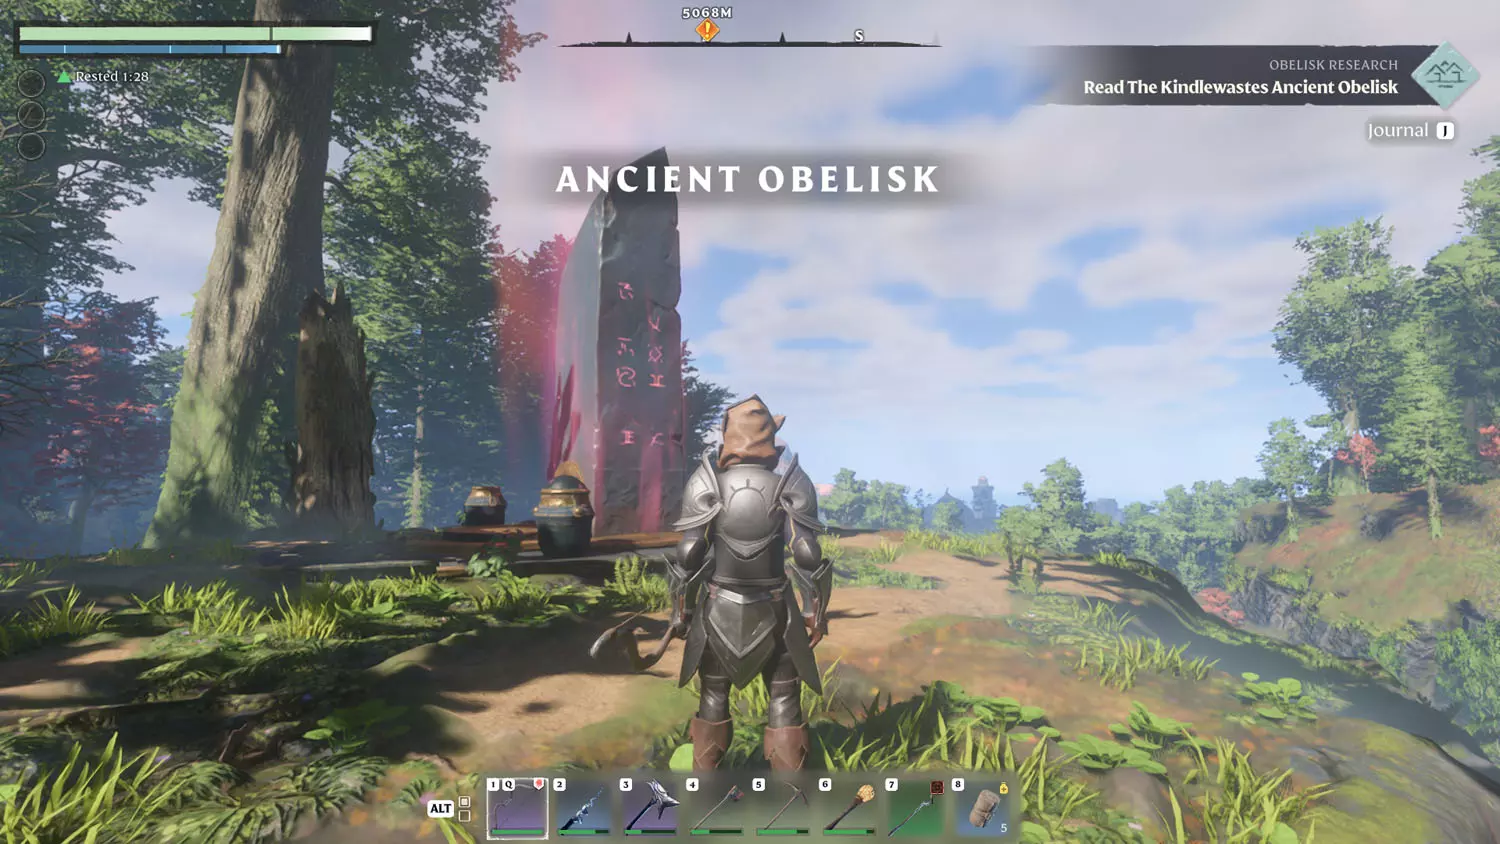
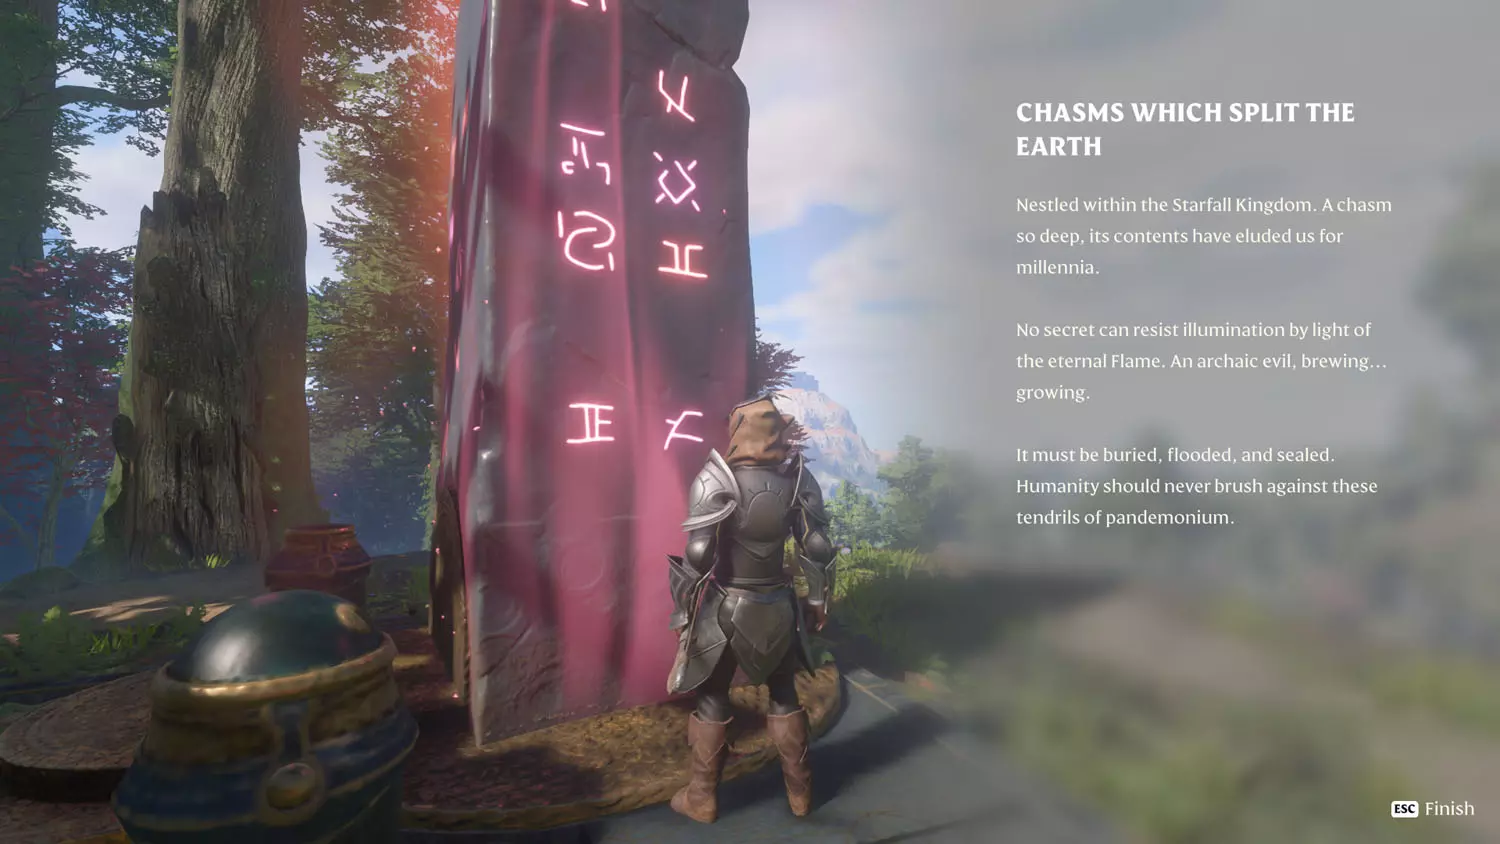
Reading the Ancient Obelisk in the Nomad Highlands resolves the second part of the quest. This one is located south of the Ancient Spire - Nomad Highlands Fast Travel. It is near the Ancients And The Flame Lore: Obelisk Research 3/3 Confusion Above All.
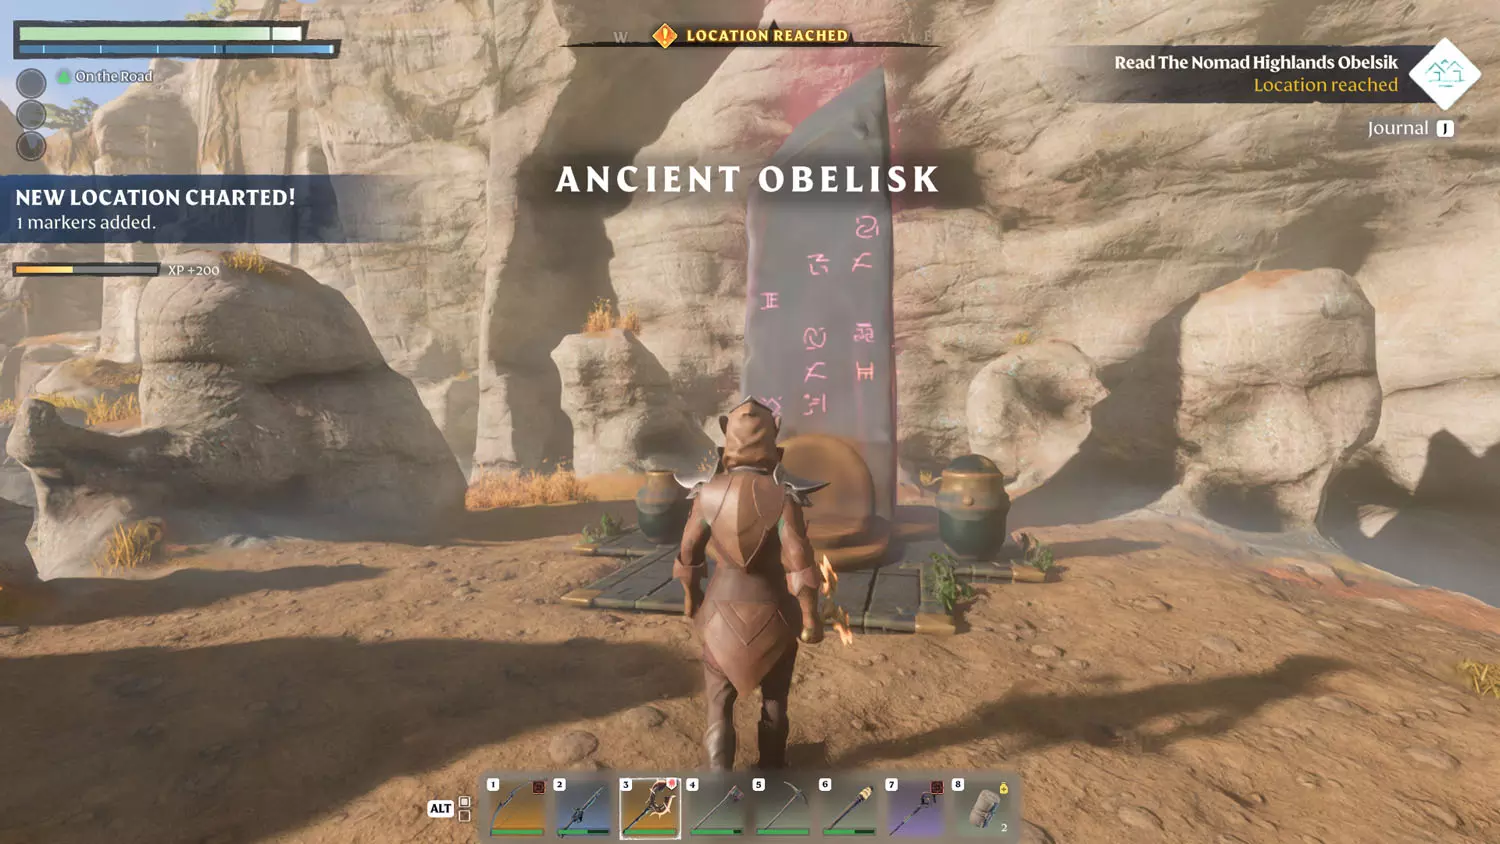
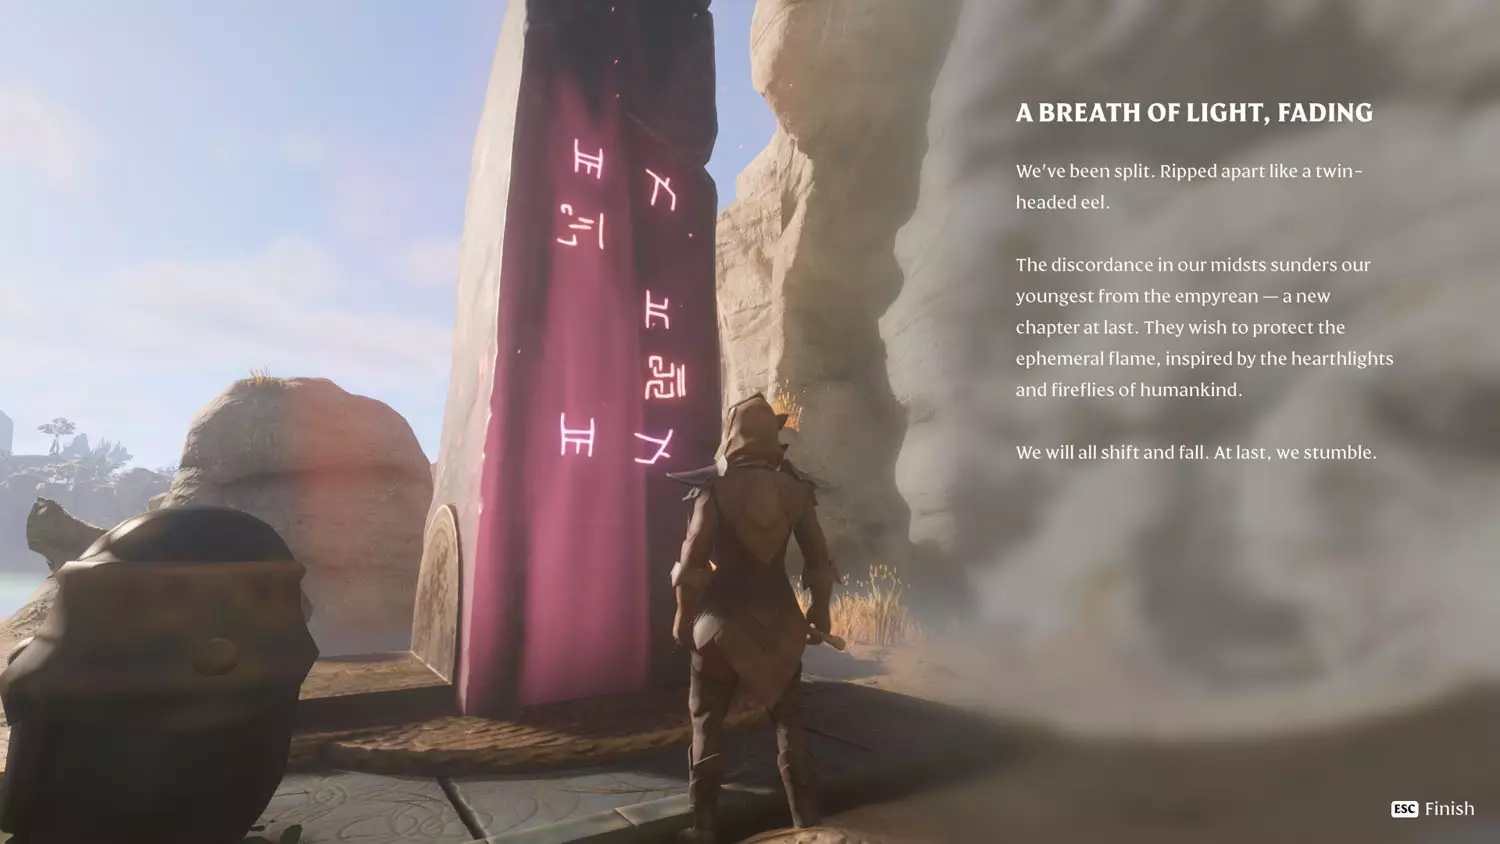
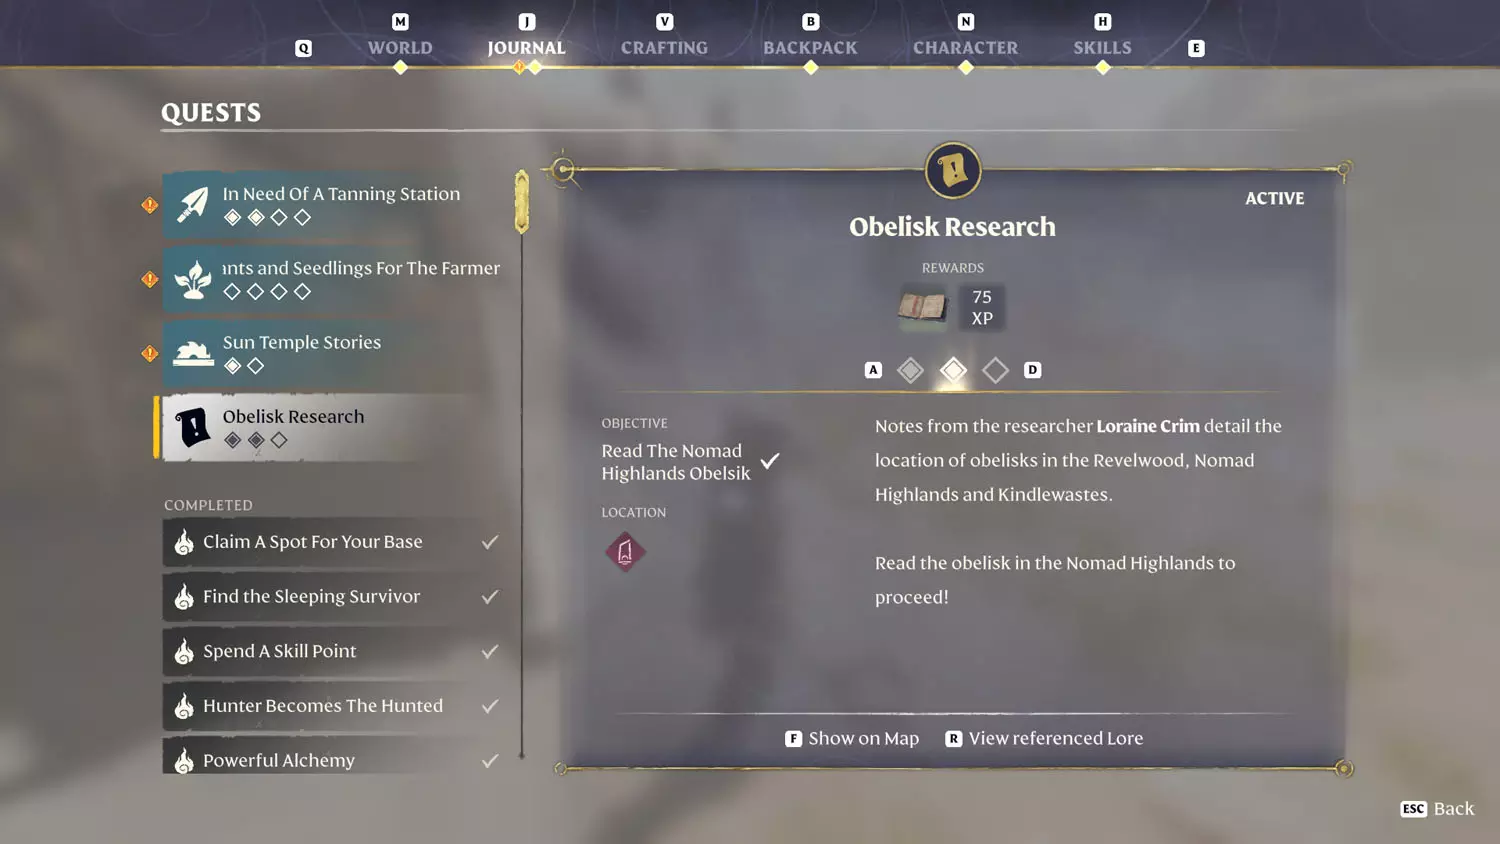

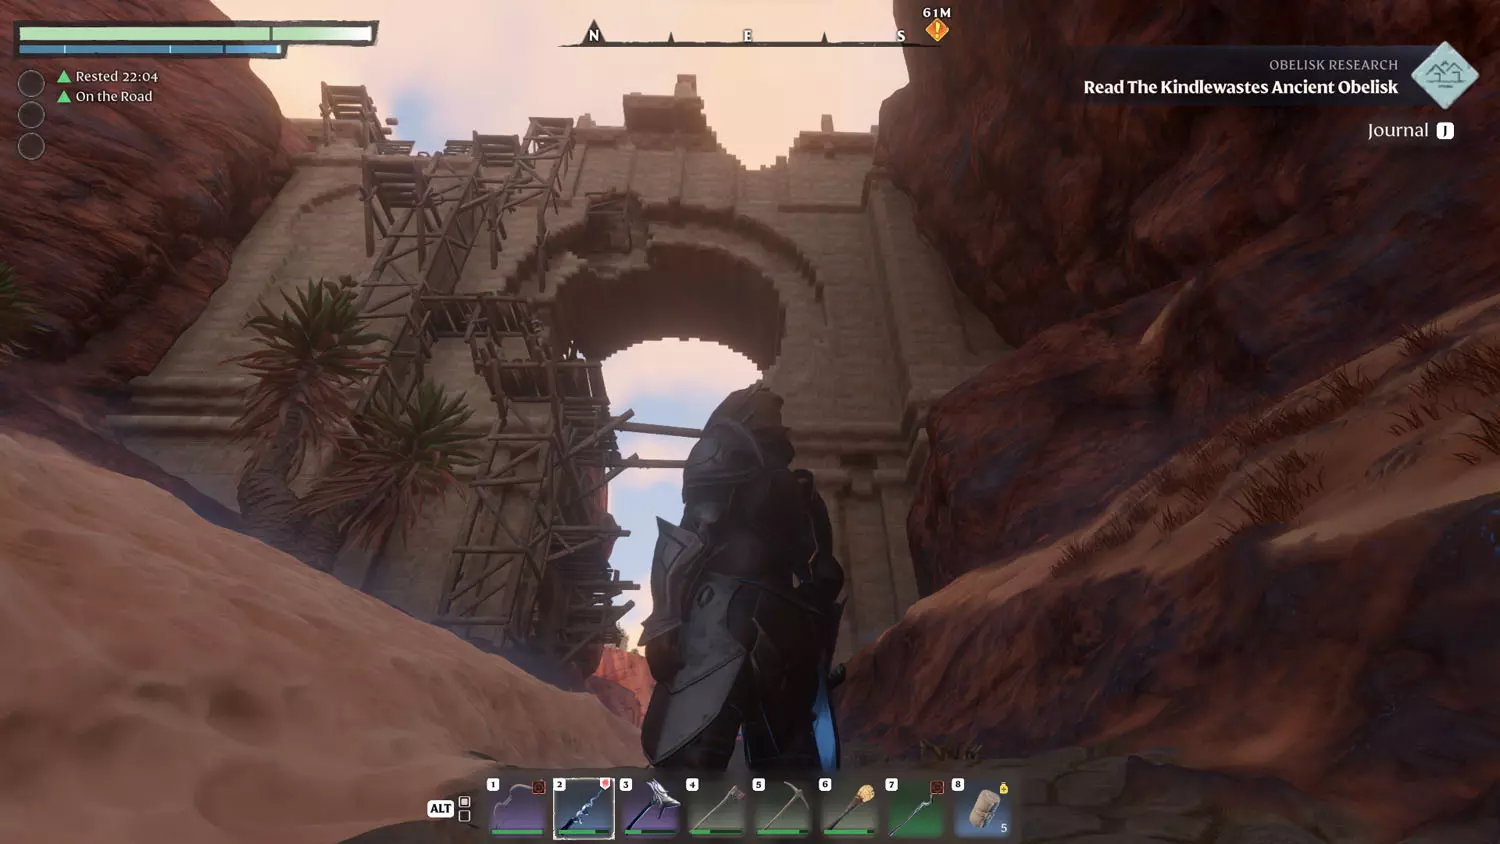
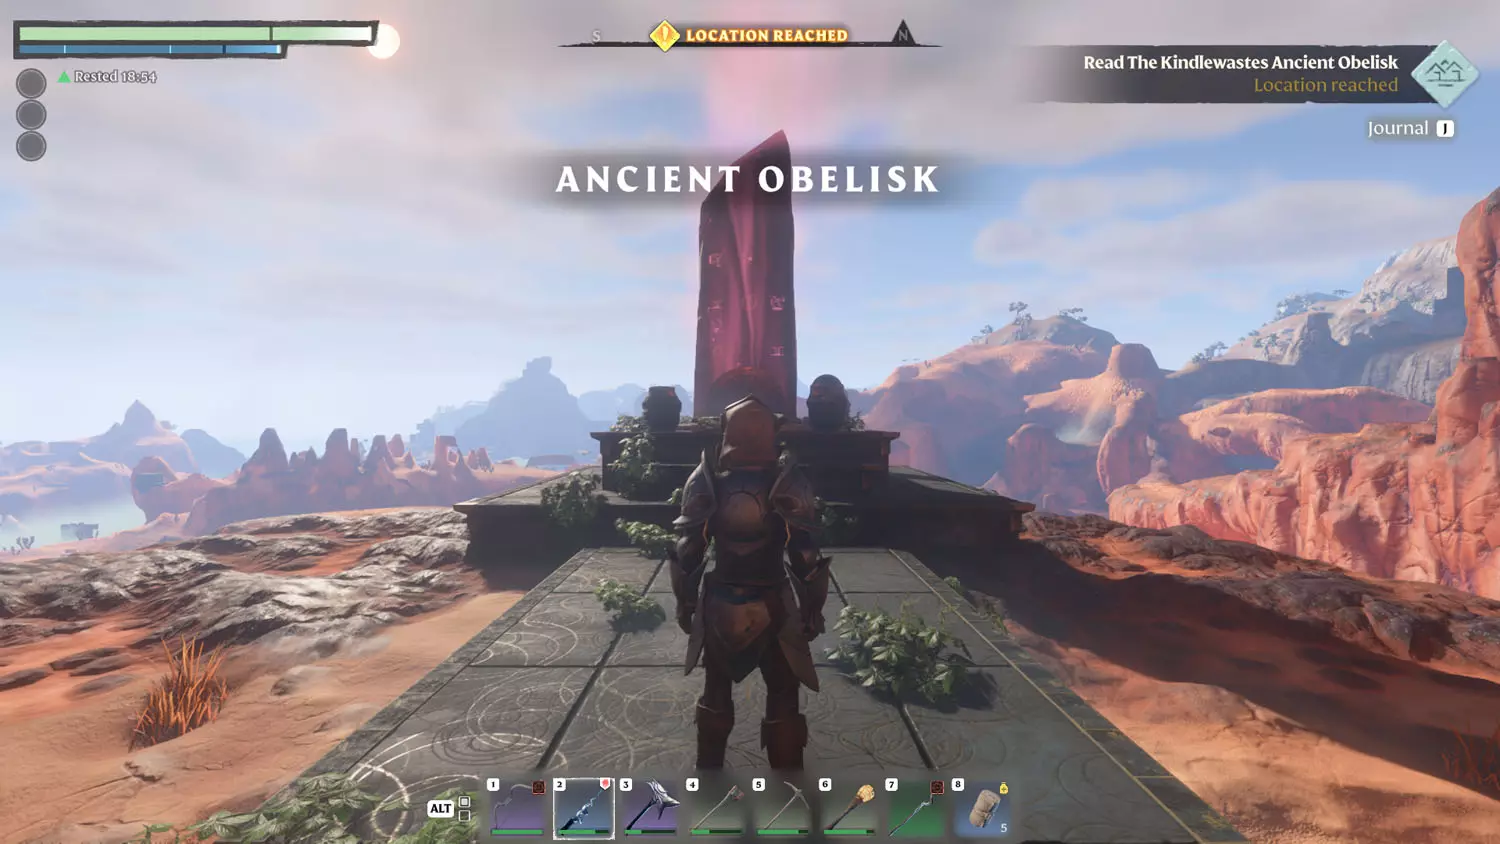
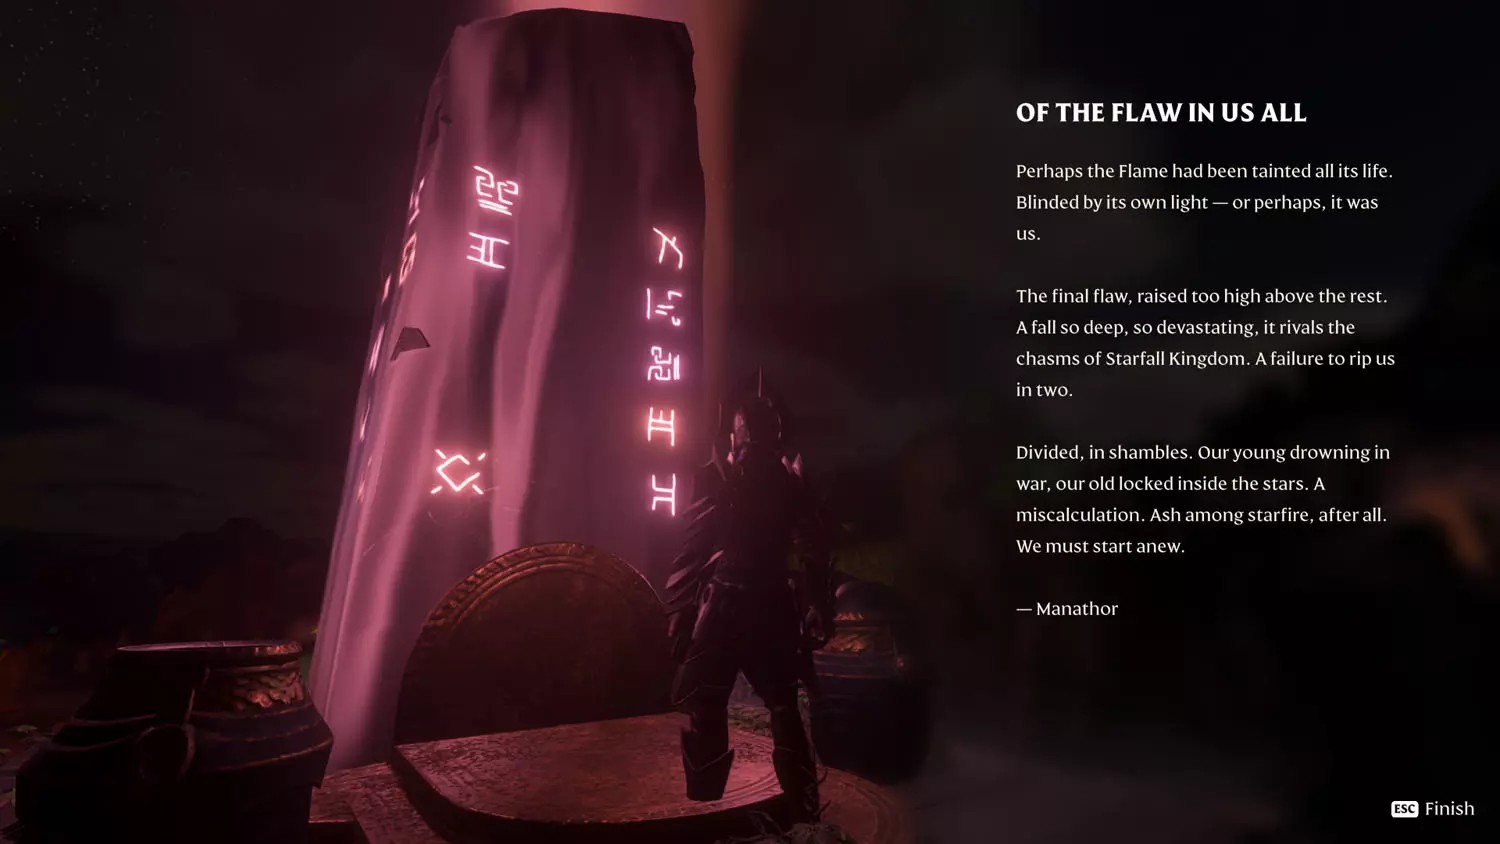
Reading the Ancient Obelisk in the Kindlewastes resolves the final part of this quest. To reach it, I had to climb up the bridge (first image below). Following the trail at the top led to the Ancient Obelisk.


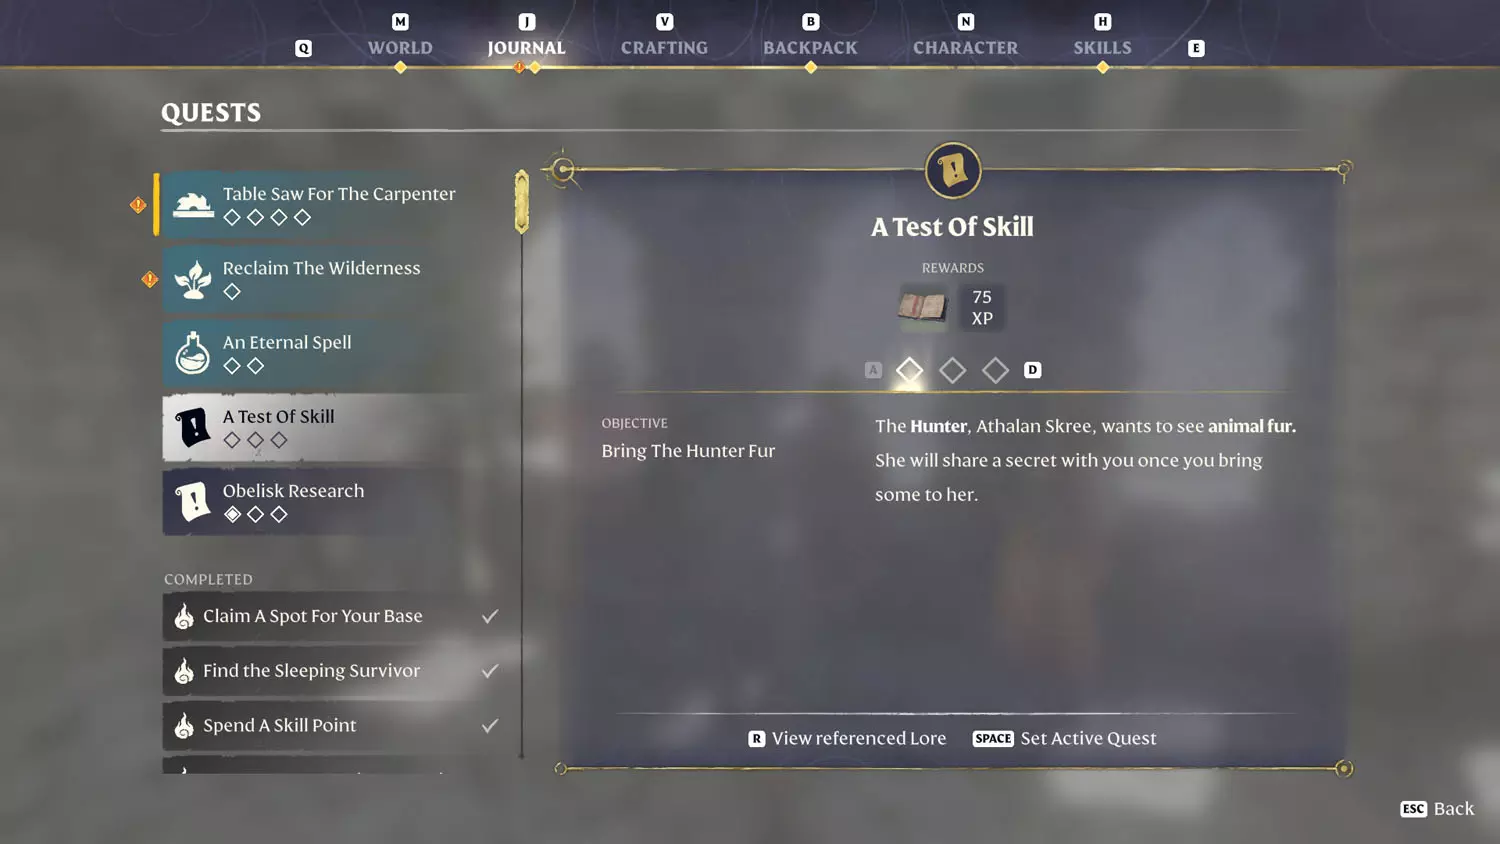
A Test Of Skill
Reward: + 75 XP
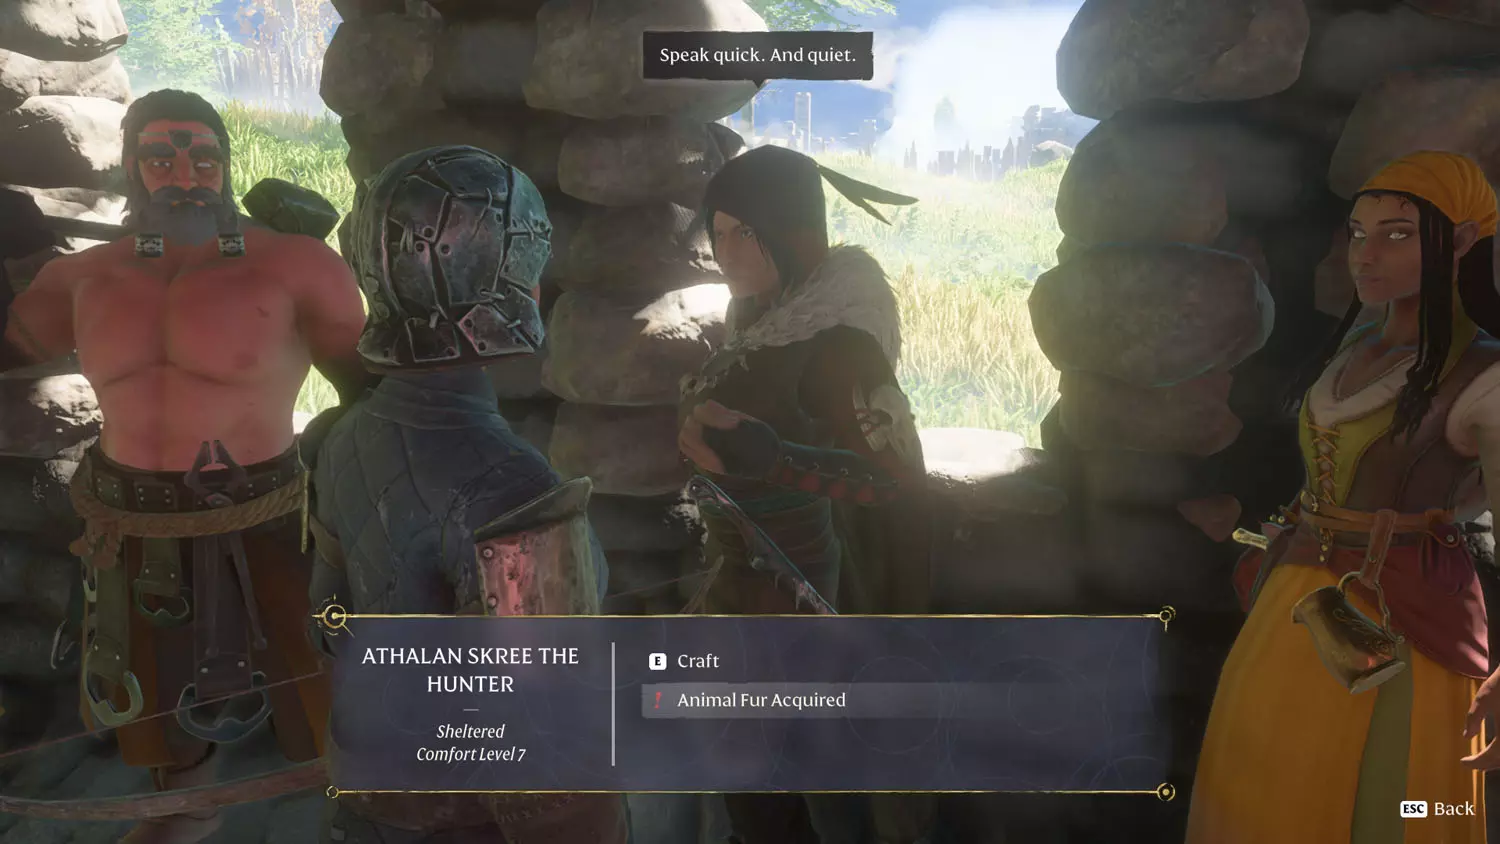
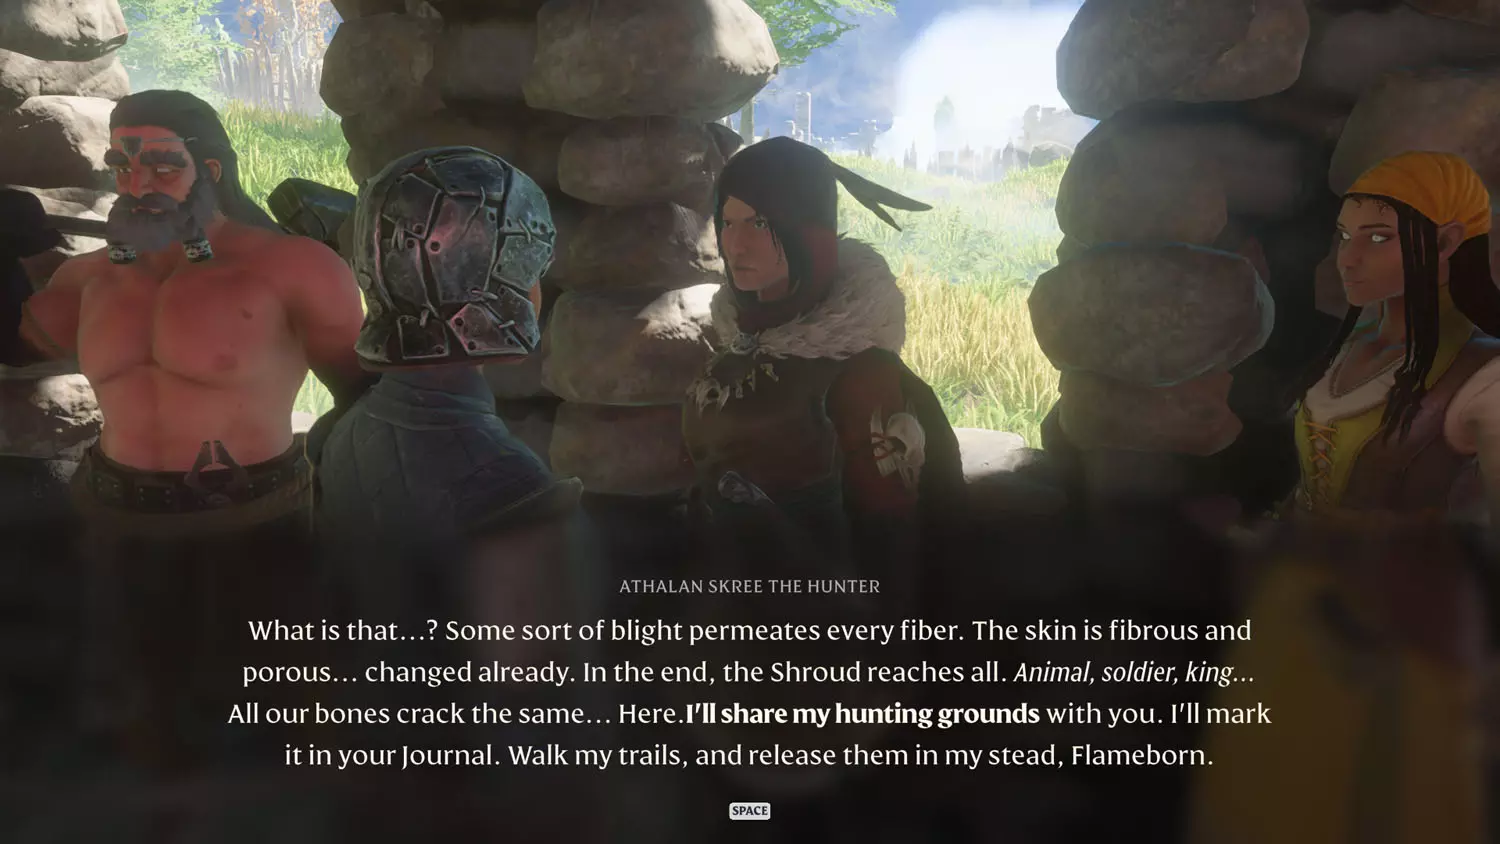
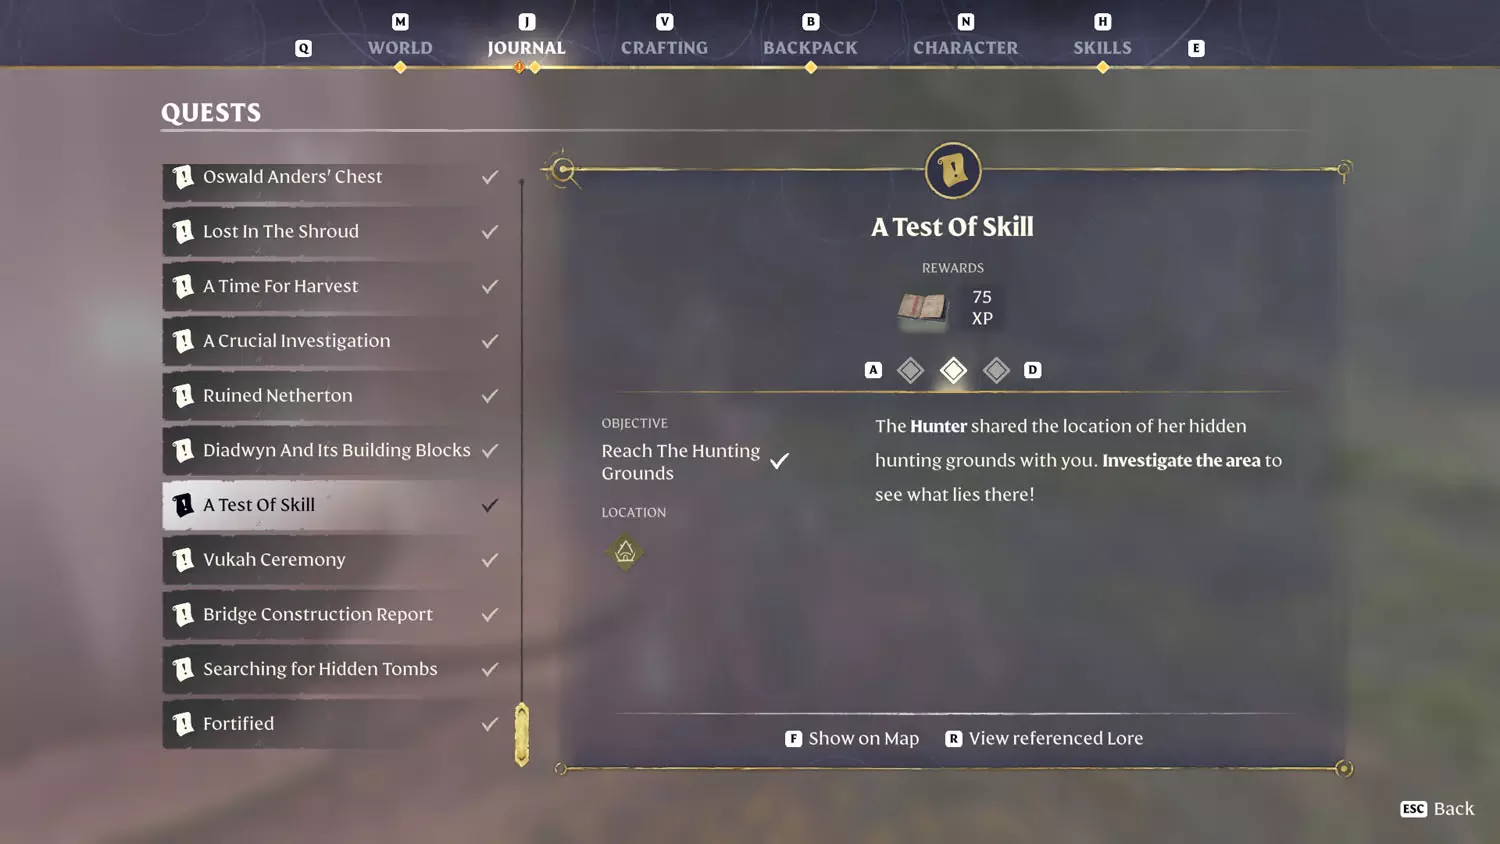
The Hunter initiates this quest when you select the “A Test Of Skill” dialogue option. Giving her fur, or having it on you, will prompt the next dialogue option “Animal Fur Acquired” and will complete the first step.
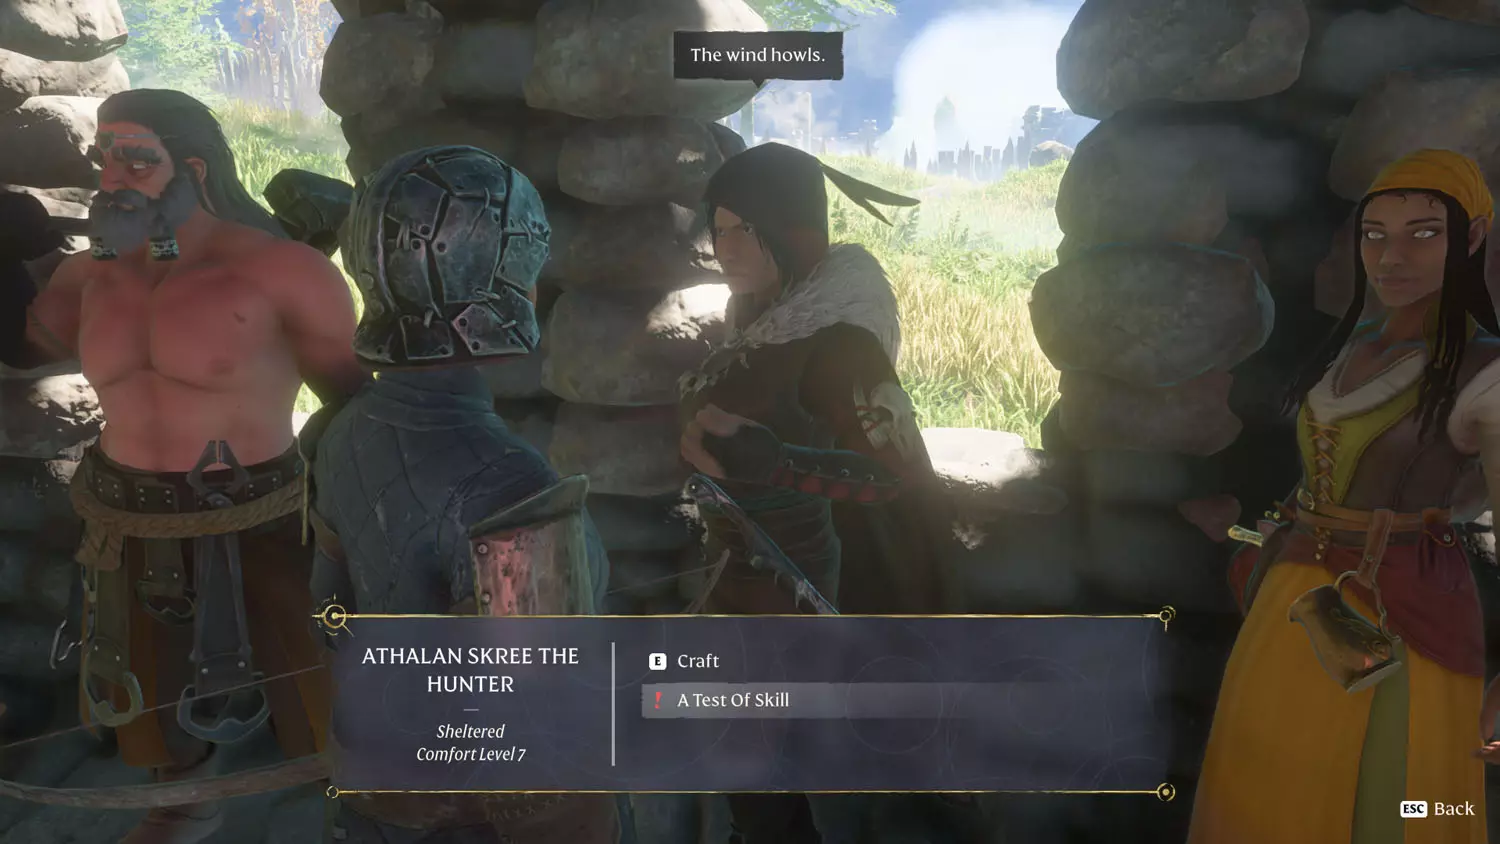
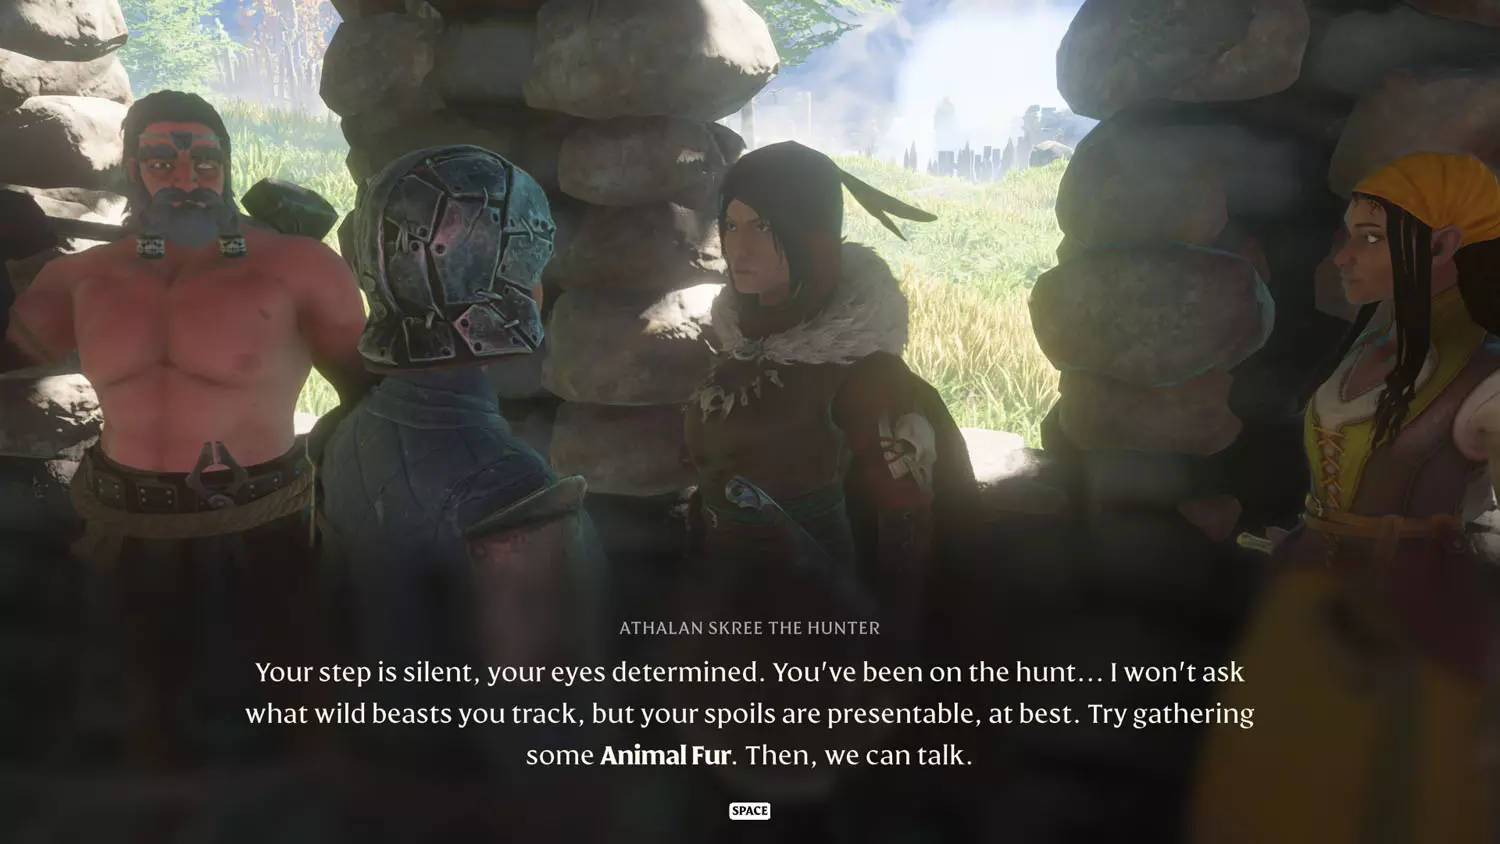
There are so many paths to take to reach this location. I suggest waiting to complete this quest until you have the Carpenter Quest: Table Saw For The Carpenter, because you’ll likely complete a part of it on your journey.
Your destination is just outside the town of Thornhold. They’re not friendly here, lol.
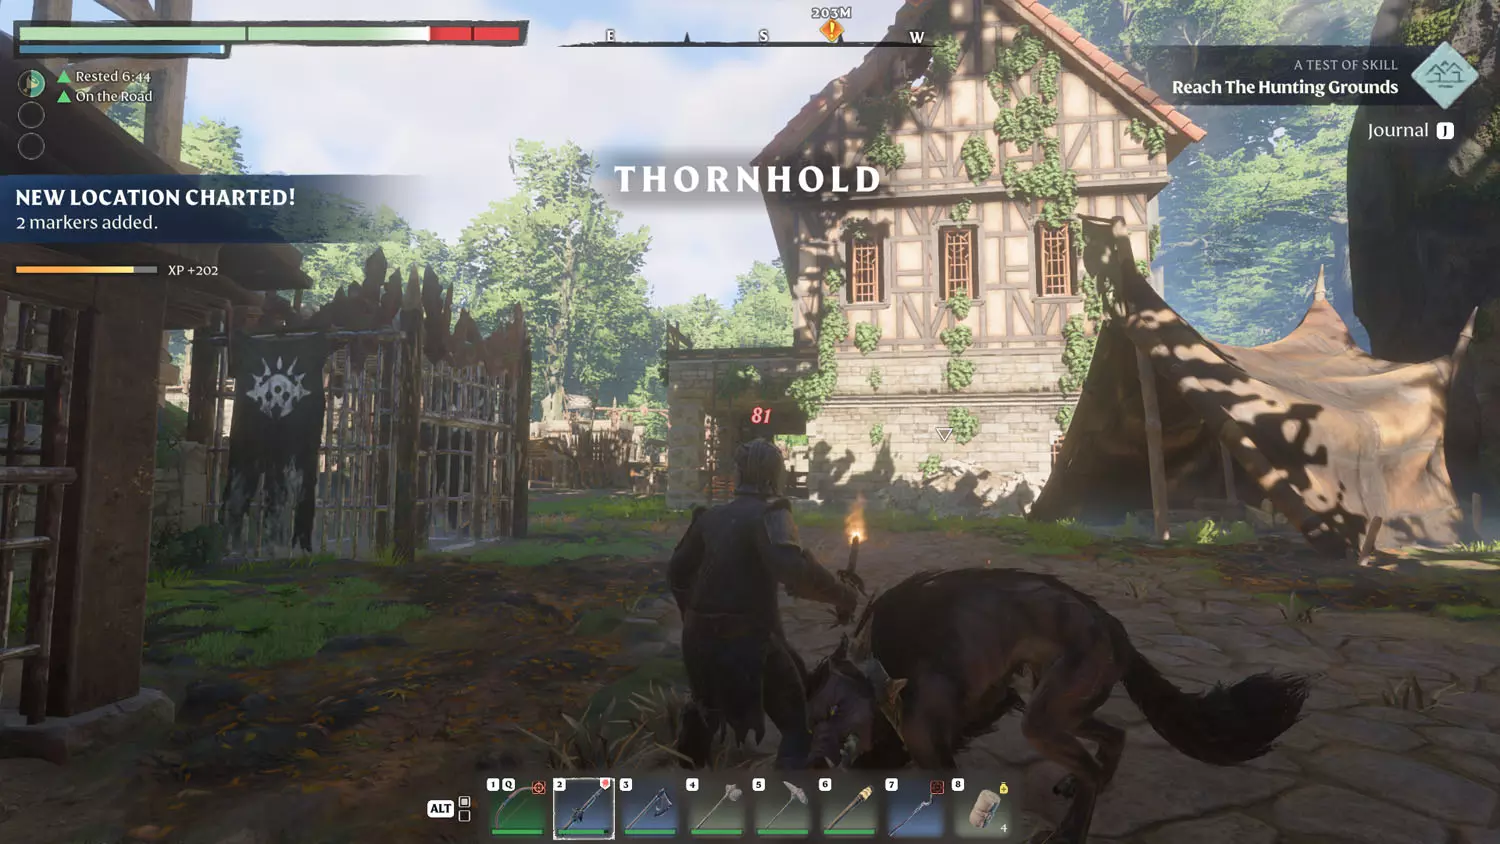
TIP: Inside Thornhold is the Hunter Quest: Man’s Best Friend.

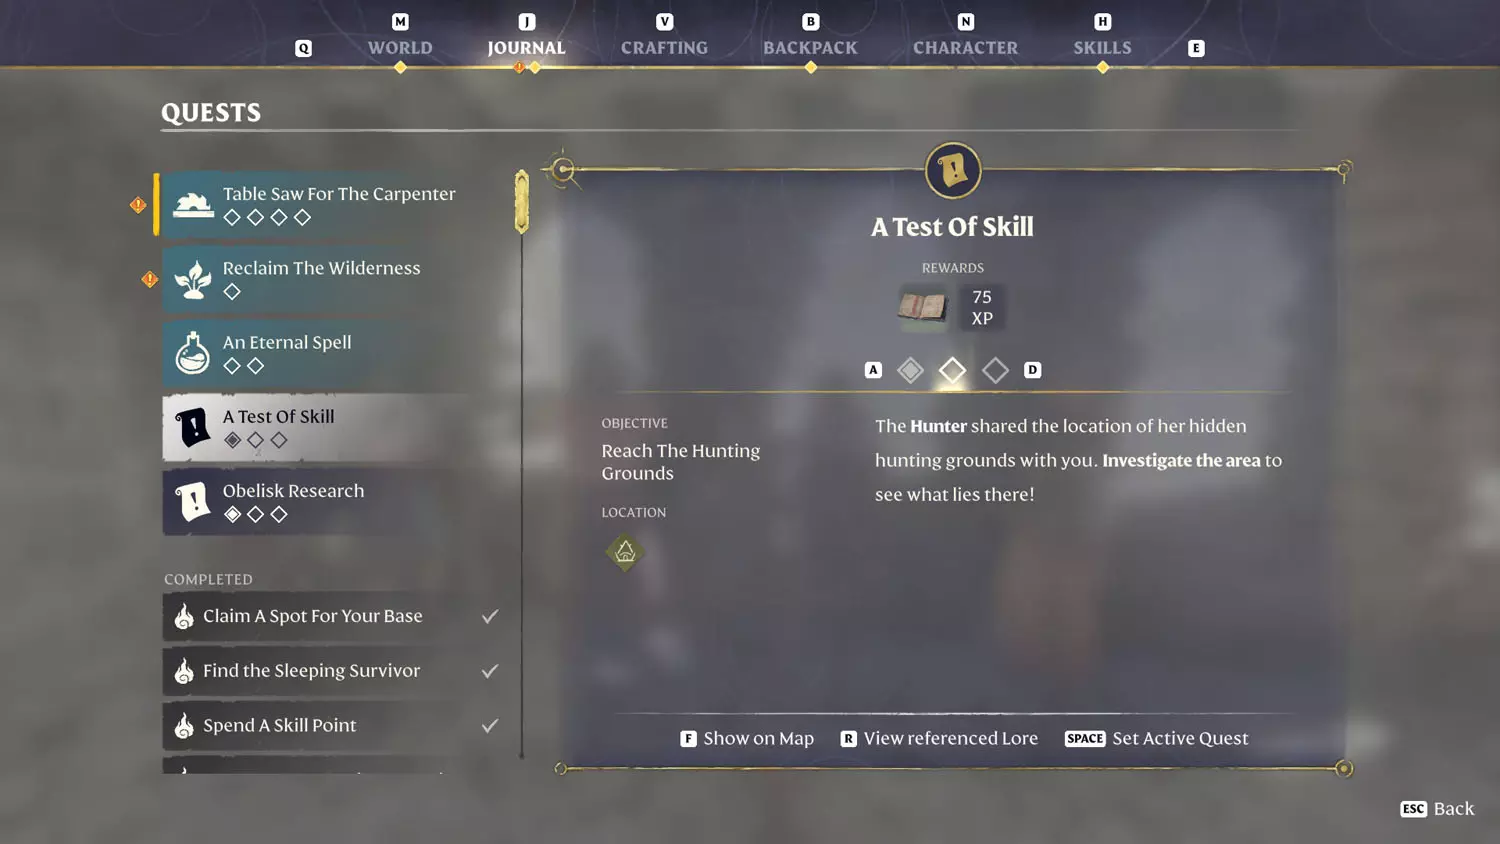
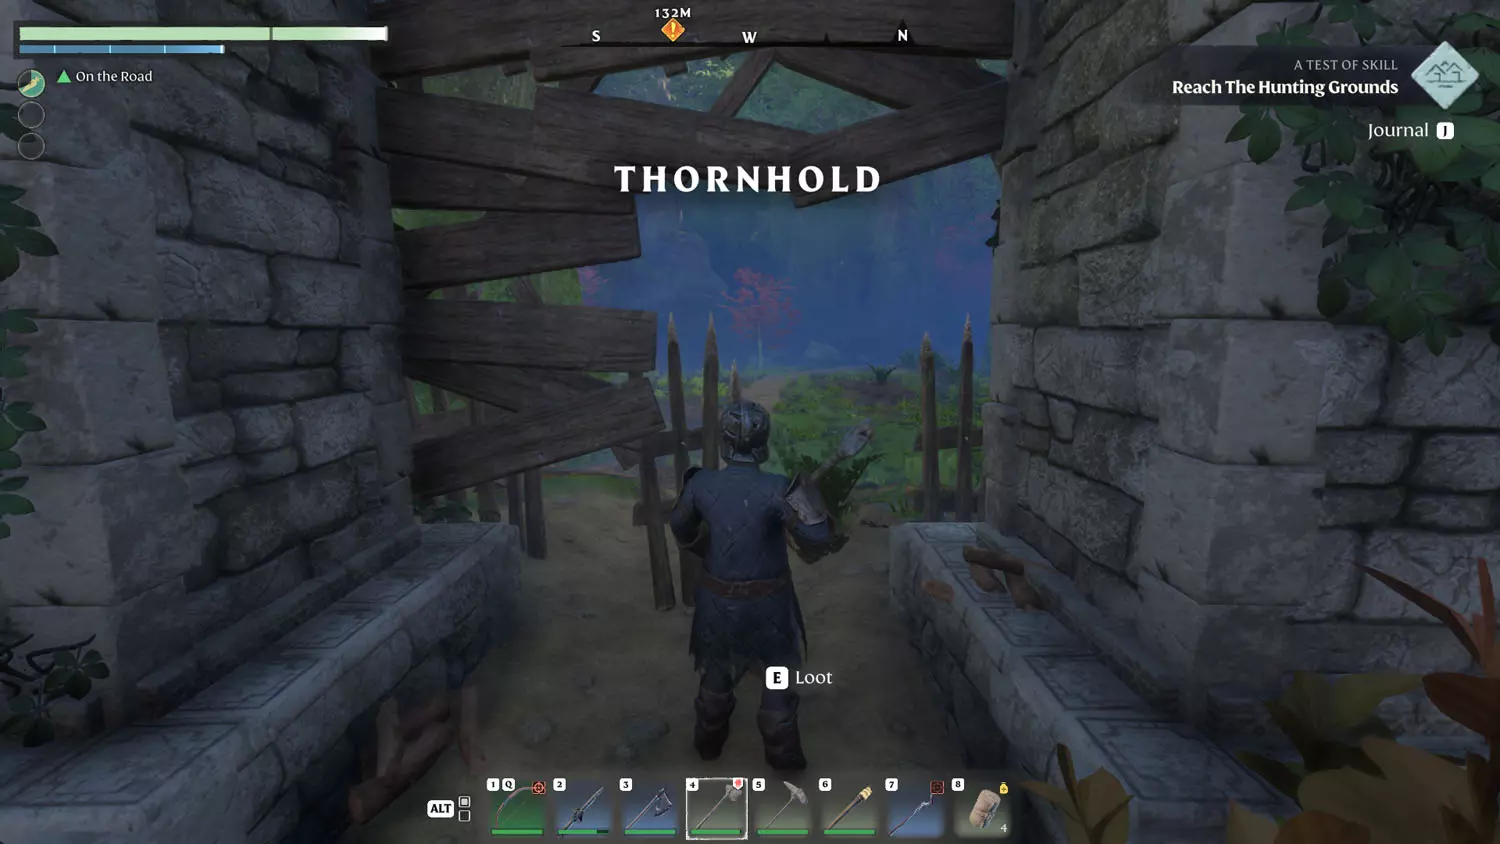
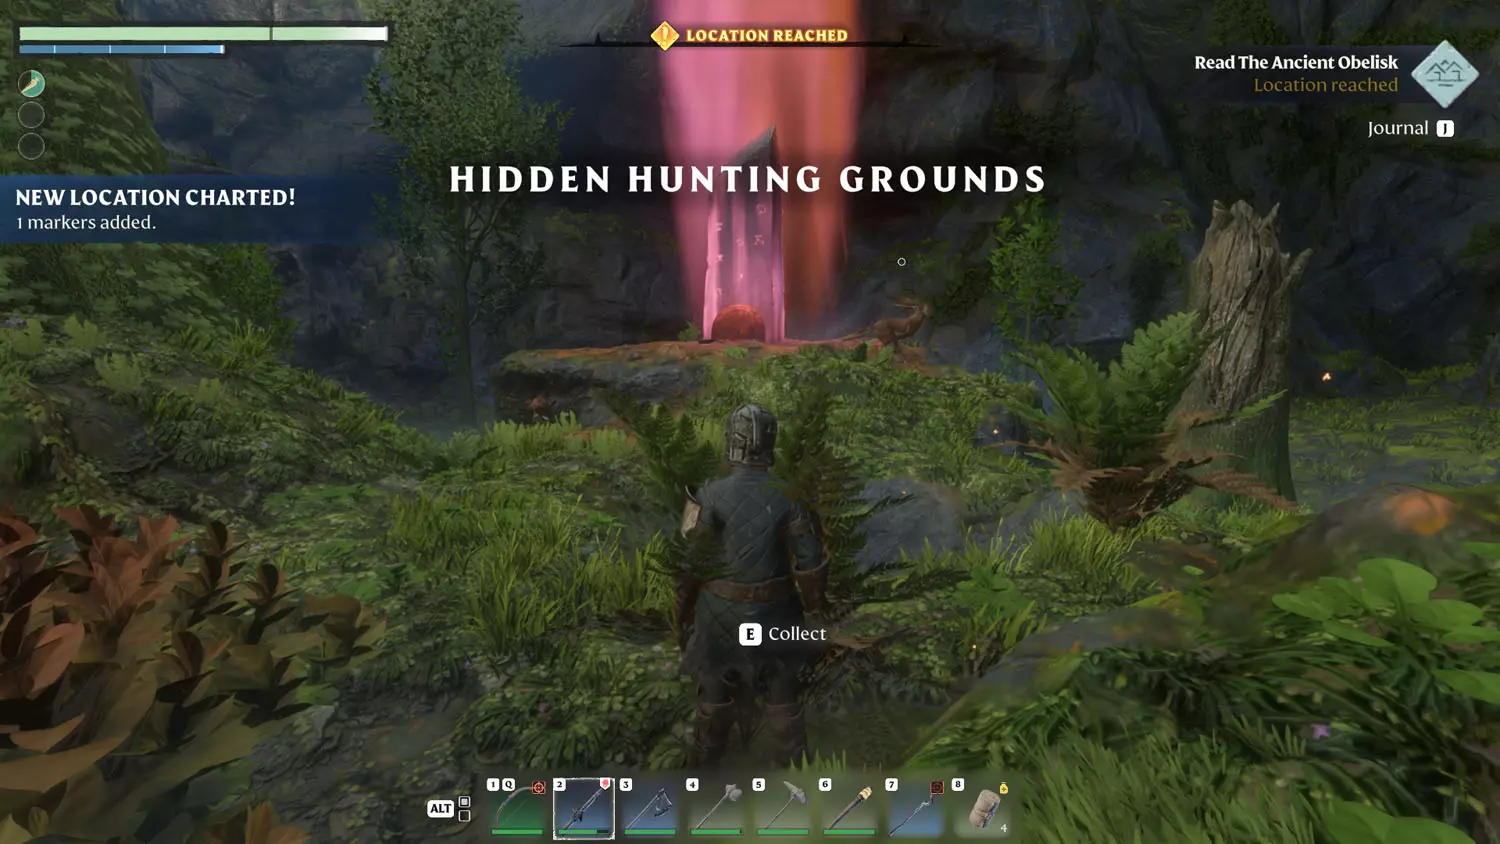
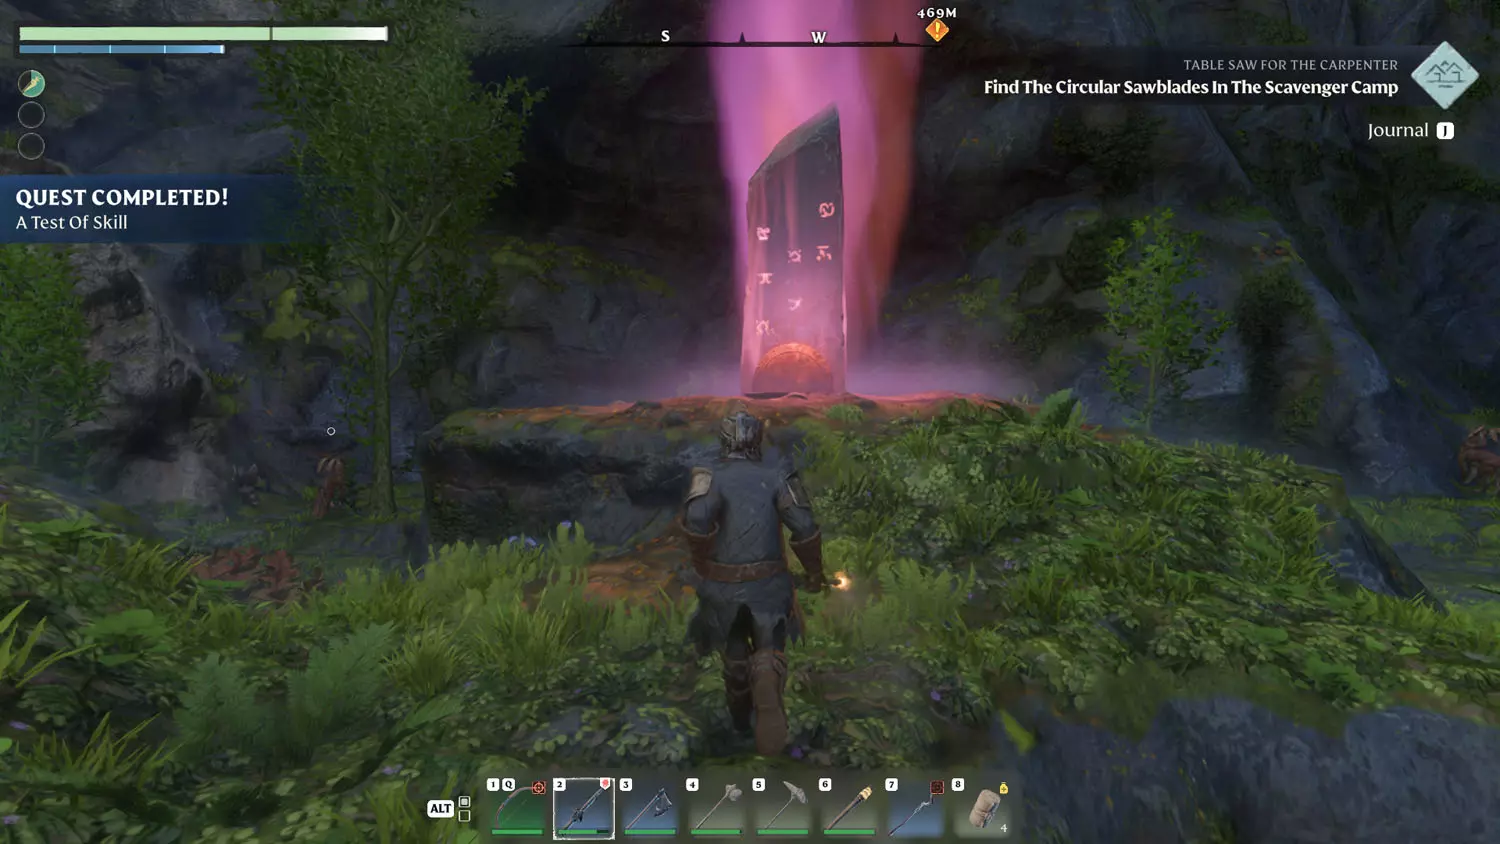
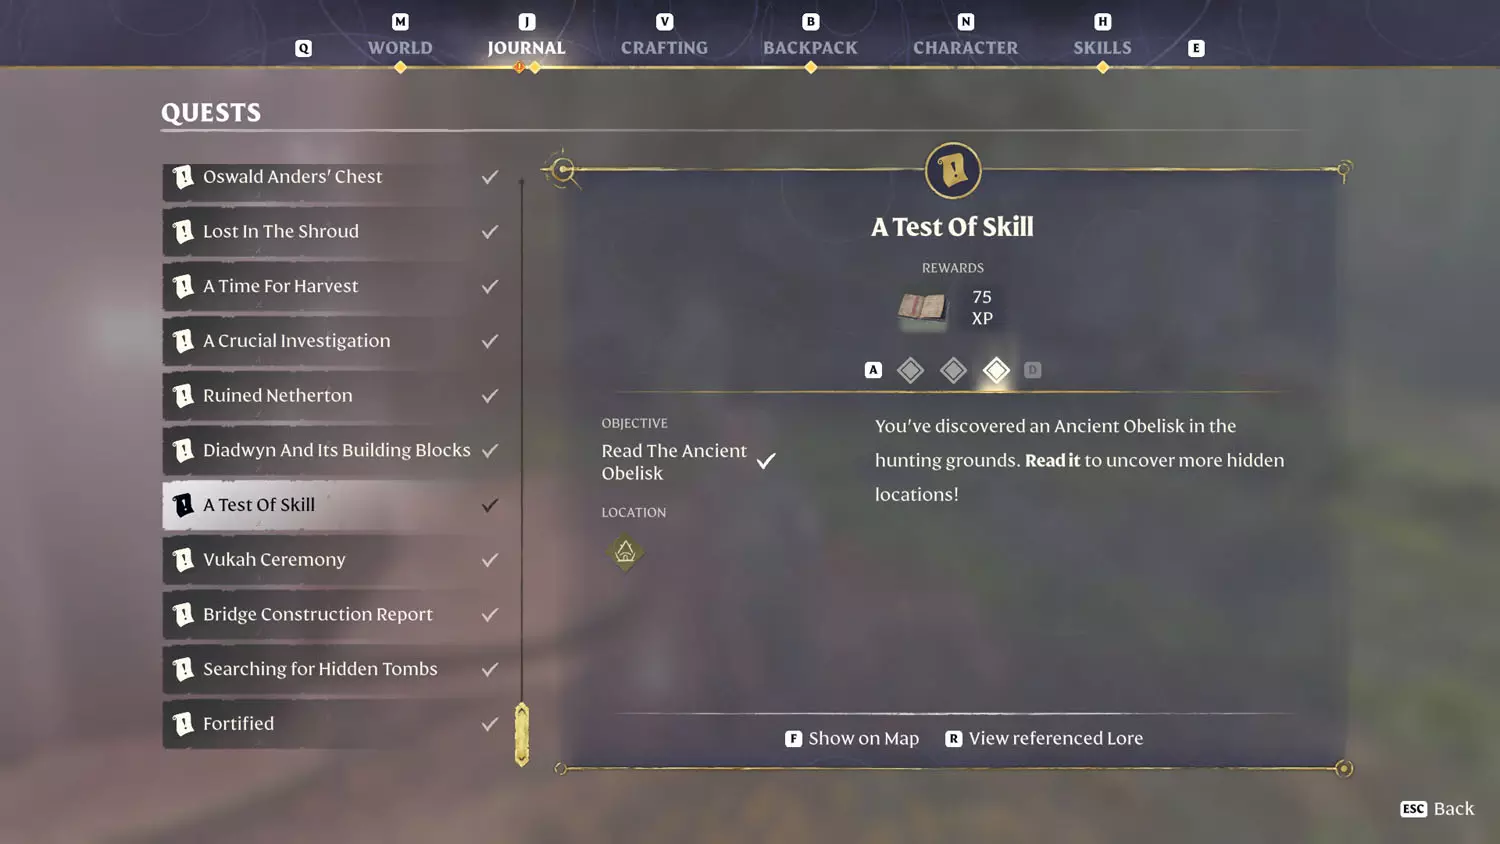
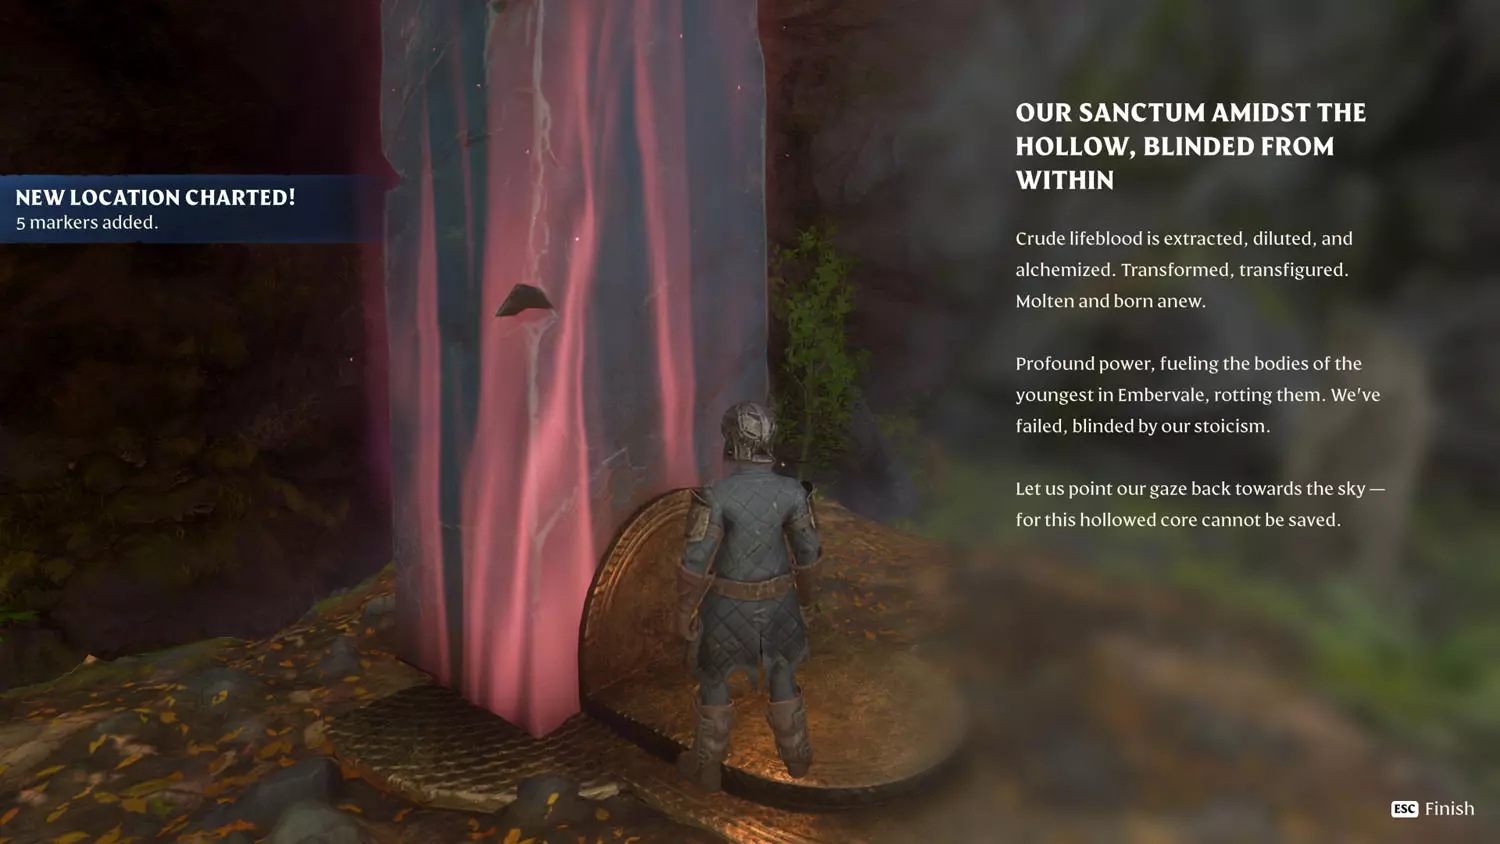
There is a western wall you can smash down. It leads to a dirt path that goes to the Hidden Hunting Grounds, which also happens to have an Ancient Obelisk. Walking up to the Hidden Hunting Grounds will finish the second part of the quest while walking up to (not reading) the Ancient Obelisk will finish the quest. I would still recommend reading it, plus they might update the quest later.

Beds And Shelter
Reward: 75XP
This Quest becomes available after you place Fenrig during the Flame Altar Quest: Bring Back The Pure Souls and select the “Villager Needs” dialogue. Have a bed available in a sheltered area and use the Summoning Staff to assign Fenrig a bed. Doing so will complete the quest. Having the bed out in the open will lead to him having the dialogue “Missing shelter for bed” available.


Finding A Garden Gnome
Reward: 75XP
This quest comes from Fenrig only after you have completed the Items, XP, and Loot Reward Quest: Beds And Shelter. Then he will have the dialogue option “Little Gnomes” available. With an updated, you will also likely have the dialogue option "Where Is Everyone?", which starts the Items, XP, and Loot Reward Quest: We The Only Ones.


Head to Wistful Fields to find that gnome! This quest is closely related to the General Lore: Garden Gnome Hallucinations 1/1 Digging His Own Grave. There is an obvious rubble spot in the garden near the house. Digging there or blowing it to smithereens will reveal a blue-hatted gnome. Picking it up will complete the quest!


Hidden Crafting Recipes
Reward: 75XP
This Quest begins when you read the Hollow Lore: Hidden Crafting Recipes 1/3 Listen To My Plan, Brothers. You can find how to reach it here.


Hidden Crafting Recipes – Blackmire
Reward: 75XP
This quest starts when you read any piece of the six Revelwood Lore: Hidden Crafting Recipes – Blackmire. To complete this, simply find all six pieces of Lore.
TIP: This also coincides with the Bard Quests: Hand Drum For The Bard and Eternally Piercing.


Scouting Mission To The Obelisk
Reward: 75XP
This mission starts when you read the Albanese Summits Lore: Scouting Mission To The Obelisk 1/1 A Little Scouting Won't Hurt located at the Balefire Garrison “White Pine”.
TIP: This location is also part of the Flame Altar Quest: Slaying The Corrupted Beast.

From there, it is a bit of a hike out to the Ancient Obelisk. Interacting with the Obelisk completes the quest.