24 February 2024

Enshrouded Flame Altar Quests Walkthrough

Written by Sarah-Maree

September 13, 2024 update: This section now has a proper name in the game and is known as the Embervale Quests (though there are also Flameborn Quests too...). Due to the complexity of changing everything, I'm leaving this as Flame Altar Quests. I hope this isn't too confusing!

I tried keeping it sweet and simple, but some of the Flame Altar quests are more complex than others. If you see an error, please let me know, and I’ll work to fix it! As far as I know, the quests below are all that is available until the next update to the game. All images used in this blog post are screenshots from the game Enshrouded.

SPOILER ALERT: There’s no way for me to avoid spoiling game play with the walkthrough.

NOTE: A LOT of the content below is from BEFORE the Hollow Halls Update - version number 510434. Some of it has been updated with the Souls Of The Frozen Frontier - VO.7.4.0. Previous content may still be relevant after March 26th, 2024 - but there may be gaps in the information below as more Lore and Quests are being added by developers. I am trying to stay on top of the changes.

Flame Altar Quests

Claim A Spot For Your Base

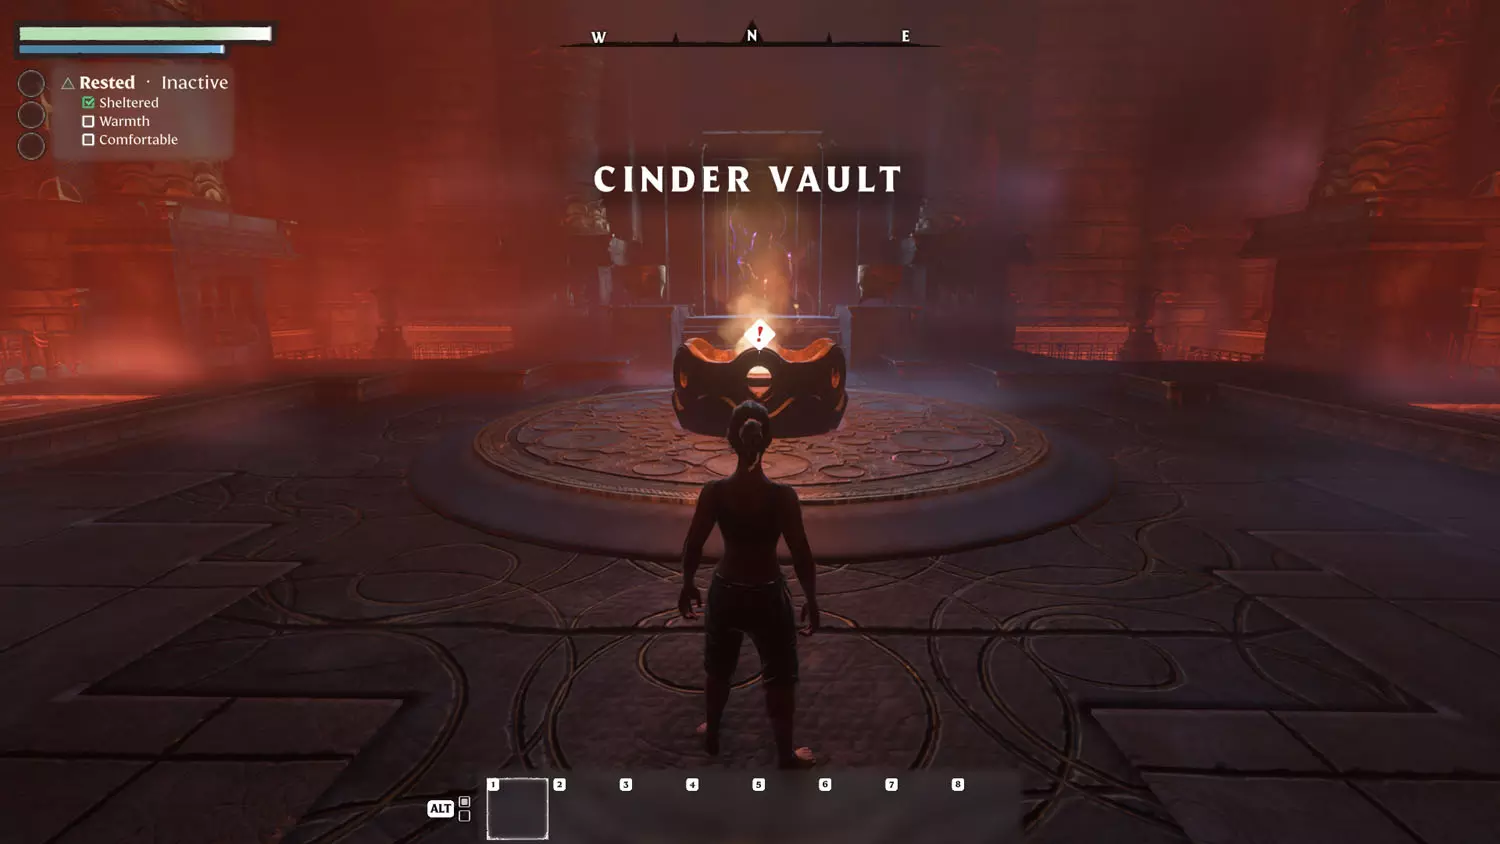
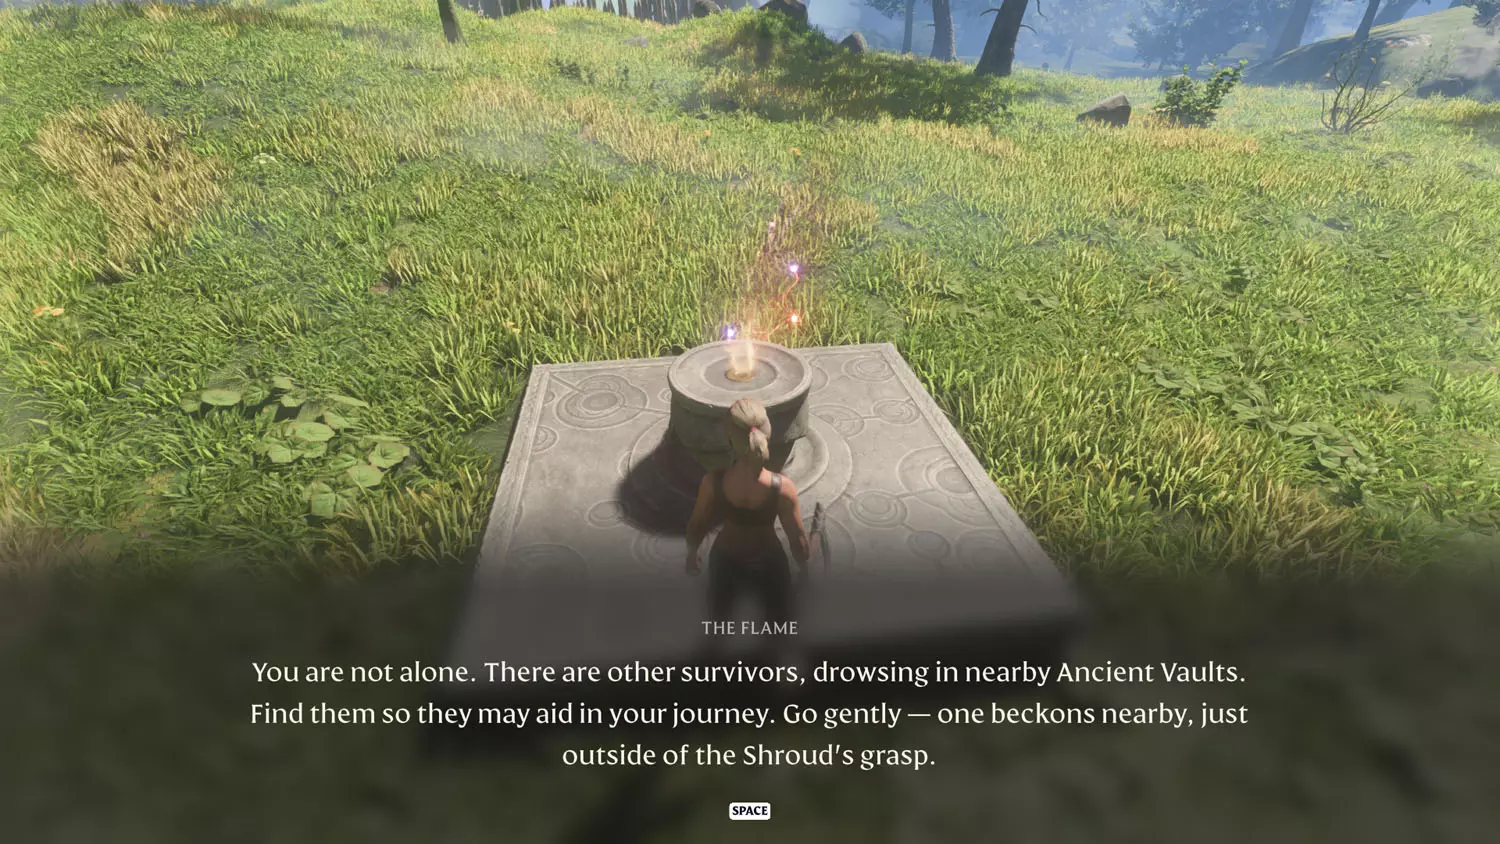
I’m going to go a bit quick on this one. From the very beginning of the game - literally as you load in - you’ll have a quest to talk to the flame and start a base. (This doesn’t have to be your main base, but it does need to have a Flame Altar placed here to complete the quest.)

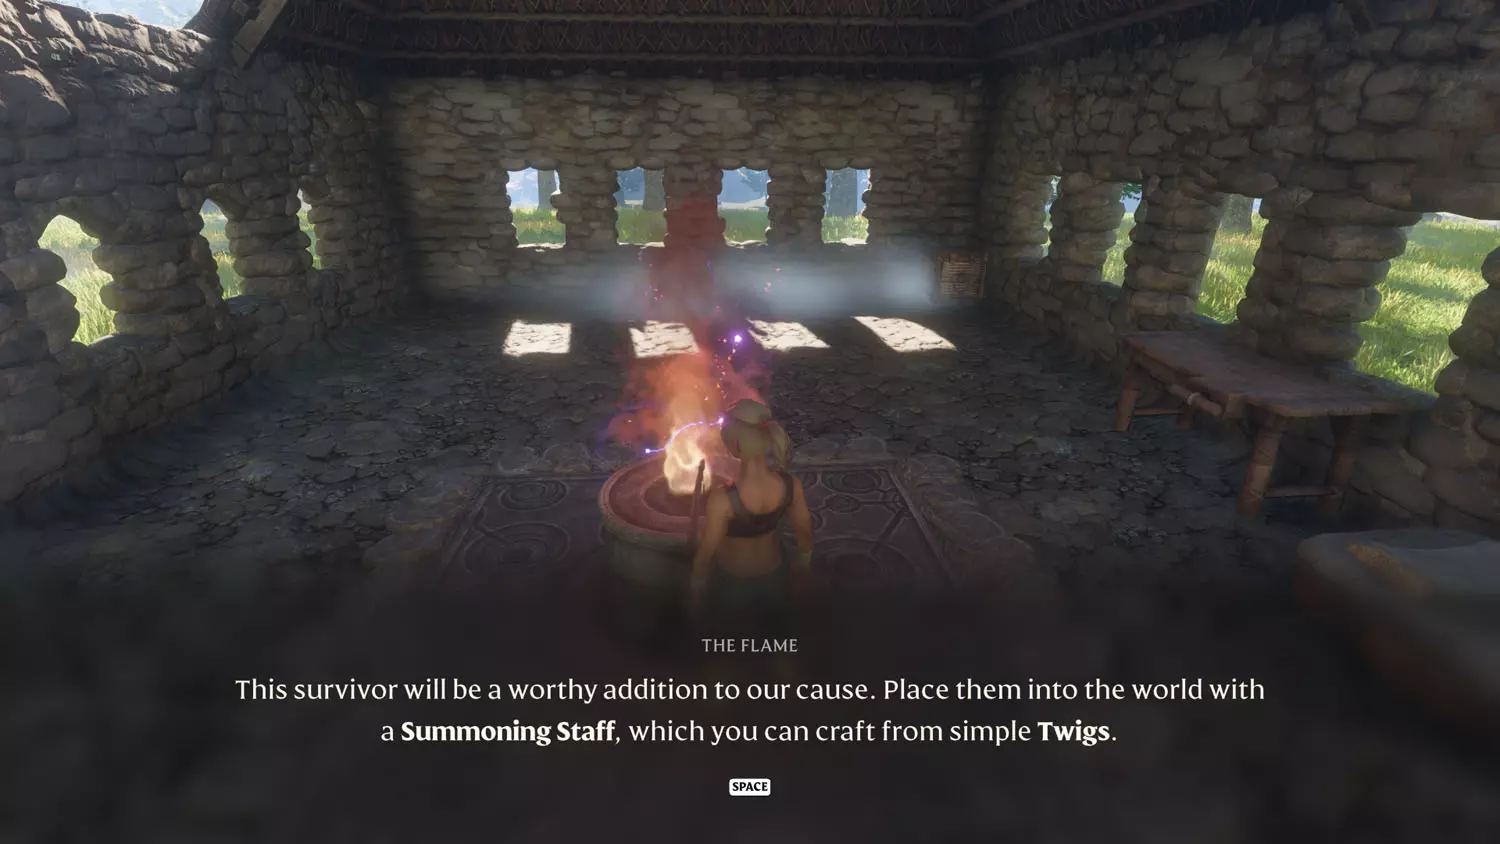
First, talk to the flame in the Cinder Vault (straight ahead). From there, head out of the building and follow the road. It will lead into a mine and out of the Enshrouded area within it. There’s one, maybe two, enemies here. They’re easily avoided and not too terrible to kill.

TIP: There are two pieces of Lore on your path toward your first base (there's more if you wander into Longkeep). General Lore: The Alchemist’s Theories I 1/5 On The Flame And Its Murmurs and the Nobles and History Lore: Drinking Song 1/1 Ode to Pikemead.

FA 01 Claim 1FA 01 Claim 2

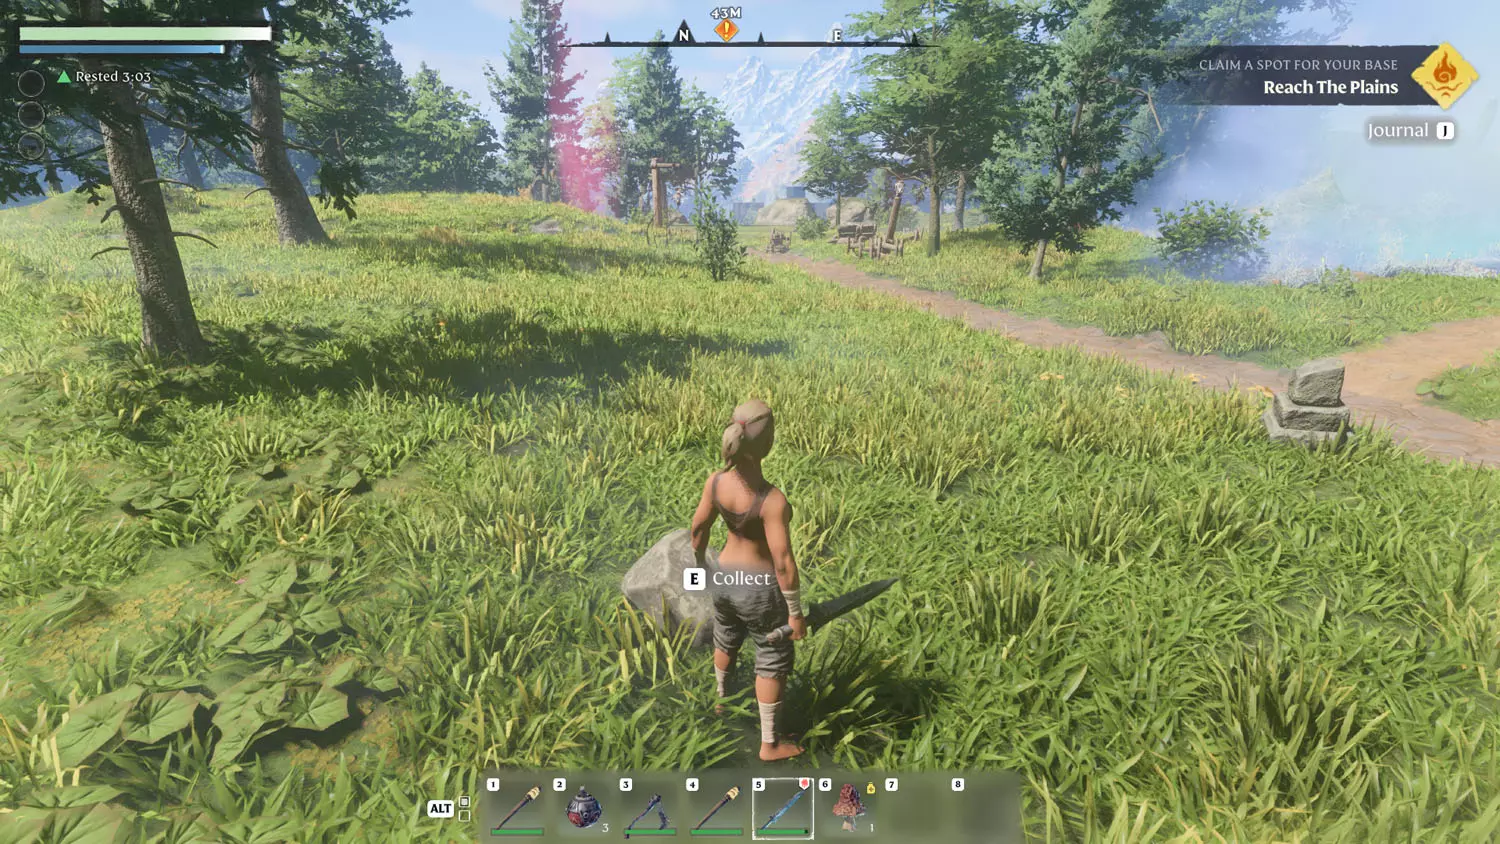
Now that you’re out of the Enshrouded area, follow the road and the marker on the top middle bar of your screen (it shows the distance of where you are trying to get to). The road splits off to head into a destroyed castle (Longkeep), but you’ll want to head into the meadowy area to collect stones on the ground.

FA 01 Claim 3

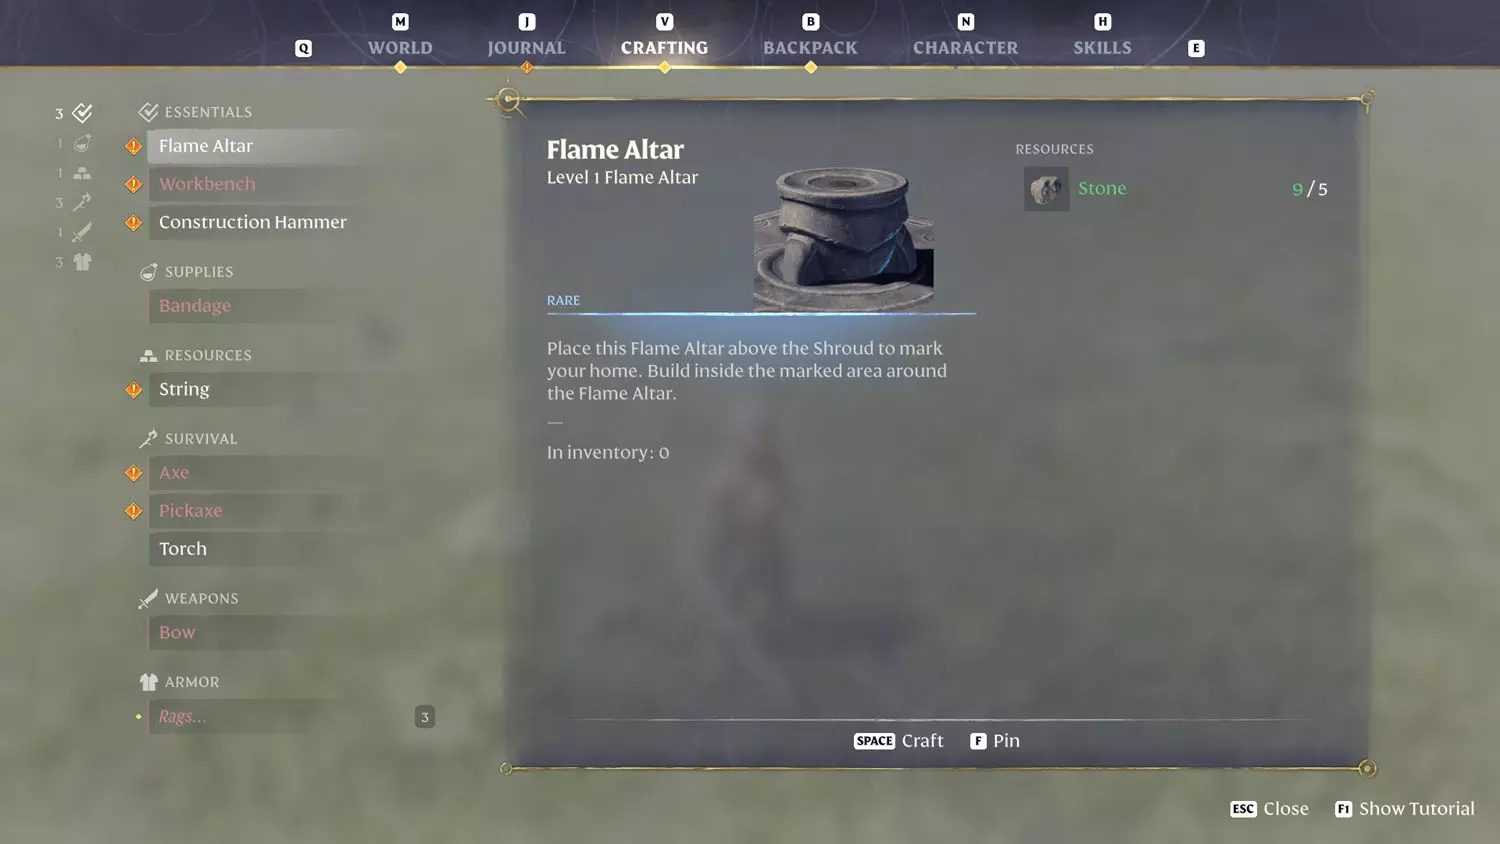
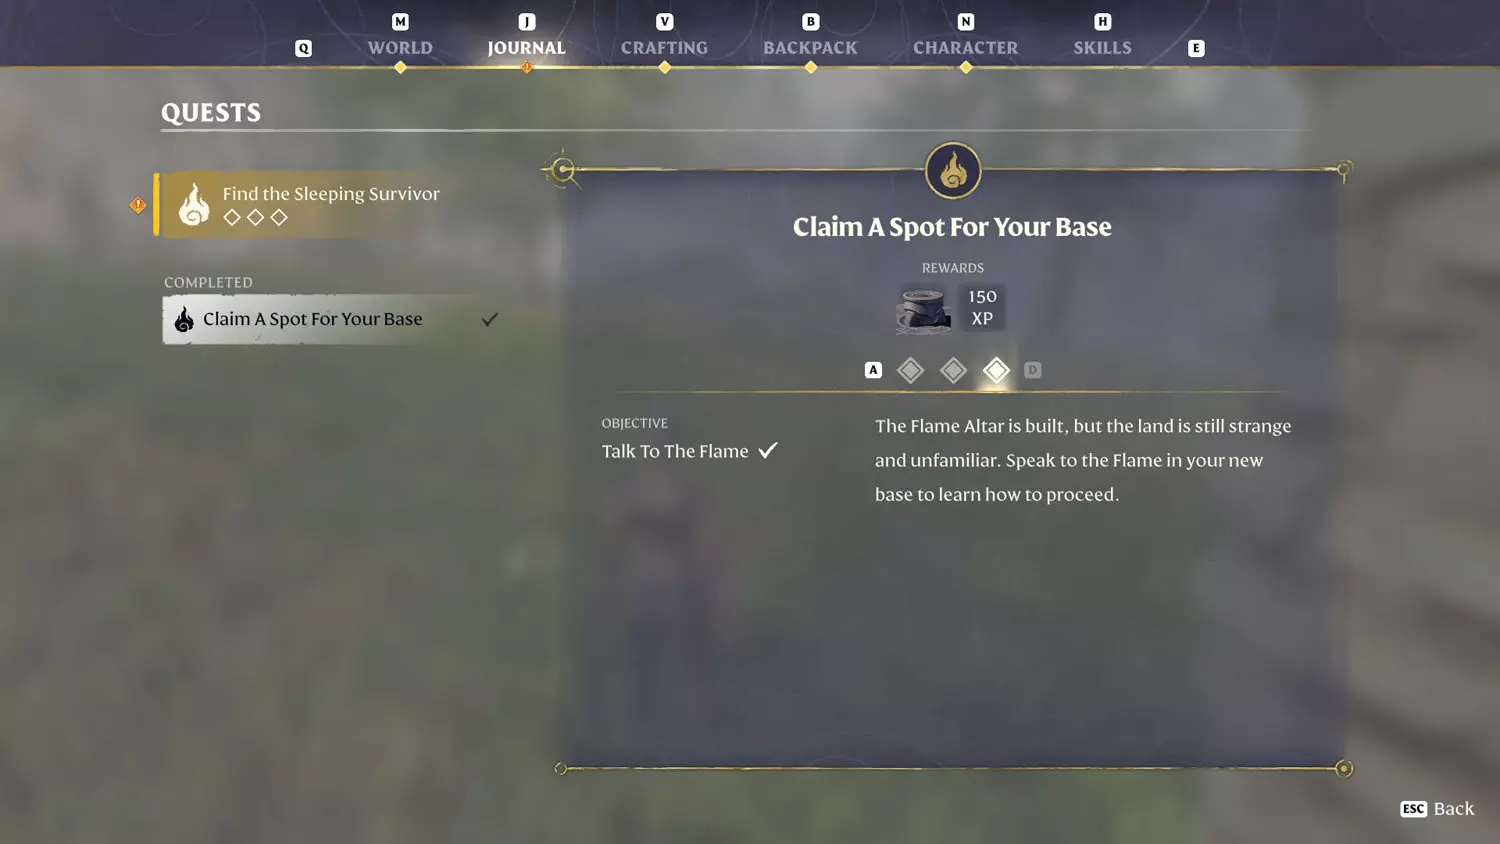
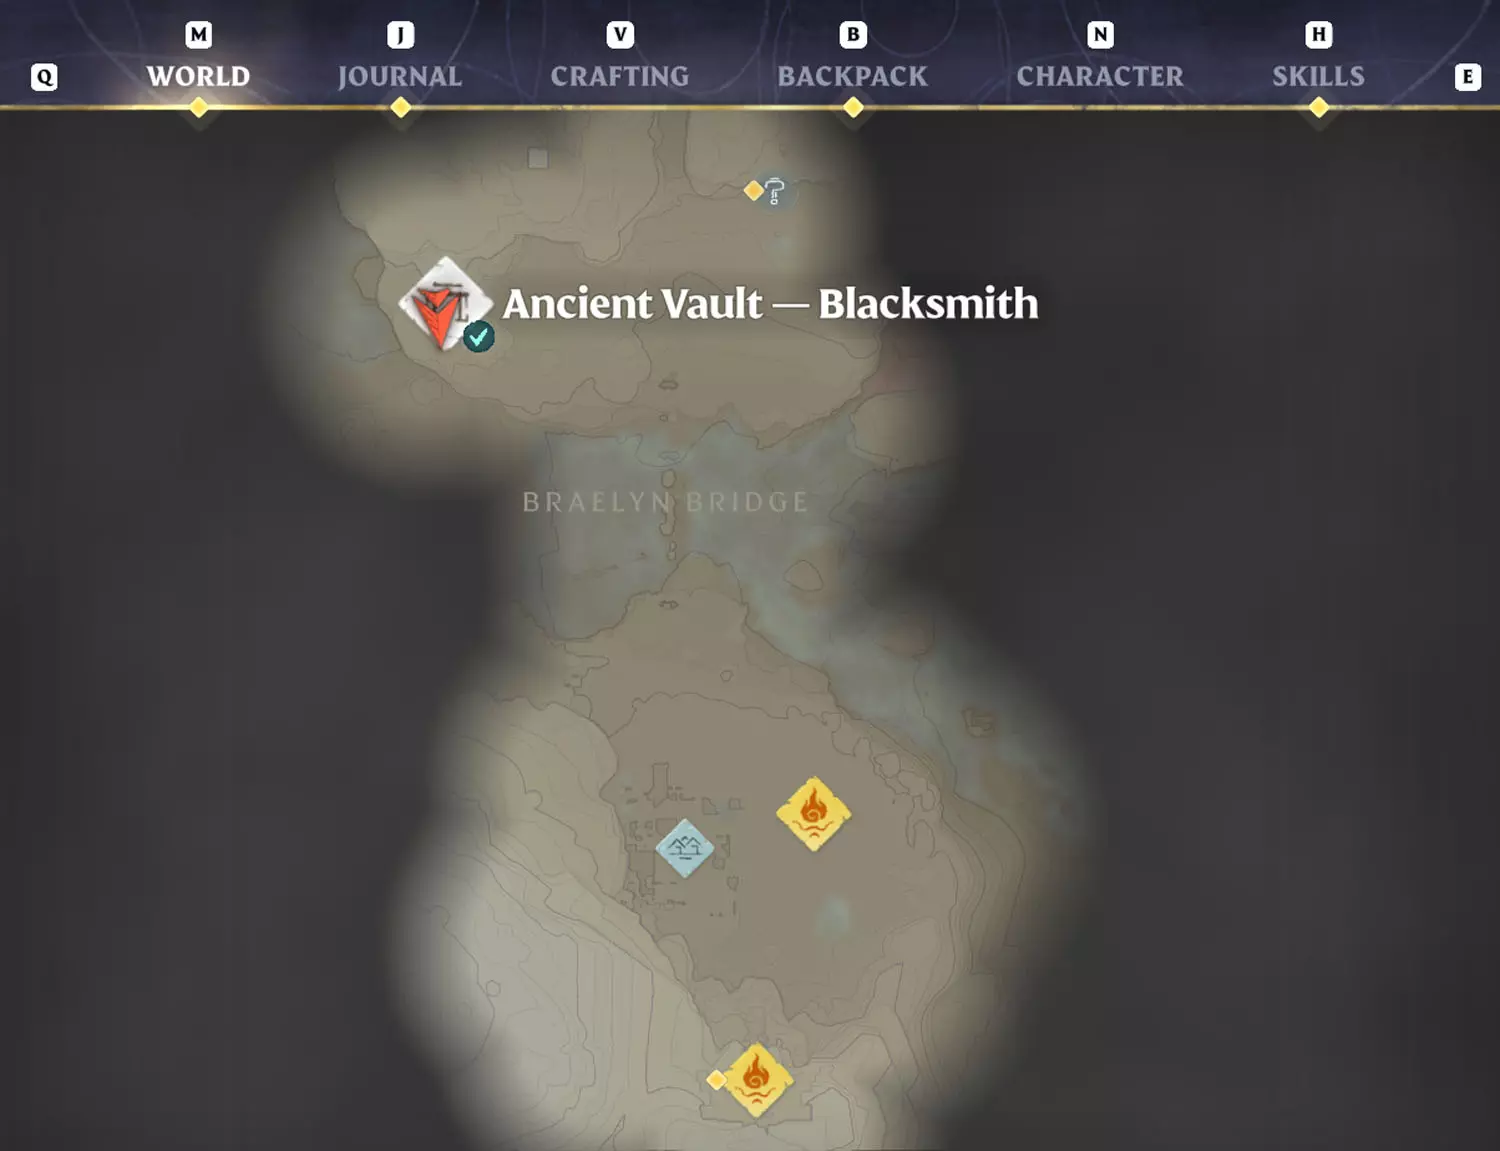
Once you have enough material, head toward the glowing red point (or follow the orange exclamation point on the bar at the top middle of your screen) toward your destination. Then, craft a Flame Altar and place it by having it in your hotbar at the bottom middle of your screen. The first screenshot below shows what letters or keys to press to enter the menu for World (map), Journal (Lore, Quests, etc.), Crafting, Backpack, Character, and Skills. From Backpack, you can move the Flame Altar into a spot where you can place it by pressing the corresponding number and a left click of your mouse.

FA 01 Claim 4FA 01 Claim 5

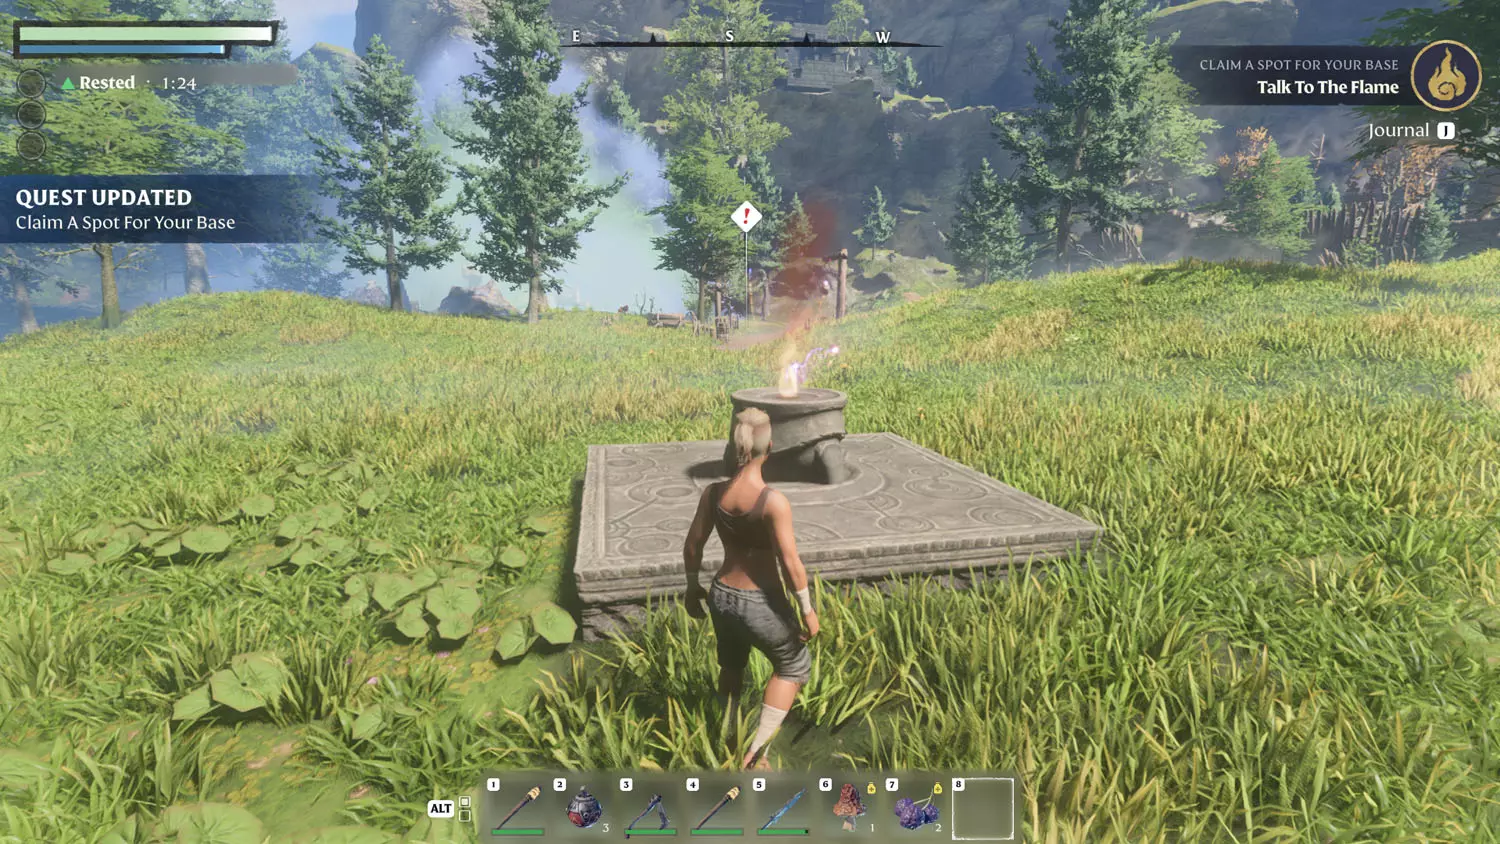
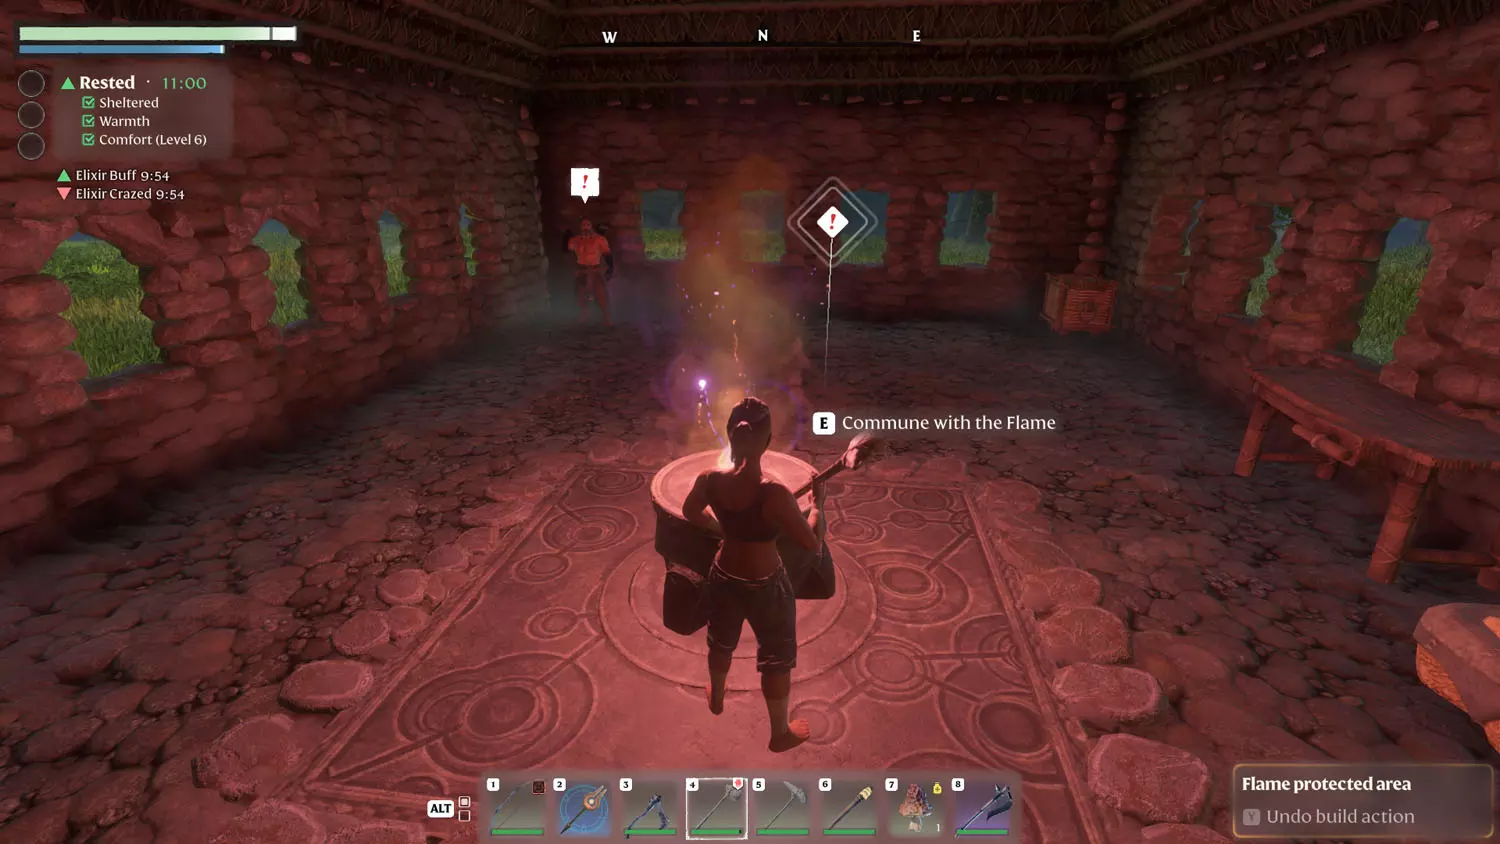
After placing the Flame Altar, you’ll need to talk to the flame to complete the quest. It will also start off the next quest.

FA 01 Claim 6FA 01 Claim 7

Find The Sleeping Survivor

This quest is a little more complicated, particularly as there are now multiple paths to take to complete this quest. I’ll do my best to keep it simple!

FA 02 Find 1

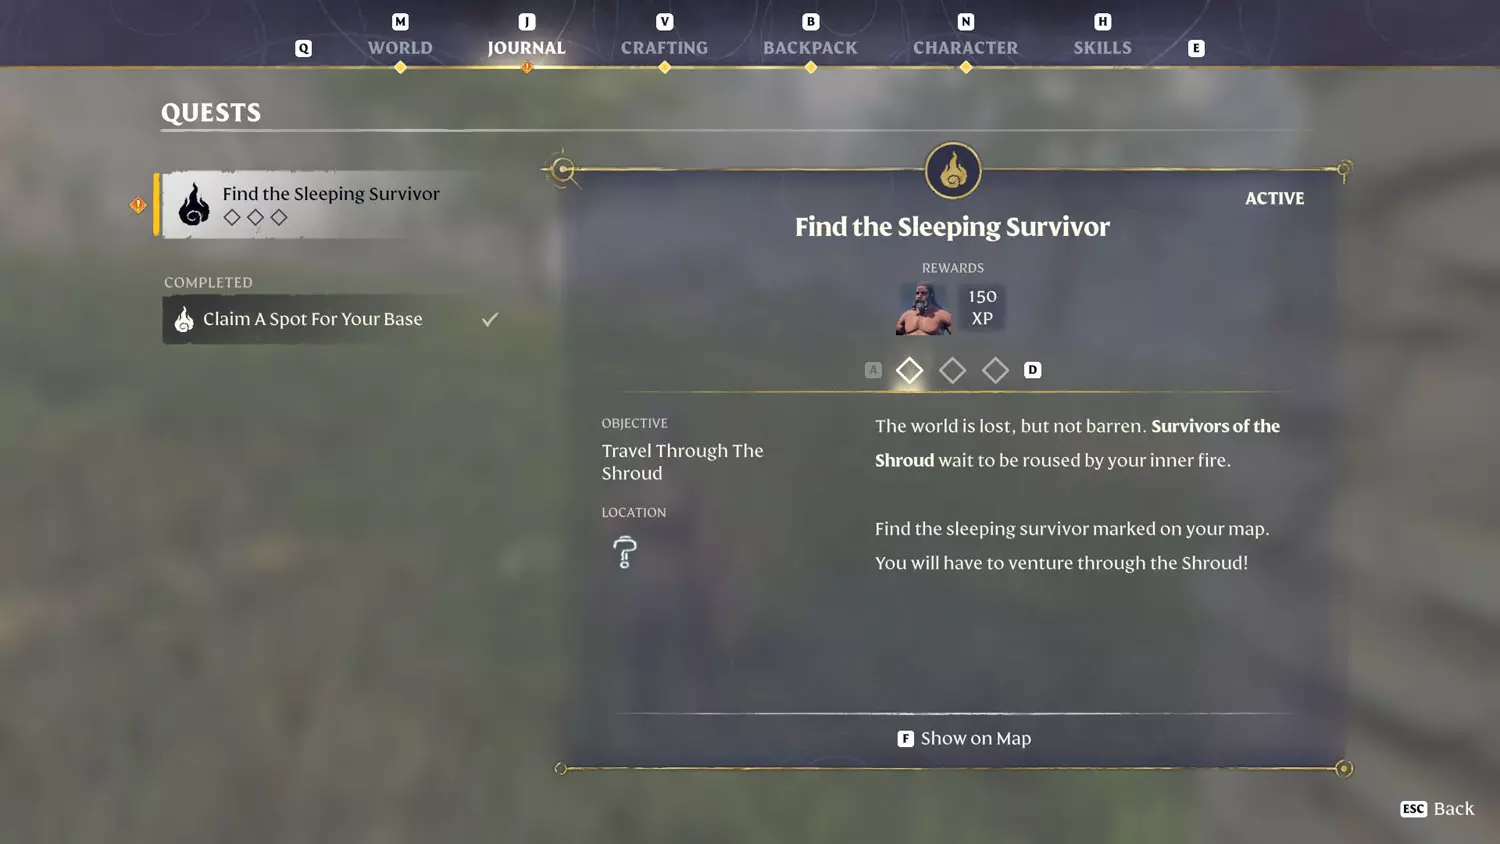
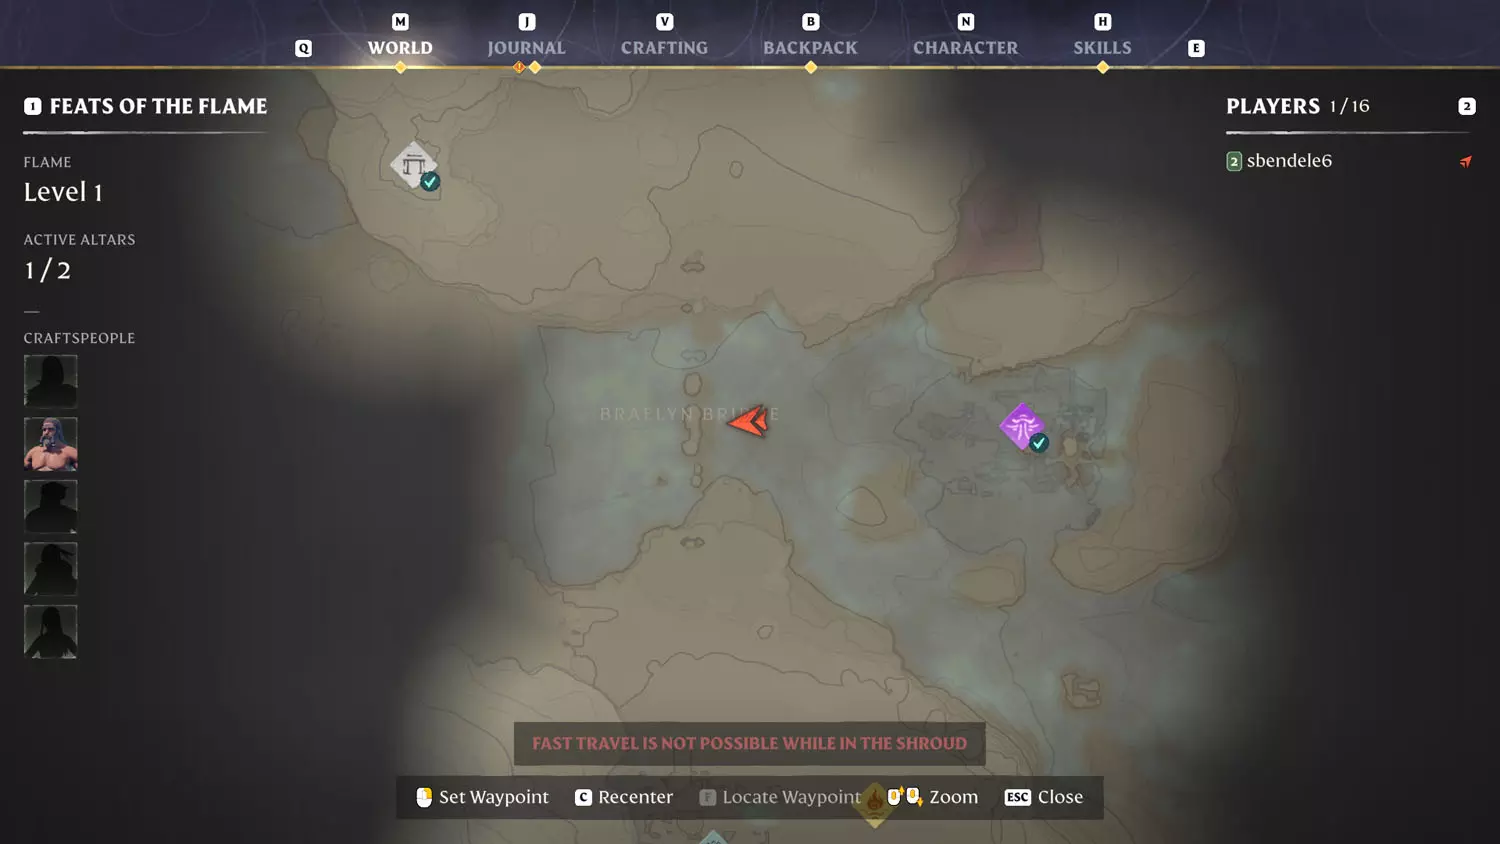
There are 3 paths that you can take. 1: You can cross Braelyn Bridge (need to craft a grapple hook first). 2: You can travel through the Enshrouded area (there’s a road to follow). 3: Or, you can be chaotic (take whatever random path you feel like).

For the Braelyn Bridge, once you have the Grappling Hook, it’s a fairly simple crossing followed by an enemy on the other side of the bridge.

FA 02 Find 2FA 02 Find 3

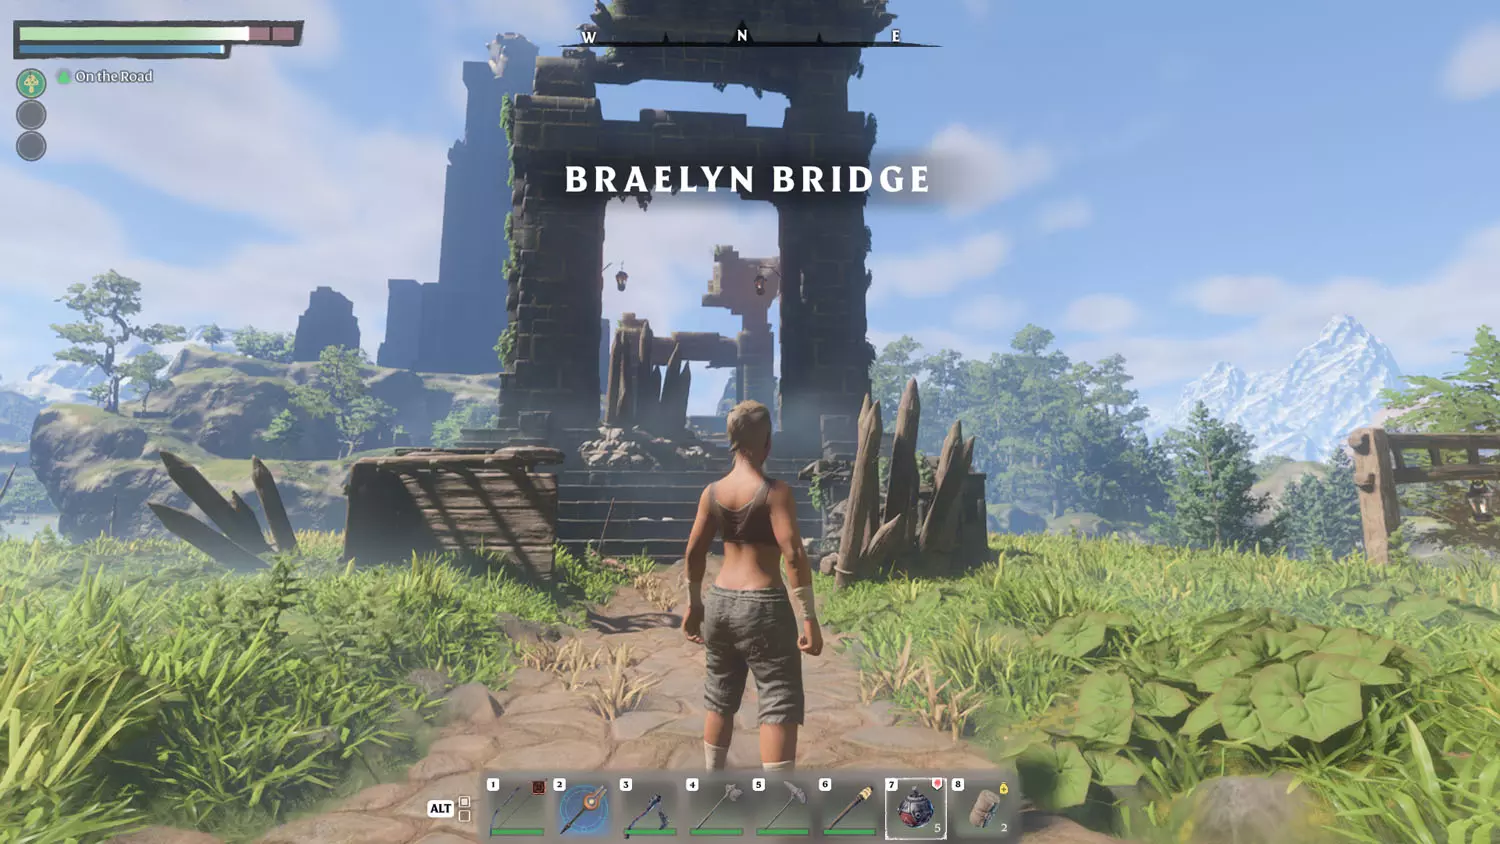
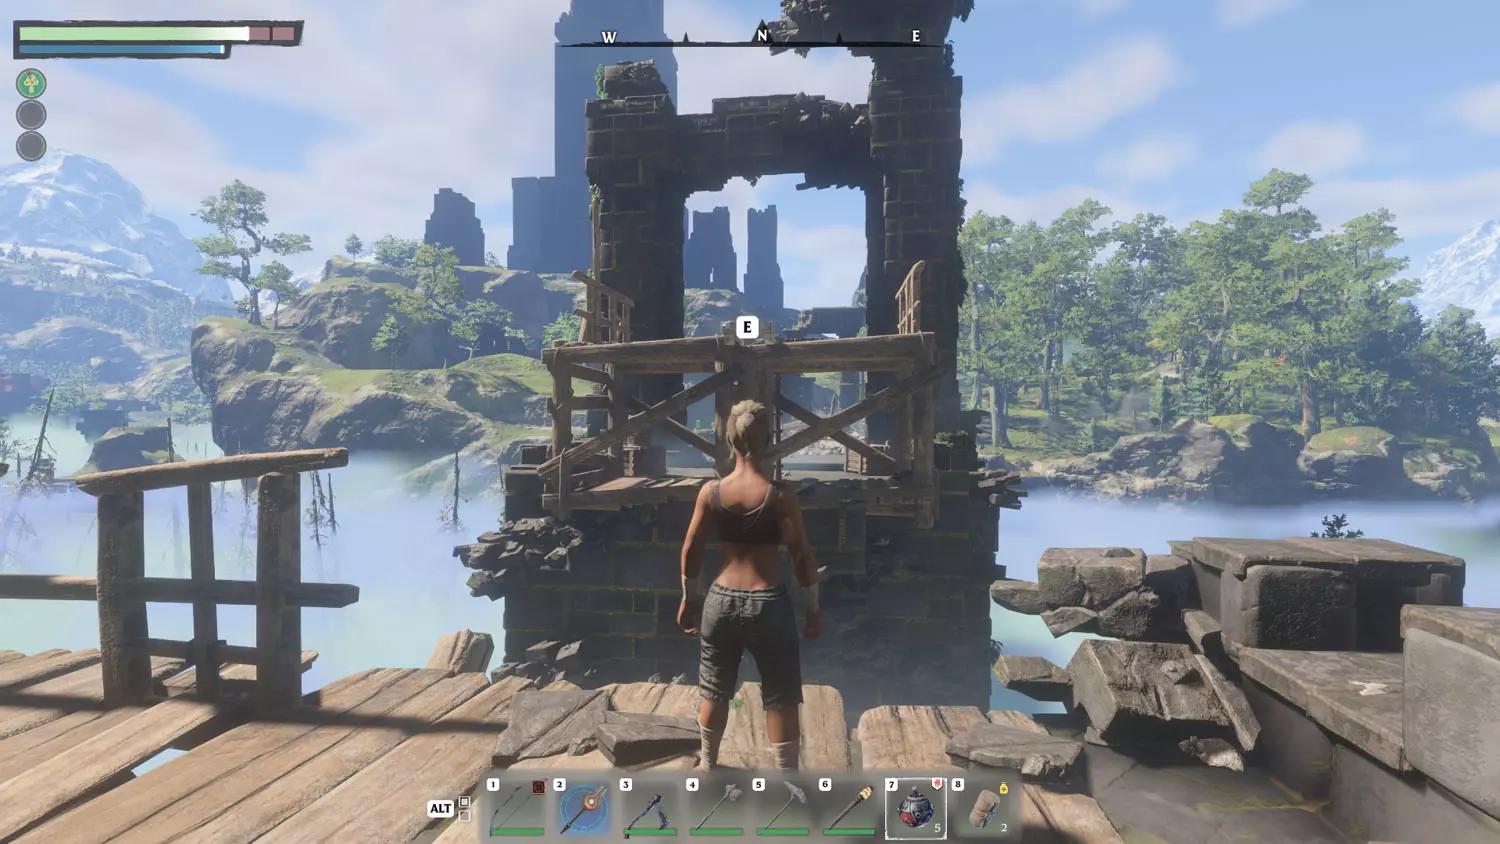
Taking the Enshrouded route? Follow the path to the right of the bridge and follow it straight across the Enshrouded area (North). Once you make it to the other side, follow the dirt path to the trail that comes off Braelyn Bridge.

FA 02 Find 4FA 02 Find 5

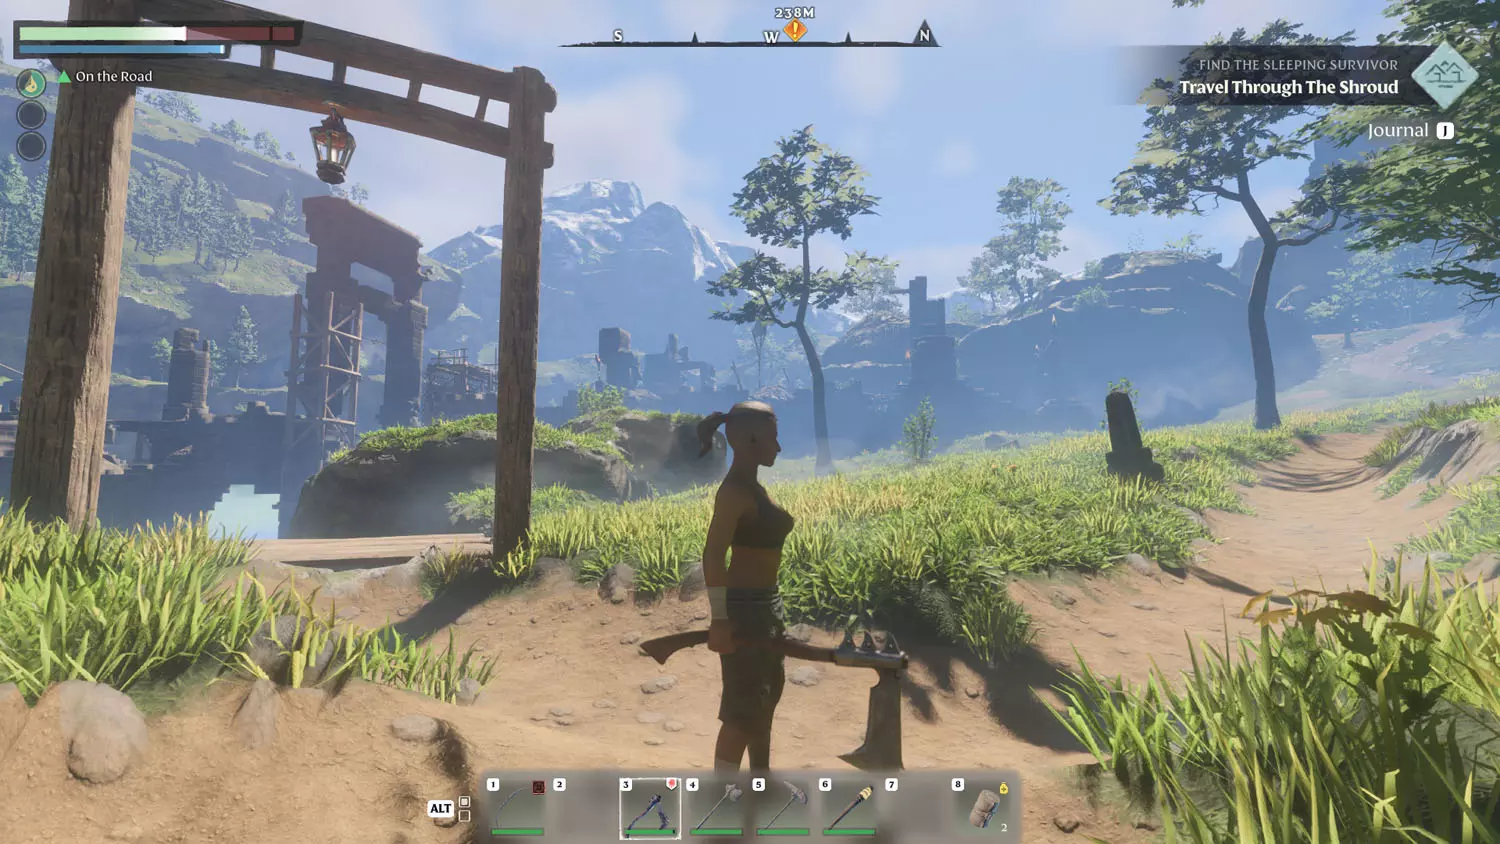
After crossing the bridge, take the left path. If you went through the Enshrouded area, avoid the right path and head straight instead. (Going down the other path will bring you to enemies you likely aren’t ready for yet.) Doing your own thing? I wish you luck and loot!

FA 02 Find 6FA 02 Find 7

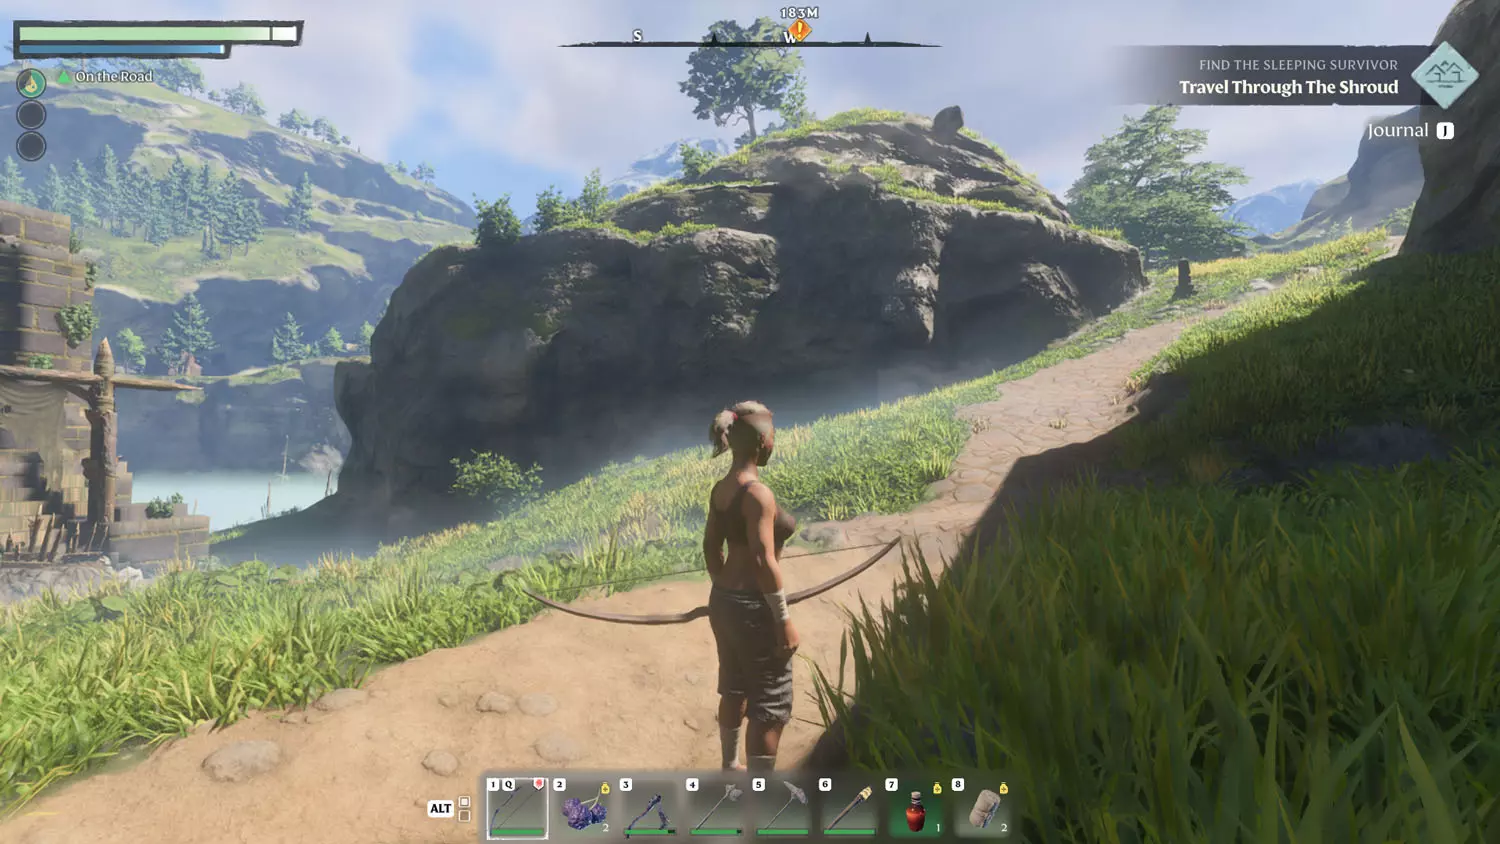
Following the path, head up the hill. You’ll have two Scavengers to fight in this area, followed by one in the Vault, which is straight ahead.

FA 02 Find 8FA 02 Find 9

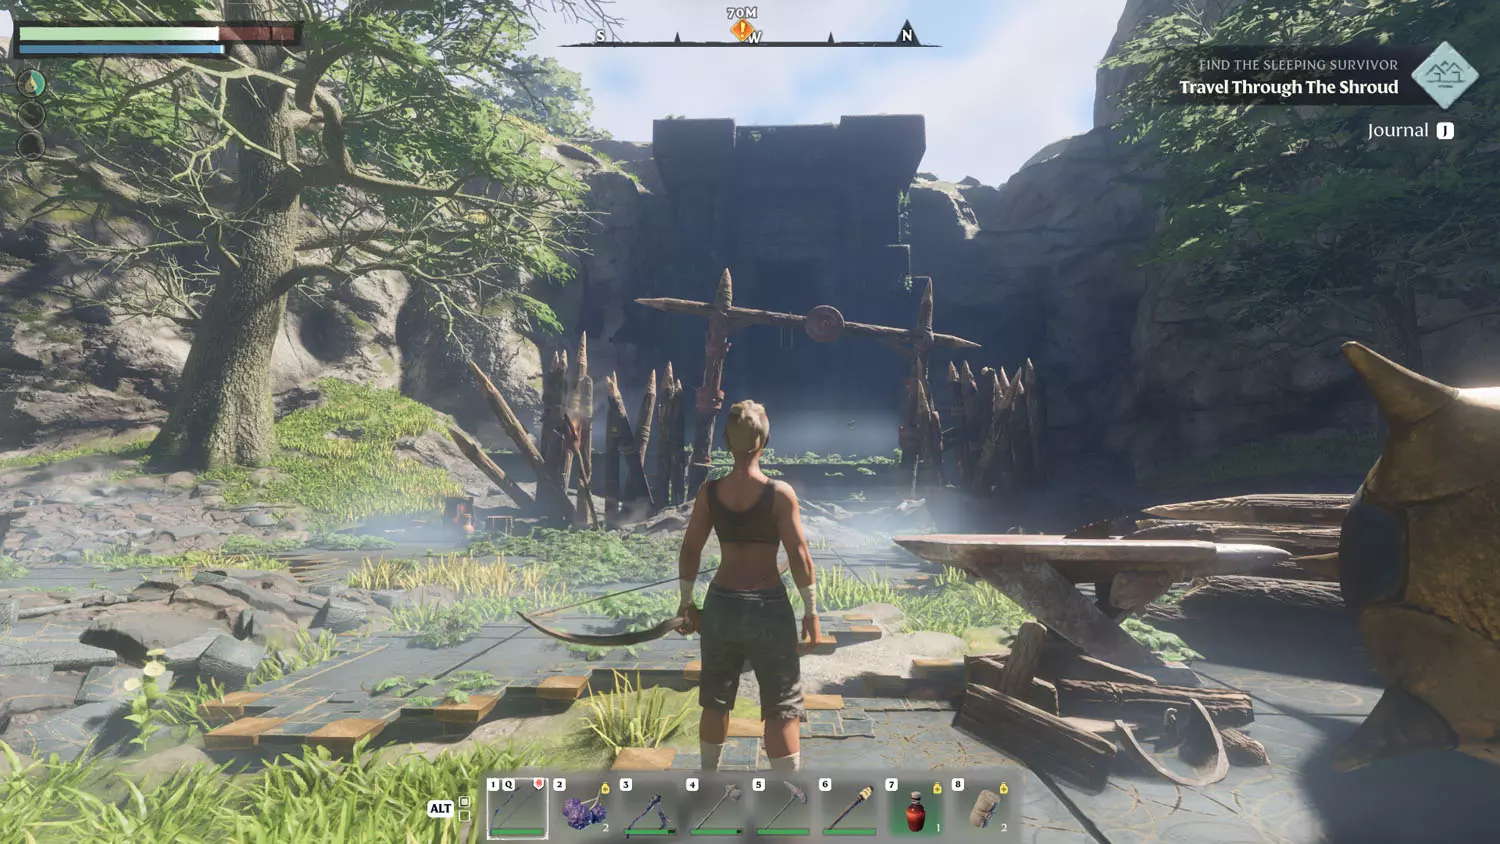
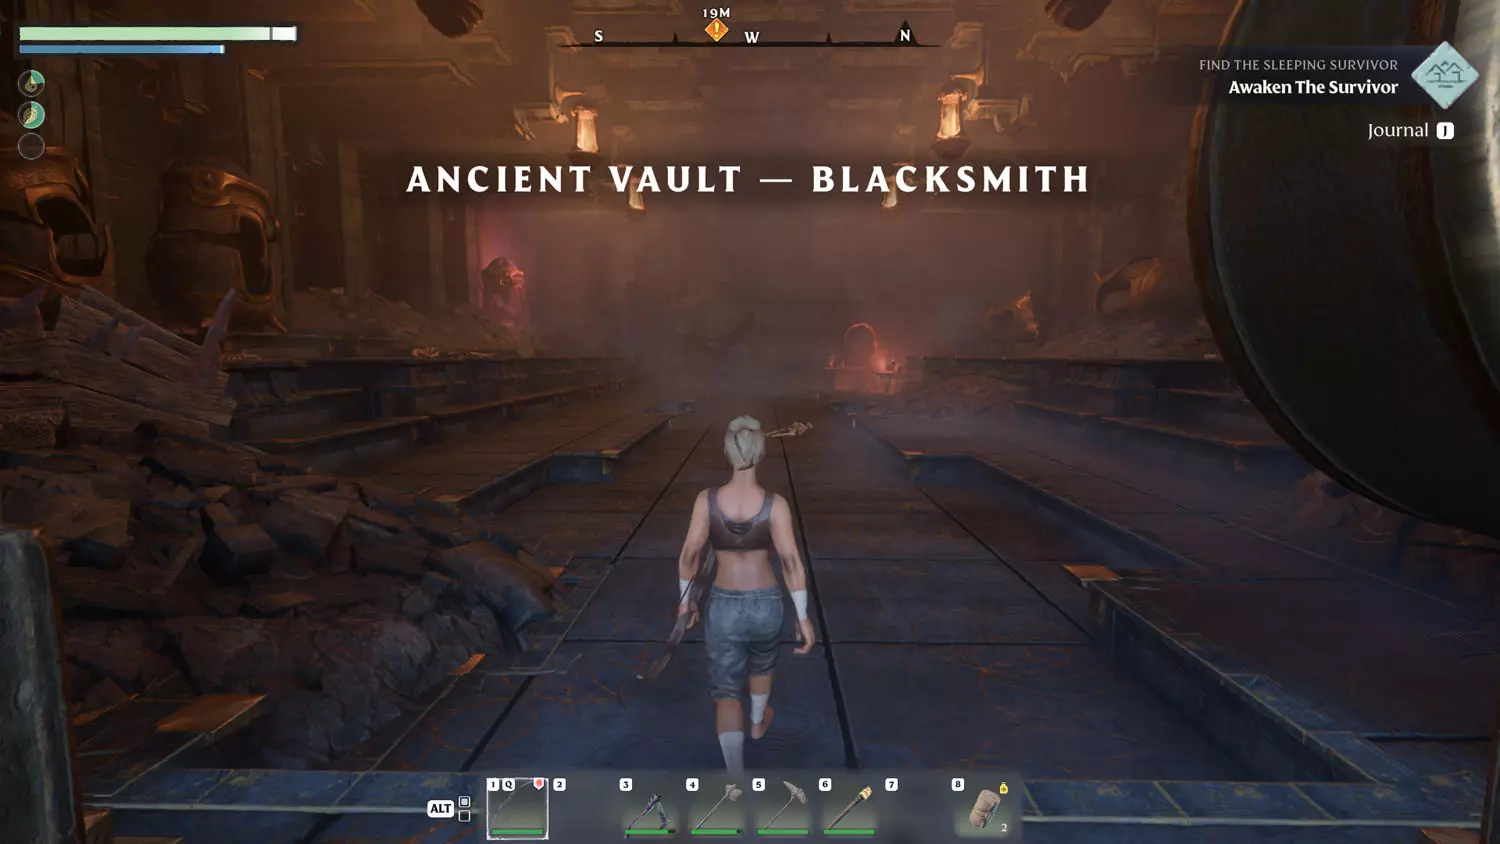
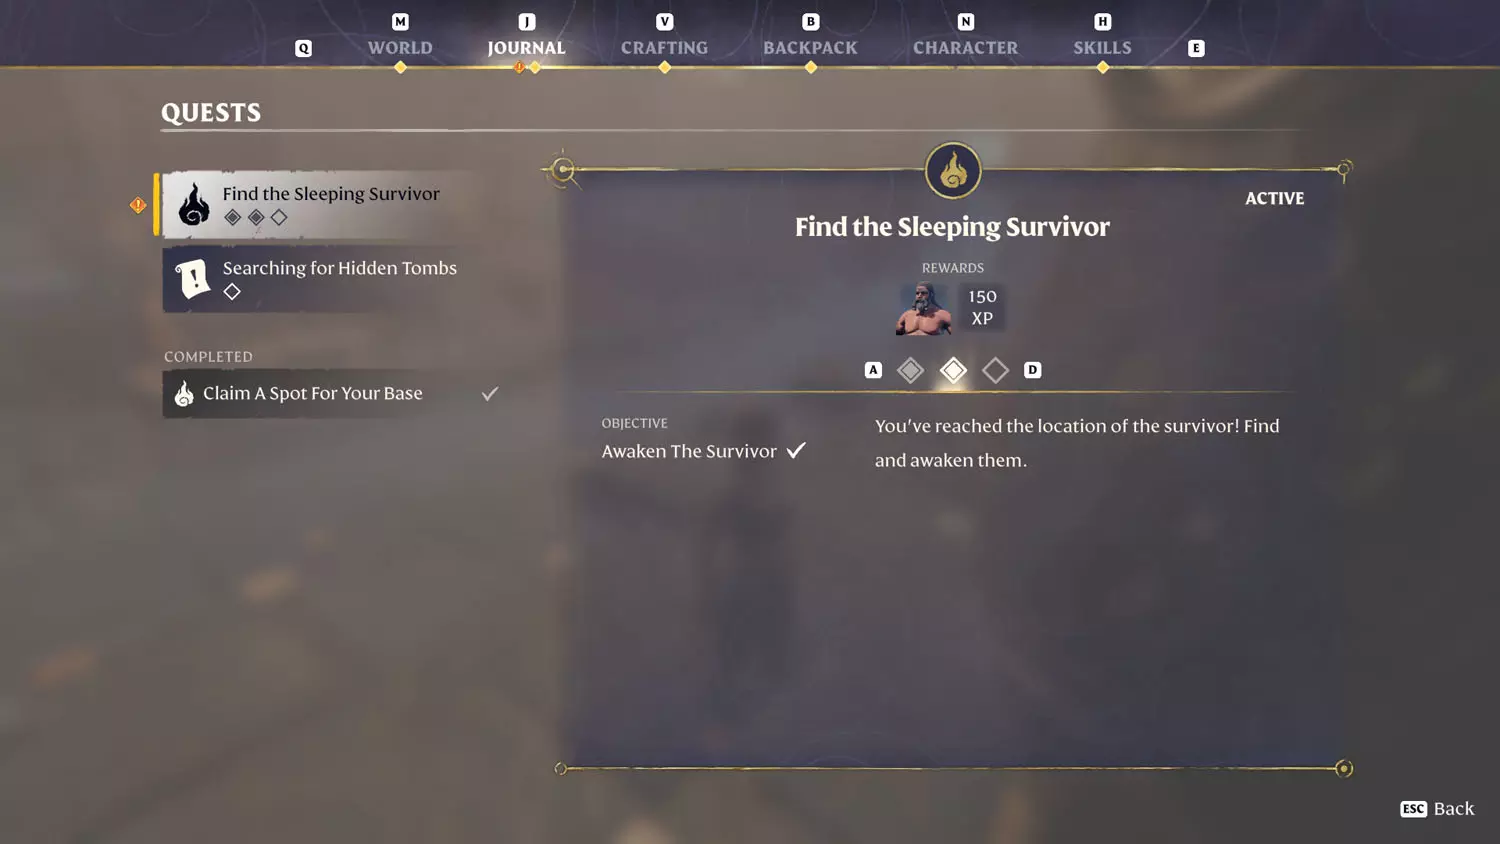
From inside the vault, head toward the smoky red container at the back left. You’ll need to interact with it to move the quest along.

FA 02 Find 10FA 02 Find 11FA 02 Find 12

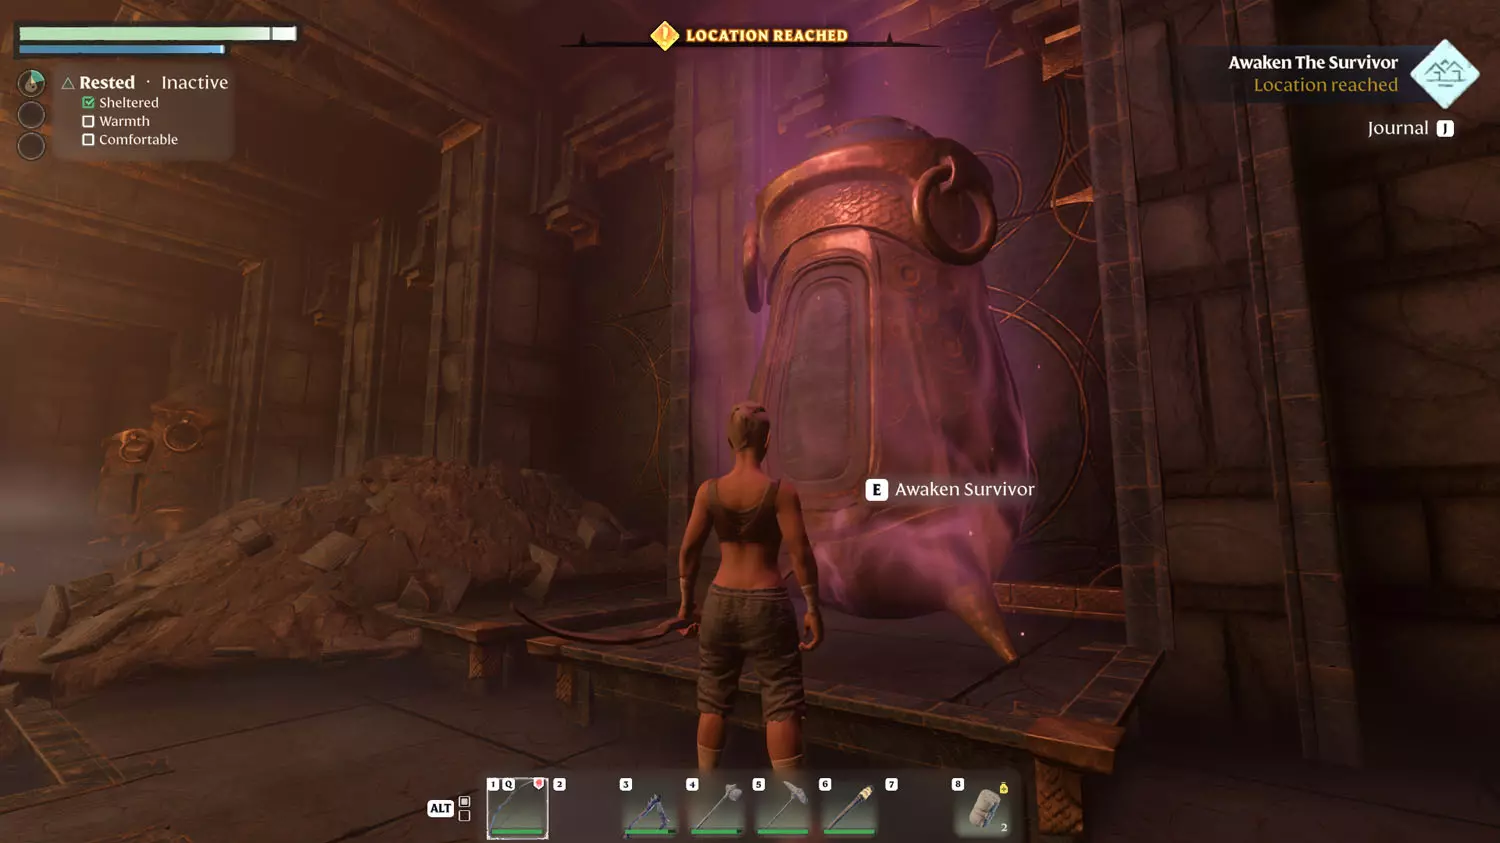
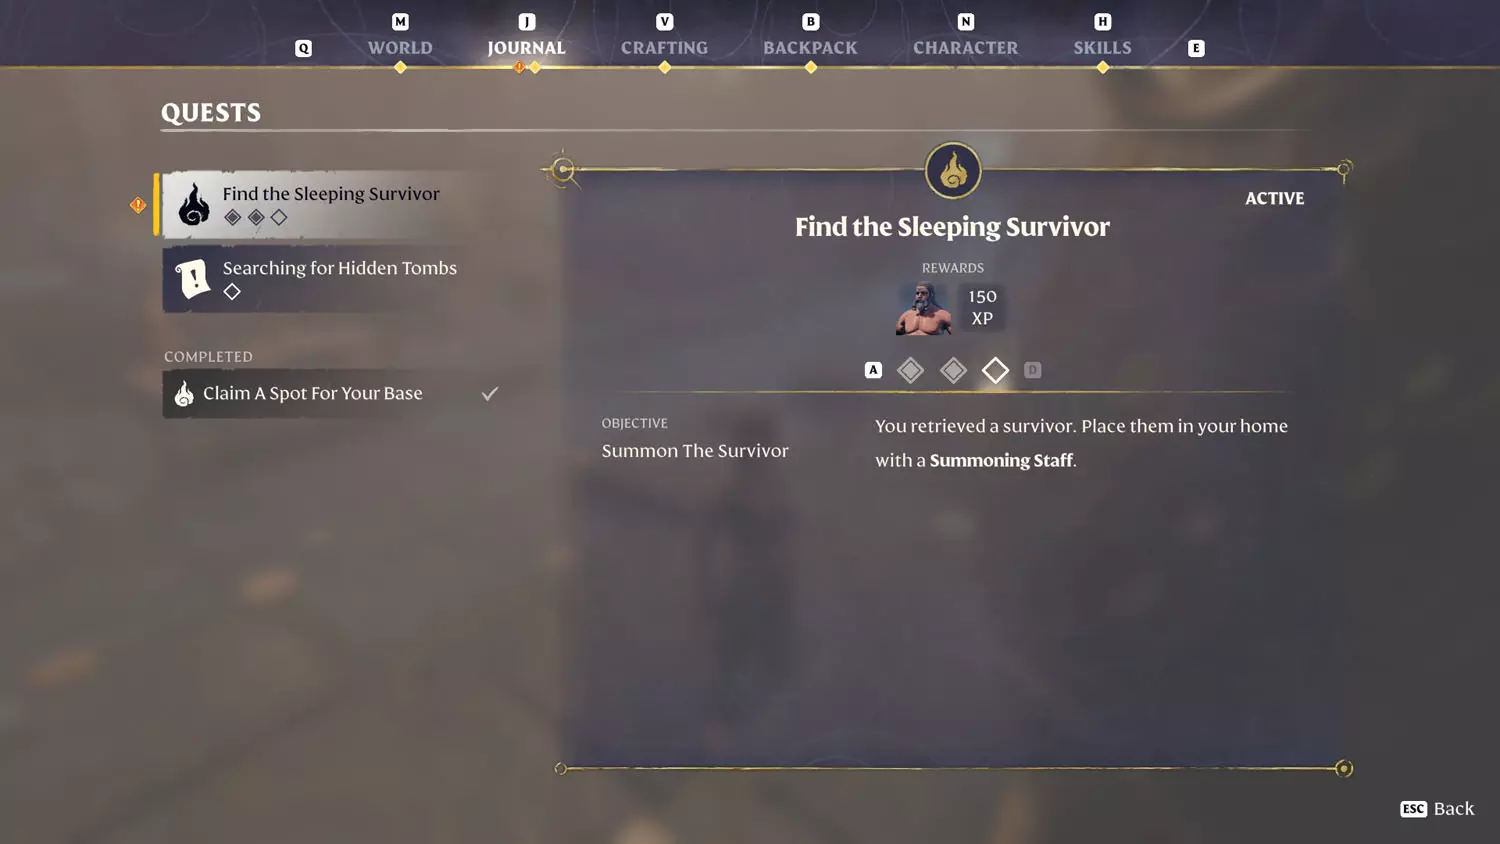
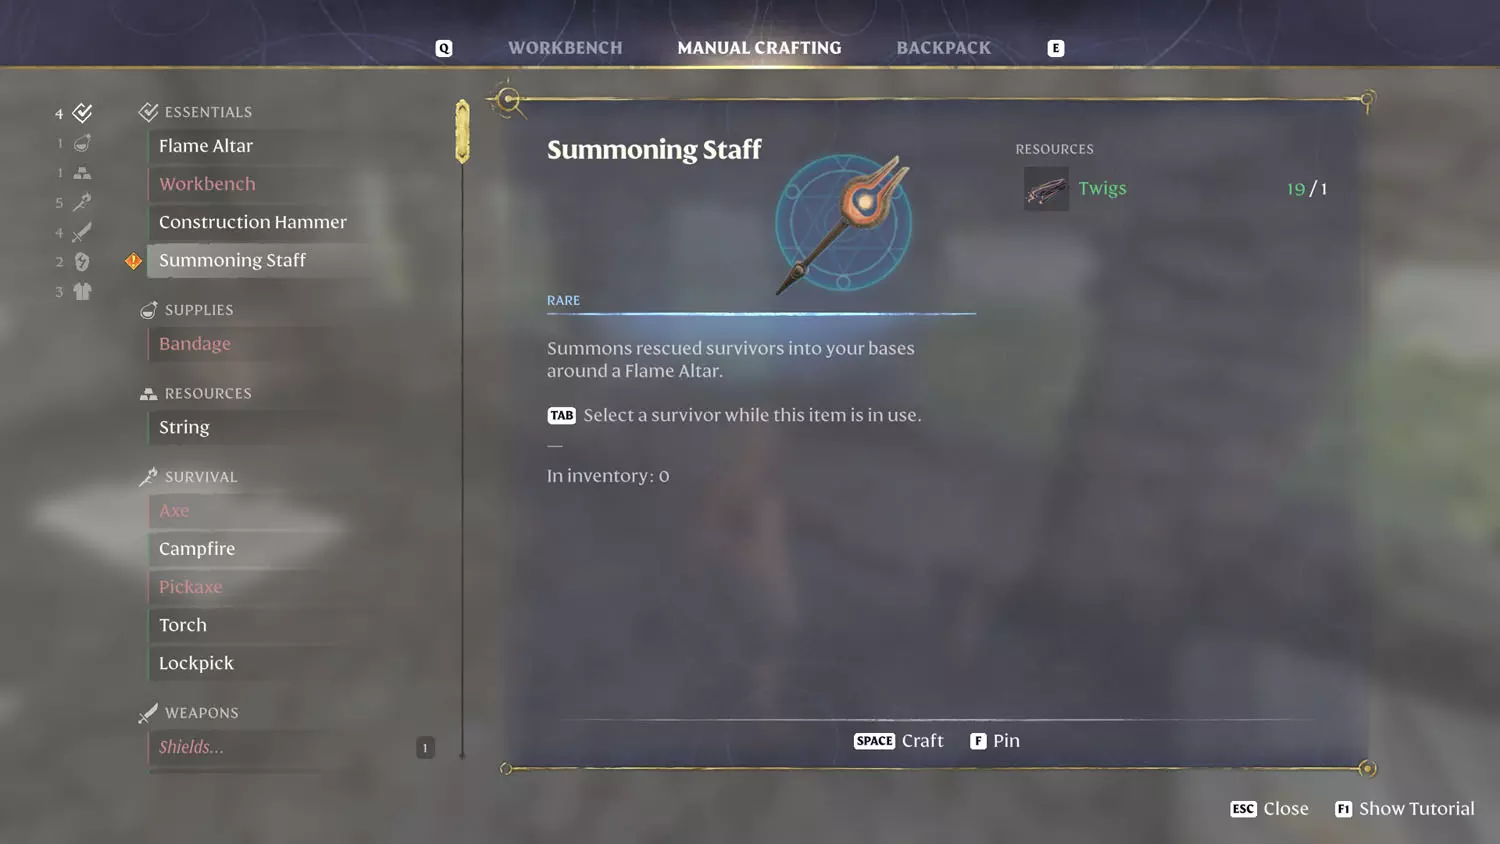
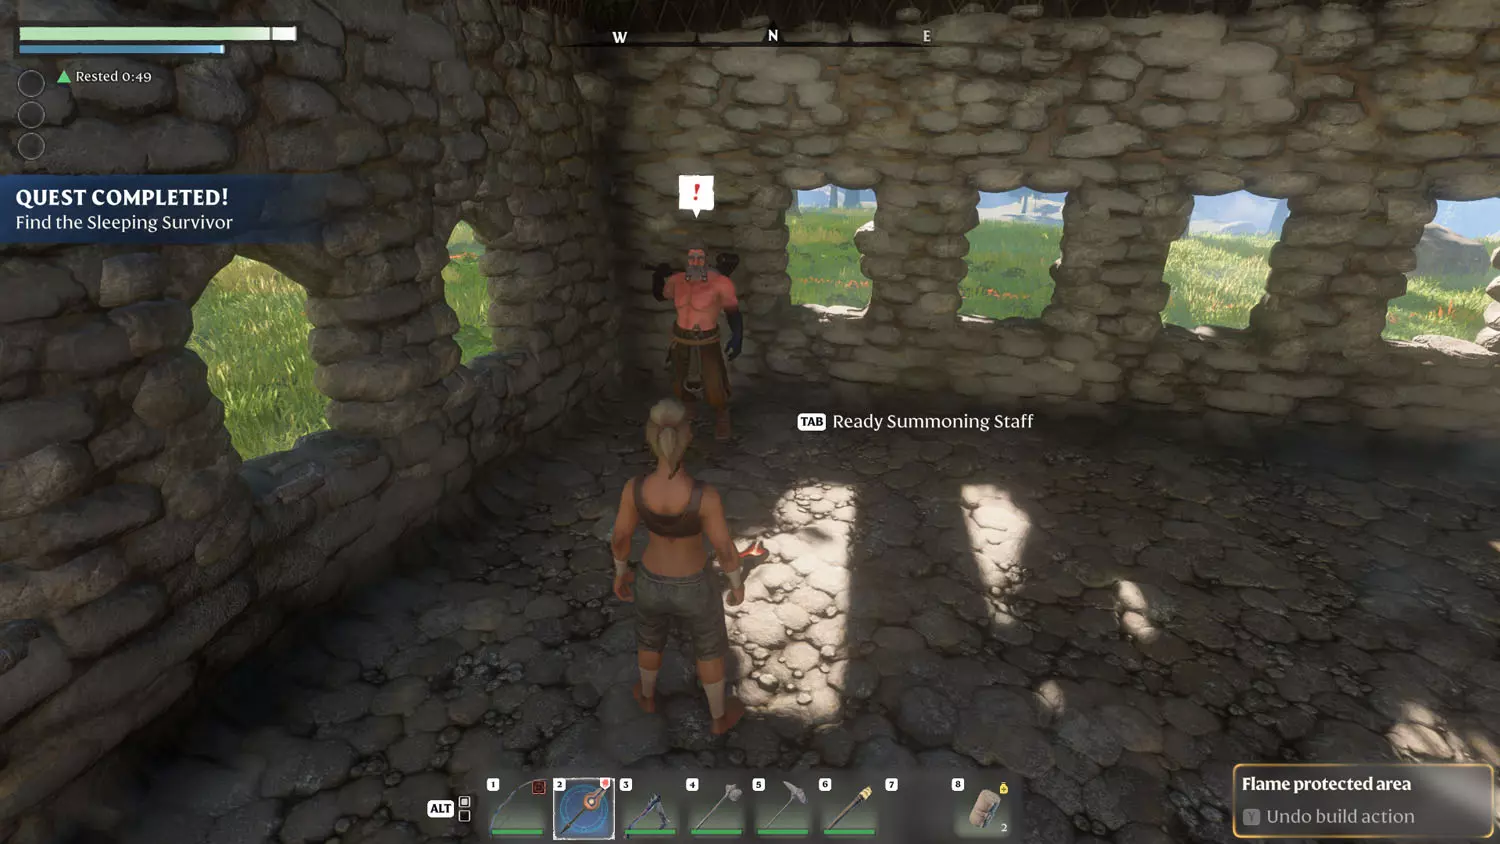
From here, you can teleport back to your first base, talk to the Ancient Flame, craft the summoning staff, and place your Blacksmith. This completes the quest, but talking to him will give you the option to accept more quests. Talking with the flame doesn’t do much, but it’s fun.

FA 02 Find 13FA 02 Find 14FA 02 Find 15FA 02 Find 16

Spend A Skill Point

You obtain this quest by talking to the Flame in your base after completing the Blacksmith Quest: Clear The Elixir Well.

FA 03 Spend 1FA 03 Spend 2FA 03 Spend 3FA 03 Spend 4

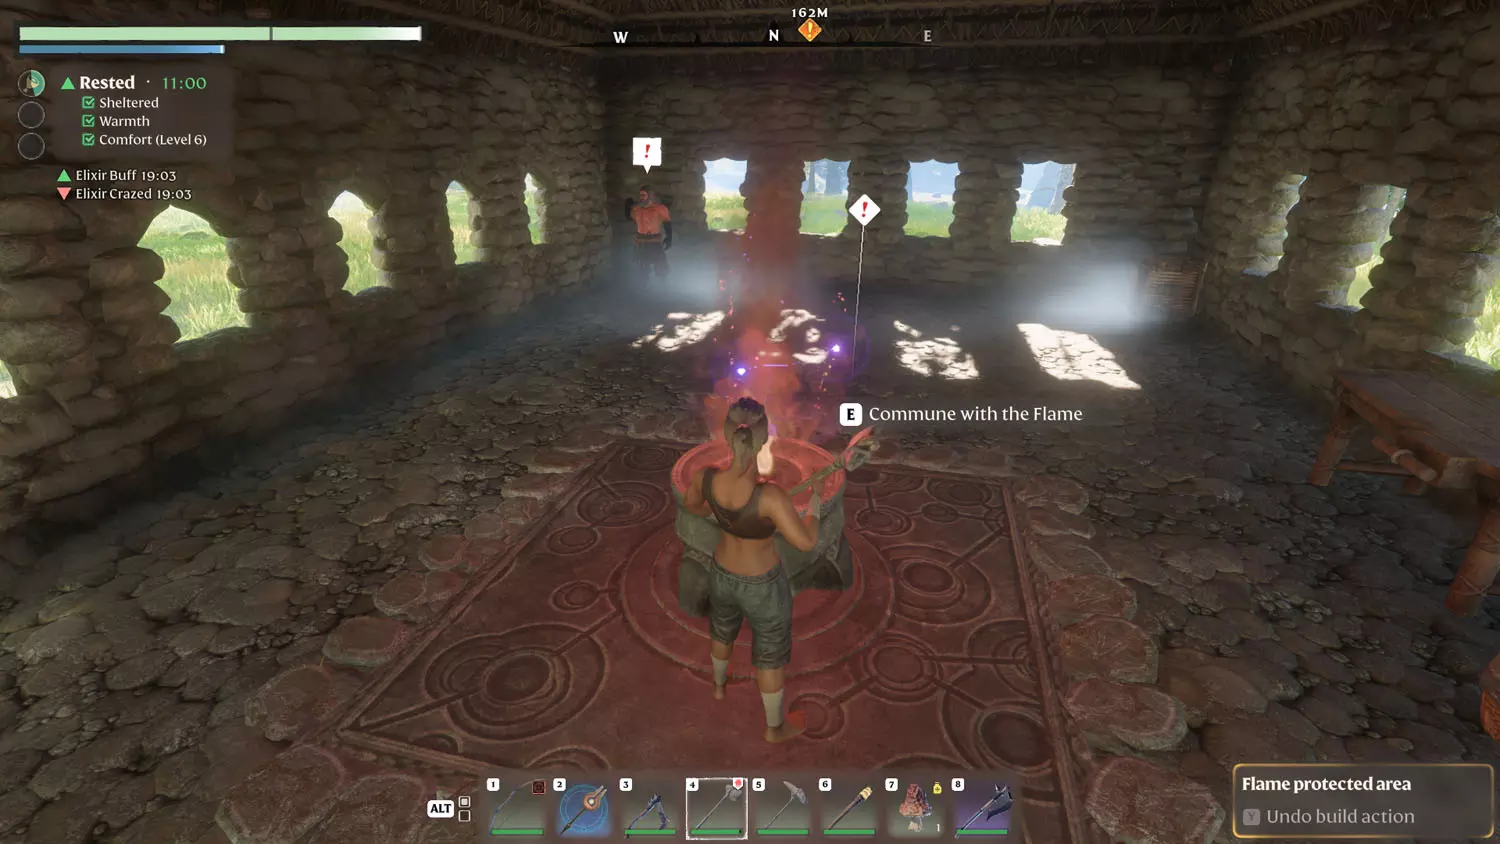
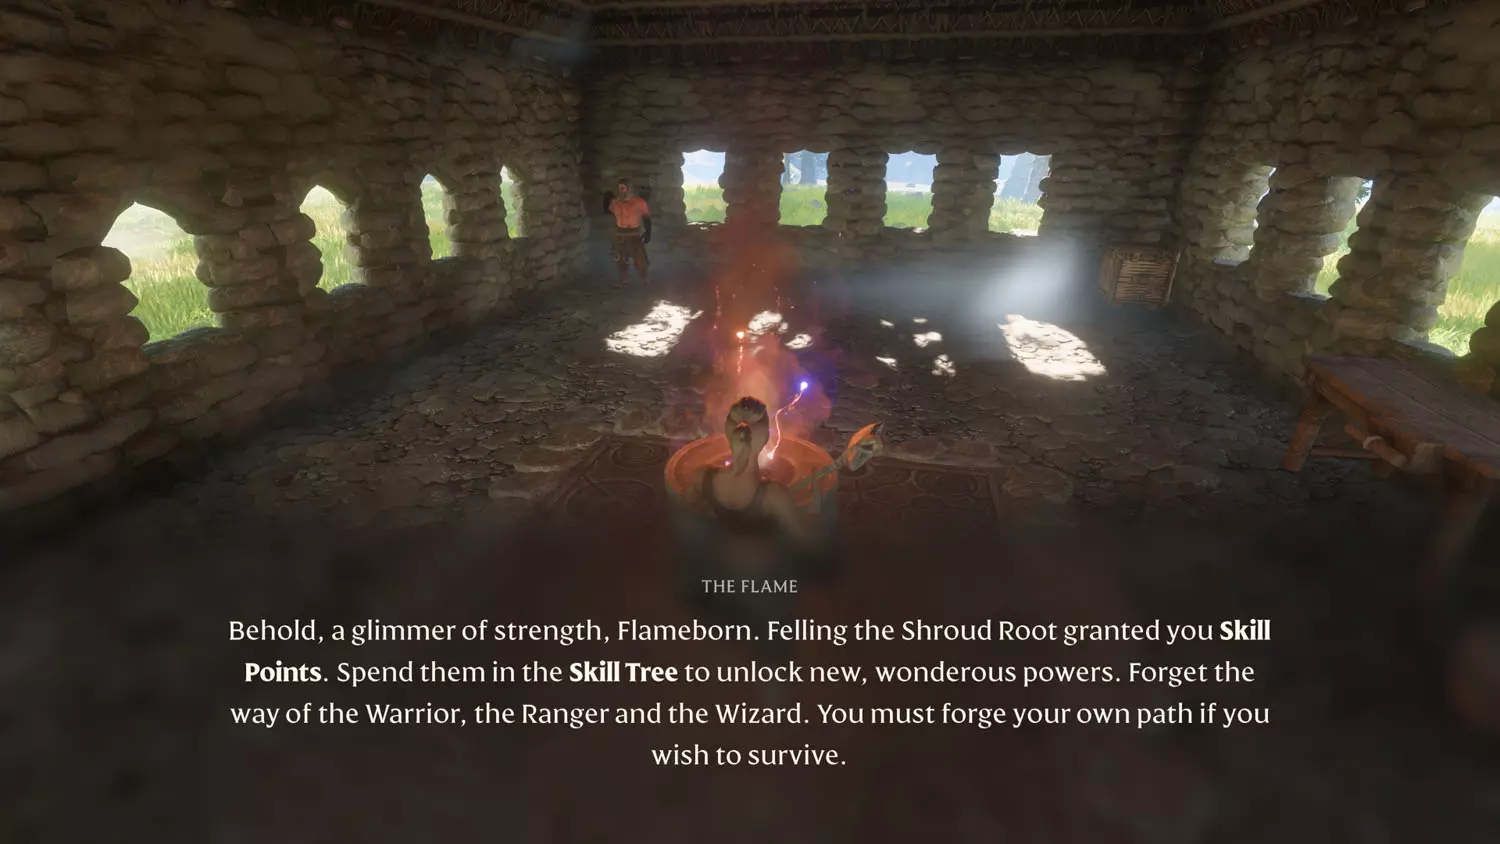
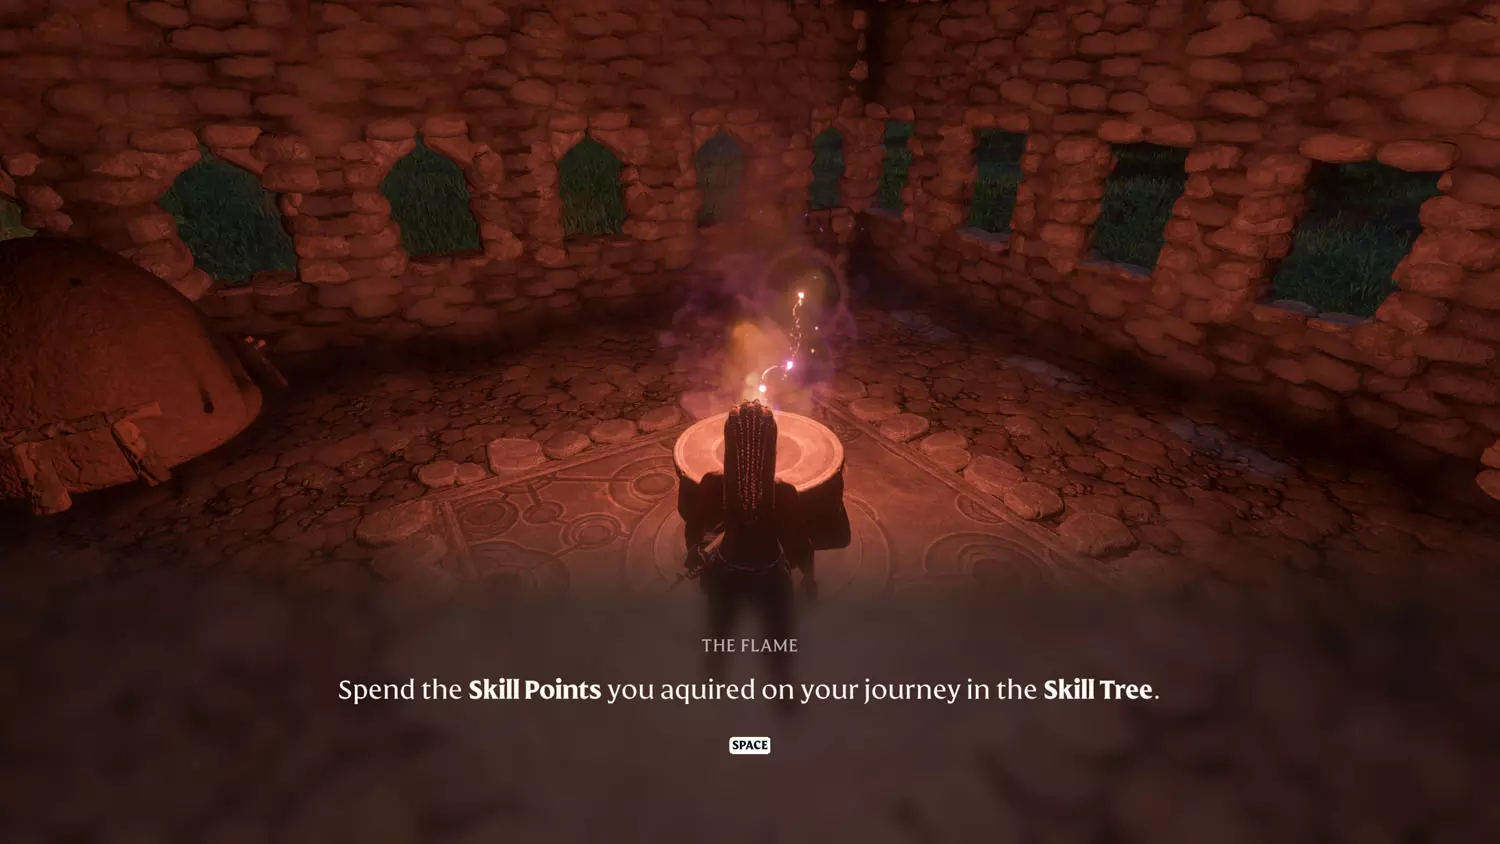
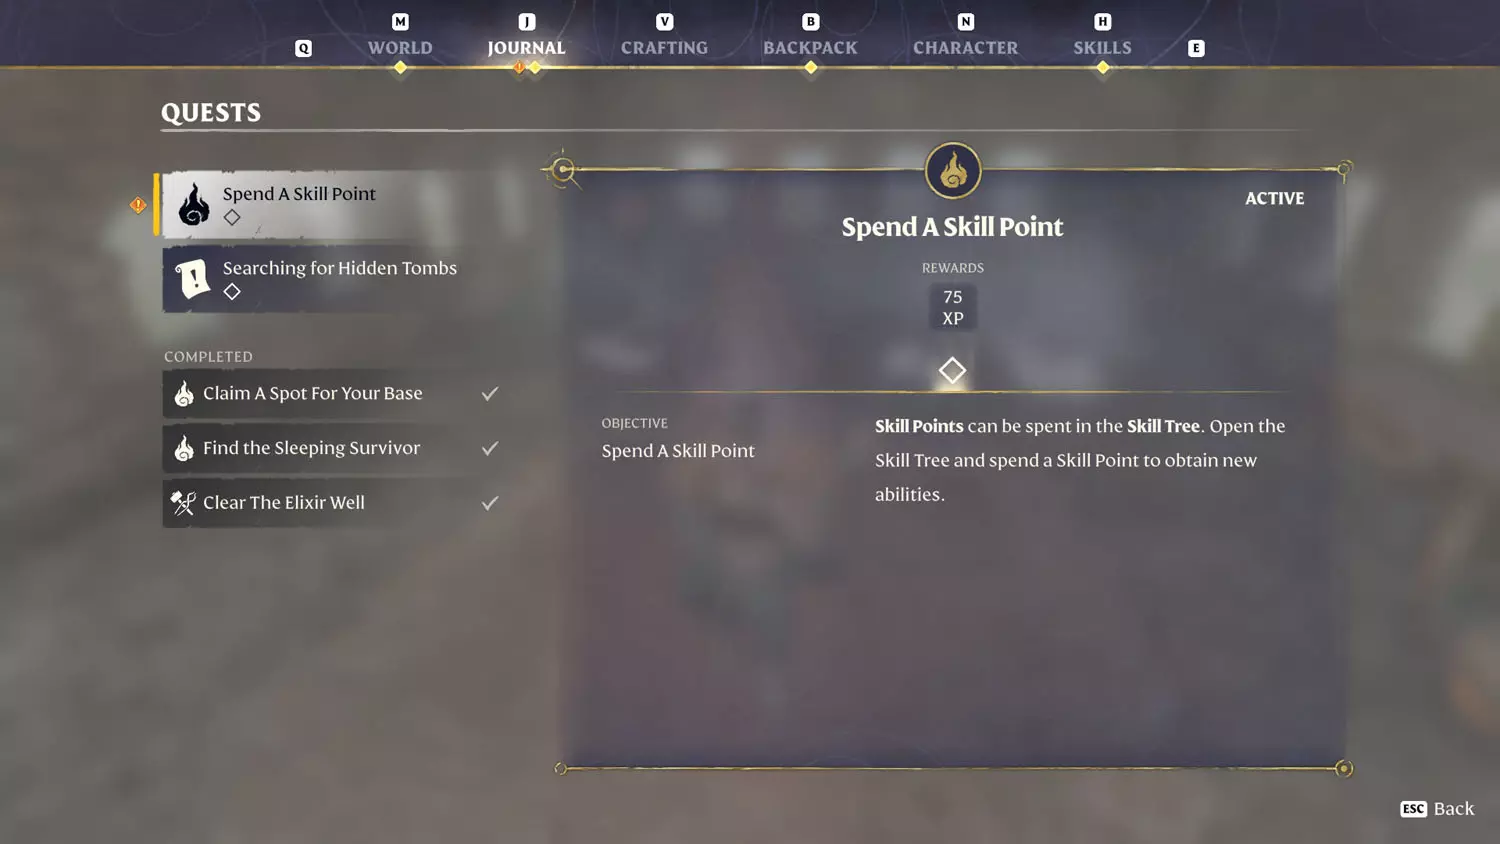
Simply open up your Skills (H) and click on a skill you would like to improve (You can only improve the ones around the center for now). Once you’ve picked one skill to improve, the quest will be completed.

FA 03 Spend 5FA 03 Spend 6

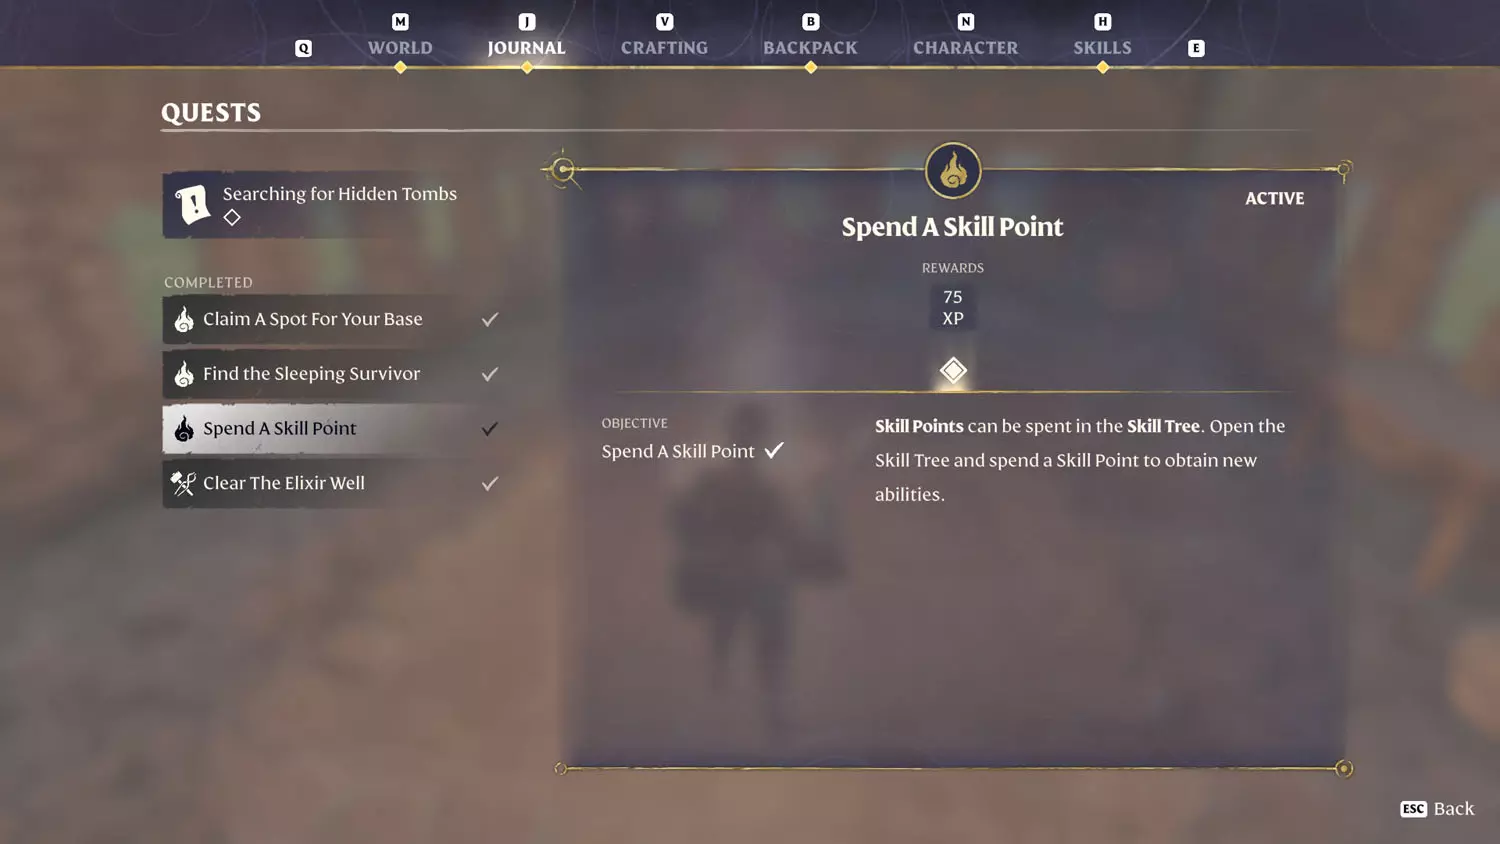
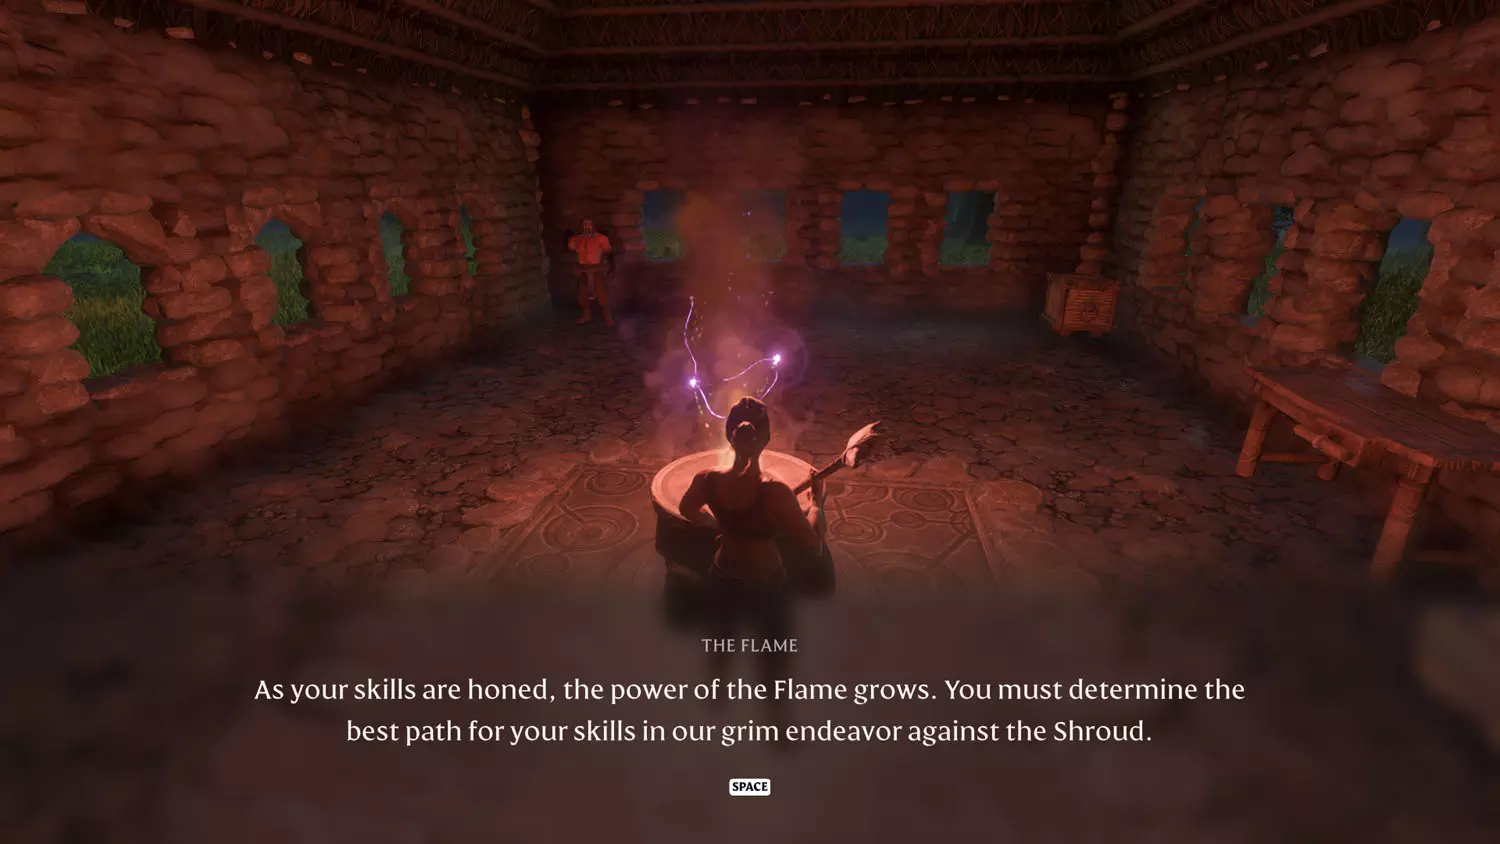
The Flame in the Flame Altar congratulates you afterward.

FA 03 Spend 7

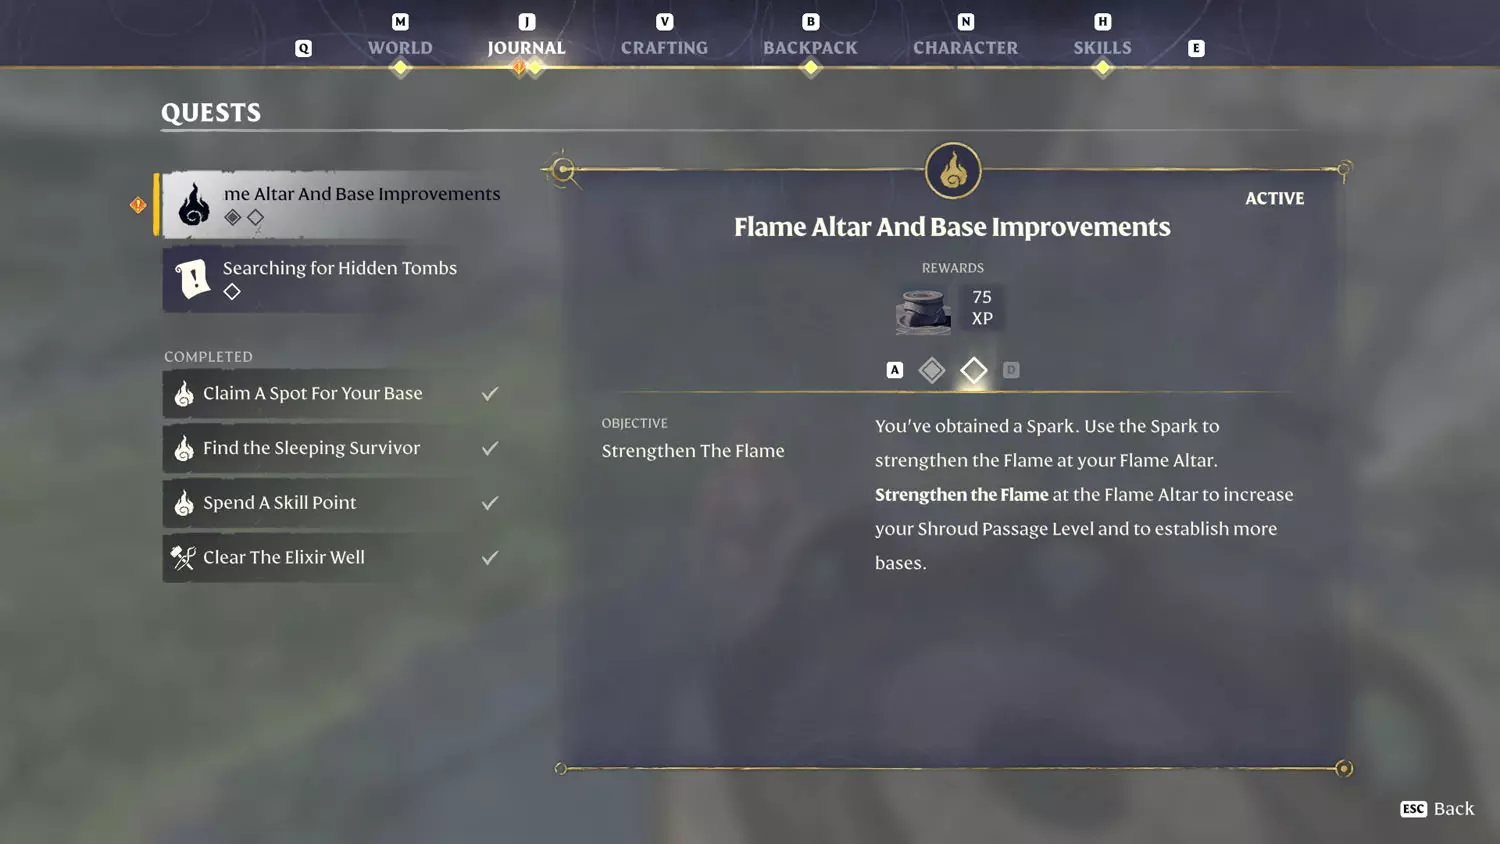
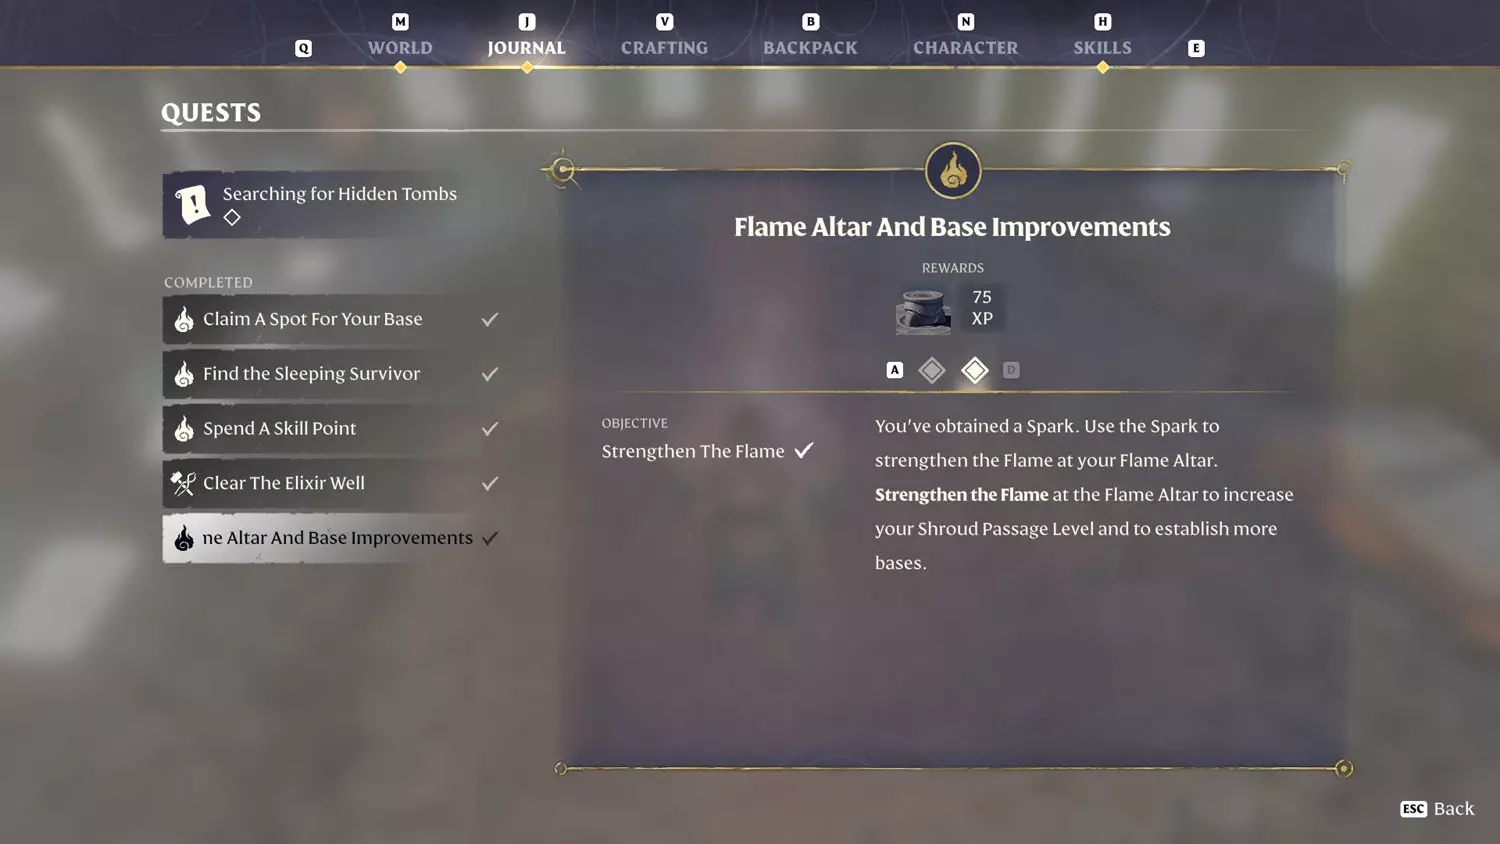
Flame Altar And Base Improvements [1]

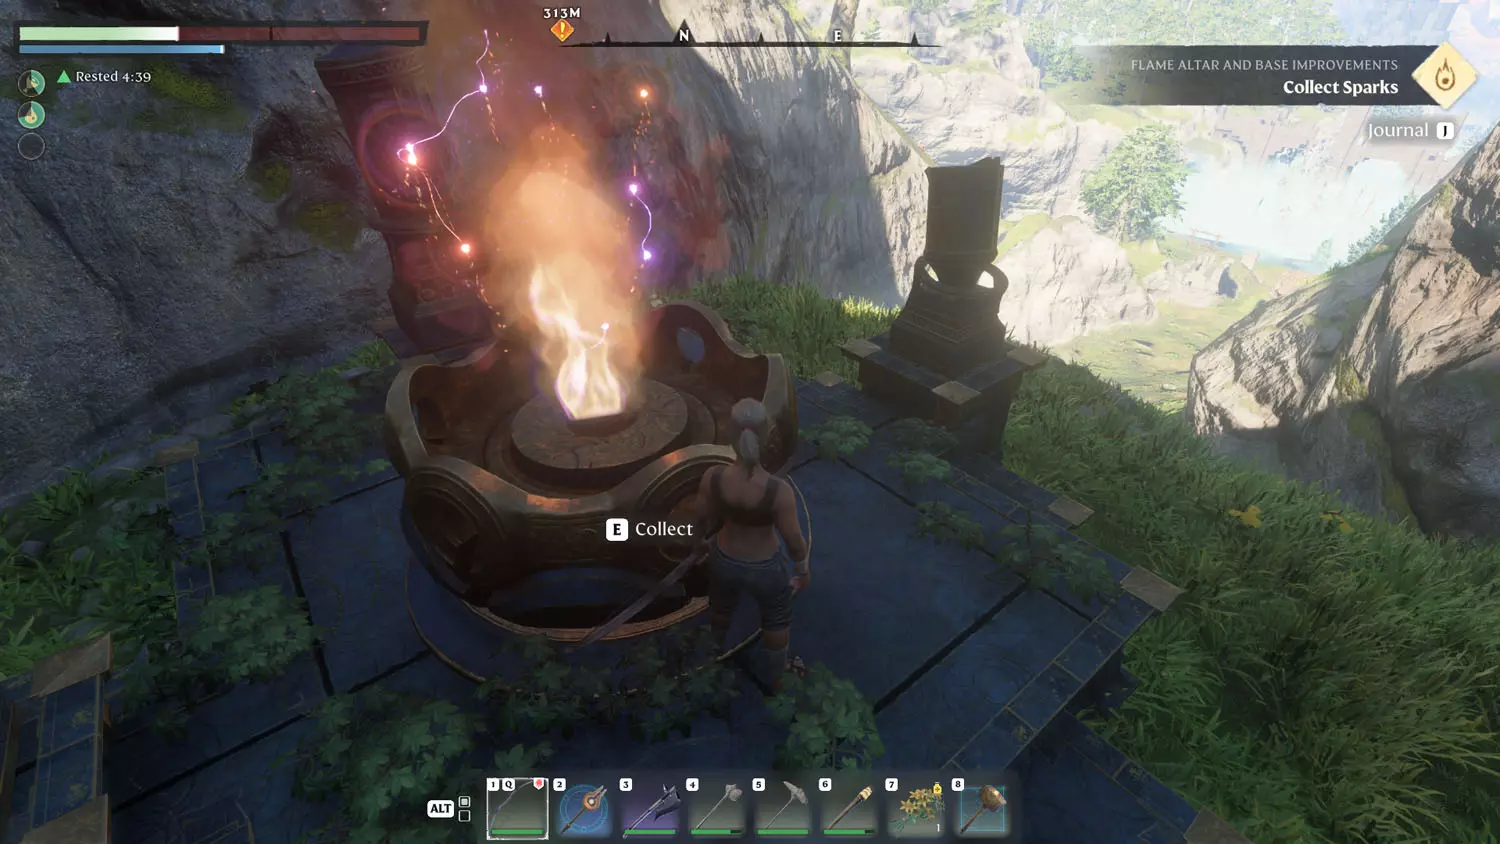
From the previous quest, talking to the Flame in your base (the Flame Altar) will once again give you a quest. This time, it wants you to improve your Flame Altar.

FA 04 Flame 1FA 04 Flame 2FA 04 Flame 3

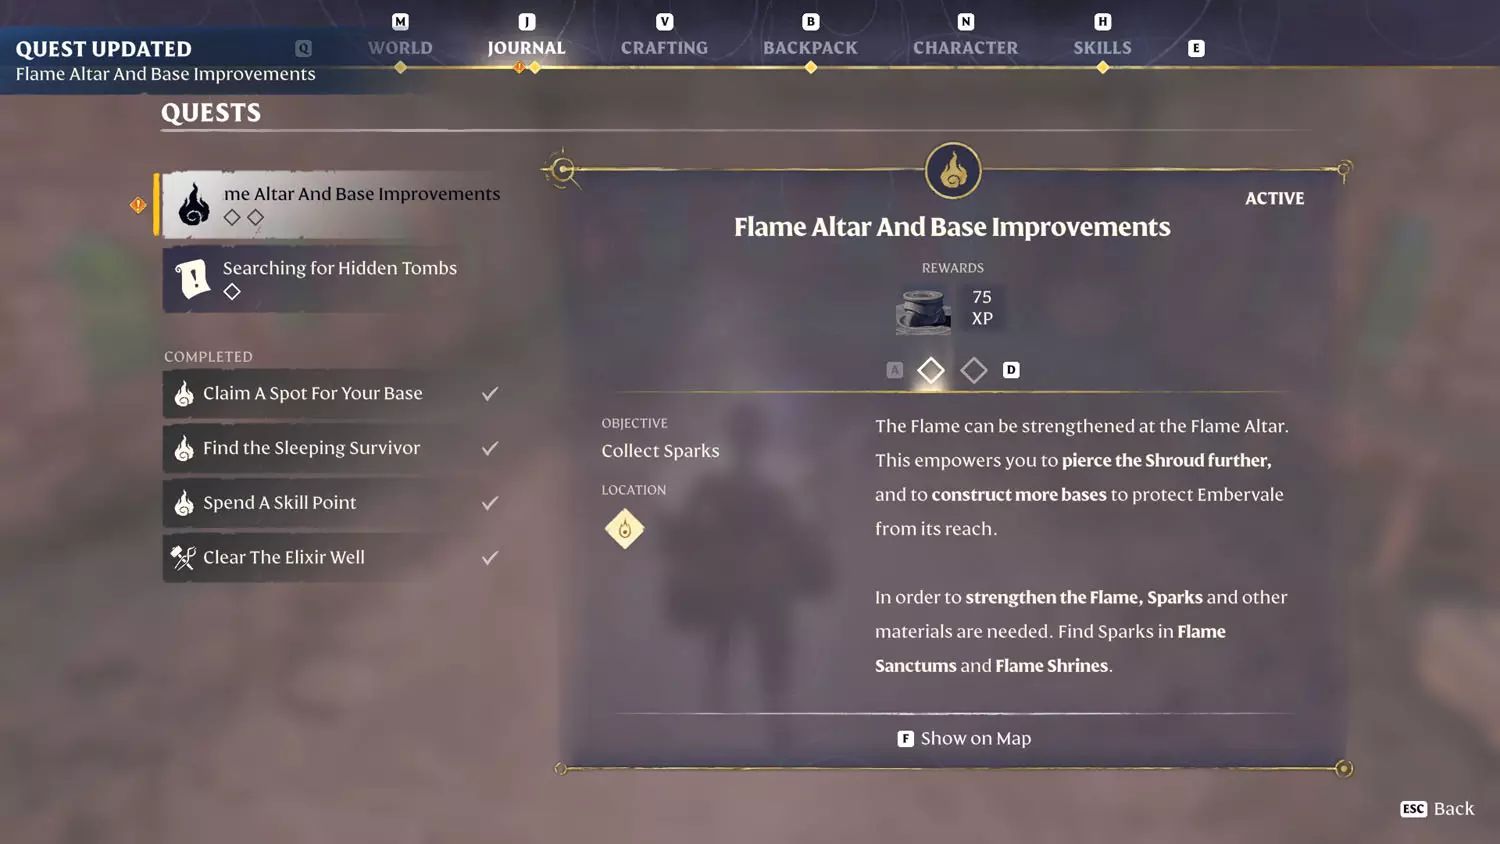
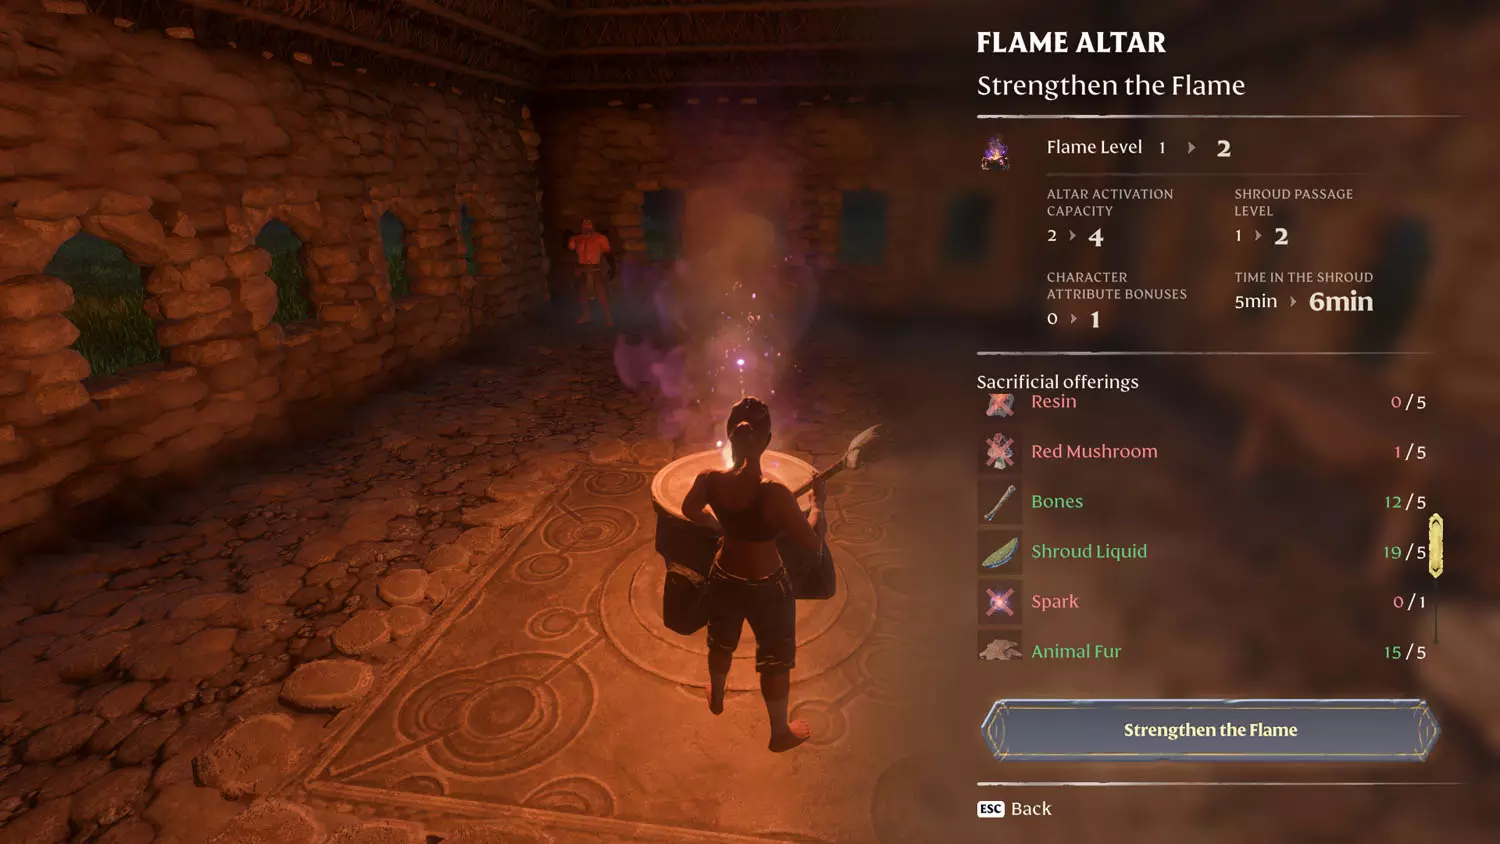
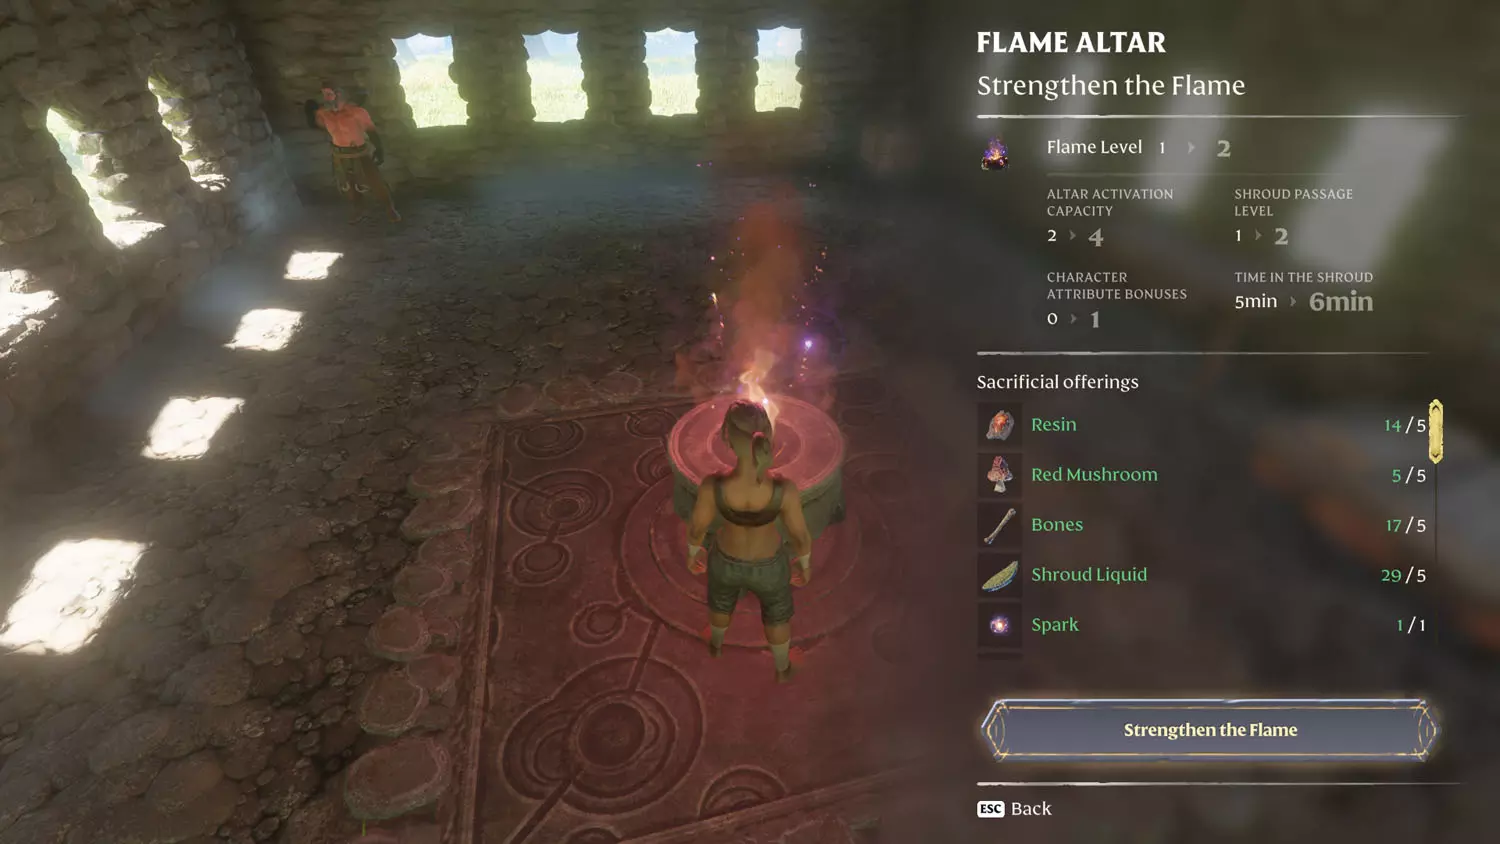
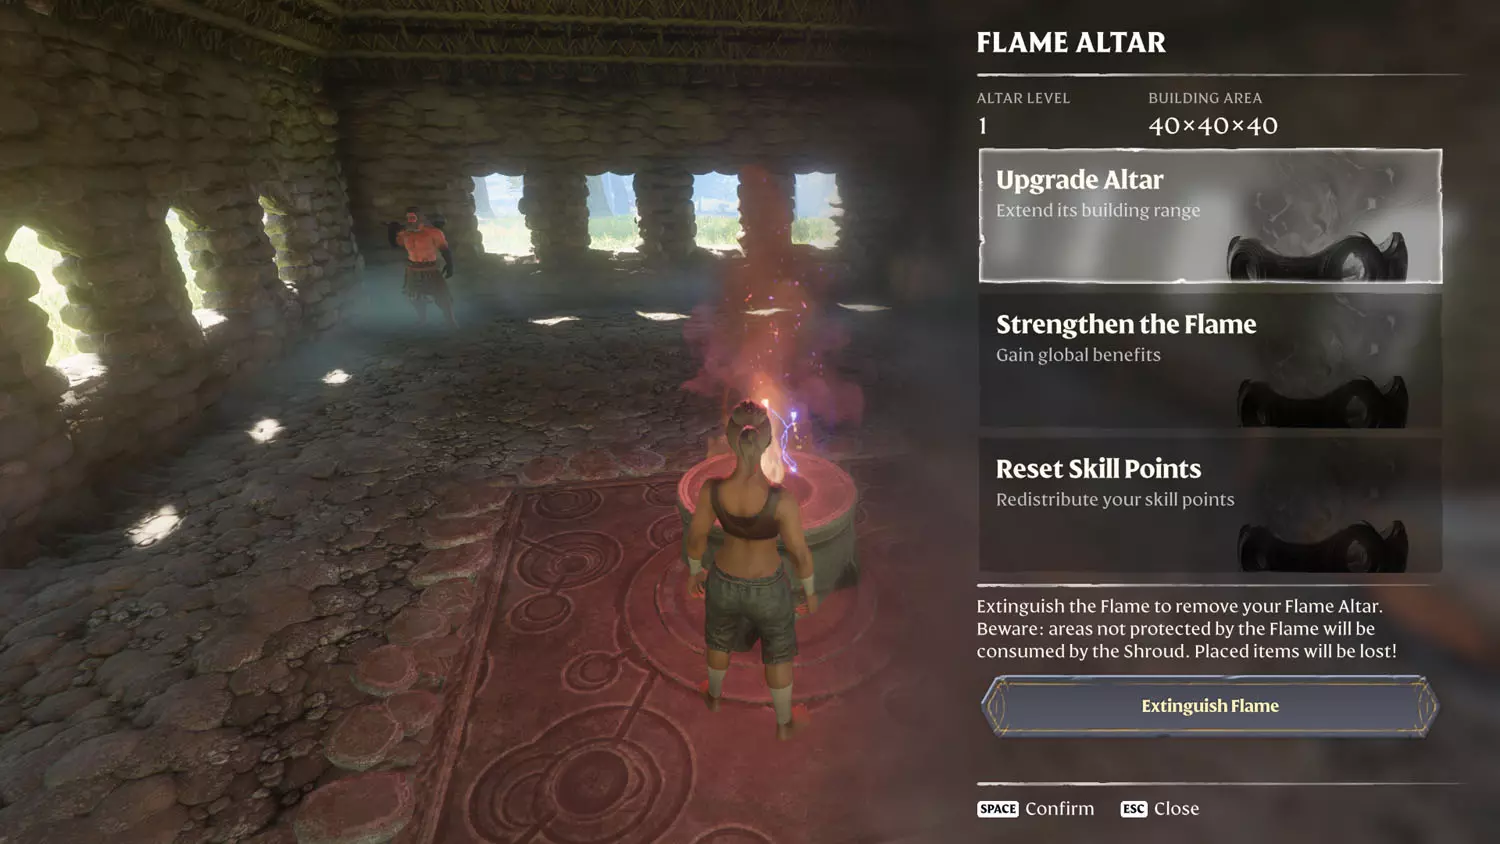
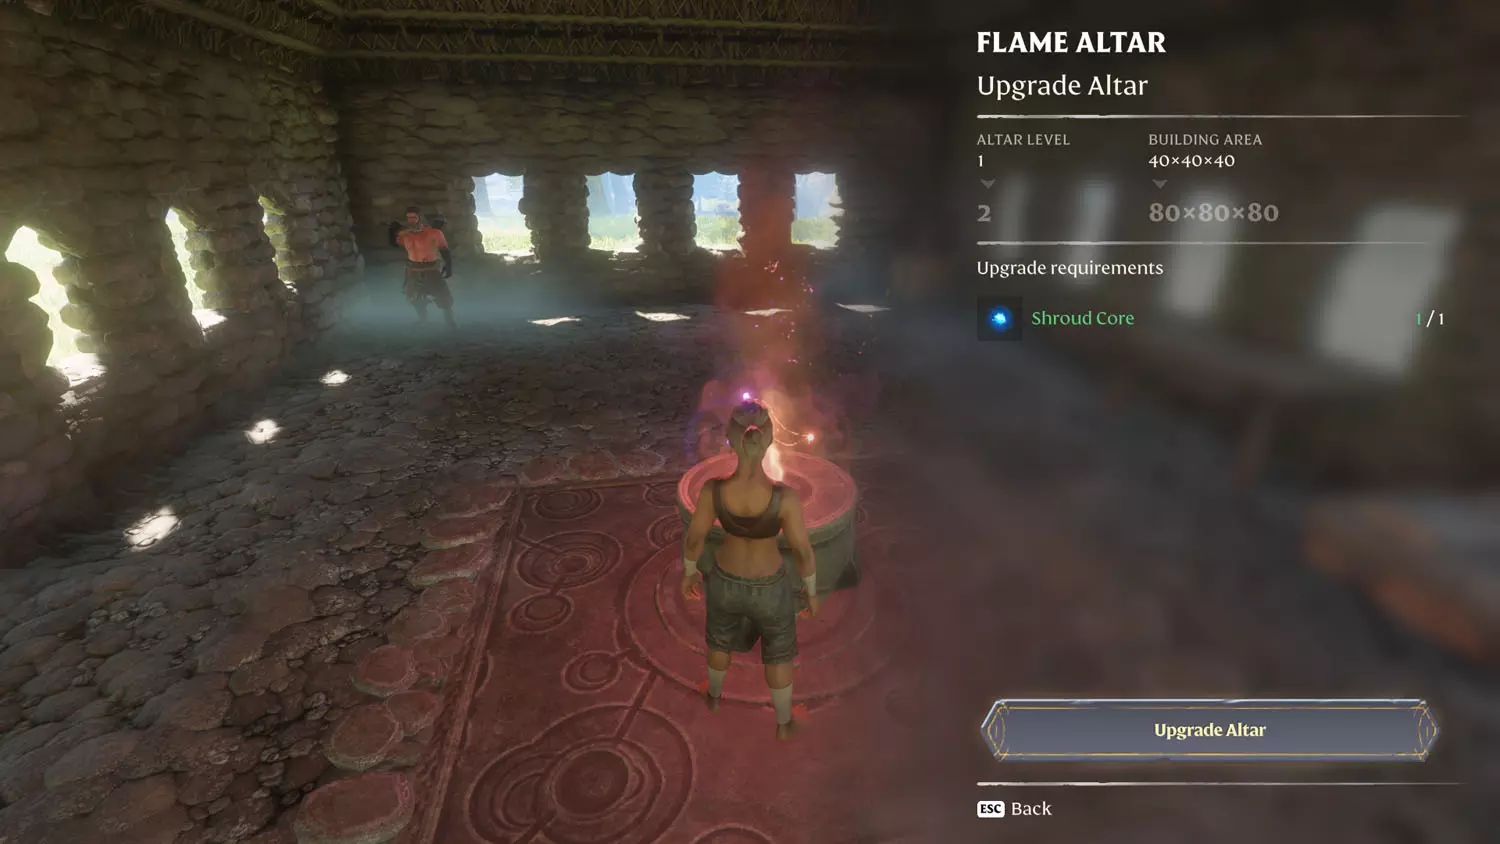
To upgrade the Flame Altar, talk to it when it has nothing more to say and you’ll enter the screen below. Click into Strengthen the Flame. You will see the current level, what protection it offers you, and what materials it takes to upgrade to the next level.

TIP: You can see more other upgrades here: Strengthen The Flame.

FA 04 Flame 4FA 04 Flame 5

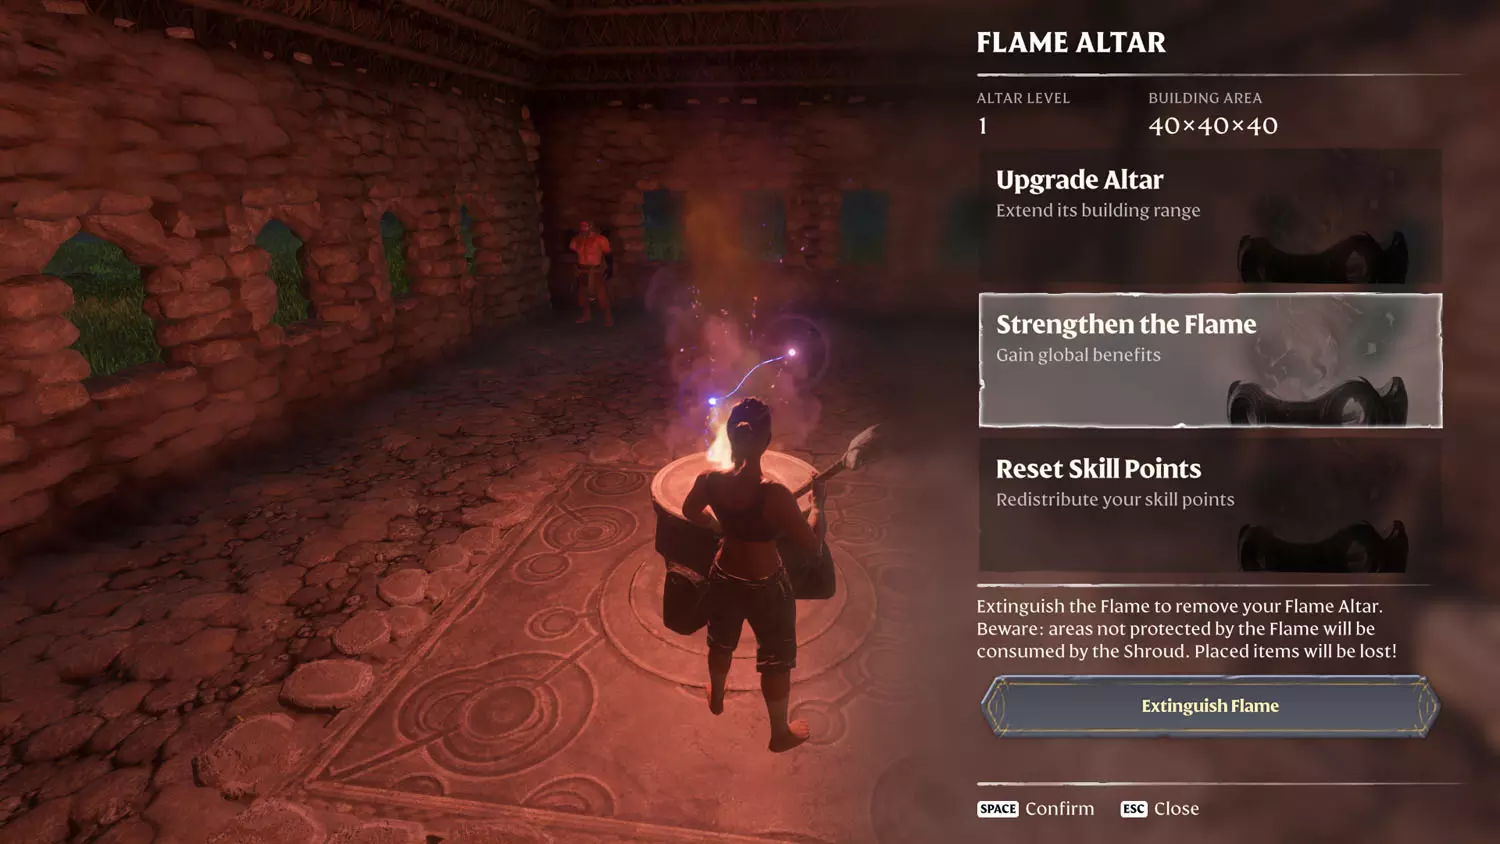
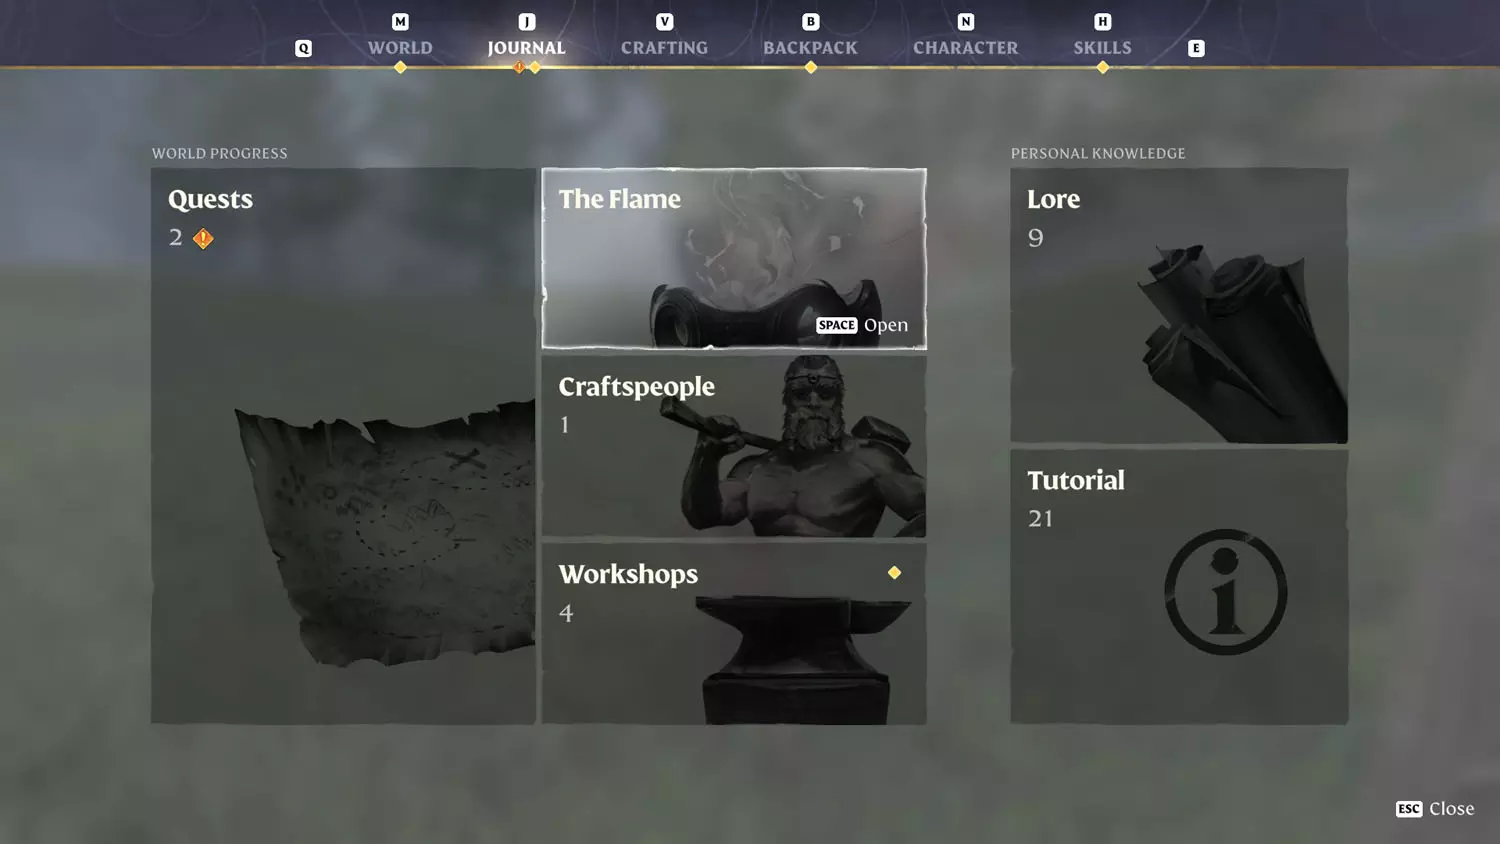
You can also access this any time under Journal (J) and The Flame.

FA 04 Flame 6FA 04 Flame 7

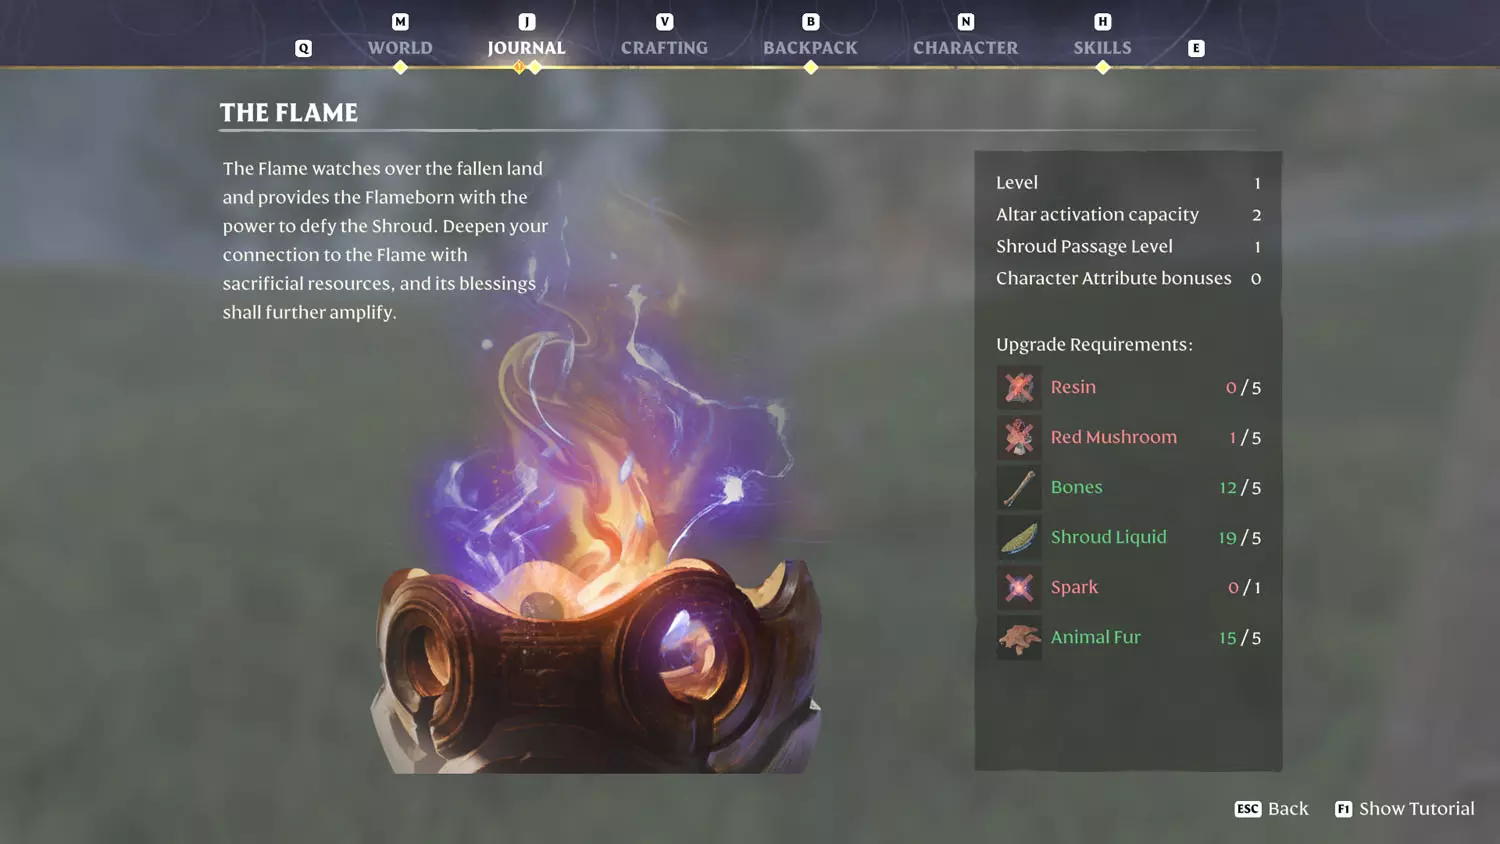
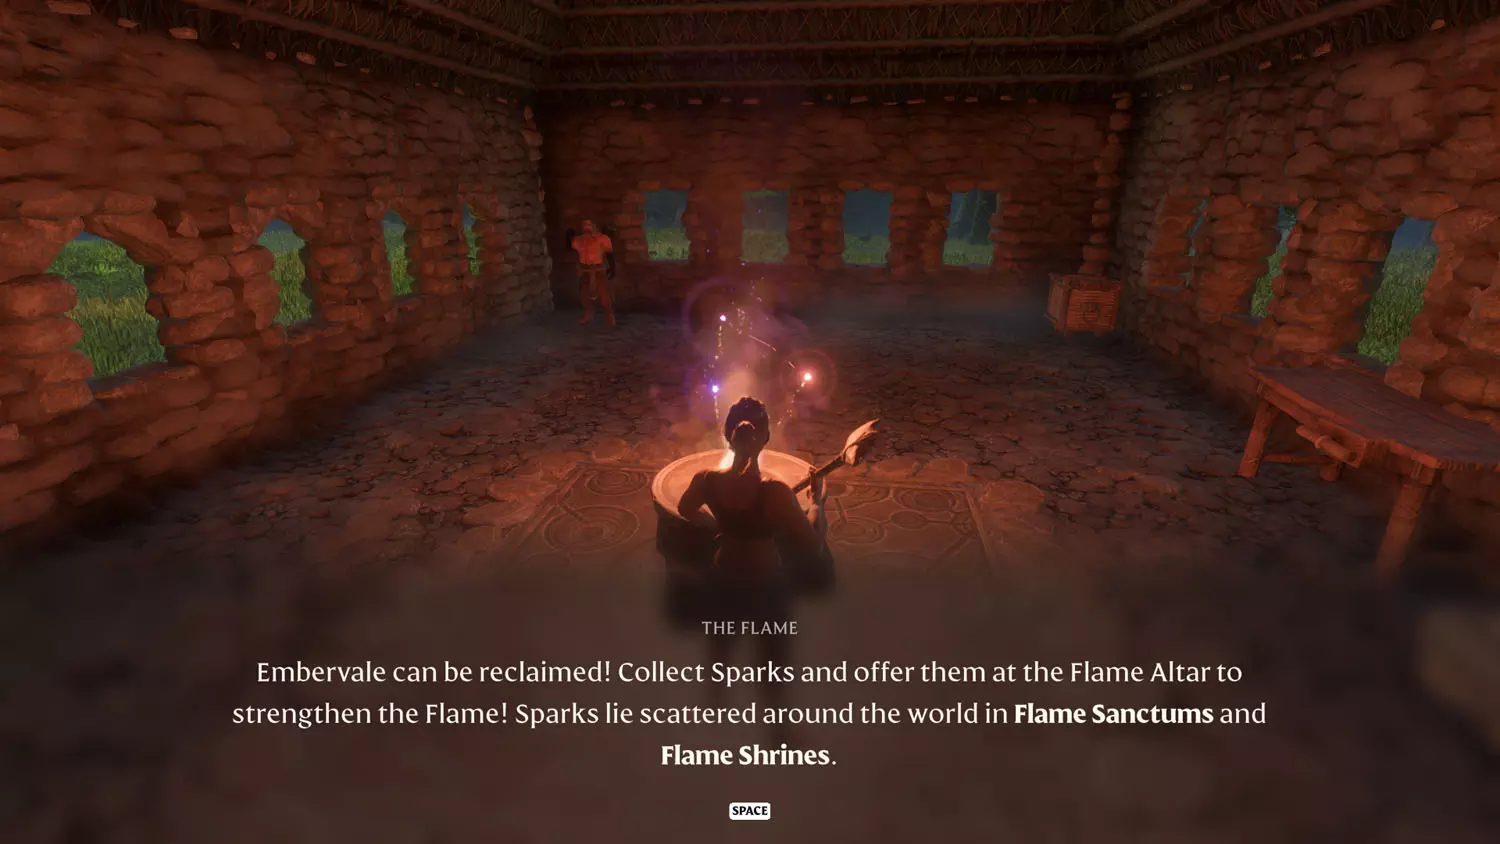
TIP: Resin comes from chopping down trees (not guaranteed each time). Red Mushrooms are on the ground nearby. Bones and Animal Fur come from slaying and looting animals (neither are guaranteed each time). Shroud Liquid comes from the mushrooms in the Enshrouded area. And the Spark comes from Flame Shrines and Flame Sanctums.

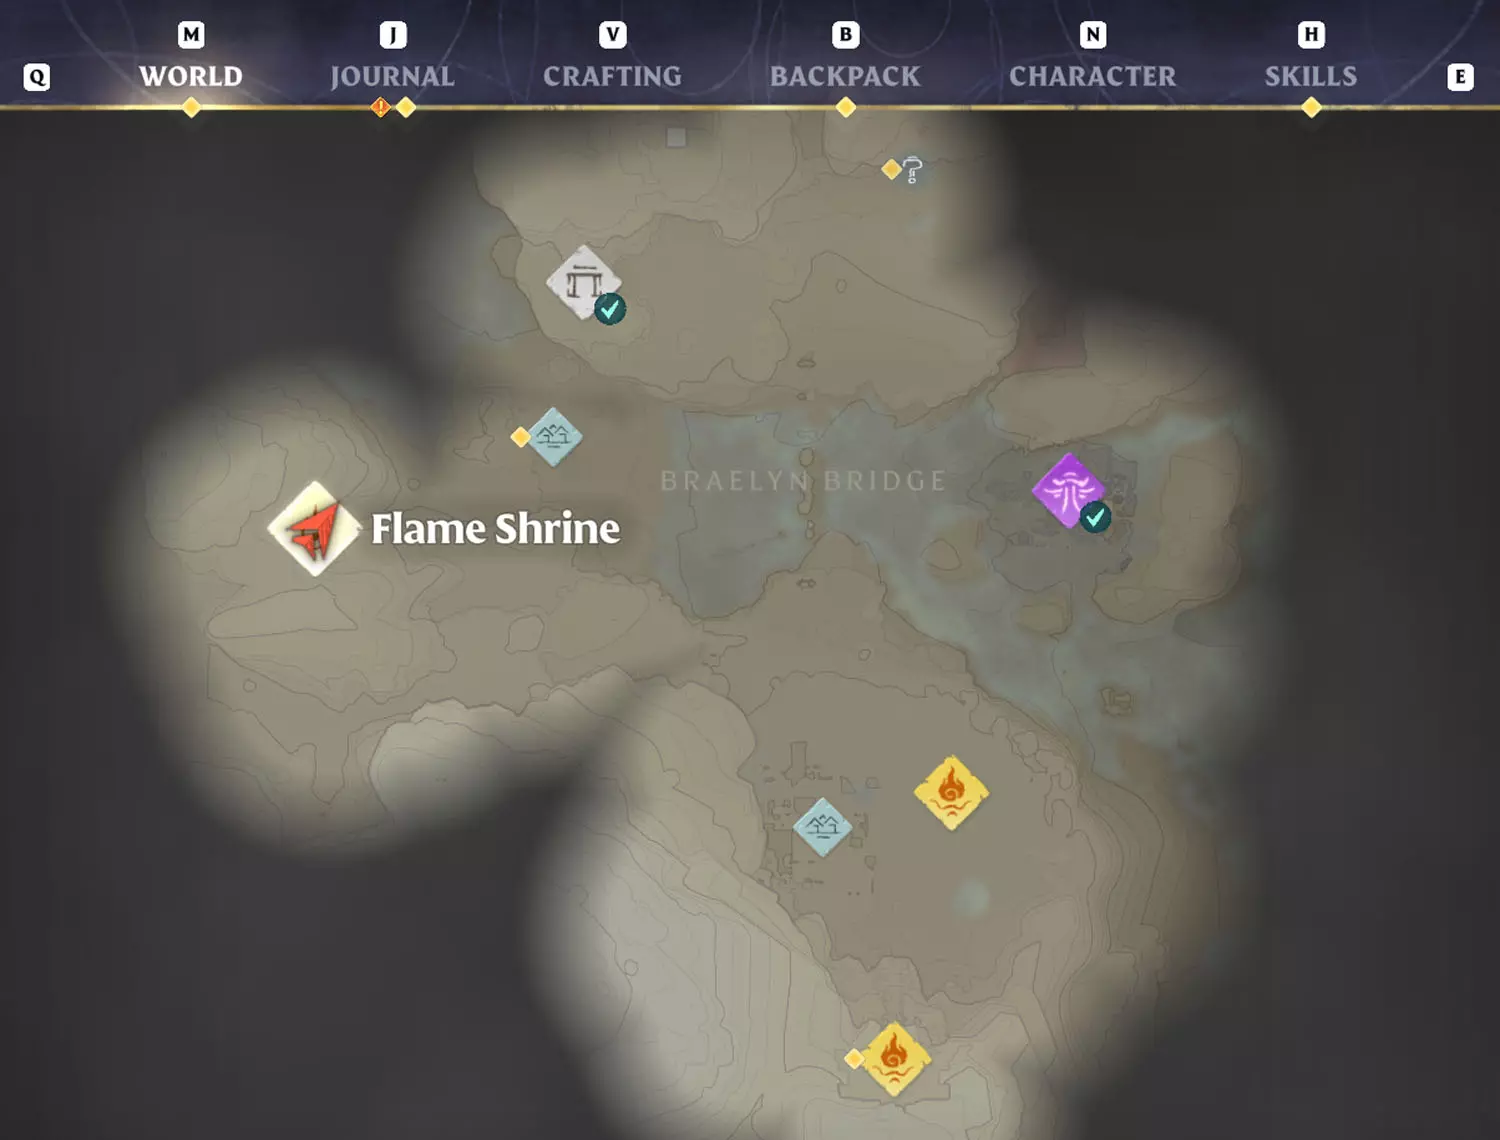
Now, to head out for your first Flame Shrine!

Head into the Enshrouded area under Braelyn Bridge and take the left path at the four-way intersection. There’s a Shroud Spore clouding up the area, so the path isn’t easily spotted.

FA 04 Flame 8FA 04 Flame 9

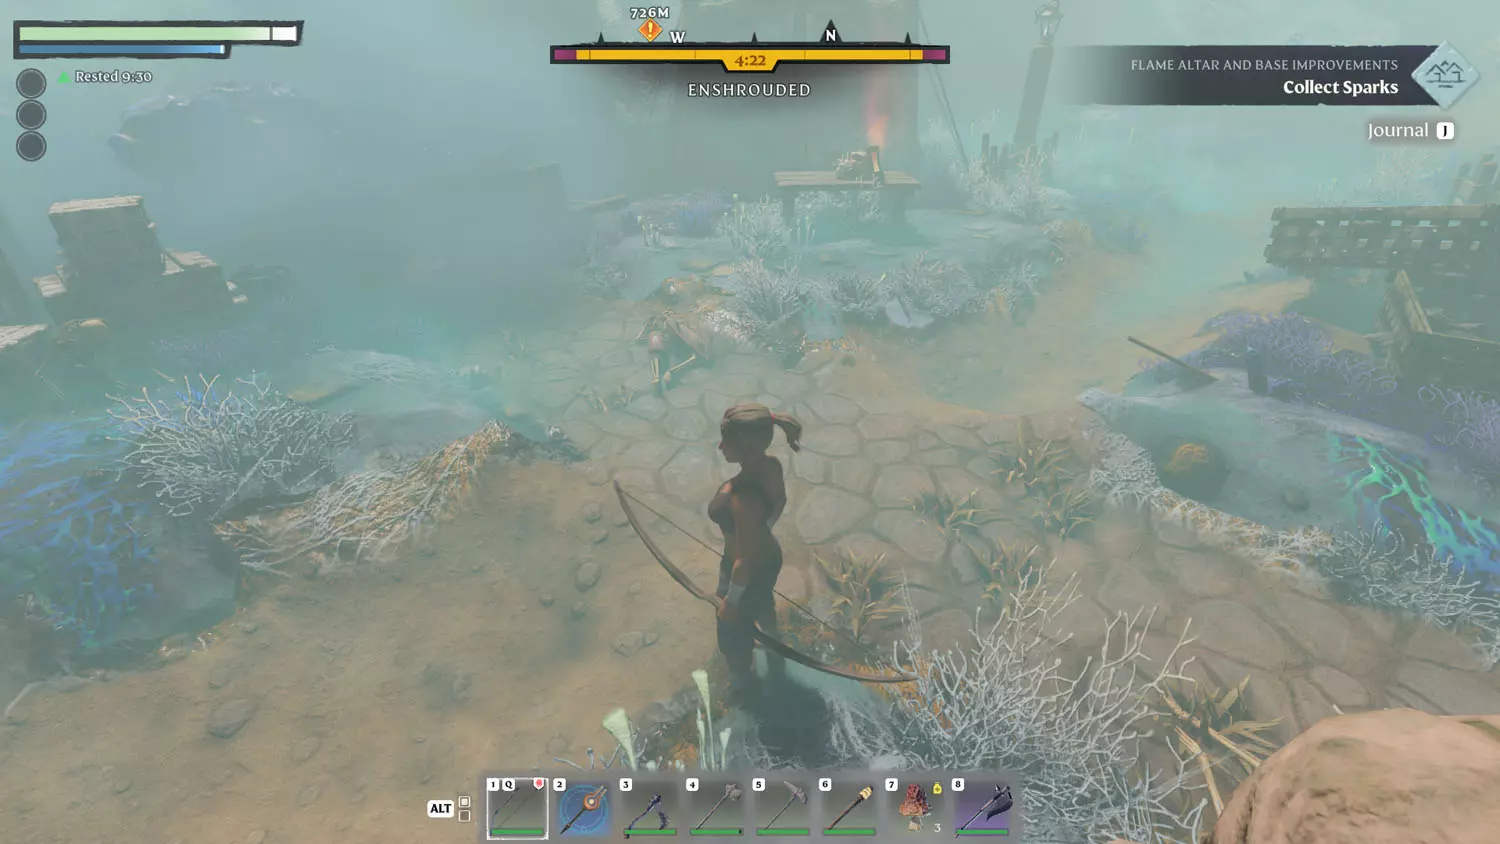
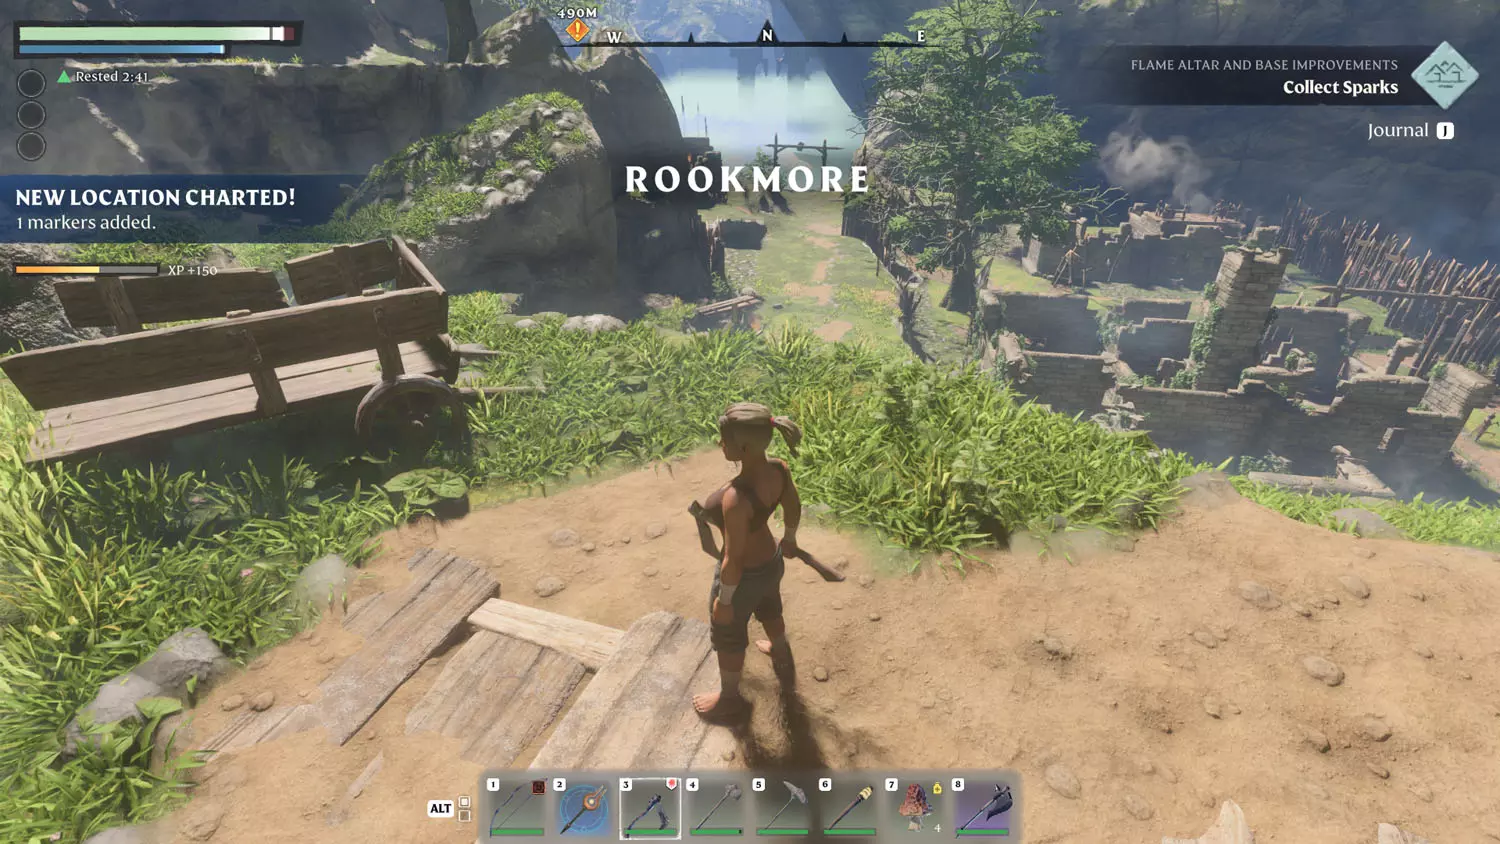
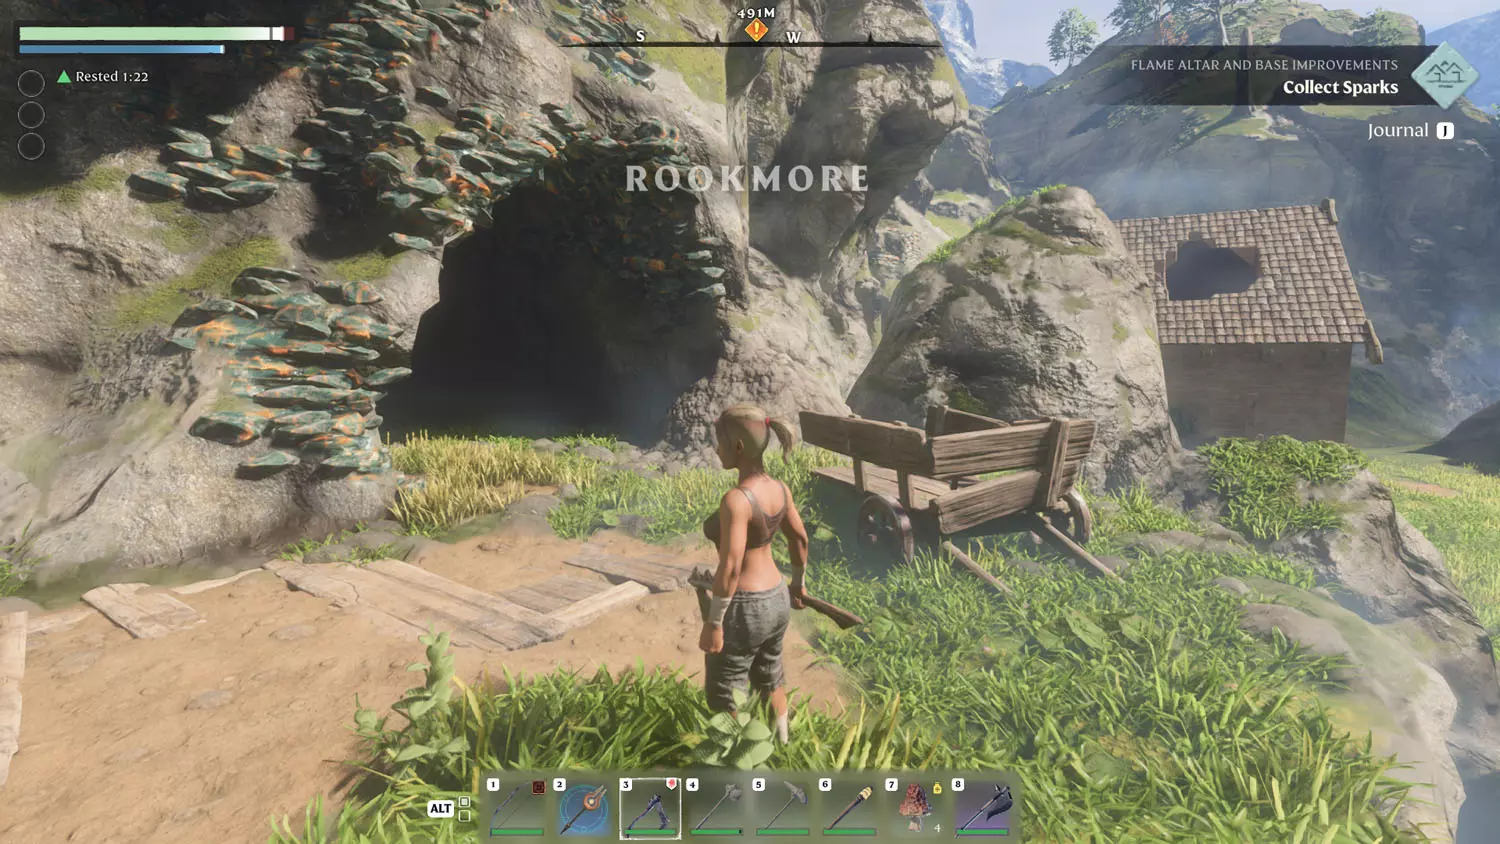
Keep following the path, and it will curve on you. Follow the dirt path (the safe path) out of the Enshrouded area. Following that, you’ll be above the Scavenger camp of Rookmore. Head into the cave (left of the camp) and up the scaffolding on the other side.

TIP: Rookmore has several pieces of Lore you can find. General Lore The Alchemist’s Theories I 5/5 The Elixir, A Flood Of Woe and To Mend Old Wounds 1/4 A Cold Reception. Scavenger Lore: In Sickness And In Health 1/1 In Sickness And In Health.

FA 04 Flame 10FA 04 Flame 11FA 04 Flame 12

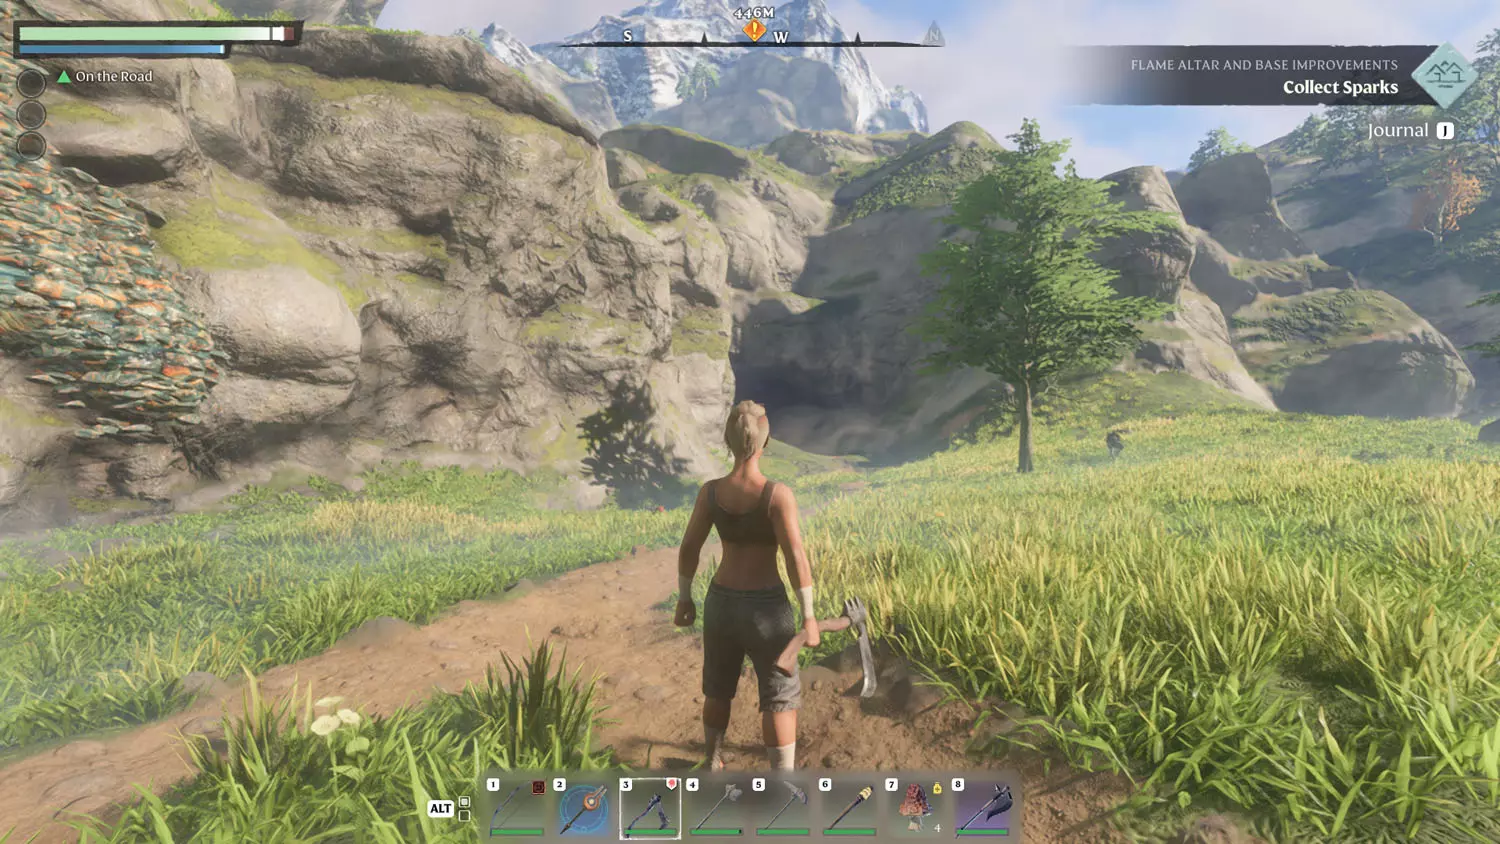
Keep following the path until it splits, and then take the westward (right) path onward.

FA 04 Flame 13

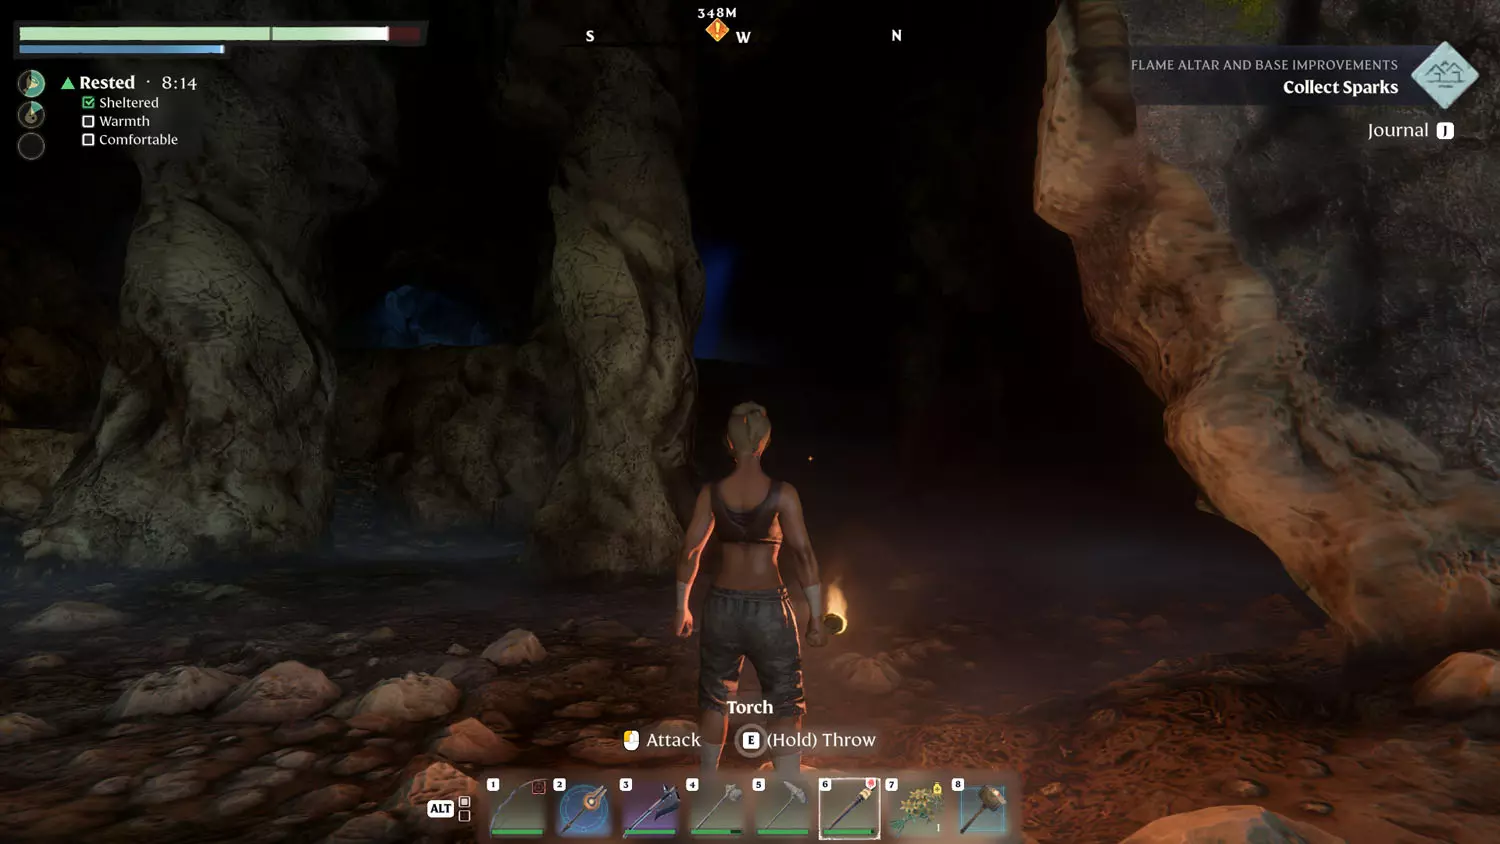
You will come to a very dark cave. Keep to the right, follow the path up, kill or dodge the wolves, and climb up the grate for safety. Follow the path out of the cave.

FA 04 Flame 14FA 04 Flame 15FA 04 Flame 16FA 04 Flame 17FA 04 Flame 18

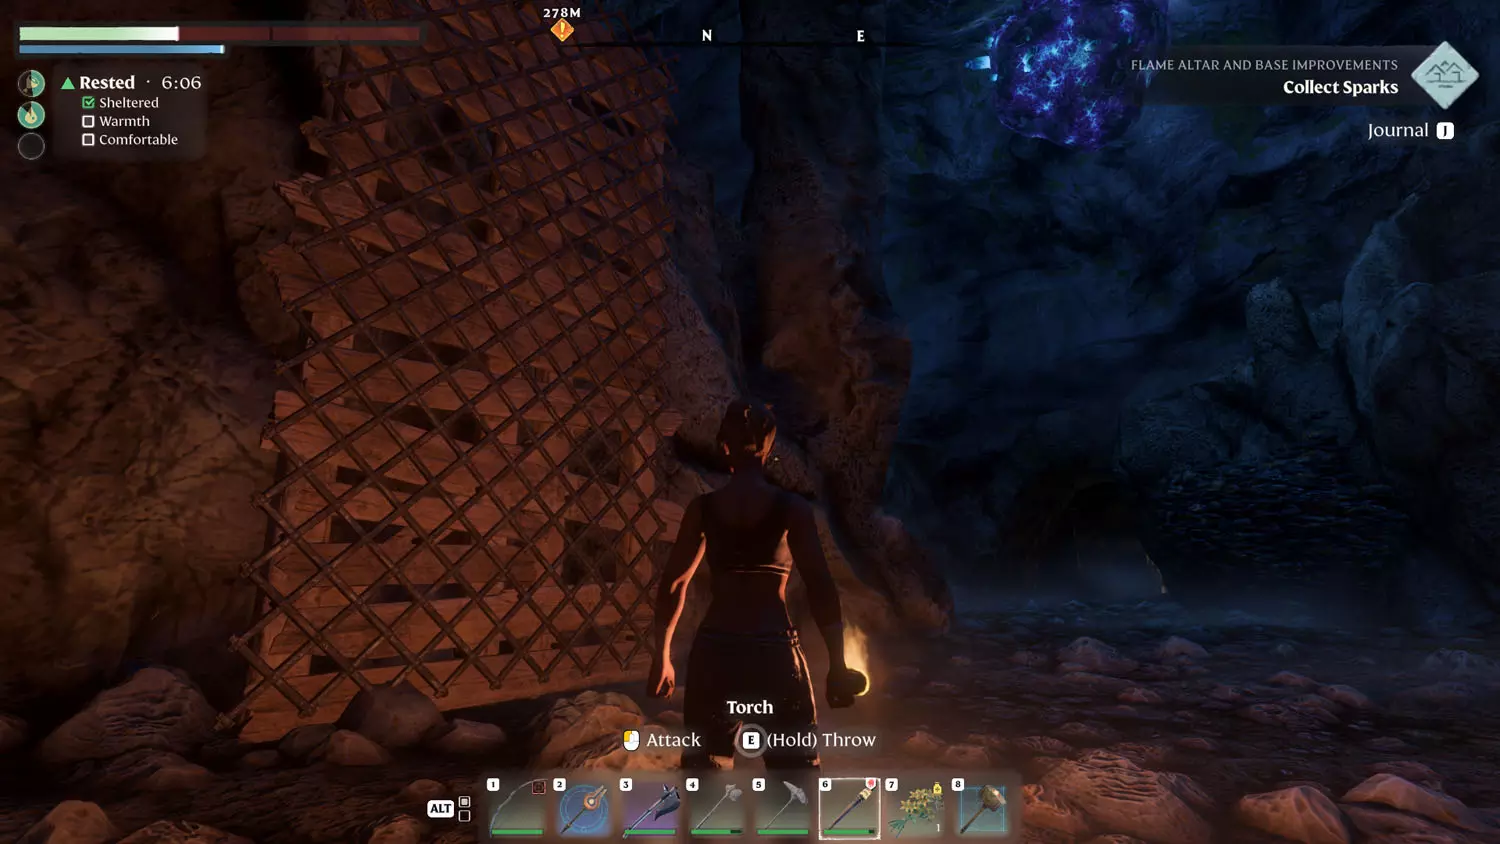
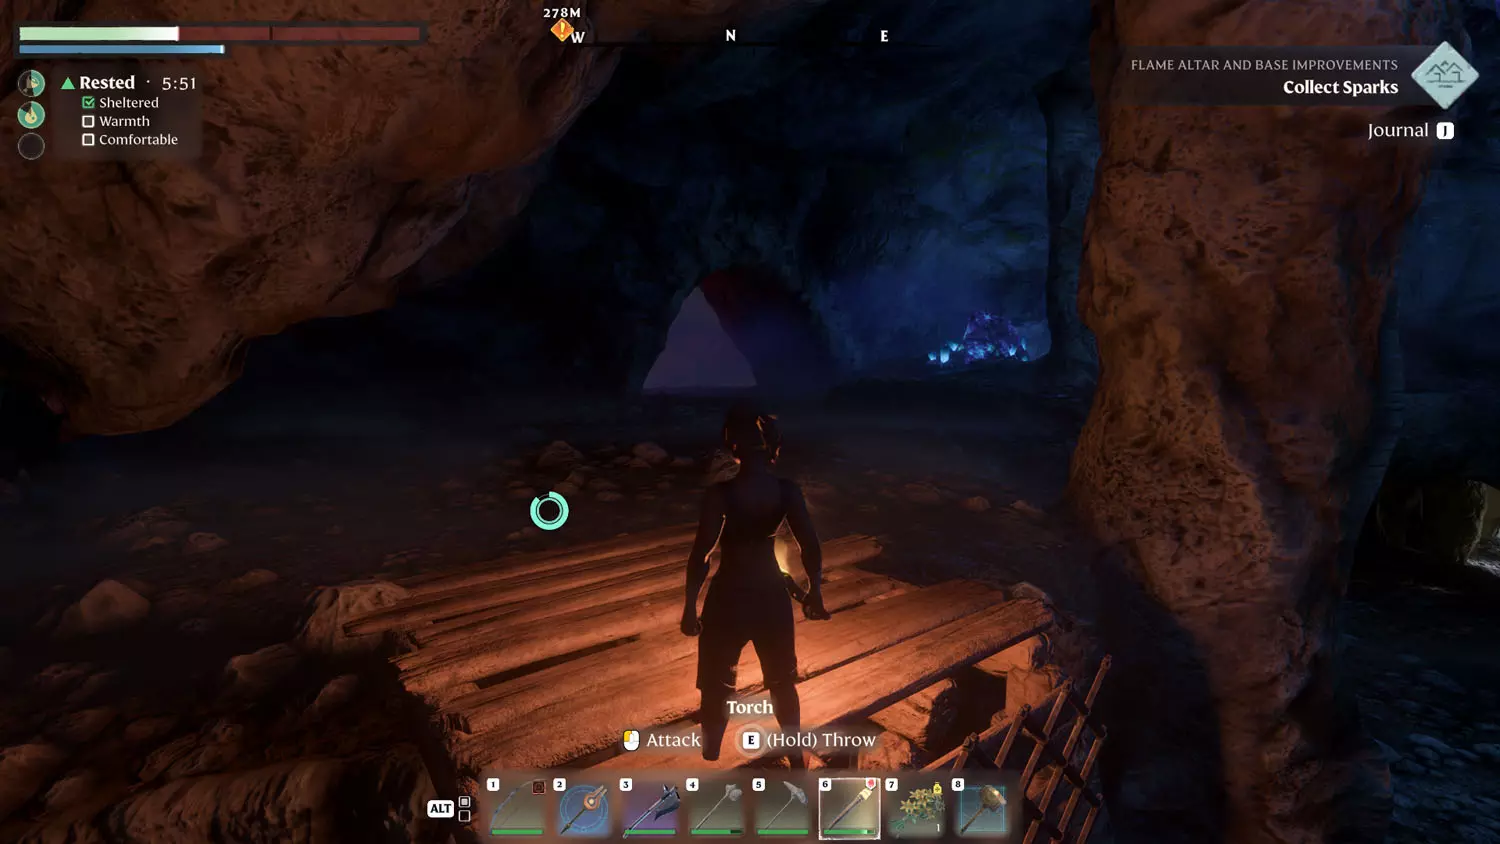
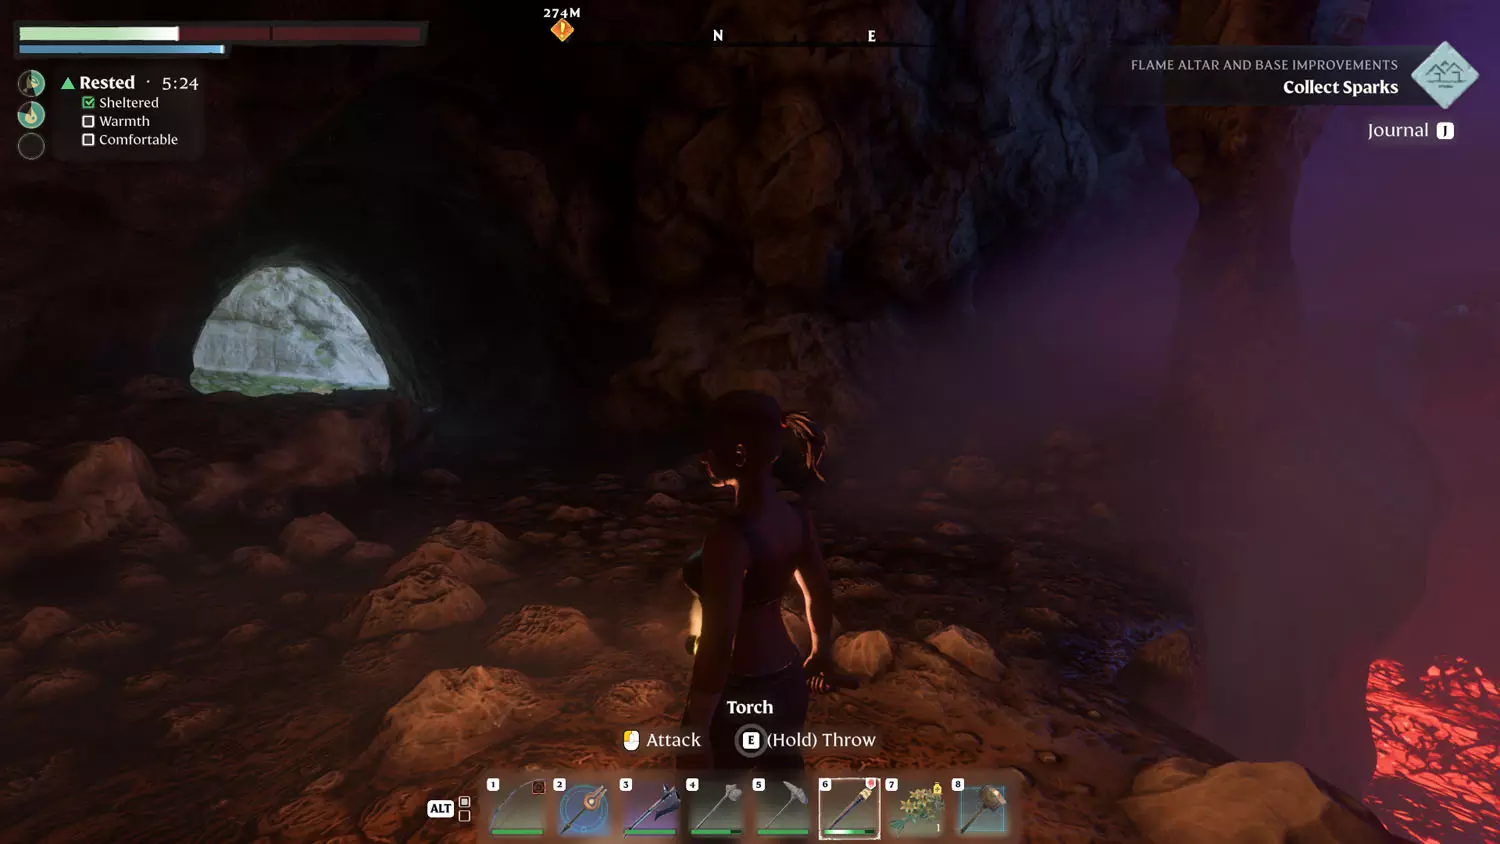
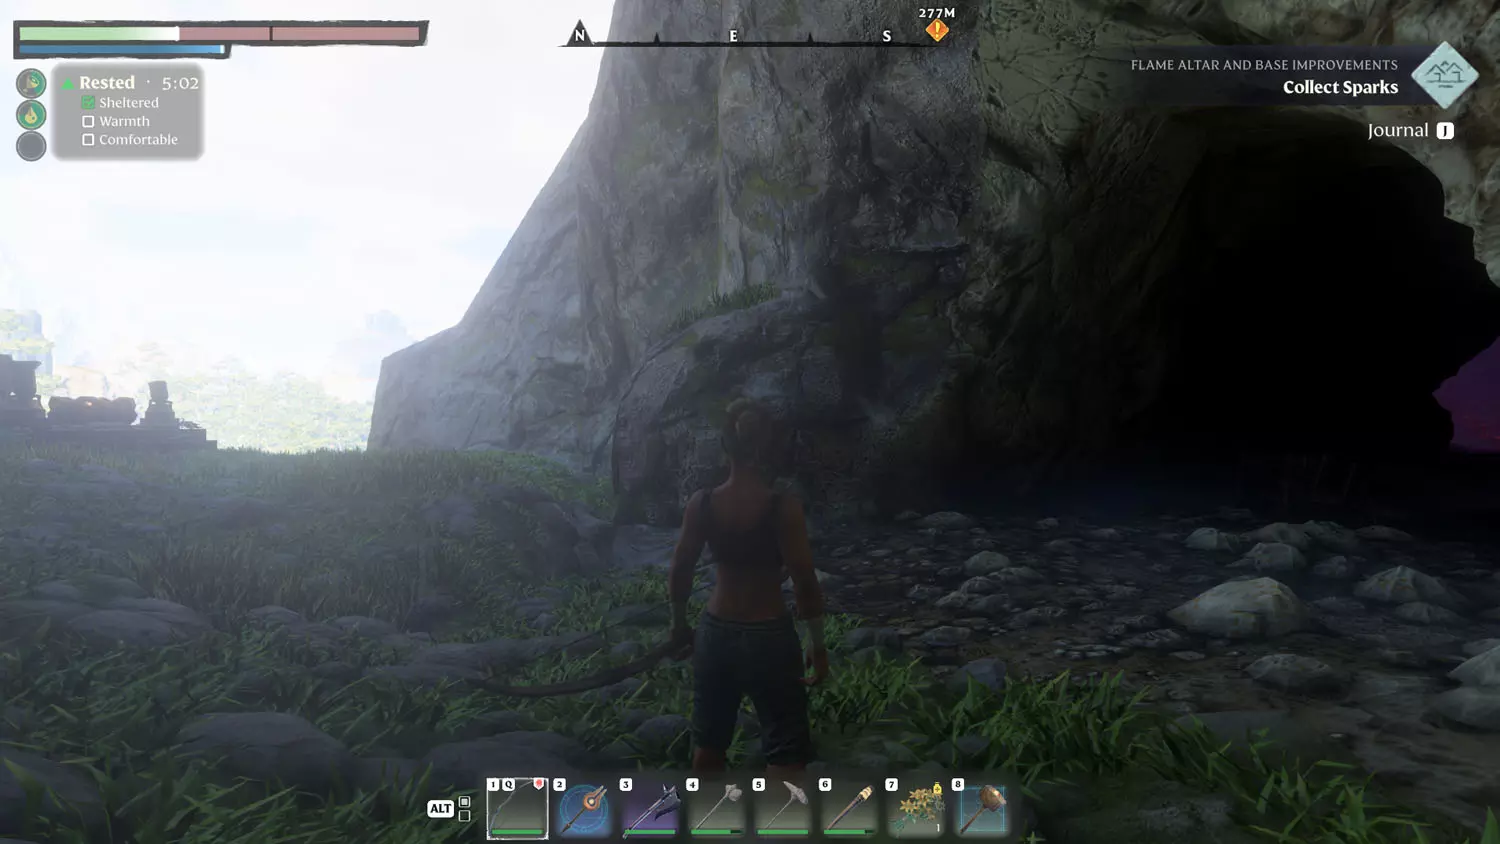
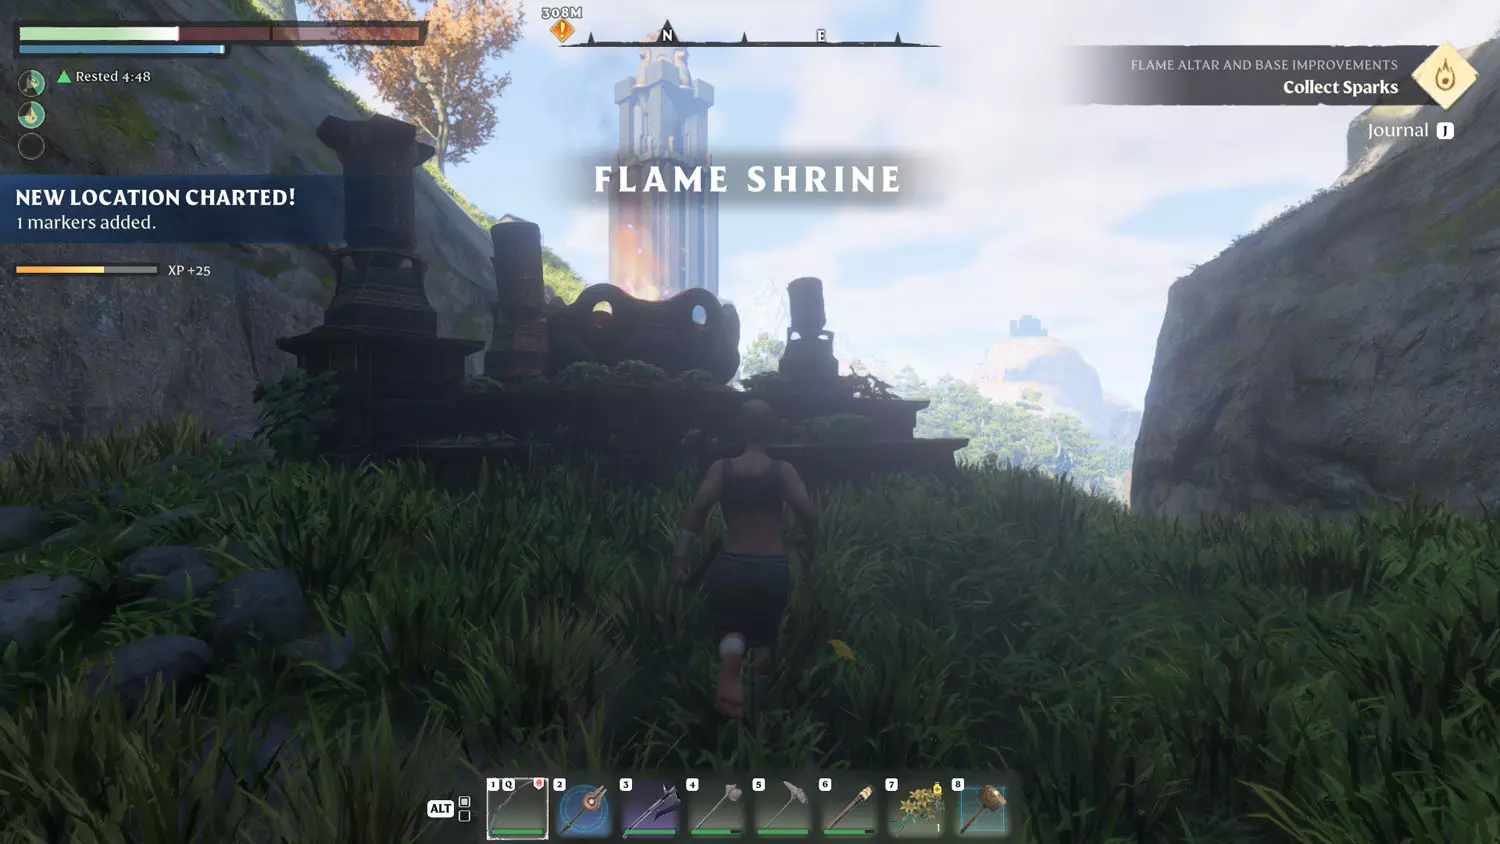
Upon exiting, there is a Flame Shrine nearby. Head for it, if you’d like, or keep going toward the quest marker. Personally, I went for the easy win. Looting the Flame Shrine will earn you the Spark you need to upgrade your base. As a bonus, the marker on your map will remain so you can find the Flame Sanctum later.

TIP: If you want it NOW, then turn around and head West. There’s no trail between the mountain, but it will lead to one. Take the dirt road south. When it splits, head westward. The trail will split again (forward being a Shroud Root). Take the barely visible dirt path up the mountain toward the Flame Sanctum.

FA 04 Flame 19FA 04 Flame 20FA 04 Flame 21FA 04 Flame 22

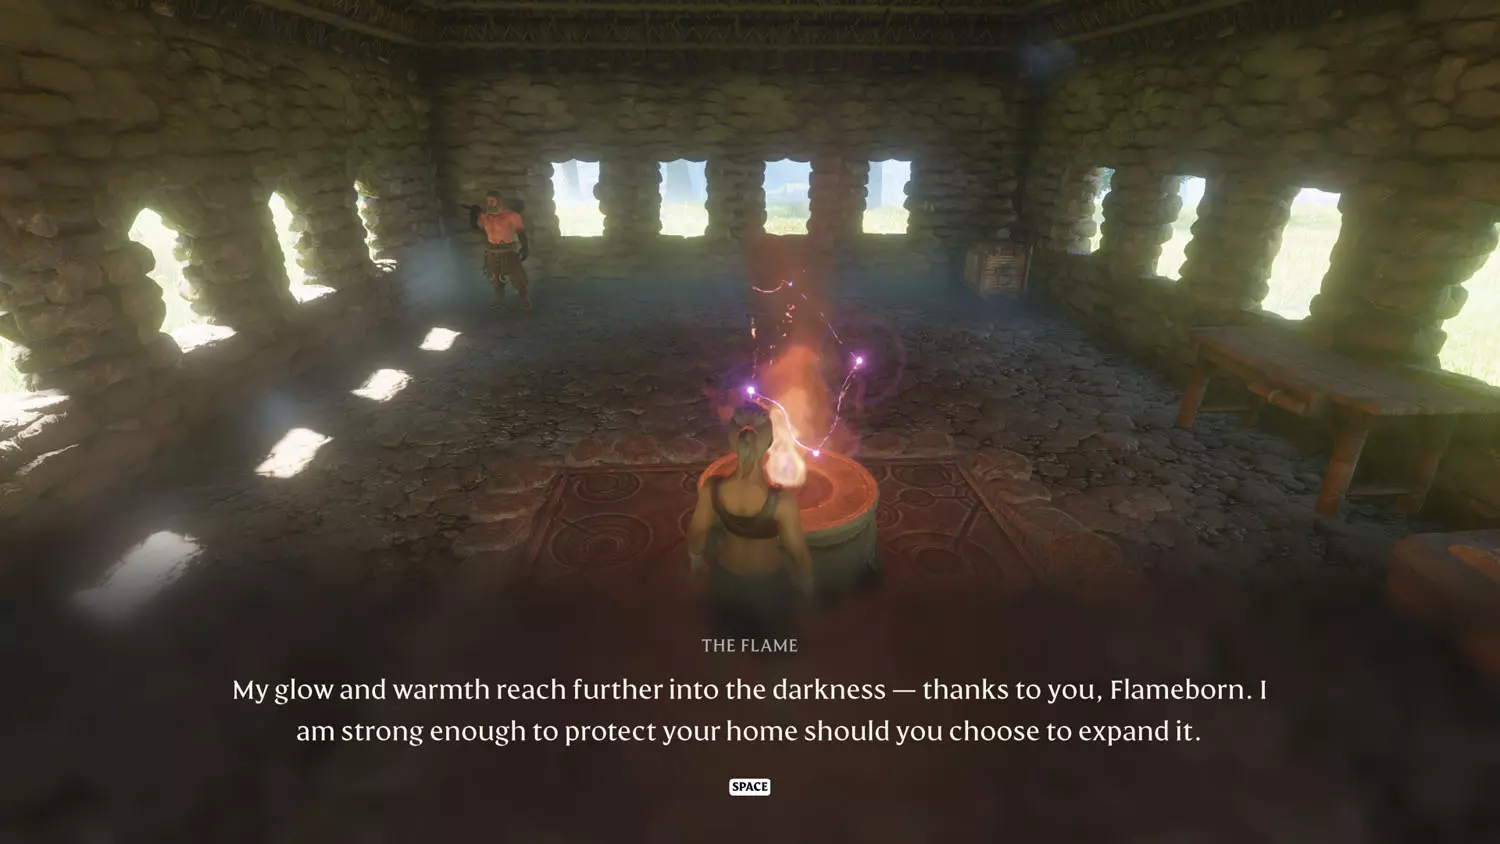
Once you have all of these ingredients, head back to the Flame Altar and click - Strengthen The Flame. This will complete the quest.

FA 04 Flame 23FA 04 Flame 24

Flame Altar And Base Improvements [2]

That’s no typo! This quest is the same name as its predecessor, only this time, the Flame Altar wants to expand the reach of your current base.

FA 05 Flame 1FA 05 Flame 2

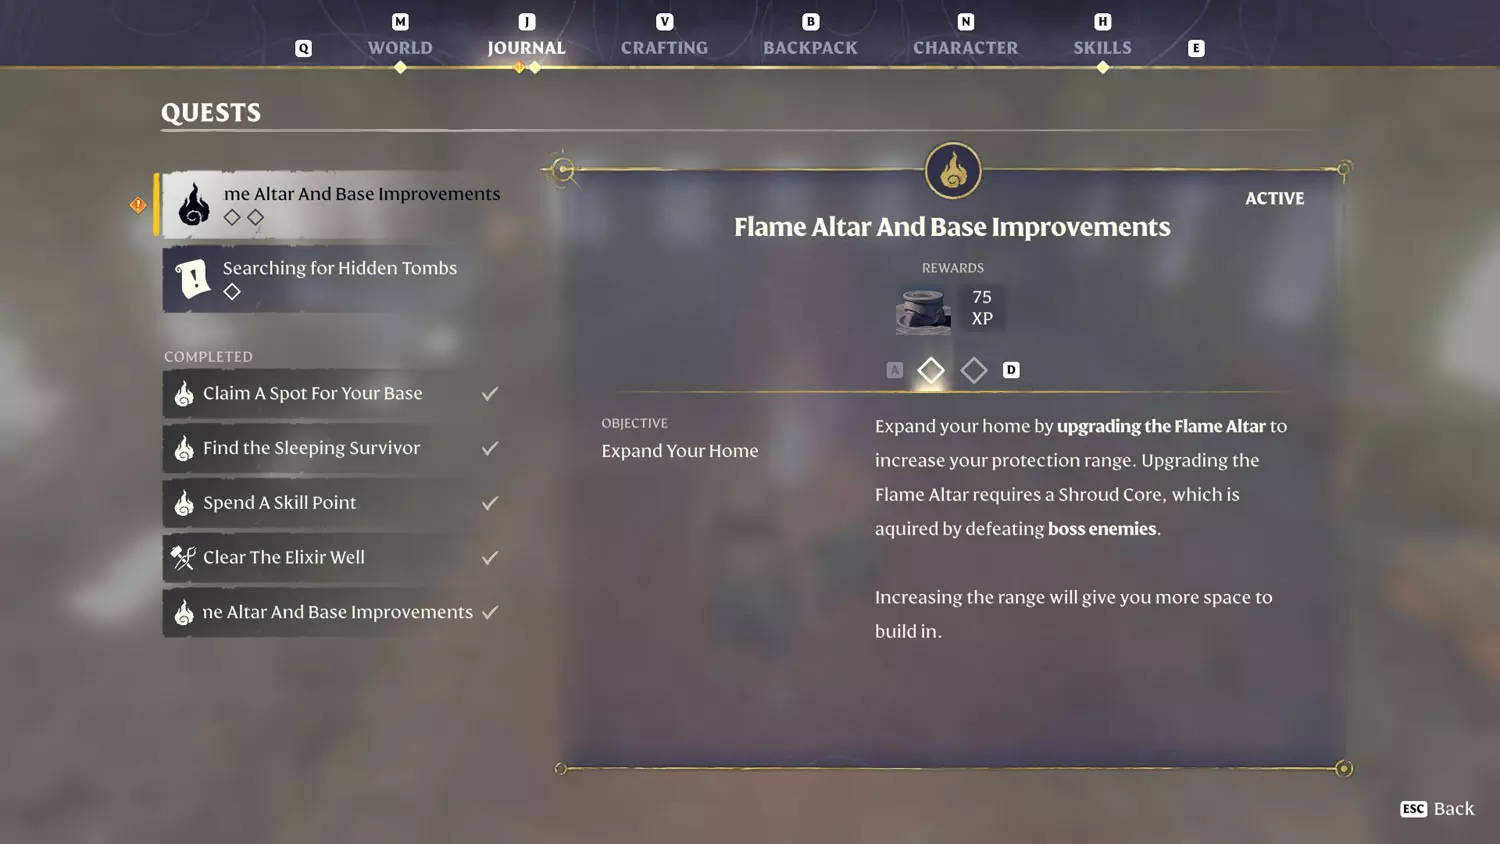
Speak to the Flame again, and you’ll likely receive two quests: A Story Of Fire AND A Story Of Rot. So long as you completed the Blacksmith Quest: Clear The Elixir Well, and so long as you defeated the Fell creature there and took its Shroud Core, you can update the Flame Altar immediately. This will complete part one of two.

FA 05 Flame 3FA 05 Flame 4FA 05 Flame 5

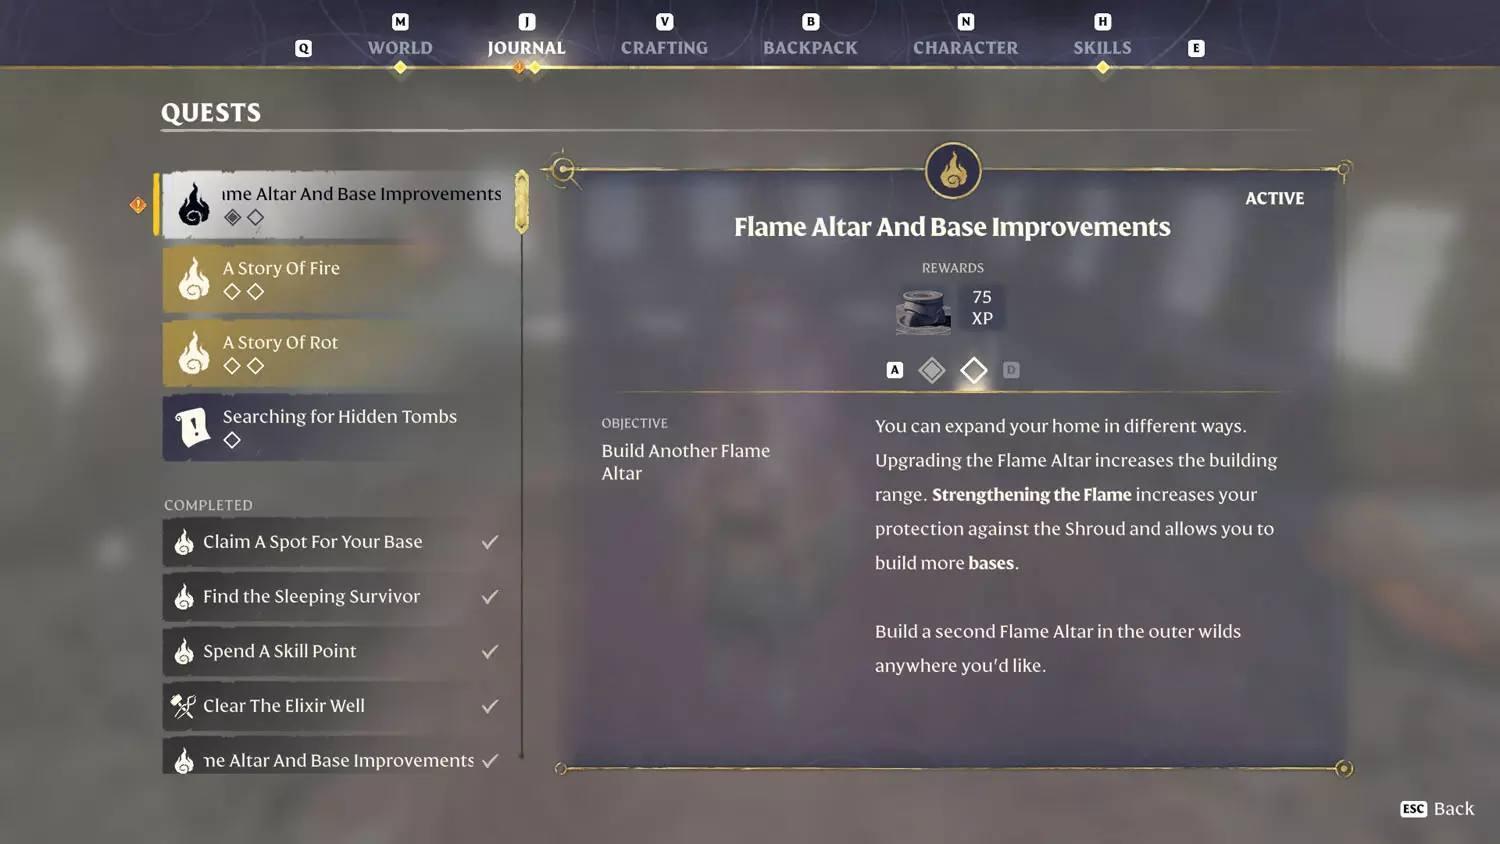
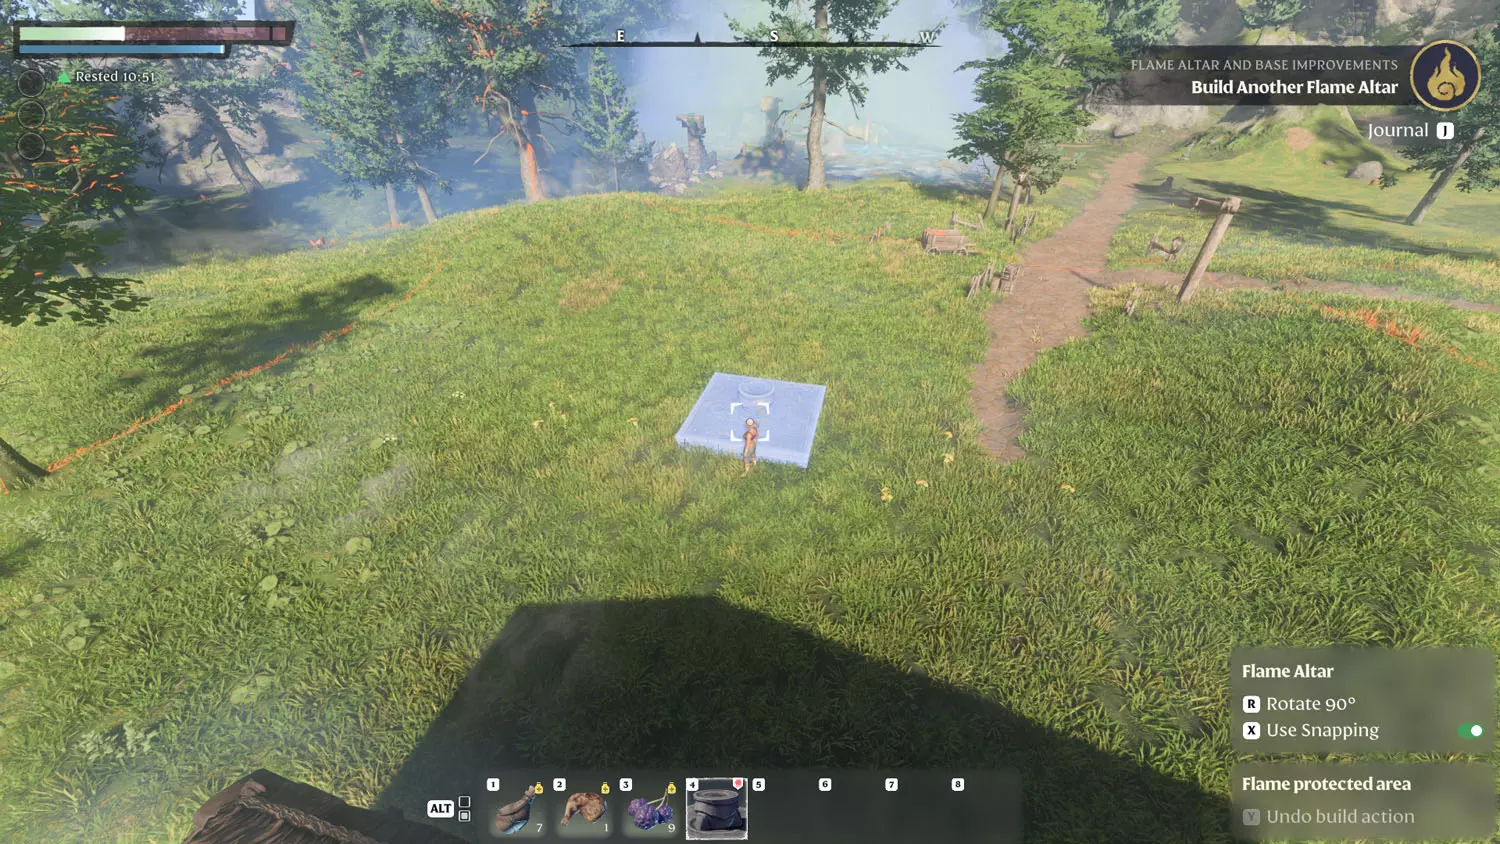
Simply grab five stones, craft another Flame Altar and place it anywhere it will let you in order to complete this quest.
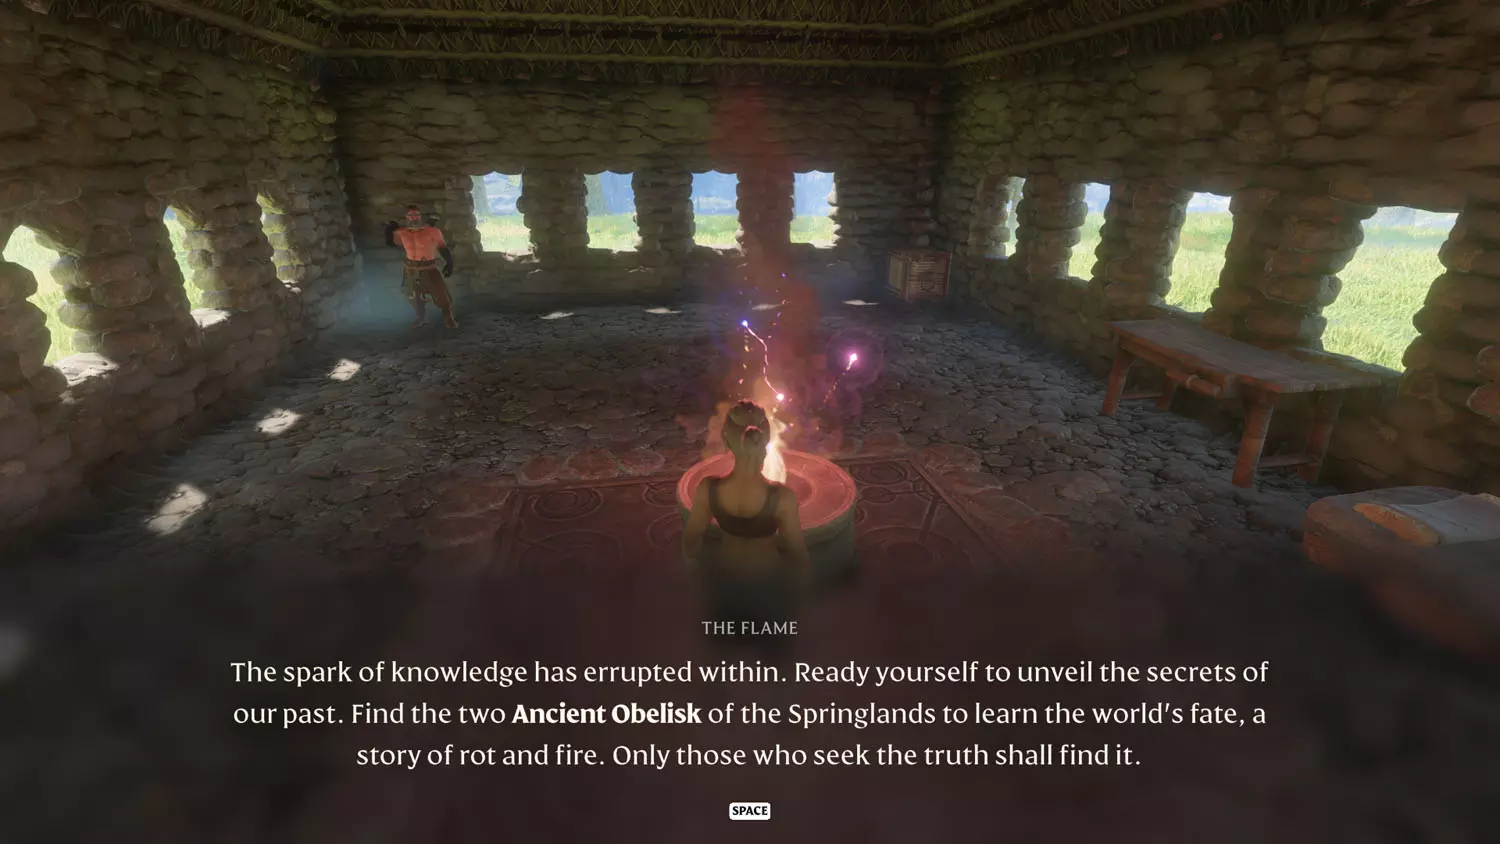
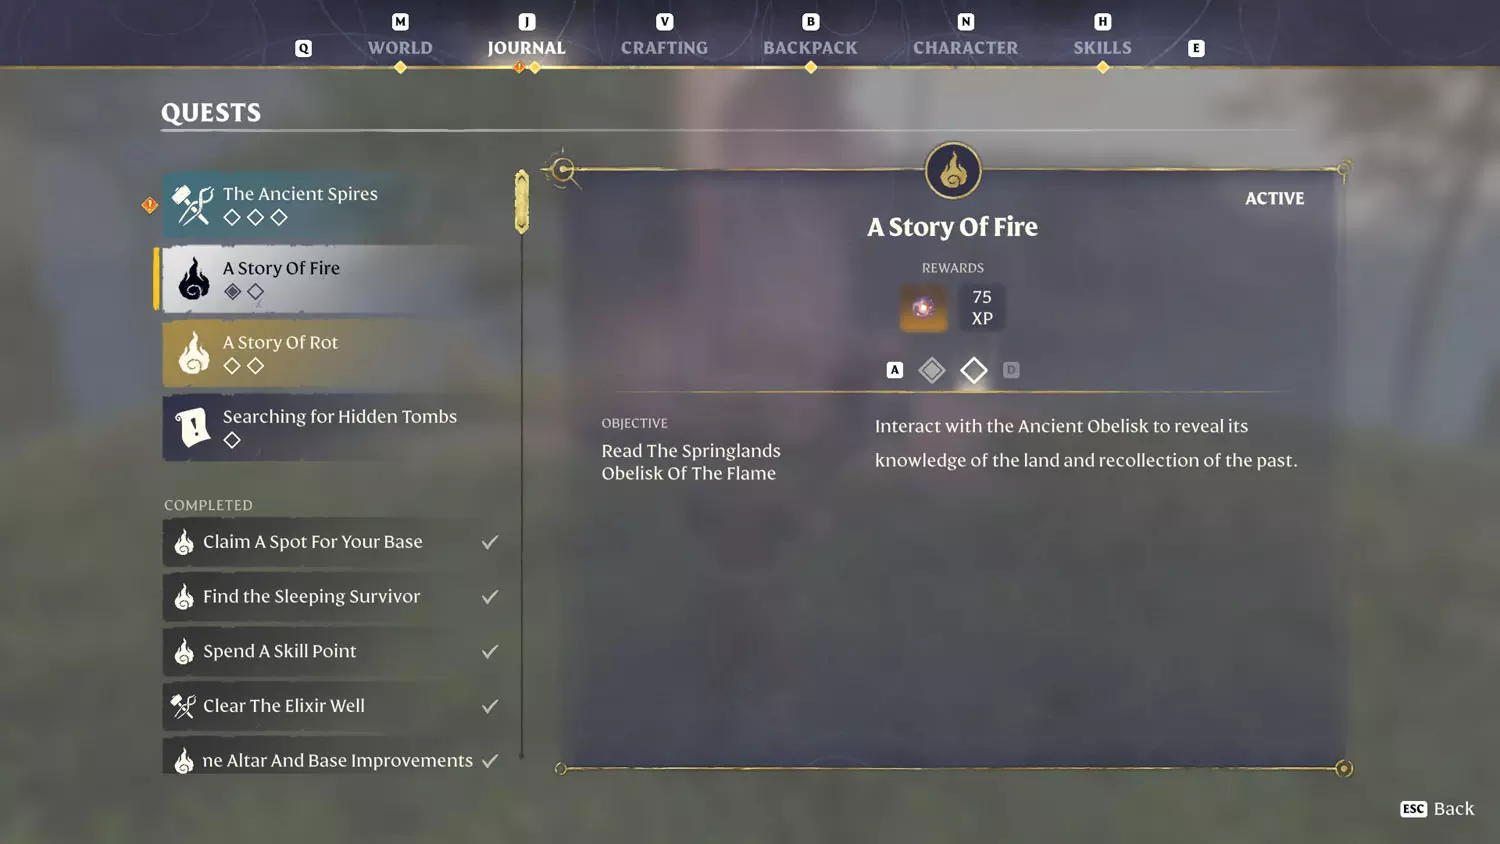
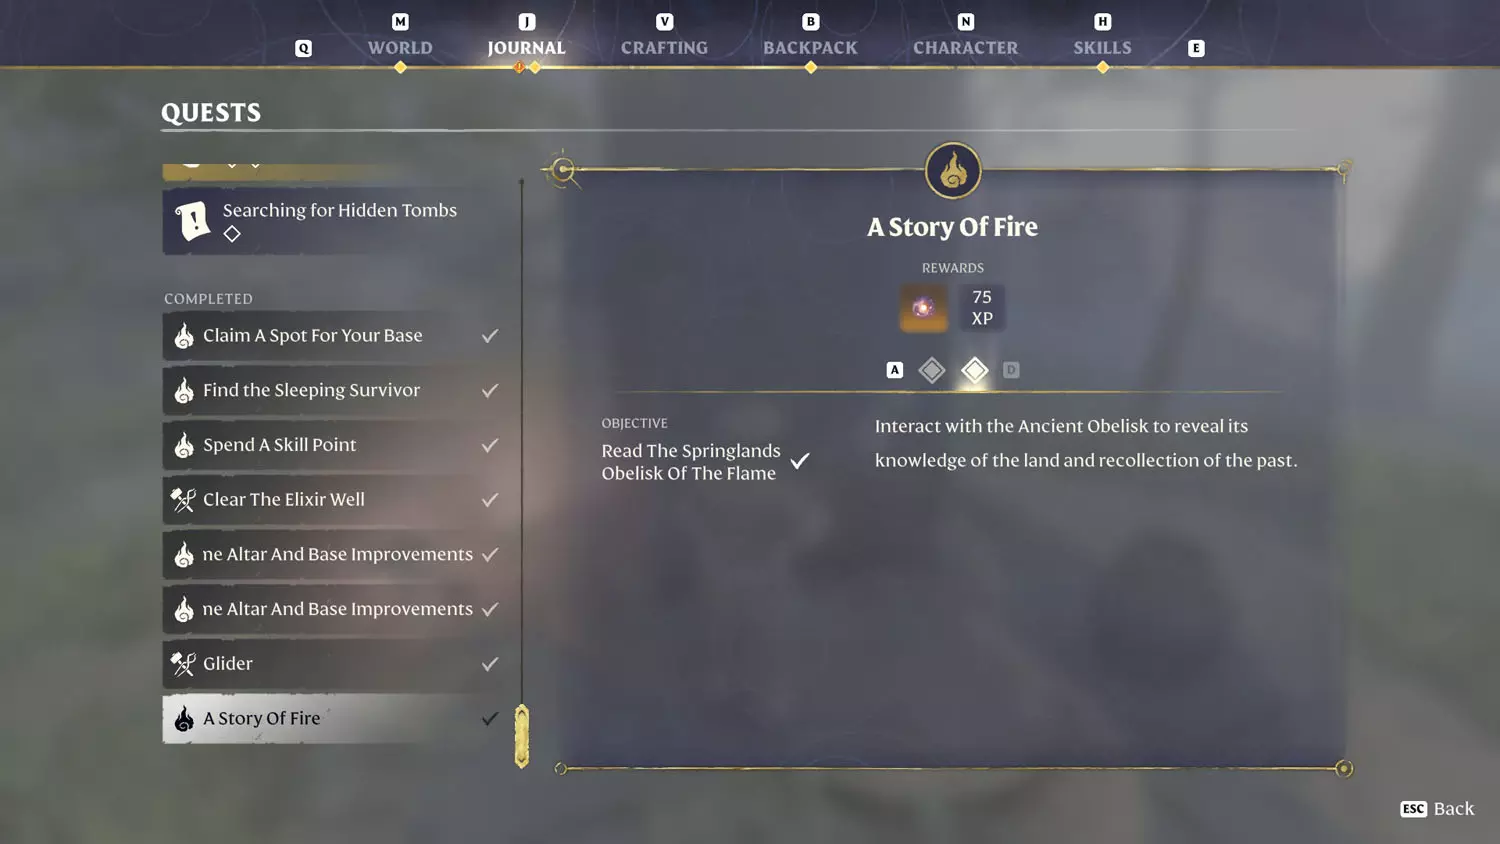
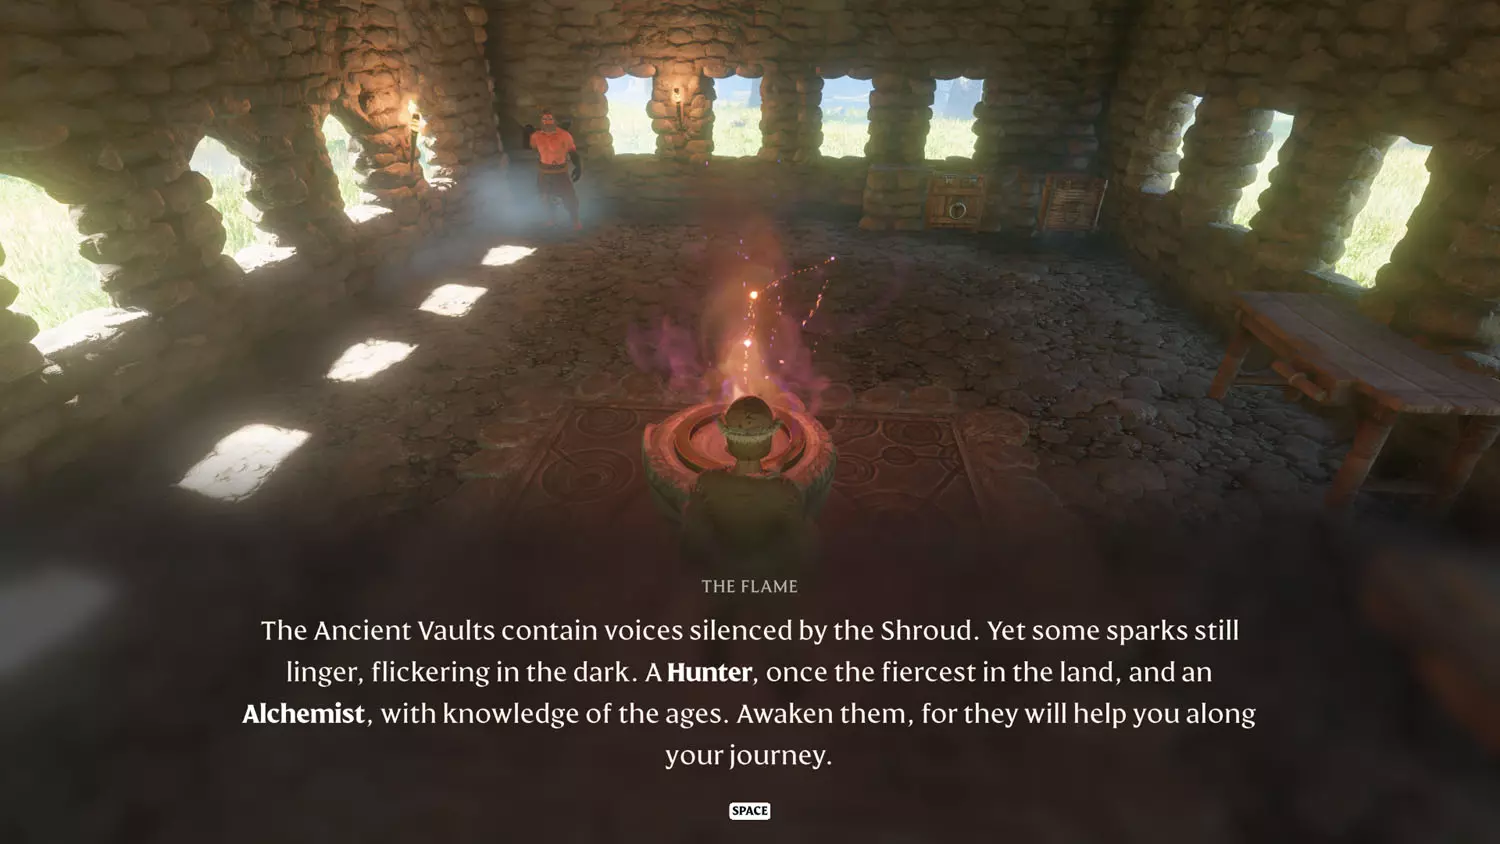
FA 05 Flame 6FA 05 Flame 7

A Story Of Fire

Talking to the Flame Altar in your base after completing the above quests will trigger this quest and A Story of Rot.

TIP: The end location for this is the same as the Items, XP, and Loot Quest: One Last Journey.


To begin this journey, I suggest going to the # 4 on this list and starting with that Flame Shrine (not the Flame Sanctum). From there, turn around and head between the mountains (it’s the only option besides re-entering the Cave Passage). You’ll come upon a road. Head northward (right).

FA 06 A 1FA 06 A 2FA 06 A 3FA 06 A 4

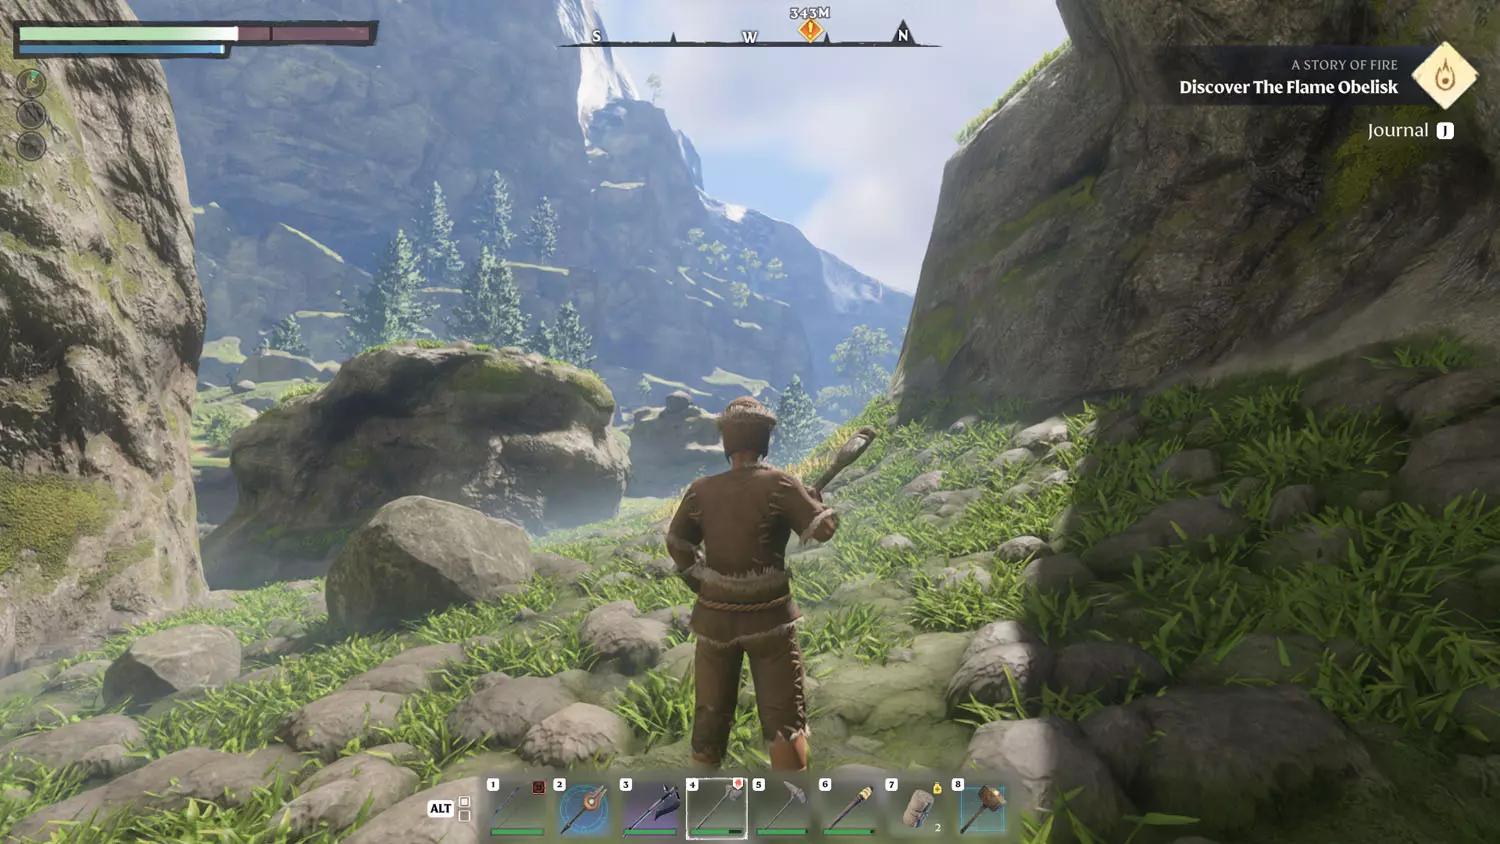
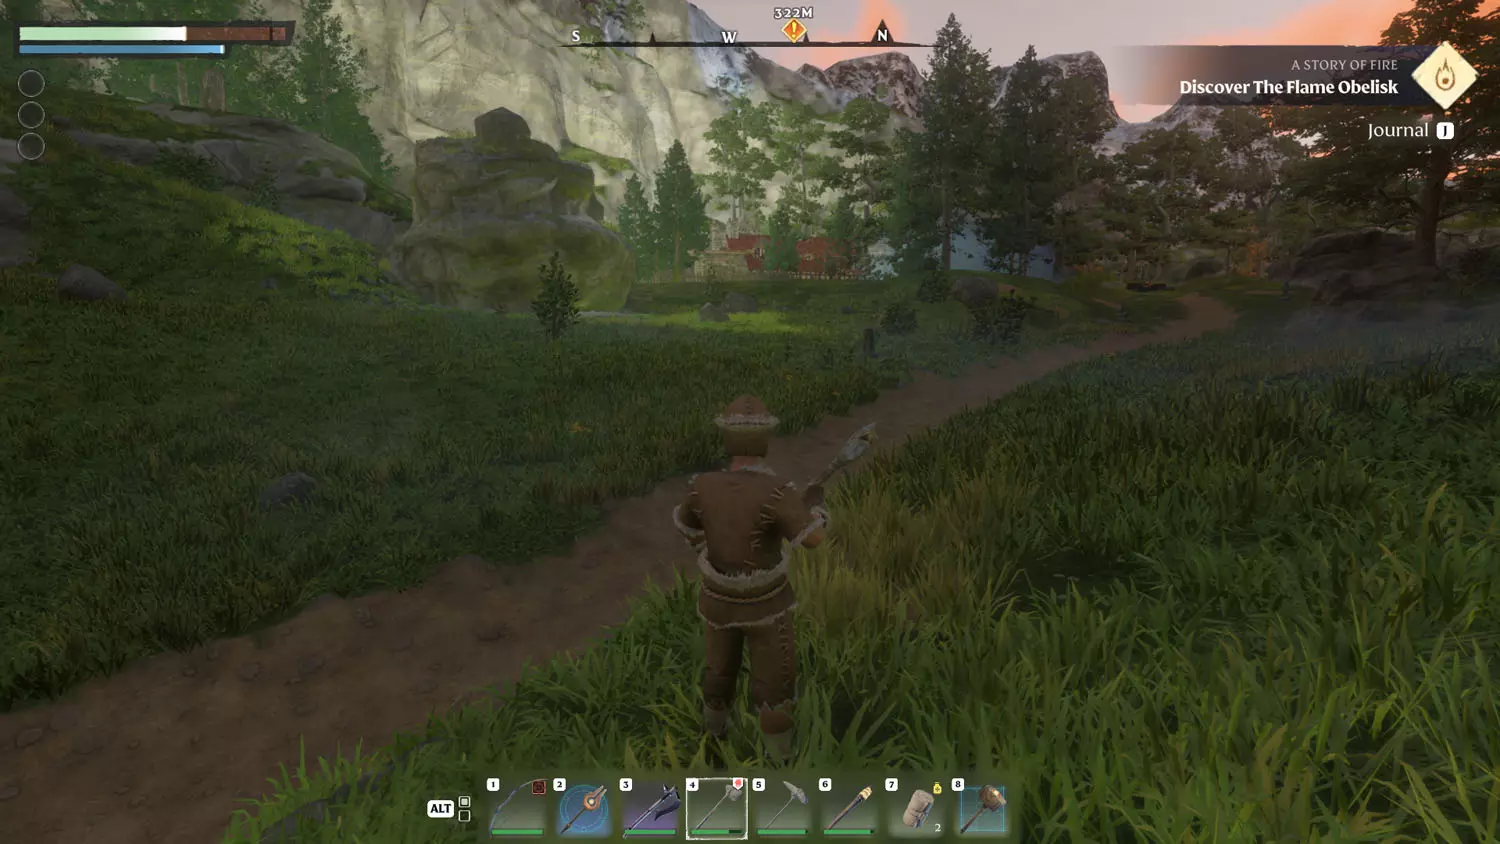
The road ends in a new road. Head westward (left) toward the town (Peaceful Acres). Again, the road will break off. If you head north, right, you’ll encounter a revival point. Head there and follow the road away from Peaceful Acres.

FA 06 A 5

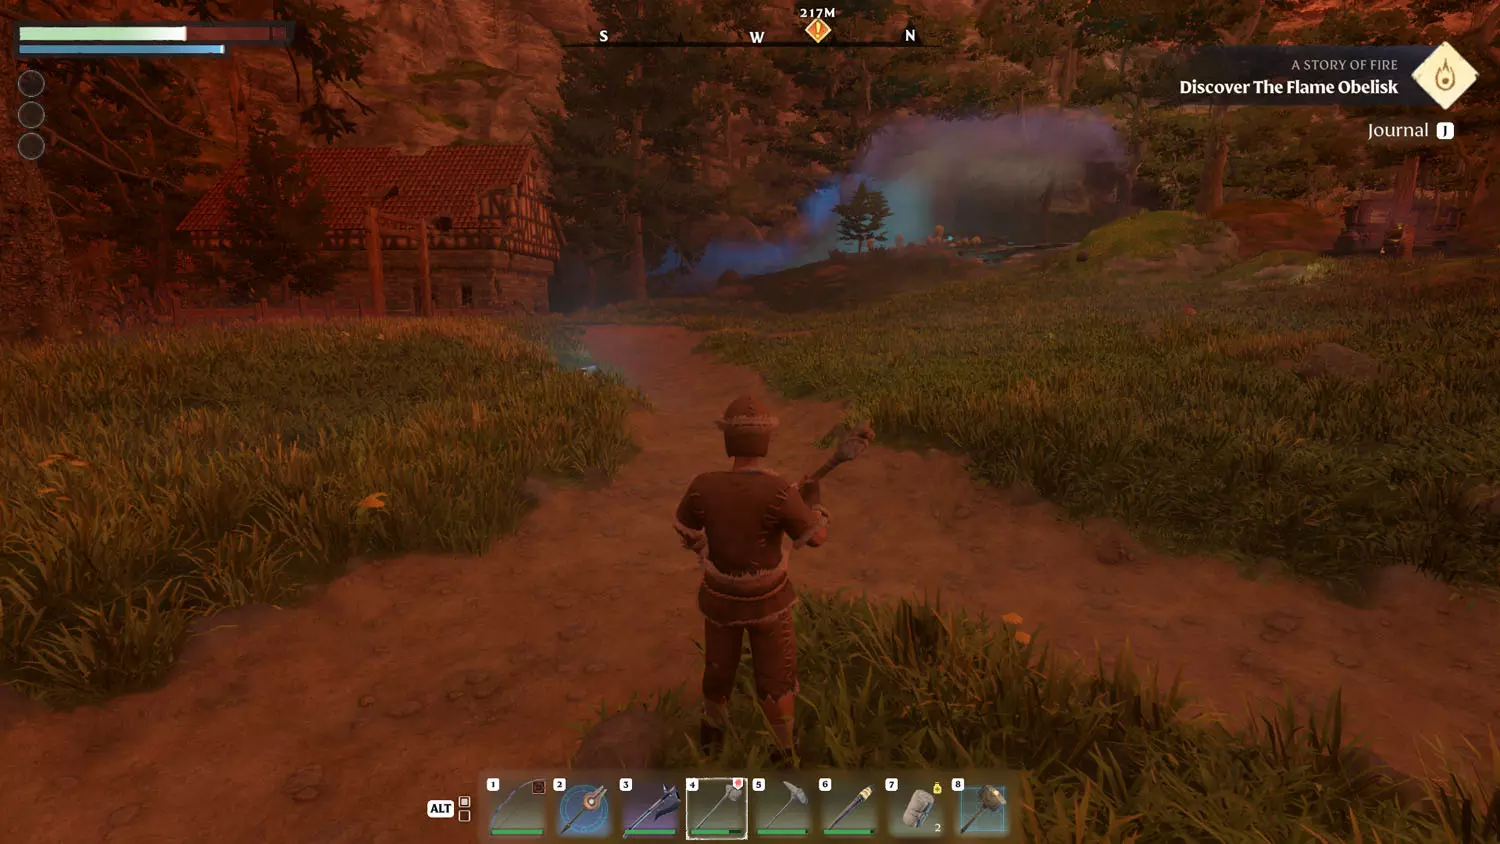
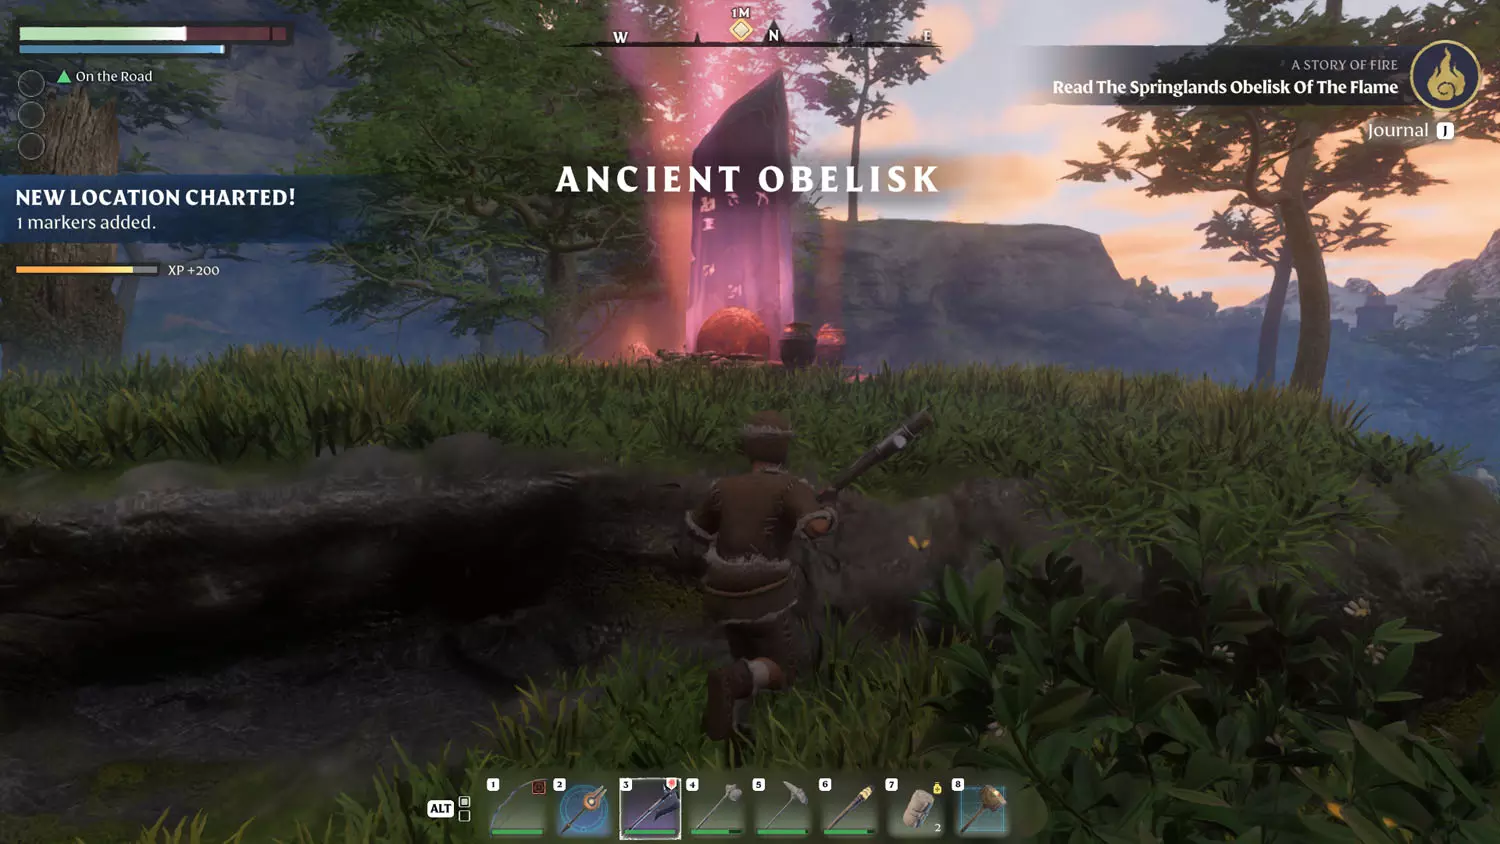
The road will wind around a lot, but if you keep following it, it will lead to the glowing red, Ancient Obelisk with the reddish pink smoke coming off of it, which is easier to see at night.

FA 06 A 6

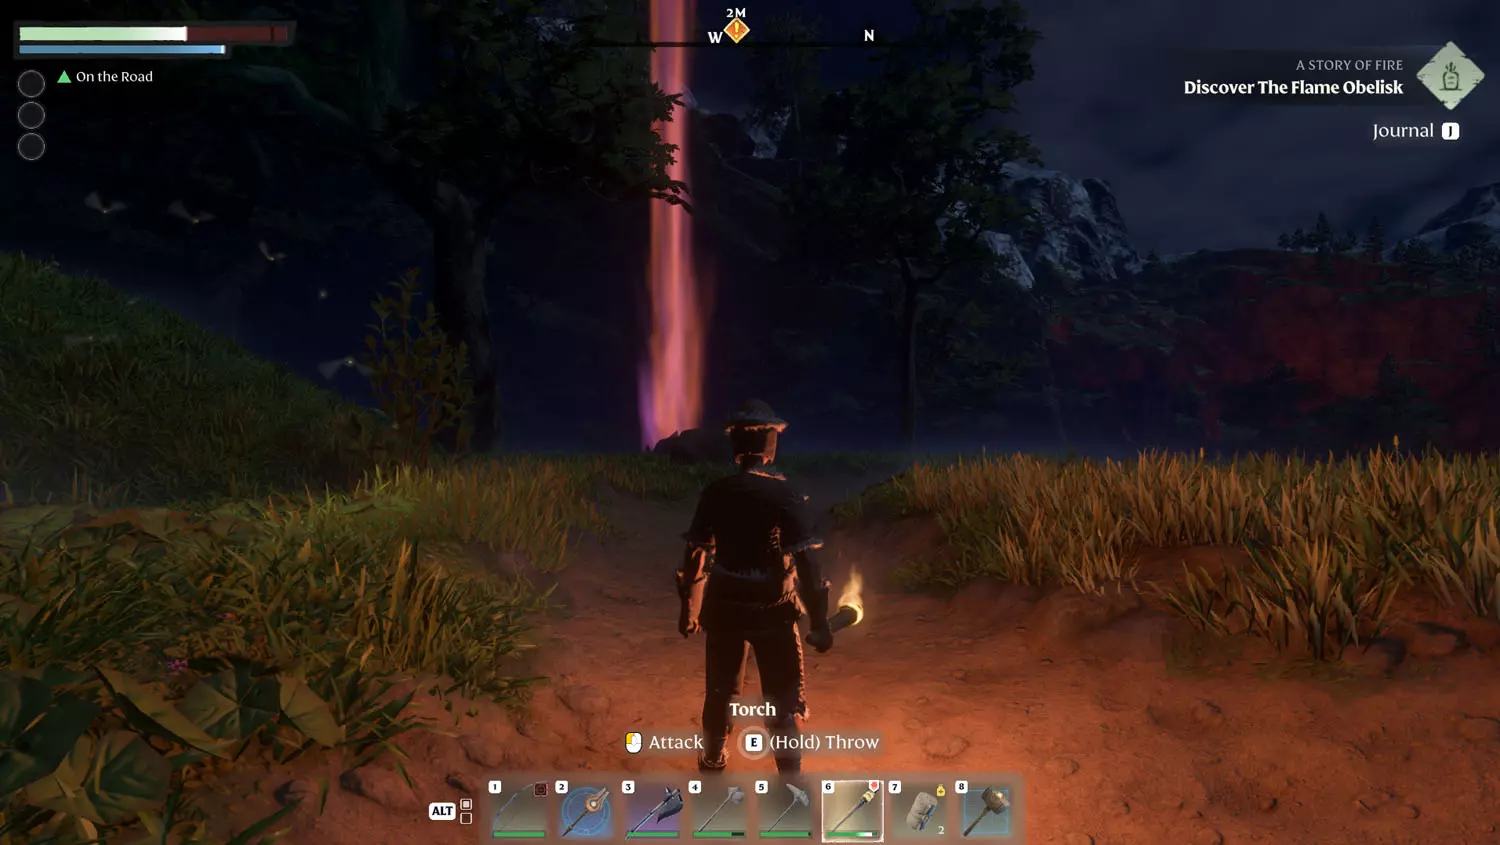
Feel free to follow the road or to hop down to the Ancient Obelisk. (The road curves and has another path intercept it, just keep right.) Approaching the Ancient Obelisk will complete the first part of the quest.

FA 06 A 7FA 06 A 8

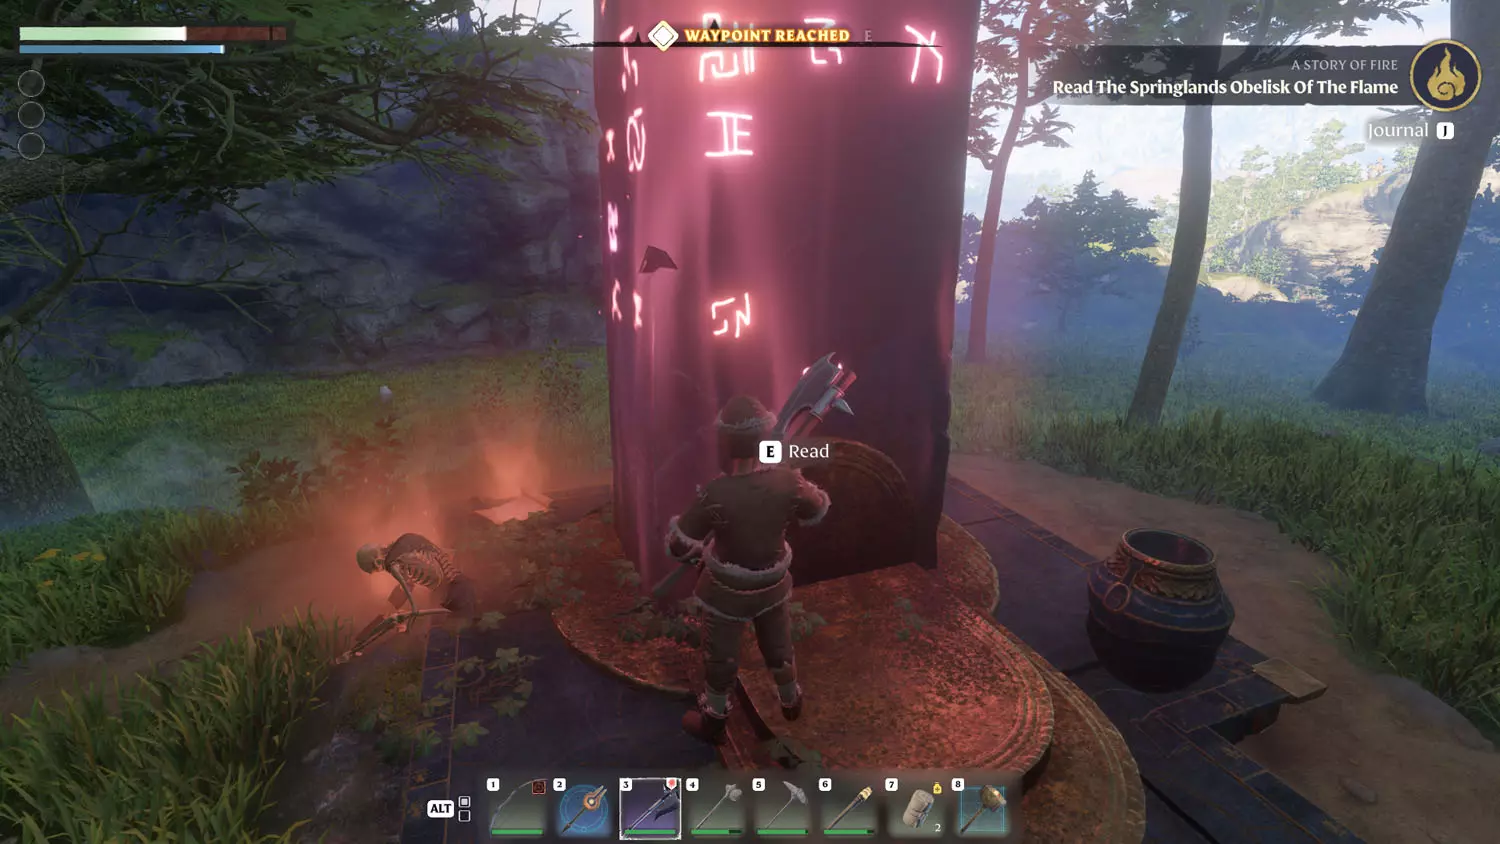
Next, walk up to it and press E. The quest is then done!

FA 06 A 9FA 06 A 10FA 06 A 11FA 06 A 12

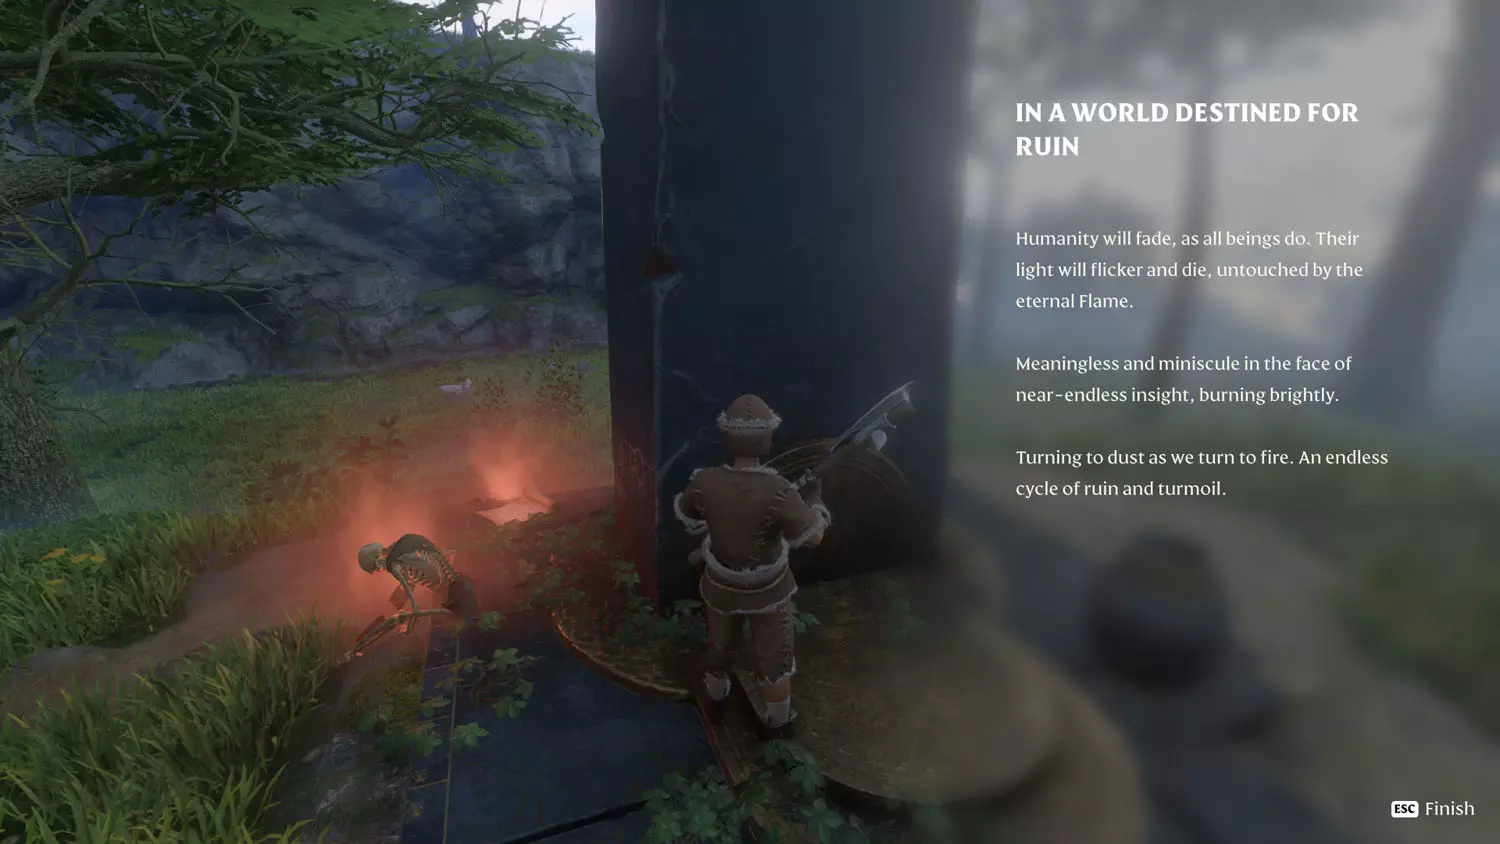
TIP: Next to the Ancient Obelisk is the Ancients And The Flame Lore: One Last Journey 2/3 Tired and 3/3 Wandering.

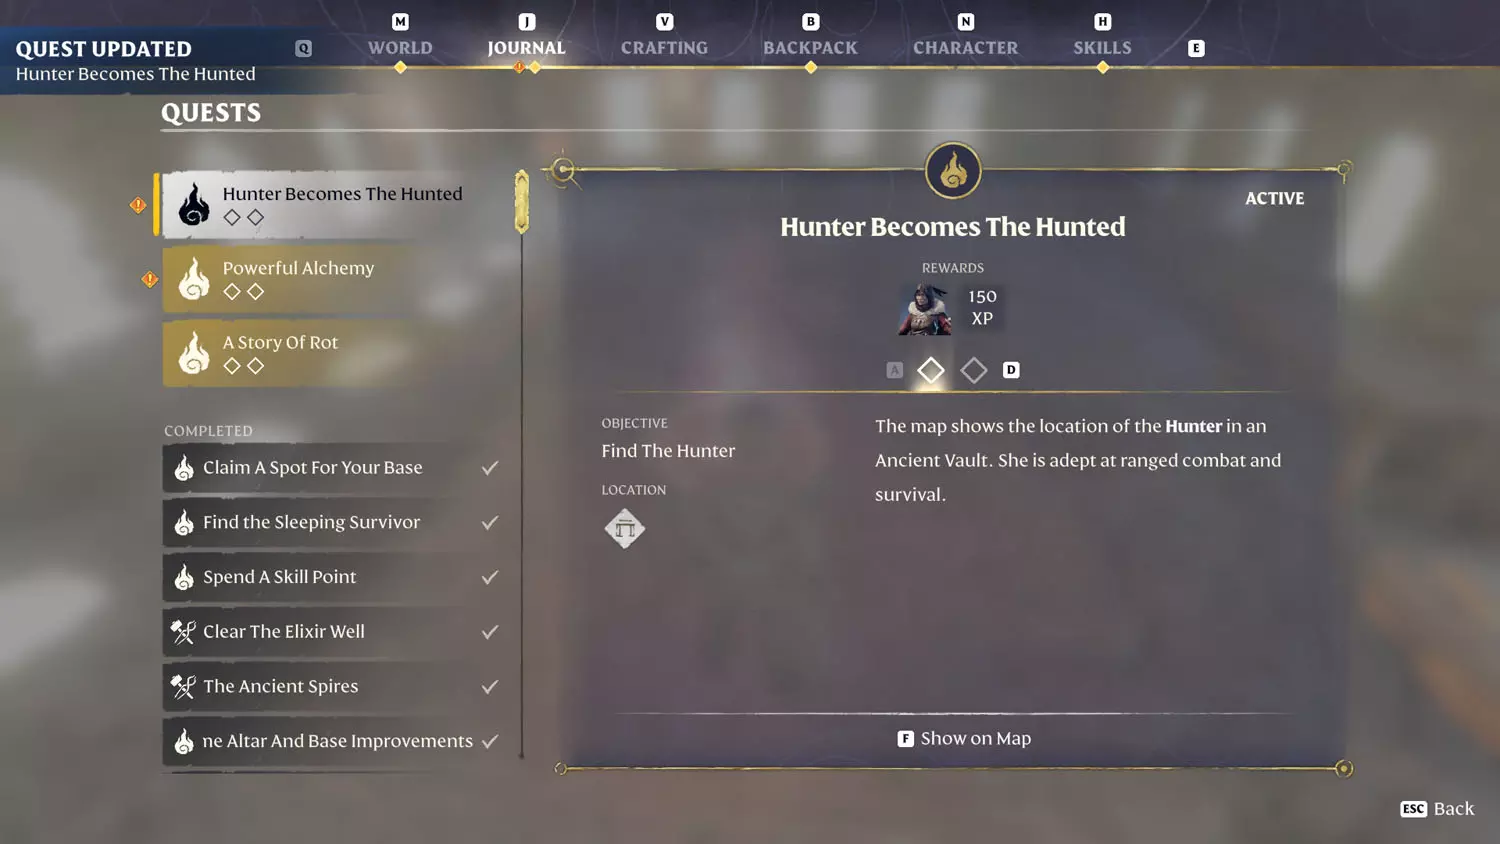
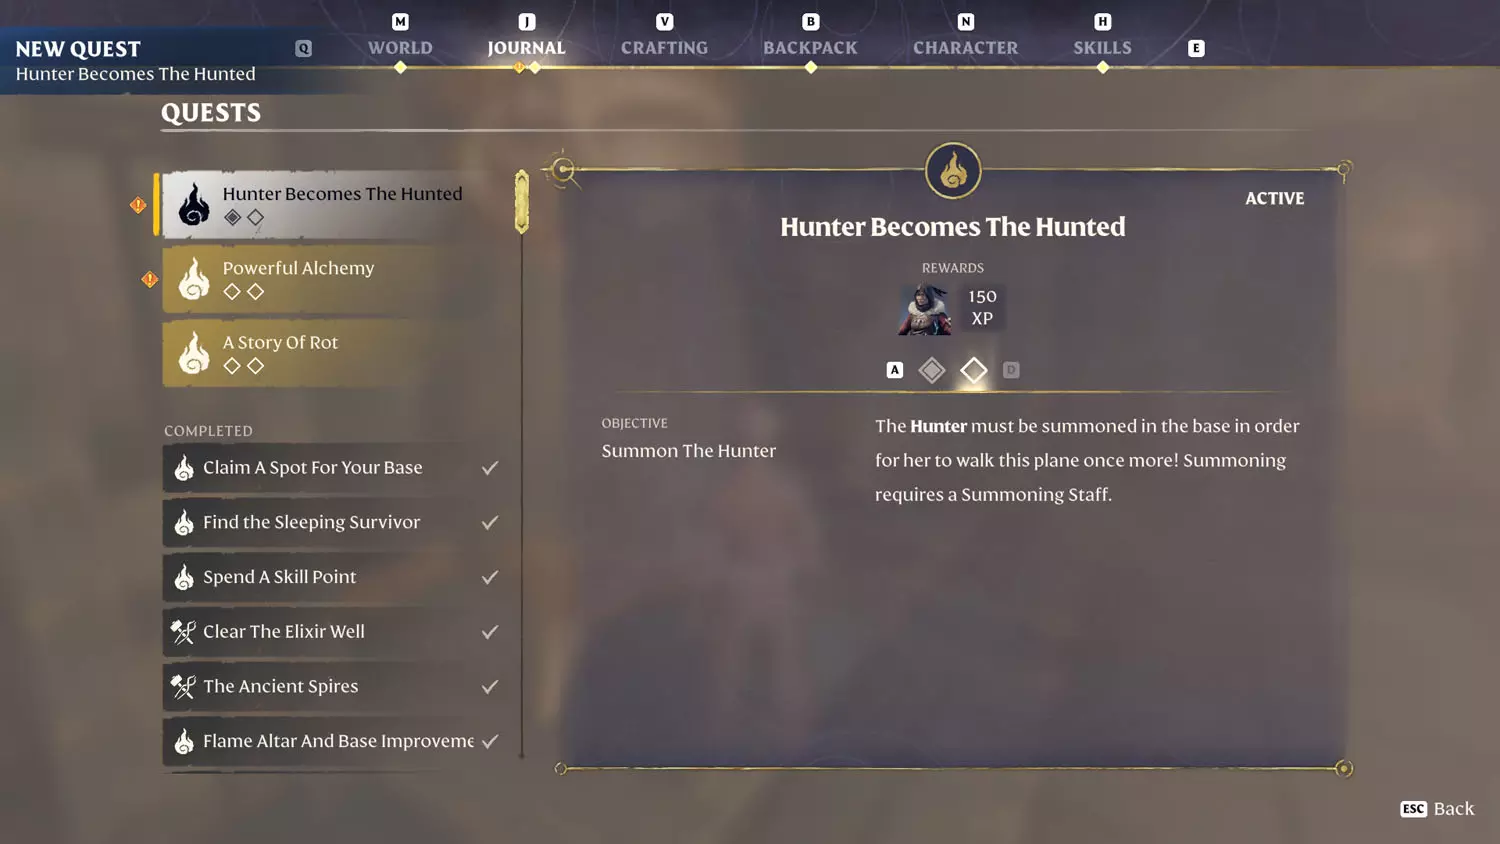
Hunter Becomes The Hunted

After completing the Blacksmith’s Quest: The Ancient Spires, the Flame Altar in your base will speak to you of recruiting more people.

FA 07 Hunter 1FA 07 Hunter 2

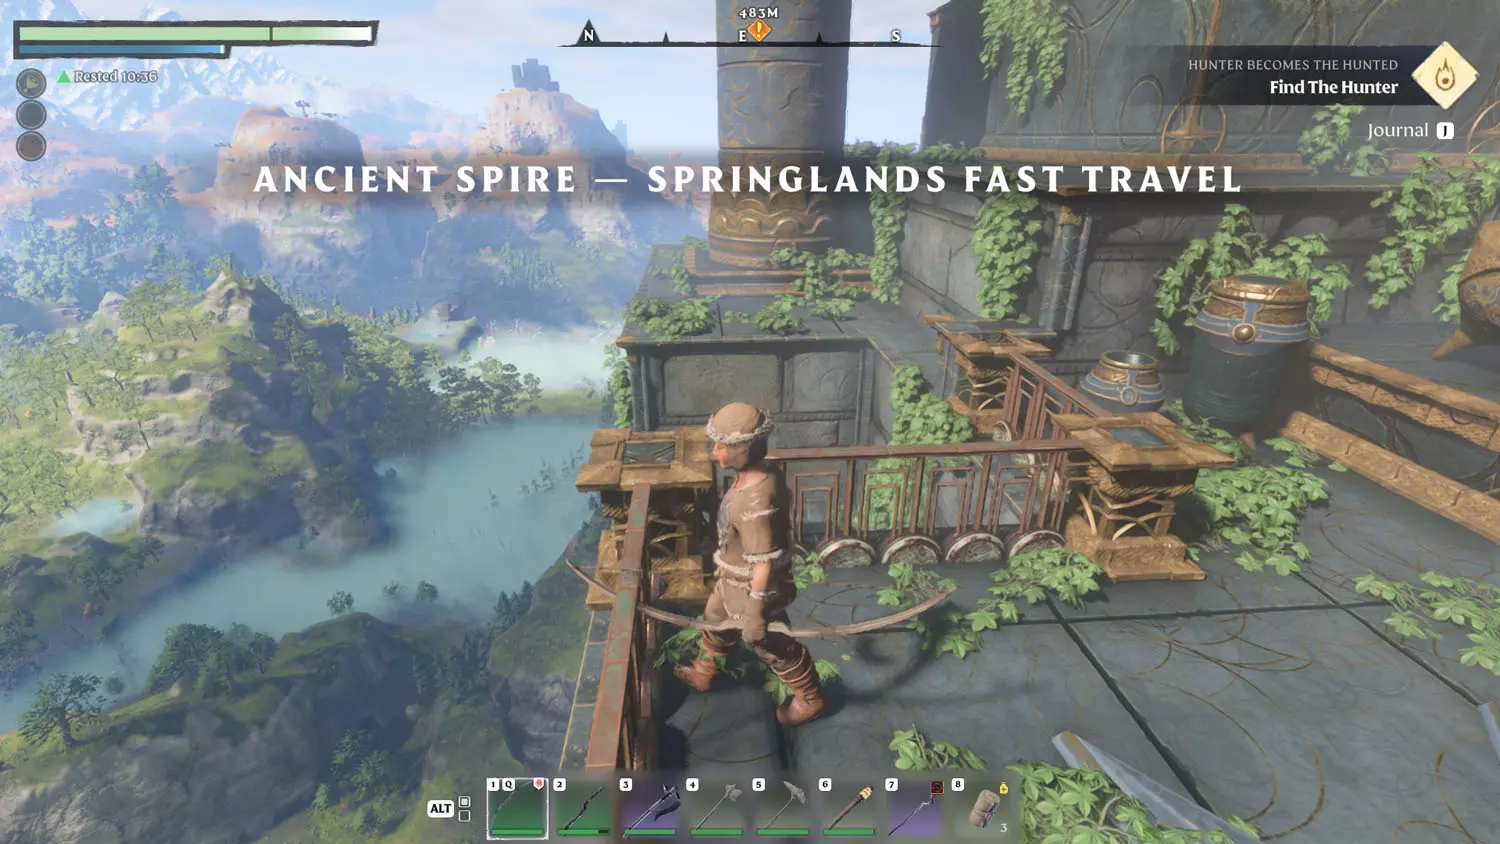
Now that the spire is available, feel free to glide most of the way to the Hunter’s location.

FA 07 Hunter 3FA 07 Hunter 4FA 07 Hunter 5

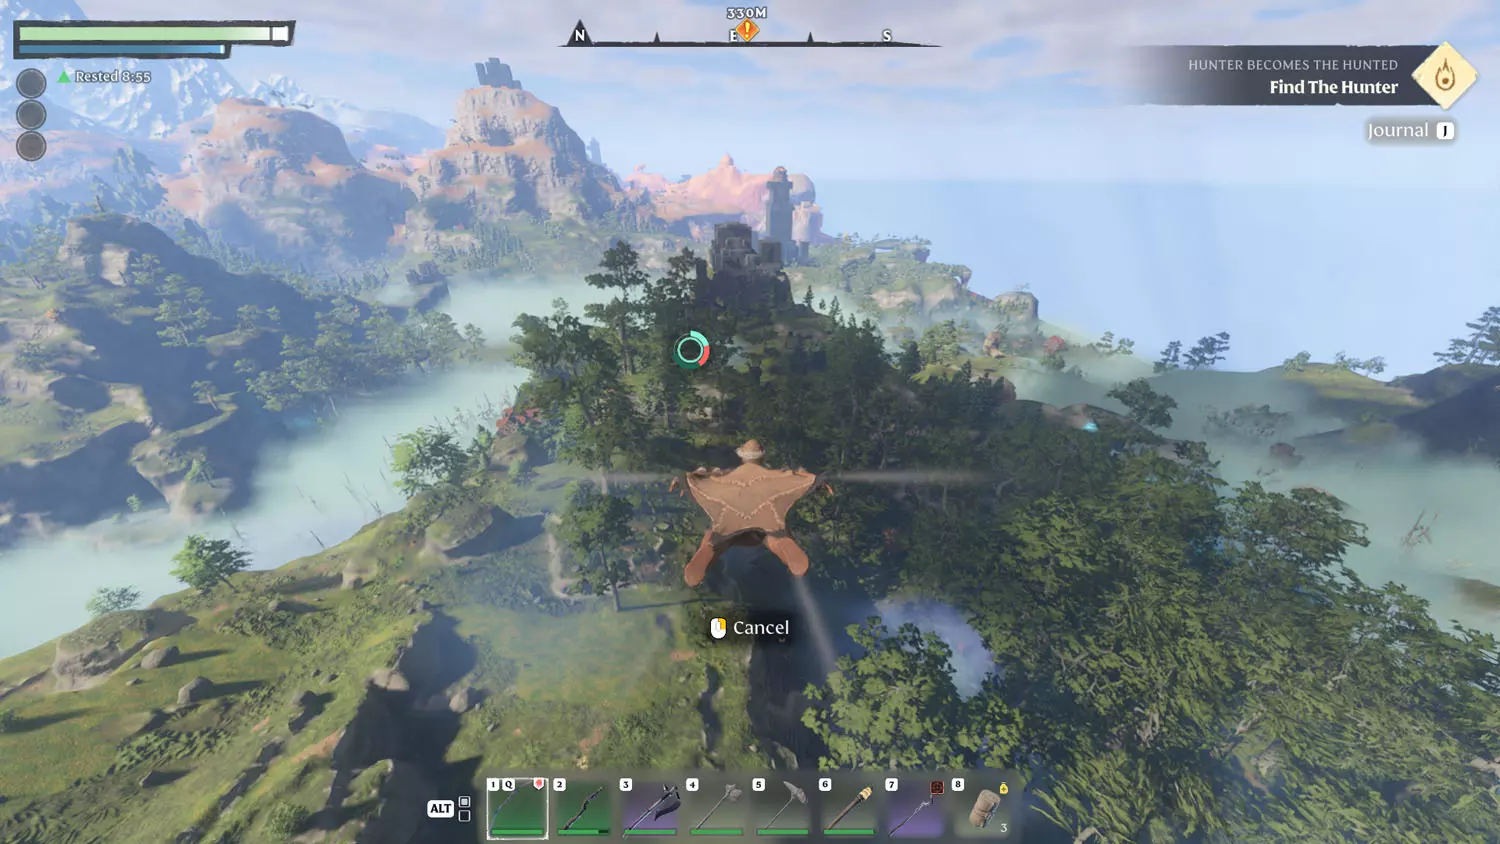
If you fall into a chasm of Shroud, head eastward and hug the hill. You’ll eventually be able to walk out, even without a road. From there, head for the marker. If you did better than I did, then just keep heading for the marker. There will eventually be a road you can follow to the location. Once there, just head straight in.

FA 07 Hunter 6FA 07 Hunter 7FA 07 Hunter 8

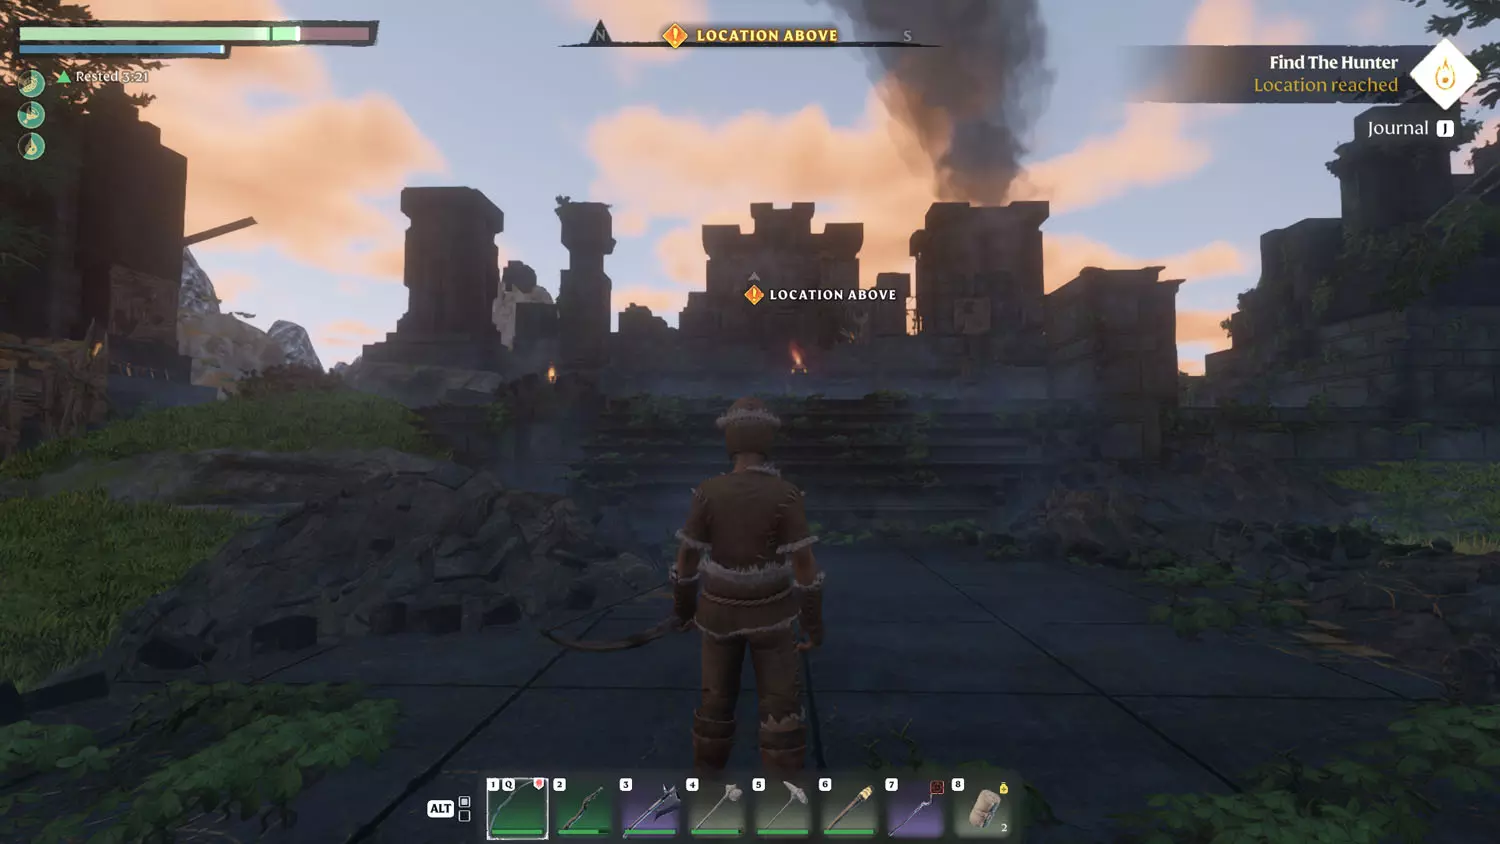
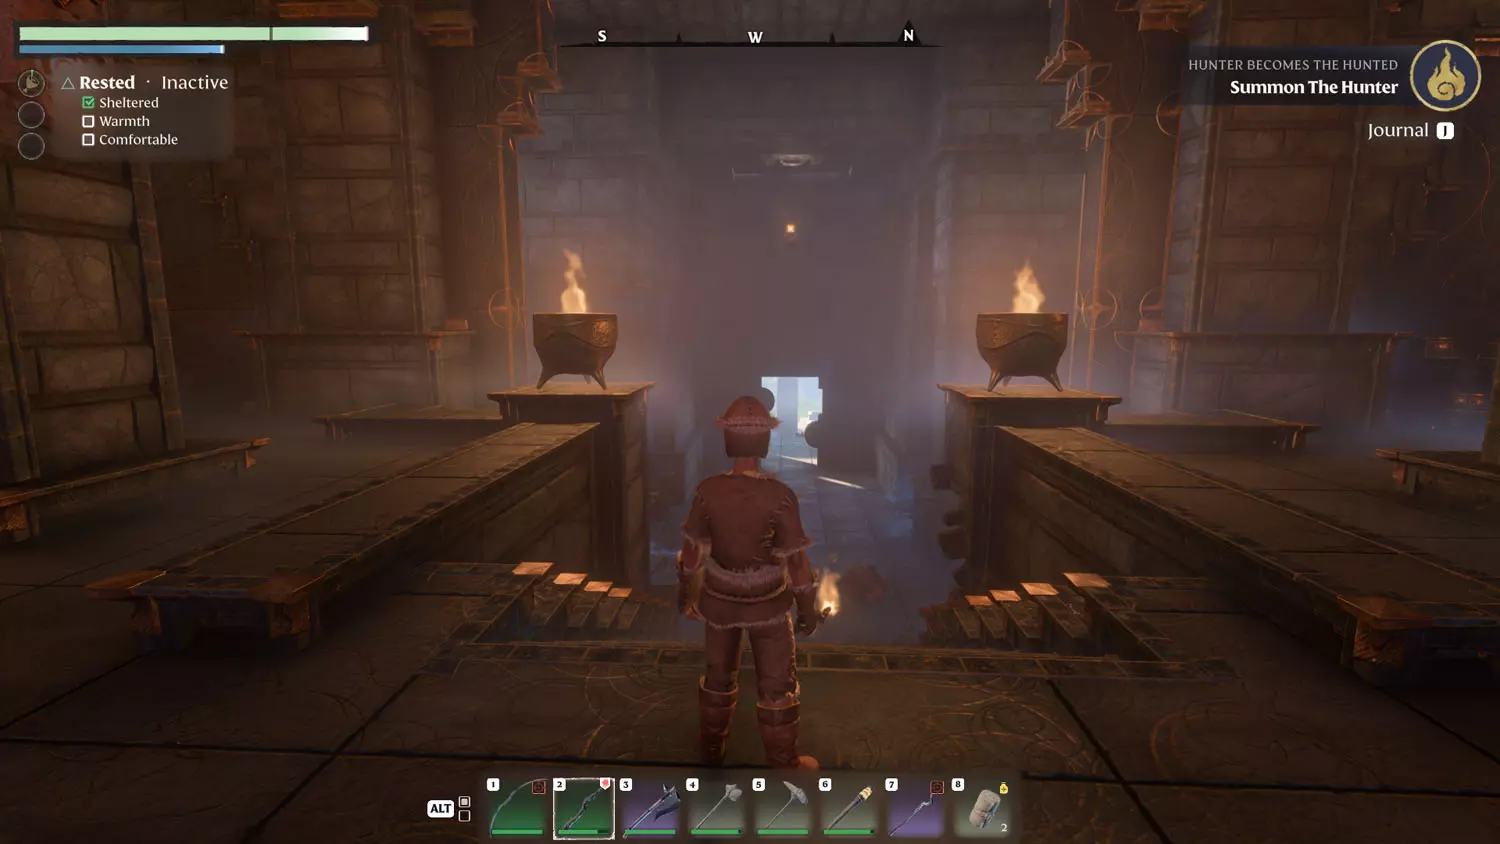
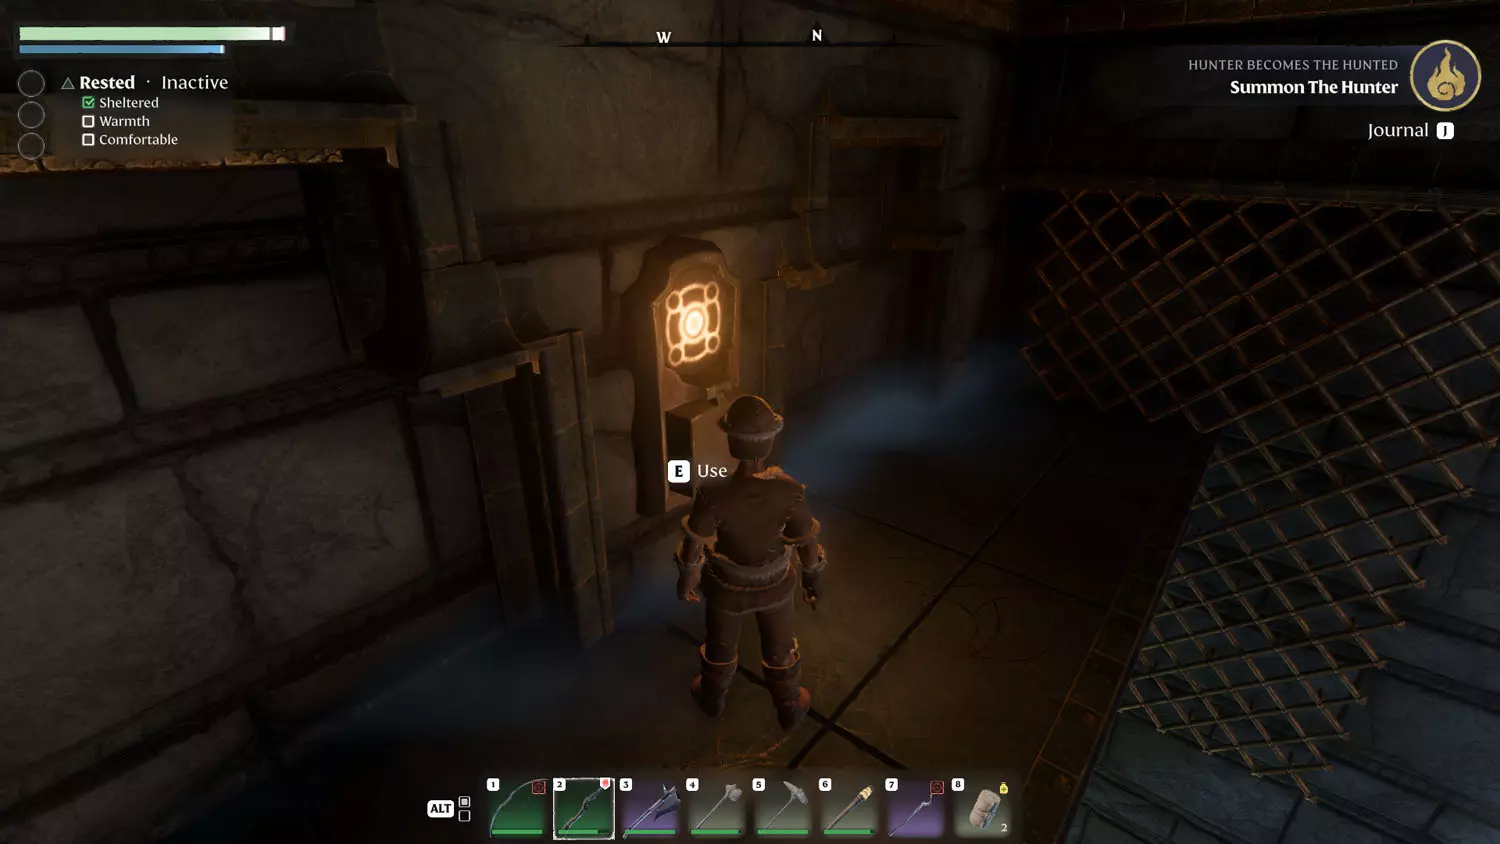
Beware the traps. If you have the Skill Double Jump, at this point, I would suggest using it as it is very useful here (and everywhere). Hopping over the first trap of zapping death, you’ll enter a large area with three options. First, the loot. The left option requires three switches to be activated. The first switch is on a wall nearby. You’ll want a ranged weapon to activate it.

FA 07 Hunter 9

On the opposite side of the room is a gate. Opening it (which requires nothing special), reveals a button activated switch and a room to smash and loot things in.

FA 07 Hunter 10

The third switch is super annoying. From the center of the room, turn around and face the entrance (or exit). You’ll see a glowing switch high up on the wall and a grapple spot. I had to stand on a brazier and jump / glide toward it (and the zappy death trap below). During that jump / glide, I pressed E to begin swinging. This gave me the momentum and height I needed to reach the ledge and the button. It may be easier to aim for the left or right walls as they have metal mesh for climbing. Pressing the final button will open the gate leading to a Gold Chest.

FA 07 Hunter 11FA 07 Hunter 12FA 07 Hunter 13

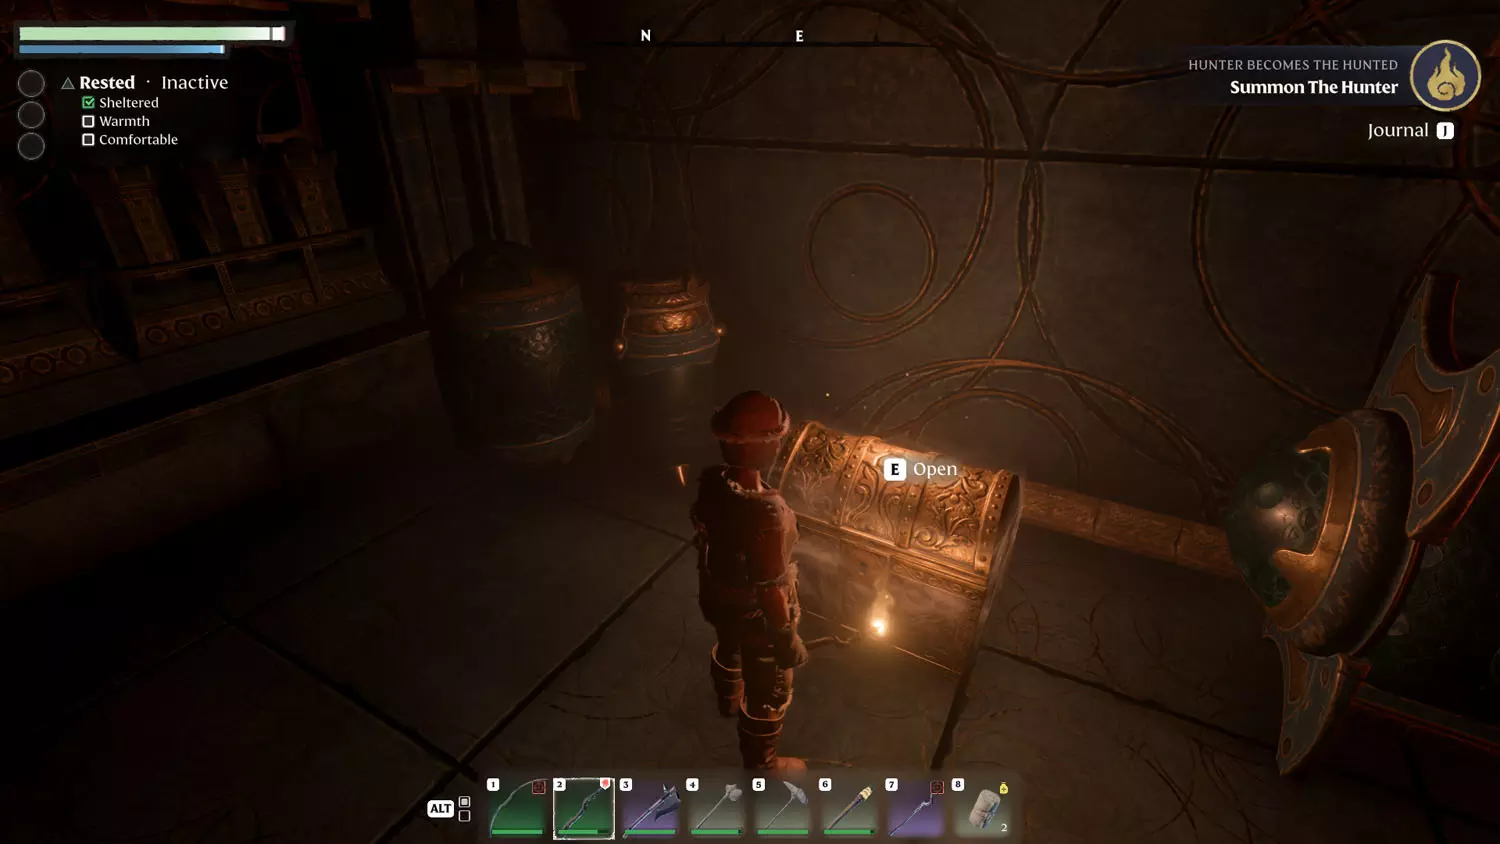
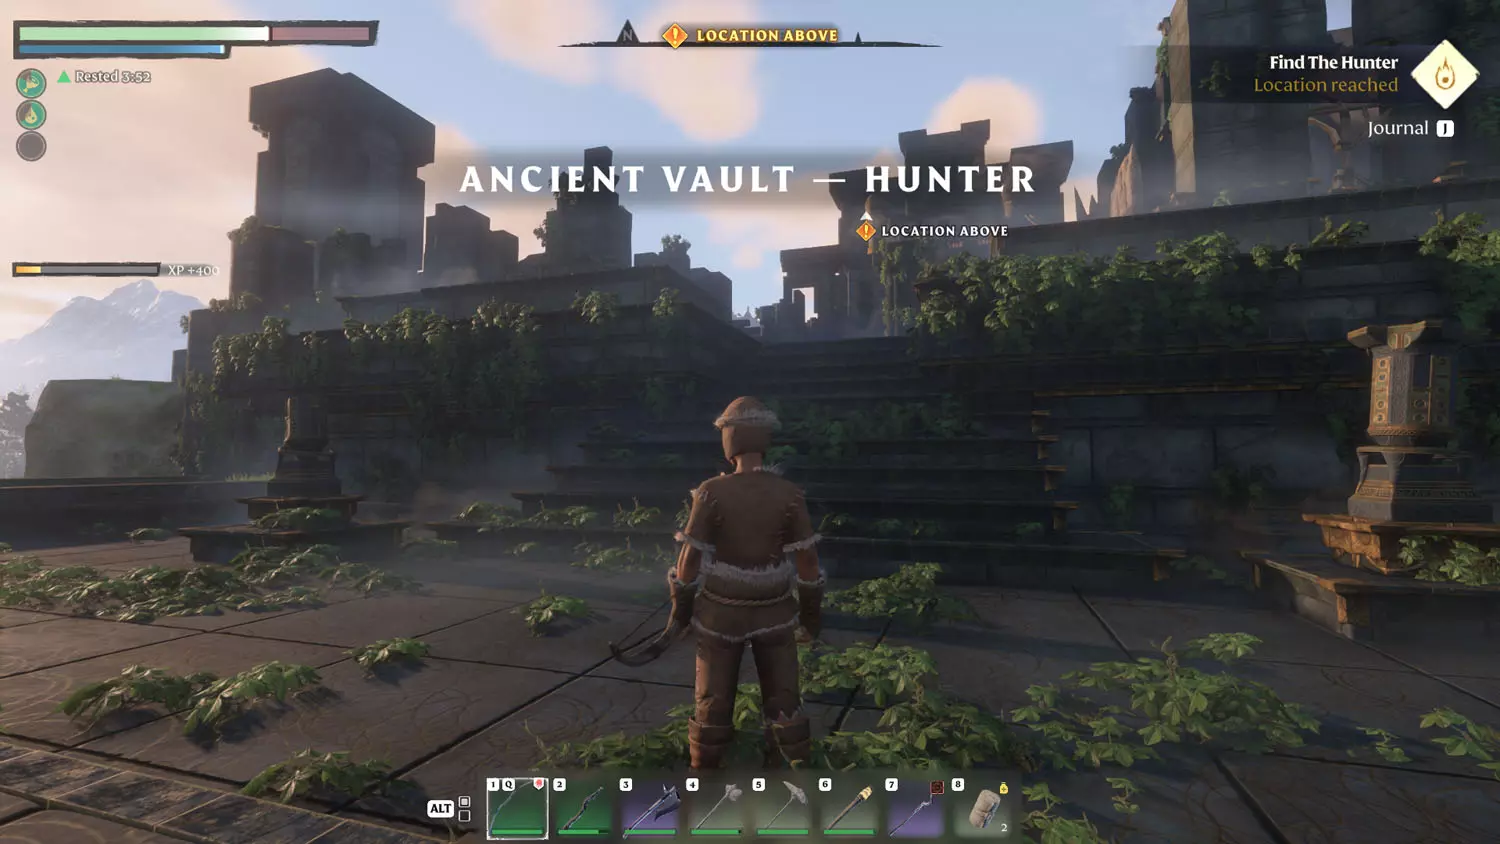
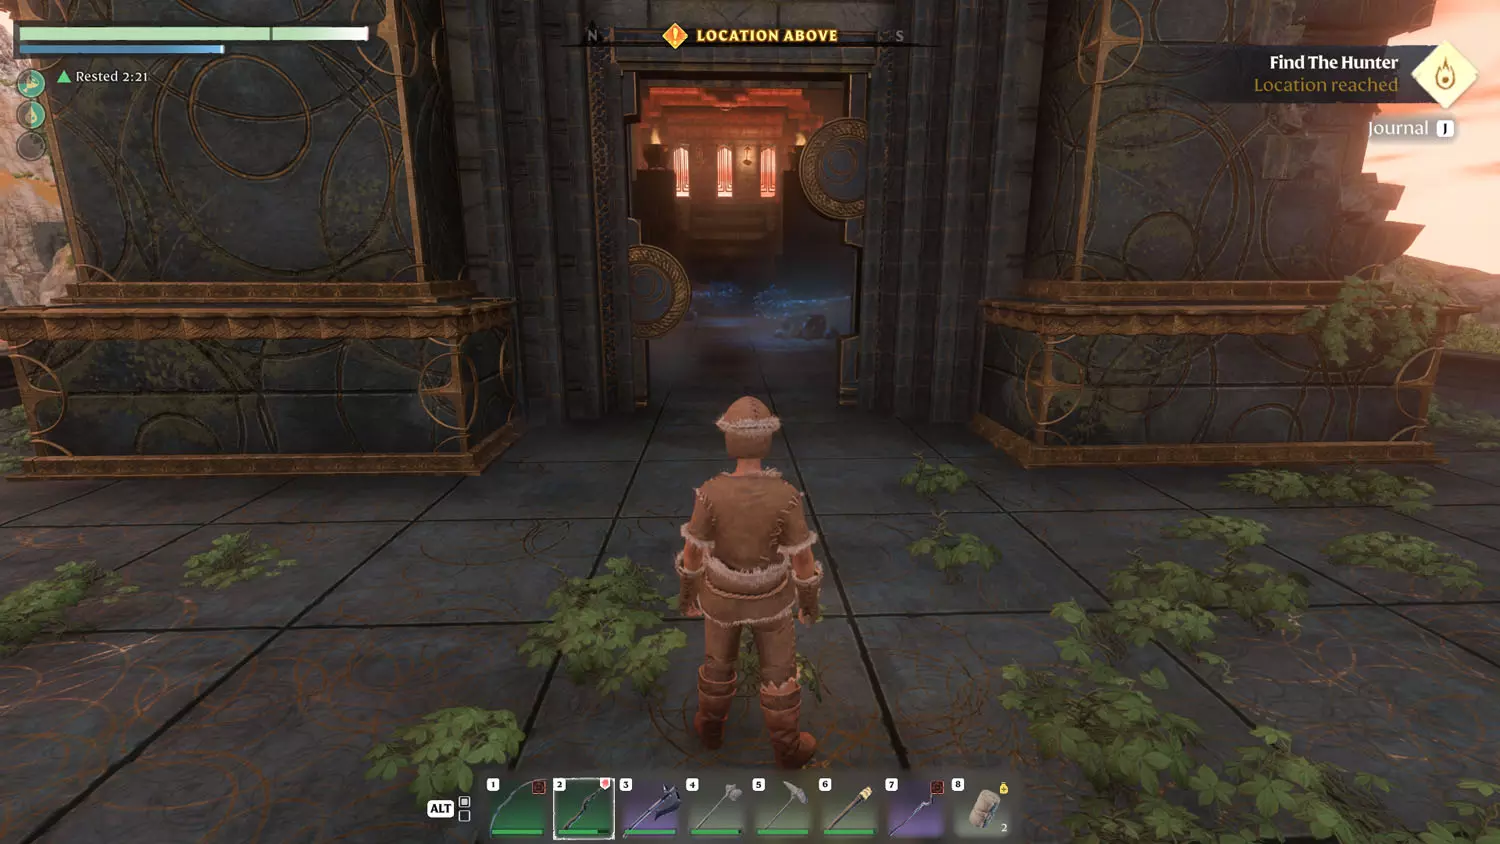
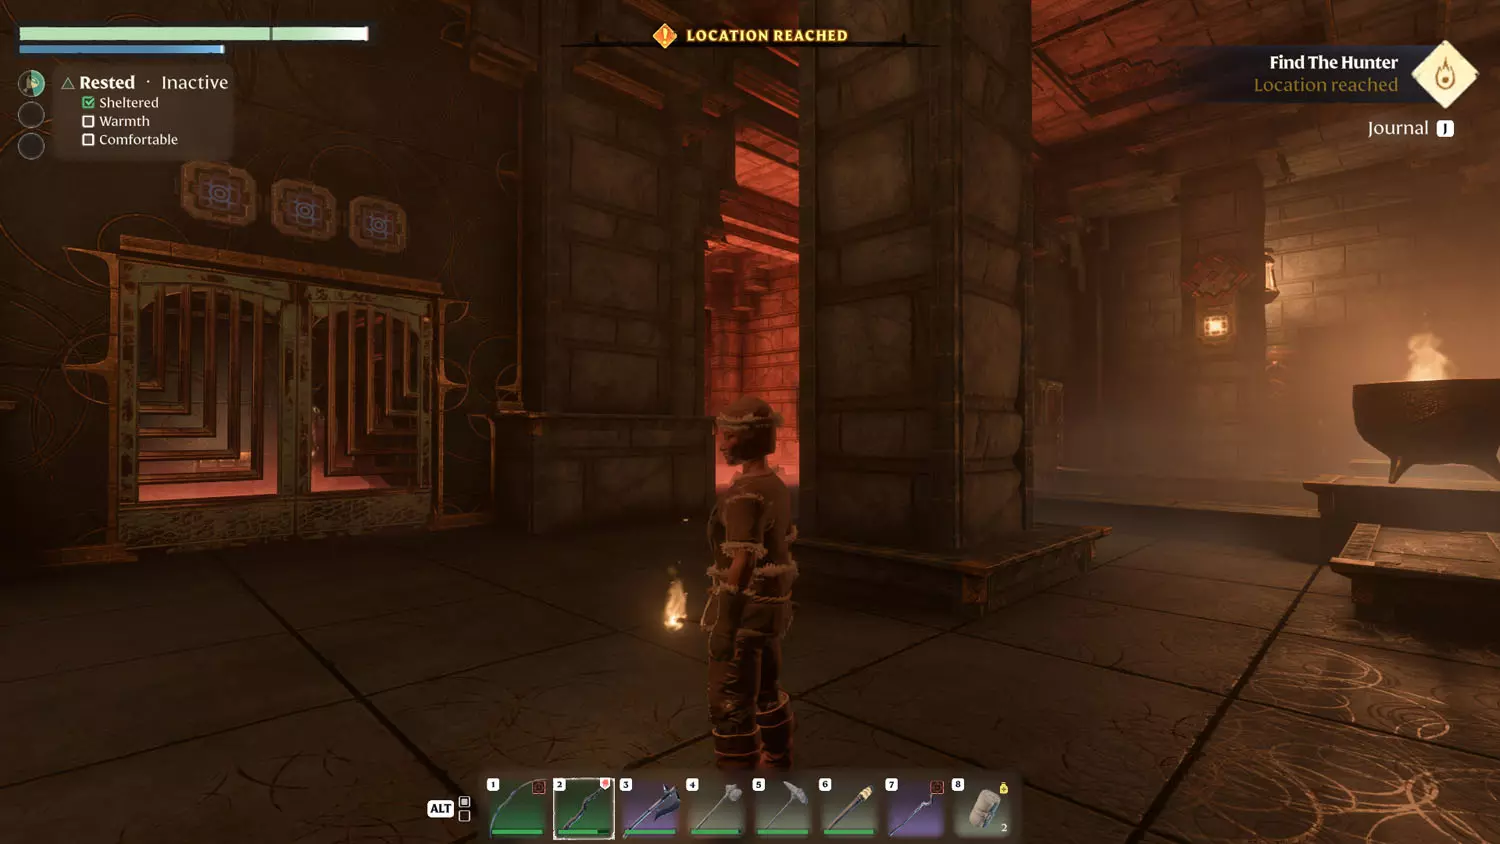
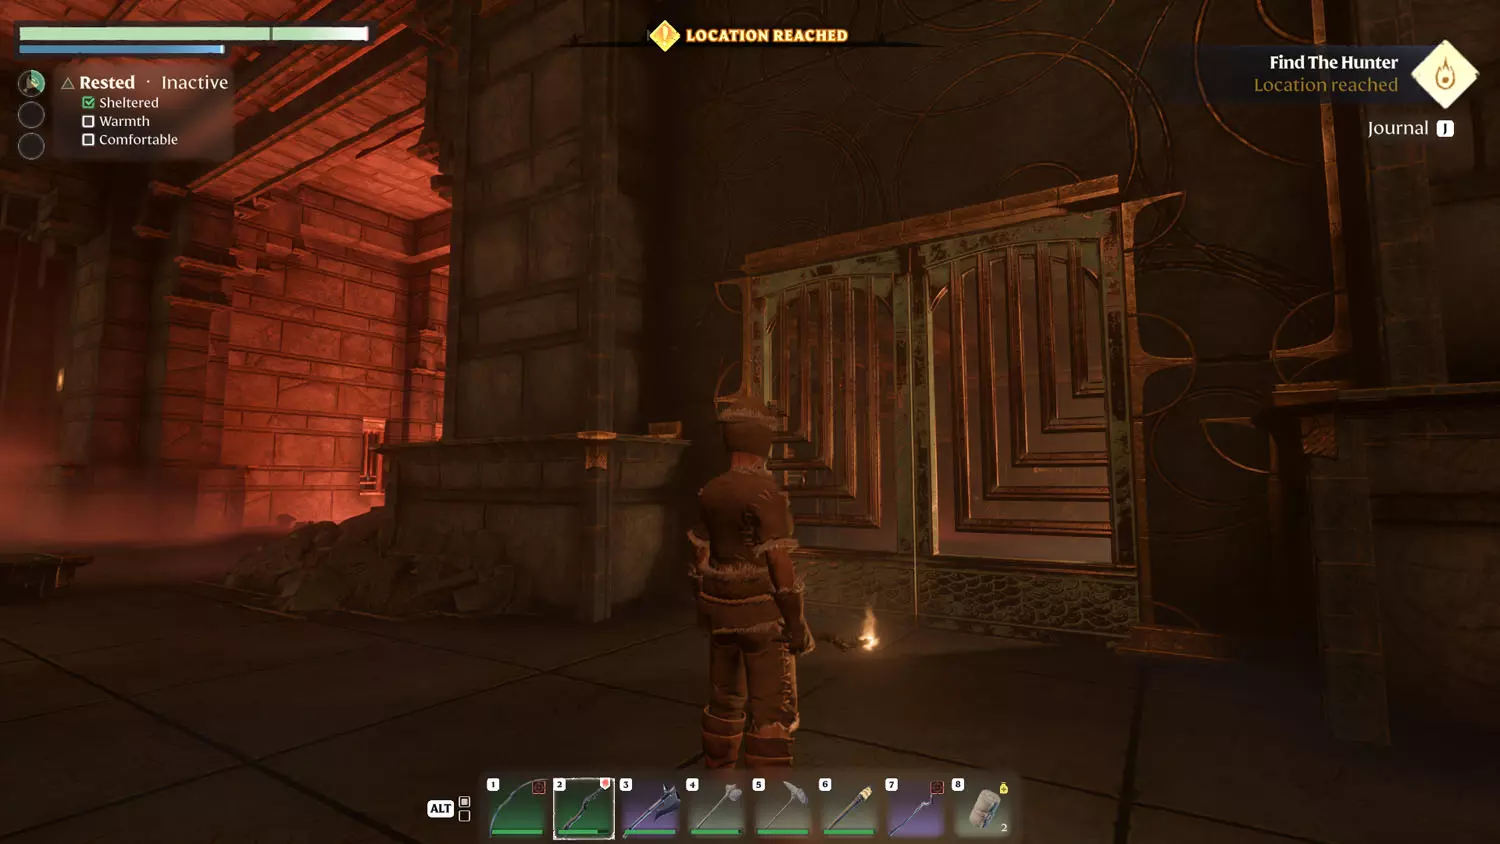
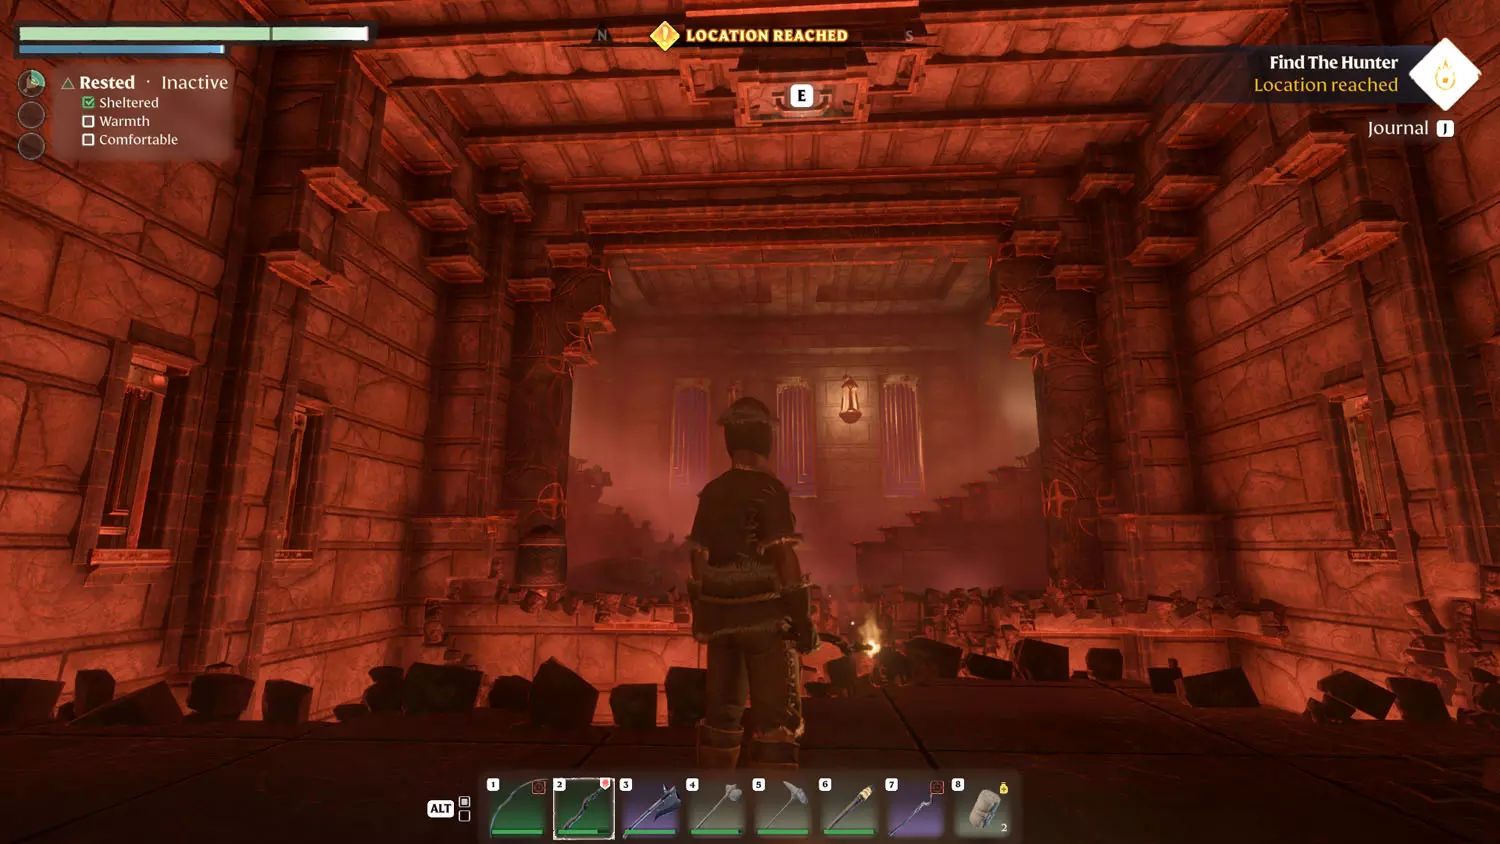
Looting done? Head straight from the entrance. On the ceiling is a grapple spot you can swing from to get across the lava. From there, head left or right, it doesn’t matter. At the top, the doors will open and the Hunter’s Vault will be revealed.

FA 07 Hunter 14FA 07 Hunter 15

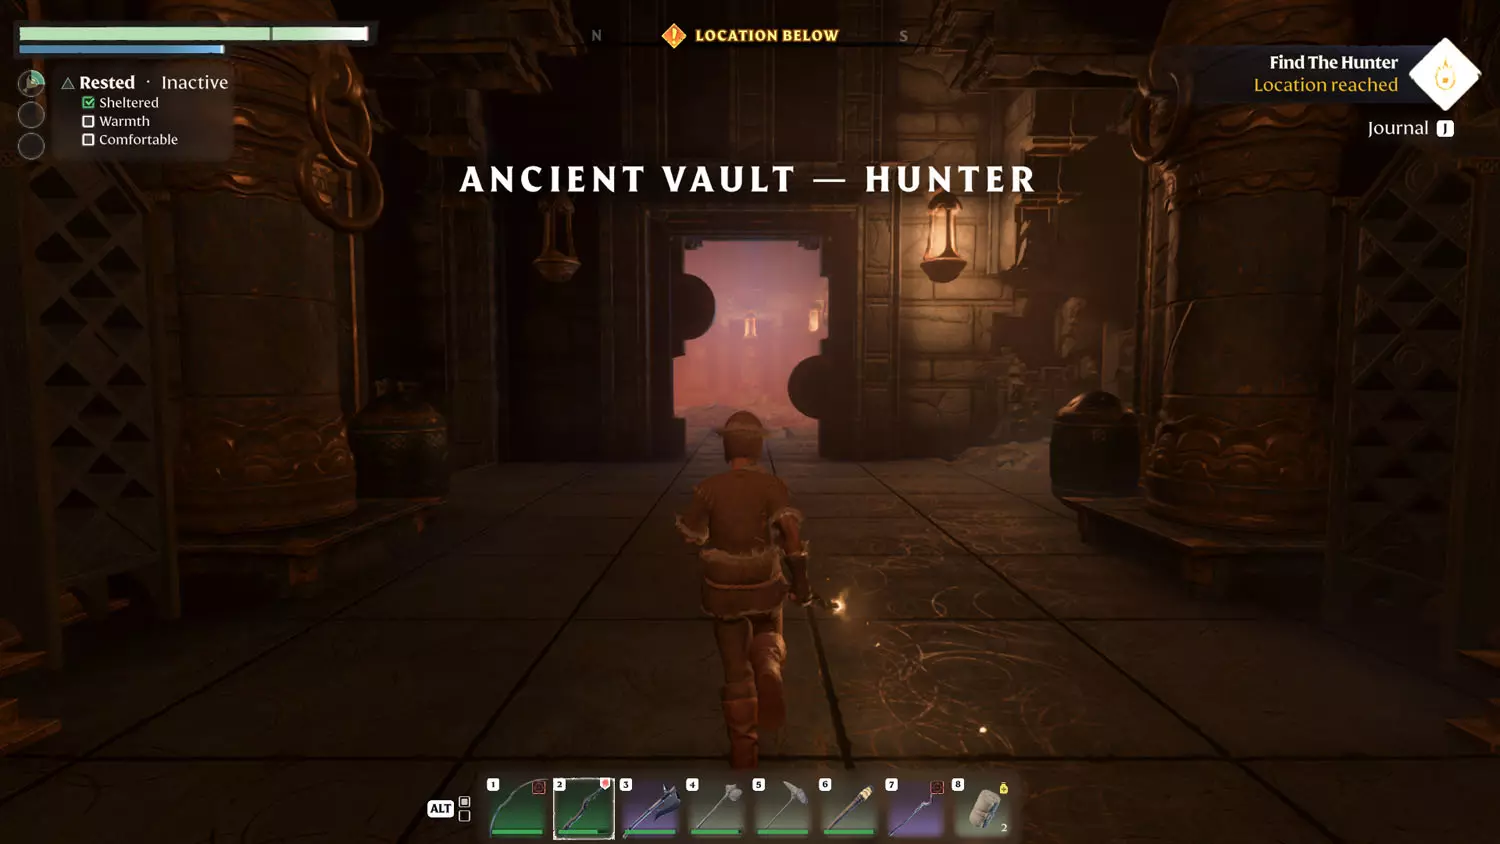
Inside the Vault, head toward the back left and interact with the Vault. It will give you the Hunter and complete the first part of the quest.

FA 07 Hunter 16FA 07 Hunter 17FA 07 Hunter 18

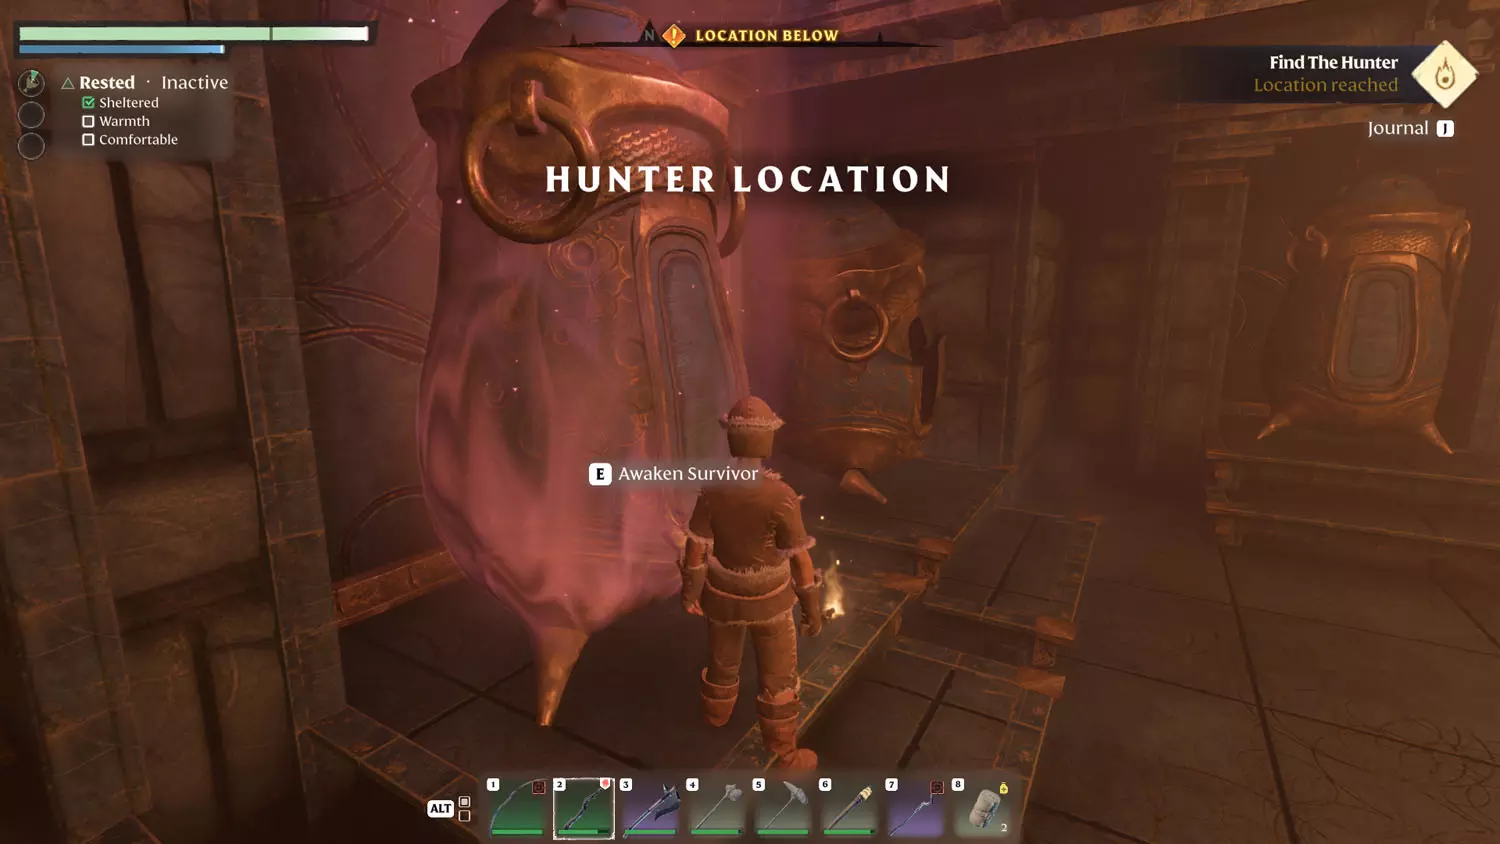
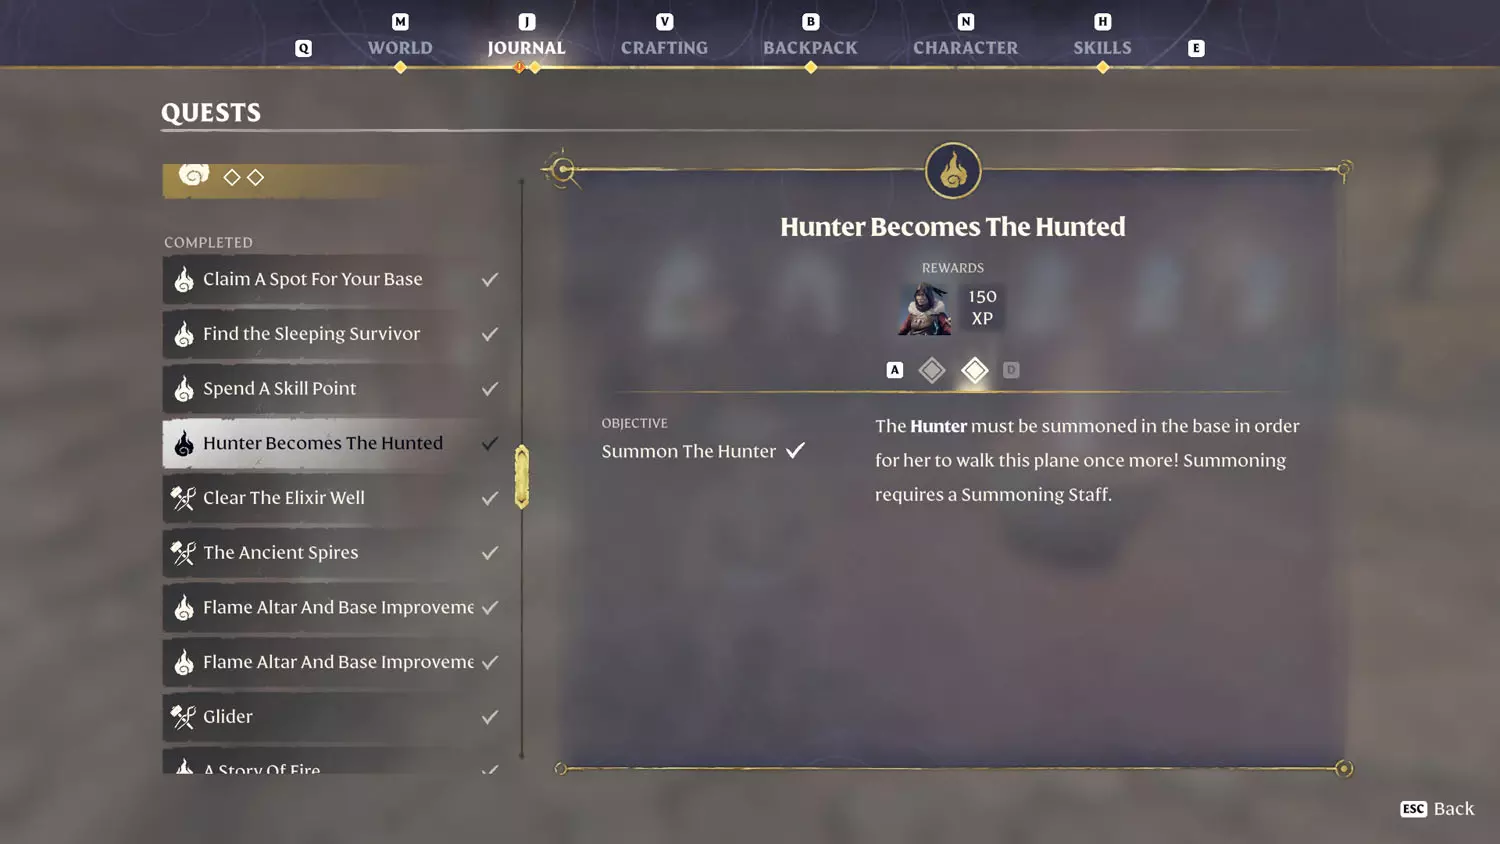
From here, teleport back to your base, use your odd wand thing (Summoning Staff) to place the Hunter. Doing so will complete the quest.

FA 07 Hunter 19FA 07 Hunter 20

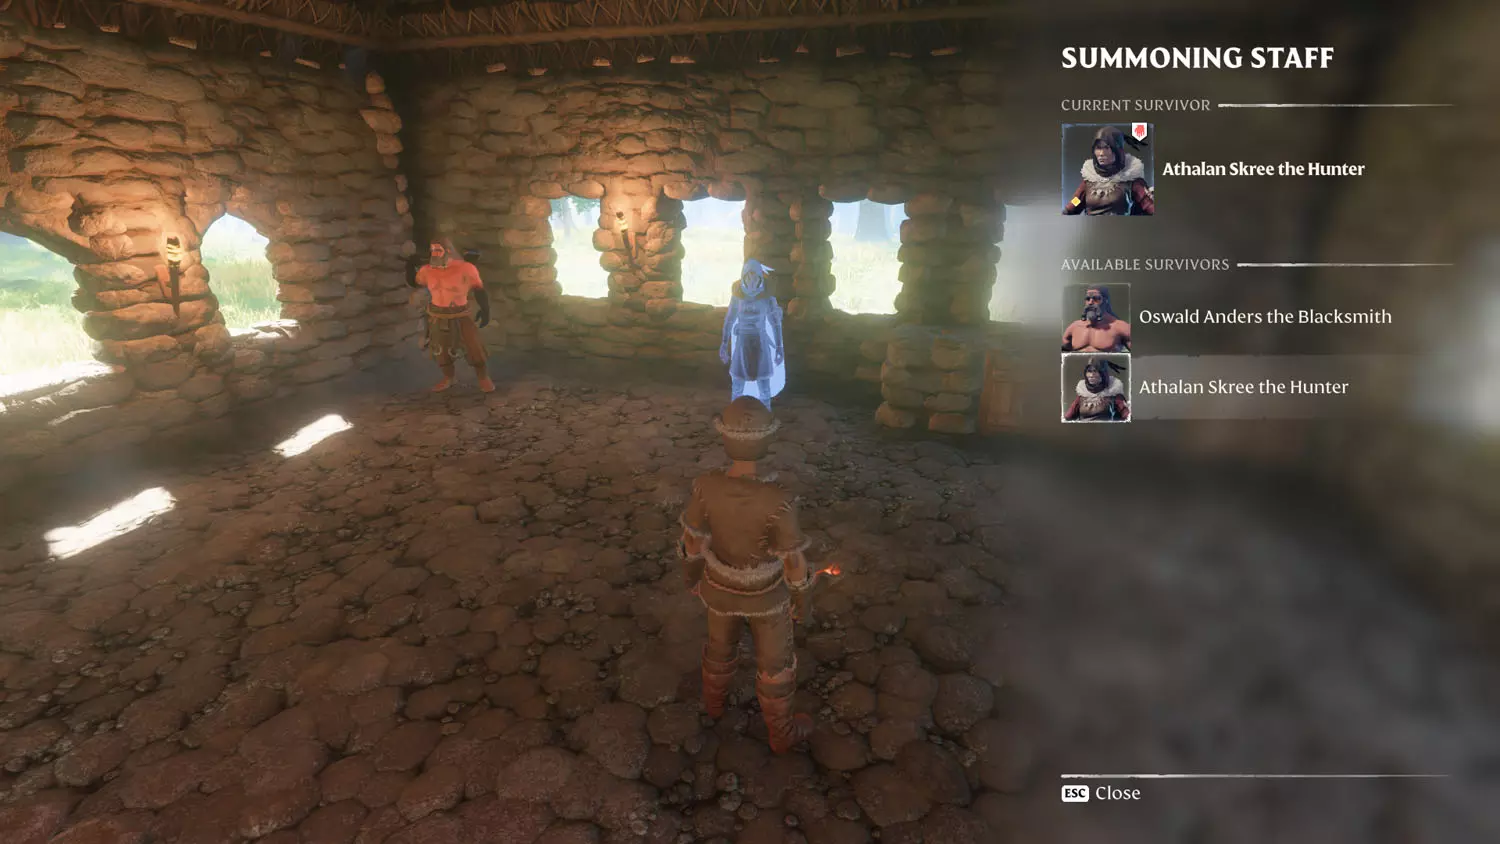
Placing the Hunter, Athalan Skree, makes the Flame very happy.

FA 07 Hunter 21

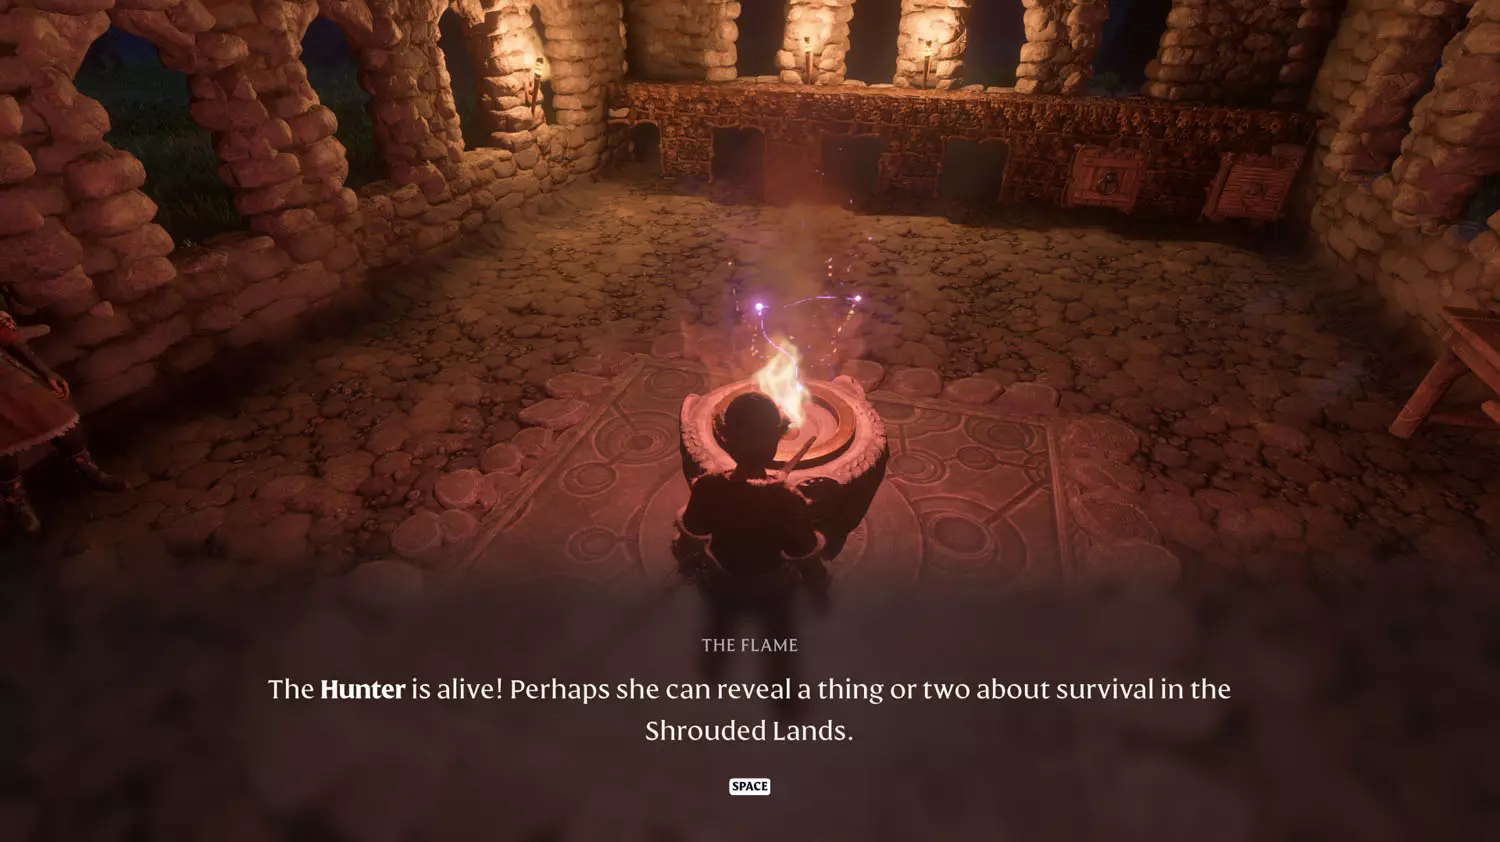
After completing this quest, speak to the Hunter for Growing Stronger Together - a quest to locate the Farmer. This will be a Hunter Quest.
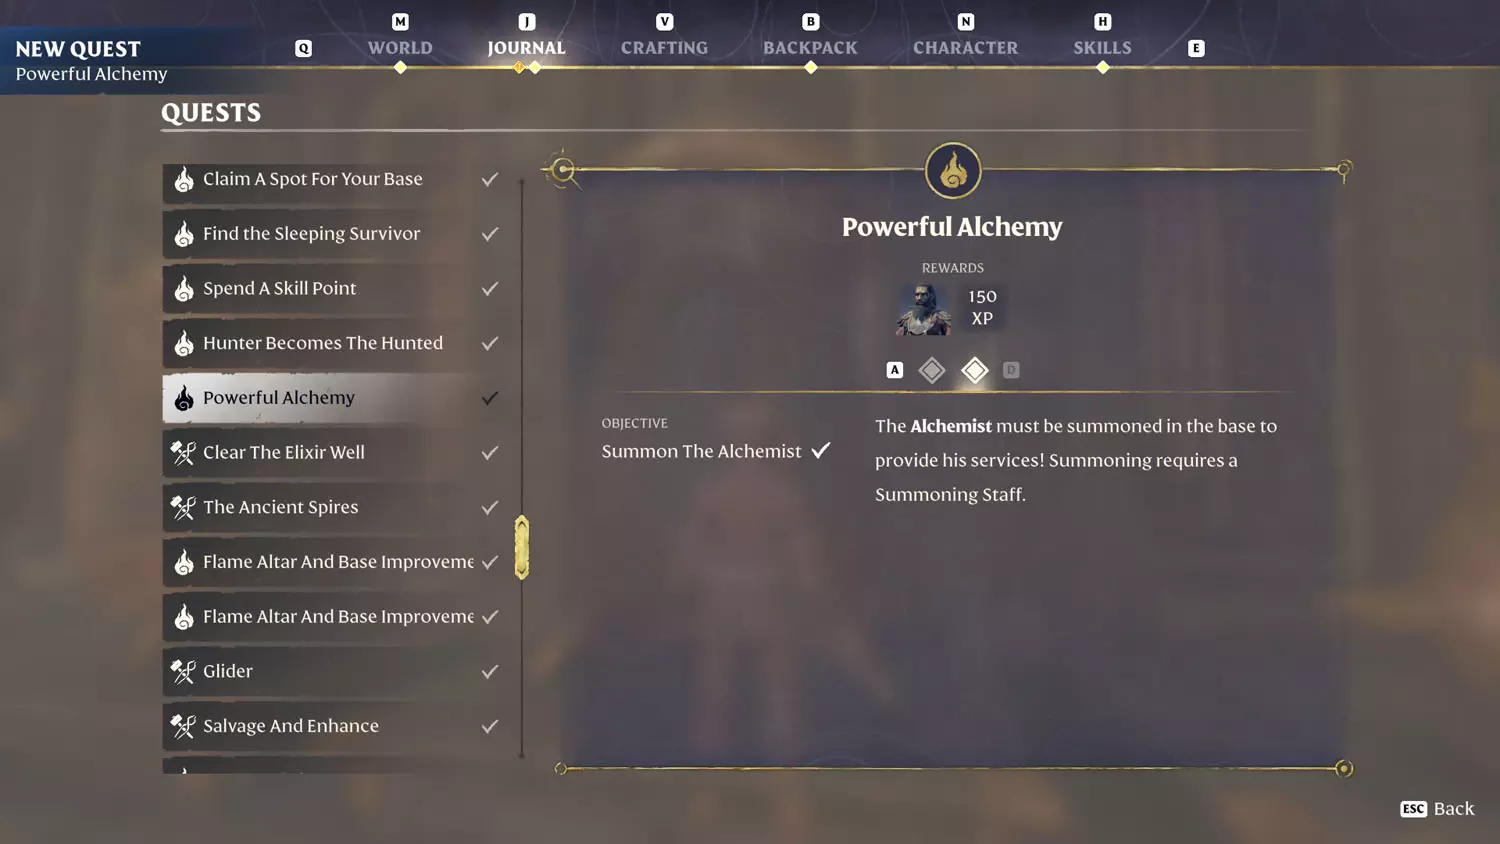
Powerful Alchemy

After completing the Blacksmith Quest: The Ancient Spires, the Flame Altar in your base will speak to you of recruiting more people.

FA 08 Powerful 1FA 08 Powerful 2

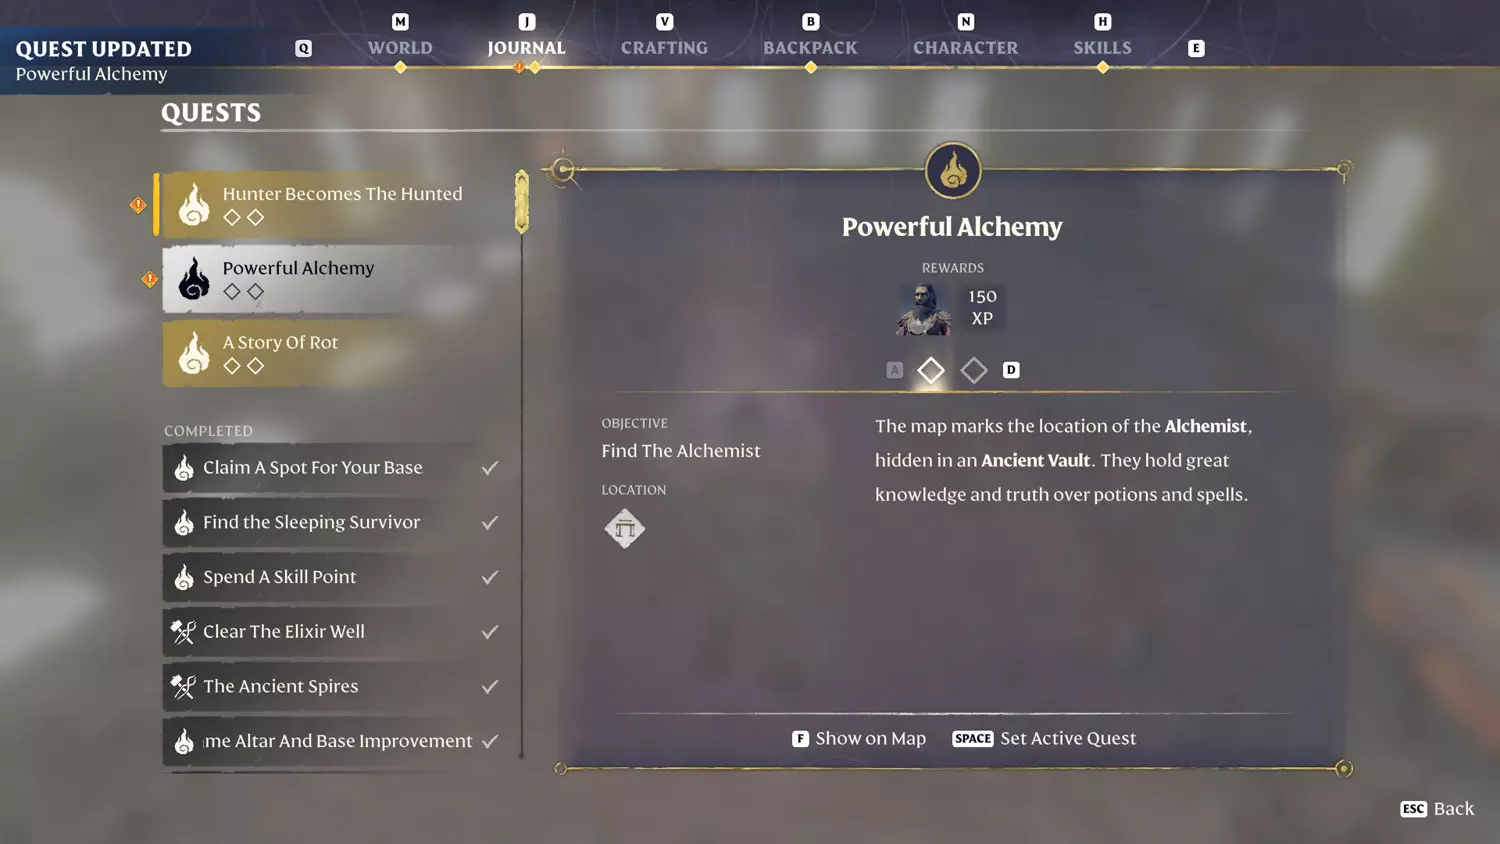
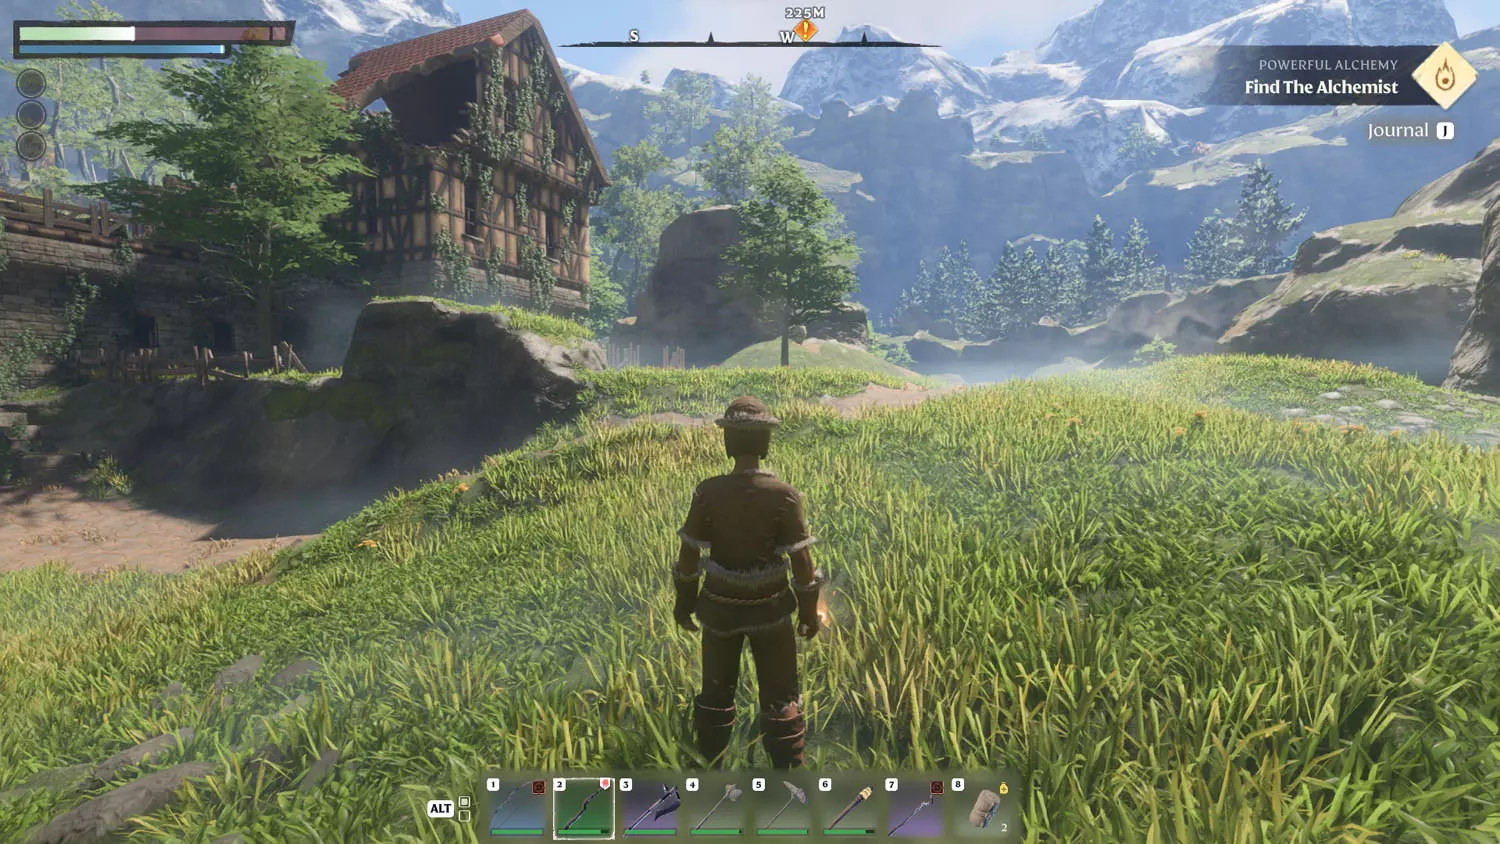
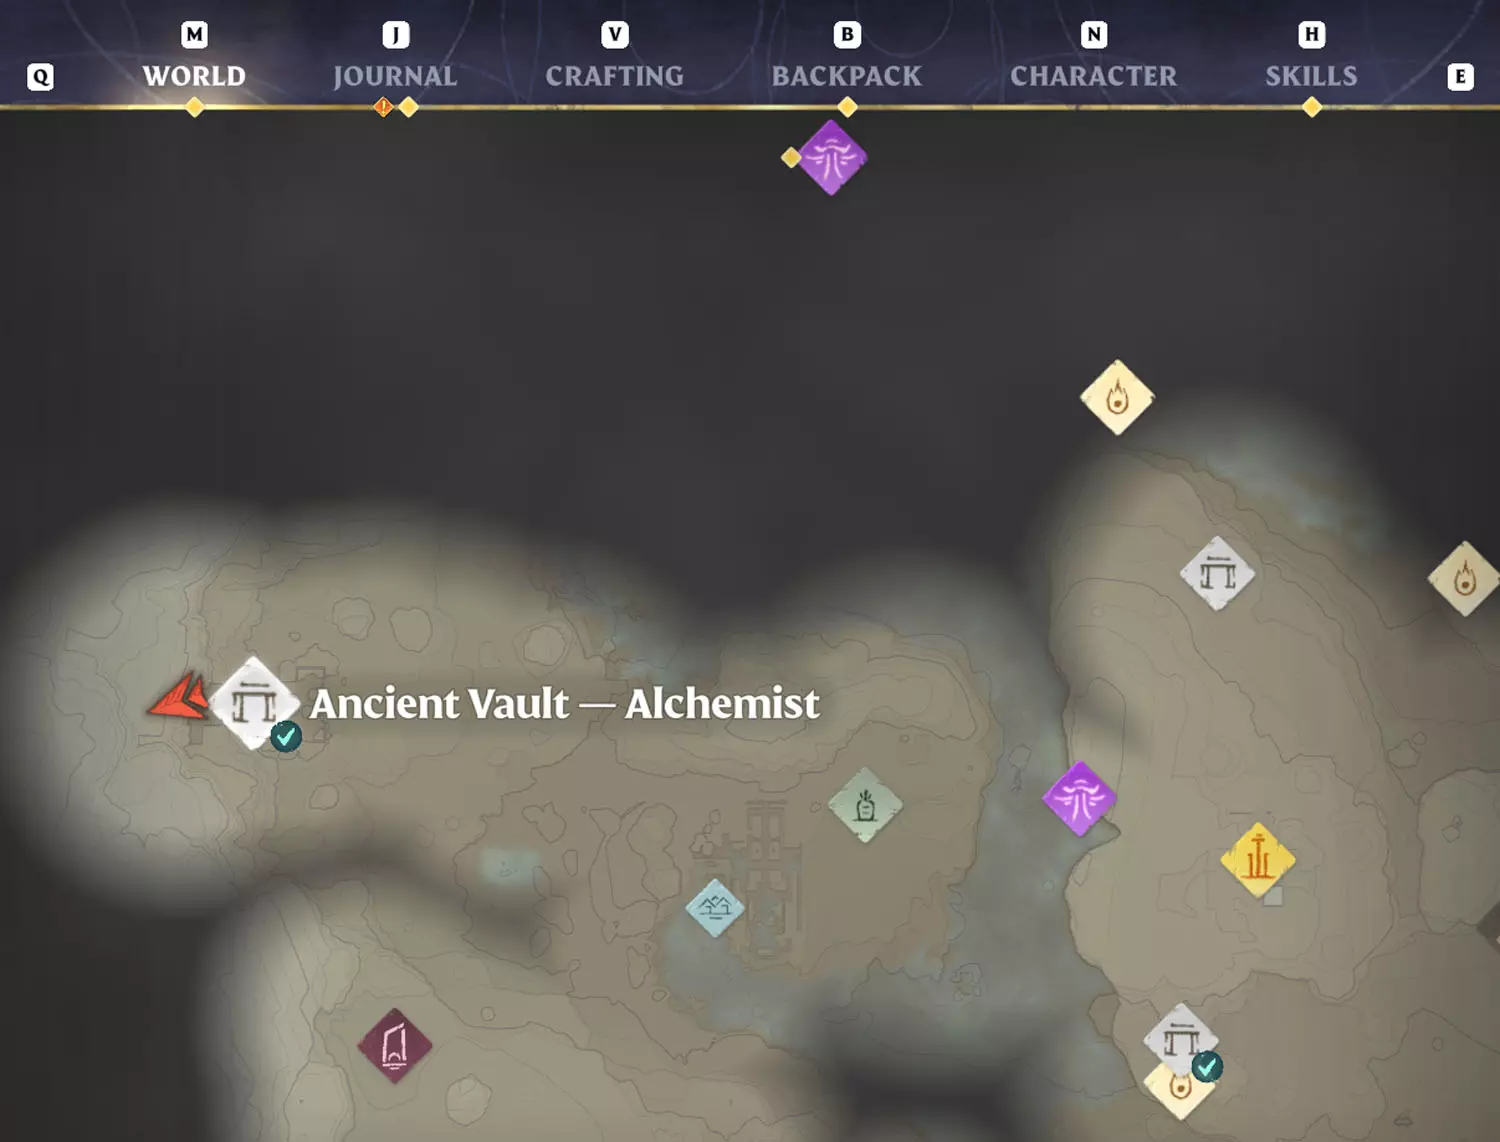
First stop is the Ancient Spire - Springlands Fast Travel. The goal is to reach the dark black fortress beyond the much closer town and church. The starting Glider is not going to get you there. But, there is a break in the hill to head toward. If you land in Harvest Homestead, just head toward the northwest corner. There is a road leading out of town that goes to the Alchemist.

TIP: Harvest Homestead has the General Lore: Seed of Suspicion 1/1 I Buried it Deep. The nearby Woodgard has the General Lore: Gravewalker 1/1 One Foot in the Grave, Hidden Building Blocks 1/1 The Church was Destroyed!, To Mend Old Wounds 2/4 A Refuge and 3/4 A New Season. Plus, there is one Ancients and the Flame Lore: One Last Journey 1/3 My Final Journey.

FA 08 Powerful 3FA 08 Powerful 4FA 08 Powerful 5

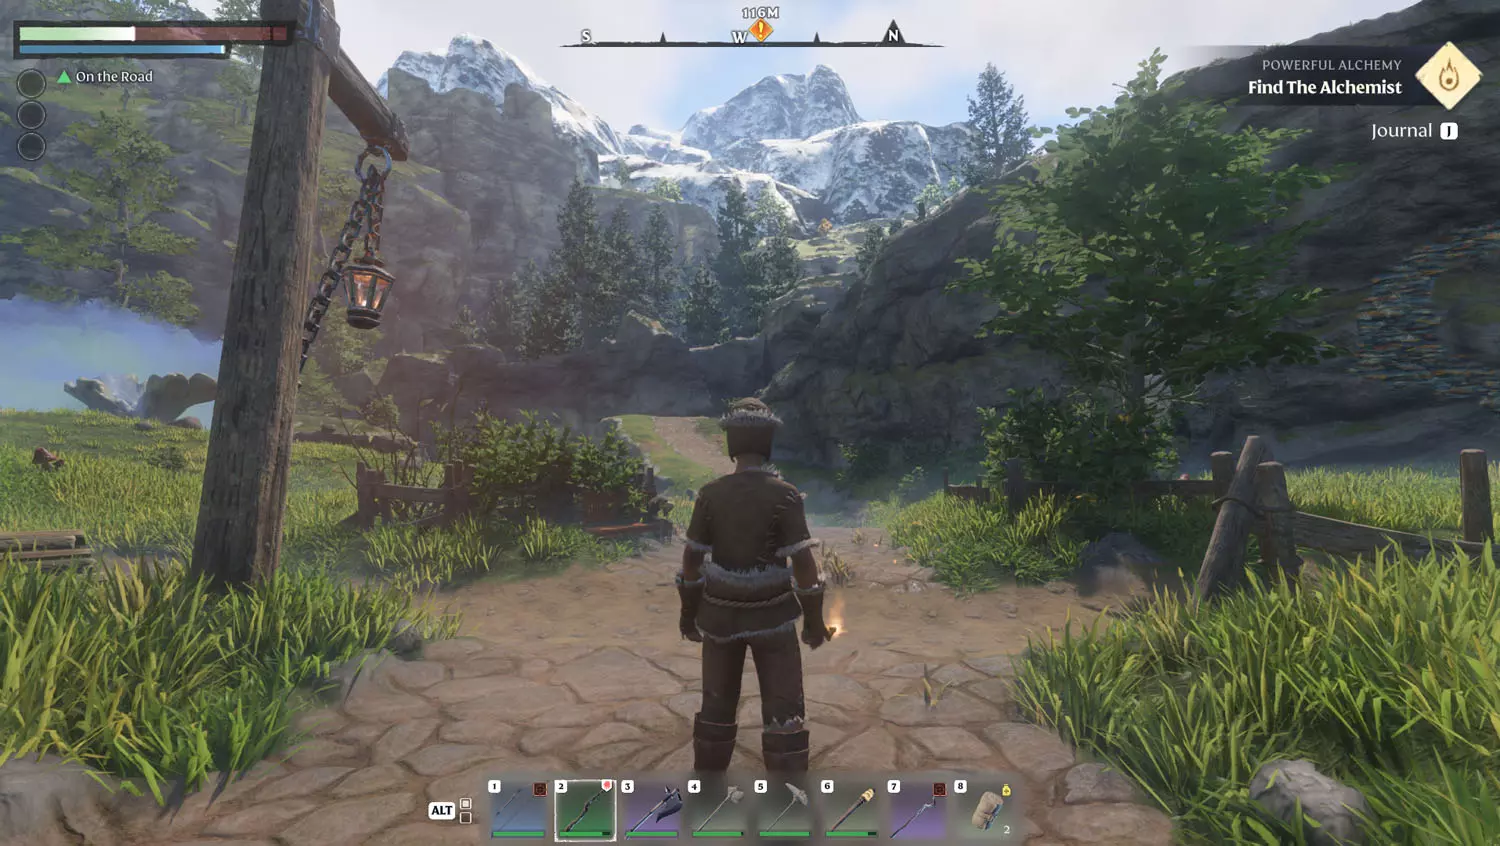
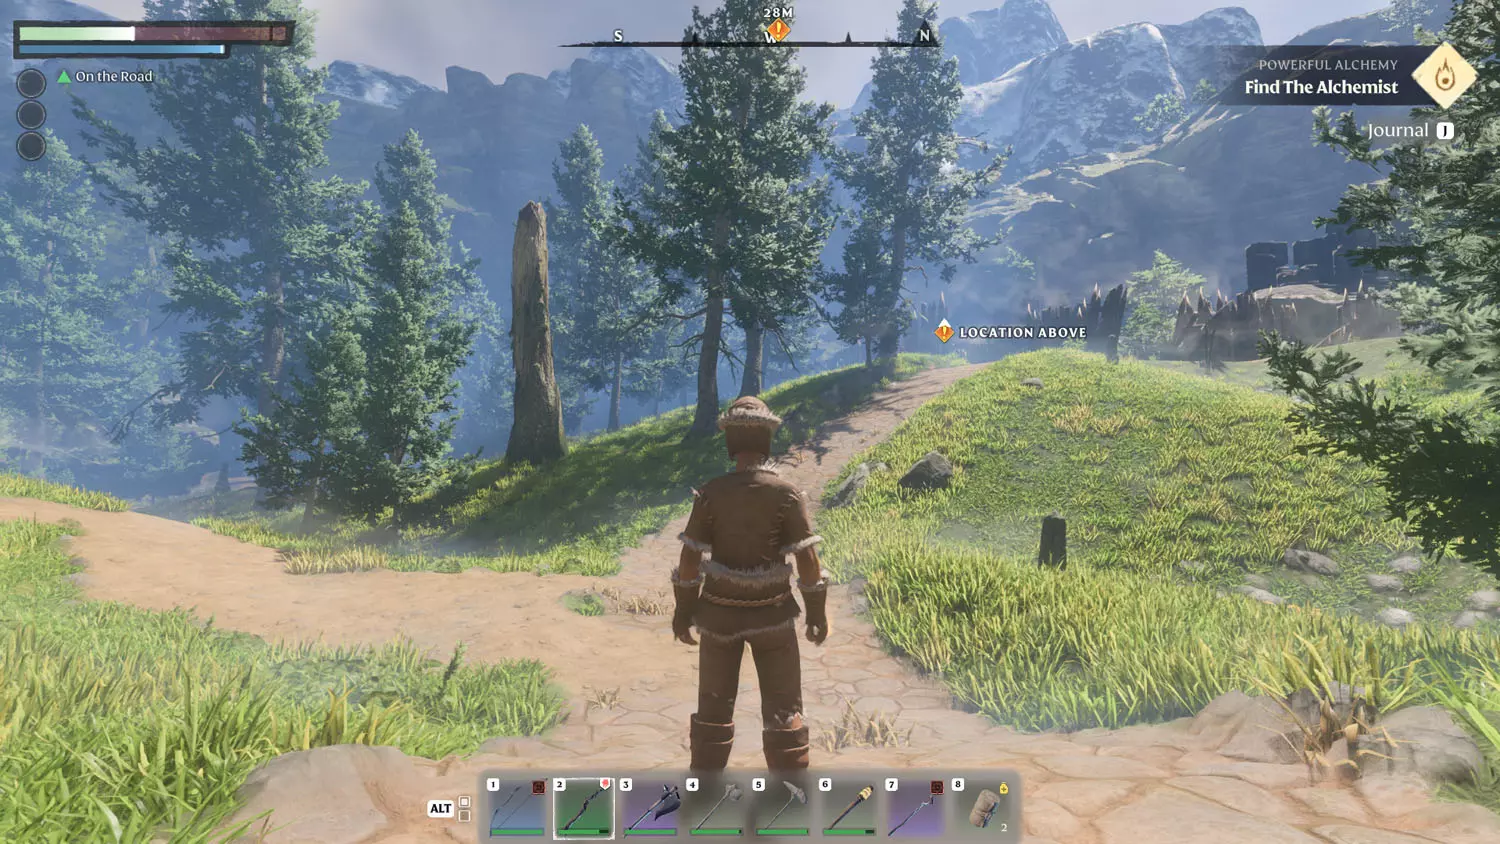
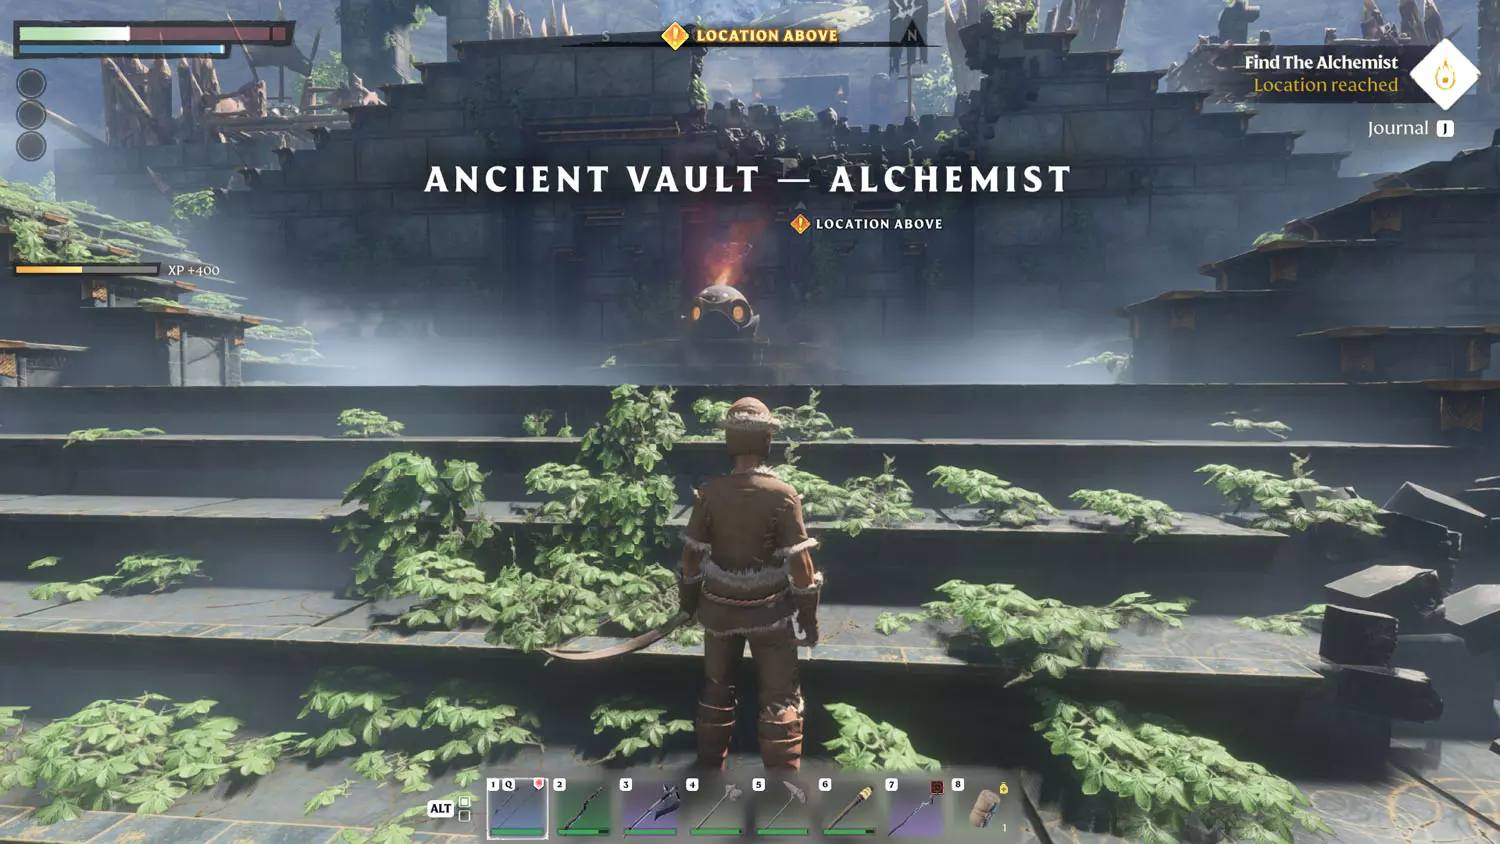
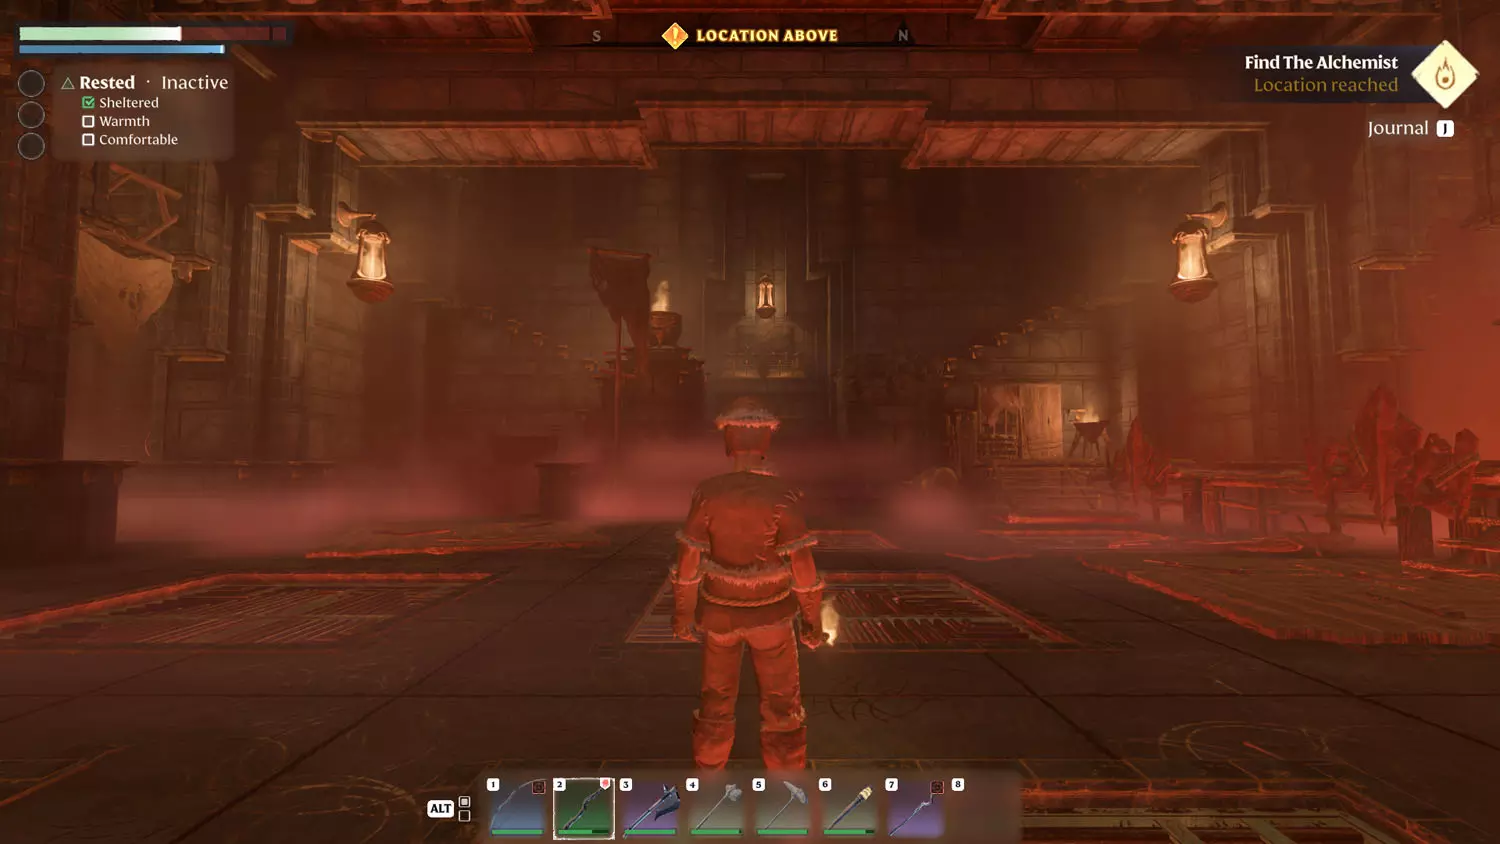
Just keep going! You’ll reach a dirt road intercepting your own, ignore it for now and keep going. You’ll reach the Vault and some Scavengers. Inside the Vault, you can go either left or right. It doesn’t matter. After that, you’ll reach a new room. There is only down or up here. Going down leads to a Wooden Chest and a Gold Chest. Going up leads to the Alchemist.

TIP: This location also has Scavenger Lore: Scavenger Stash 1/3 Stashed Our Haul that will start the Items, XP, and Loot Quest: Scavenger Stash.

TIP: This area has three Ancients and the Flame Lore: Cinder Vault 1/3 Another Failure2/3 Eureka! and 3/3 Venture Forth.

FA 08 Powerful 6FA 08 Powerful 7FA 08 Powerful 8FA 08 Powerful 9

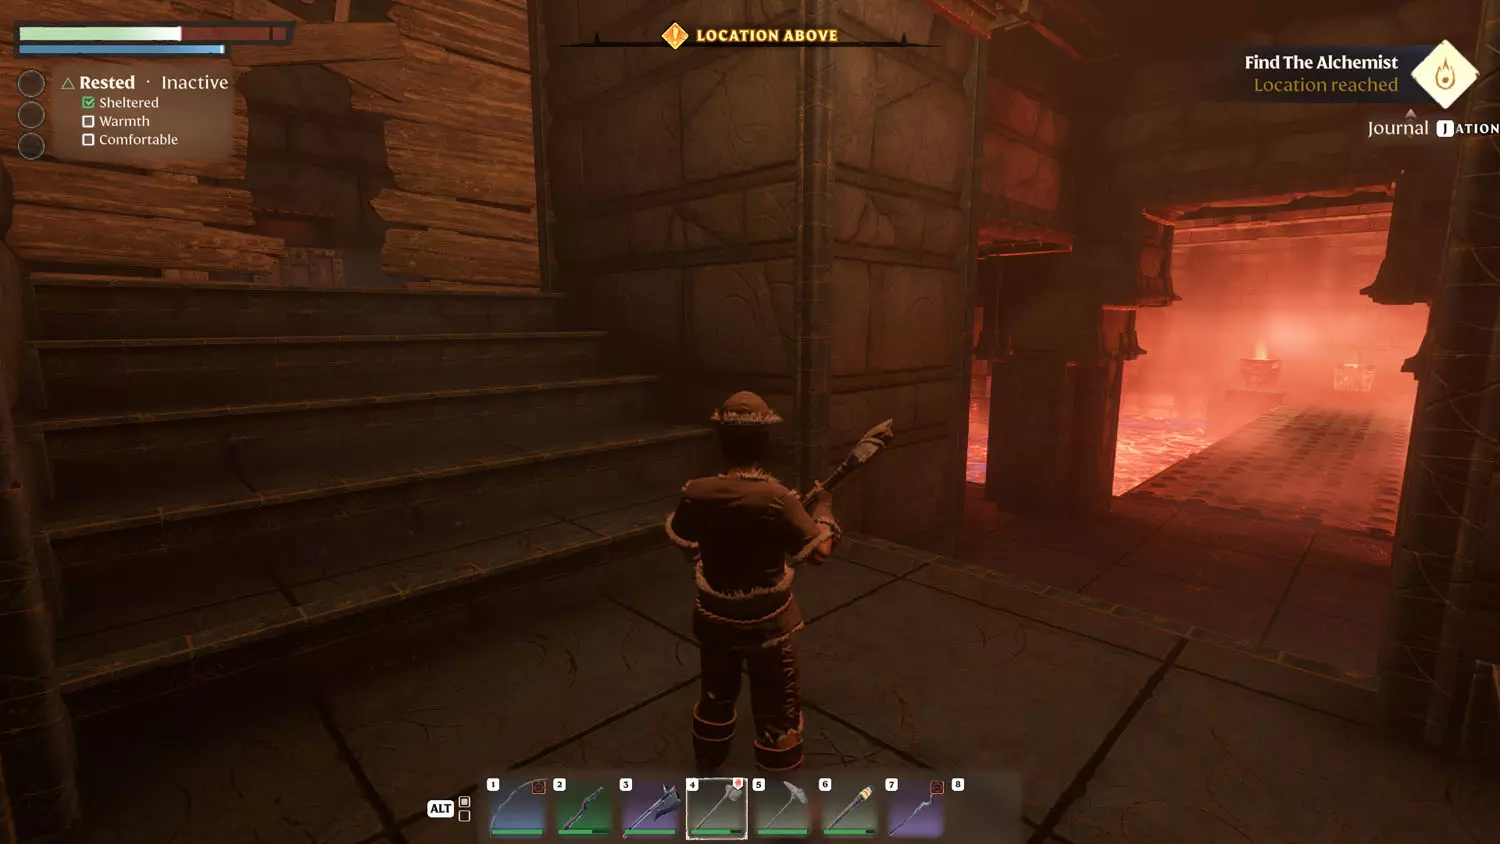
If you went down, there is a door you can axe apart with a chest behind it. Then there is a walkway with inactive spikes and a Gold Chest at the end. Once you loot the Gold Chest, the spikes become active, so beware!

FA 08 Powerful 10

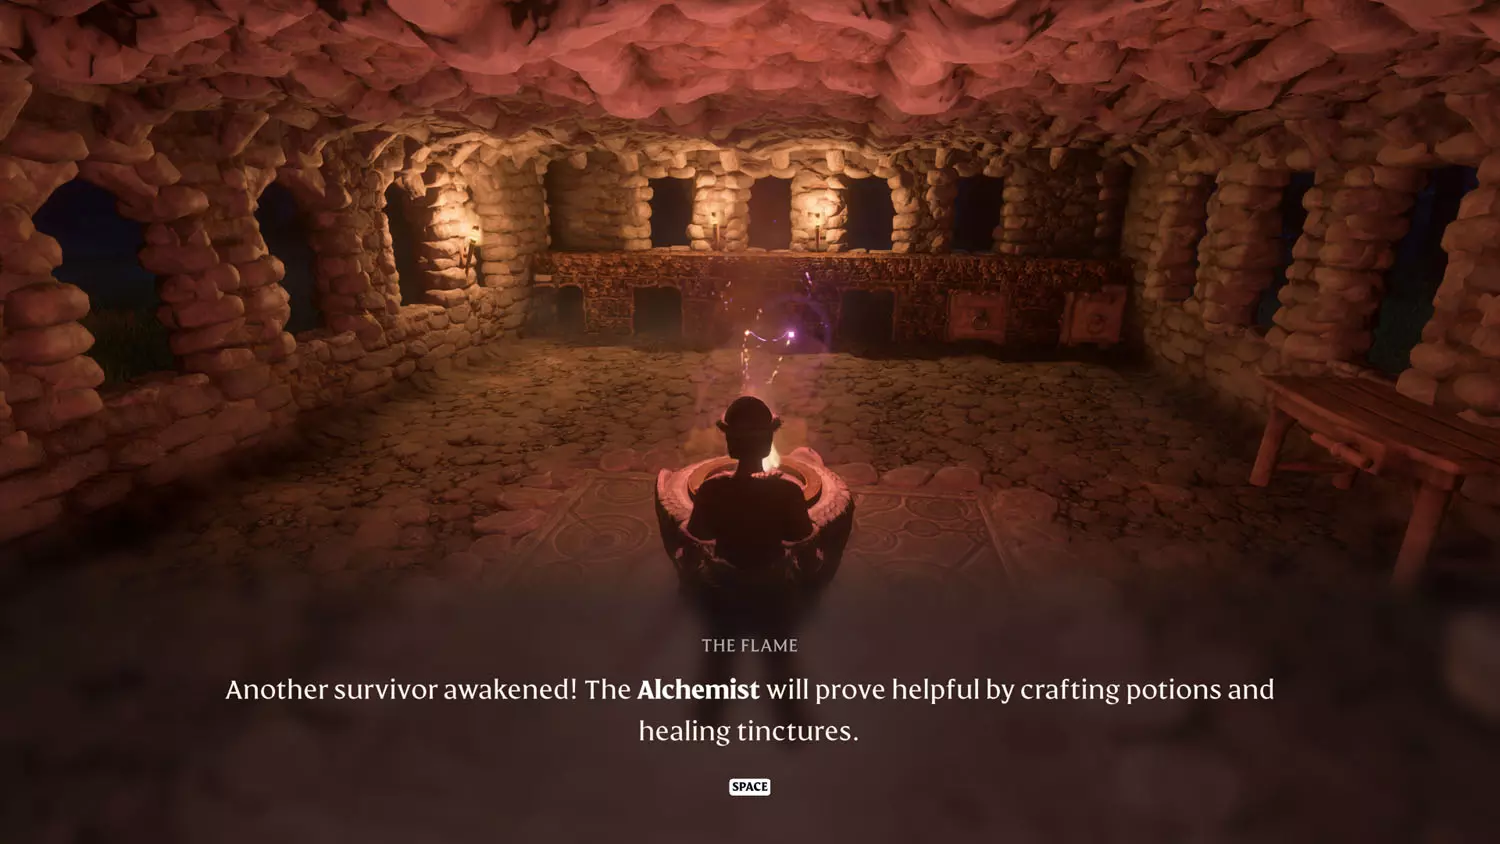
Congratulations! After going up the stairs, you’ll have a skirmish to reach the treasured Alchemist Location within the Vault. Simply interact with it to obtain your Alchemist and complete the first part of the quest. (Mine glitched and fully completed the quest, but normally you should have to use the Summoning Staff and place him in your base for the quest to be fully finished.)

FA 08 Powerful 11FA 08 Powerful 12FA 08 Powerful 13

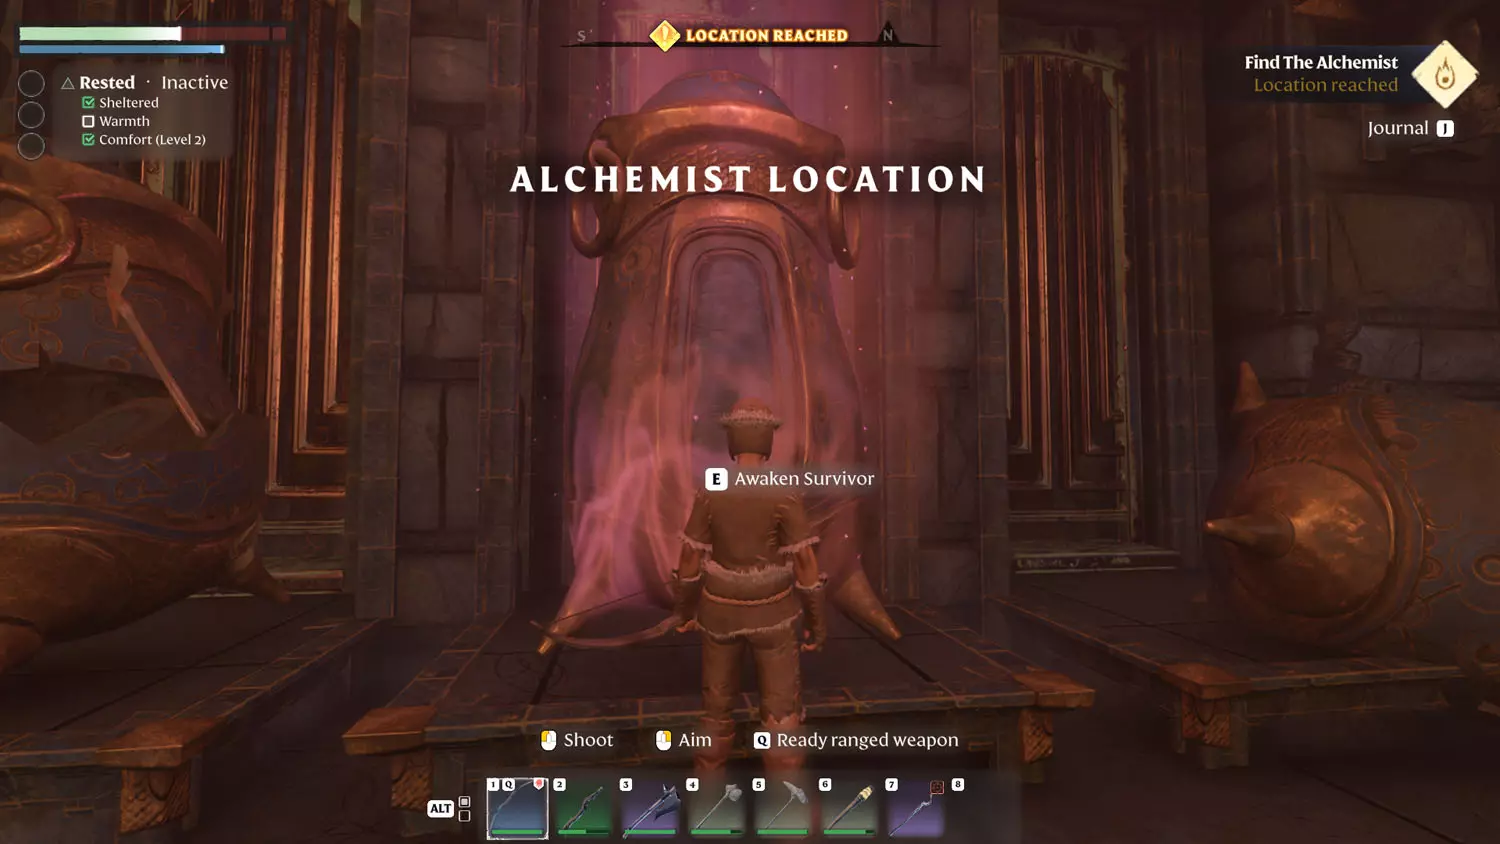
When you return back to base, the Flame is happy the Alchemist is back.
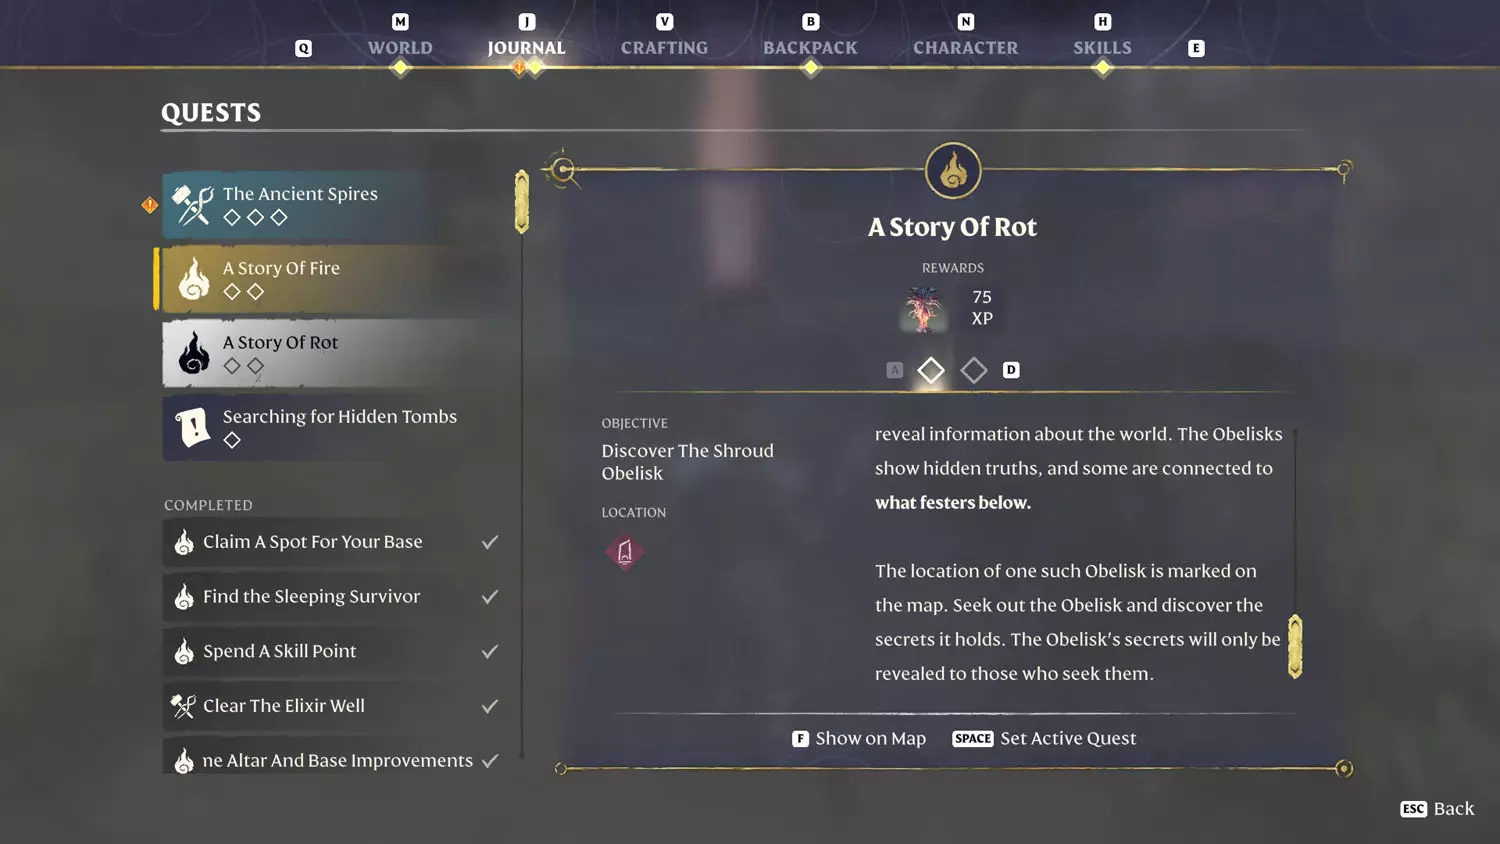
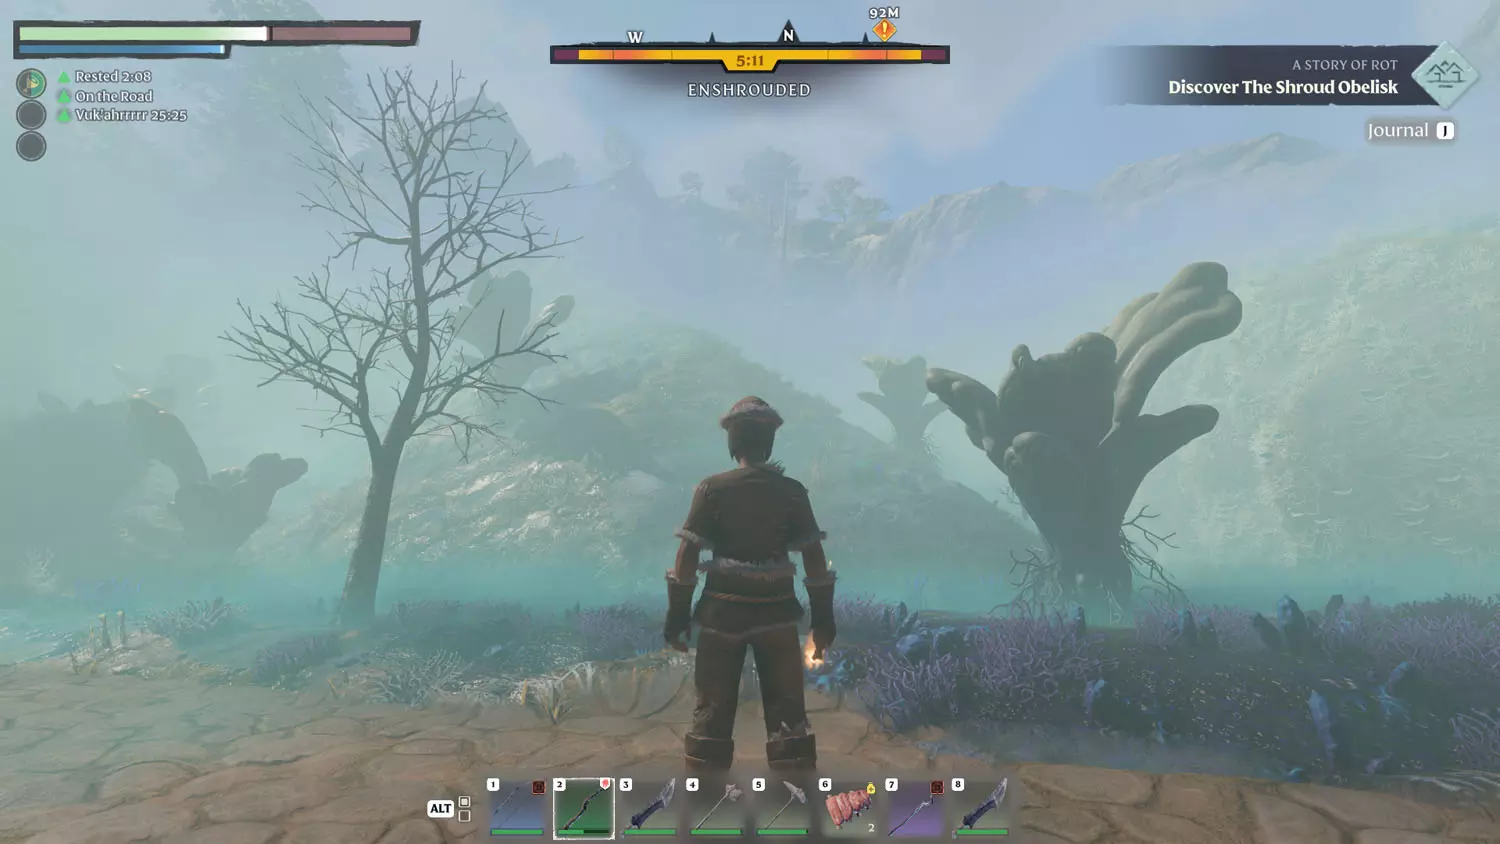
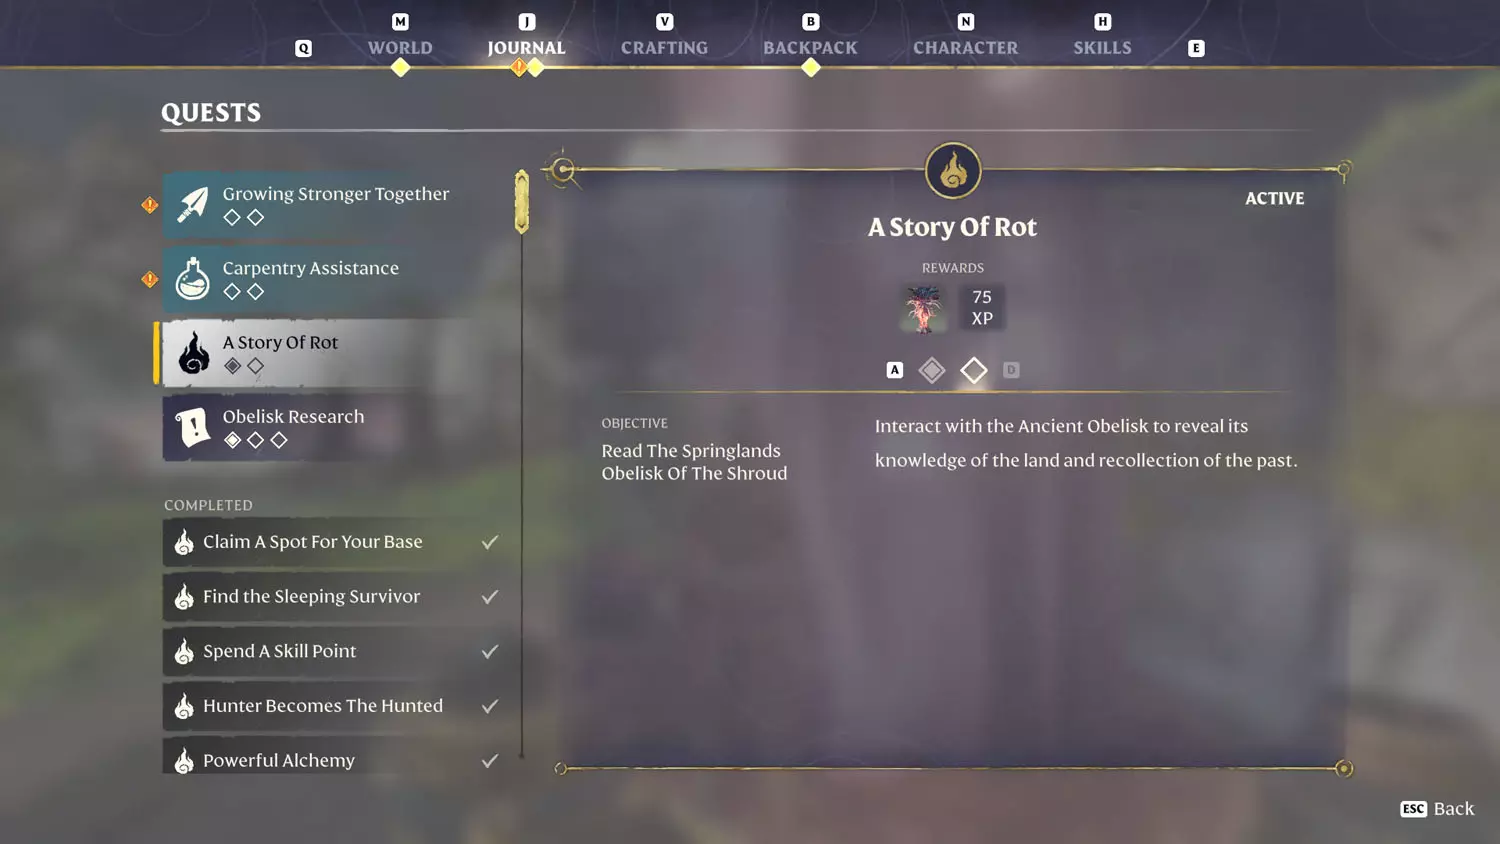
FA 08 Powerful 14

A Story of Rot

Talking to the Flame Altar in your base after completing the above quests will trigger this quest and A Story Of Fire.

FA 09 A 1FA 09 A 2

From the Ancient Spire - Springlands Fast Travel, head more northeast toward the marker on your map (or the yellow marker on the top of your main screen). You’ll see a road, follow it east (ignoring a dirt path on the right side of it early on). You’ll pass a house to the left, but further ahead is a dark structure and a split in the road. This time, turn eastward.

FA 09 A 3FA 09 A 4FA 09 A 5FA 09 A 6

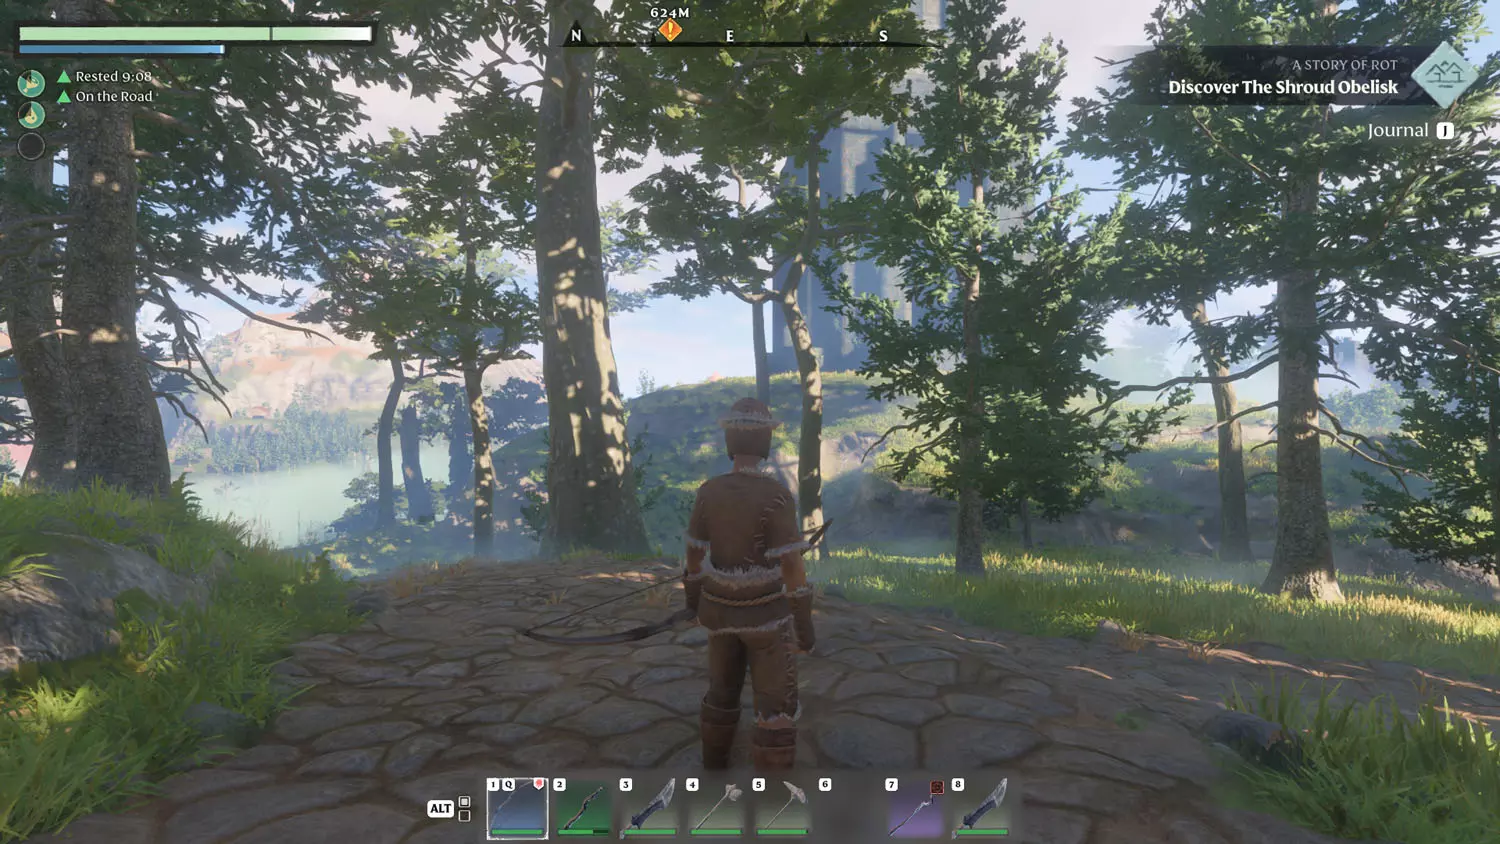
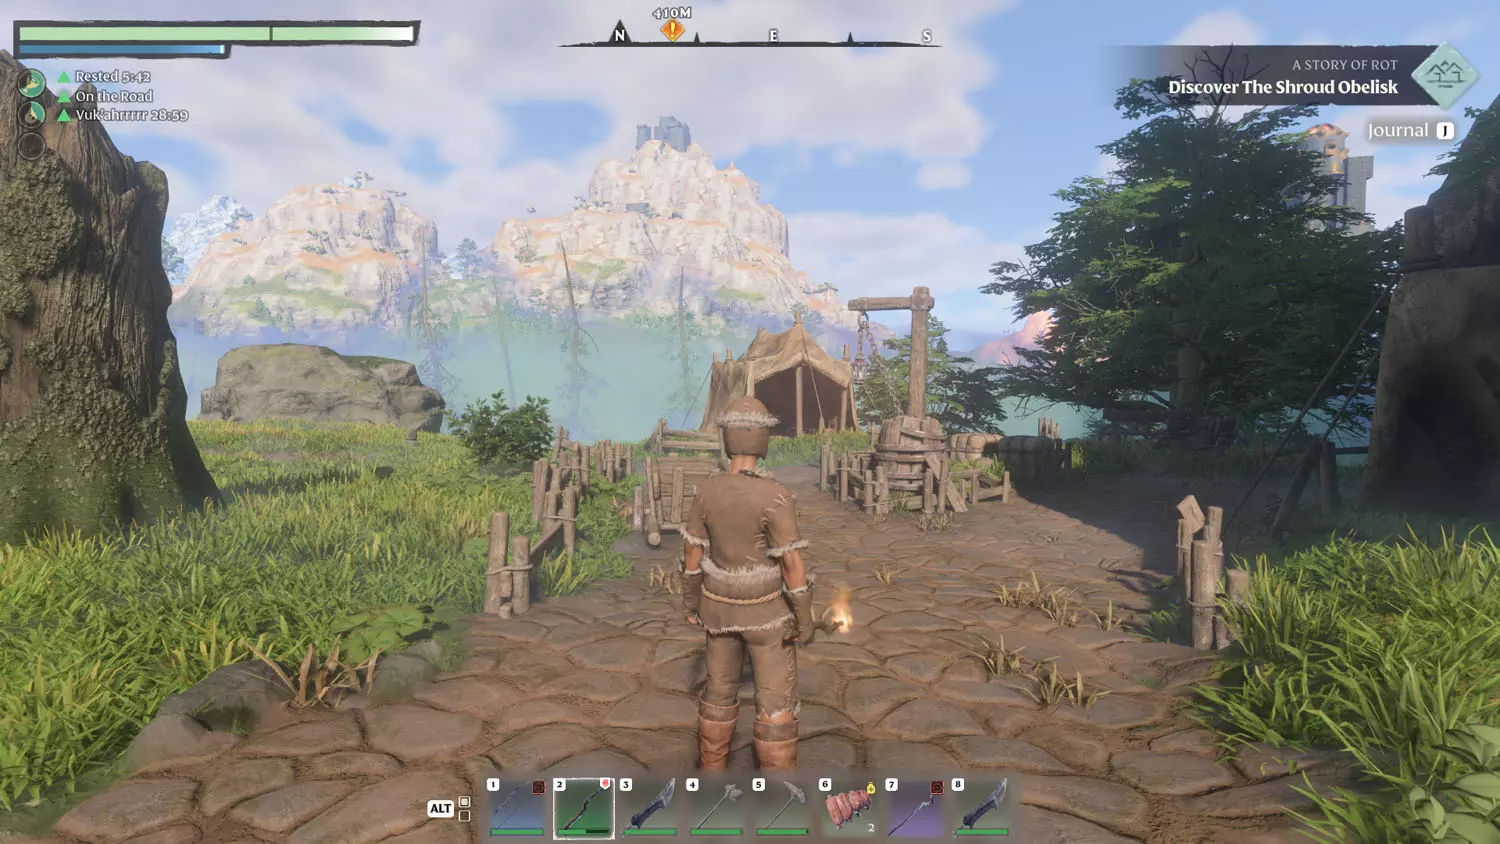
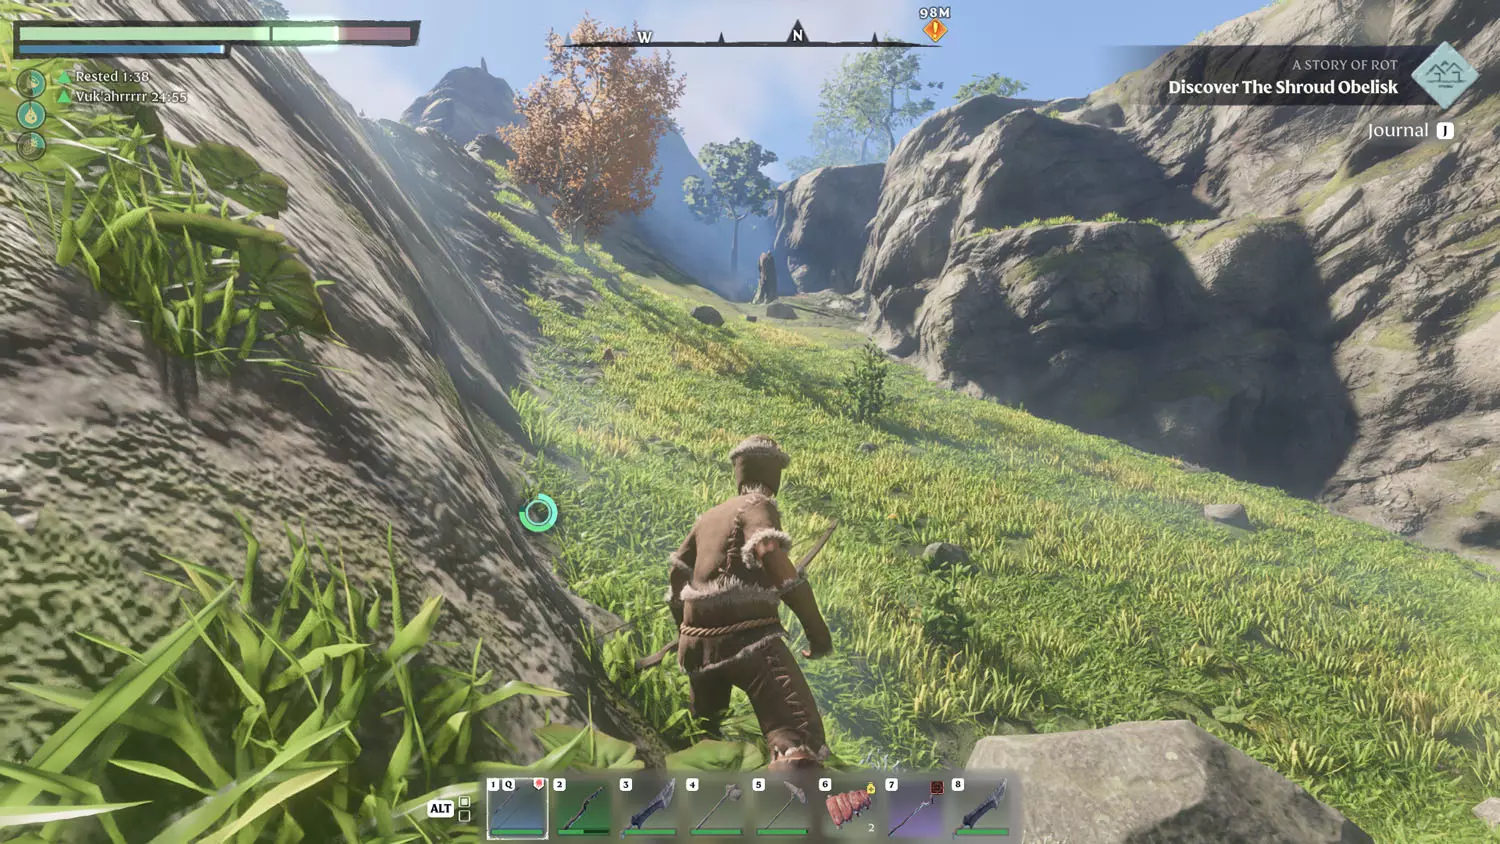
After a while, you’ll encounter some Vukah. Keep going and you’ll reach a small area with tents. Head down the north (left) road. When the road splits, head toward the Enshrouded area (to the right / eastward).

FA 09 A 7

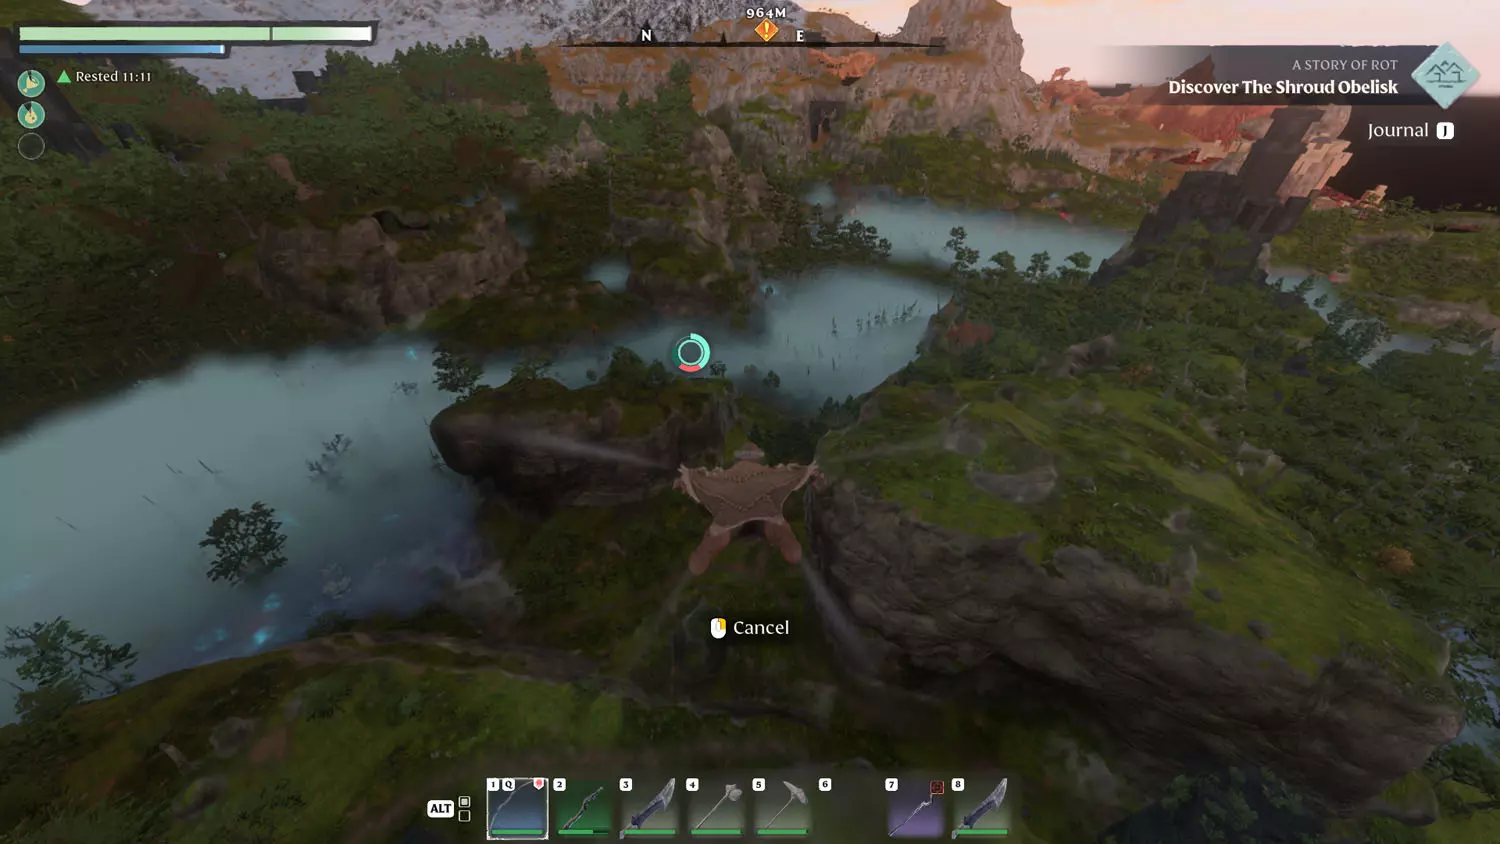
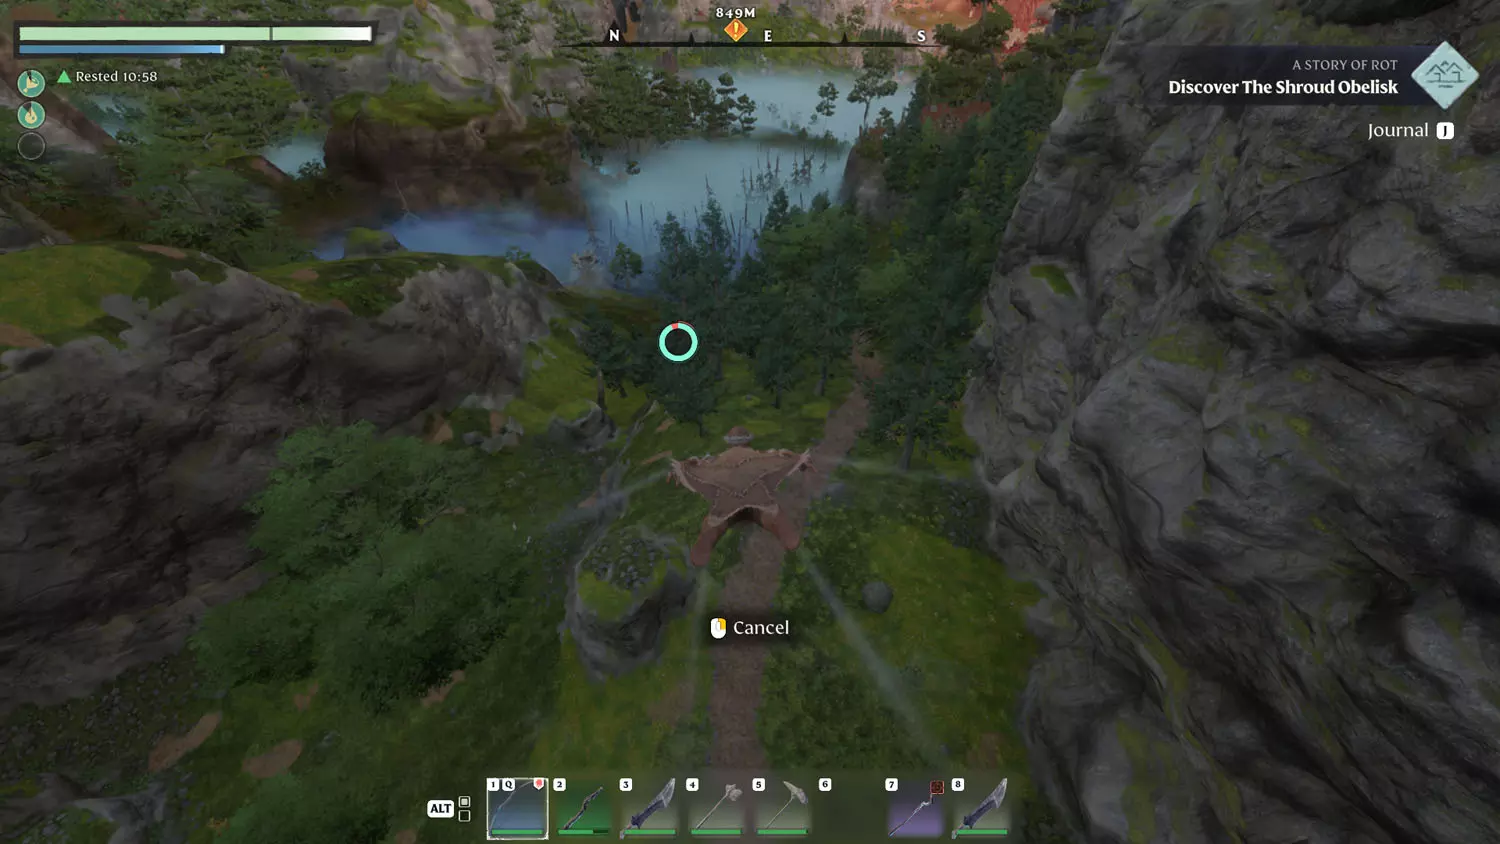
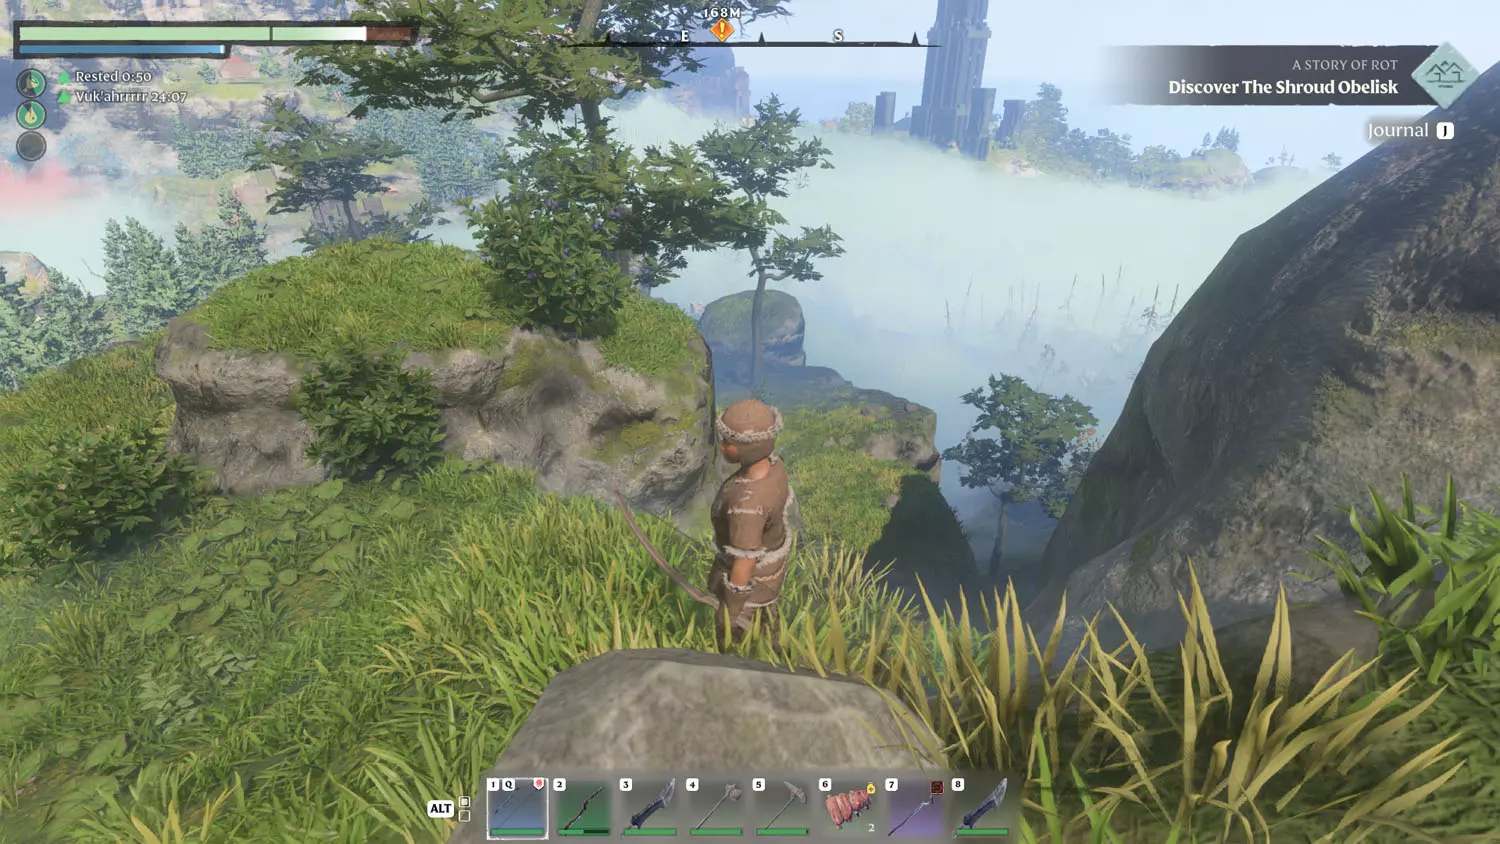
Shortly after entering the Shroud, stop and look left and up. You’ll likely see a thin razor or mountain terrain. You guessed it, we’re going off trail. (It’s faster.) Jump along the spine as best you can, but if you fall, try to keep to the right (east). I fell early on and it was a simple enough walk / jump. Keep going up until you reach a flat-ish area. Turn around and look for the spire and your map marker. Down below should be a distant tent. That’s basically your destination.

FA 09 A 8FA 09 A 9FA 09 A 10FA 09 A 11FA 09 A 12

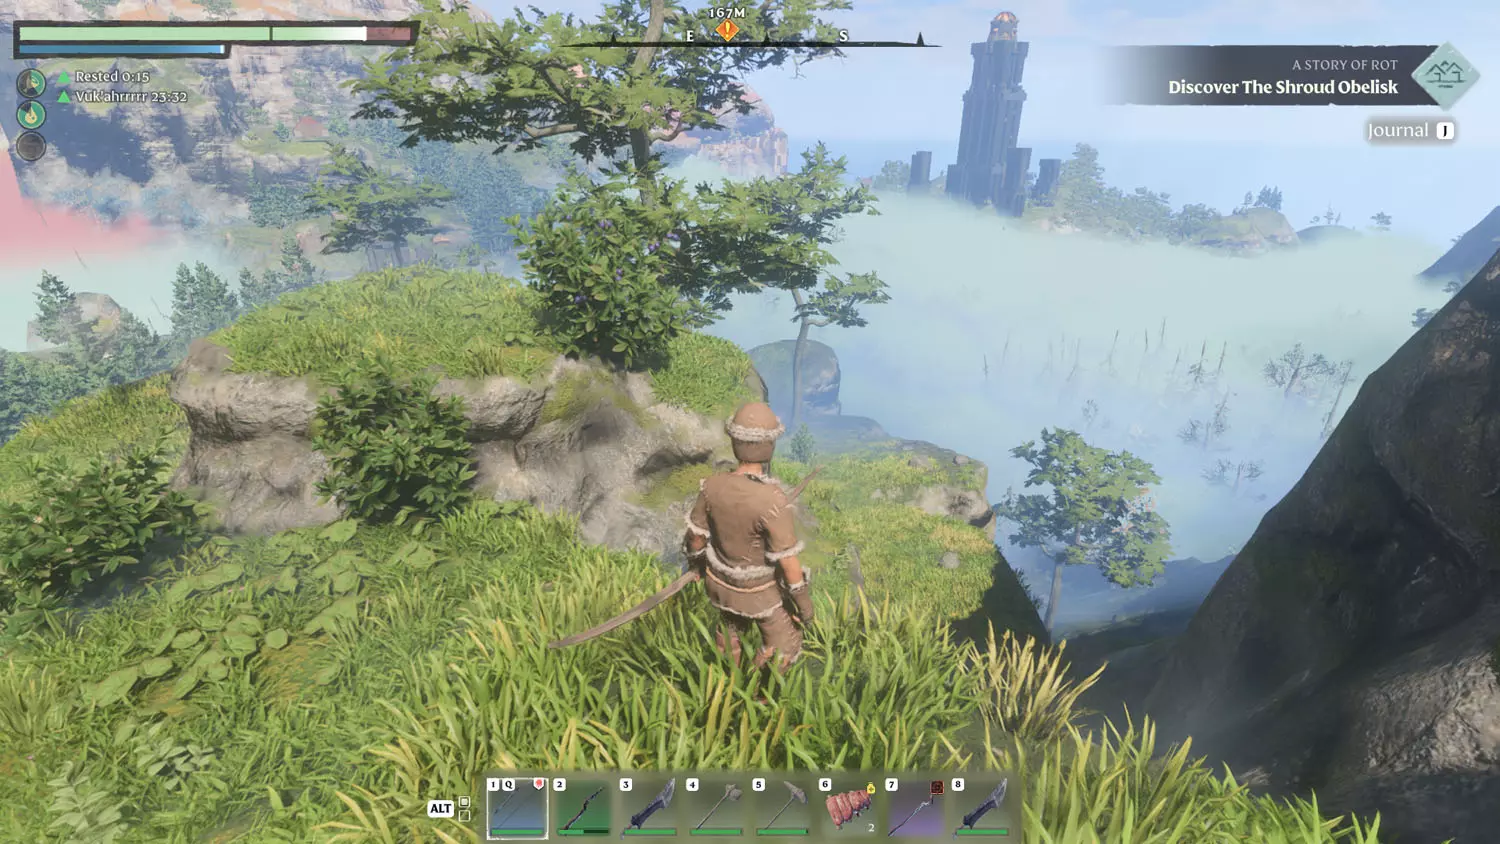
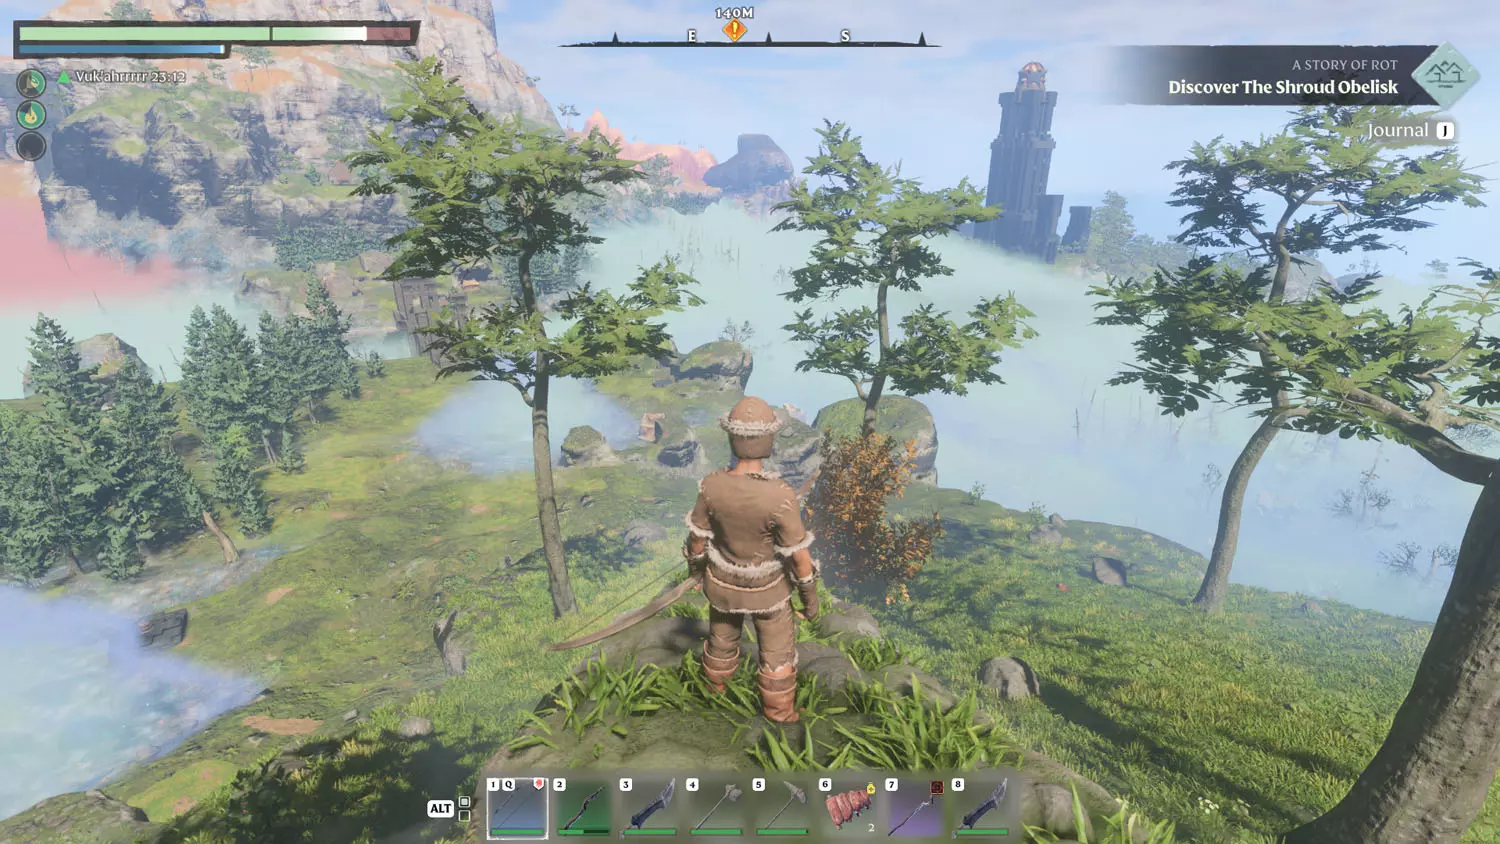
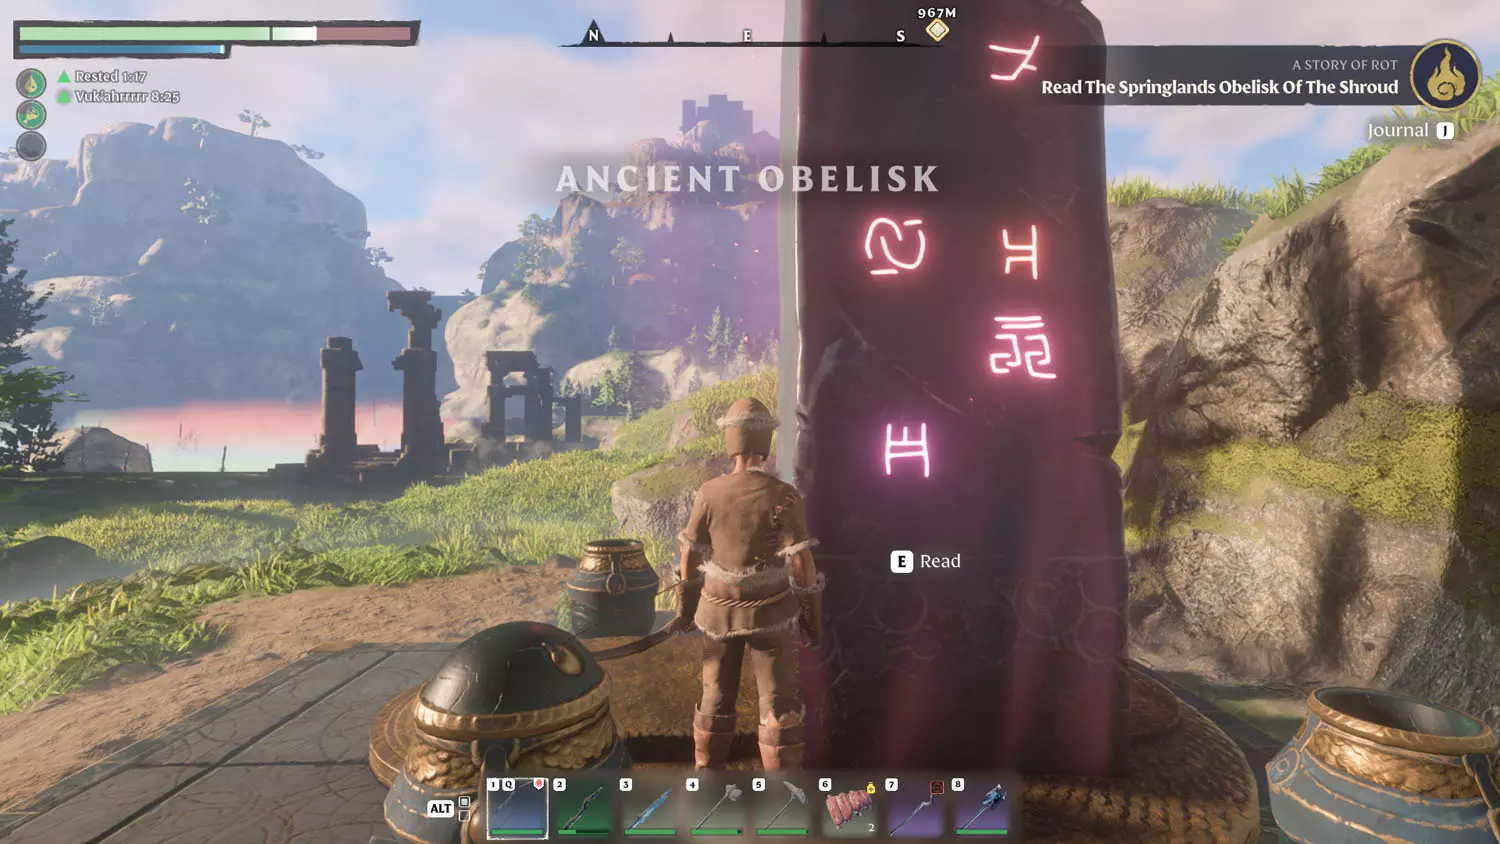
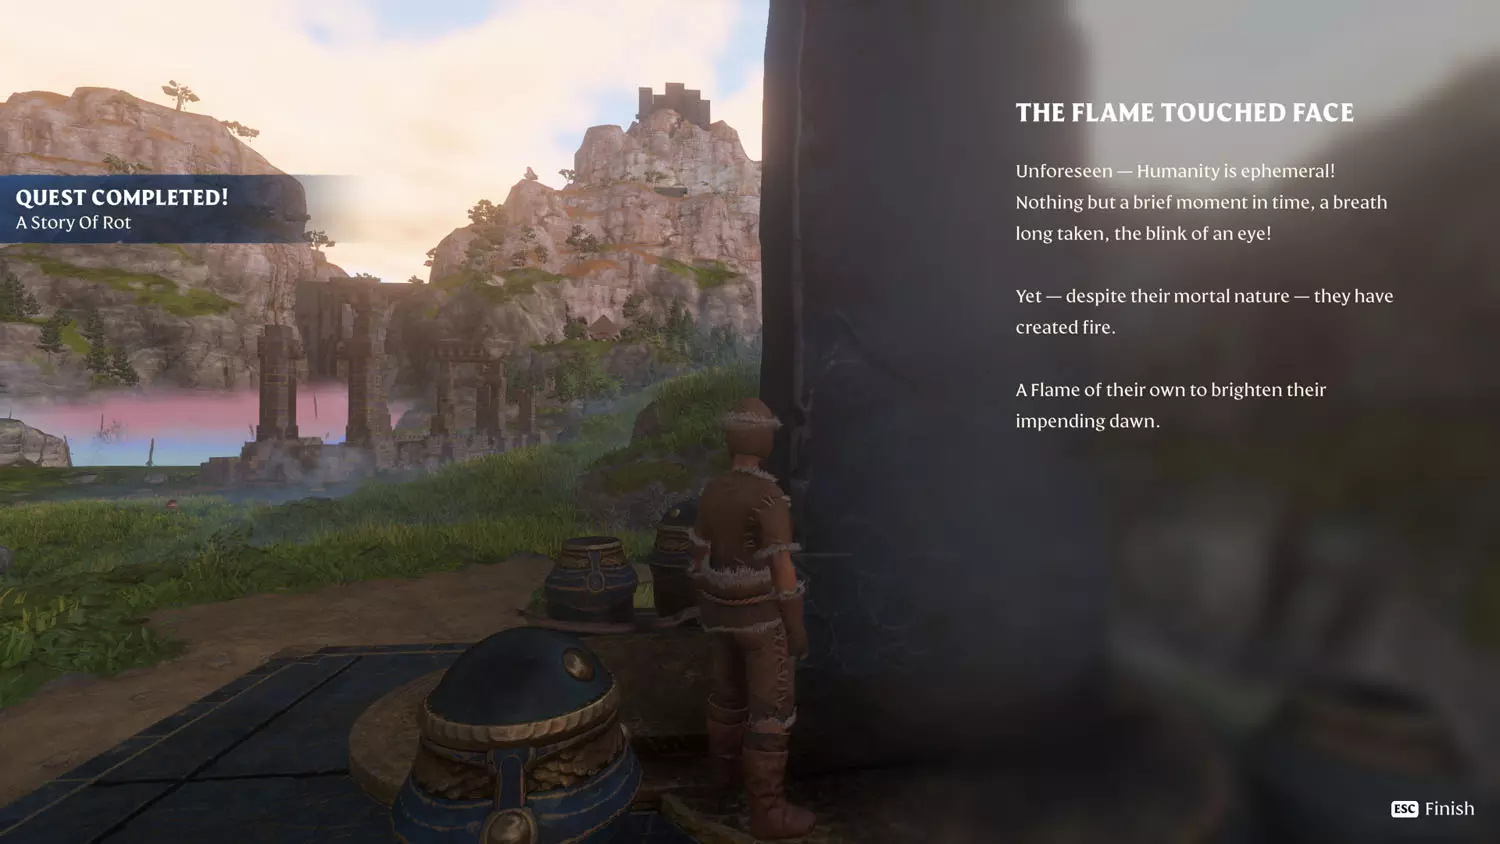
Glide down, and go read an Ancient Obelisk to finish the quest!

TIP: In the tents, there is an Ancients And The Flame Lore: Obelisk Research 1/3 Obelisk Writing. This then triggers the Items, XP, and Loot Reward Quest: Obelisk Research.

FA 09 A 13FA 09 A 14FA 09 A 15FA 09 A 16FA 09 A 17FA 09 A 18

Bring Back The Pure Souls

After obtaining the Blacksmith, Carpenter, Hunter, Alchemist, and Farmer, the Flame had a message. Speaking with the Flame will activate this quest and the Flame Altar Quest Increasing Your Follower Amount And Flame Level.

FA 10 Bring 1FA 10 Bring 2

Head to Fenrig’s Farm for this Pure Soul. Finish the first step by reading the Vukah and Wildlife Lore: Wolves At The Door 1/2 Fenn, The Wolves Gotta Go. This will take you to the second piece of Lore: 2/2 Fenrig’s Demise. Collect the Pure Soul and head back to your base of choice!

FA 10 Bring 3FA 10 Bring 4FA 10 Bring 5FA 10 Bring 6FA 10 Bring 7FA 10 Bring 8FA 10 Bring 9FA 10 Bring 10FA 10 Bring 11FA 10 Bring 12

Now that you have a Pure Soul, it’s time to place them in your base. To summon Fenrig Mills, Jr., pull out your Summoning Staff. To get to the proper tab, press Q or E (or whatever your screen prompts you to press to switch to the Assistants tab). Once there, you know what to do!

FA 10 Bring 13FA 10 Bring 14FA 10 Bring 15

After he’s been summoned, you’ll have three dialogue options – “Wolf’s Den”, “Missing Bed”, and “Villager Needs”. After listening to “Villager Needs”, you’ll have a new Items, XP, and Loot Reward Quest: Beds And Shelter. The quest can be completed when you select the newly added (there was a glitch before) "Where Is Everyone?" dialogue. This will also start the Items, XP, and Loot Rewards Quest: We The Only Ones.

FA 10 Bring 16FA 10 Bring 17FA 10 Bring 18FA 10 Bring 19

If you have already retrieved some Pure Souls, Fenrig will want to talk to you “On Finding More Villagers”.

FA 10 Bring 20FA 10 Bring 21

Increasing Your Follower Amount And Flame Level

After obtaining the Blacksmith, Carpenter, Hunter, Alchemist, and Farmer, the Flame had a message. Speaking with the Flame will activate the Flame Altar Quest Bring Back The Pure Souls followed by this quest. You'll need to obtain some items and people to upgrade your Flame Altar. When you're ready, simply speak to the Flame Altar and select the Strengthen The Flame option. You can see more details on my Strengthen The Flame section on my Quests Overview blog. Once you upgrade your altar, this quest will be completed.

FA 11 Increasing 1FA 11 Increasing 2FA 11 Increasing 3FA 11 Increasing 4

NOTE: Follow The Melody is from just AFTER the Melodies of the Mire and Hollowed Halls Update - version number 558123. Content may be good for anything before September 13th, 2024 and may still be relevant after September 13th, 2024 - but there may be gaps in the information below as more content is added by developers.

Follow The Melody

This quest comes from the Flame Altar. It seems like reaching level 12 unlocked this quest. Talk to the Flame to start it. From there, it’s a bit of a flight down from the Ancient Spire – Revelwood Fast Travel. From there, it’s a fun walk through an Enshrouded area (or glide and skip a bunch of it). There is a road through this area, but I opted for going as much for the marker as possible, and thus I skipped a tedious journey. After that, you’ll complete the first step as you pass through the Passage To The Blackmire.

FA 12 Melody 1FA 12 Melody 2FA 12 Melody 3FA 12 Melody 4

From there, you’ll pass under some tree trunks. Just follow the dark and creepy road until you reach a black marsh that SO gives off Atreyu and Artax vibes. Don’t give up hope! Keep going, and you’ll make it to the other side! Just beware of the lizards.

FA 12 Melody 5FA 12 Melody 6FA 12 Melody 7

Next up is a cave of Vulkan. You can run through if you like or fight them off. Then, keep following the path. Oh, and beware of those pink floating things. They’re mean.

FA 12 Melody 8

After the Vulkan, it’s Scavenger time!

TIP: There’s some Revelwood Lore: Scavenger Rescue Mission 1/1 Risking It All located inside the camp. Be sure to nab it before following the path out of the camp.

FA 12 Melody 9

Next up is another swamp, this time with a fun hut! Followed by another Vukah colony. You’ll want to pass under the bridges in order to climb up them from the other side. Kind of annoying, I know.

TIP: The next bridge section has the Revelwood Lore: Valory’s Journey 1/3 Following The Call.

FA 12 Melody 10FA 12 Melody 11

From here, work your way, hopping, across the swamp. There is a landing spot on the right behind some reeds, and there is a doorway (a slow opening one) further to the left, but your real goal is to make it straight-ish across.

FA 12 Melody 12

Below is the exit as I look back at it – stopping in the swamp was NOT a good idea, lol.

FA 12 Melody 13

When you do make it across, there is a split in the path. Keep heading northward (to the right).

FA 12 Melody 14

Next up is a small Vukah colony. Then, there is a respawn point ahead.

FA 12 Melody 15FA 12 Melody 16

From the respawn point, head north. If you head northeast on the trail (to the right), you will have a heck of a jumping puzzle trying to hack your way to the base of the tower... allegedly. >_>

FA 12 Melody 17

Time for the Snapjaw Tar Pits, and an Obelisk! Head down to the left and up some flowers to reach the top (Obelisk Route) or head up and to the right for the Tower Route!

FA 12 Melody 45

Obelisk Route

Sweet! You chose the Obelisk Route! Now to hookshot across and circle rightward around the outcropping until you reach the obelisk.

FA 12 Melody 19FA 12 Melody 20

Tower Route

From the entrance to the Snapjaw Tar Pits, head to the right and pass through the hollow log. You’ll then have to jump from the tip of the right rock outcropping to the flower down below and then back up to the top flower on the left. JUST KIDDING! You just have to make it to the flower below and then you can casually jump up to a ledge. You won’t reach the other flower from there.

FA 12 Melody 18FA 12 Melody 21FA 12 Melody 22FA 12 Melody 23

Once on the ledge, ignore the hookshot and take the creepy tunnel up to the next area. From there, head under the splitting giant roots and look to your right. There will be a way up.

FA 12 Melody 24FA 12 Melody 25FA 12 Melody 26

Follow the road if it suits you. Eventually you’ll reach the spire, and then the real work begins…

FA 12 Melody 27

Ancient Spire - Blackmire Fast Travel

Head to my conquering the Ancient Spire – Blackmire Fast Travel page for how to make the climb.

FA 12 Melody 28FA 12 Melody 29FA 12 Melody 30FA 12 Melody 31

Onward to the Sunken Ancient City!

So, now that the Ancient Spire has been tackled, it’s onward to the Sunken Ancient City and the Ancient Vault - Bard! I flew over to get a look at the place. You’ll need to activate three switches to open the doors. Easy enough, particularly when you realize the three switches are “visible” from the two doors and they’re in the ruined parts of the city that are visible on your map.

FA 12 Melody 32FA 12 Melody 33FA 12 Melody 34FA 12 Melody 35

Southern Switch

This switch is probably the most straight forward of the three, and it is also an easy glide from the Ancient Spire, if you have issues with the jumping puzzle aspect of the area.

FA 12 Melody 36FA 12 Melody 37

Western Switch

Similar to the first one, this one is also has a door with the three switches over it visible from where you push the button. The trees do make it a smidge difficult though.

FA 12 Melody 38FA 12 Melody 39

Northwestern Switch

The time has arrived! Smash that button!

FA 12 Melody 40FA 12 Melody 41

After activating all three switches, head back to the Ancient Vault – Bard, and pass through the gates. Then descend the stairs, and nab yourself a bard! This will complete the fourth part, and placing her in your base will finish the quest!

FA 12 Melody 42FA 12 Melody 43FA 12 Melody 44

Ignite The Snowy Mountaintops

The Flame spoke after I completed the Items, XP, and Loot Reward Quest: The Greatest Game.

FA 13 Ignite 1FA 13 Ignite 2

Make your way to the Mountain Cave Passage. The Passage To The Albaneve Summits can be found if you take the North road out of East Lapis. This will complete the first part of the quest.

FA 13 Ignite 3FA 13 Ignite 4FA 13 Ignite 5

The next part is a bit longer. You’ll have to follow the gravel path to The Pit, and from there, keep heading North past an old ruin and then on to a revival spot.

FA 13 Ignite 6FA 13 Ignite 7FA 13 Ignite 8

From here, it’s really up to you how you get to the marker. You can keep following the road, you can fly for a bit, dig a hole through the mountains, or do some mountain hopping. Whatever your preference, your destination is the Ancient Spire – Albaneve Summits Fast Travel. At least if you die now, you’ll have a revival spot in the area.

FA 13 Ignite 9FA 13 Ignite 10

Once you reach the top, talk to the flame to complete the quest! Check out my Ancient Spire – Albaneve Summits Fast Travel for details on reaching the top.

FA 13 Ignite 11

Ignite The Coldest Elixir Well

After completing the Hunter Quest: An Improved Spinning Wheel For The Hunter AND the Farmer Quest: Cooking Warm Food , the Flame Altar had a message. Talking to the Flame will start the Quest and complete the initial step.

TIP: The Cyclops at the end of this quest also has a part needed for The Collector Quest: A Skeleton Cyclops Collection.

FA 14 Ignite 1FA 14 Ignite 2FA 14 Ignite 3

Time to head toward the Elixir Well near Howling Peak!

FA 14 Ignite 4FA 14 Ignite 5

Head inside, and you will see some updrafts that will allow you to reach the first of three Shroud Roots. Kill the root and head to the left of it for another updraft and the second root.

FA 14 Ignite 6FA 14 Ignite 7

Kill the second root and then head up the path to reach the final root and a Cyclops.

FA 14 Ignite 8FA 14 Ignite 9

Defeat the “Evil Eye” Cyclops and claim its head to finish the second part of the quest. Then, head back to your base for an upgrade!

FA 14 Ignite 10FA 14 Ignite 11FA 14 Ignite 12

Upgrade your Flame Altar to complete the quest!

 FA 14 Ignite 13FA 14 Ignite 14

Slaying The Corrupted Beast

After completing the Flame Altar Quest: Ignite The Coldest Elixir Well, the Flame will have a new task for you.

FA 16 Slaying 1FA 16 Slaying 2

Balefire Garrison “Silkfrost”

Head to any of the EIGHT Garrisons to complete the first part of this quest. Though, realistically, you’ll likely want to tackle the one in Everfrore Keep last.

TIP: The Garrisons glow best at night, so they are easy to locate, though not necessarily reach. Also, this location is also along the path of the Alchemist Quest: Alchemic Wisdom.

FA 16 Slaying 3FA 16 Slaying 4FA 16 Slaying 5FA 16 Slaying 6

Next up, light the flame atop the tower!

FA 16 Slaying 7FA 16 Slaying 8

Balefire Garrison “Rimerock”

I used the Ancient Spire – Albaneve Summits Fast Travel as a starting point for reaching this location.

FA 16 Slaying 9FA 16 Slaying 10FA 16 Slaying 11FA 16 Slaying 12

Balefire Stronghold “Lance Point”

Next up is “Lance Point”! This stronghold is kinda big, but I found it easiest to just head straight ahead for the brazier. Then, after lighting the beacon, I explored.

TIP: There is some Albaneve Summits Lore here: Cyclops Head Research 1/1 Thank You For Your Service which starts the Items, XP, and Loot Reward Quest: Cyclops Head Research and this connects to The Collector Quest: A Skeleton Cyclops Collection.

FA 16 Slaying 13

Make your way through the stronghold and up the tower on the other side. Then light the flame and head on to the next one.

FA 16 Slaying 14FA 16 Slaying 15FA 16 Slaying 16

Balefire Garrison “White Pine”

The end is near! Head to the Balefire Garrison “White Pine” and climb the tower and ignight the flame!

TIP: Also here is the Albaneve Summits Lore: Scouting Mission To The Obelisk 1/1 A Little Scouting Won't Hurt – this starts the Items, XP, and Loot Reward Quest: Scouting Mission To The Obelisk.

FA 16 Slaying 17FA 16 Slaying 18FA 16 Slaying 19

Balefire Garrison “Iron Heart”

It’s time for Iron Heart! Make your way up to the top of the stronghold, and prepare for battle!

TIP: Quests in this area – Bard Quest: Finding Music Sheets In The Albaneve Summits. Lore in this area – Alvaneve Summits Lore: Gliding Contest Notes 1/2 Gliding Contest! & 2/2 What A Lucky Bastard! and A Young Soldier’s Thoughts 1/2 My First Day WIth The Expansion program & 2/2 I Want To go home.

FA 16 Slaying 20

At the top of the tower, you’ll find yourself a nice little battle with a Scavenger Matron. I thought this one would be easy, but my battle took out the ladder… Improvising, I managed to glide to the tower spot from further back on the rooftop.

FA 16 Slaying 21FA 16 Slaying 22FA 16 Slaying 23

If you didn’t destroy the ladder, then it’s a simple journey up to the Balefire Brazier.

FA 16 Slaying 24FA 16 Slaying 25FA 16 Slaying 26

Balefire Garrison “Windward”

Despite the two pieces of Lore and the Pure Soul being here, this location is pretty straight forward. Head straight ahead and circle around the tower to find the ladder that leads to the brazier. Light the flame and move on to the next one!

TIP: Albaneve Summits Lore: Balefire Garrison “Windward” Notes 1/2 I'm Not Cut Out For This and 2/2 Wind Riders. Items, XP, and Loot Reward Quest: Ancestor's Weapons with Pure Soul Gunther Galeforth.

FA 16 Slaying 27FA 16 Slaying 28FA 16 Slaying 29

Balefire Tower “1000 Miles”

This location is pretty straightforward as well. Cross the rickety bridge and keep going forward. Then, climb the tower and light the flame. Boom! Done! Unless of course, you want some Lore…

TIP: Lore here - Ancients And The Flame Lore: The Twinflame Swords 2/2 Starfall Legend, which starts the Items, XP, and Loot Reward Quest: The Greater Twinflame Sword. Quest here - Items, XP, and Loot Reward Quest: A Beautiful Home.

FA 16 Slaying 30FA 16 Slaying 31FA 16 Slaying 32FA 16 Slaying 33

Balefire Garrison “Everfrore Keep”

Much like The Pike, this area is teaming with Lore and Quests. I am sure that as the developers make changes, this place will become even more active. As such, check out my Everfrore Keep Lore And Quests In Enshrouded page for more to do in the area.

FA 16 Slaying 34

The Balefire Brazier is quite a bit to the south of the actual fortress, but it is still well within the area. Make your way there and light the flame to complete this phase of the quest.

FA 16 Slaying 35FA 16 Slaying 36FA 16 Slaying 37FA 16 Slaying 38FA 16 Slaying 39

Fell Dragon Youngling

Leaving Everfrore Keep will place you on the right path toward reaching the Fell Dragon Youngling. Time to start making the climb!
TIP: You’ll be high up in the cold, so pack warm. You’ll also be Enshrouded, so protection against that is recommended, too. Oh, and this boss has a lot of health, so be prepared for a long fight.

FA 16 Slaying 40FA 16 Slaying 41FA 16 Slaying 42FA 16 Slaying 43FA 16 Slaying 44

After climbing up this far, go left toward the peak IF you want to avoid a cyclops. You’ll still pass through his cave (which happens to be part of The Collector Quest: A Skeleton Cyclops Collection), but this route avoids him if you want to.

FA 16 Slaying 45

Next up are some more grapple spots. Followed by entering the cave with the cyclops. If you keep veering right, when you are in the cave, you’ll avoid him. Go left, and he’ll swing a club at you.

FA 16 Slaying 46FA 16 Slaying 47FA 16 Slaying 48

You’re almost there!

FA 16 Slaying 49FA 16 Slaying 50FA 16 Slaying 51FA 16 Slaying 52FA 16 Slaying 53FA 16 Slaying 54

Fight the beast, and win, to loot his remains. (He has three main attacks, a ring of meteor showers, a flame breath that either follows you or blasts a circle around the arena. Careful not to get stunned or step on the flaming snow! If you run low on health, I suggest circling behind him as he does a breath attack and healing up with a potion or something.) Then, it’s quest complete, and then it’s off to upgrade the Flame Altar!

FA 16 Slaying 56FA 16 Slaying 57FA 16 Slaying 58

Yay Strengthening the Flame!

FA 16 Slaying 59

Celebrate The Pact Of The Flame

I’m not sure when this first becomes available, but here it is! Fresh from the Pact Of The Flame Update!

FA 15 Celebrate The Pact Of The Flame 1FA 15 Celebrate The Pact Of The Flame 2

After speaking with the Flame, you’ll want to head to Temple Ruin located near Netherton. Reaching the location completes the first part of the quest.

FA 15 Celebrate The Pact Of The Flame 3FA 15 Celebrate The Pact Of The Flame 4FA 15 Celebrate The Pact Of The Flame 5

As usual, there’s a trap door behind a barrel. Head through to the next area to proceed. For the next part, you’ll have to go down to go up (the switch for the door is below it).

FA 15 Celebrate The Pact Of The Flame 6FA 15 Celebrate The Pact Of The Flame 7

Once you have the switch activated, head back up to swing your way across! Looting the chest completes the quest!

FA 15 Celebrate The Pact Of The Flame 8

About the Author
I may not be the nerdiest nerd you’ve ever met, but I still like to think of myself as a lover of science, video games, and of course, books.